Axial SMT10 Project
Page 3: Upgrades!
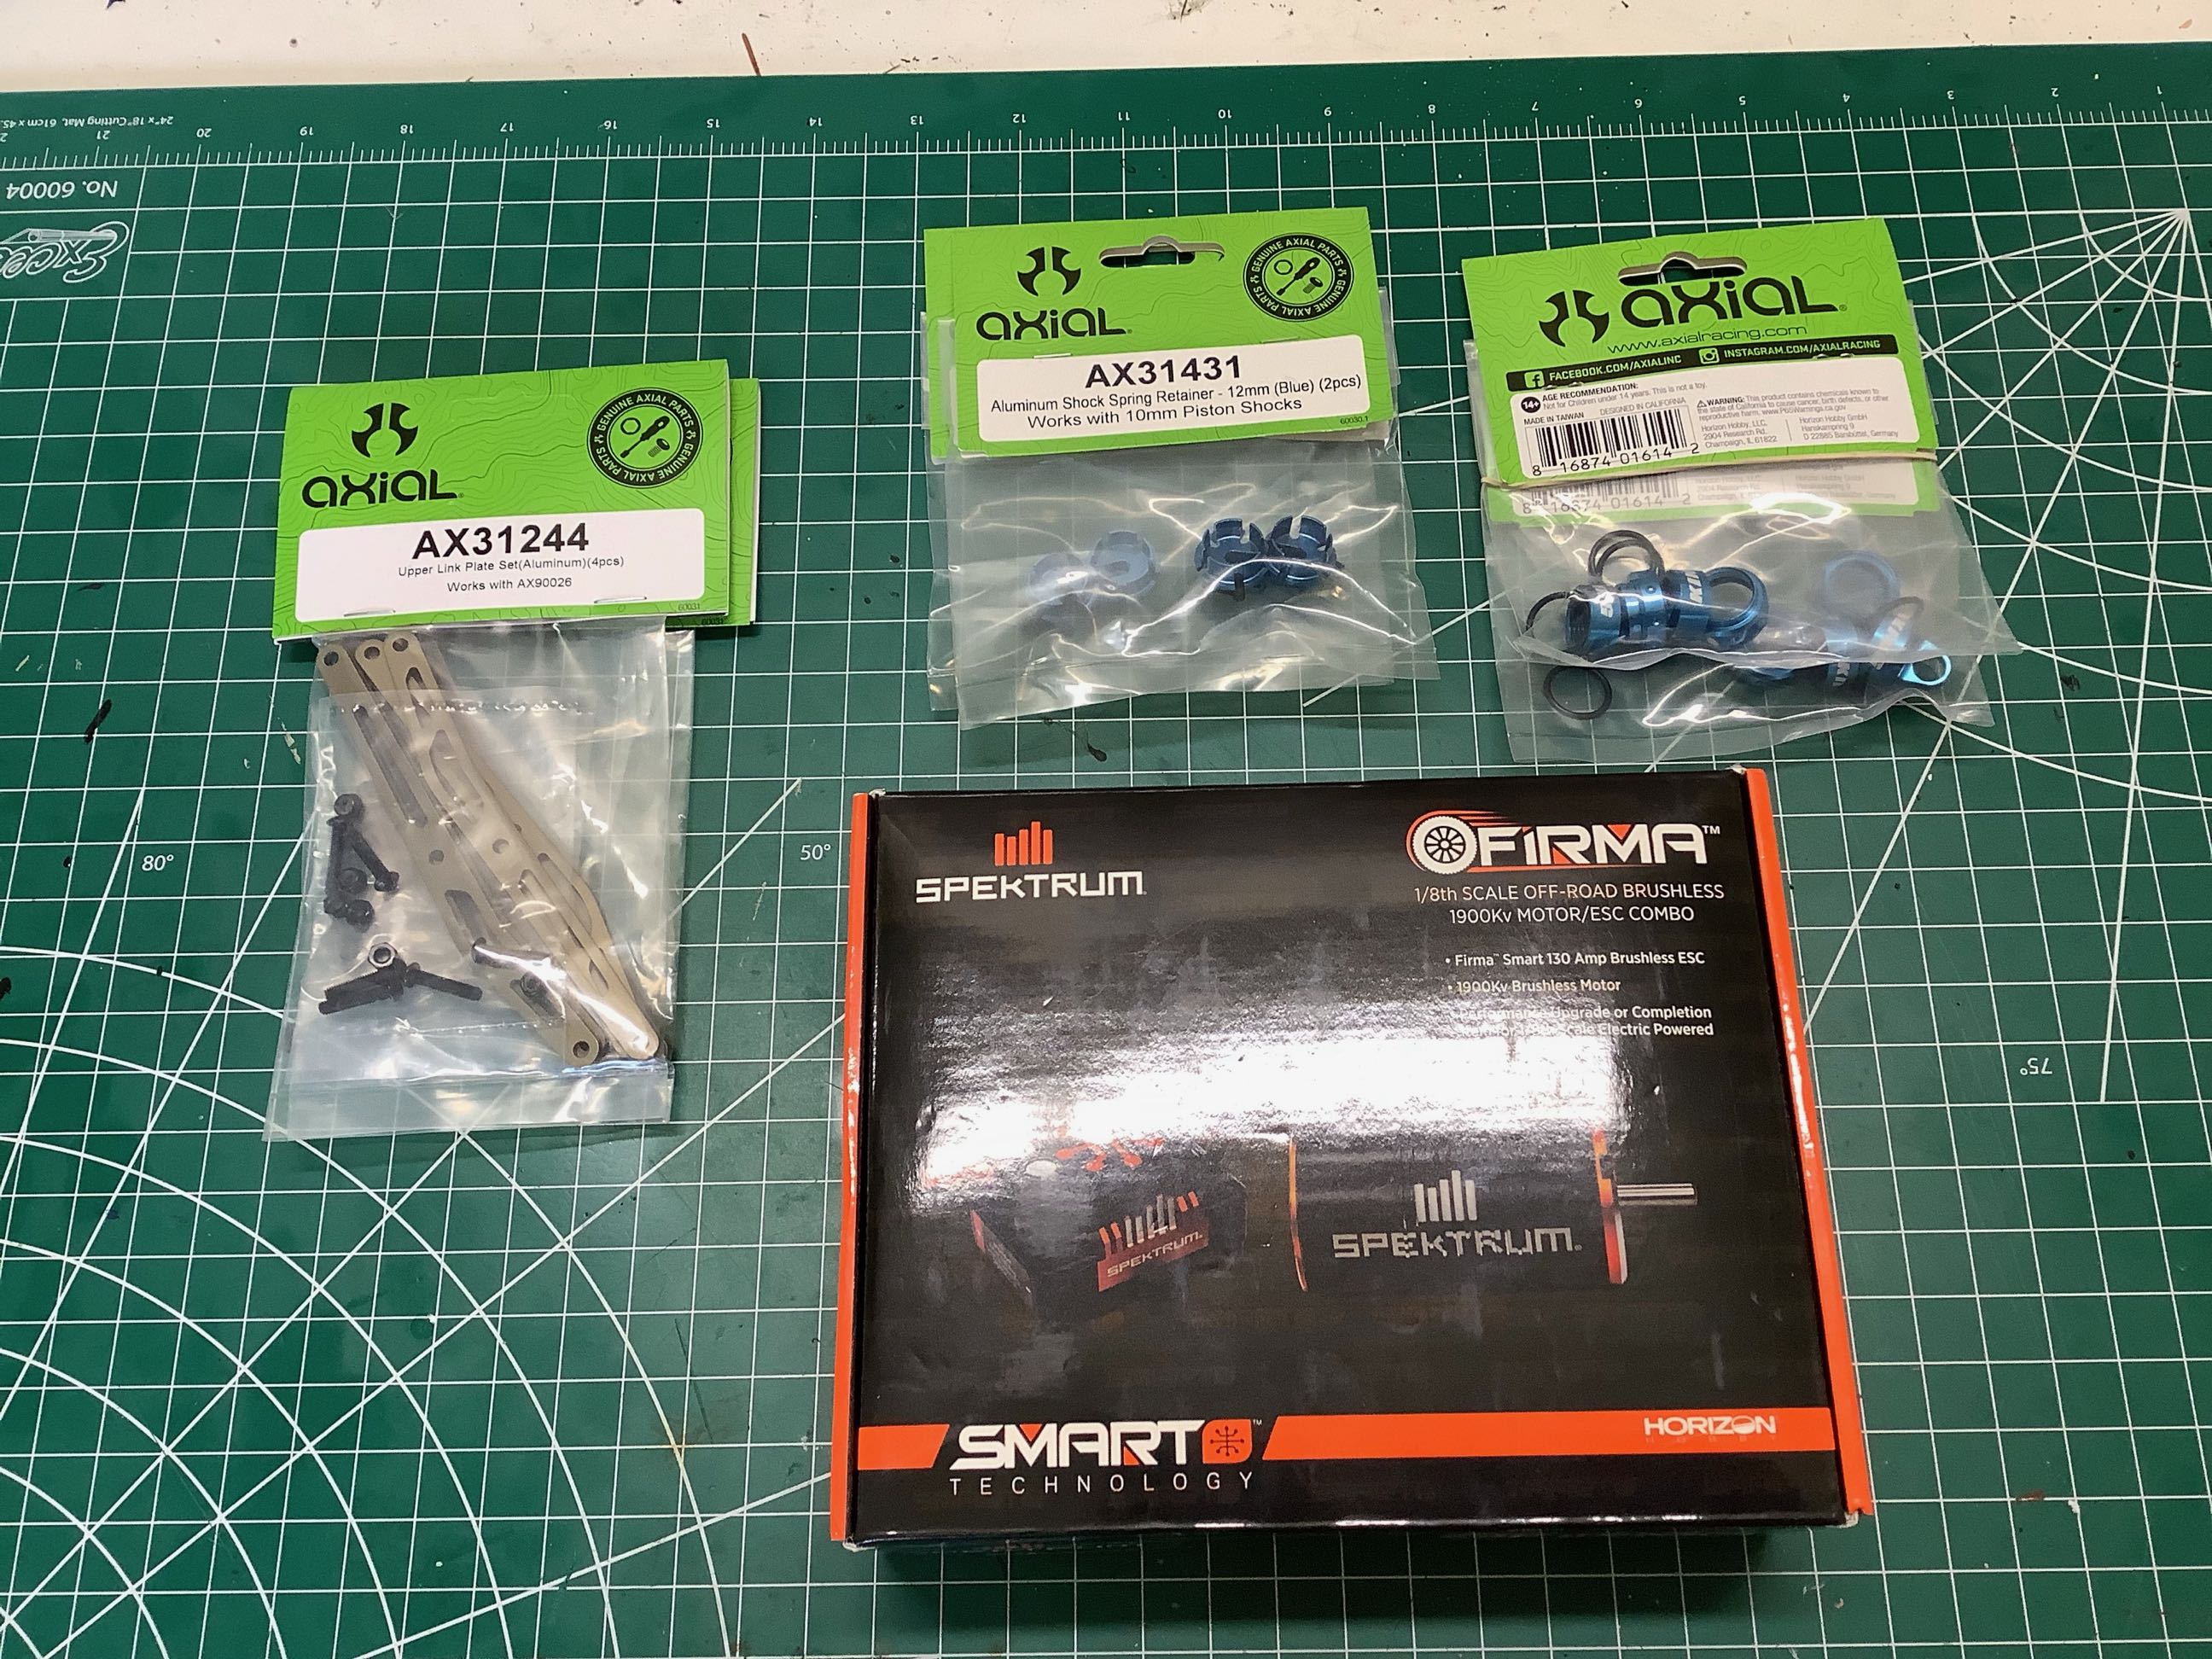
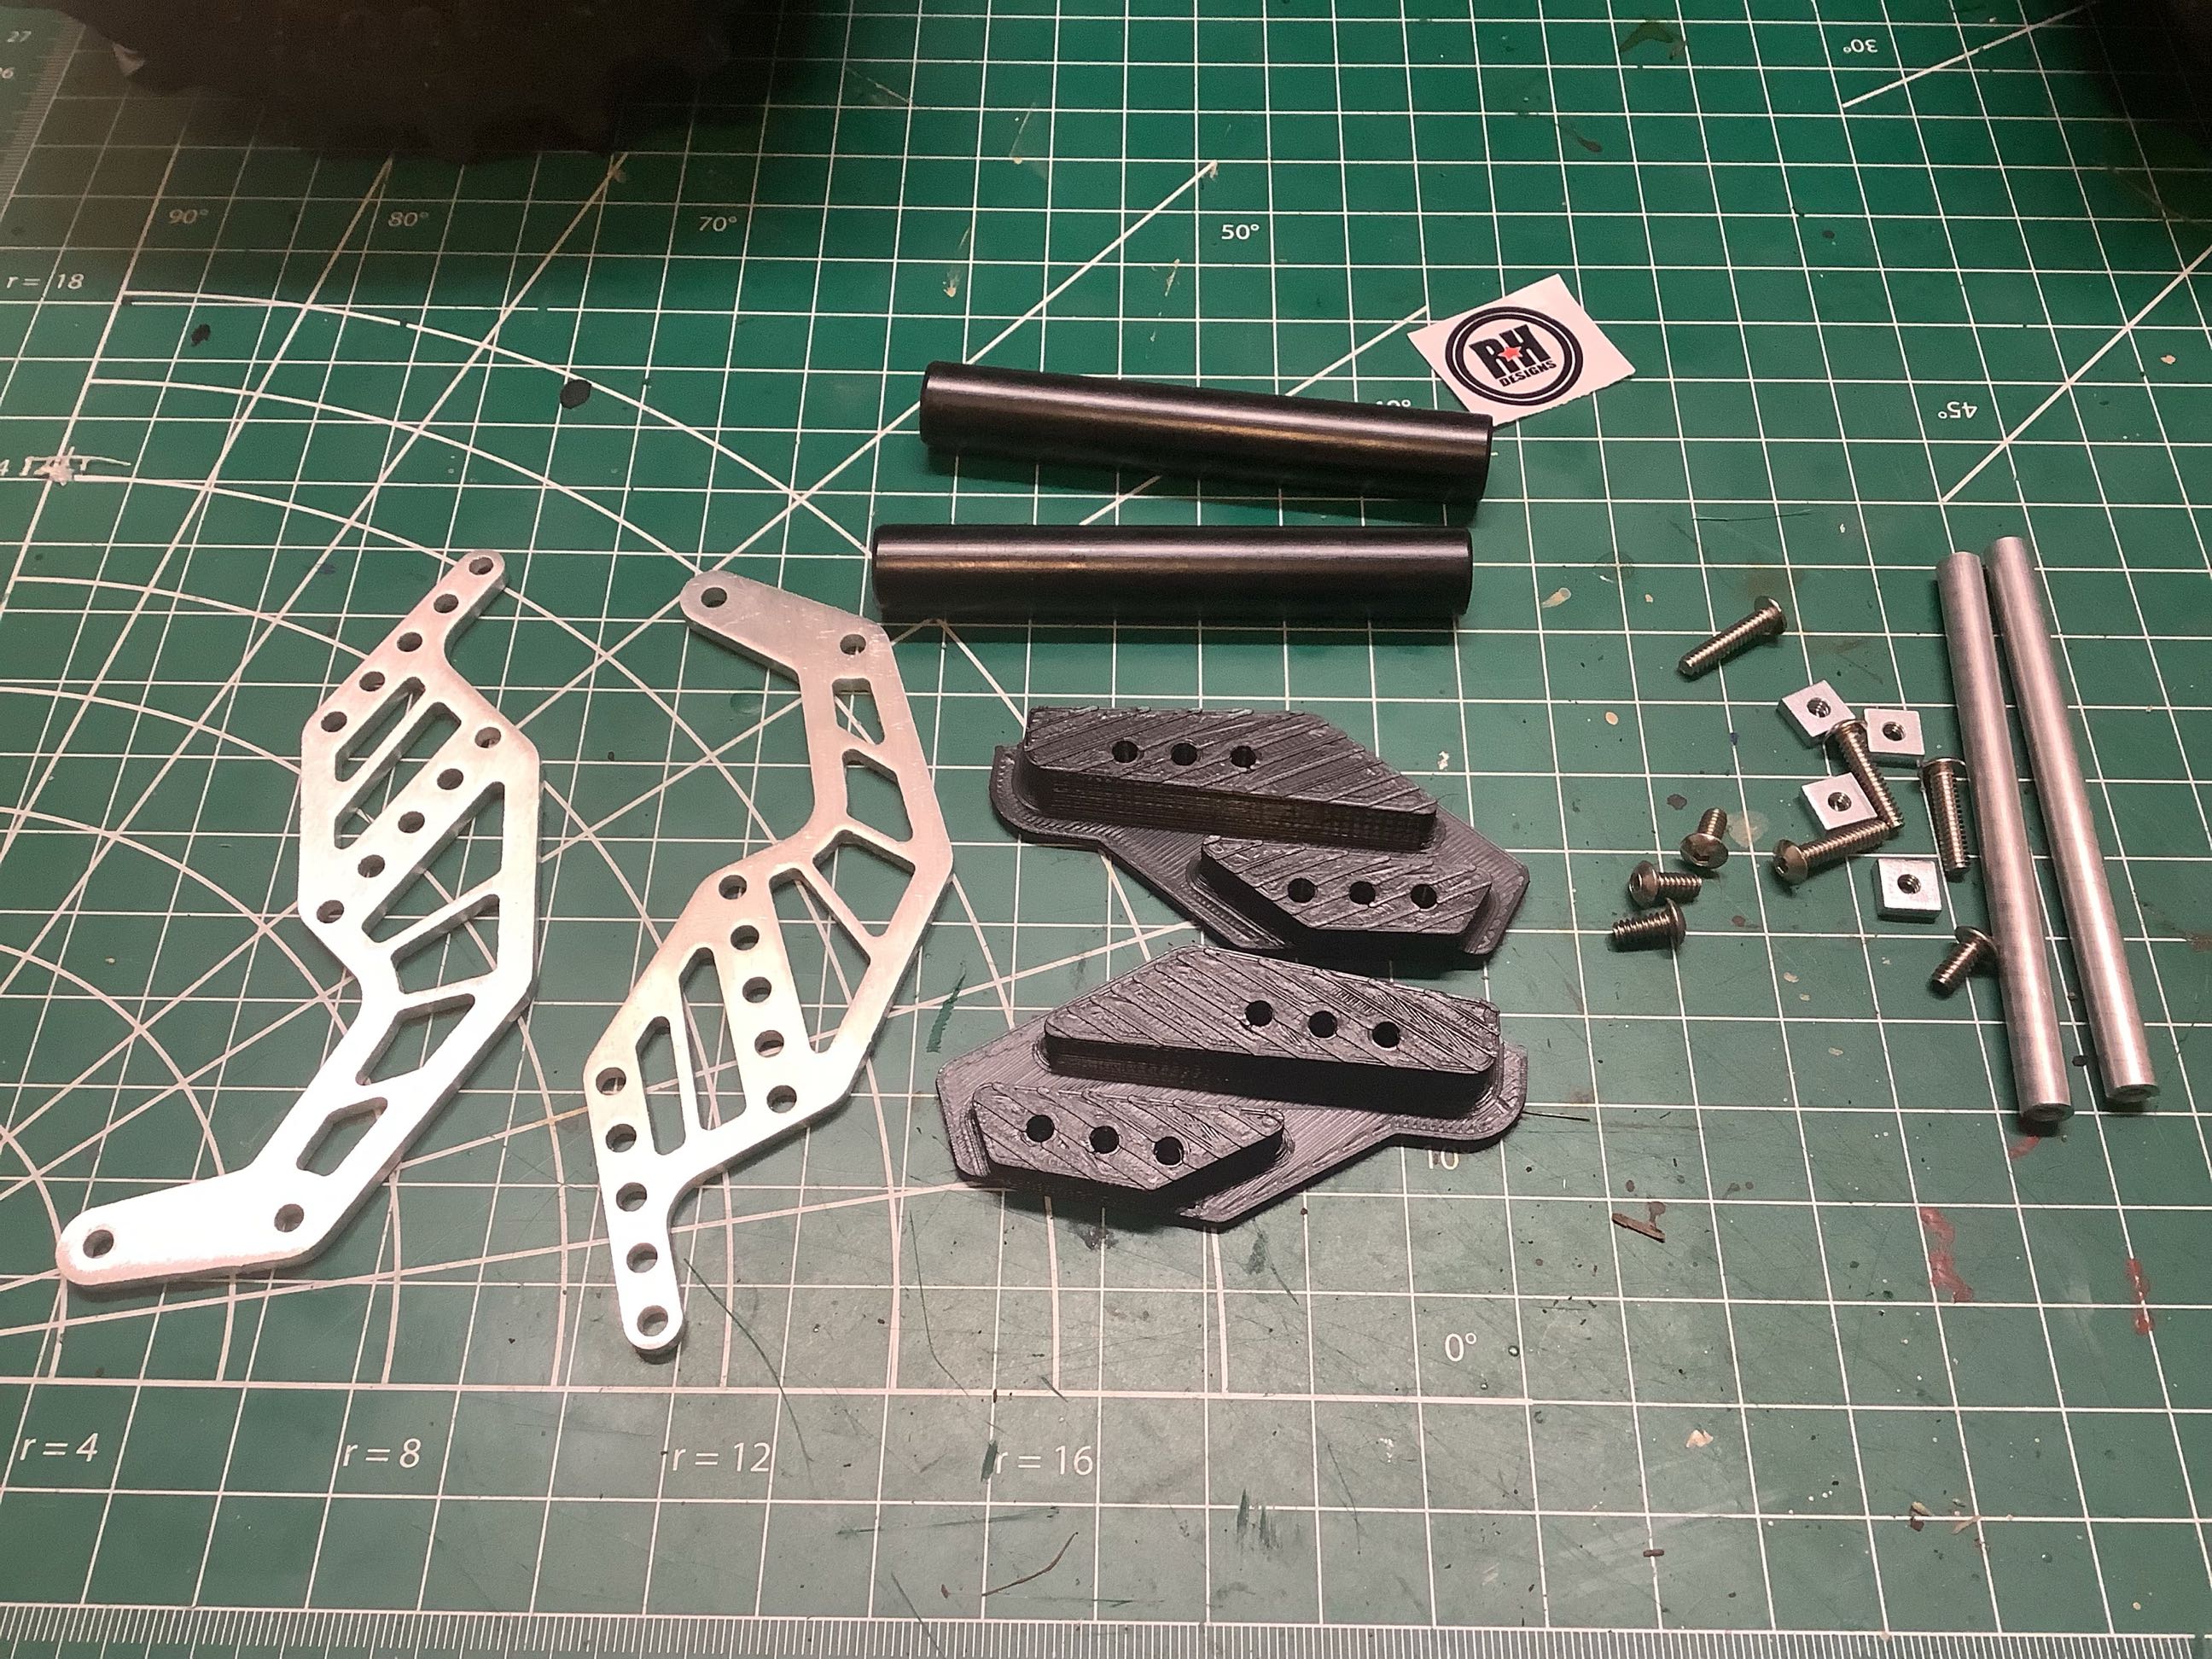
Here is the first pile of upgrades I bought. I intended this
to be the only list, but I was hilariously wrong. The first thing
to decide on was a power system. I like the new SMART telemetry
system from Spektrum so I thought I would get the same system that is in
my Lost Lasernut. I ordered the set shown which came with a
1900kV motor that I thought was correct. It was not. Turns
out they also have a 1/8 scale 1900kV motor and that's what I got.
It won't fit even if I thought the chassis could handle the
power. You can't return motors so I am stuck with it until I find a
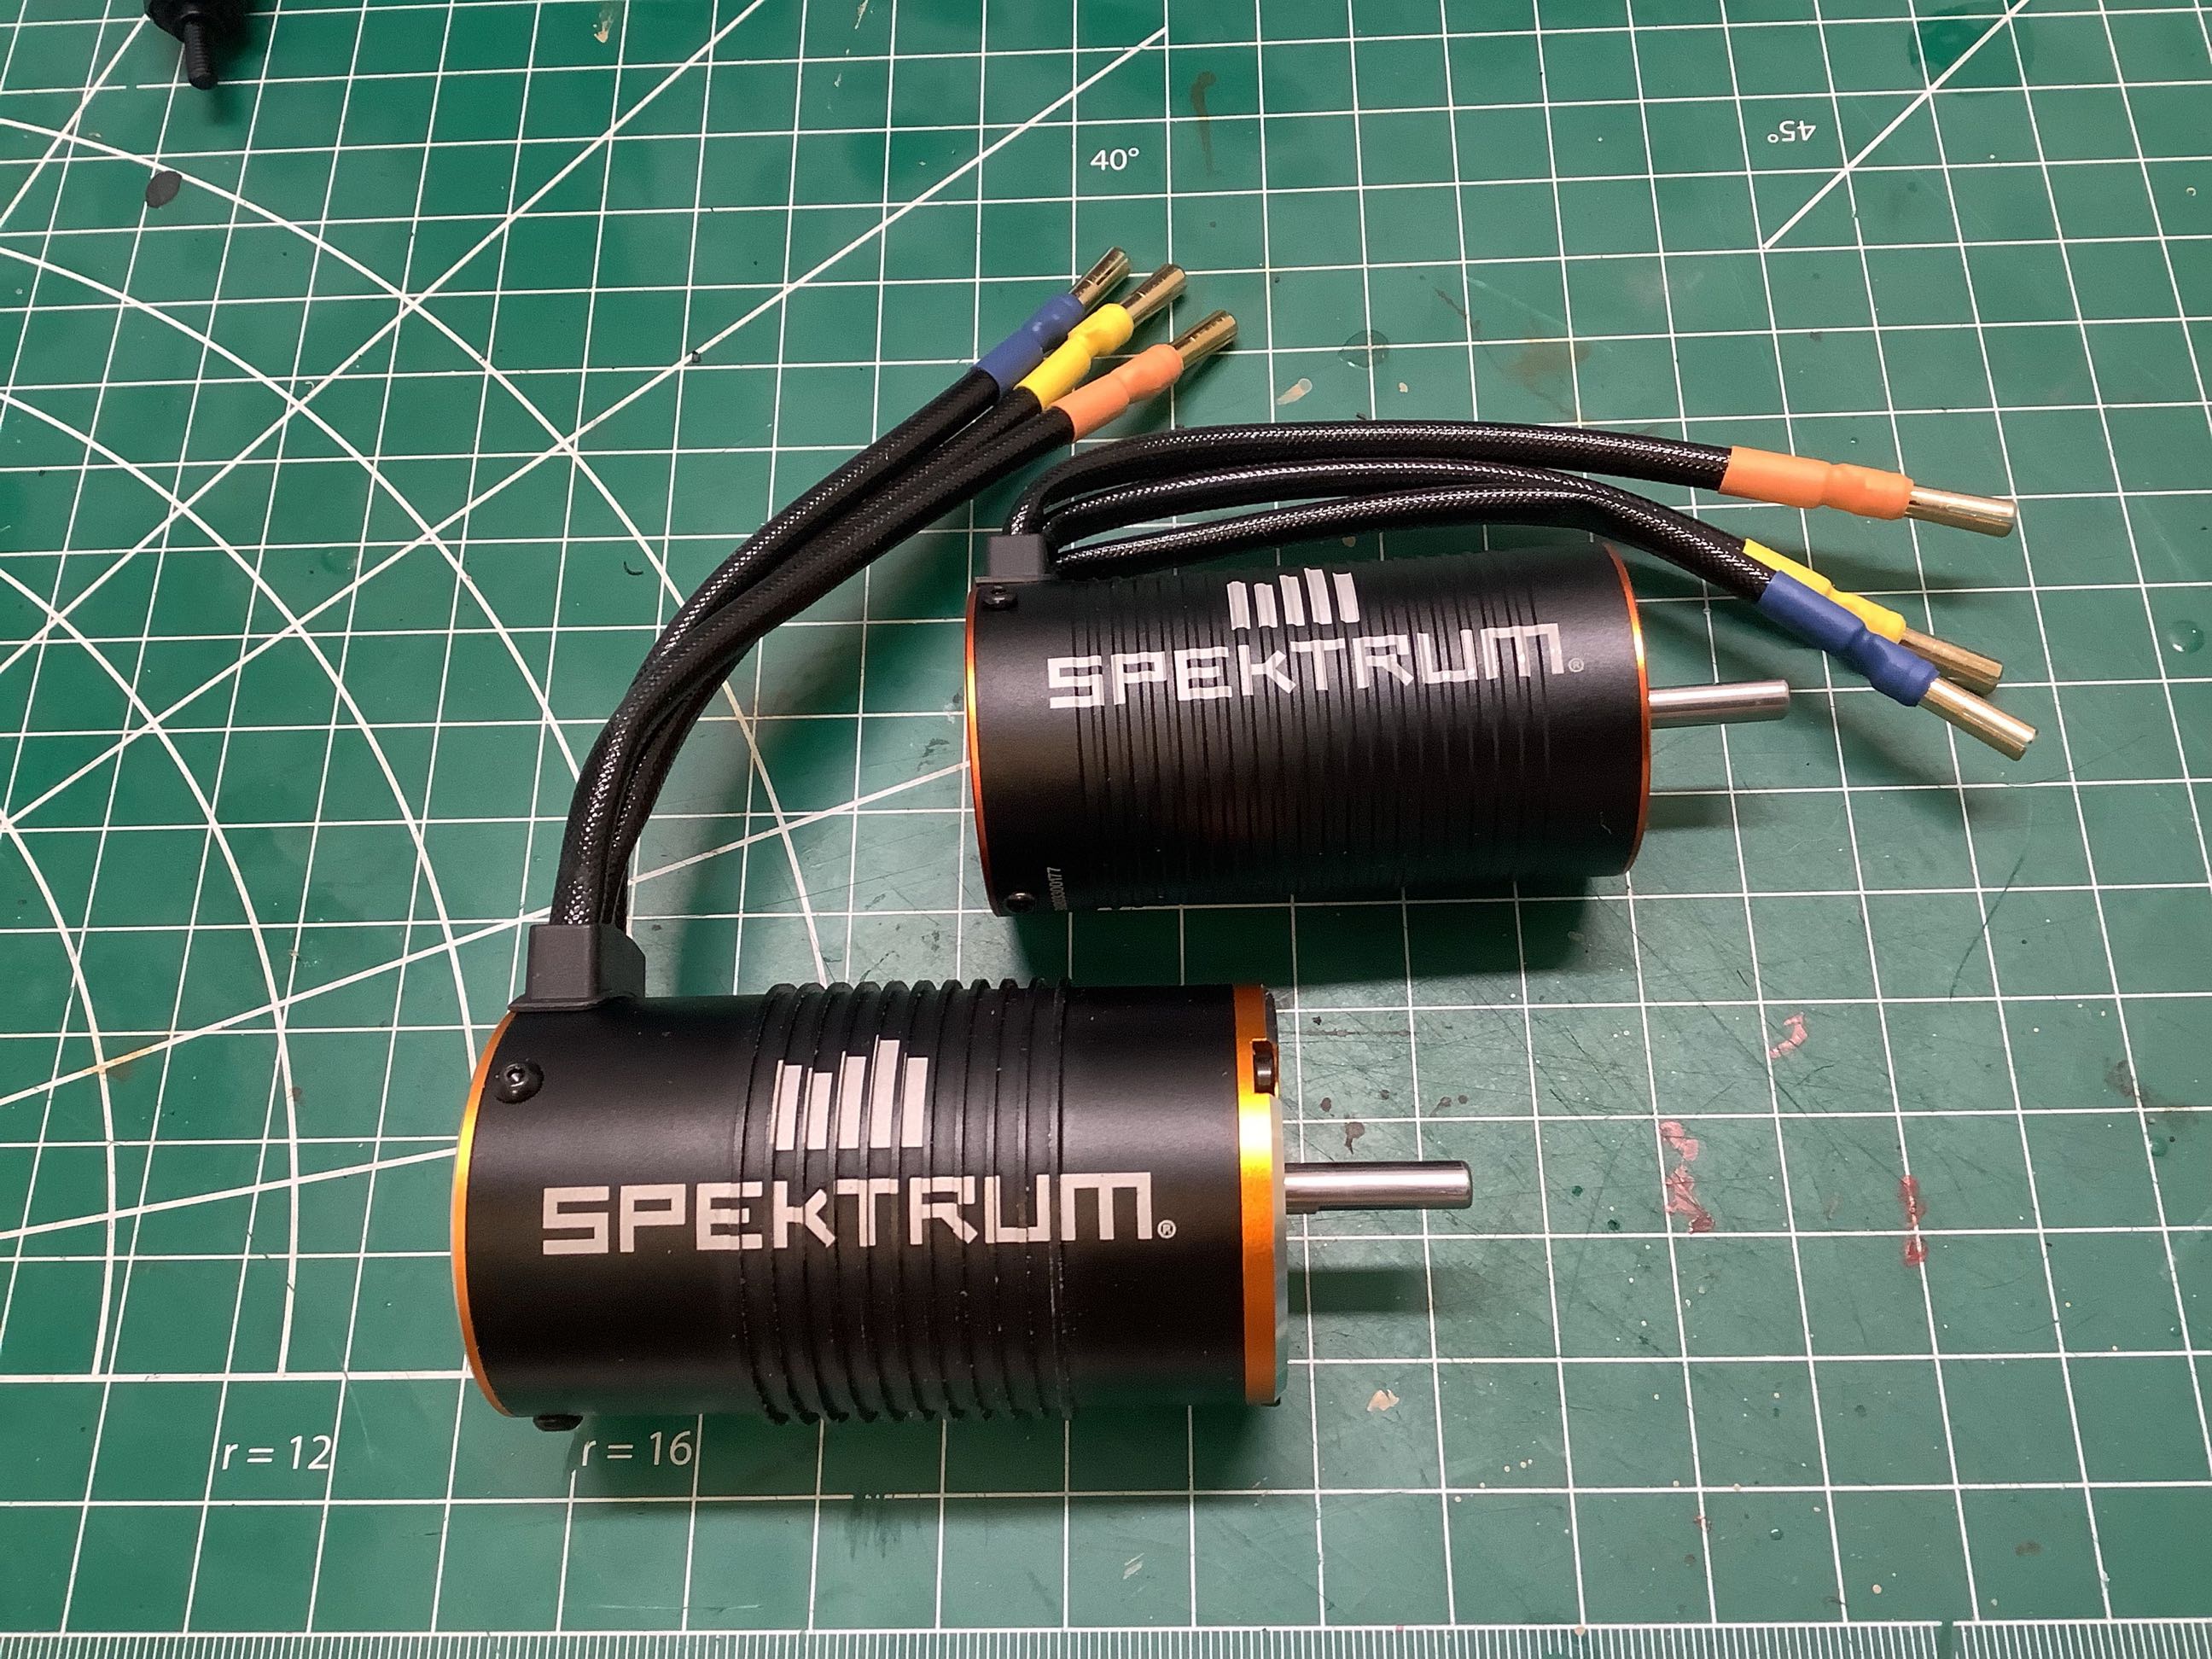
home for it. I ordered the correct motor separately. The
picture on the right shows the correct motor (upper) with the 1/8 scale
motor (lower). The aluminum link braces shown on the left were
intended to be for the lower links but are actually for the upper links
so I needed more of those as well. The King shock bodies were at
least correct, but I ended up with shock problems too.
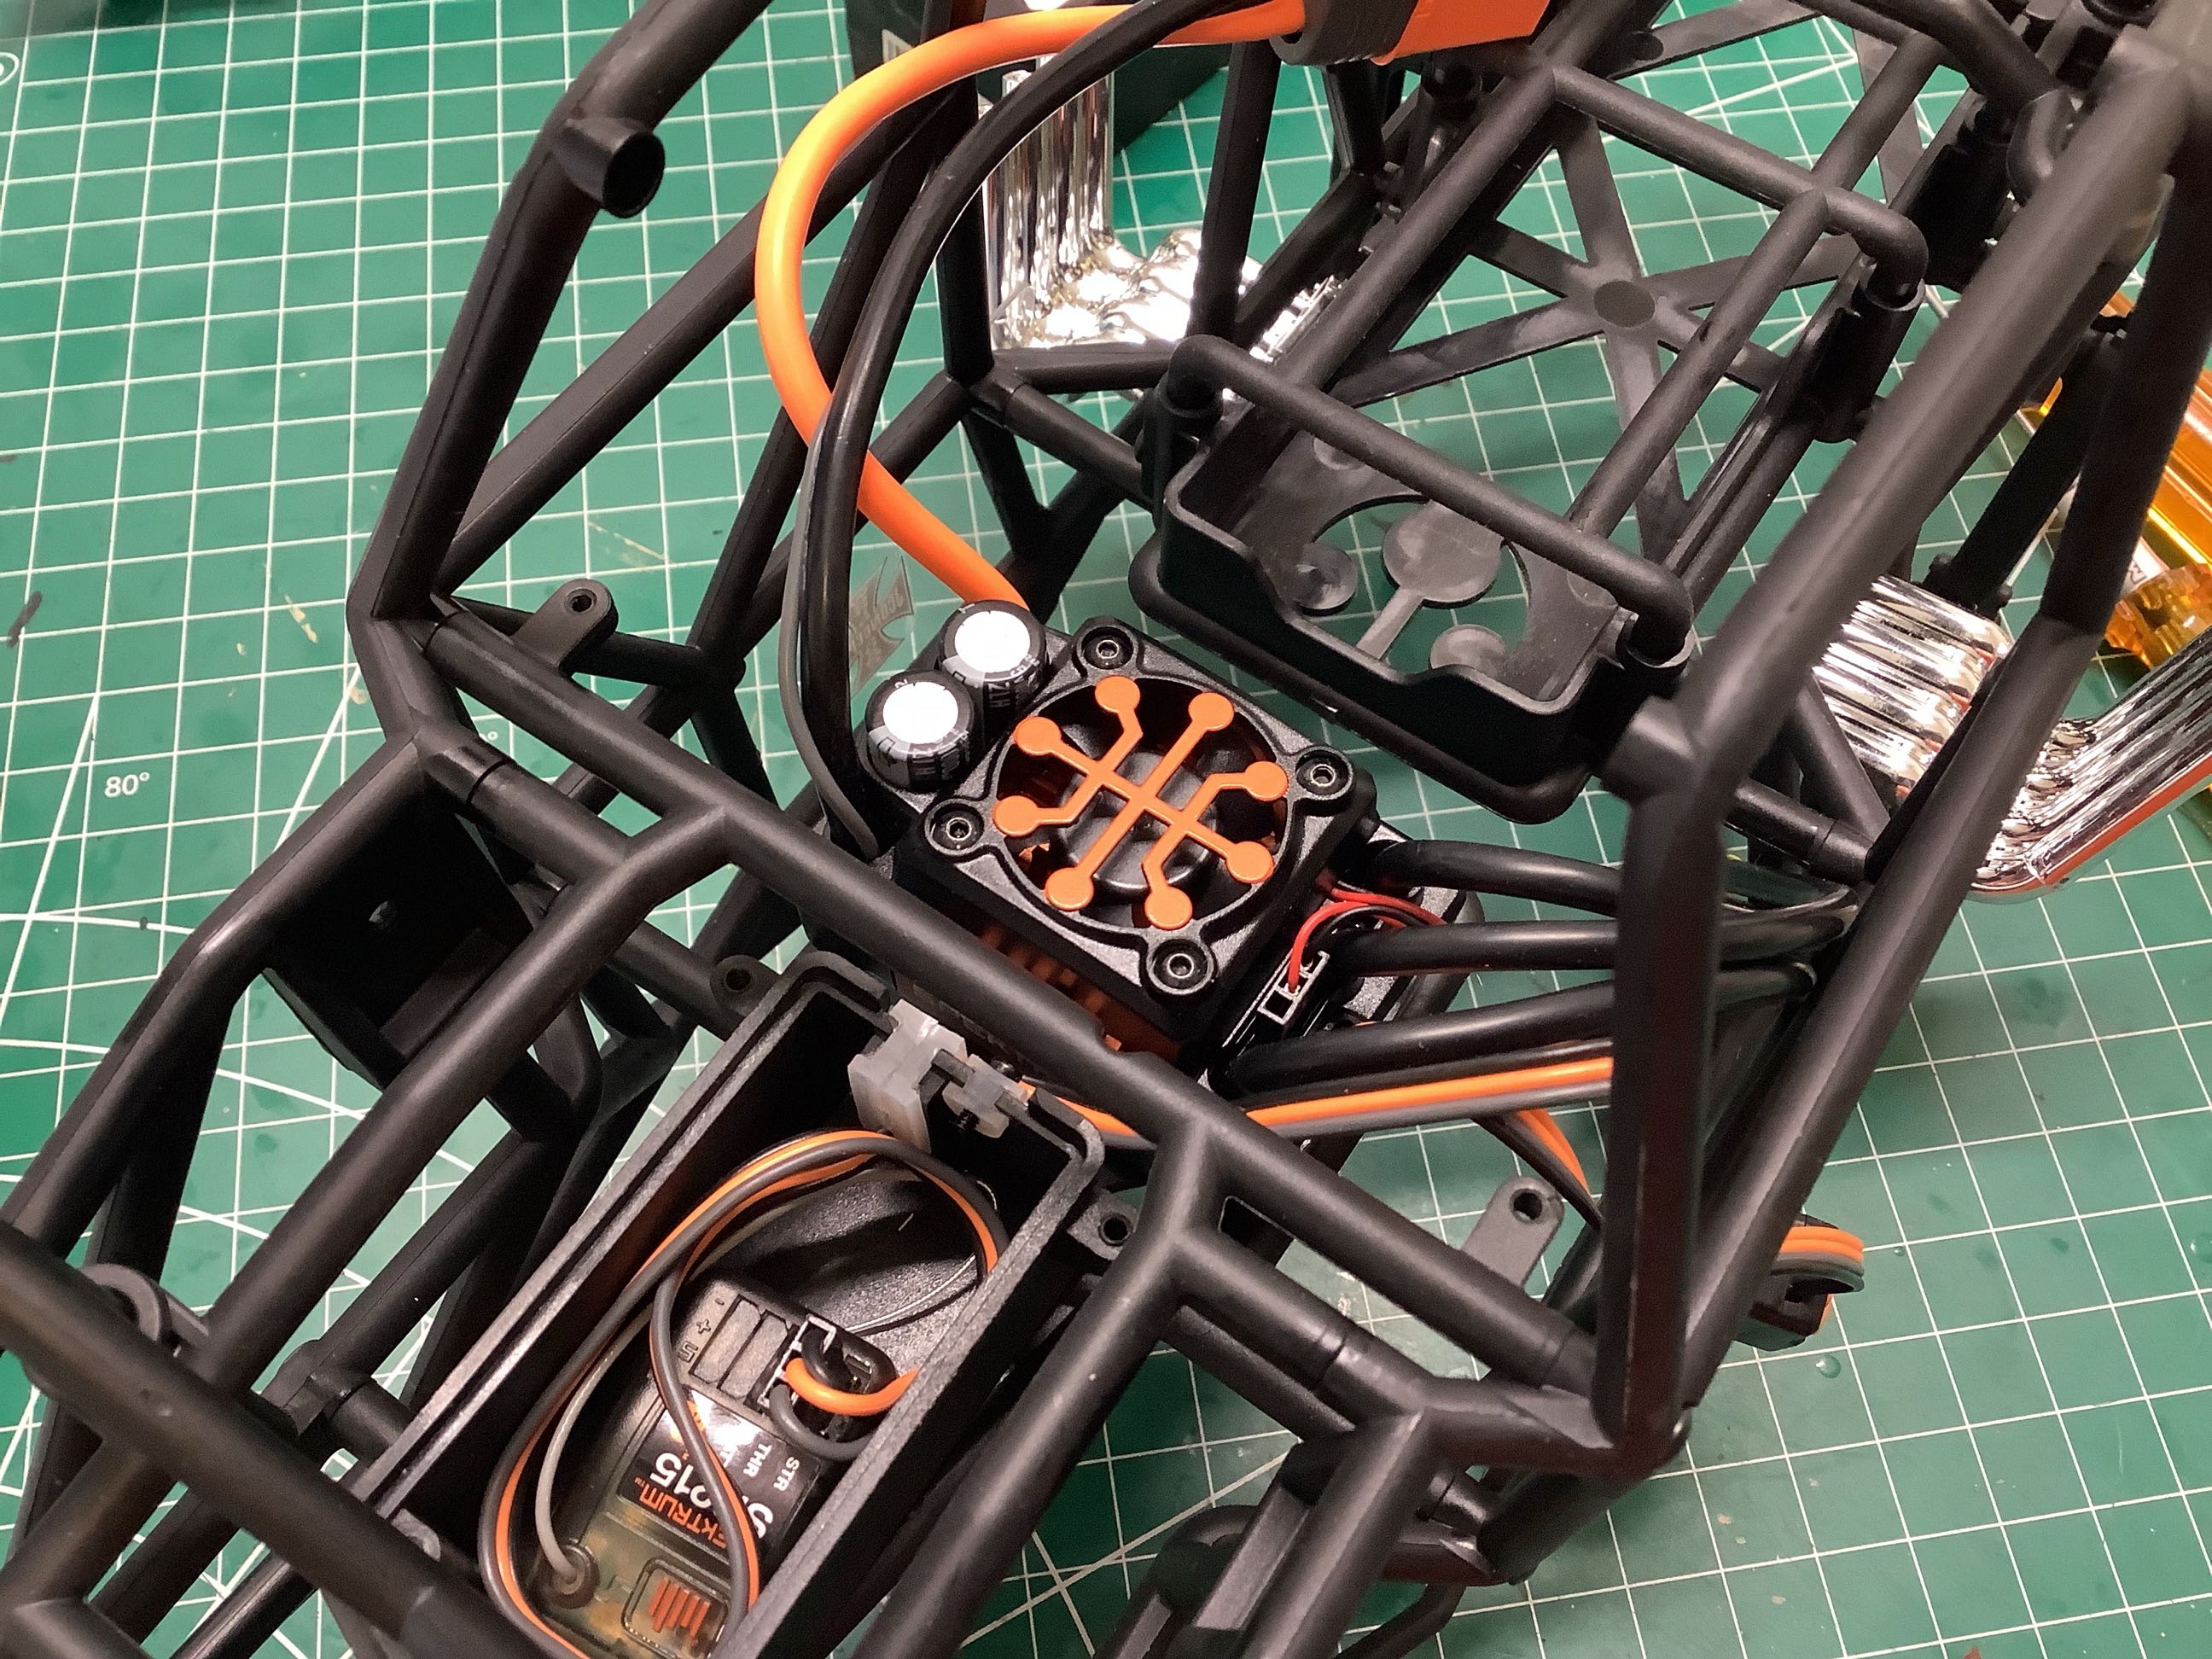
The picture on the left shows the installation of the new power
system. The 130A ESC fit very nicely and was even able to be
bolted down. The motor is hidden beneath but can be seen in the
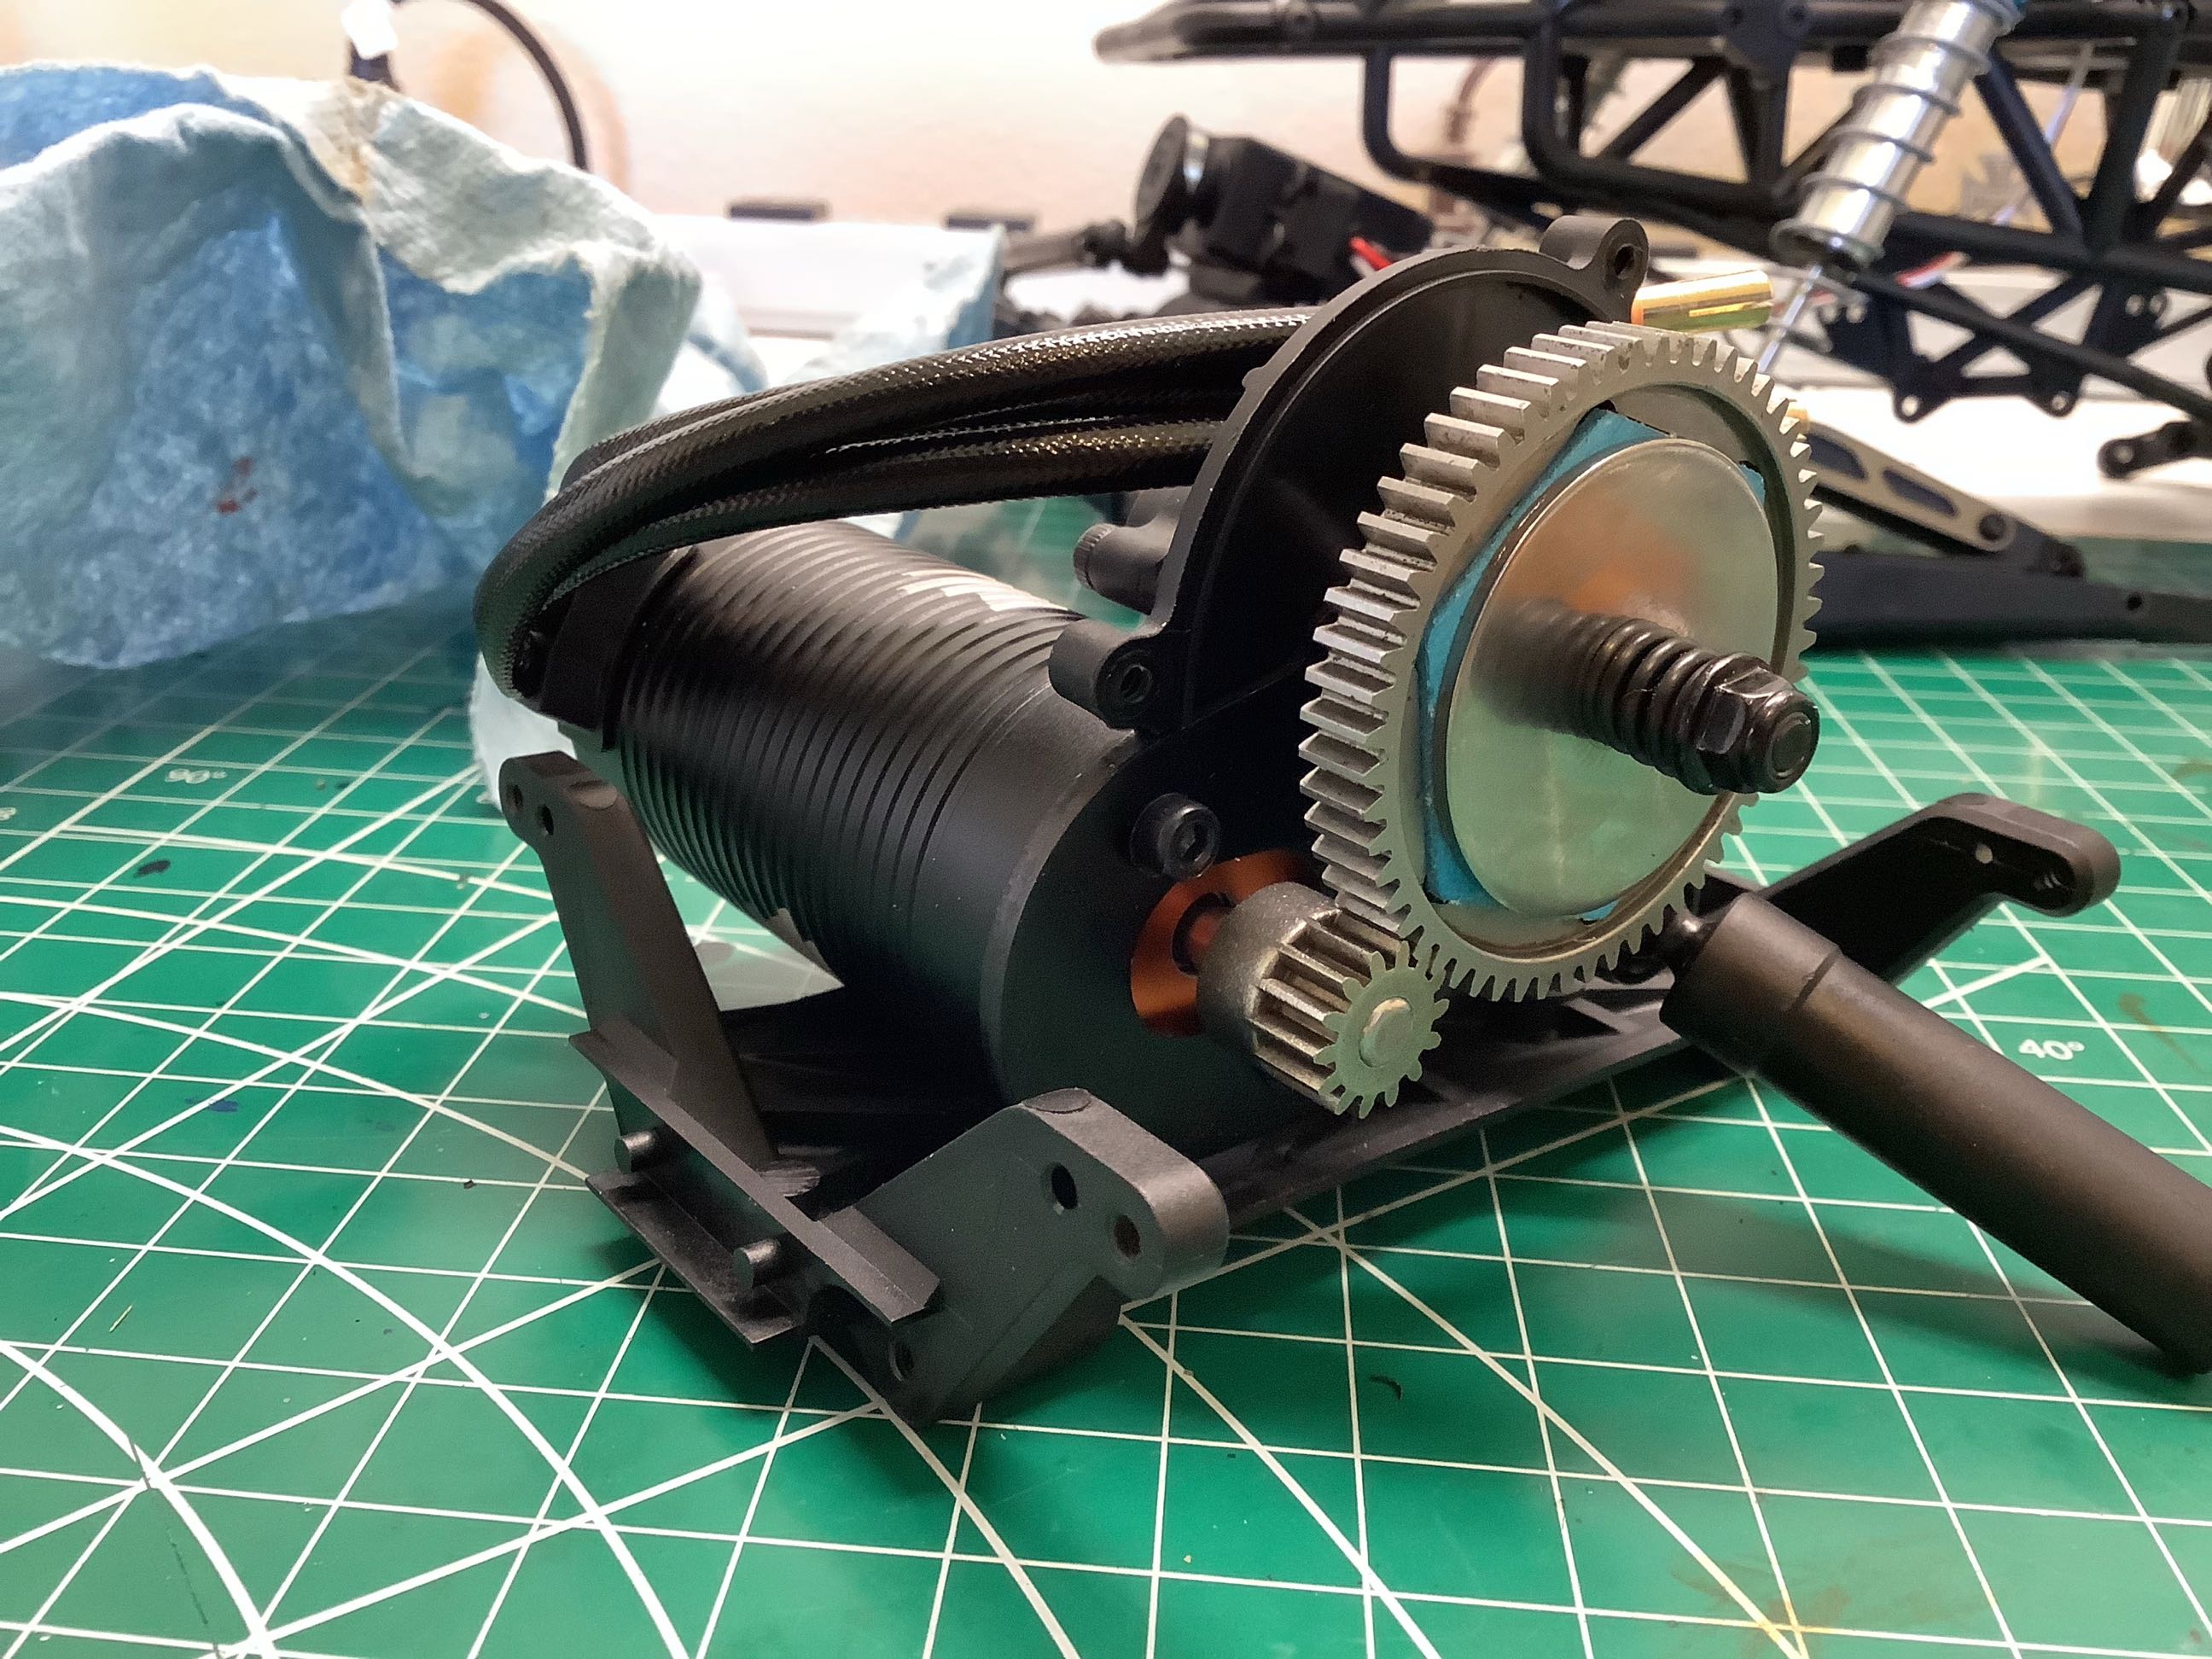
image on the right. I also decided that while I had the
transmission open, I should probably upgrade to a steel spur gear.
I intend to run this model on 4s so it needs all the strength it can
get. The battery compartment wasn't tall enough for my 4s battery
so I made some minor mods to make it fit.
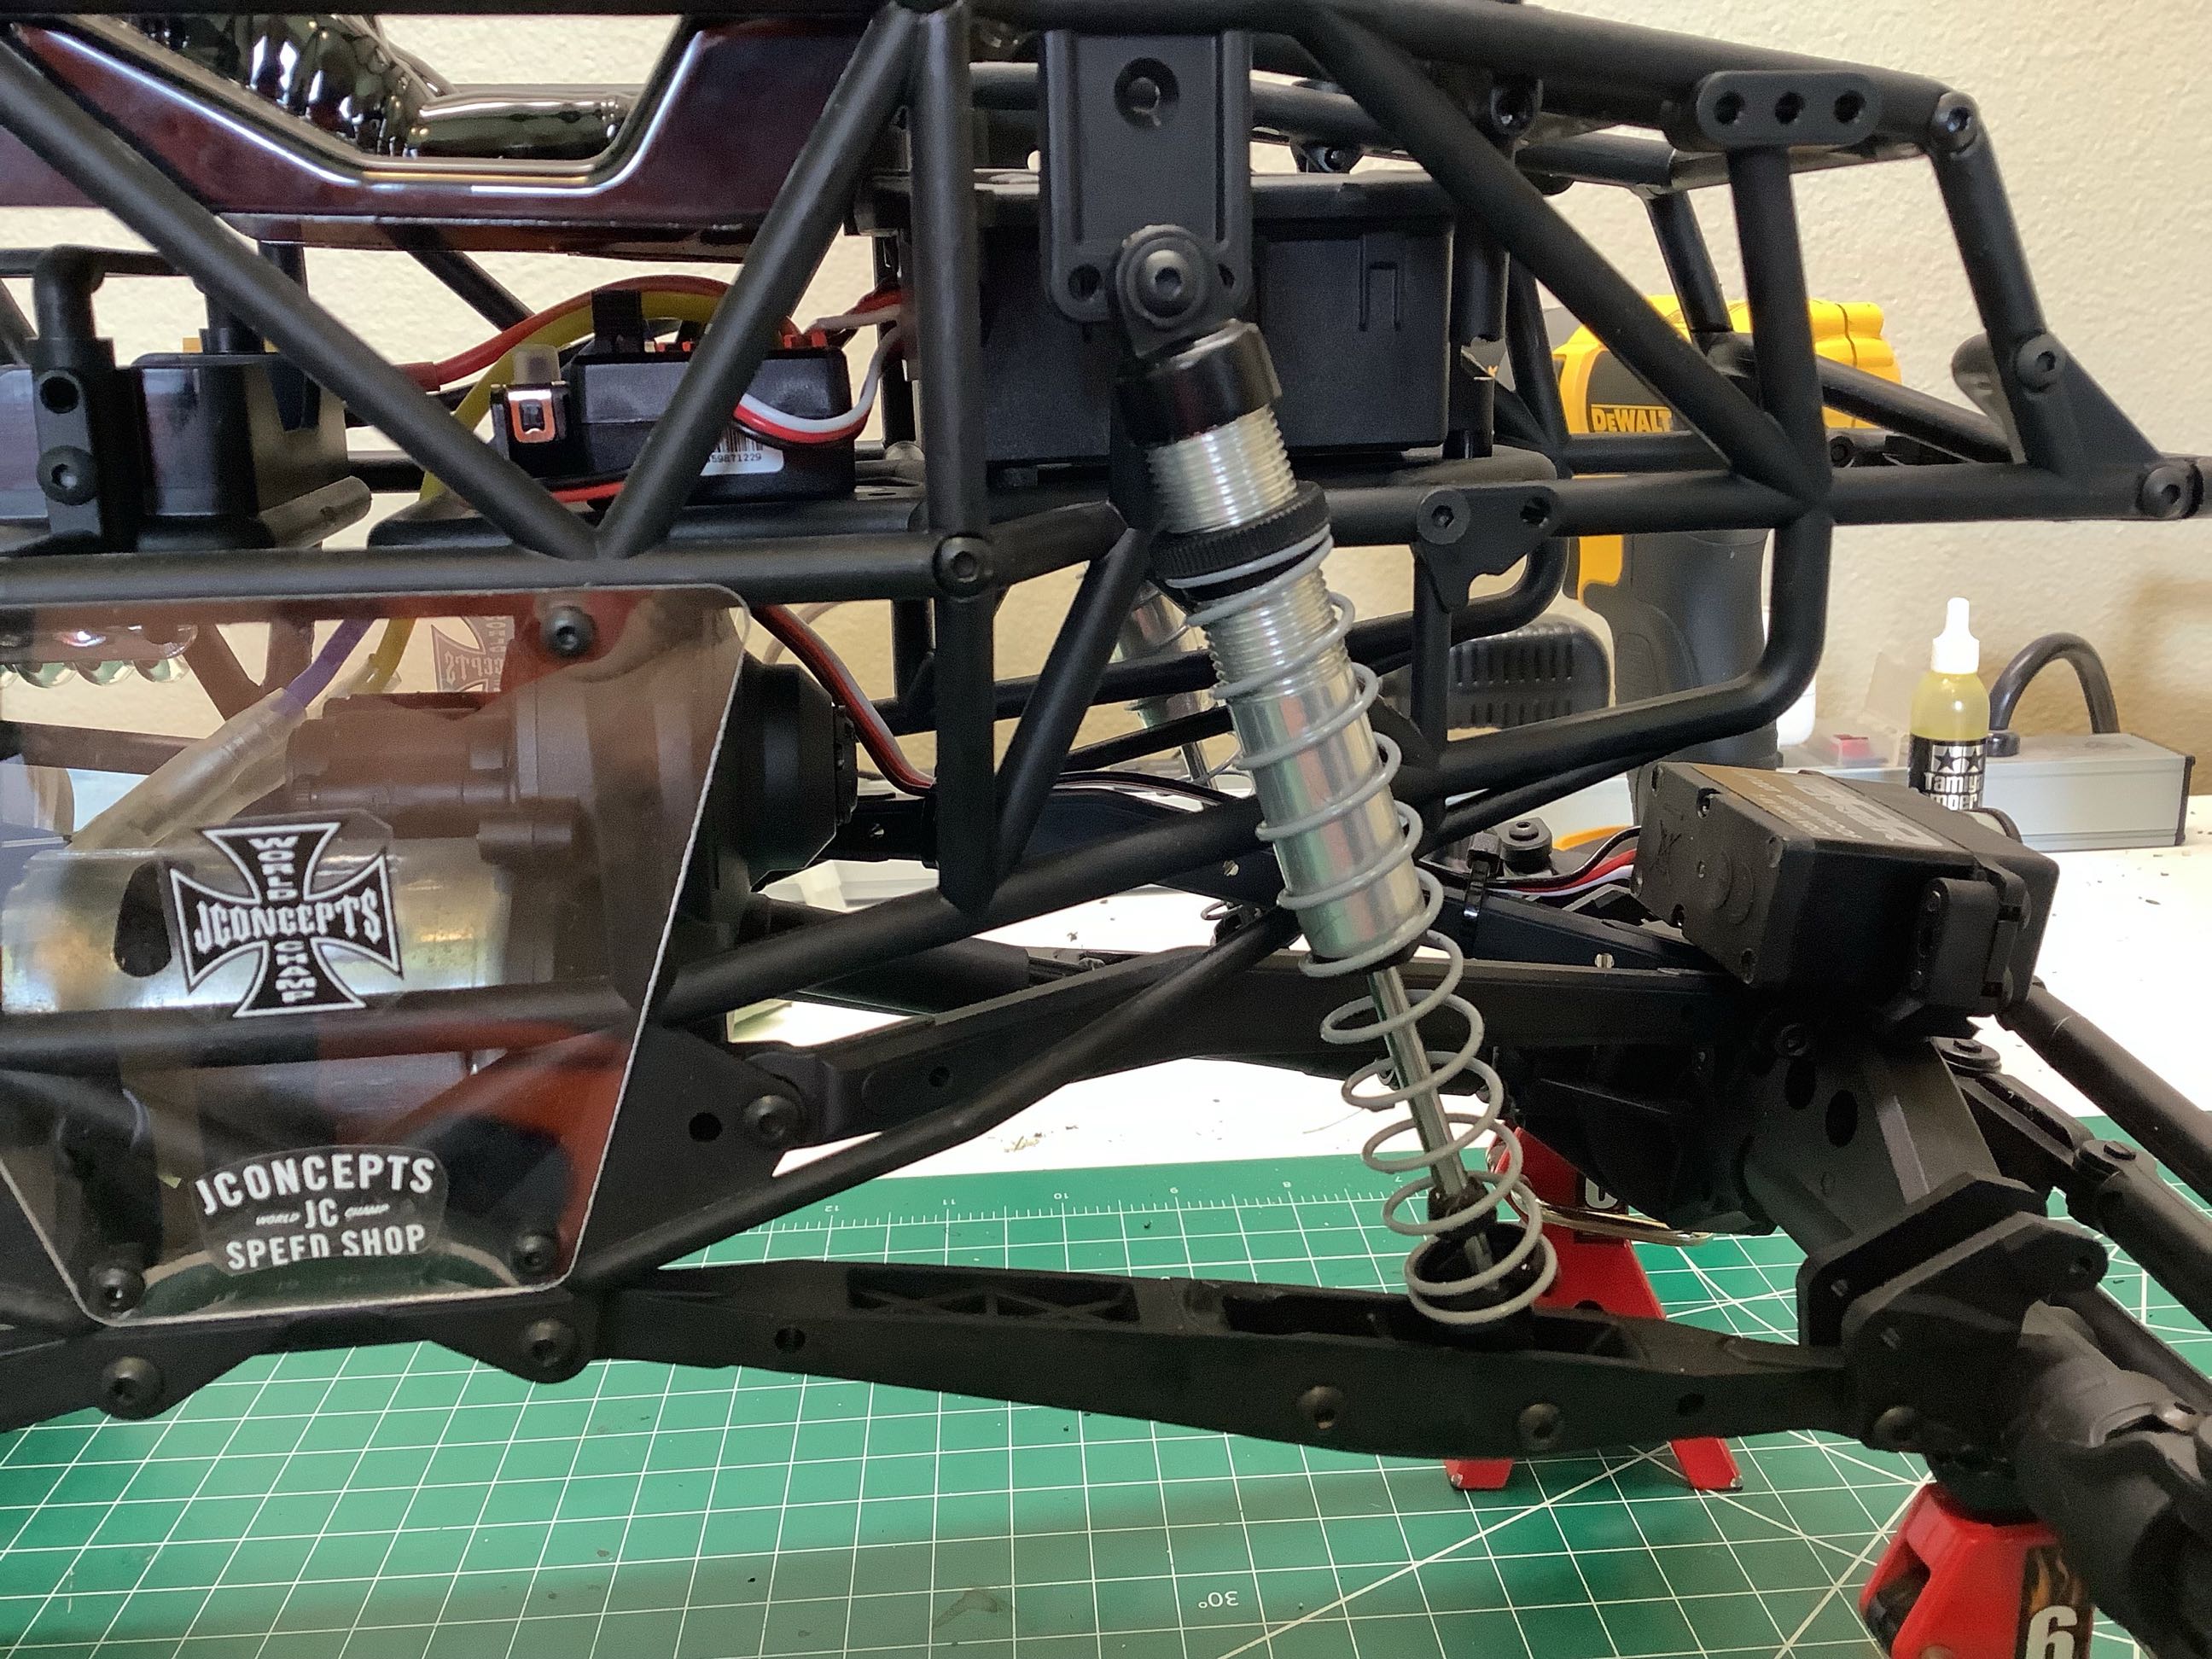
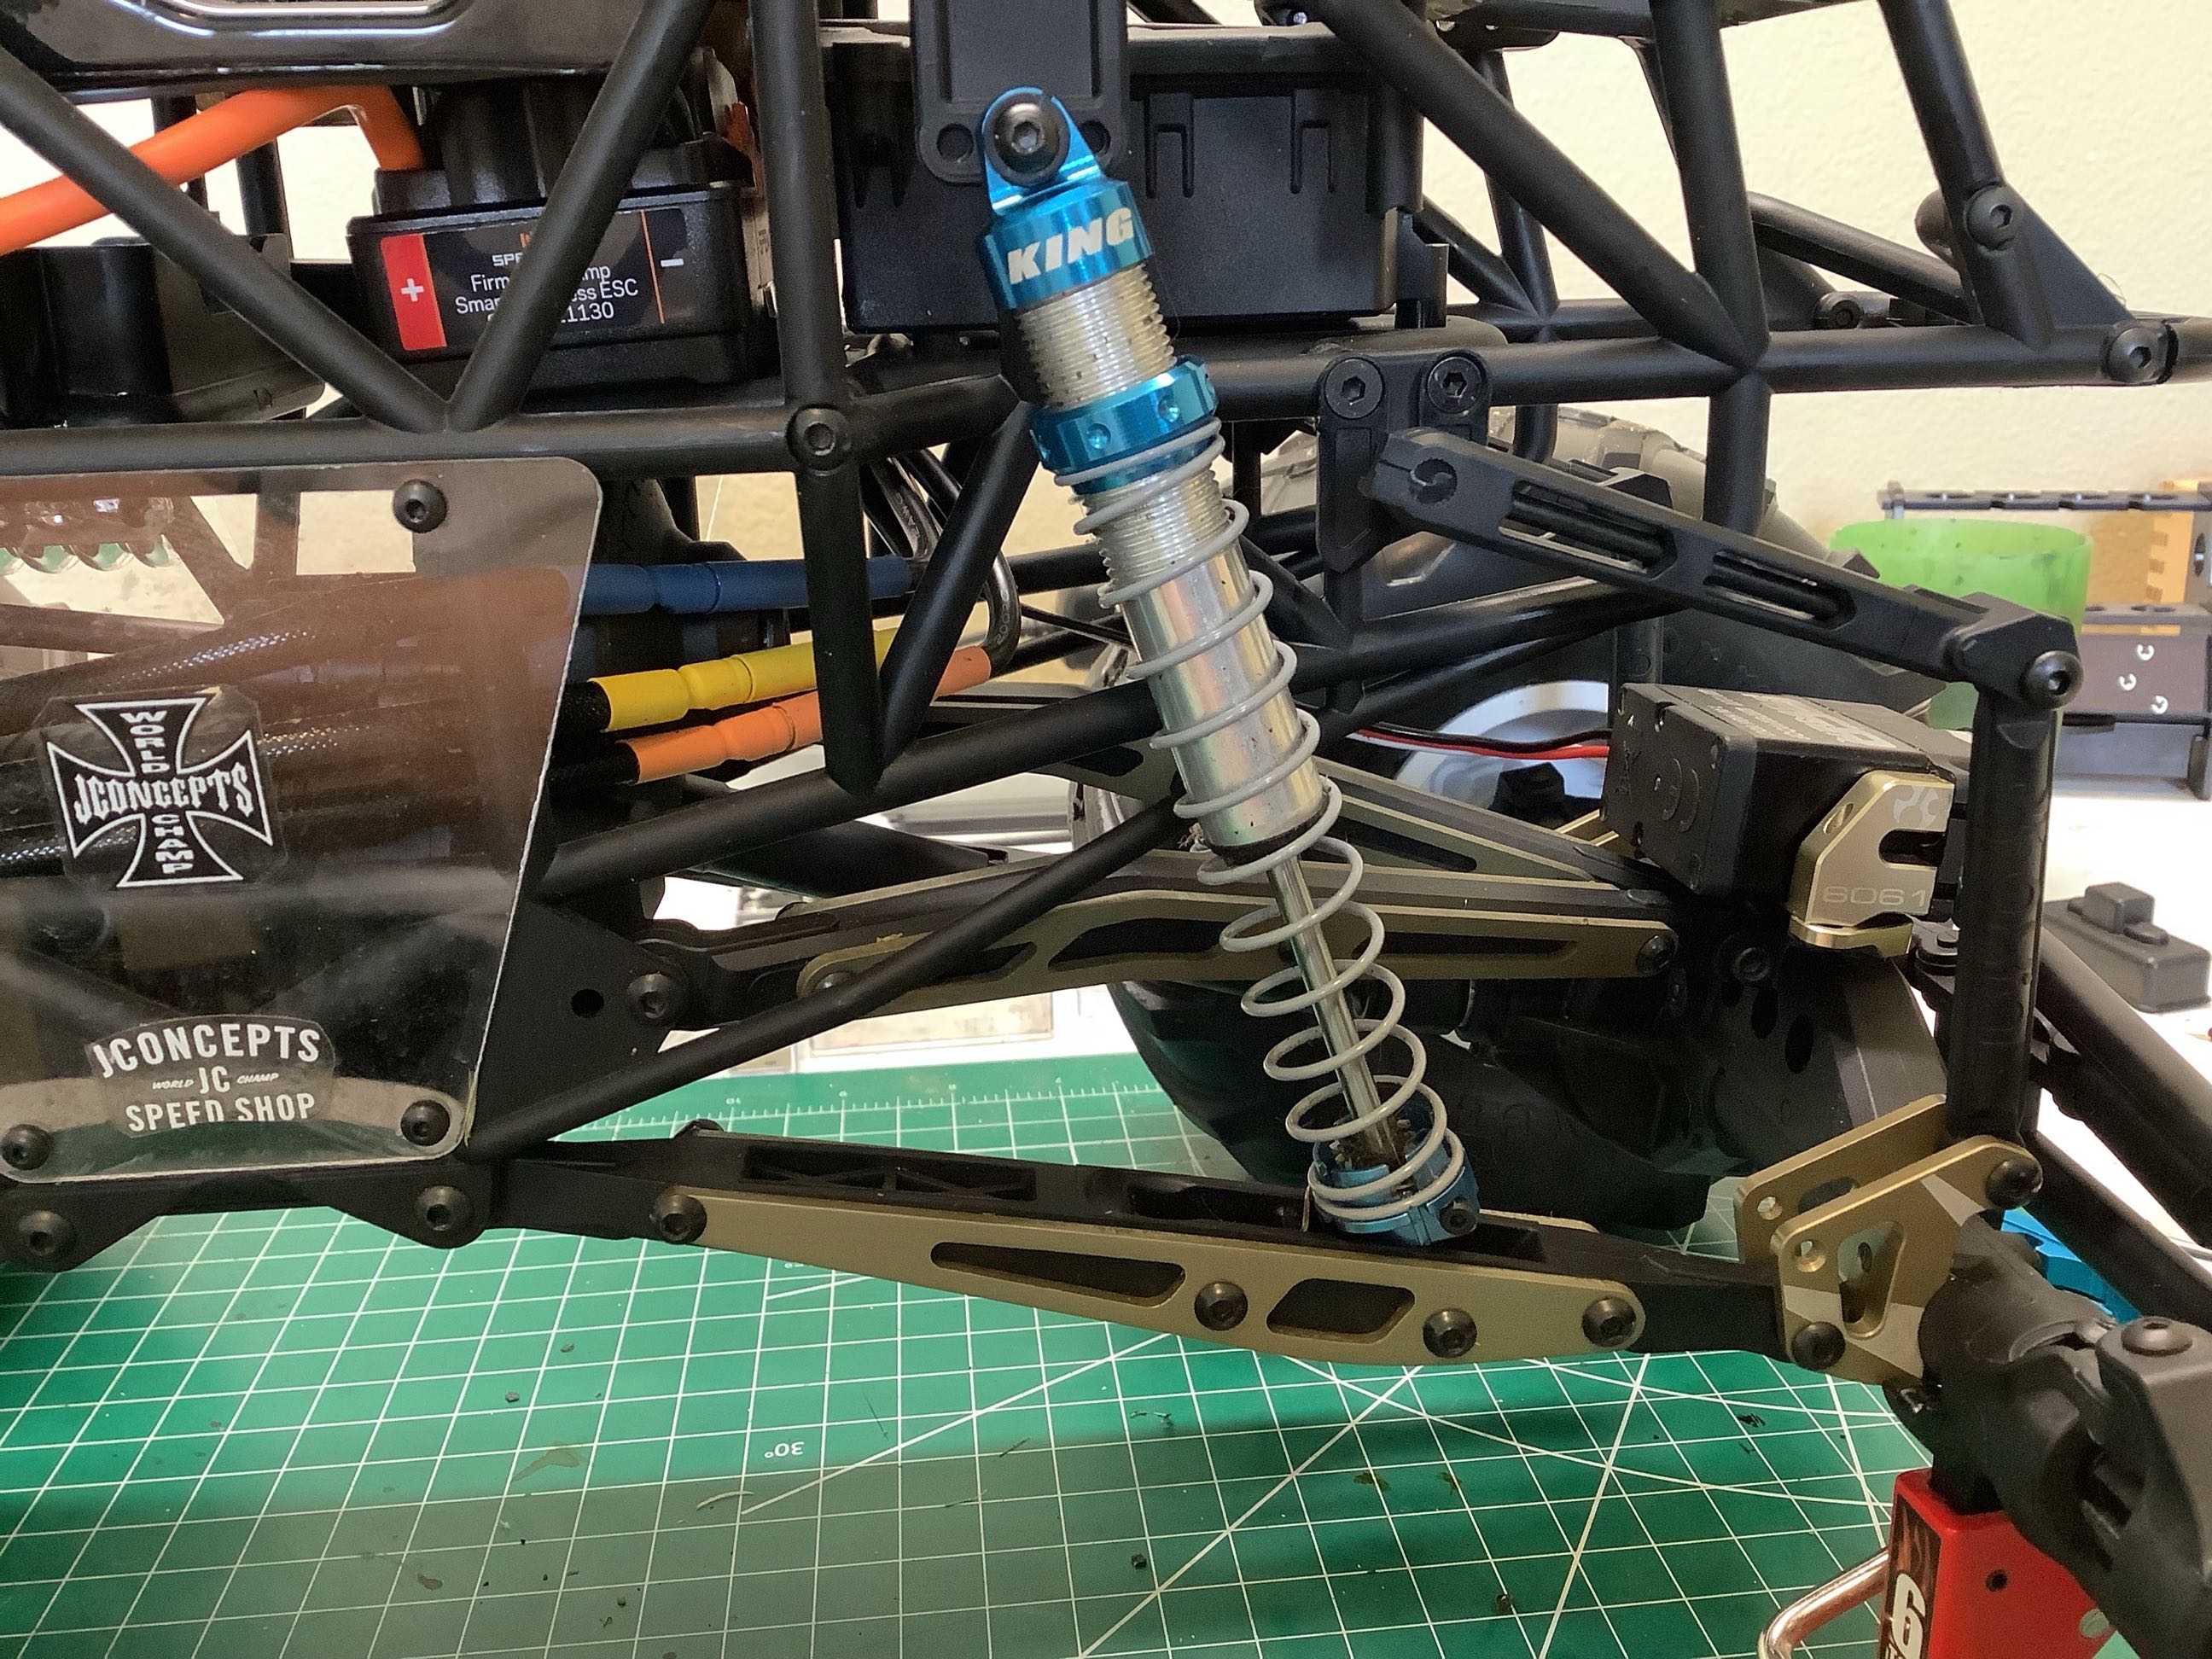
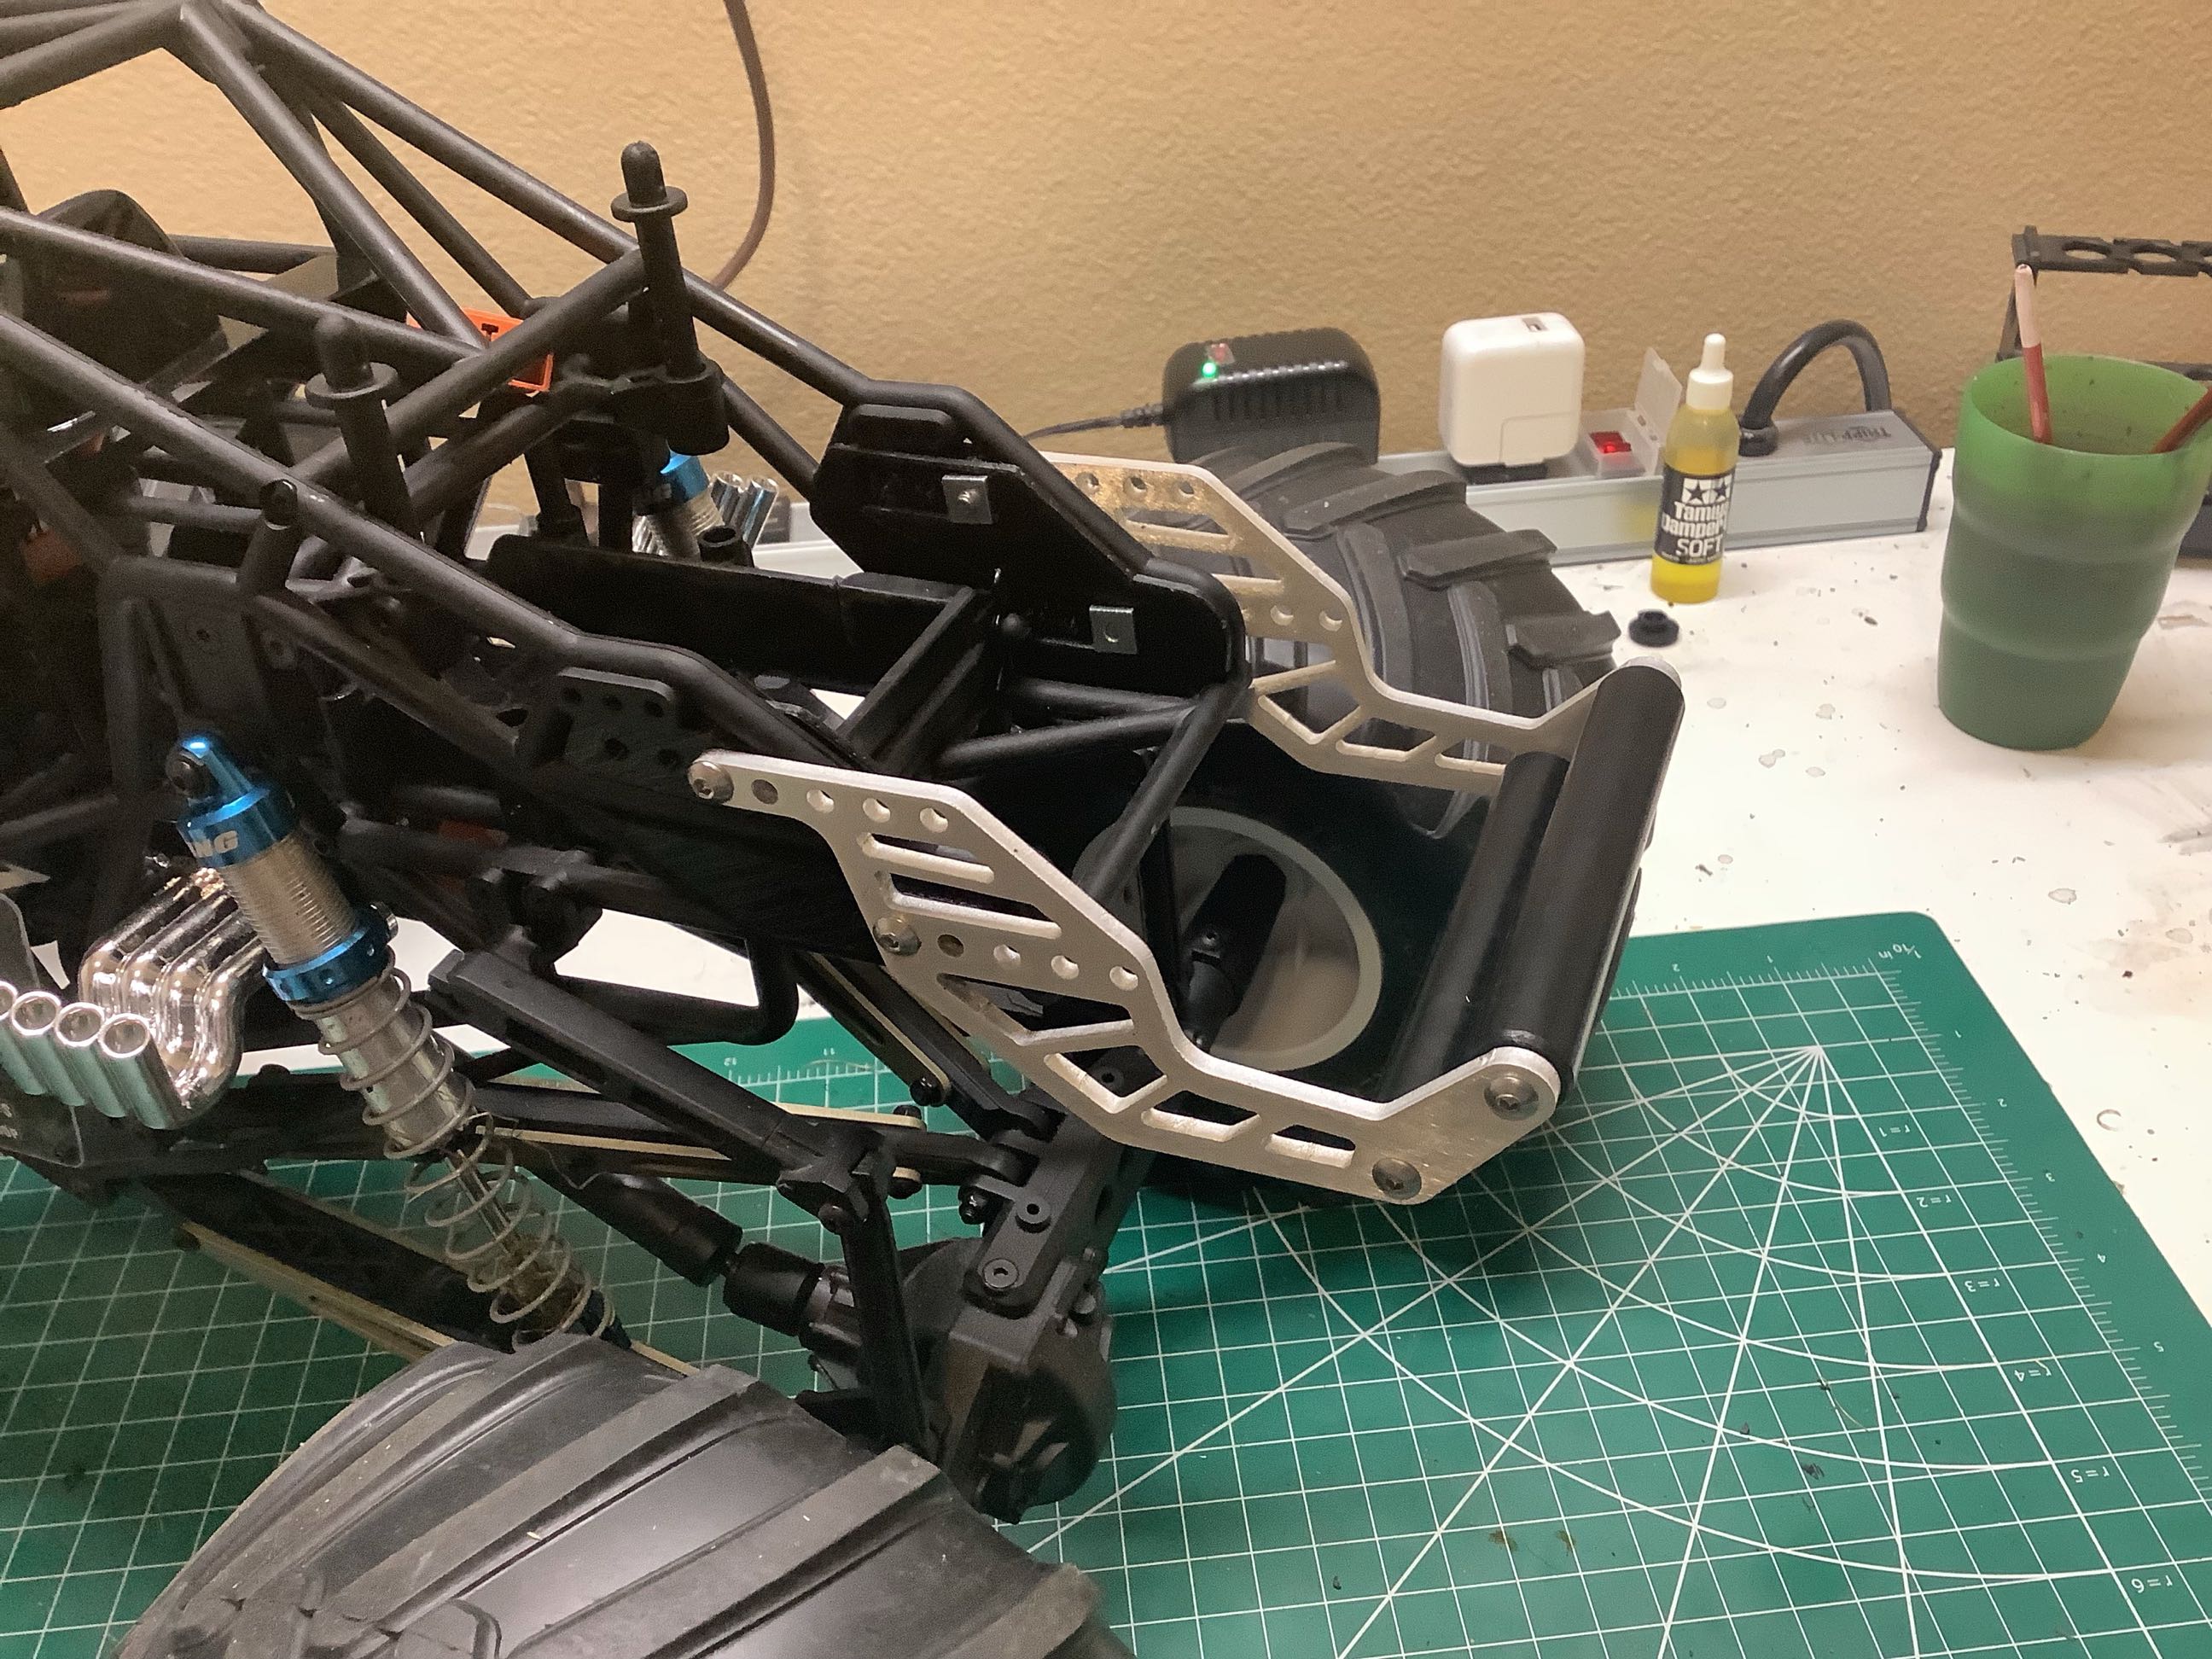
There are a lot of changes shown in this picture (old on left,
new on right). Can you spot them all? First, I added
aluminum link reinforcements to both the upper and lower links. I
also changed out the shock caps and spring collars to look like King
shocks. The brackets which connect the links to the axle have also
been changed to machined aluminum. I've added a sway bar to the
front axle to keep it from rolling over so much when the front end lifts
off the ground. I also added an aluminum servo mount. This
is probably the least necessary of the mods, but I thought it completed
the look. I like the color Axial uses for their anodization.
There are some additional changes at the rear. The springs were
much too soft which resulted in massive body roll under power.
Stock rear springs have a rate of 1.32 lbs/in. I tried swapping
the front springs (2.78 lbs/in) to the rear and adding the maximum
preload and it was still not enough. Body roll was still enough to
cause the body to scrape the tires under power, and now the front end
was way too soft. I moved the stiffer springs back to the front
and looked for options.
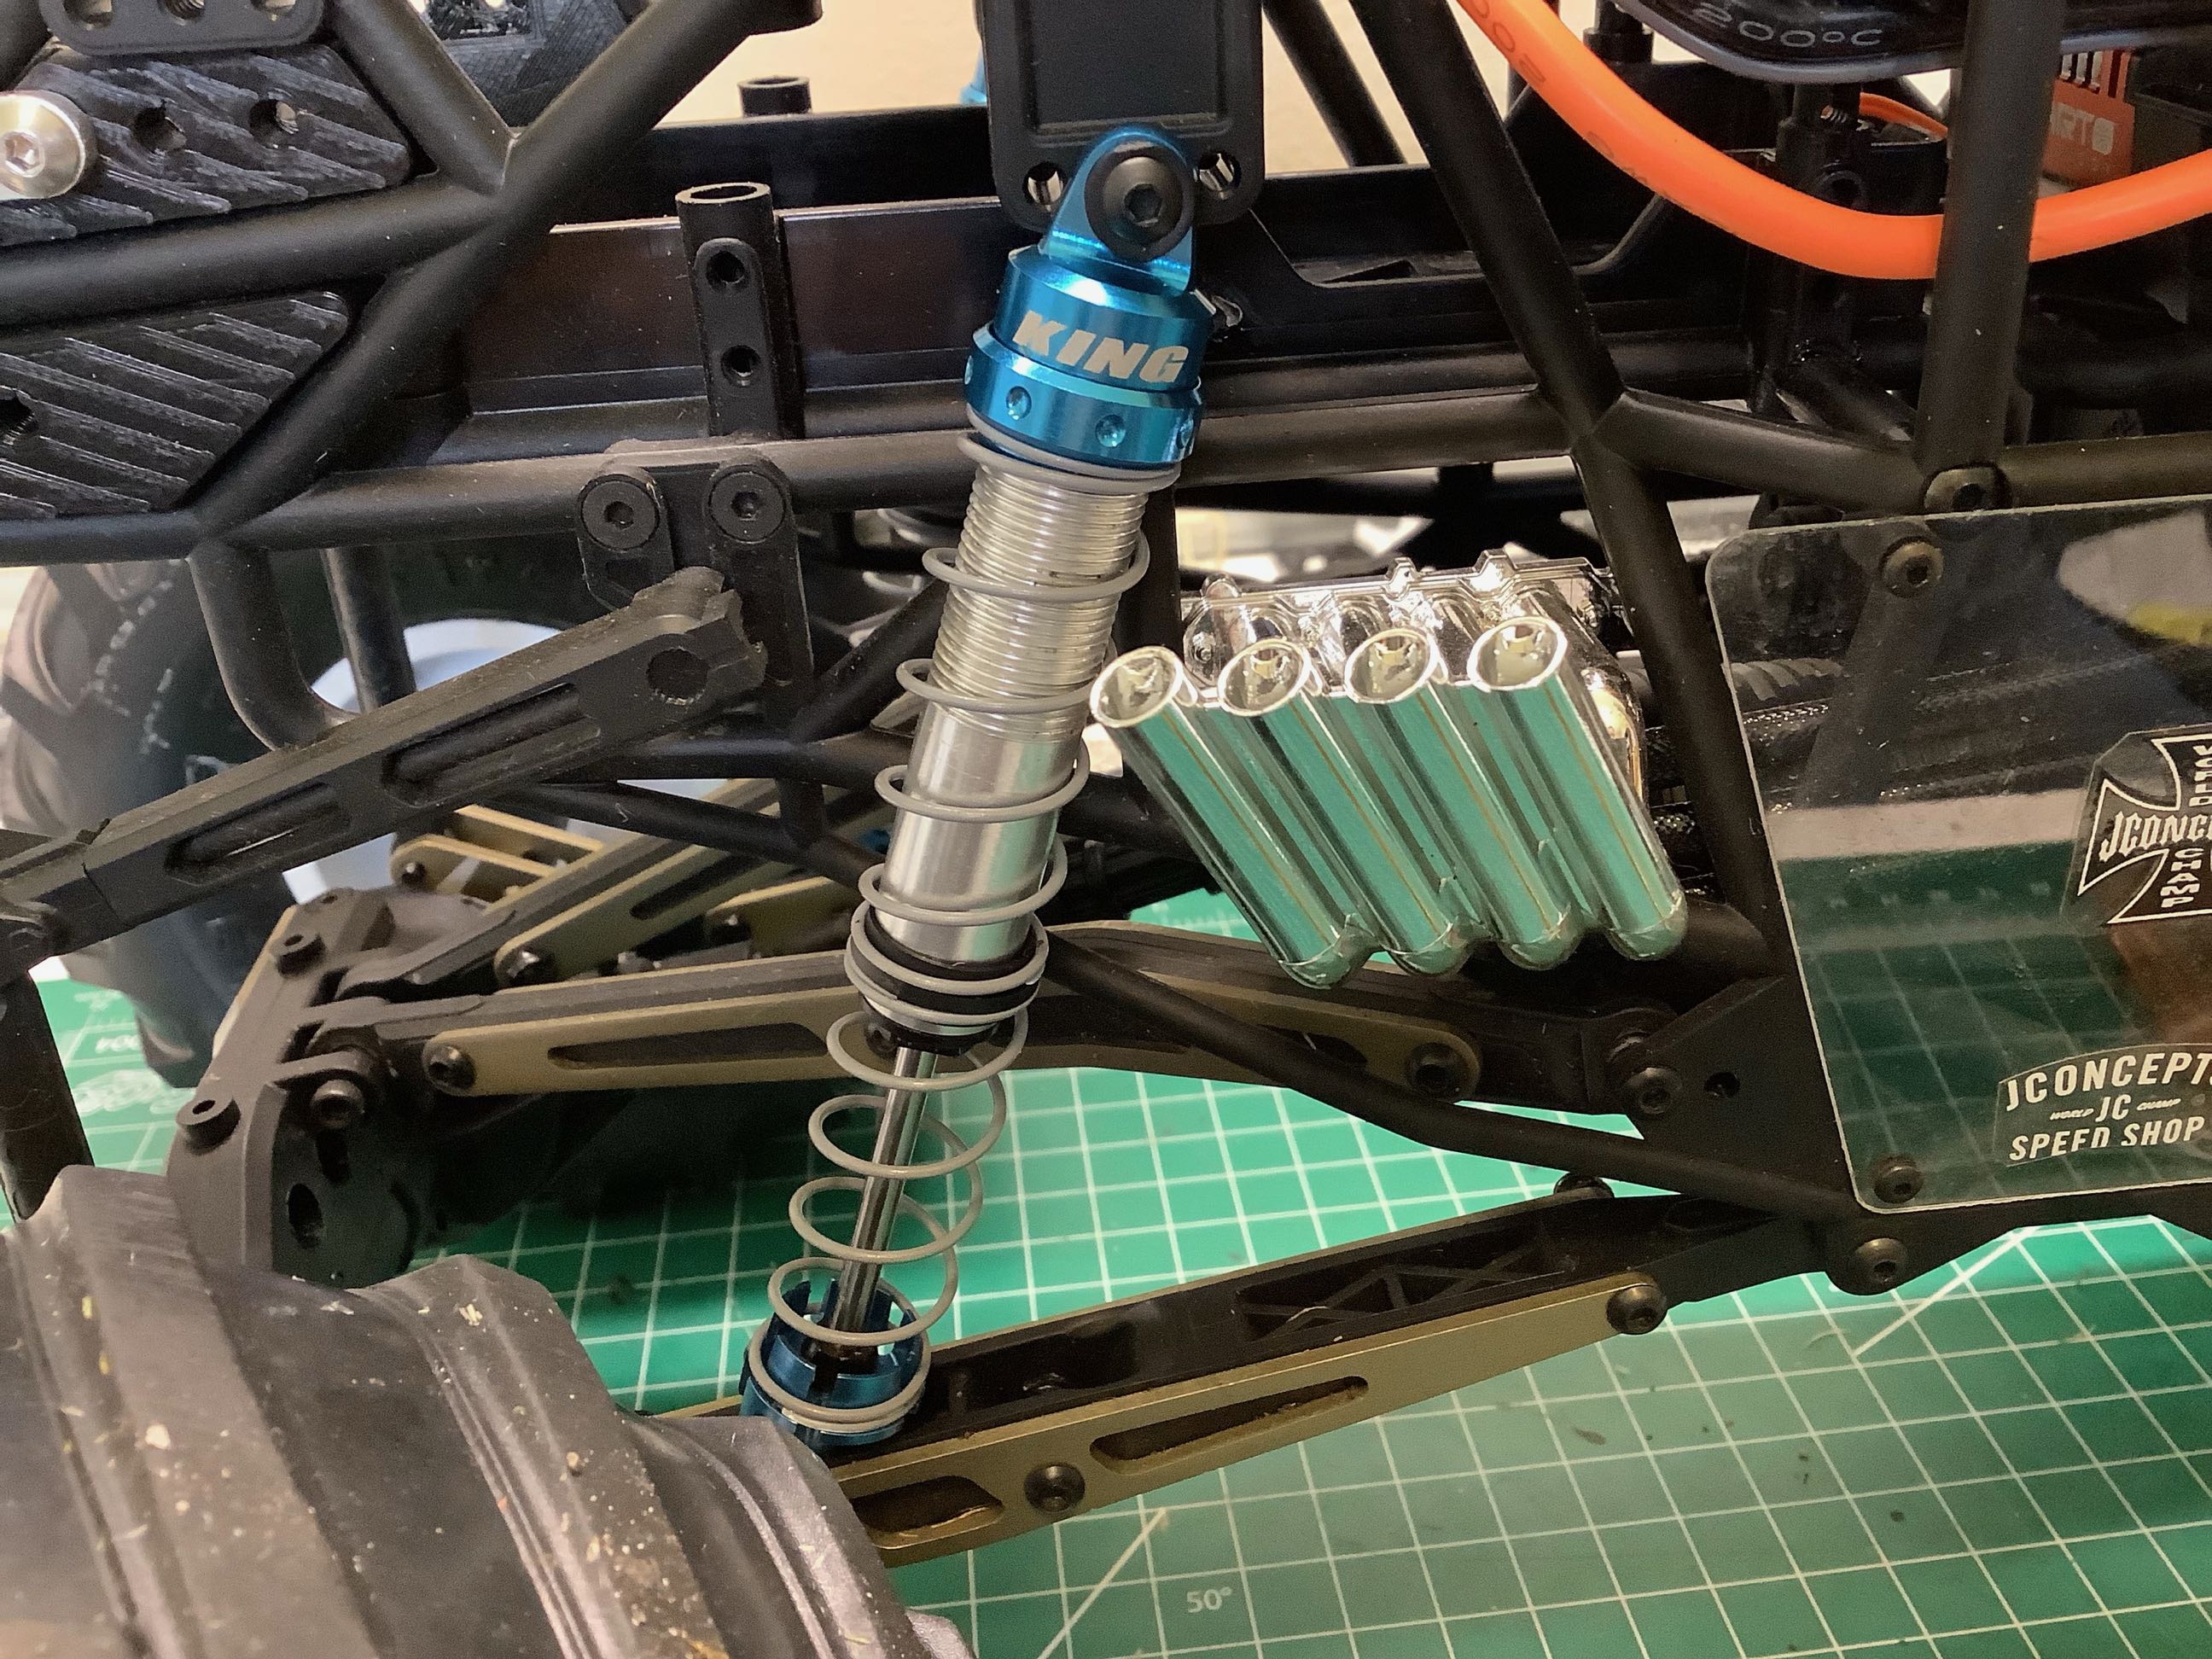
I checked the offerings from Axial, but even the stiffest 90mm
replacements were not much different (3.01 lbs/in). Instead I
decided to go for some 54mm 3.4 lbs/in springs. By doubling them
up they'll be a little long but that allows me to back off on the
preload. The springs are shown installed in series in the
picture. This worked out very well. The central guiding
collar was actually a spare part in the kit so I didn't need to buy
them.
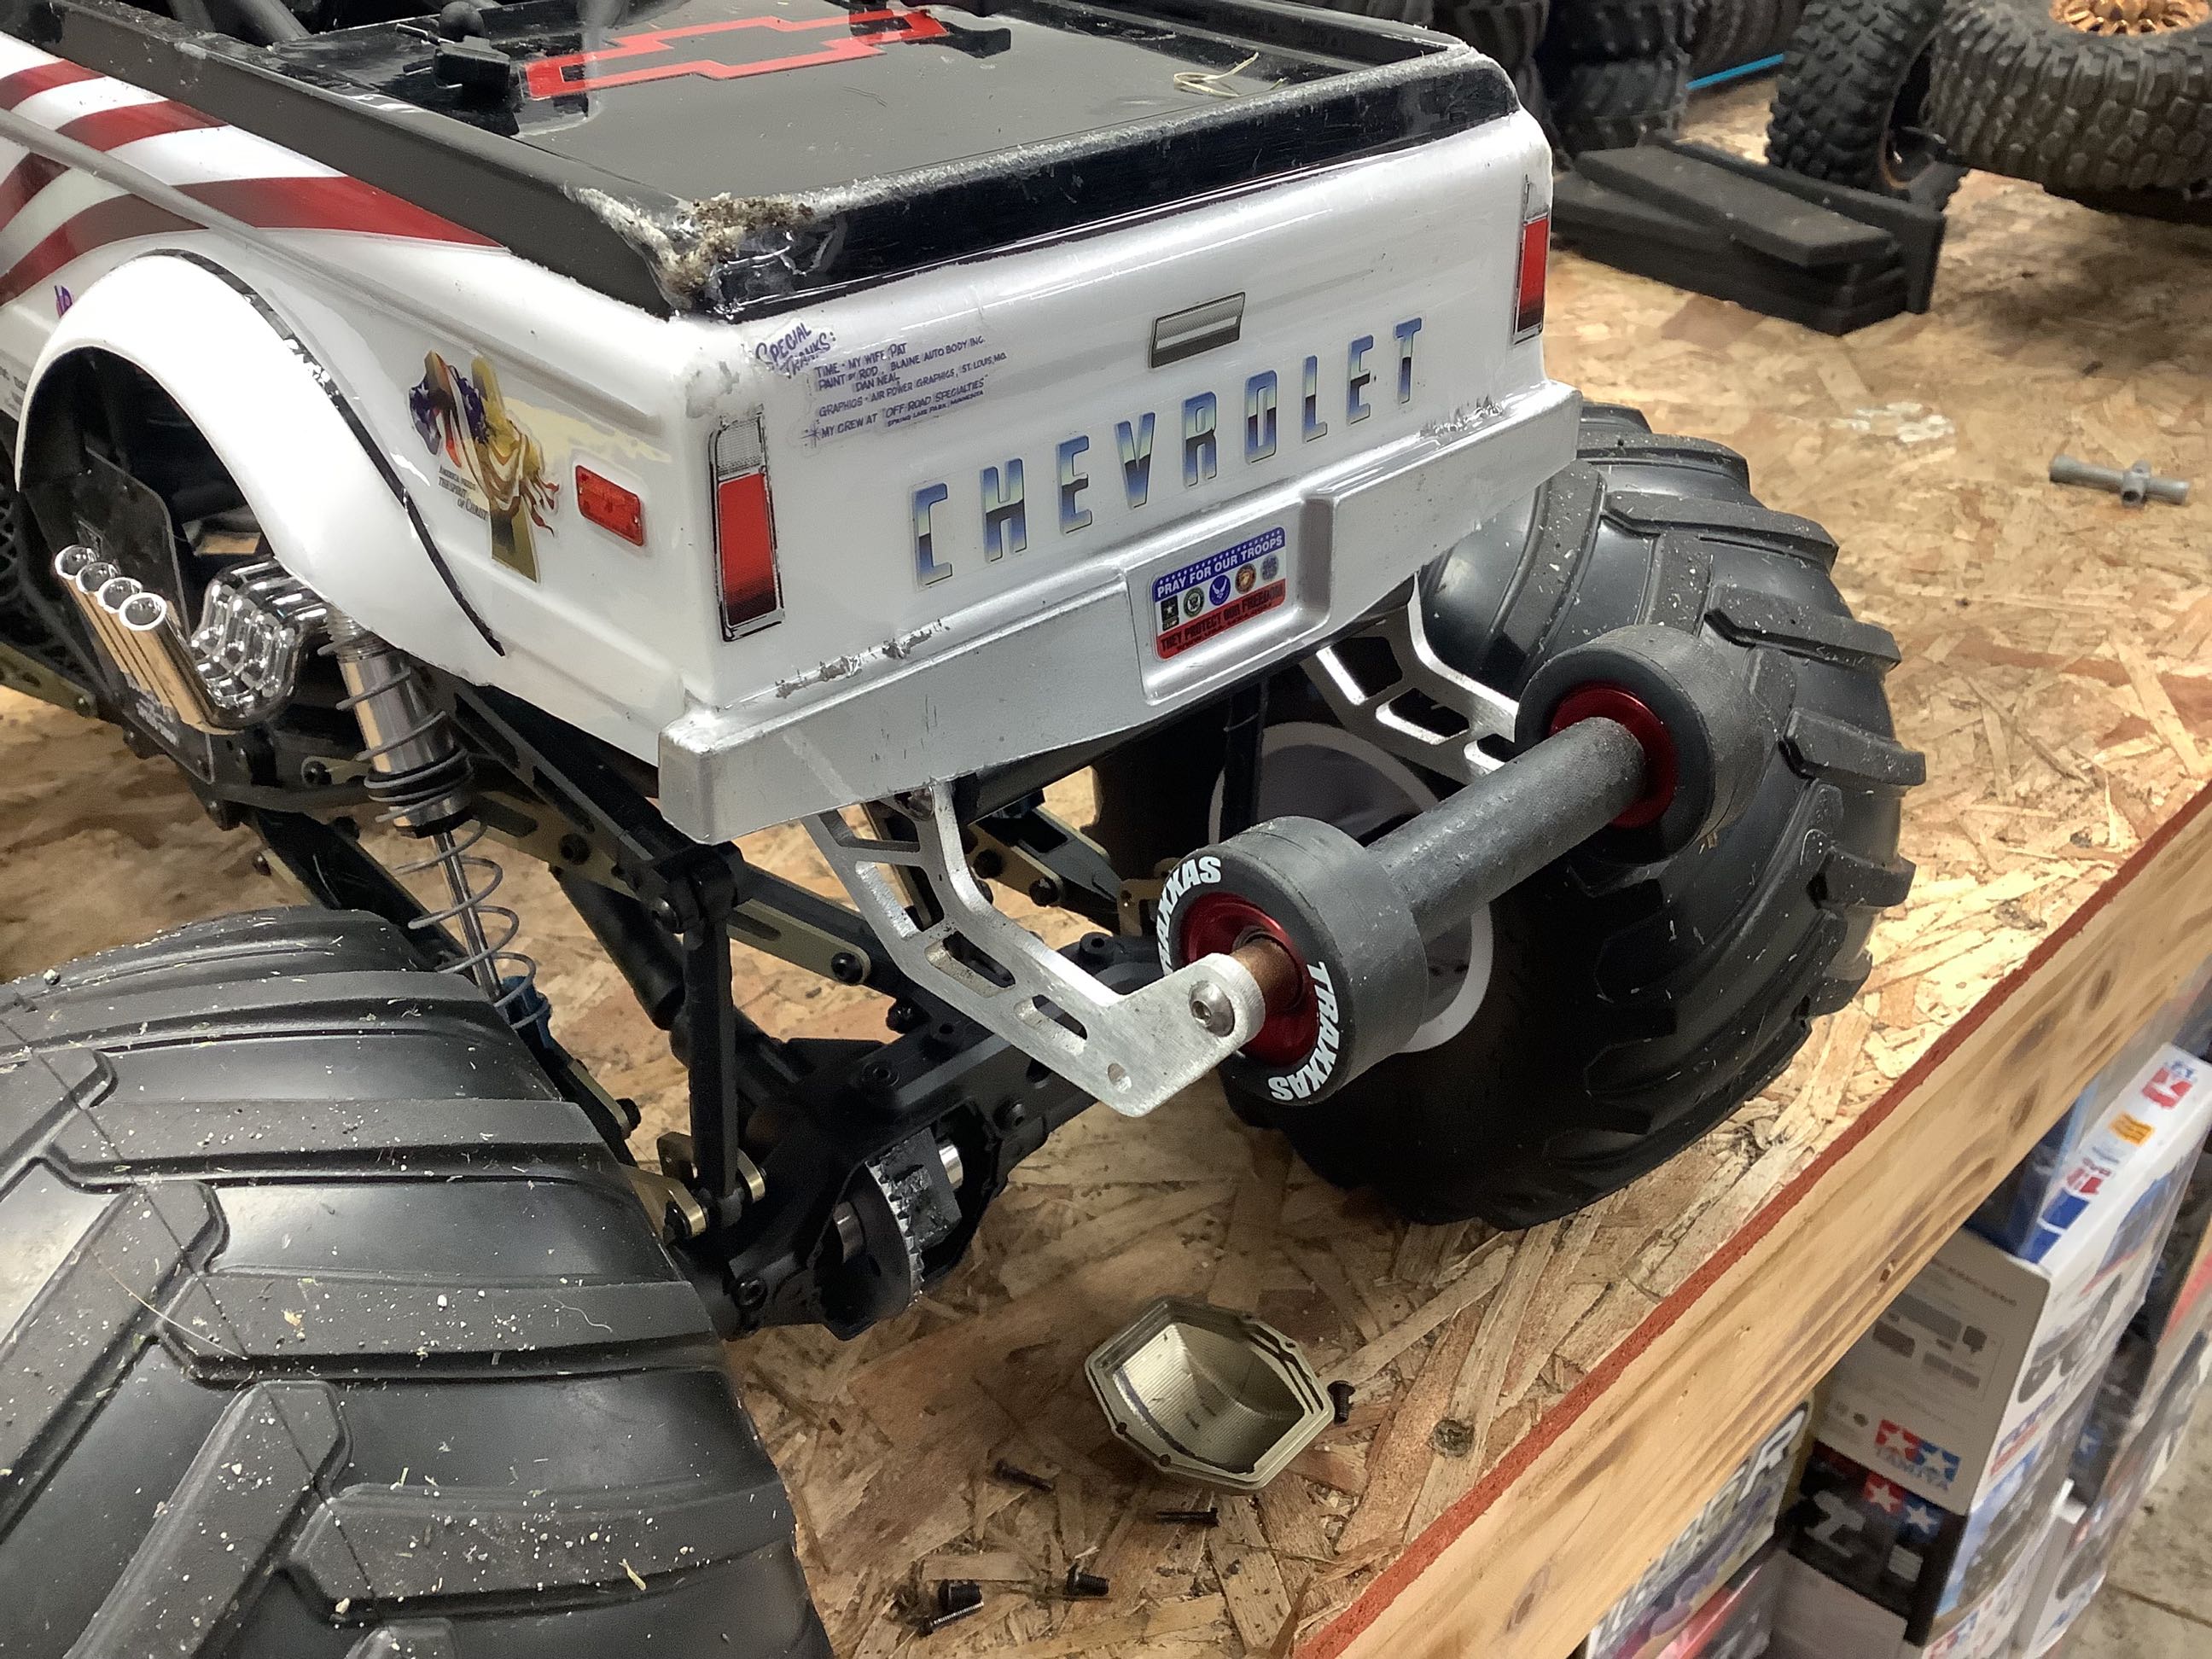
I destroyed the first body immediately by doing wheelies and catching
the rear bumper on the ground. I found this very nice wheelie bar
on eBay which bolts right on. Sadly, it is really designed to be
used in conjunction with the stock tires. With my much larger
tires, it is not far enough back so the truck lifts further than I'd
like and is still susceptible to flipping over. It's still an
improvement though.
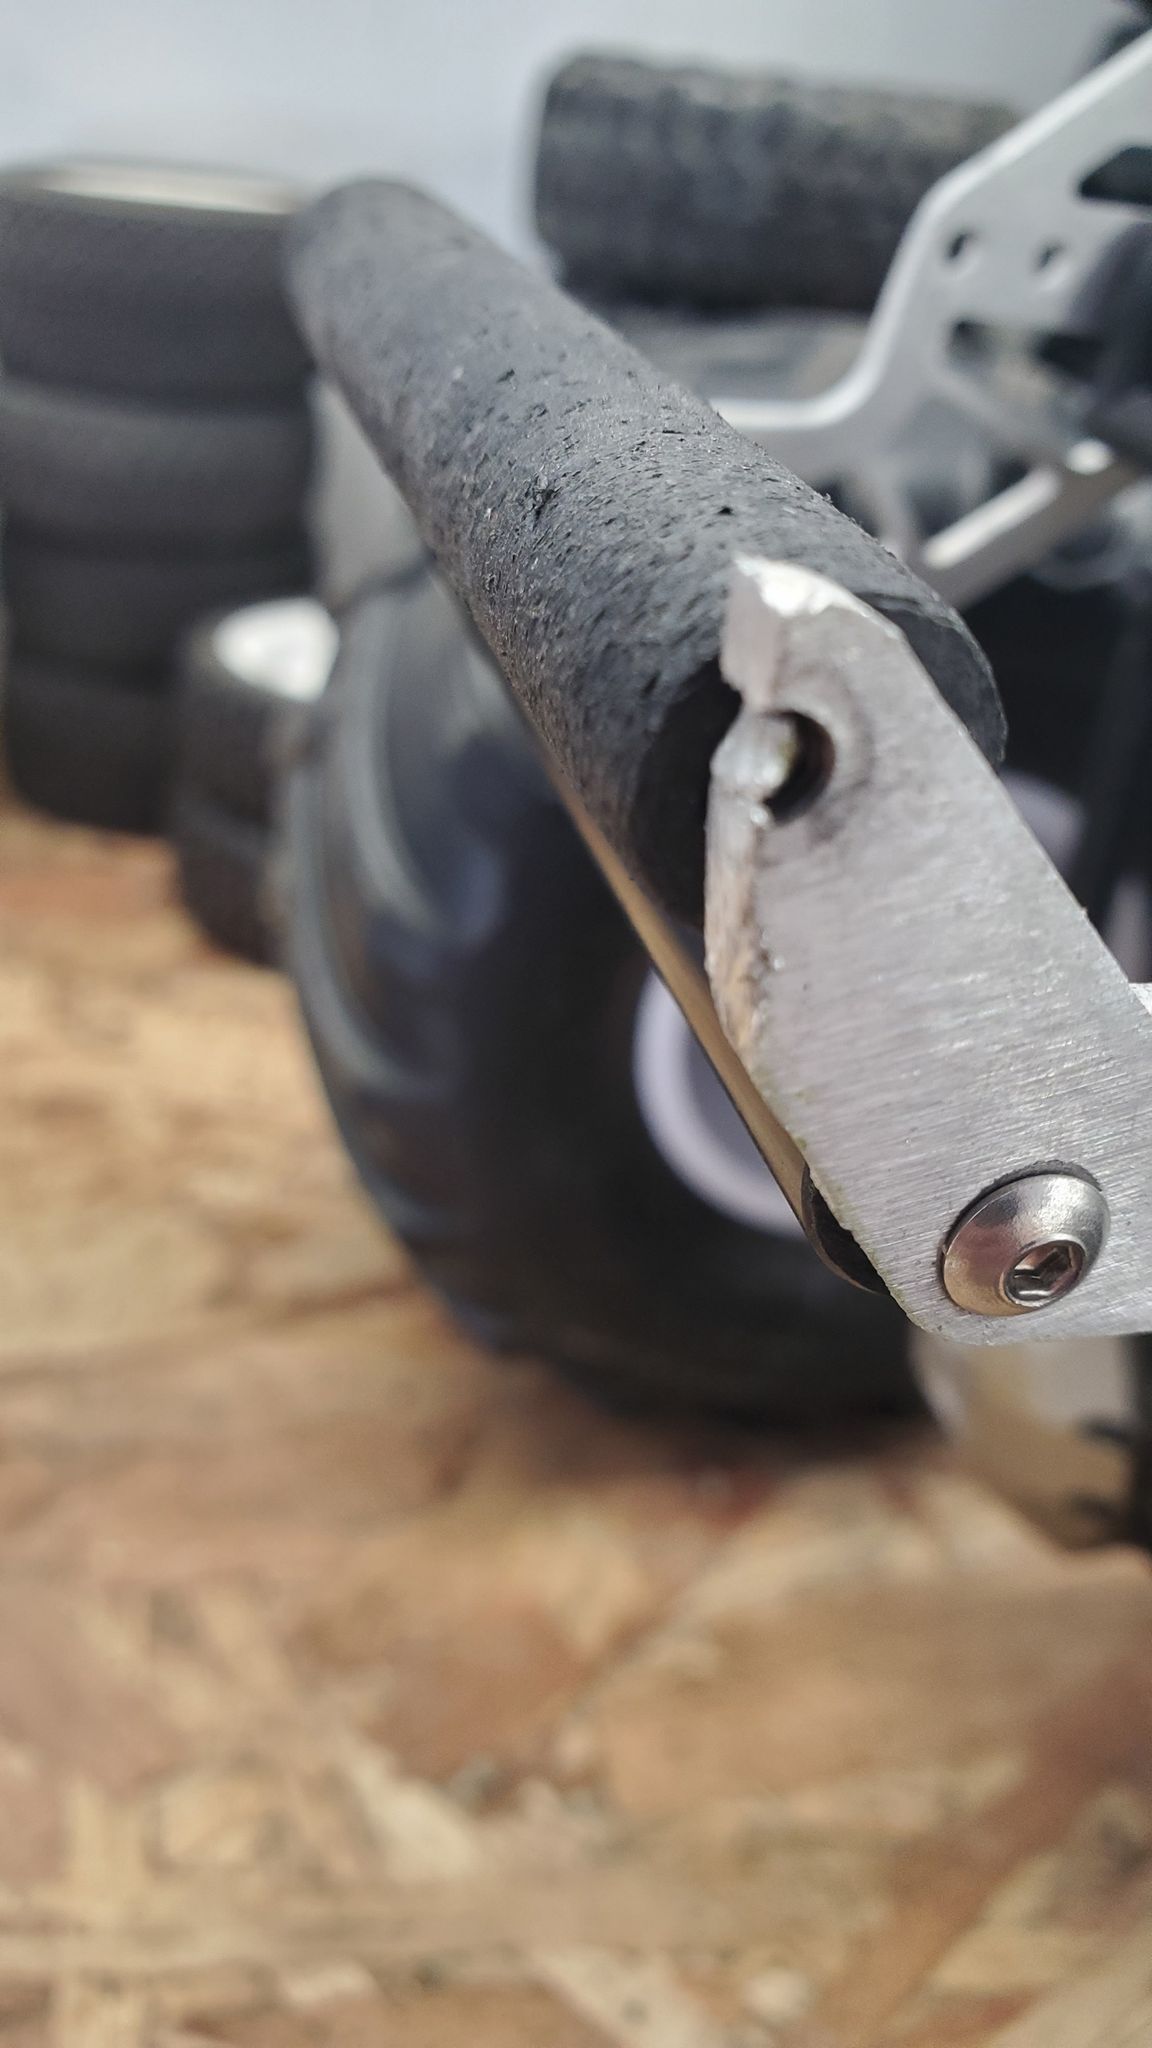
I checked the wheelie bar after the first run and somehow this happened
(see image on left). It shouldn't be possible for the bracket to
wear since the roller stands proud of it, but it went ahead and happened
anyway. I replaced the brackets, then decided to solve the
problem by using larger diameter rollers. I found some nice
wheelie bar rollers from Traxxas but they were out of stock for months
so I had to wait a long time. Once I finally got them, the next
issue was that the wheelie bar used Imperial units while the bearings on
the wheels were metric. I had to use my drill press to oversize
the stopped holes in the aluminum wheels and install 1/4" ID
bearings. It all fit well enough once I got it all modified and
installed. Then I tried doing some wheelies and immediately
stripped out the rear differential gears (the picture on the right shows
the rear diff cover off while I was investigating). Sigh. I
need to rethink this model.
©2021 Eric Albrecht