Axial SMT10 Project
Page 2: Body Assembly
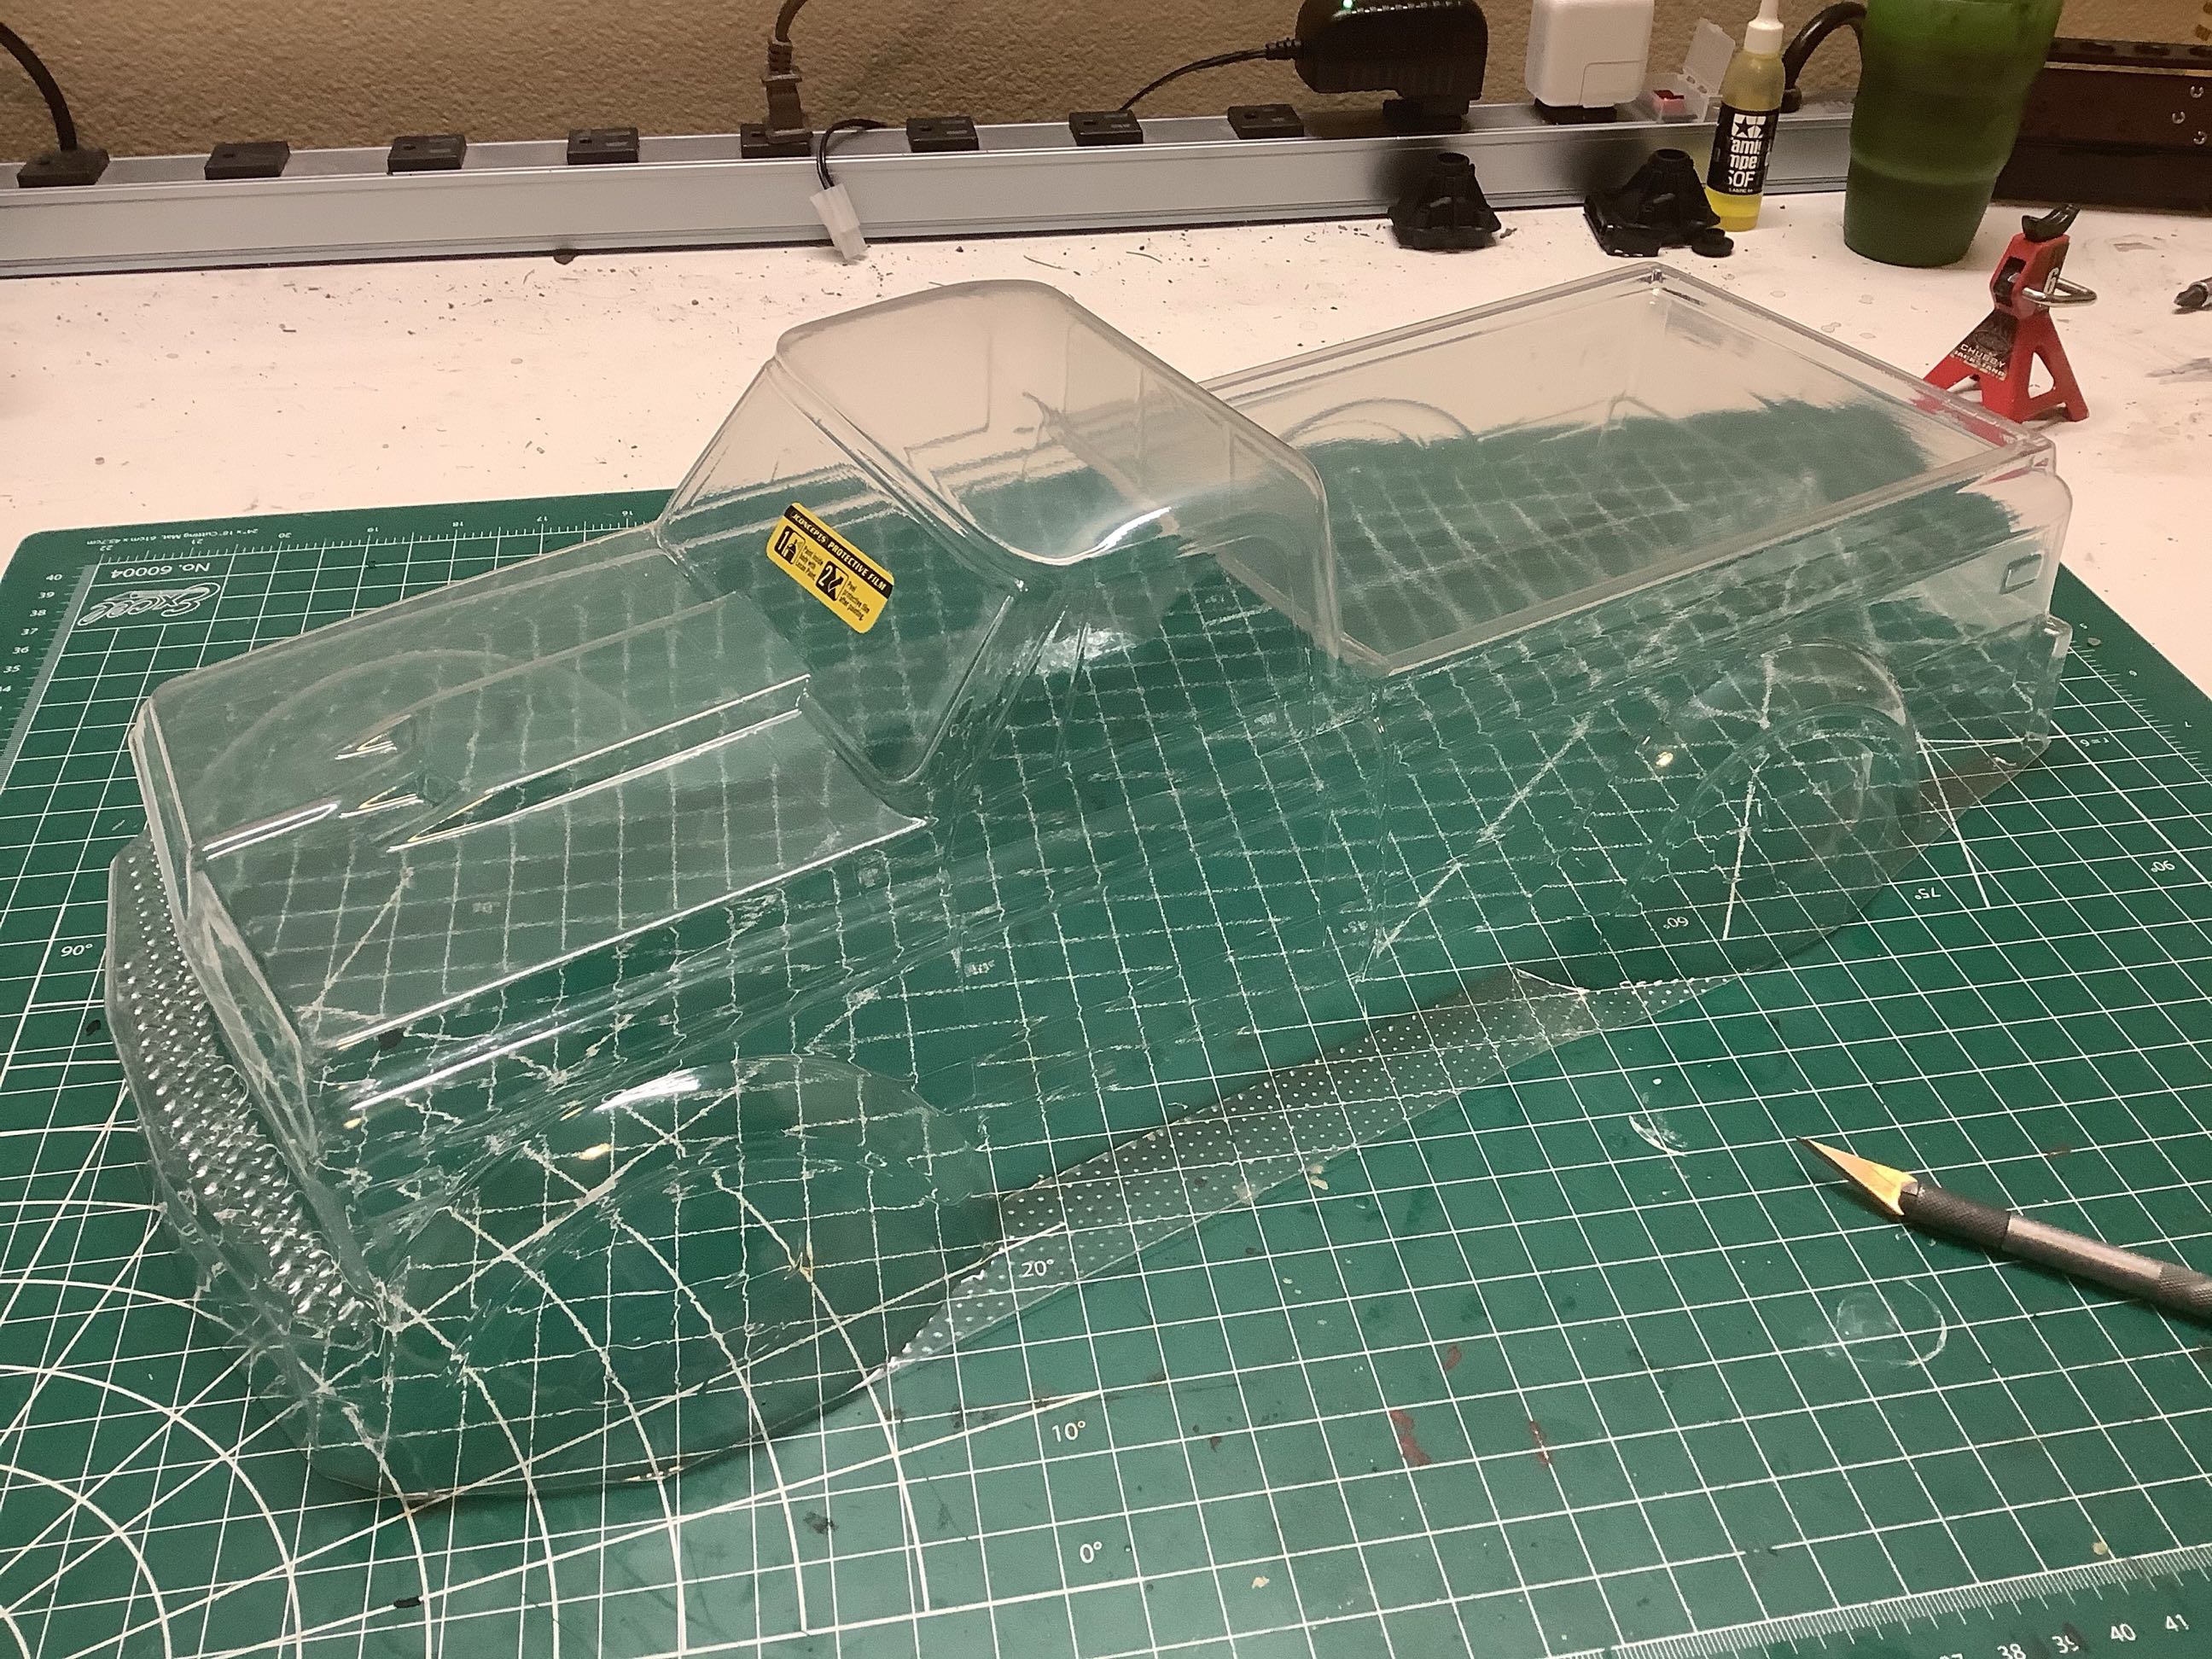
Body 1:
Here is the body as it came out of the package. The first thing I did was trim it along the lines as shown.
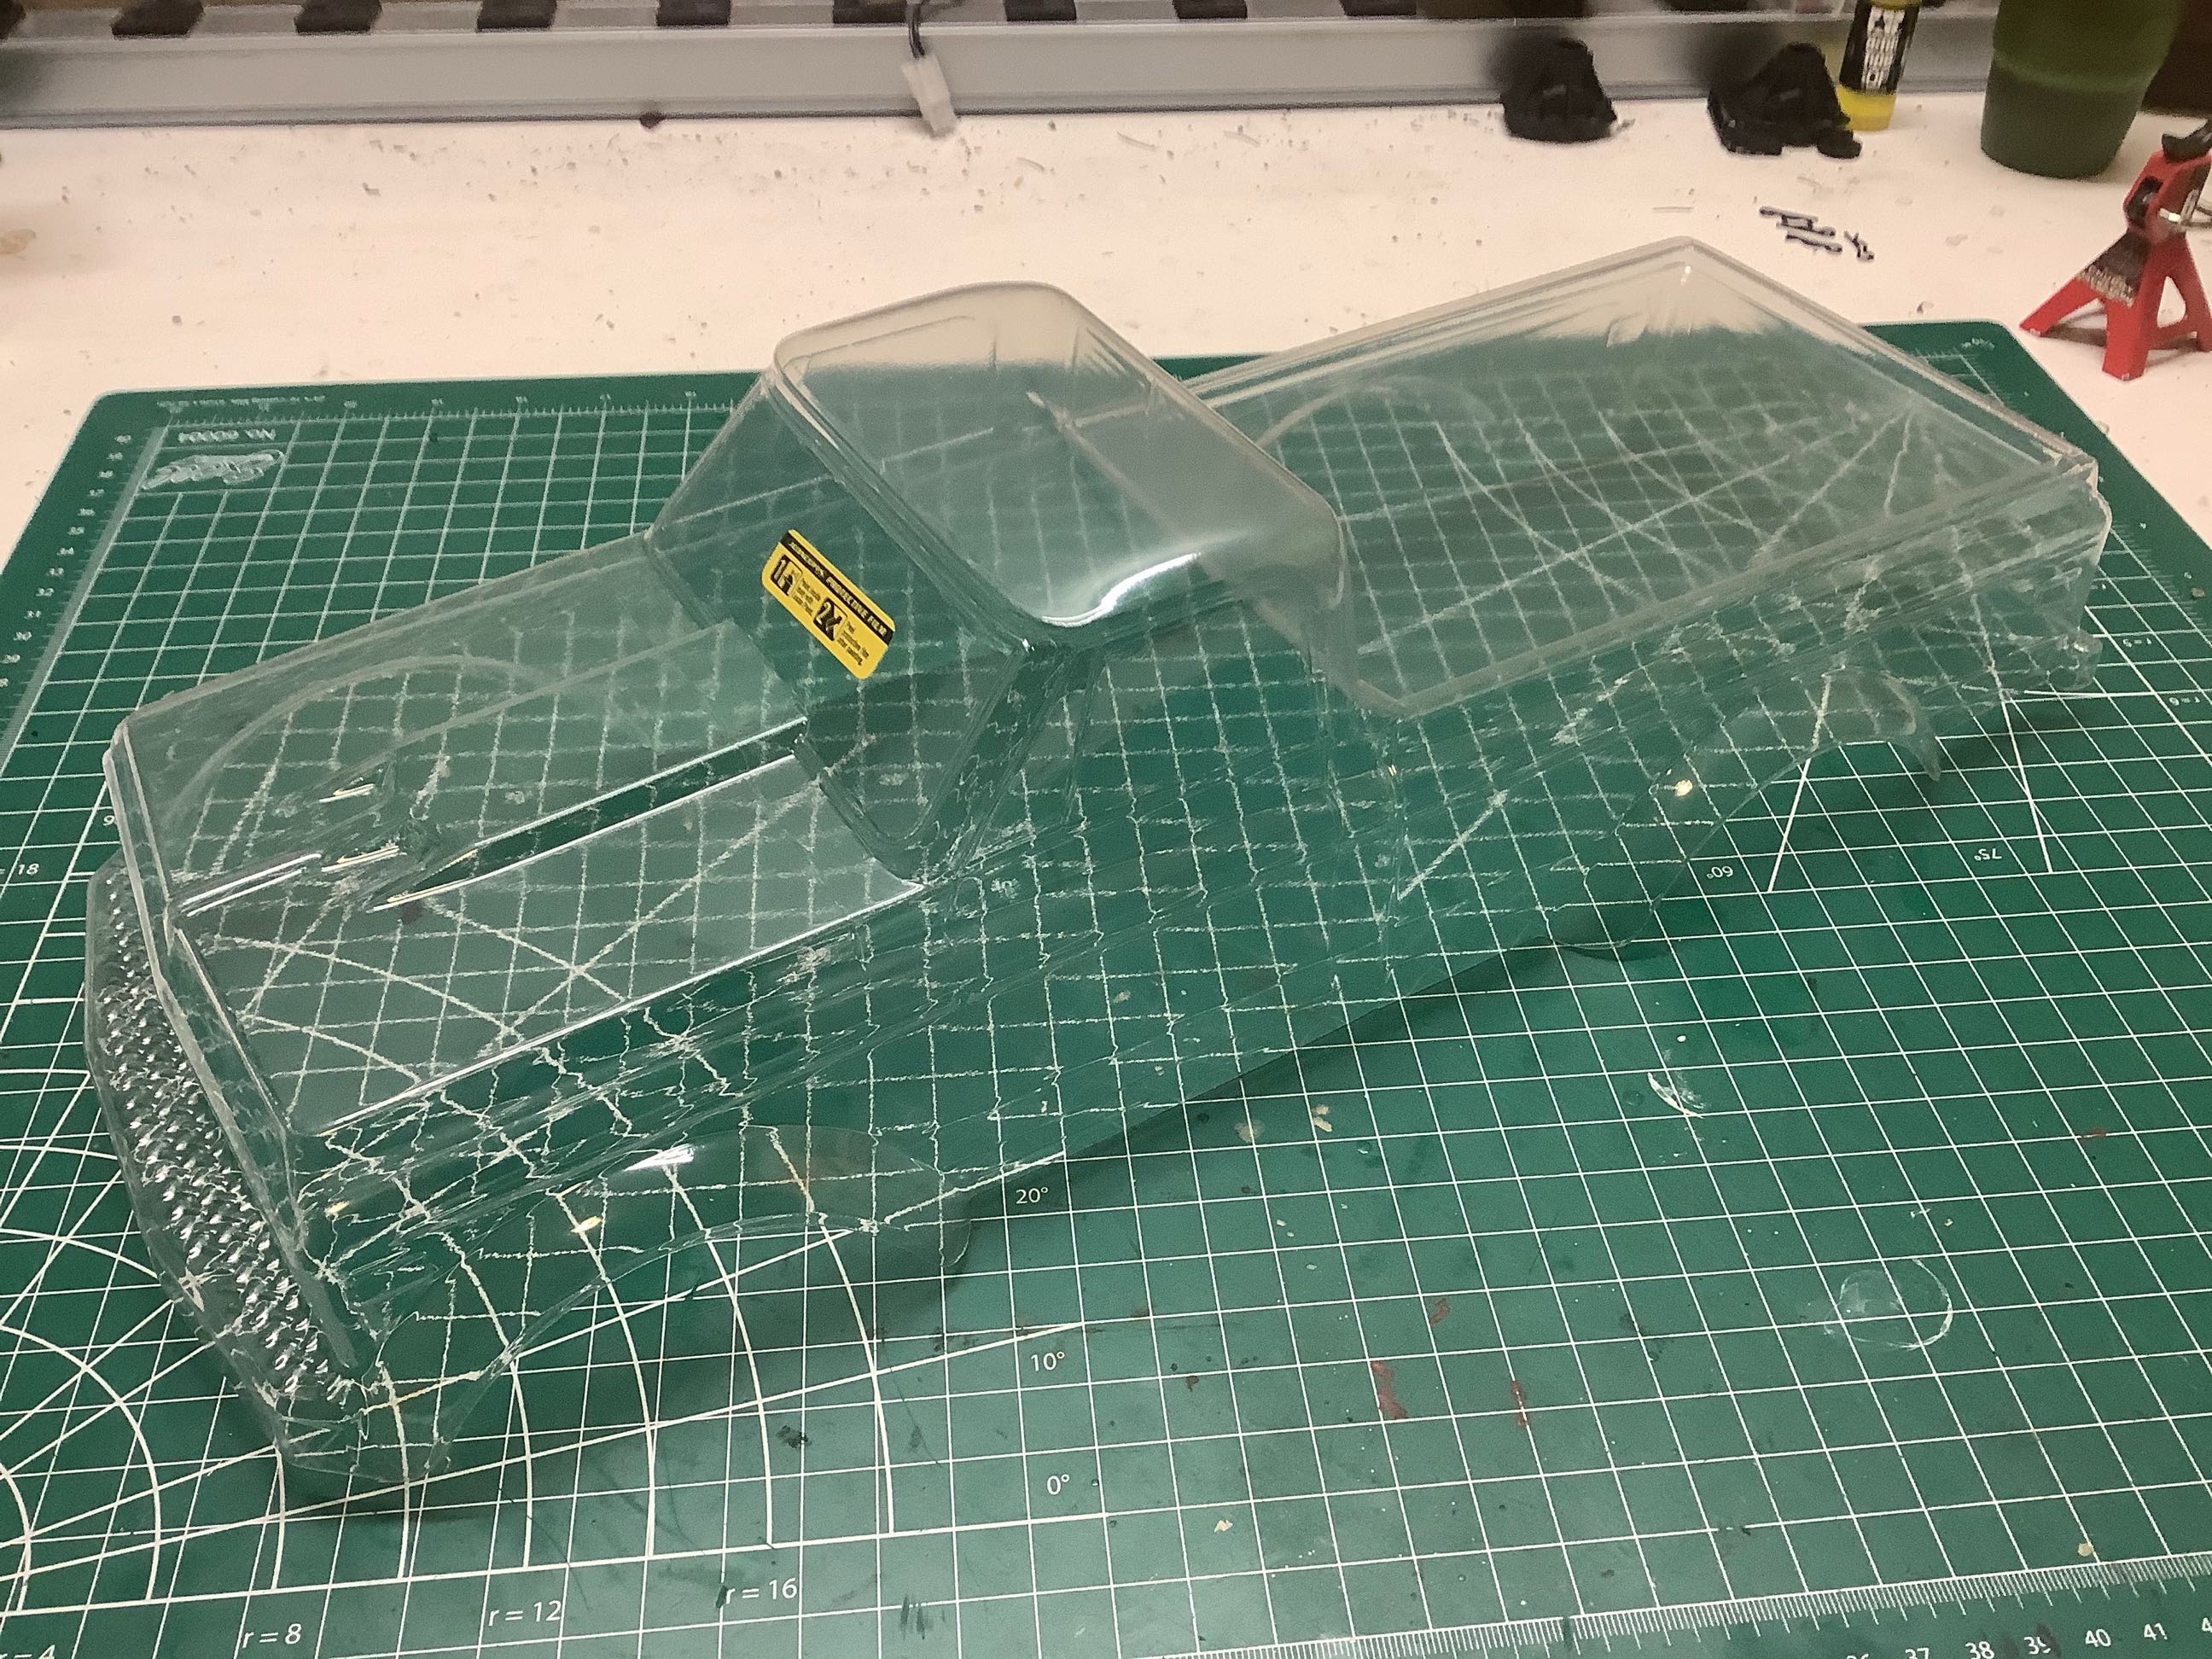
It didn't take long to figure out that this body is not right for this
chassis at all. First of all, the chassis wheelbase is far
too long for scale which means the wheel arches don't link up at
all. Secondly, the position of the driver roll bar doesn't align
with the cab of the truck. I had to trim away a big section of the
body as shown on the right. The good news is that the real truck
does something similar with the roll bar (as seen in the photo on the
front page). The bad news is that this cutout badly weakened the
body and accelerated the inevitable cracking of it.
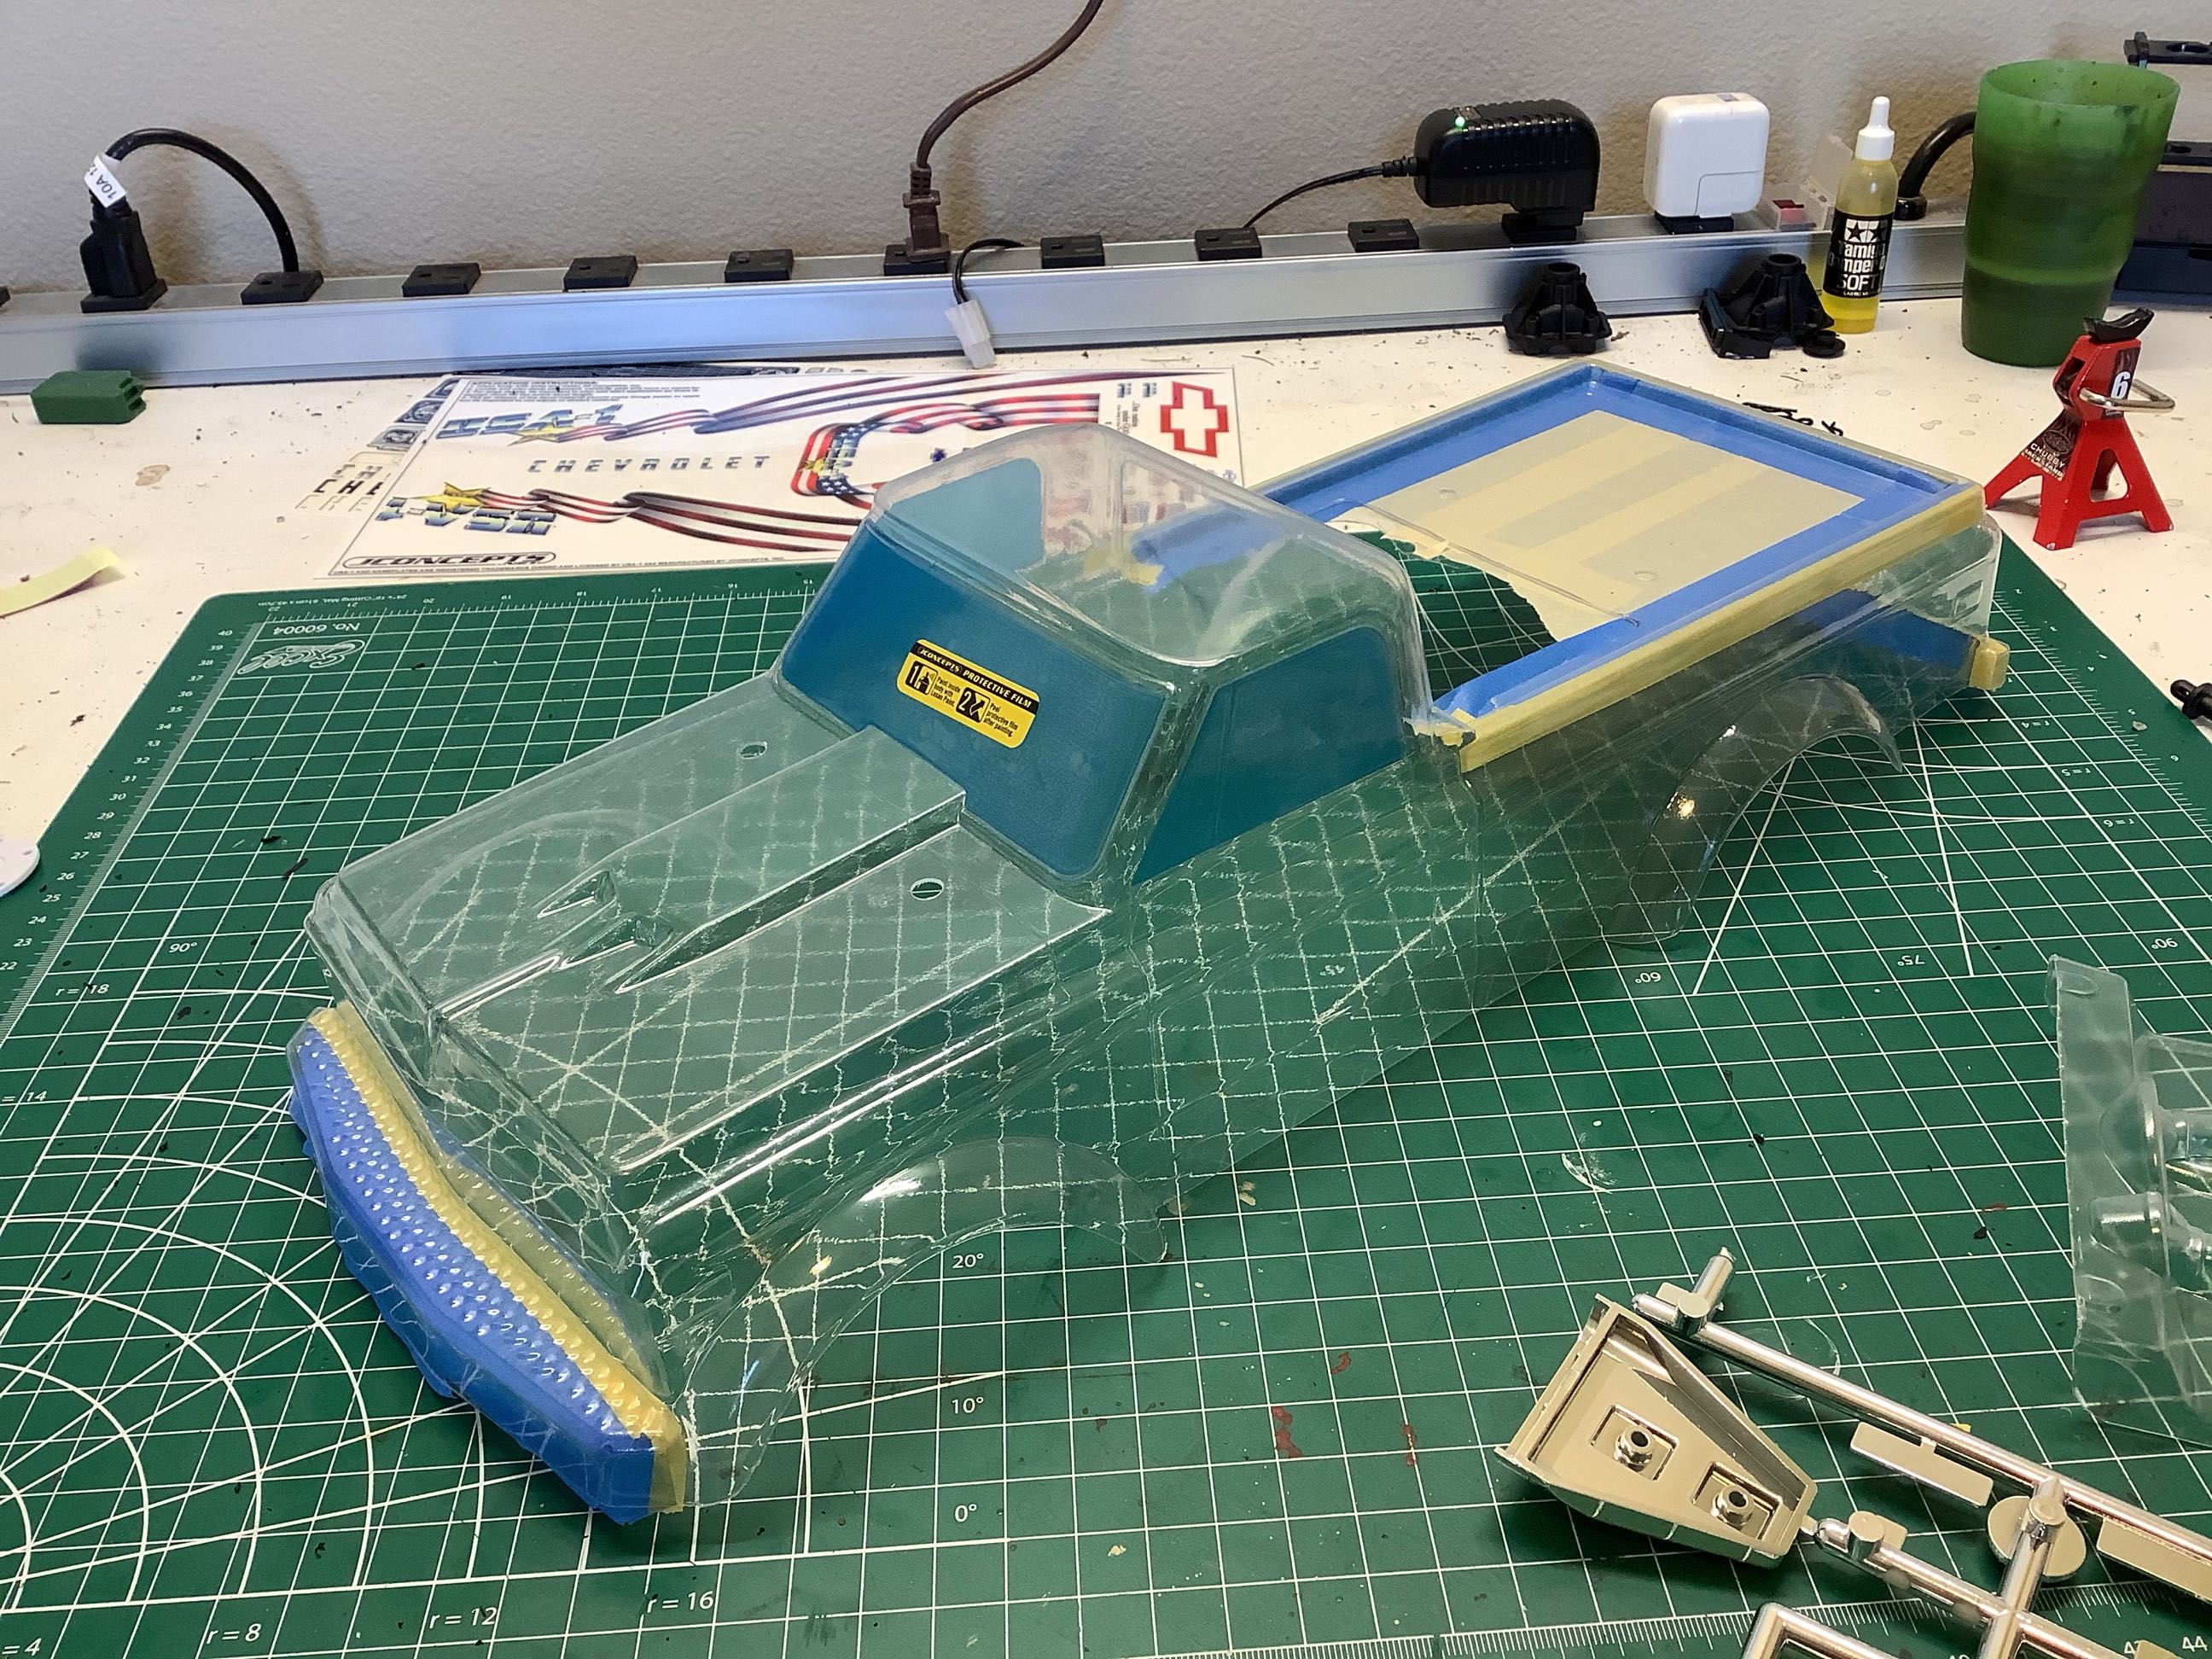
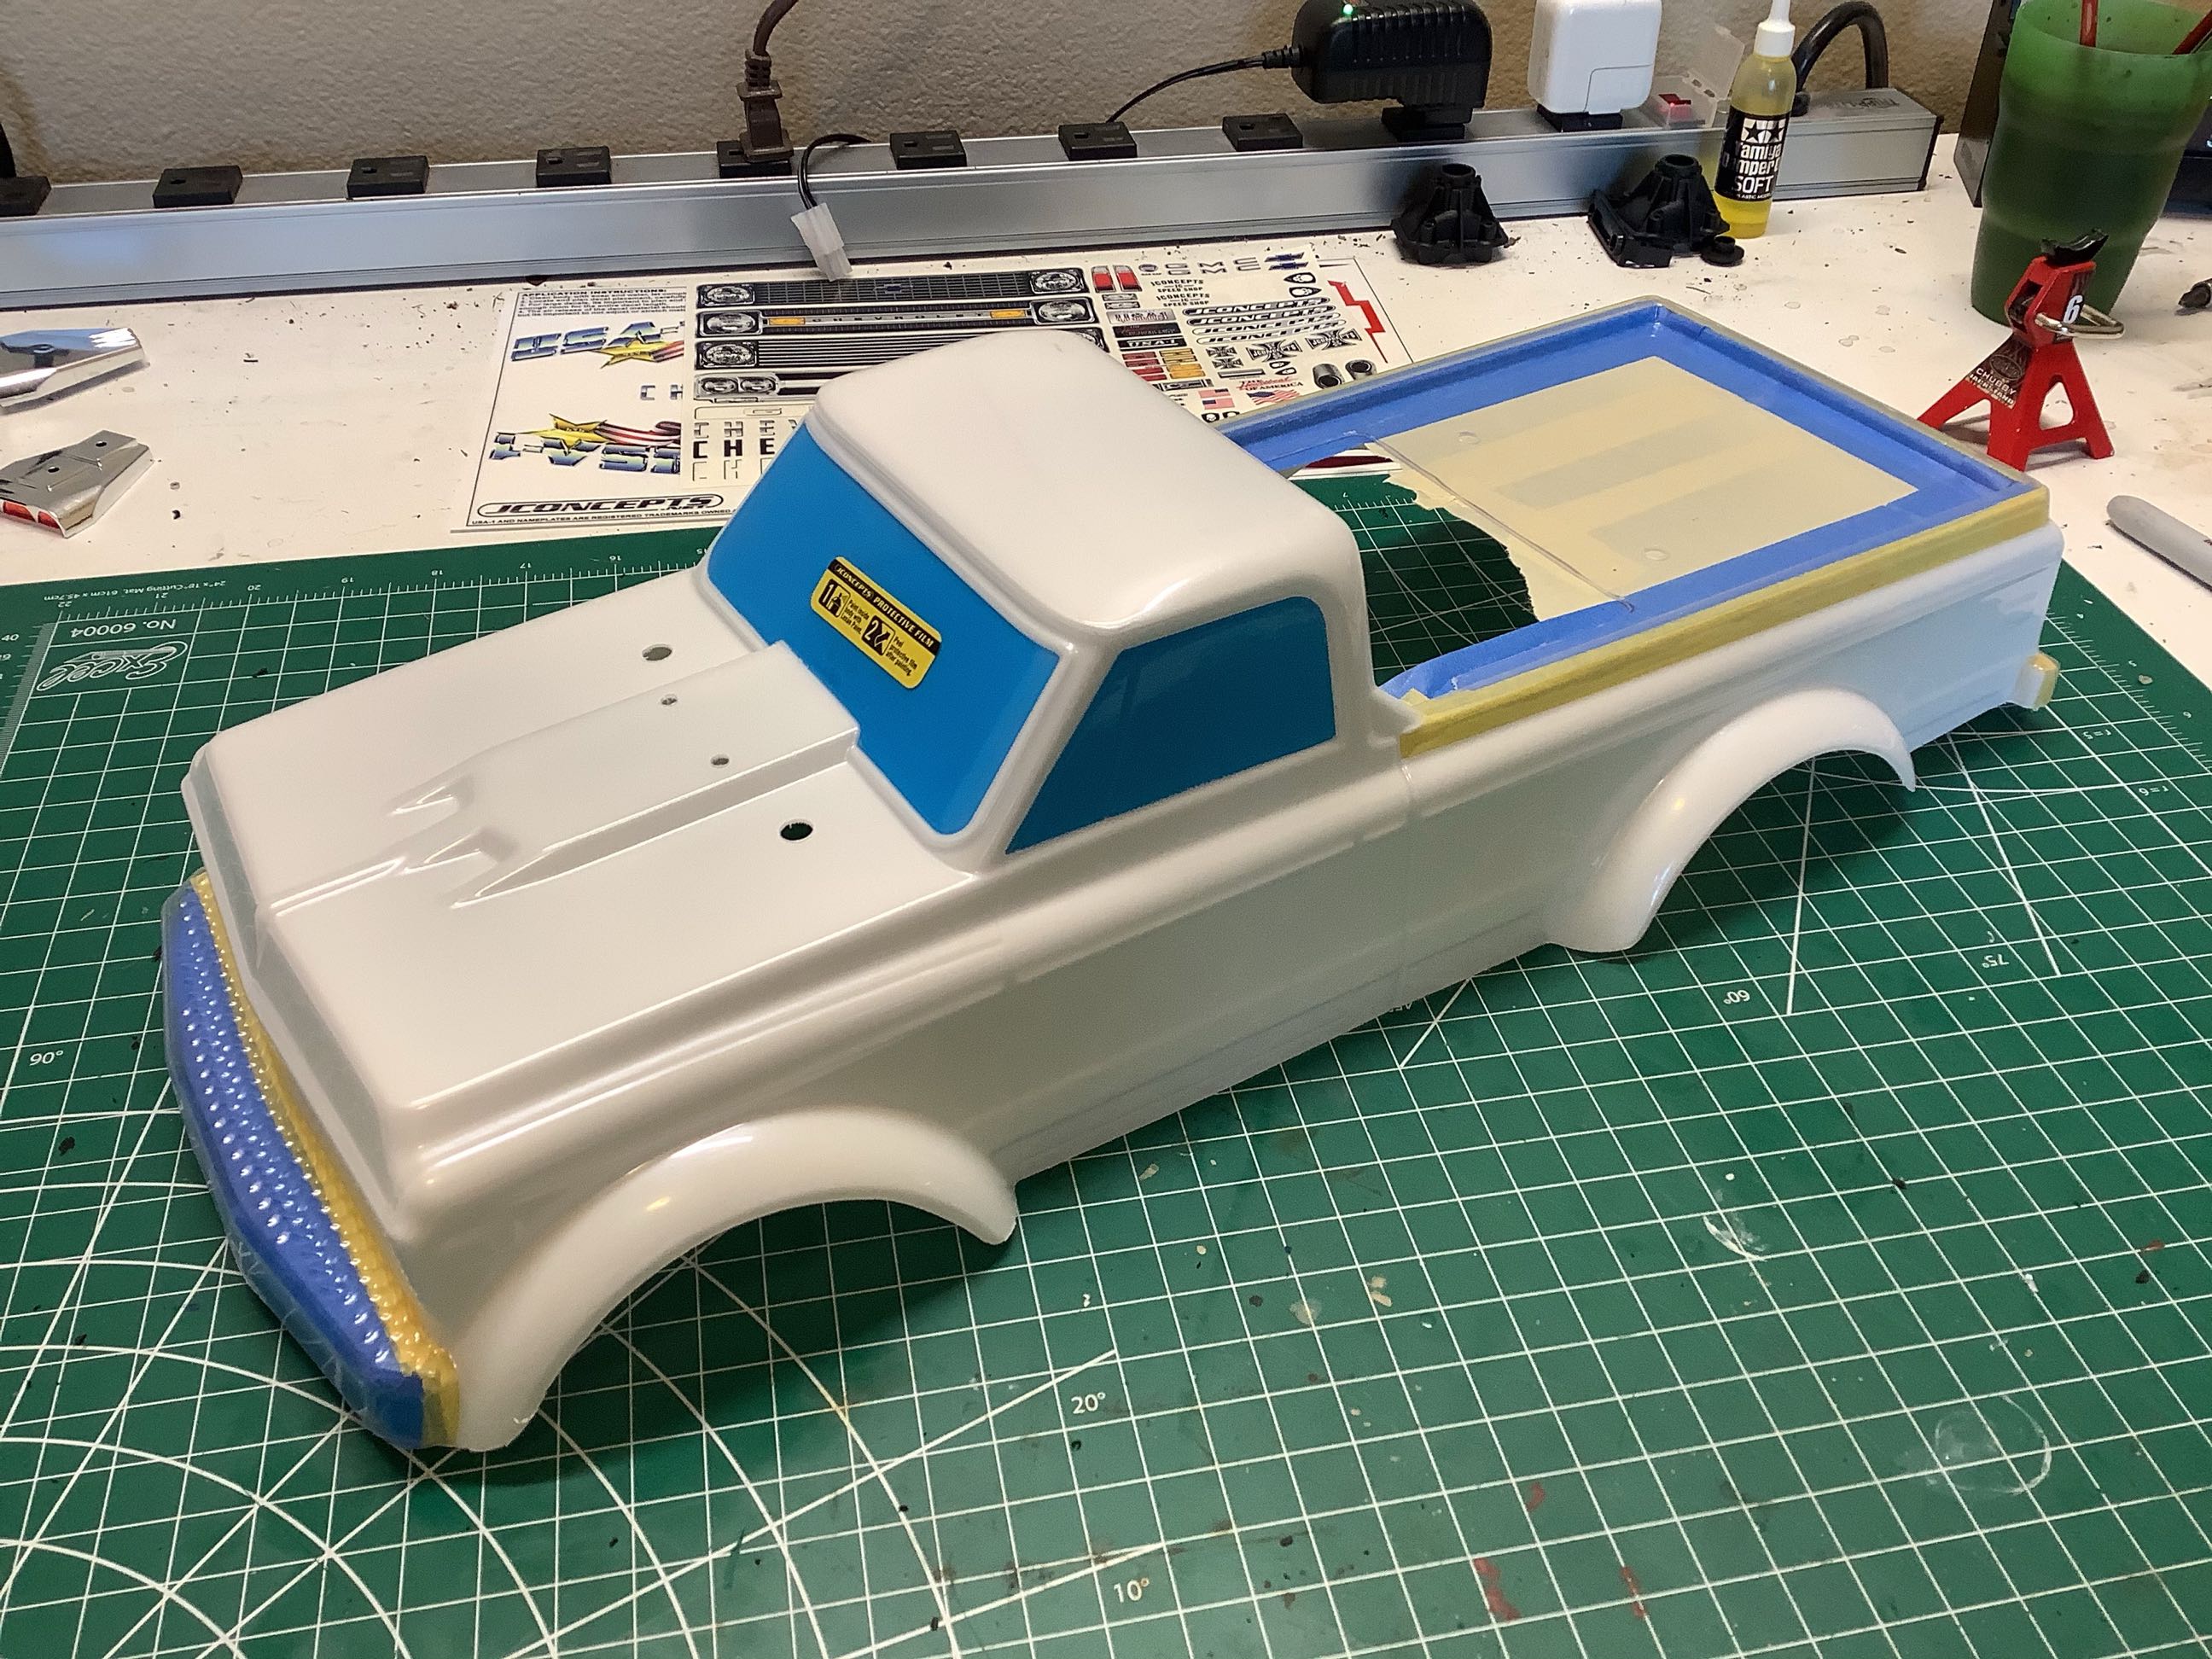
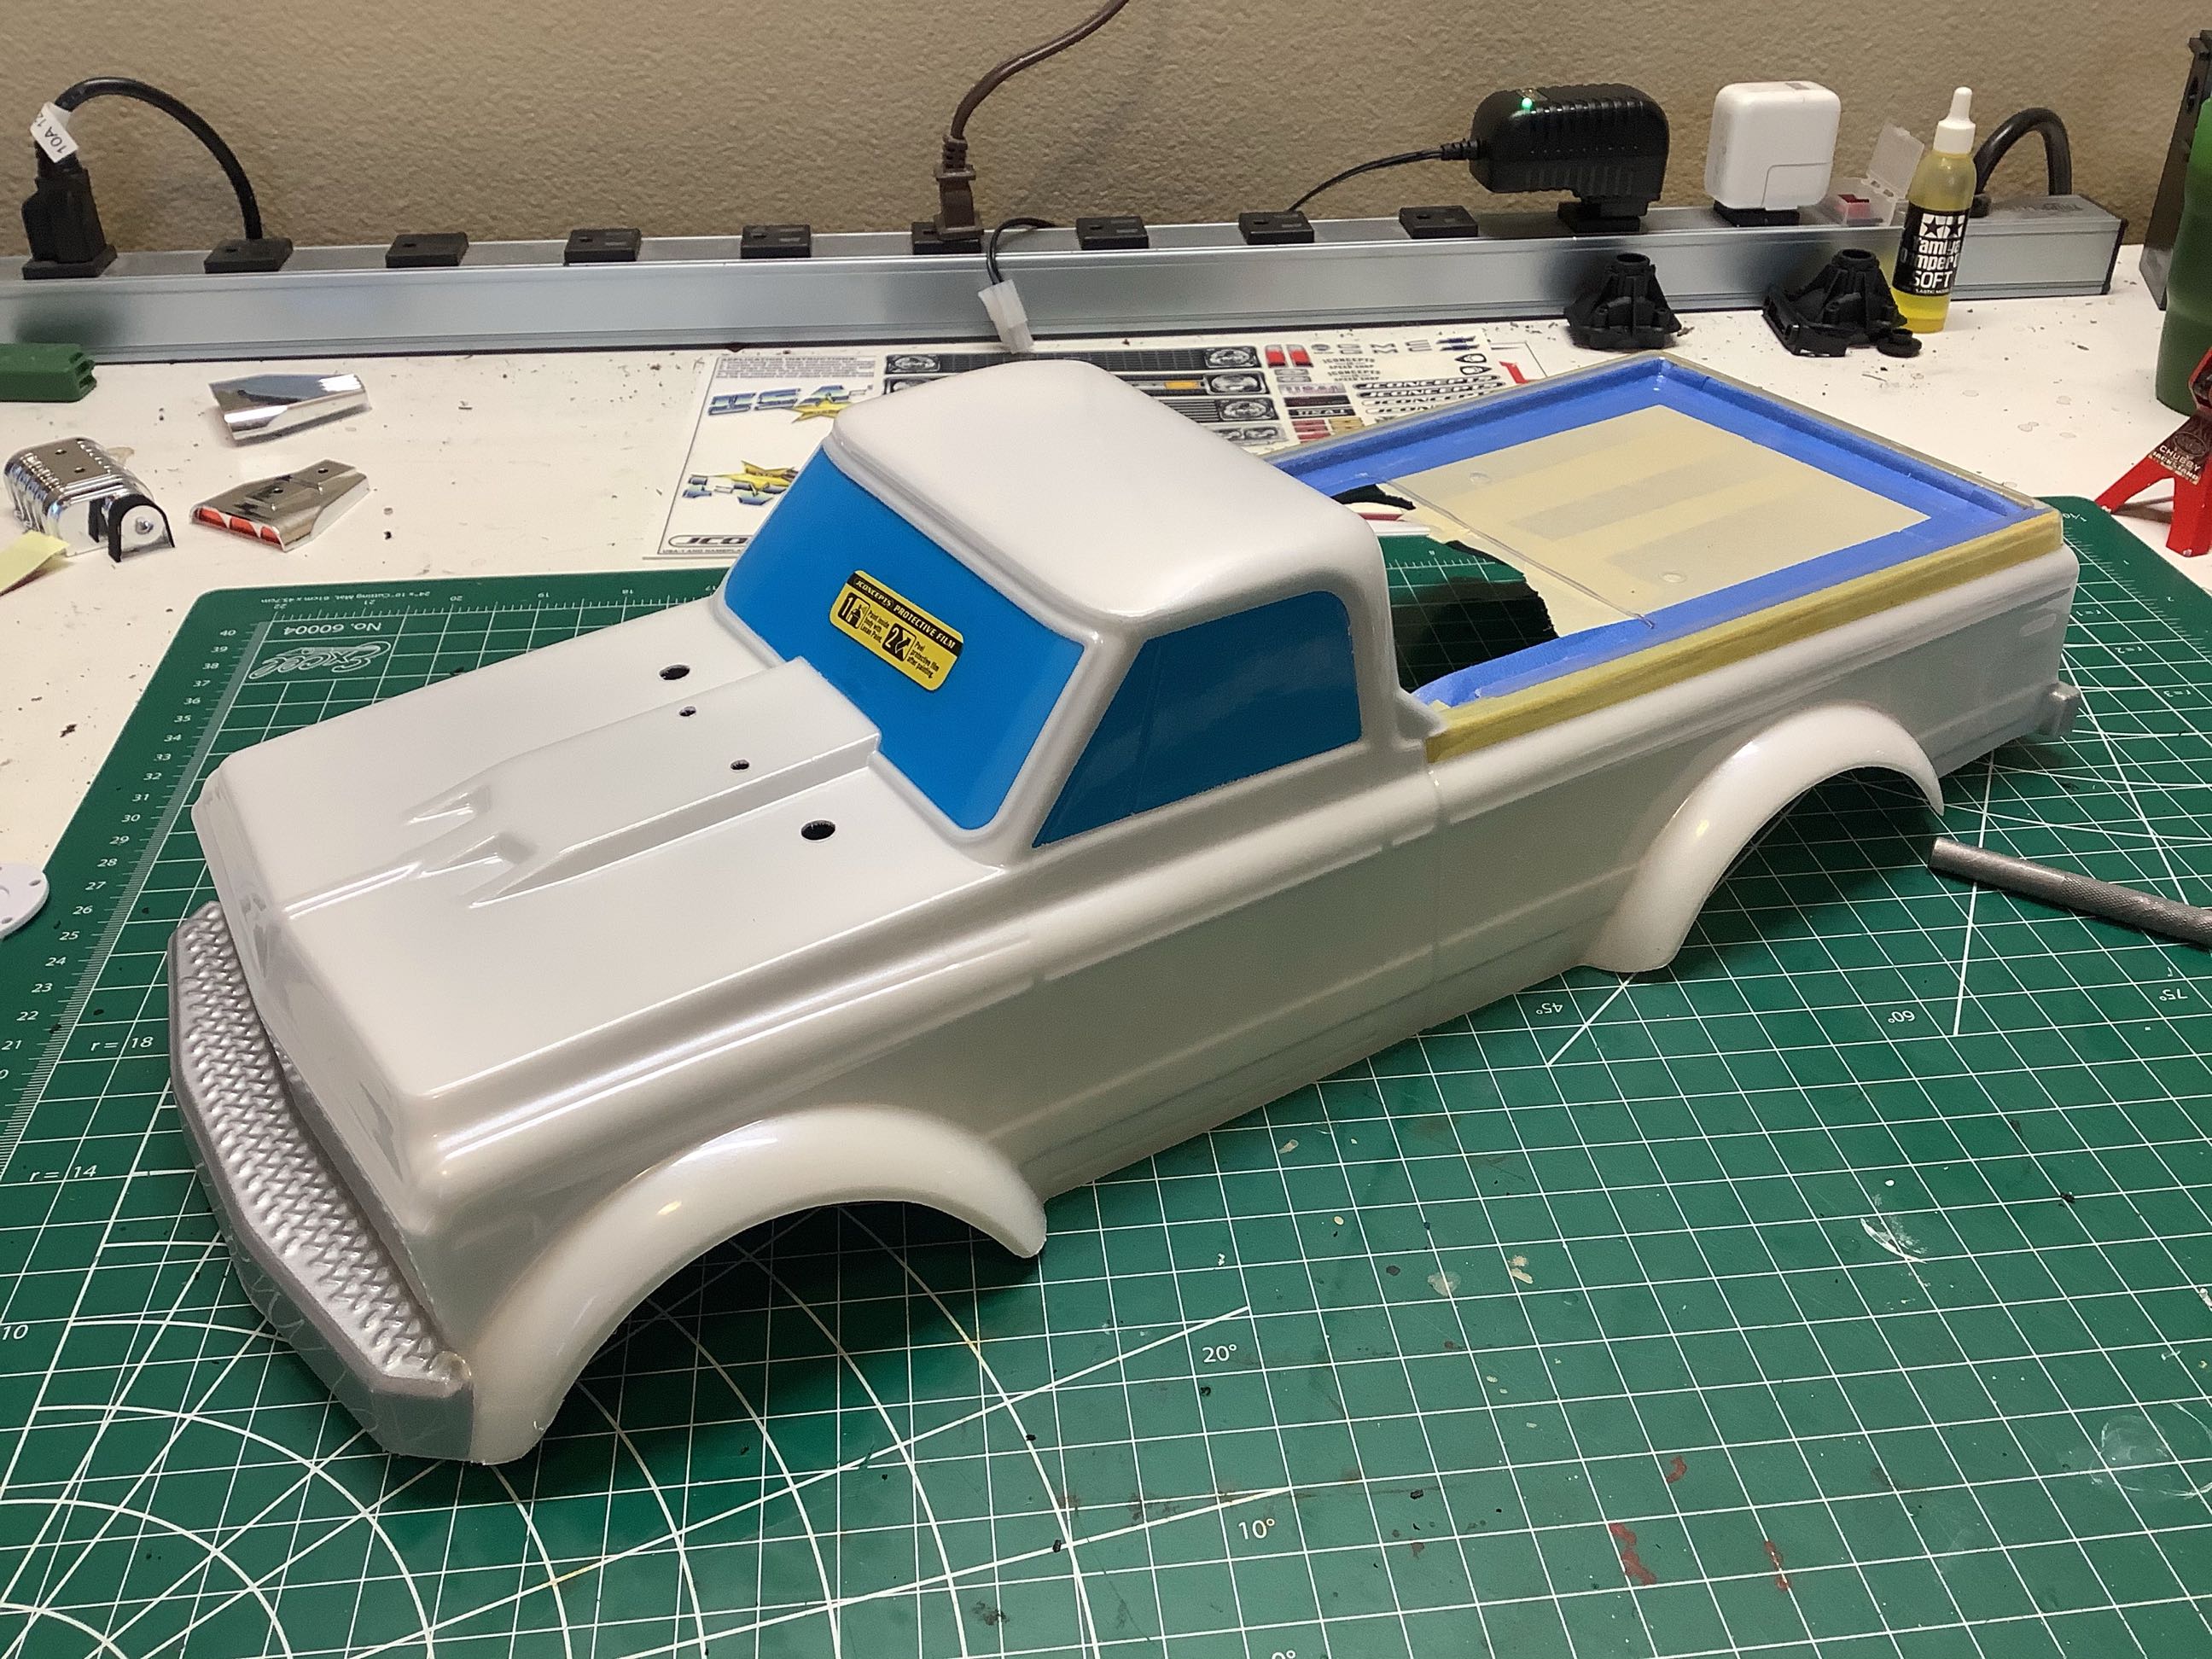
The body didn't come with any window masks so I was on my own to take
care of that. I also masked the bed and the bumpers as shown on
the left. On the right I've added a couple coats of pearl white
backed with regular white.
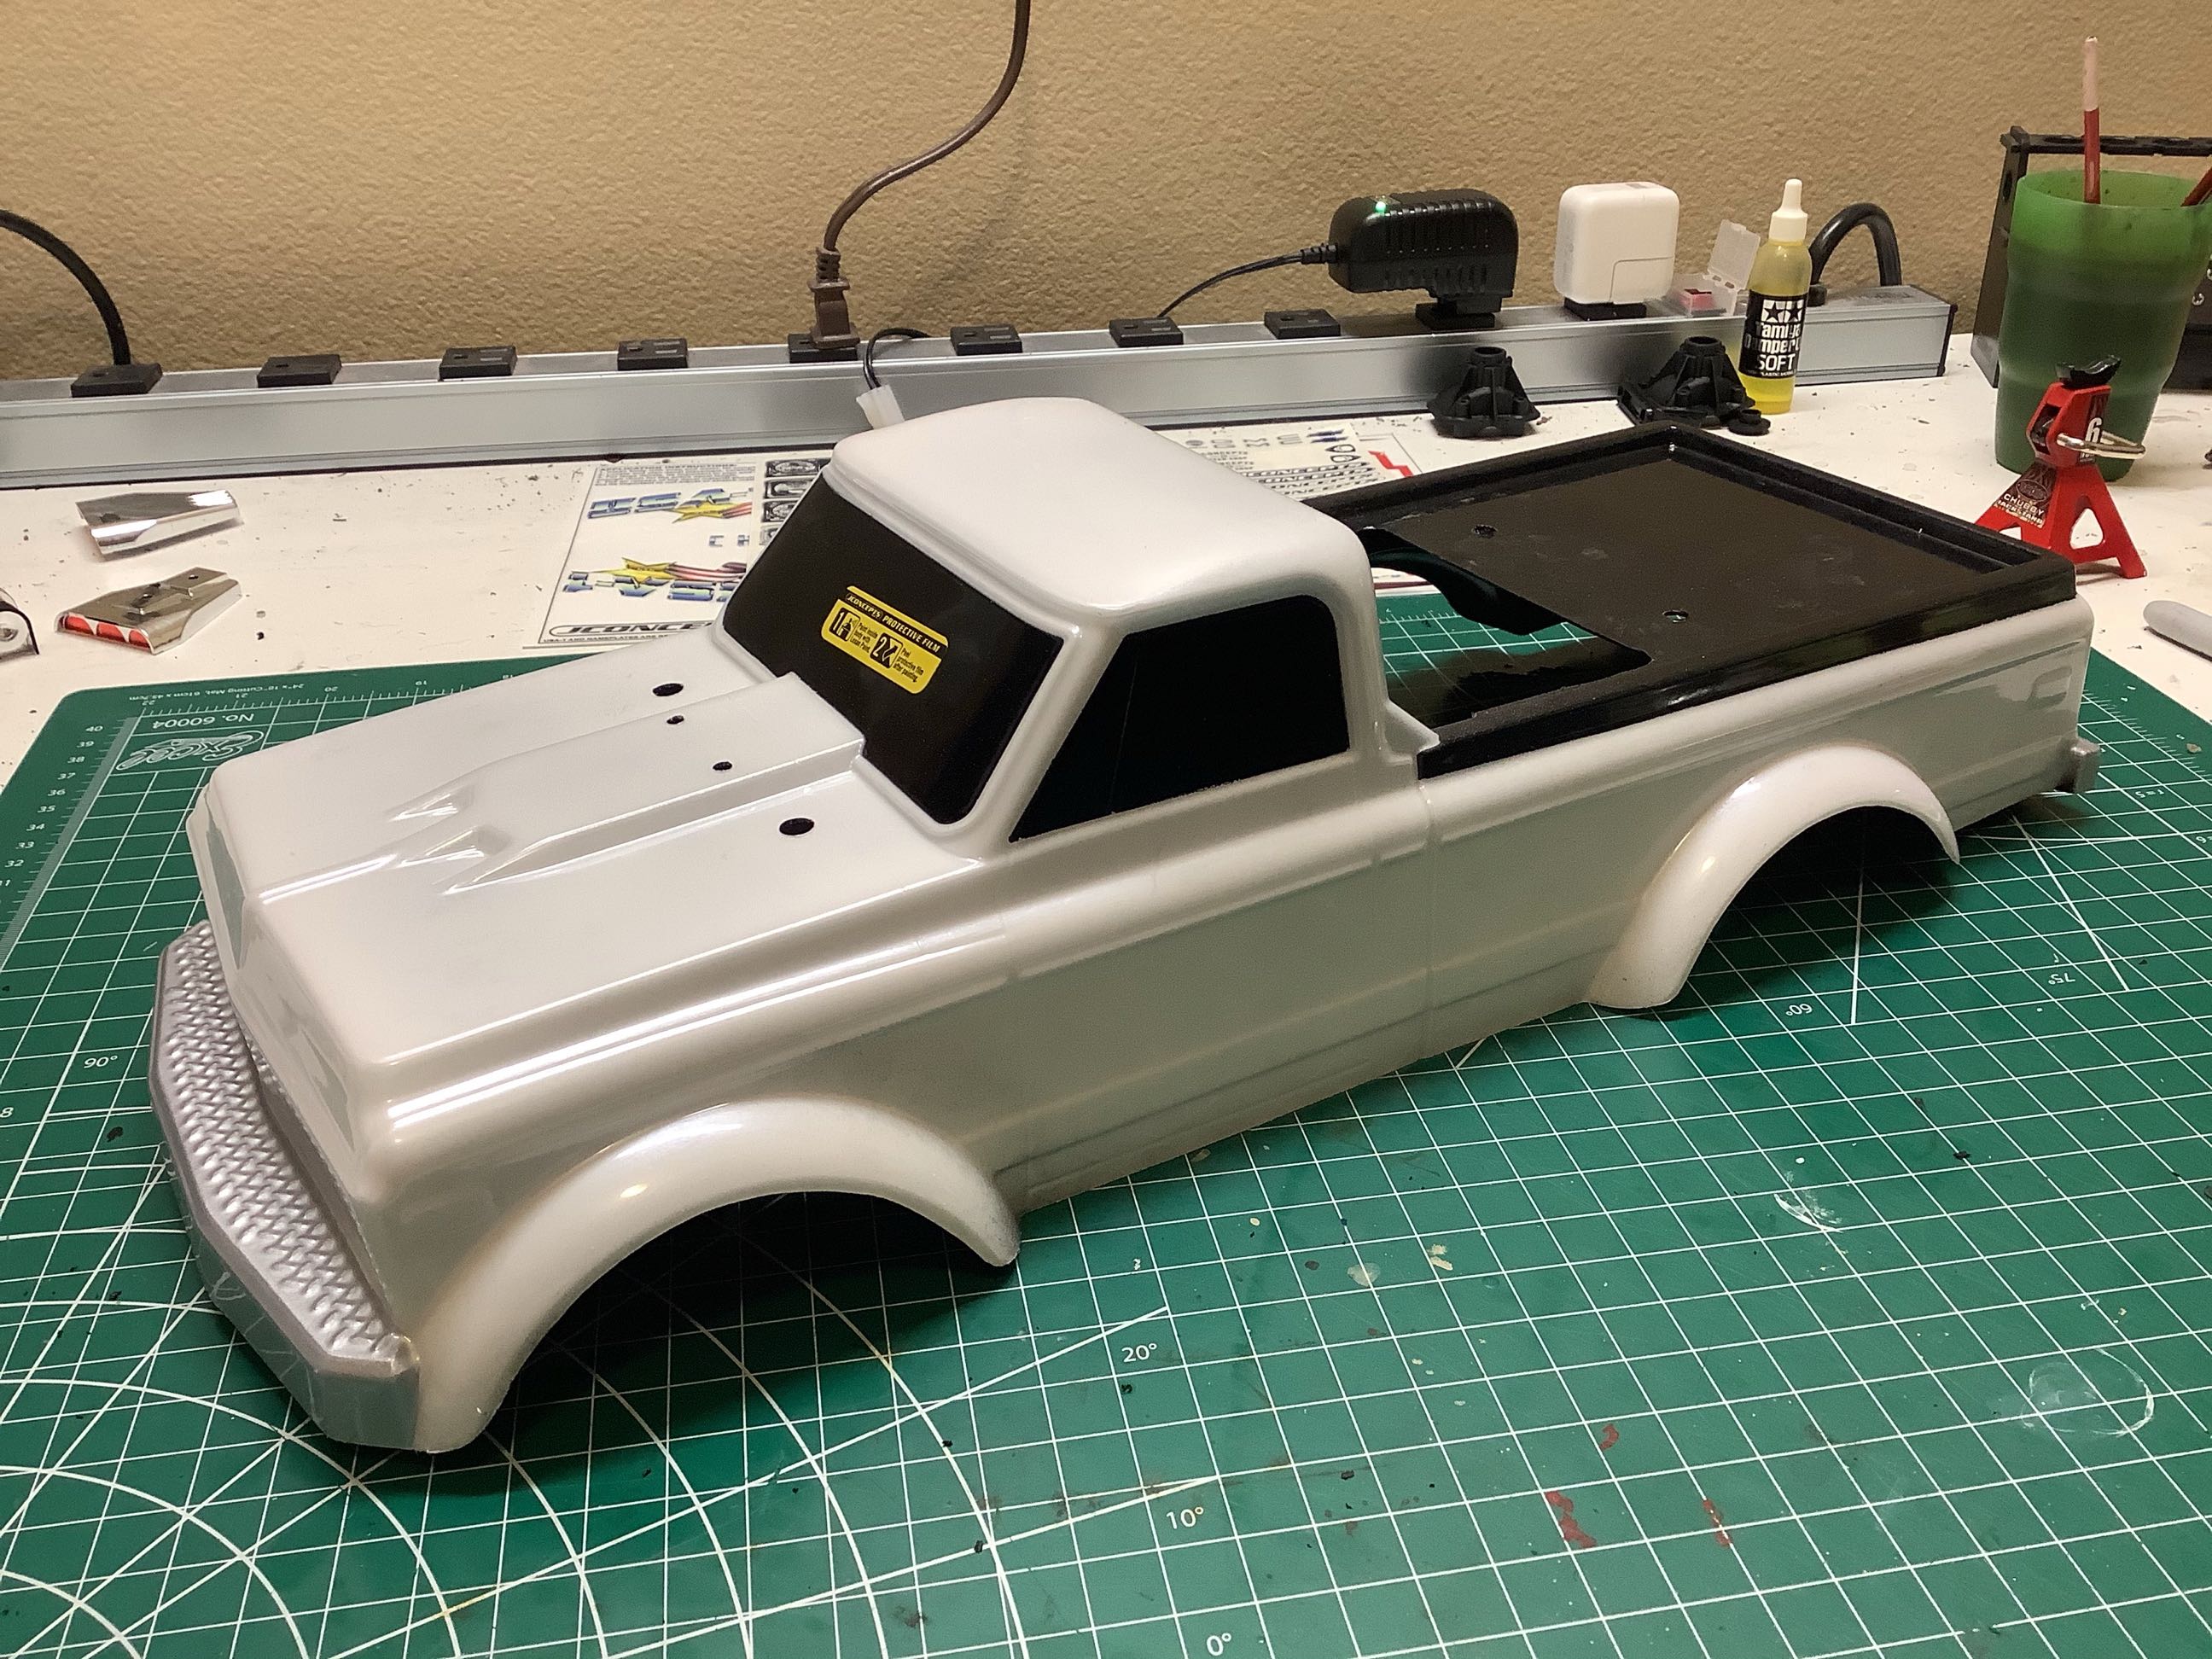
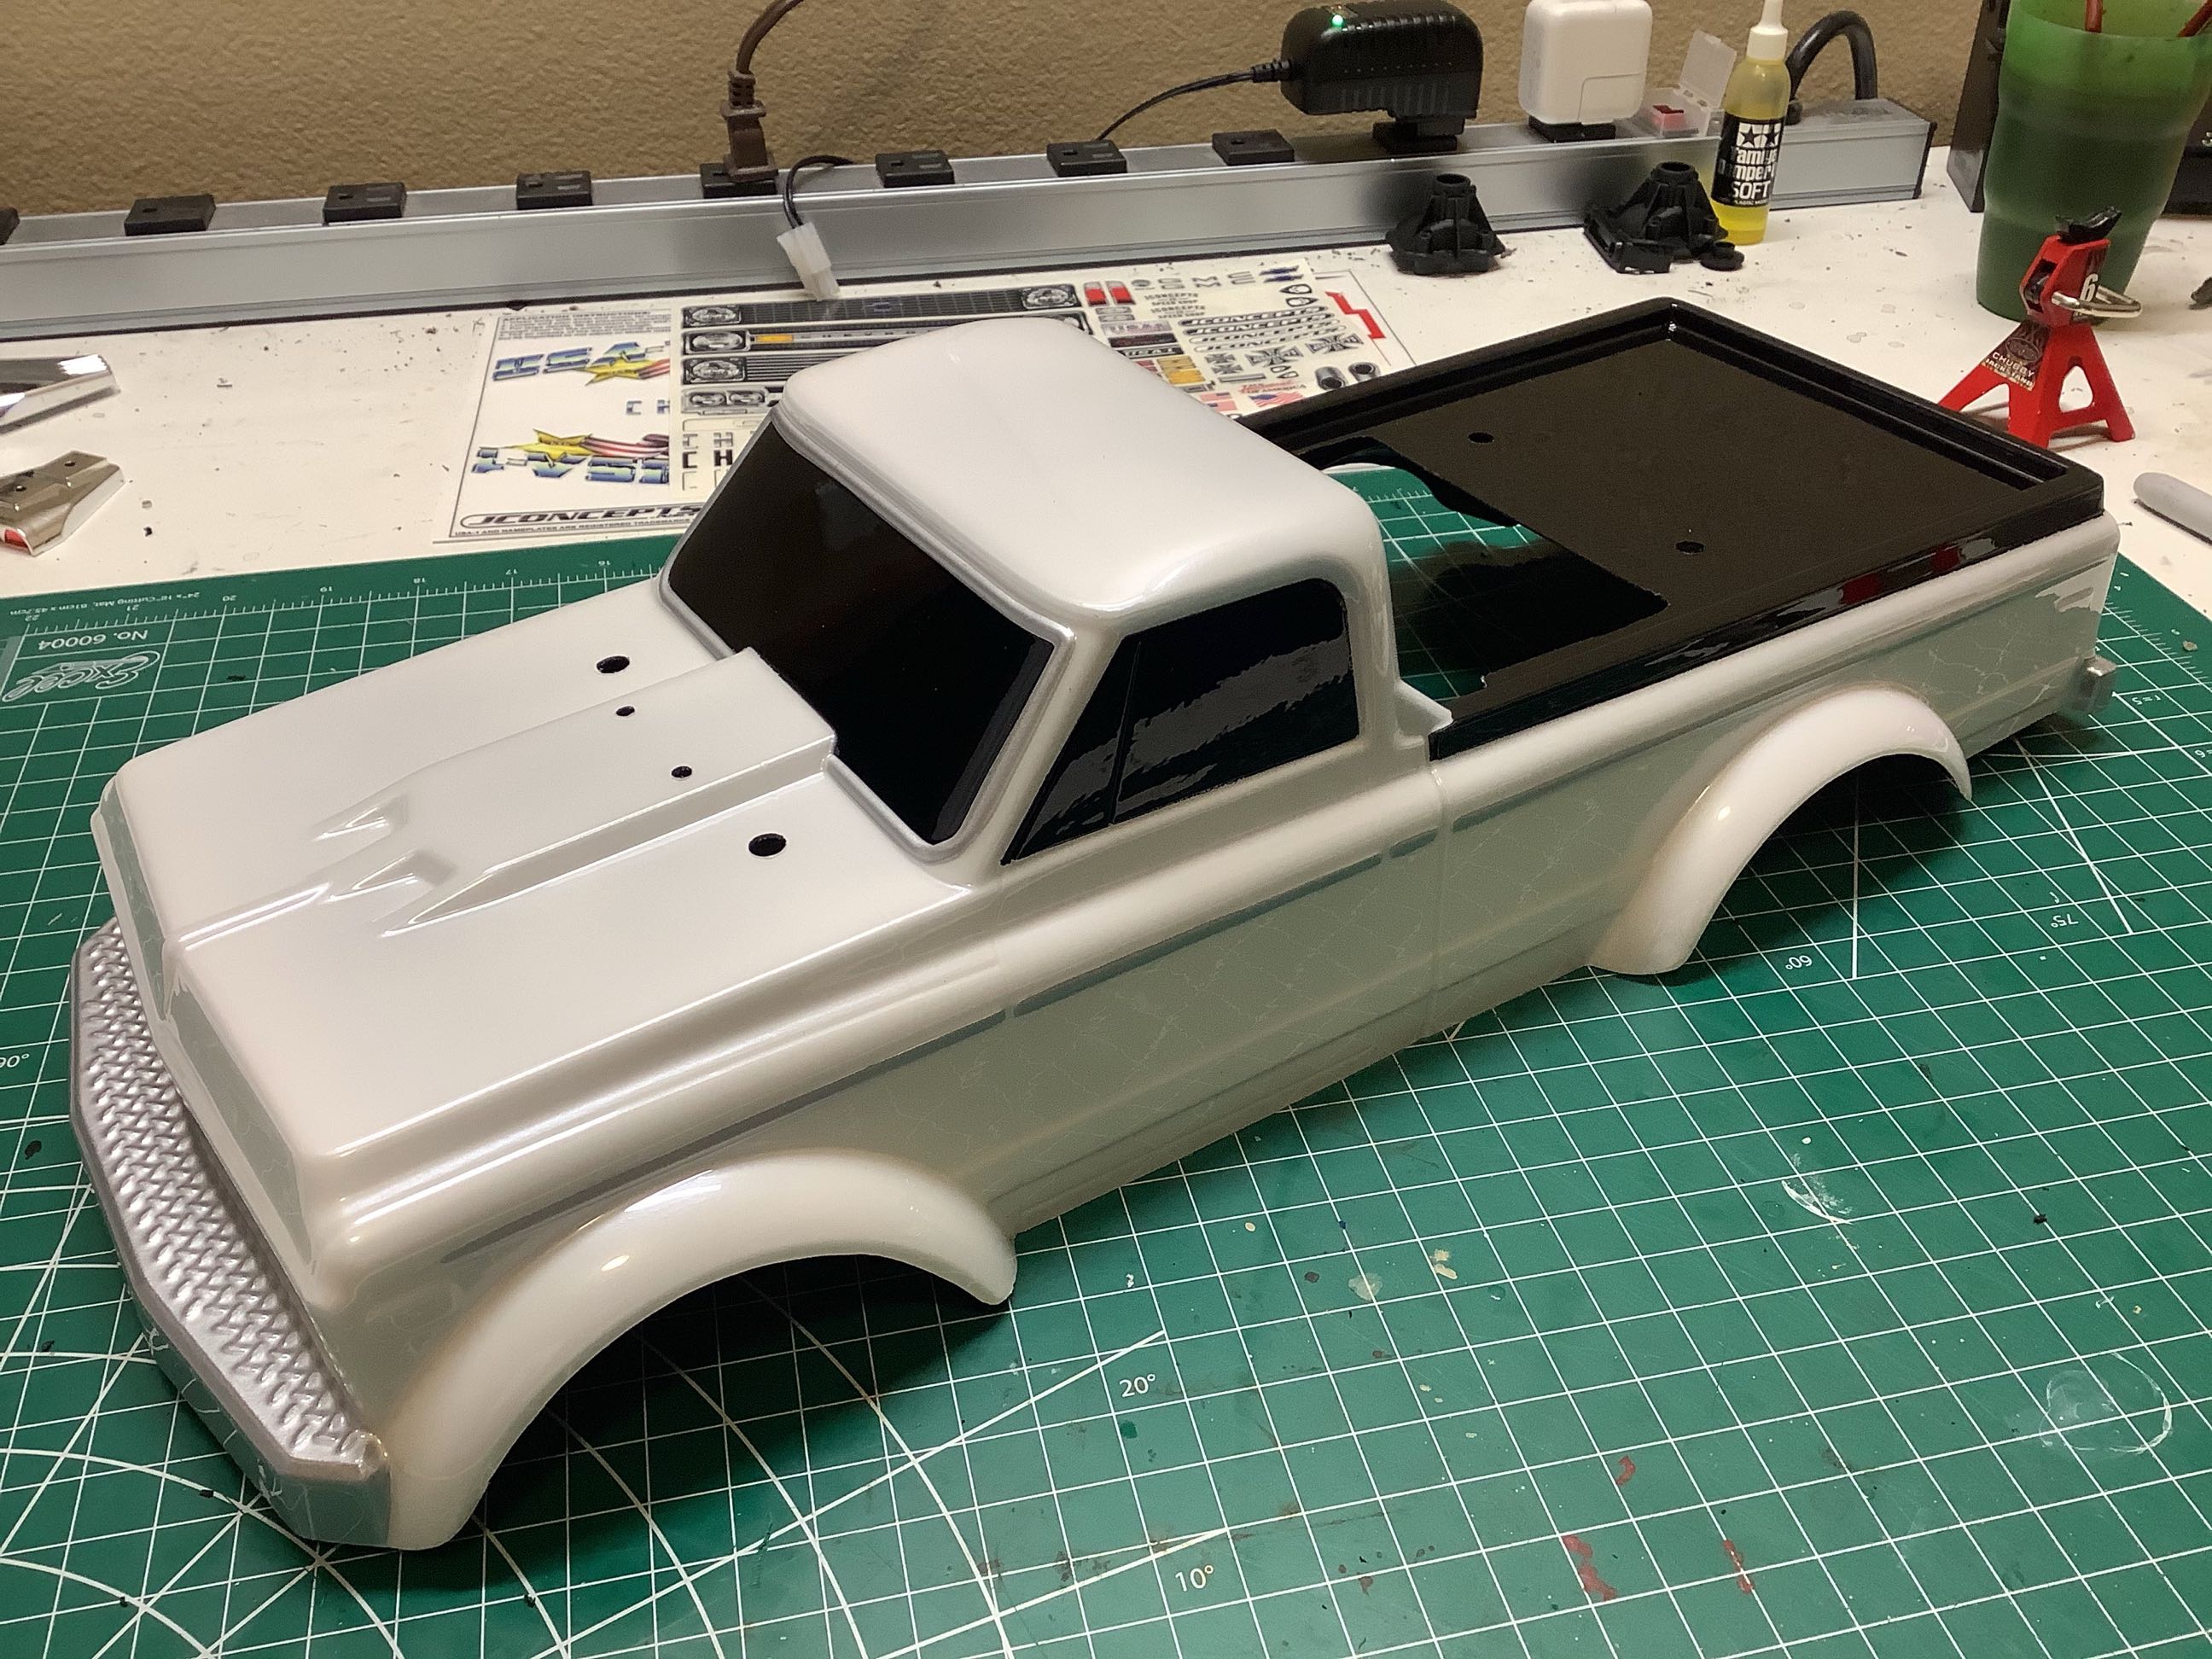
On the left I've completed the silver bumpers. On the right I've
also painted the bed in black. I backed the entire thing in black
including the windows because I didn't want to be able to see inside.
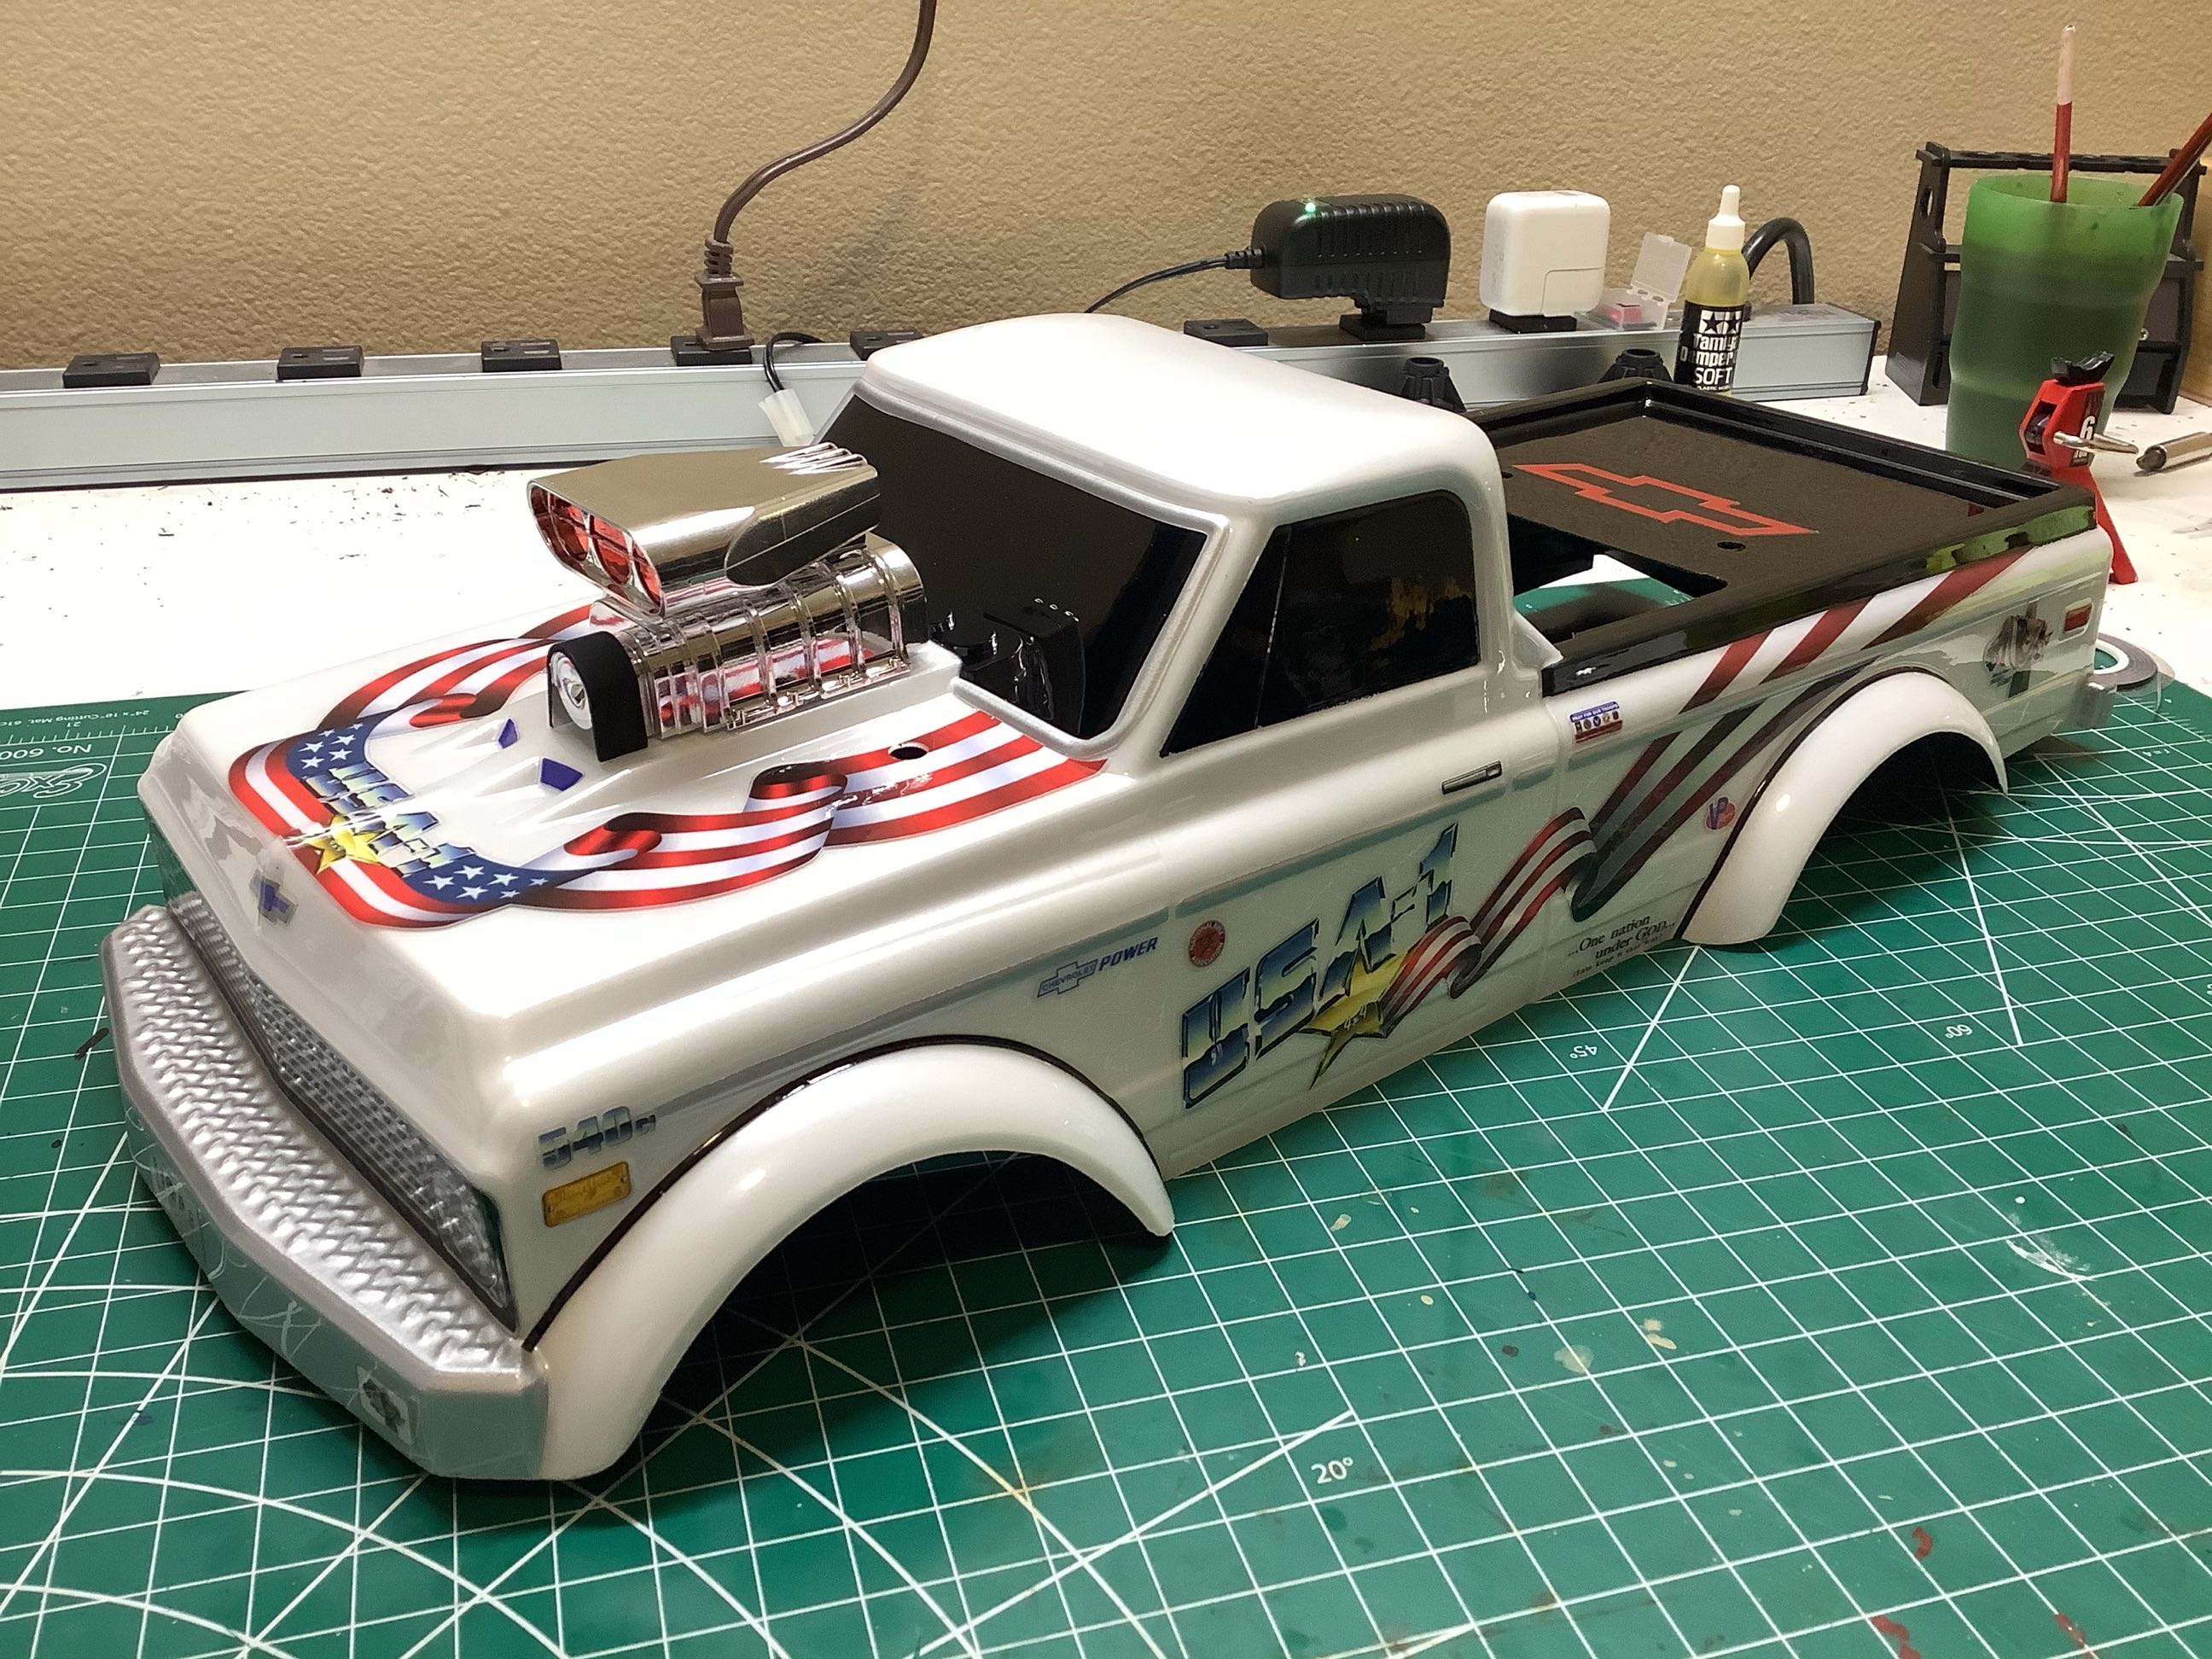
Here I've removed the protective film and done something else more
subtle. I first cut away the film over the trim stripe down the
body and painted it silver from the outside. I think this adds
some nice detail. I did the same thing with the trim around the
windshield. Then I applied all the stickers as shown on the
right. I also added the blower that came with the SMT10 kit.
It is way too big, but the real truck does have a tunnel ram sticking
out of the hood so I thought this wasn't a bad substitute.
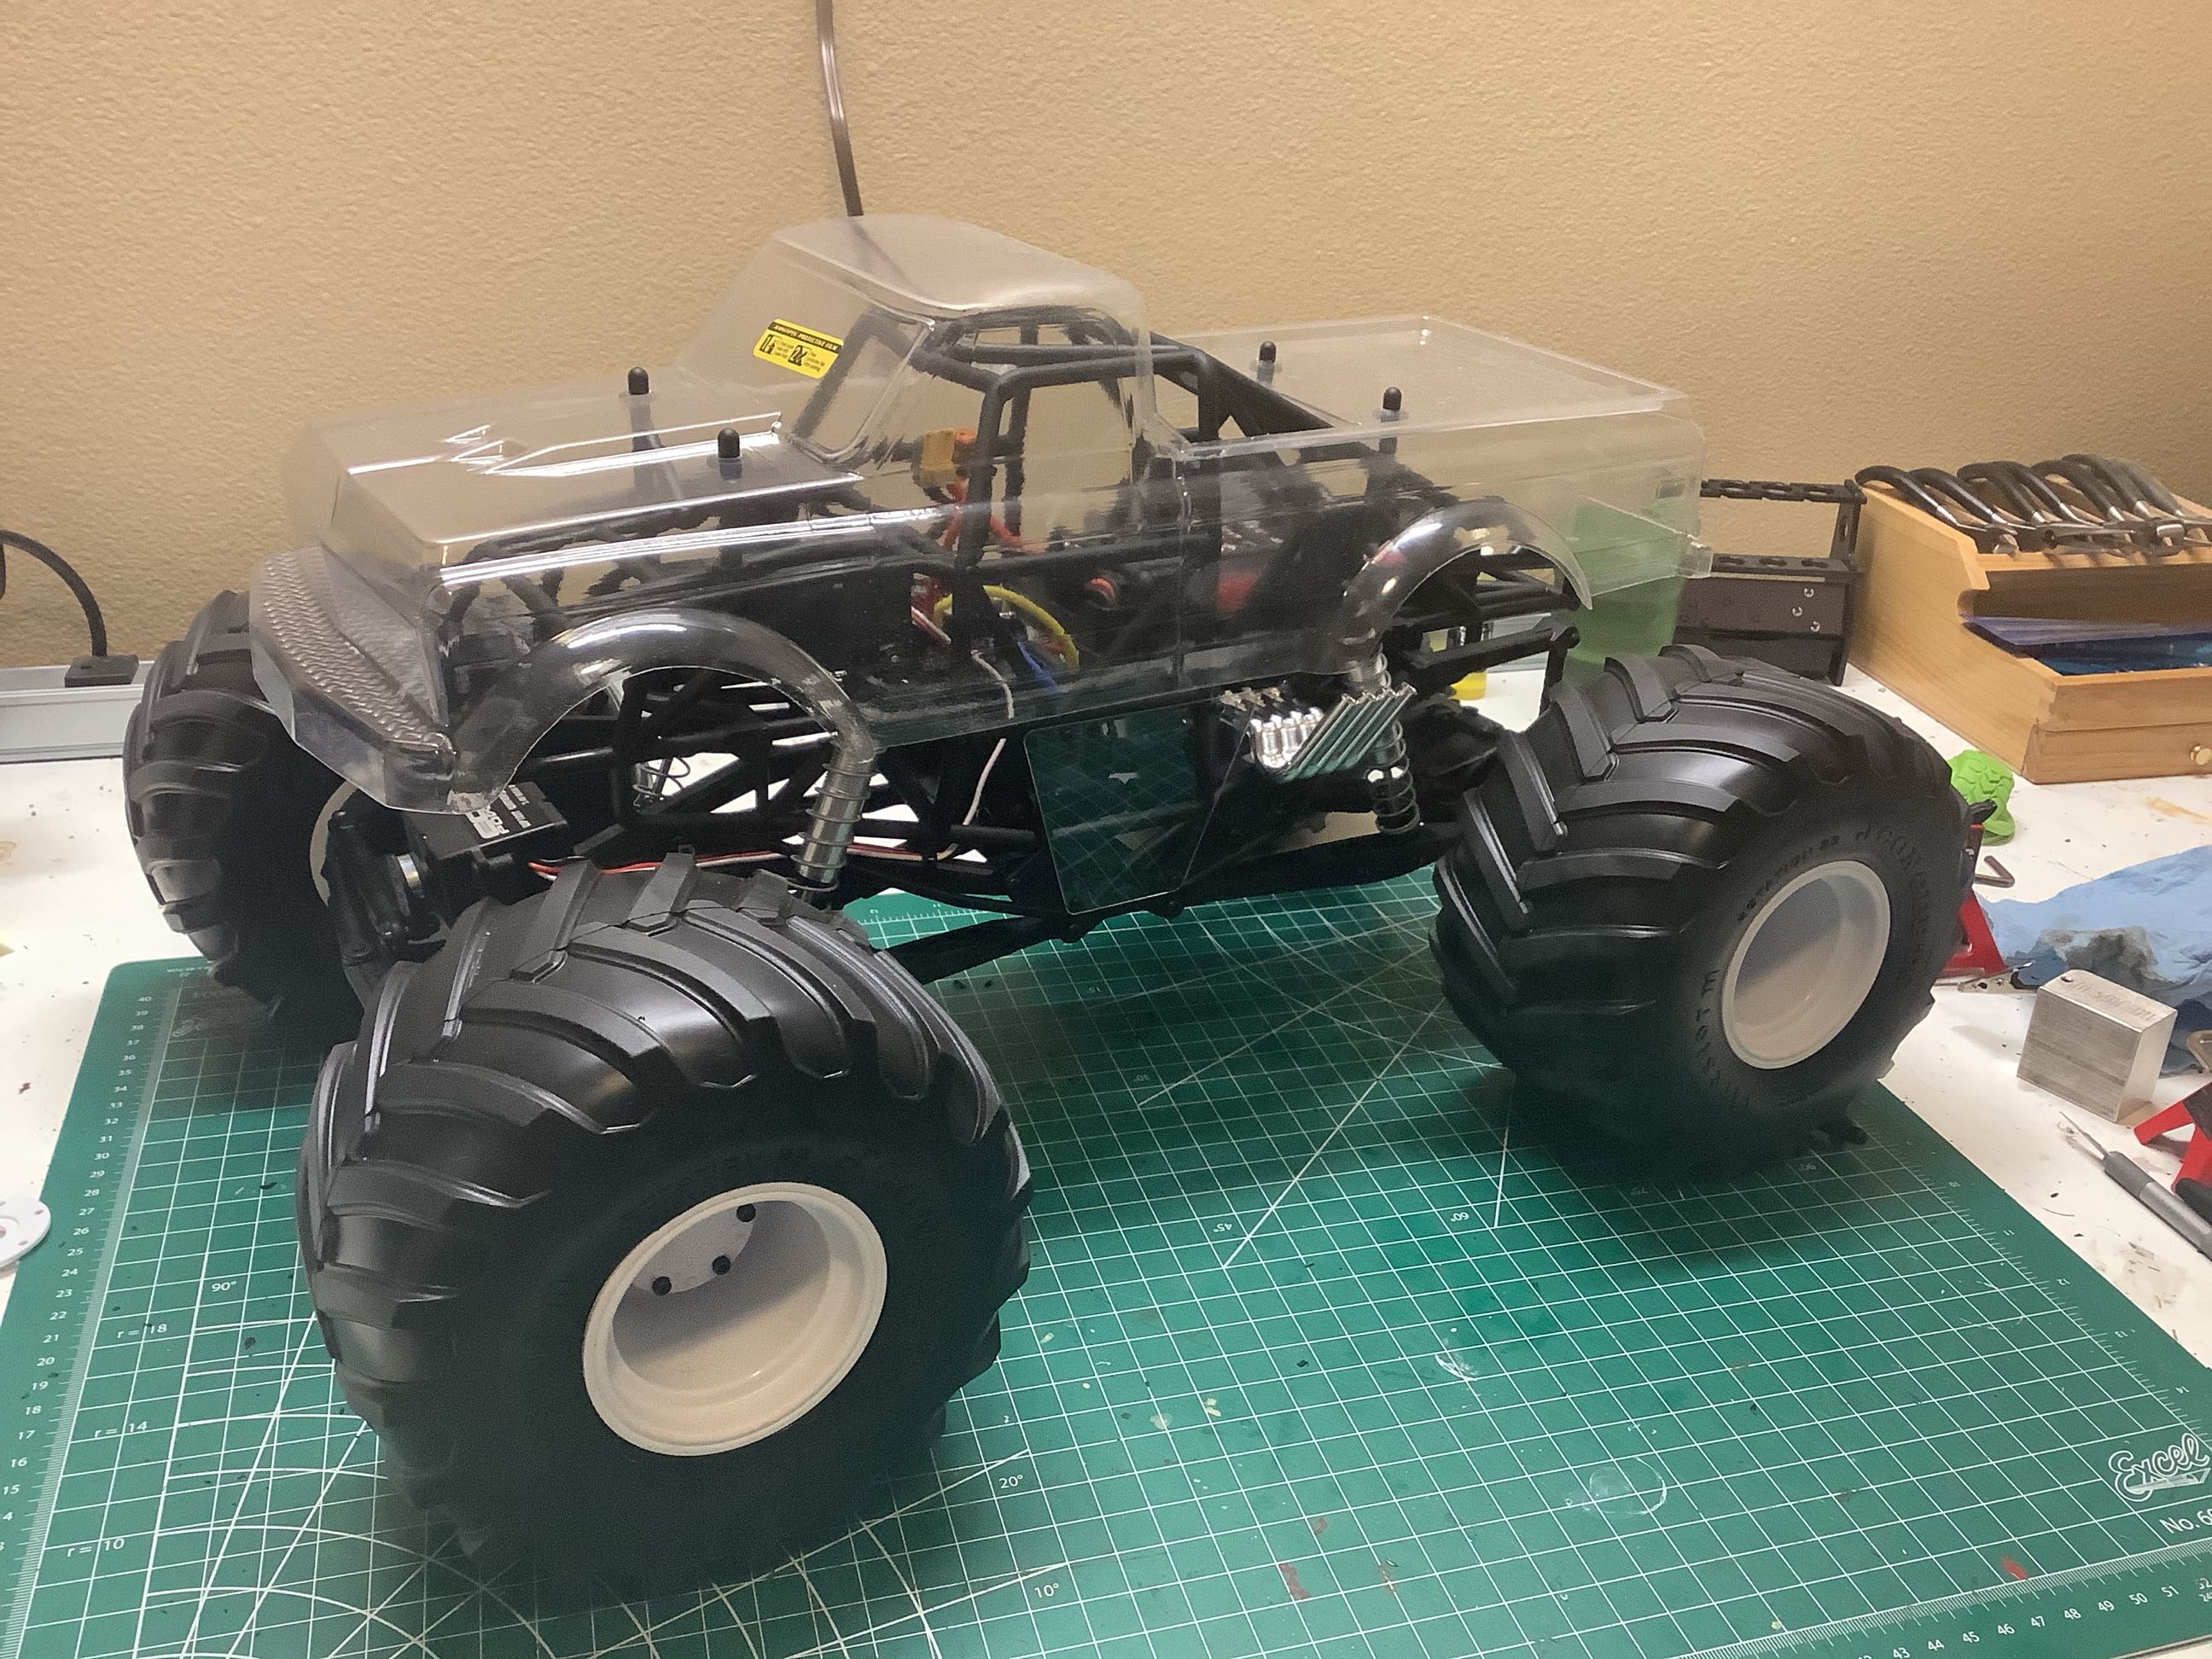
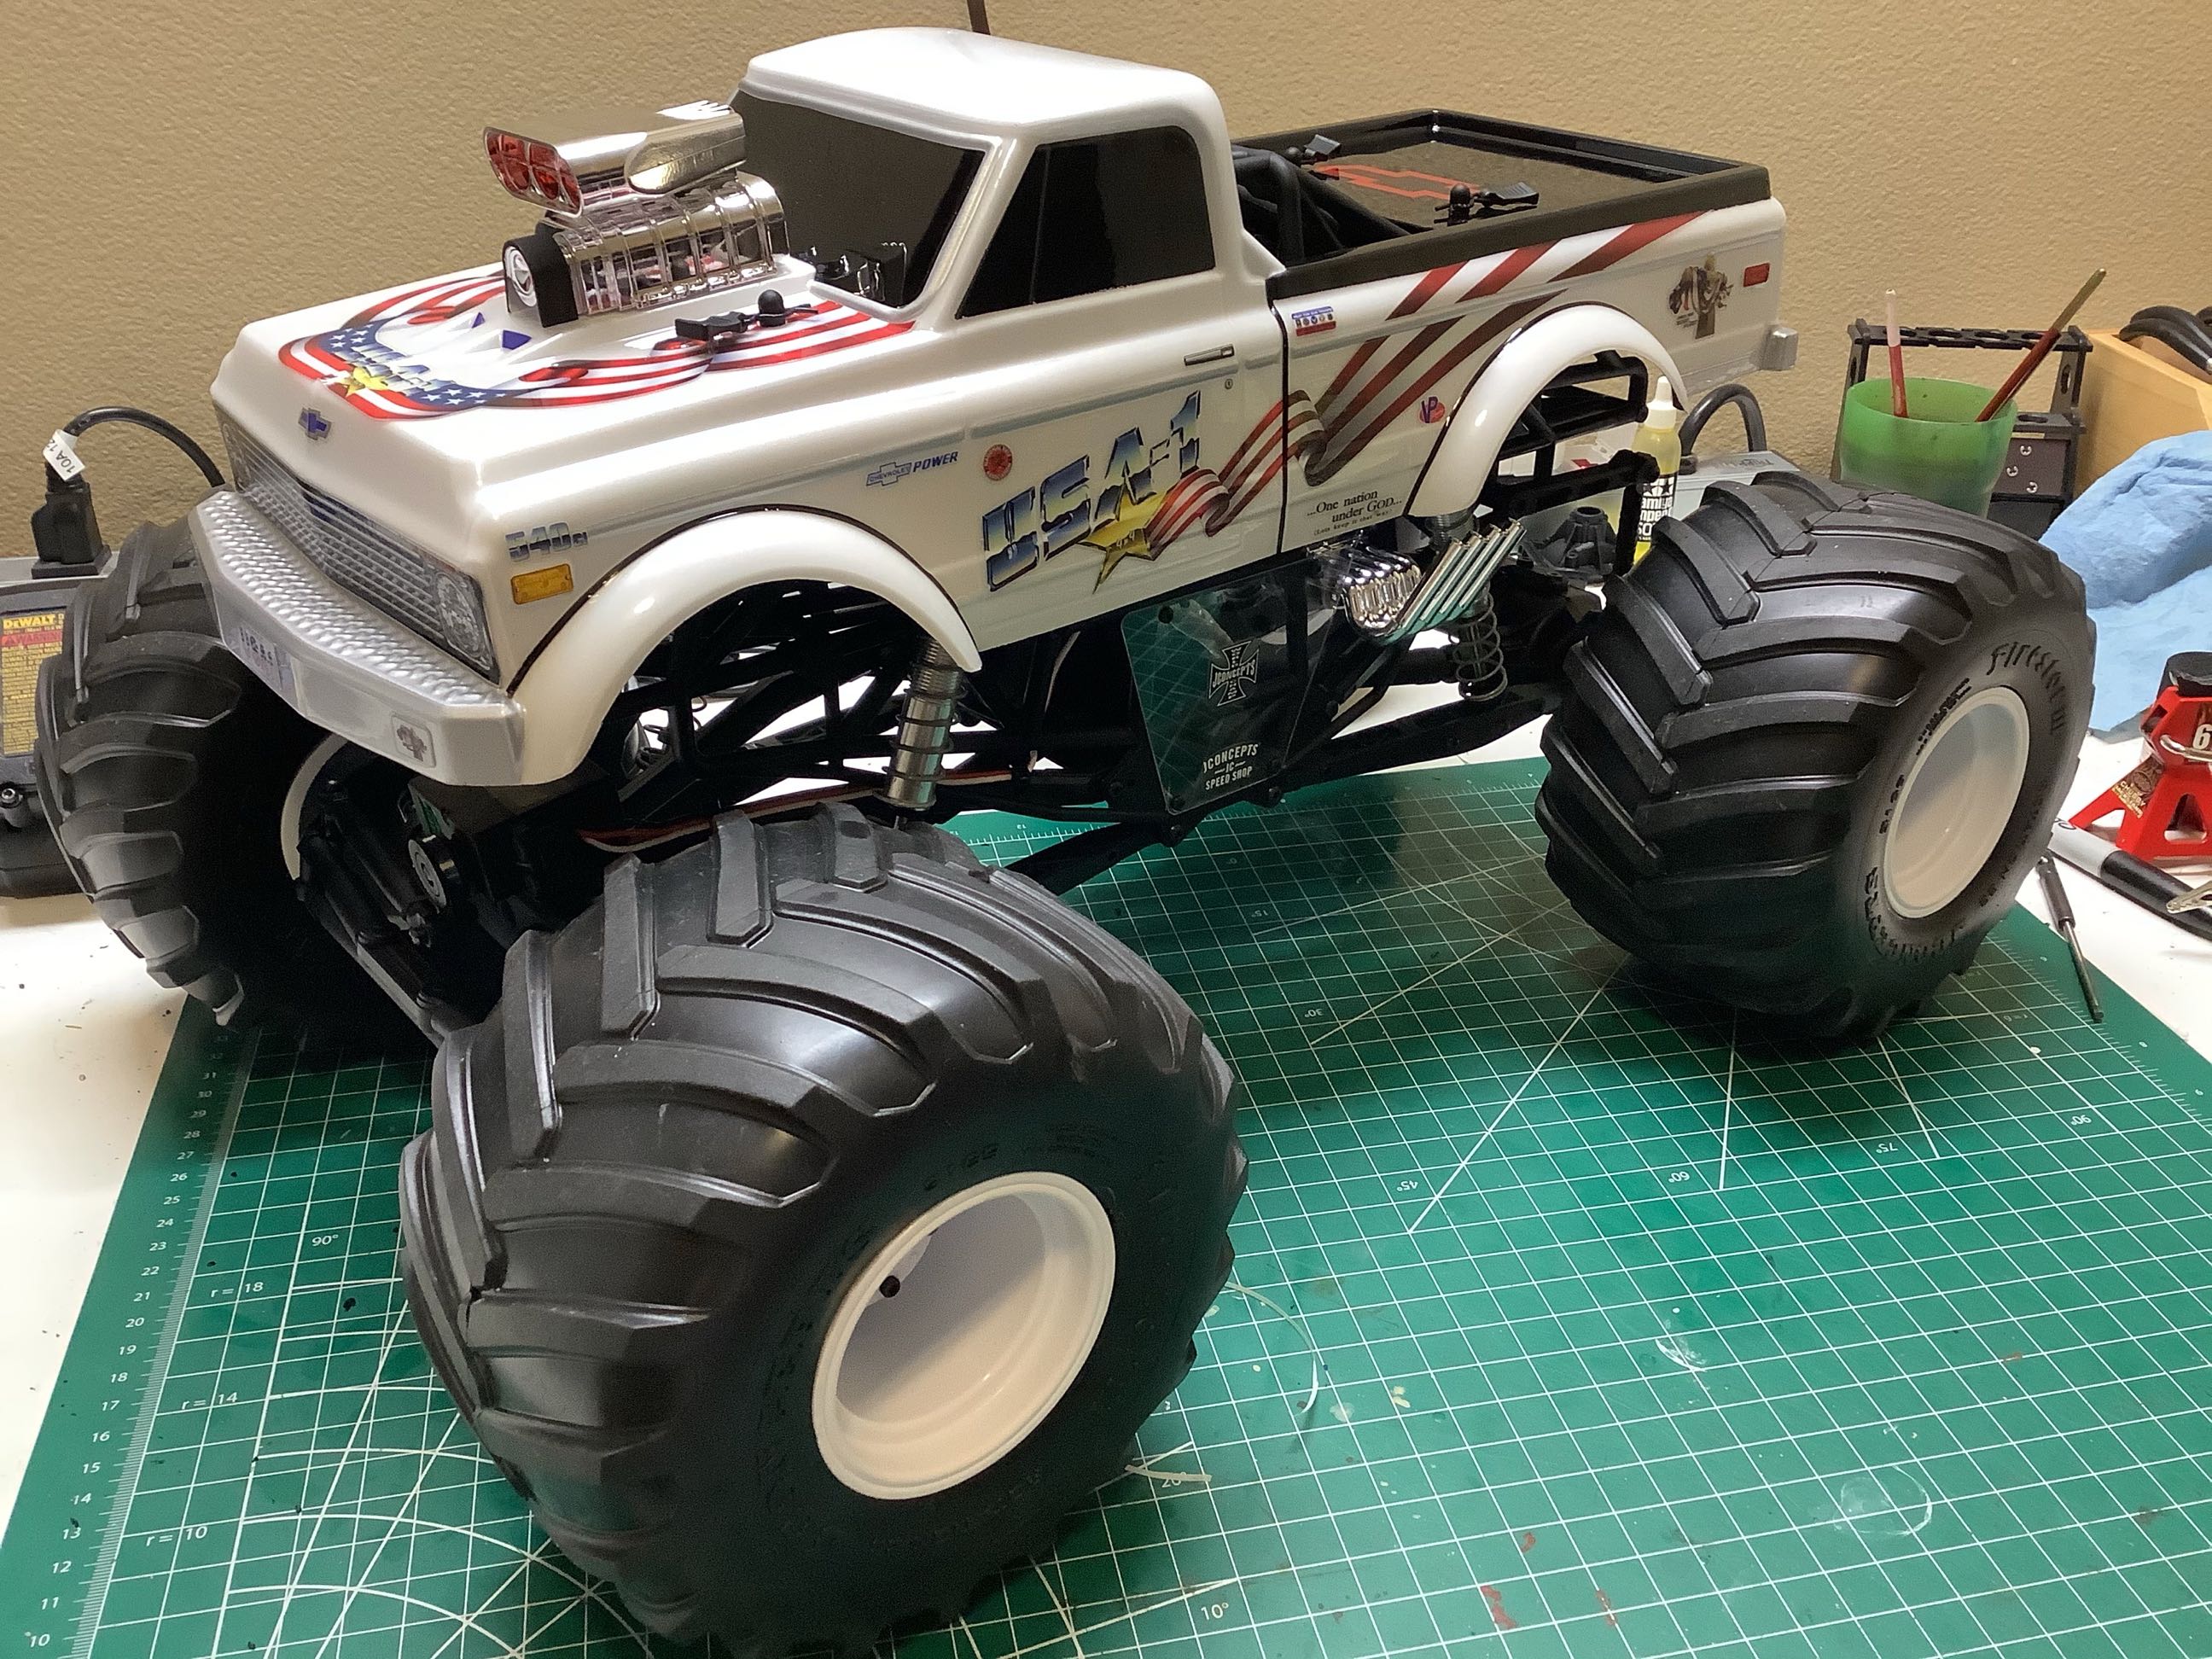
Here is the completed truck with the wheels installed. I also
added some black trim tape over the wheel arches and behind the
cab. Too bad this body was destined to only survive a day.
©2021 Eric Albrecht