Tamiya Sand Scorcher Project
Page 2: Upgrades!
I probably wouldn't have made any upgrades to this chassis if I hadn't
happened upon RC Channel.com and Knight Customs Shapeways store.
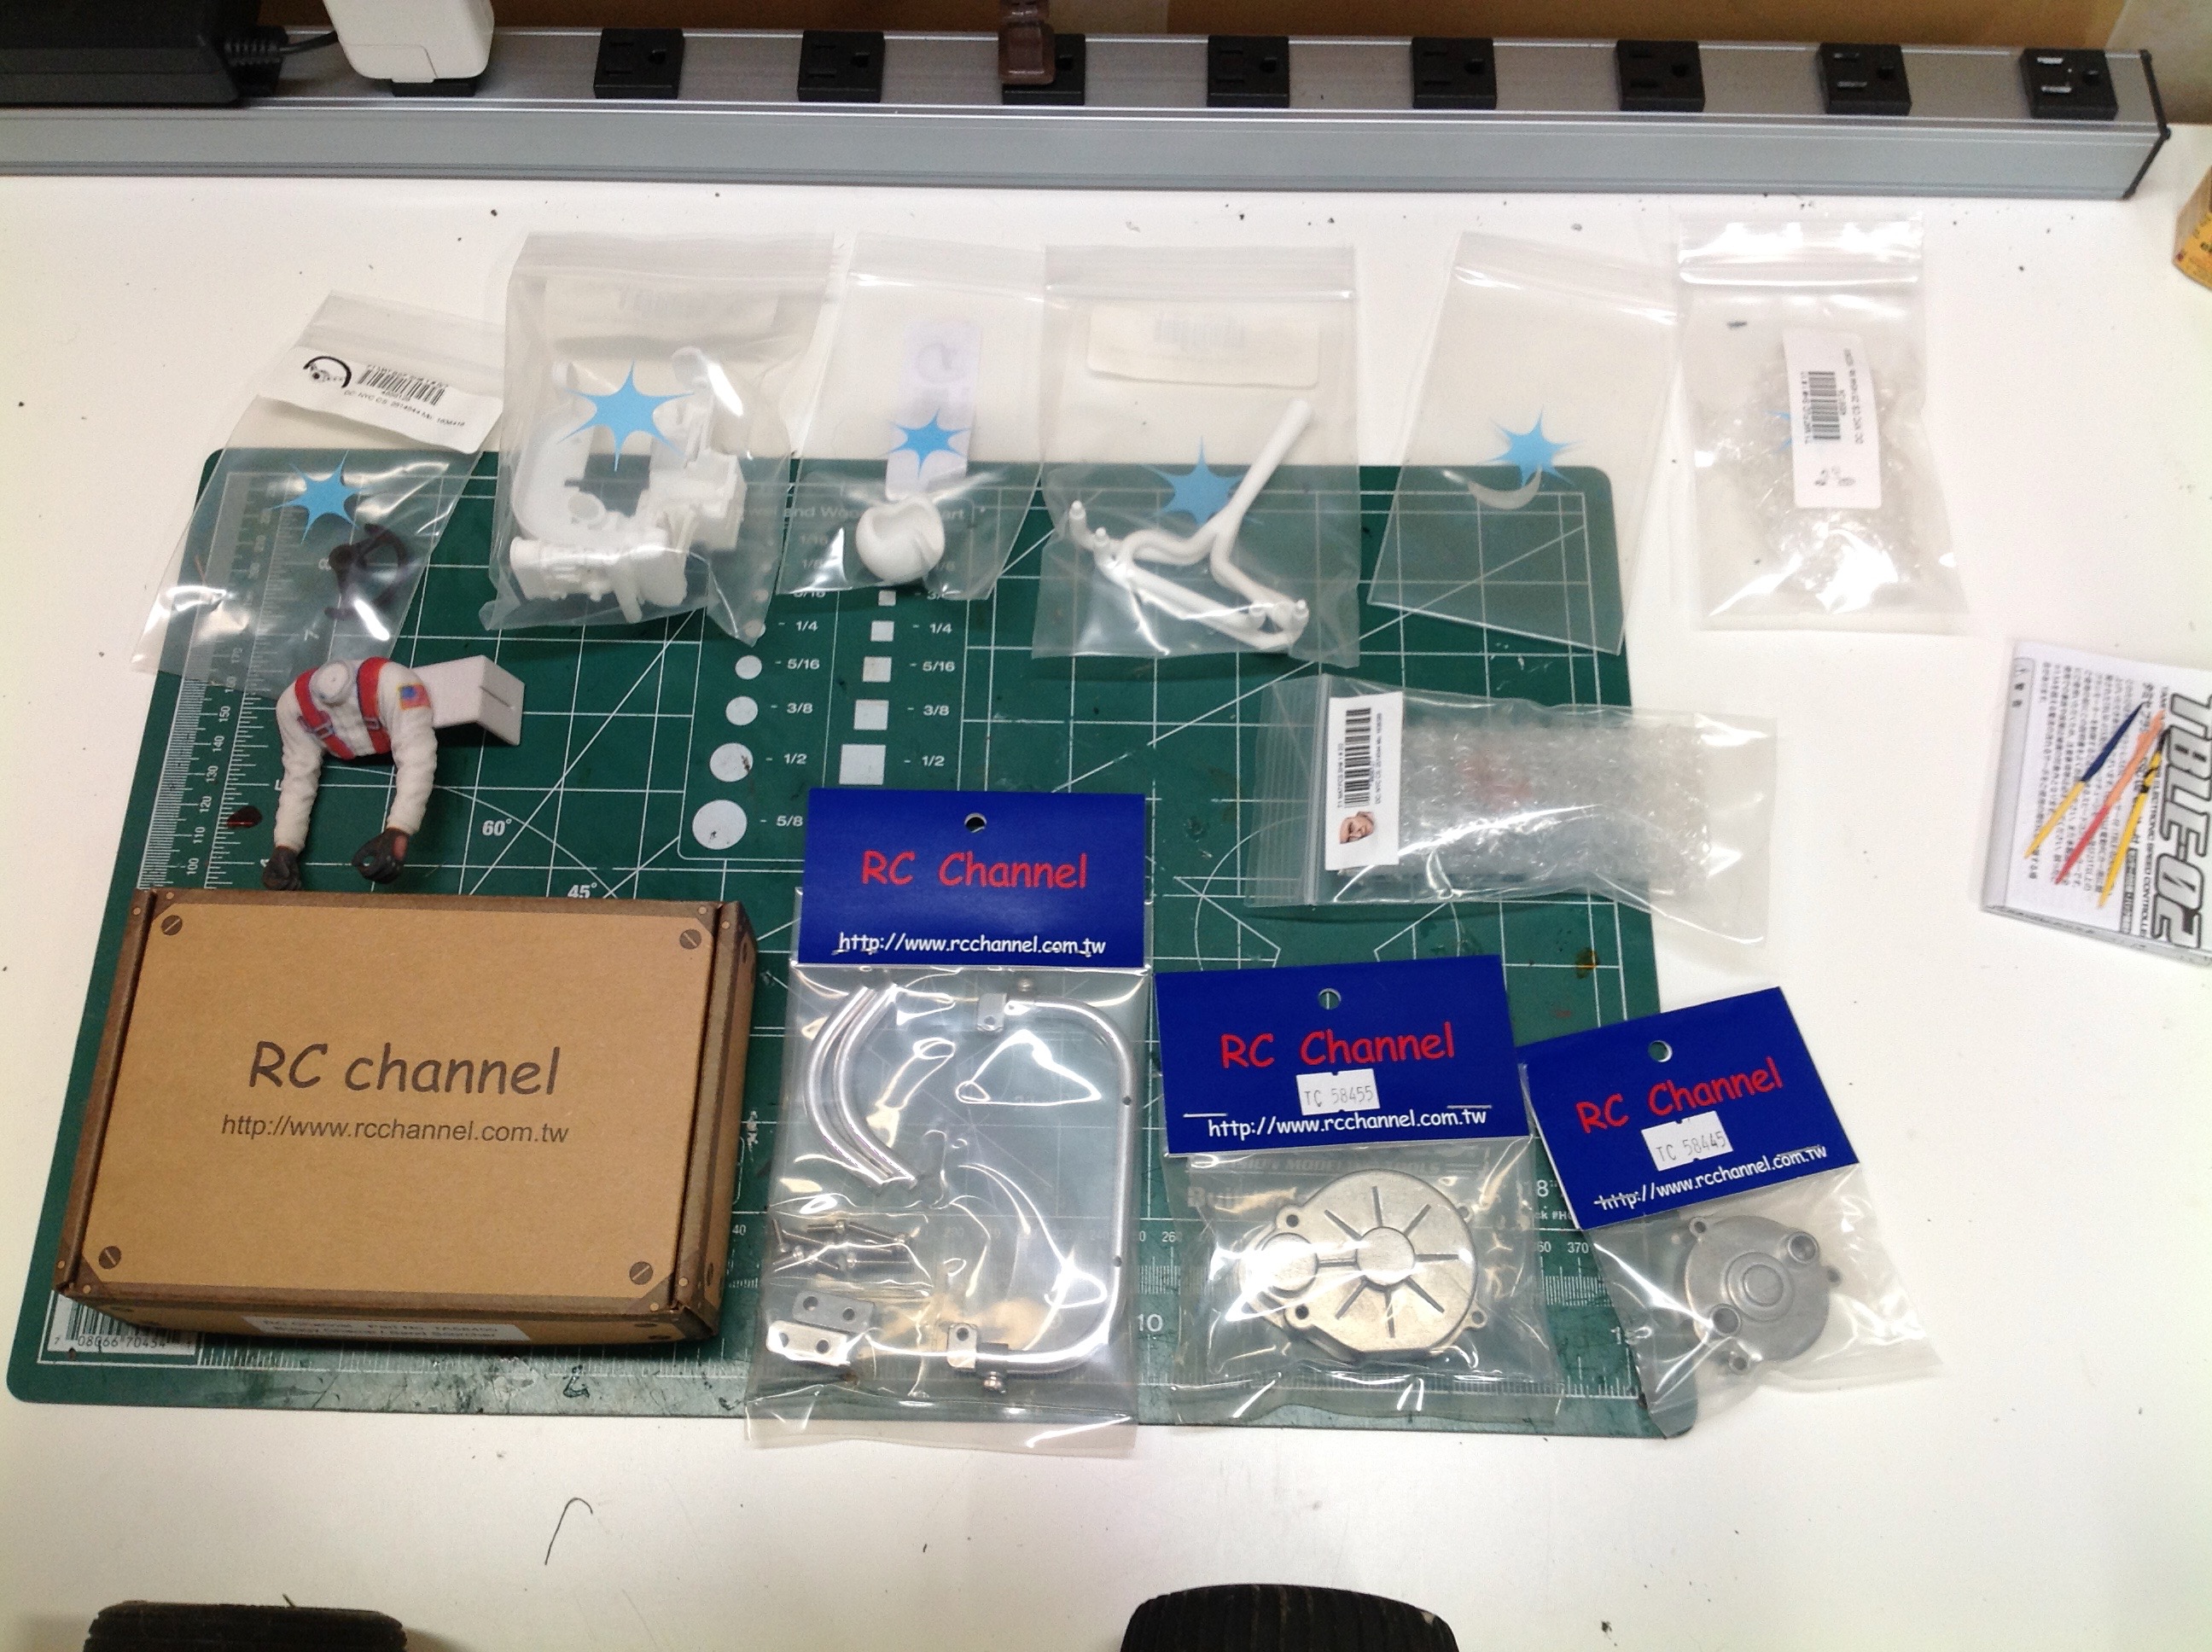
They just had too much good stuff to resist. I bought the RC
Channel "metal rear suspension" without even realizing that the stock
suspension is already metal. What this really is is a conversion
kit to change from swing arm to double wishbone suspension while
retaining the stock look of the original metal parts. The right
hand image shows the high quality contents of some of the bags. I
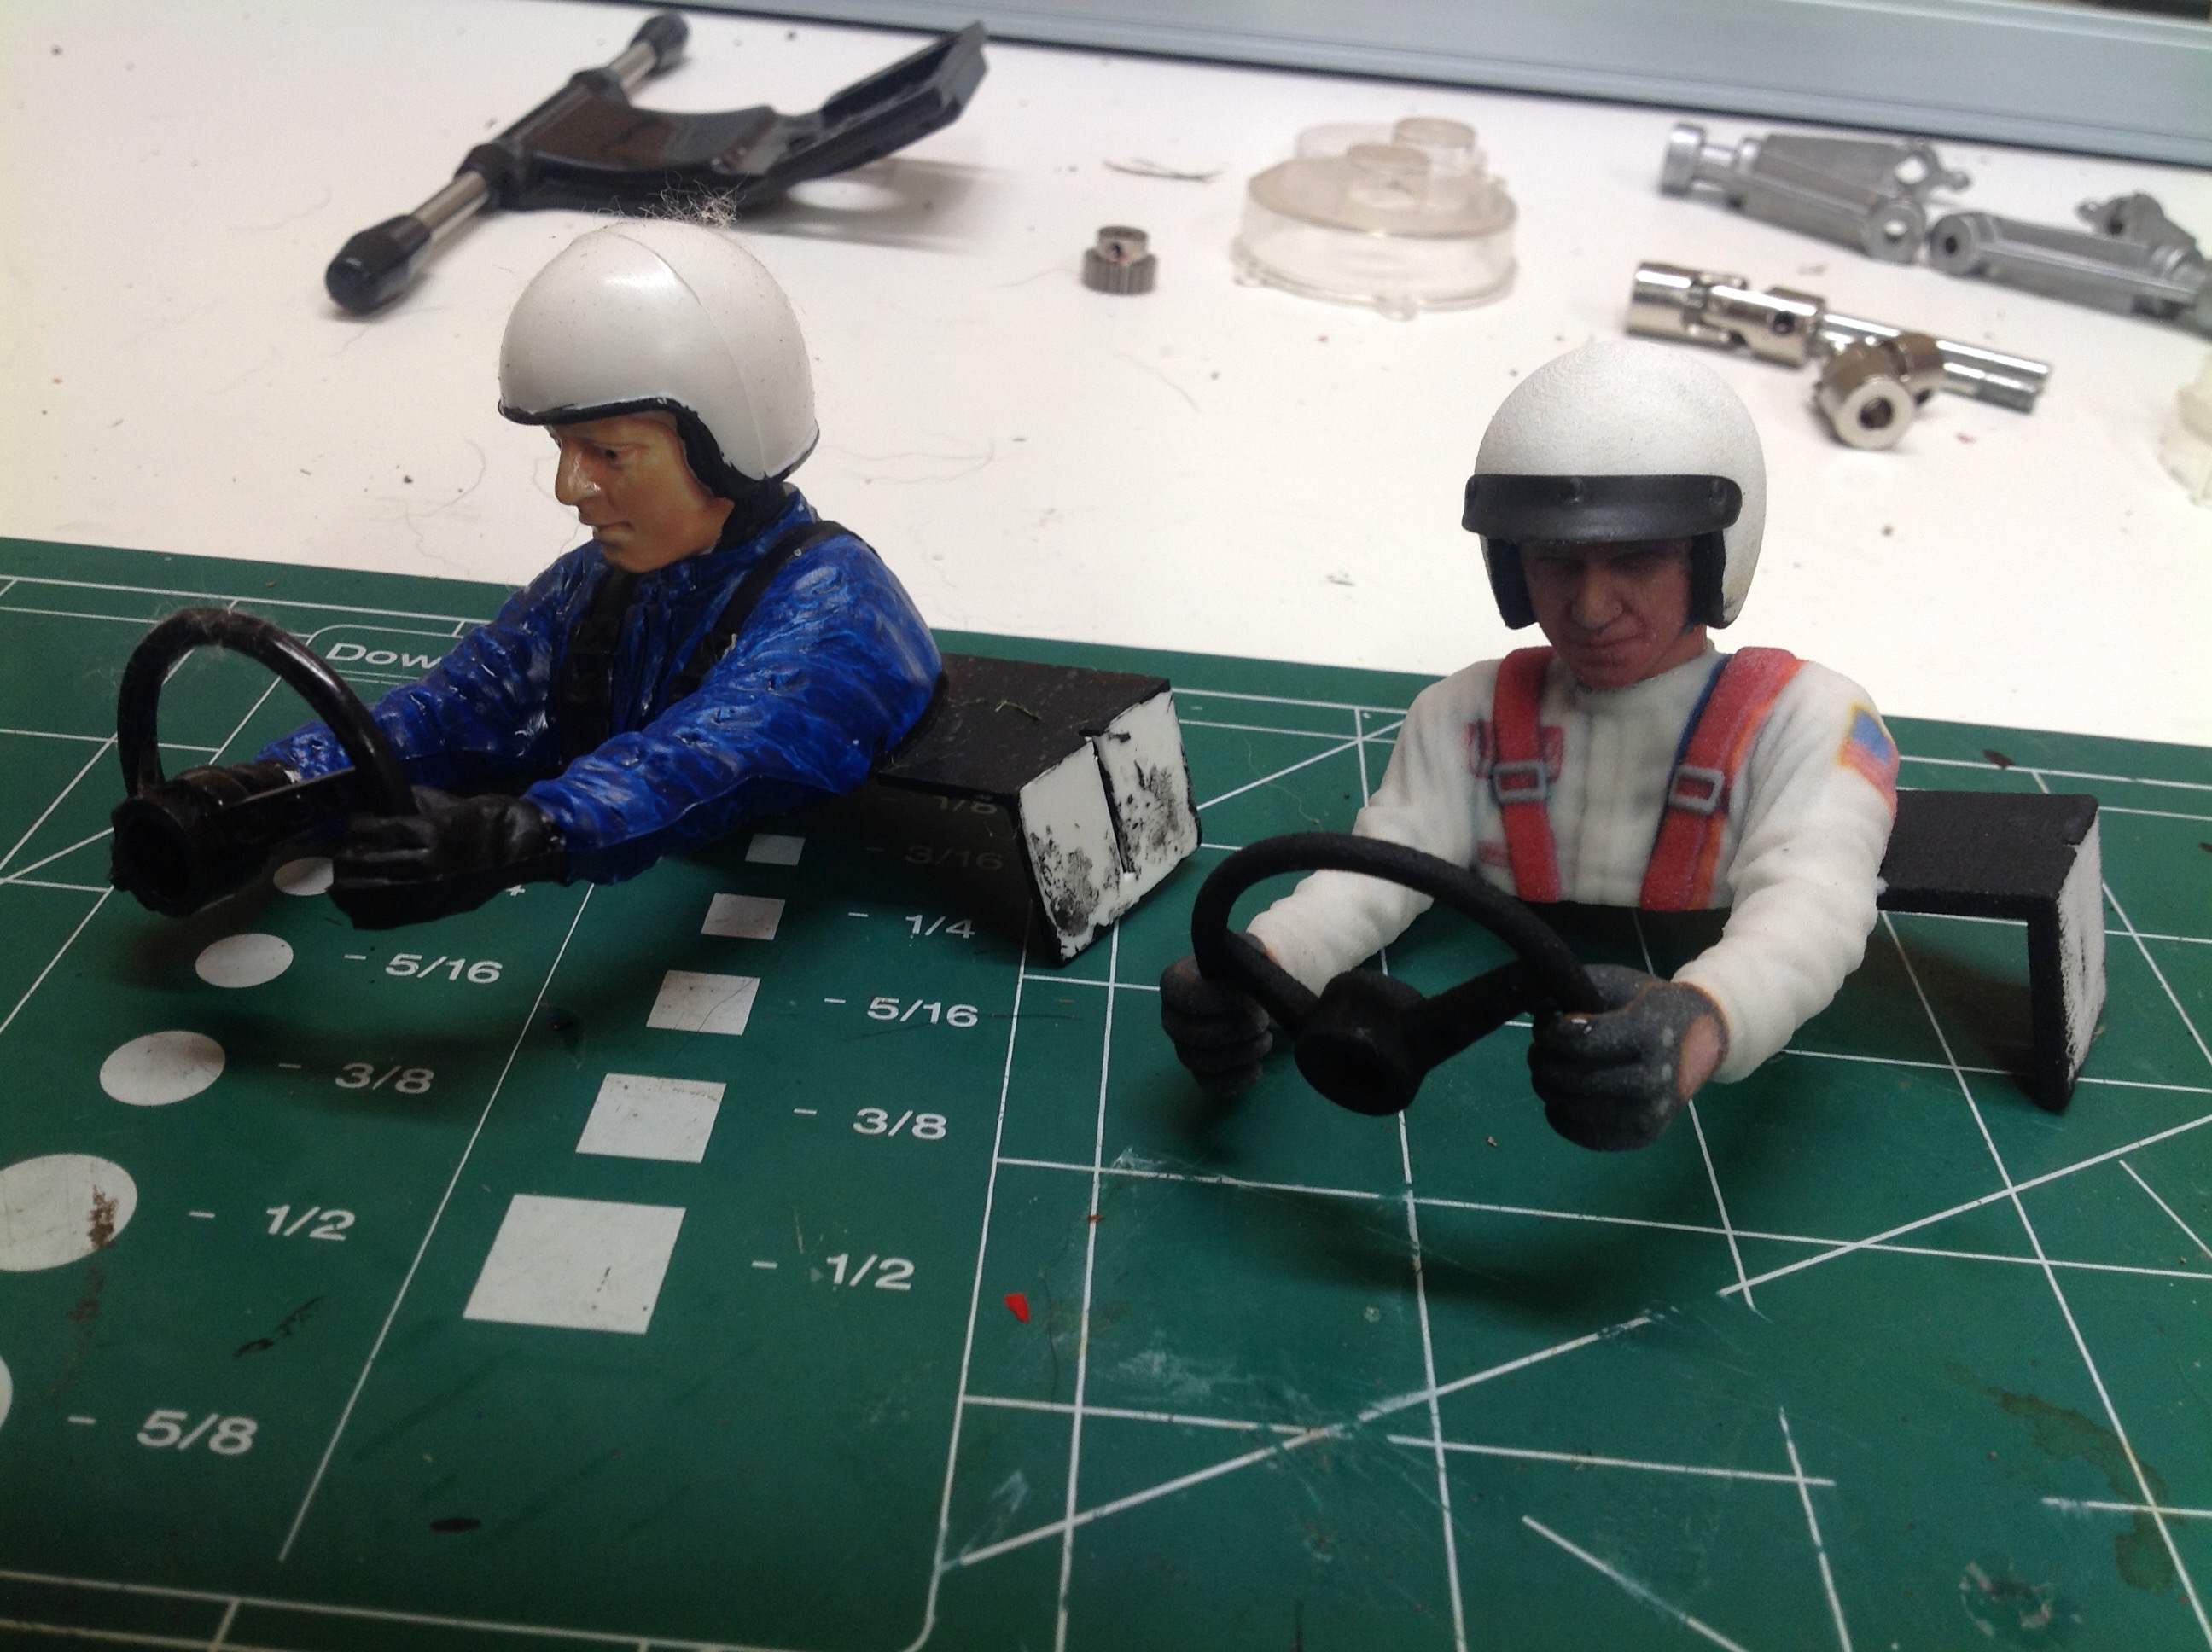
also got a bunch of 3D printed parts to add a scale engine and a better
driver figure.
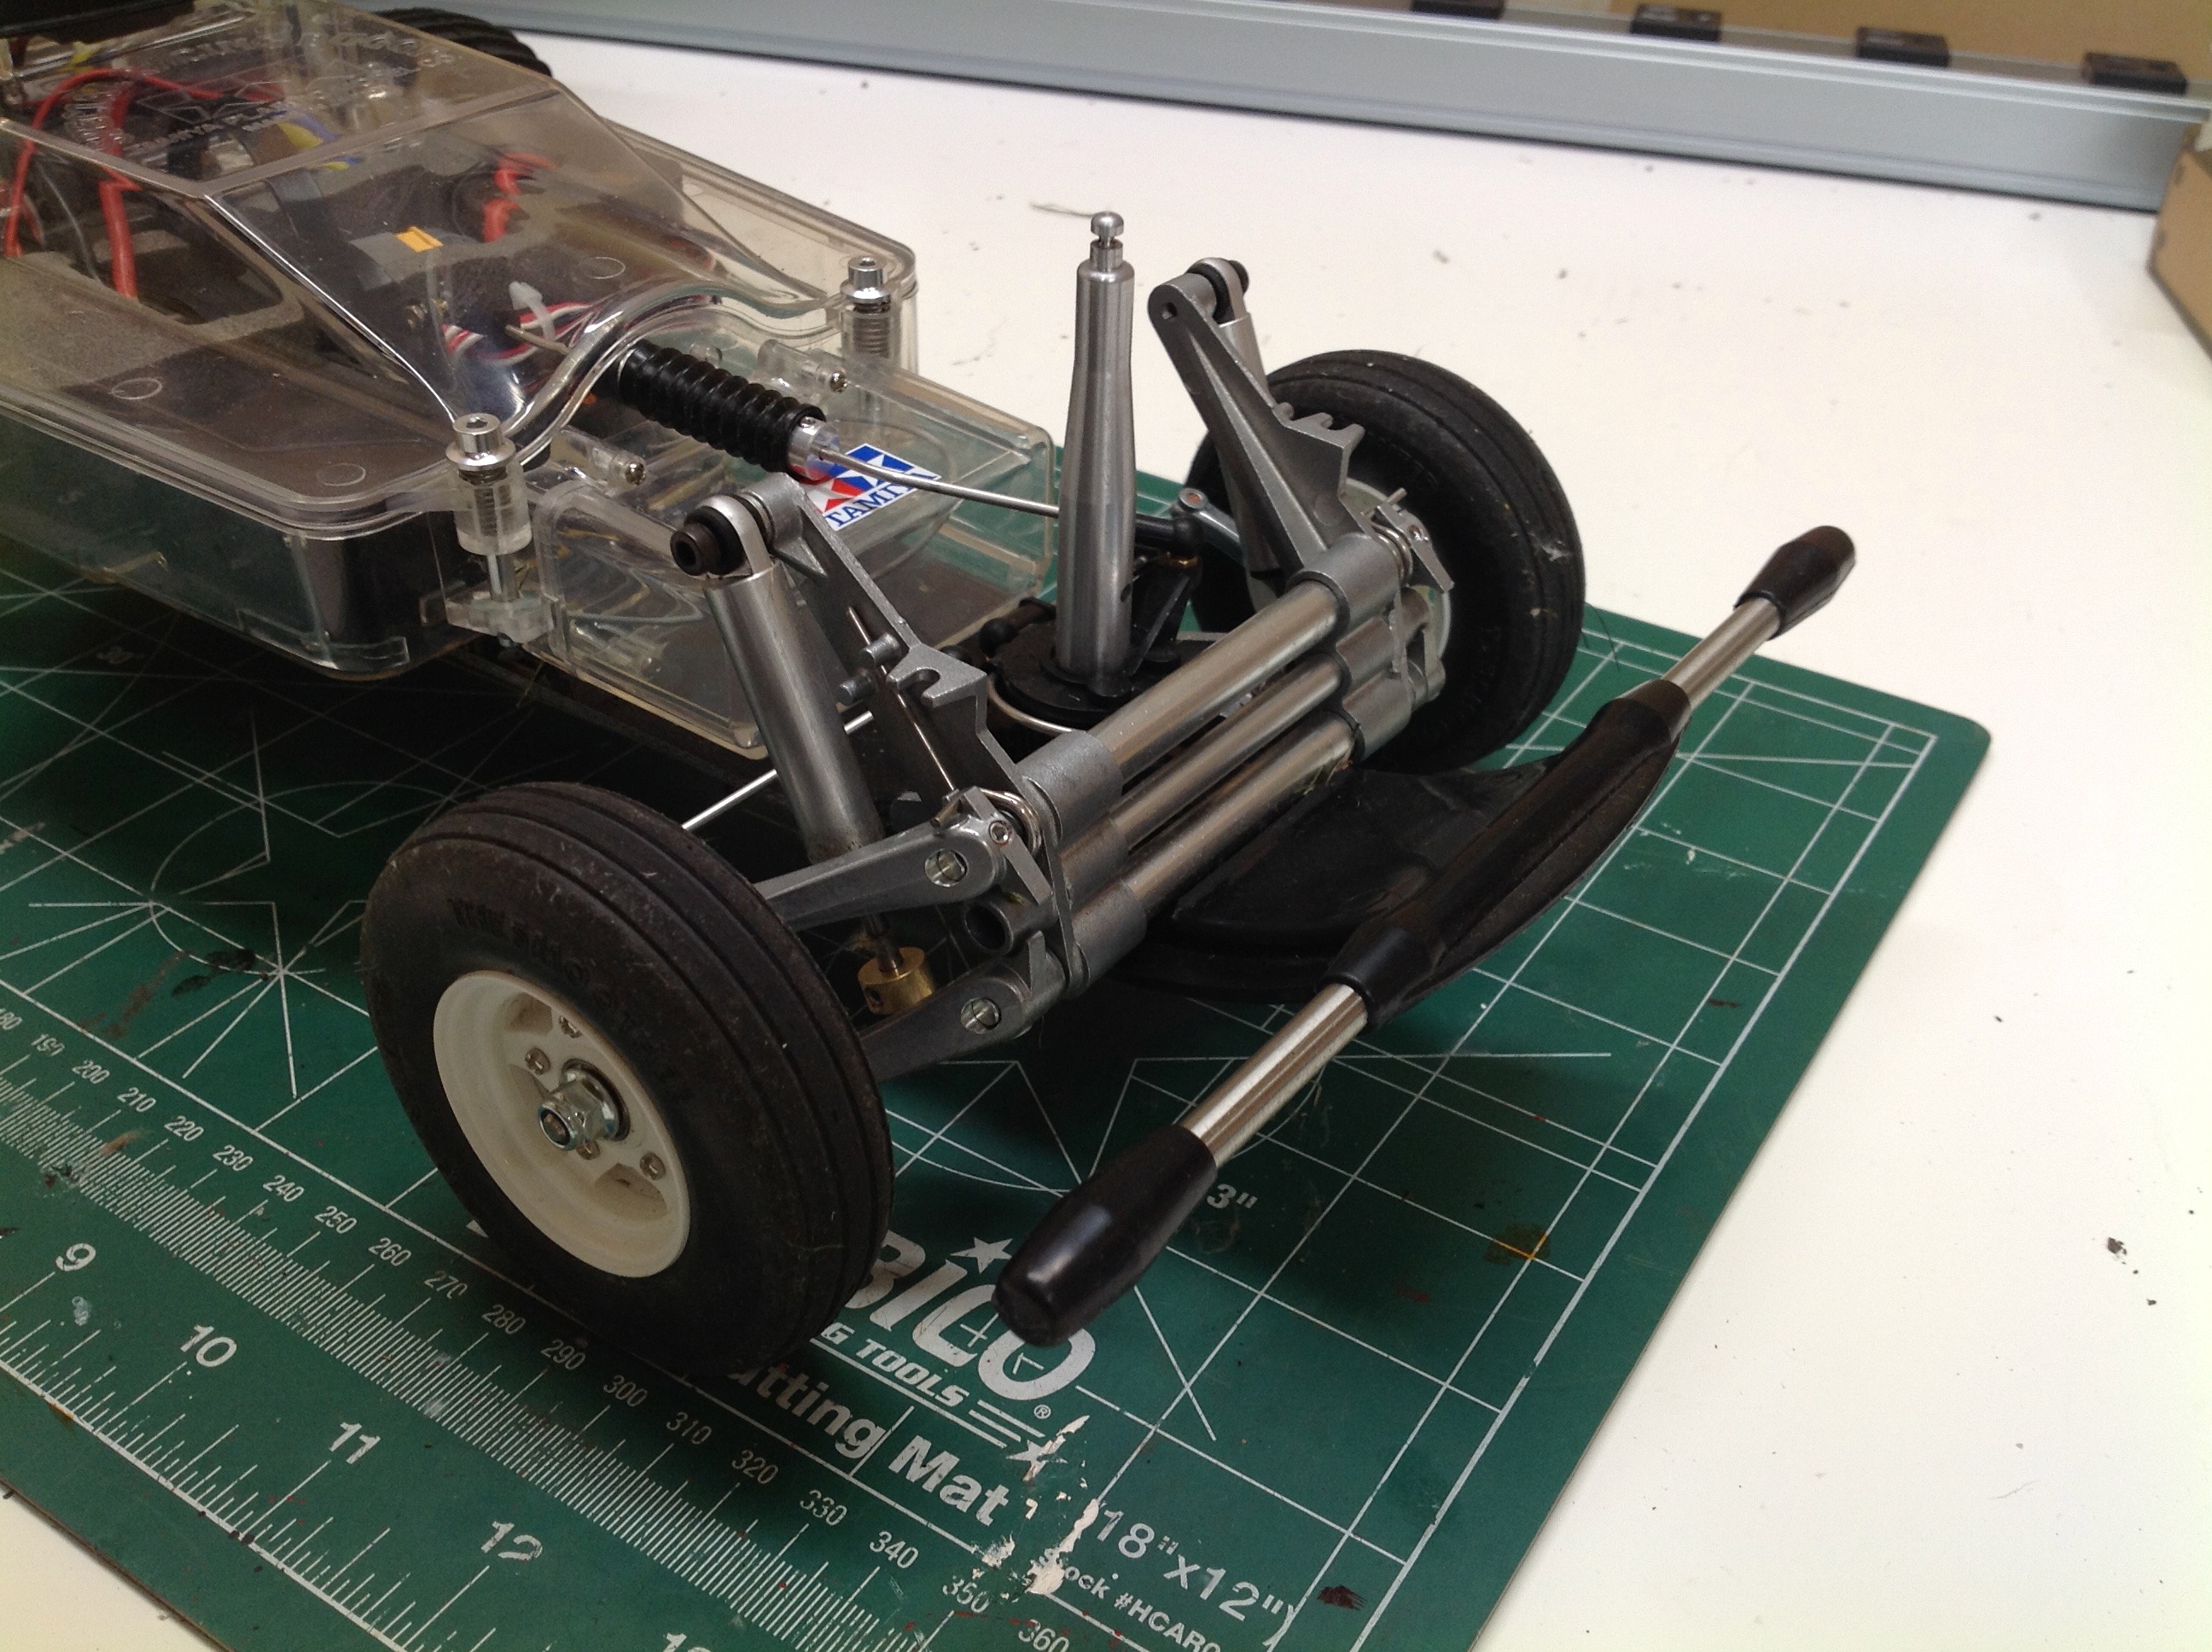
We'll start with the front bumper. Although the bumper which comes
in the box is a pretty nice aluminum bar embedded in a plastic shell,
it does not match the nice tube bumper shown on the box art. The
new bumper looks exactly like it should. The cost of that new good
looking is the loss of protection for the front wheels in the event of
an impact.
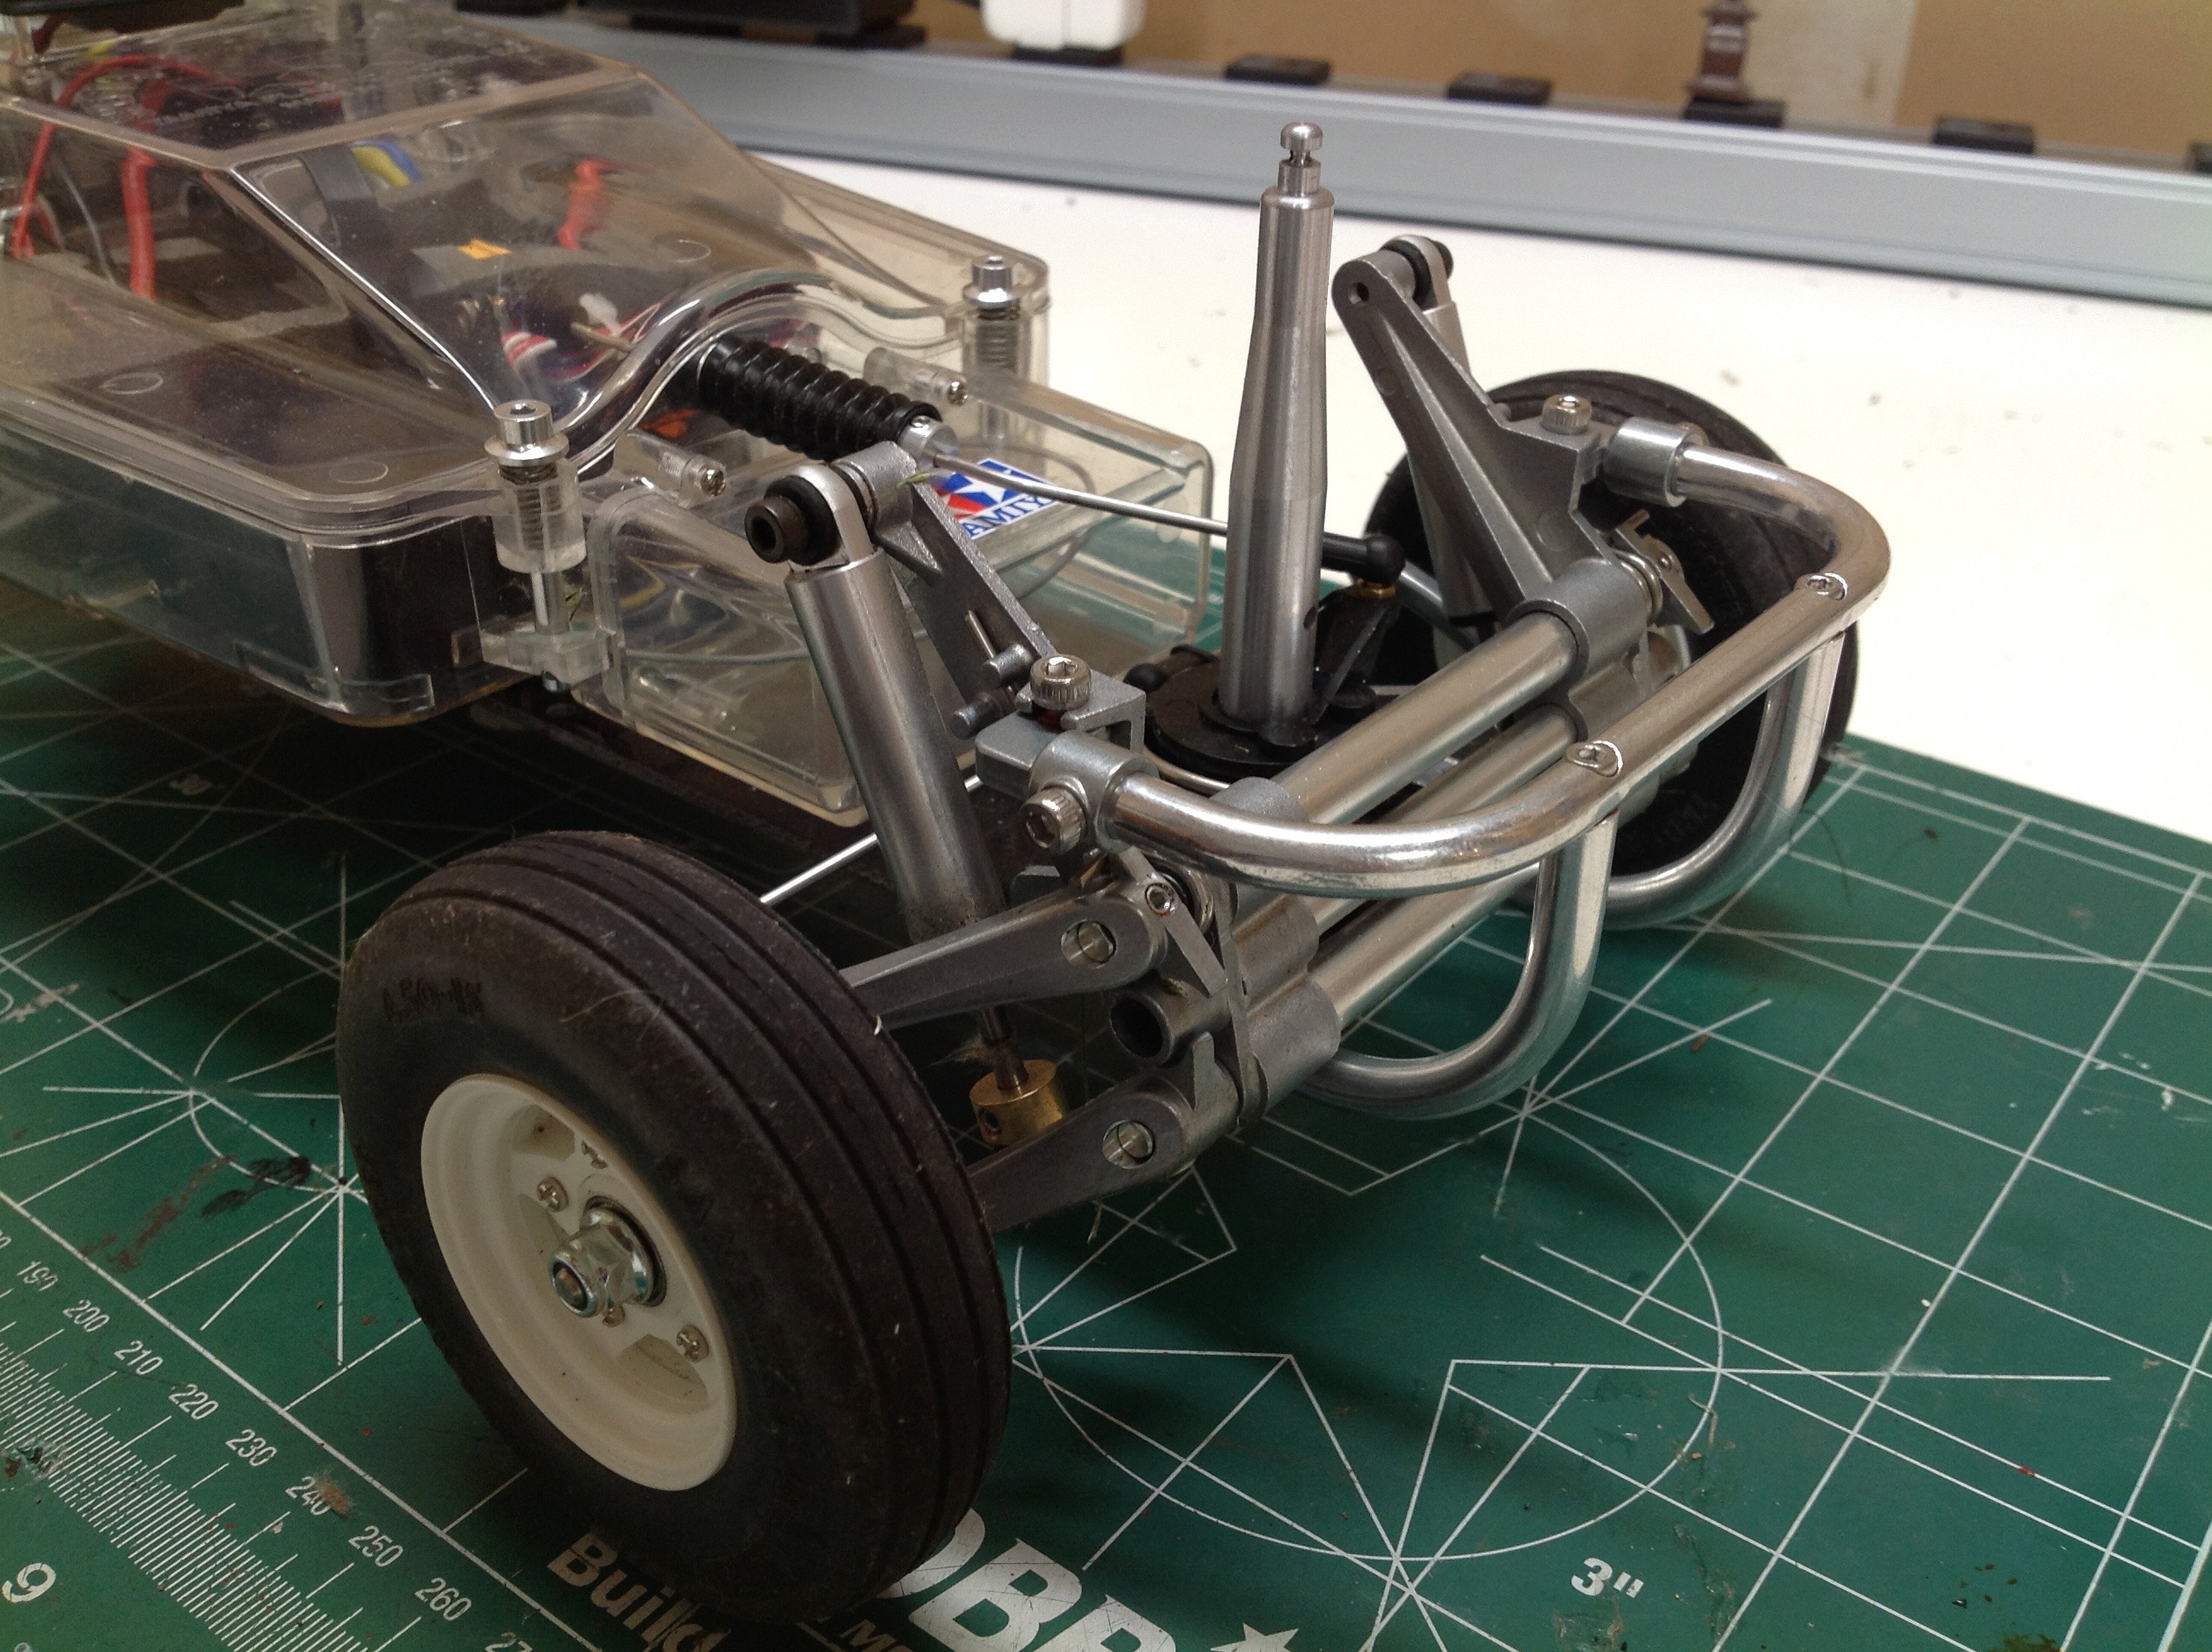
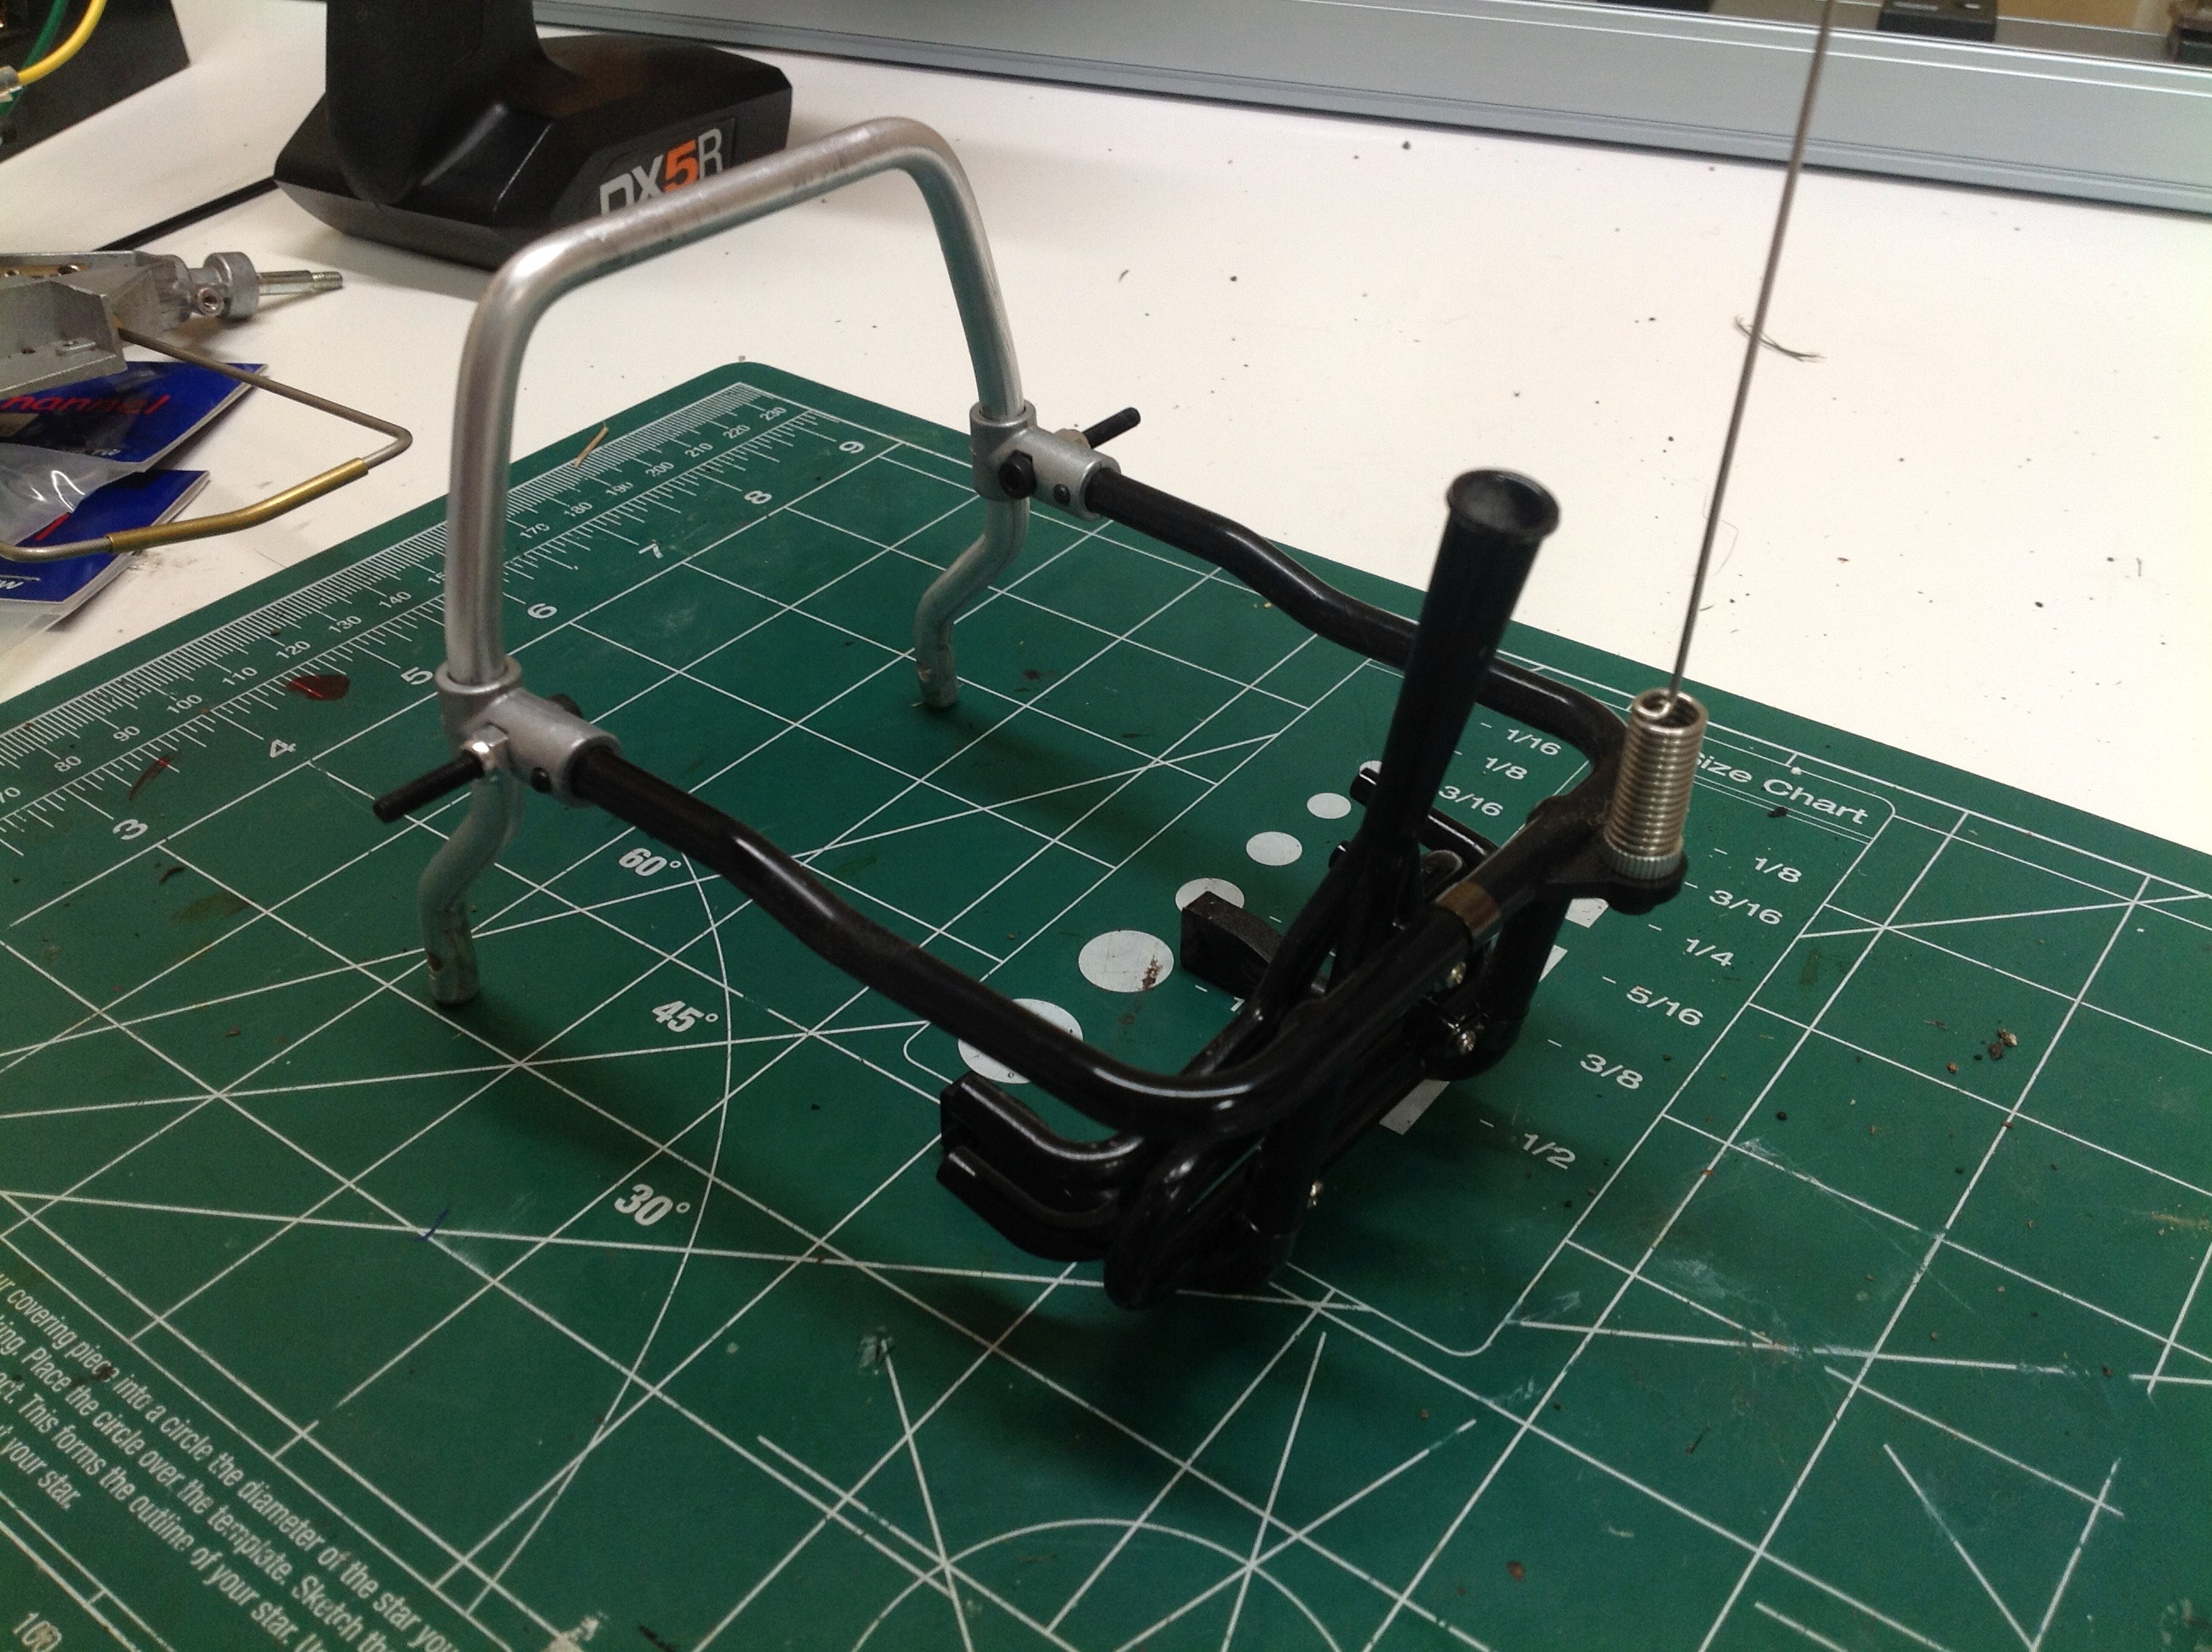
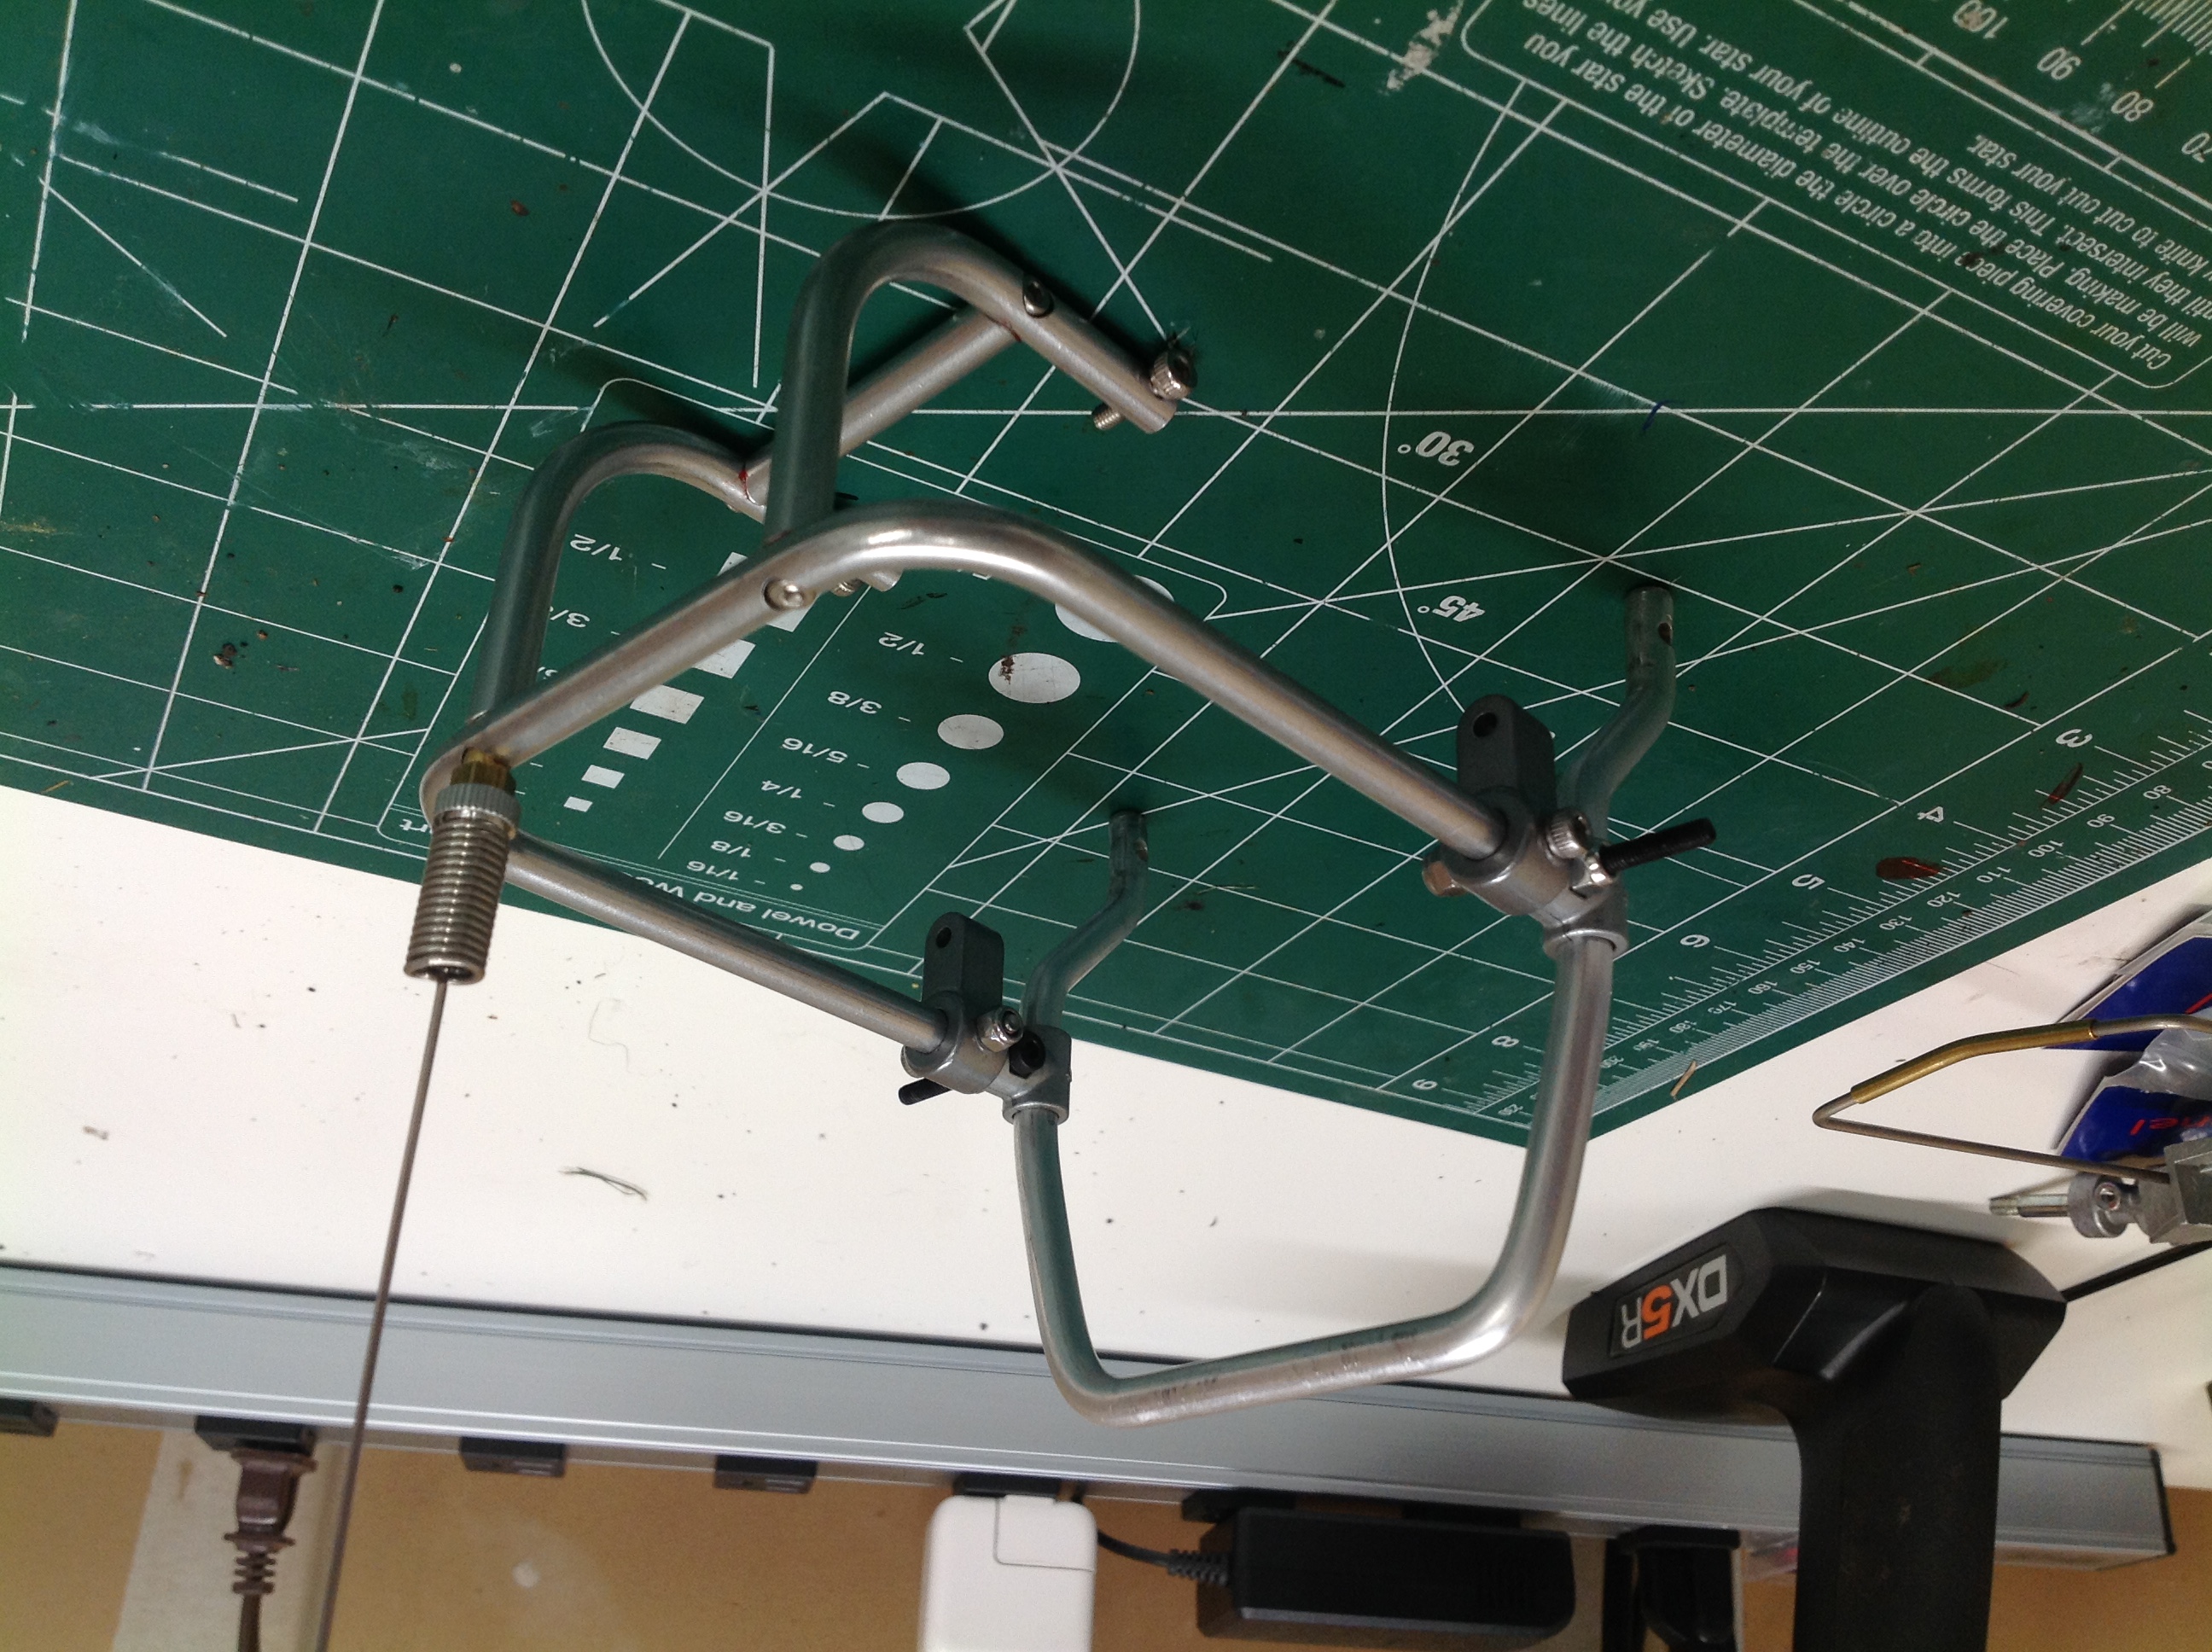
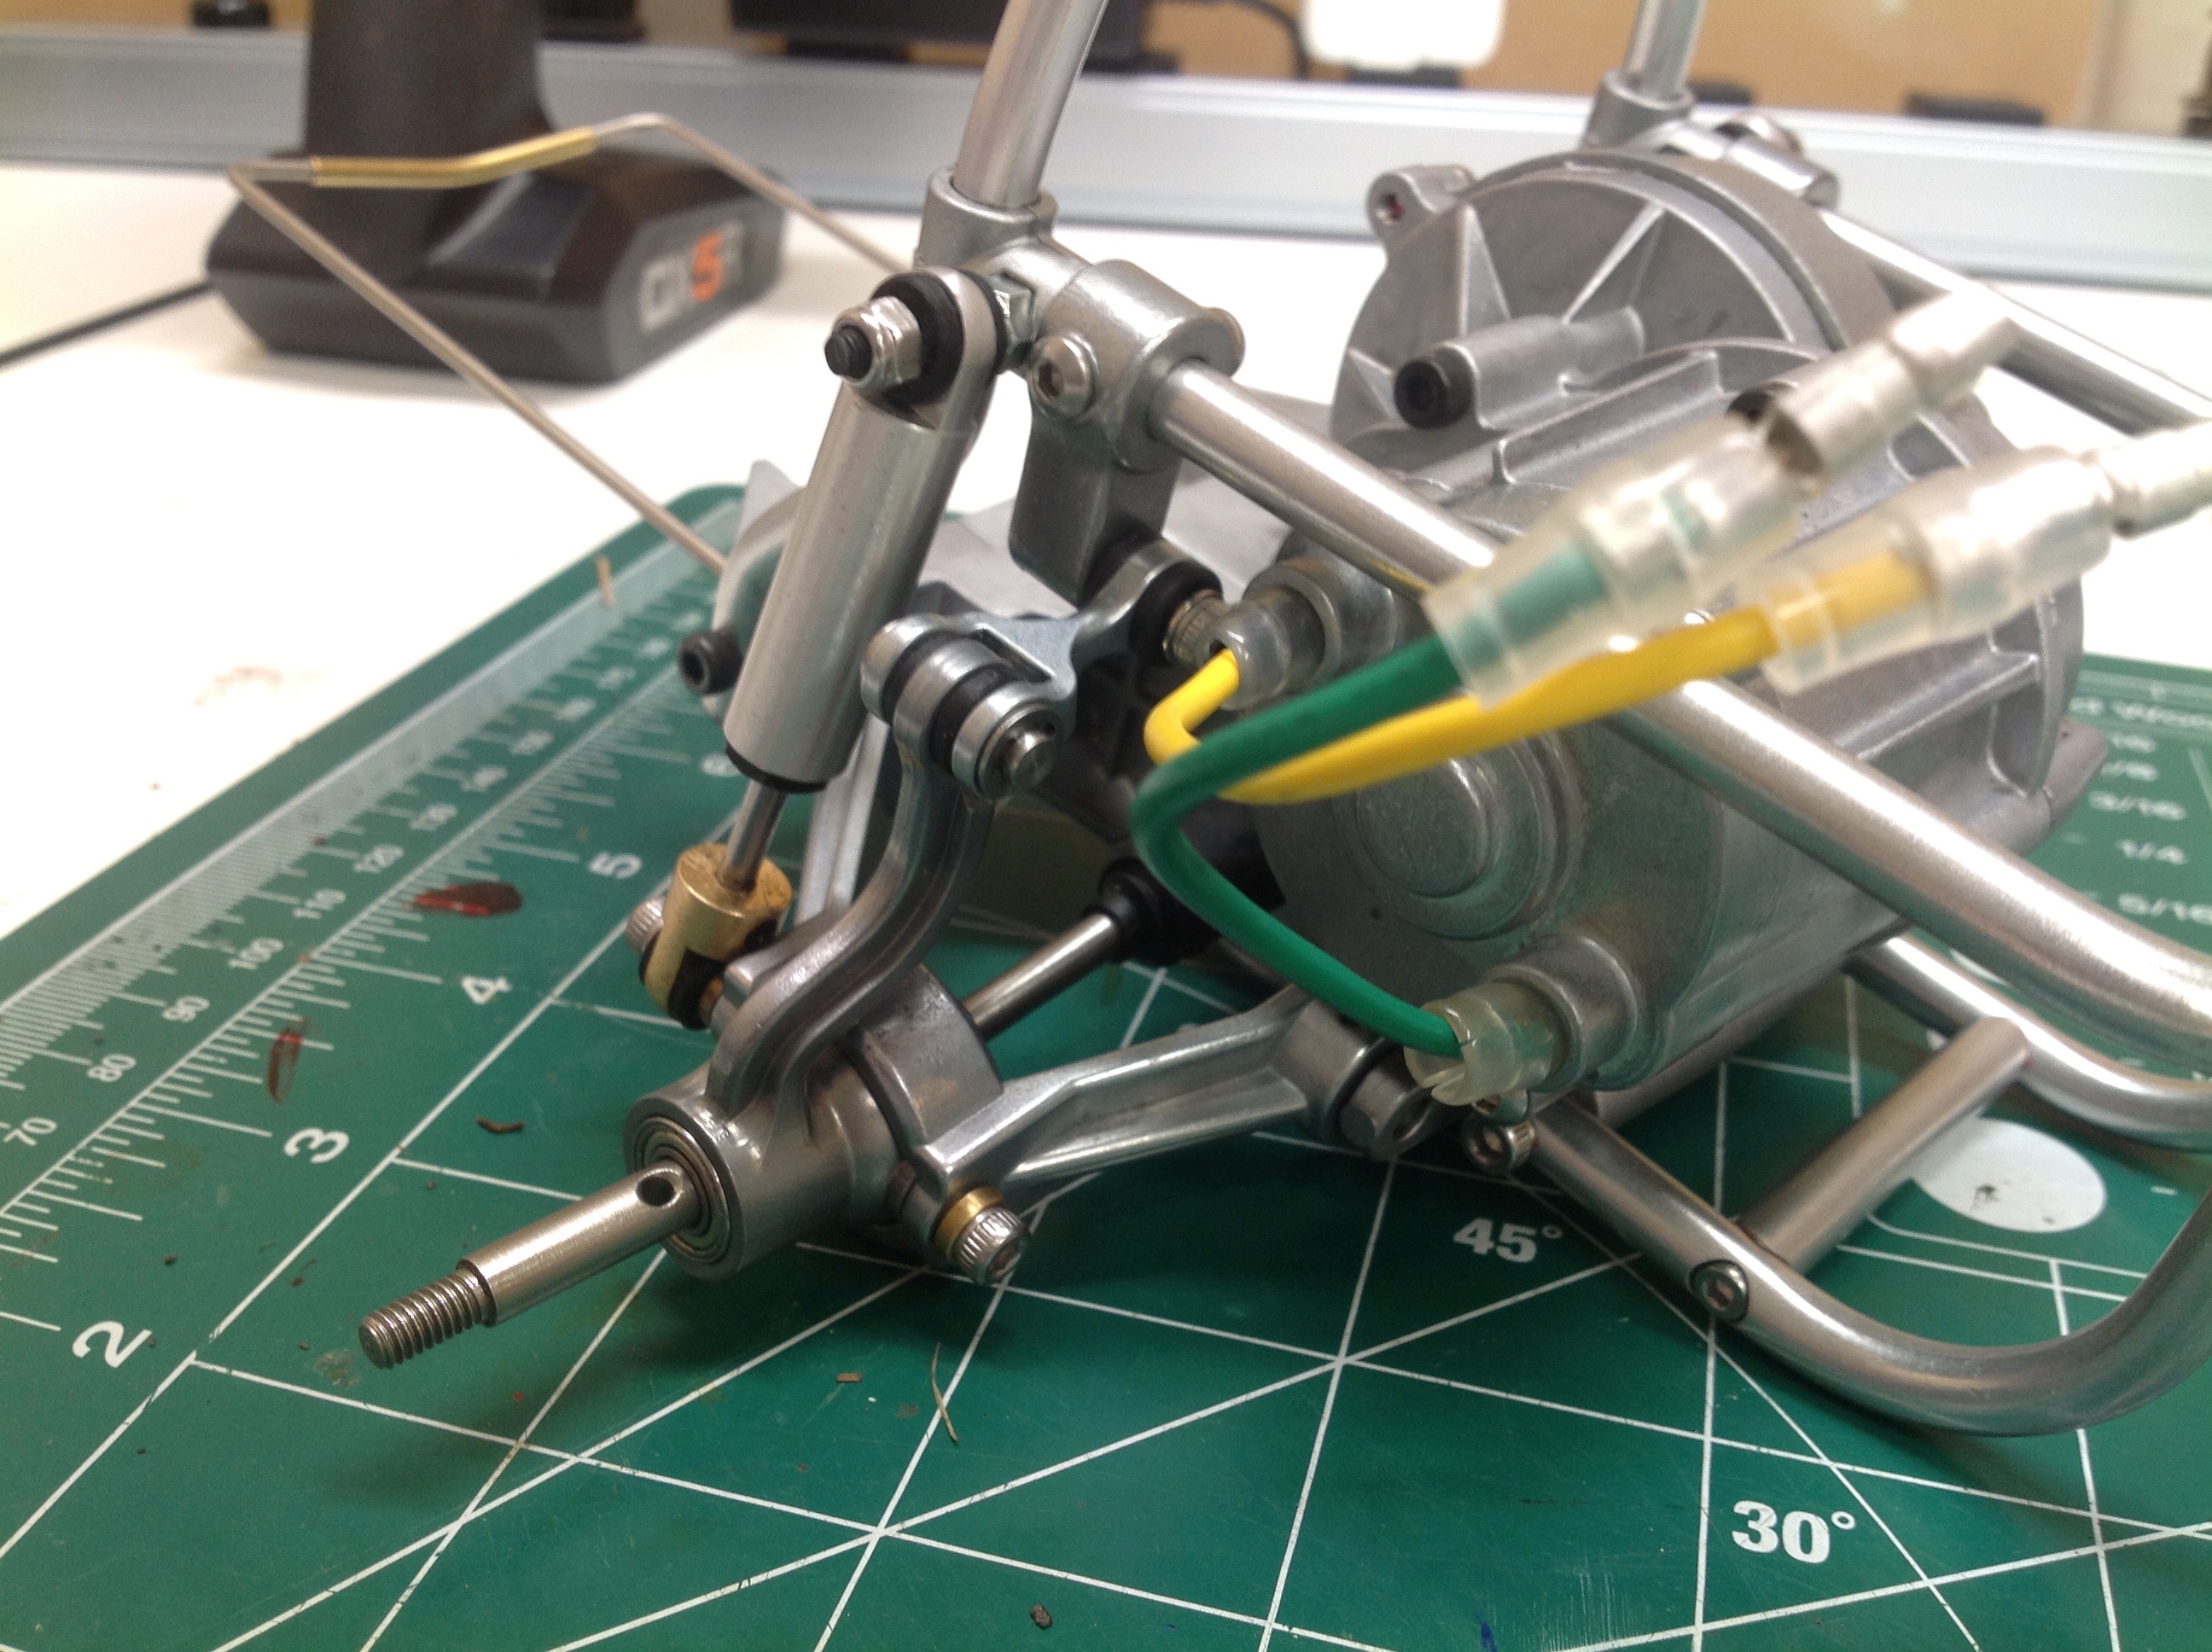
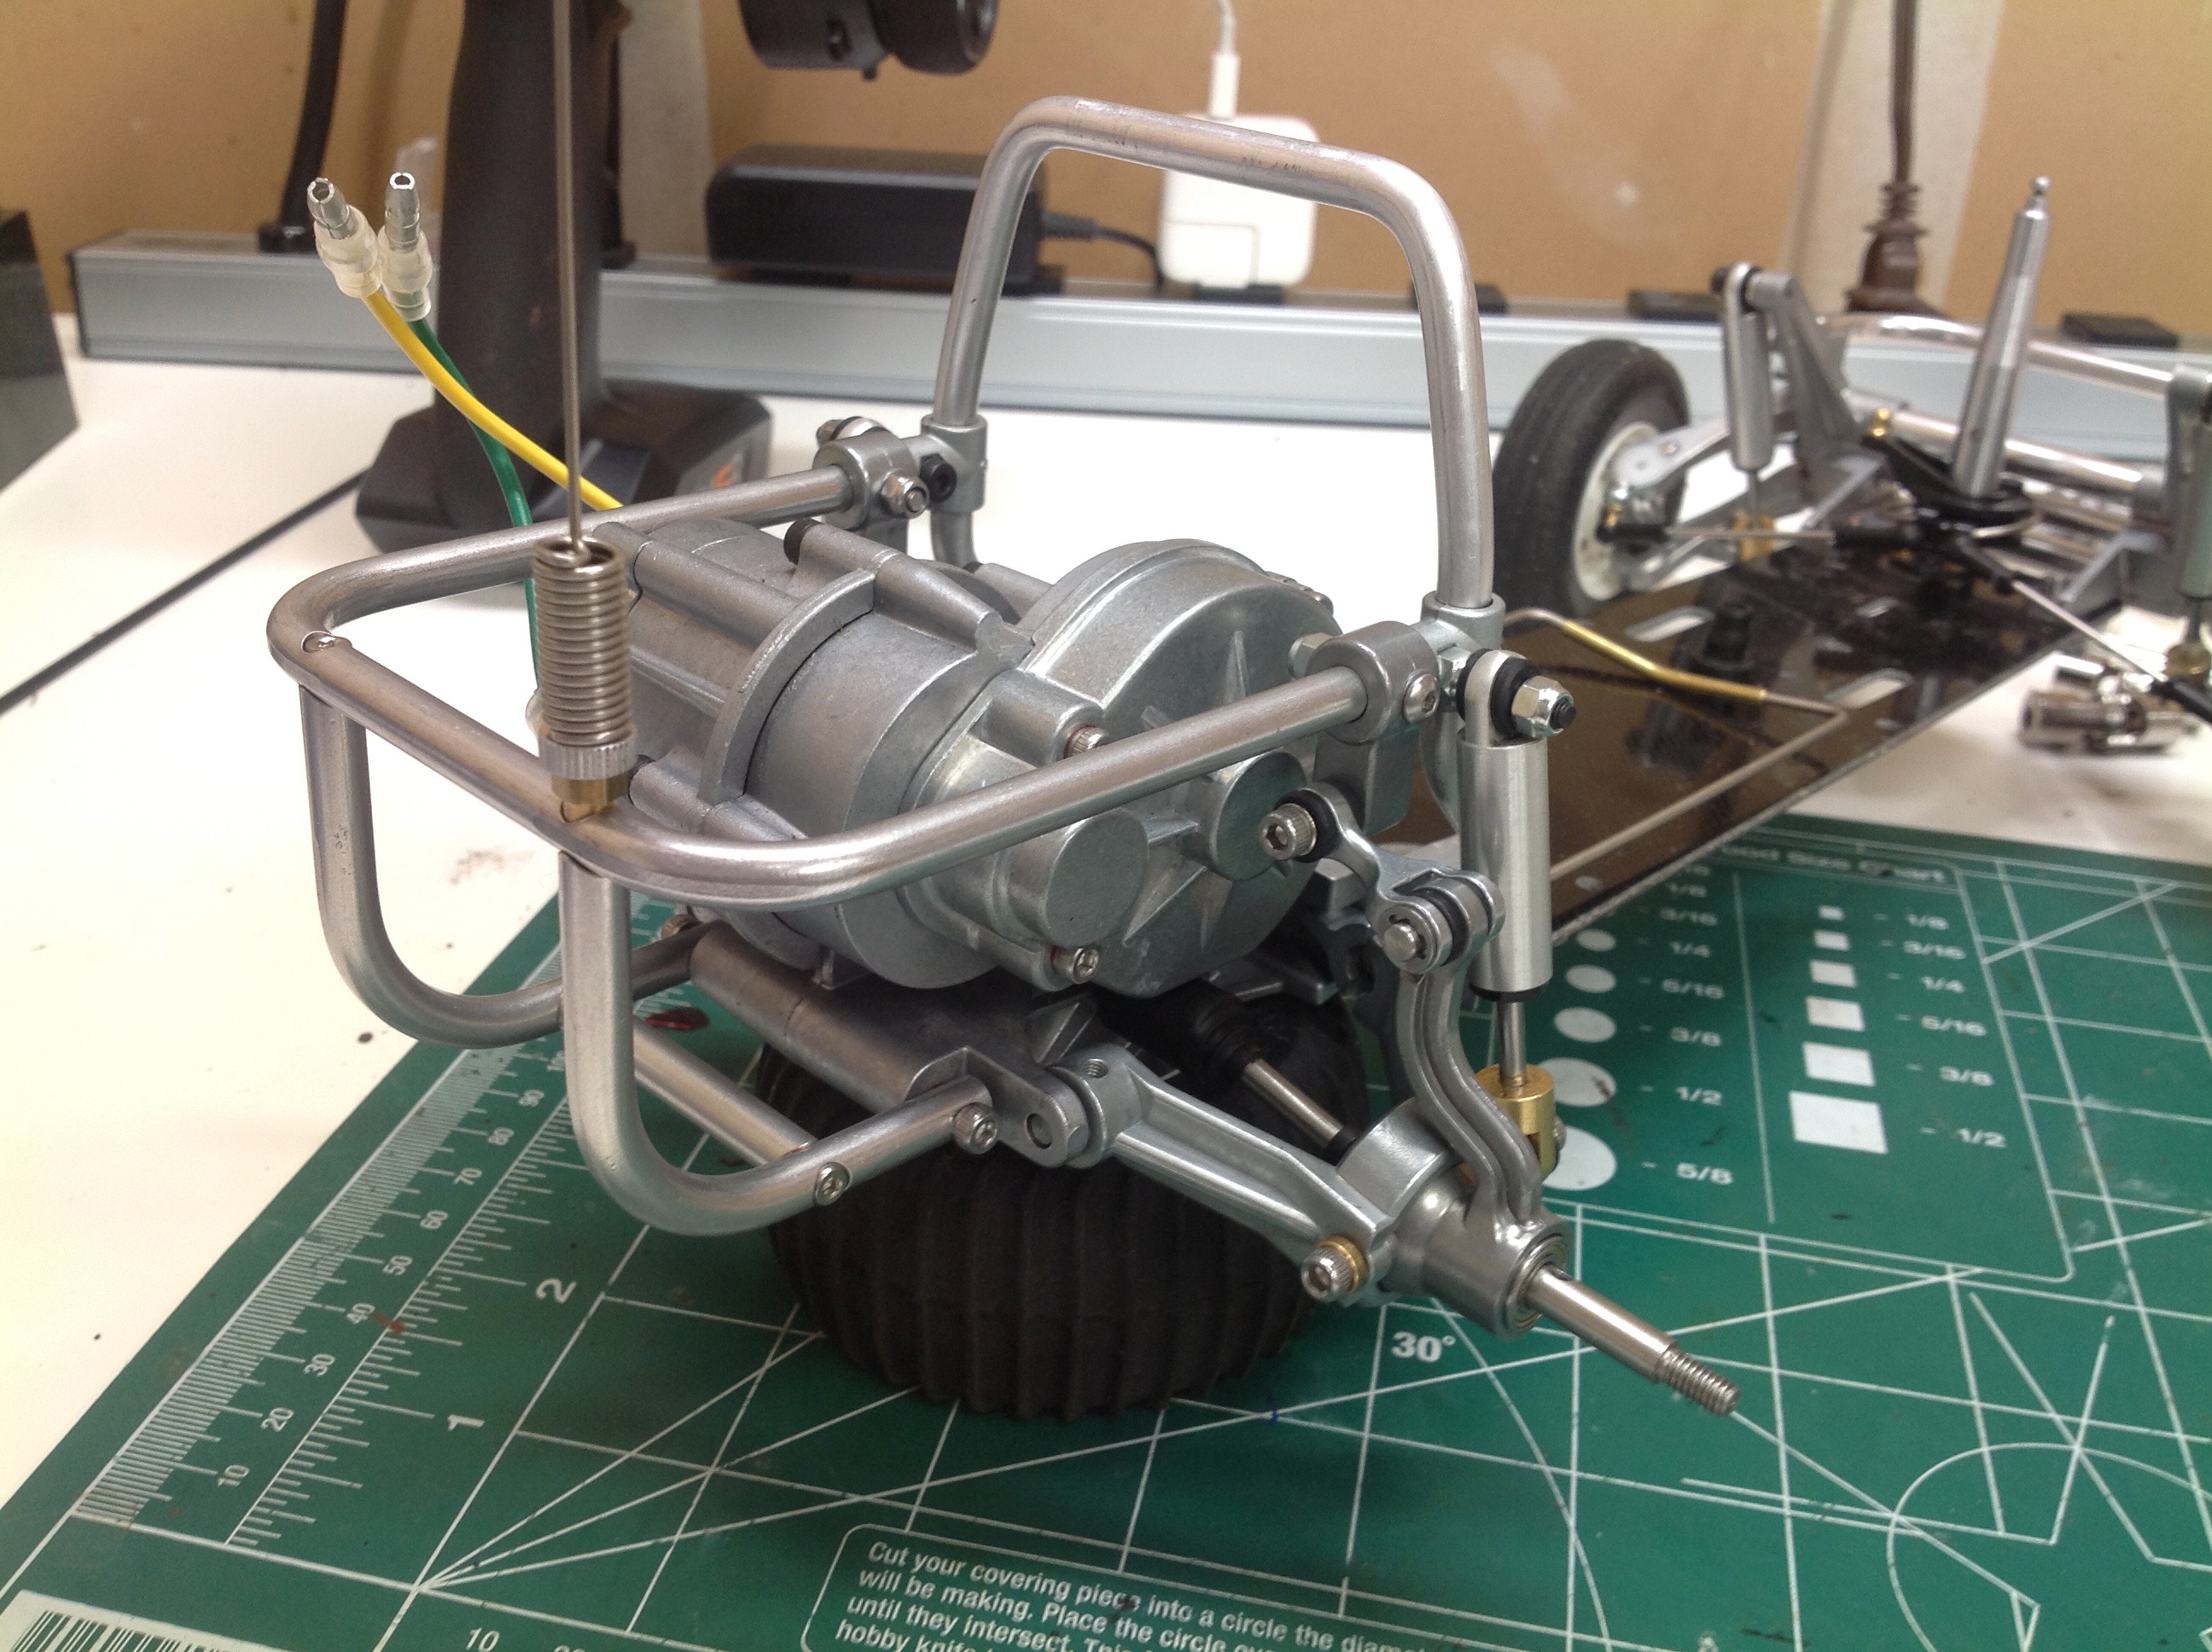
Let's do the same thing for the rear bumper. The roll bar is metal
but the cage is plastic. We'll replace the cage with tube stock
and also remove the plastic exhaust which will be replaced later.
You can see the metal links hanging down behind the roll bar which will
become the supports for the new upper suspension links.
High on the list of unnecessary upgrades is the replacement of the stock
plastic motor cover with a metal cover. Does nothing for you but
looks good. It actually does add a little bit of clearance around
one of the bolt which will help with the new suspension.
Now we can do the same thing to the clear gear cover on the other
side. This metal cover doesn't protect any better but seems a
little more "serious".
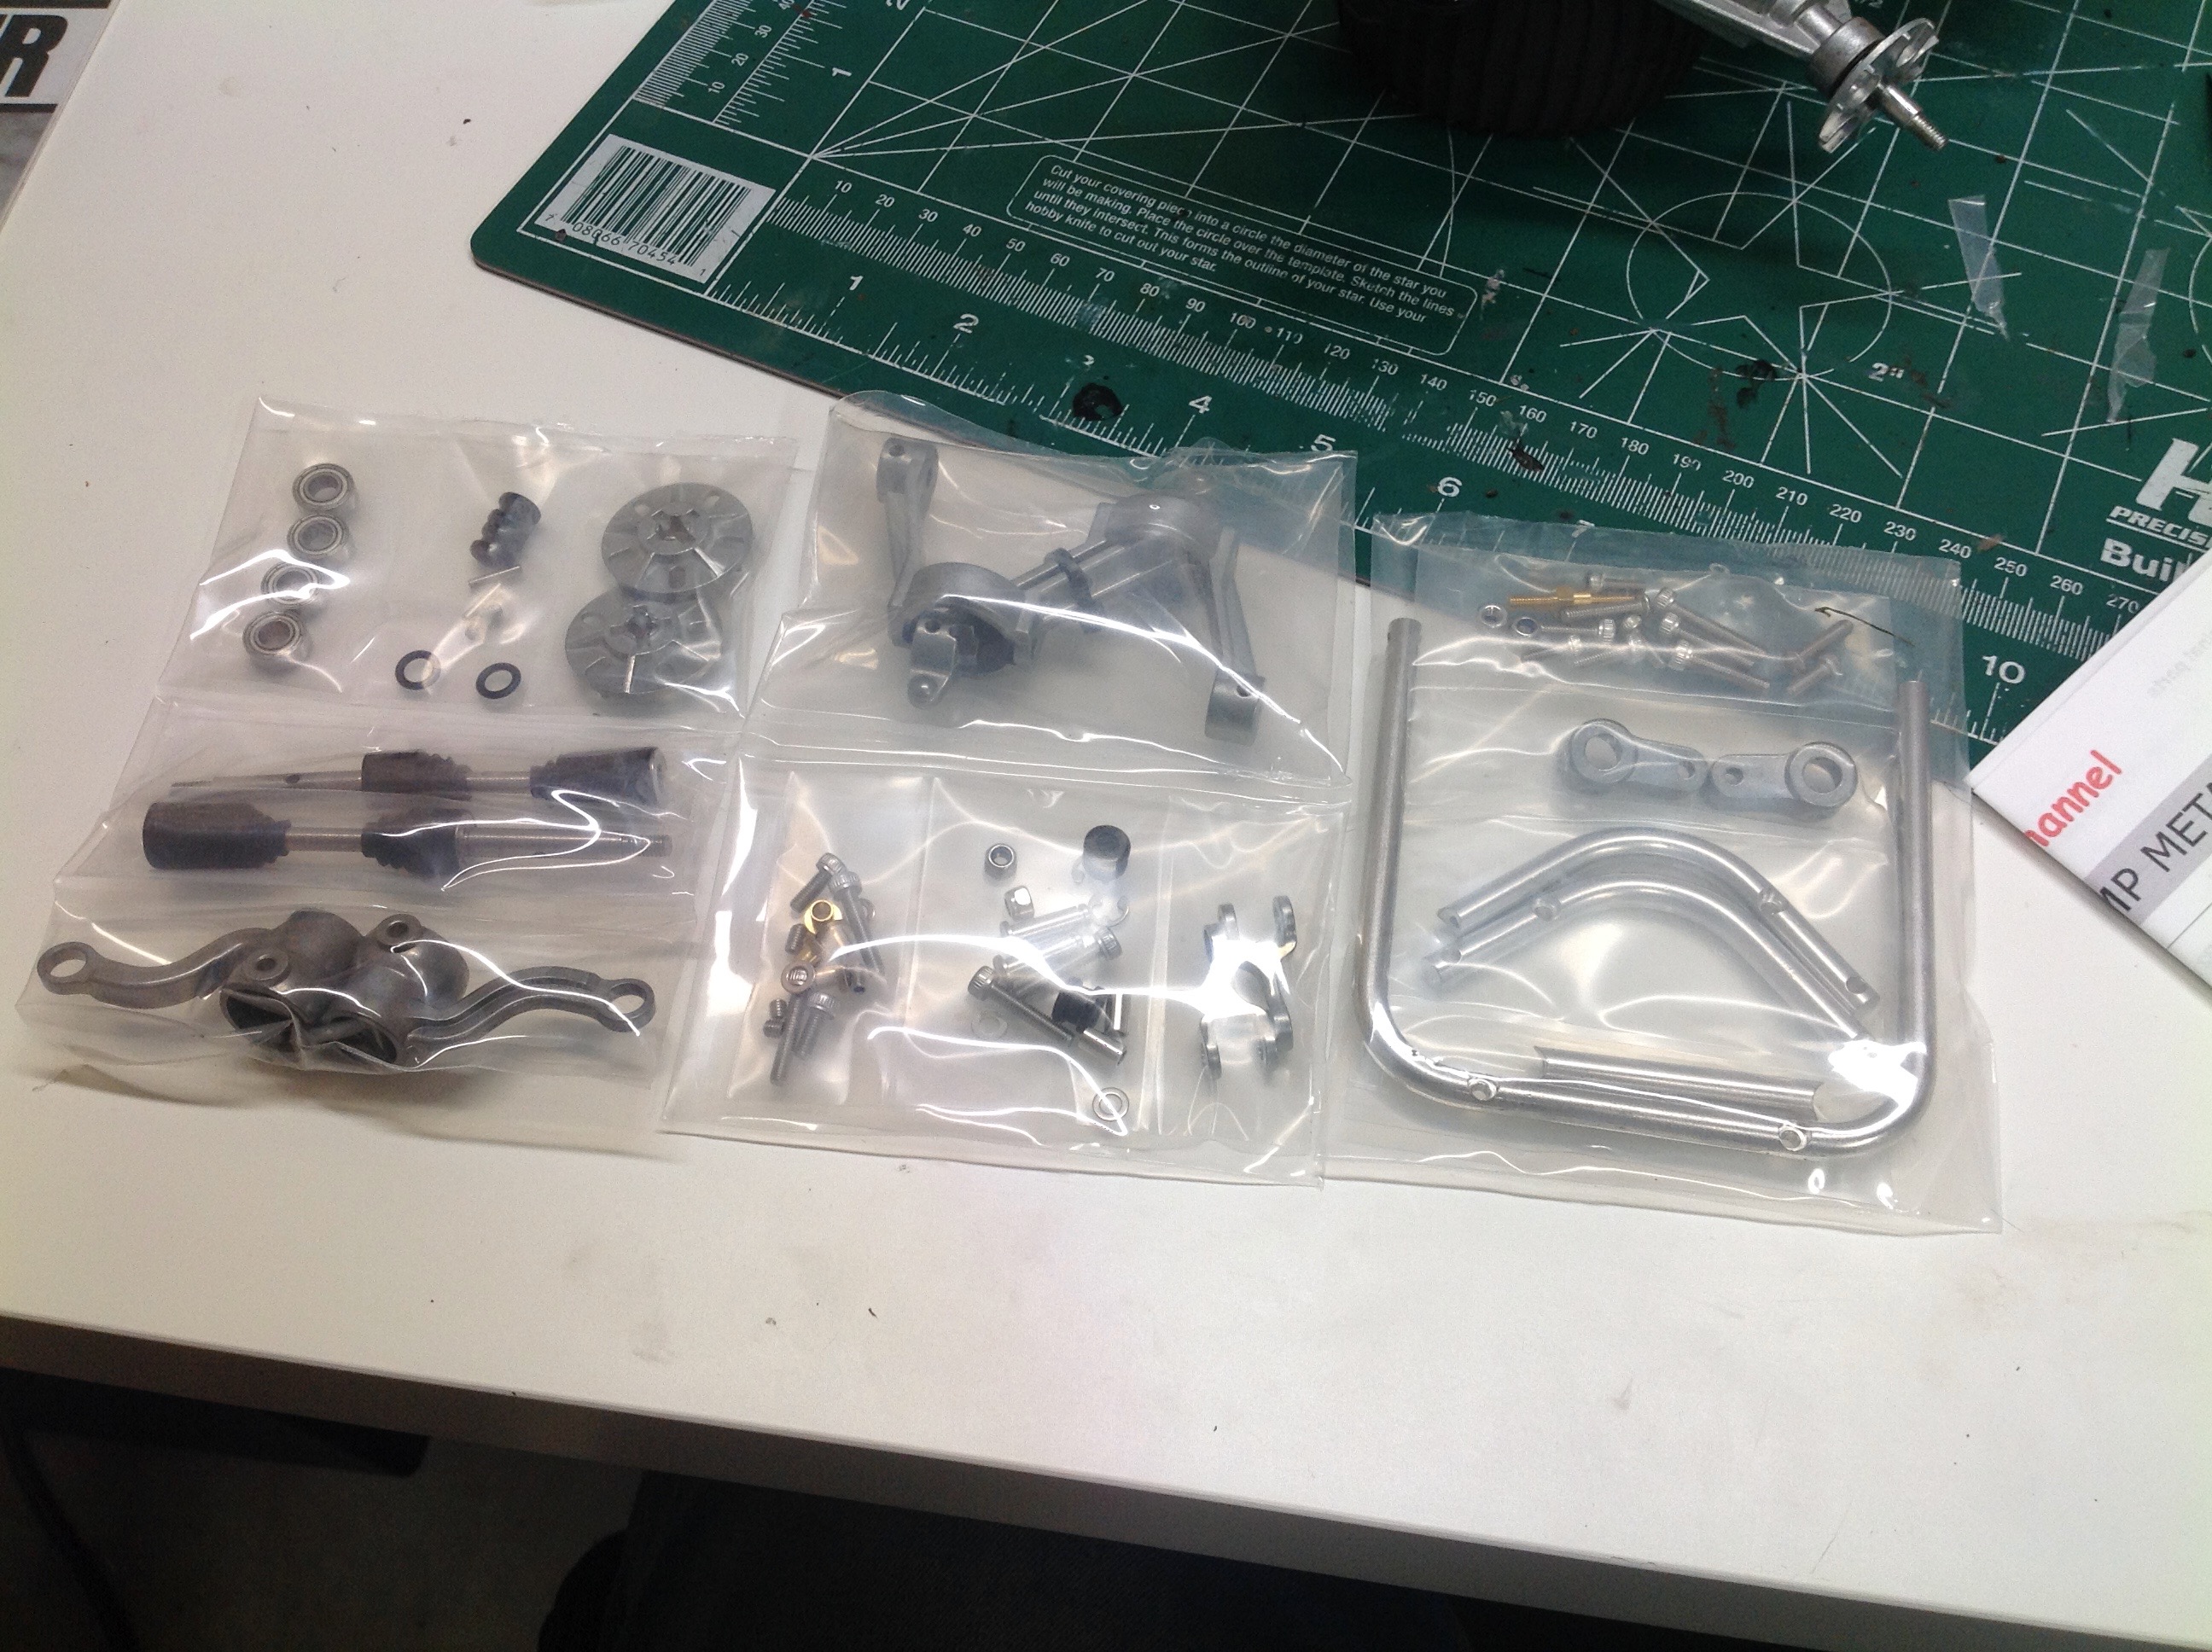
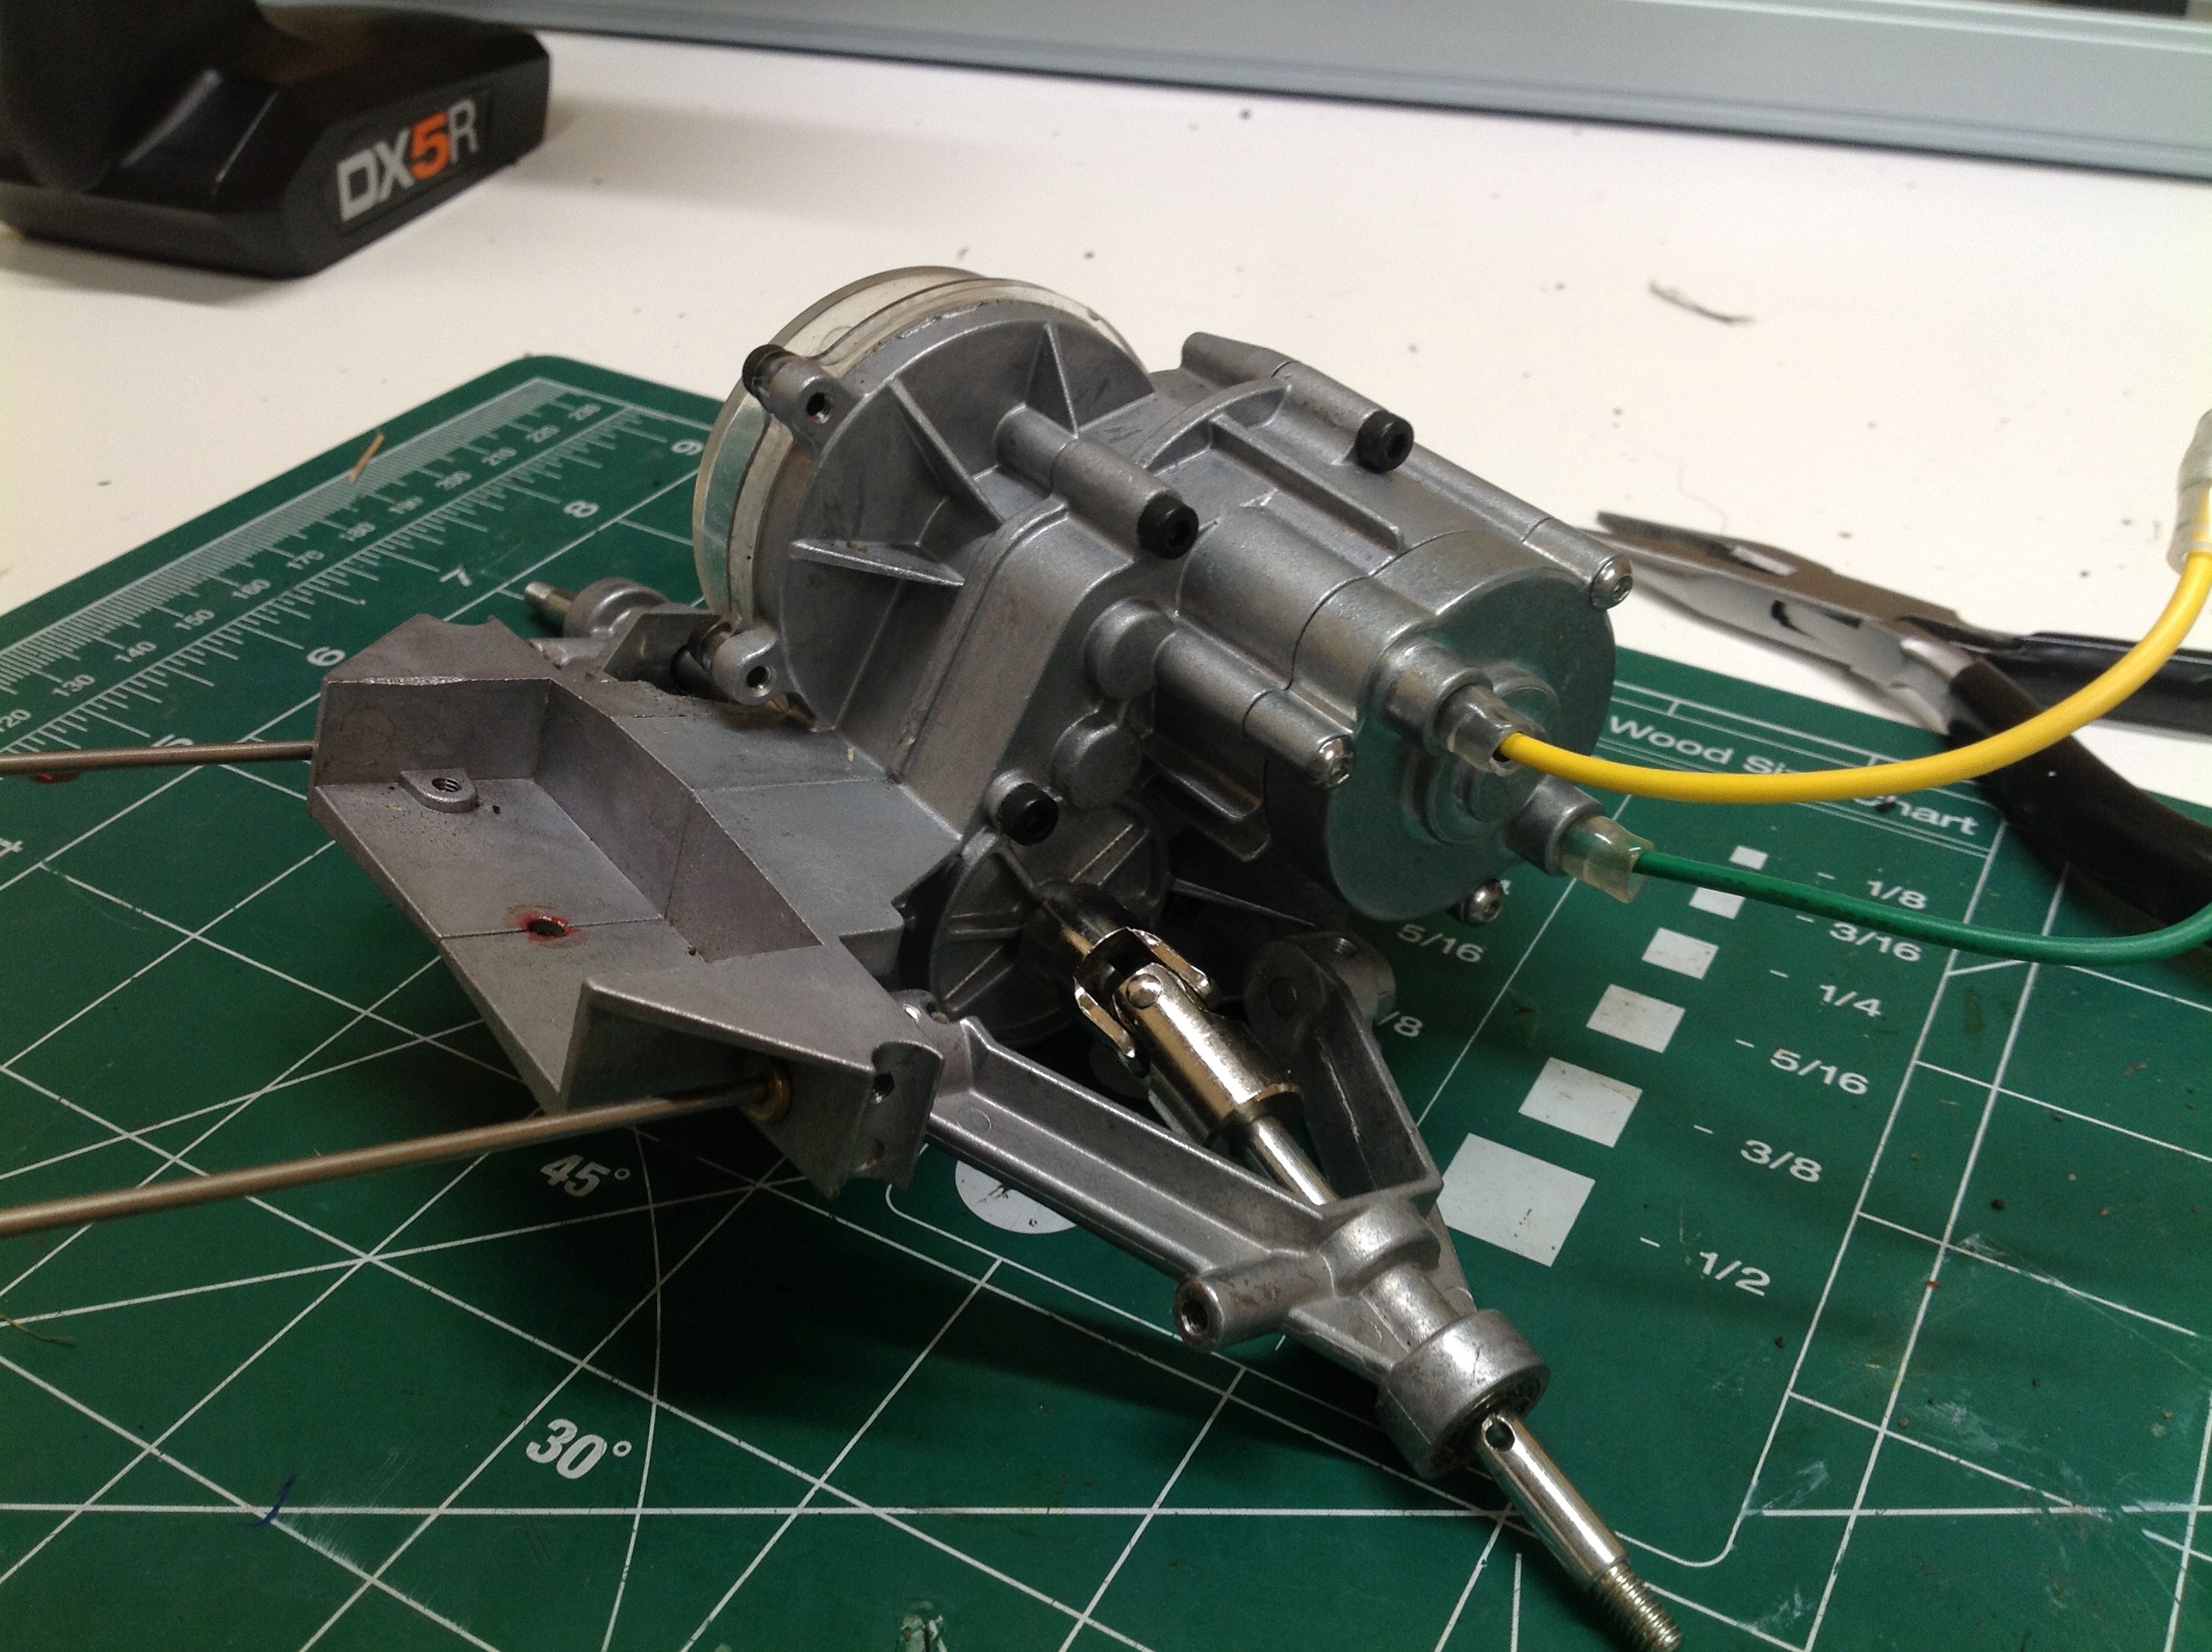
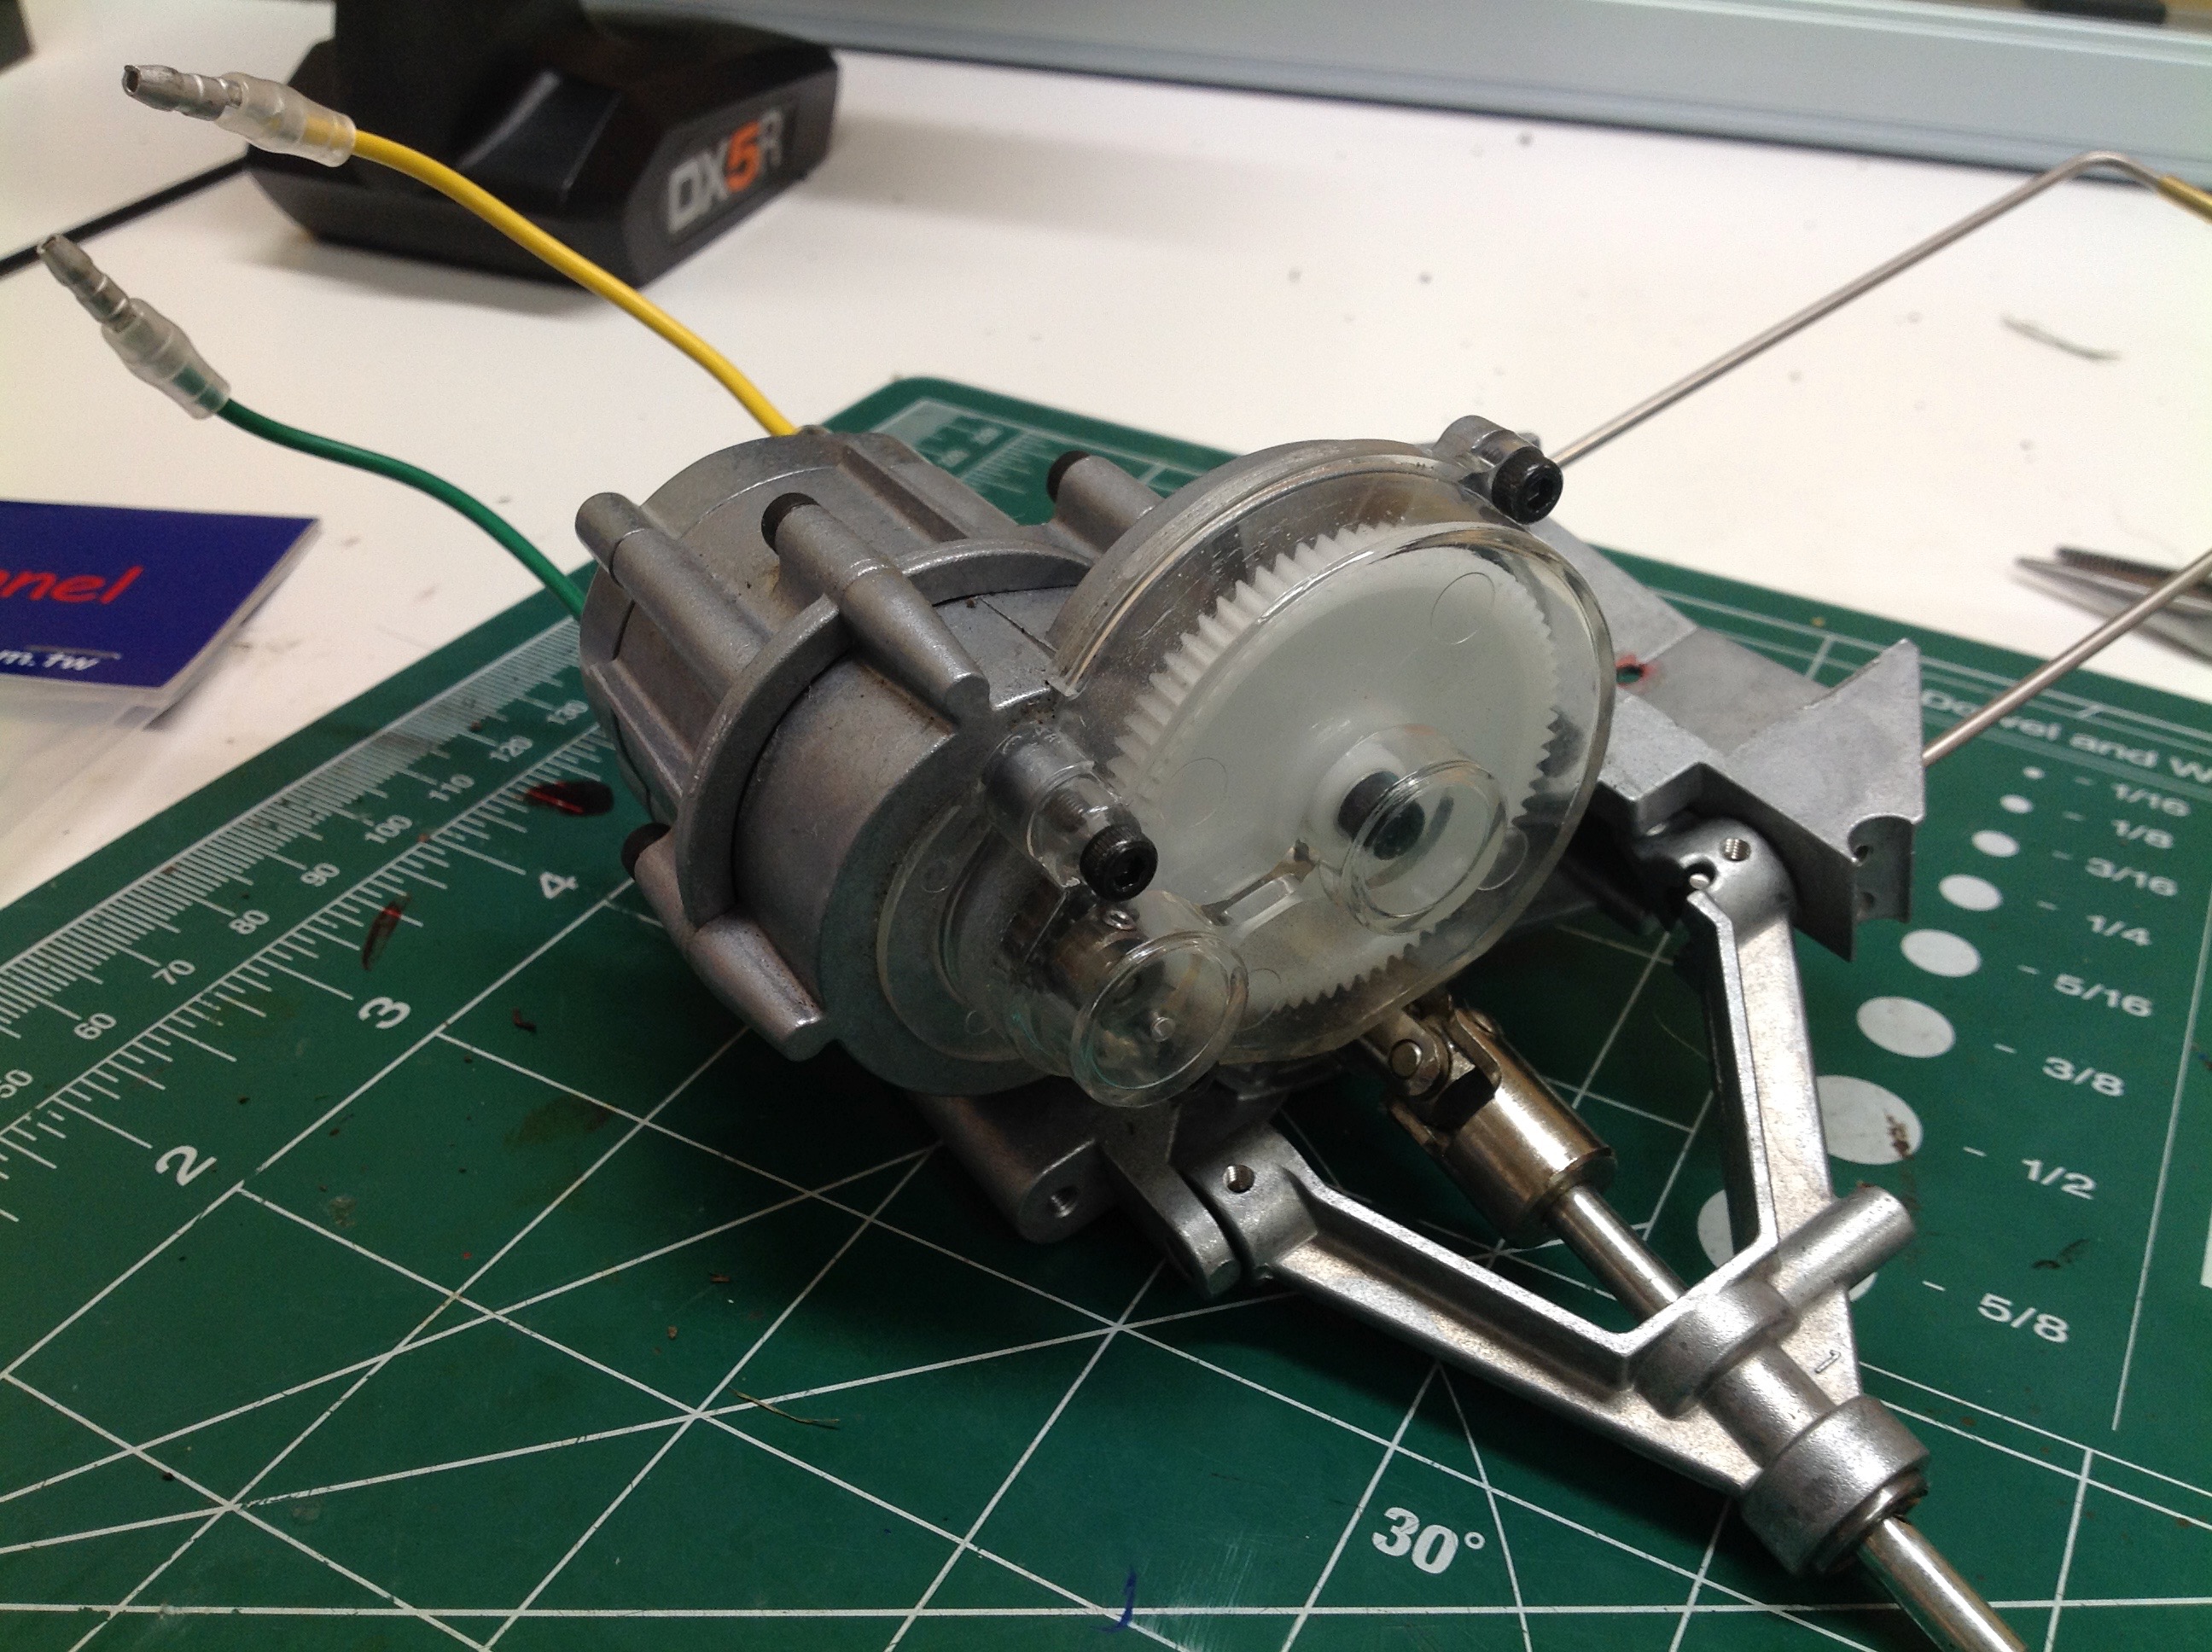
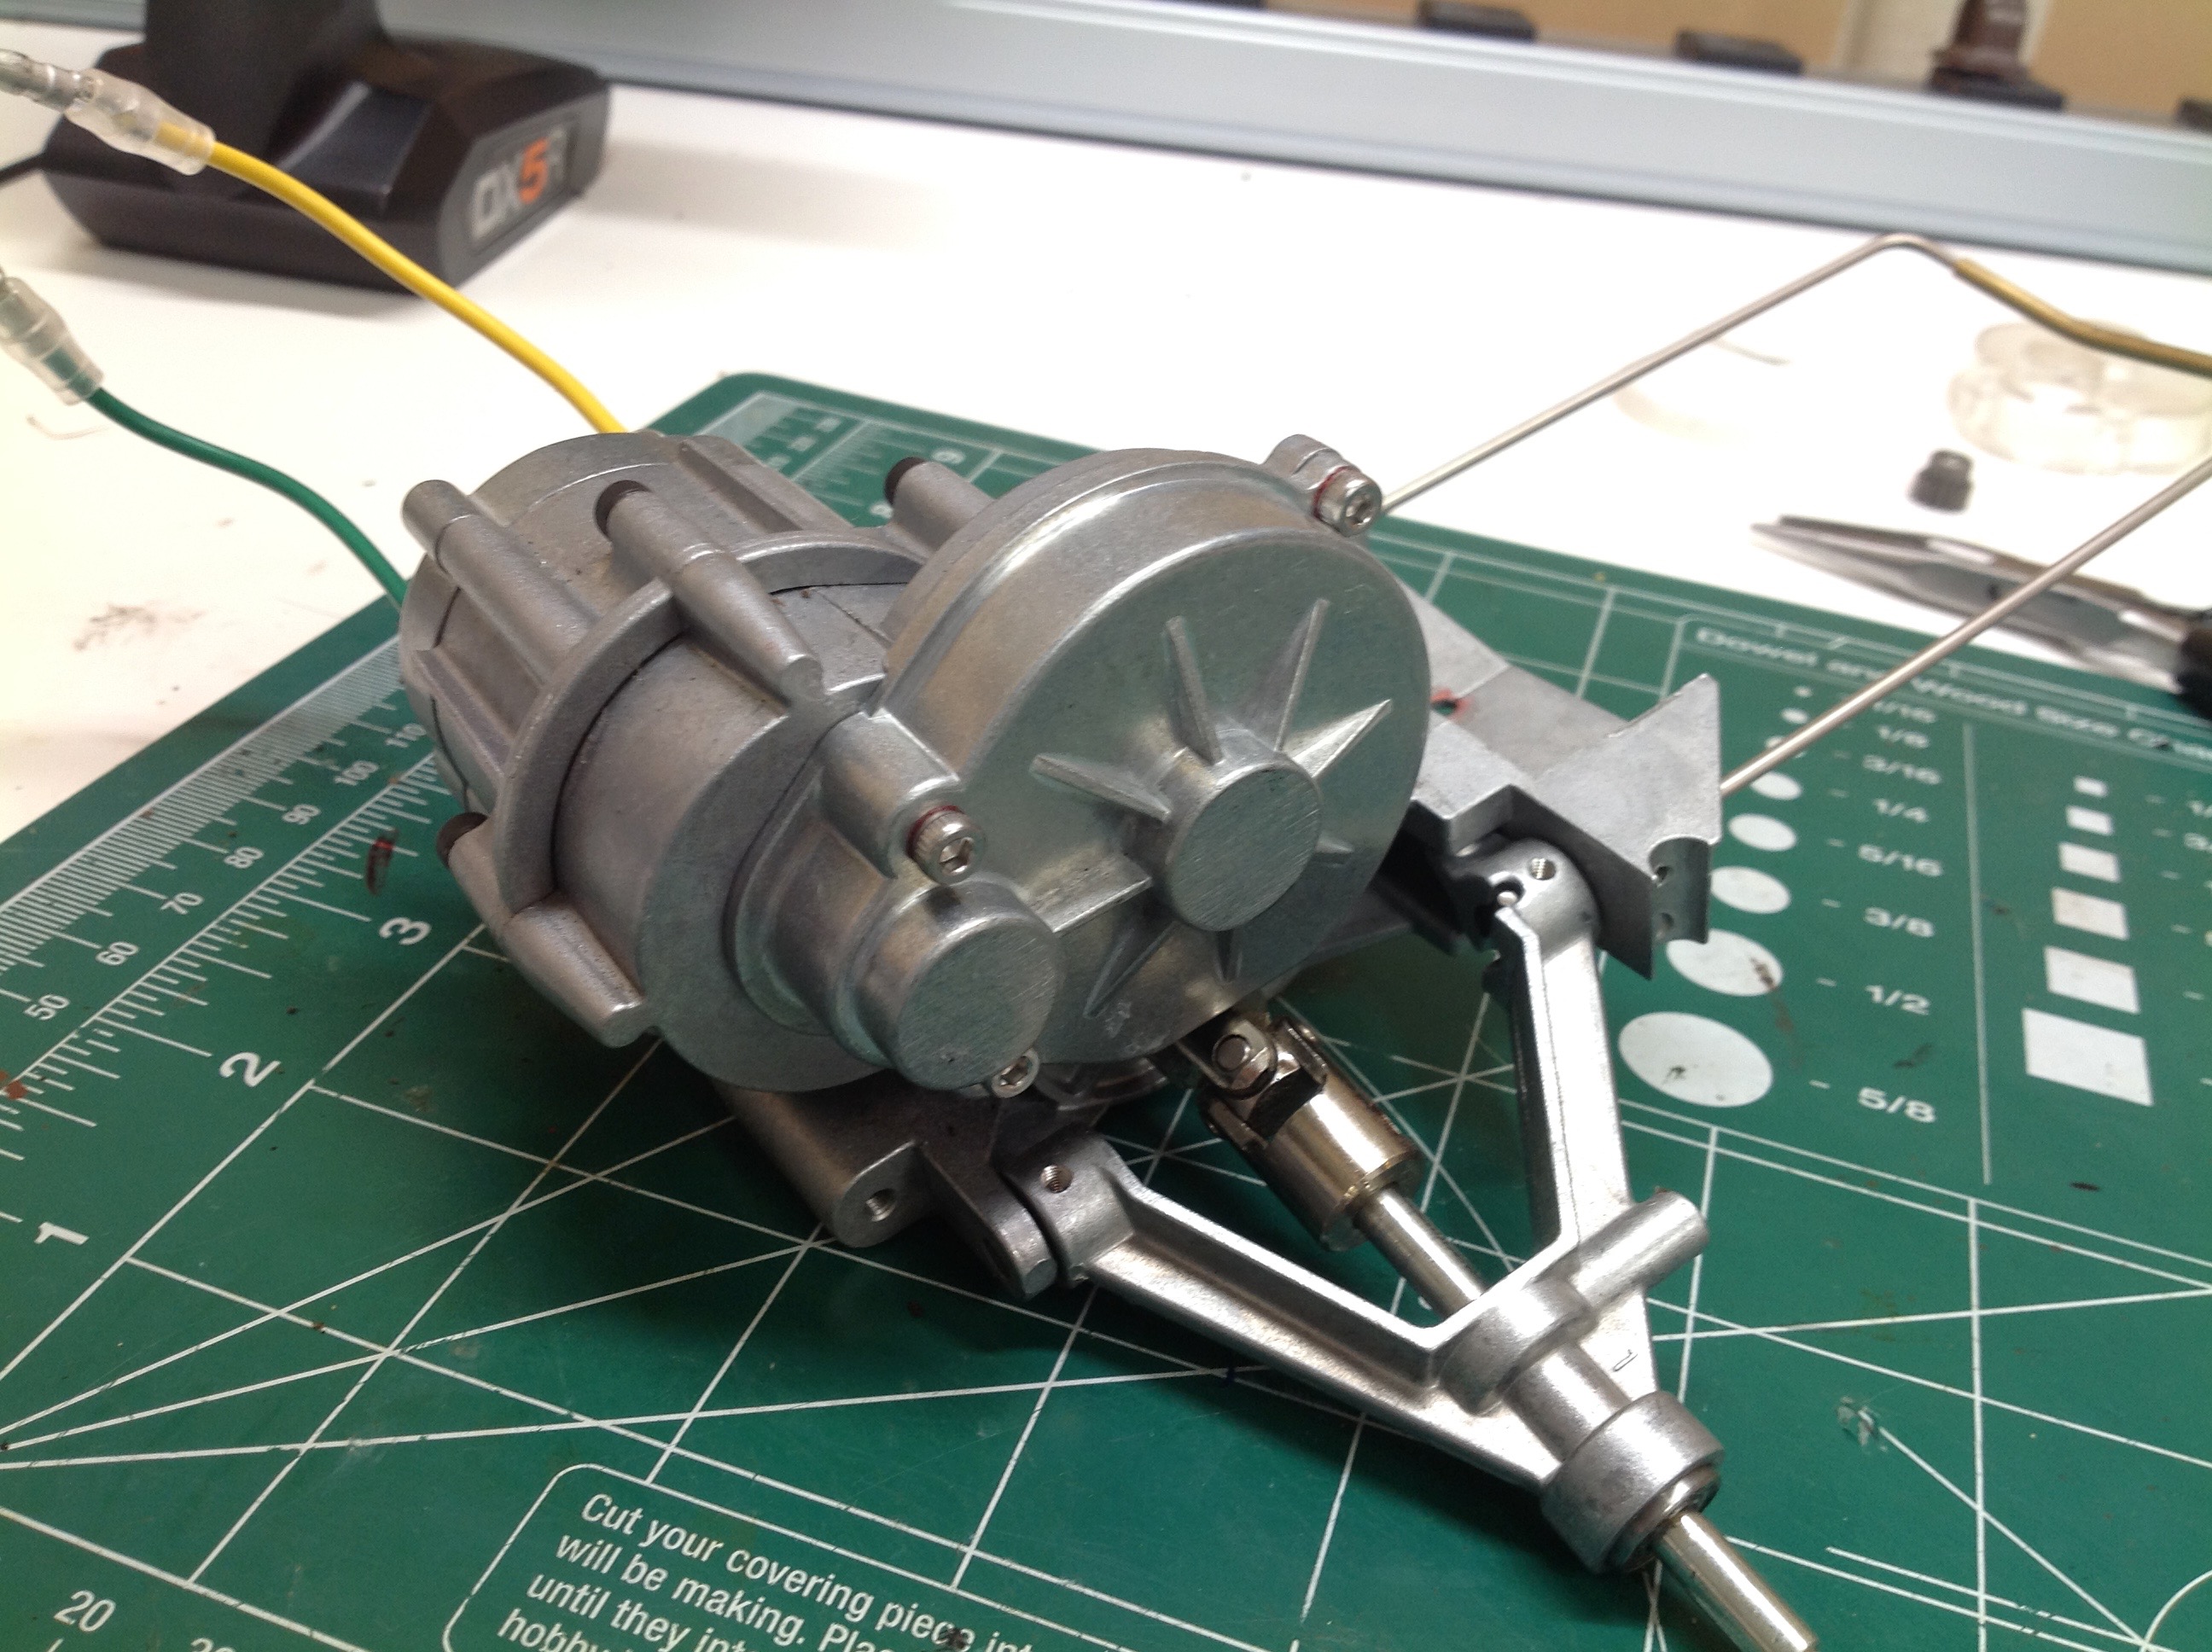
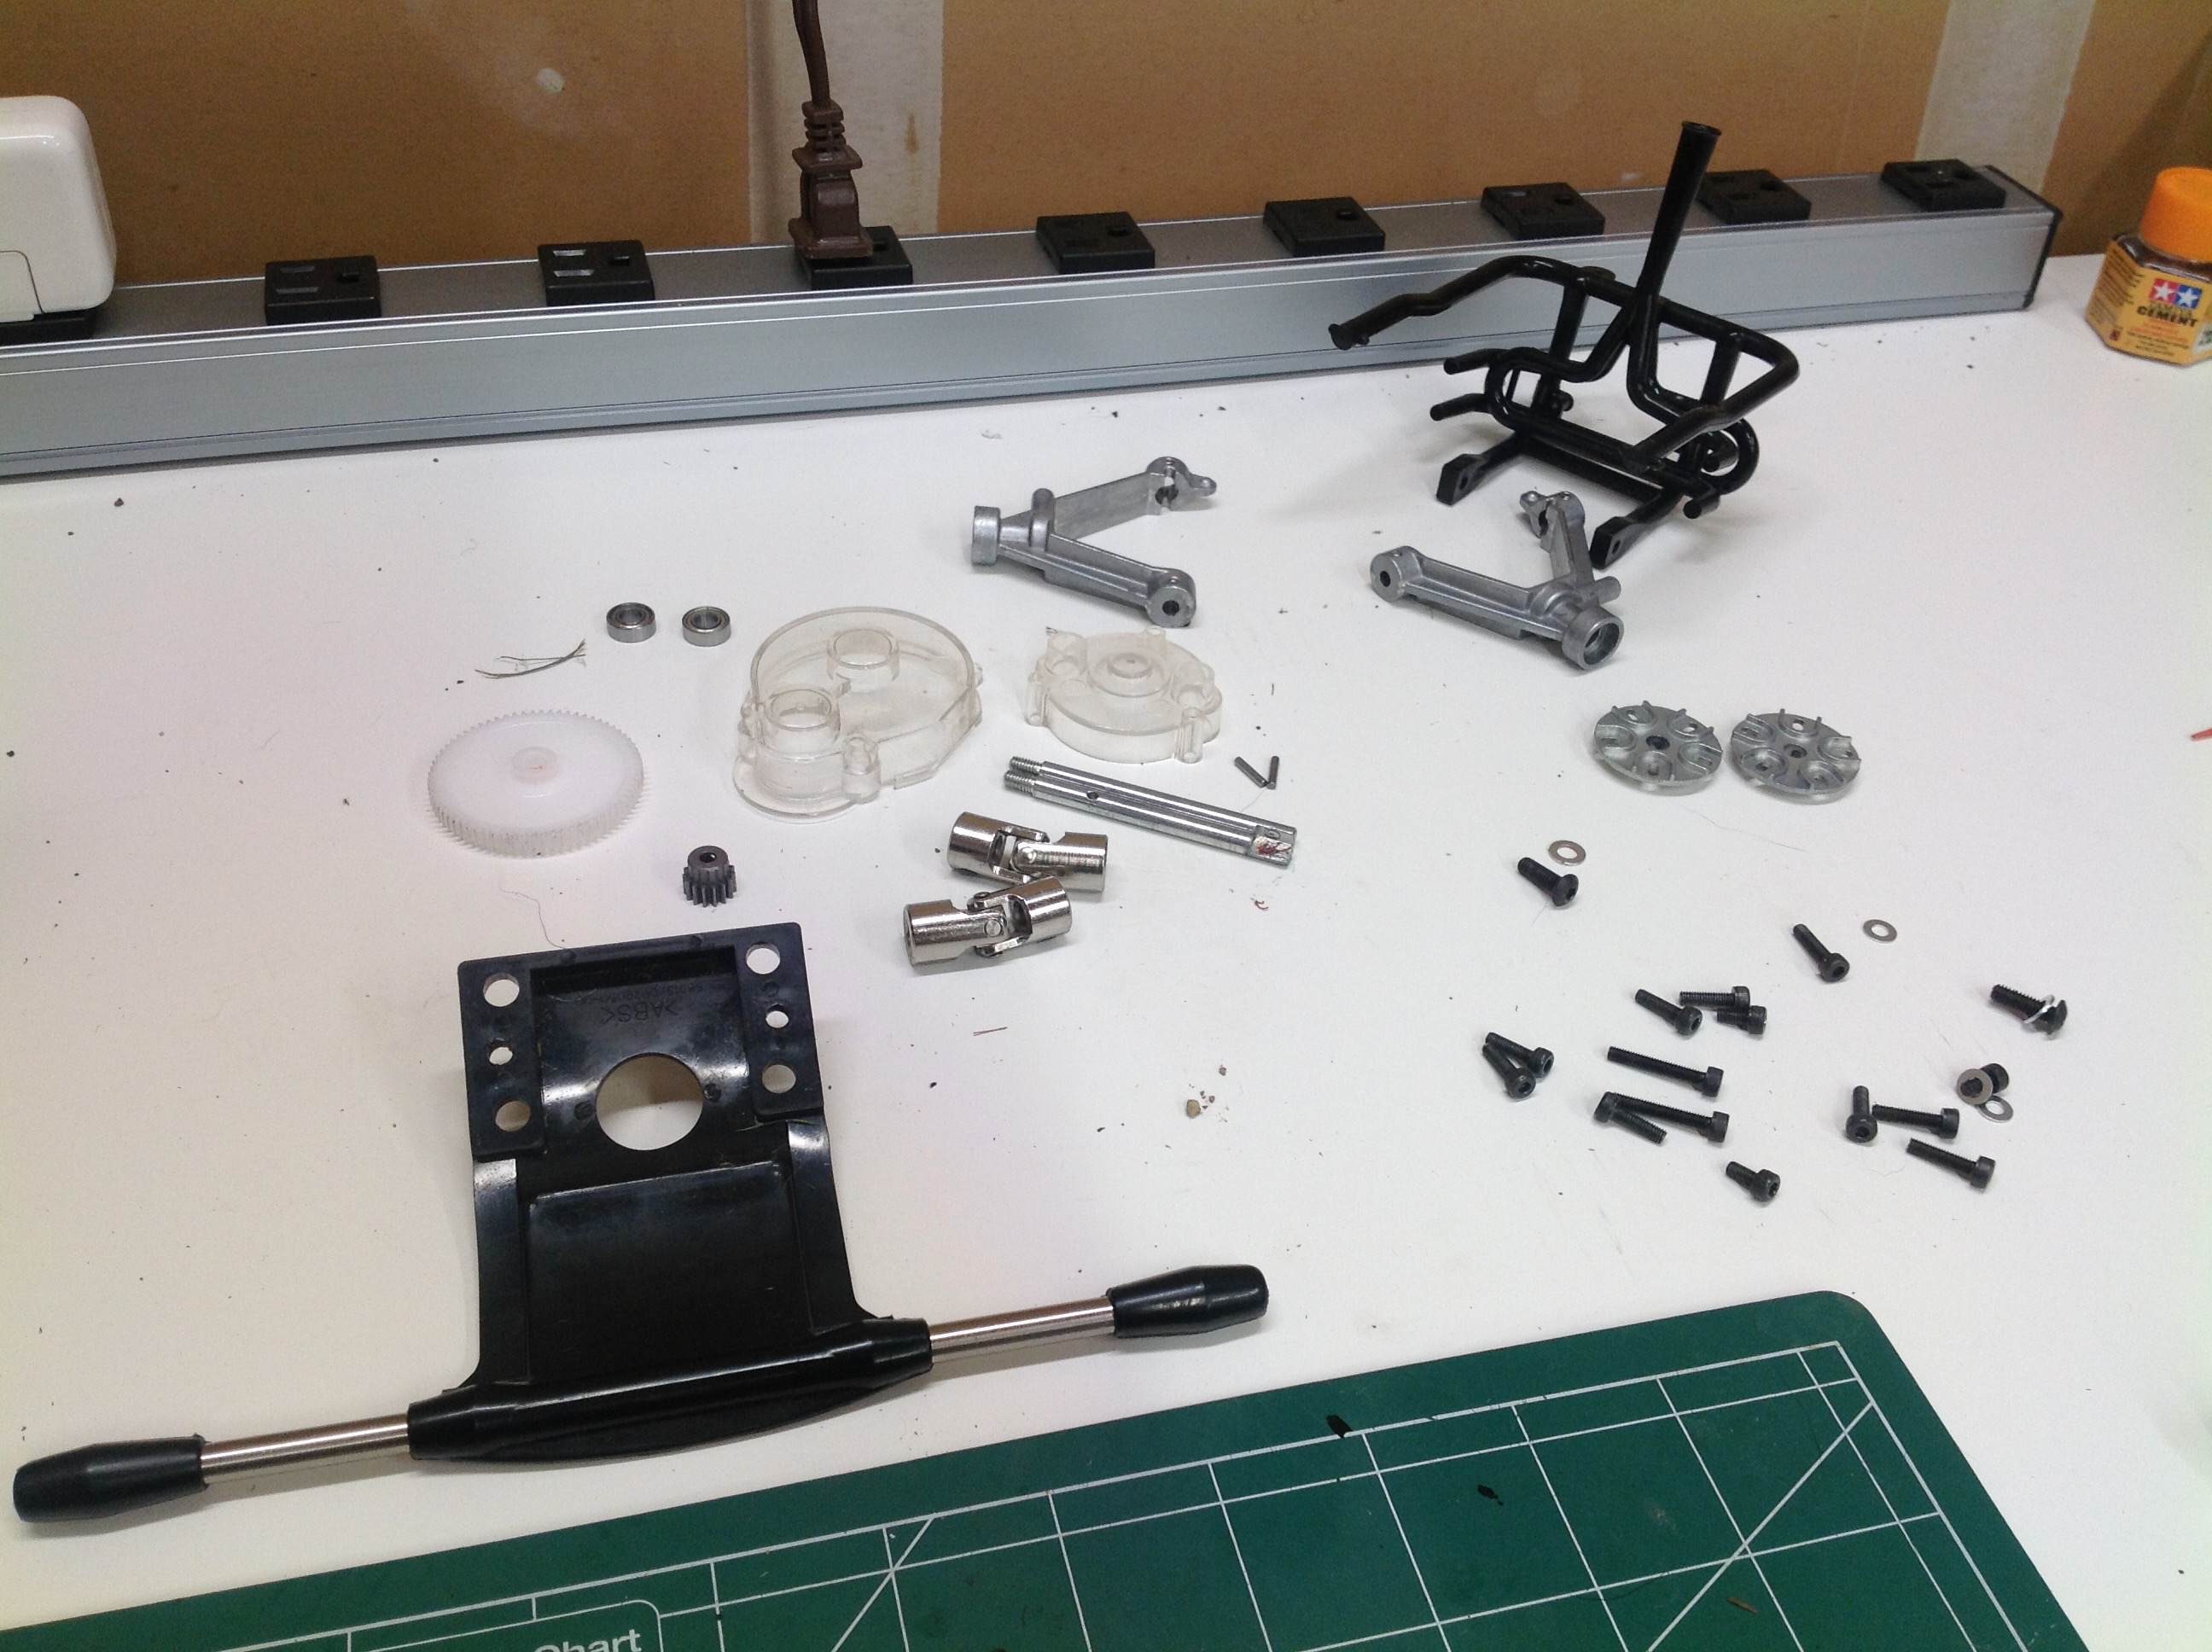
The installation of the new rear suspension is a serious project.
You have to remove the entire rear assembly, pull off the u-joints and
axles, remove the lower arms and torsion bars, and then rebuild with the
new parts. The finished suspension is shown on the right.
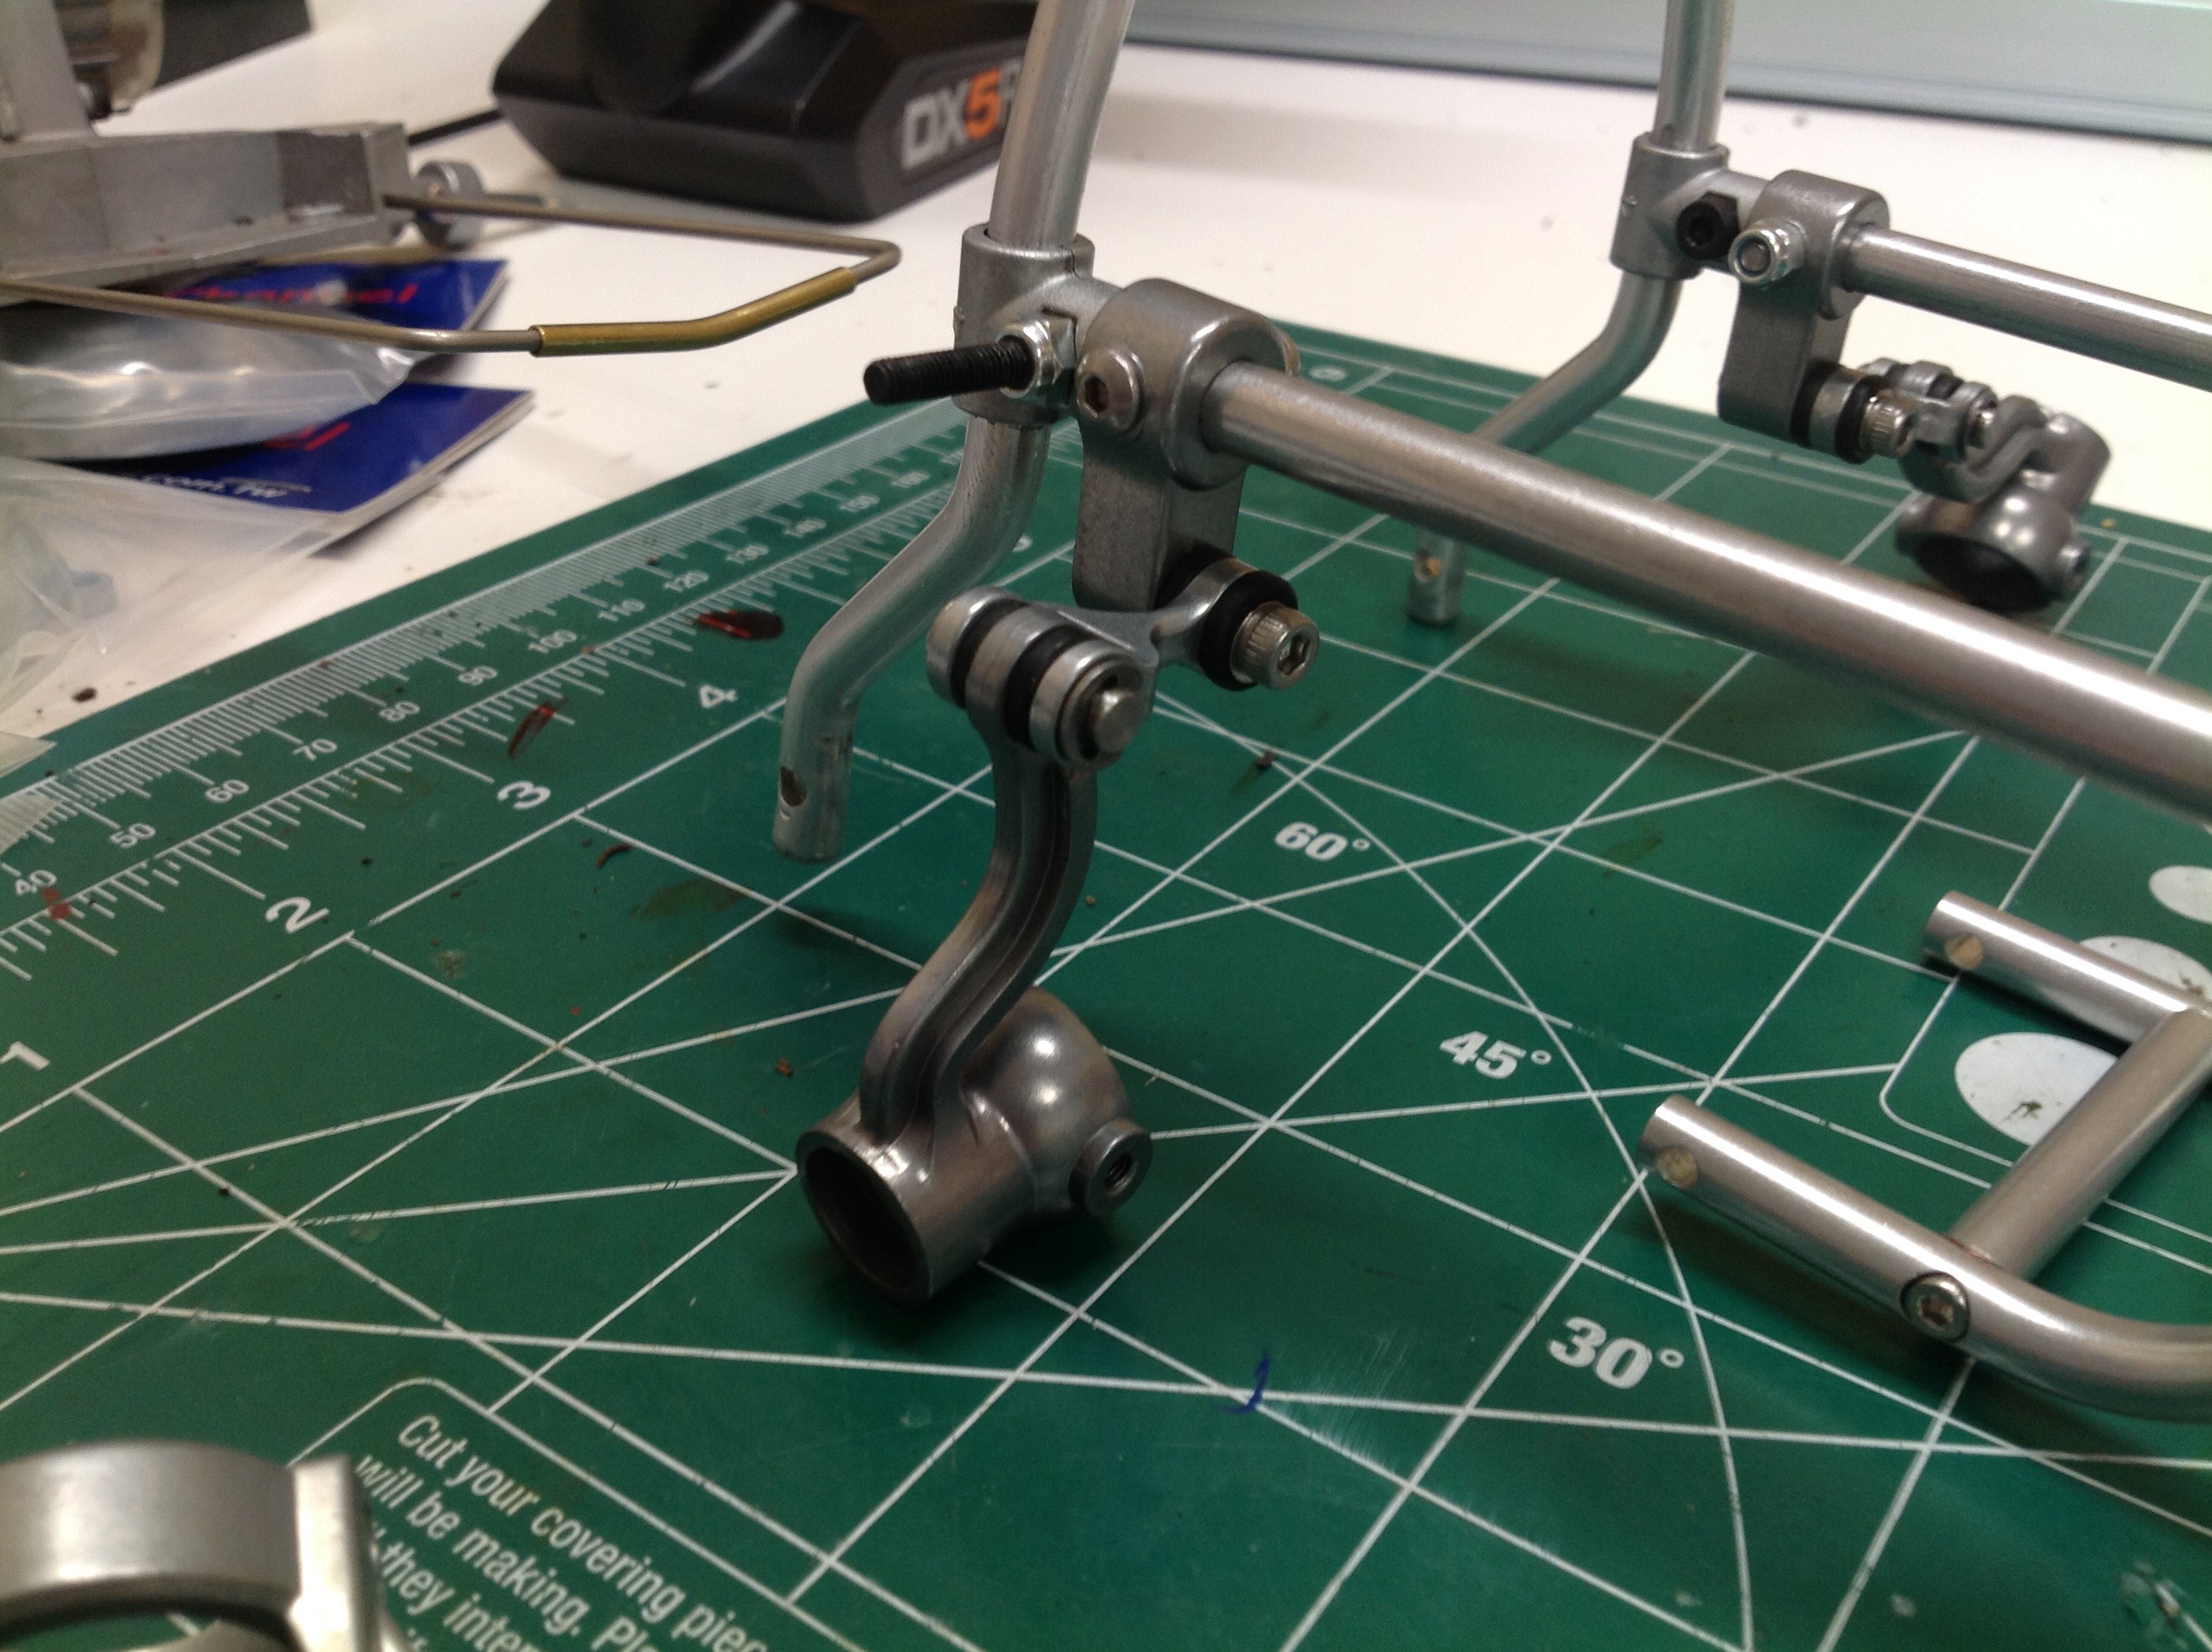
At first glance you might not even realize I changed anything because
the design matches so well, but the geometry is totally different than
stock. Now we have an upper arm and a separate hub along with new axle
shafts with rubber boots. The upper and lower links are not the
same length which means there is still some camber change with suspension
travel, but much less than stock. The tires sit perpendicular to
the ground at rest. Even though this a huge upgrade with respect
to suspension performance, I'm not sure how much noticeable difference
it makes at the speeds this thing actually runs. I like it anyway
though.
The completed rear suspension before and after. Look closely to
spot the differences. They may not look like much but they are
vast.
Here are all the old parts I replaced. Because this is a historic,
collectible model I will hold onto them in case I ever want to make it
stock again.
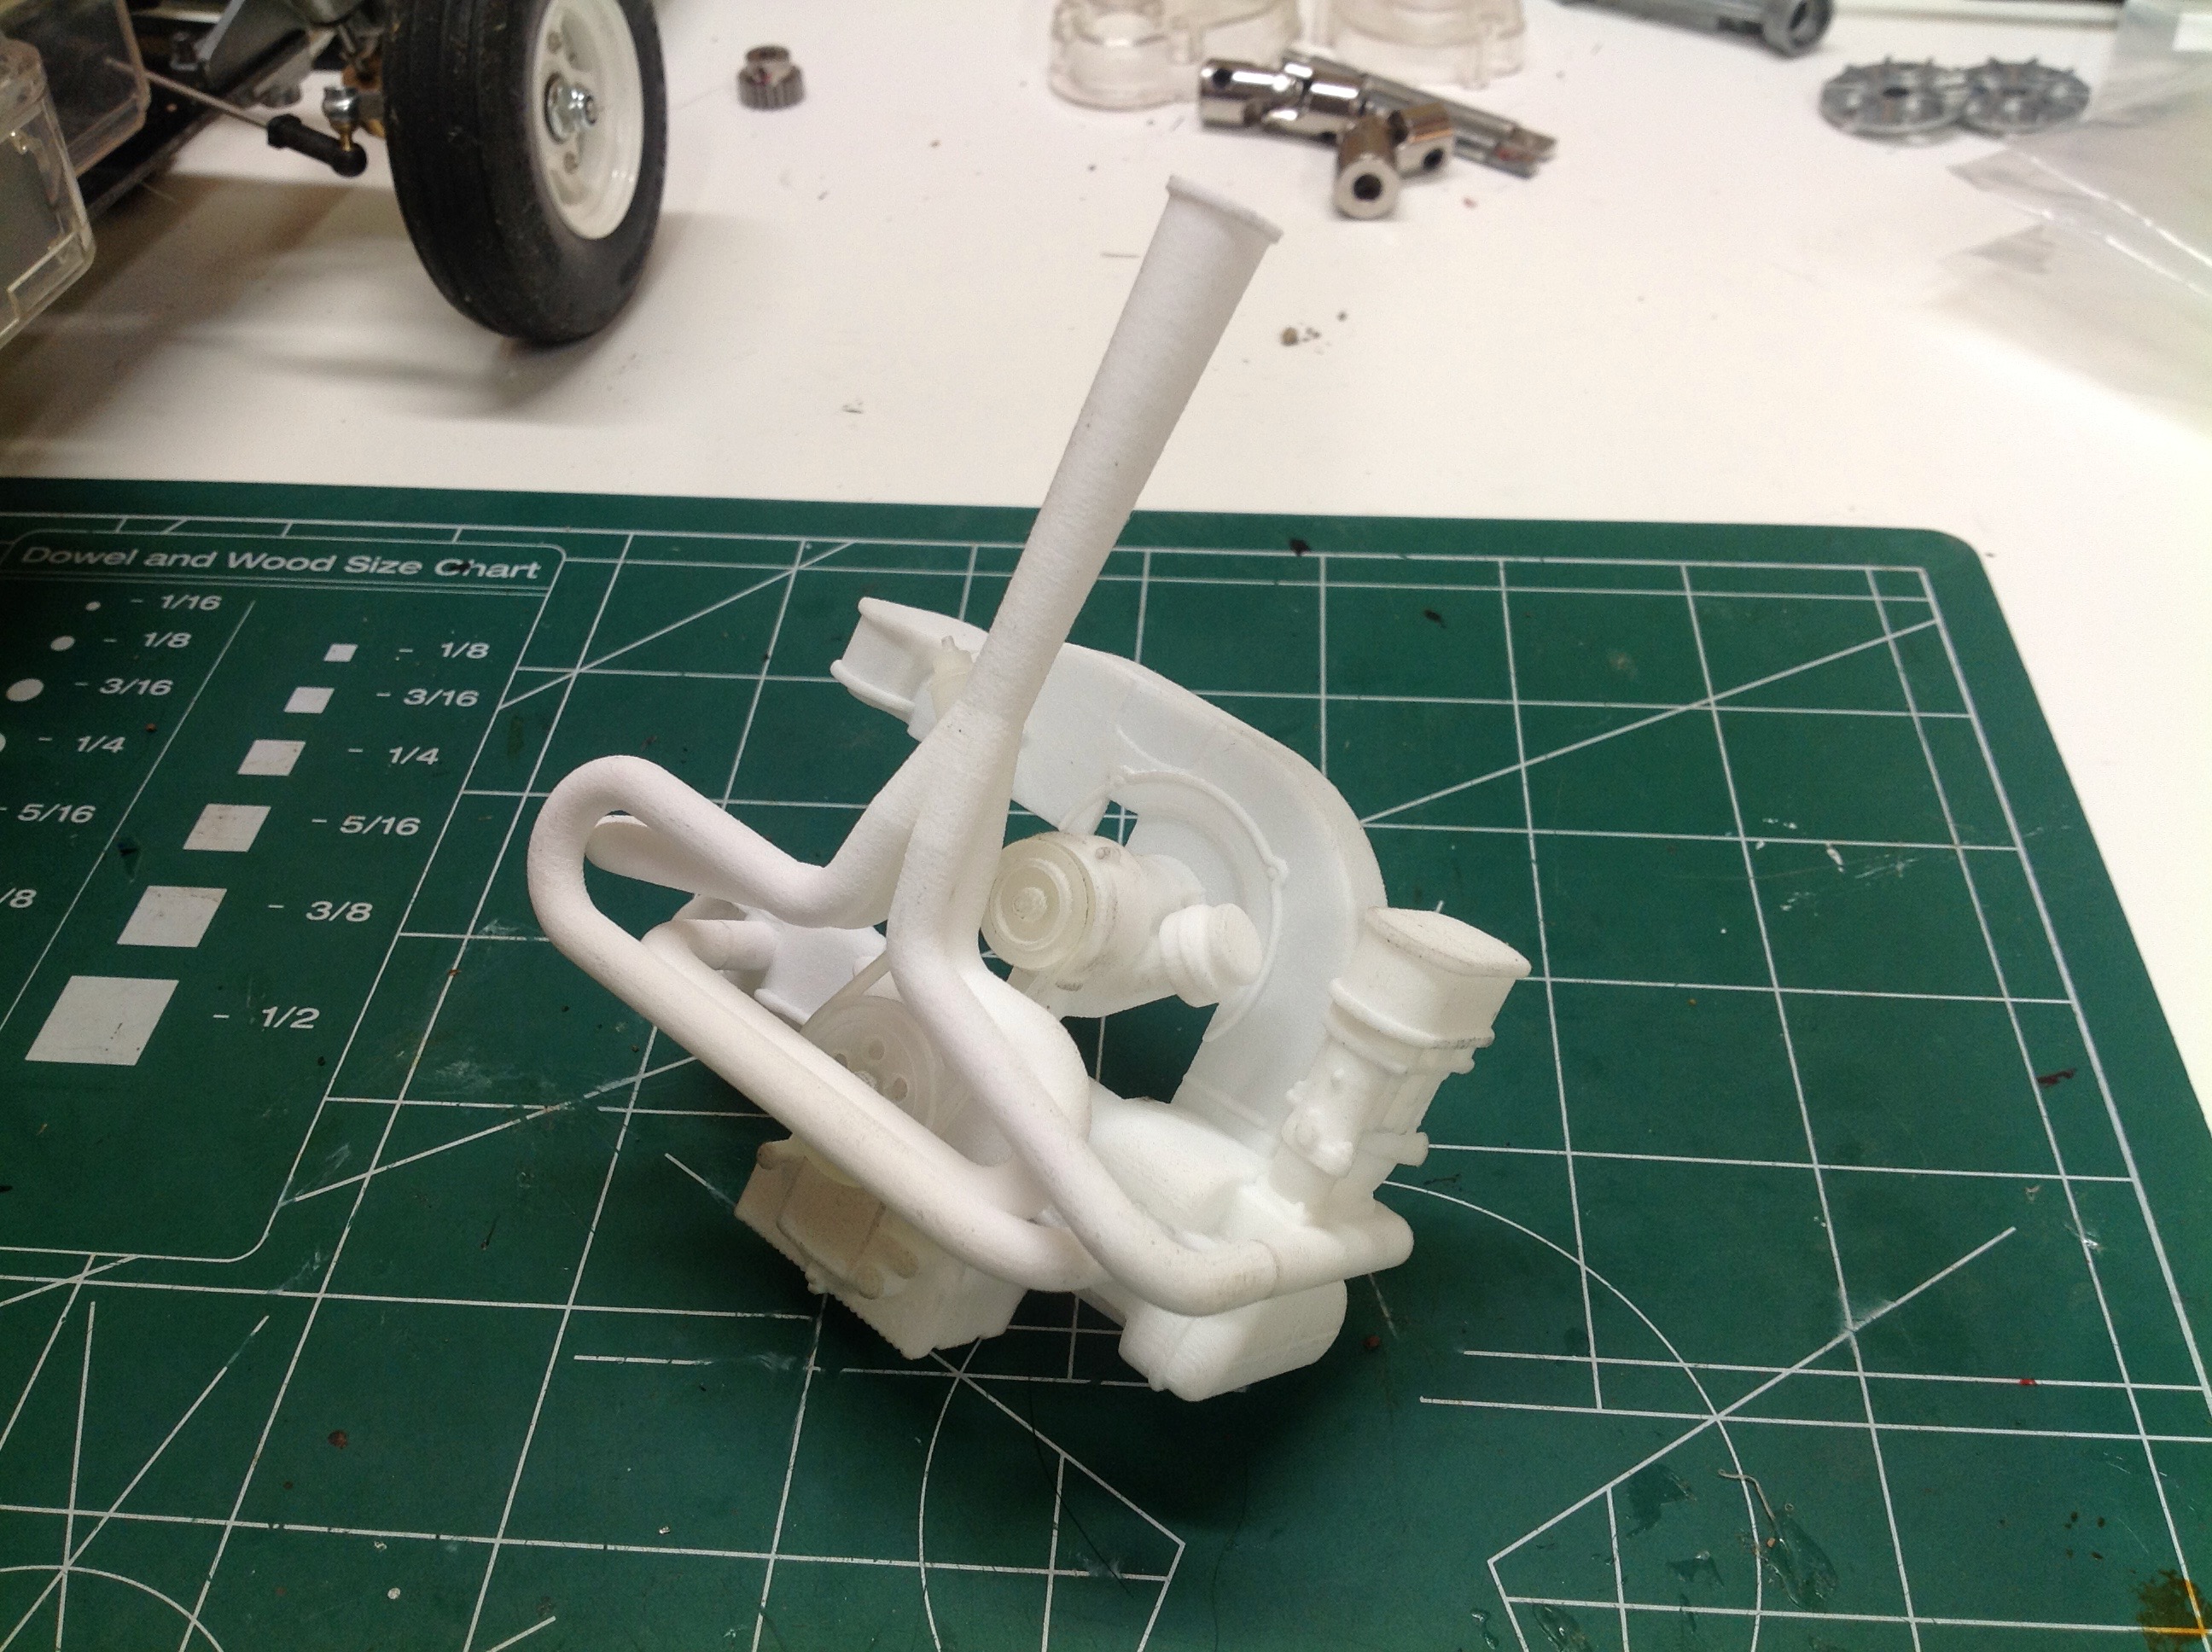
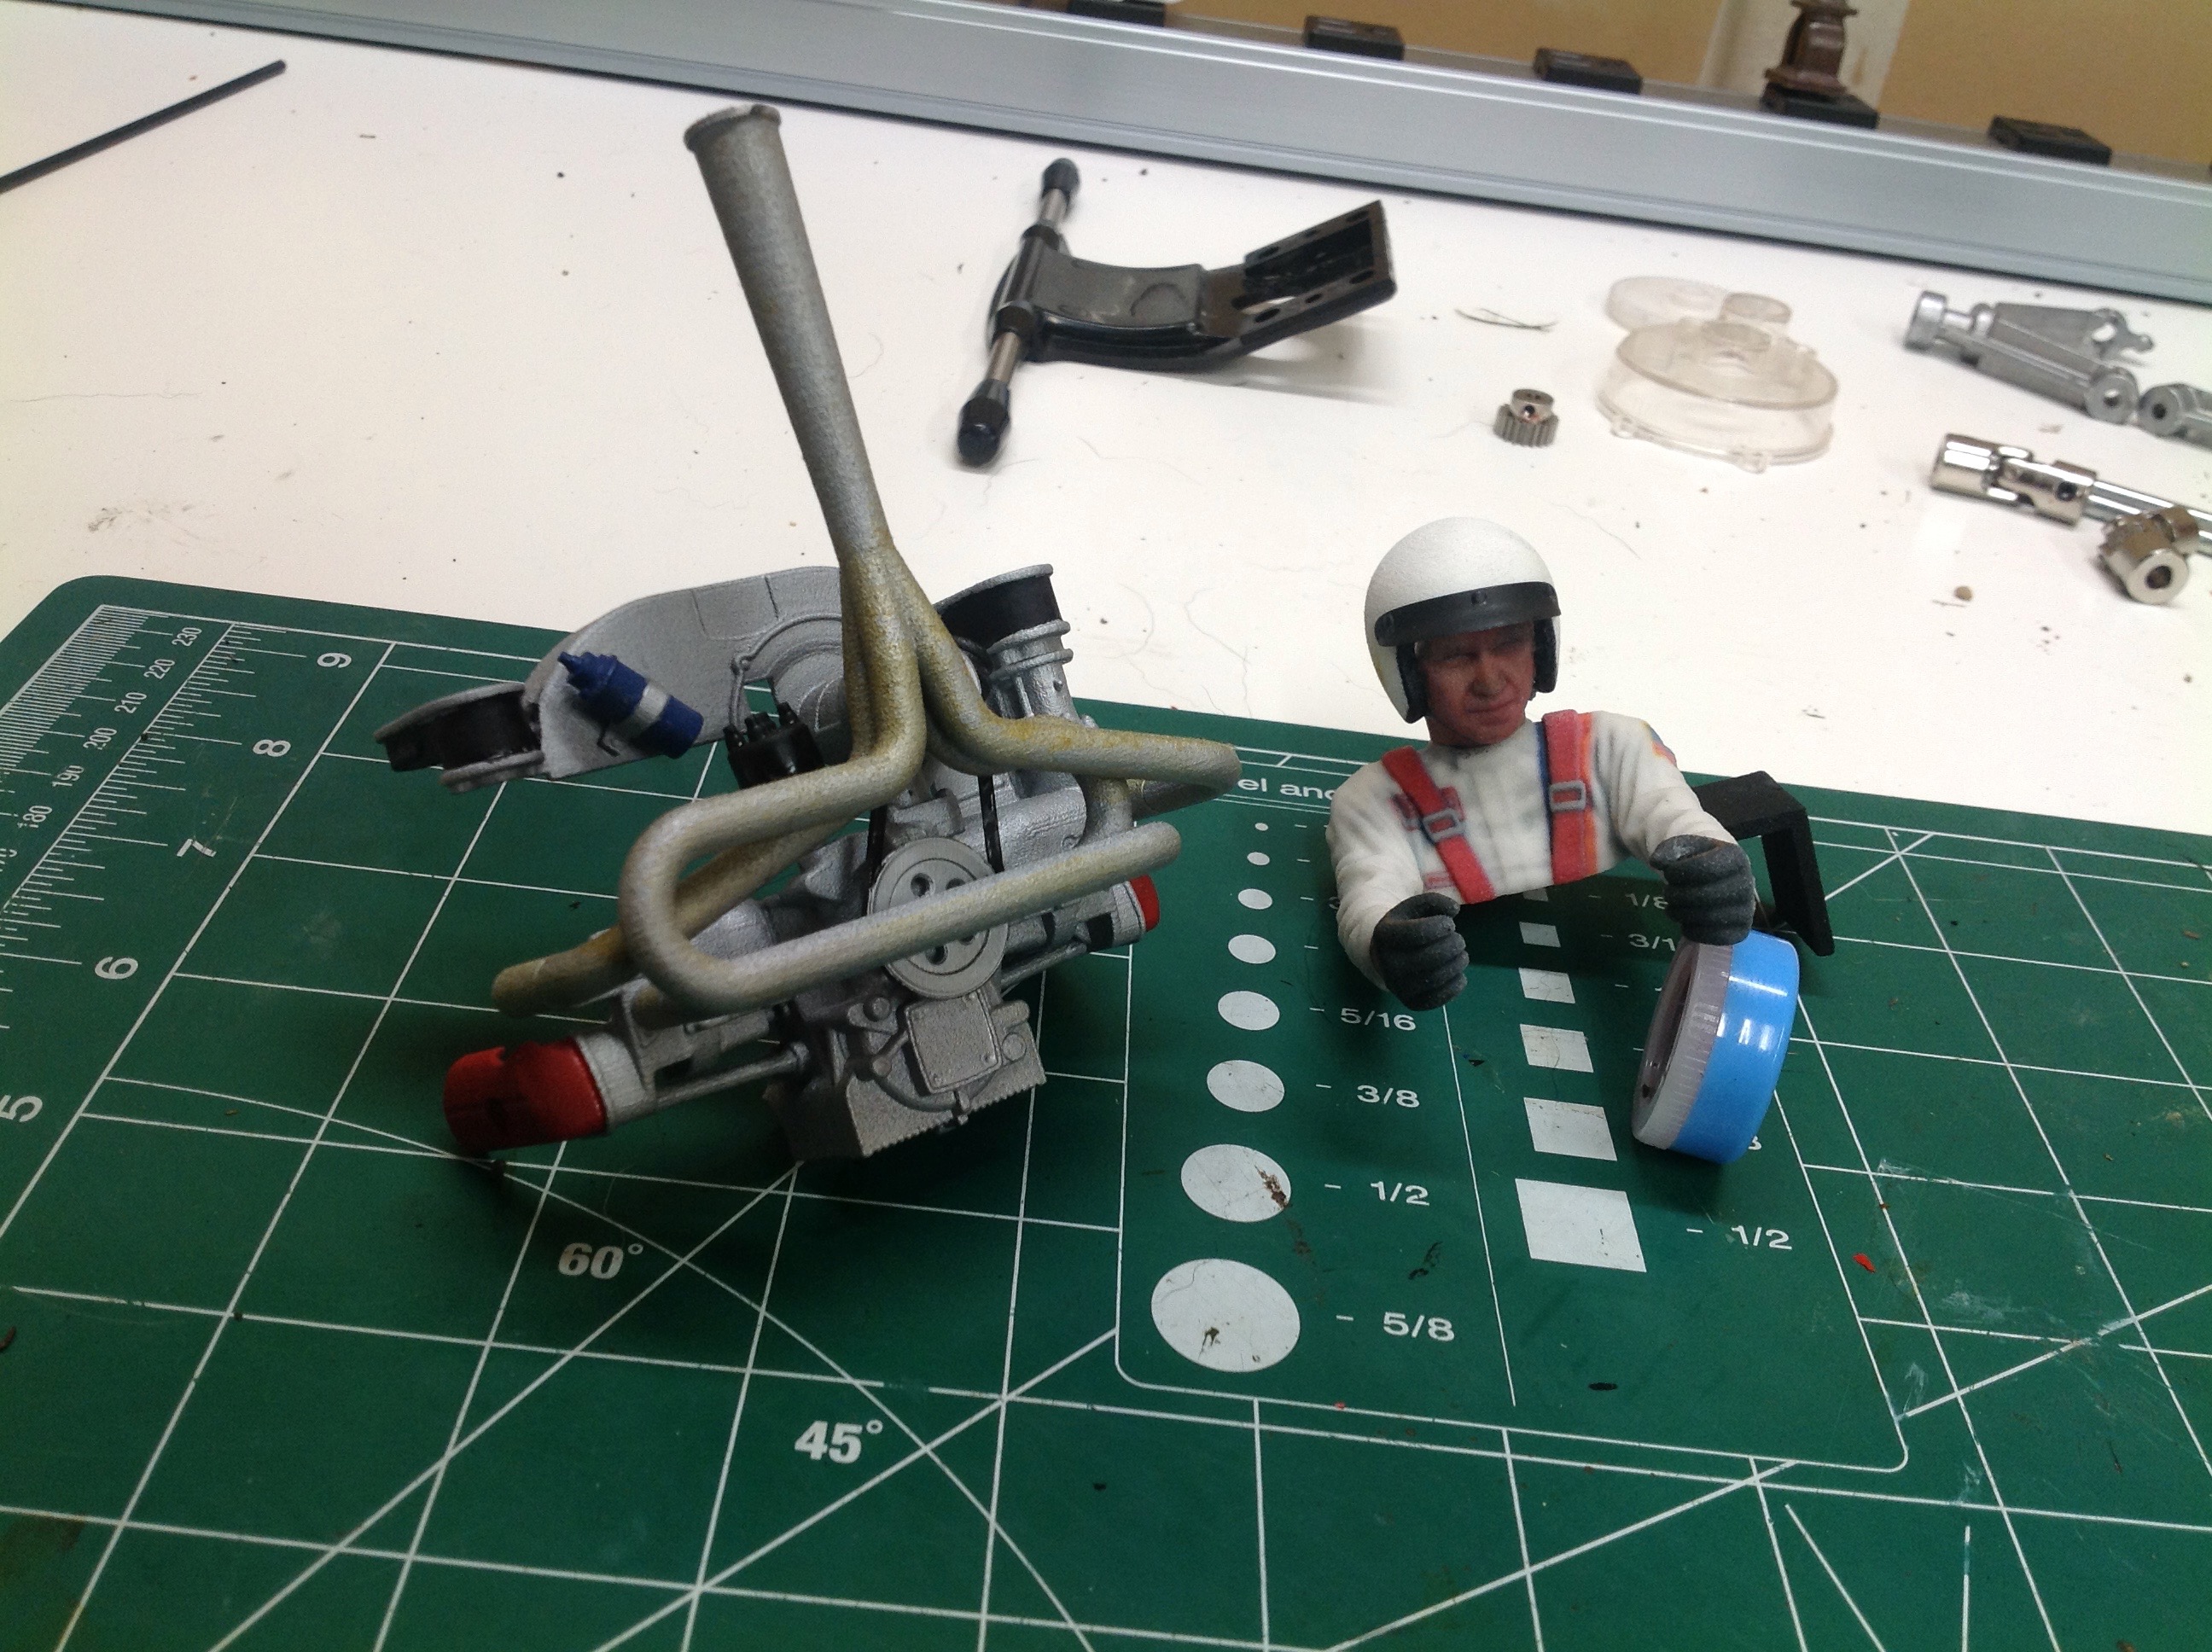
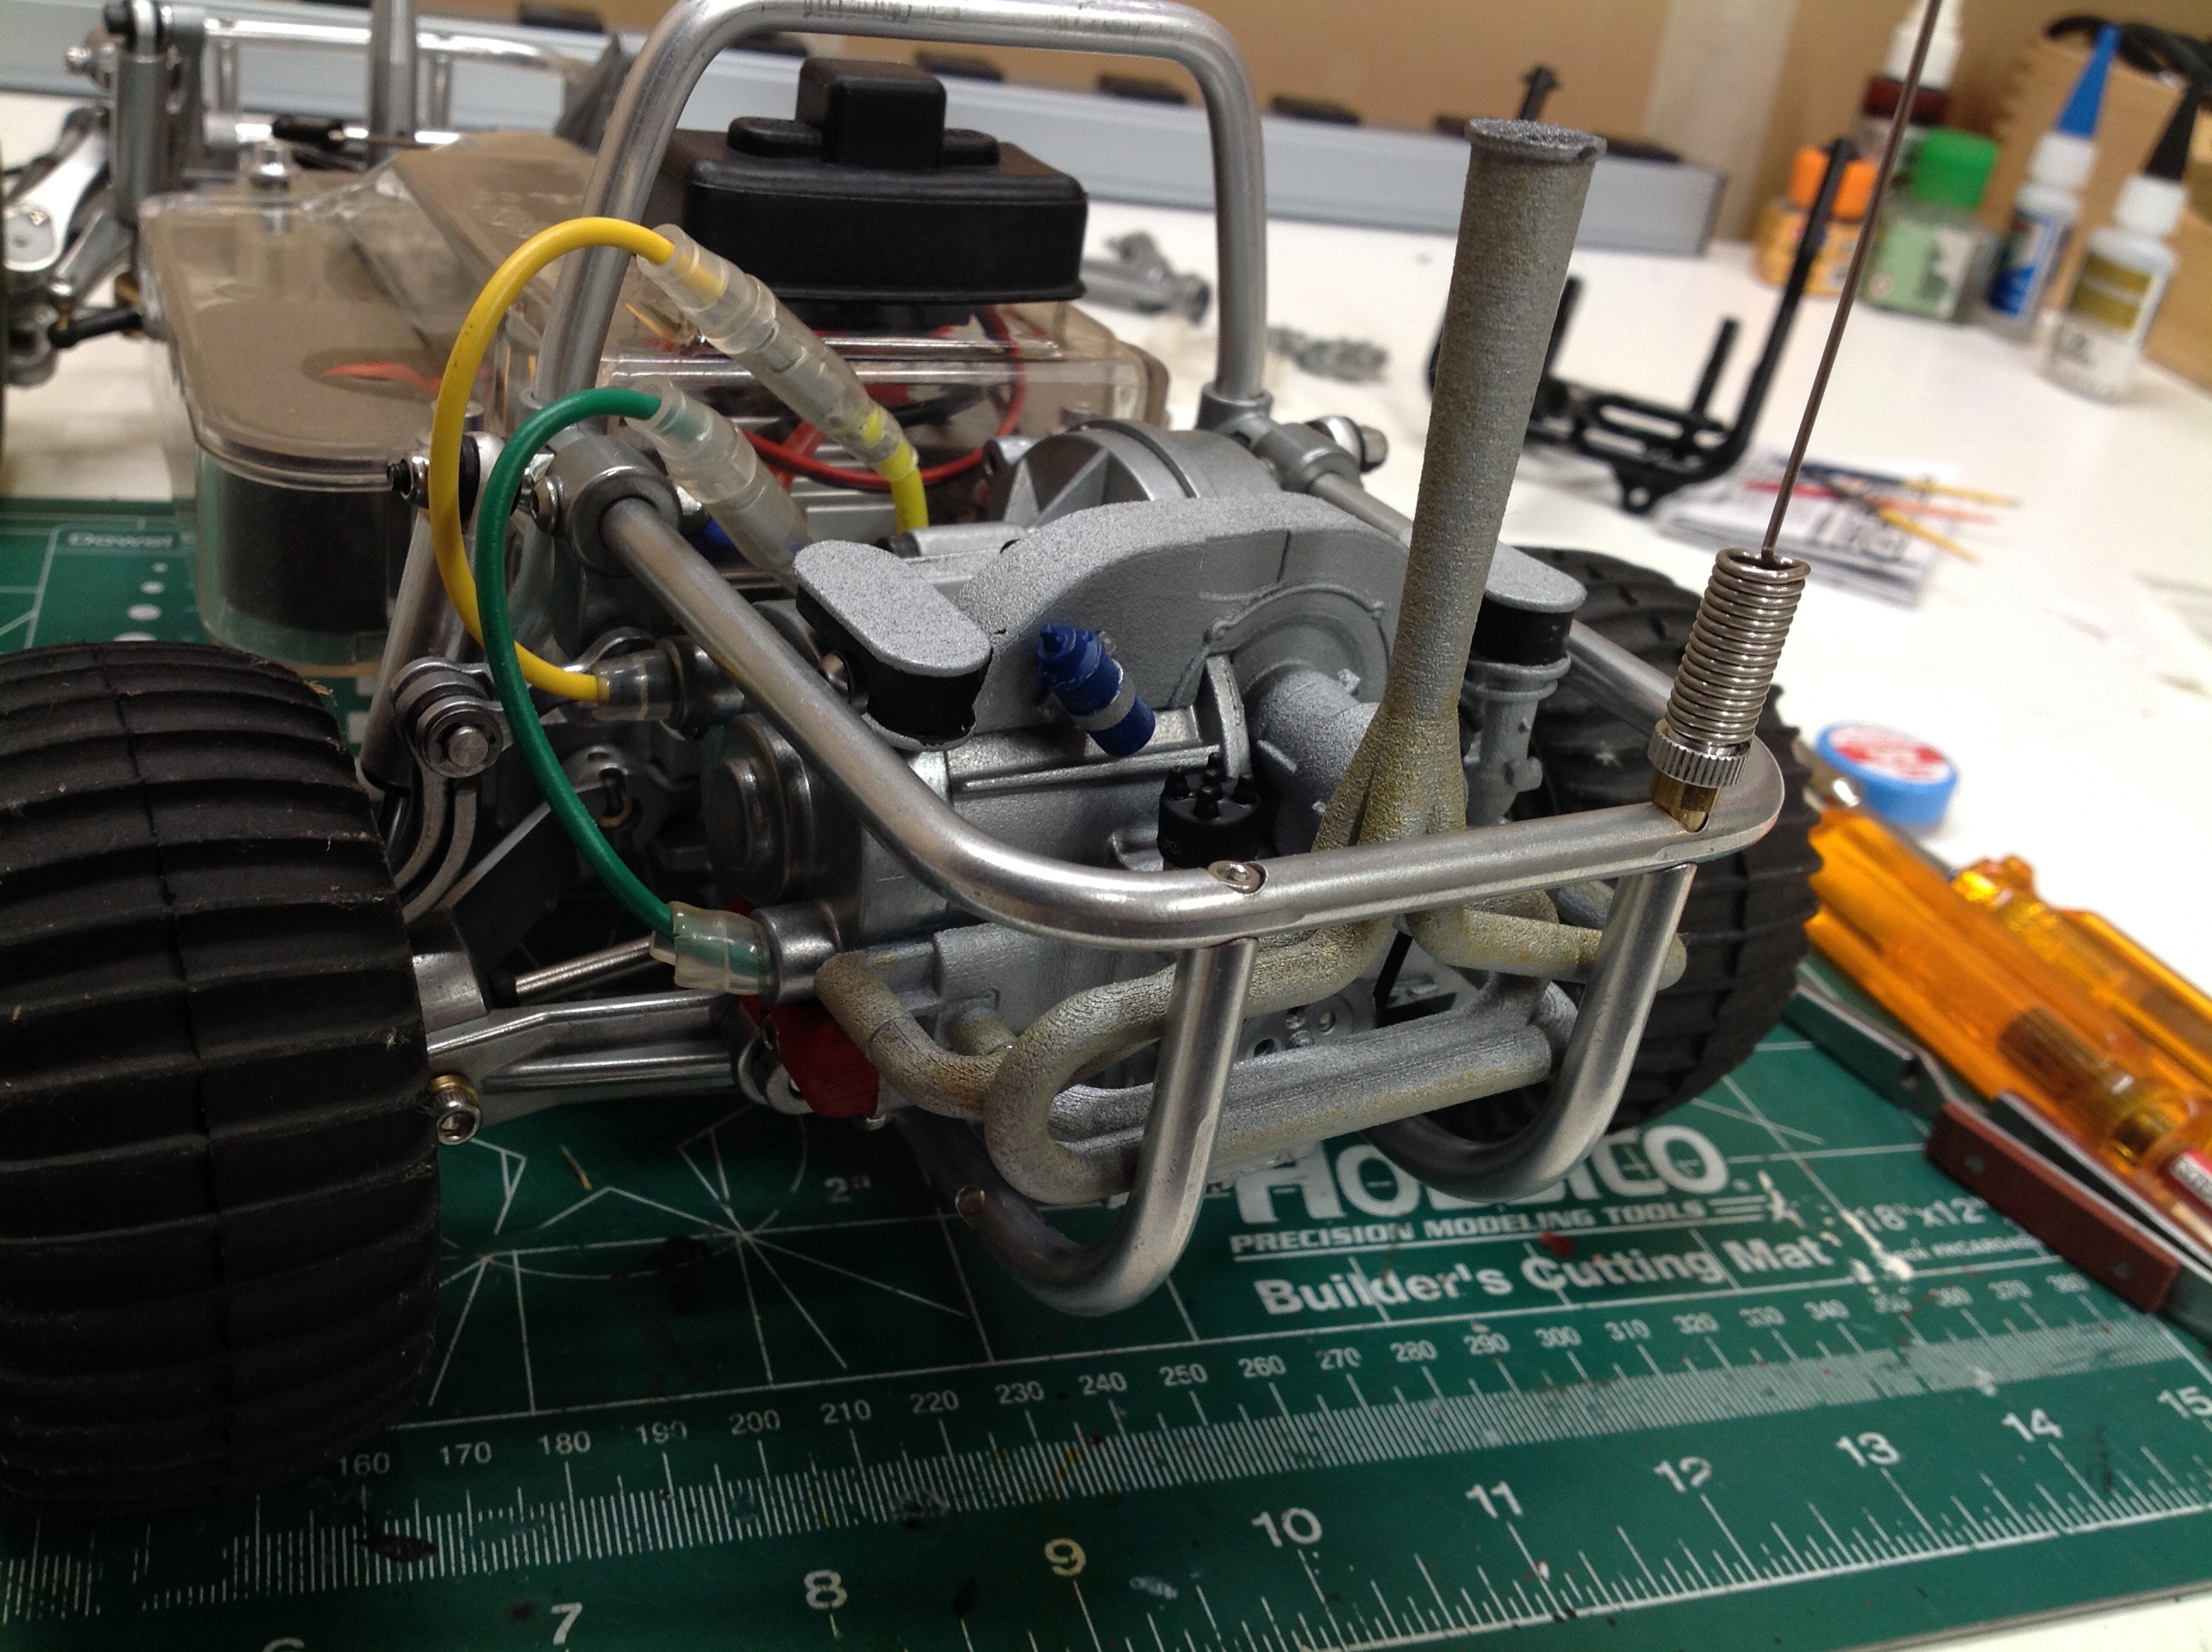
Now let's get to work on that 3D printed engine. The picture on
the left shows the individual parts dry fit together for this boxer
style 4-cylinder. The exhaust looks more or less like stock, but
now we have cylinder blocks and heads, air cleaners, a belt system, and
an oil sump. The right hand image shows my paint scheme.
Most is steel colored, but I did the valve covers in red and the coil in
blue. The filter elements are black and so is the belt. I
added some rust colored wash to the exhaust.
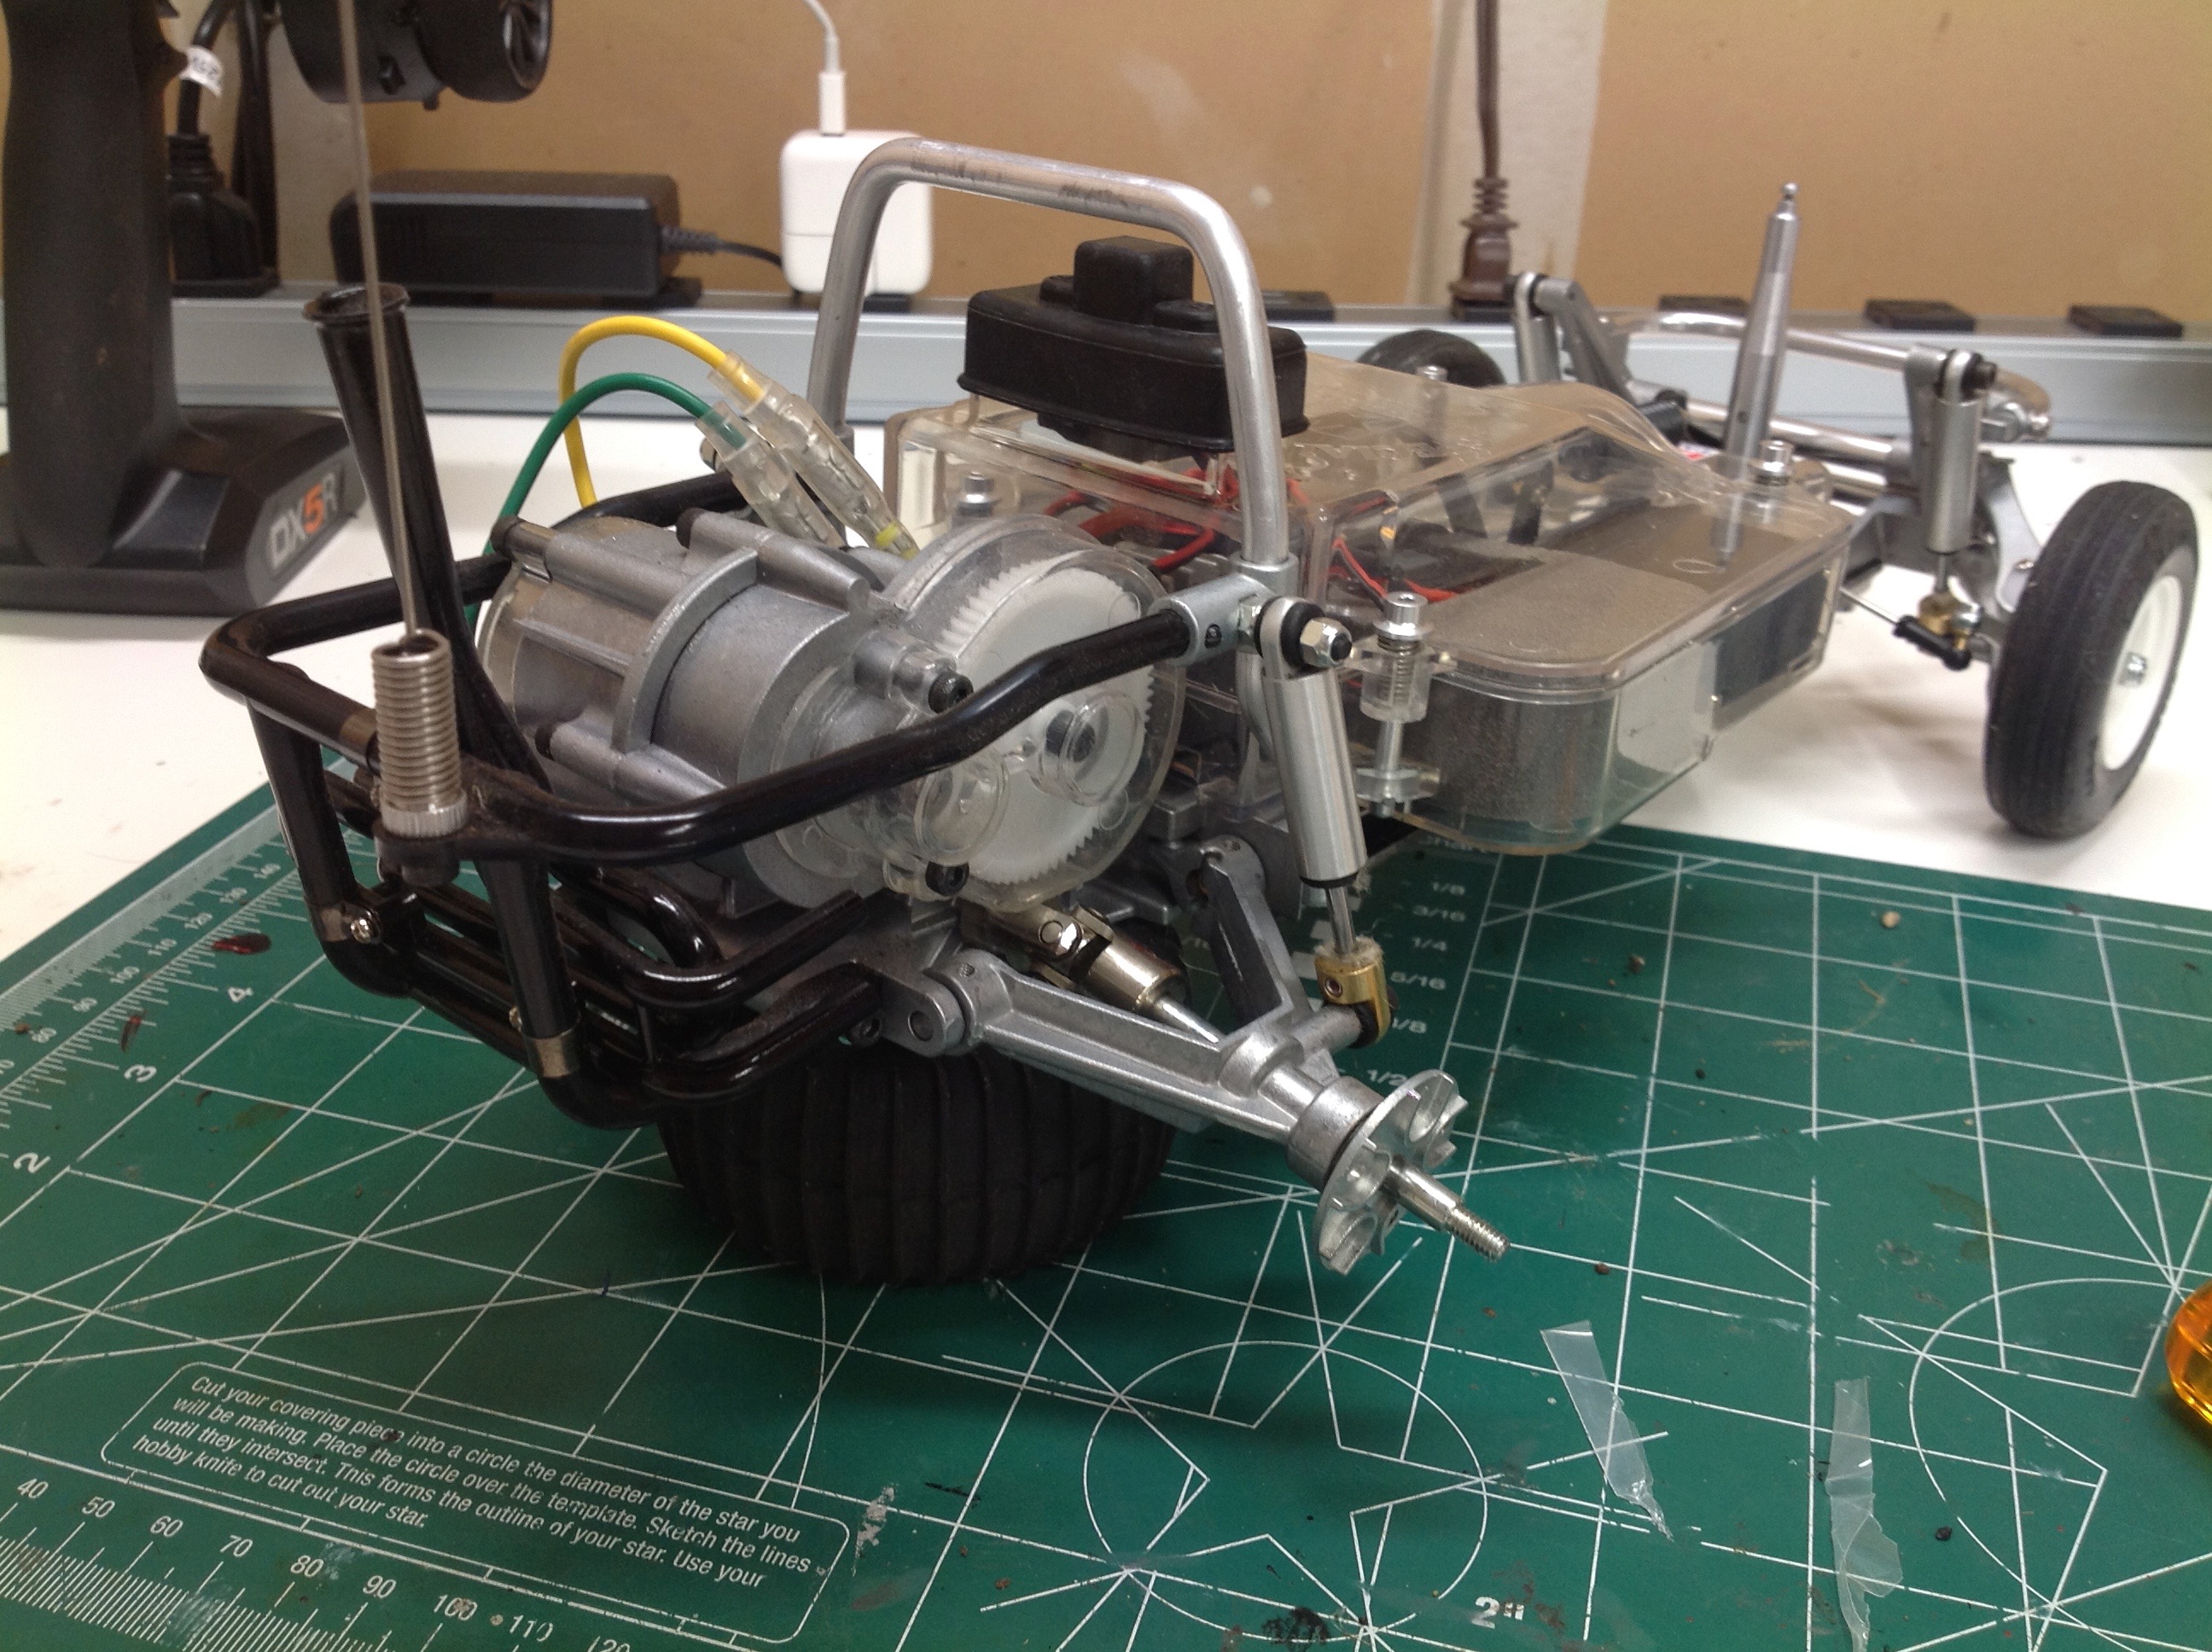
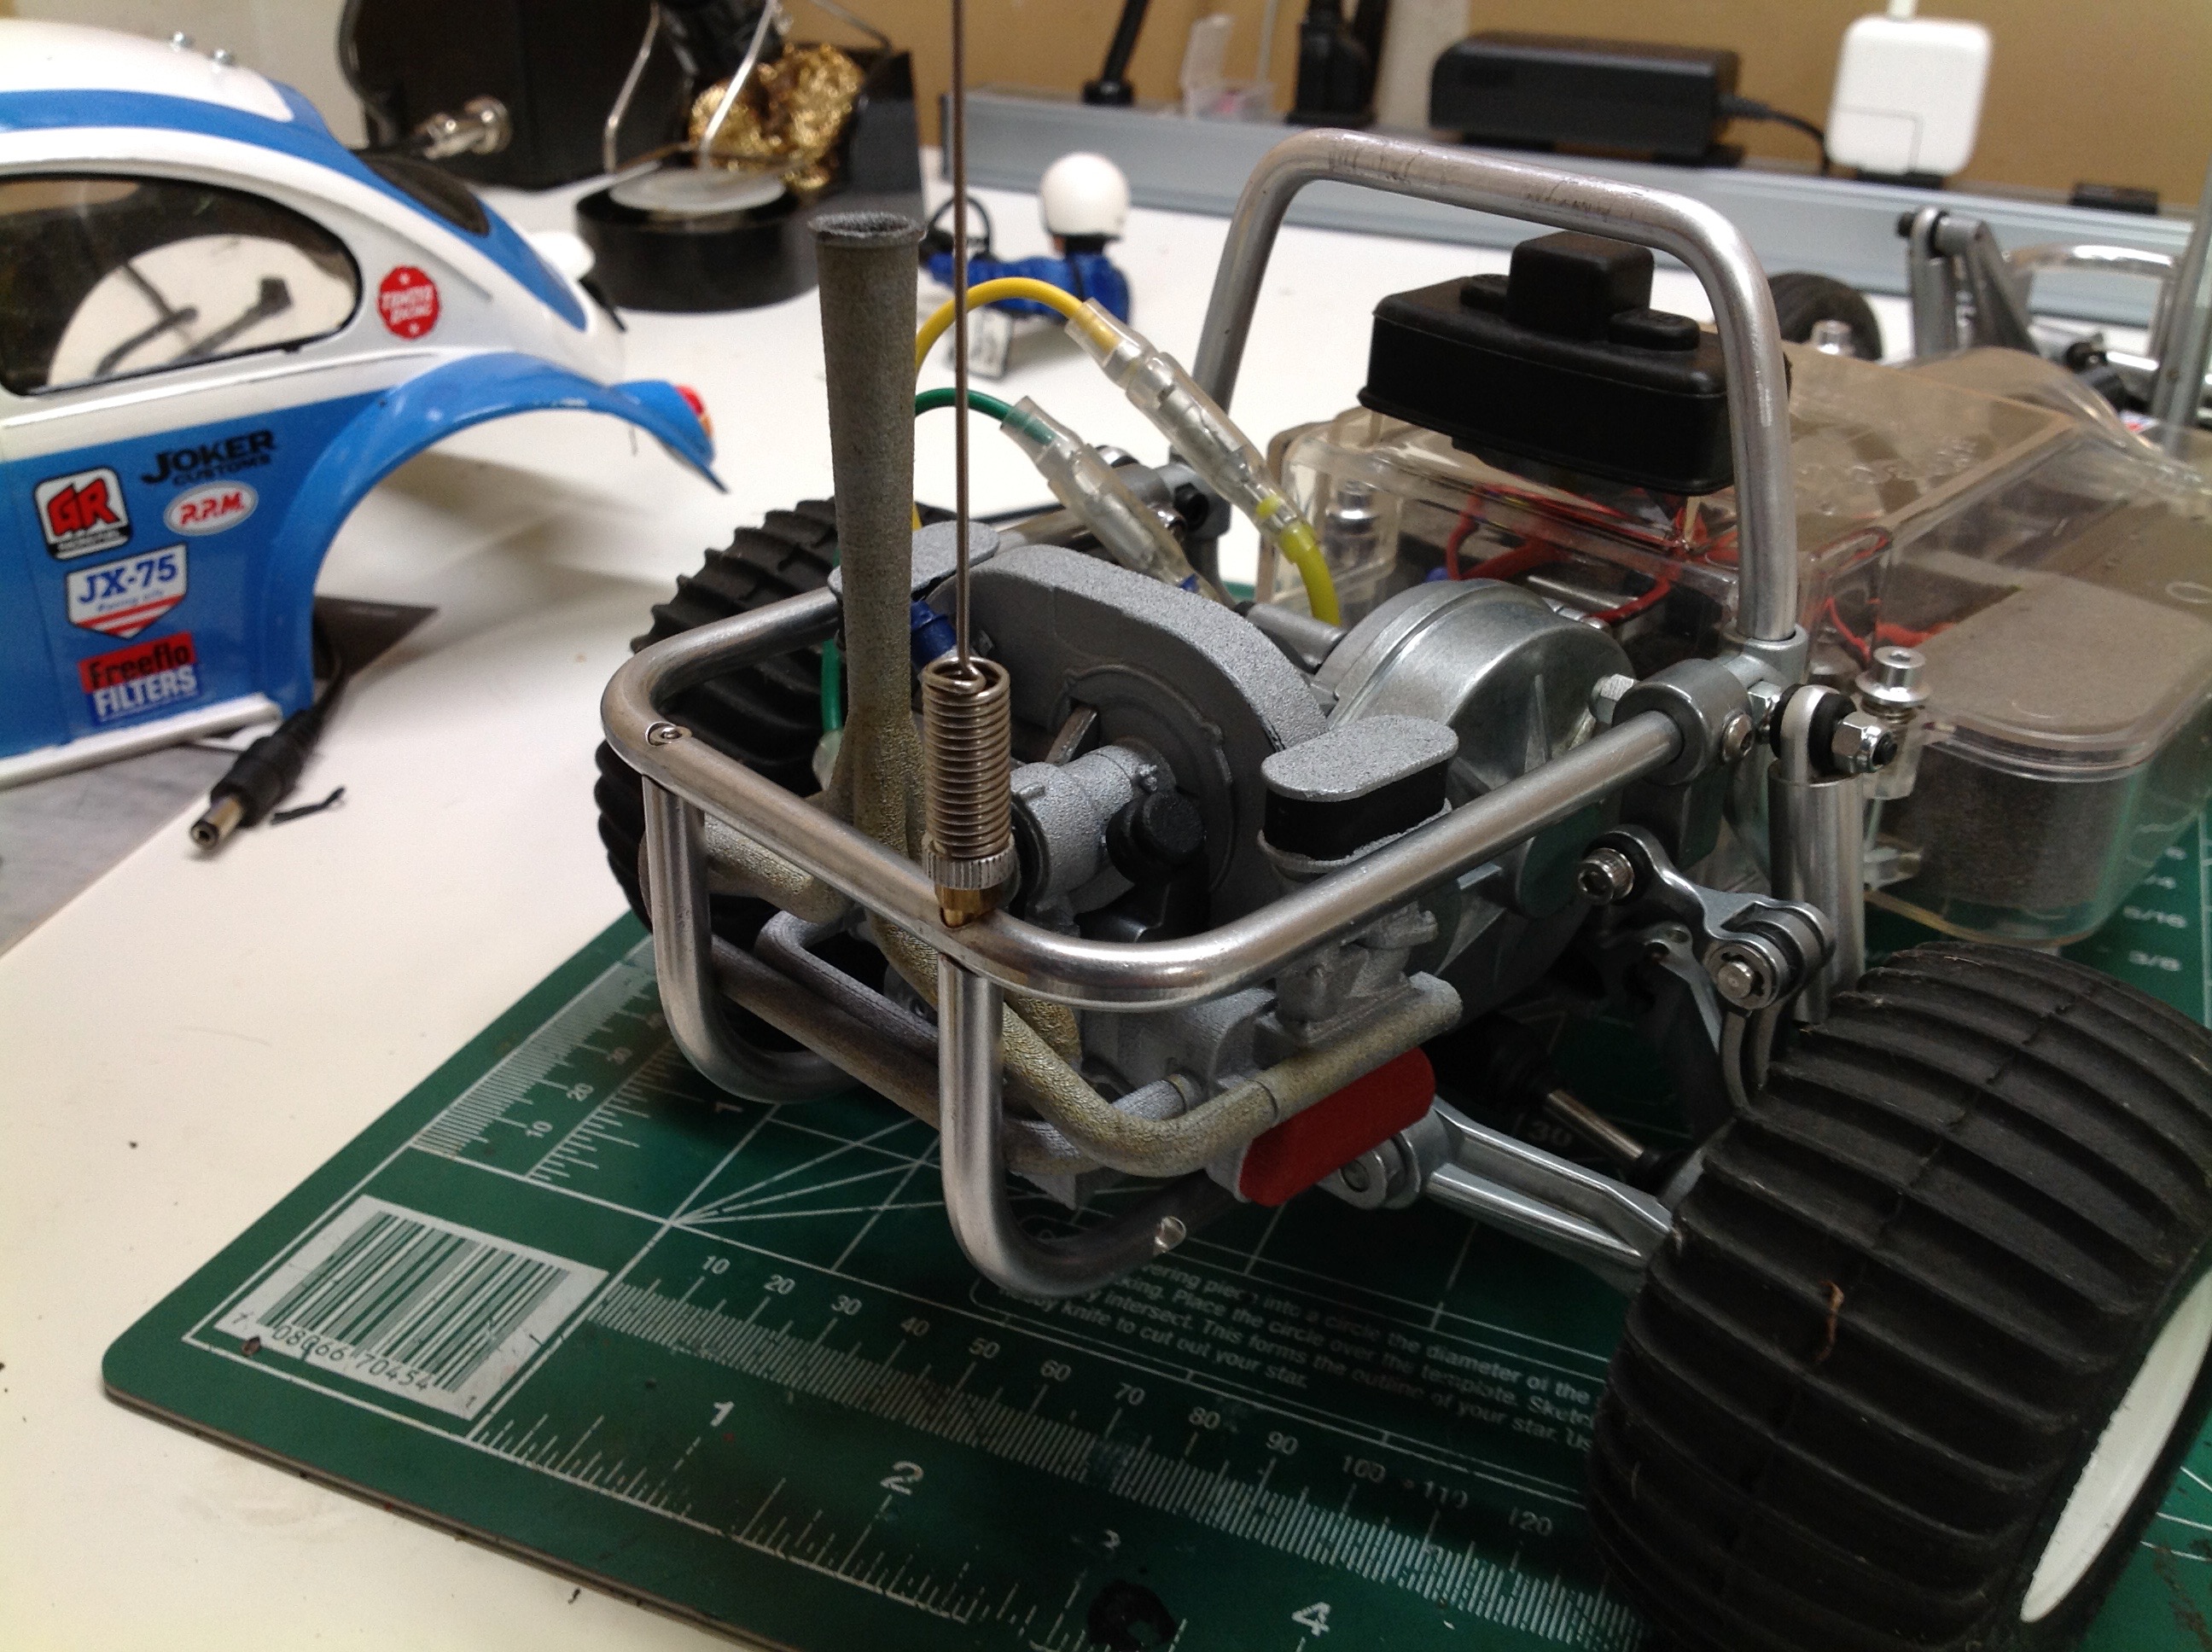
Here I've installed the engine. It is actually quite hidden behind
the bumper unless you look closely. The lower cross member on my
metal rear bumper is not in the same place as stock and it interfered
with the engine so I had to remove it. Doesn't seem to weaken the
assembly appreciably. Most of this engine can't be seen once the
body is on, but I know it is there are it looks good. It fits over
the gearbox quite tightly and is only secured with one screw on the
left side.
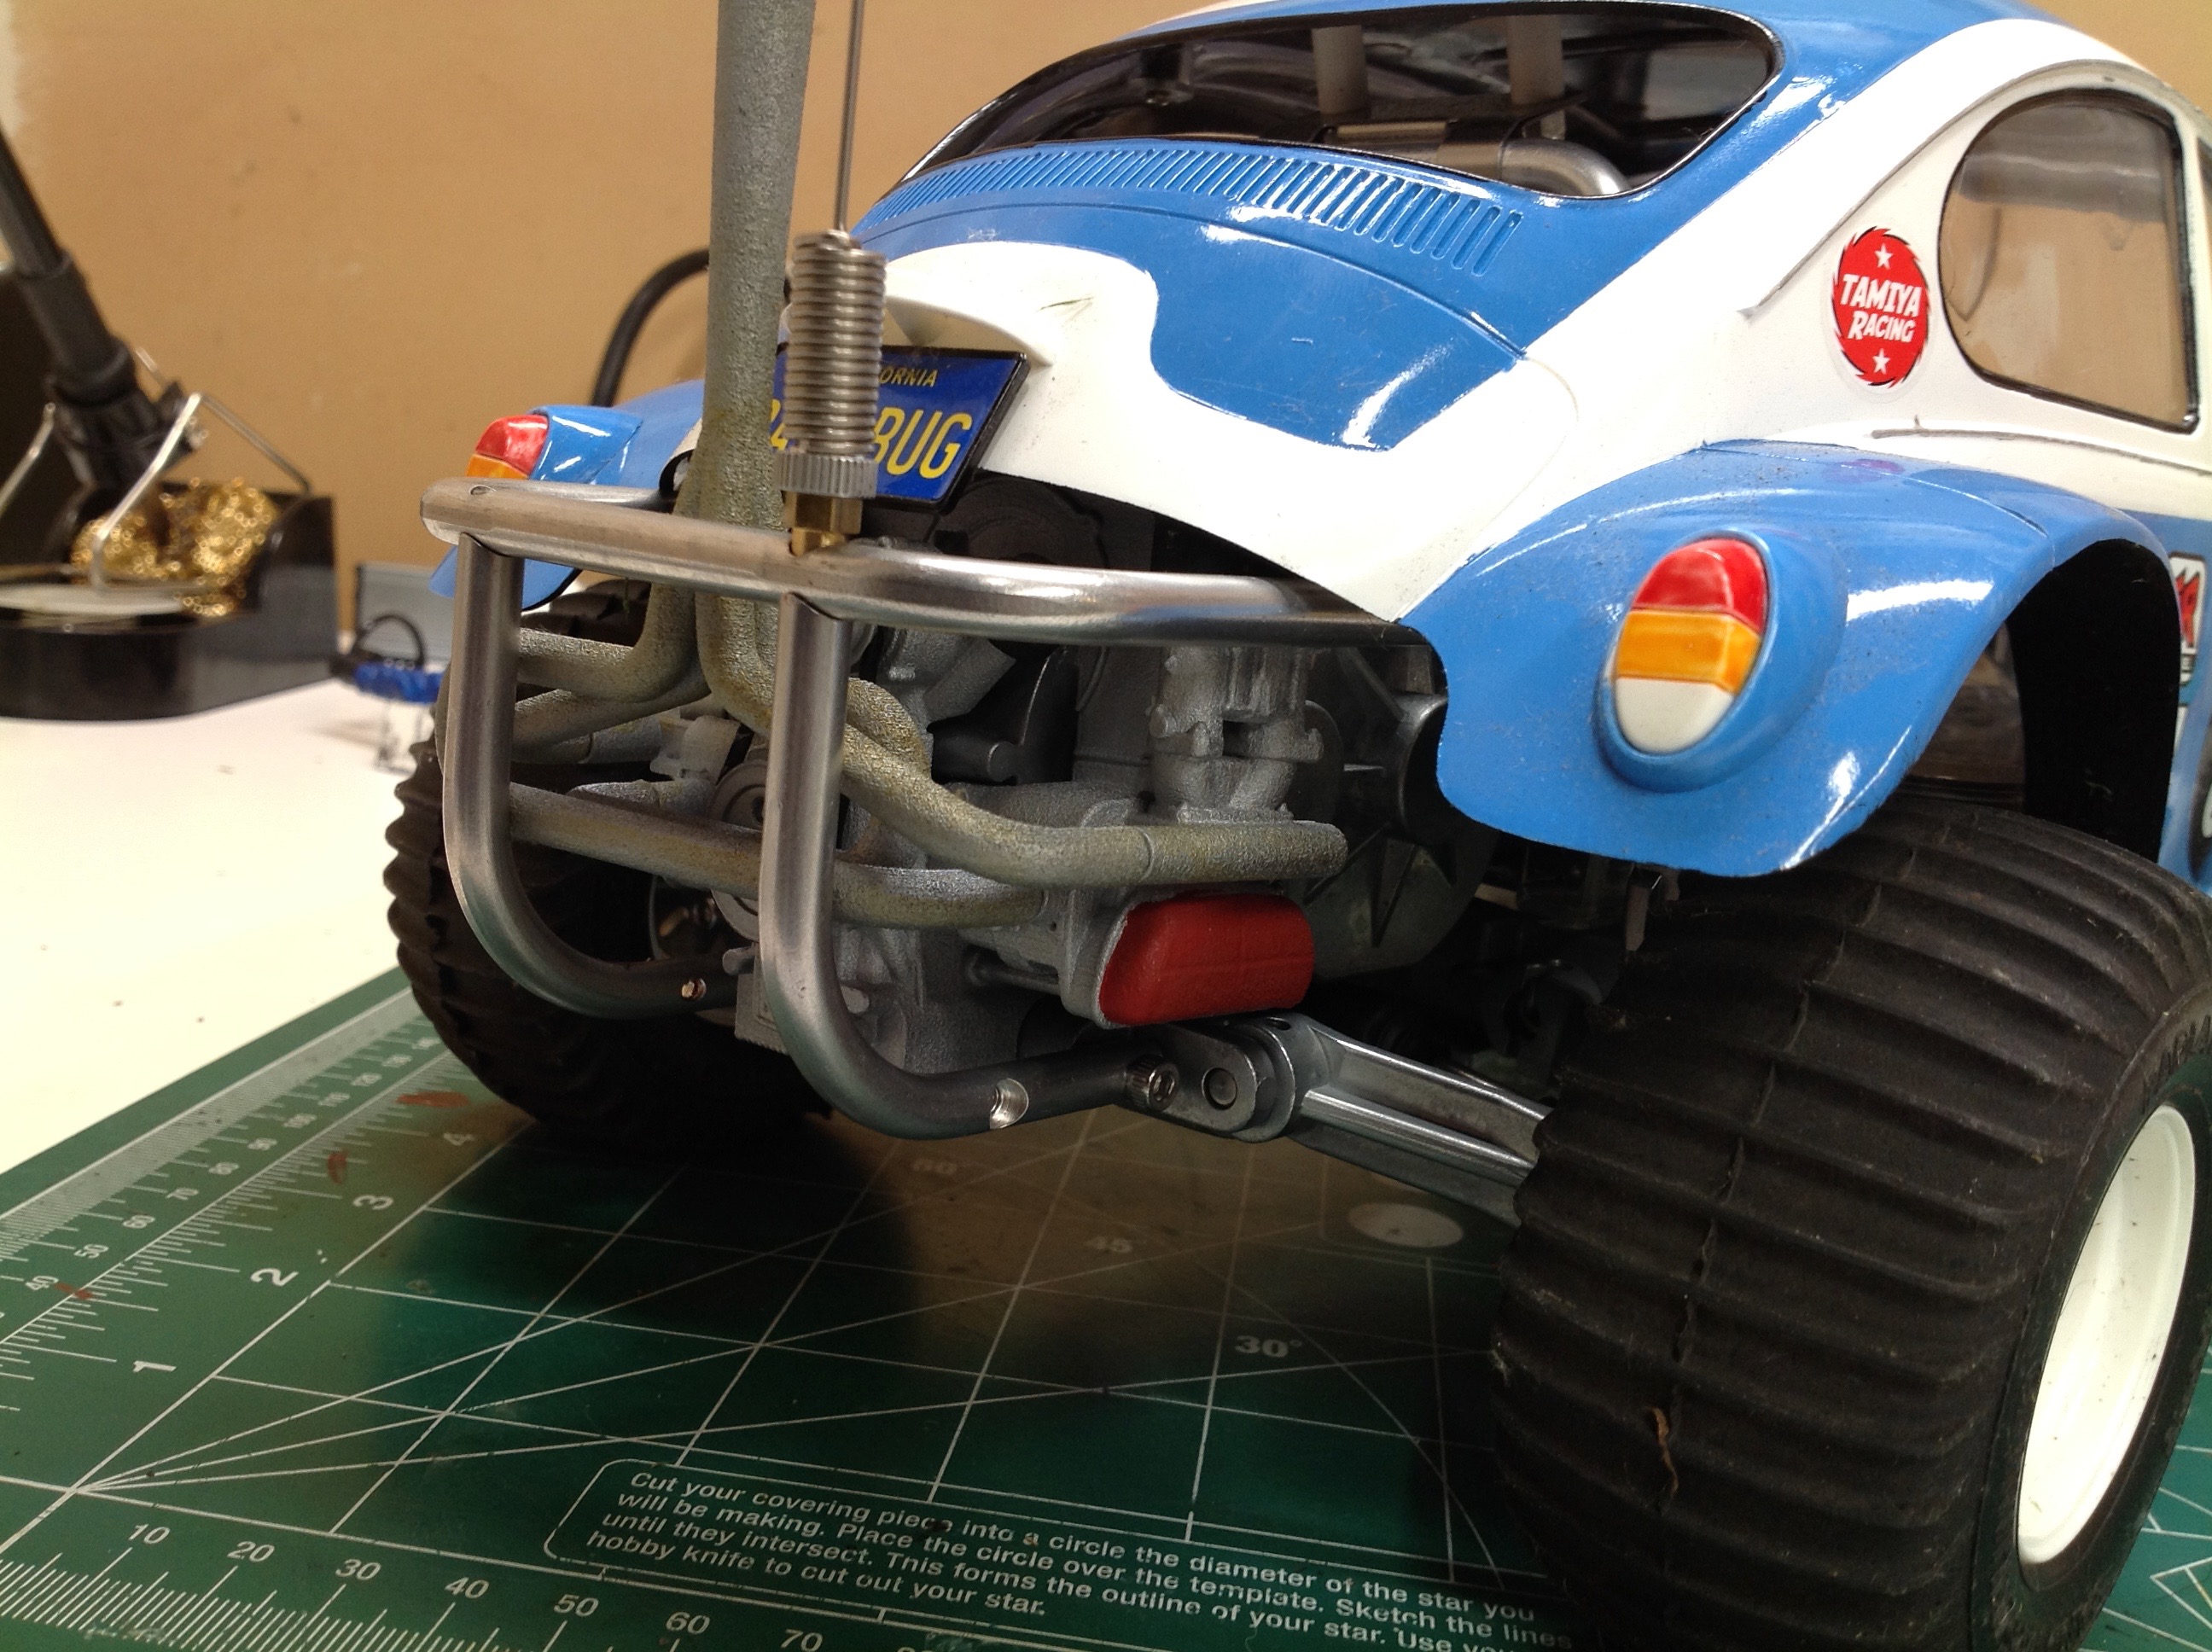
Here is the engine with the body installed. If you get down low it
shows up quite nicely and makes the buggy looks super realistic (in my
opinion). It would be better if those tail lights had clear lenses
which is something I may still need to do. On the right you can
see the stock driver which I painted compared to the 3D printed
sandstone driver. I did no painting on him, he comes out of the
machine like that. I have no idea how that technology works, but
it looks incredible.
Phase 2:
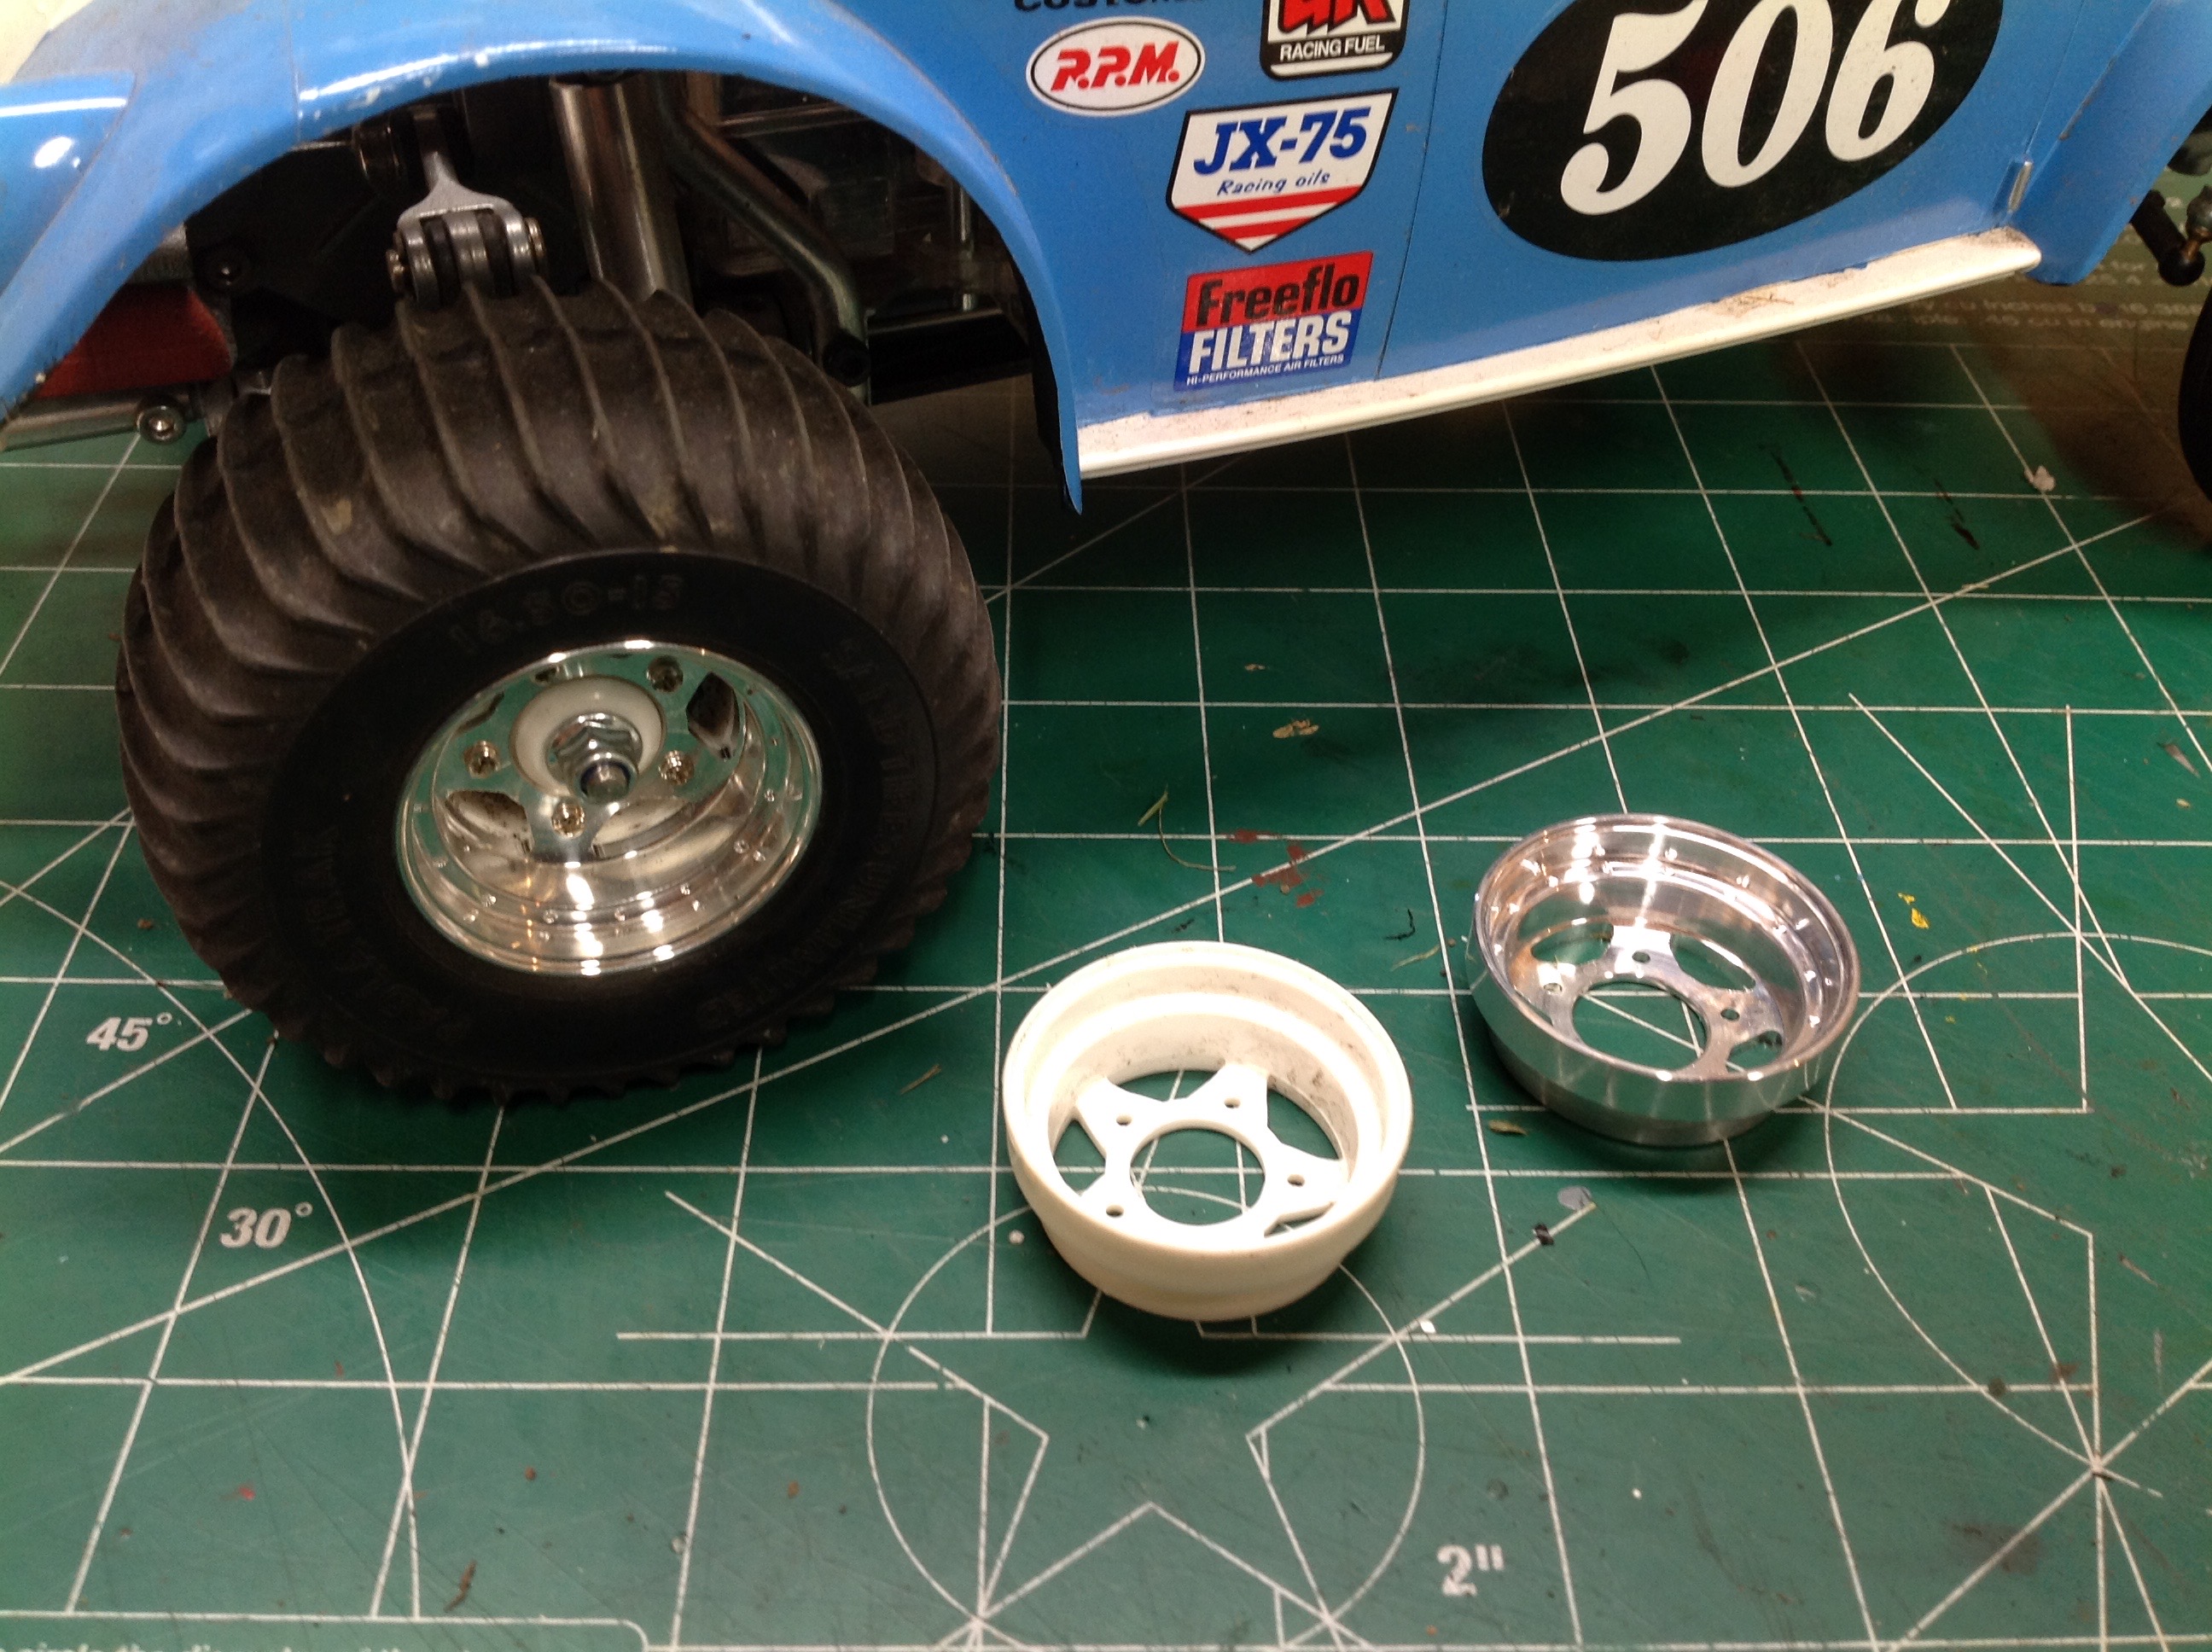
Over a year later I happened to spot these aluminum outer wheel covers
while I was buying something else and had to add them. Before and
after are compared above. I really like the way these look.
©2018 Eric Albrecht