Tamiya M4 Sherman Project
Page 3: Installing the Drive System
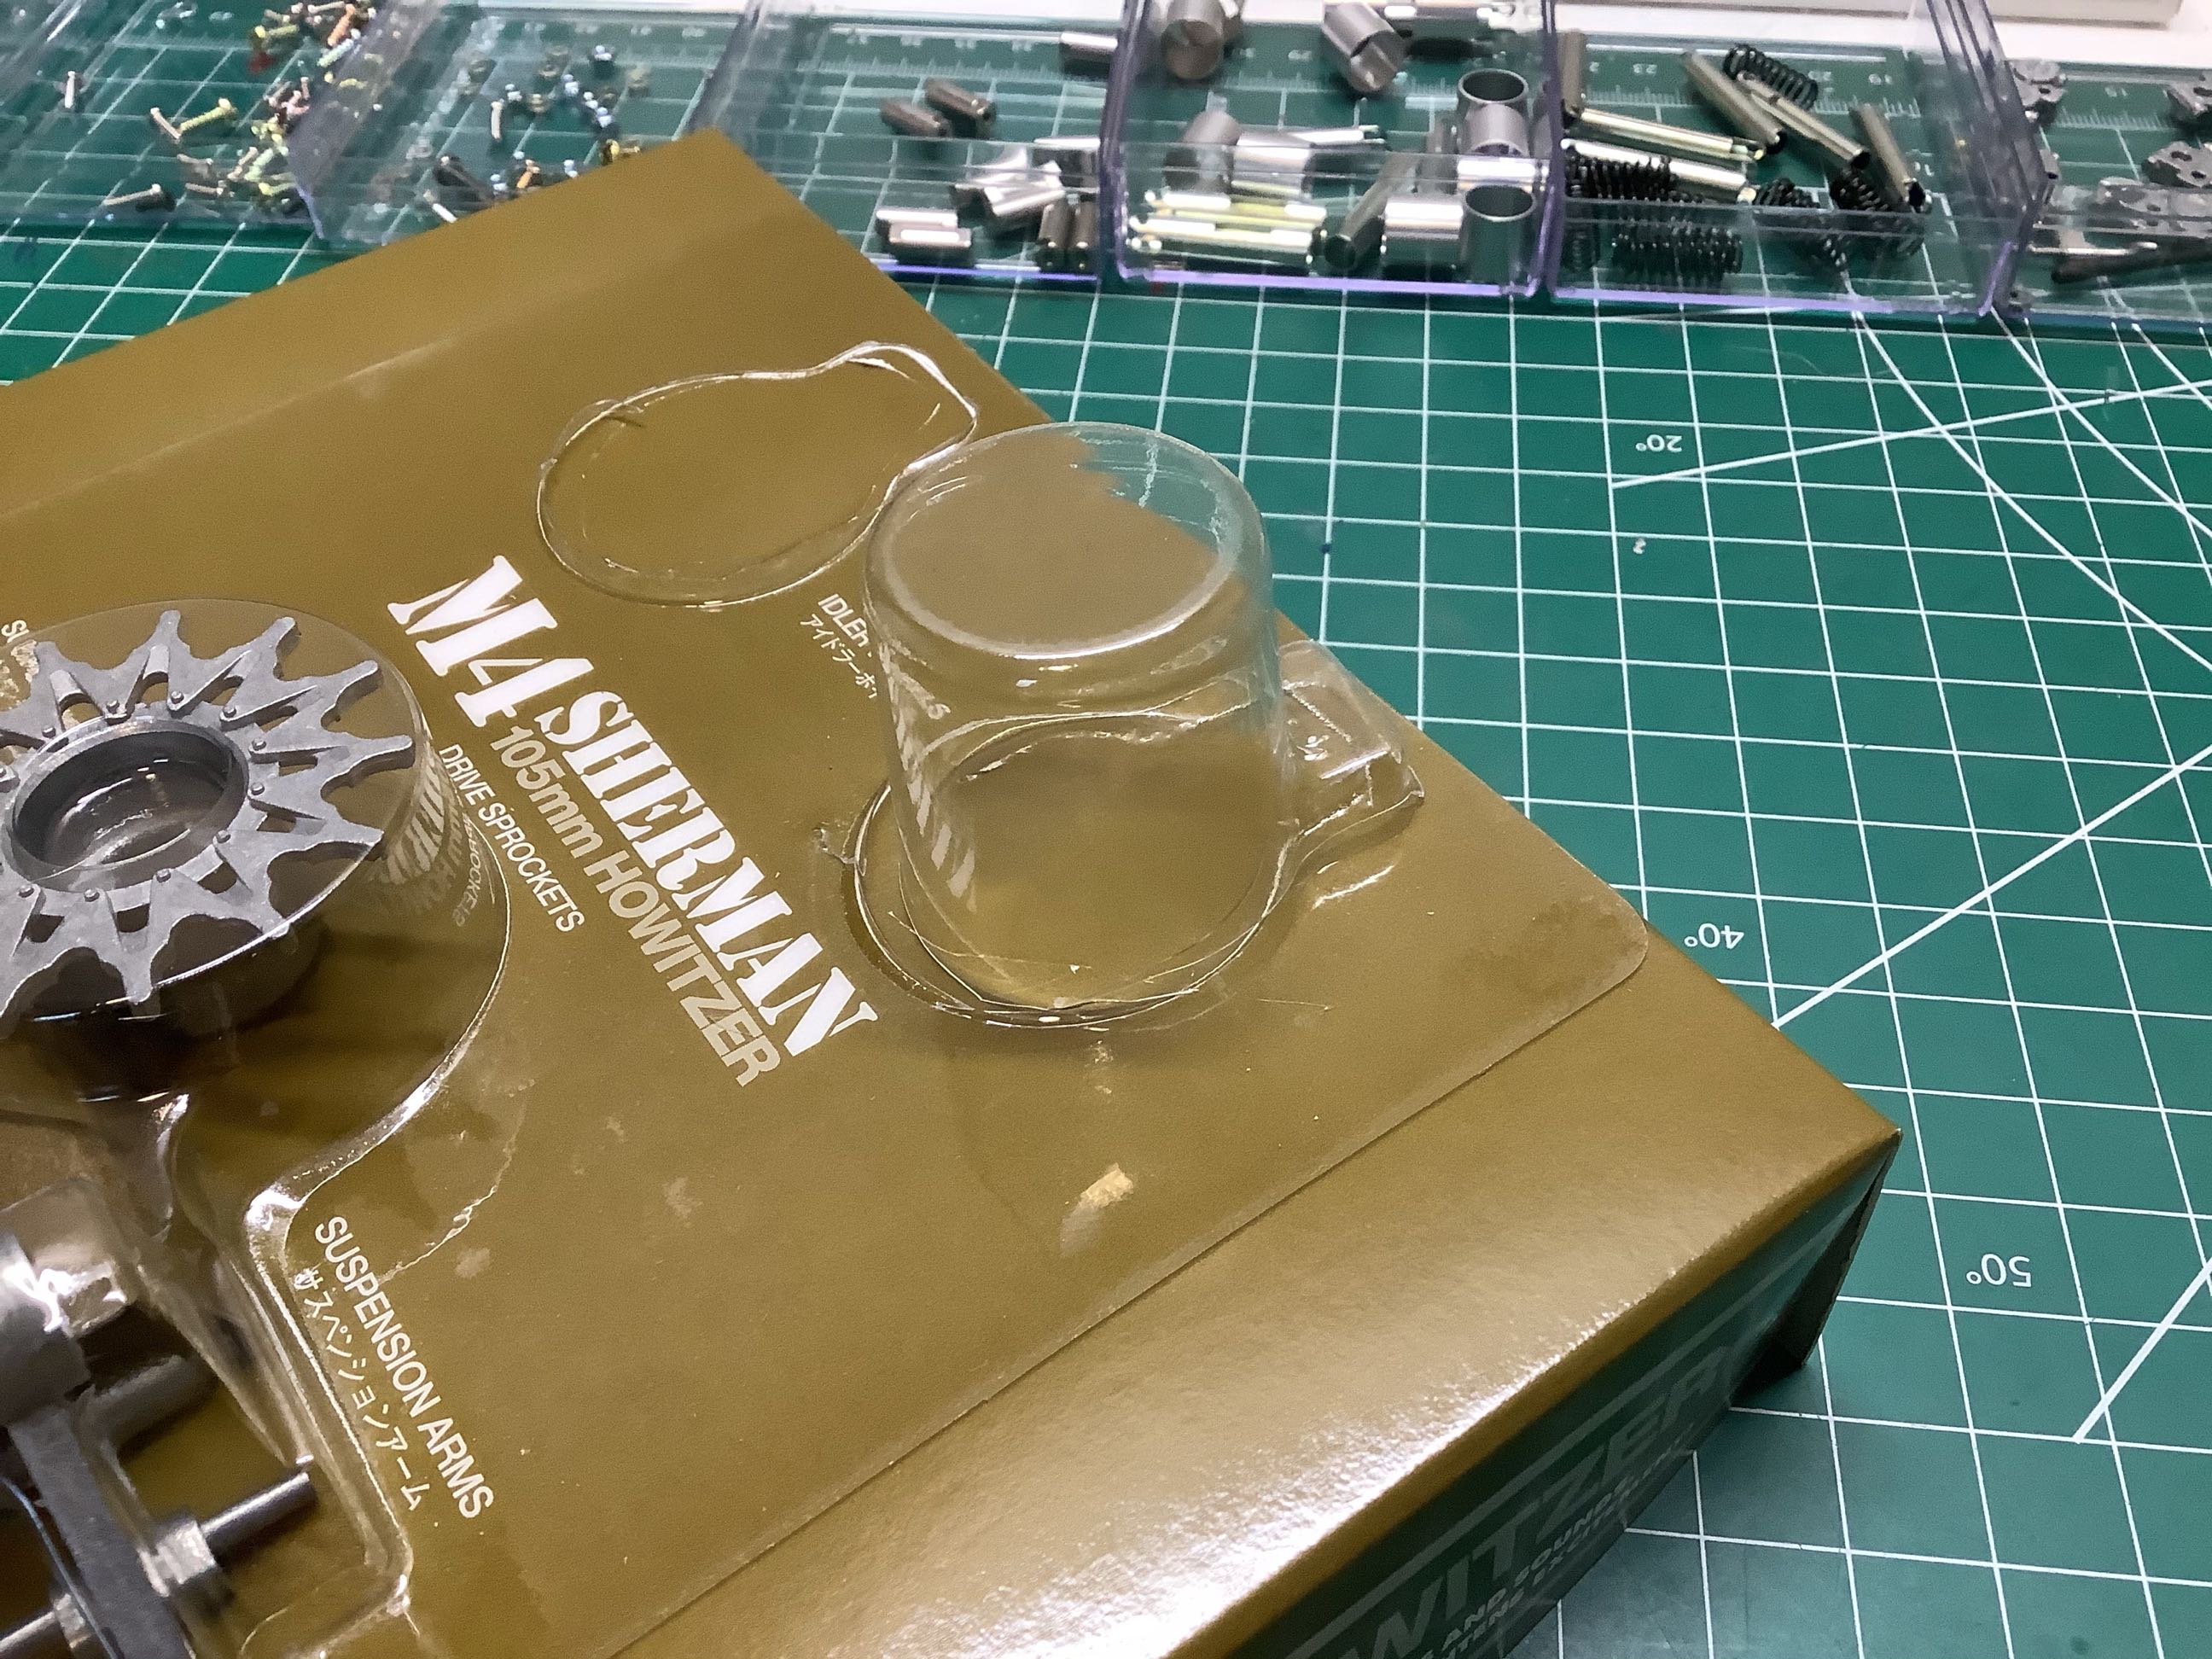
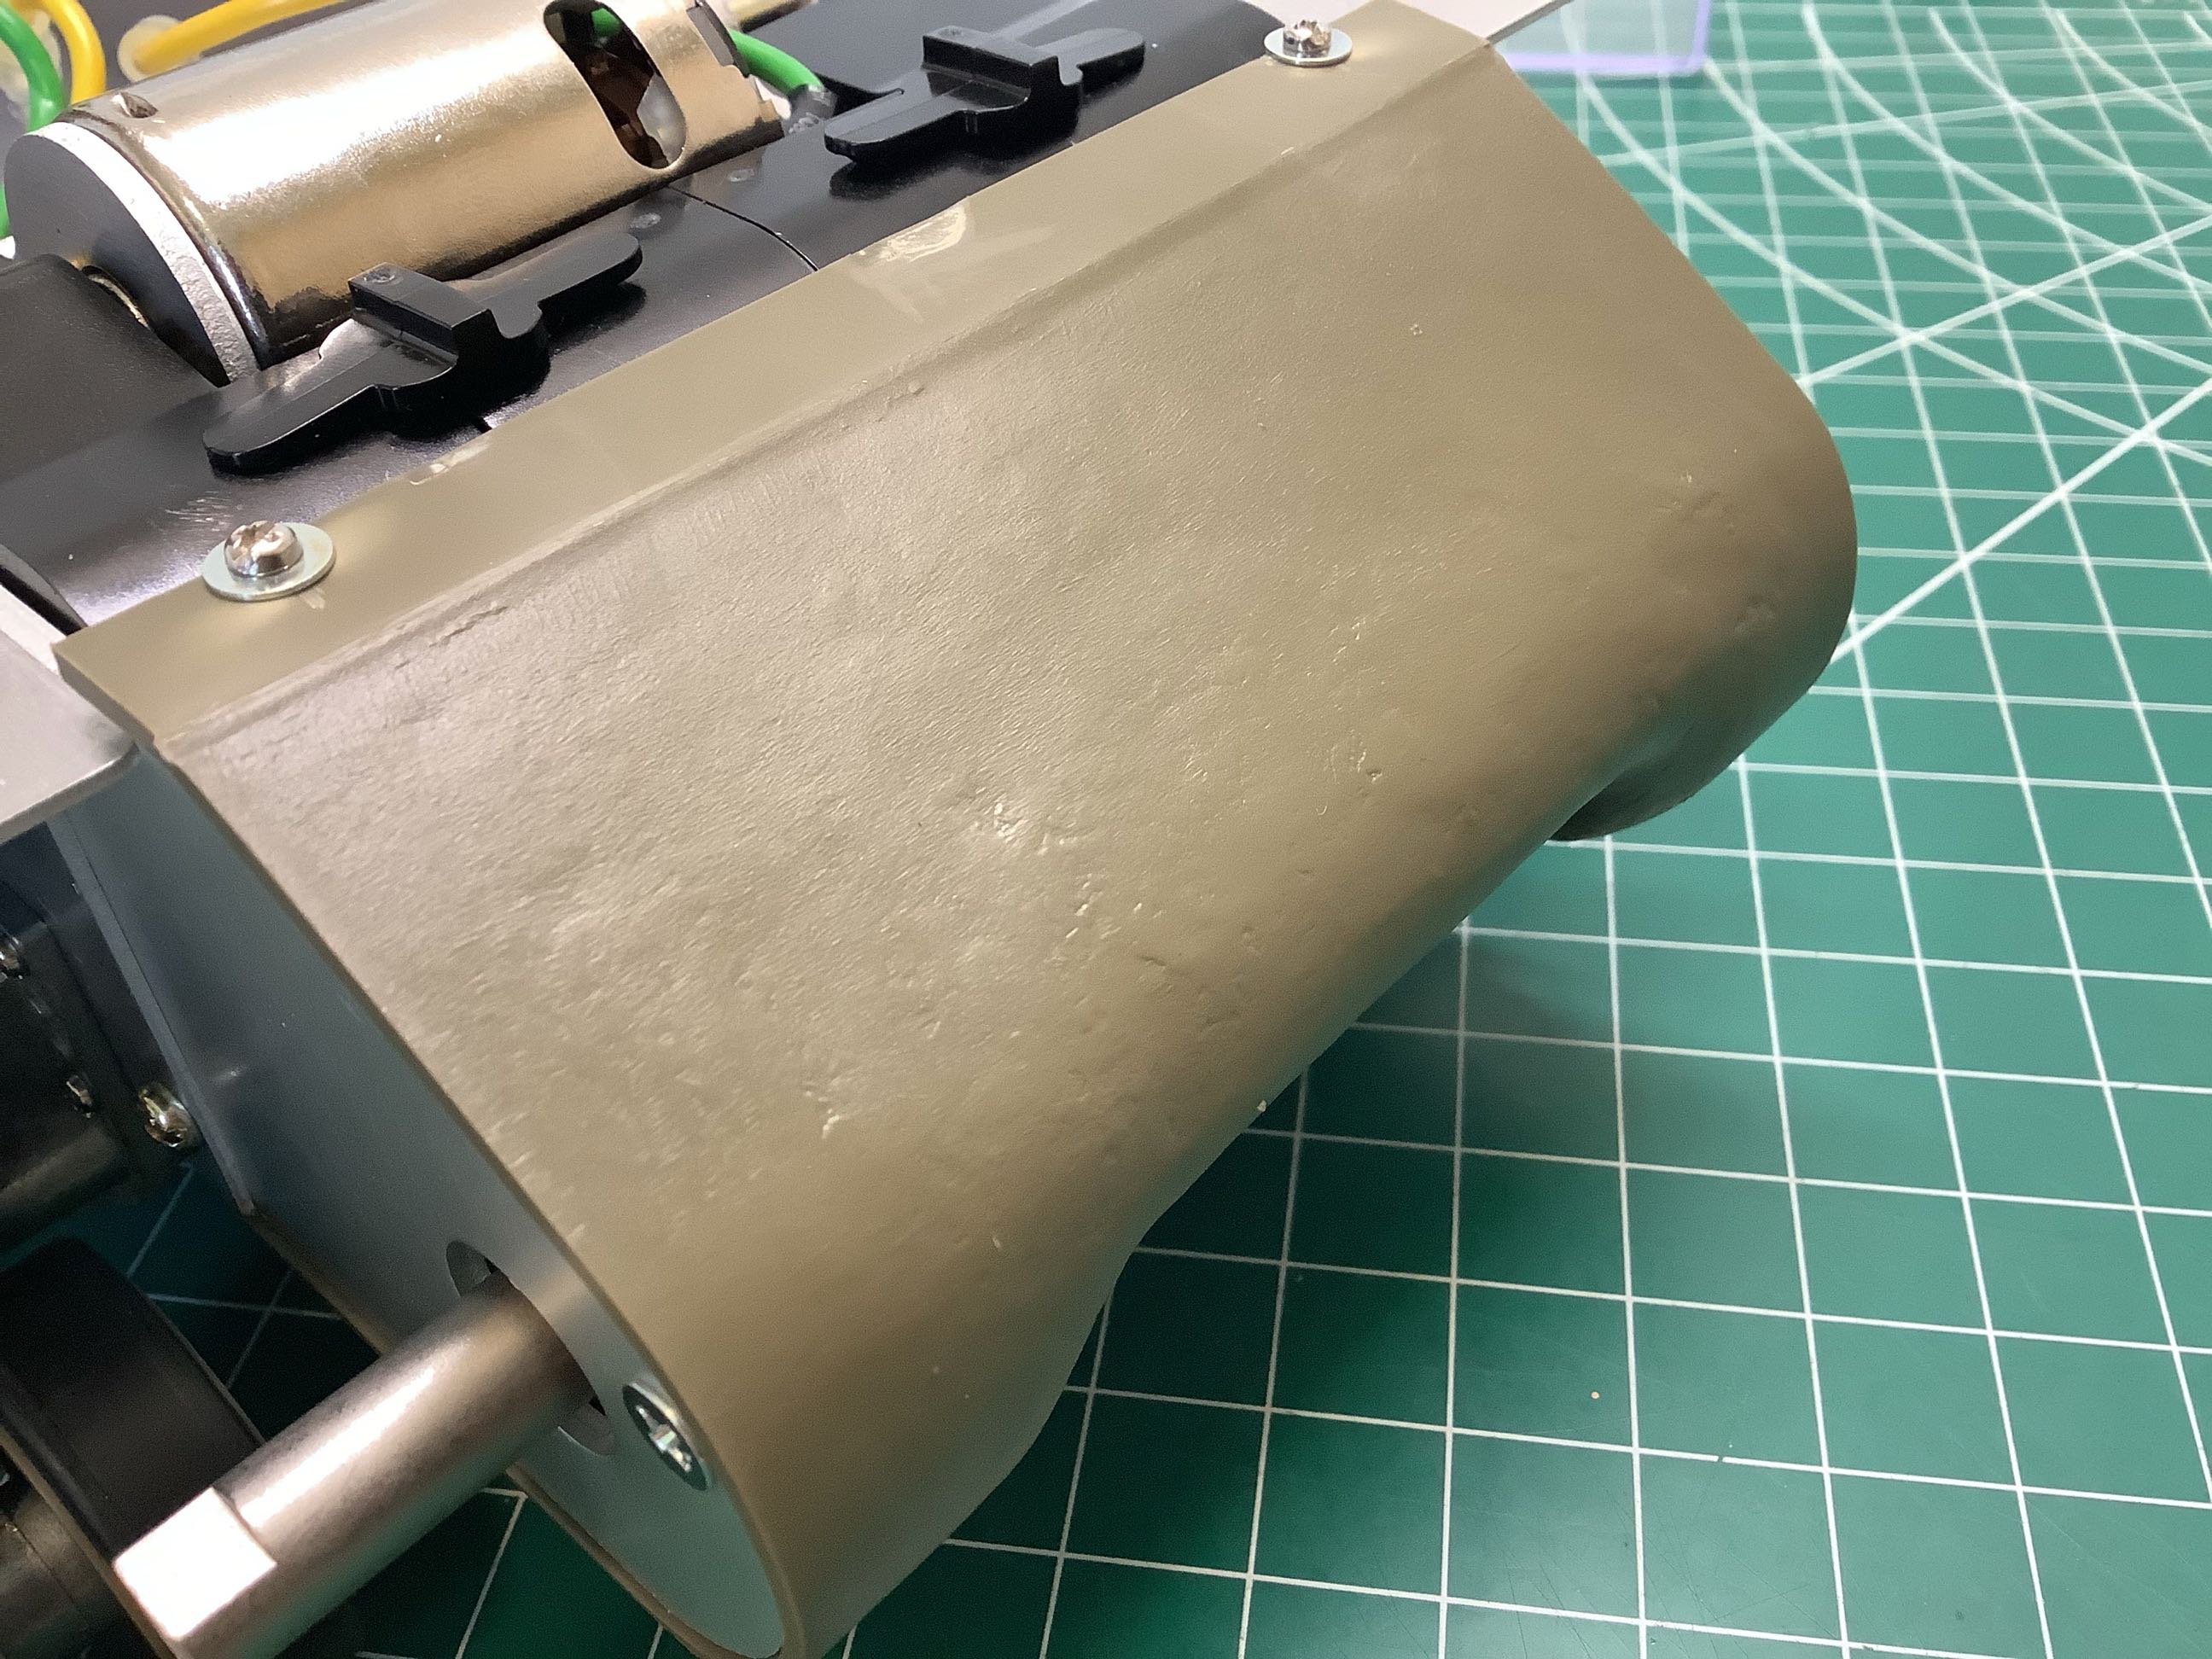
I think this is the first time I've seen the packaging used as part of a
model. The manual instructs the builder to remove a cylindrical
section of the the blister which previously contained an idler wheel
(left) and use it to cover the exposed pinion of one of the motors
(right). This becomes important later because there are wires very
close to this location that could get sucked into the gearbox without
protection.
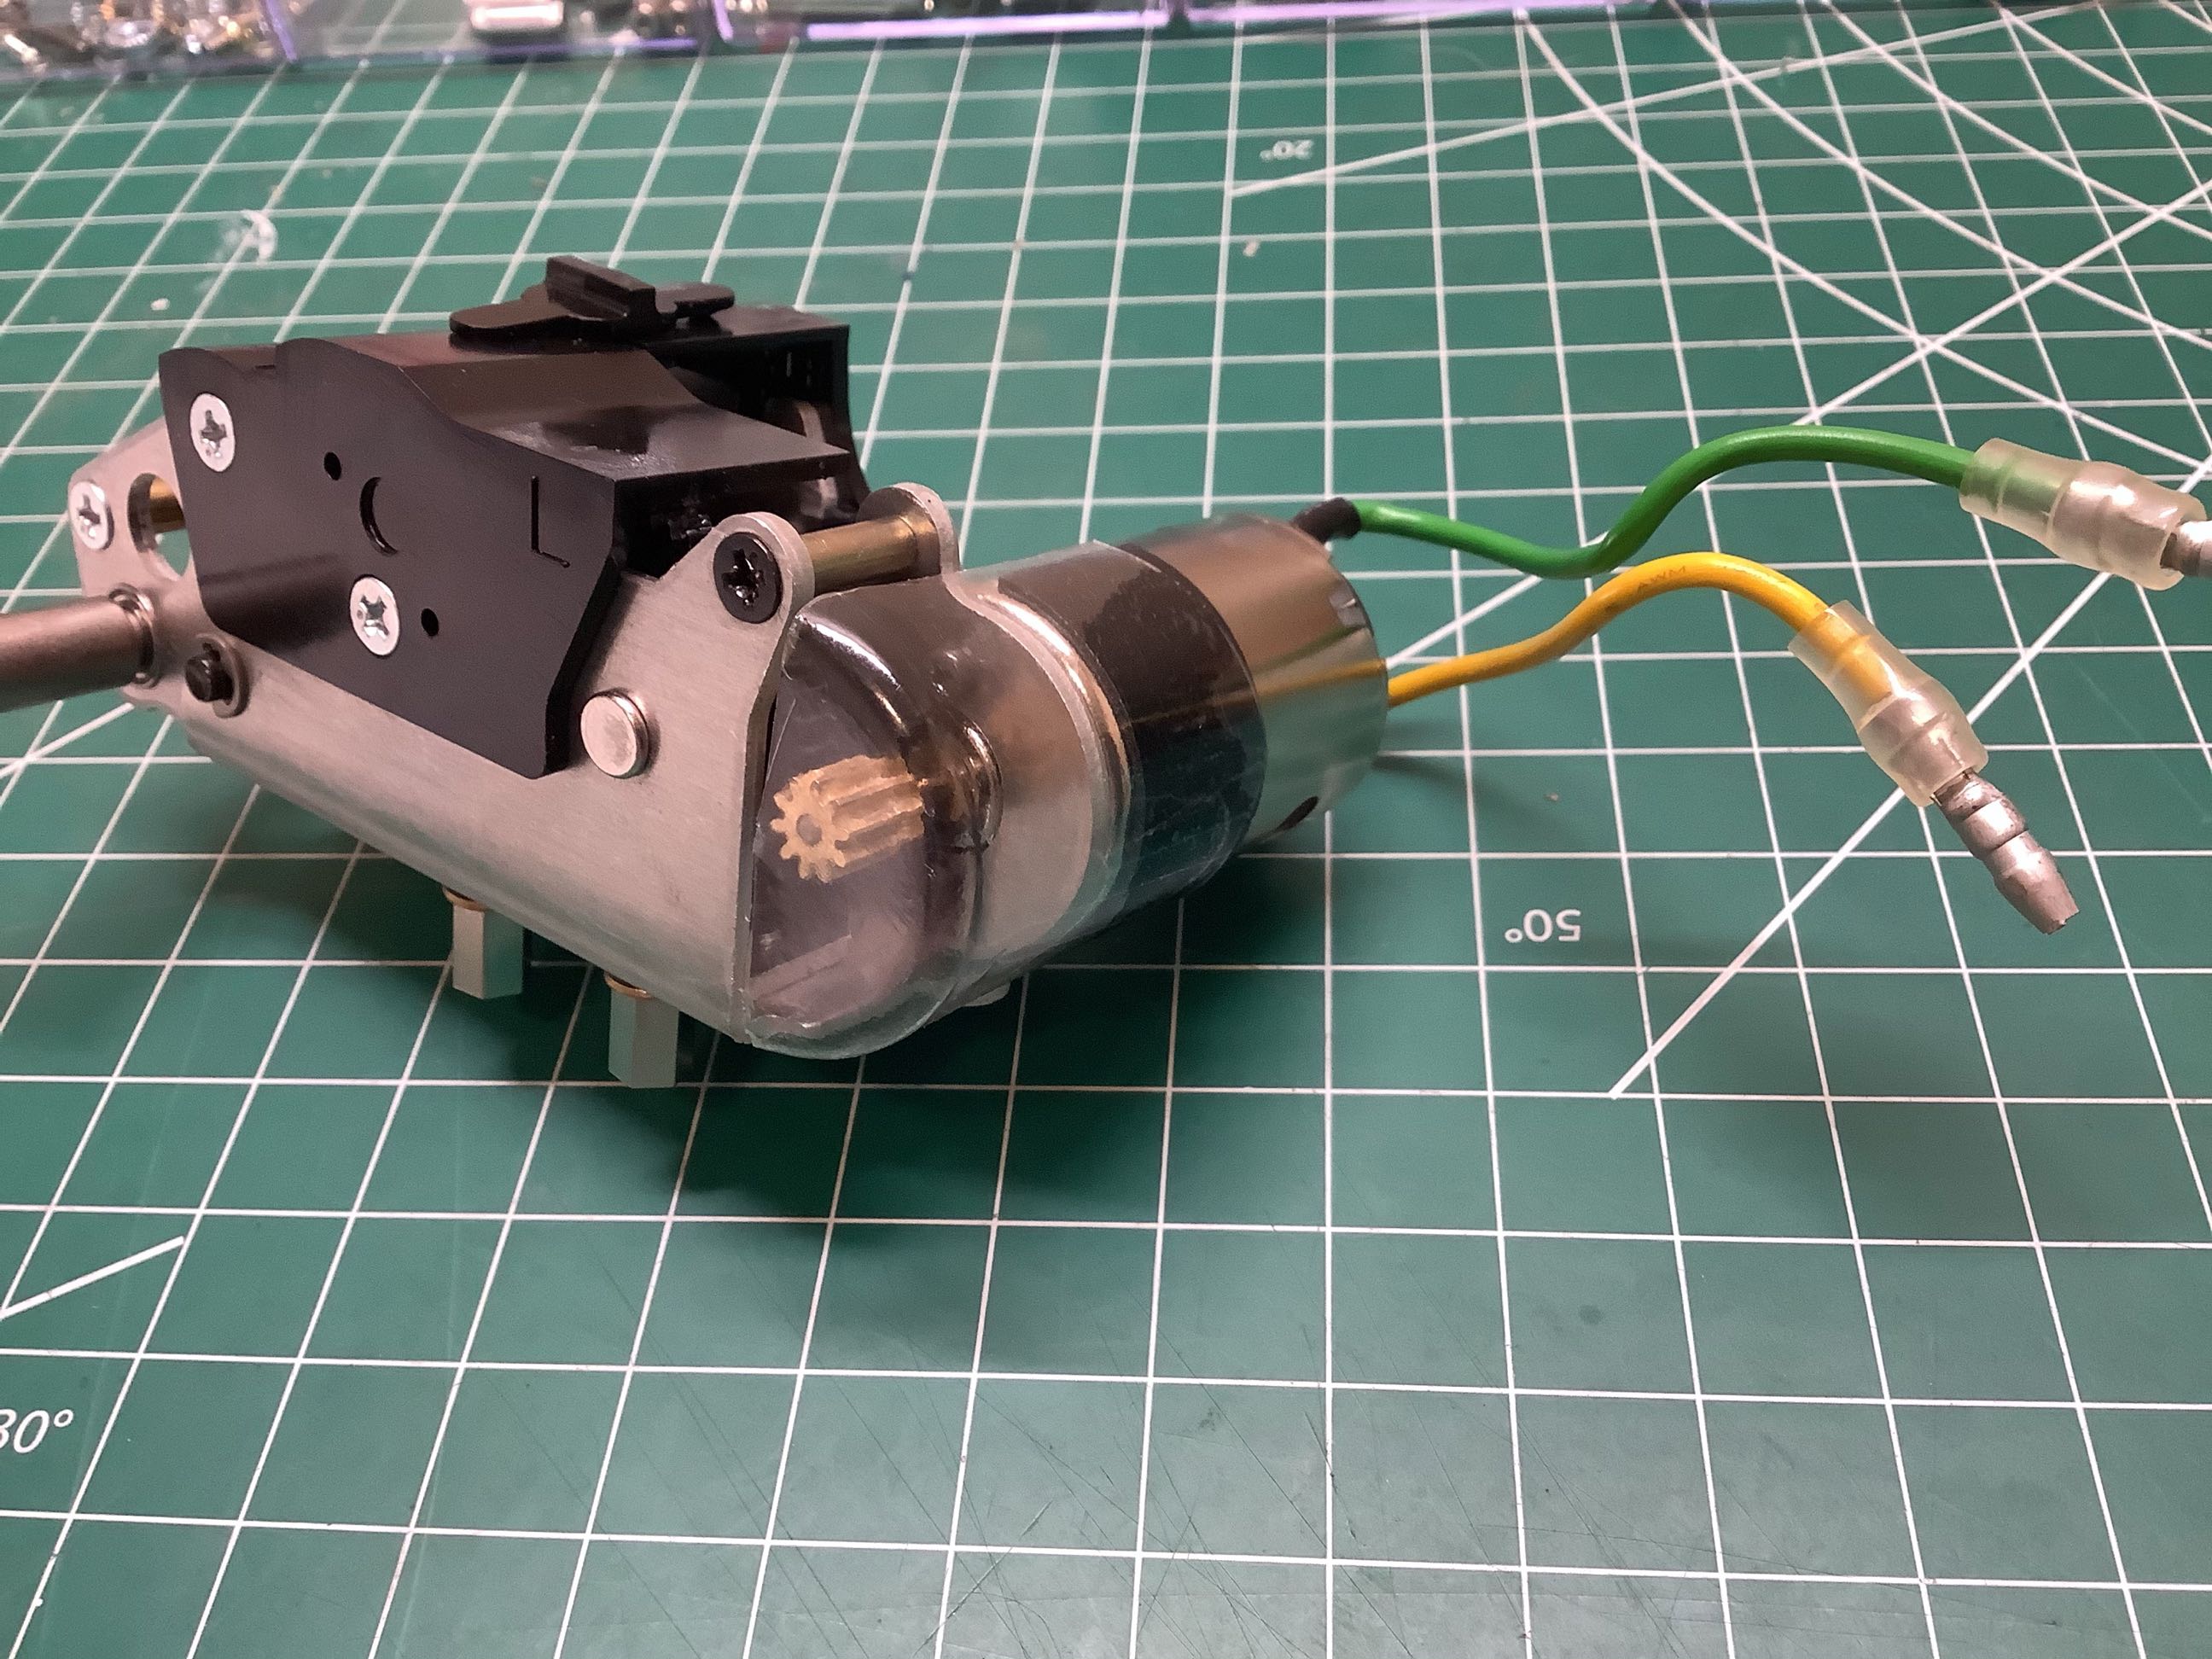
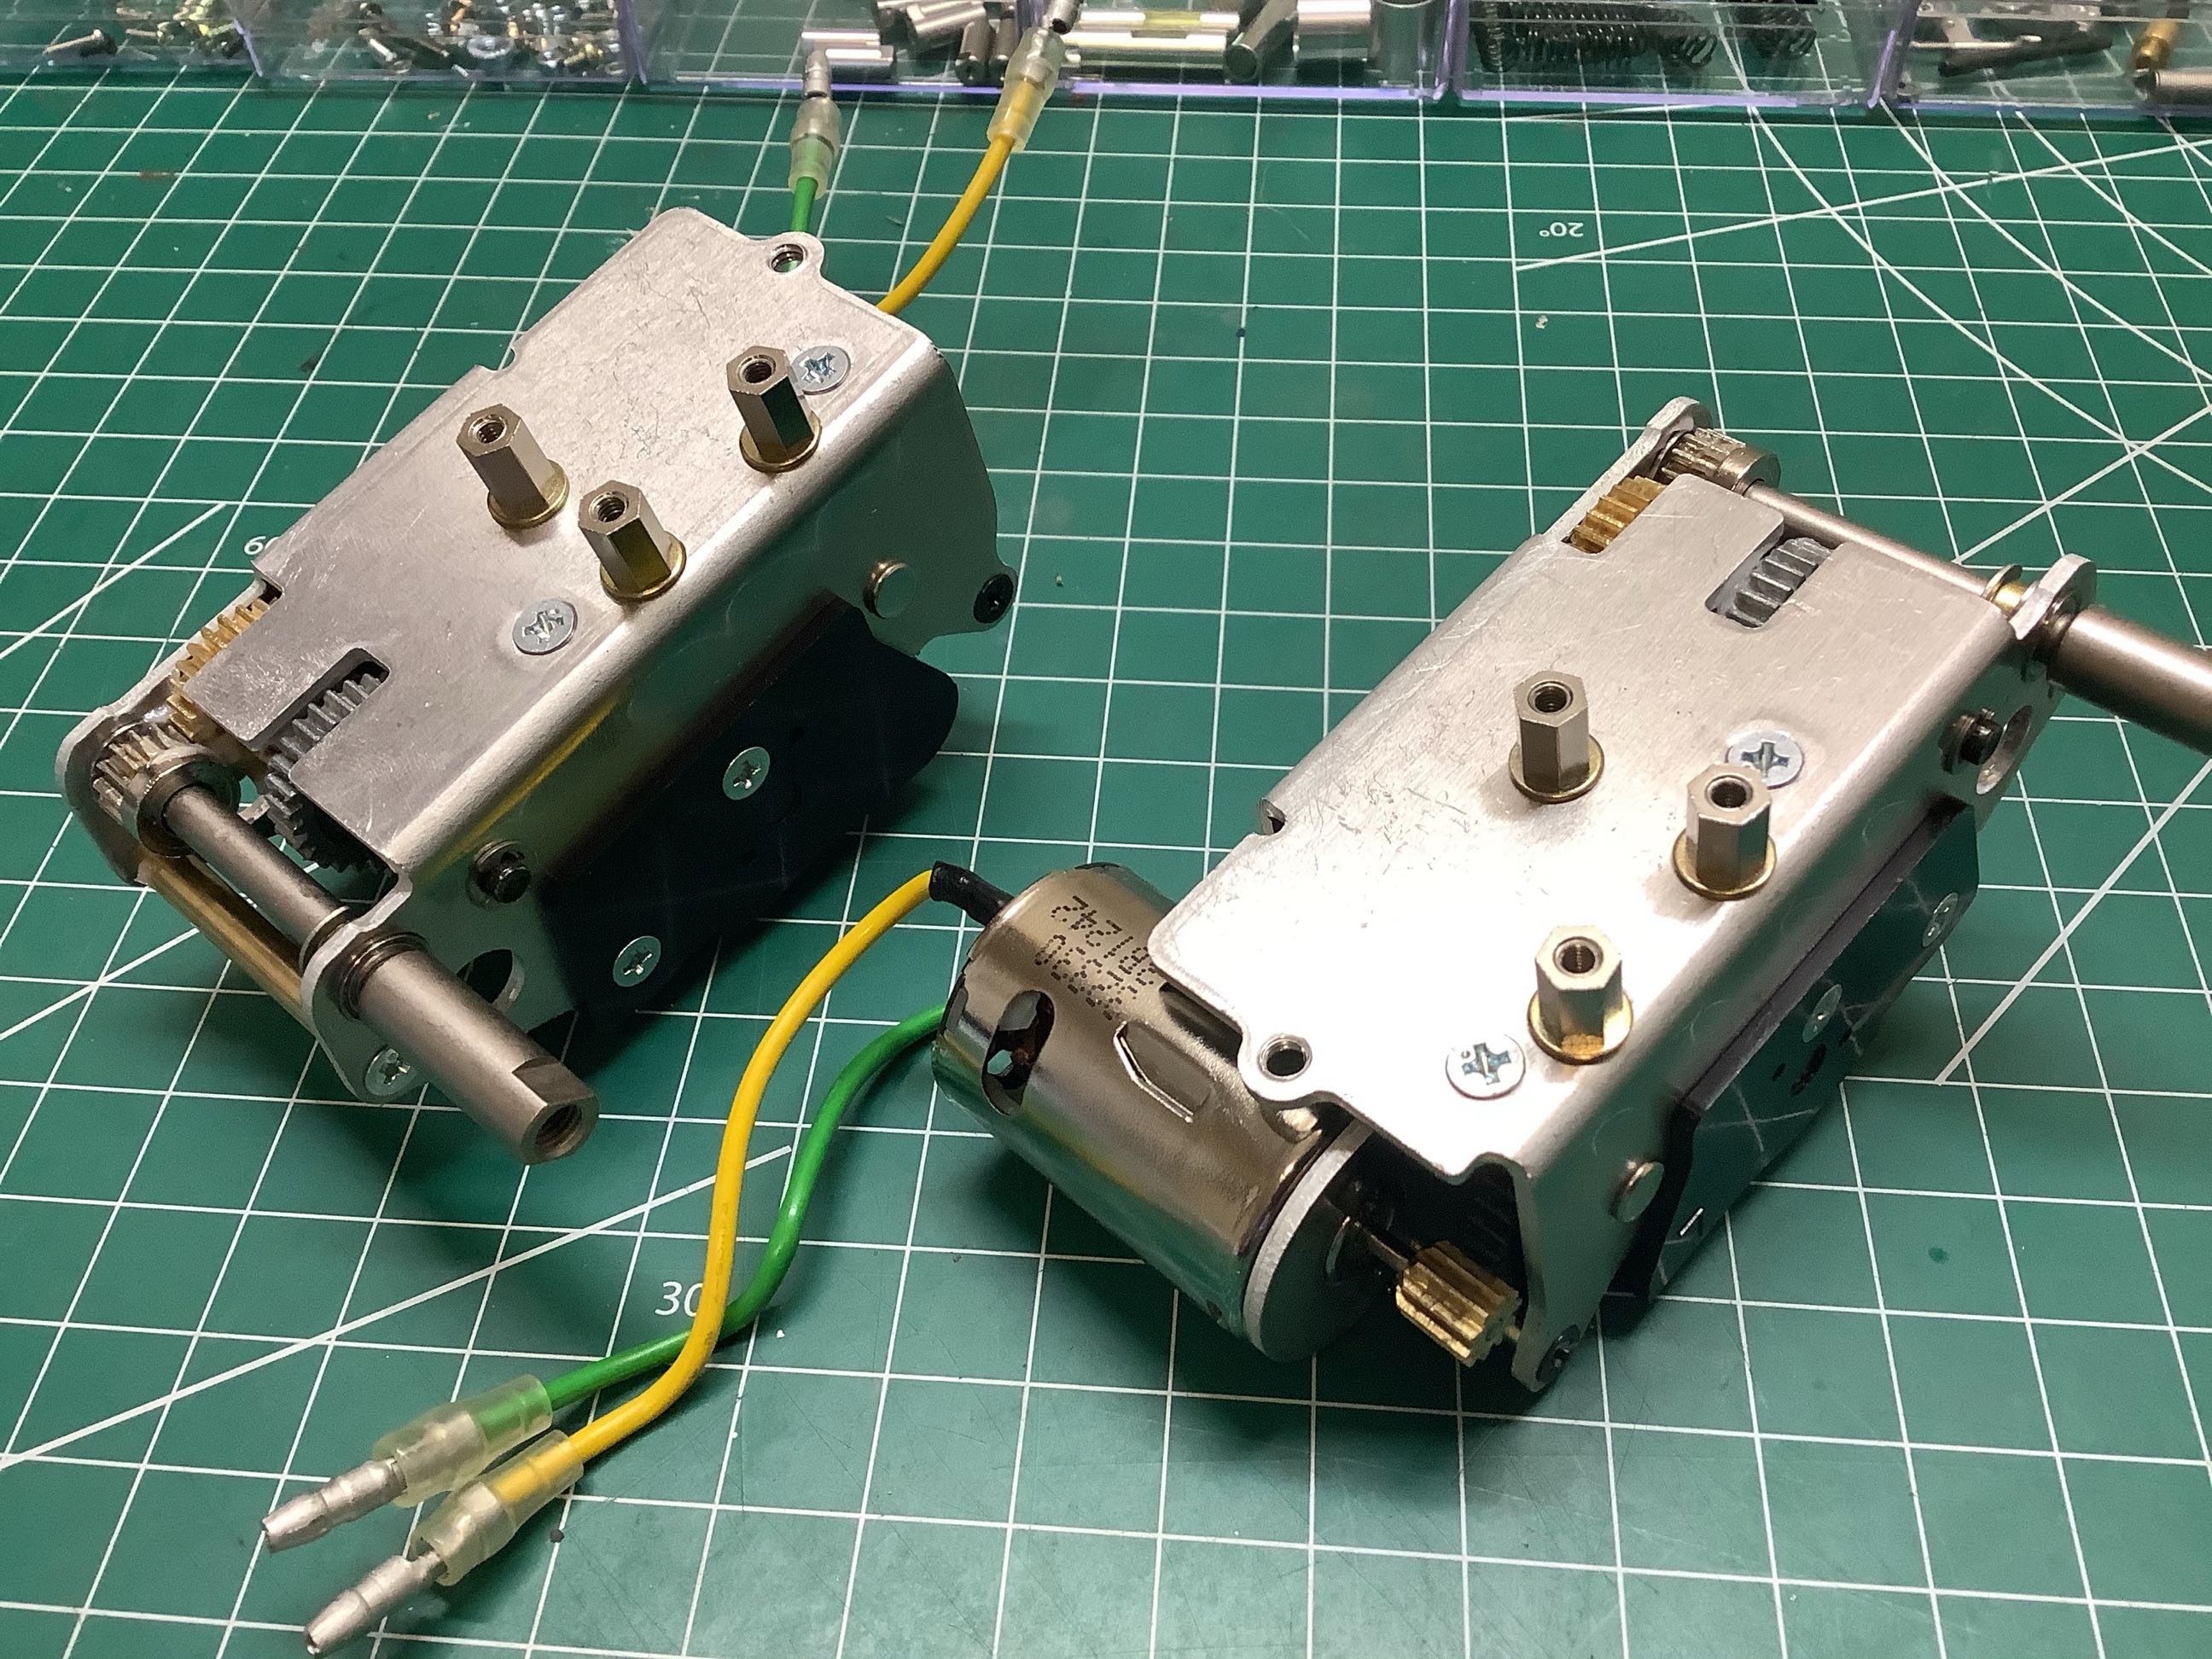
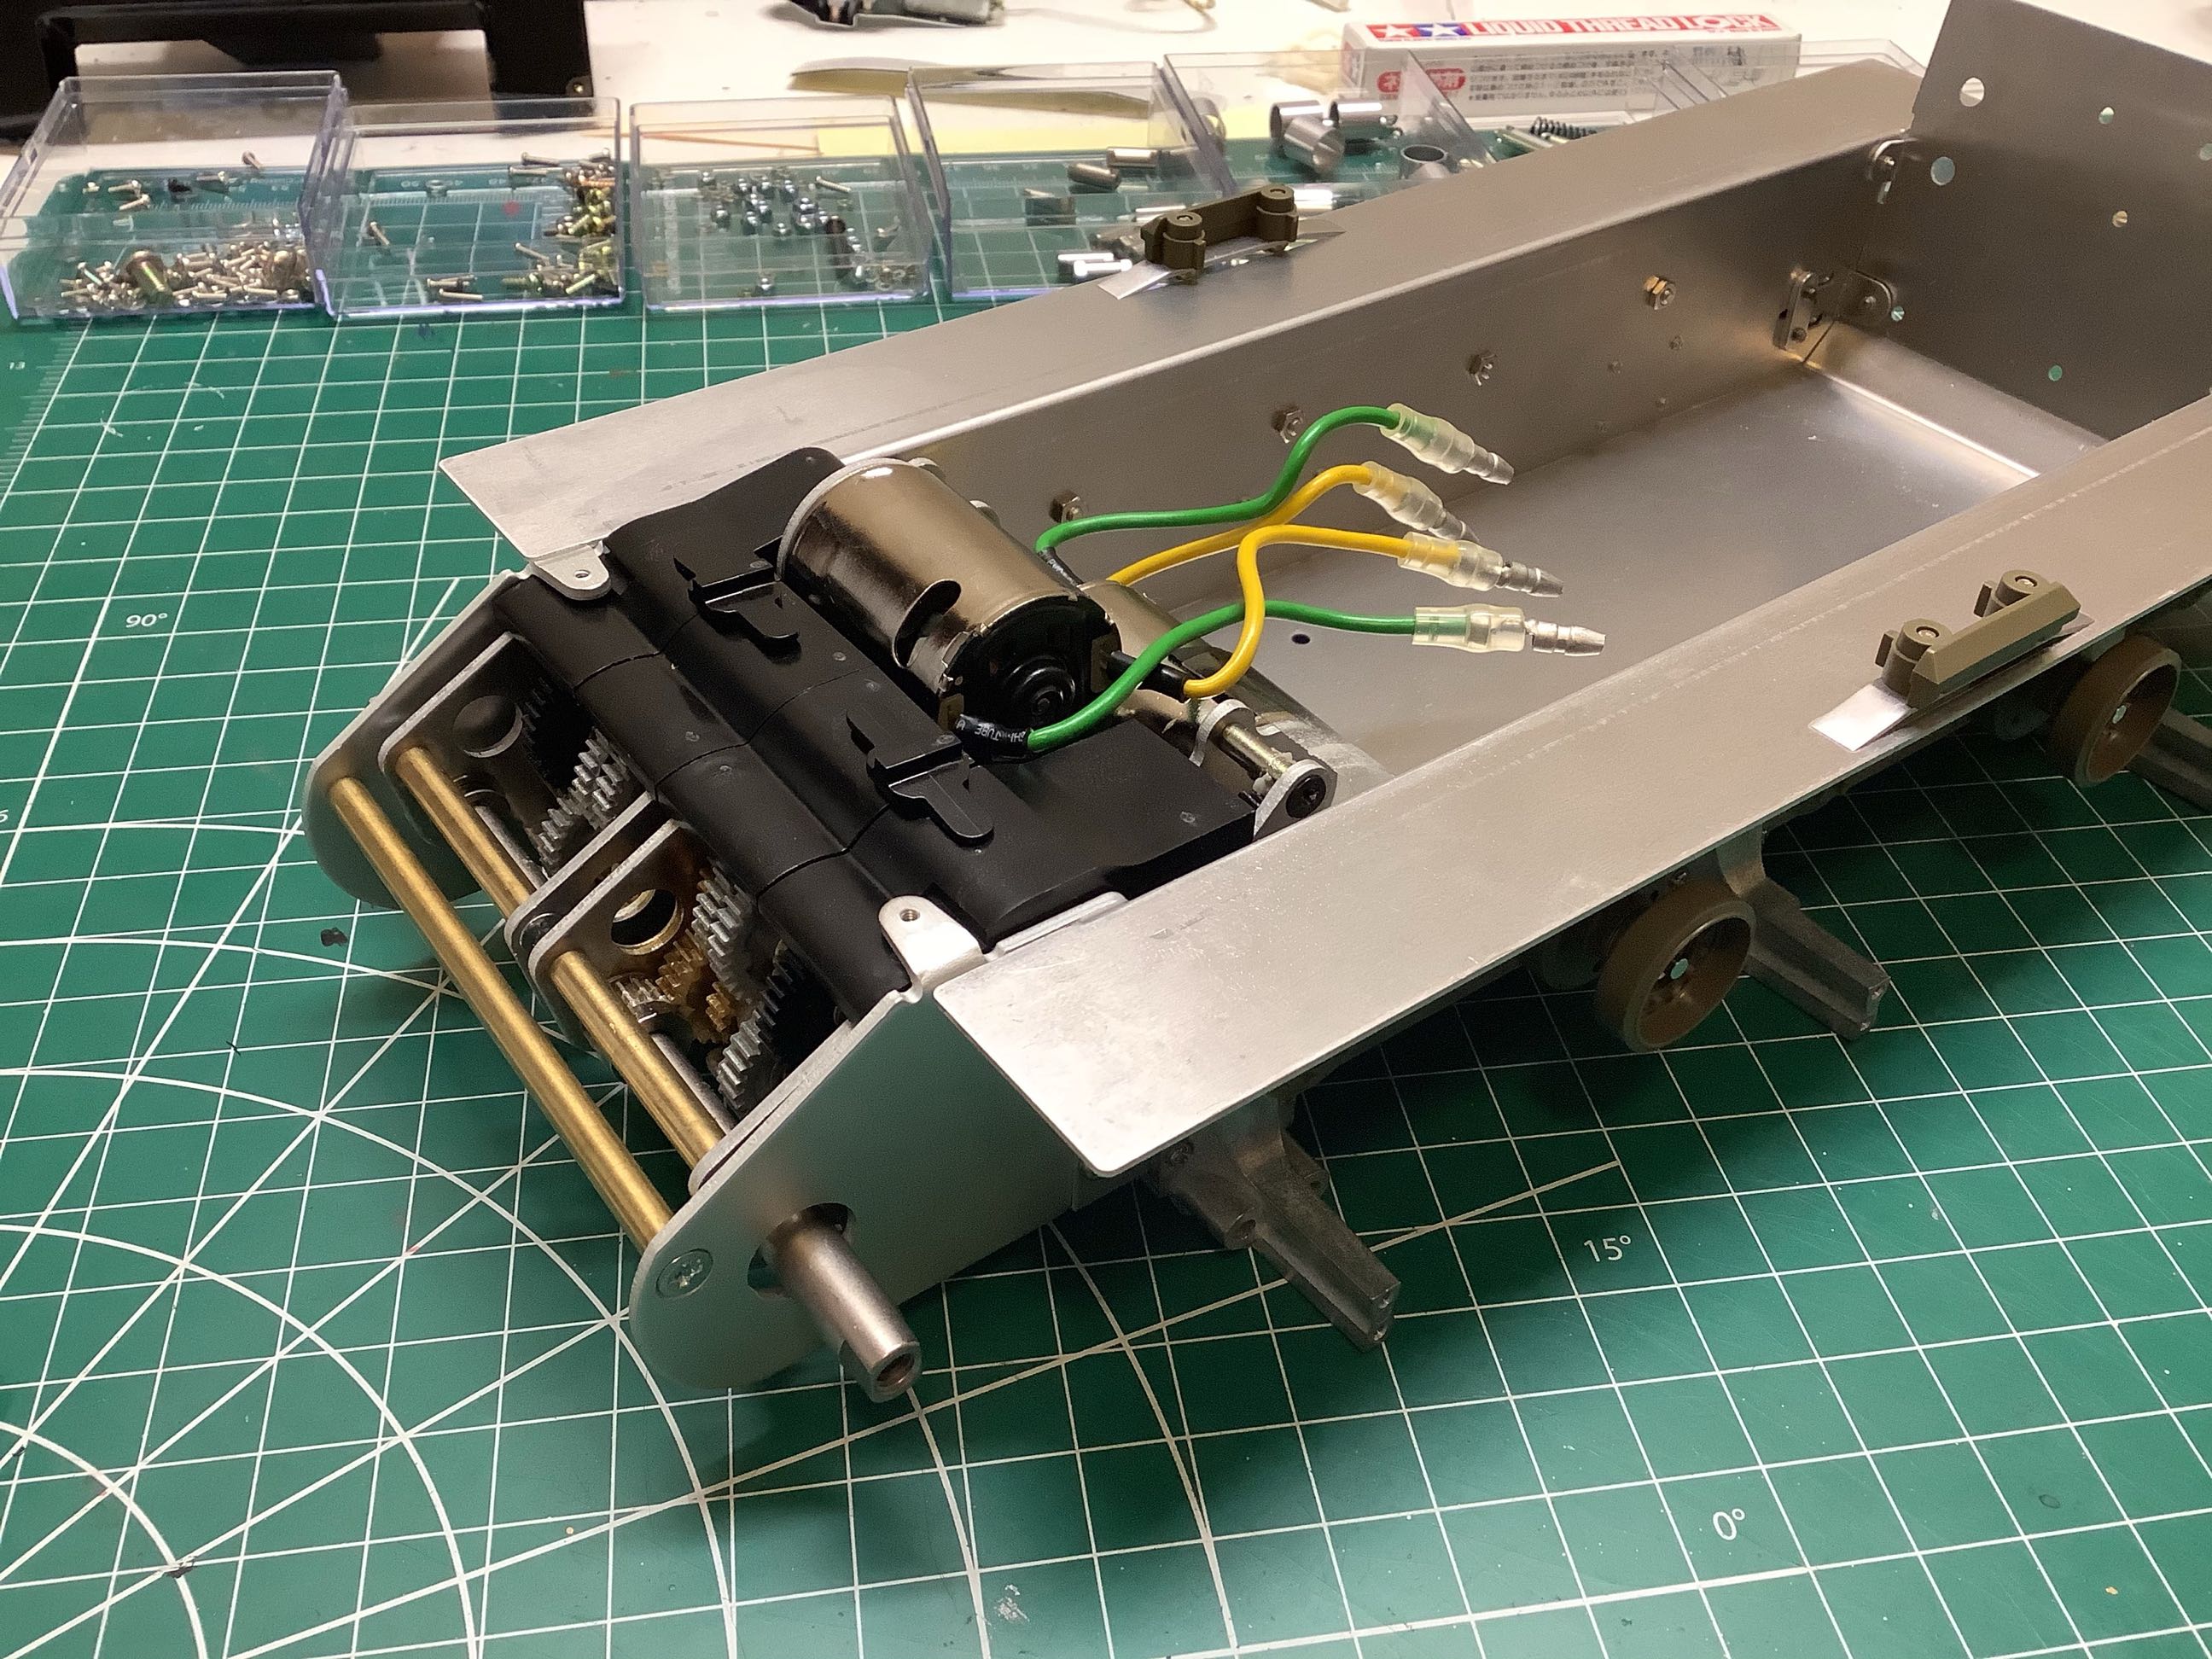
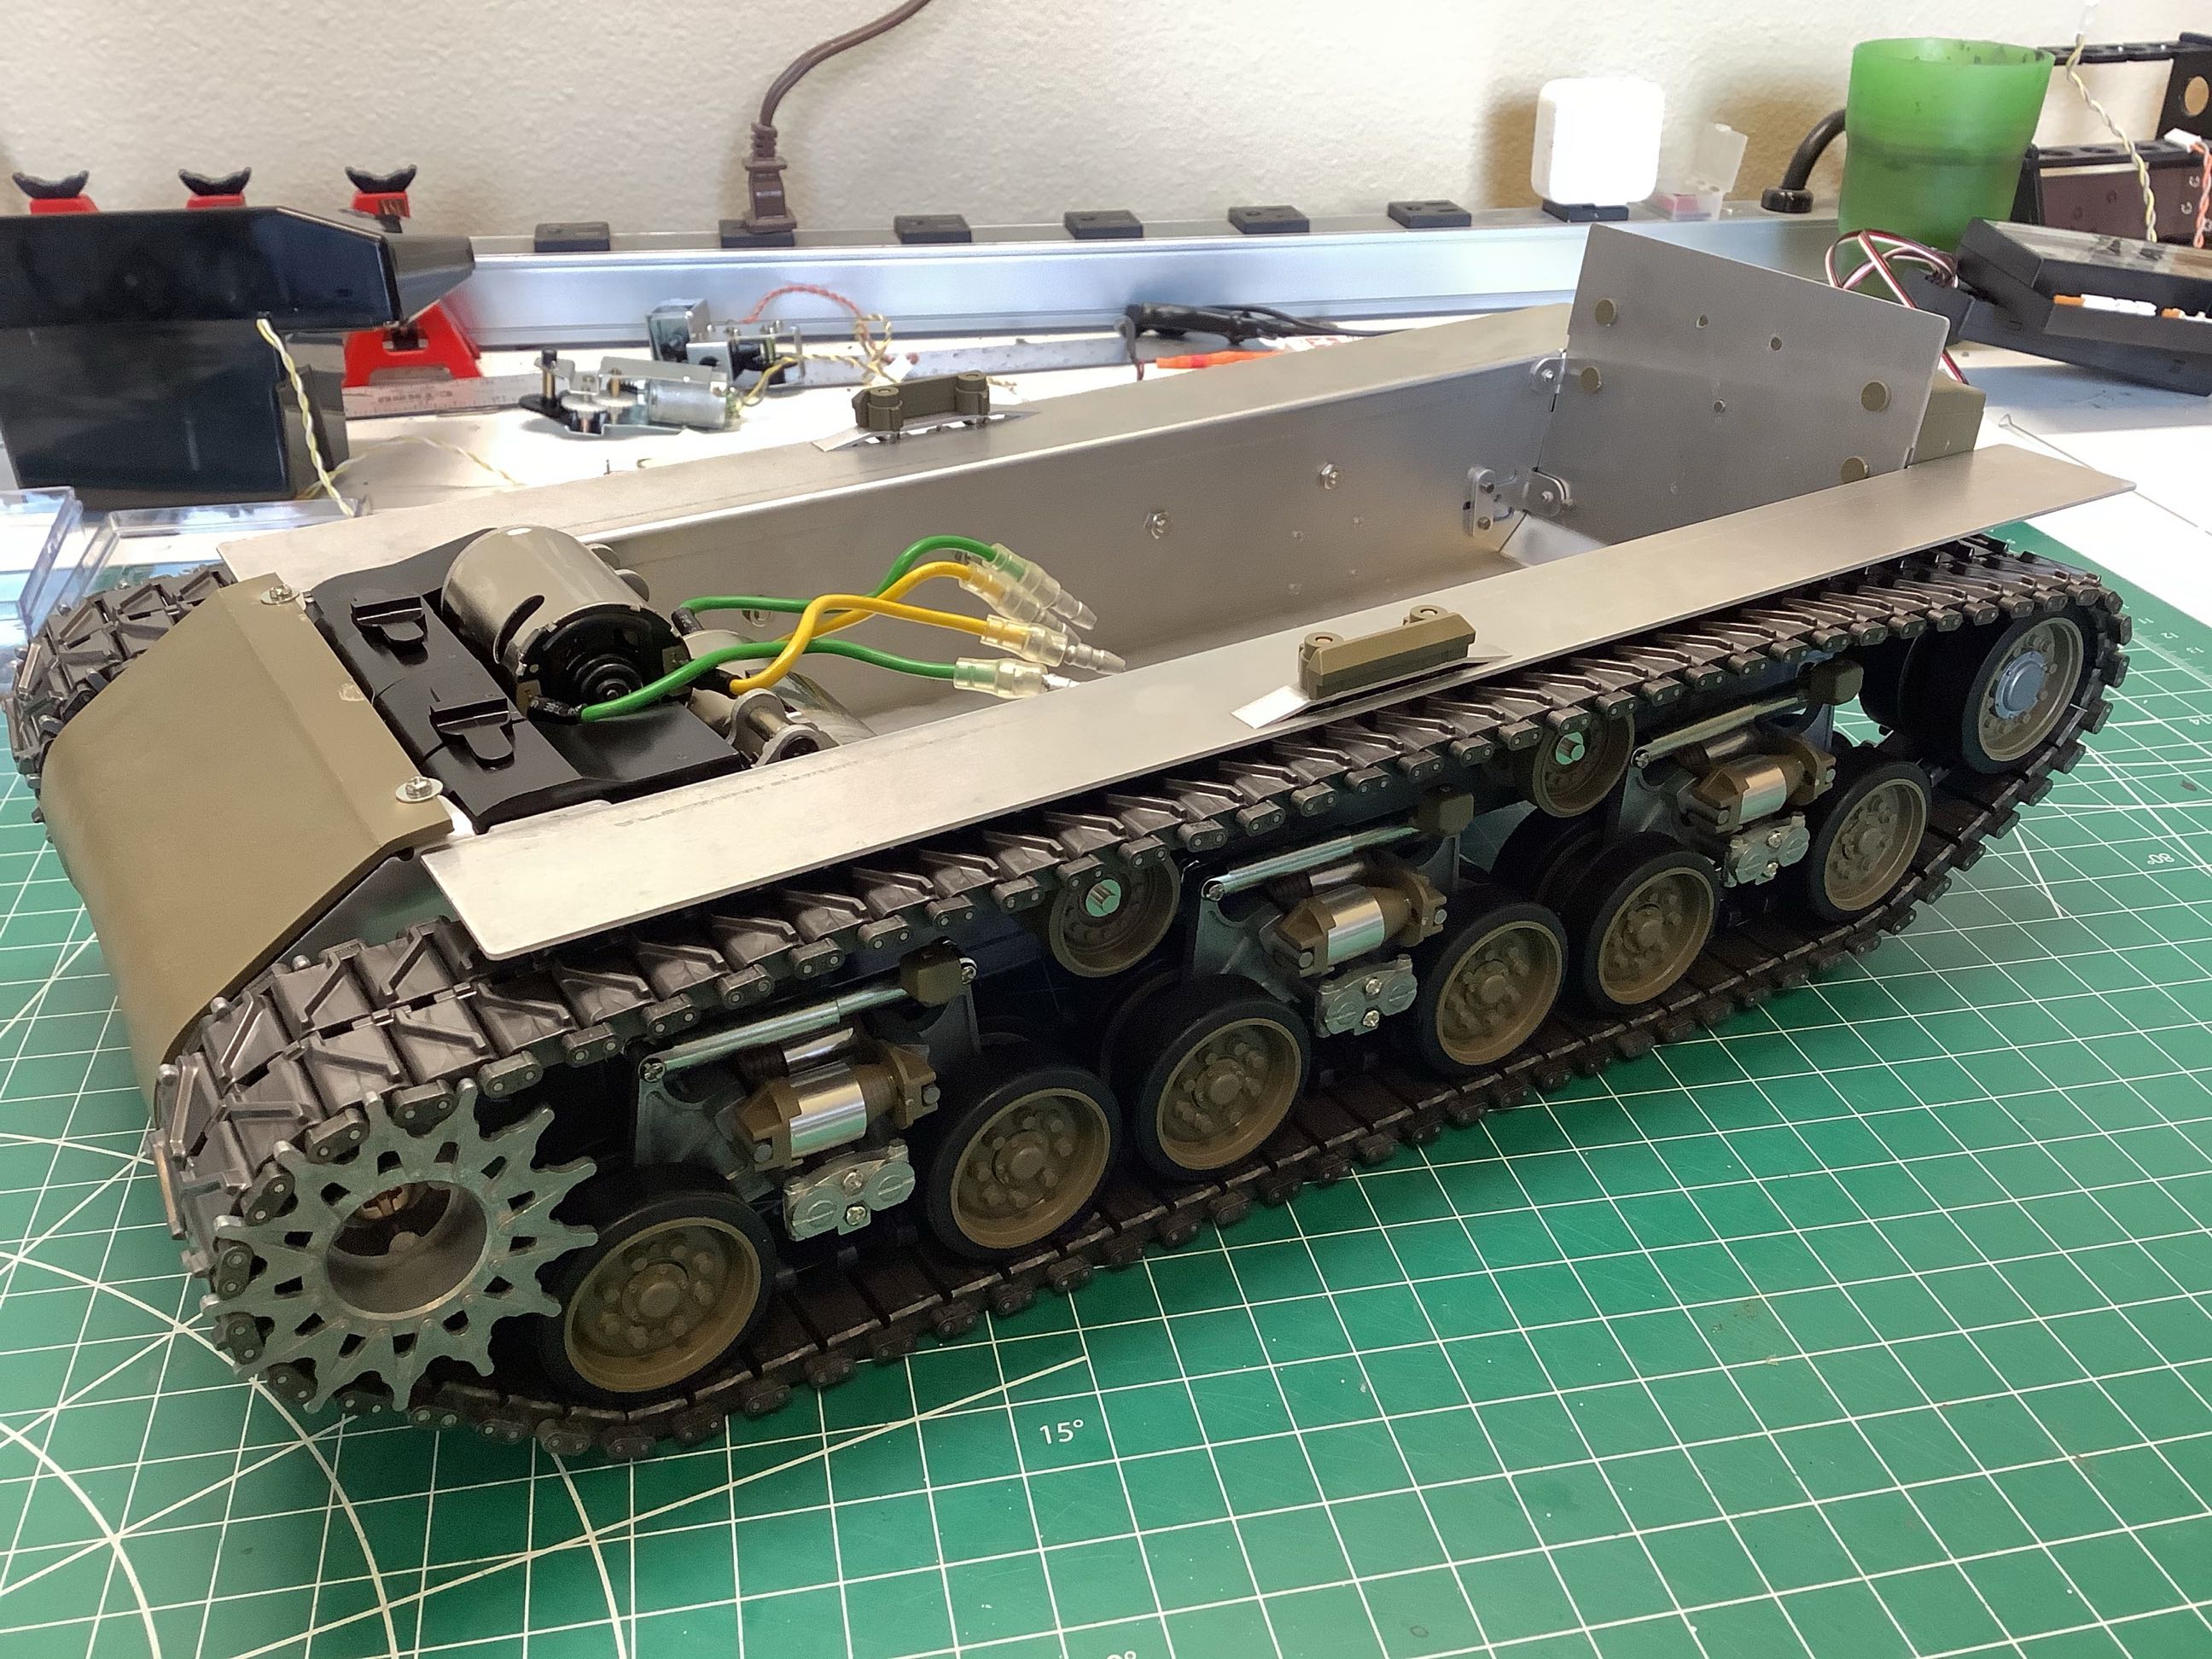
Here a series of hexagonal standoffs have been added to the bottom of
the gearboxes. These mounting points are then used to attach the
gearboxes to the hull as shown on the right. A pair of aluminum
extensions are then attached to the hull to enclose the gearbox outputs
with a long brass stiffener between them.
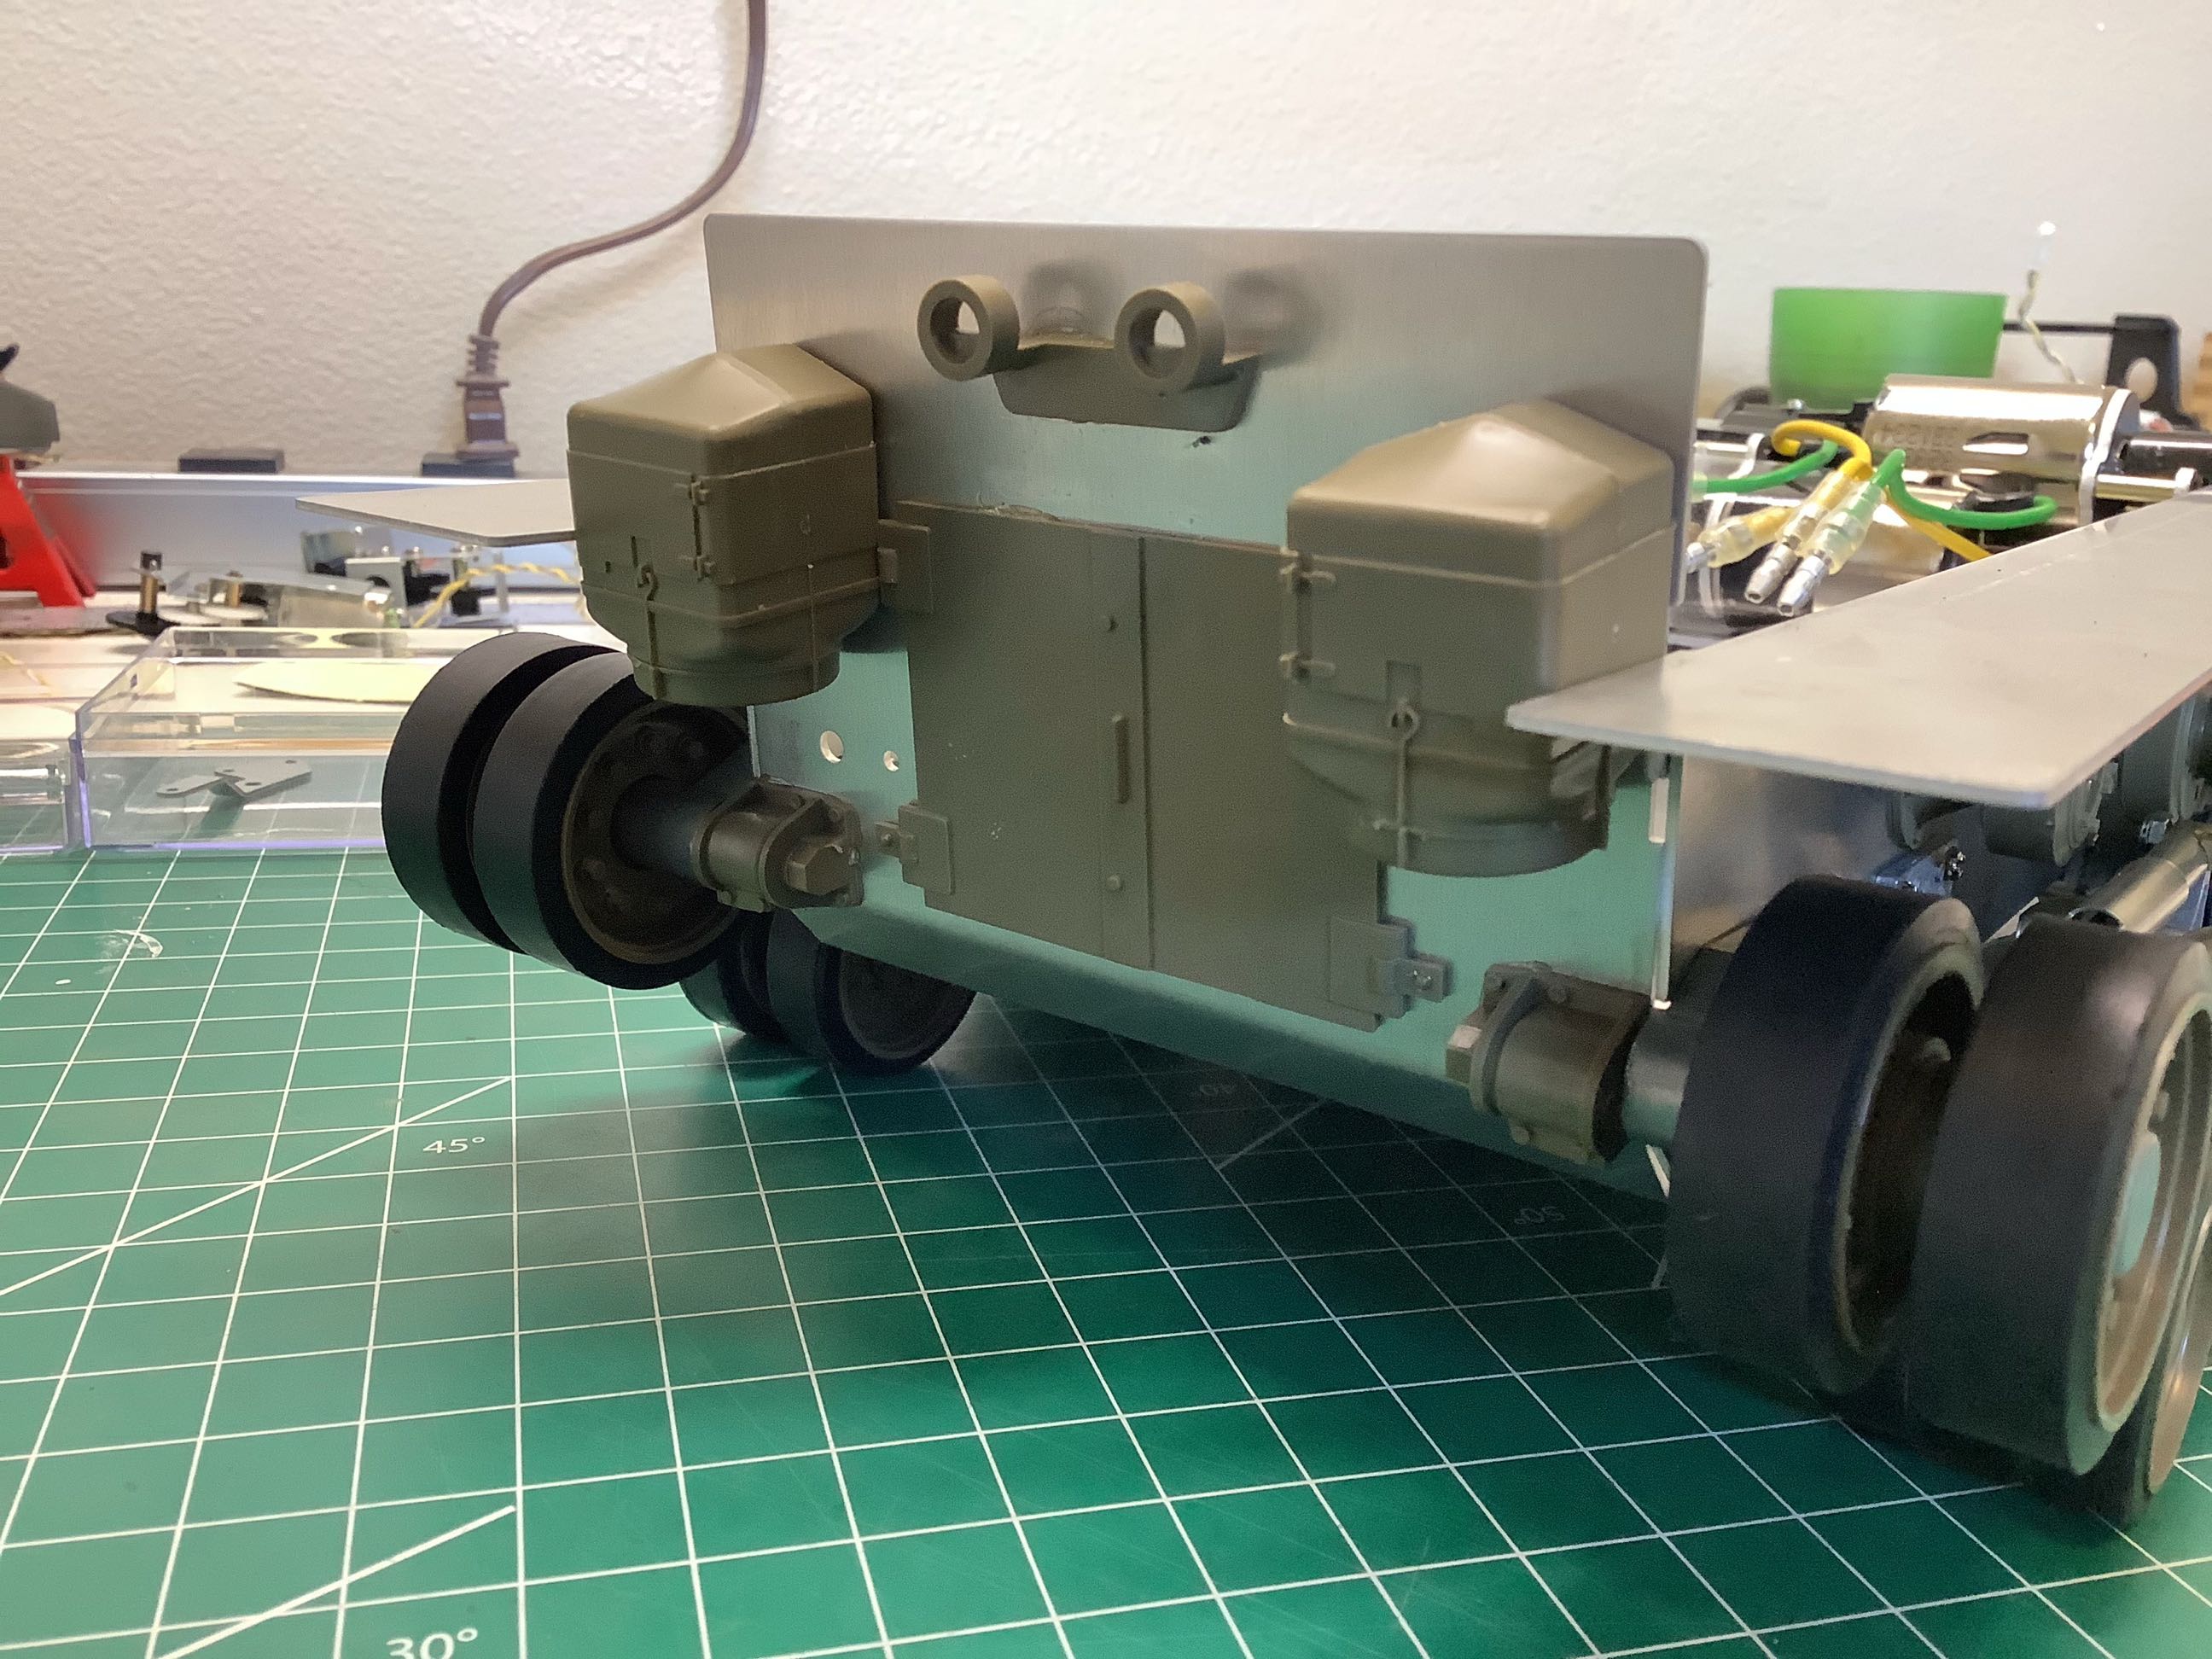
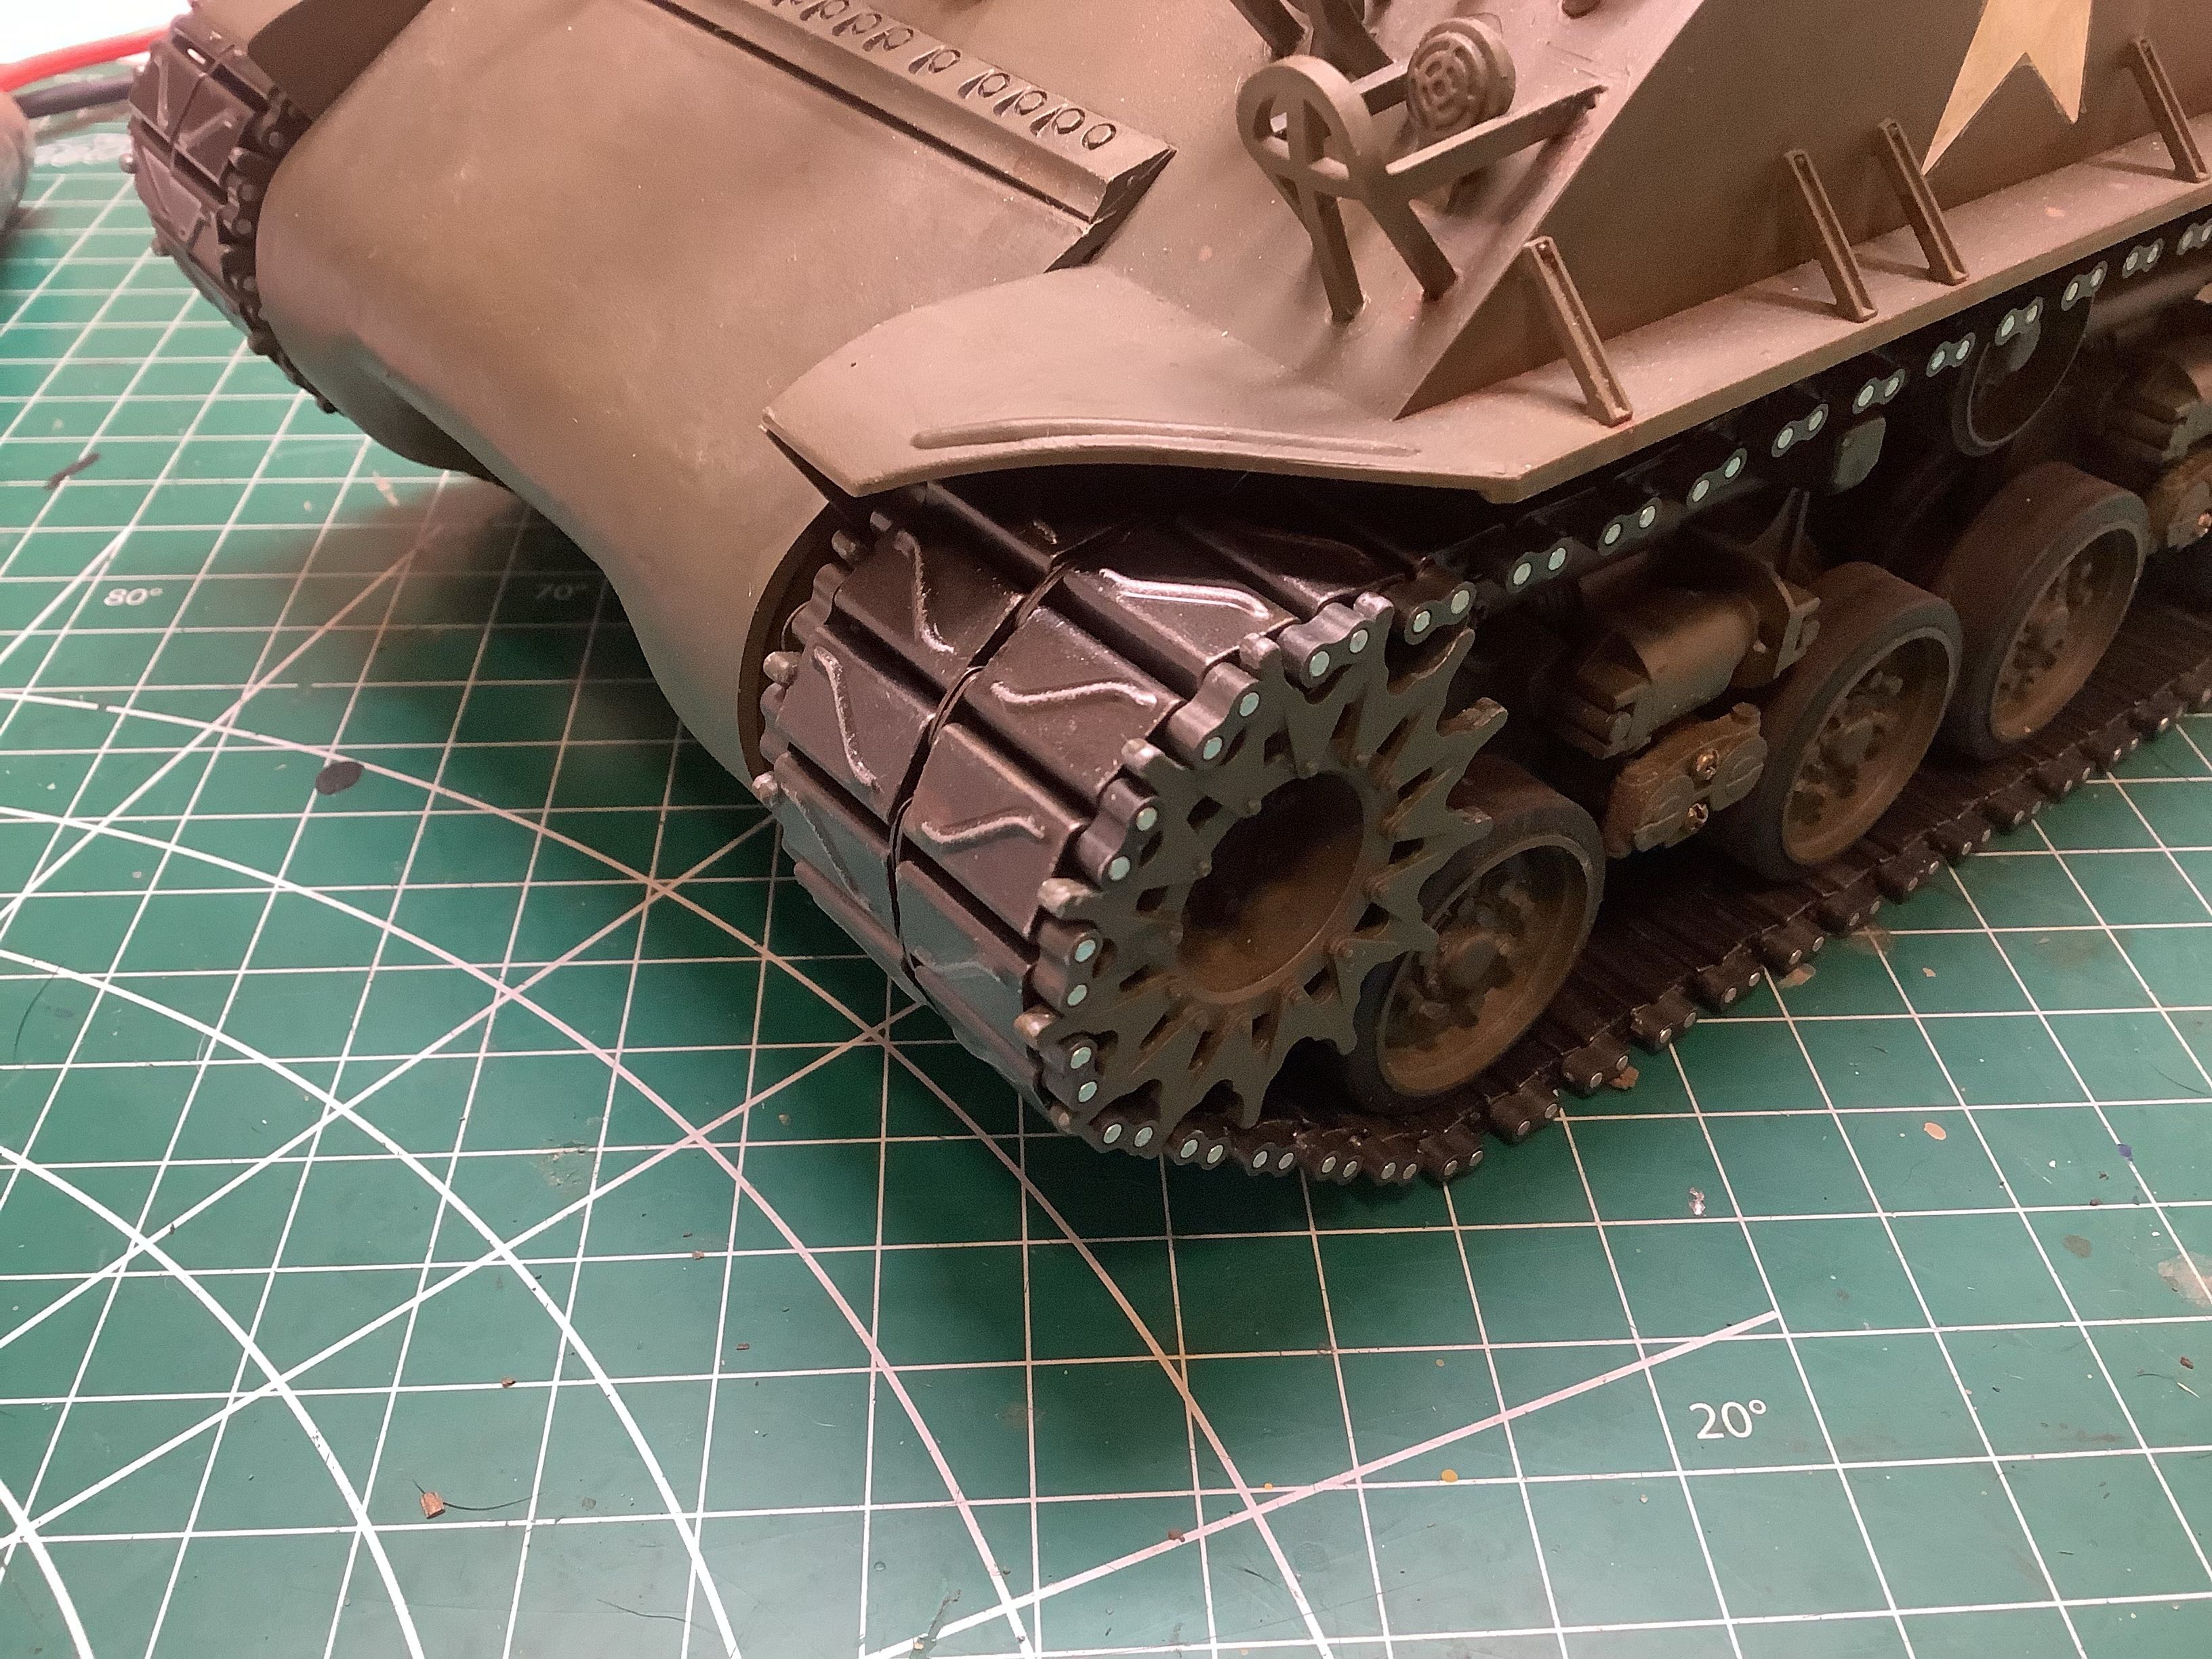
This plastic front cover nicely represents the texture of a
casting. On the right you can see a few details attached to the
back of the hull including the engine access doors and the air
filters. The bracket at the top center will hold the exhaust tips a
bit later.
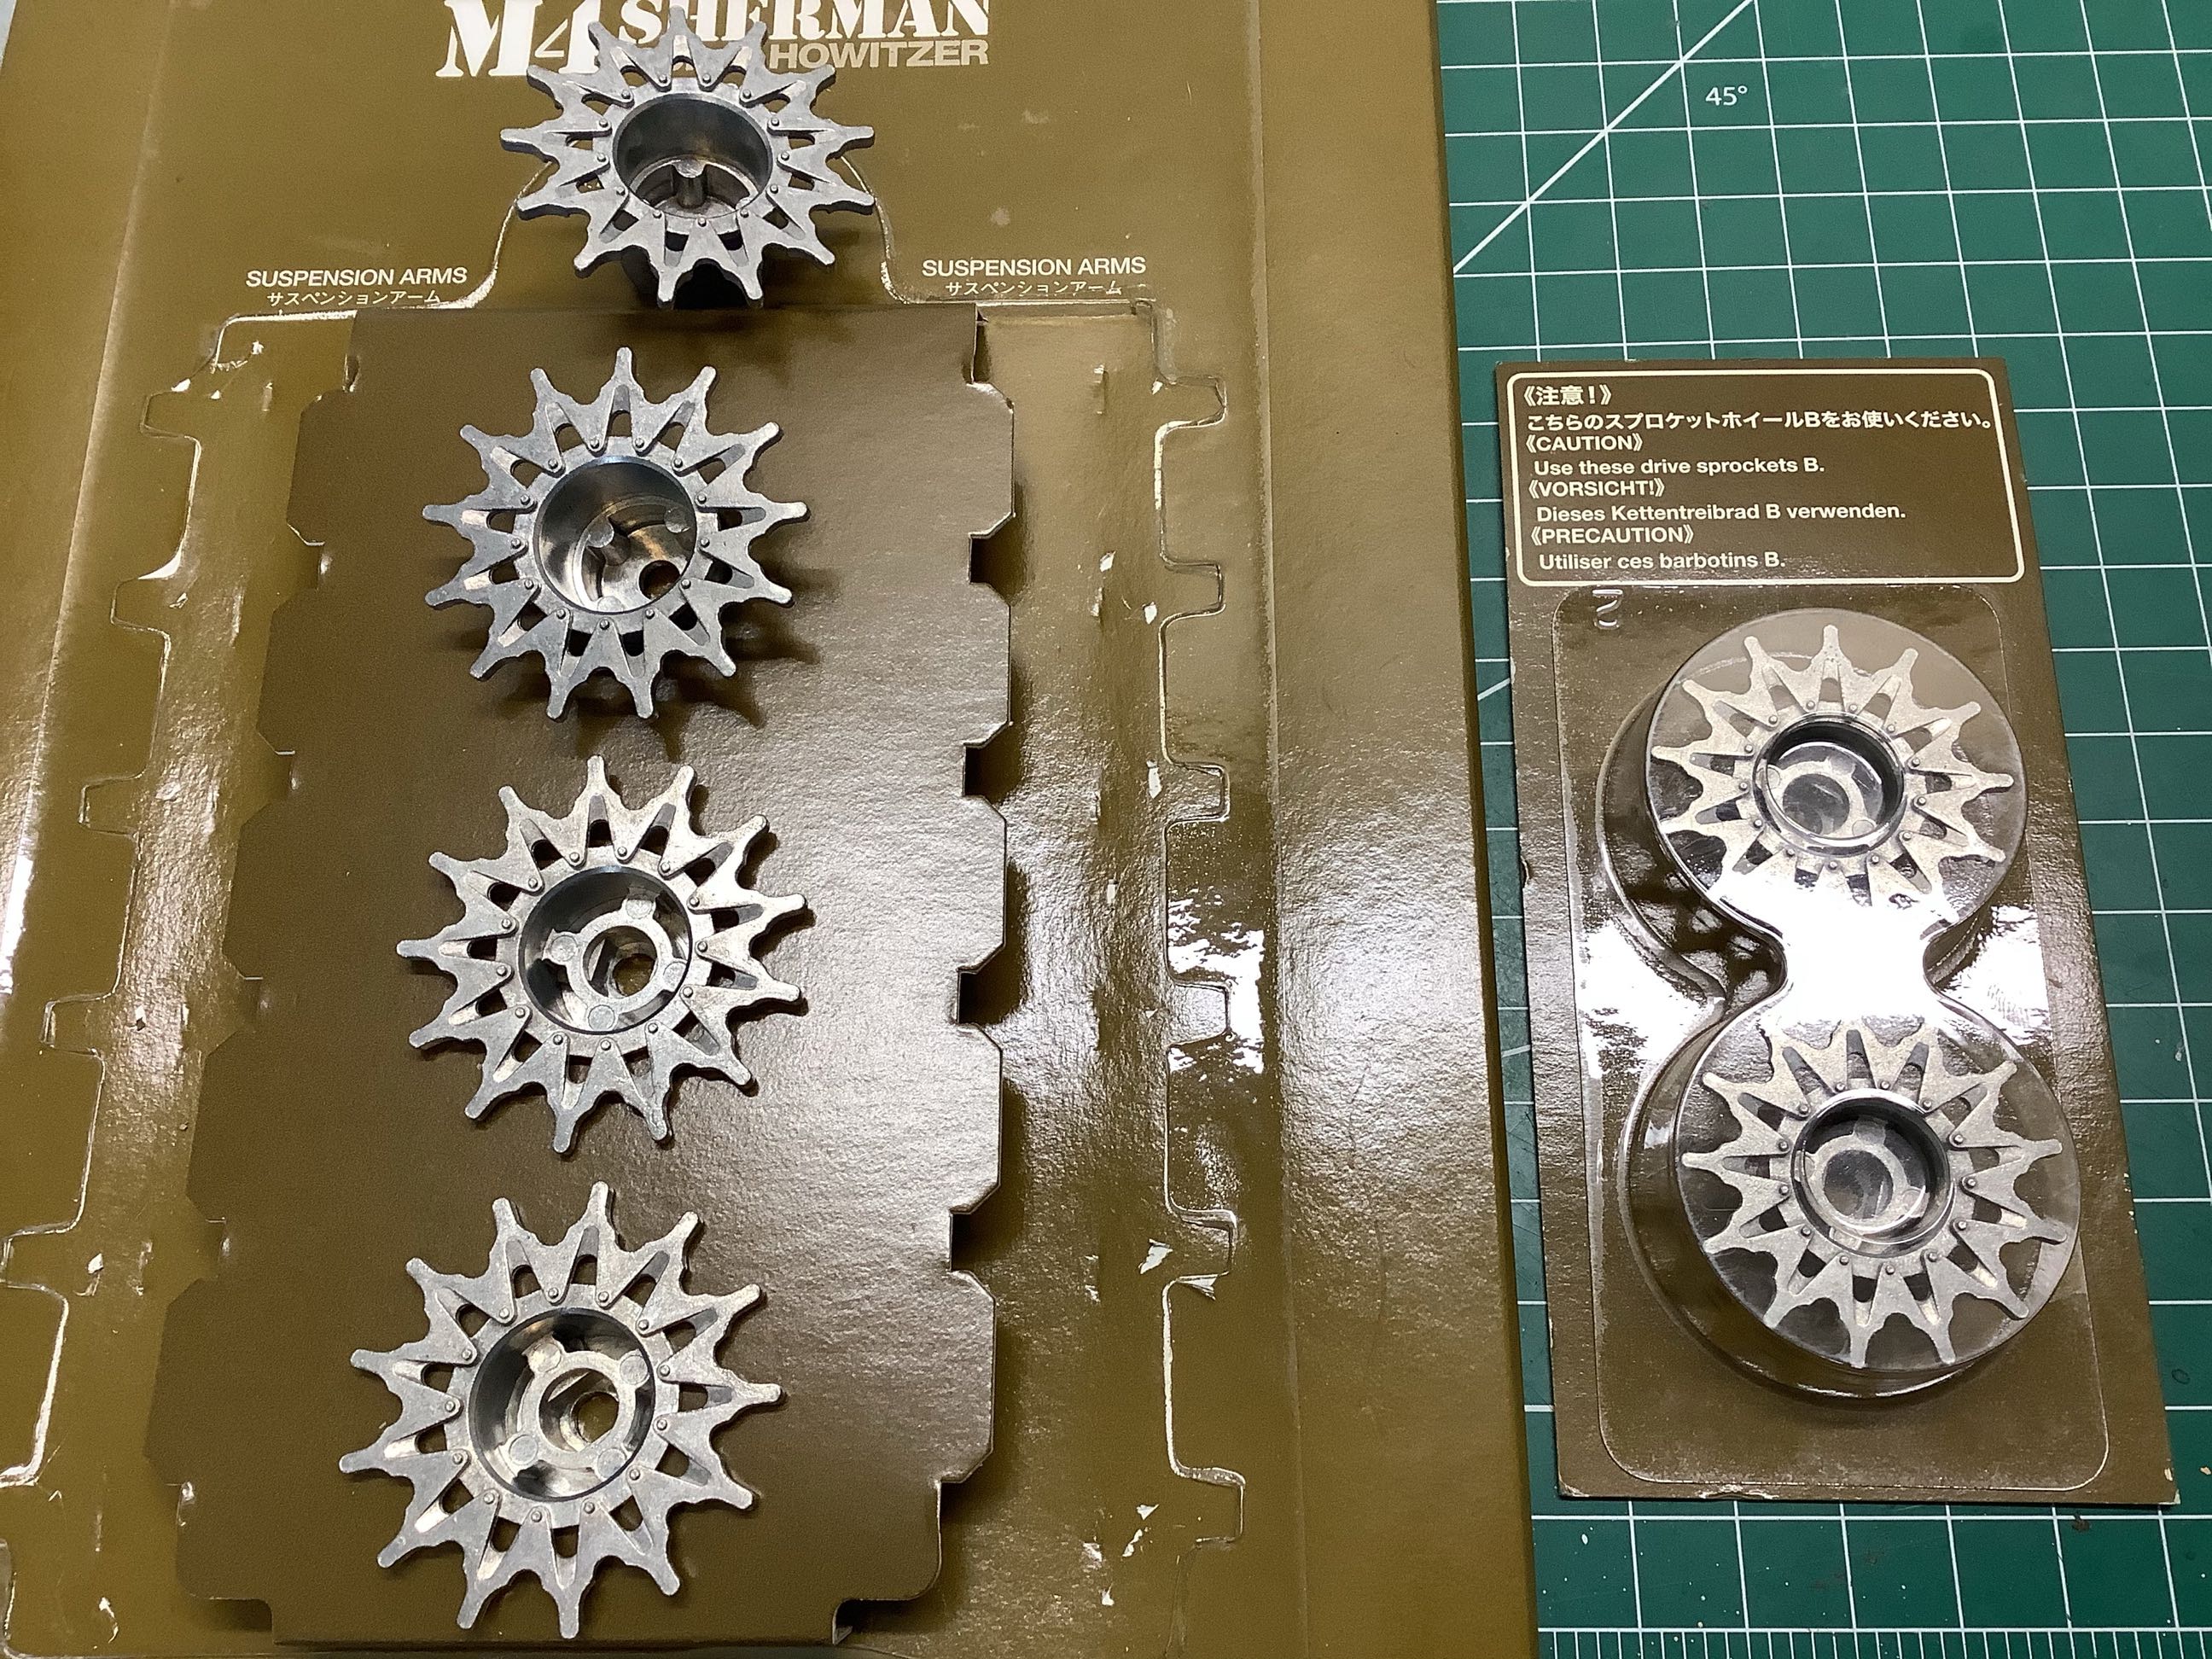
Here's a little oddity. My kit came with an extra package (left
picture, right blister) of B drive sprockets which are to be used to
replace those in the main blister pack. I studied and compared
them pretty carefully and I can't spot any difference between them and
those that came in the main package. I did use them though, so now
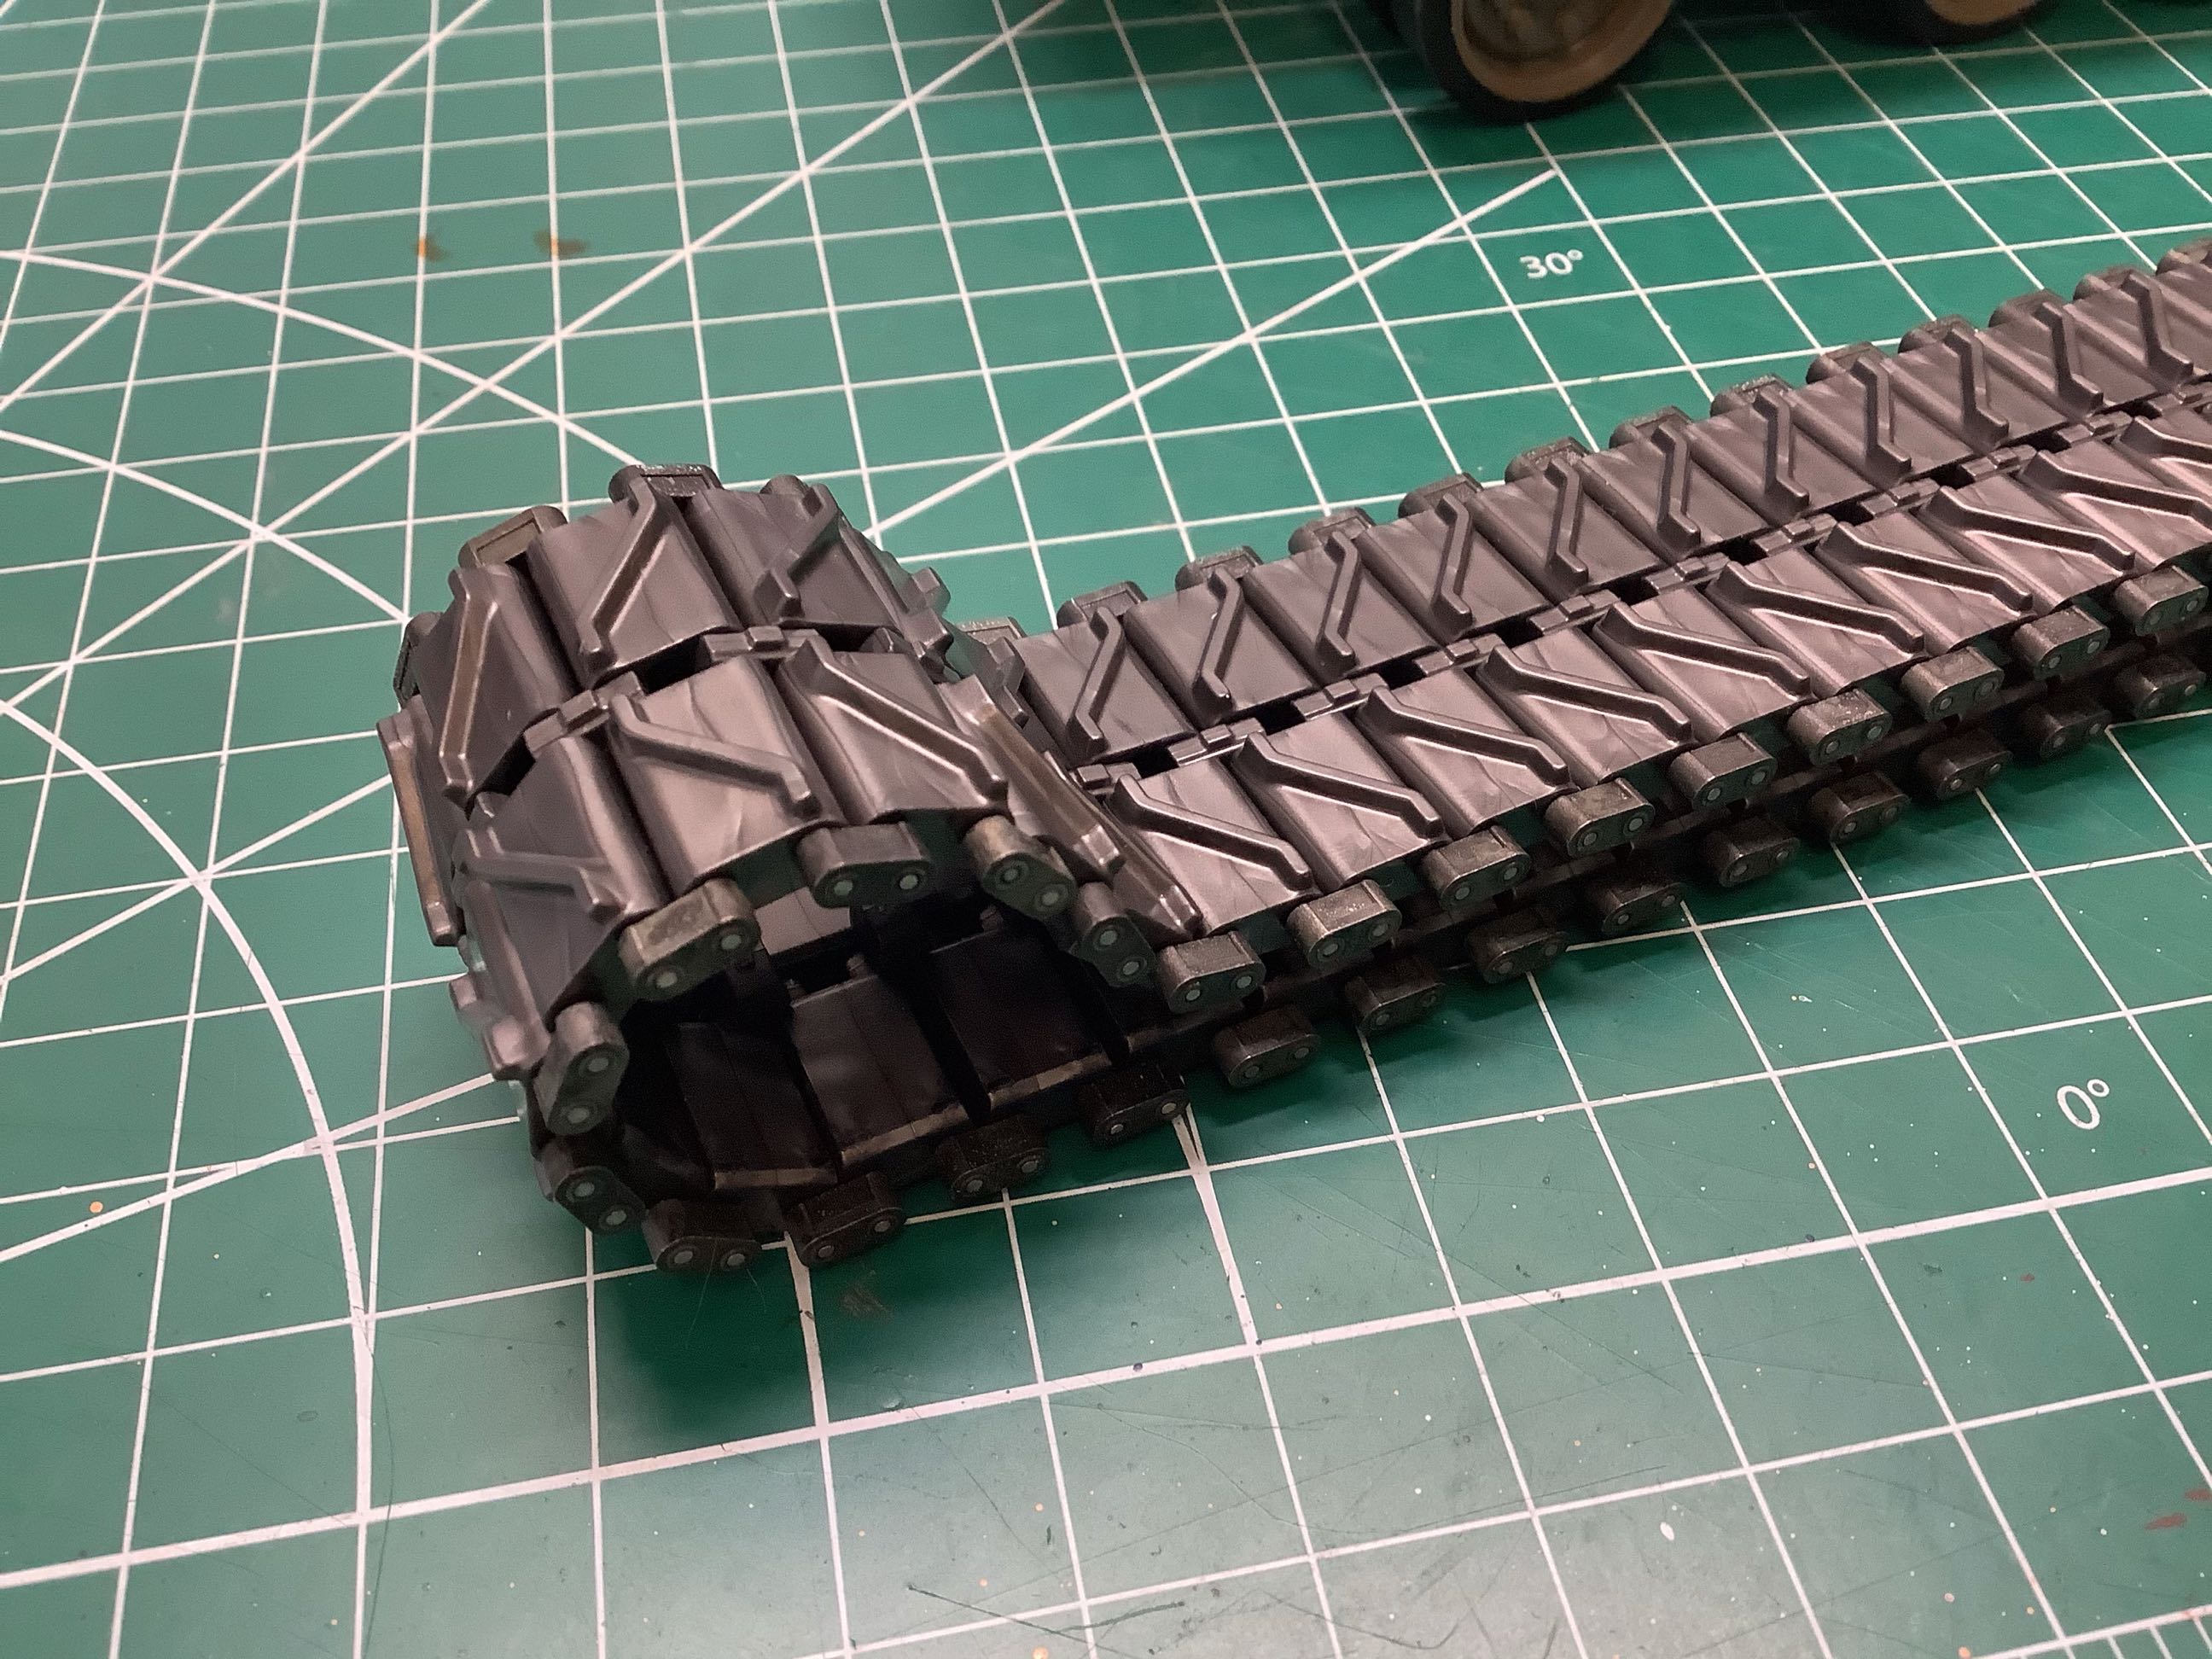
I guess I have an extra backup set of originals. The picture on
the right shows the pre-assembled tracks. The treads are soft,
rubbery plastic. The pins and connectors are metal.
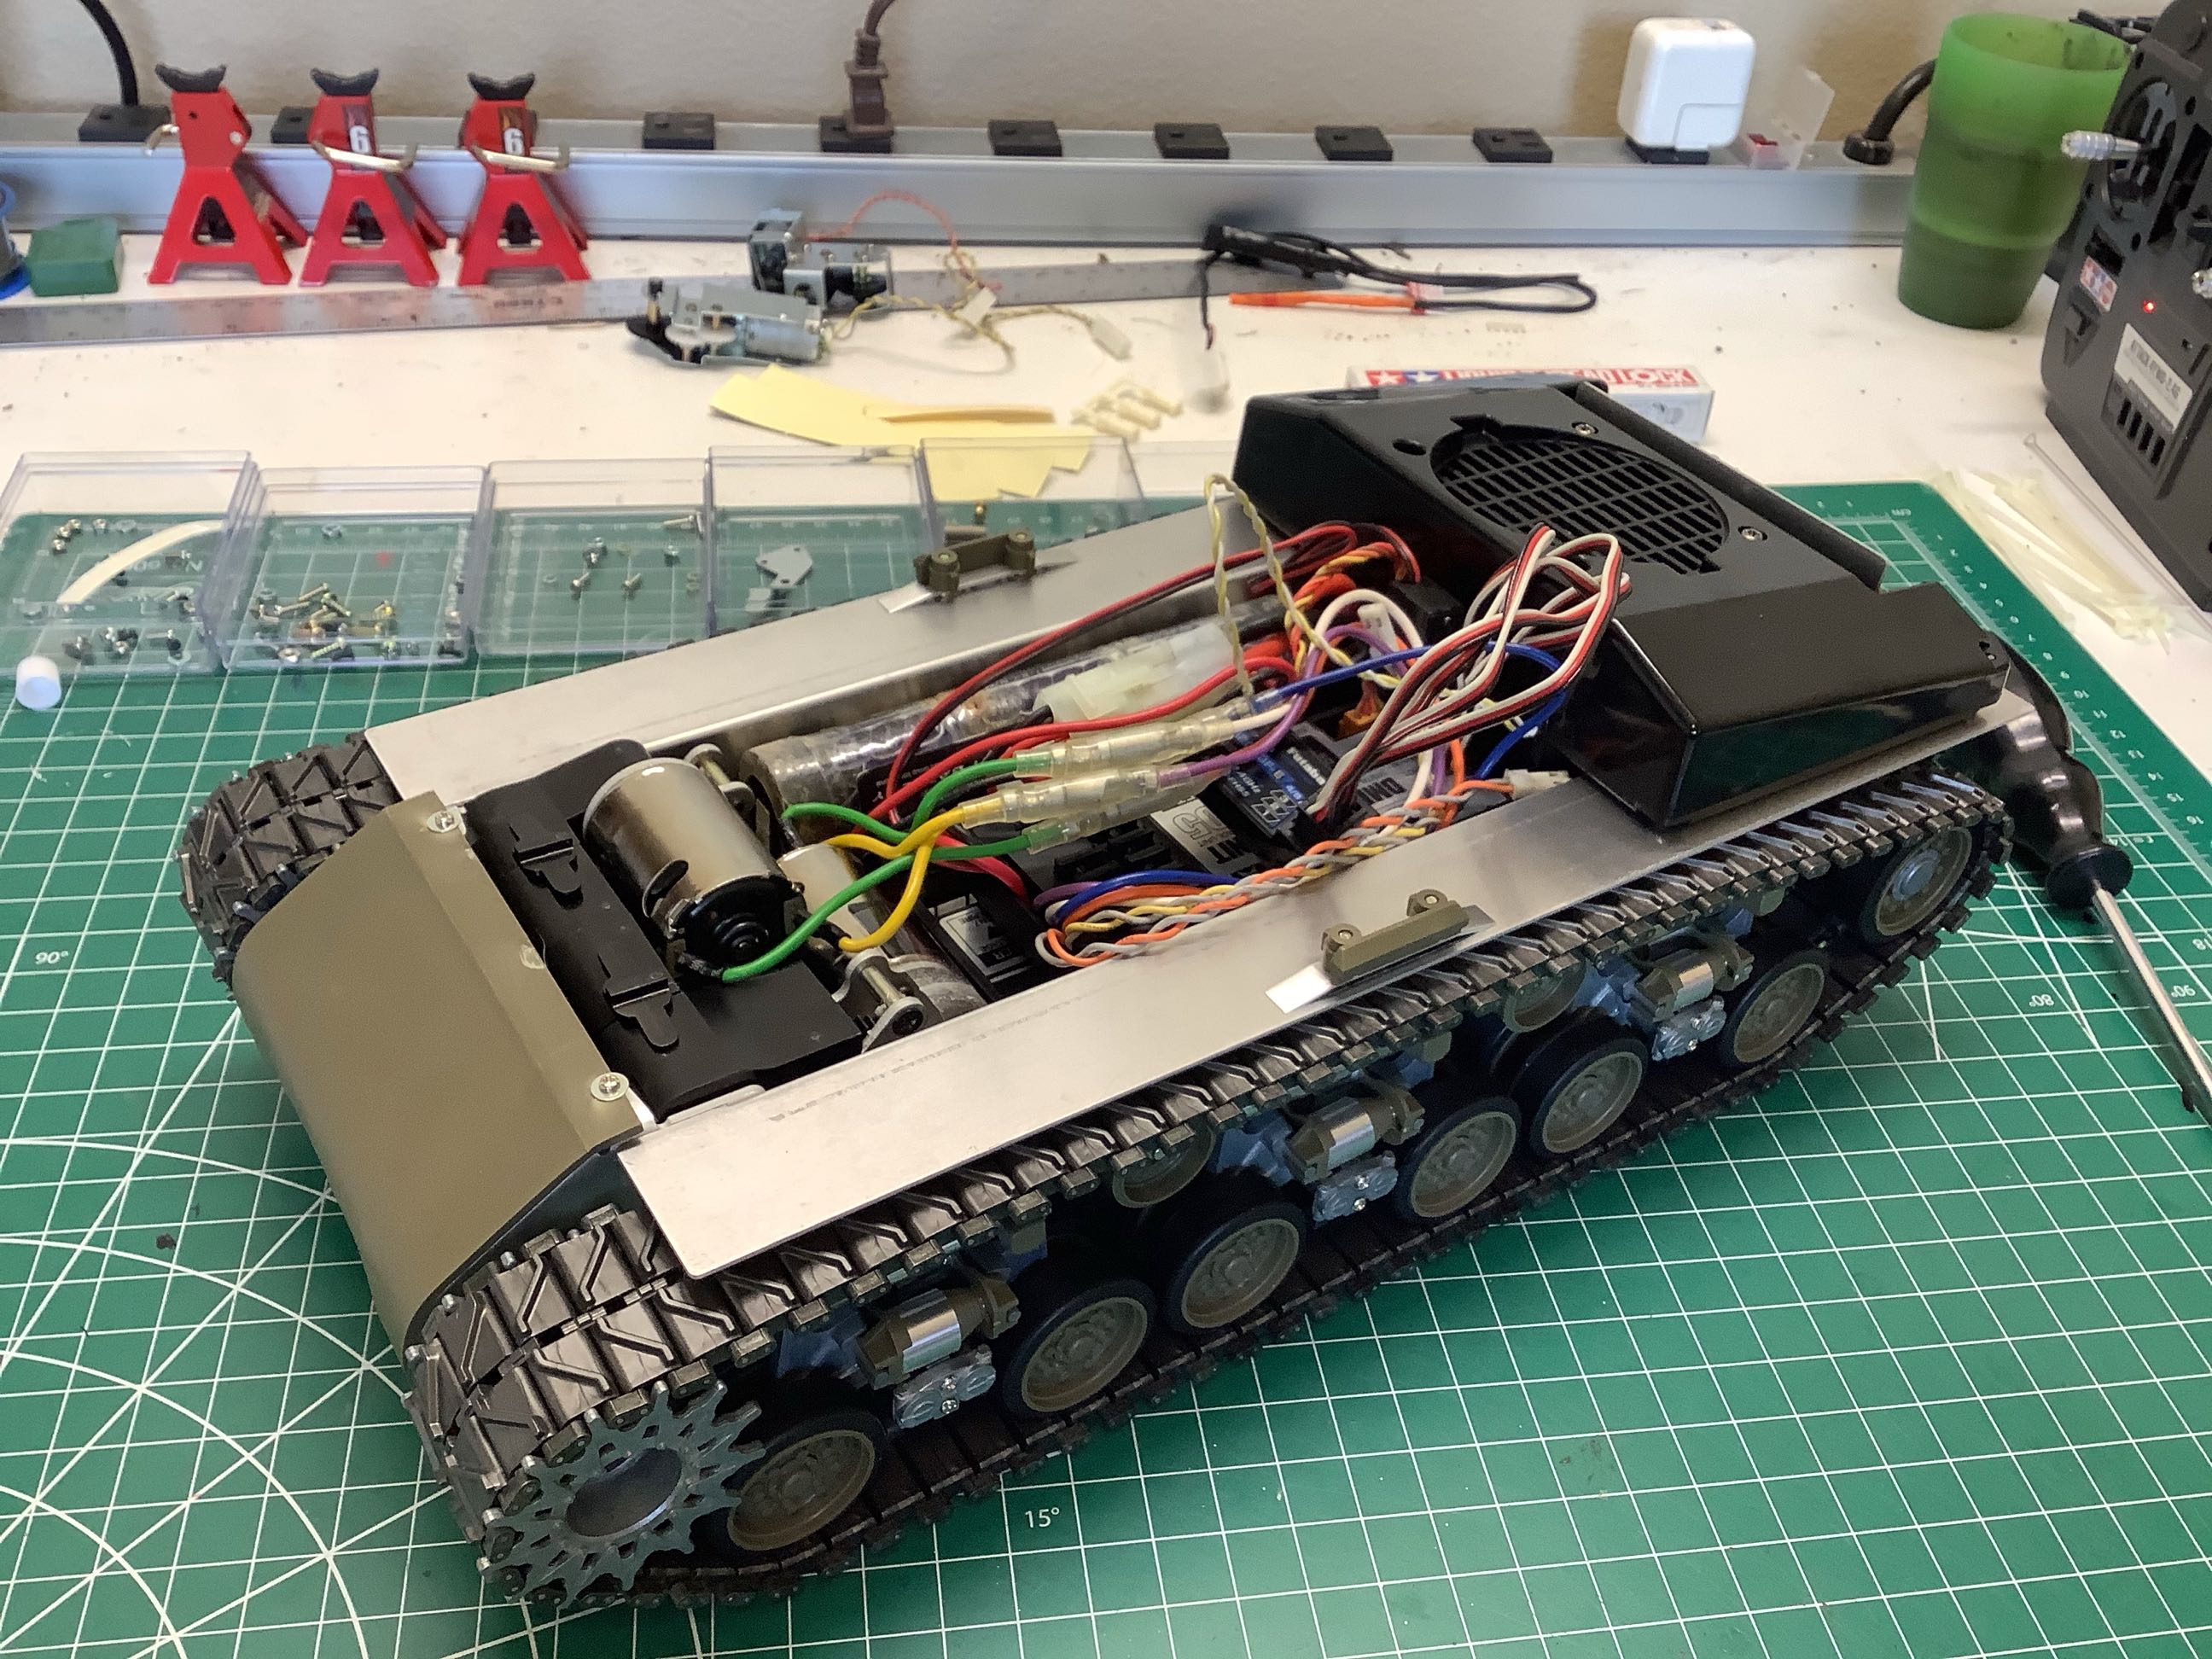
Now that the gearboxes and tracks have been installed, the "rolling
chassis" is complete. I couldn't resist hooking up all the
electronics as shown on the right and trying out the model to see how it
drove. Note how much space is consumed by the speaker box.
Both the DMD and the MF are contained in the hull and so is the
battery. There is very little left for the turret except the tiny
motors for rotation and elevation.
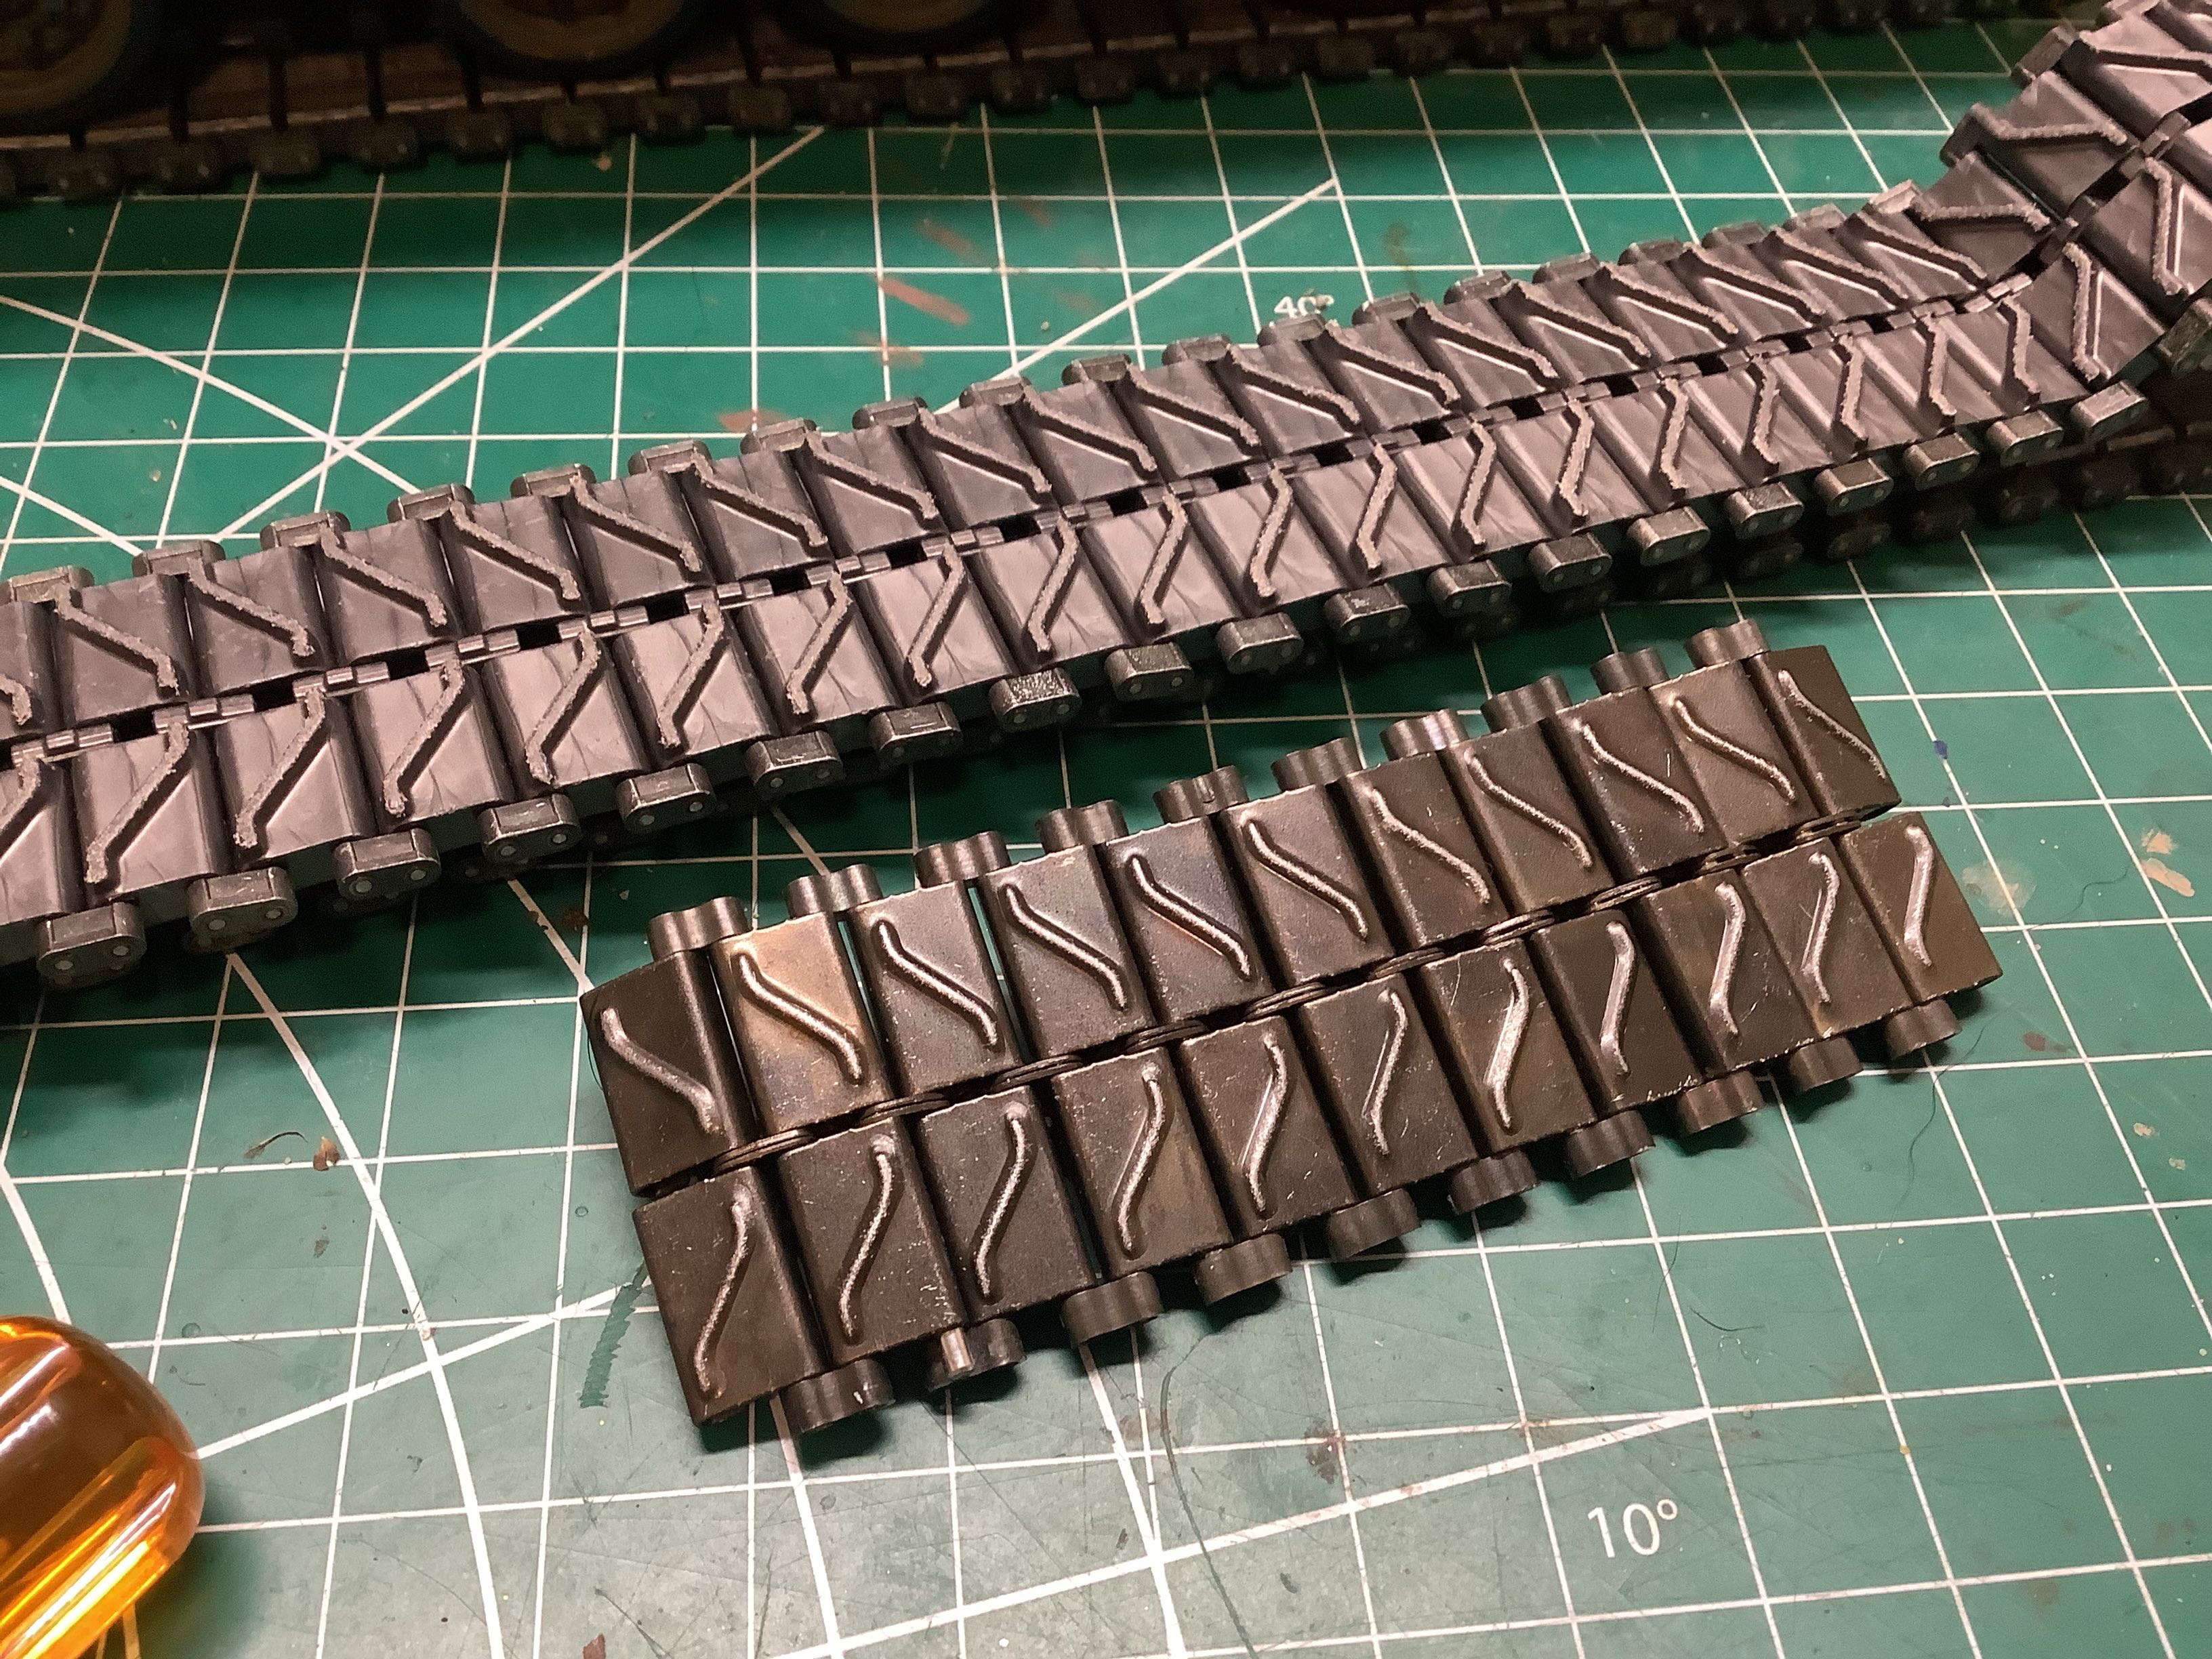
Update:
I later built the Flakpanzer Gepard which came with old style metal
tracks. Those tracks are actually from the original Sherman model
in 1974 and are not correct for a Leopard derivative like the
Gepard. I replaced the tracks on the Gepard with some aftermarket
versions which freed up the metal tracks to be retrofitted onto my
Sherman. You can see a comparison of the metal and plastic tracks
here. I really like the sound that metal tracks make.
©2021 Eric Albrecht