Tamiya M4 Sherman Project
Page 4: Completing the Model
One of the tricks when building a tank is deciding when to do the
painting. You can paint all the trees before building, but that
takes a huge amount of paint. You can wait until after building,
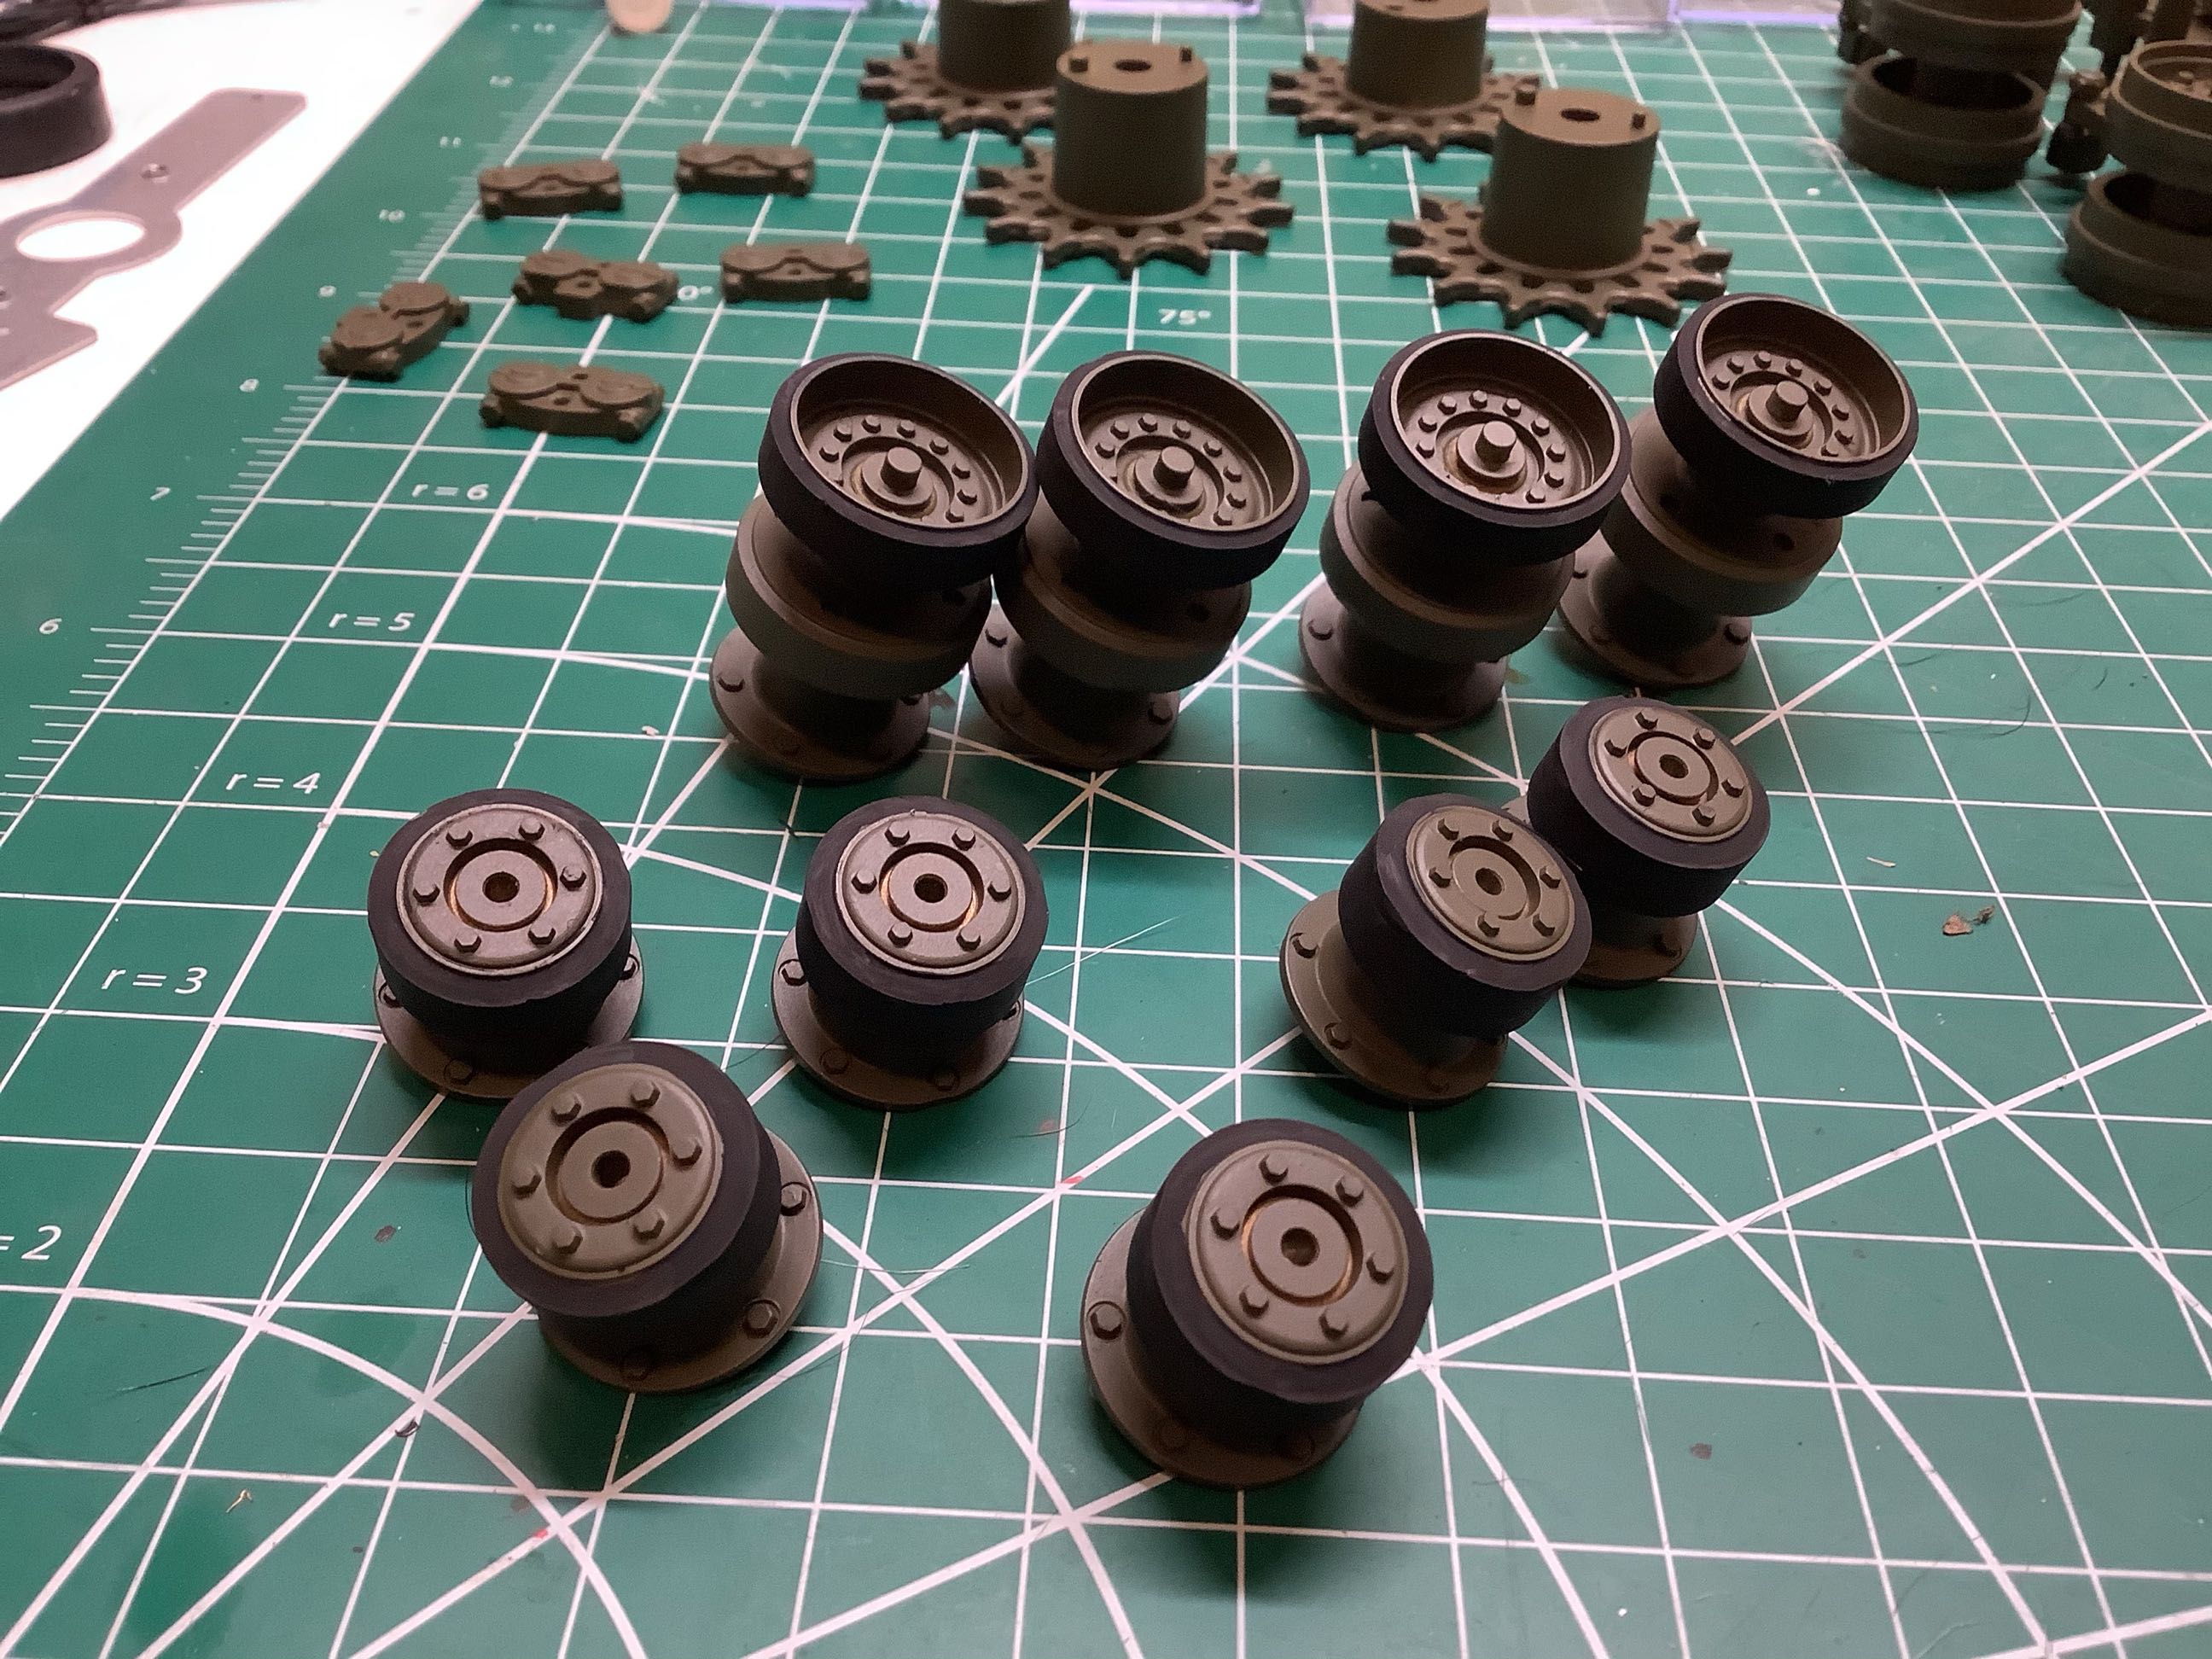
but there are certain bits that shouldn't be painted. I waited
until I had the hull complete, then removed the tracks and the rubber
tires from all the wheels, and painted everything olive drab. The
outer parts of the return rollers don't have rubber tires so I had to
manually paint them flat black as shown on the left. The
reassembled and painted suspension is shown on the right. A couple
of screws were left unpainted so I later touched them up by hand.
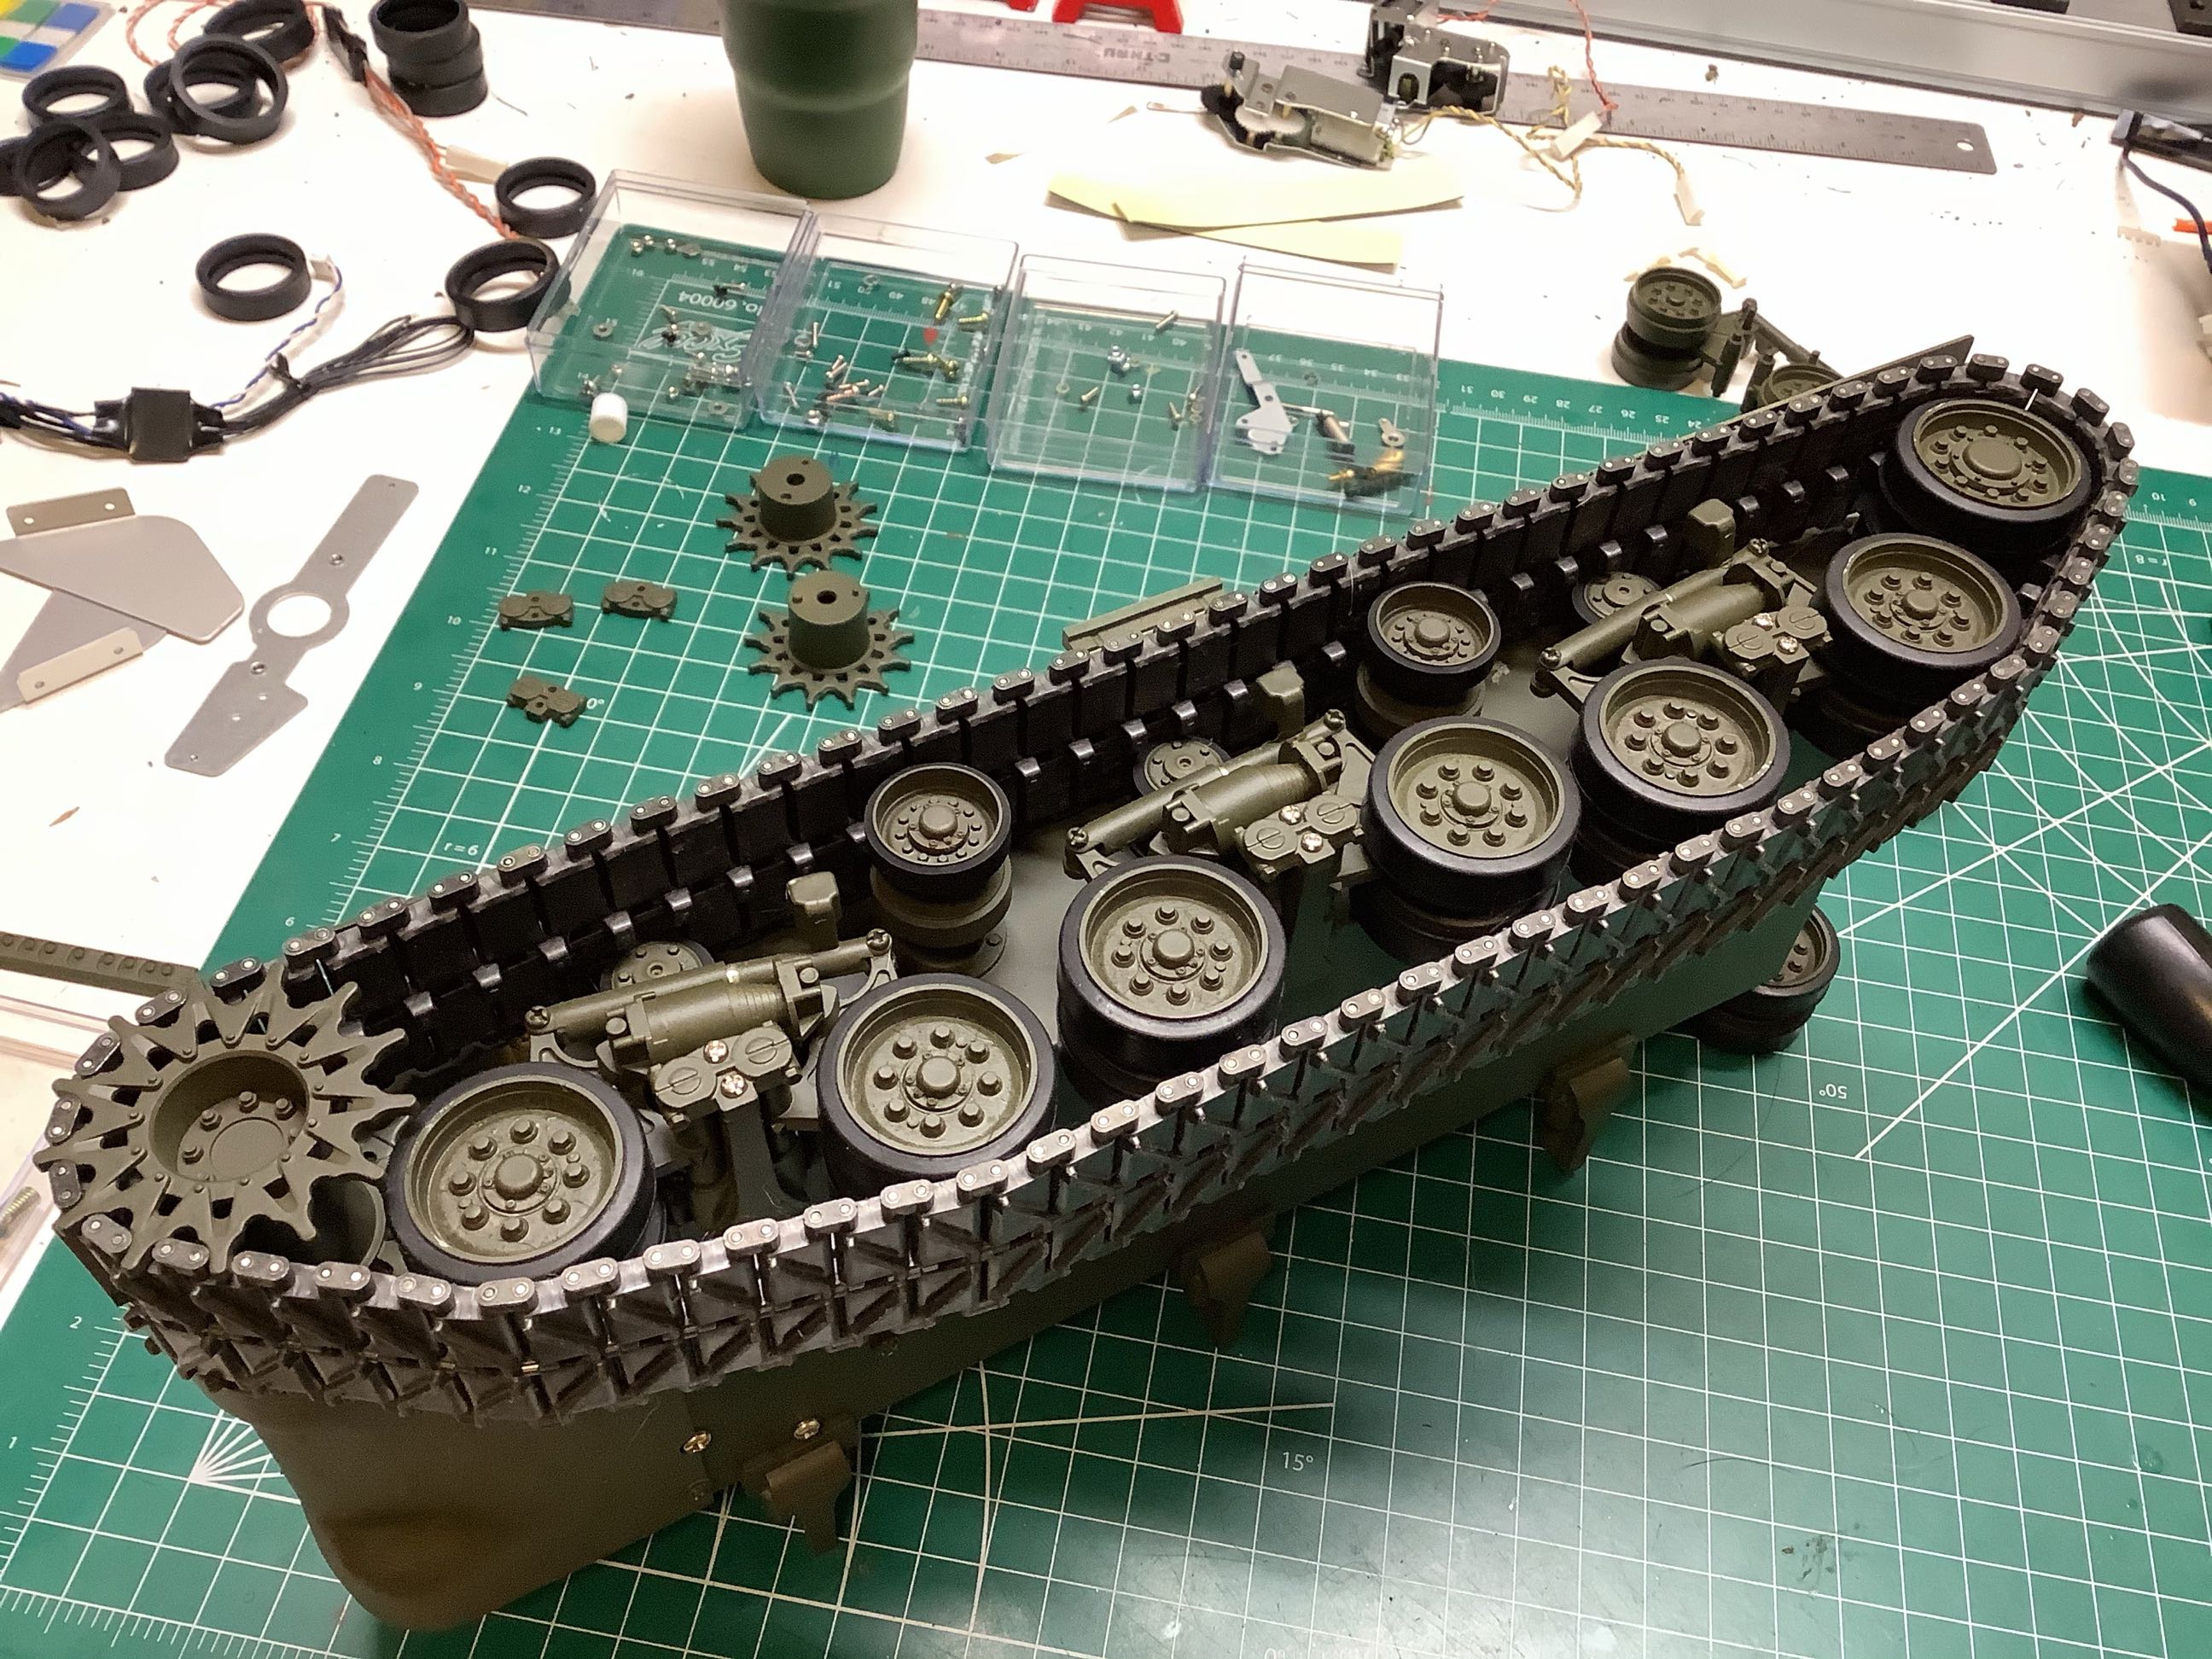
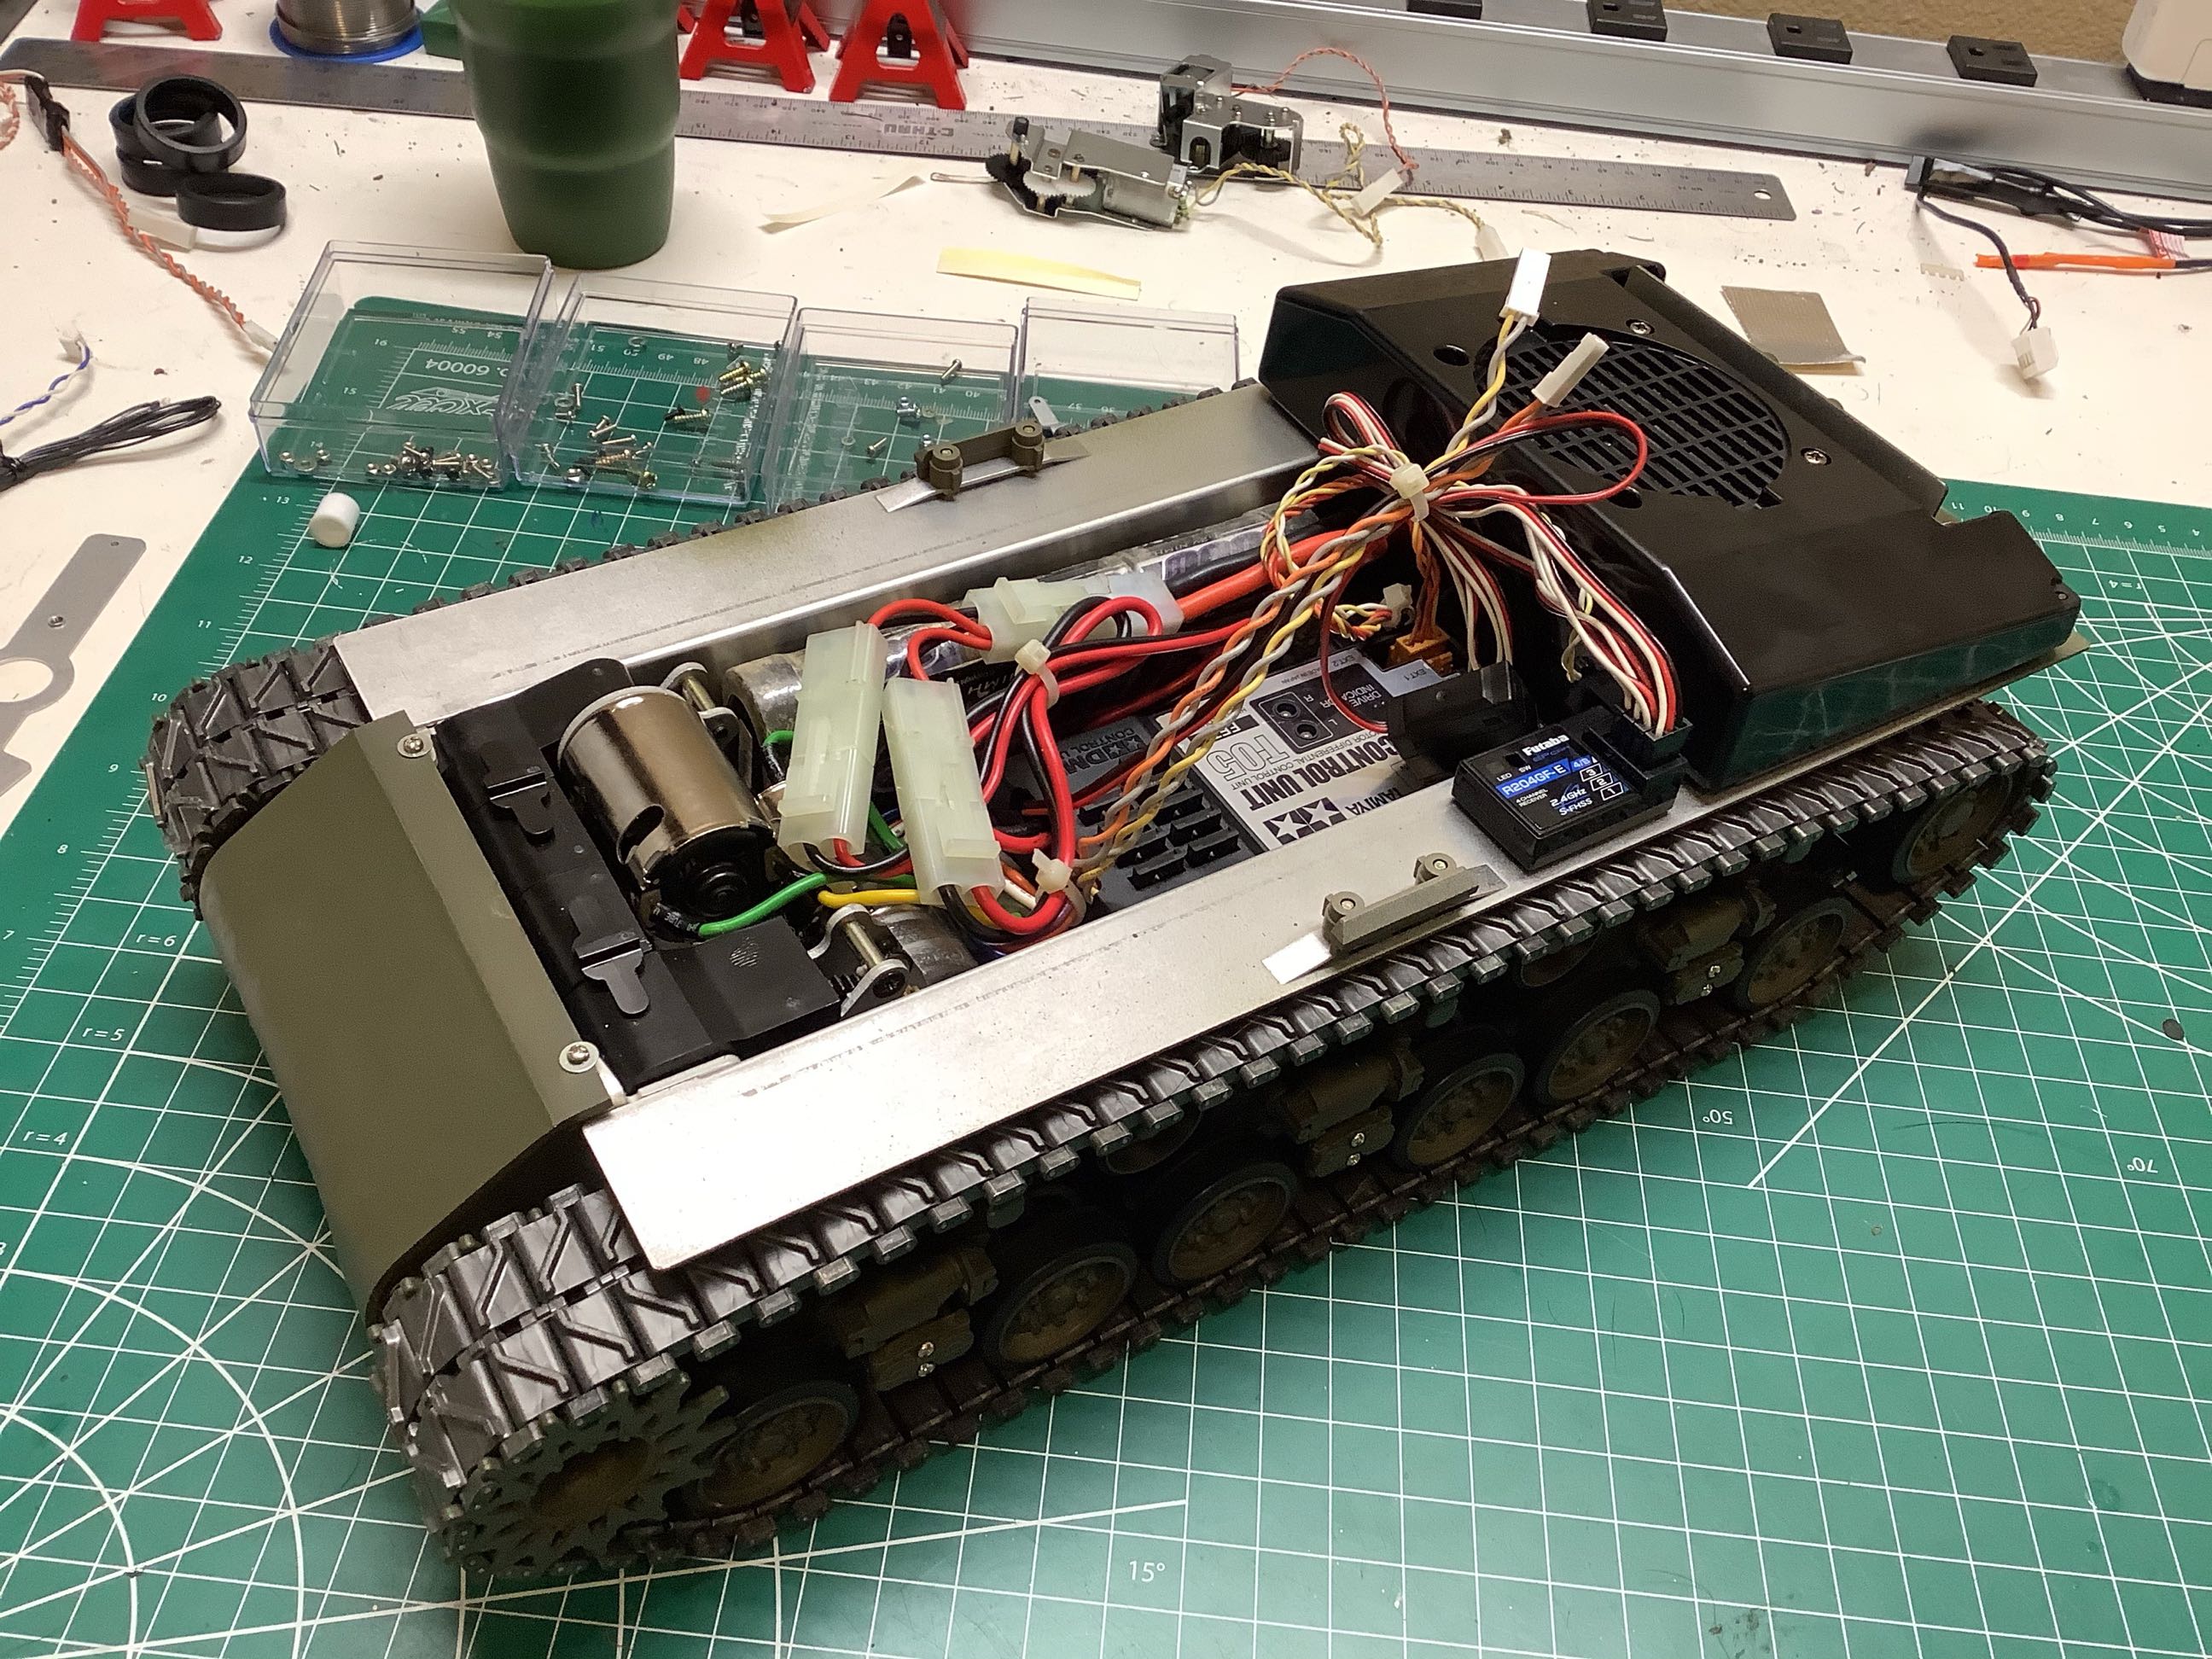
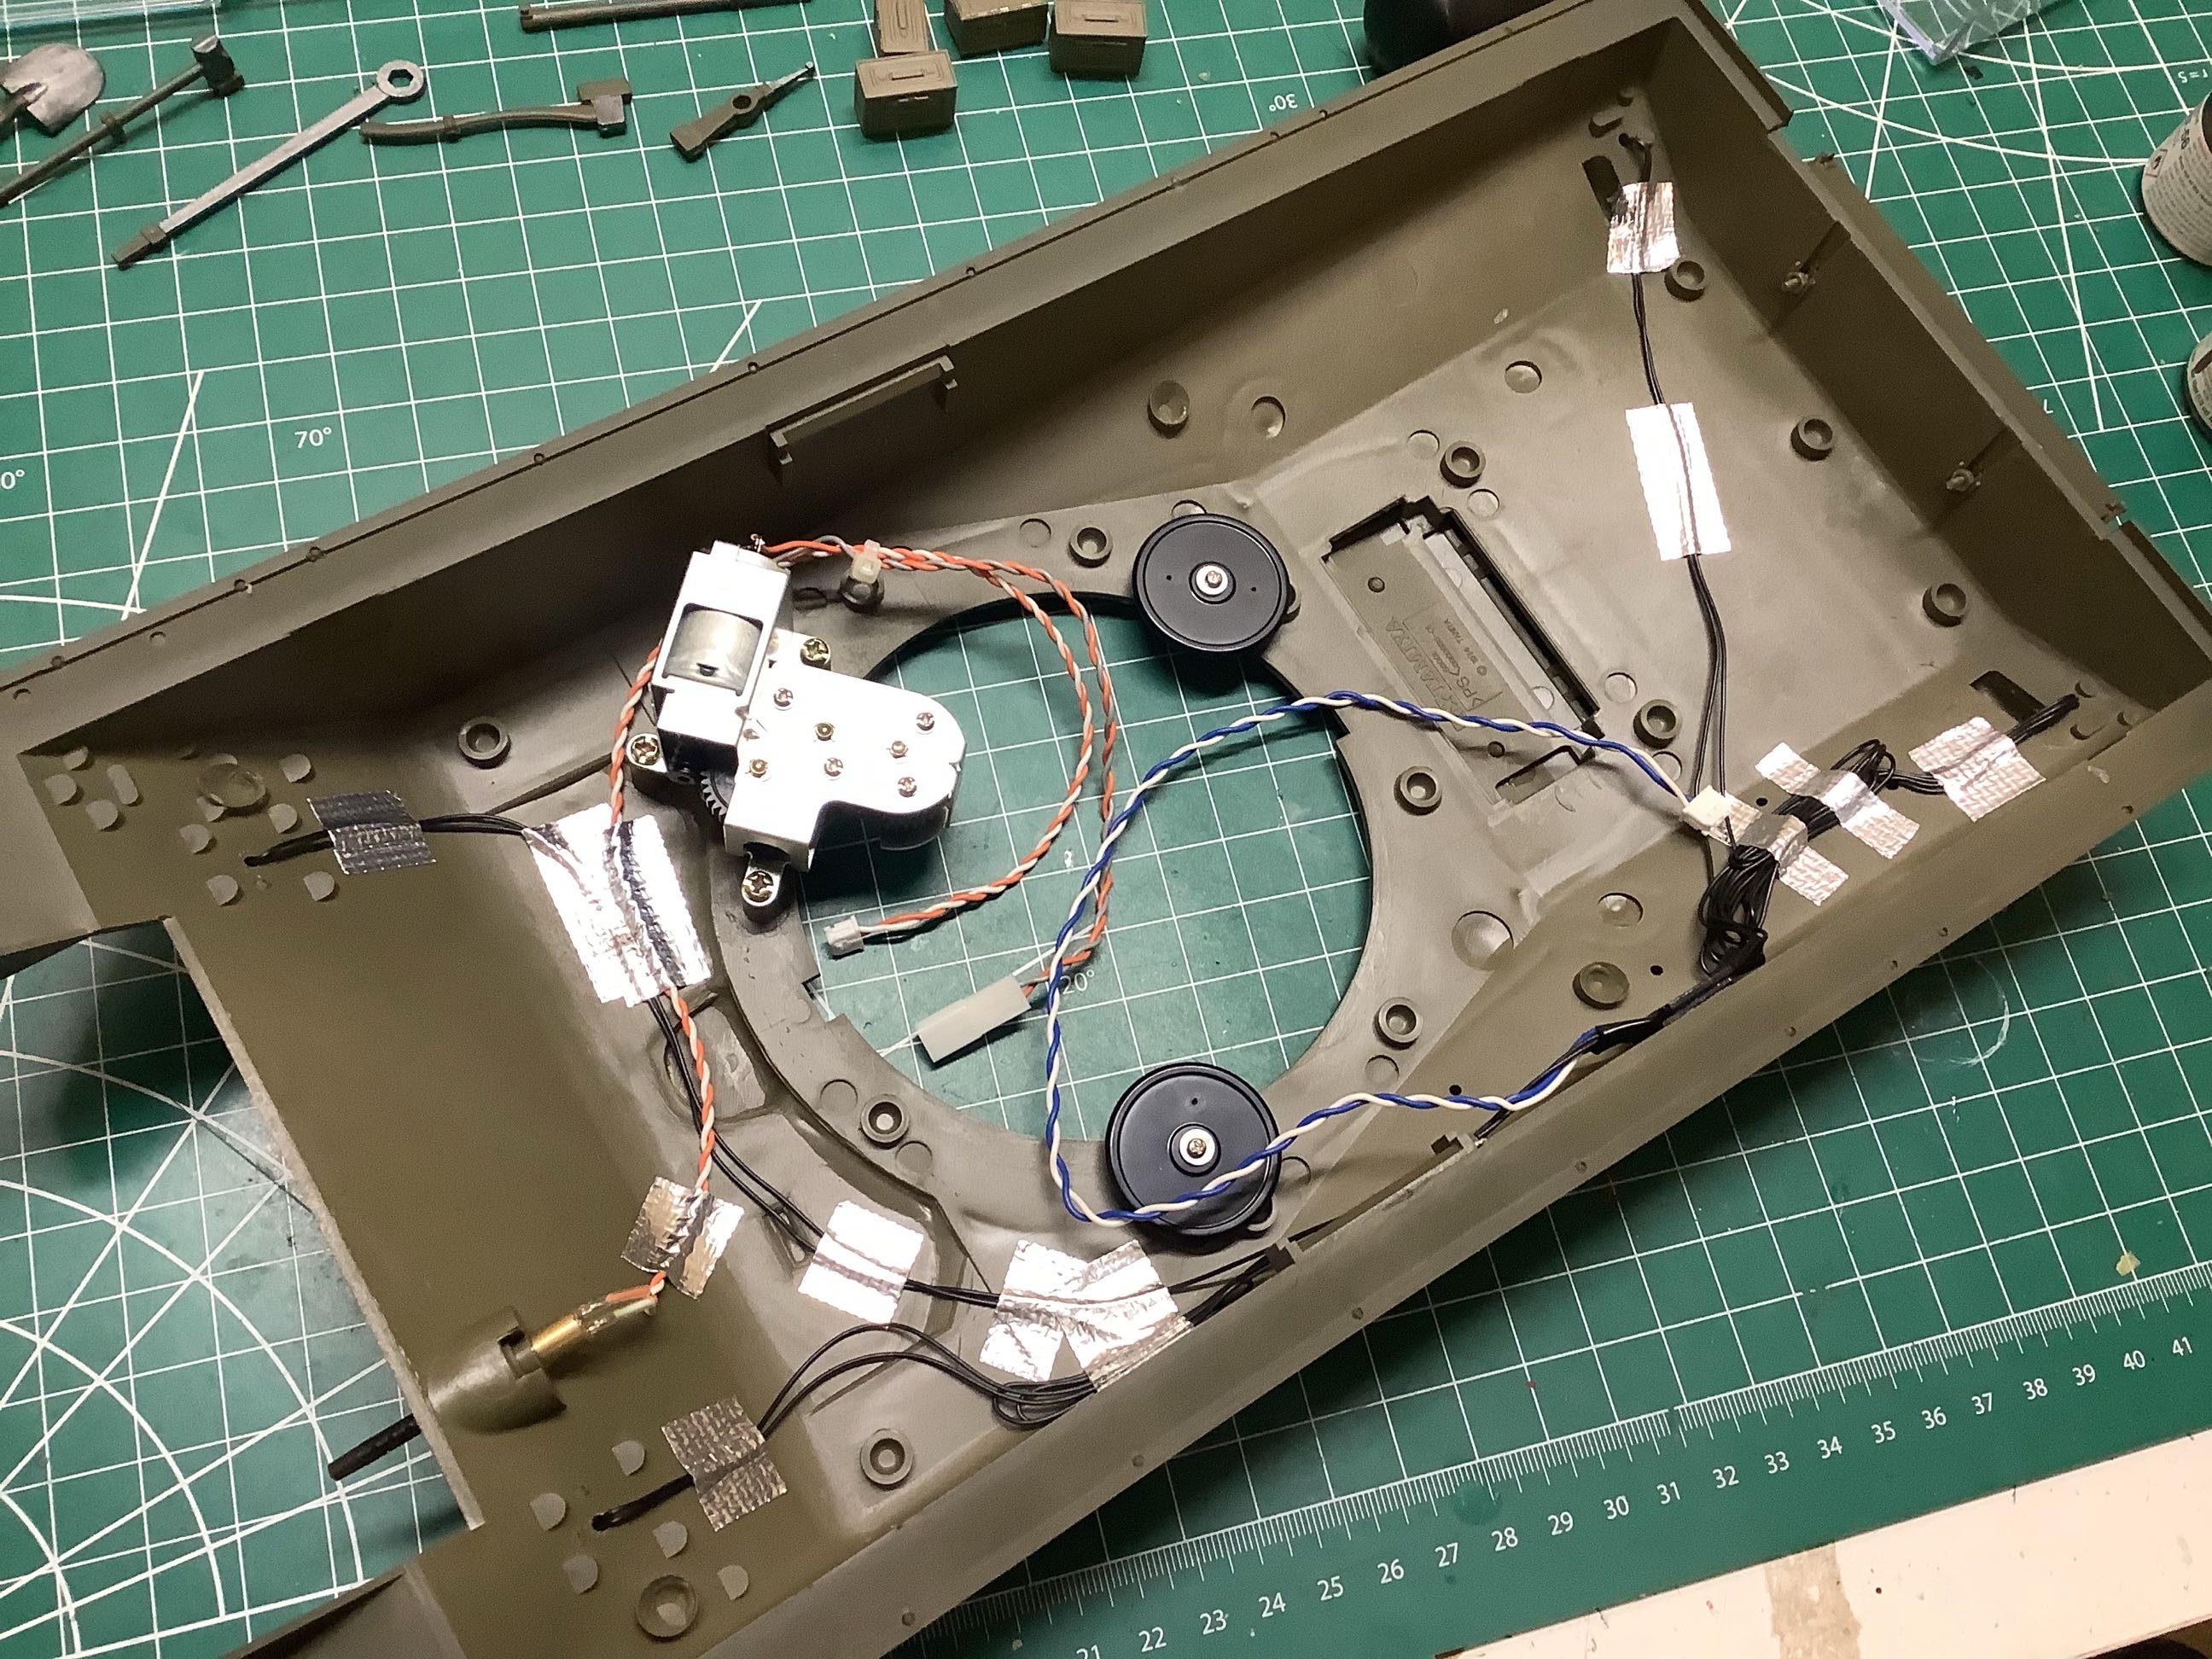
Here is the completed lower hull with the suspension fully completed, all the electronics installed, and the wires cleaned up.
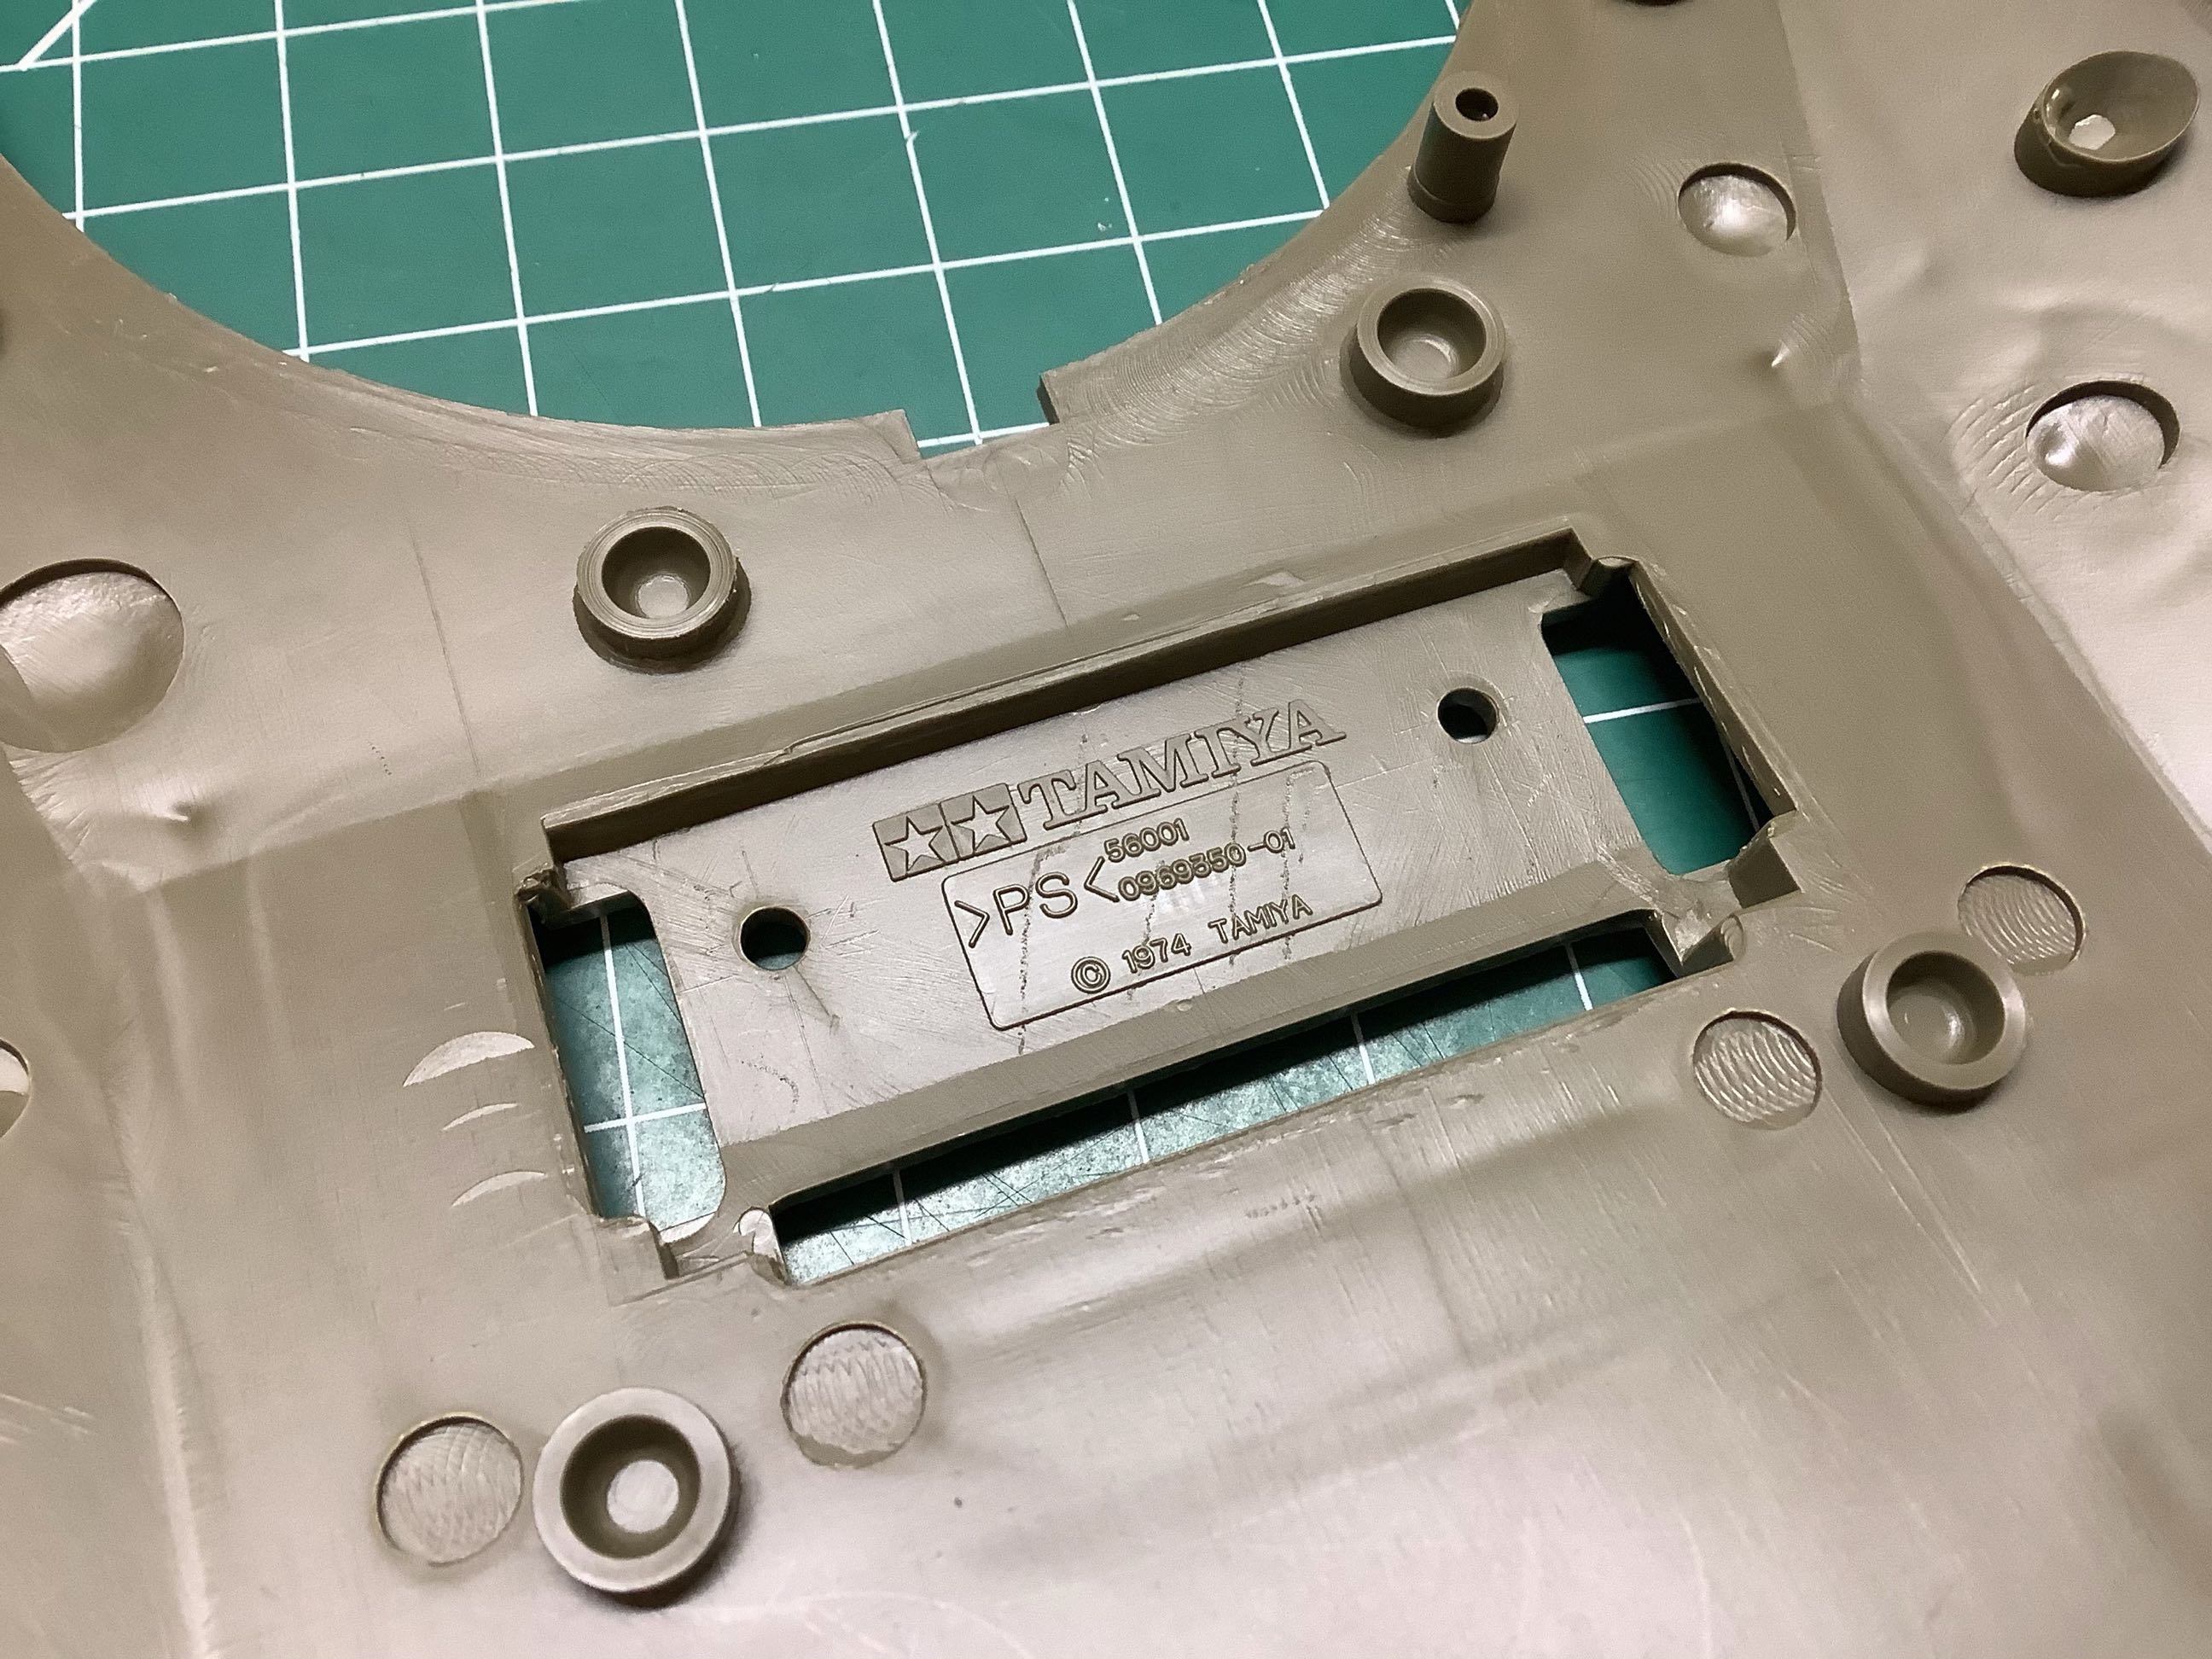
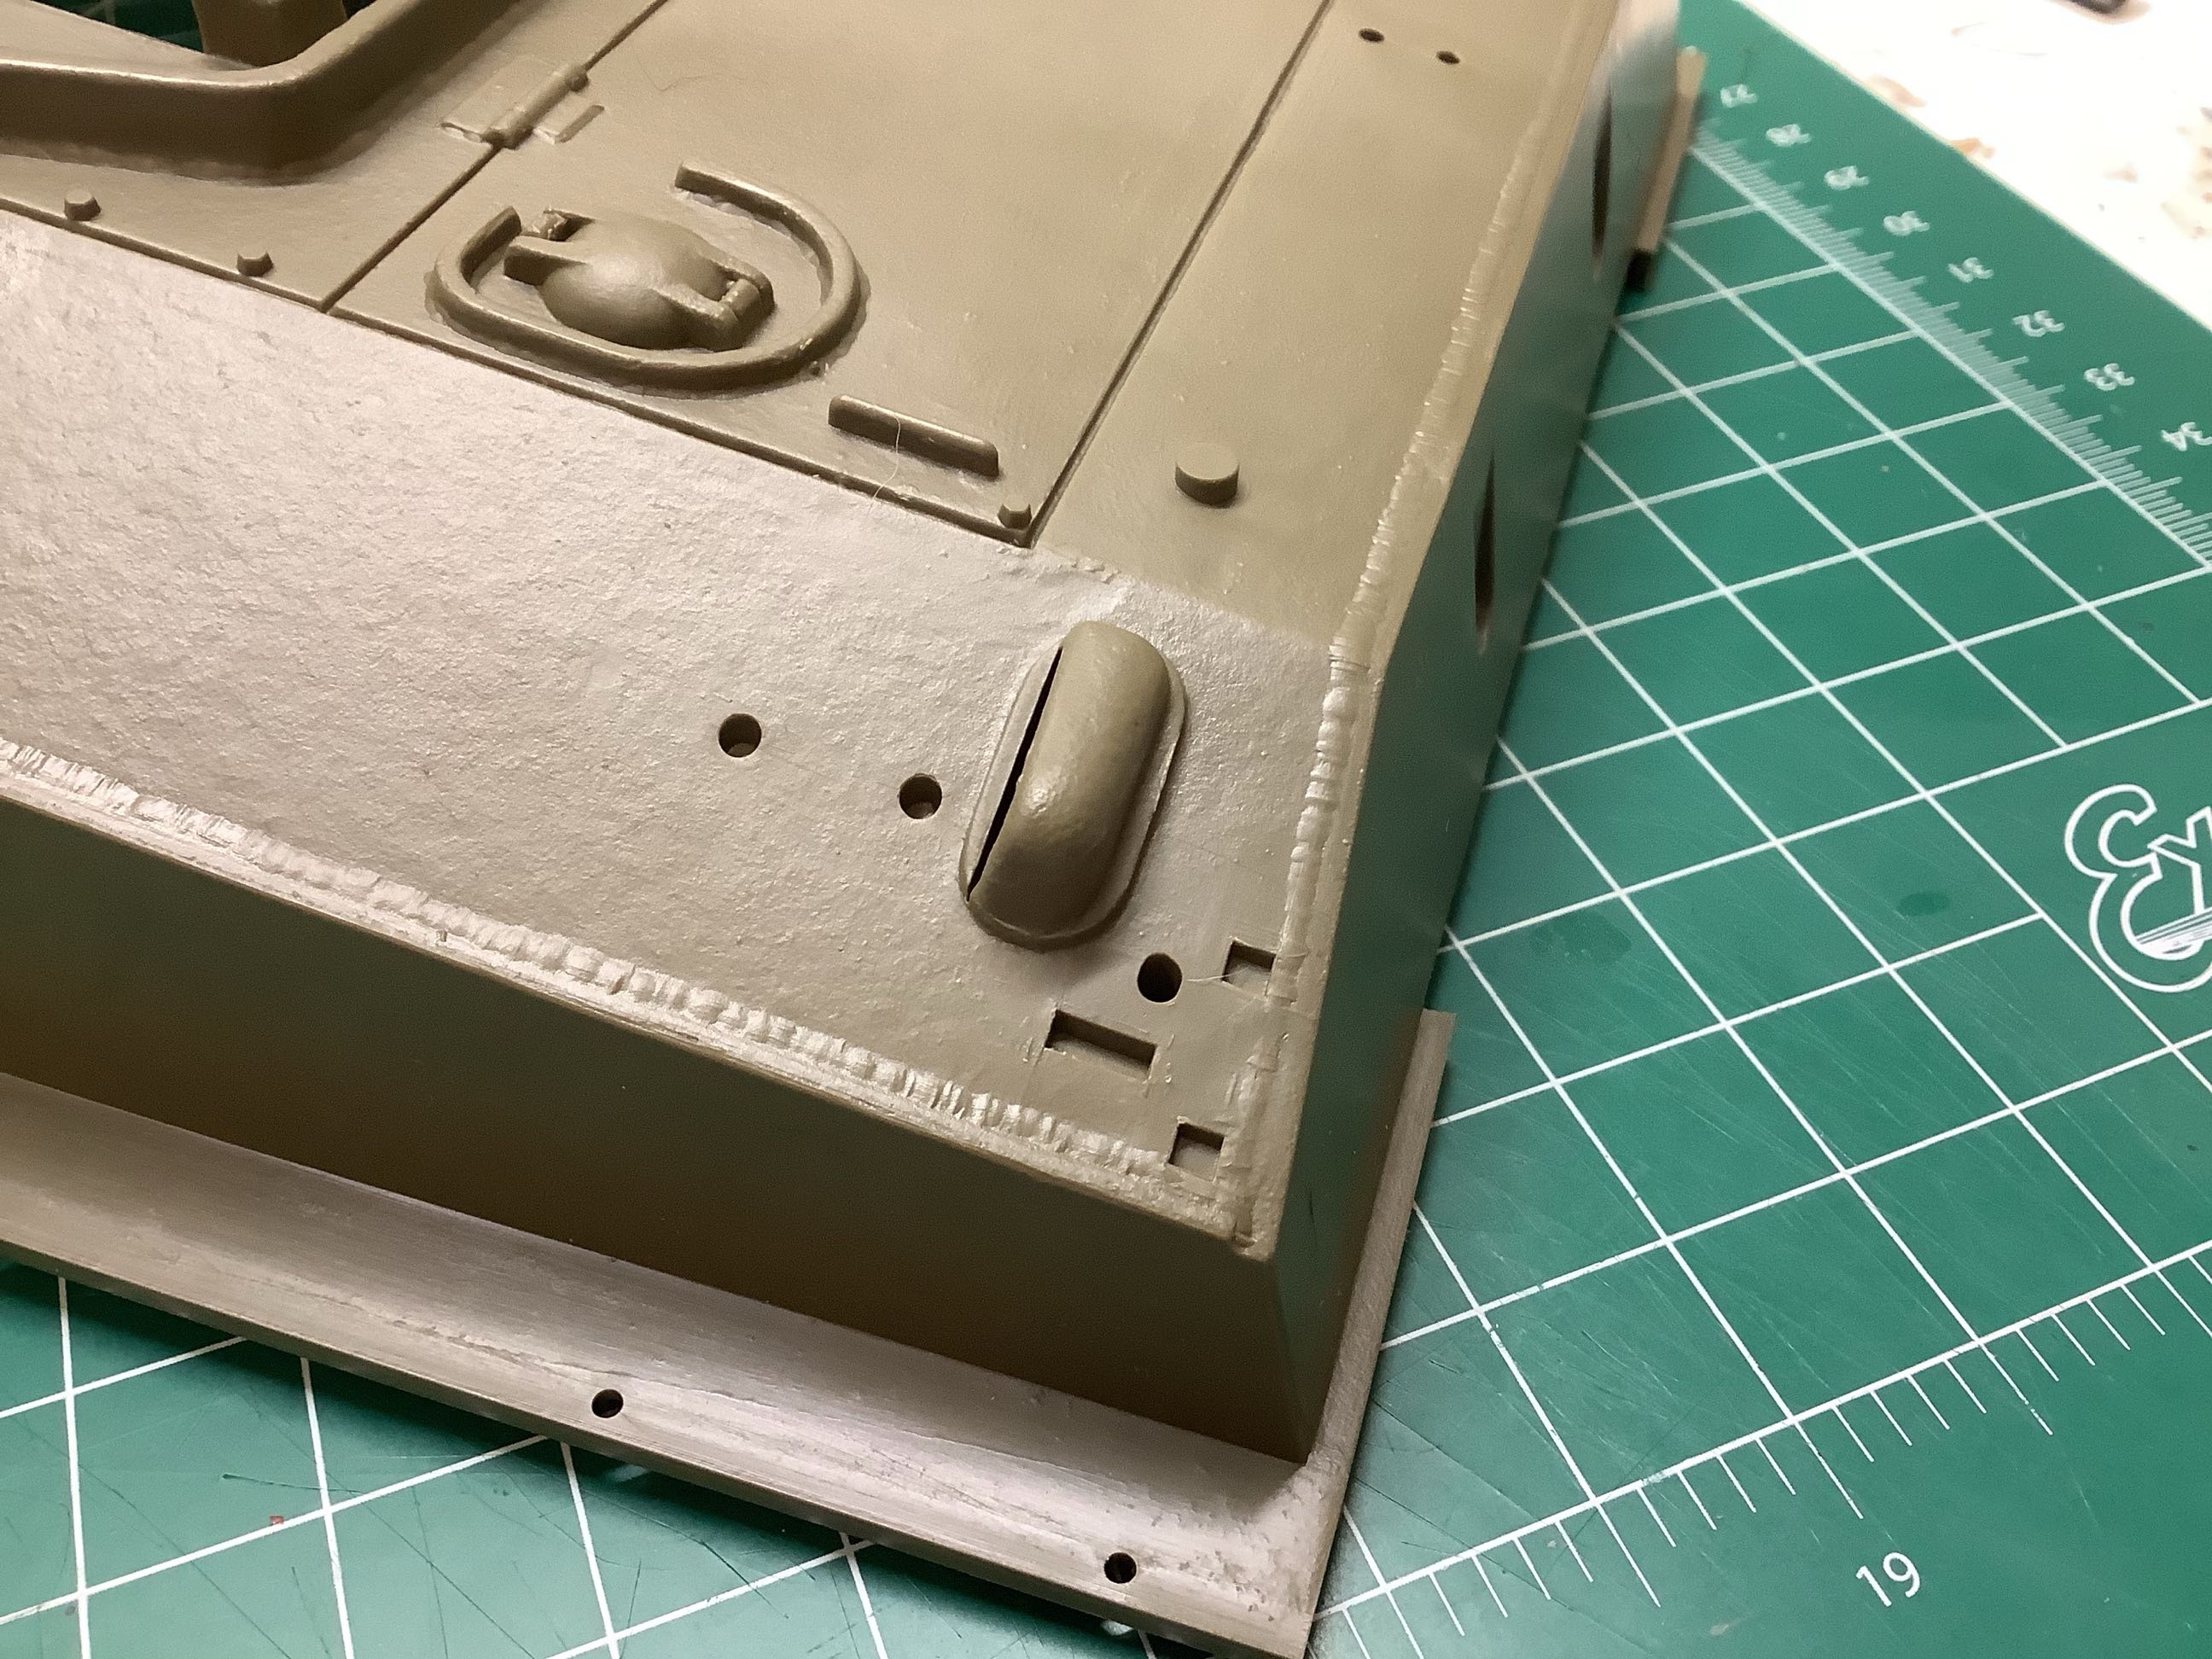
The main hull part is marked "1974" which implies that it is made from
the mold of the original model. However, it also says "56001"
which was not the model number at the time it was released. It was
originally "RT-1601" and was only renumbered years later. It also
would not have had the "PS" (polystyrene) recycling label in
1974. Perhaps this is an updated version of the original
mold. The picture on the right shows some of the molding detail
including the casting texture and the welding bead. How they managed
this level of detail in the mold so long ago I have no idea, but it is
very impressive even now.
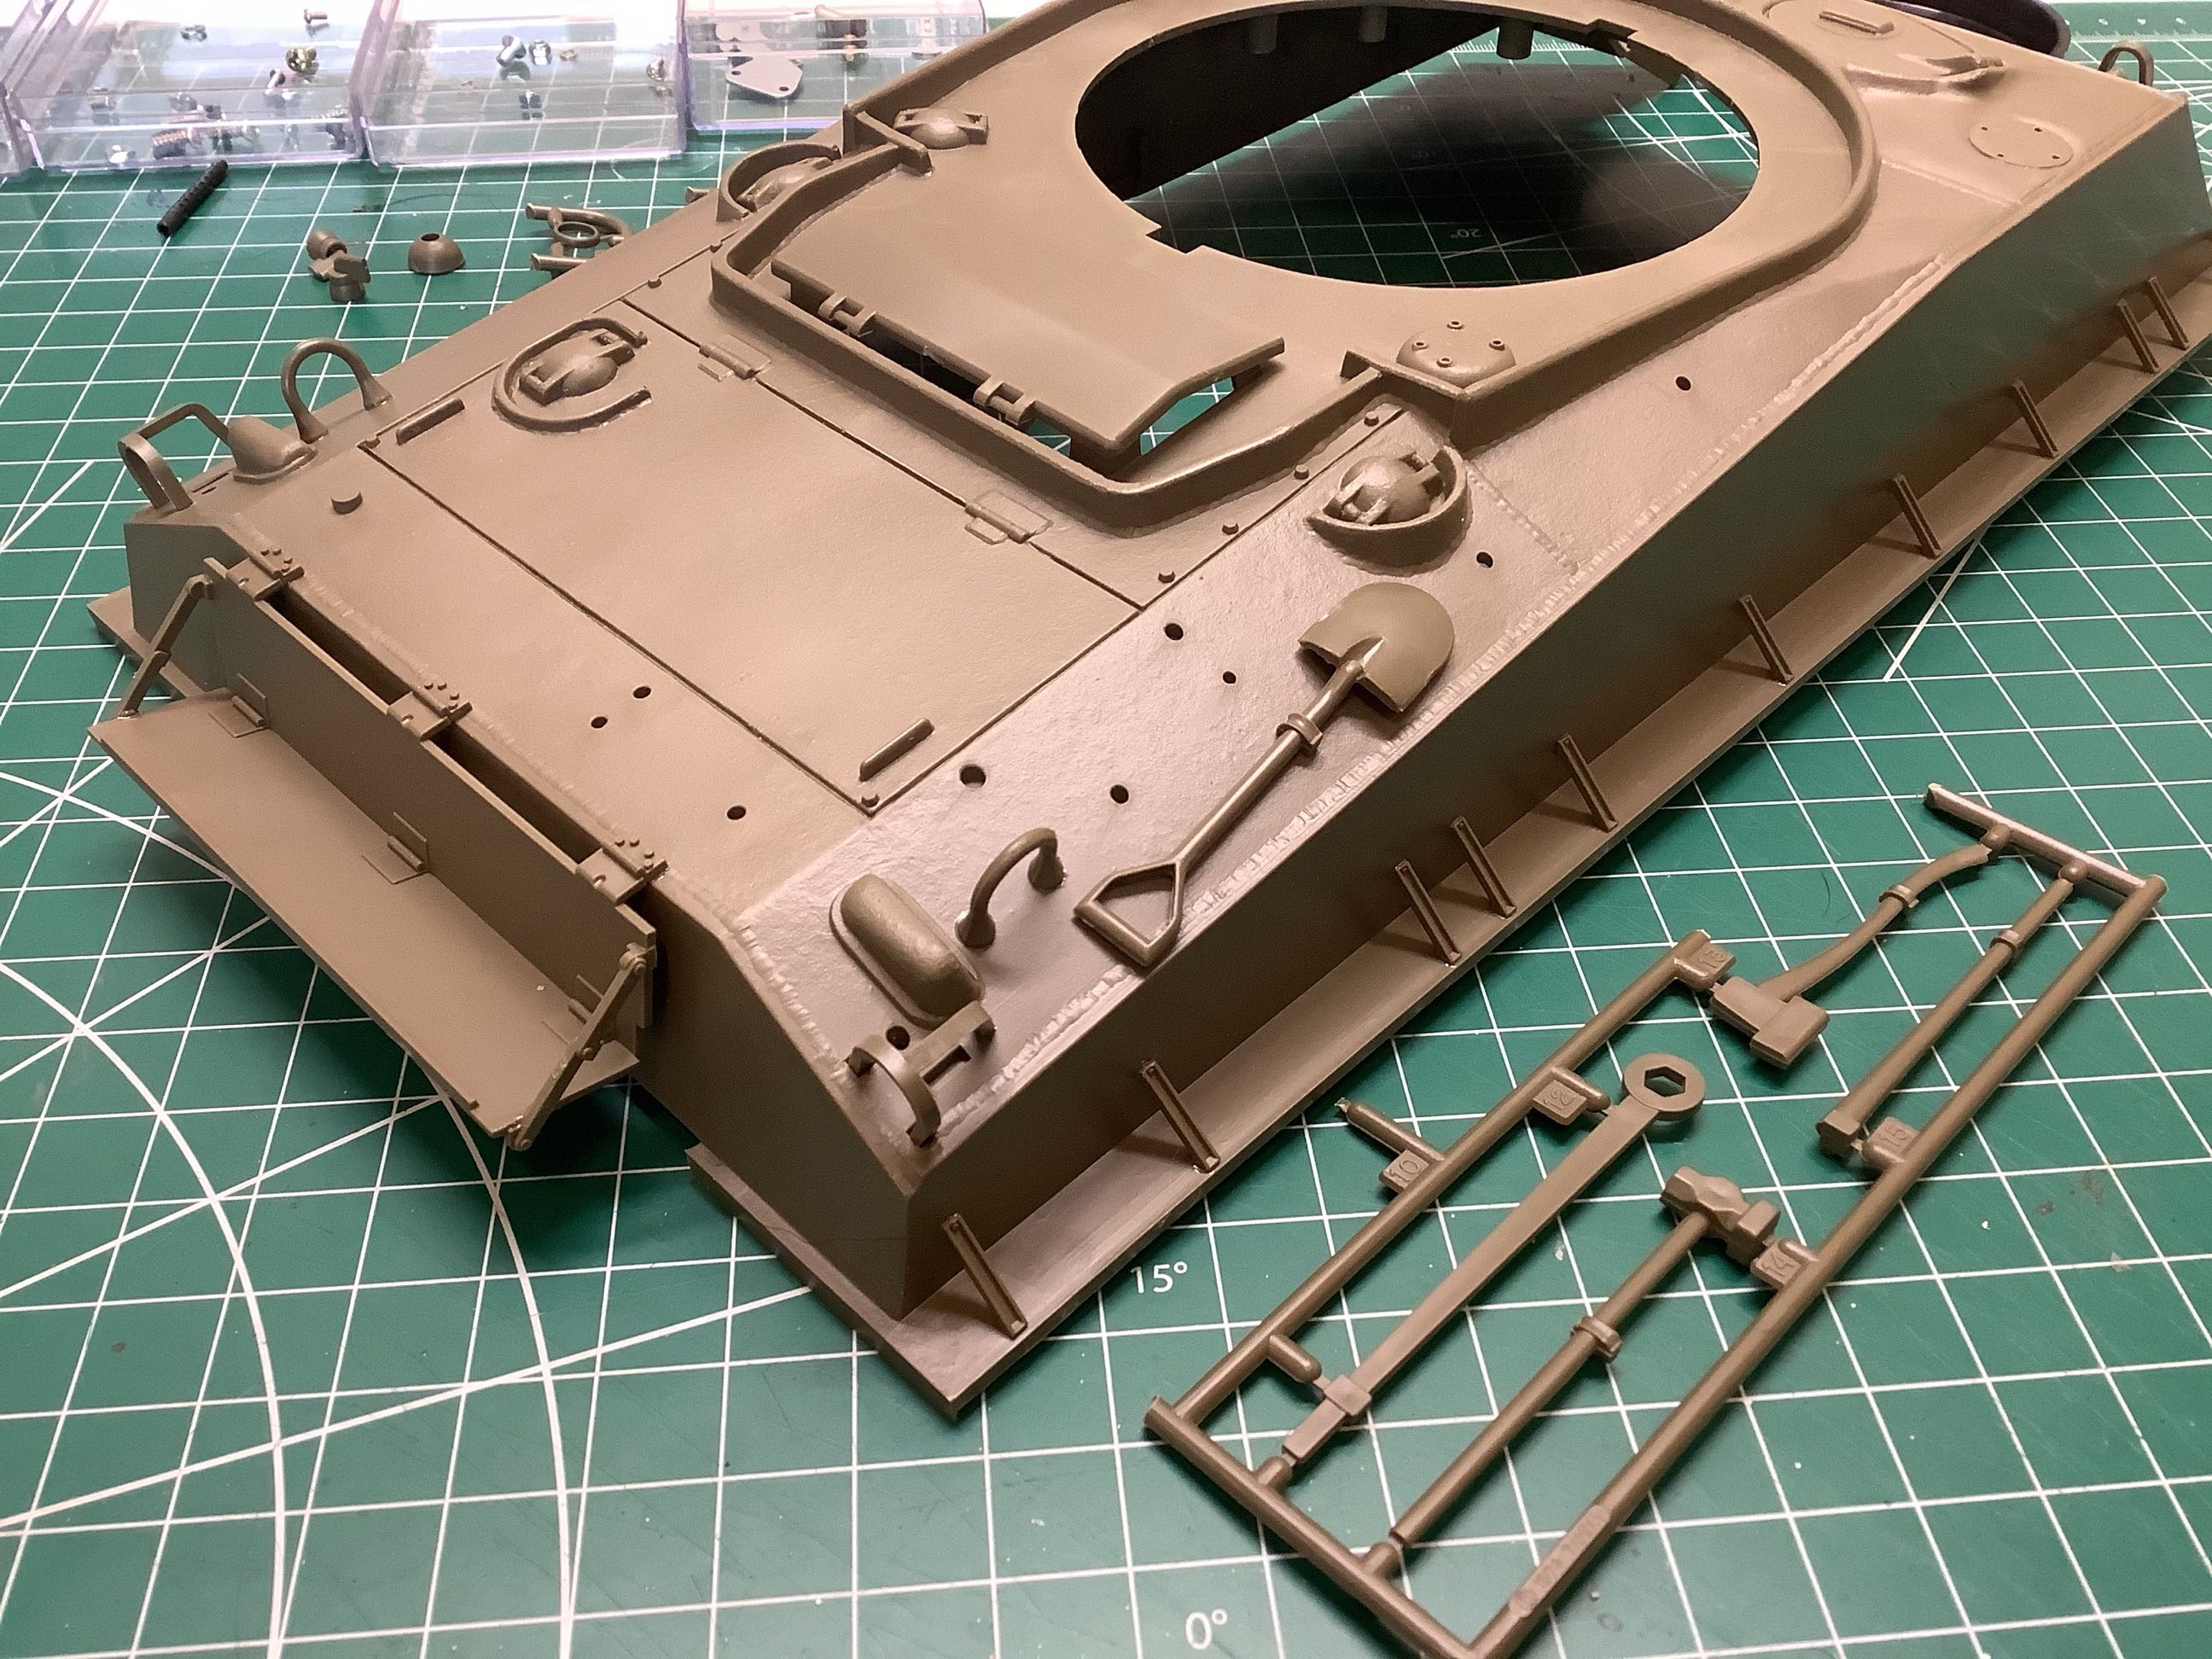
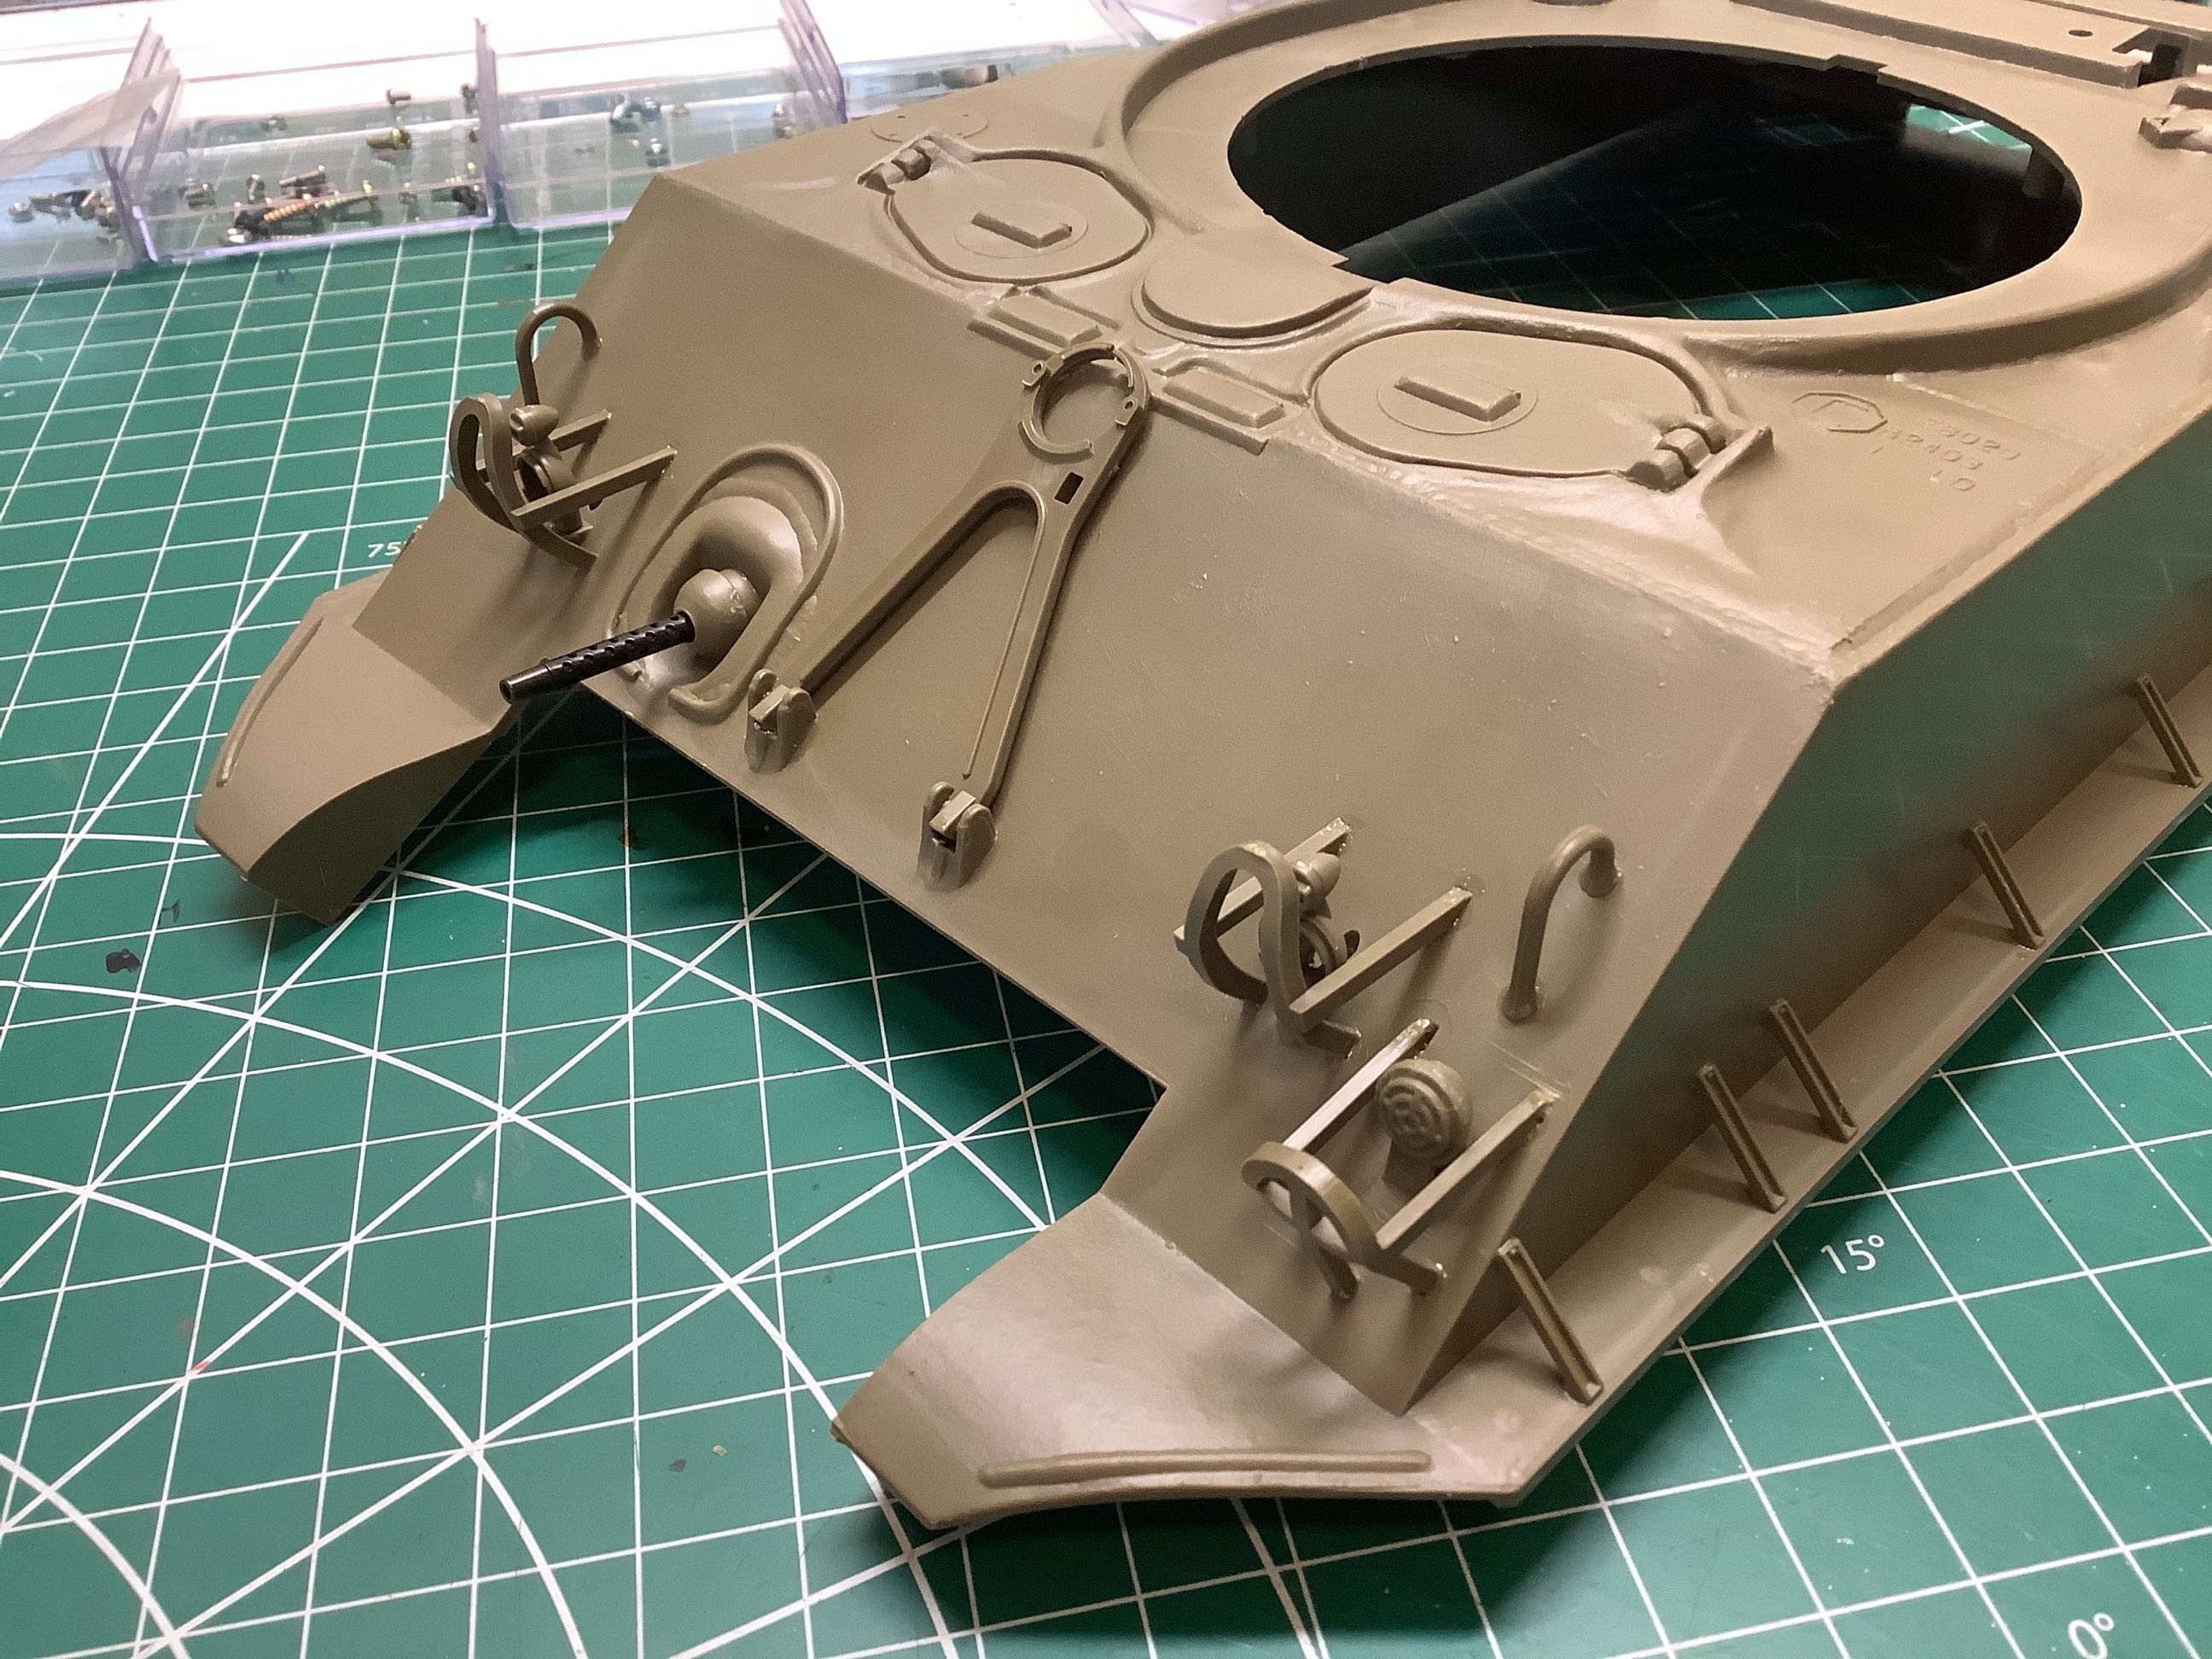
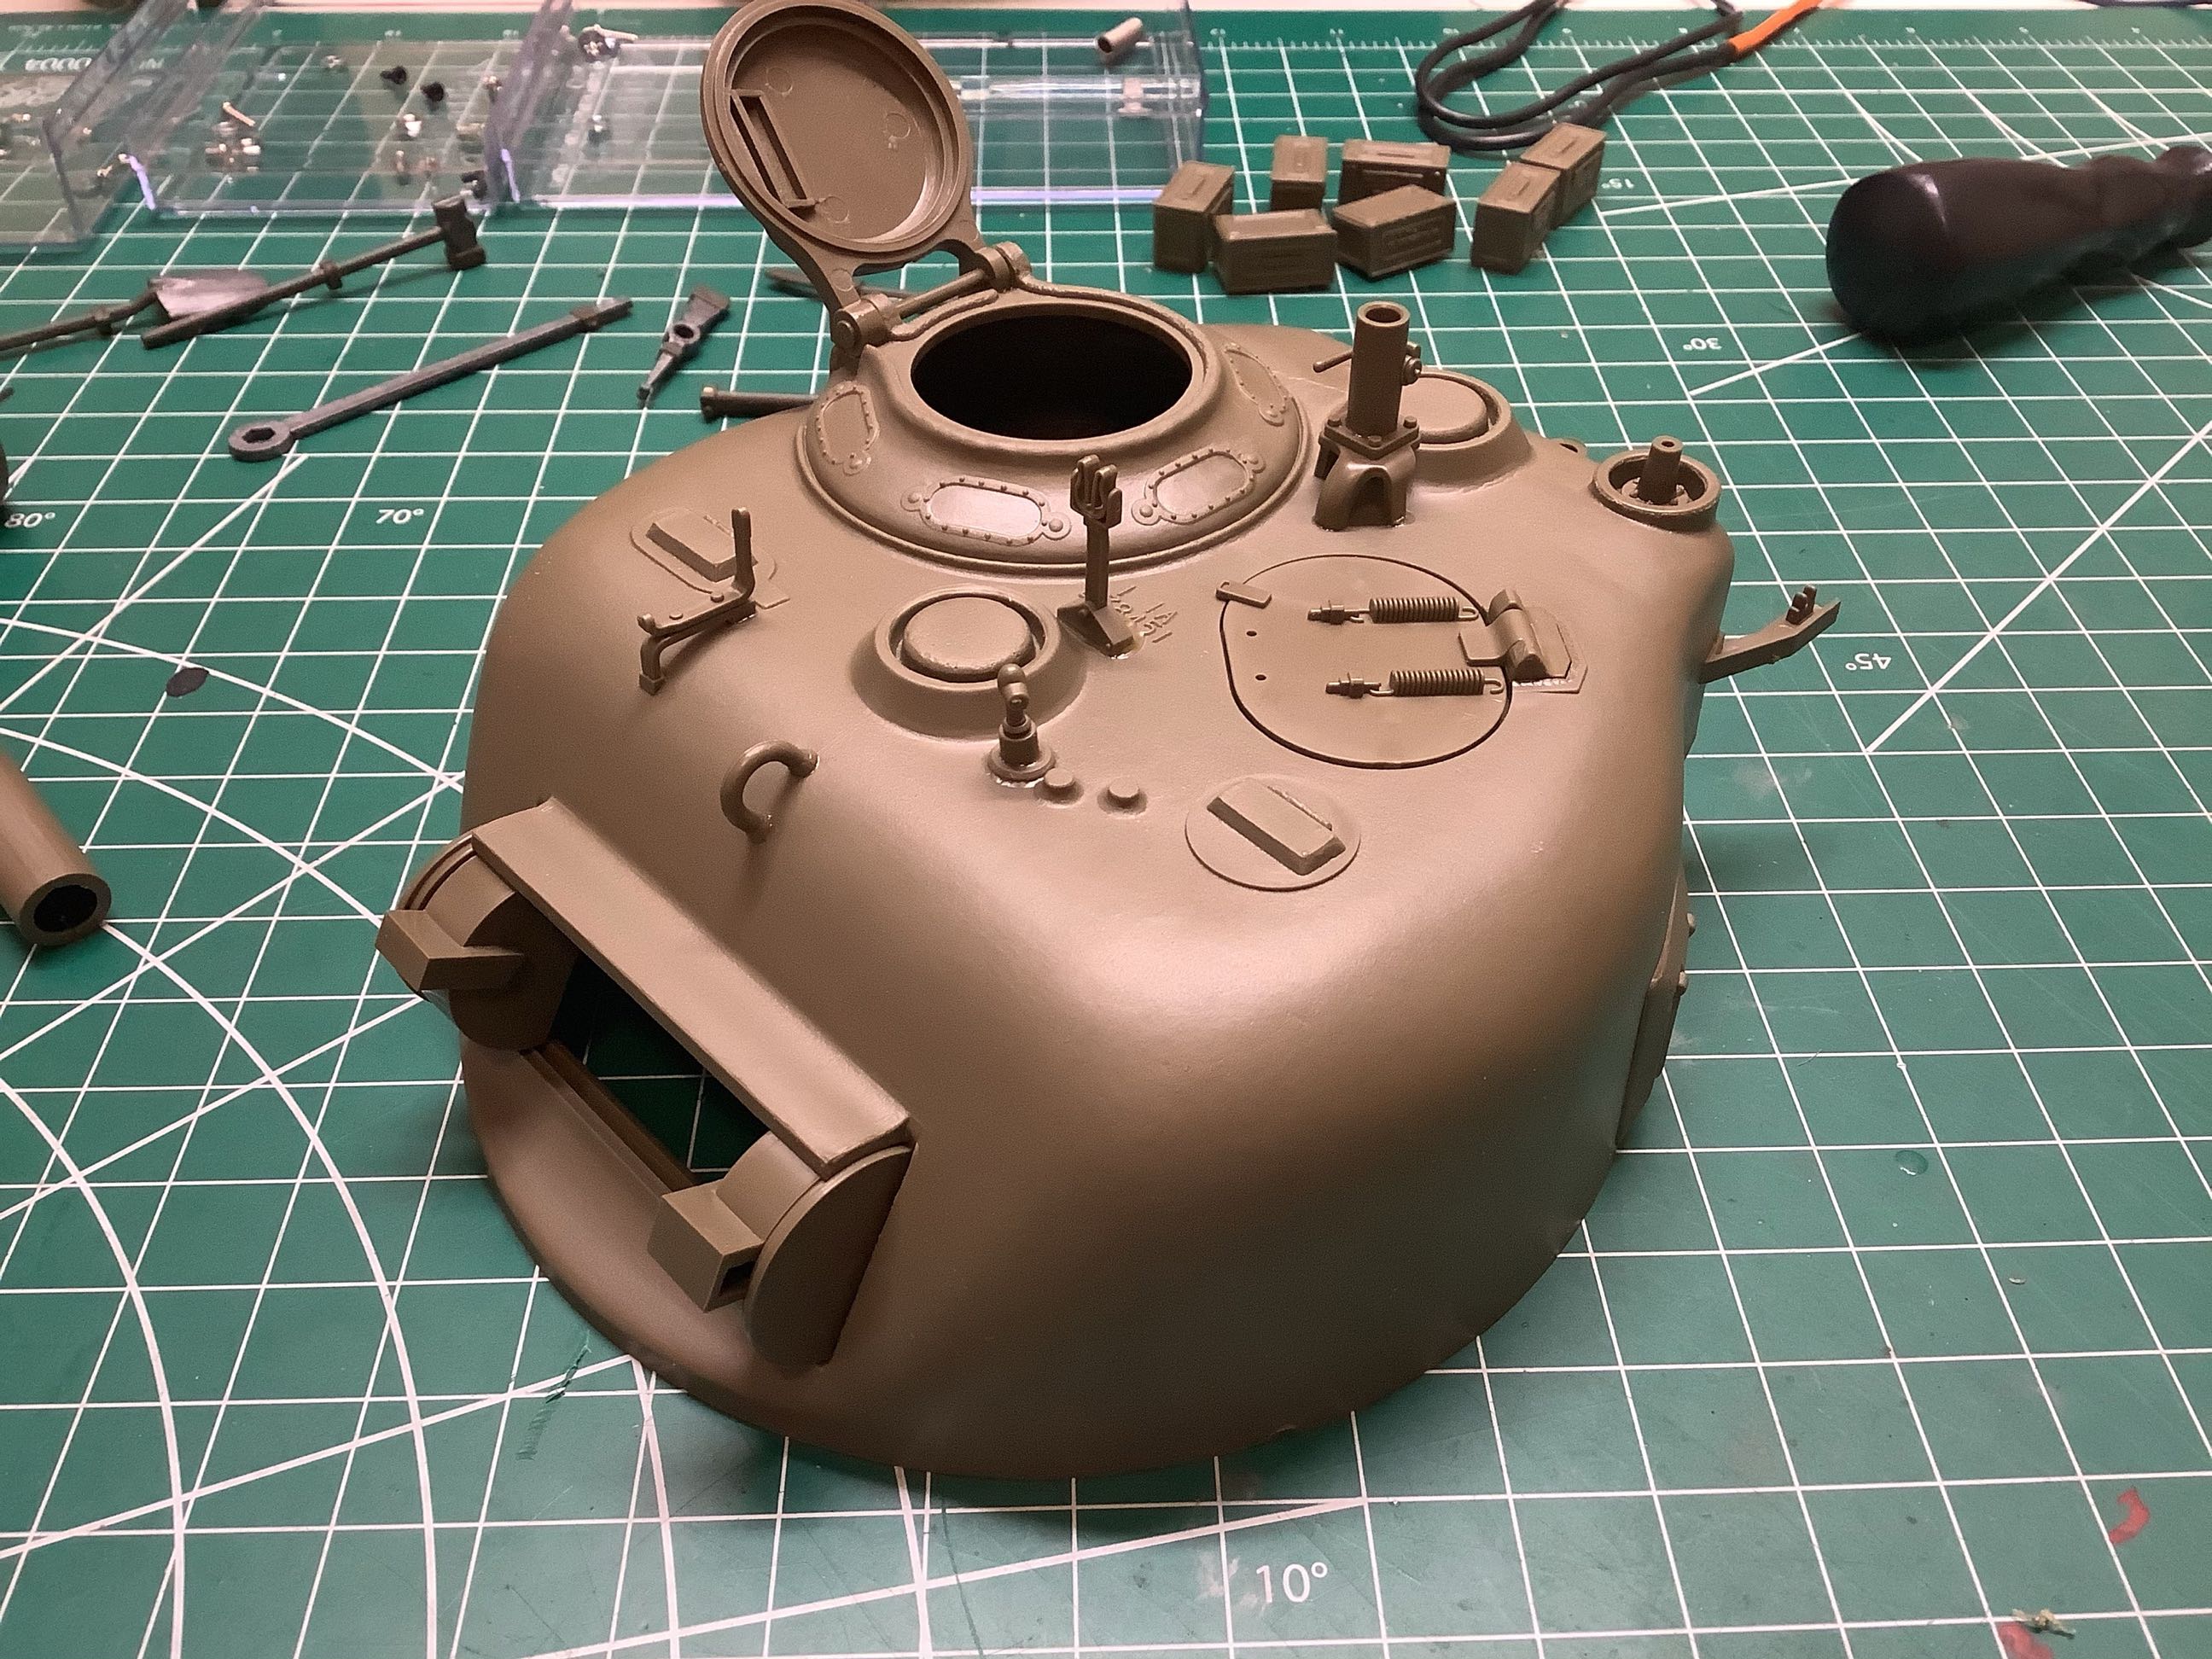
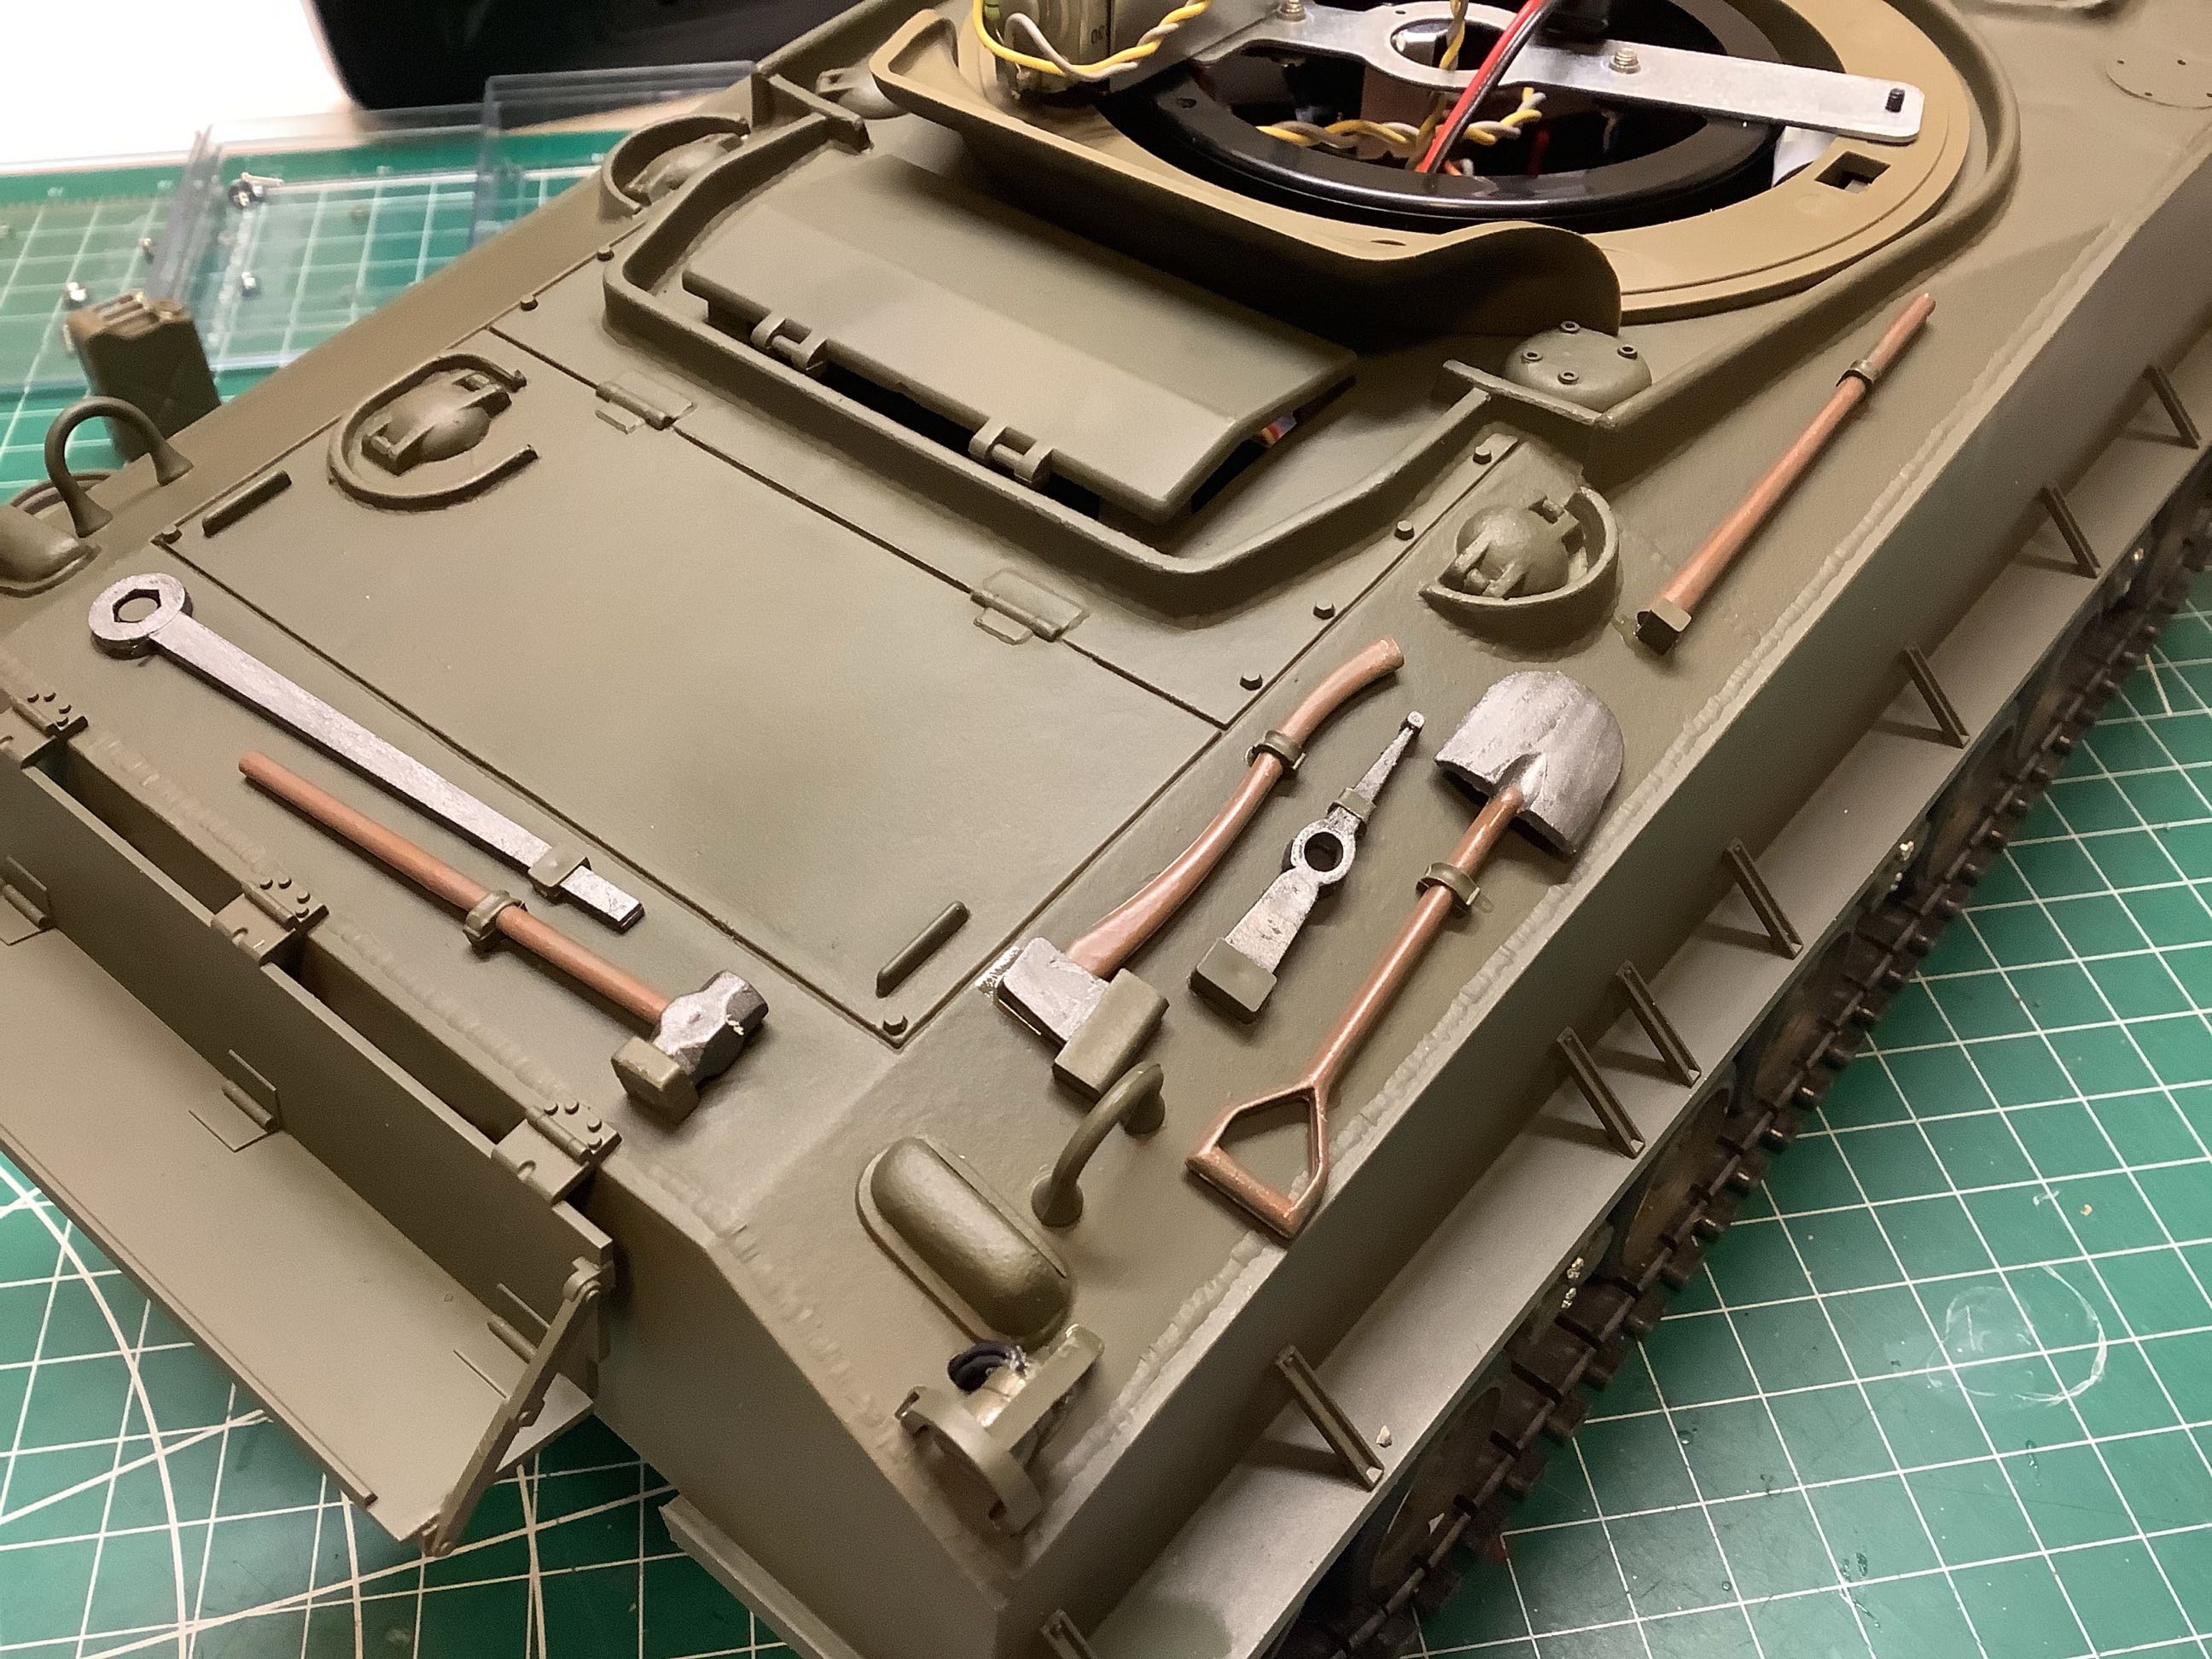
I built the upper hull to this point before painting. The shovel
is just set in place to show how the tools will later attach (see
wrench, hammer, and axe sitting to the side). I'll have to hand
paint these separately before attaching them. A lot of the detail
is molded directly into the main hull part, but the lifting loops, rear
storage rack, and light protectors are all separate parts (shown at
left). The right hand picture shows the front details including
the barrel rest, the machine gun, the light protectors, and the
horn. Also note the individual diagonal brackets supporting the
skirt. The barrel rest needs to be glued to the hull so it is not
functional. The hatches do not open.
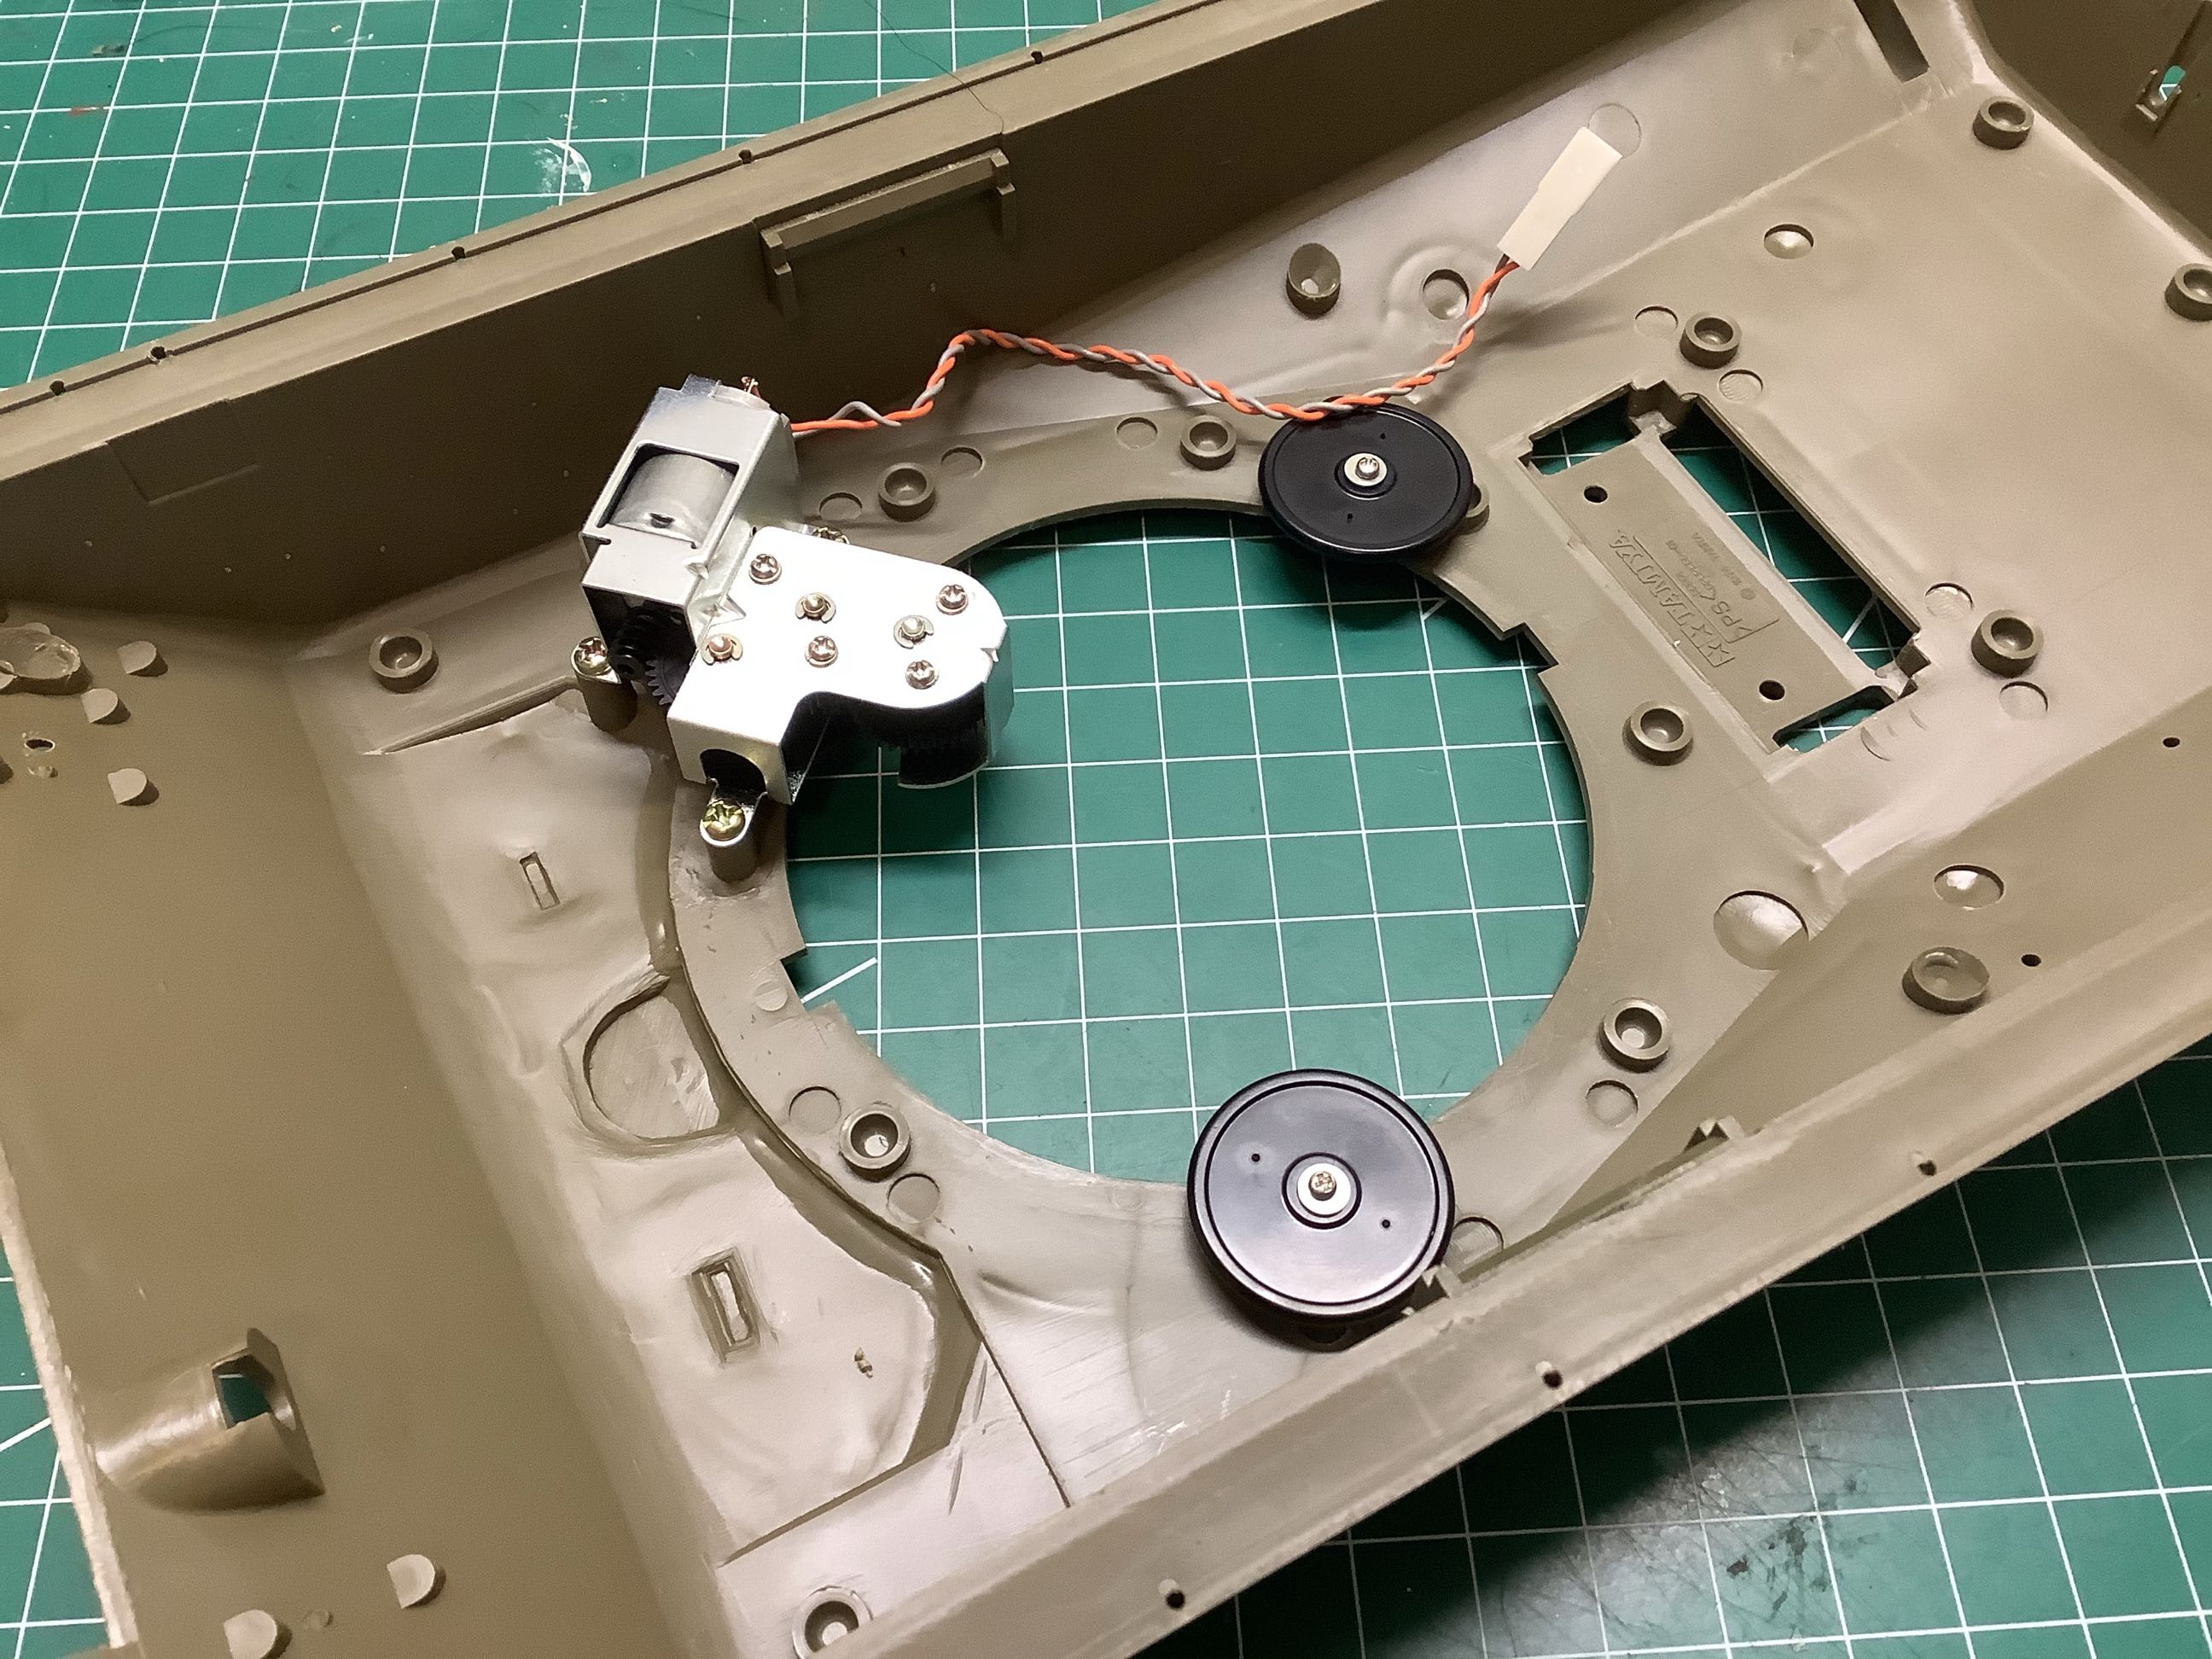
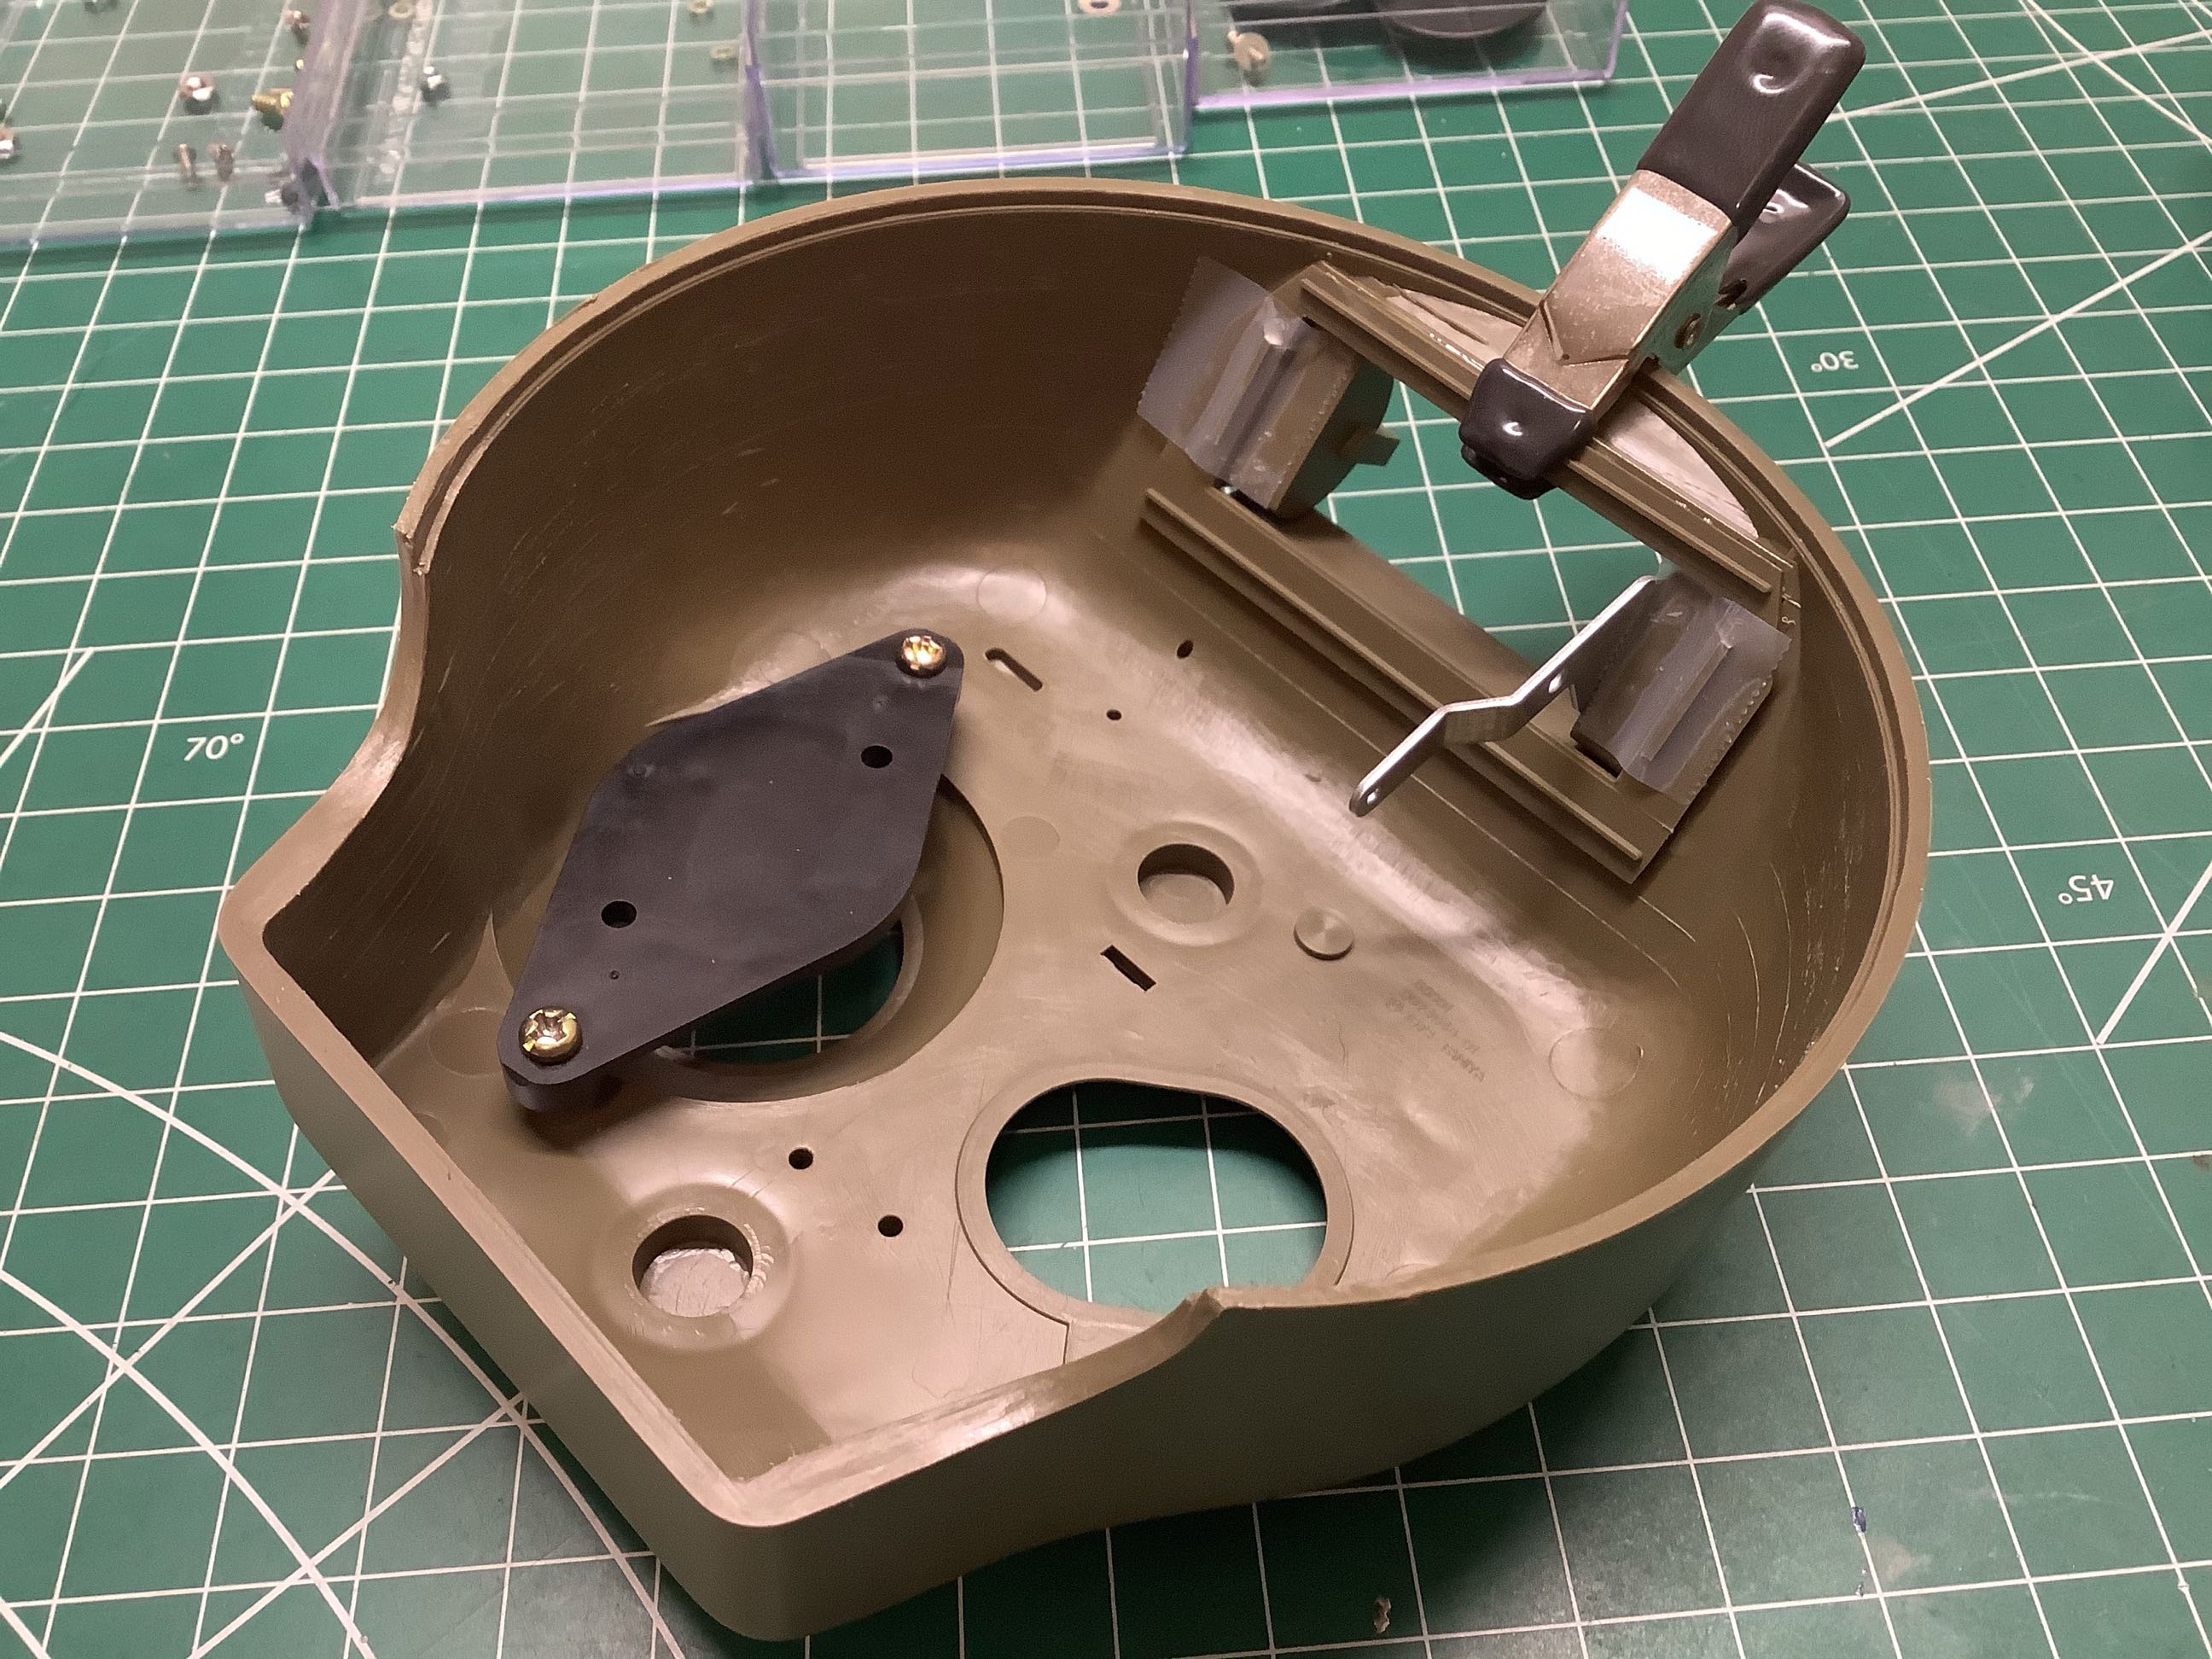
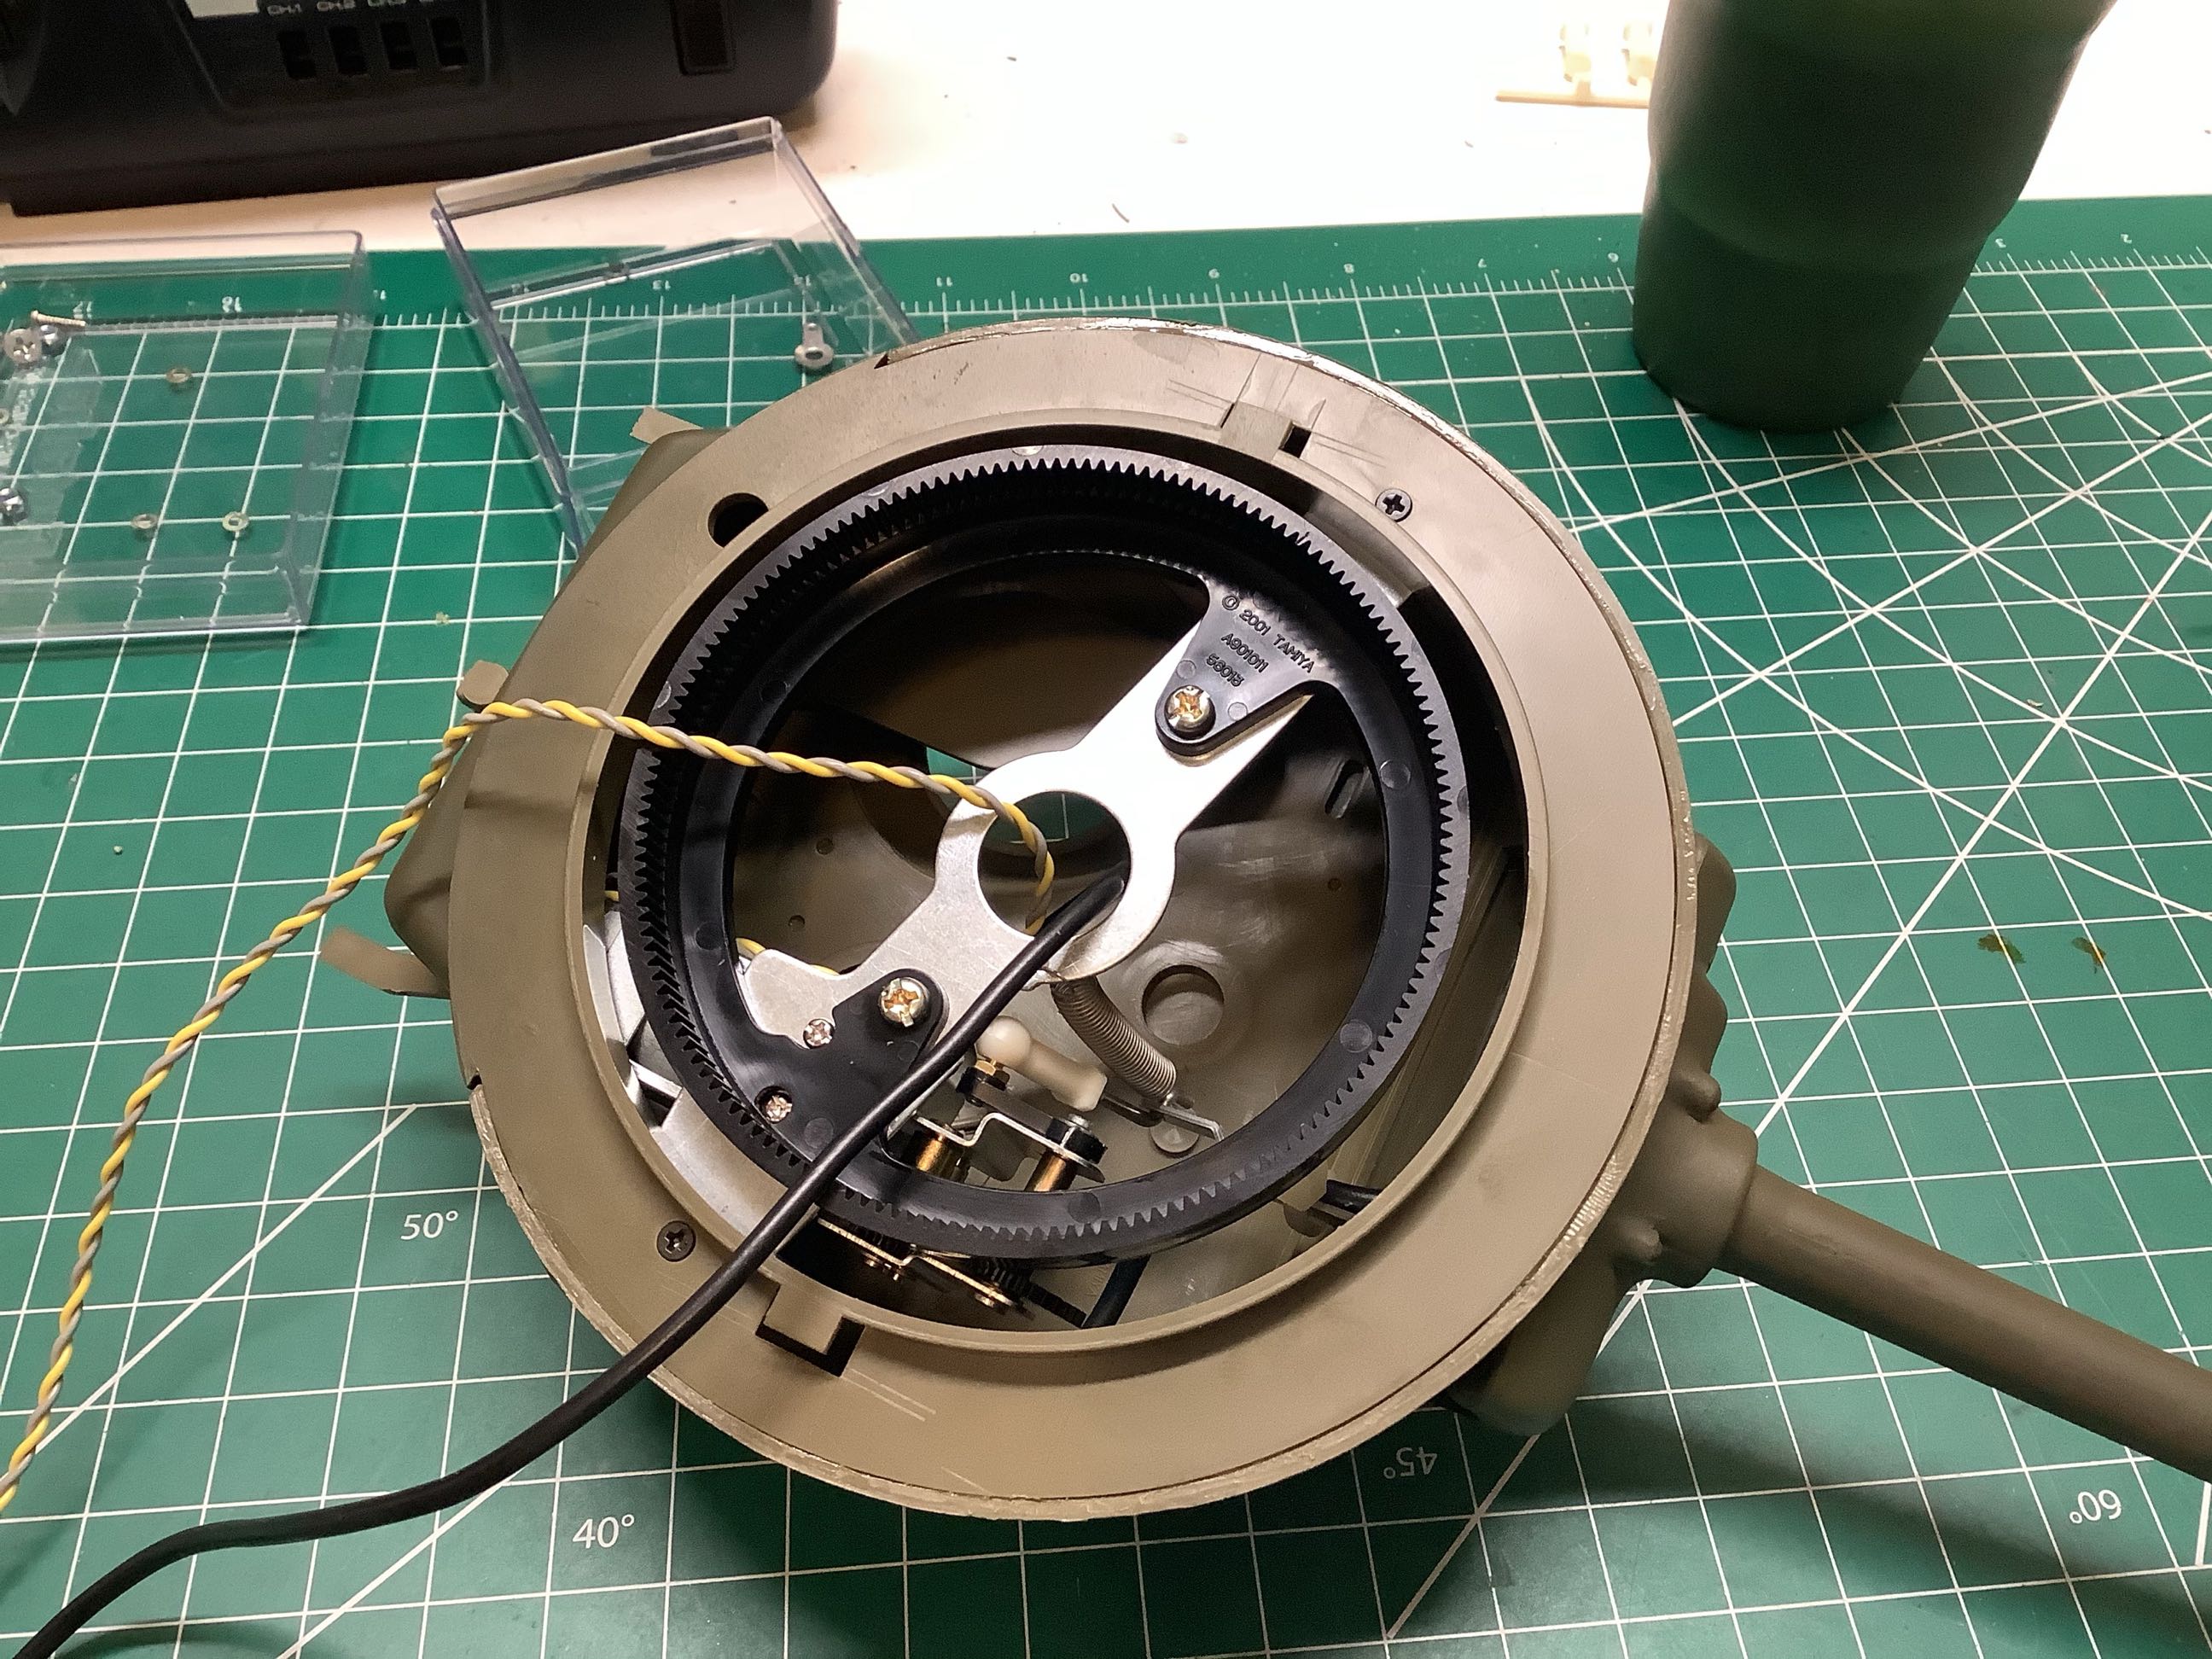
These pictures show the details of the mechanism which rotates the
turret. I suspect the bosses which support the rollers were the
update made to the original mold that resulted in remarking it.
The three black rollers center the turret and the gearbox engages a slew
ring on the turret. In the right hand picture I've added the
lights. The LED with the orange wires is for the fiber optic cable
which is used for the muzzle flash of the machine gun. Five tiny
incandescent bulbs are used for the headlights and tail lights.
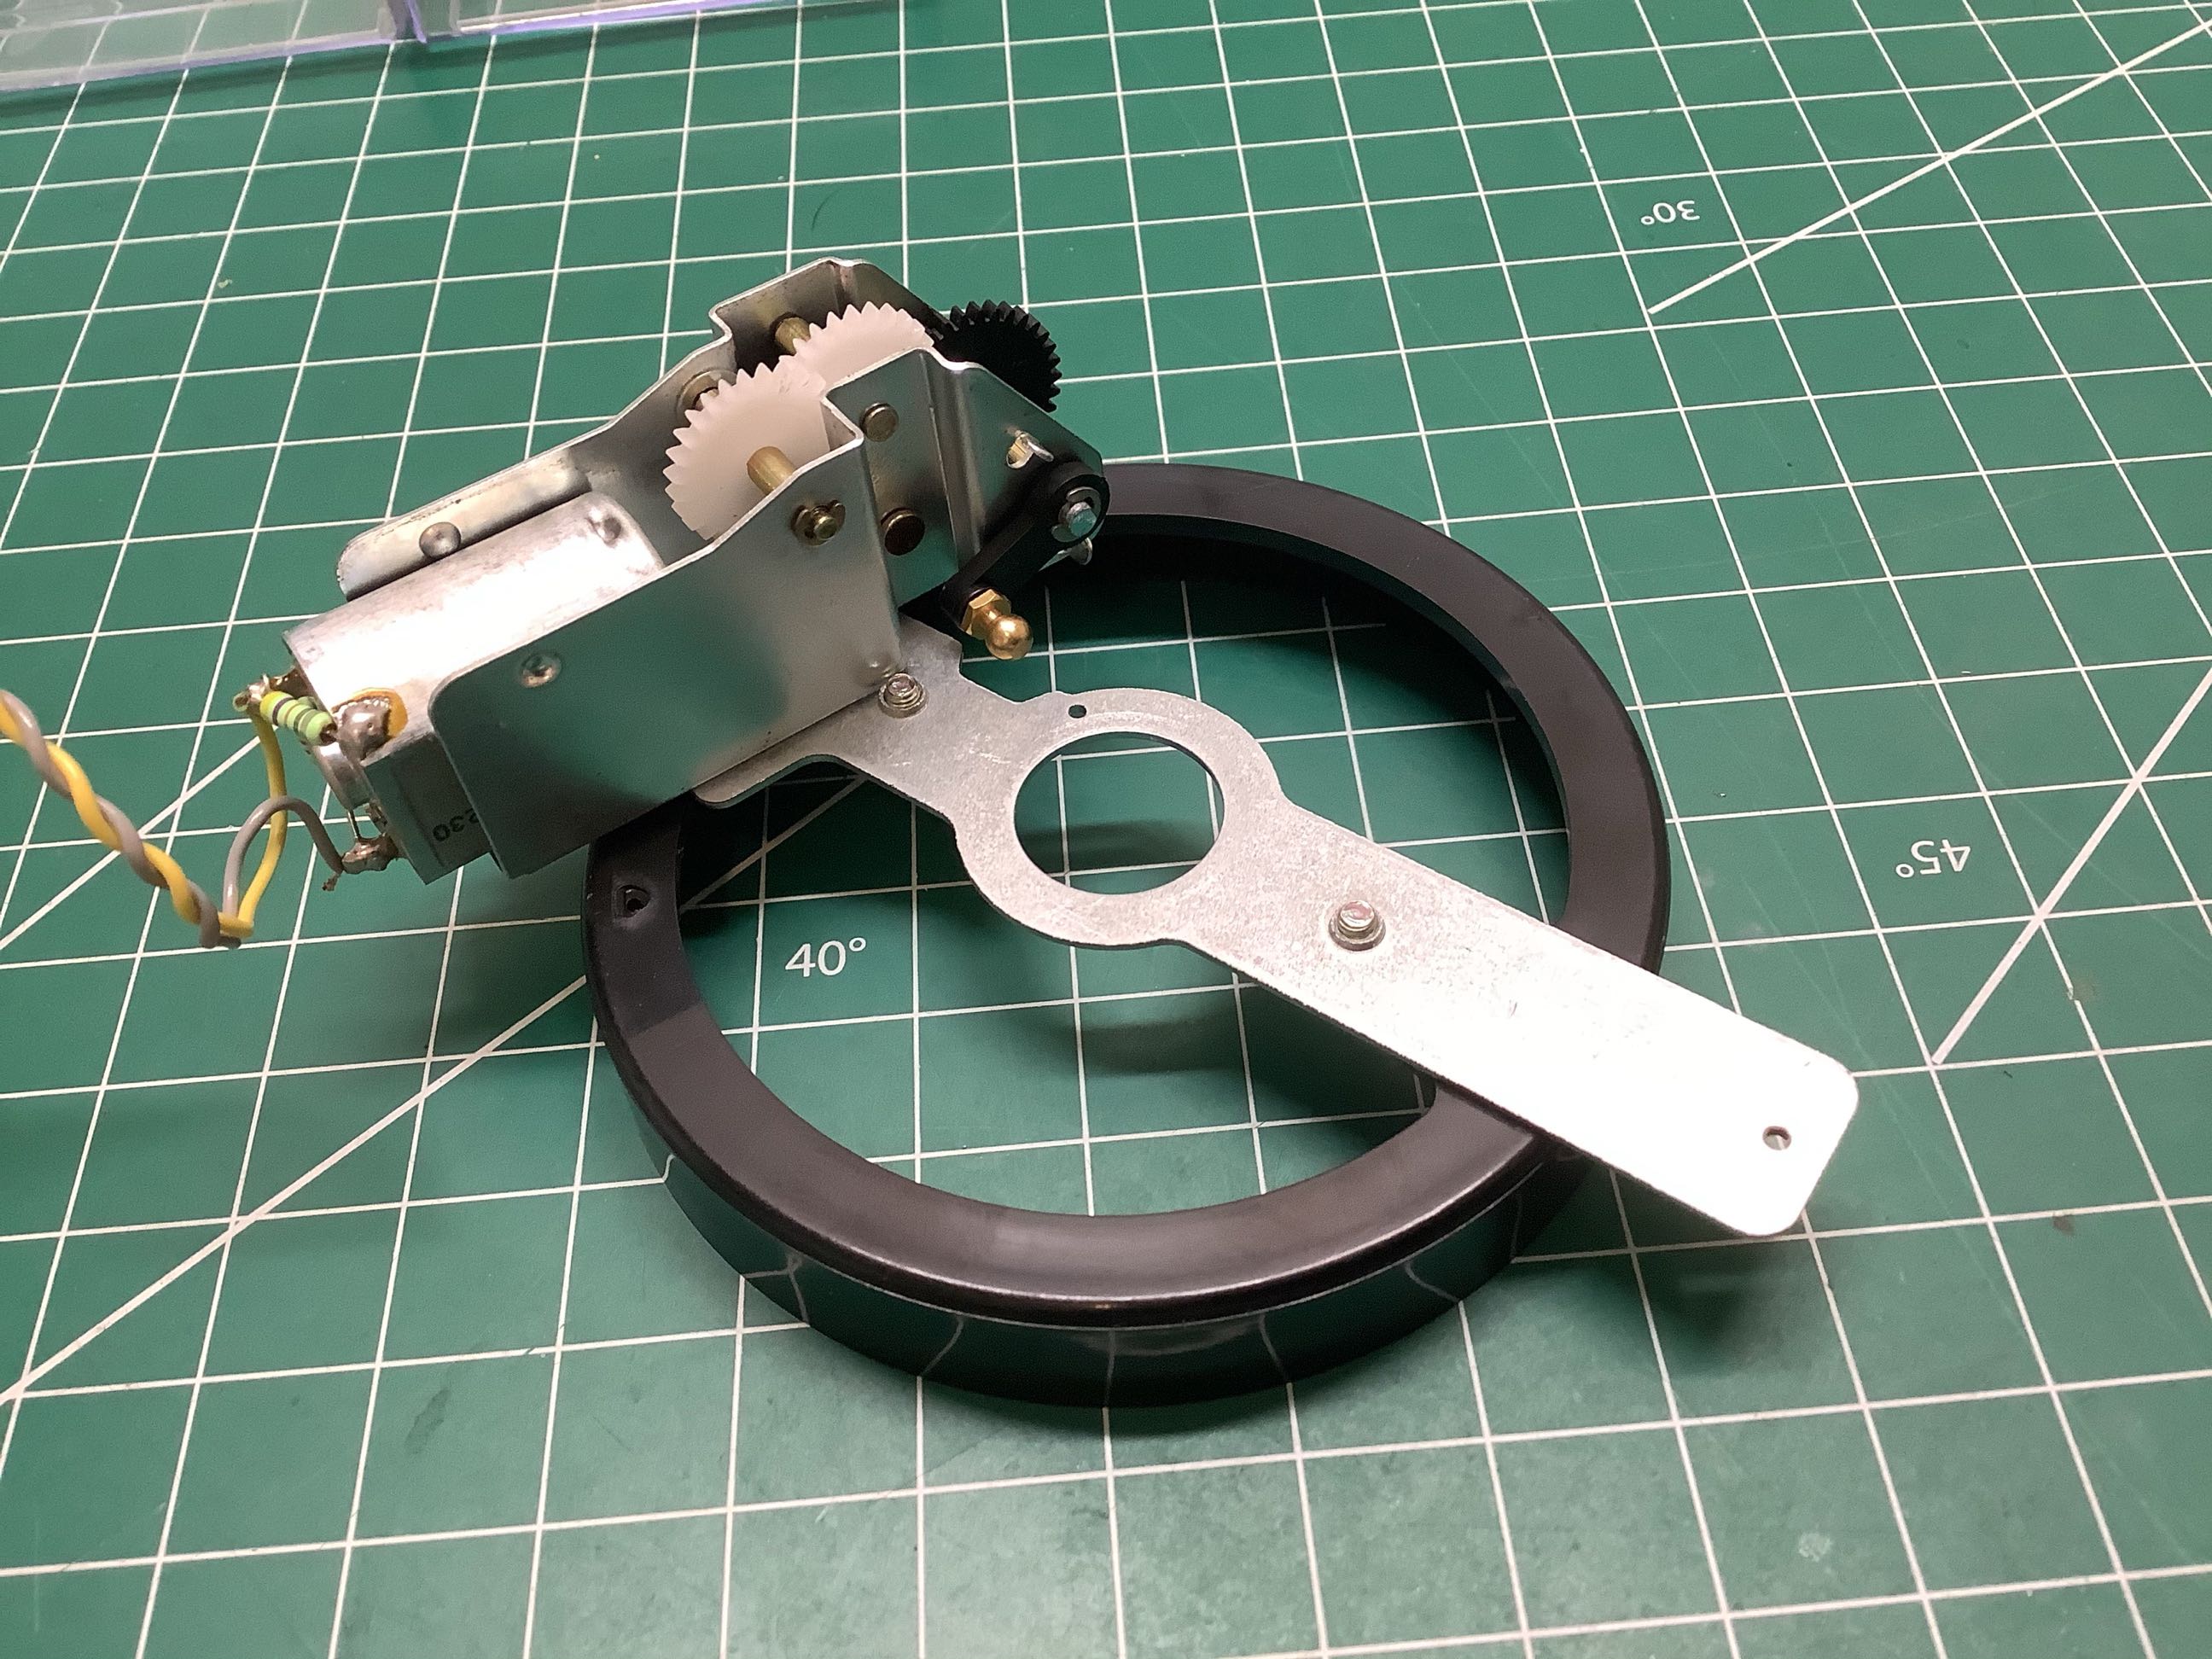
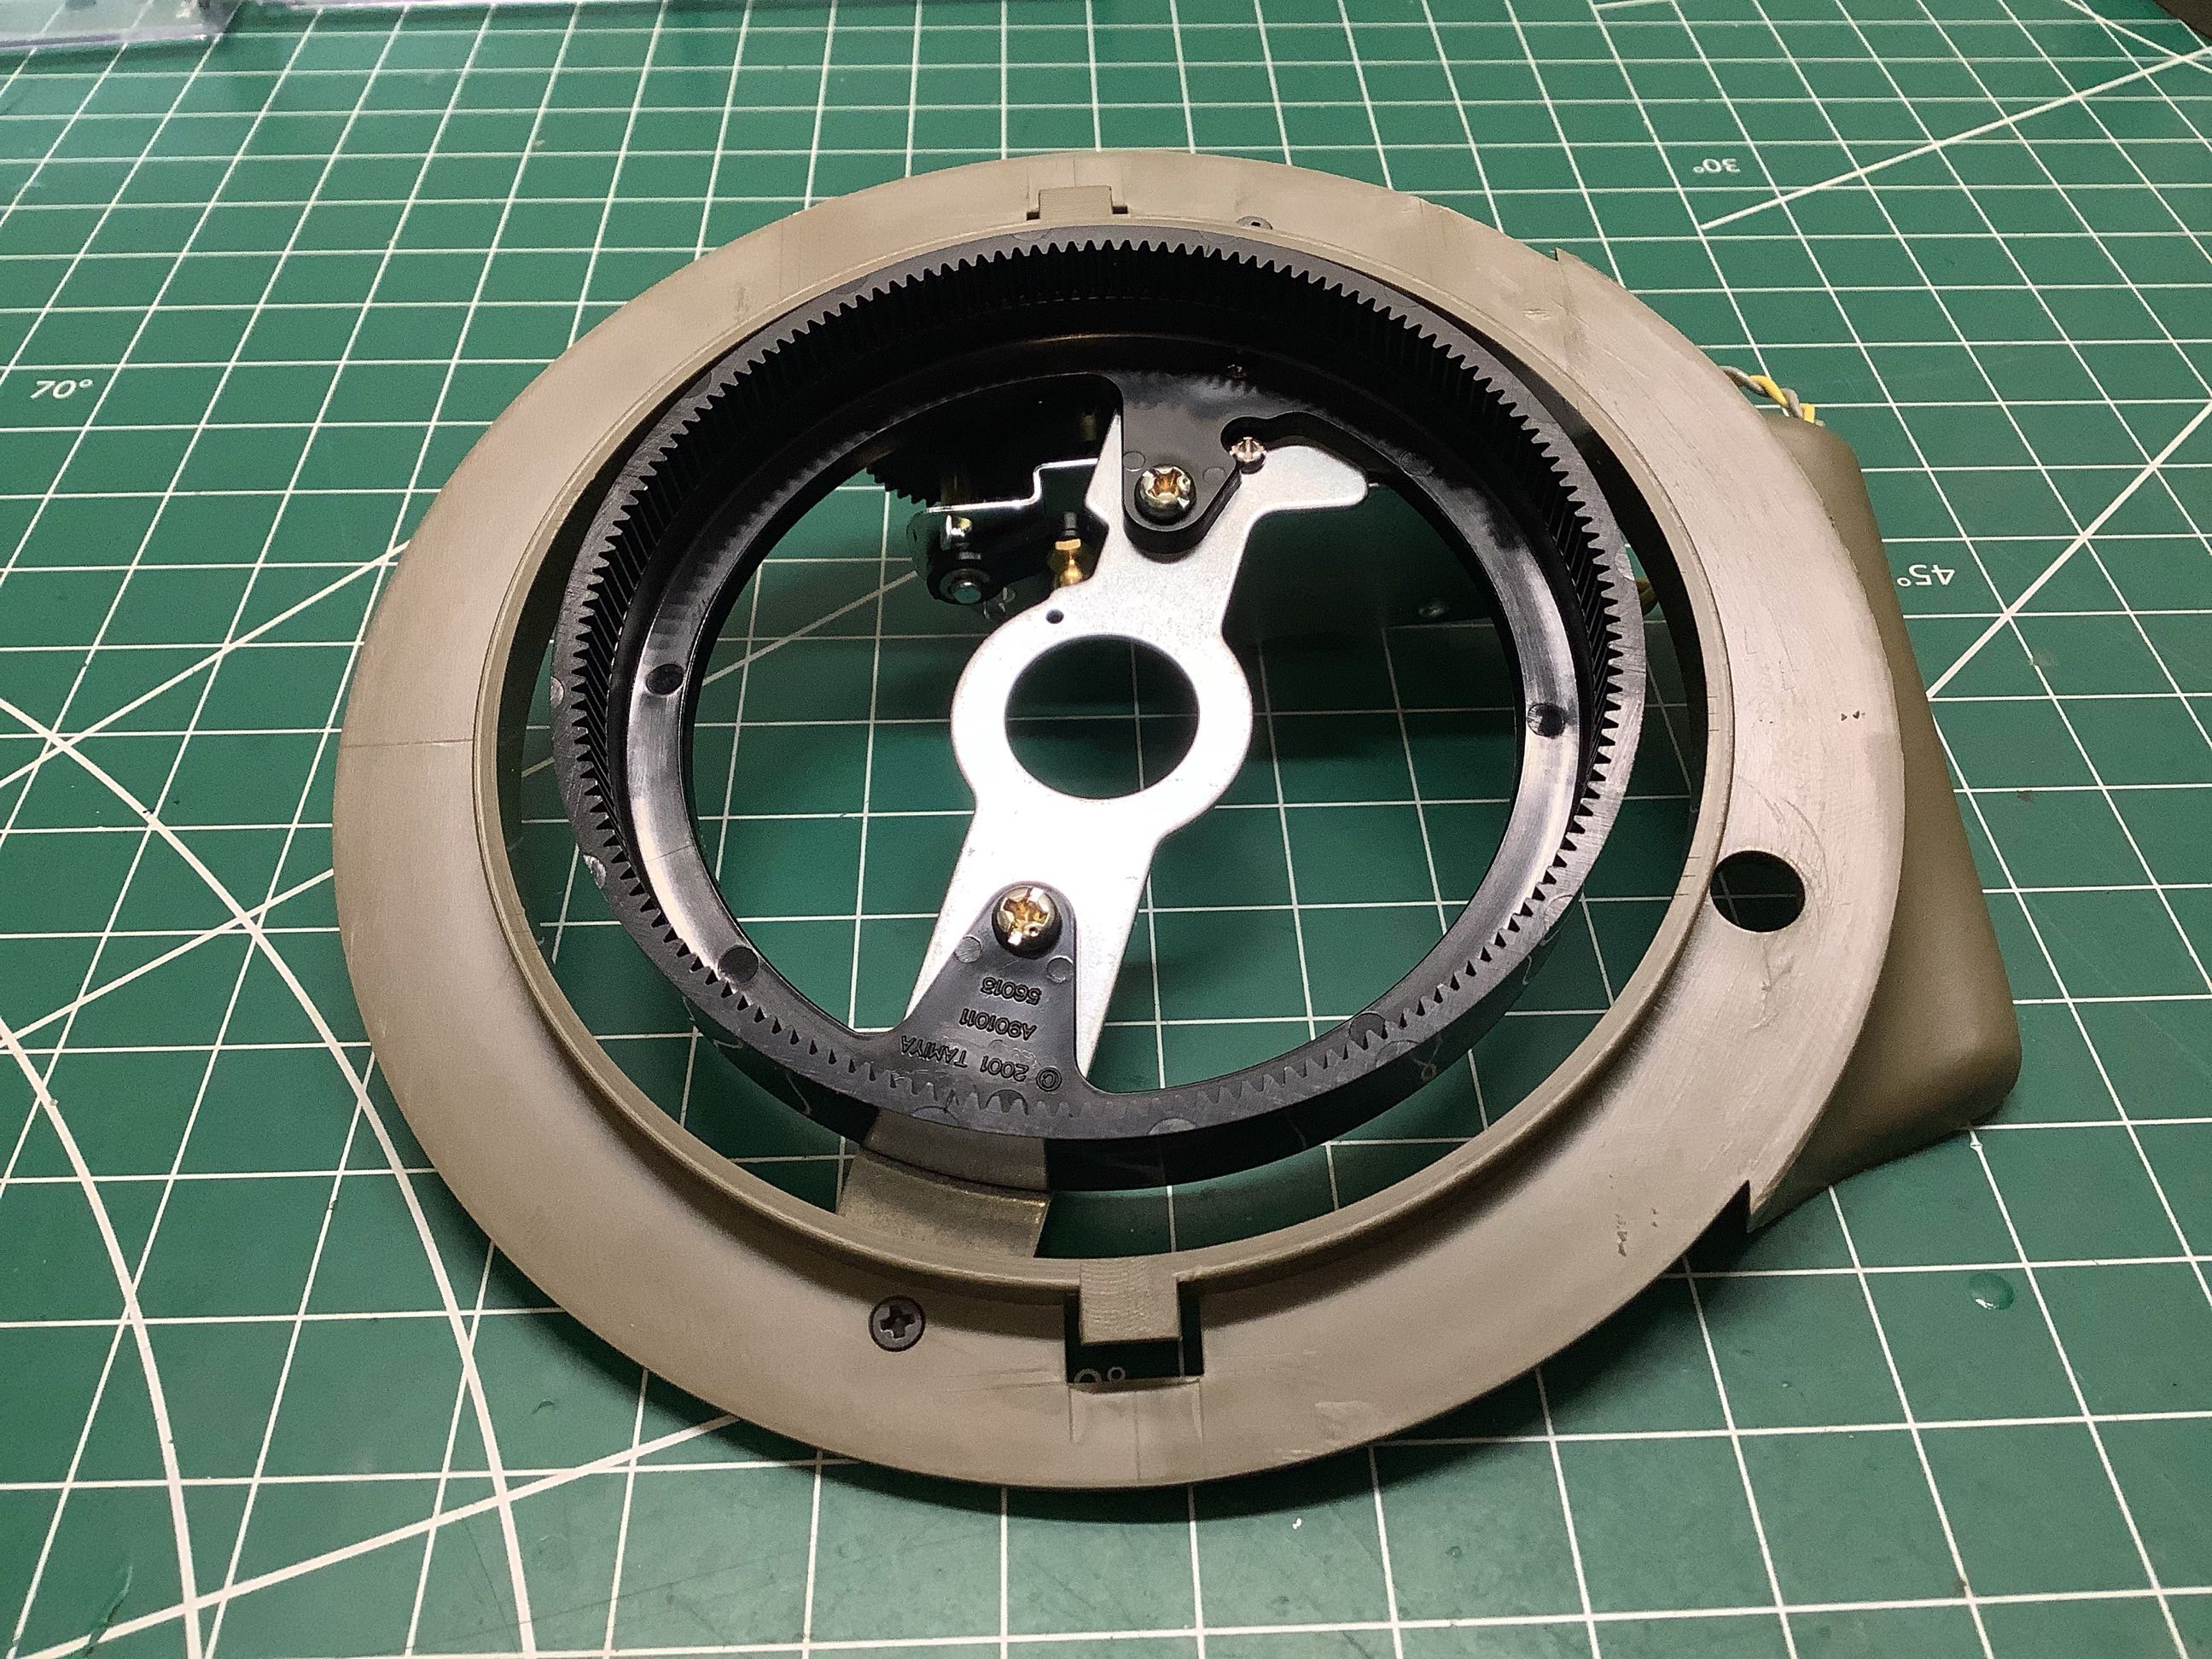
The black ring is smooth on the outside to ride on the turret rollers
and center the turret. On the inside diameter are the gear teeth
which mate with the rotation gearbox. The additional gearbox shown
on the left is for barrel elevation. You can see the little black
crank with a brass ball joint which will connect to a pushrod. On
the right I've added the plastic parts which comprise the bottom of
the turret. There is no provision for a thrust bearing to support
the turret since this is an old design, so instead a slippery sticker
ring will be placed on the bottom and used to reduce friction.
Note the "2001" mark on the slew ring. This part was new for this
latest version of the model.
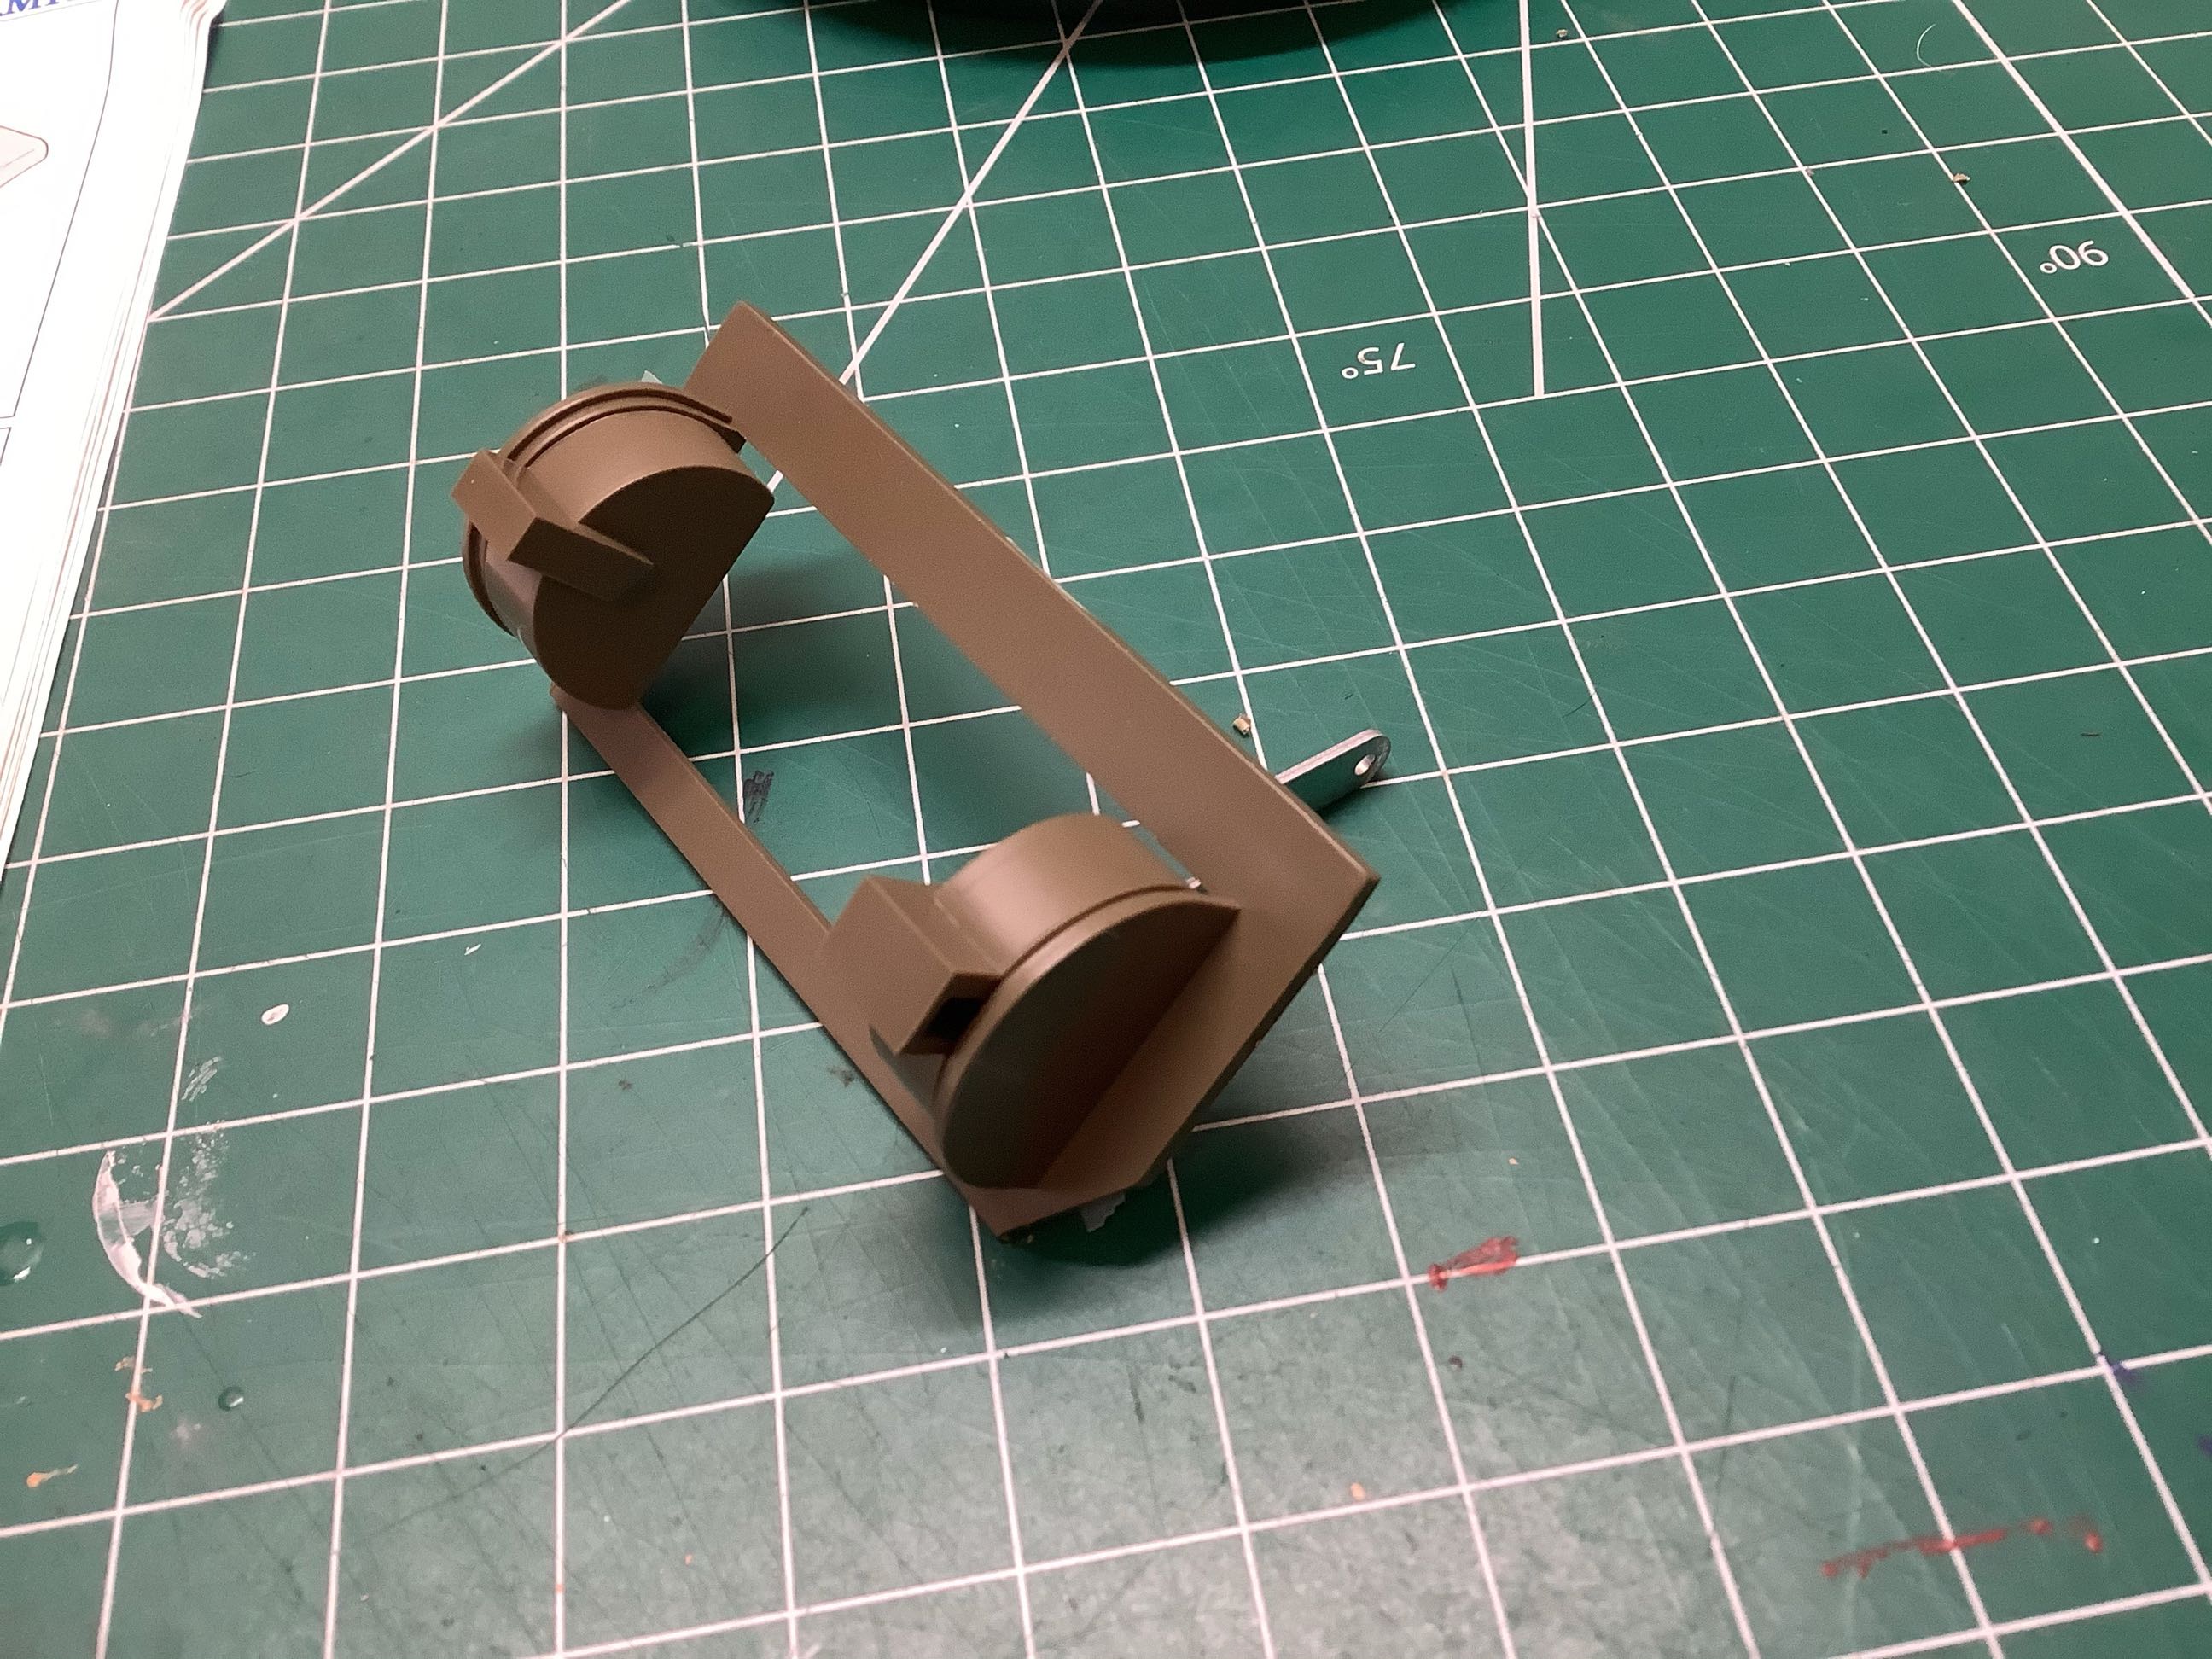
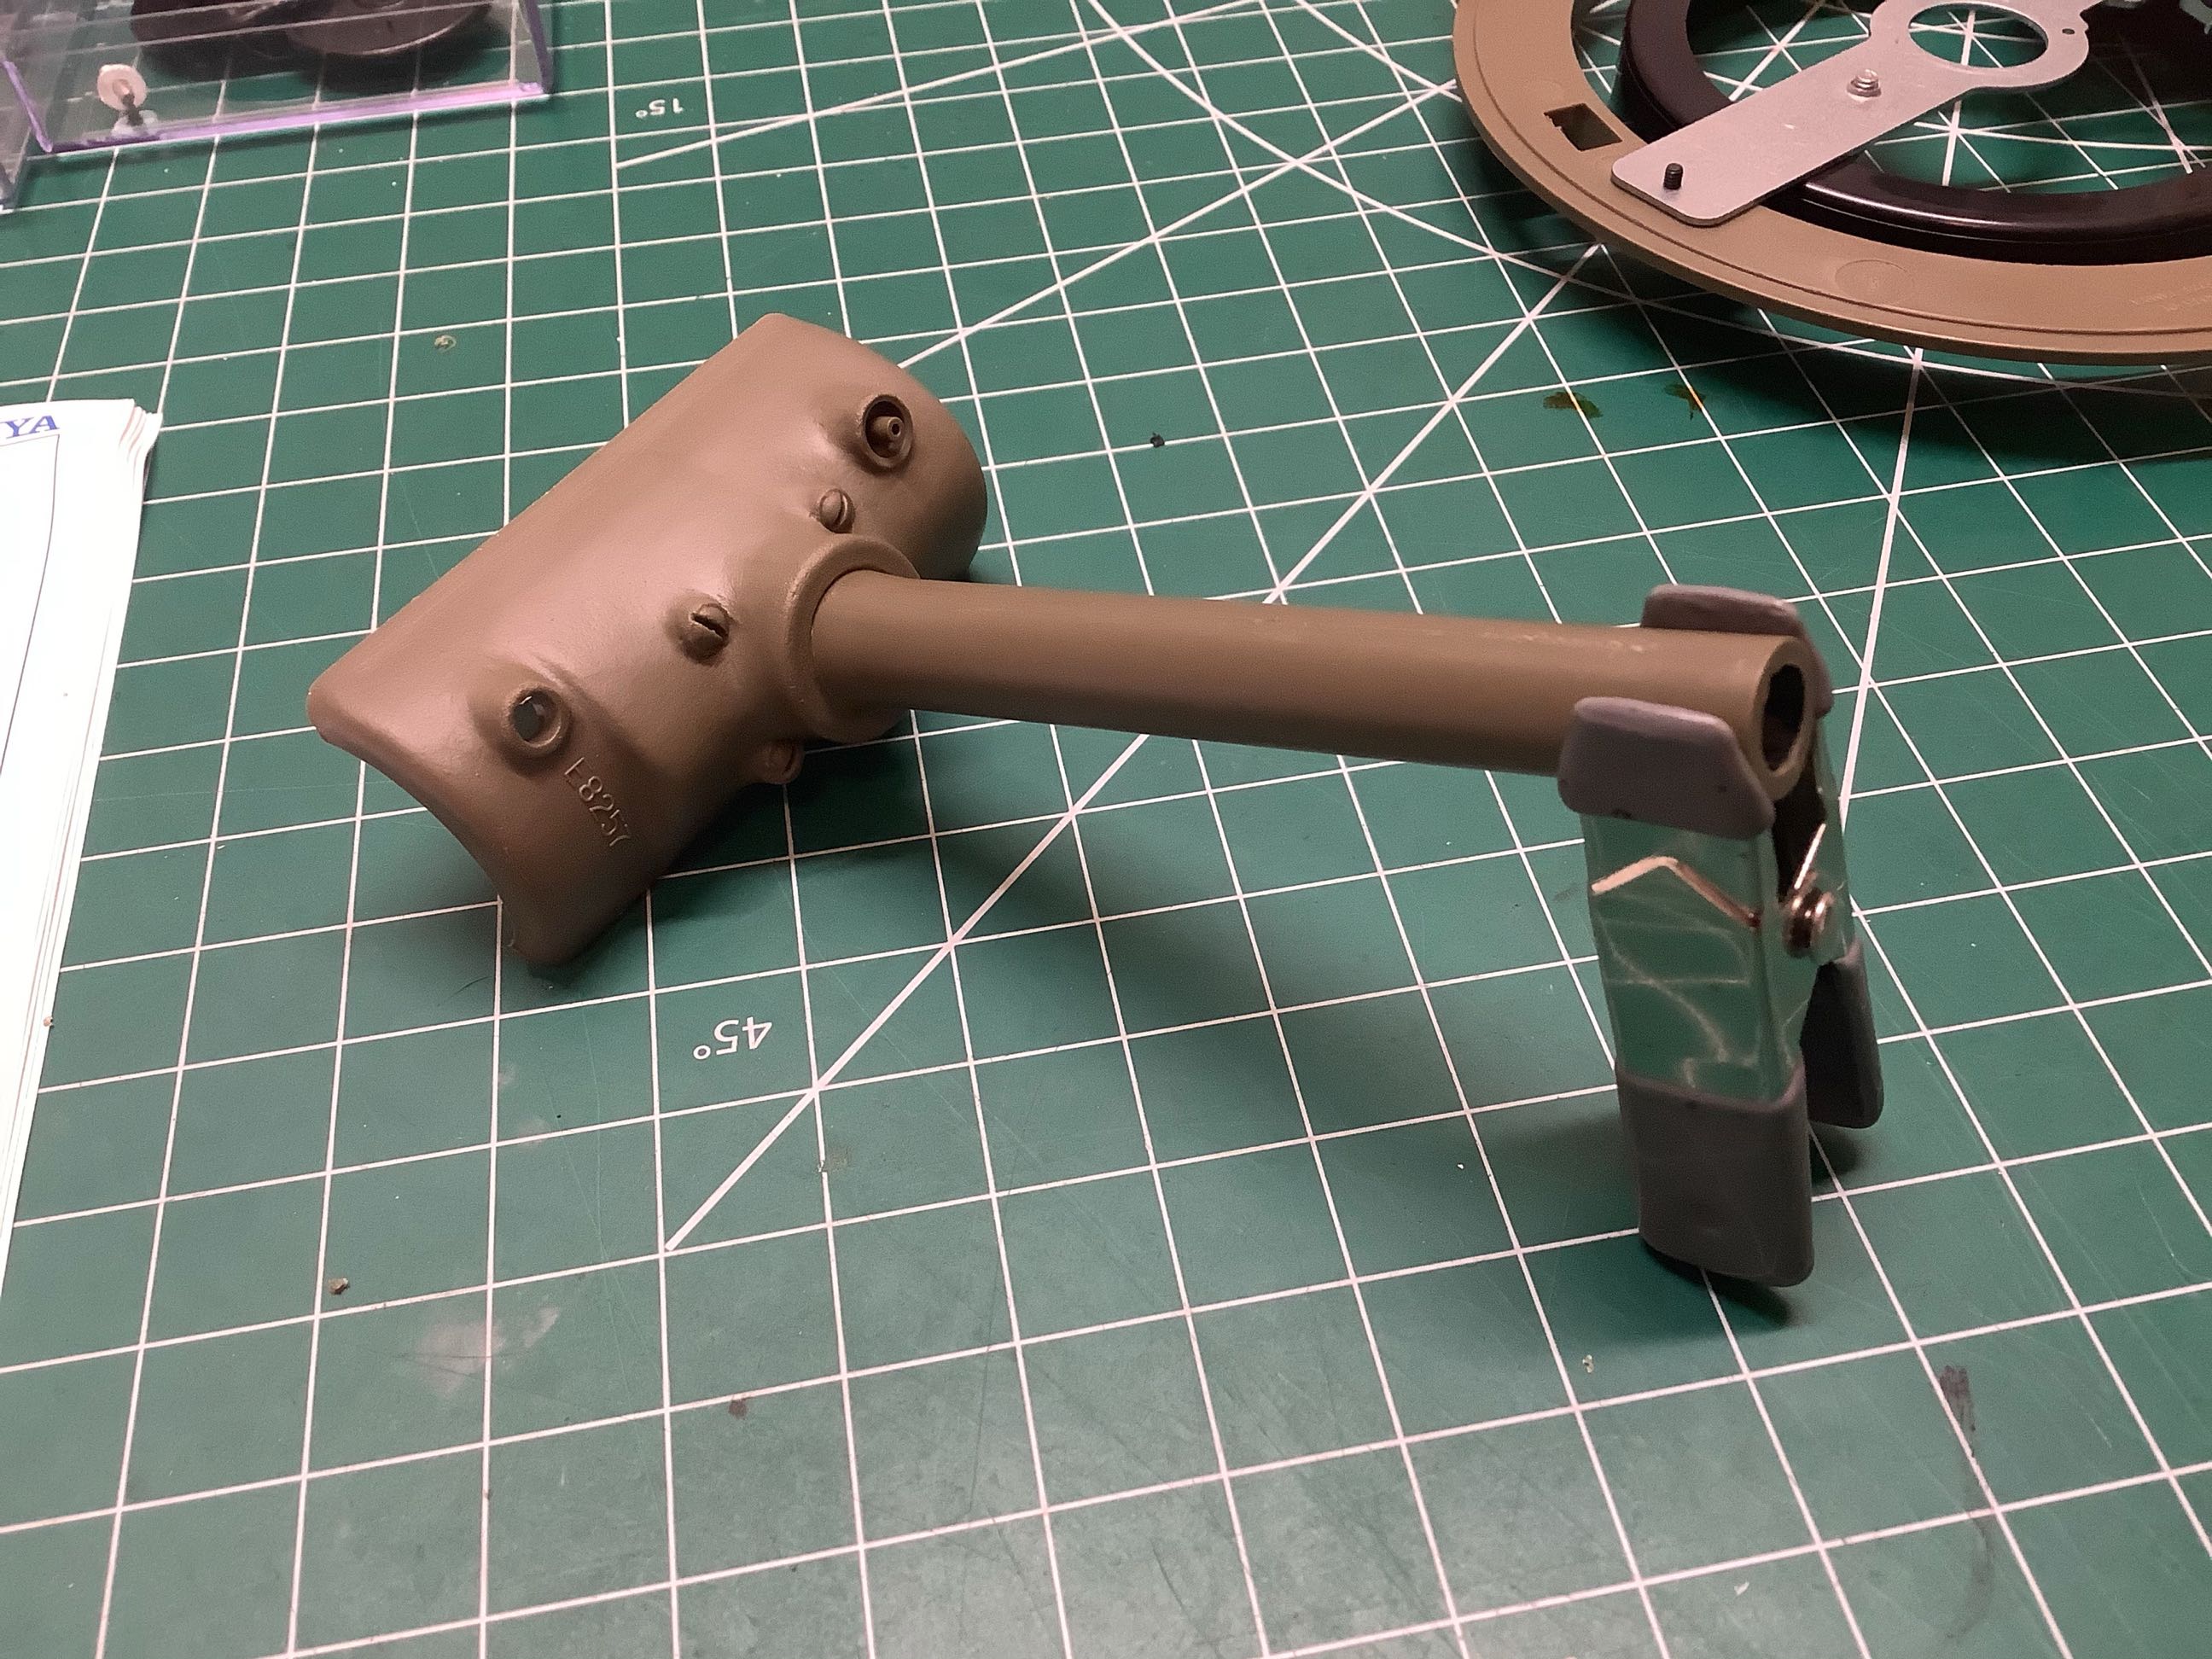
Now we can start on the upper part of the hull and the barrel
mechanism. The bracket shown at left supports the barrel.
You can see the silver crank in the rear which will attach to the
elevation gearbox. On the right this has been glued into the
turret.
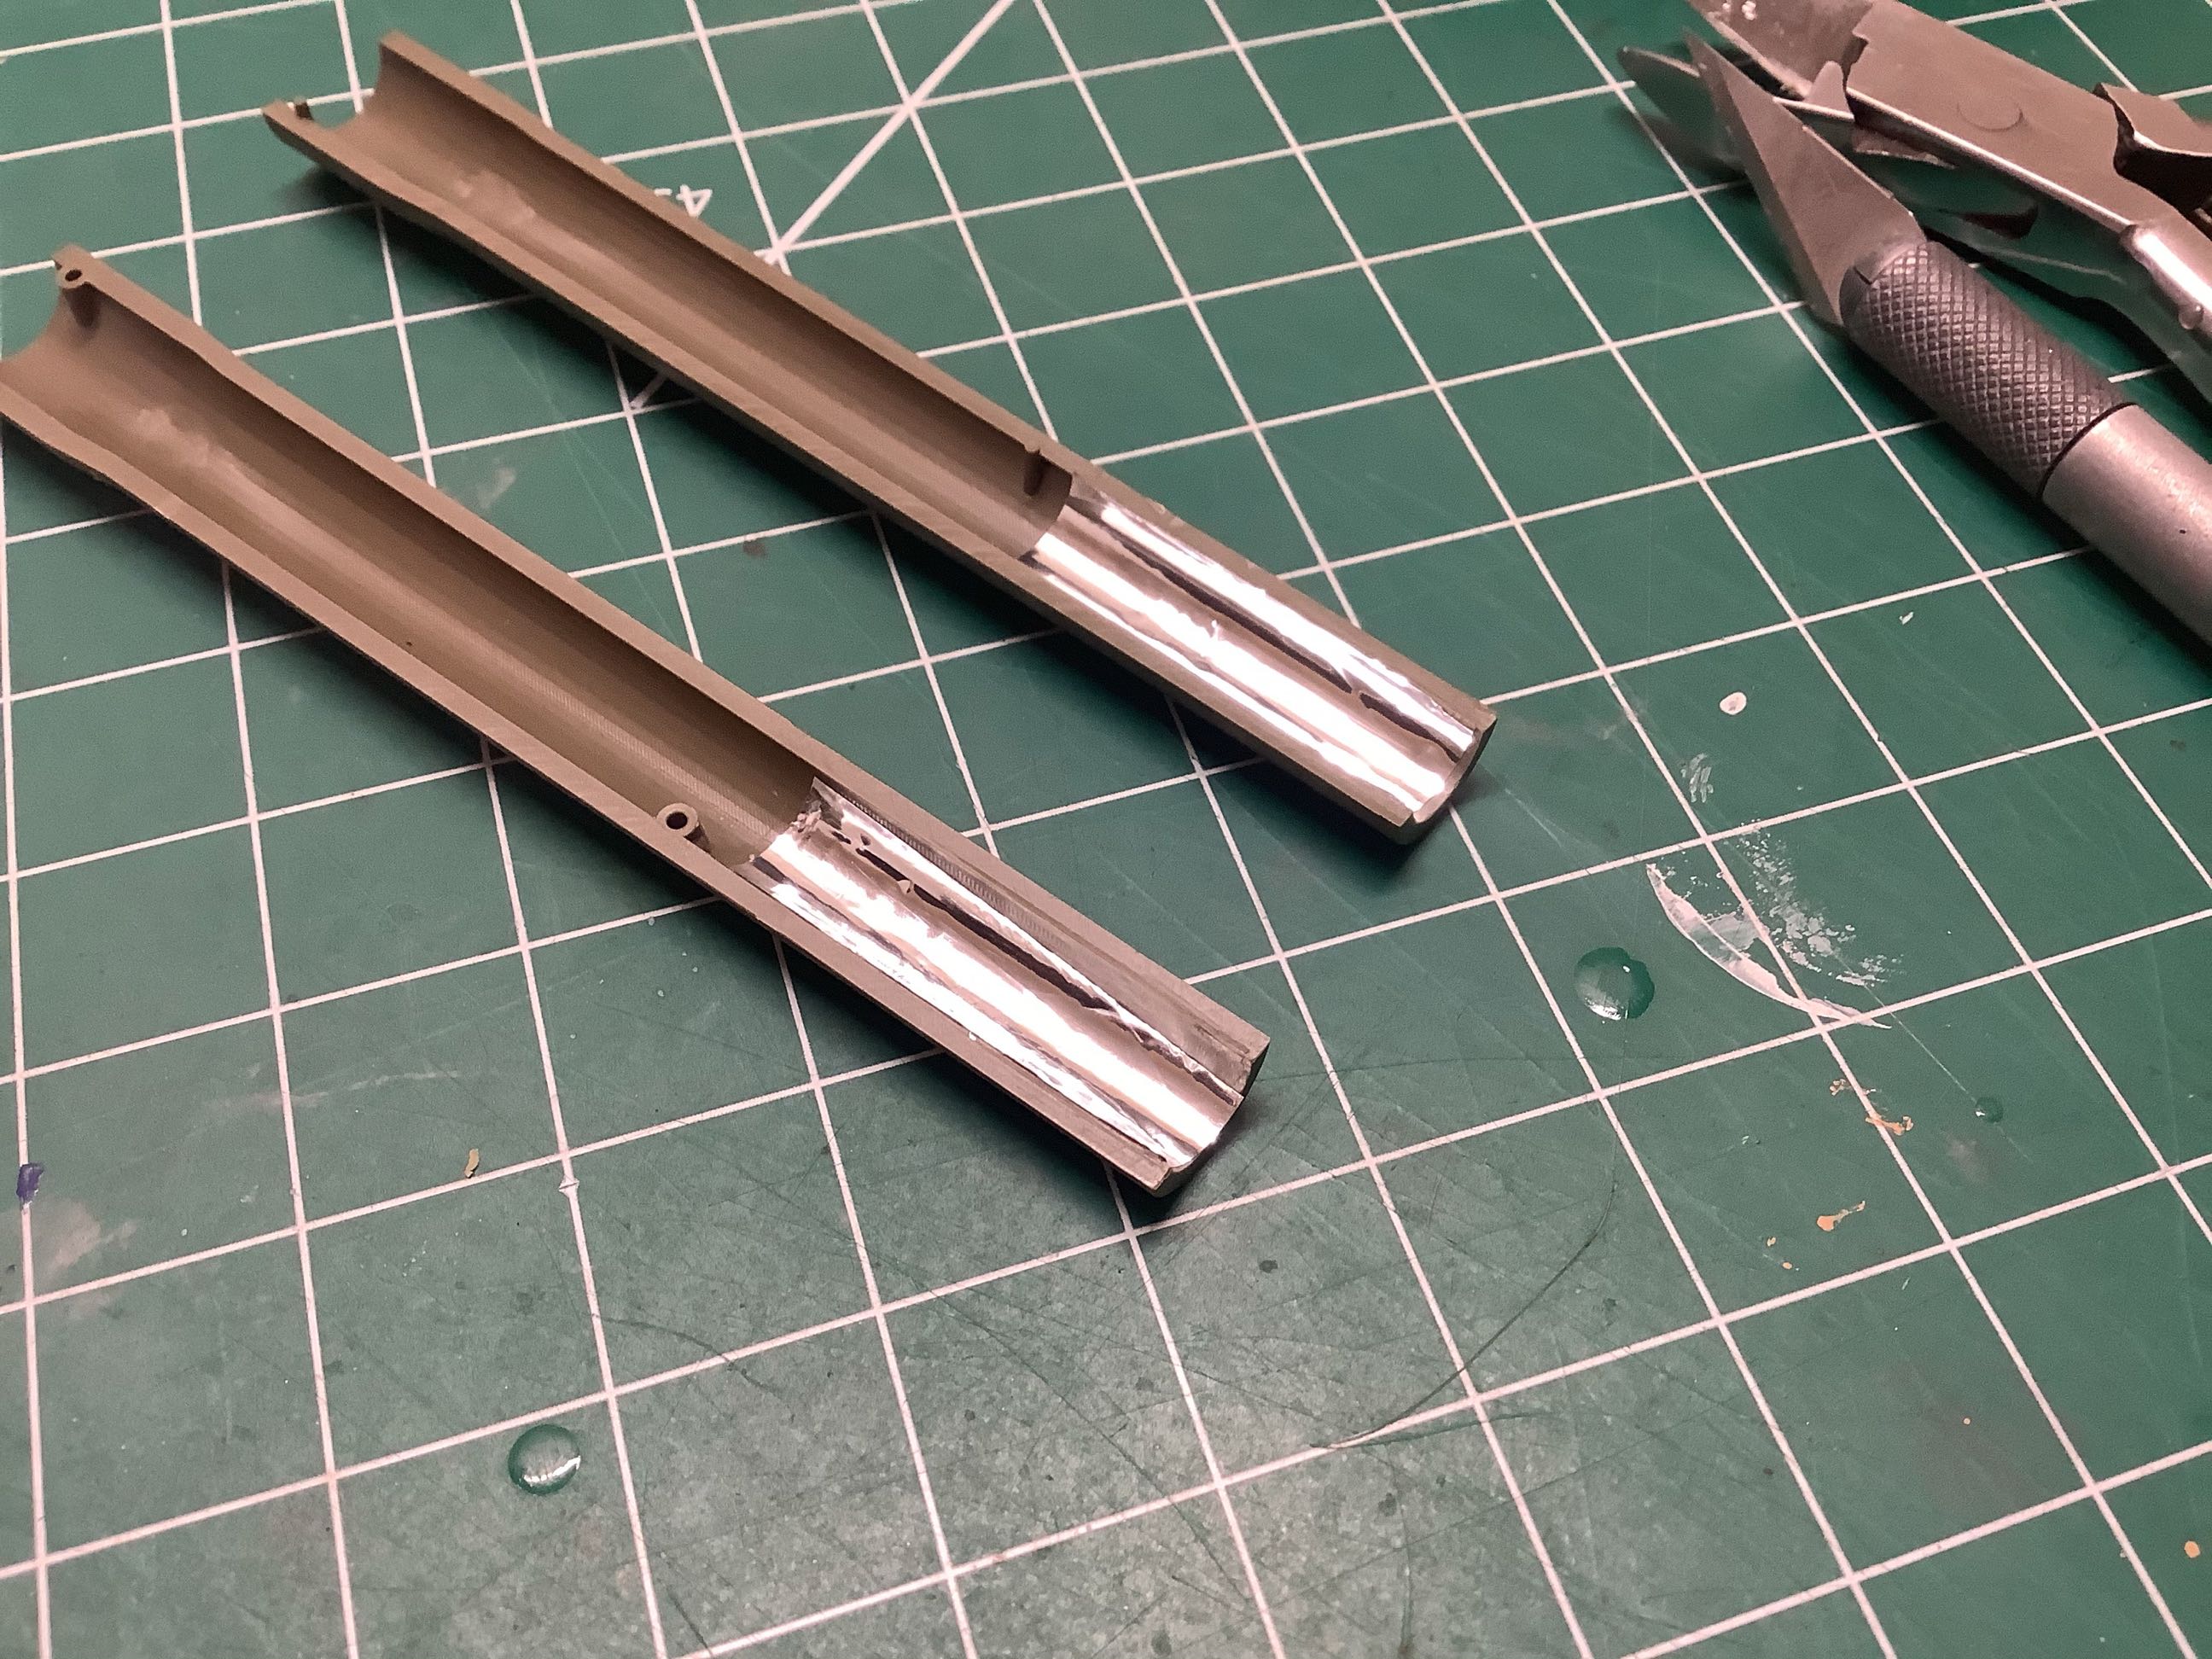
The barrel is molded in two parts which need to be glued together.
The reflective tape I've added inside the end will help reflect the
strobe light for muzzle flash. The completed barrel is shown at
right, drying. If you look closely you can see some text molded
into the casting. I first I was annoyed by this thinking Tamiya
should not have made it visible, but then I found out this is the
casting mark on the real tank. Good job with the detail Tamiya.
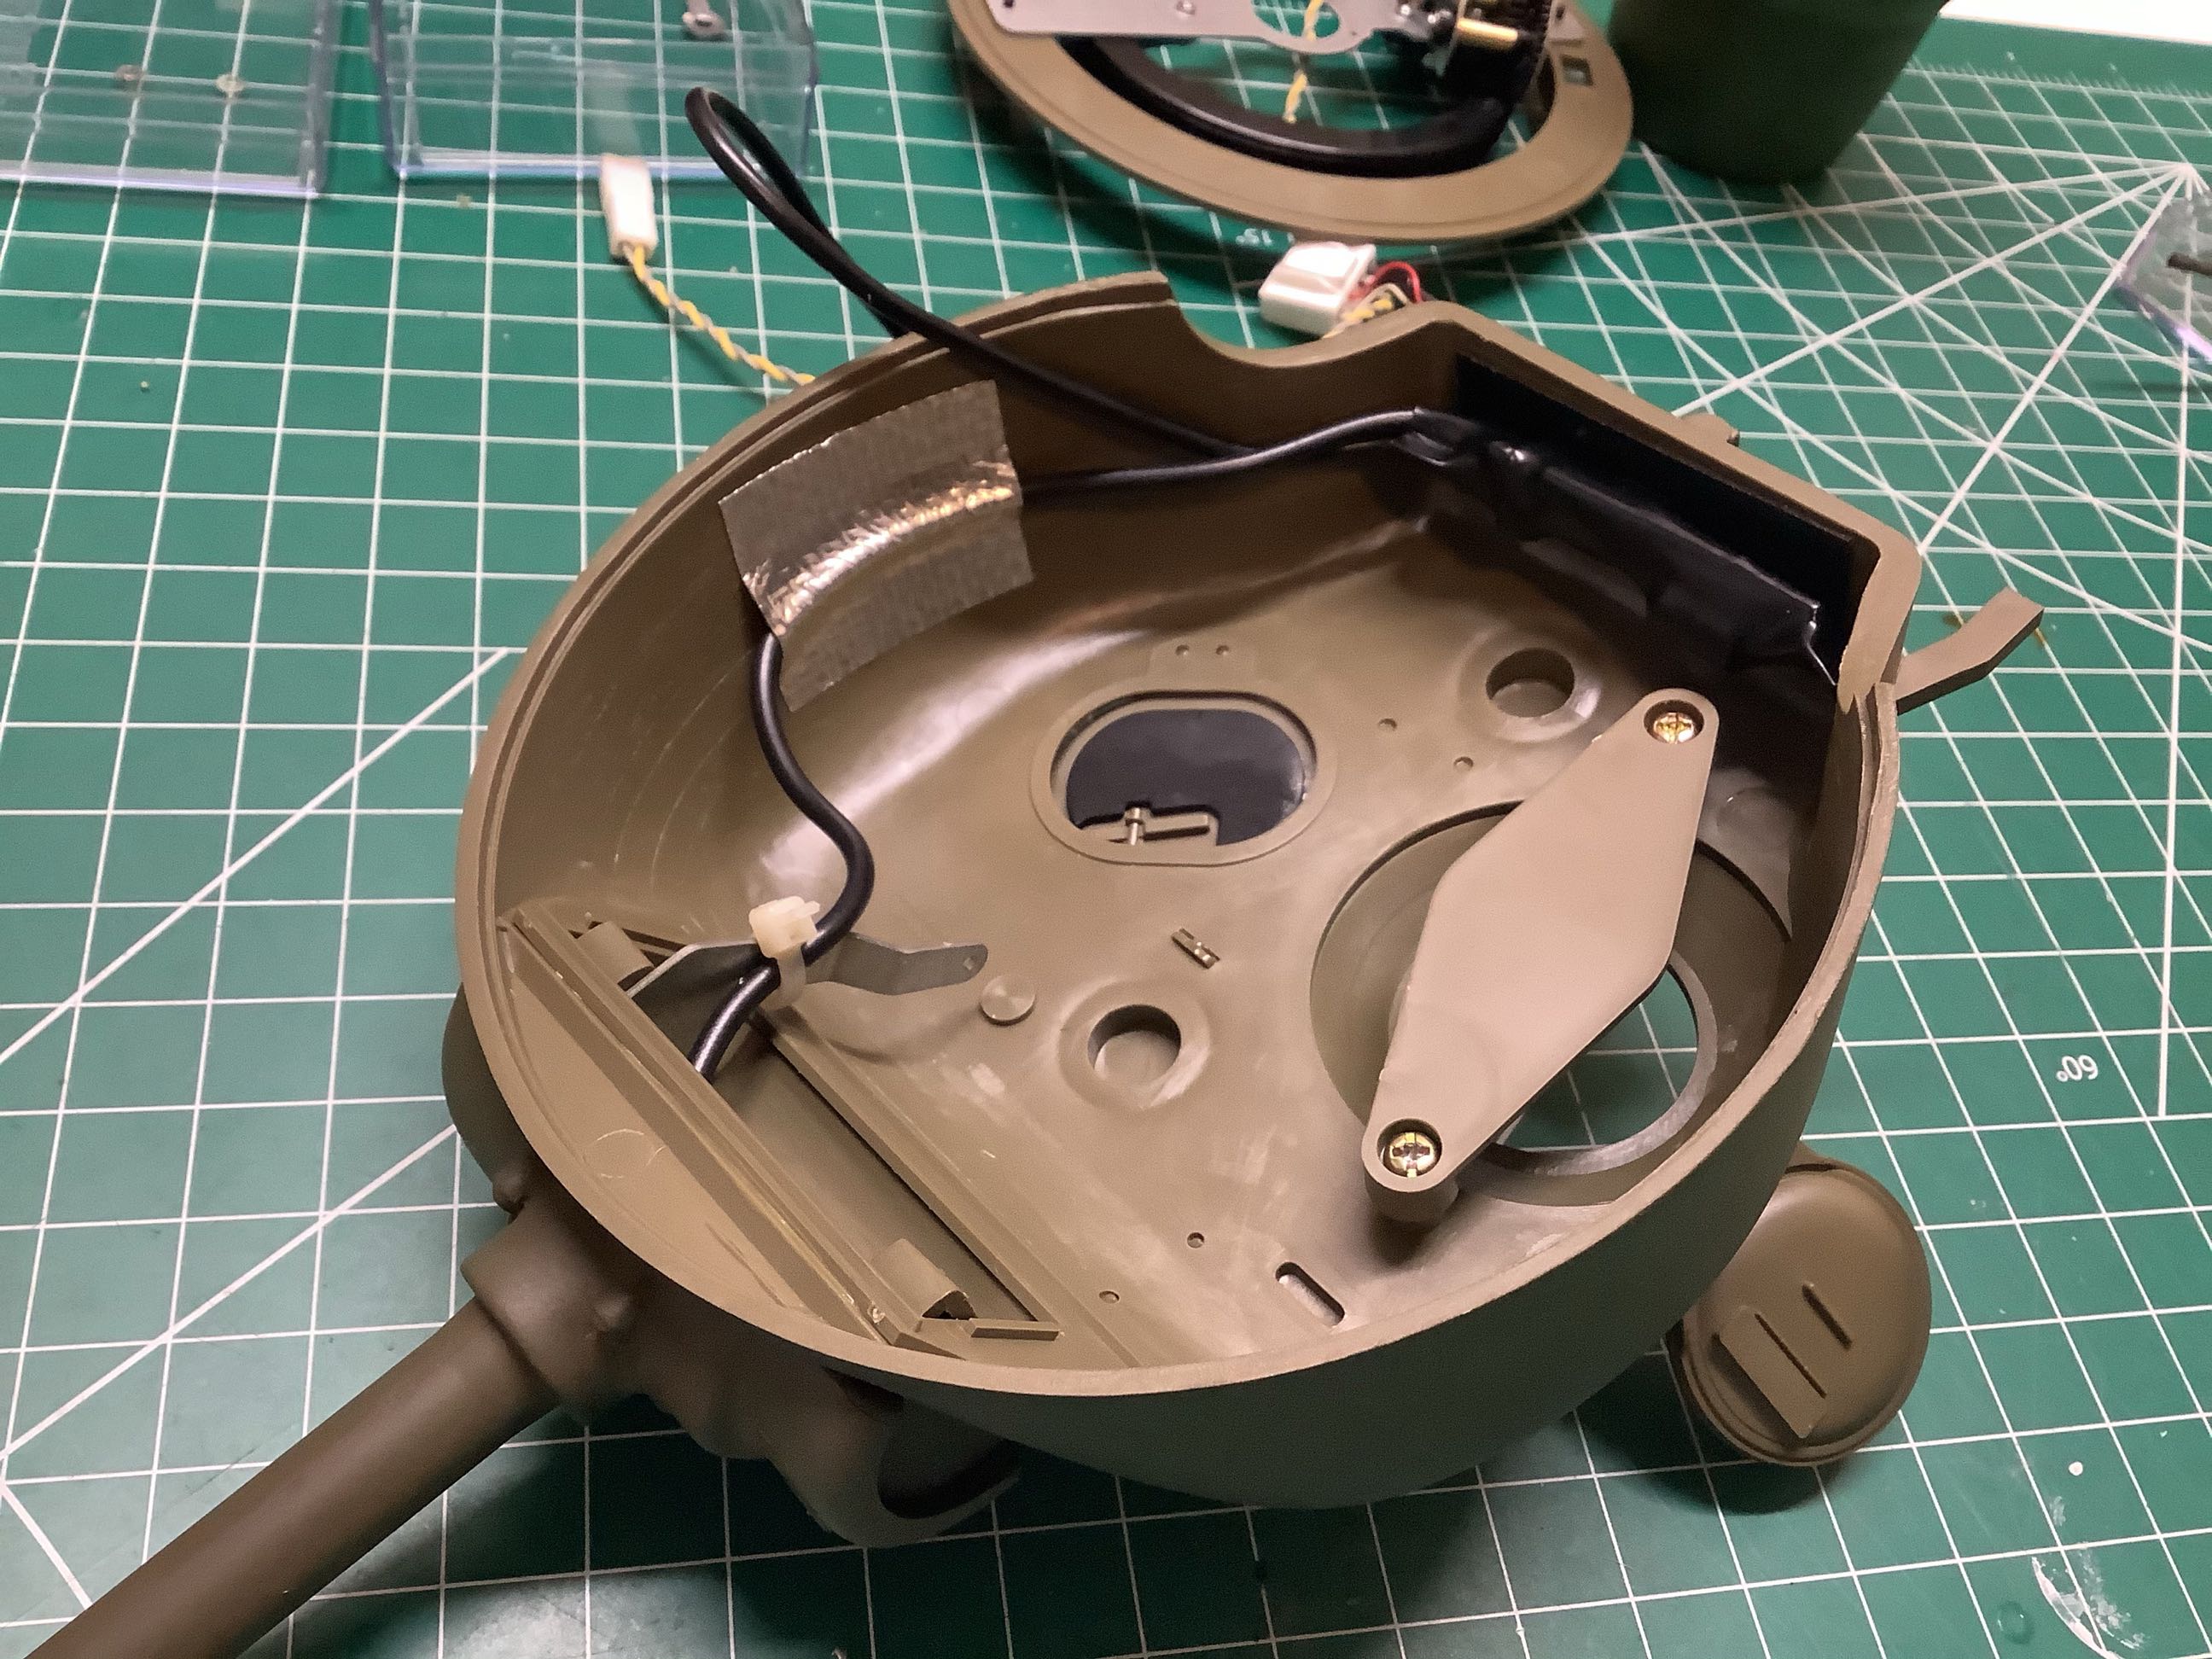
On the left you can see that I've inserted the light into the barrel and
secured the wires to the inside of the turret. On the right you
can see the rest of the mechanisms installed. The tiny spring used
to stabilize the barrel was particularly unpleasant to install.
It is really important though. There is no counterbalance for the
barrel, so without it there would be a lot of unwanted bounce. The
turret is now complete except for the power switch which much pass up
from the hull. The turret does not really need to be removed once
installed because battery access is through the upper hull.
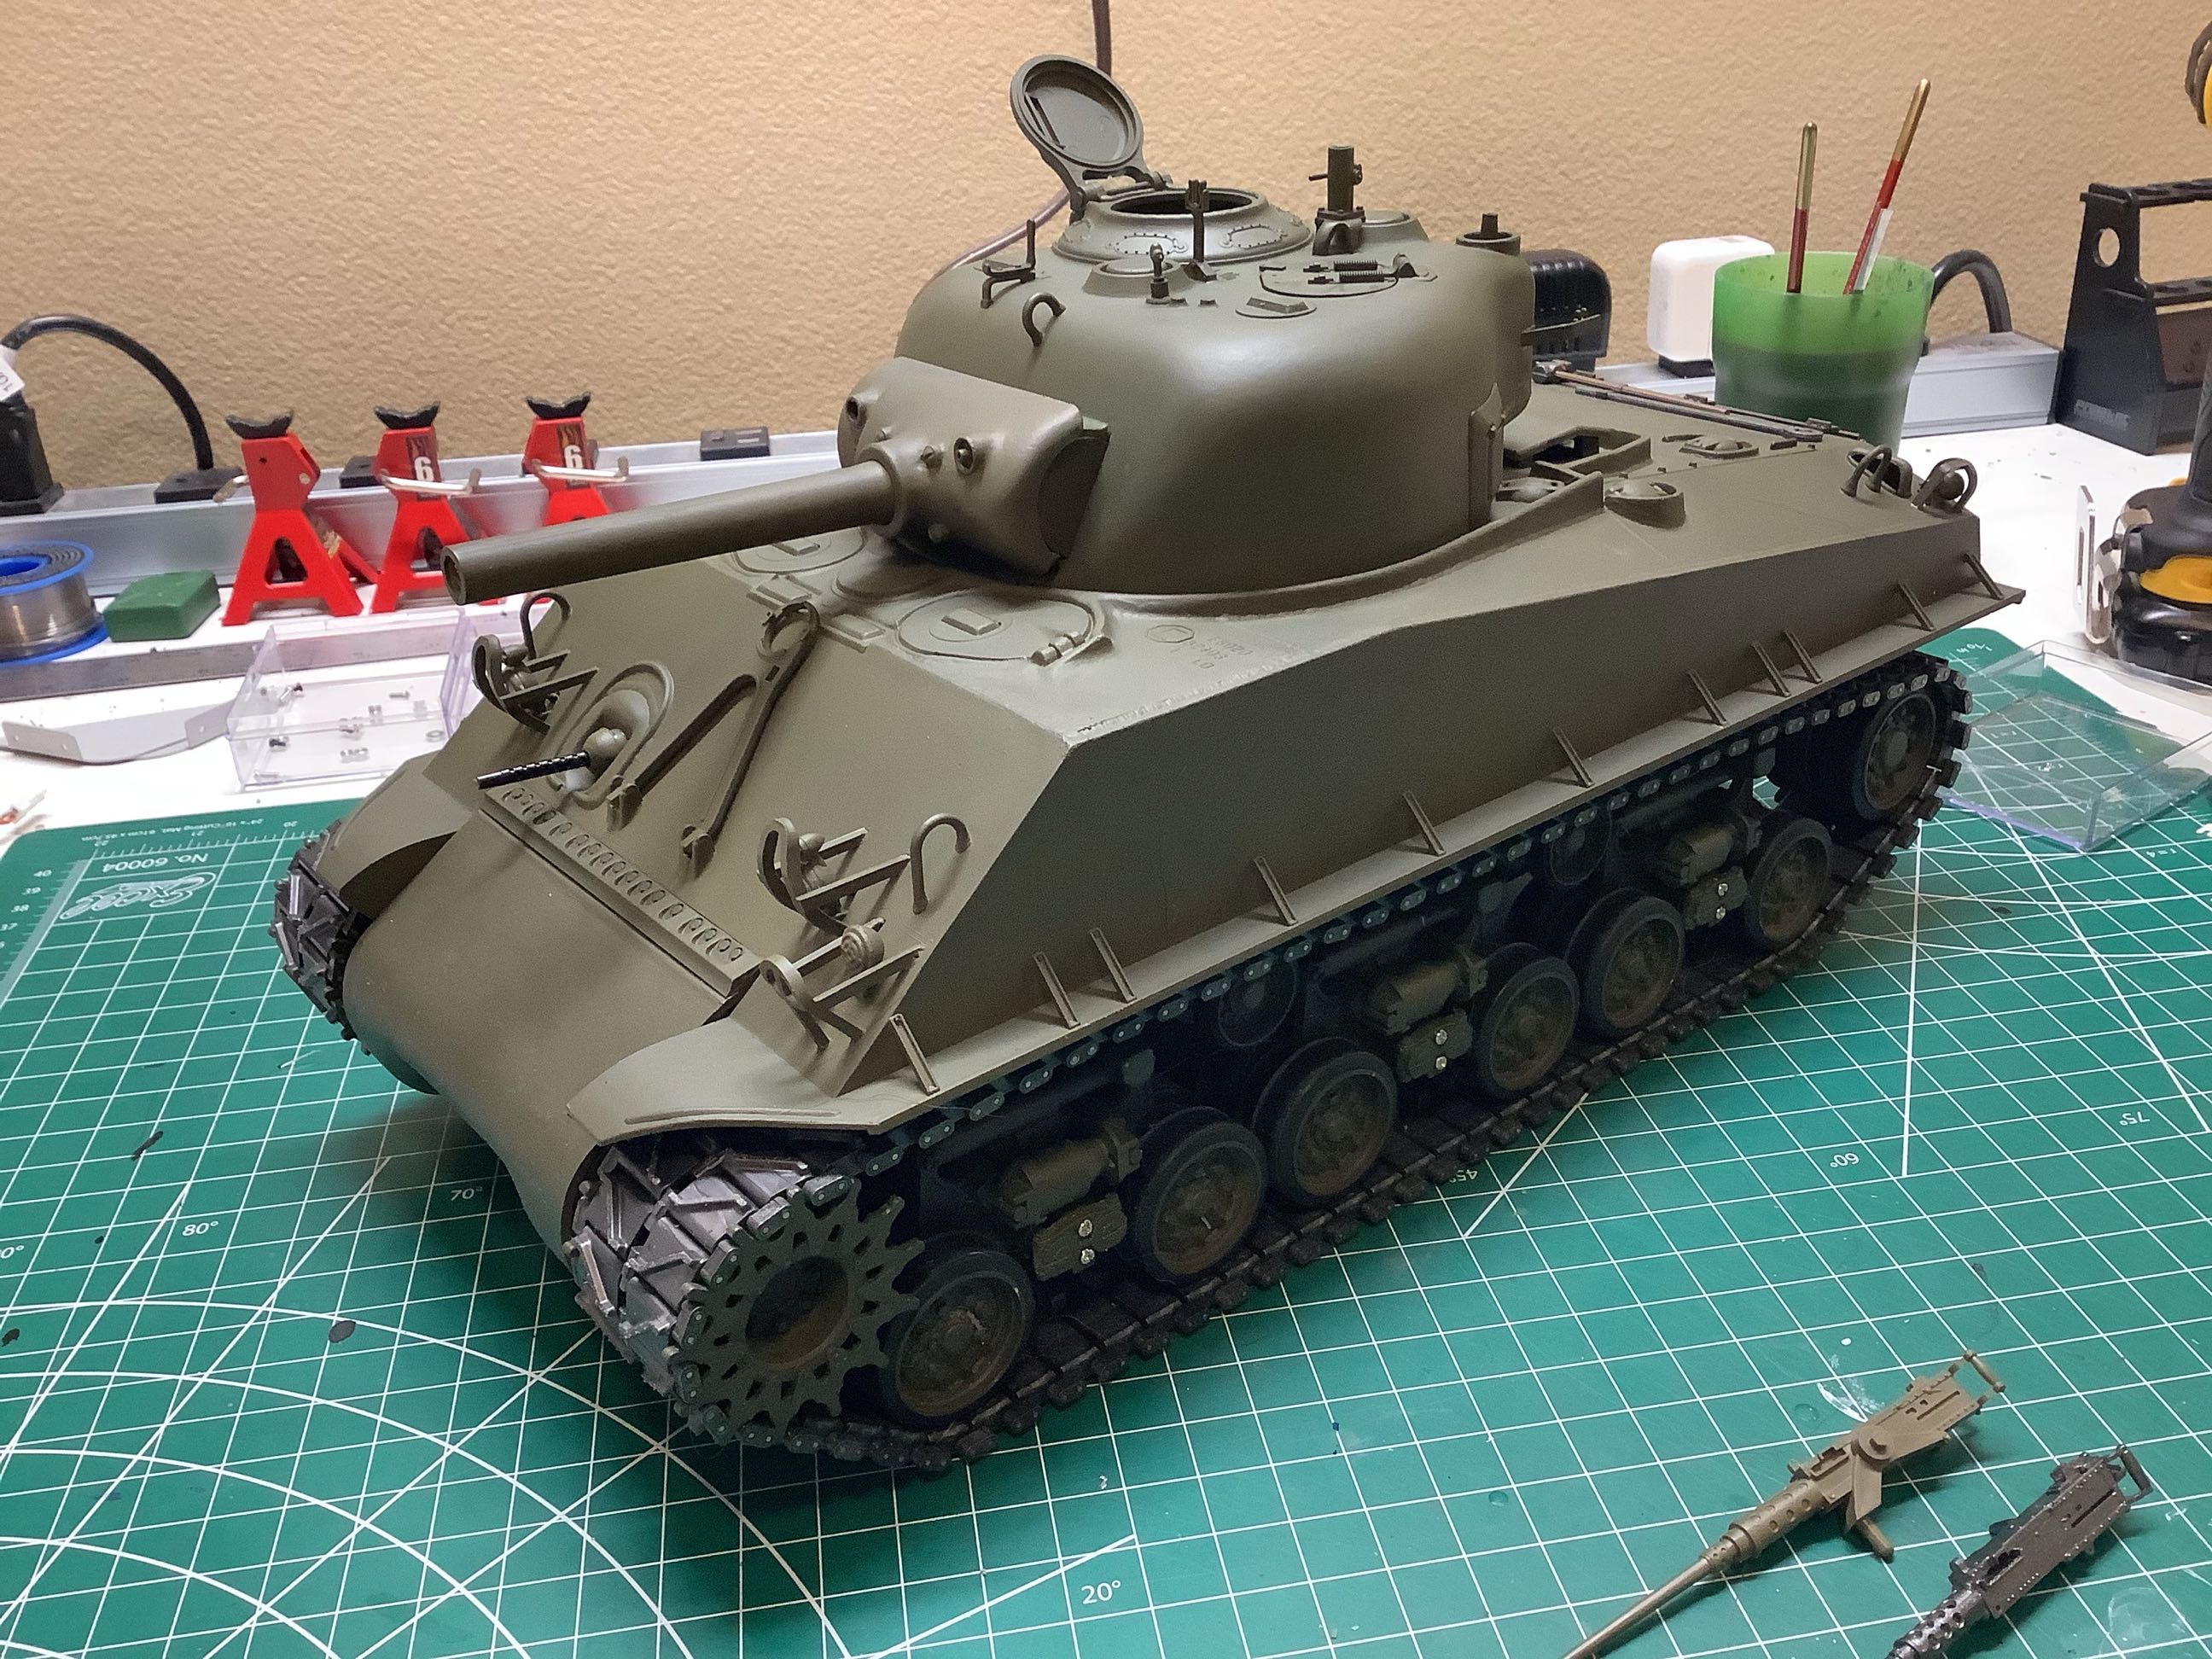
Here I've attached a bunch of the details to the turret including
antennas, a machine gun rest, and an open hatch (which can be built
optionally closed). I won't pretend to be able to identify what
all the detail parts are. I've also painted the turret olive
green. On the right you can see the completed painting of the
tools. This actually took a long time.
That's it! Now that the turret is installed the model is
functionally complete. I still need to add some accessories and do
the detail painting.
©2021 Eric Albrecht