Tamiya M4 Sherman Project
Page 5: Detailing and Weathering
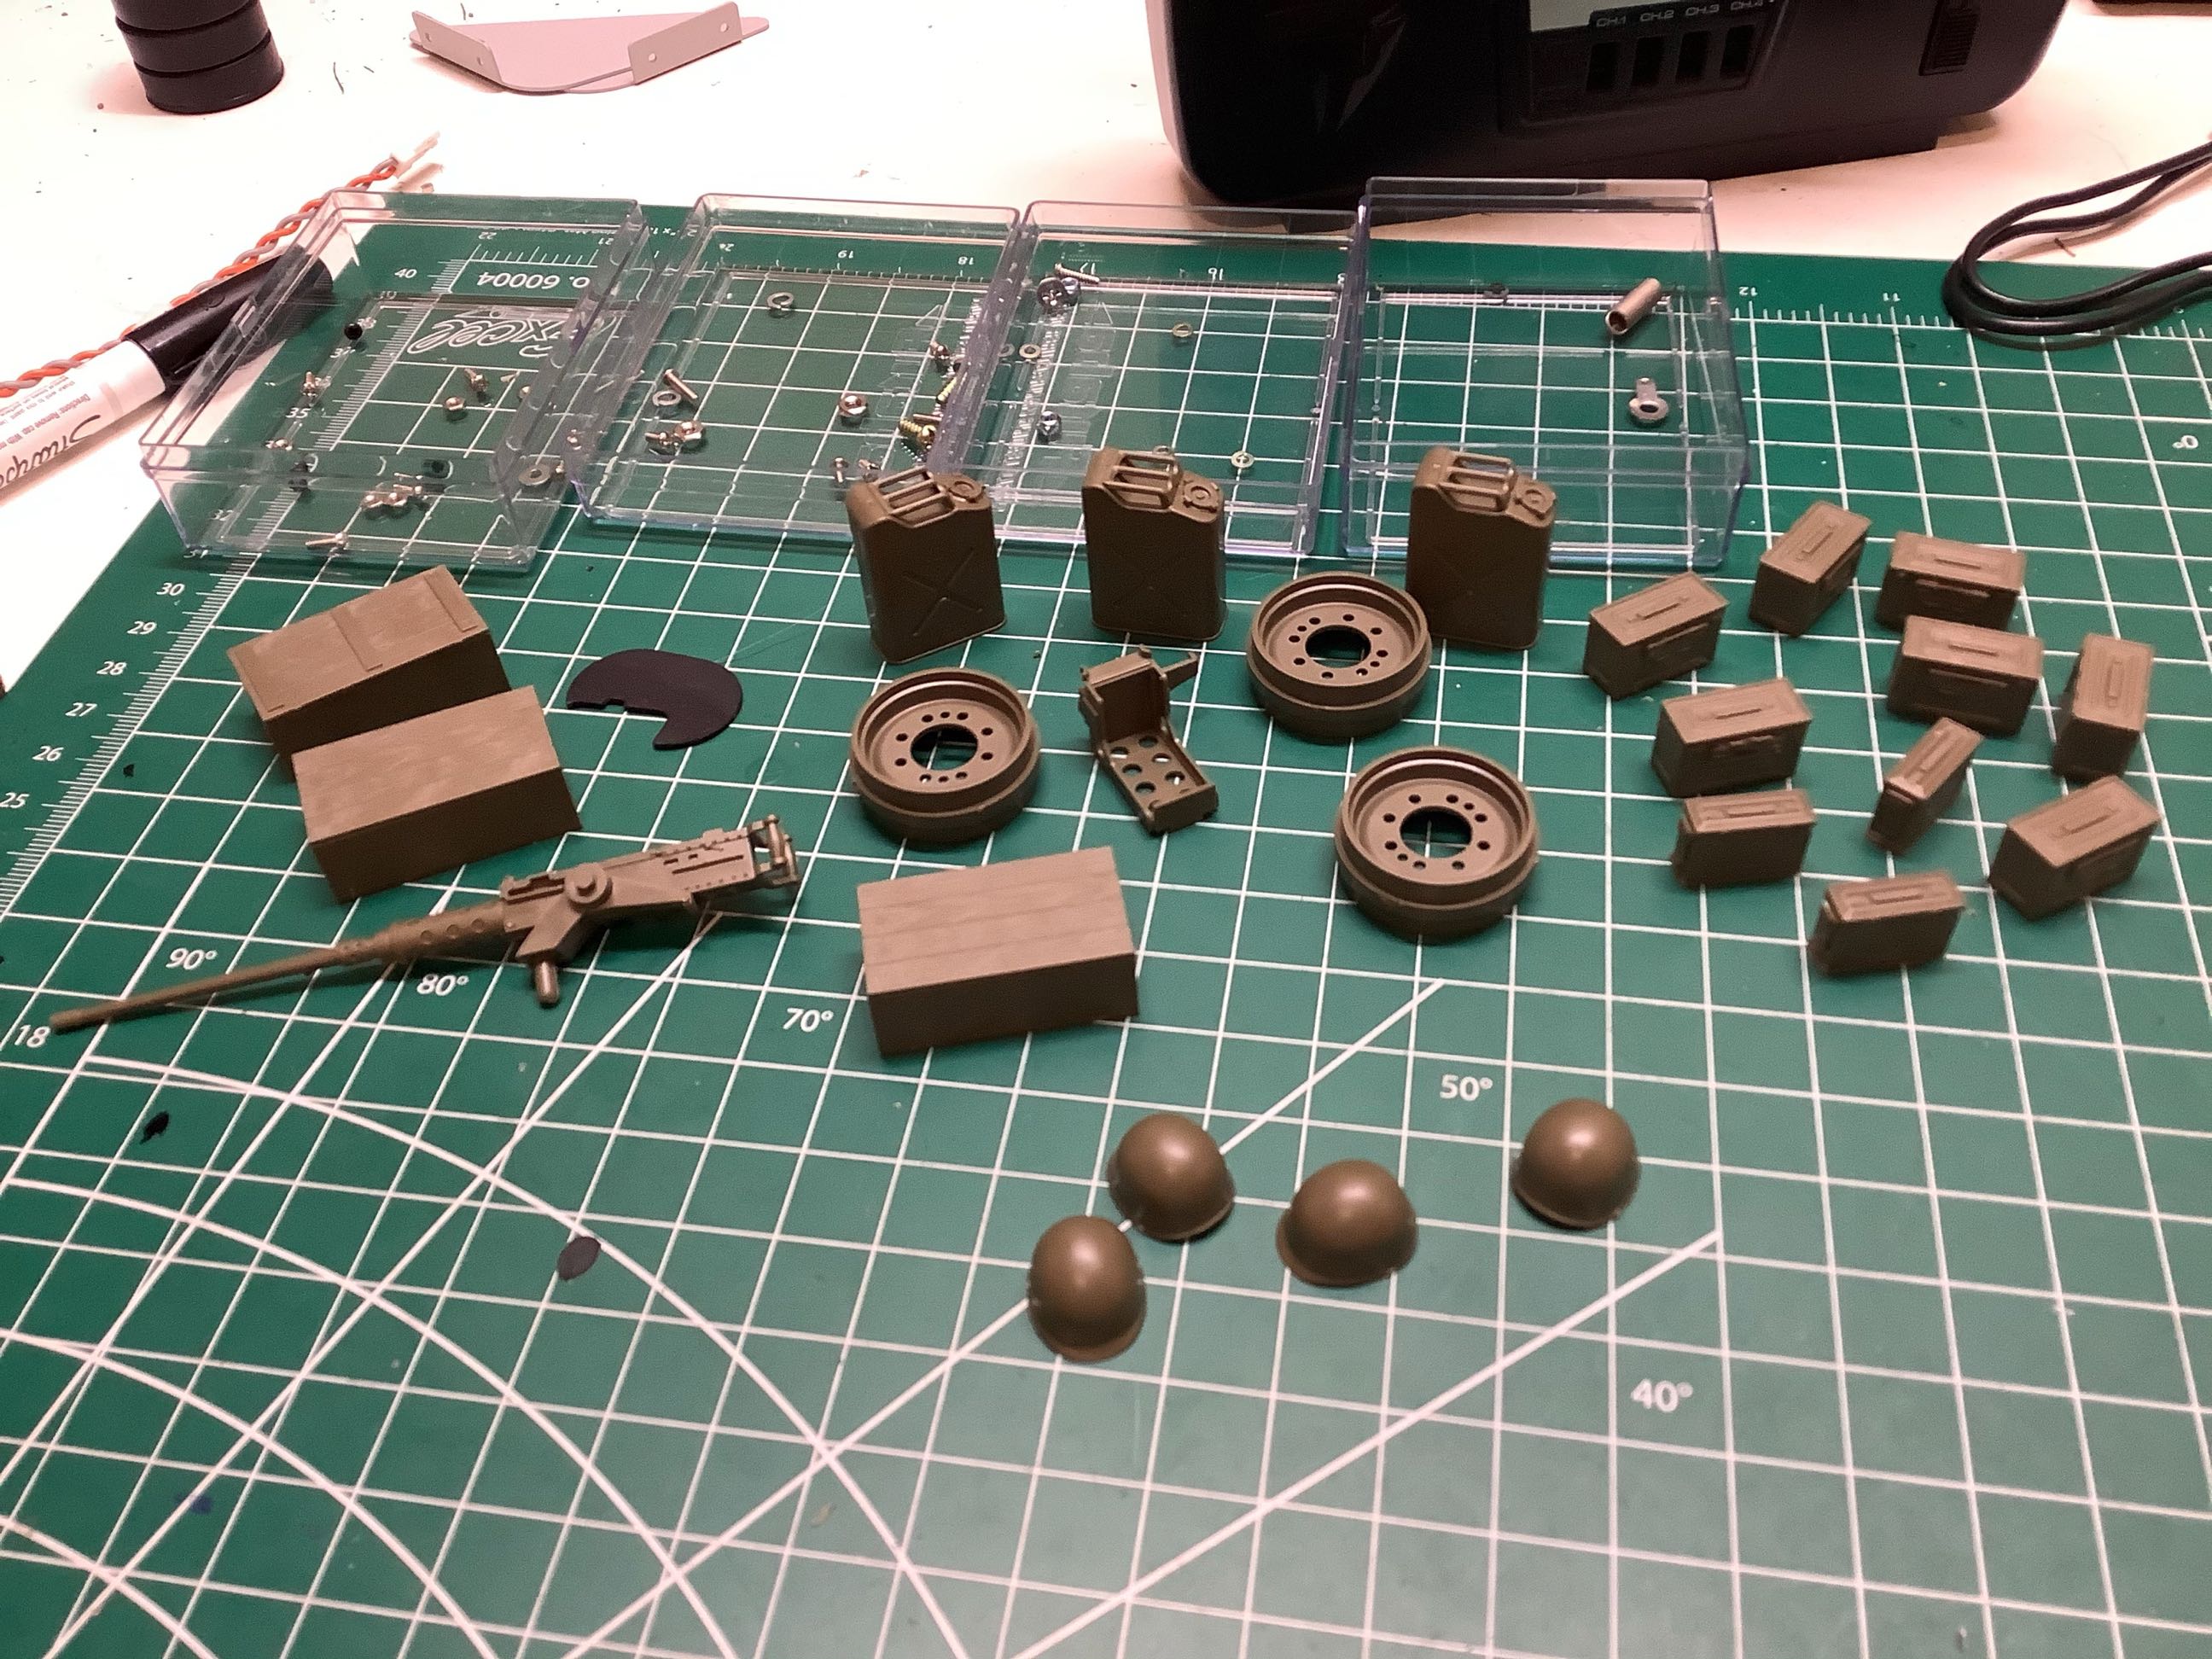
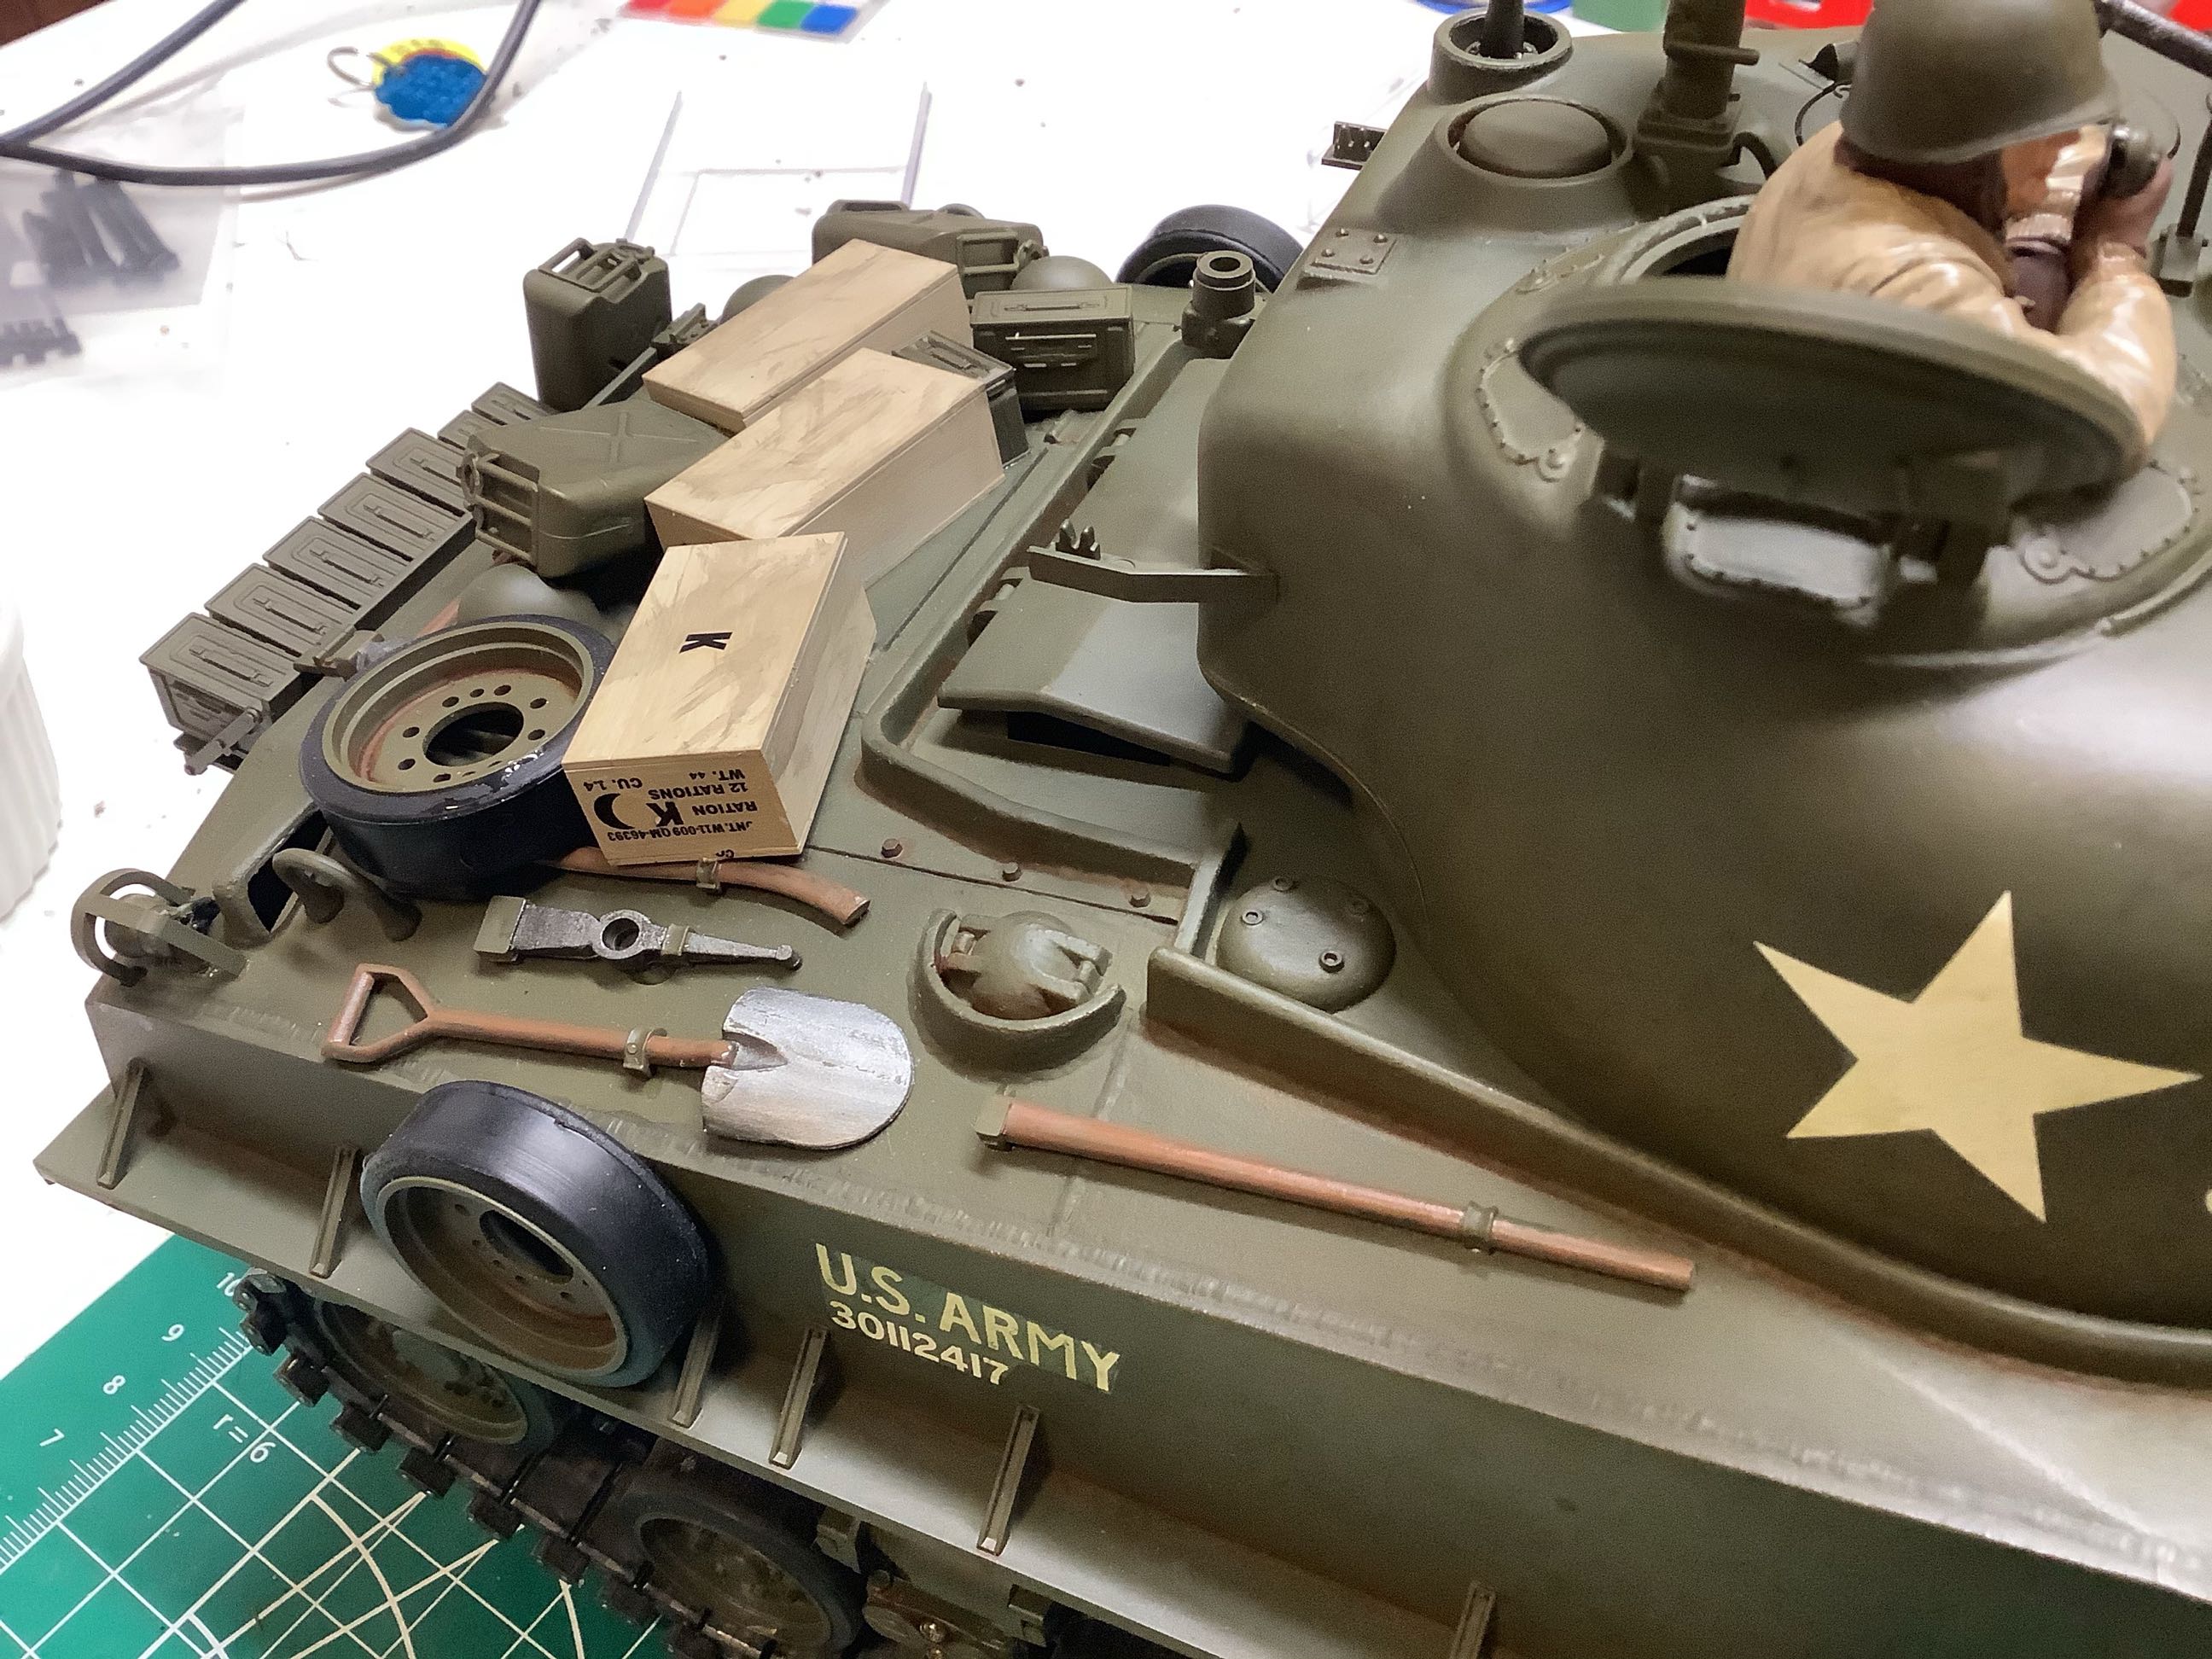
The tank may be done, but there are a lot of accessories to add.
The picture on the left shows the extra helmets, road wheels,gas cans,
ammunition boxes, ration crates, and the original machine gun. The
picture on the right compares the original 1974 machine gun (olive
drab) with the updated mold (steel gray).
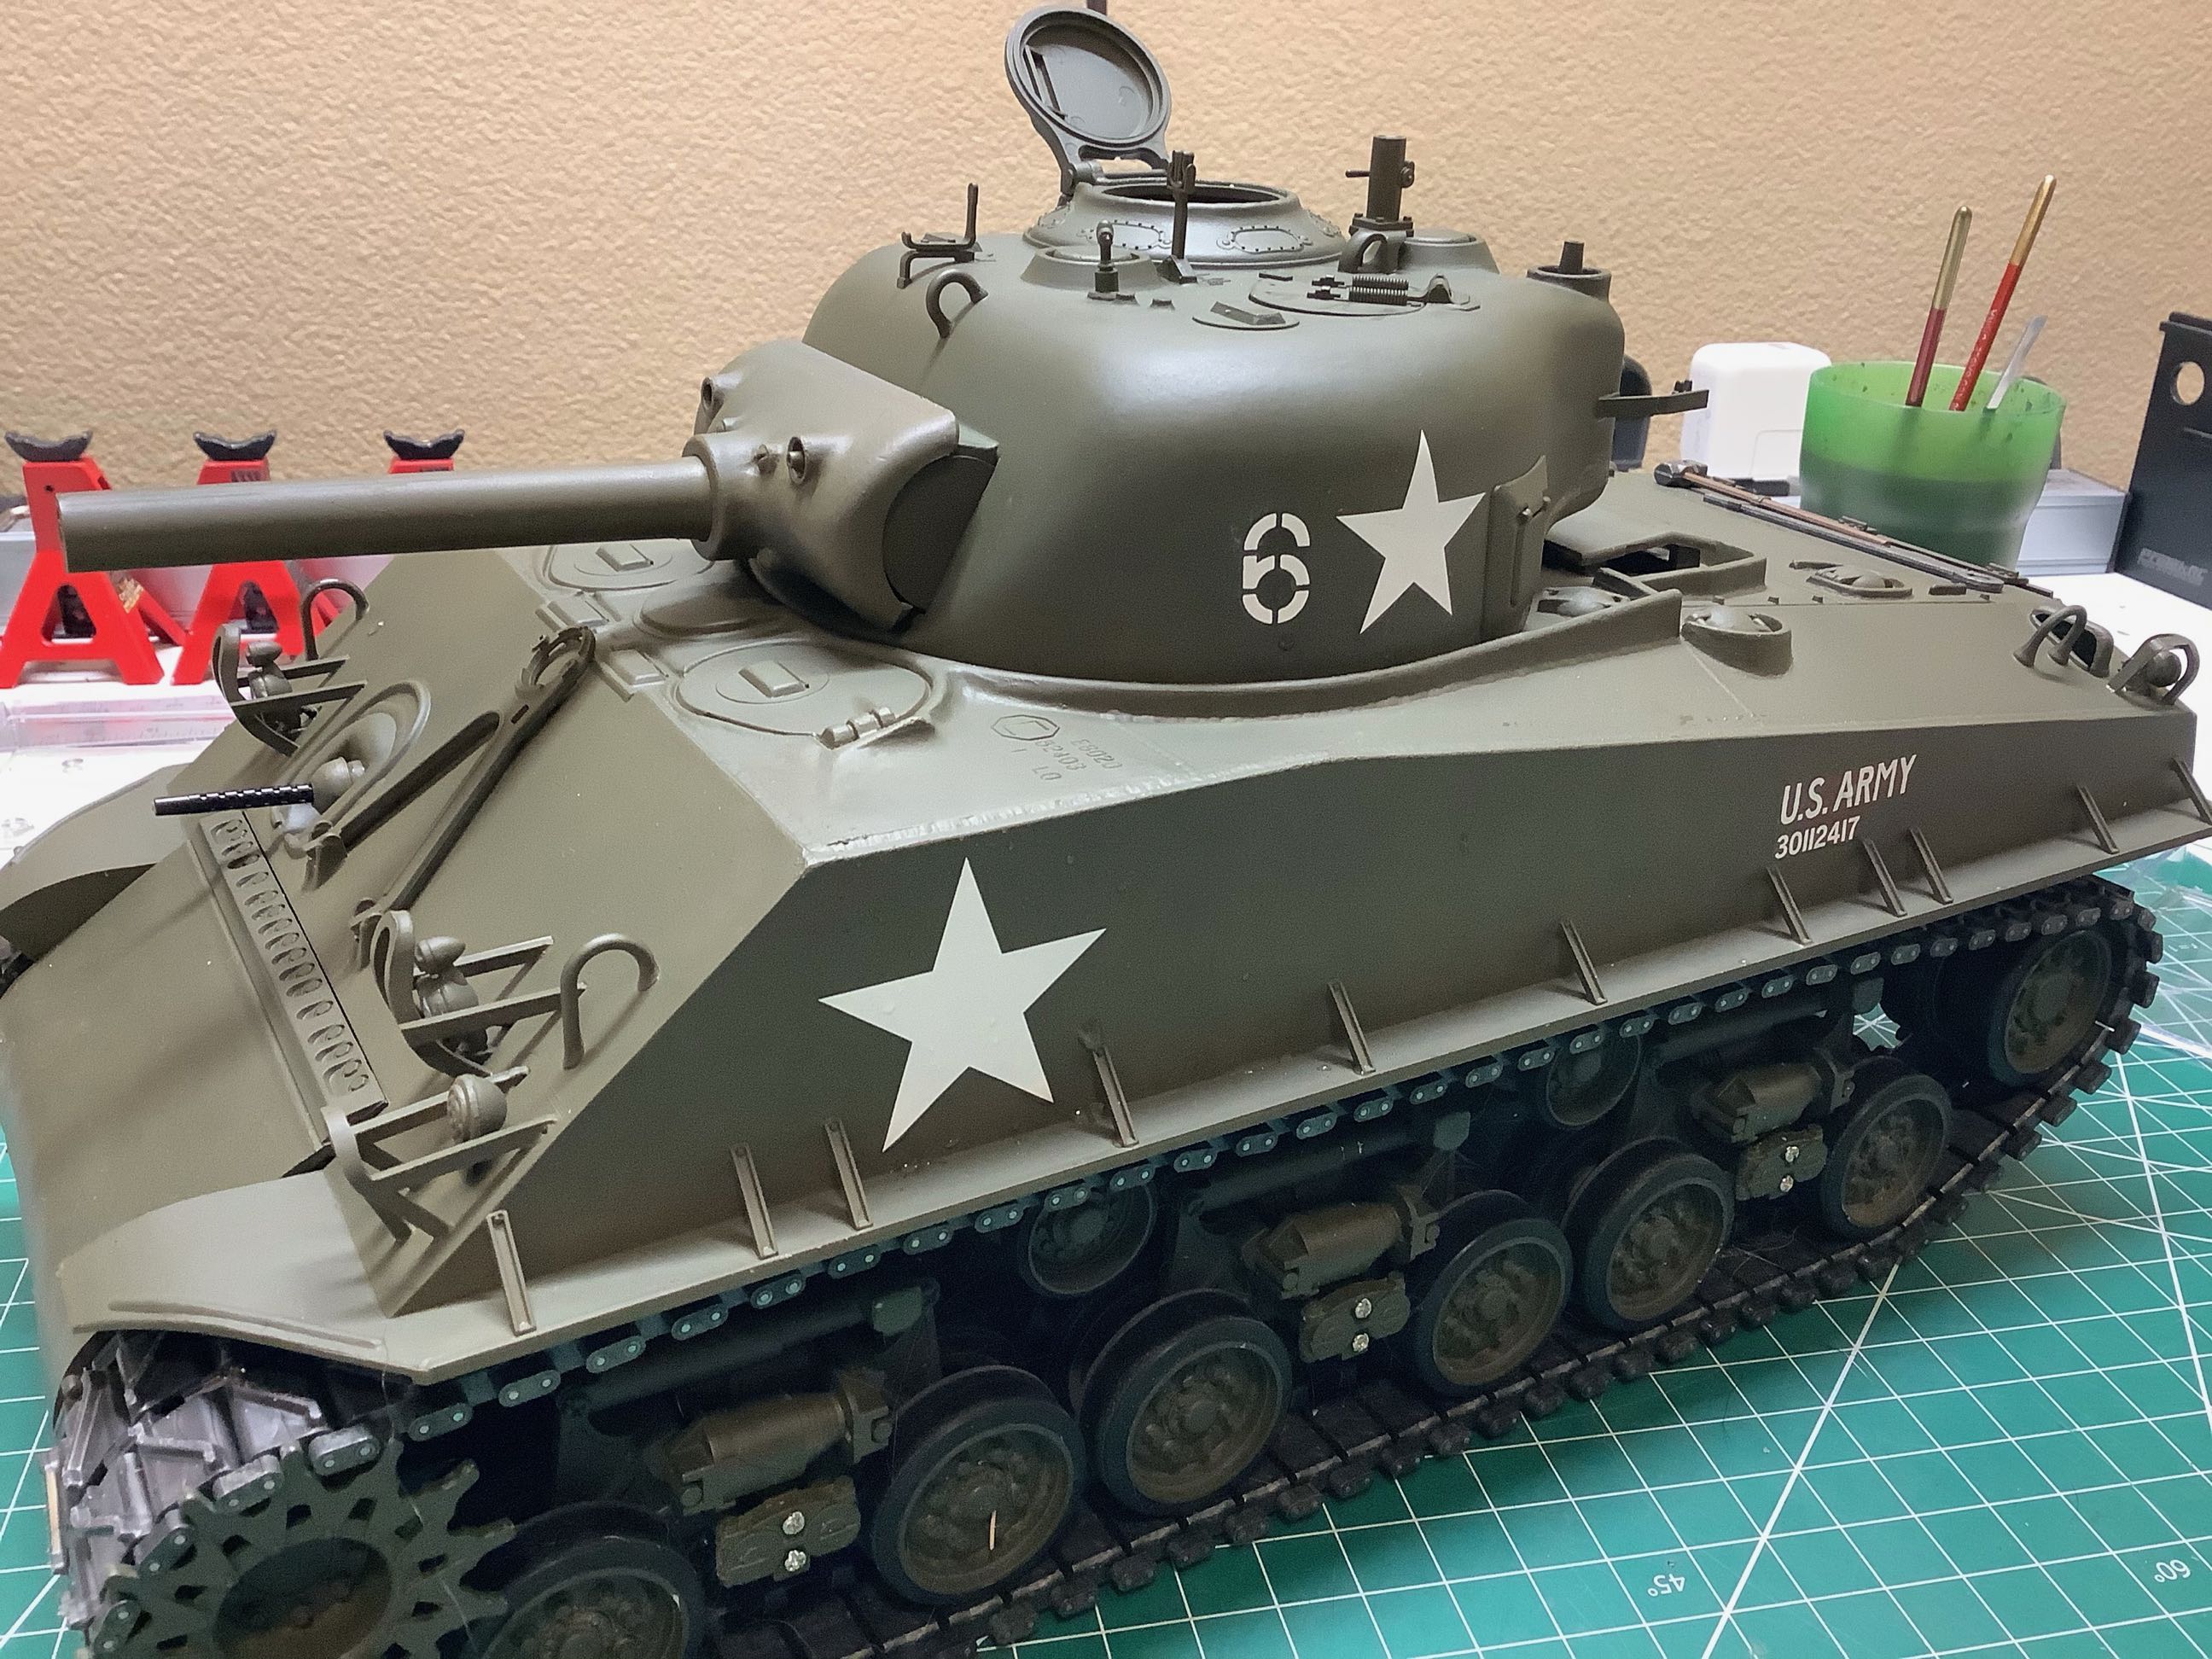
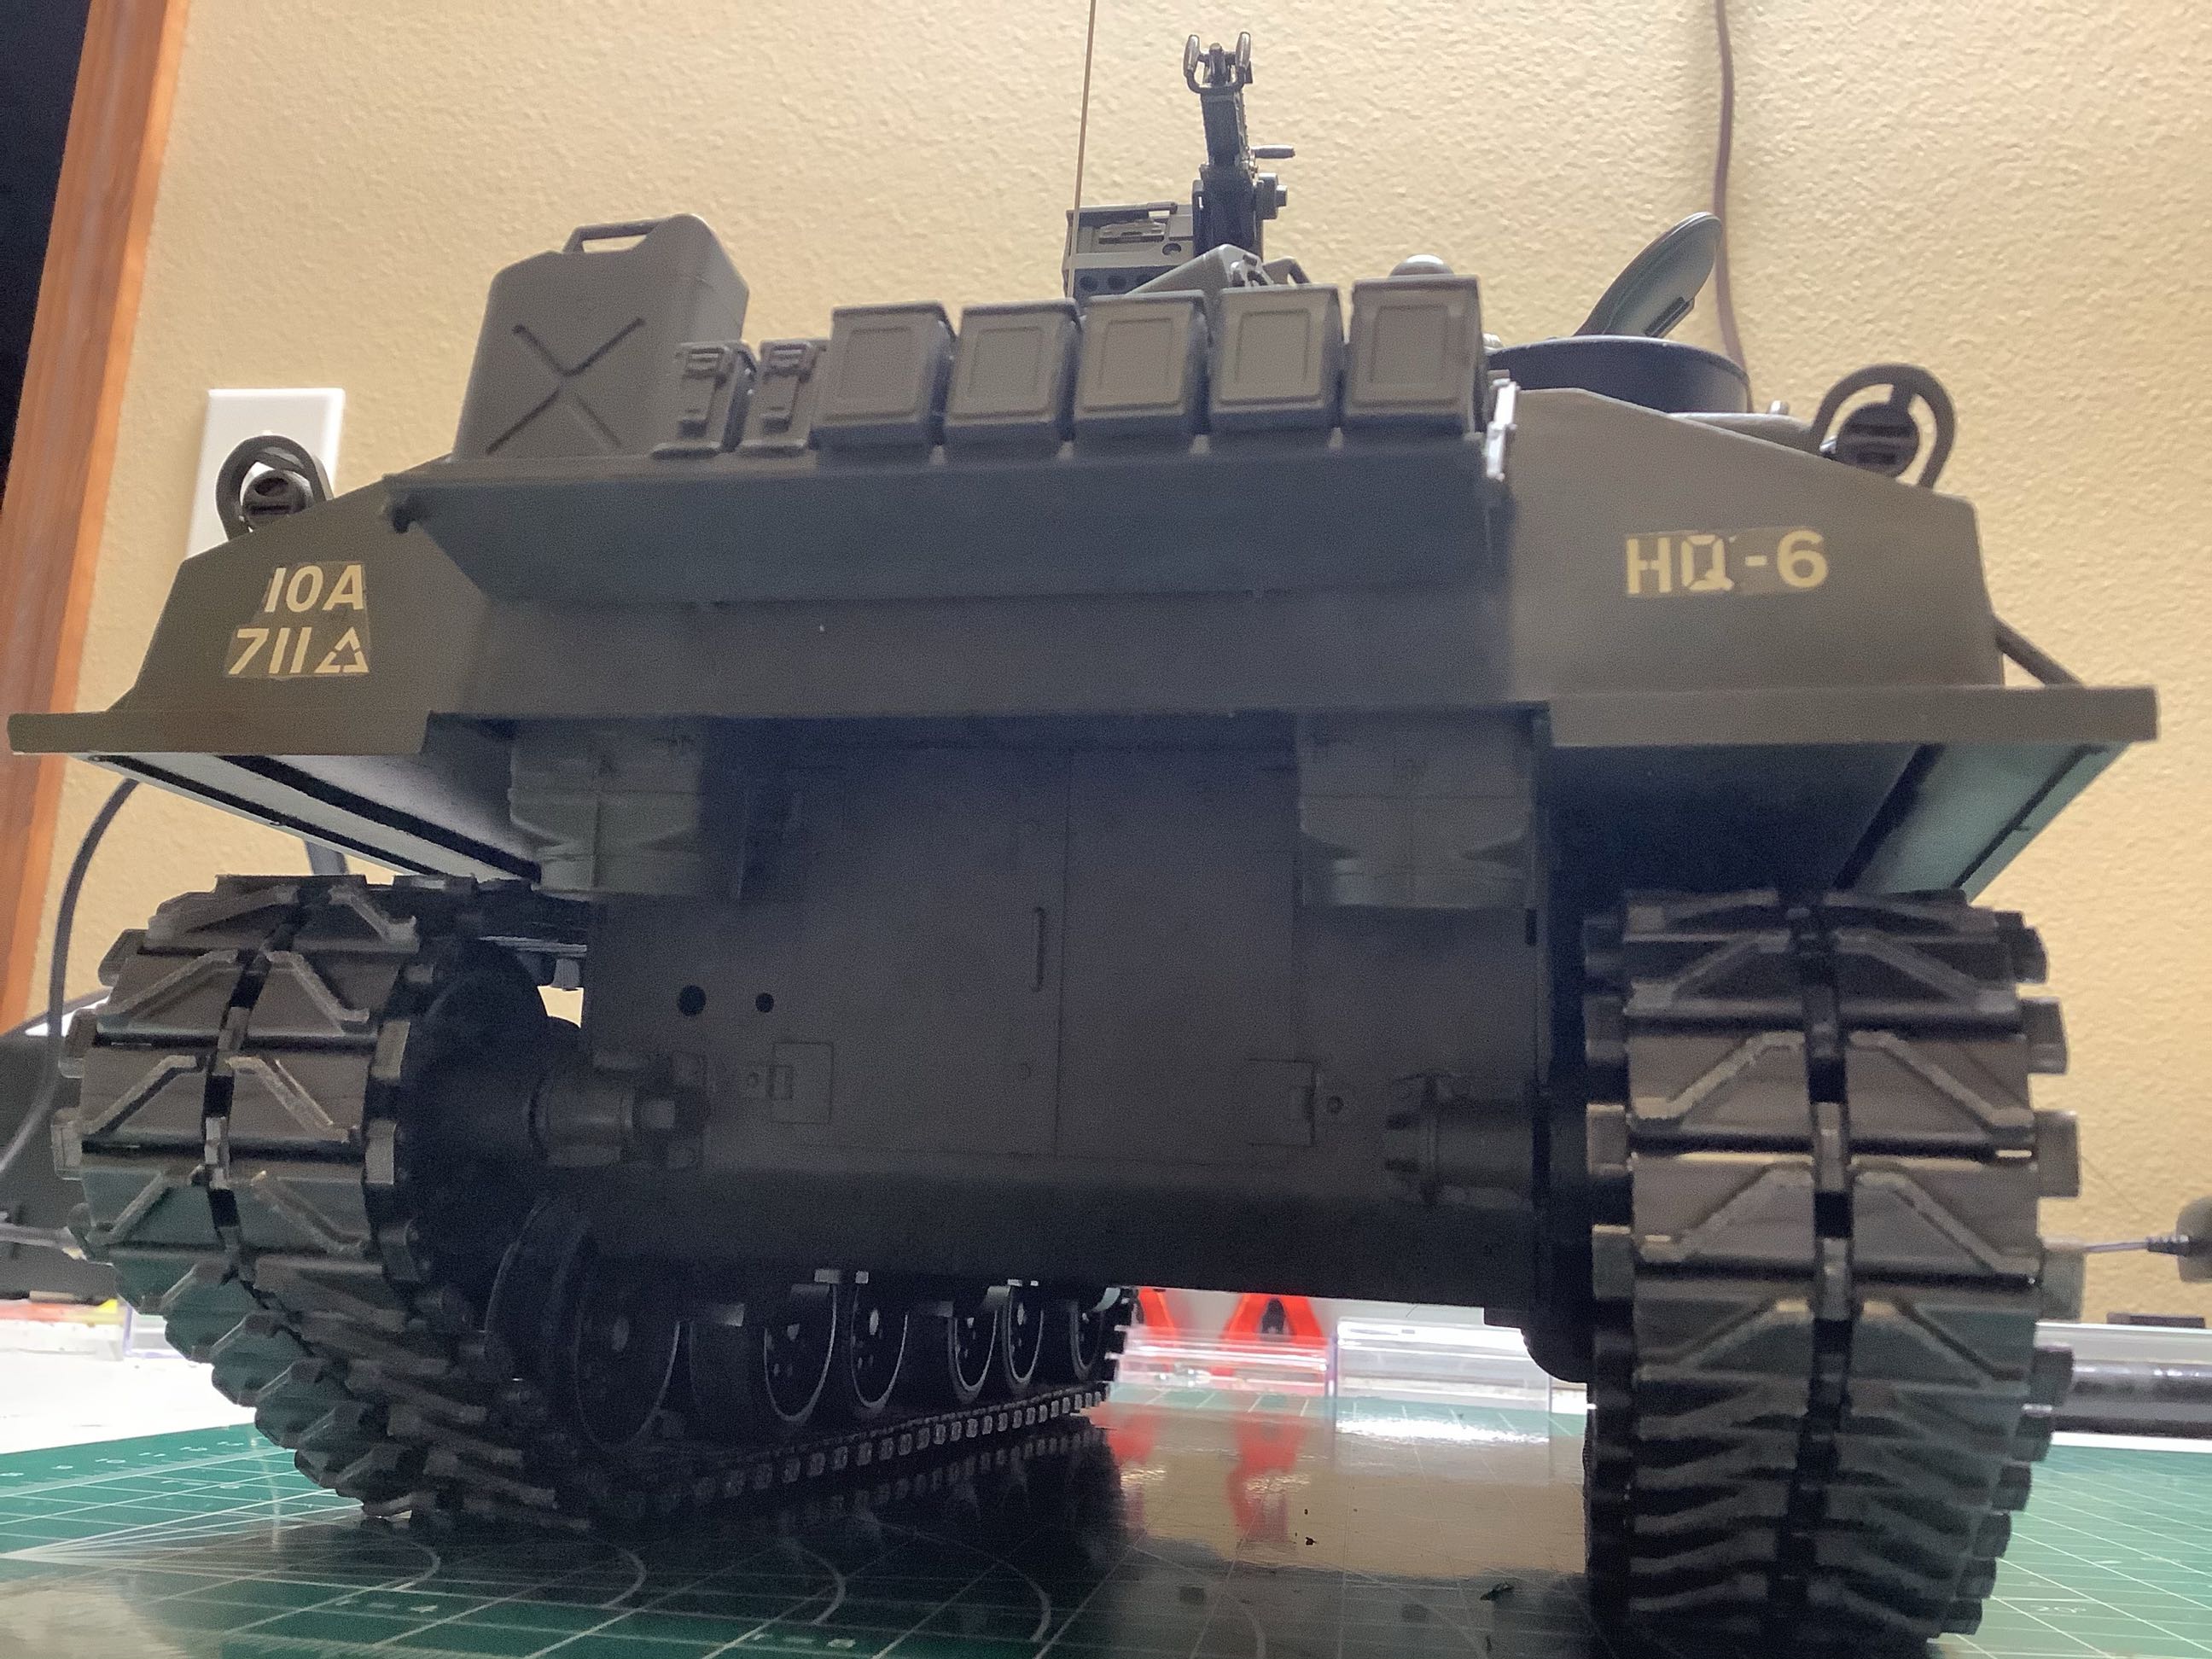
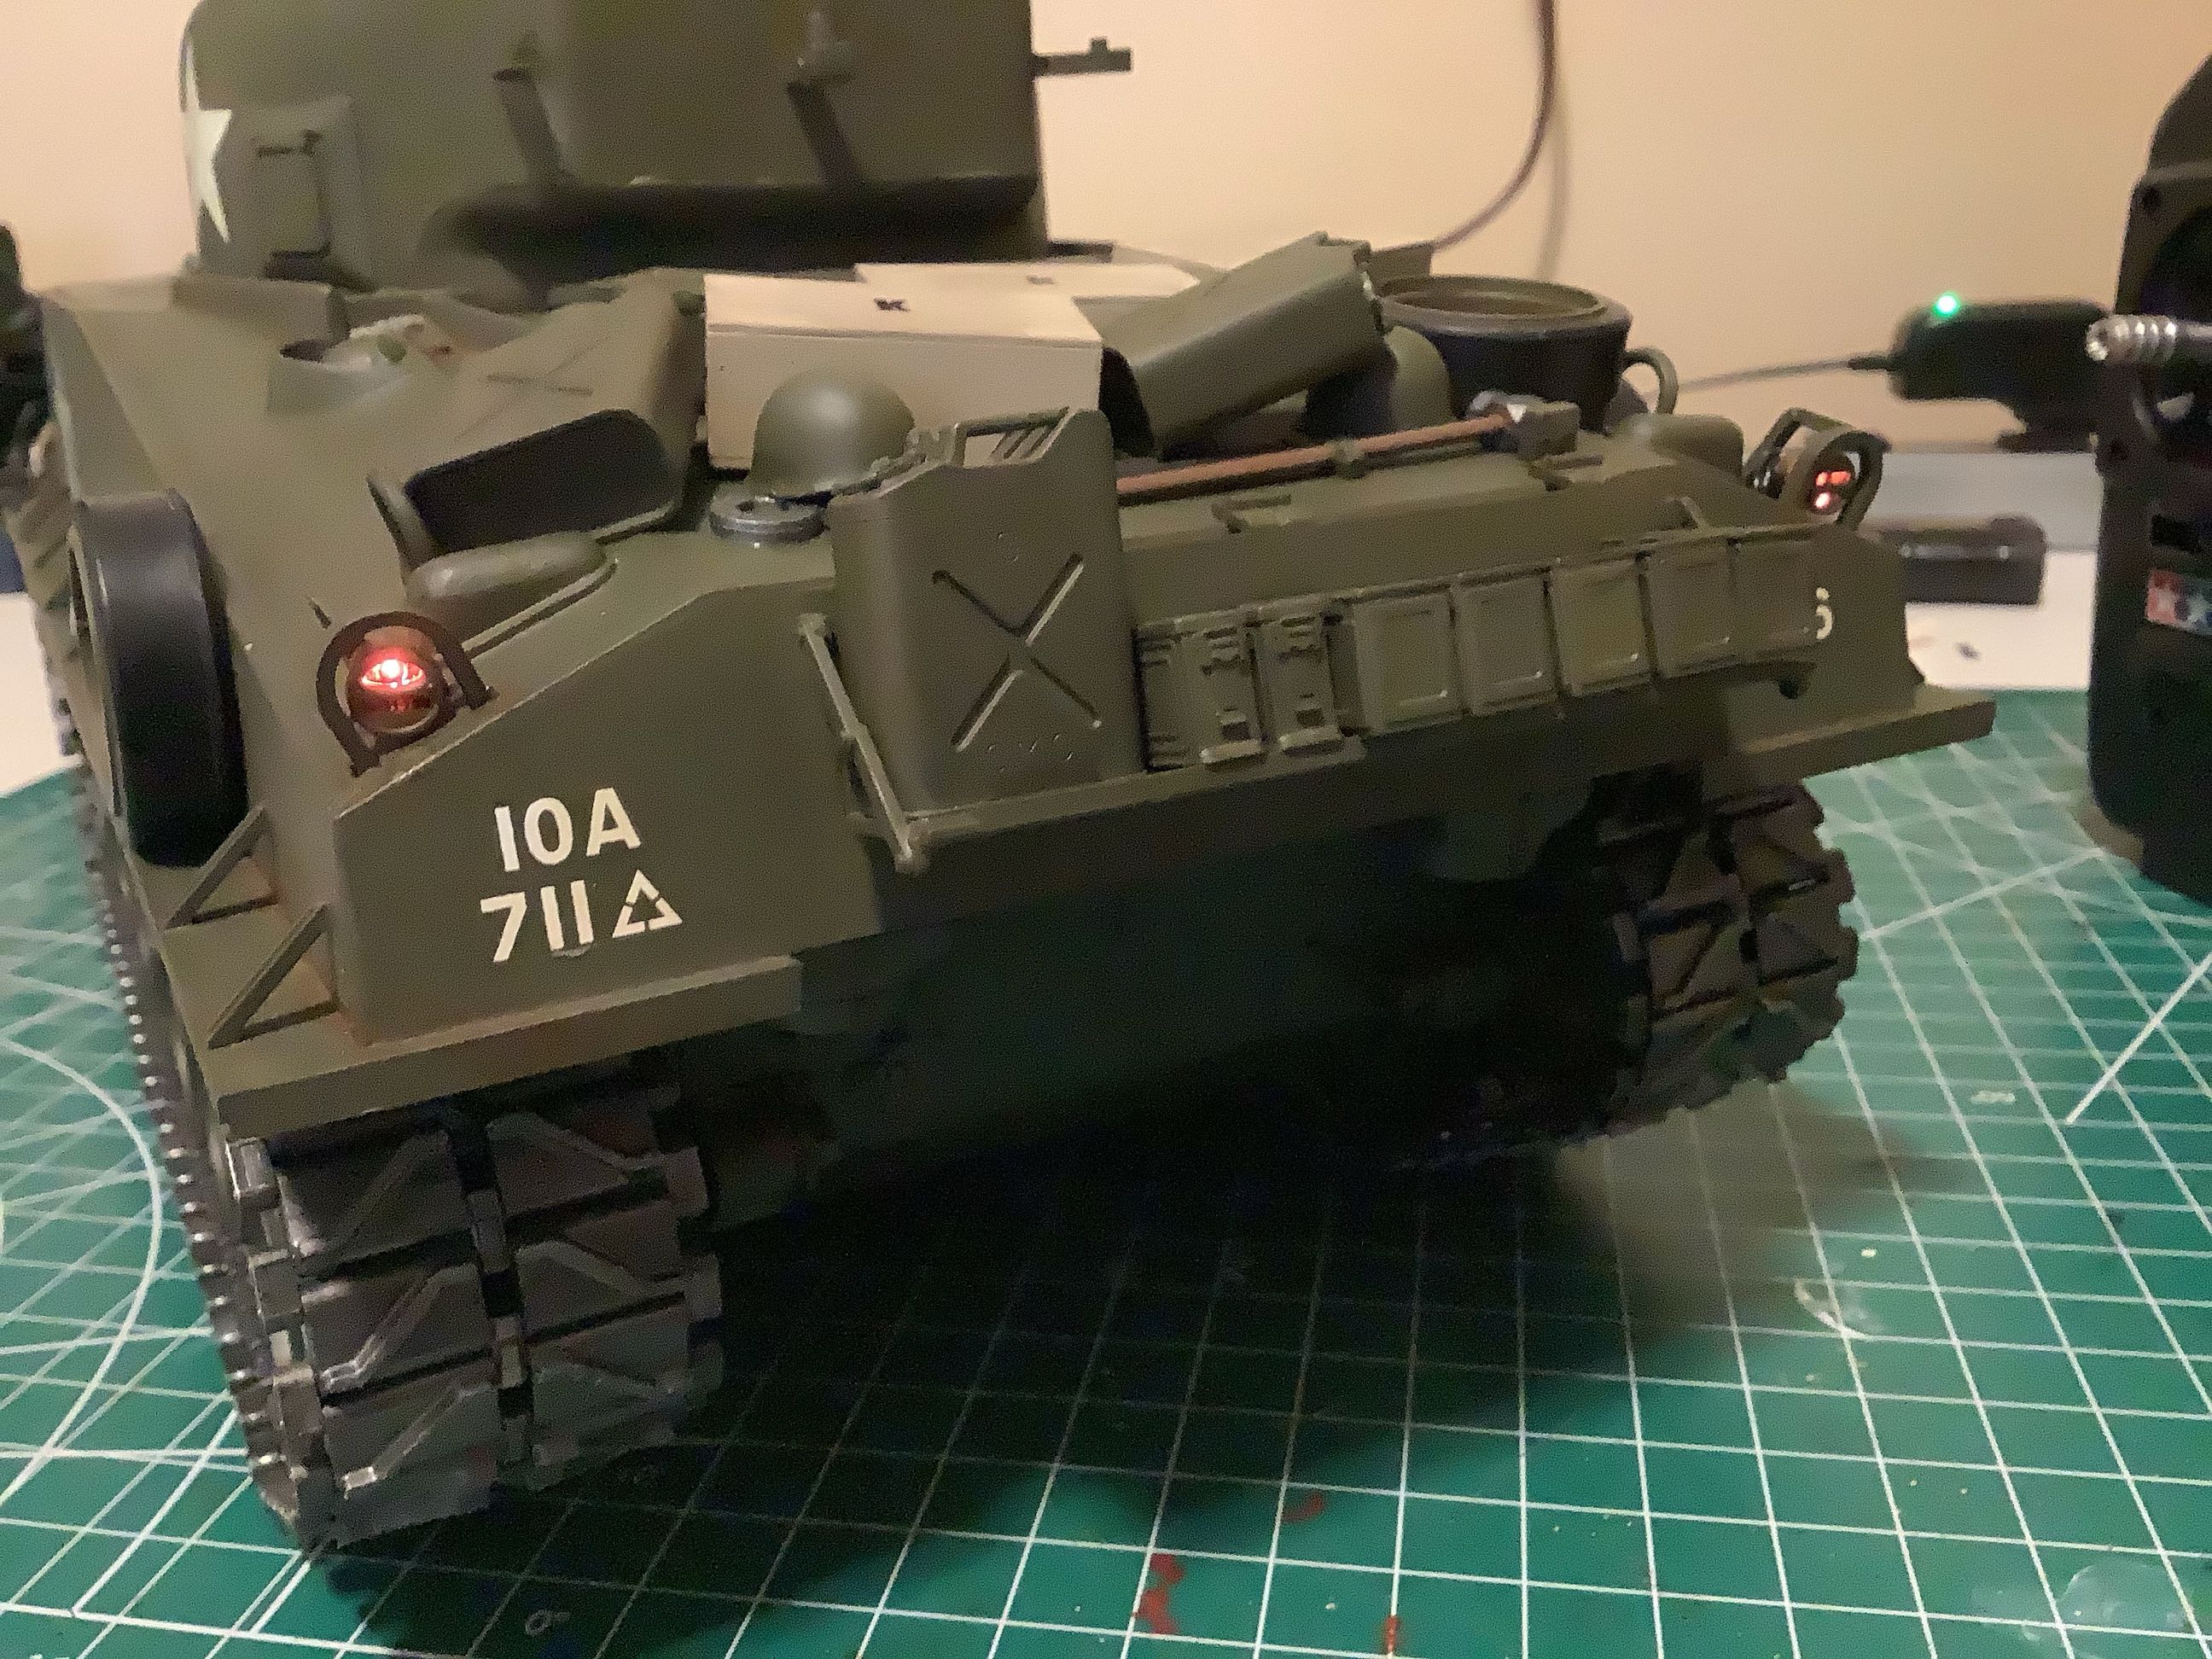
On the left you can see the limited number of decals I added.
There are multiple marking options on the decal sheet. I chose
markings for an M4 from the 711th Independent Tank Battalion of the 10th
Army because this unit was stationed in the Pacific theater and
therefore seems the most likely to be a version that would have been
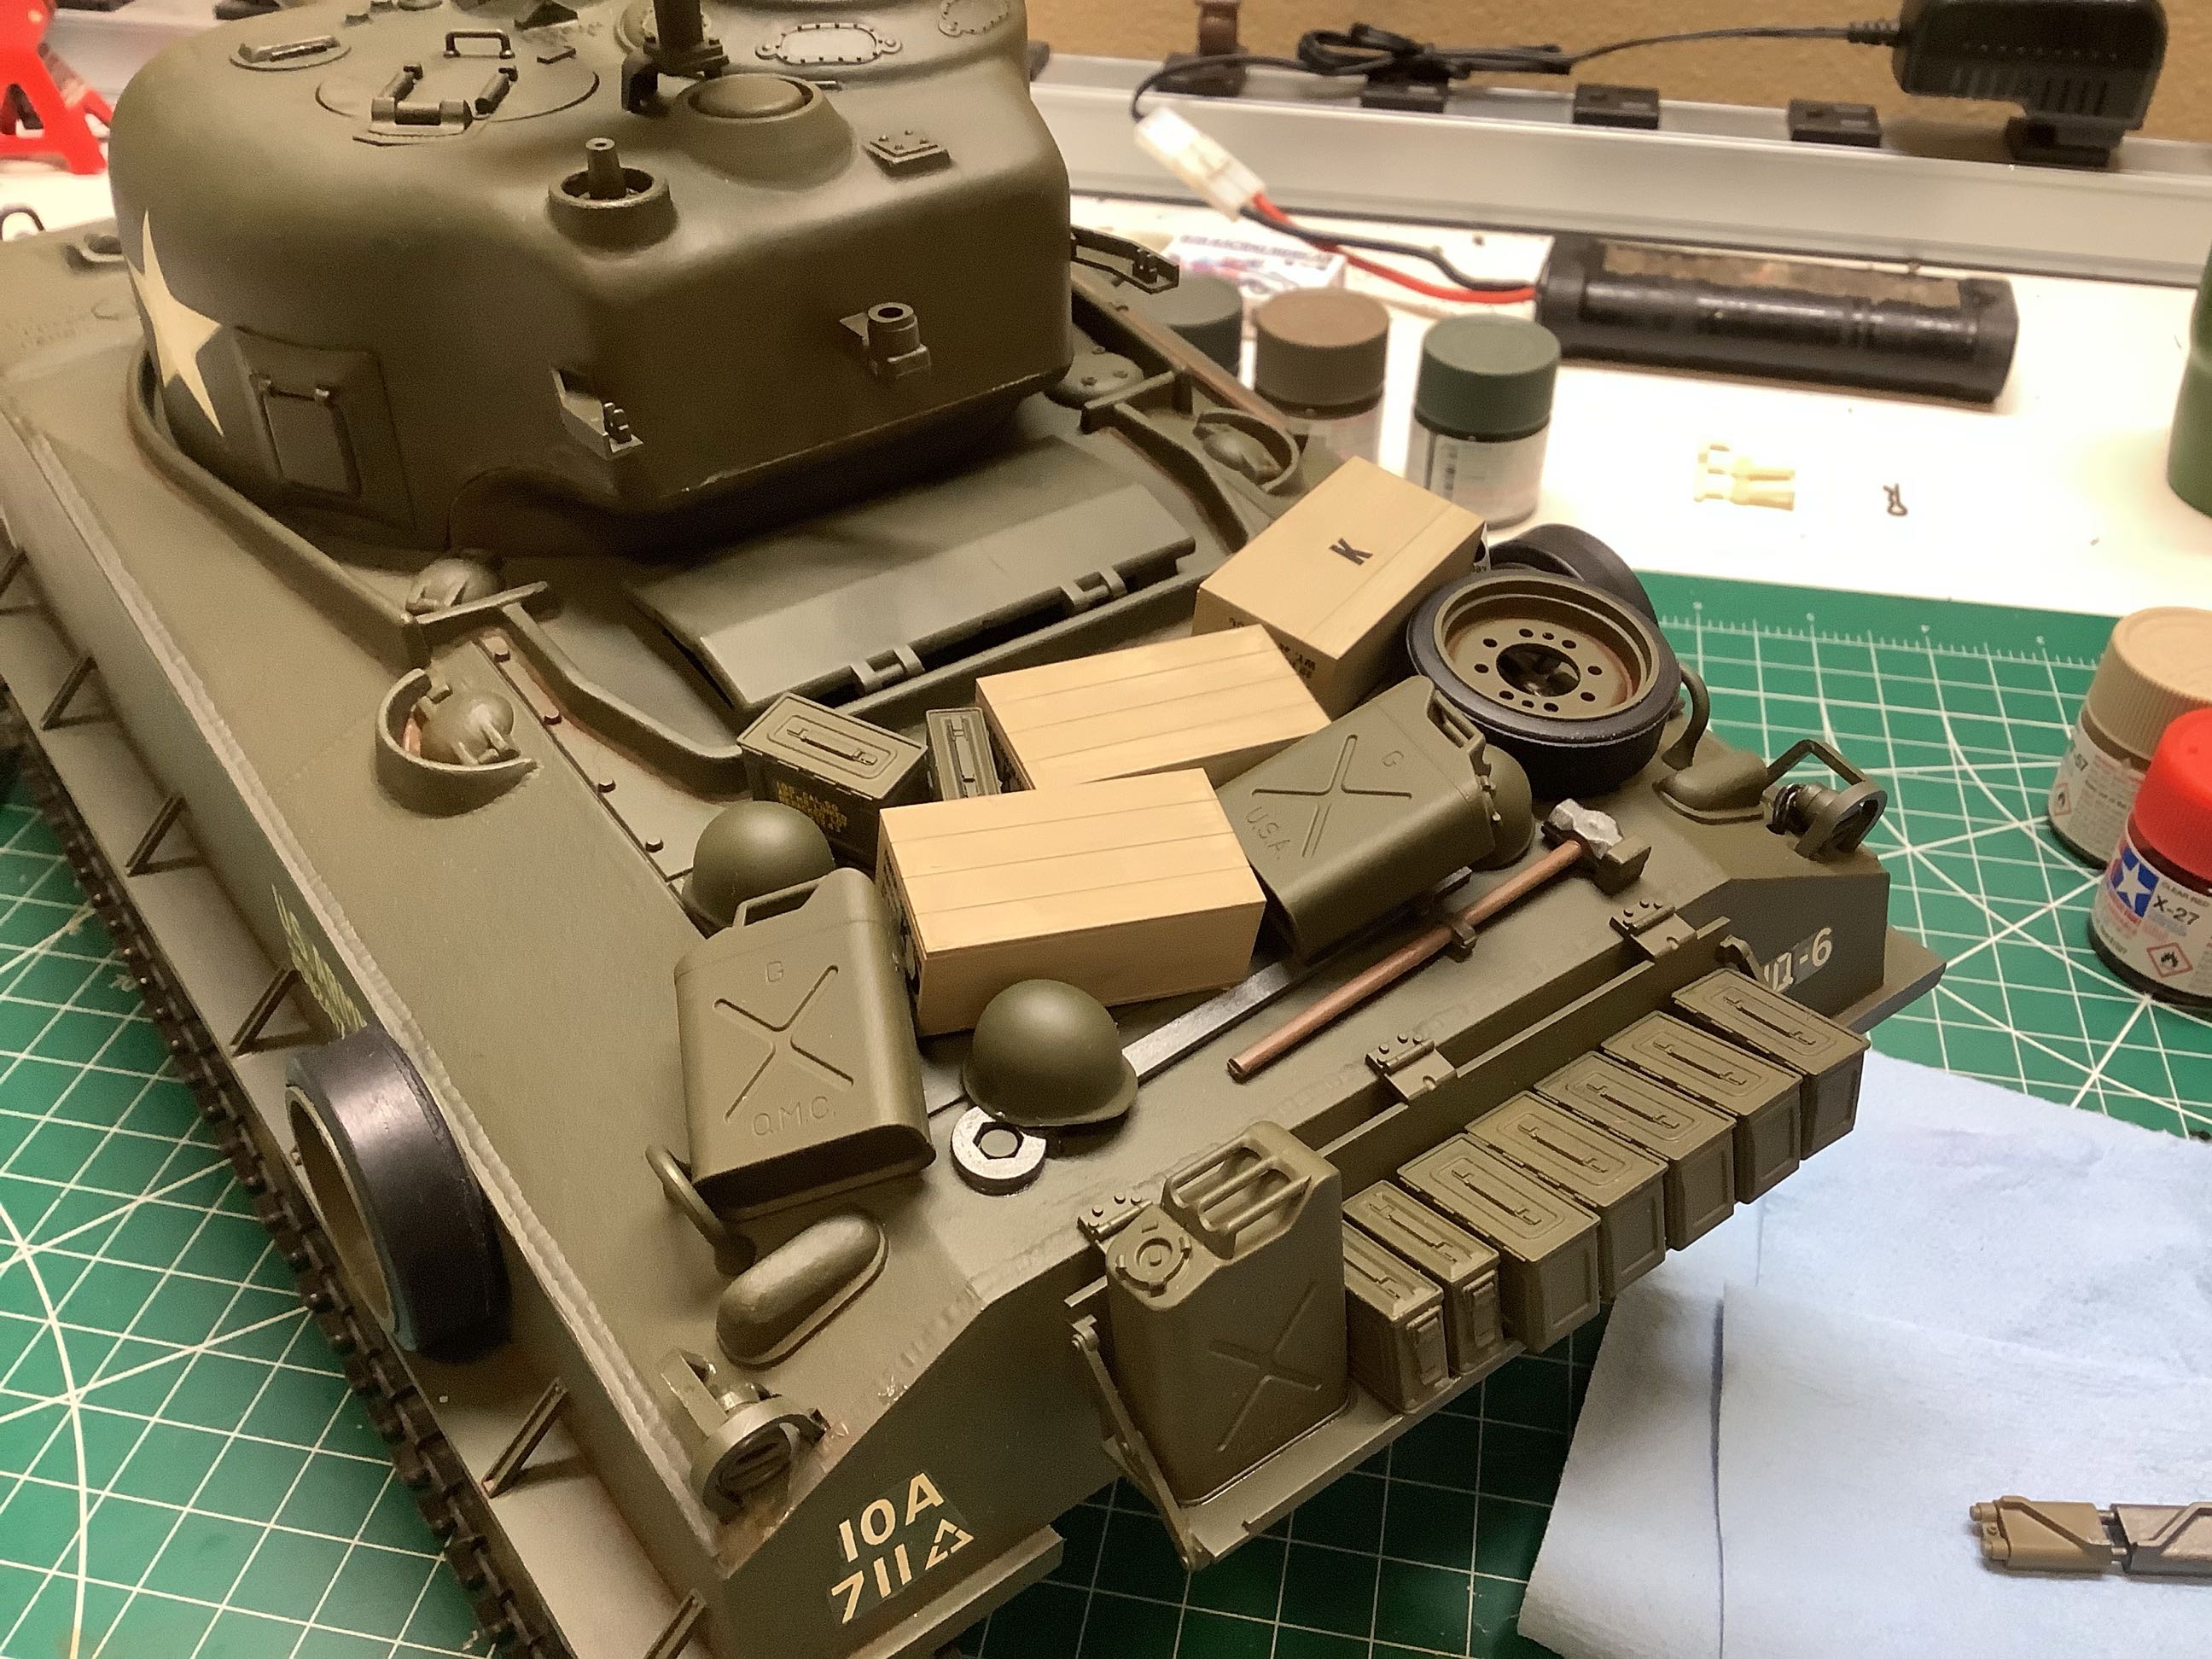
available for the Japanese folks at Tamiya to have studied. On the
right you can see the accessories glued haphazardly to the back of the
hull.
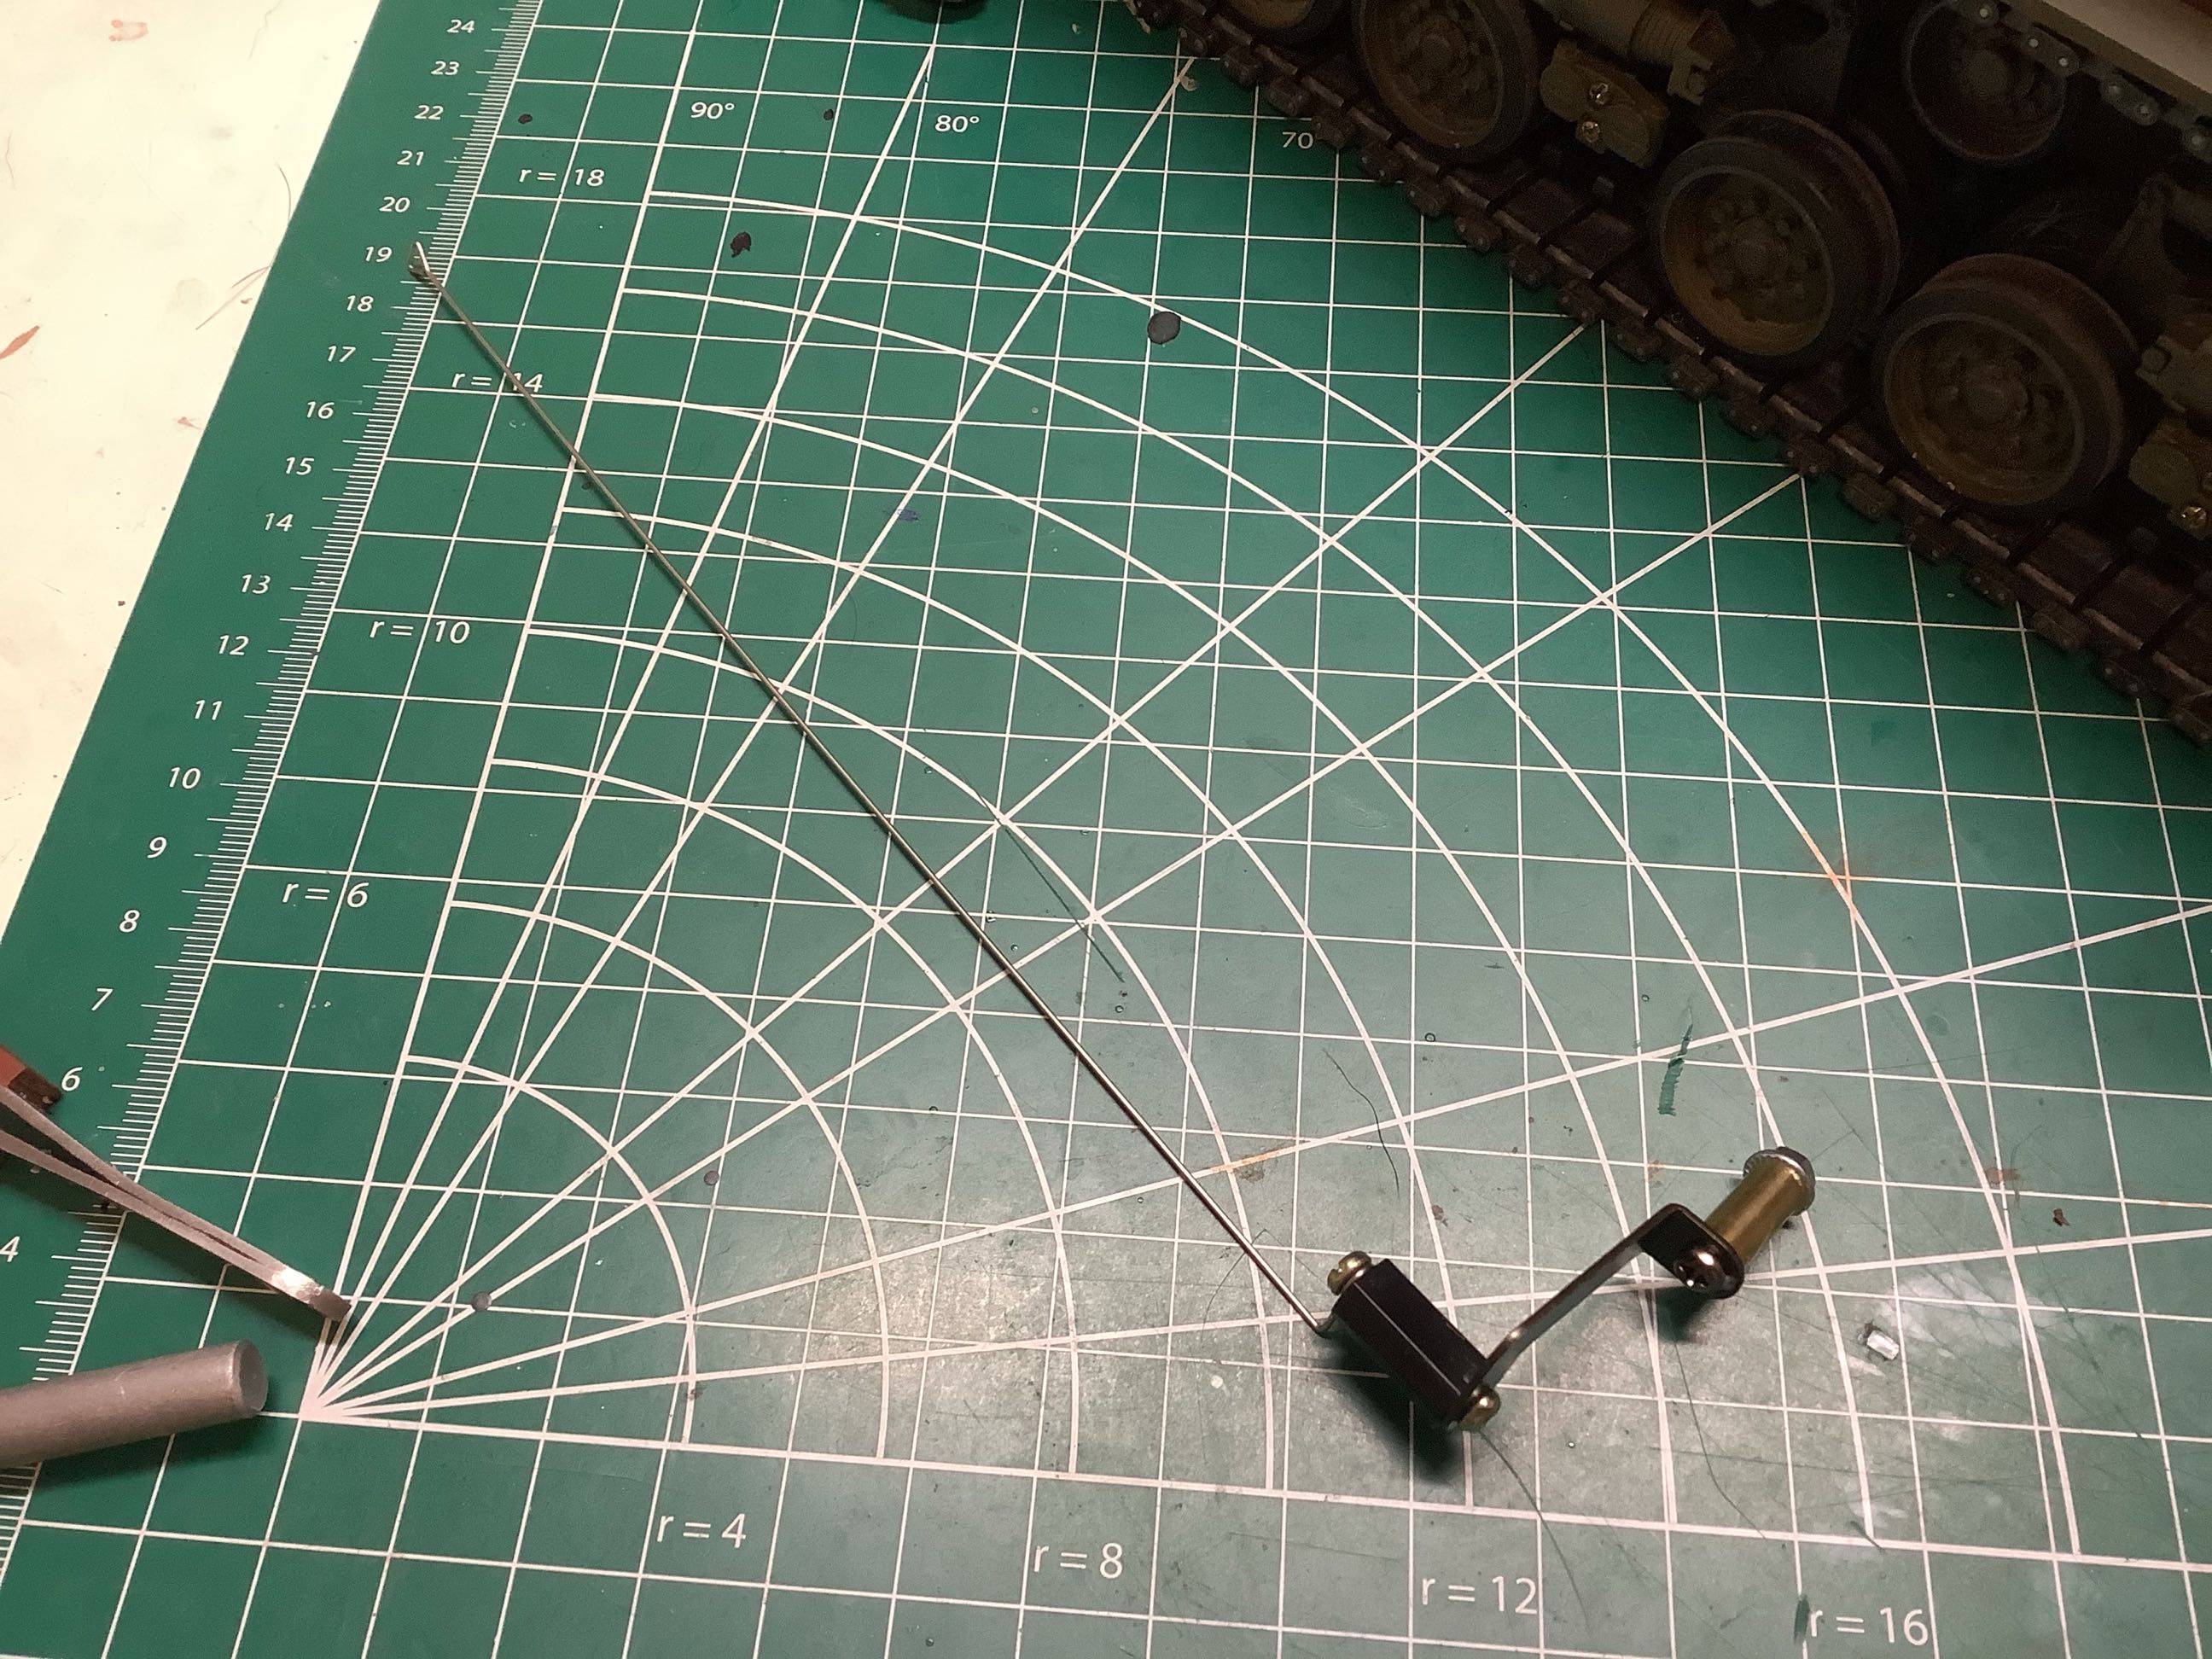
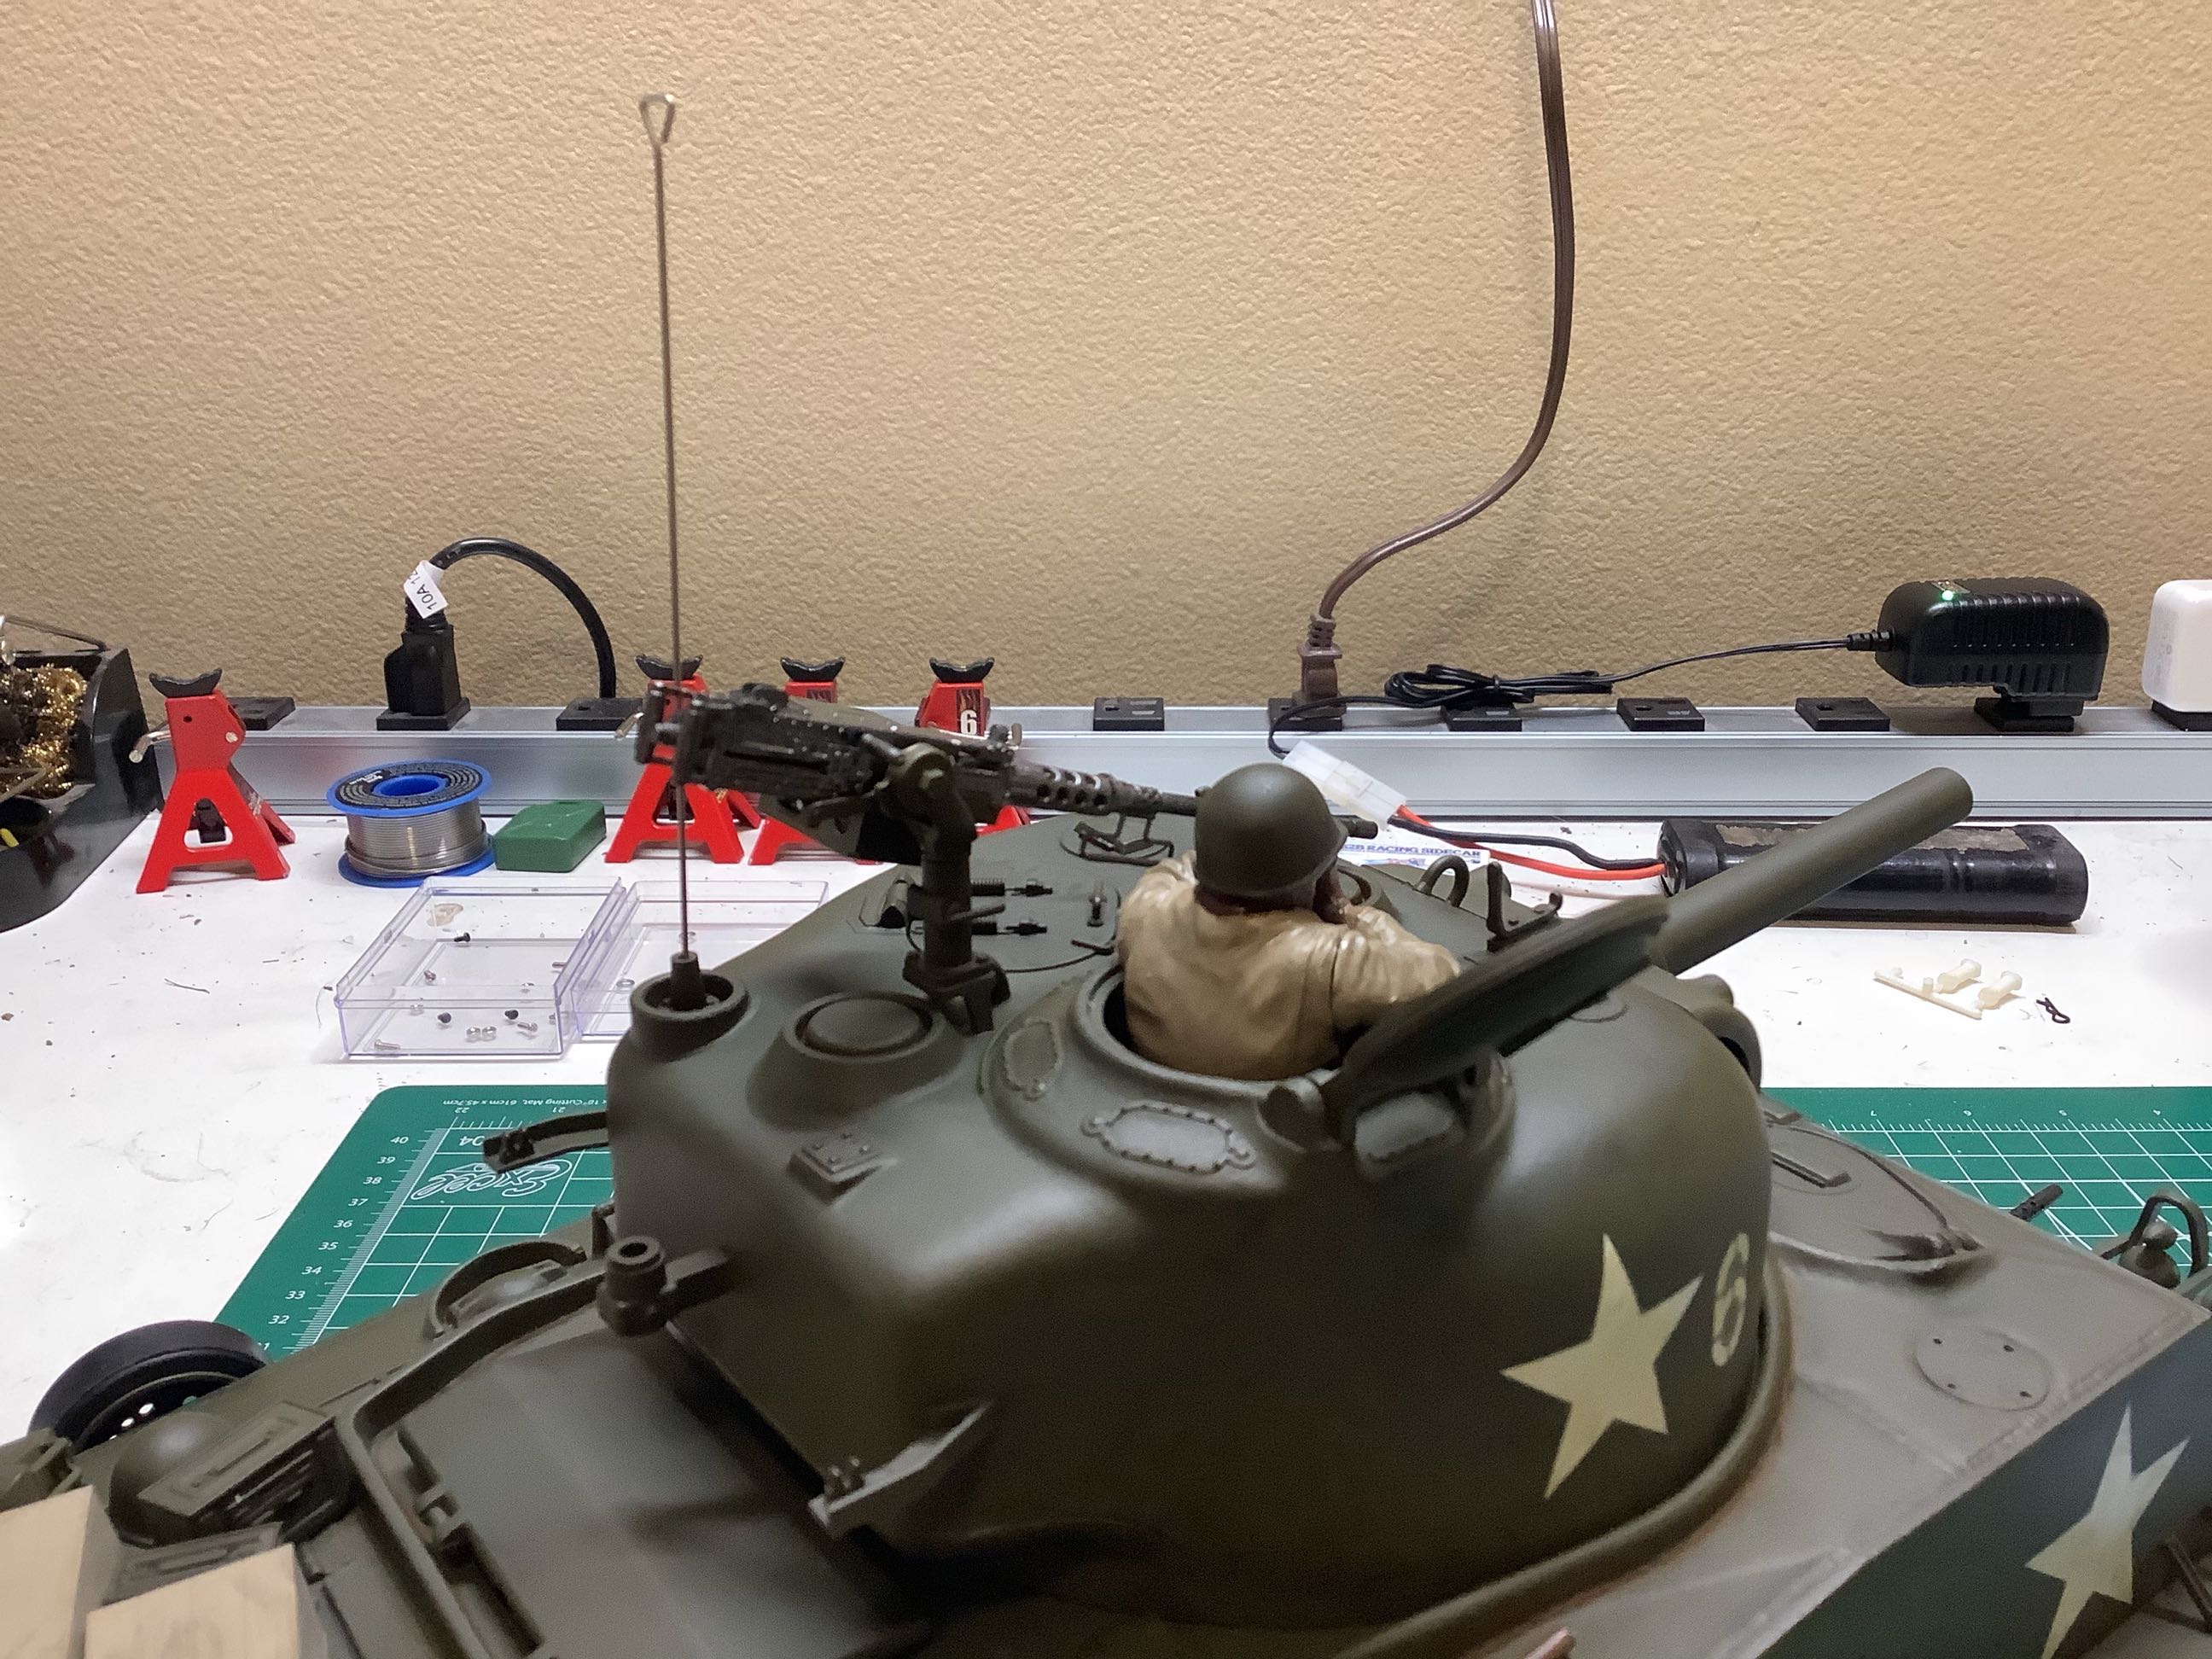
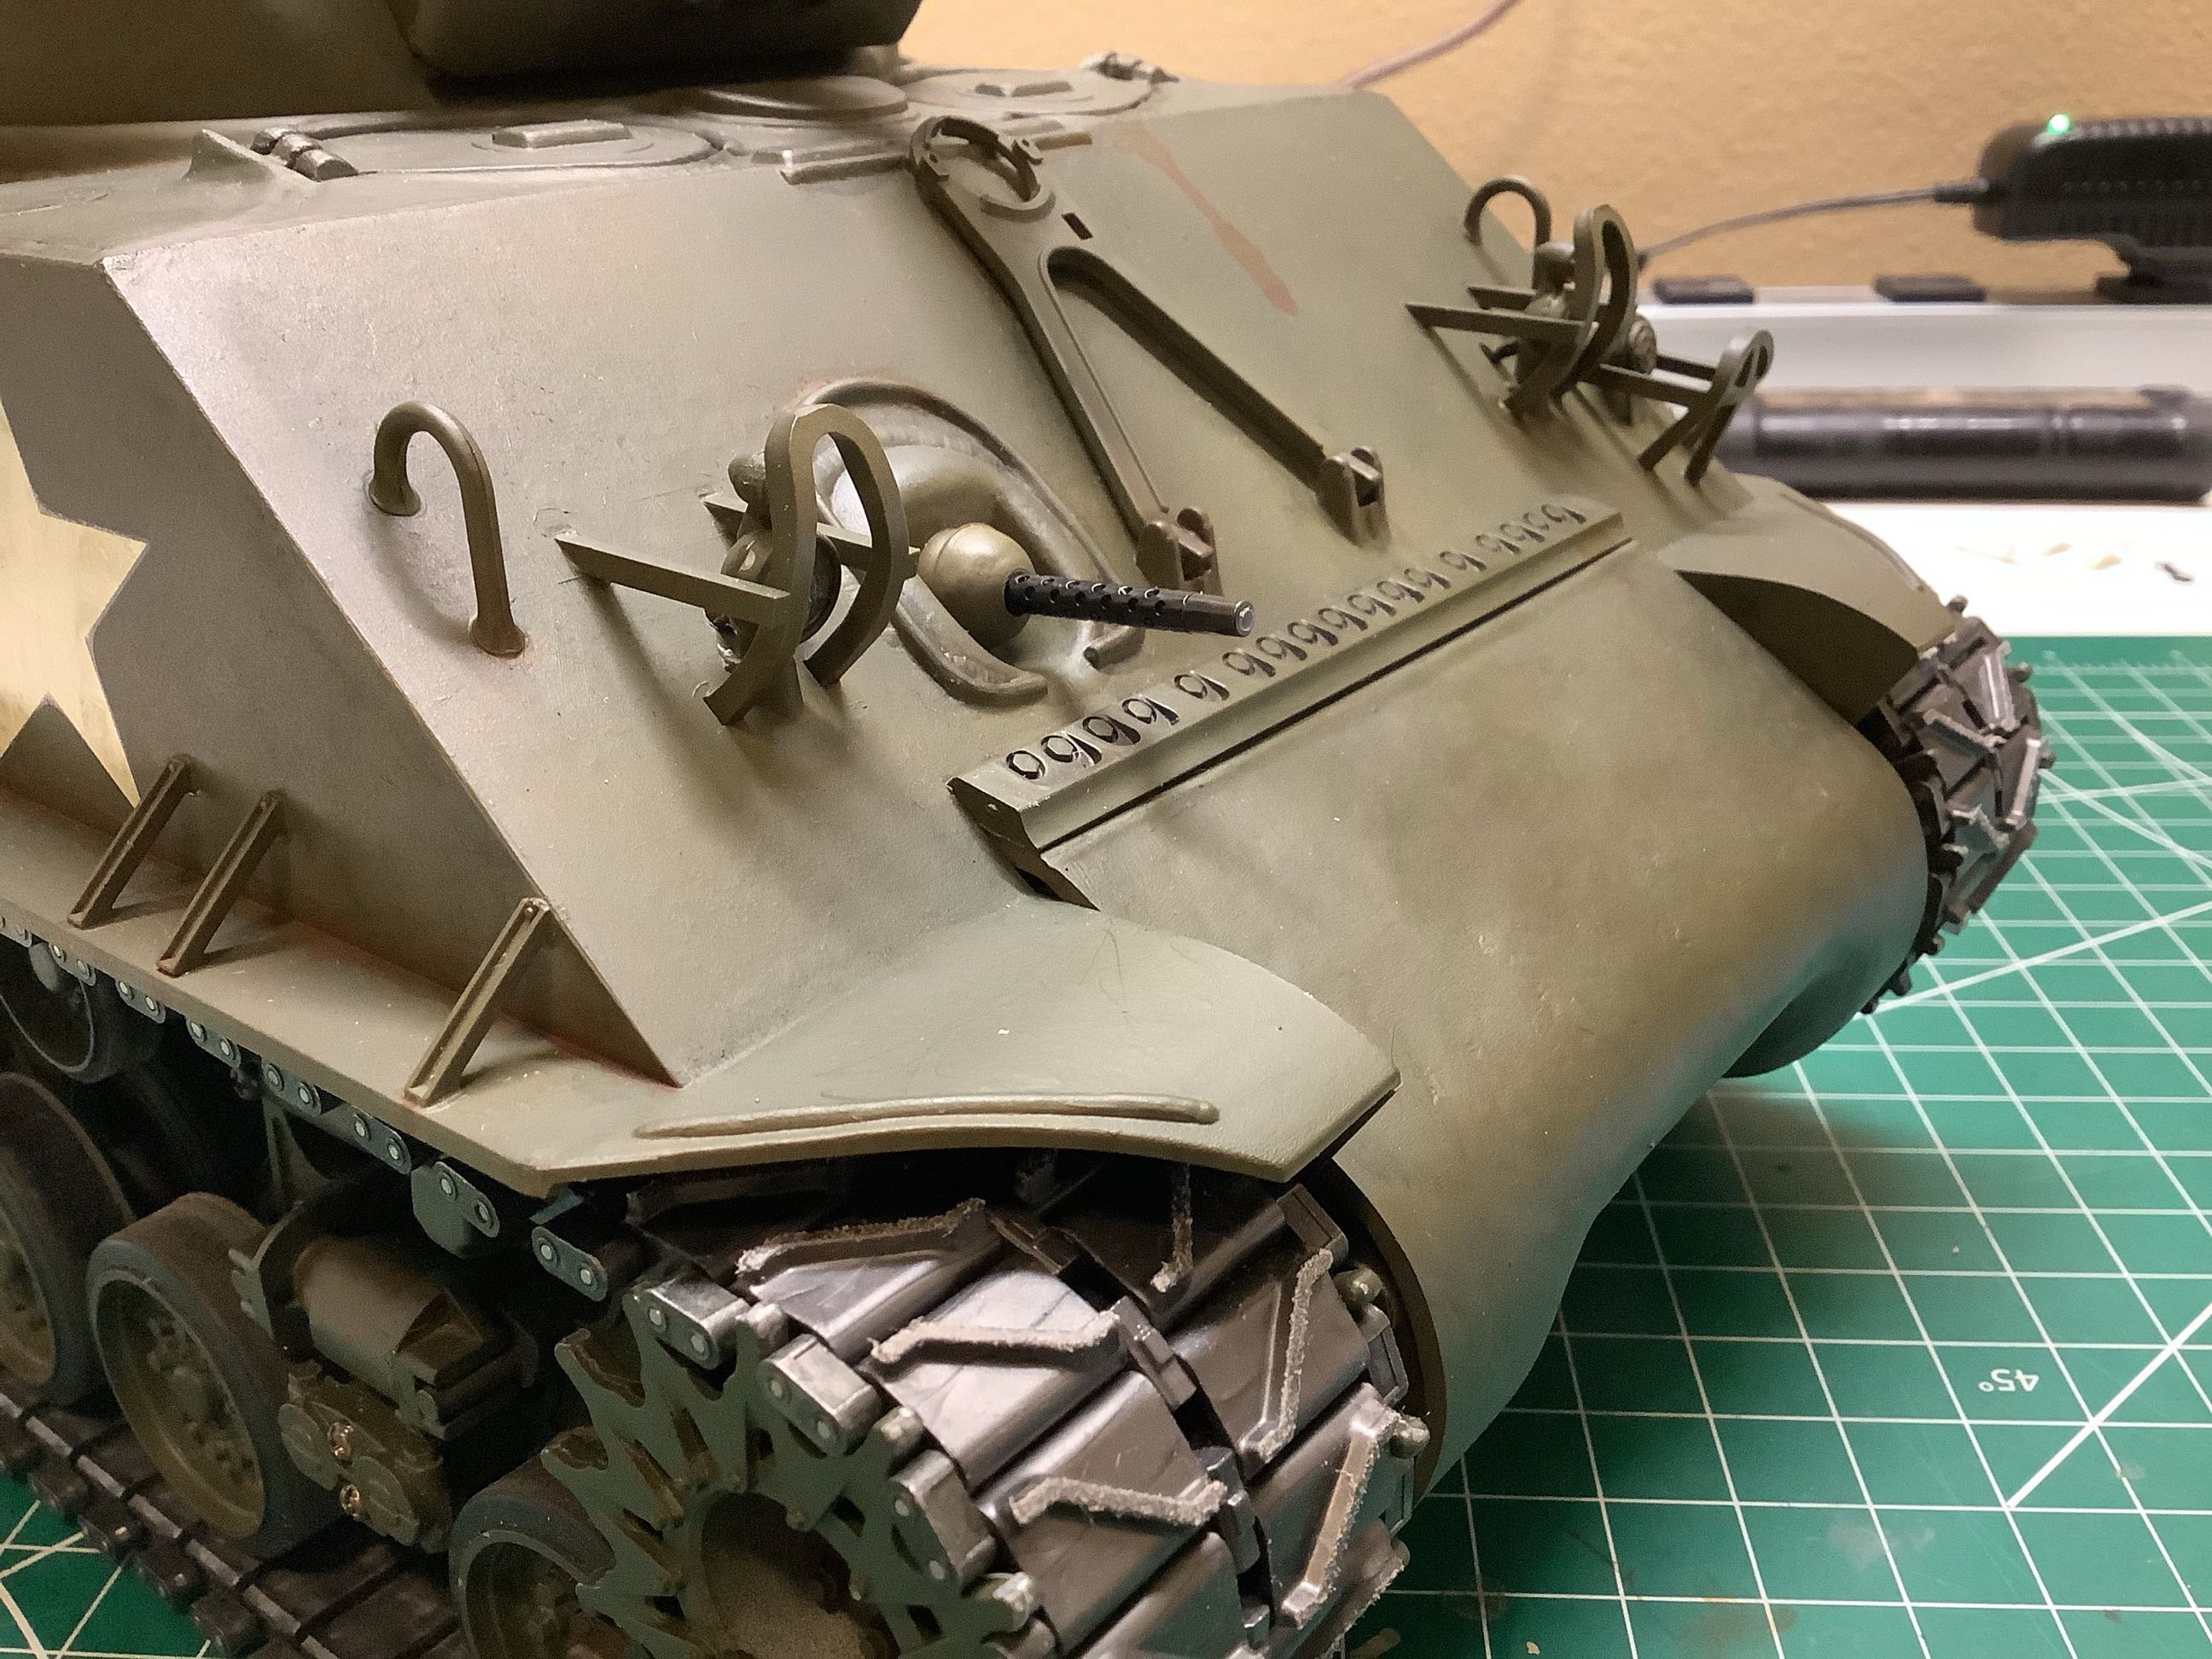
The kit comes with an external radio antenna (left) which is not needed
with a modern 2.4 GHz radio. Still, a real M4 is covered in
various radio antennas so I trimmed the wire antenna short and inserted
it as shown. I have no idea if it is even vaguely correct, but it
looks pretty good. You can also see the installed machine gun.
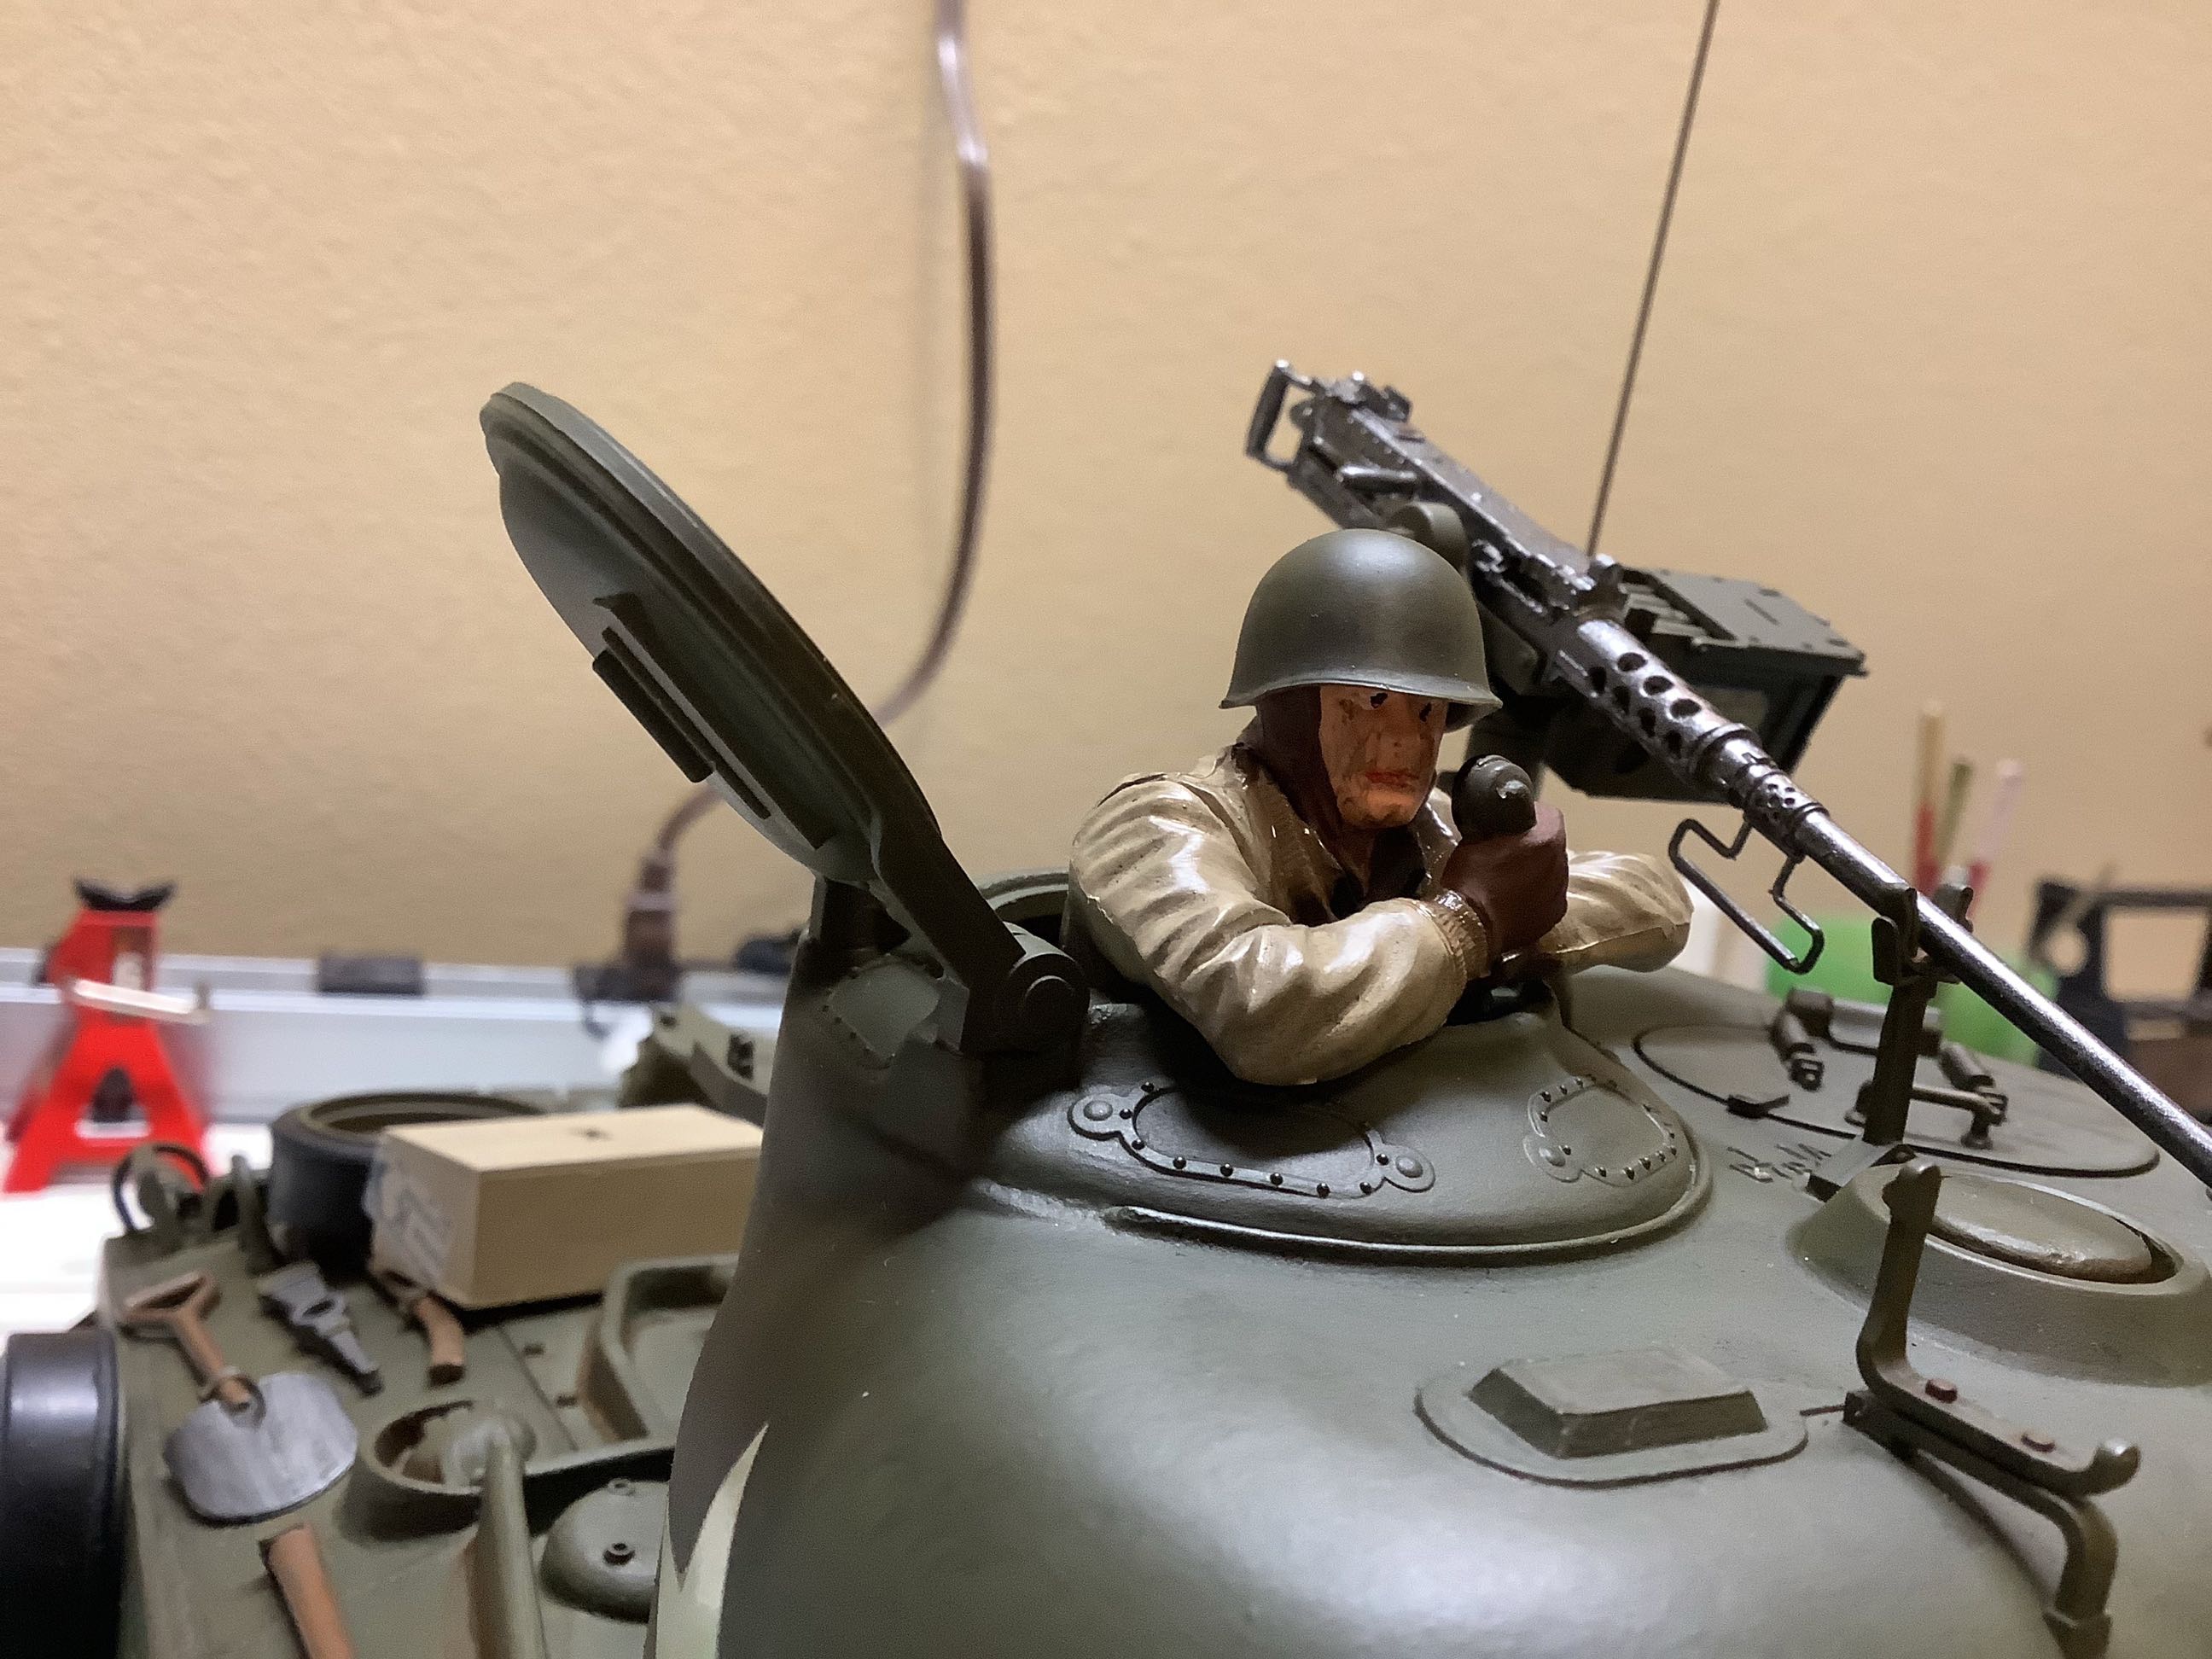
This tiny 1/16 scale driver figure required seven different shades of
paint, many of which I did not have available and had to acquire.
He came out pretty good except for my painting bane, the pupils.
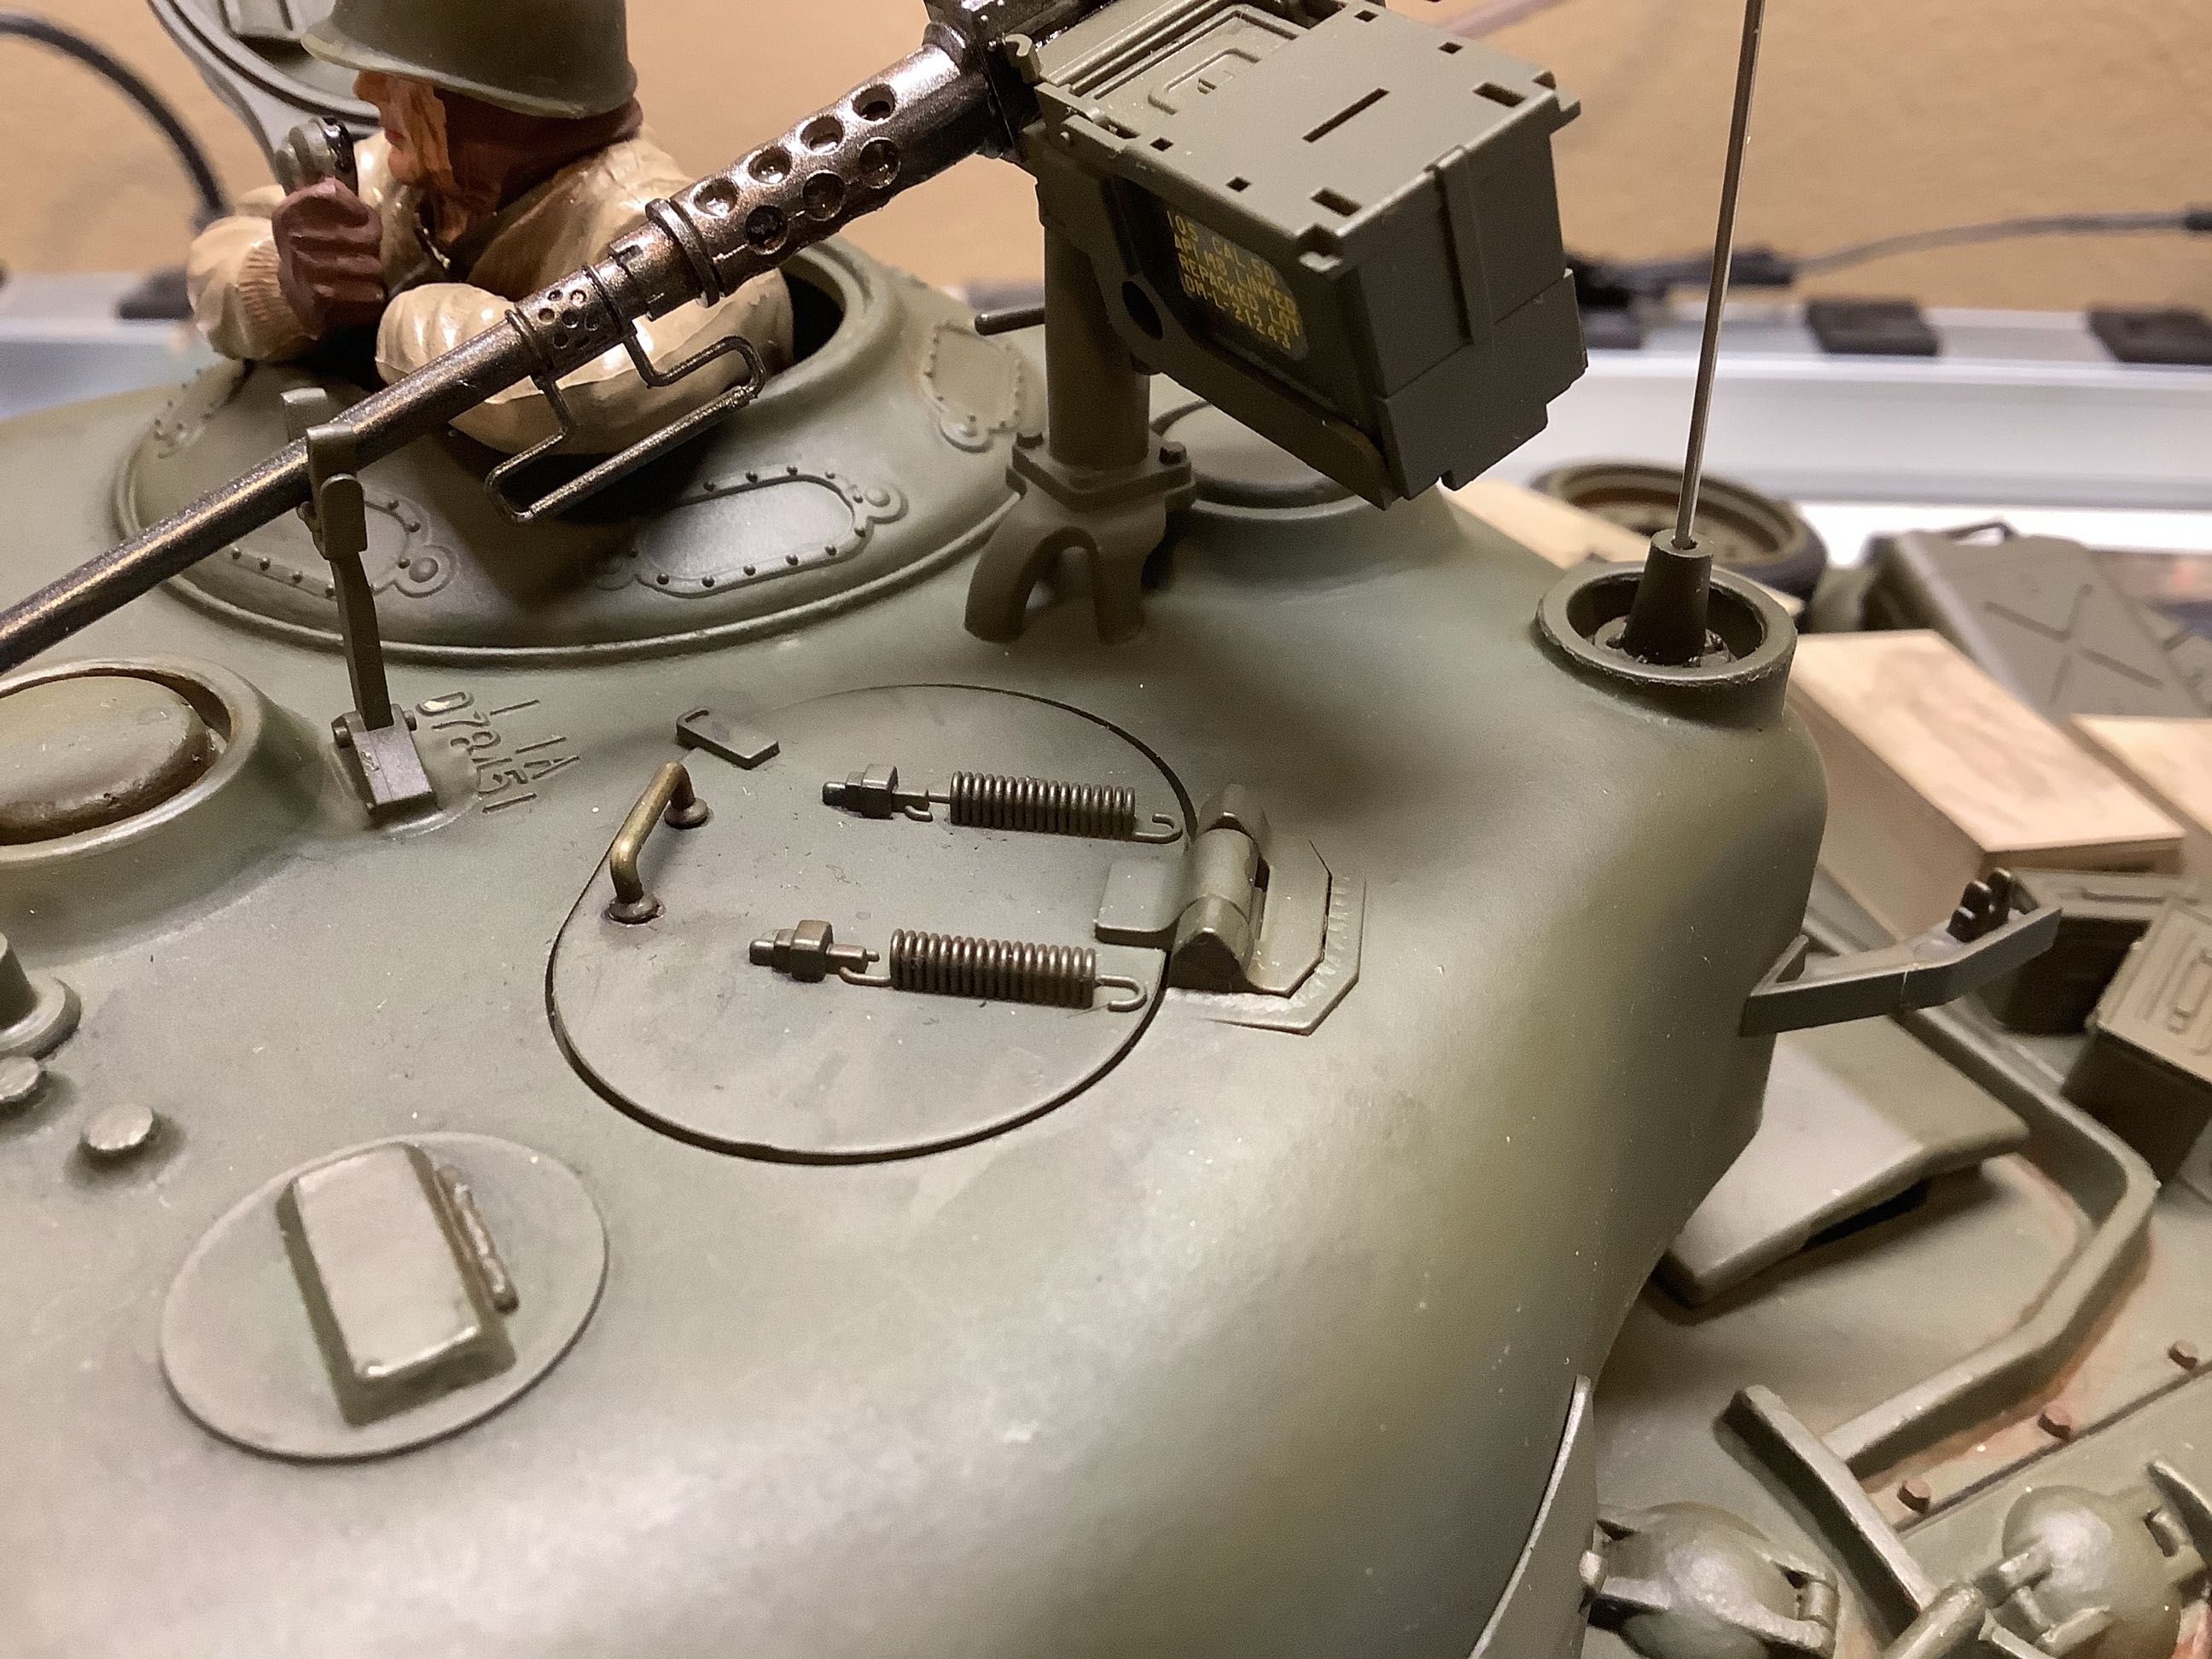
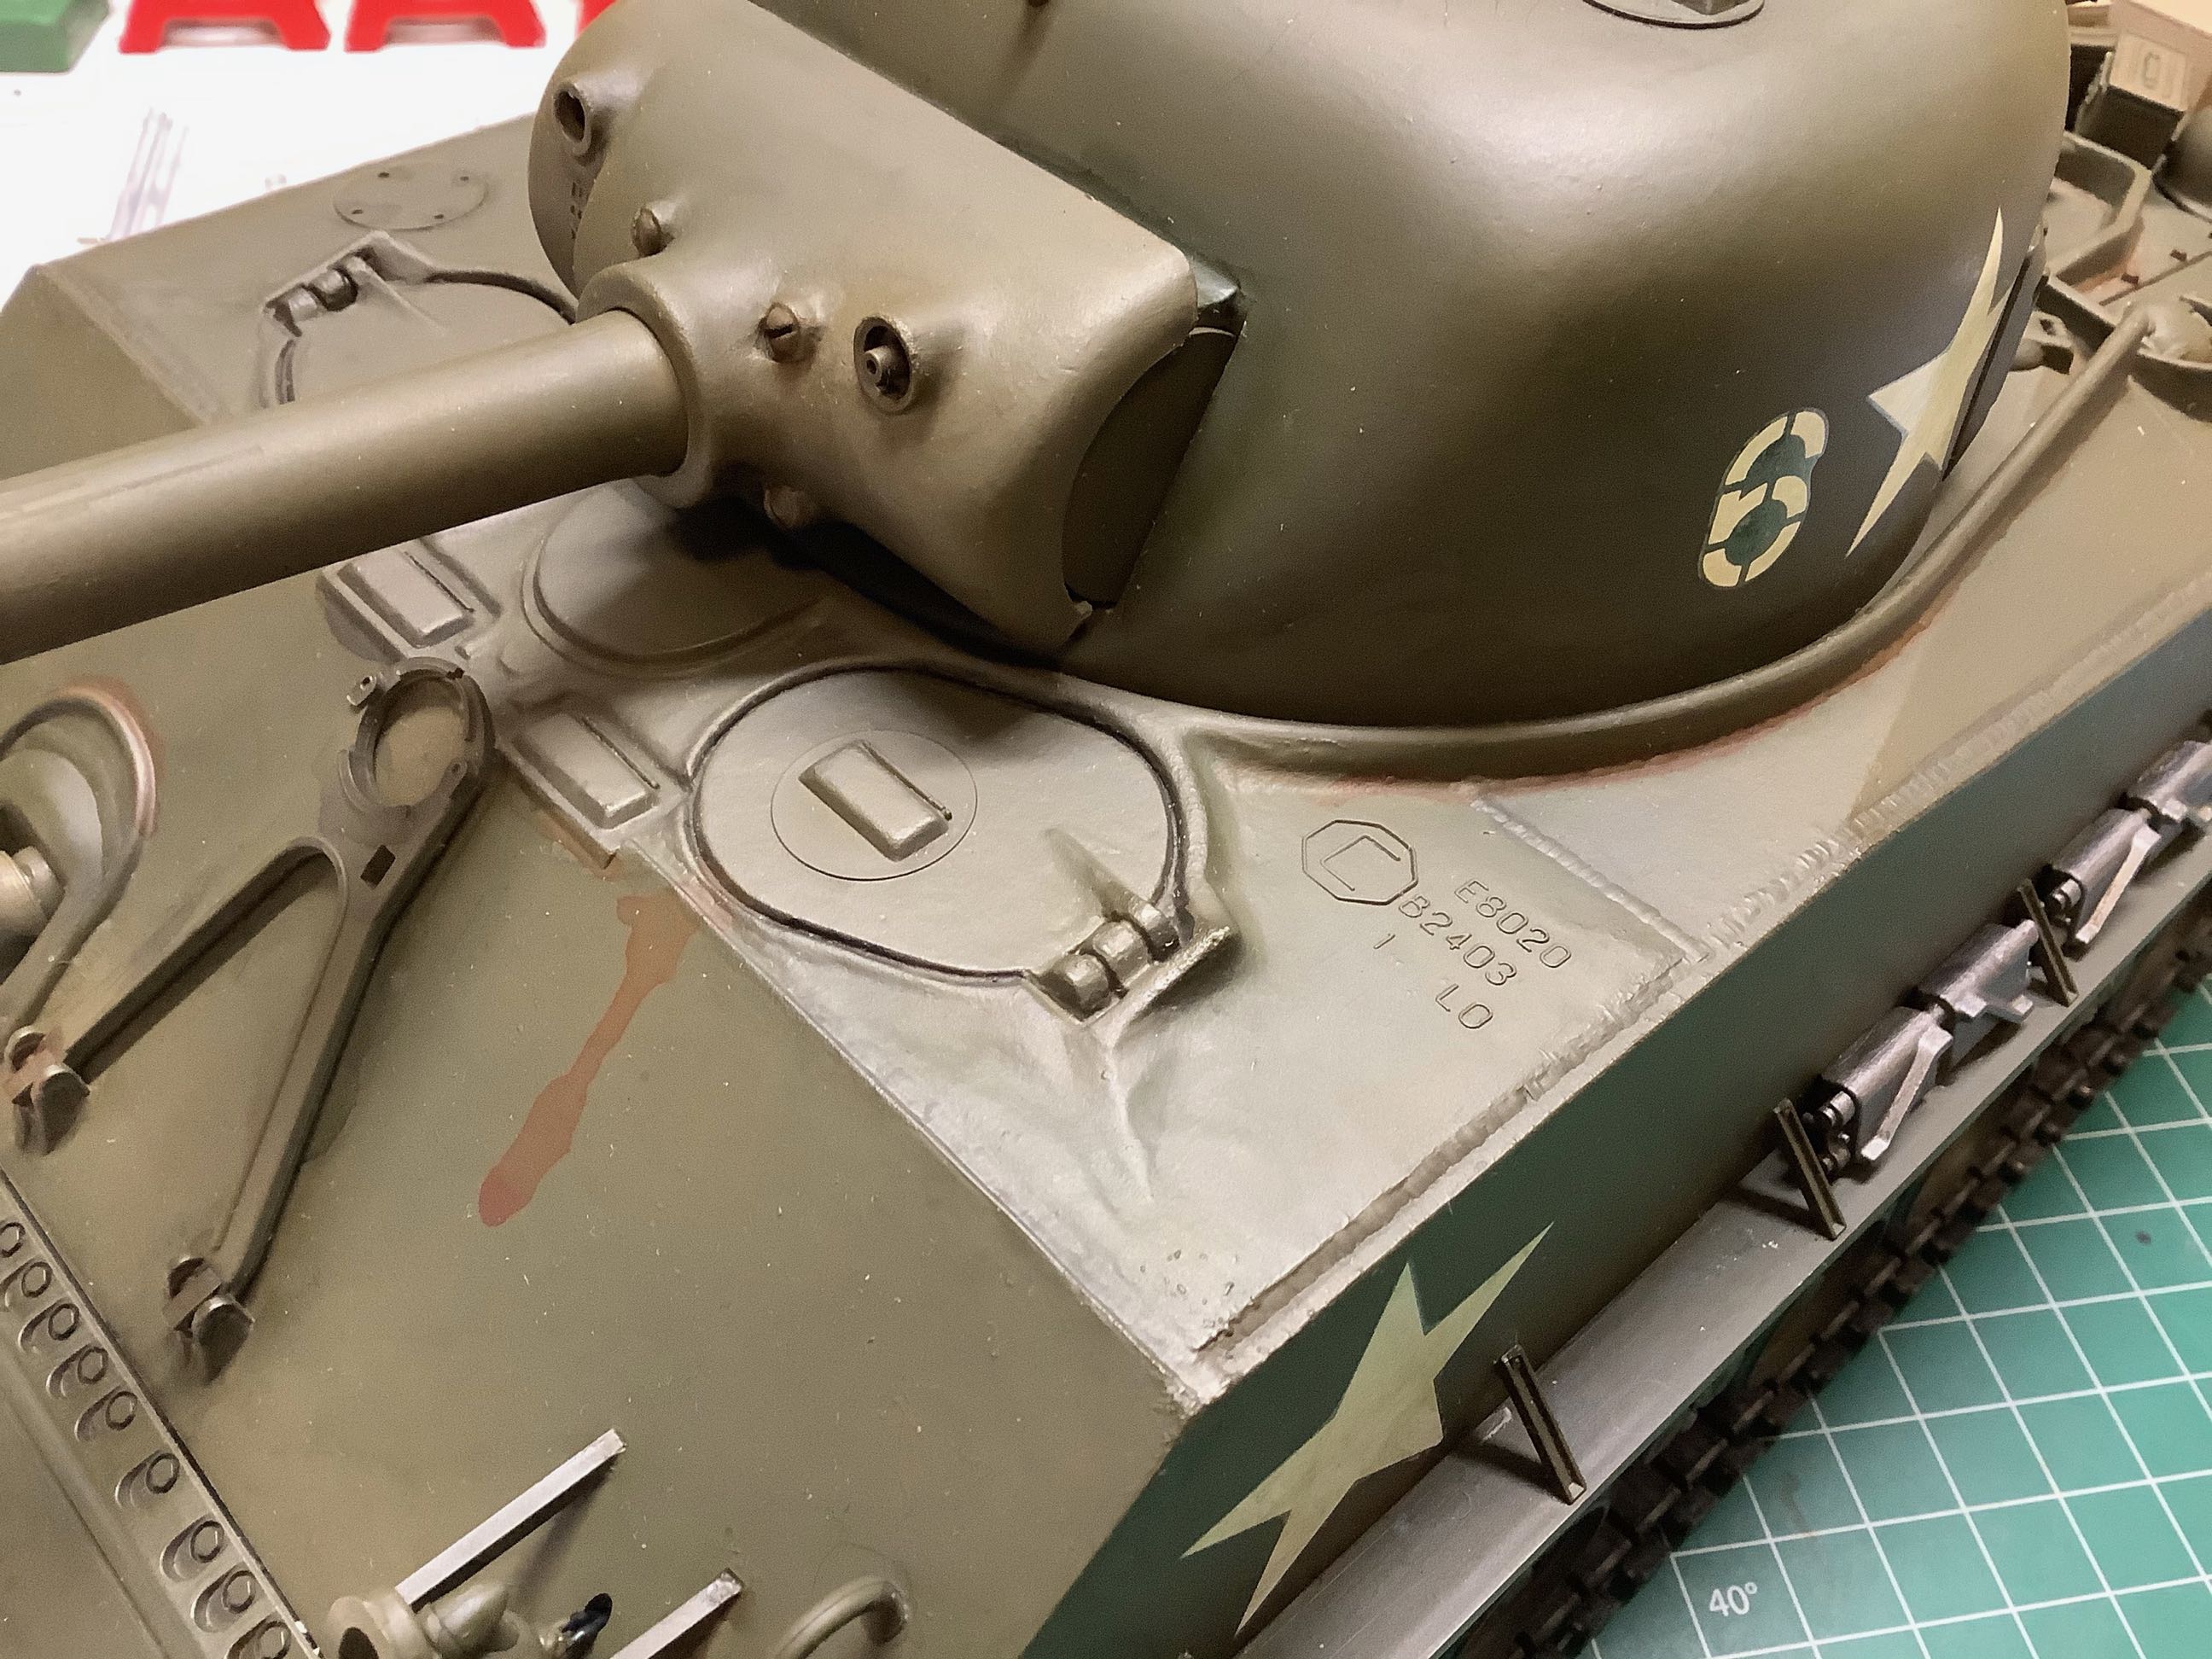
On the right I've added a bit of subtle weathering to the turret
including metal paint on the hatch springs and some rust wash around the
rivets and welds.
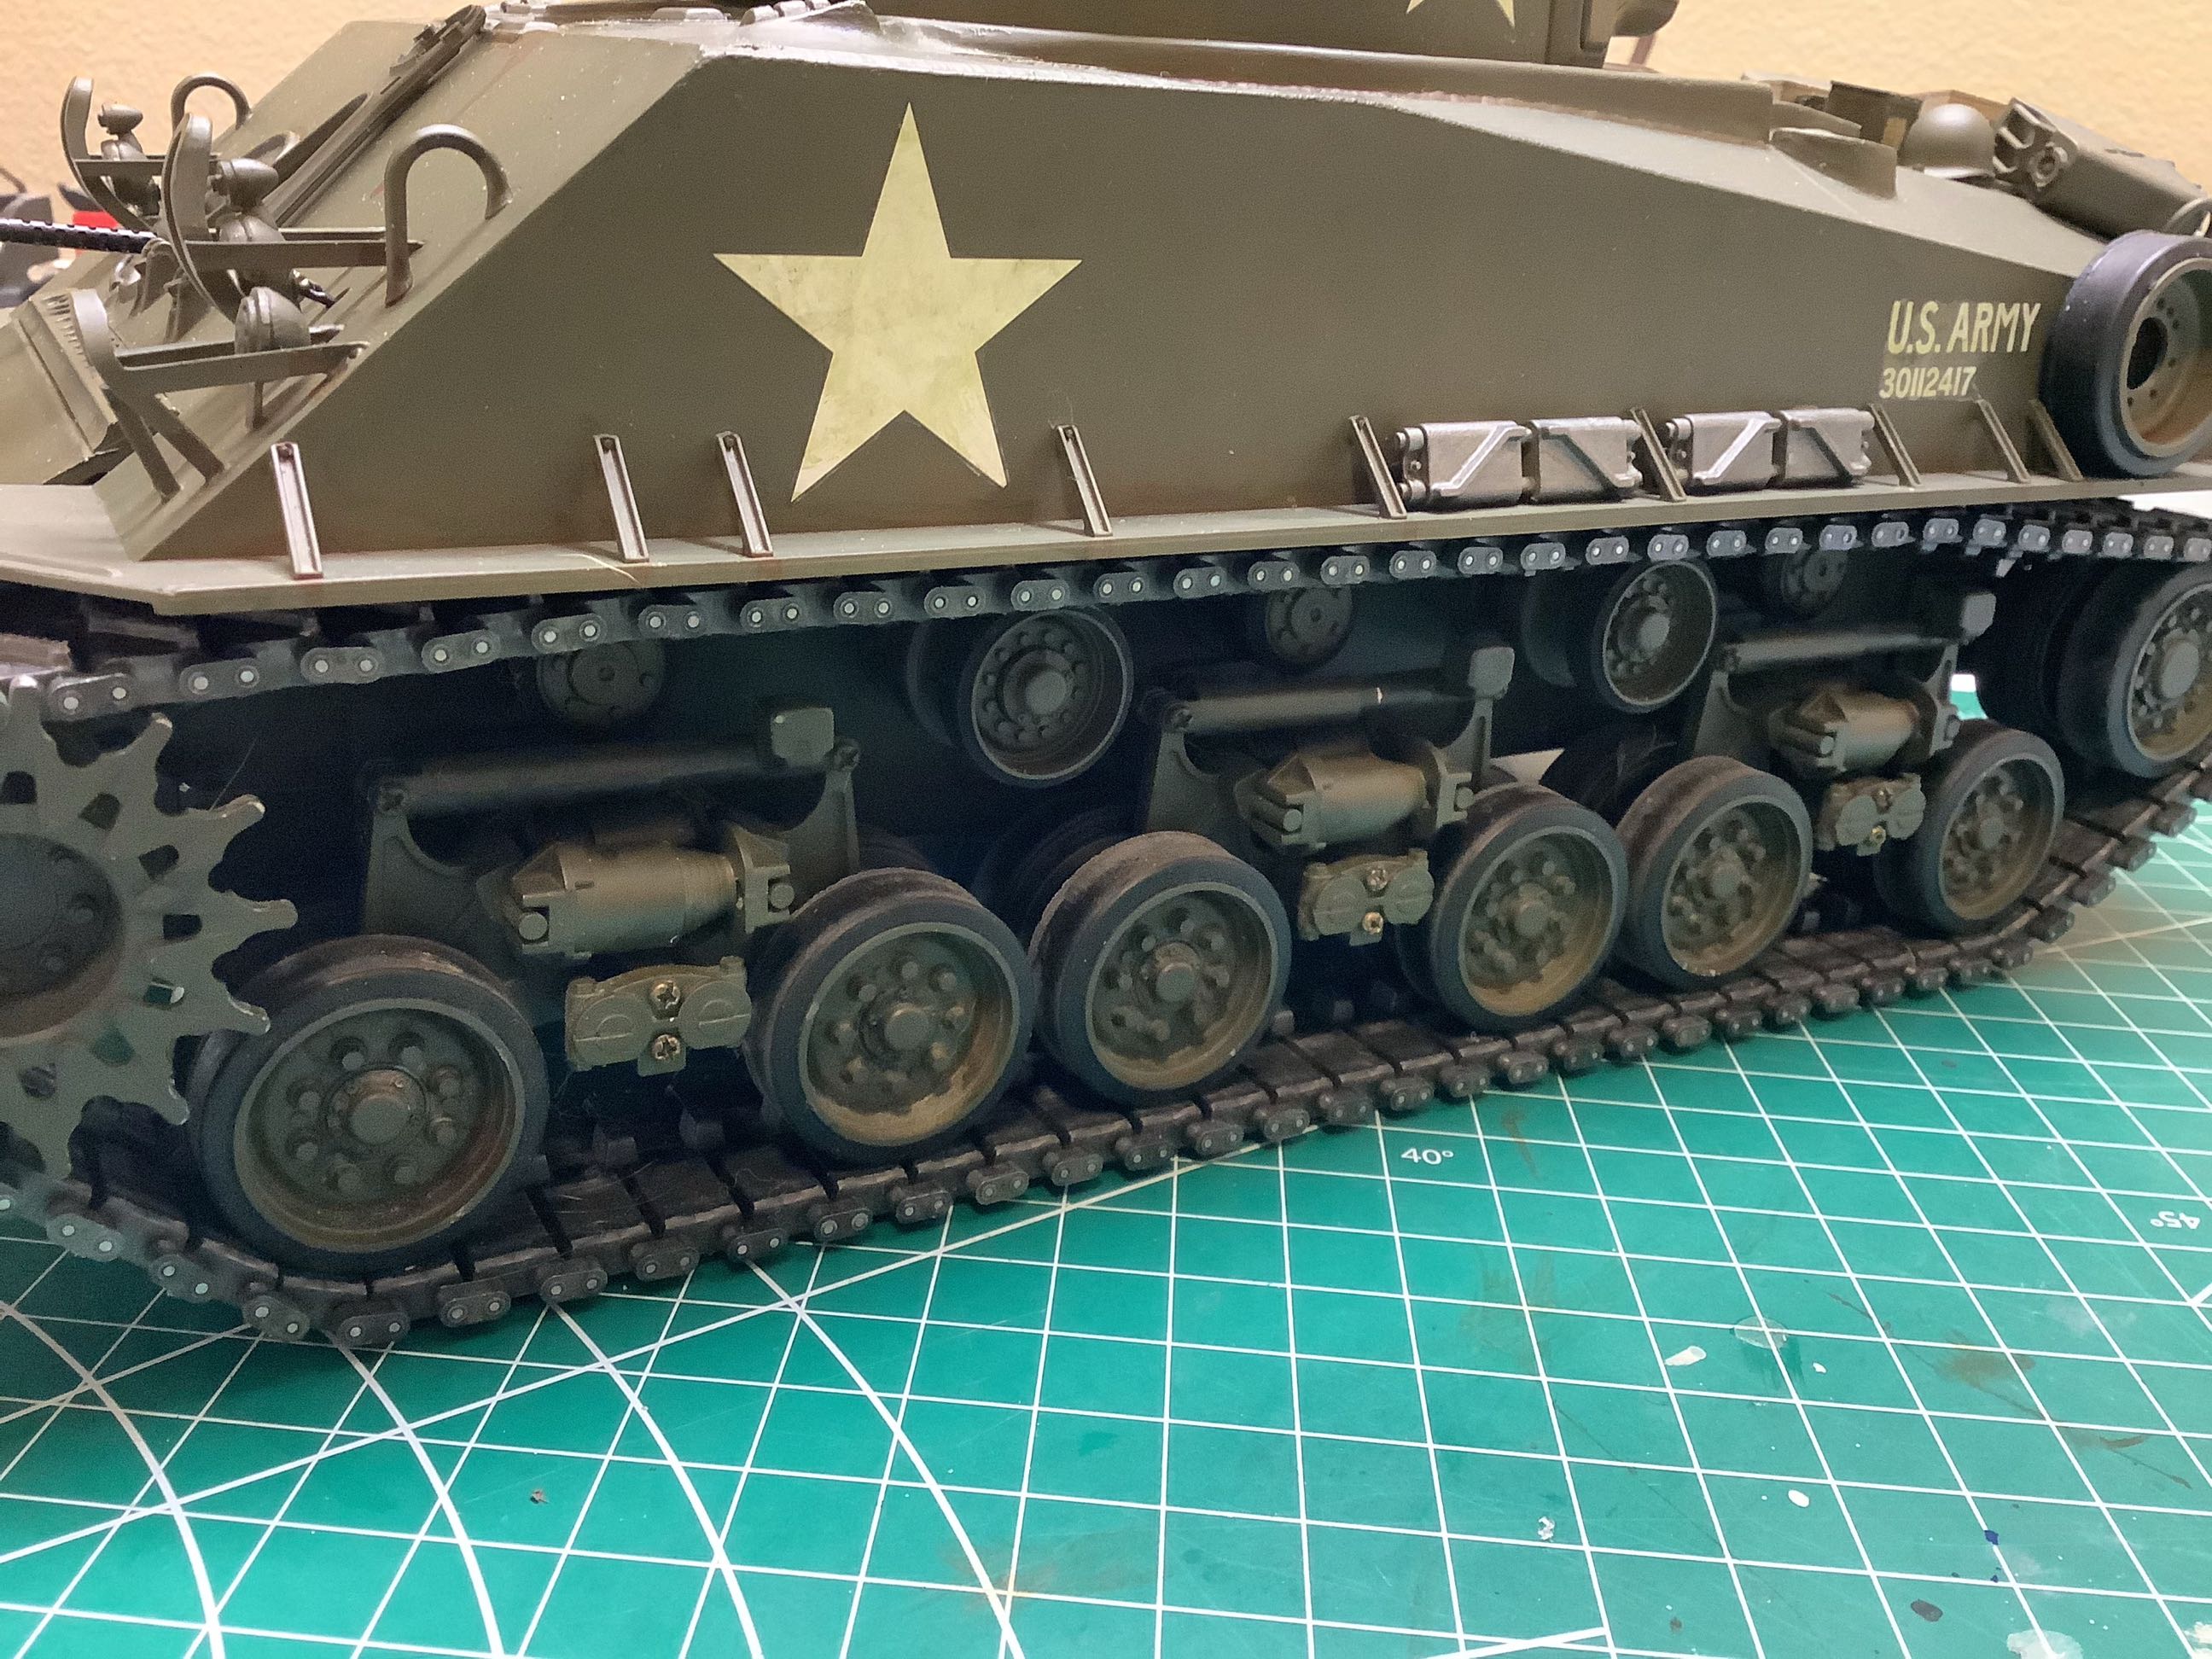
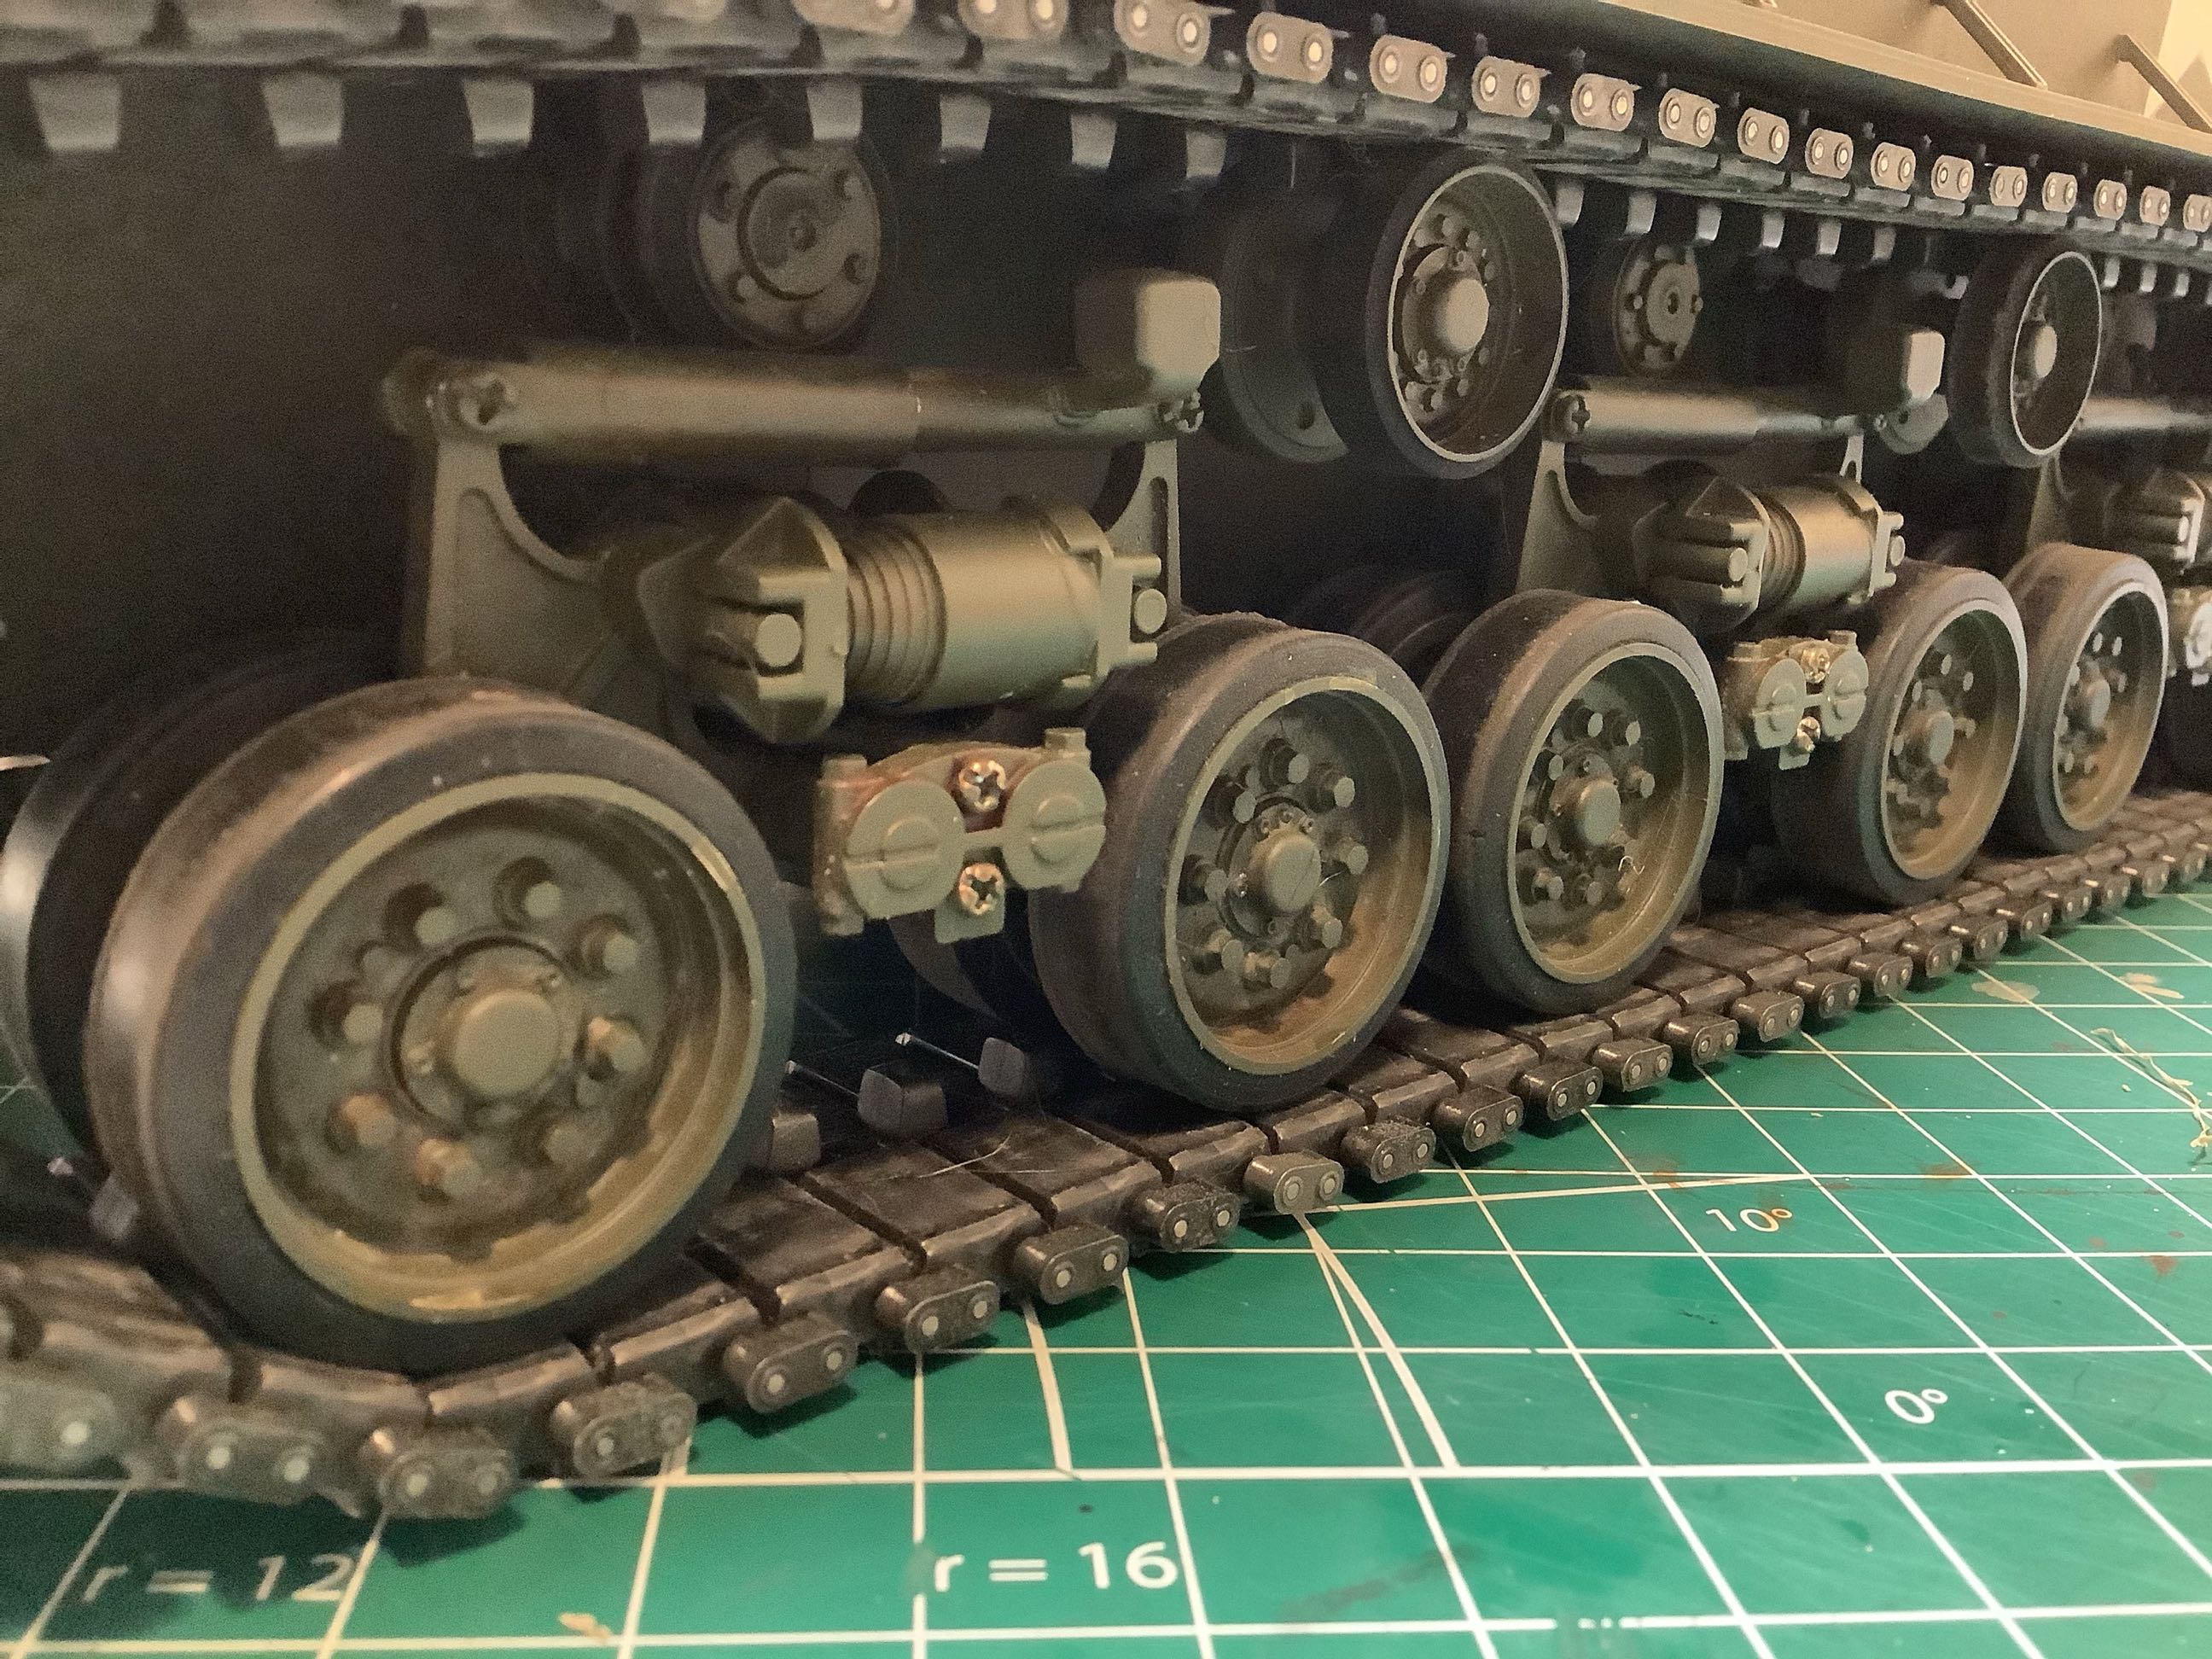
Here I've applied a green wash to the entire side of the hull to
simulate moss and/or mildew which made sense to me for a Pacific front
M4. I also added rust and grease colored washes to the suspension
and wheels as shown. This doesn't look filthy like a tank that has
been through the mud, but I think it adds some important realism.
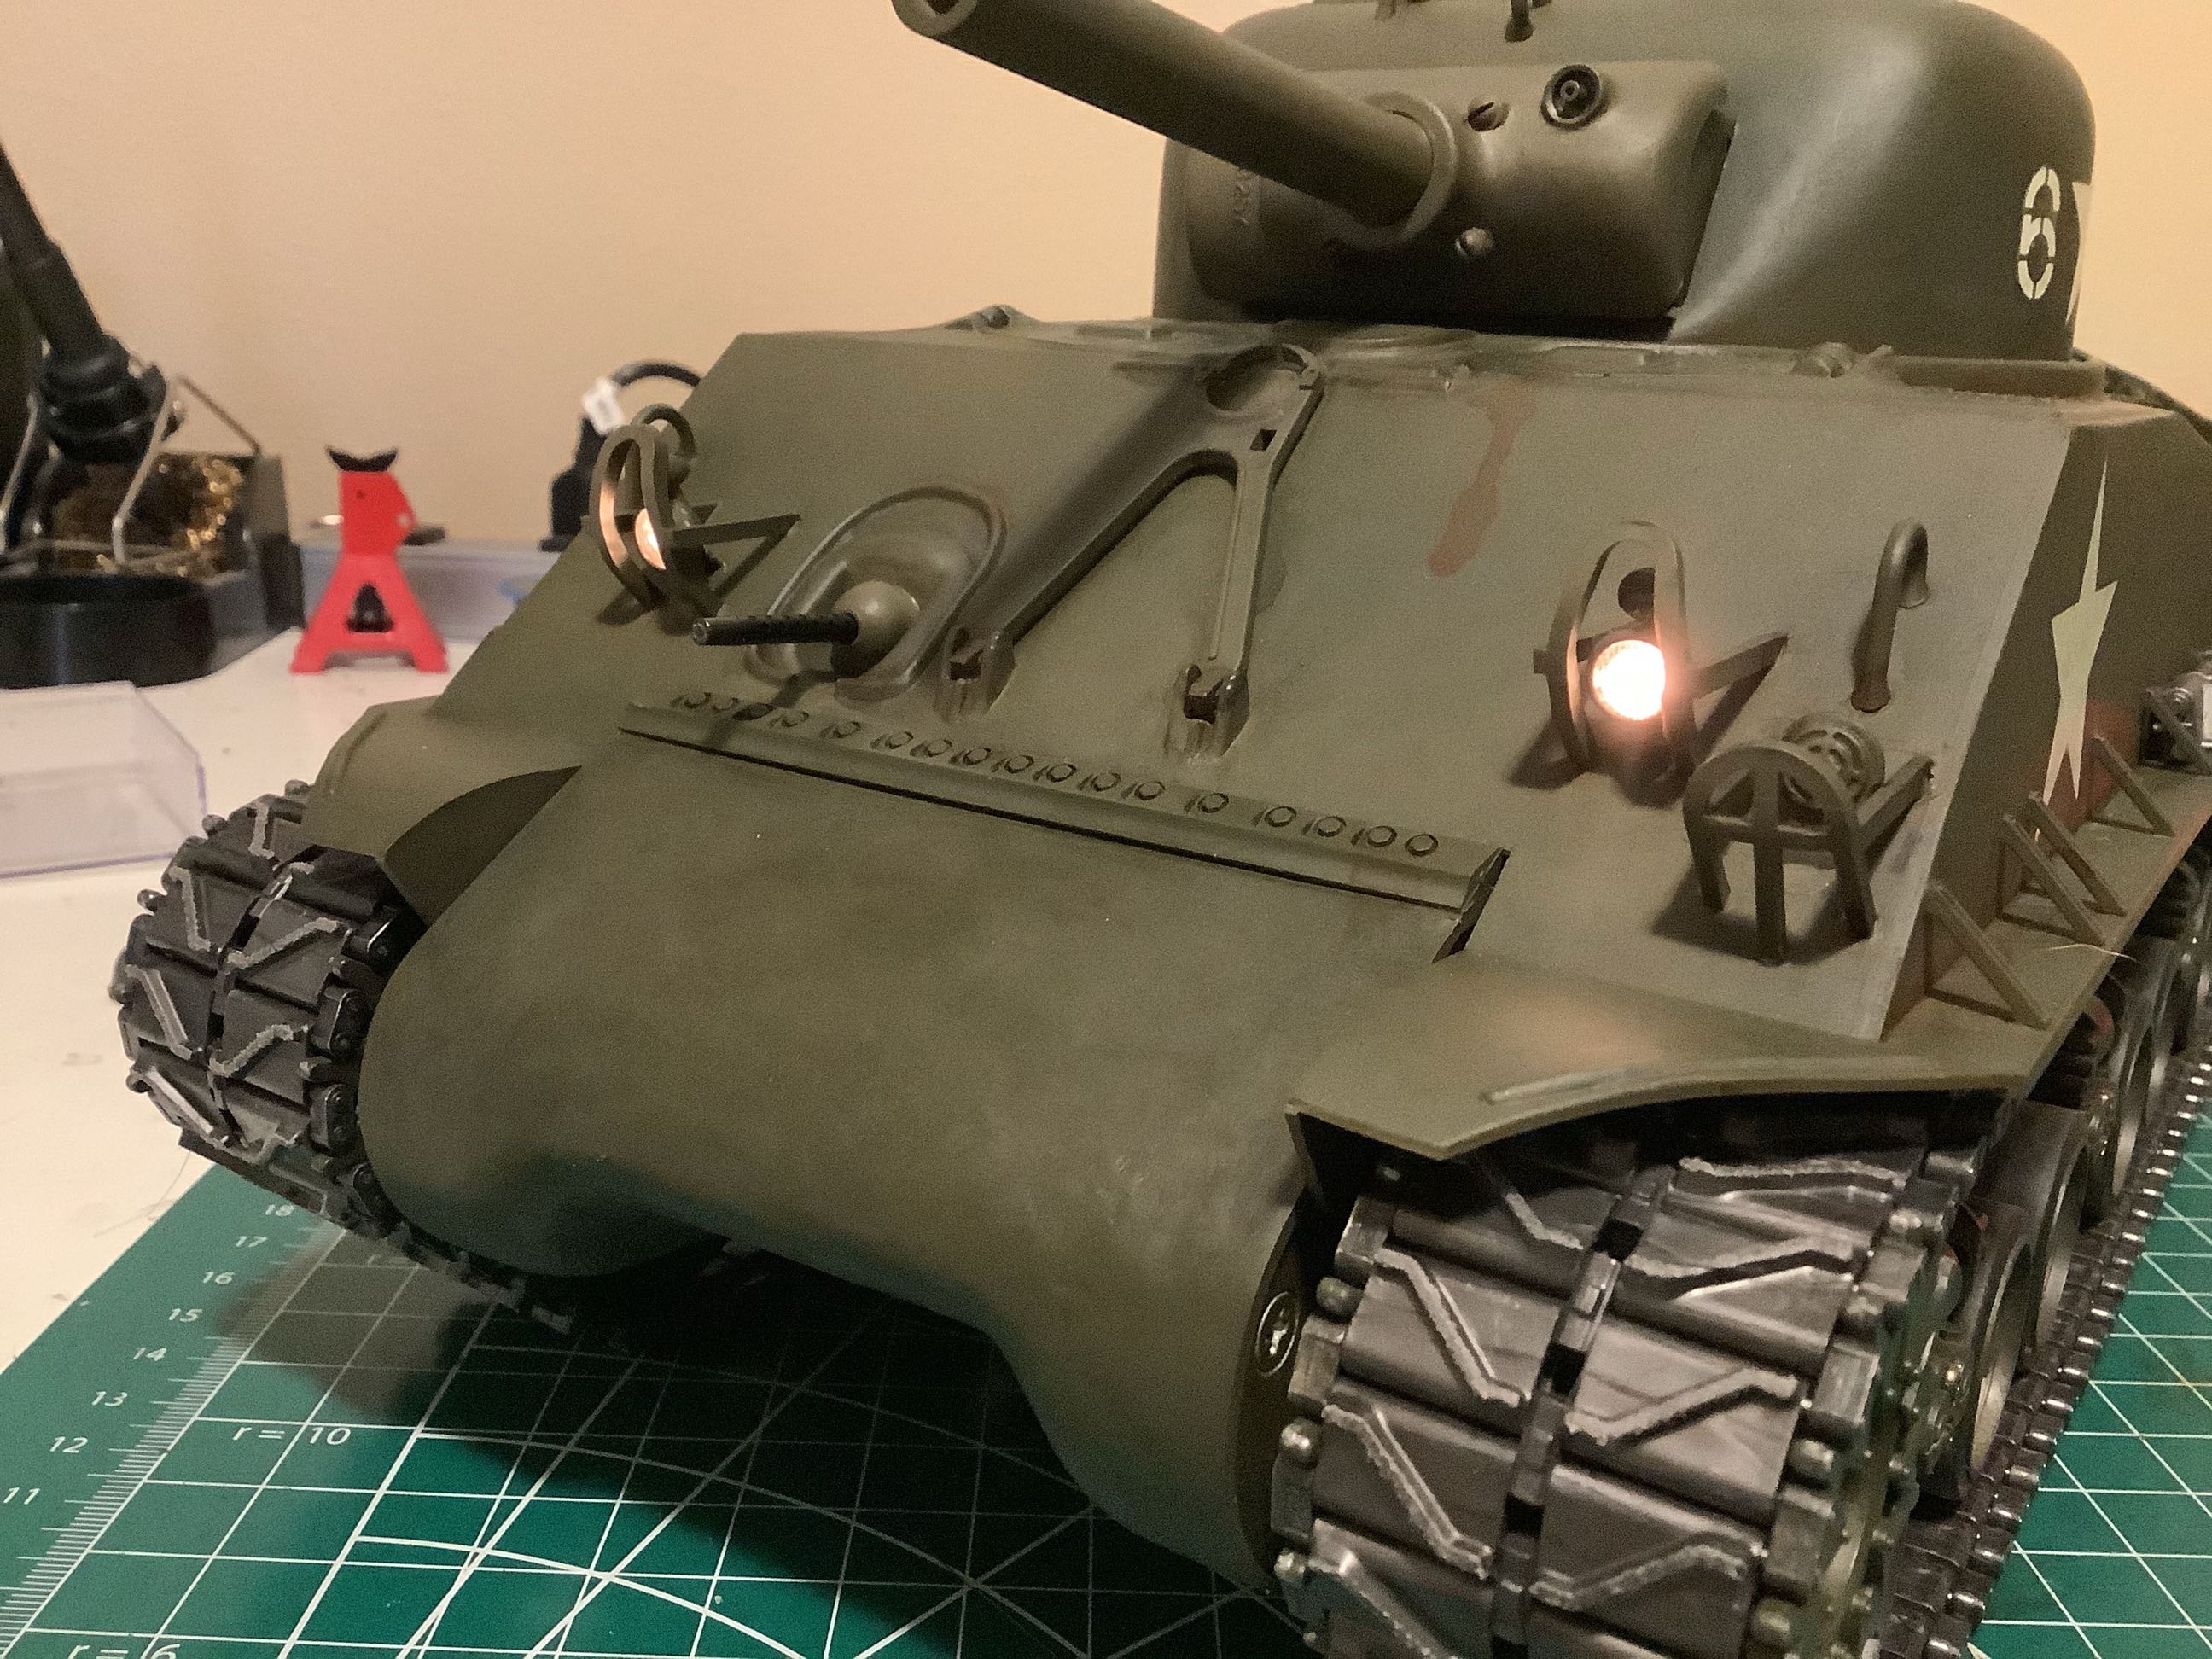
On the right you can see my attempt at some rusty water running down the
front of the hull and well as rust along the weld beads. Whether
or not it was successful is subjective. I also added soot to the
area around the exhaust in the rear, but you can't really see it in this
dark picture (right).
Here I've added more rust and grease weathering to the rear
accessories. I like how it came out on the spare road wheels,
looking like water has settled inside the rim and caused some
rust. More detail is shown on the right.
These two pictures show the completed model with the lights turned
on. The lights are not particularly bright, but they show up well
in a dark room.
©2021 Eric Albrecht