Tamiya Land Rover Defender Project
Page 2: Body Assembly
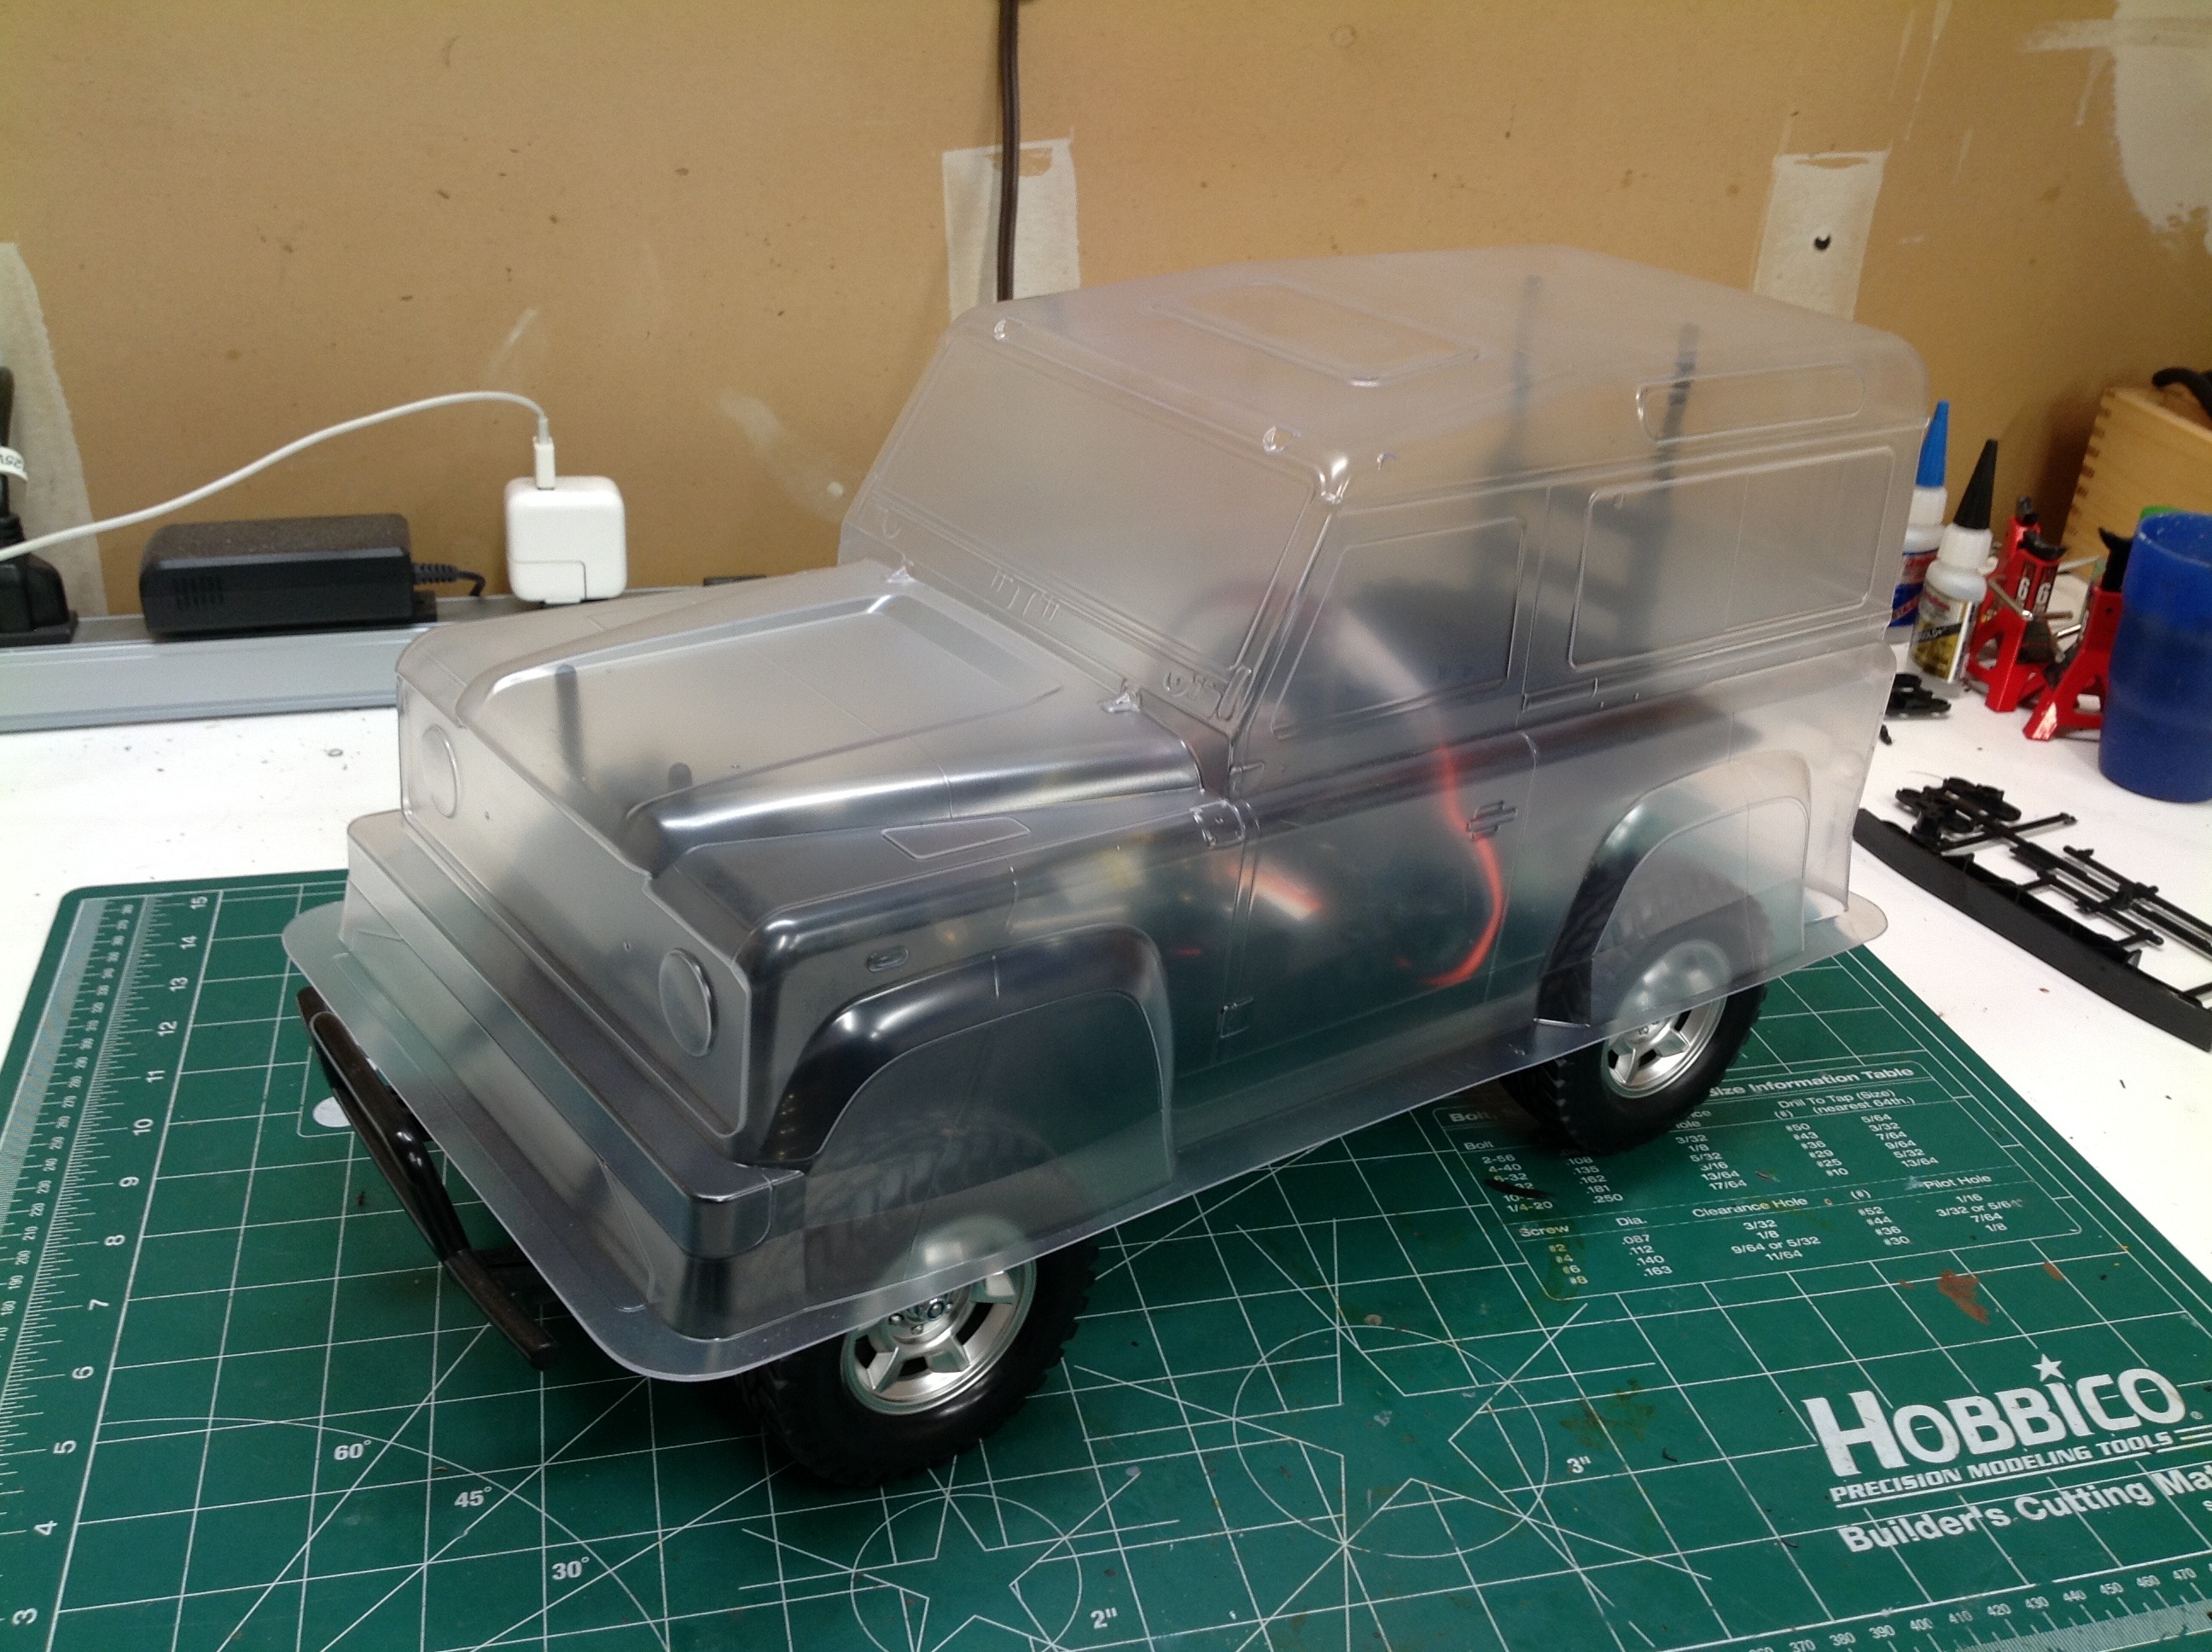
Sometimes I forget how much work it is to properly prepare a Tamiya
polycarbonate body. In general I much prefer hard bodies for their
detail and accuracy, but this particular clear body has a lot of scale
detail and attached parts. You can tell by how many holes I had to
ream. There are 22 holes to make per the instructions, by far the
most of any Lexan body I've made so far. The picture above shows a
dry fit of the body before any preparation.
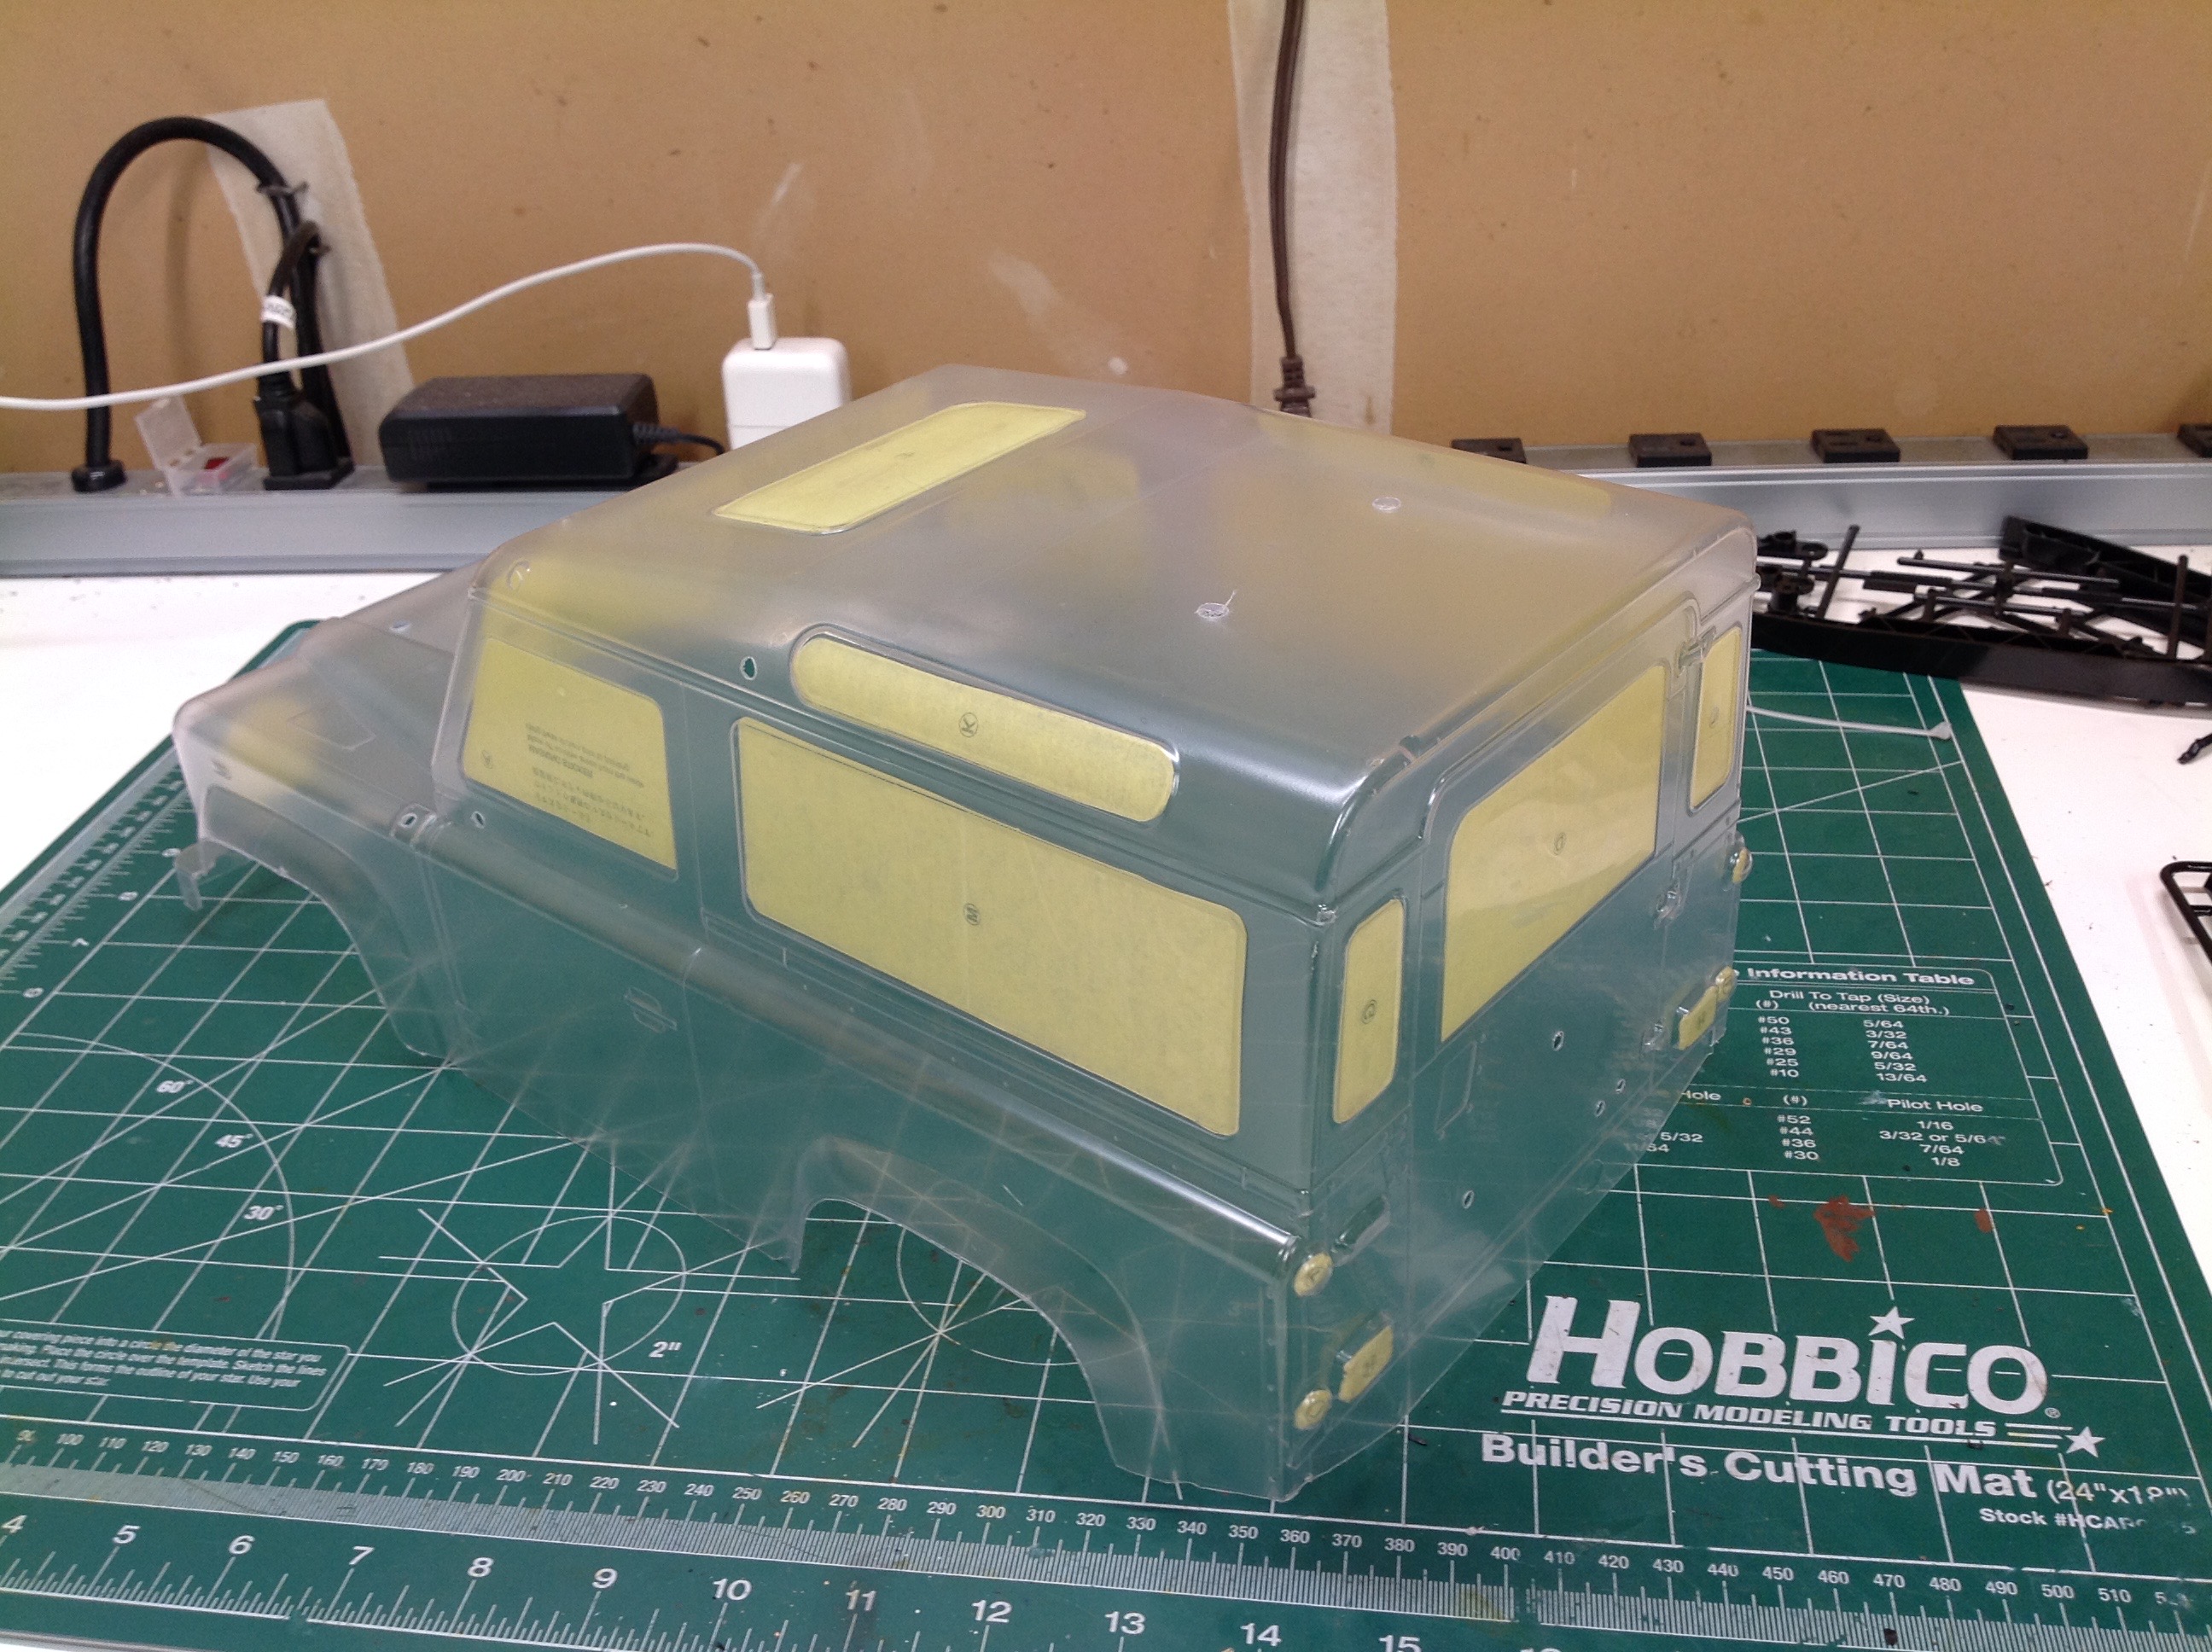
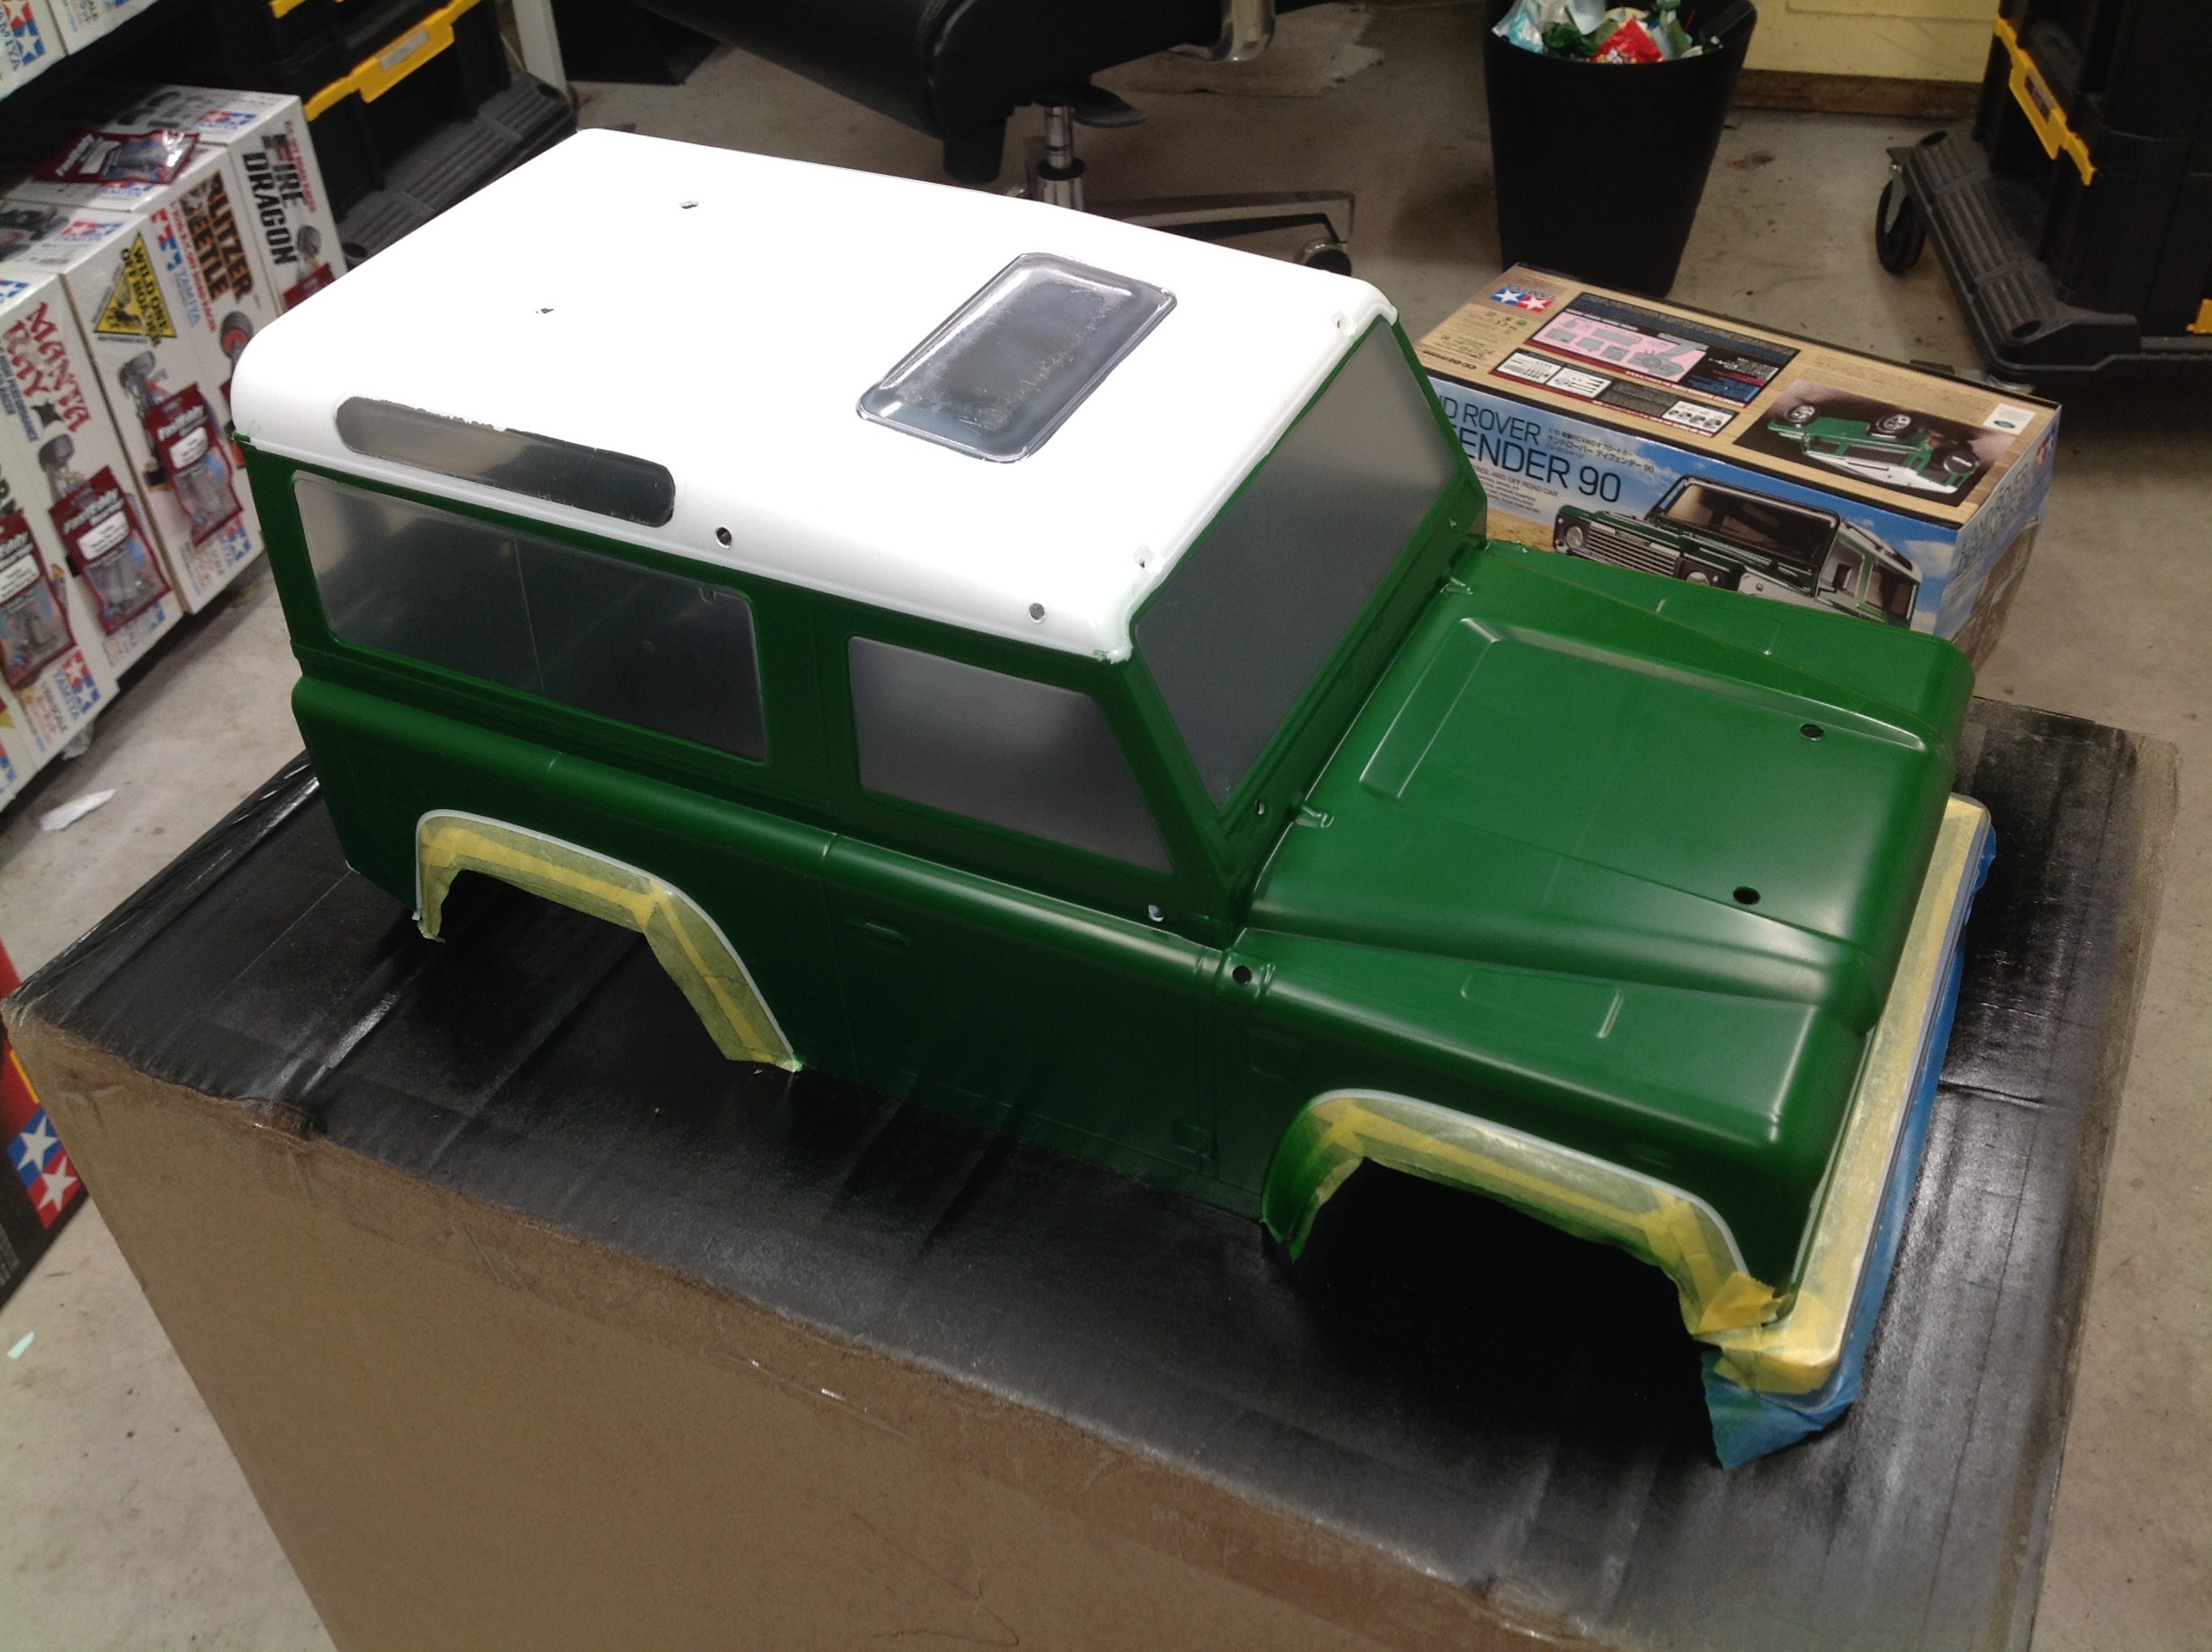
After cutting out the body and drilling the holes, the next step is to
install the 19 window masks as shown on the left. That's right,
there are 19 windows if you include the tail light lenses. On the
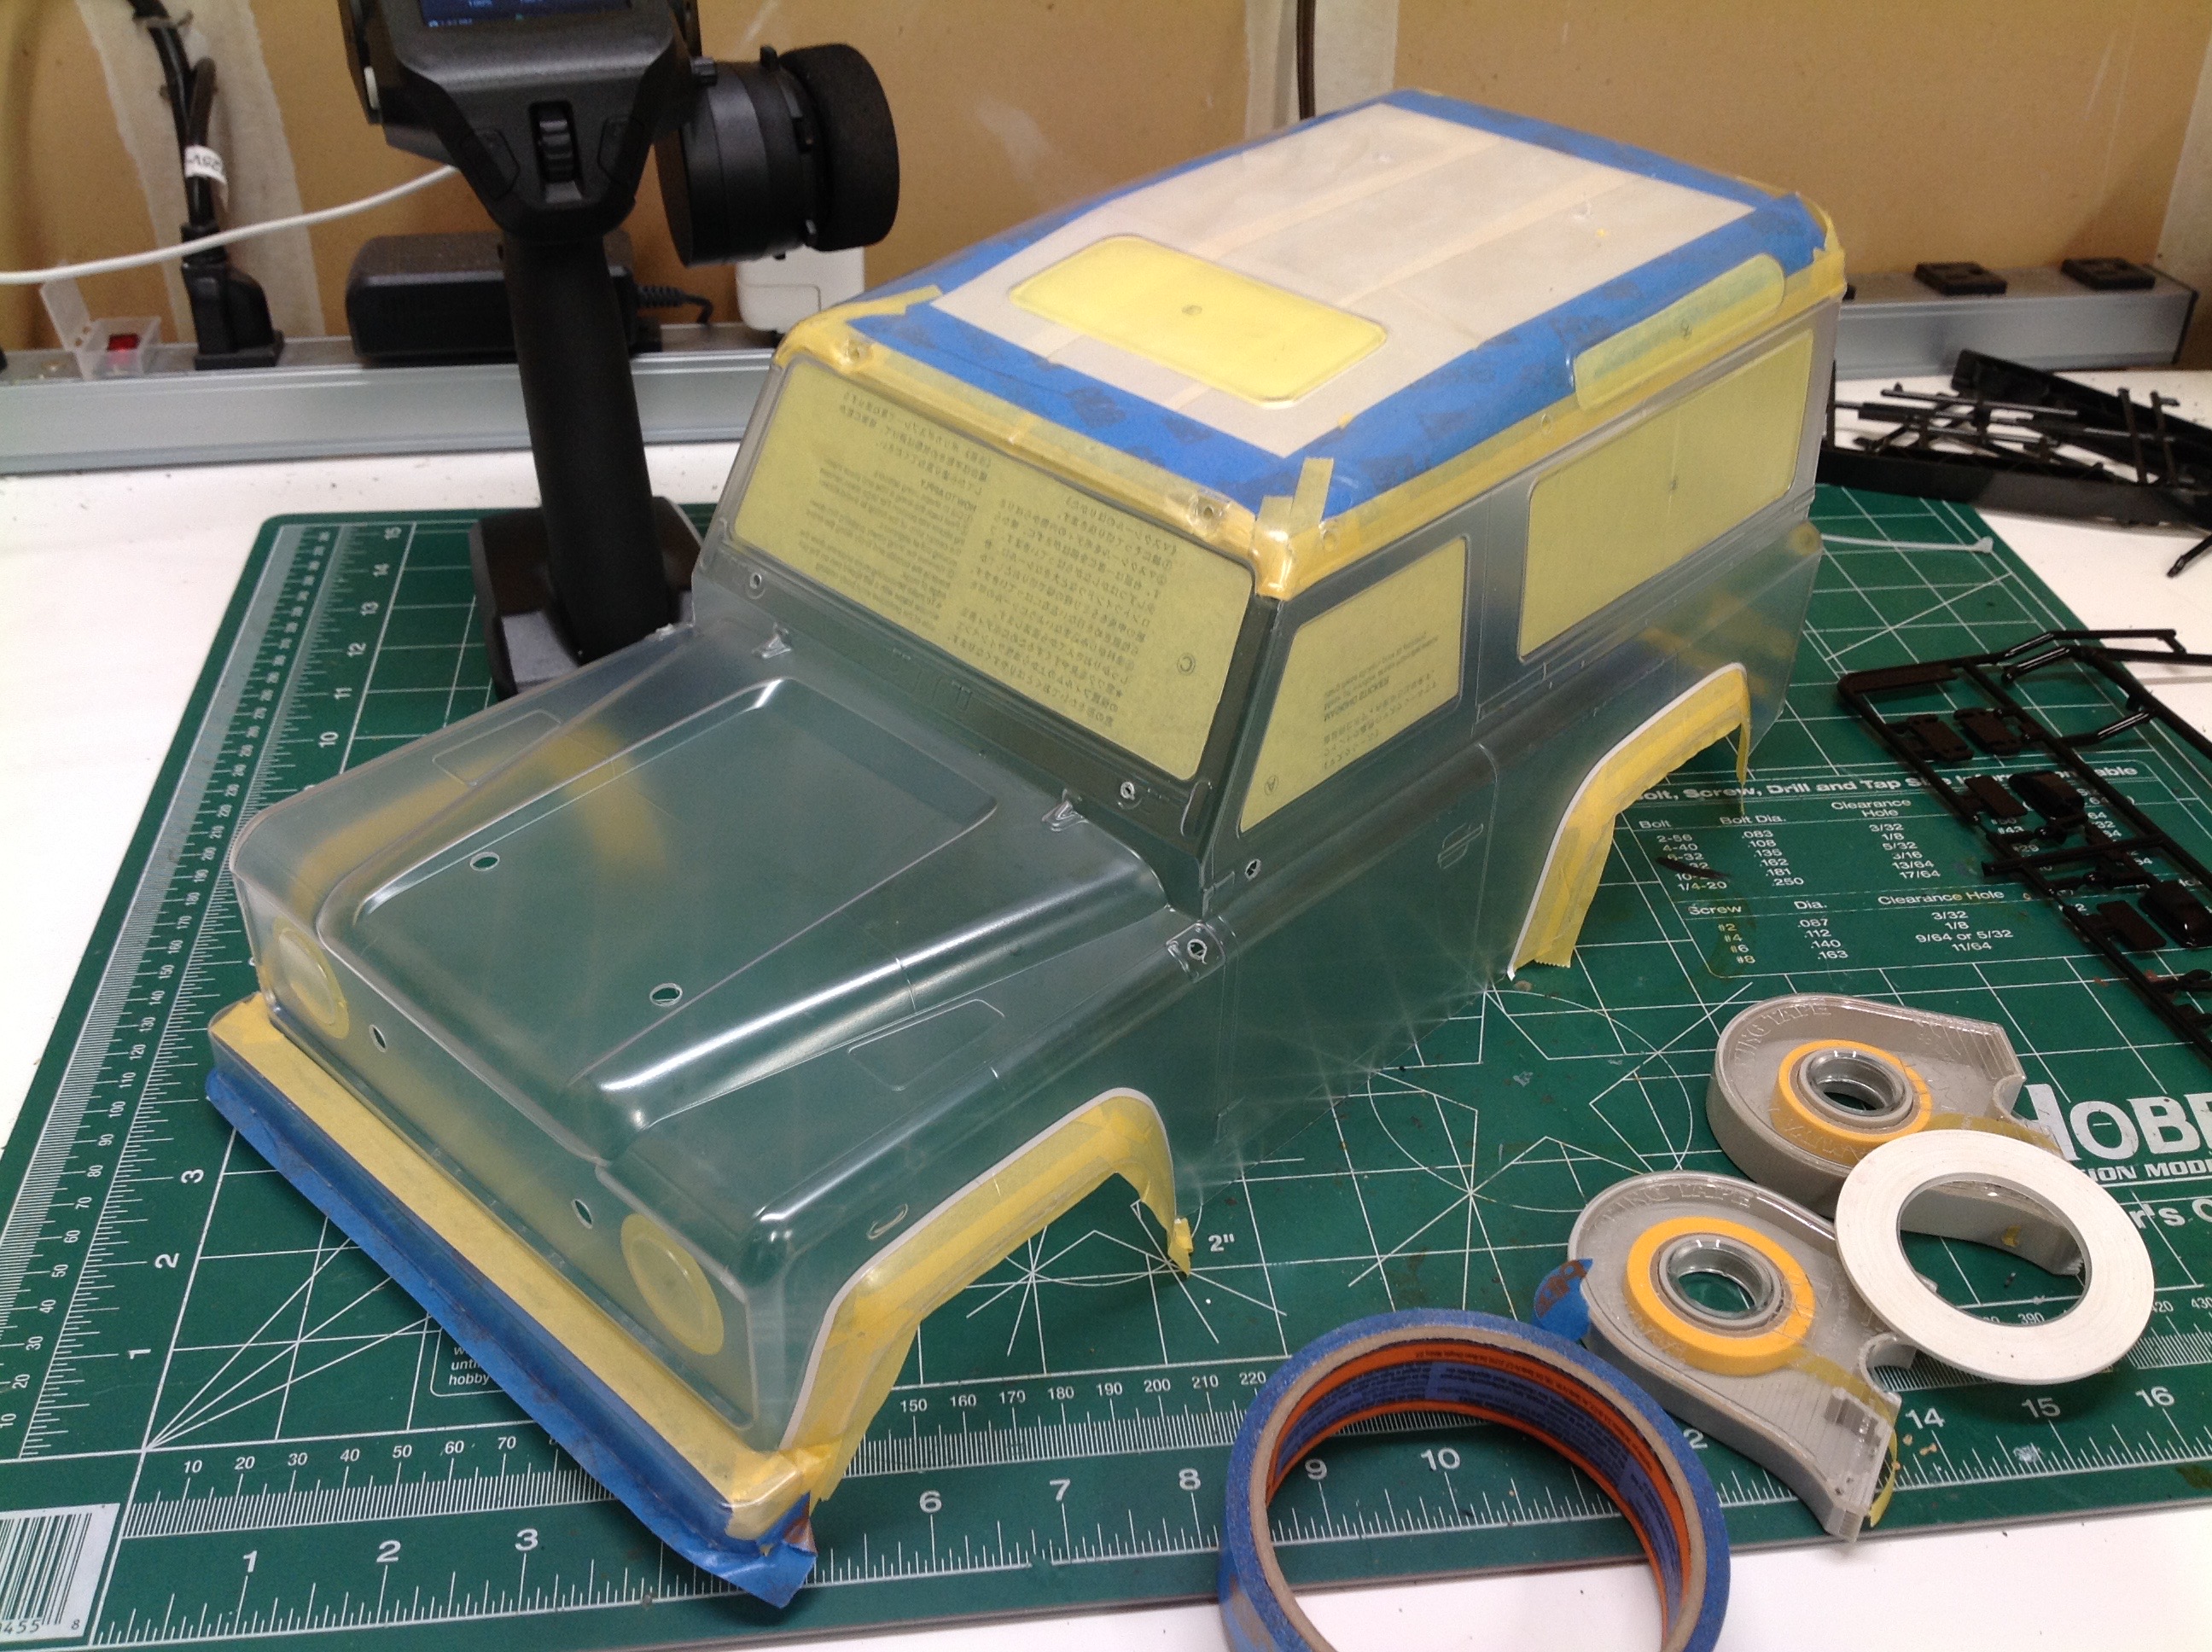
right you can see my additional masking. I not only masked the
roof for white as shown in the instructions, I also decided to mask the
fenders and bumpers for black. The instructions call for doing the
black with stickers, but paint looks a lot better and will be more
durable. These areas were also pretty simple to mask.
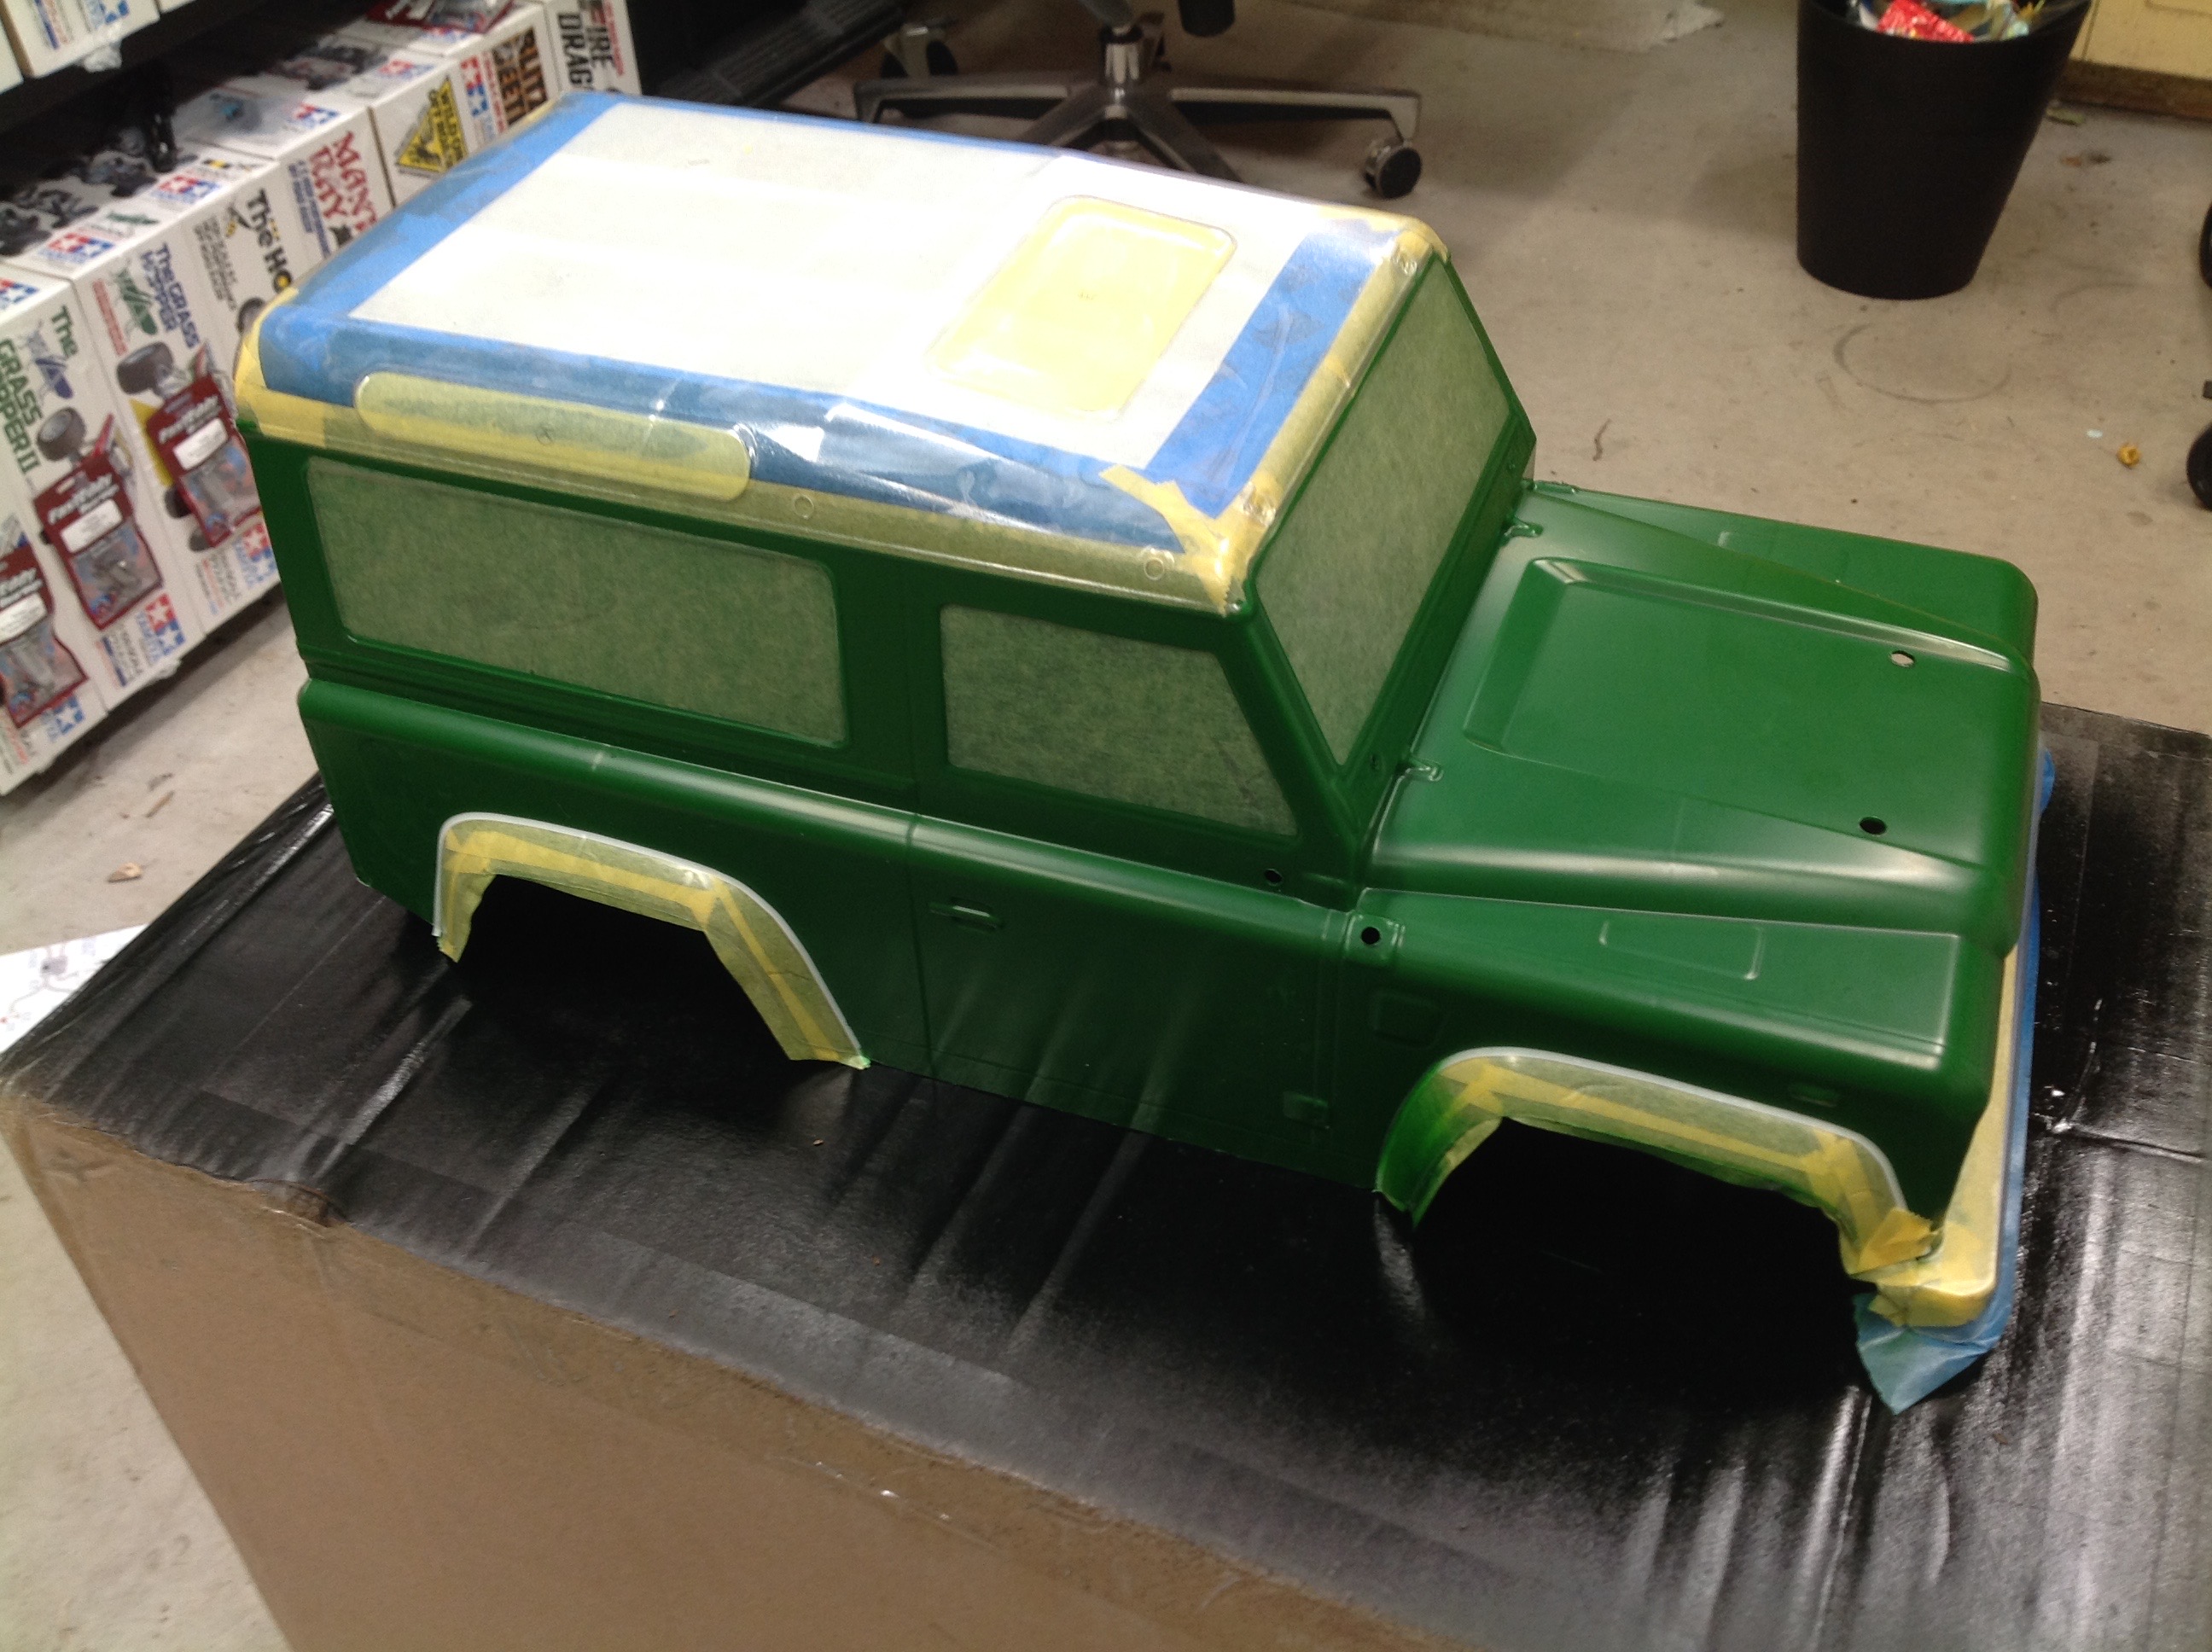
The photo at the left shows the body after the application of the first
color: PS-22 Racing Green. After that I removed the masking from
the roof and sprayed the white. The photo on the right shows how I
stupidly removed the window masks before I had done the black. I
had to fish them out of the garbage and reapply them so I could paint
the black. The final paint step was then to put PS-31 Smoke on the
windows to tint them, but not on the light lens transparencies.
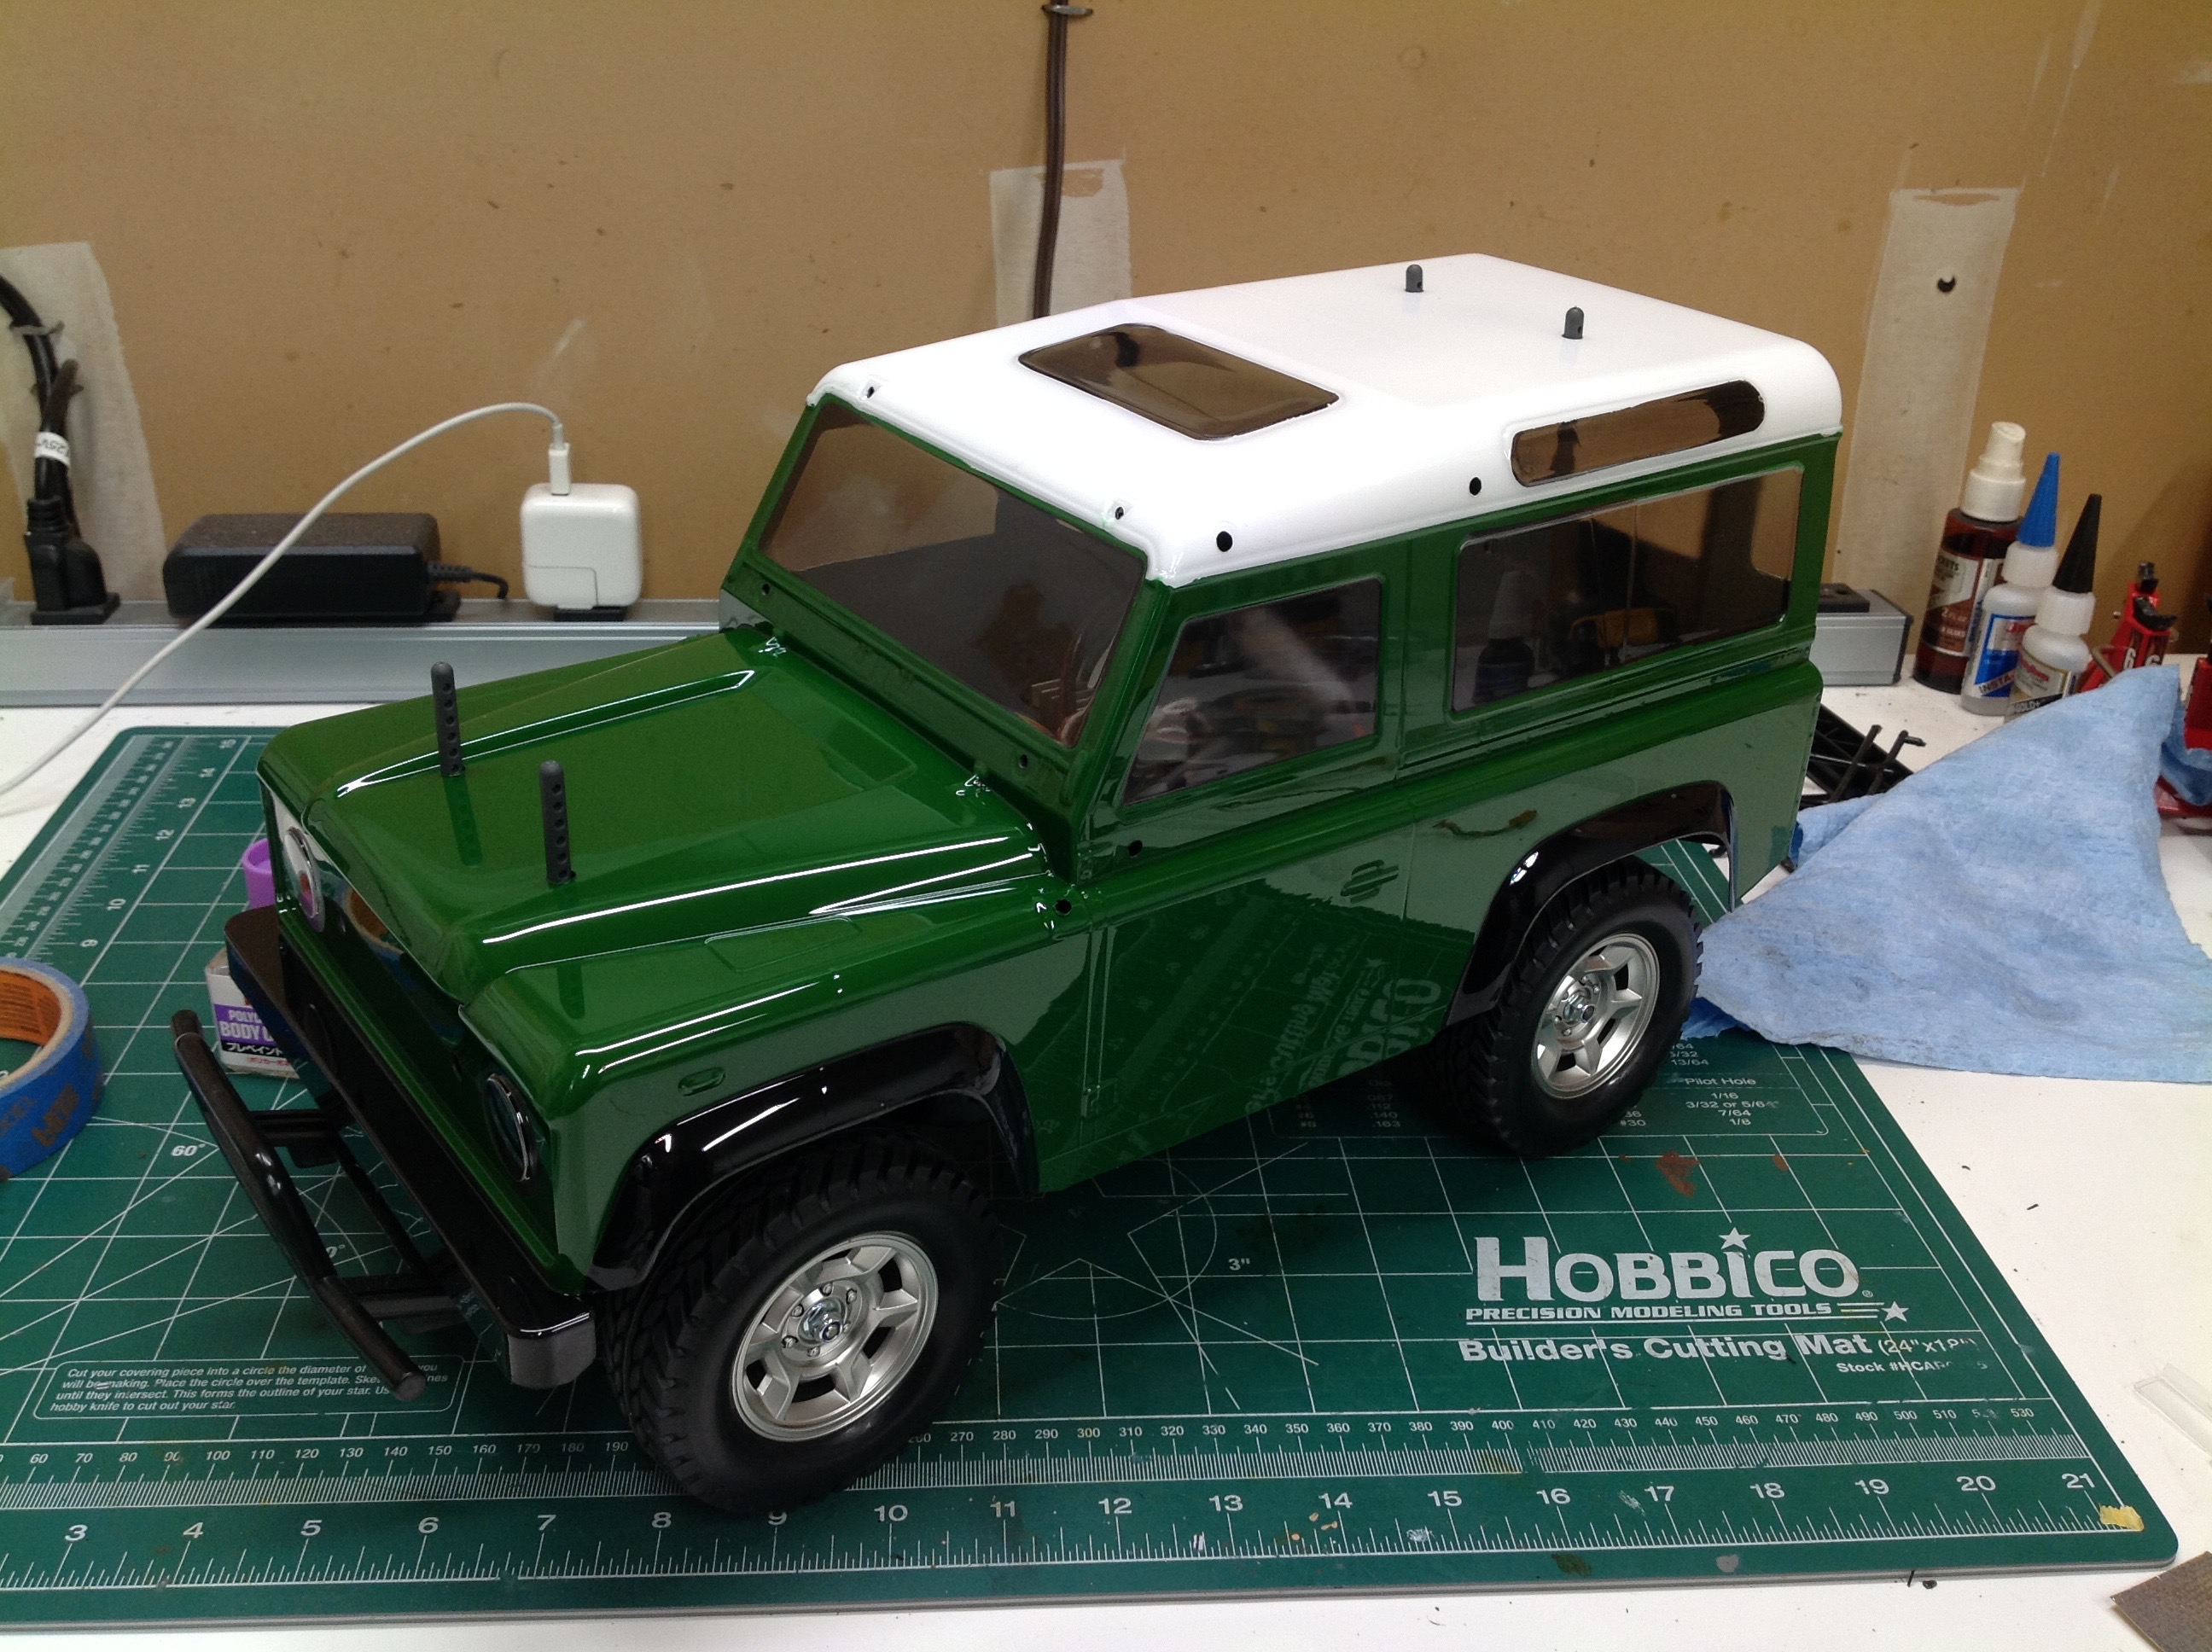
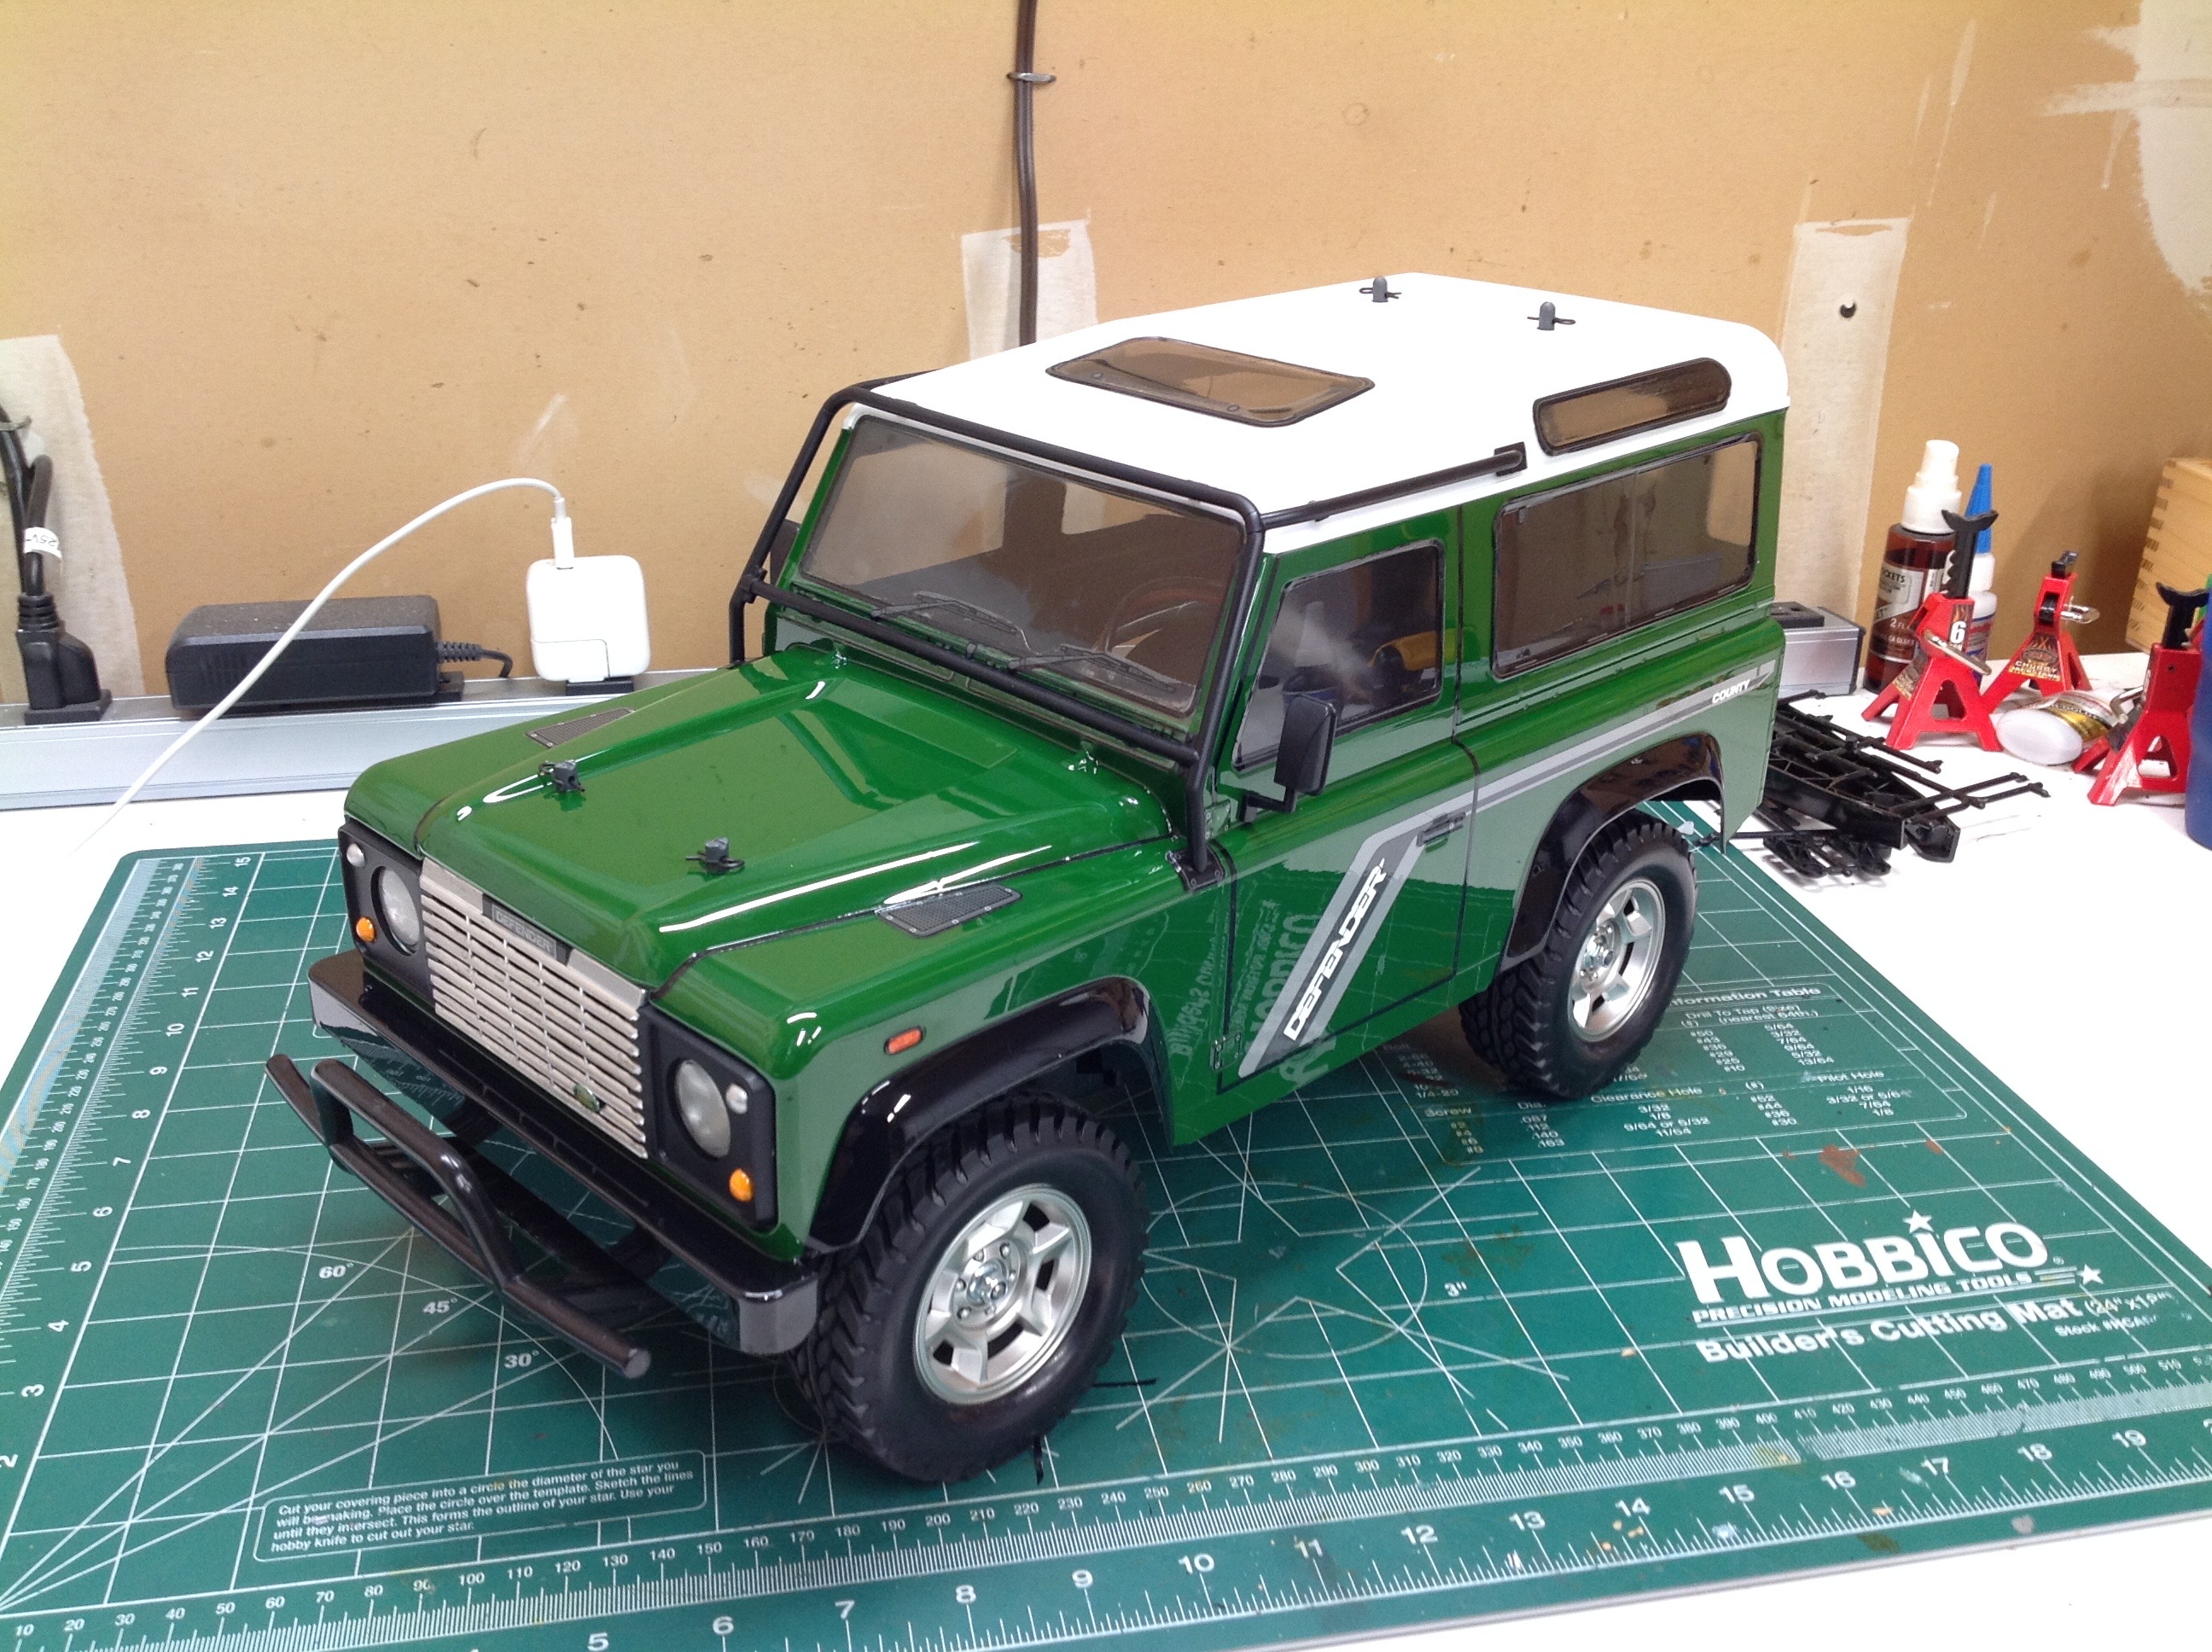
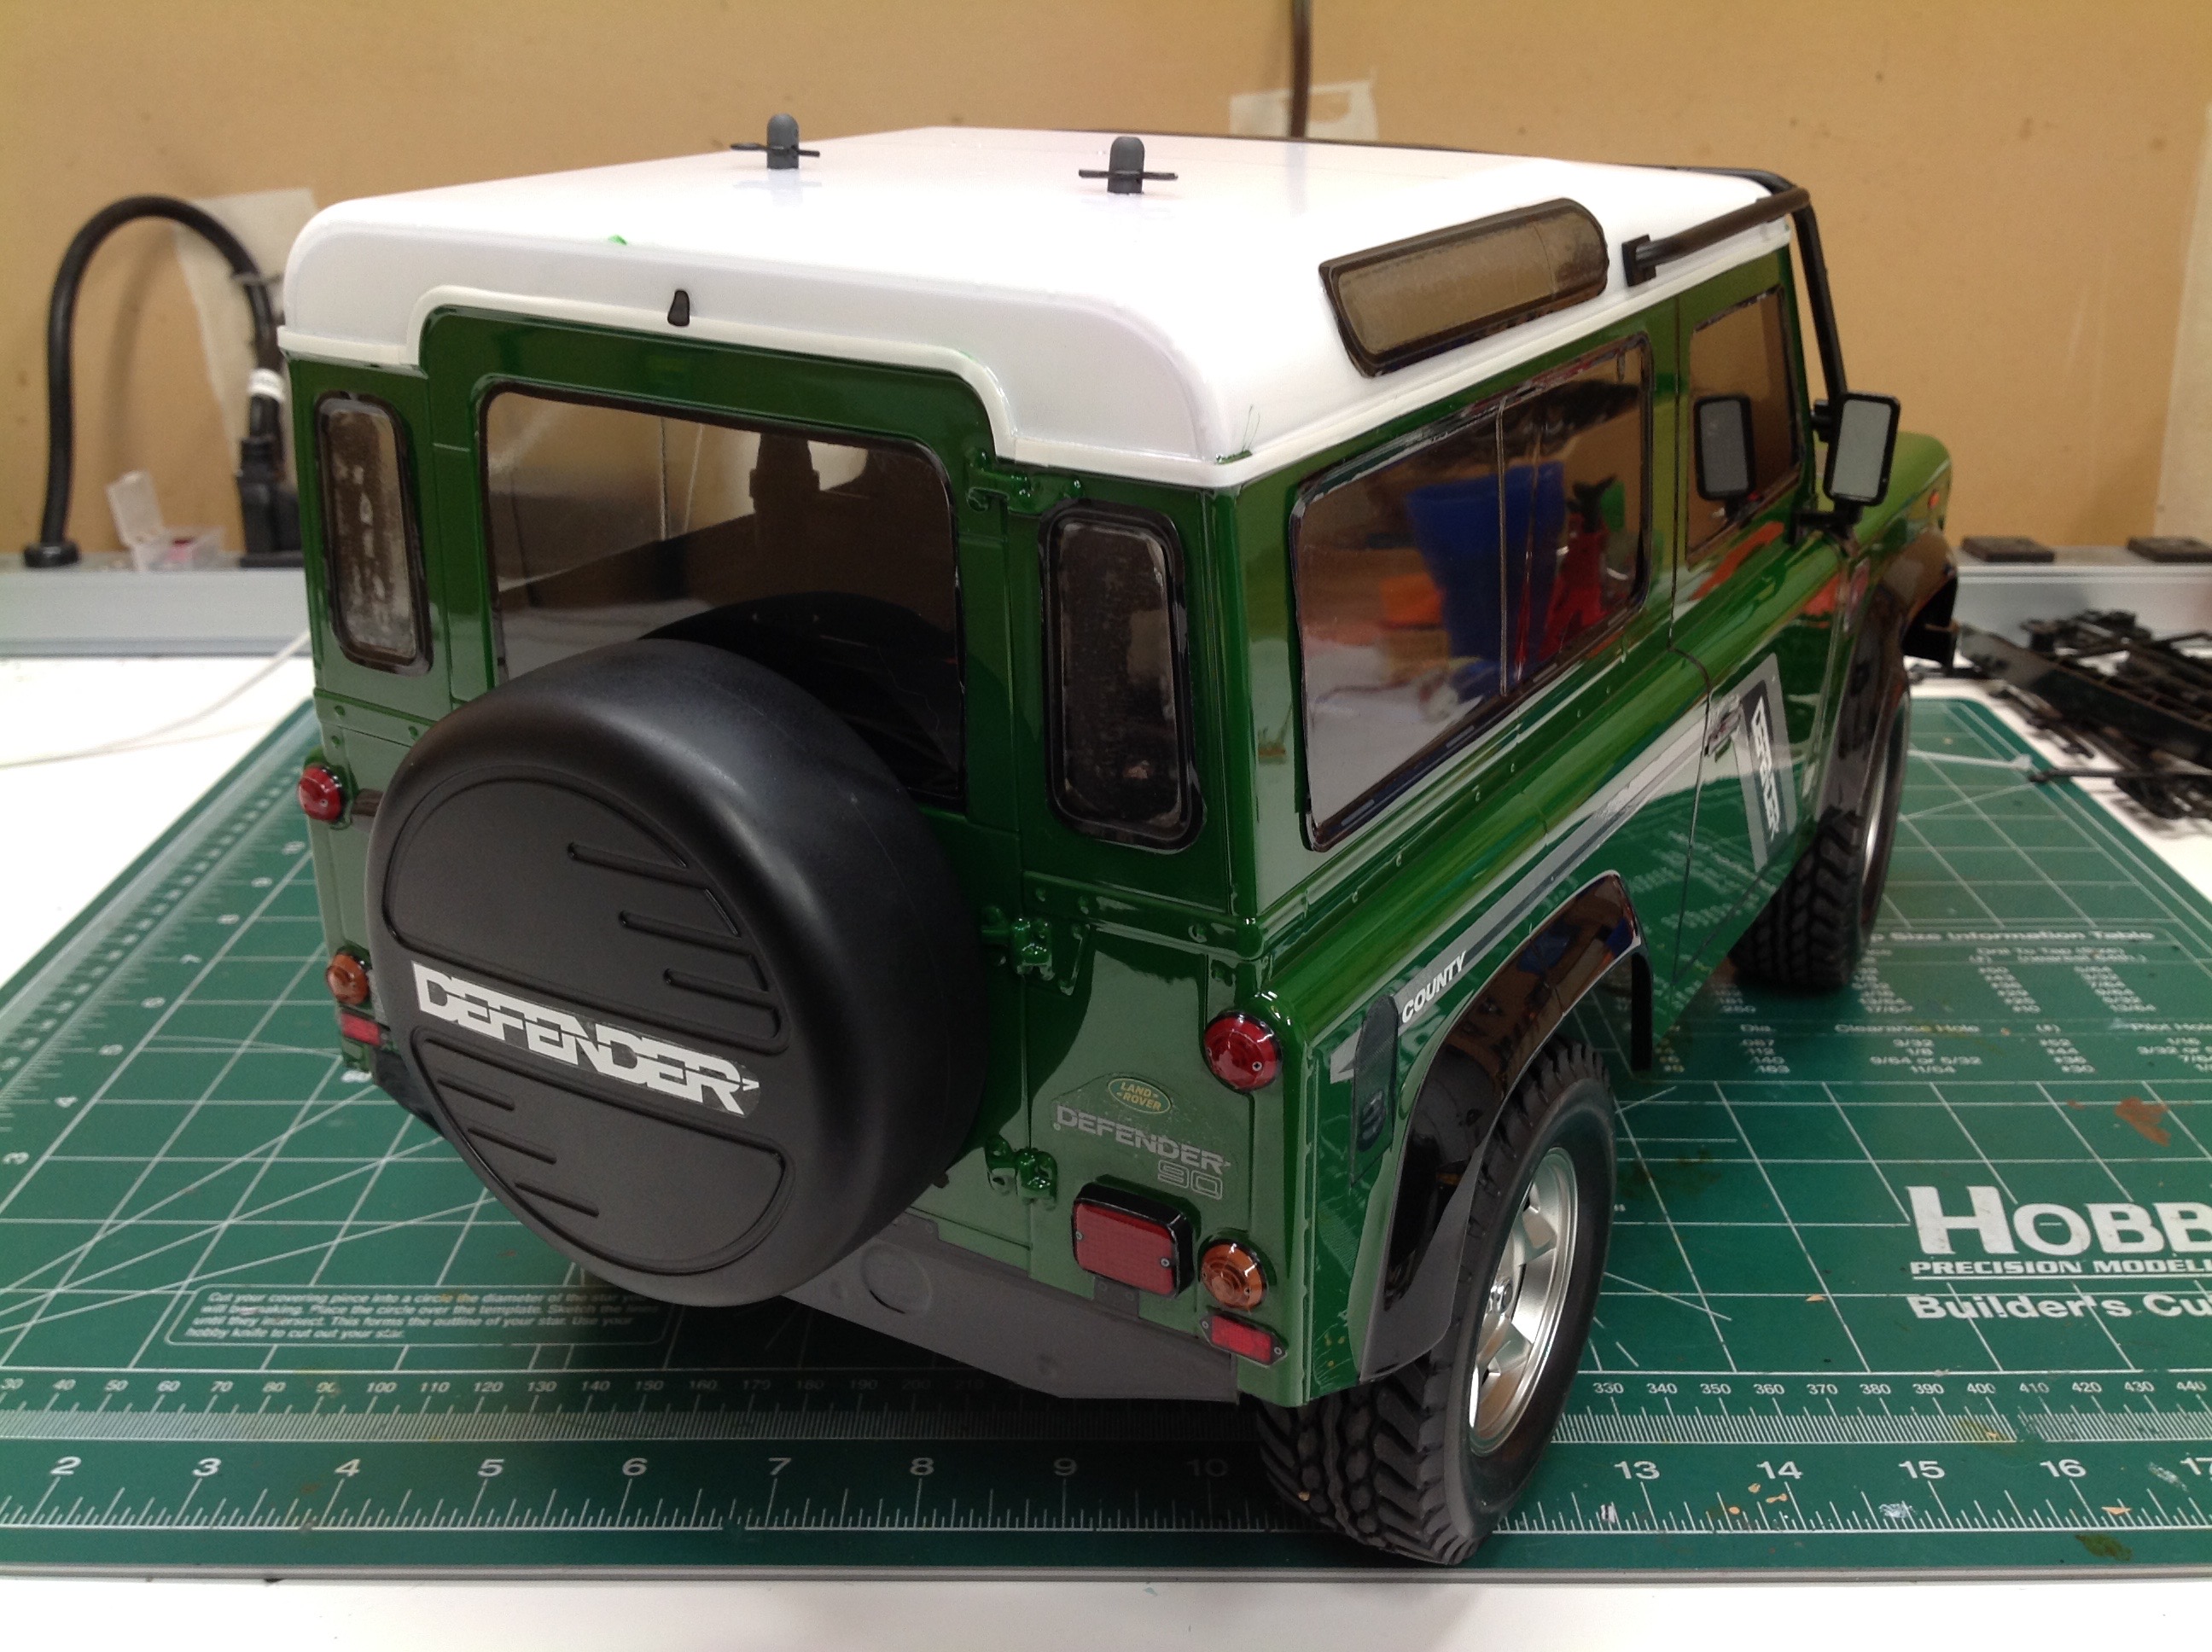
With the paint done I removed the overspray film and test fitted the
body to the chassis. These two pictures compare the model with and
without detailing. The picture on the right has added the decals,
the grille, the window cage, the mirrors, and the spare tire. It
made a huge difference. I added black trim tape to outline the door.
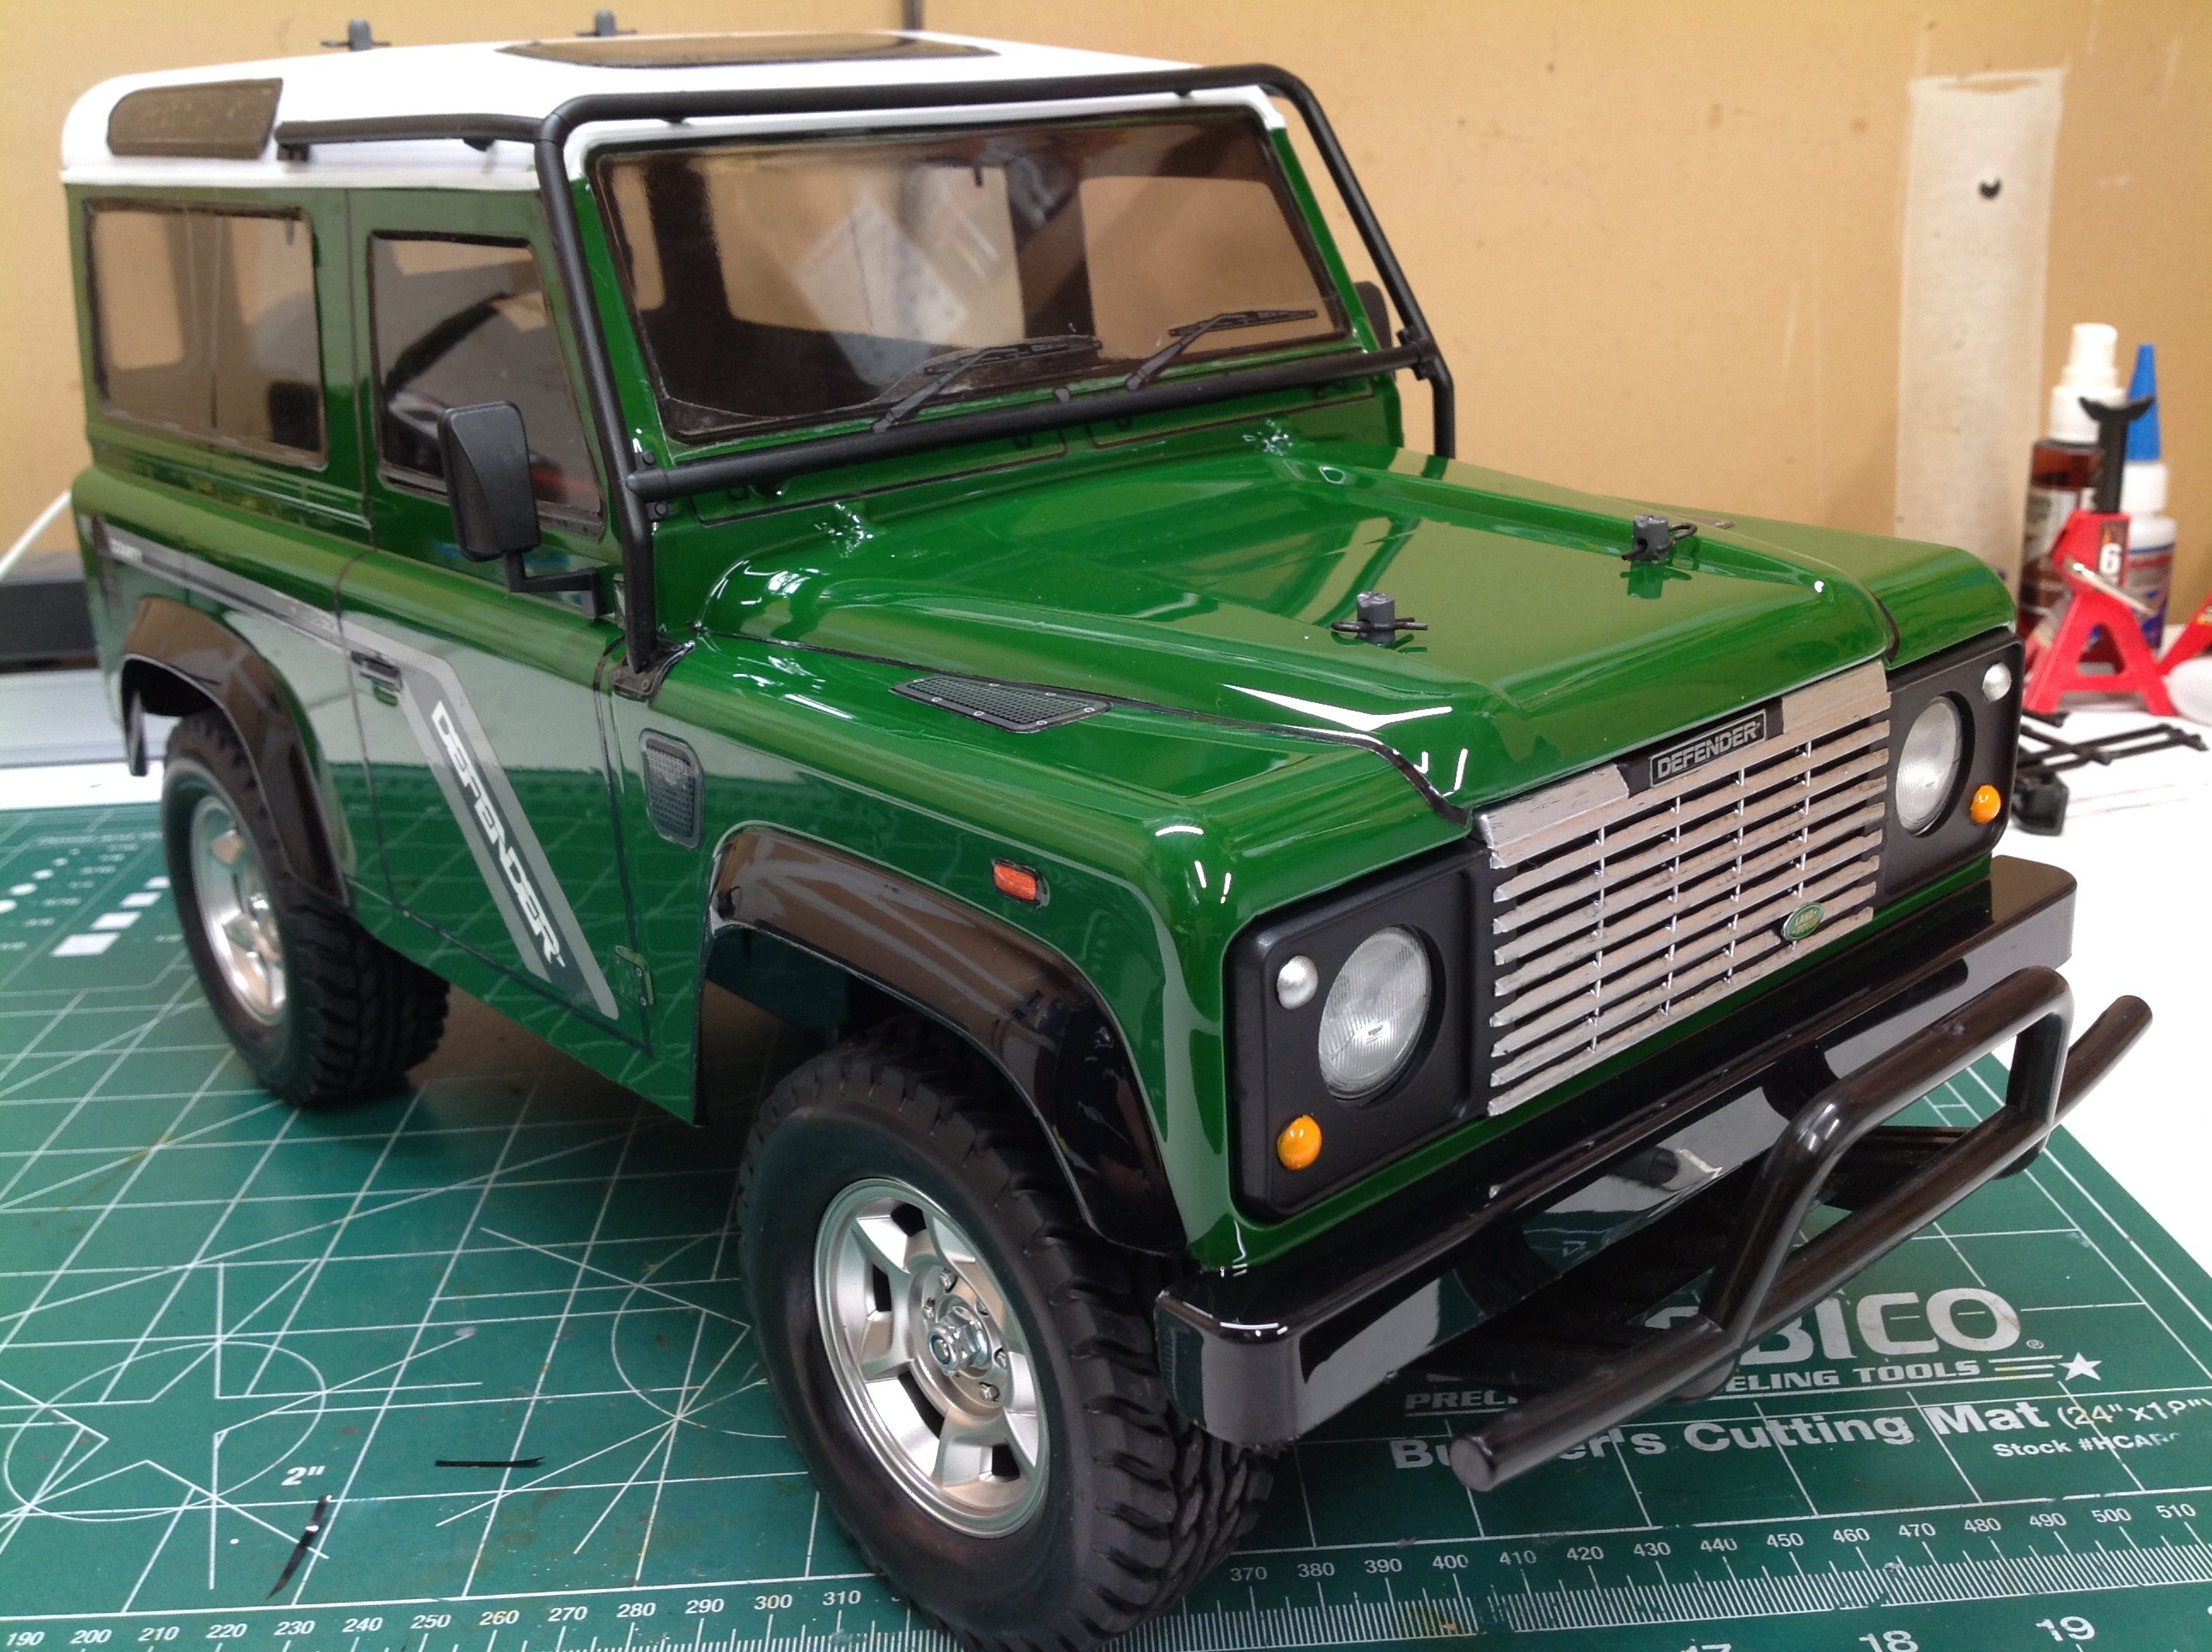
This is one of the best looking Lexan truck bodies I have seen. I
went to a lot of trouble to paint the grille slats silver with a paint
pen and also painted the indicators. The headlight lenses are
actually part of the body. I'm not a big fan of using stickers for
the tail light lens coloring. They are really hard to apply to
the compound curves without gaps and peeling. For now they look
OK, but I assume that will change the first time they get wet. The
body includes reinforcing parts for the large flat rear bumper to make
it stiffer. I've also installed the light buckets and an LED
system.
©2018 Eric Albrecht