Tamiya TA-05 VDF Project
Page 1: Chassis Assembly
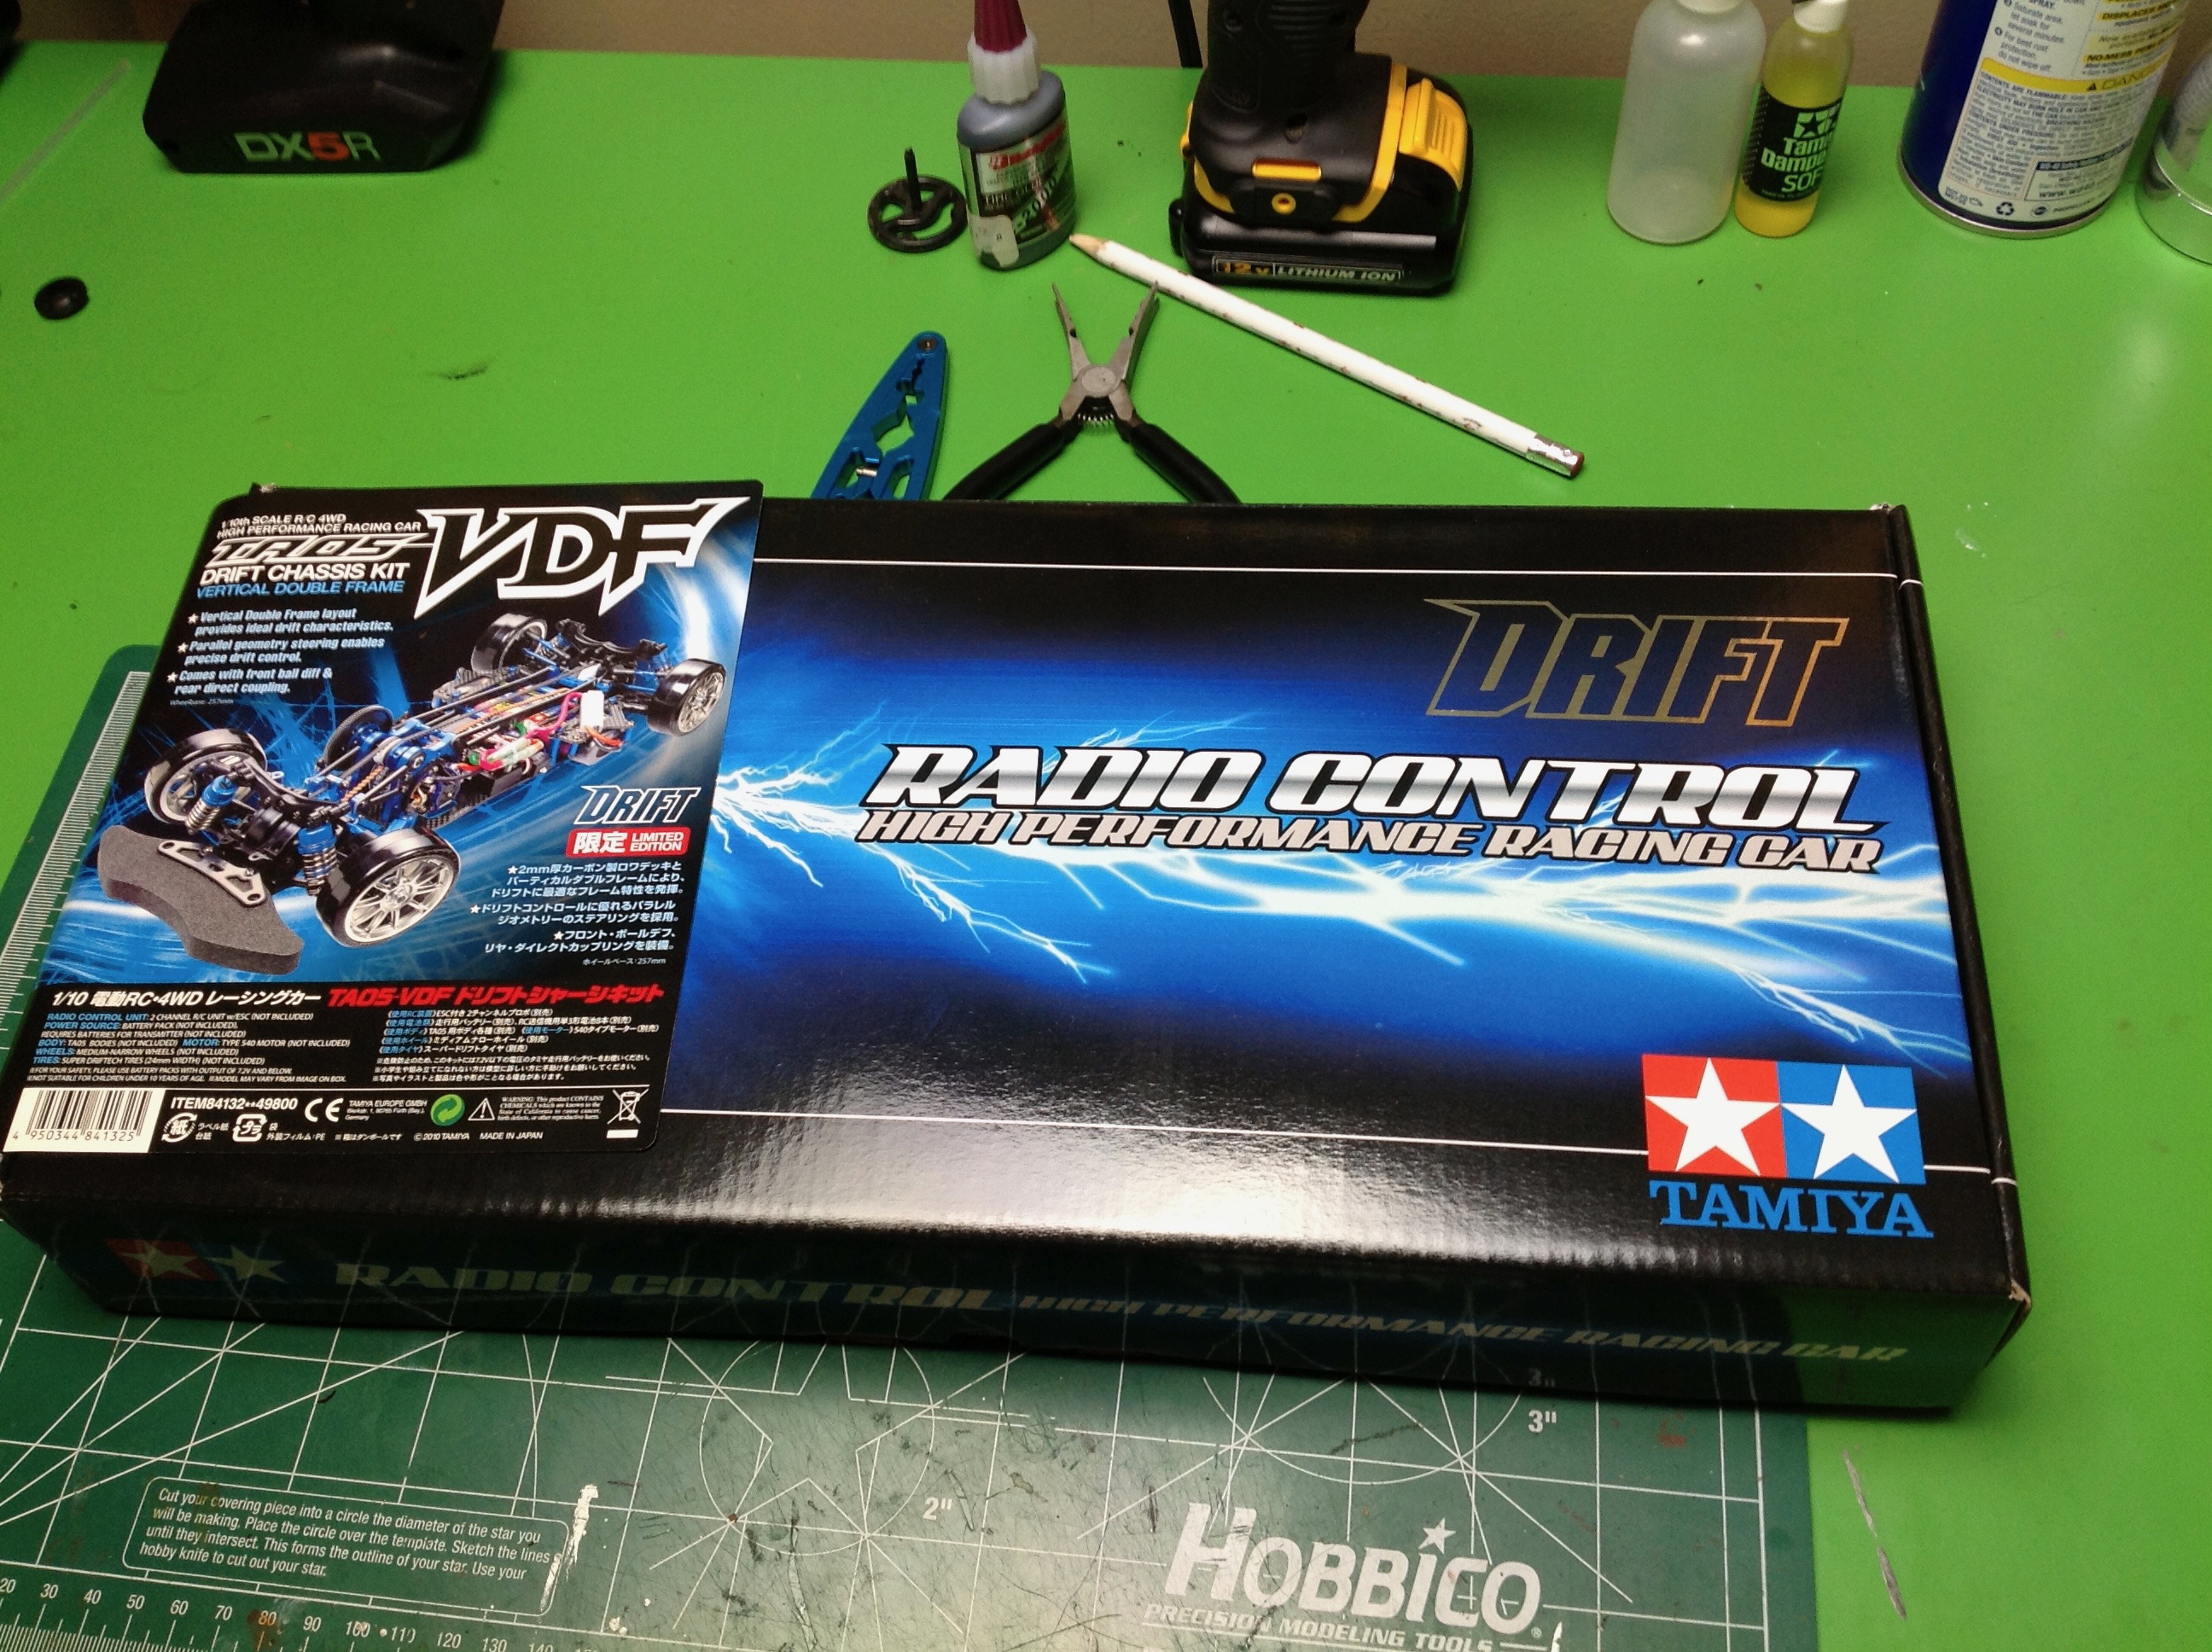
Since this kit is nothing but a chassis, it comes in a very small but
beautiful resealable box. This is my first belt drive kit and my
first "chassis only". I guess I am in the big leagues now.
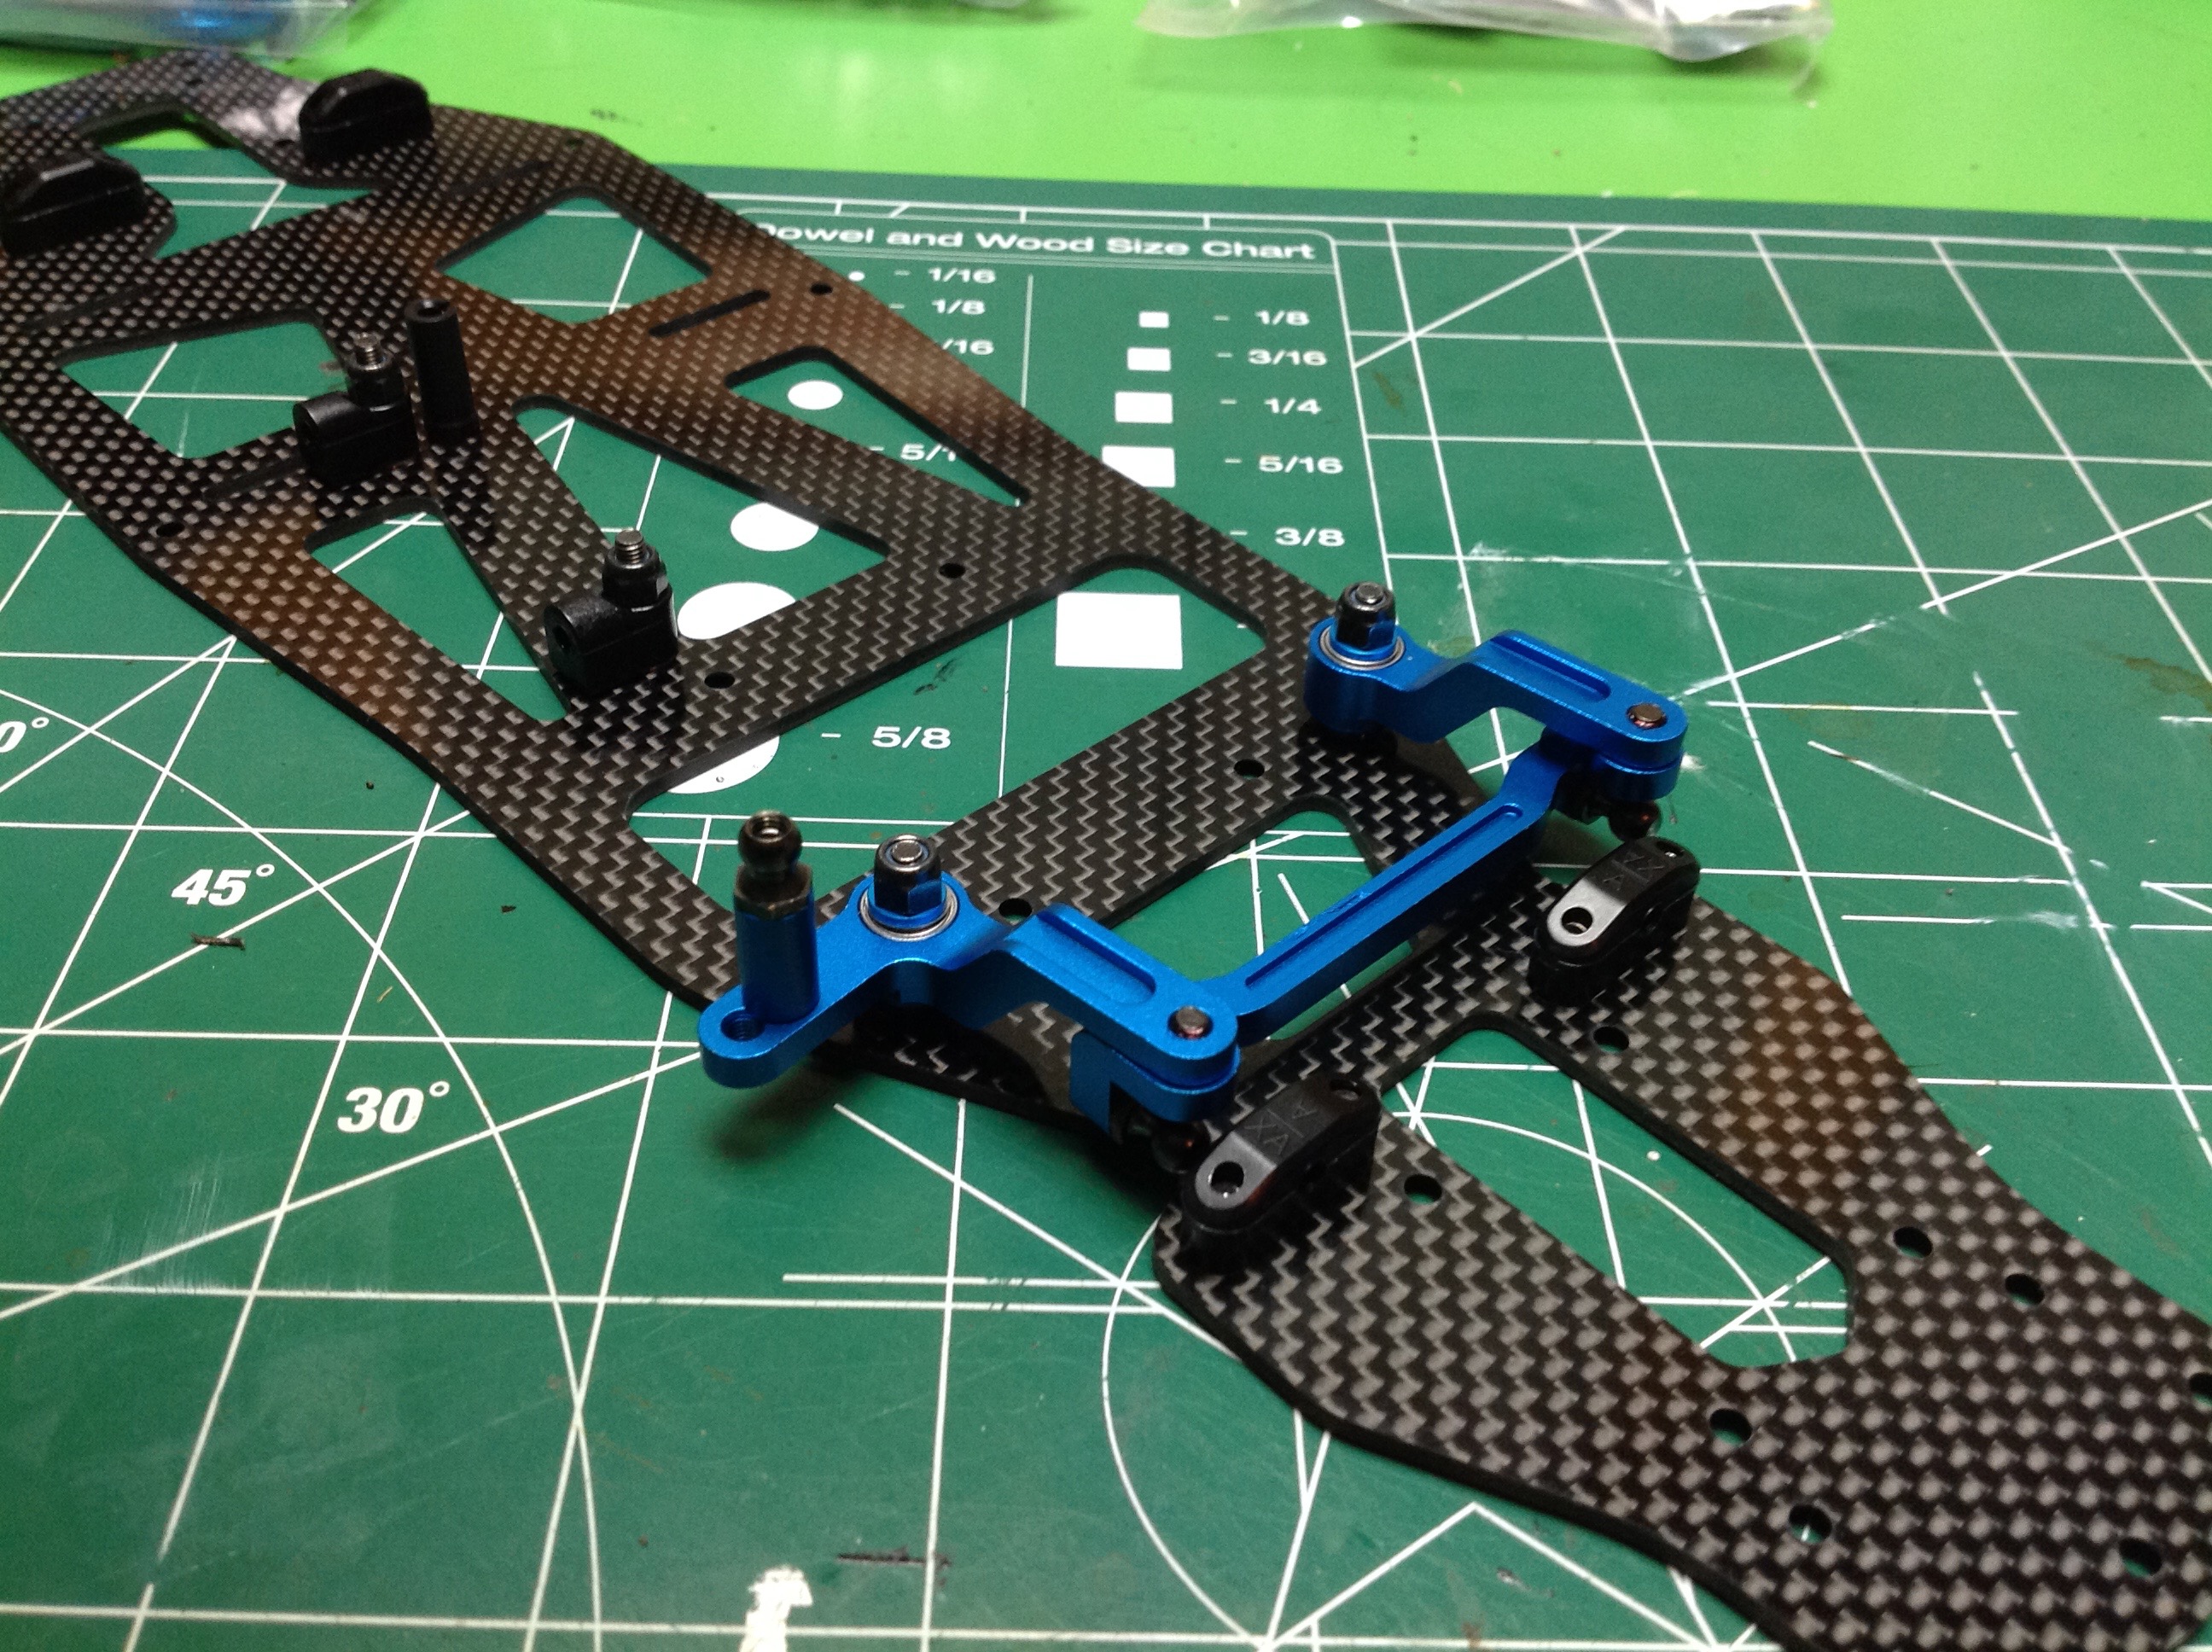
Construction begins by attaching a few plastic blocks and the aluminum
steering bellcranks to the carbon fiber lower deck. Everything is
super light and well made. Unlike most Tamiya kits, this one comes
with hex hardware instead of JIS Phillips screws. The steering
arms even use ball bearings on the vertical posts.
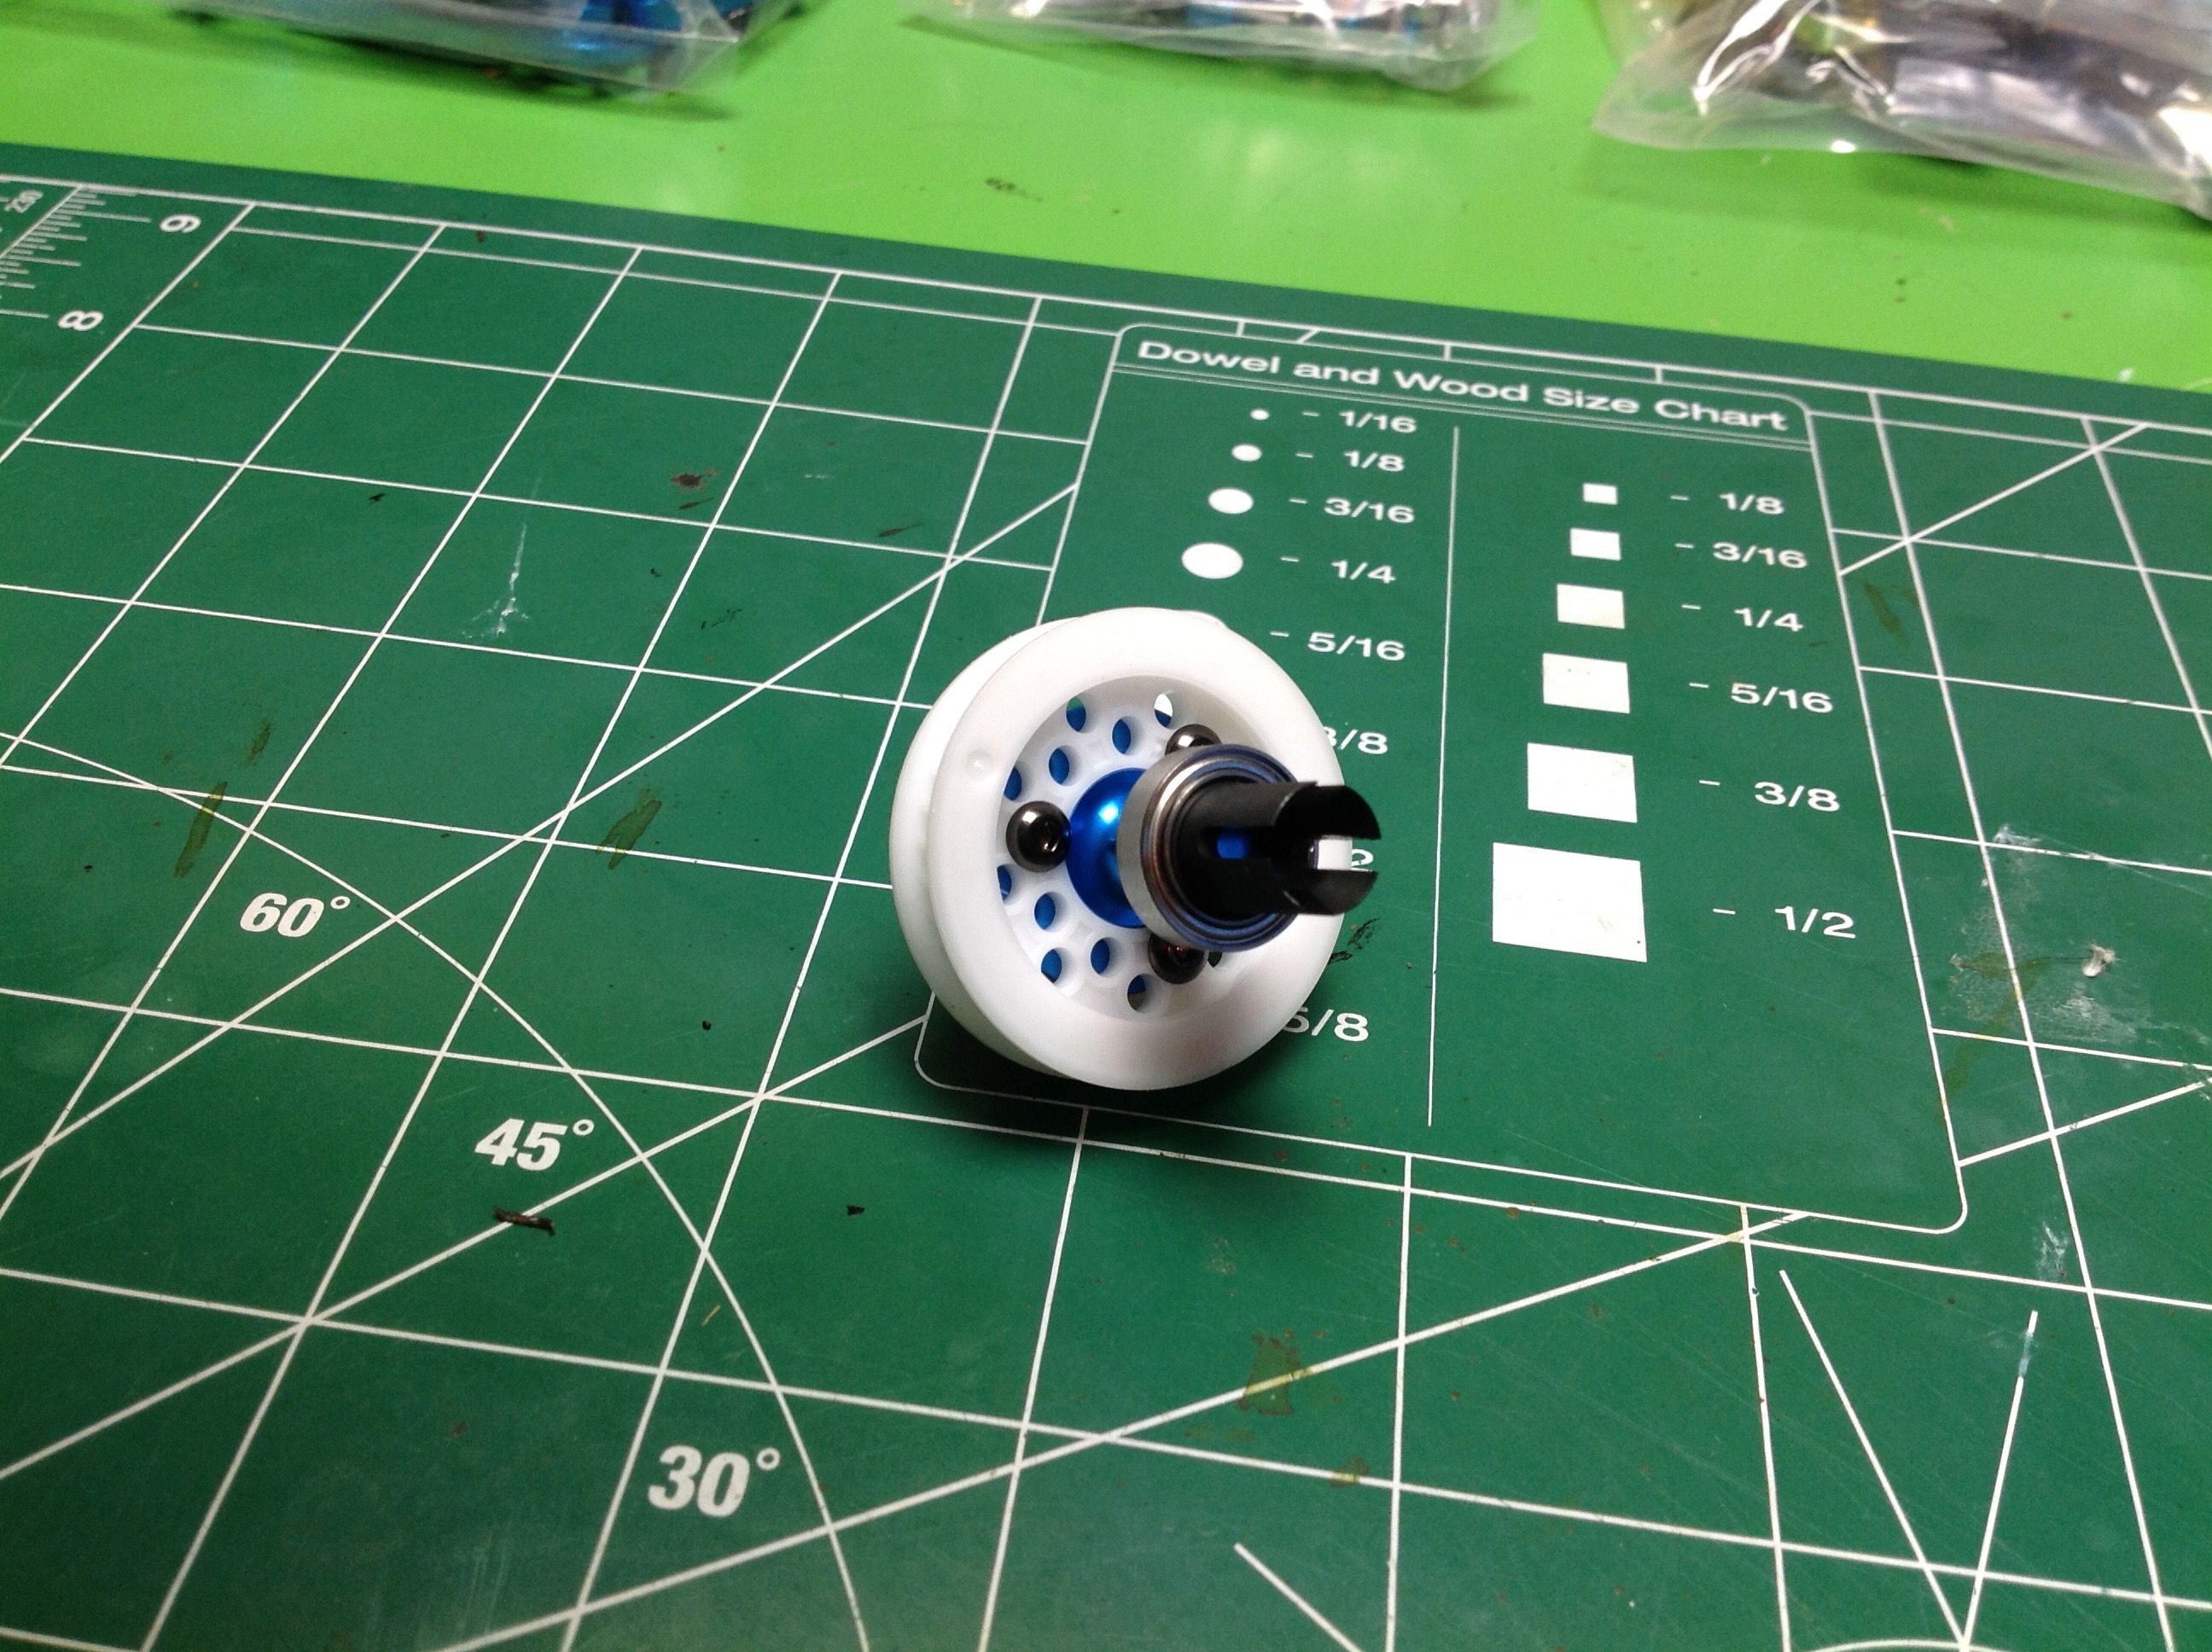
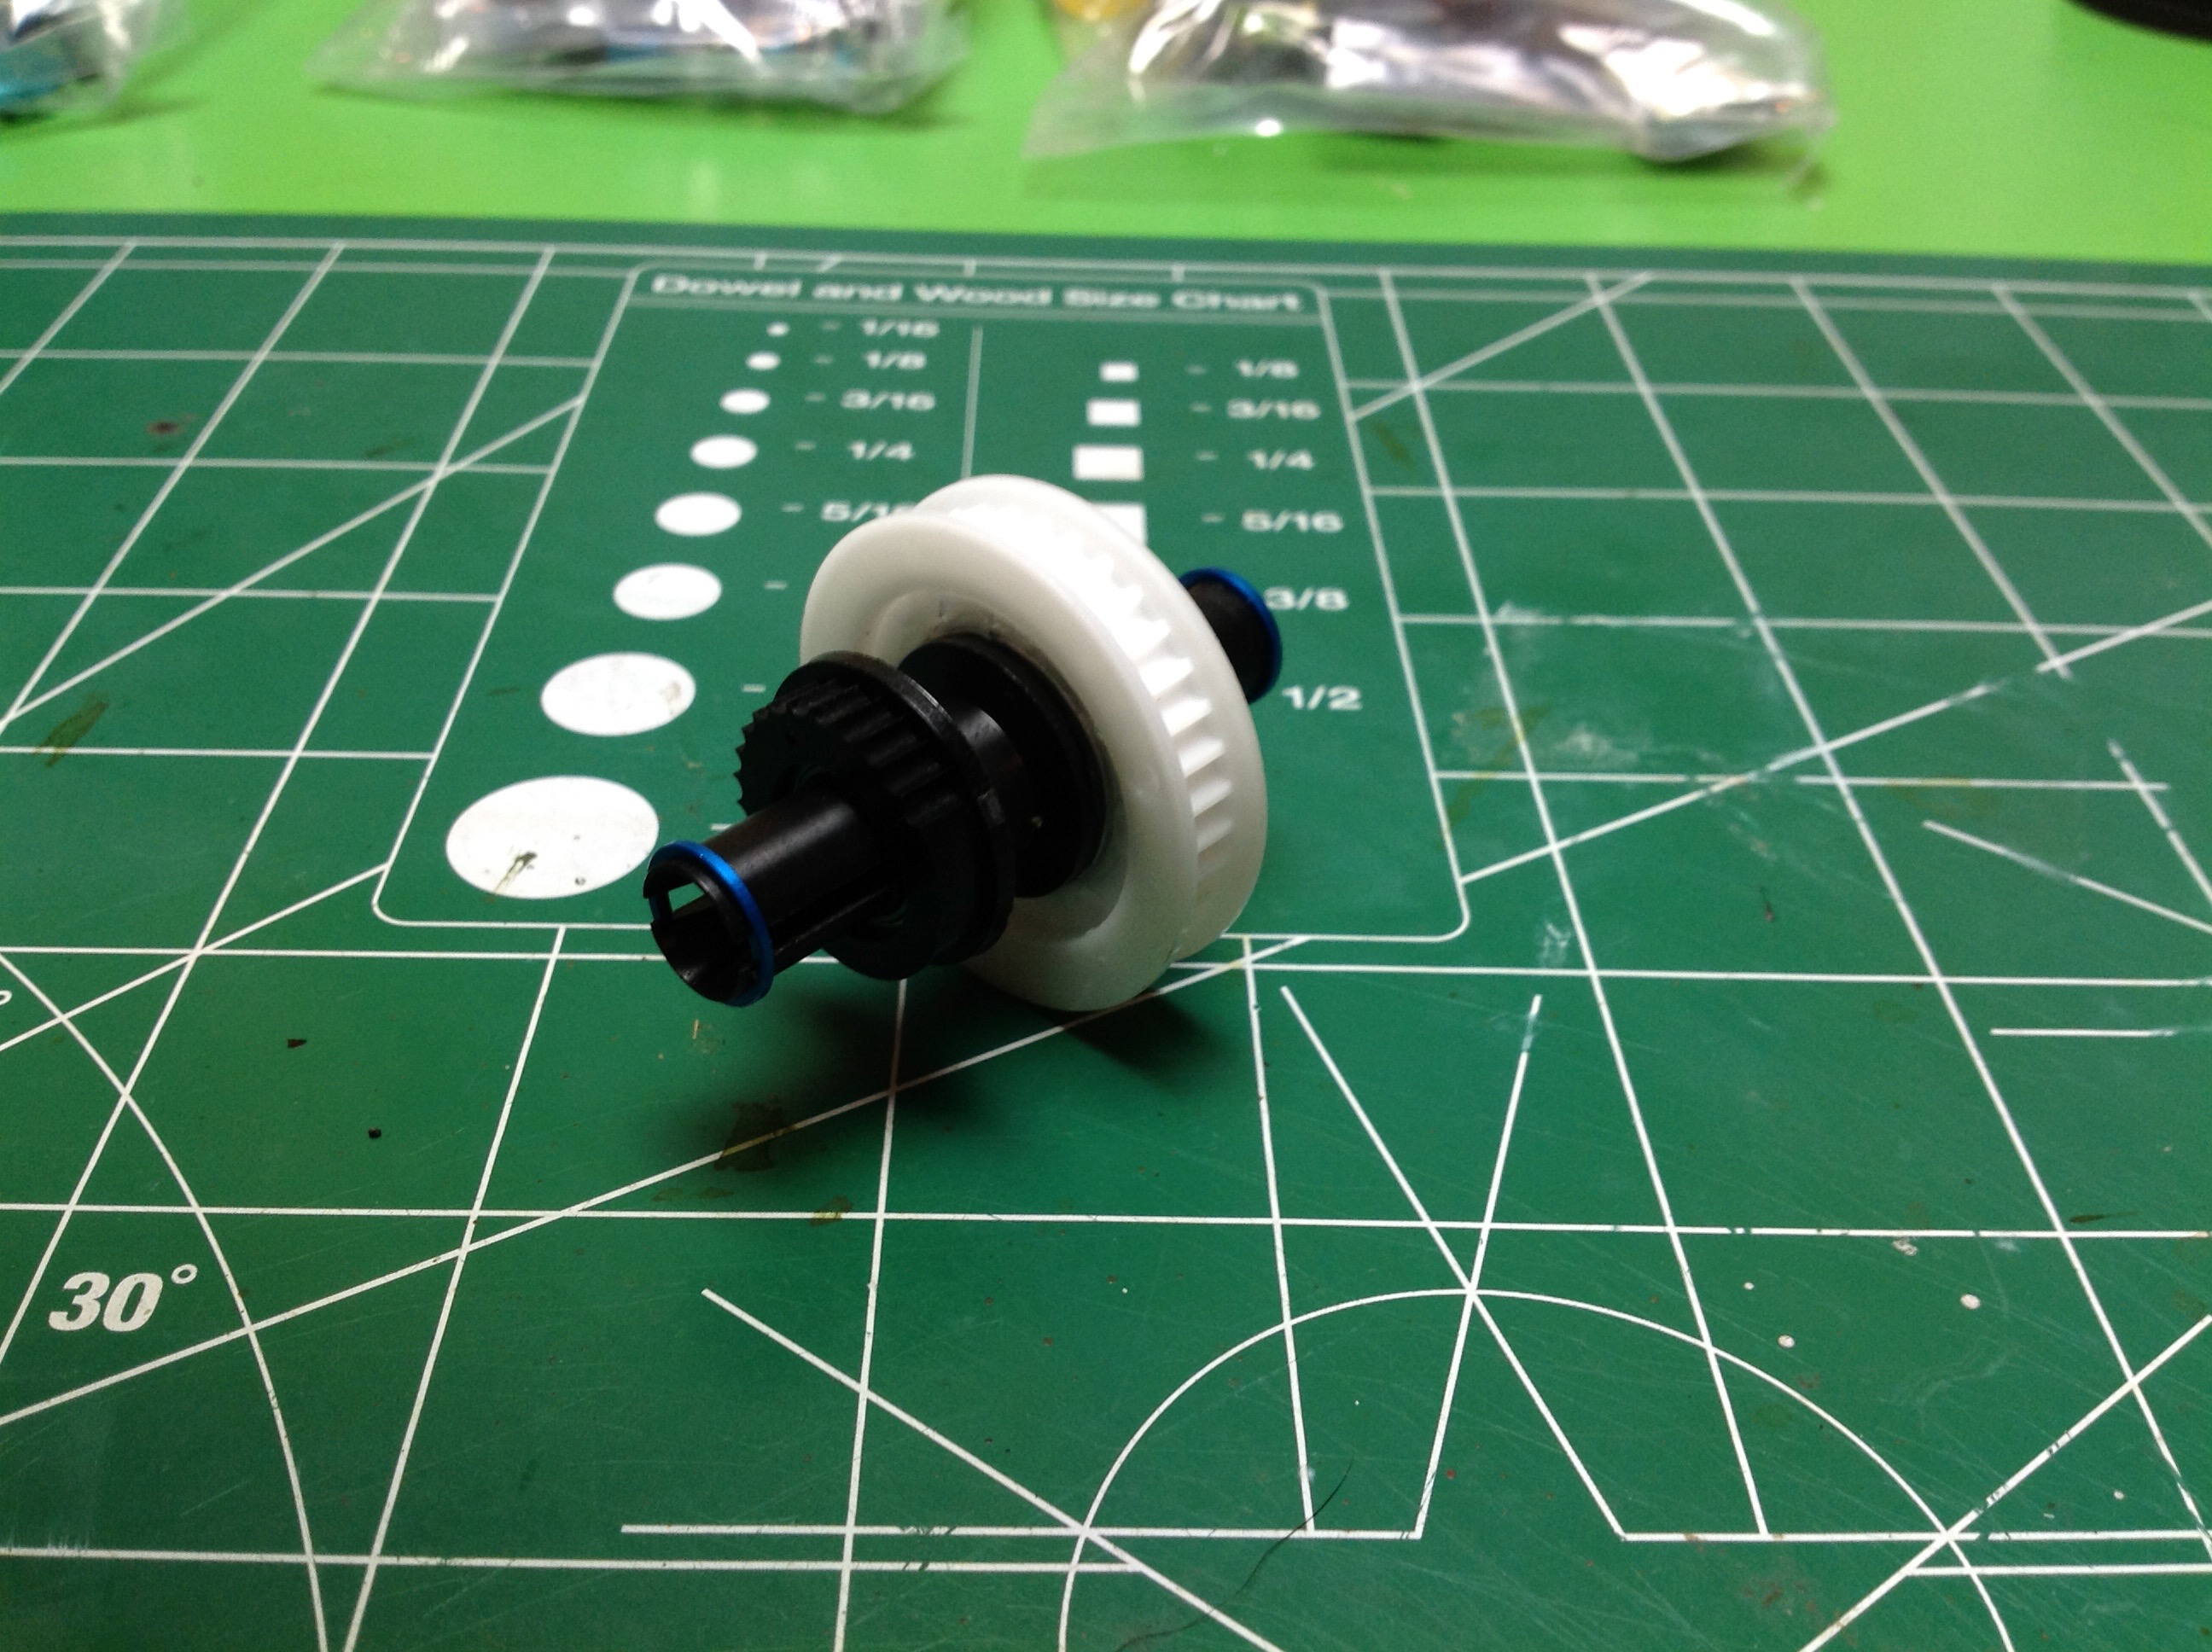
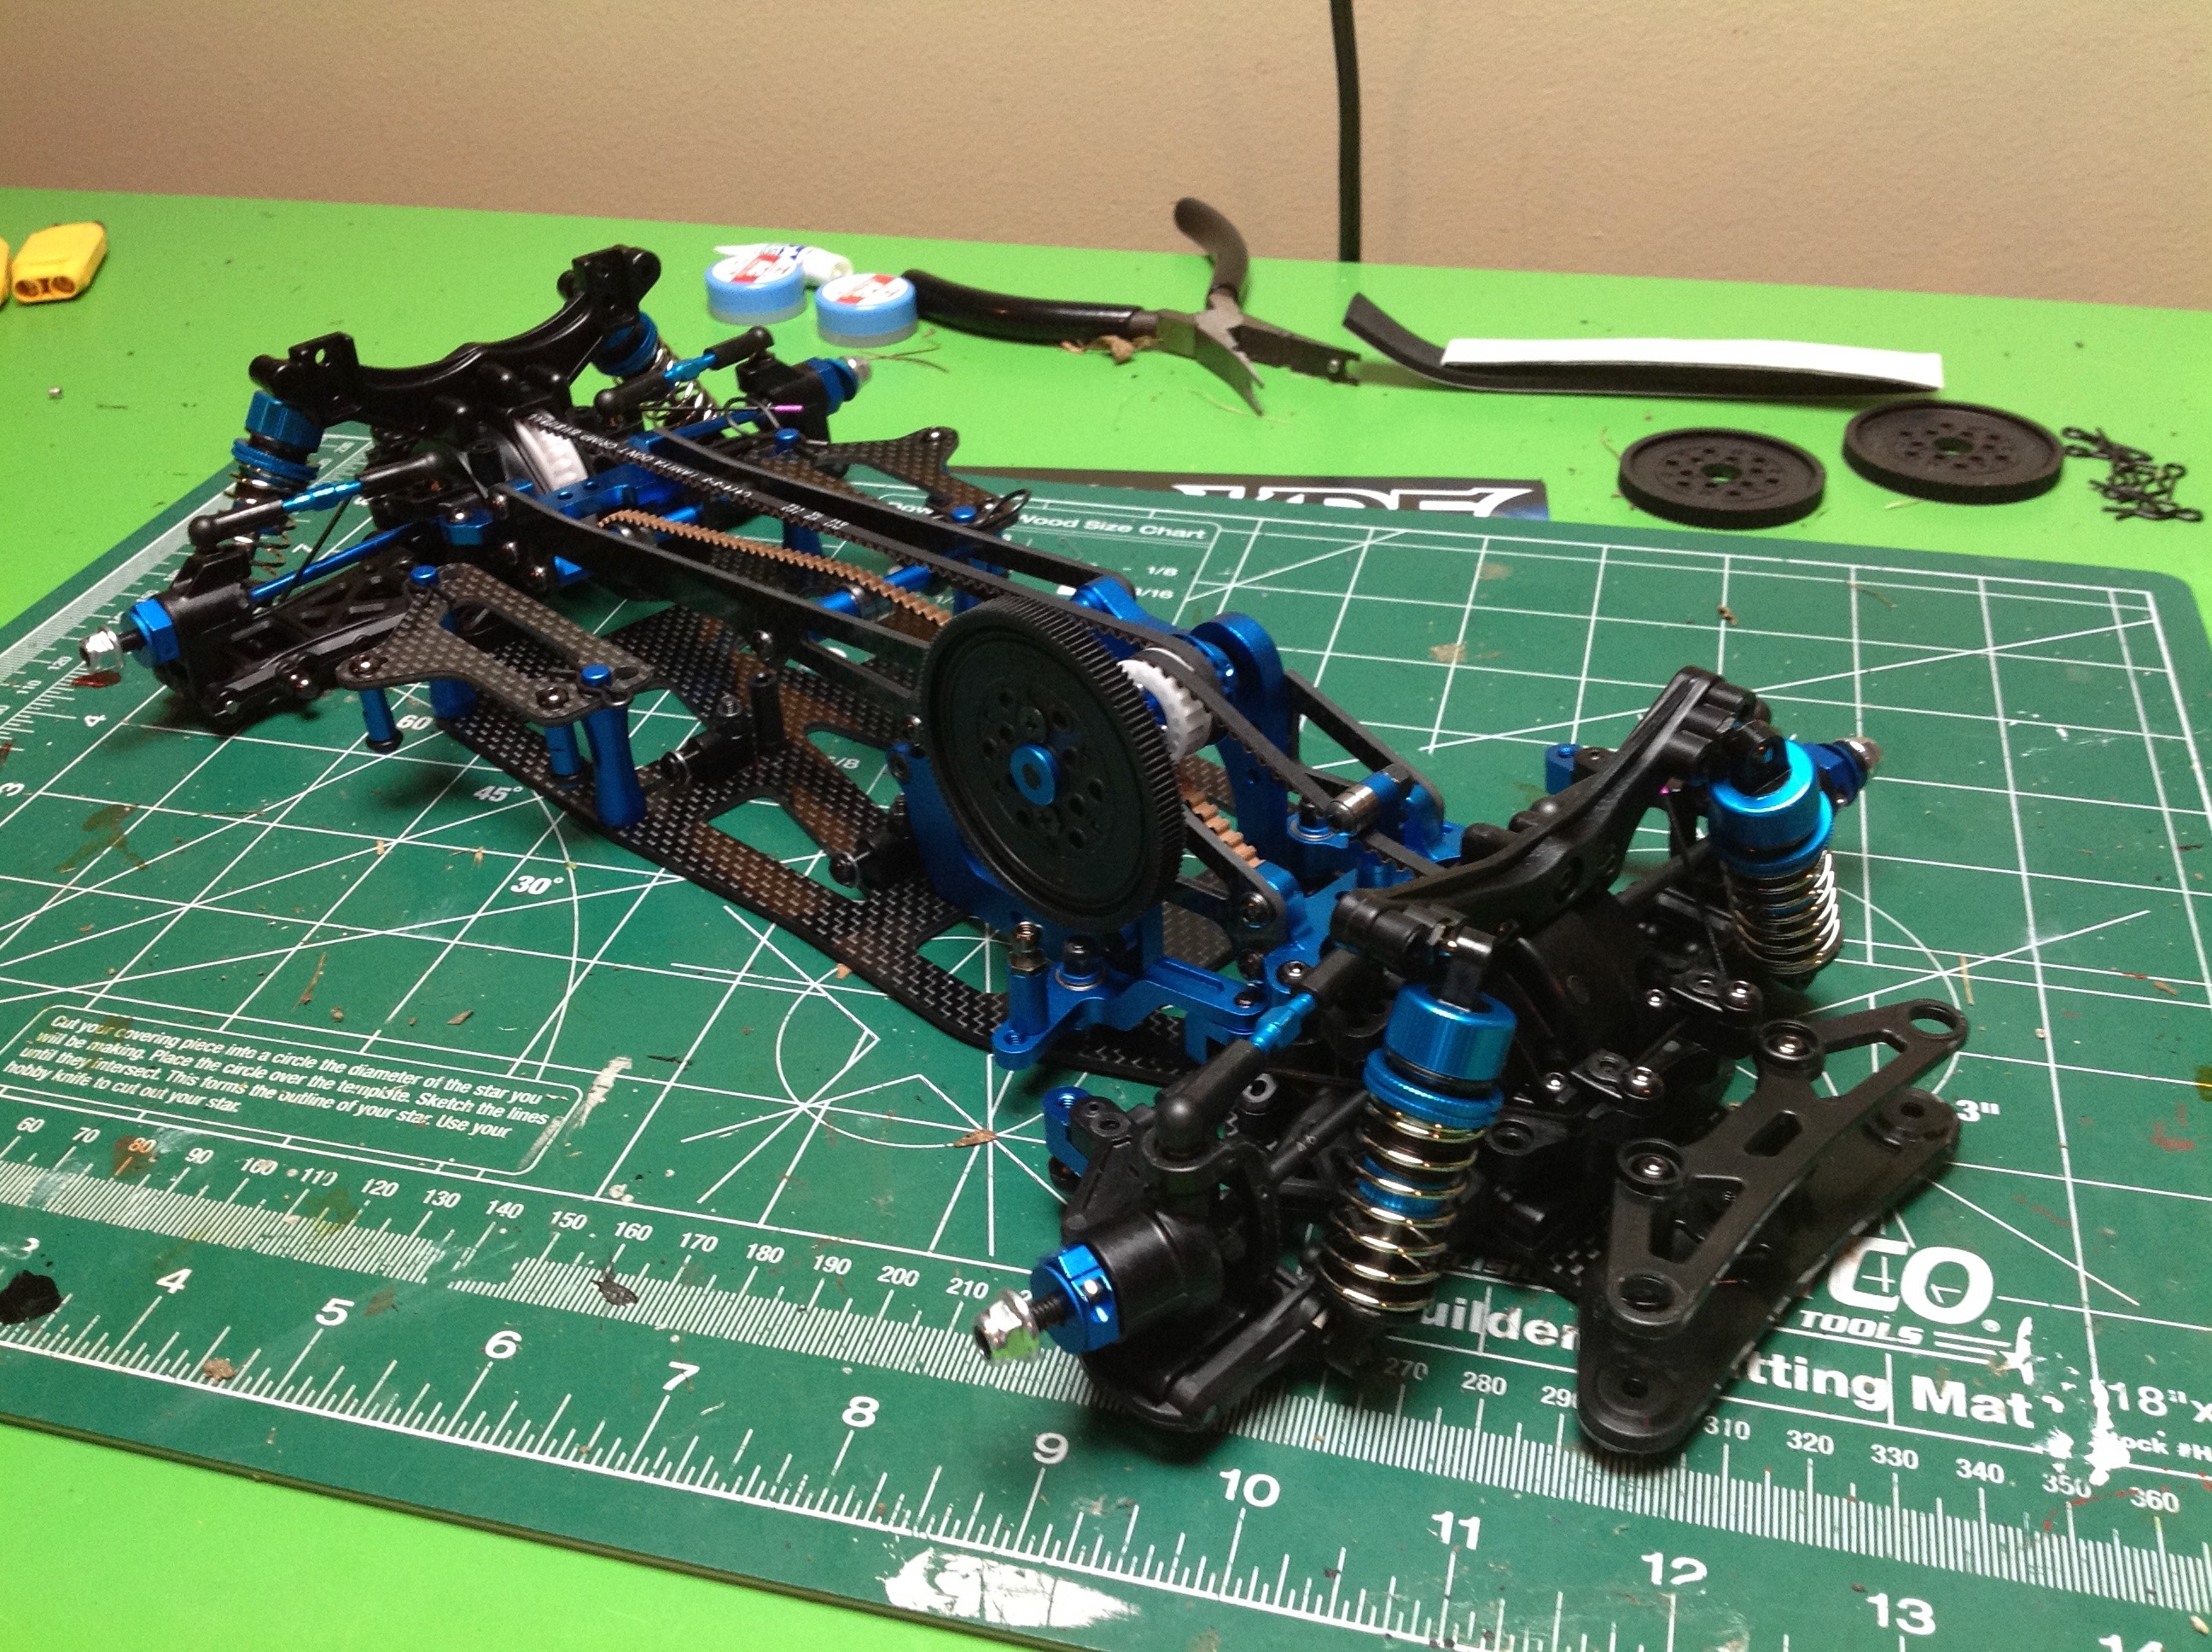
The rear differential is a locked spool. Whereas I am used to
using a spur or bevel ring gear here, instead we have a pulley for the
belt drive system. The right hand image shows the diff installed
in the rear bulkhead with the shock tower attached. There is a cam
system inside the bulkhead which can be used to tension the belt.
The front differential is a ball type with adjustable slip. The
bulkhead belt tensioning system is the same as the rear. Note the
blue aluminum rings around the drive cups which help retain the drive
shafts when steering to large angles.
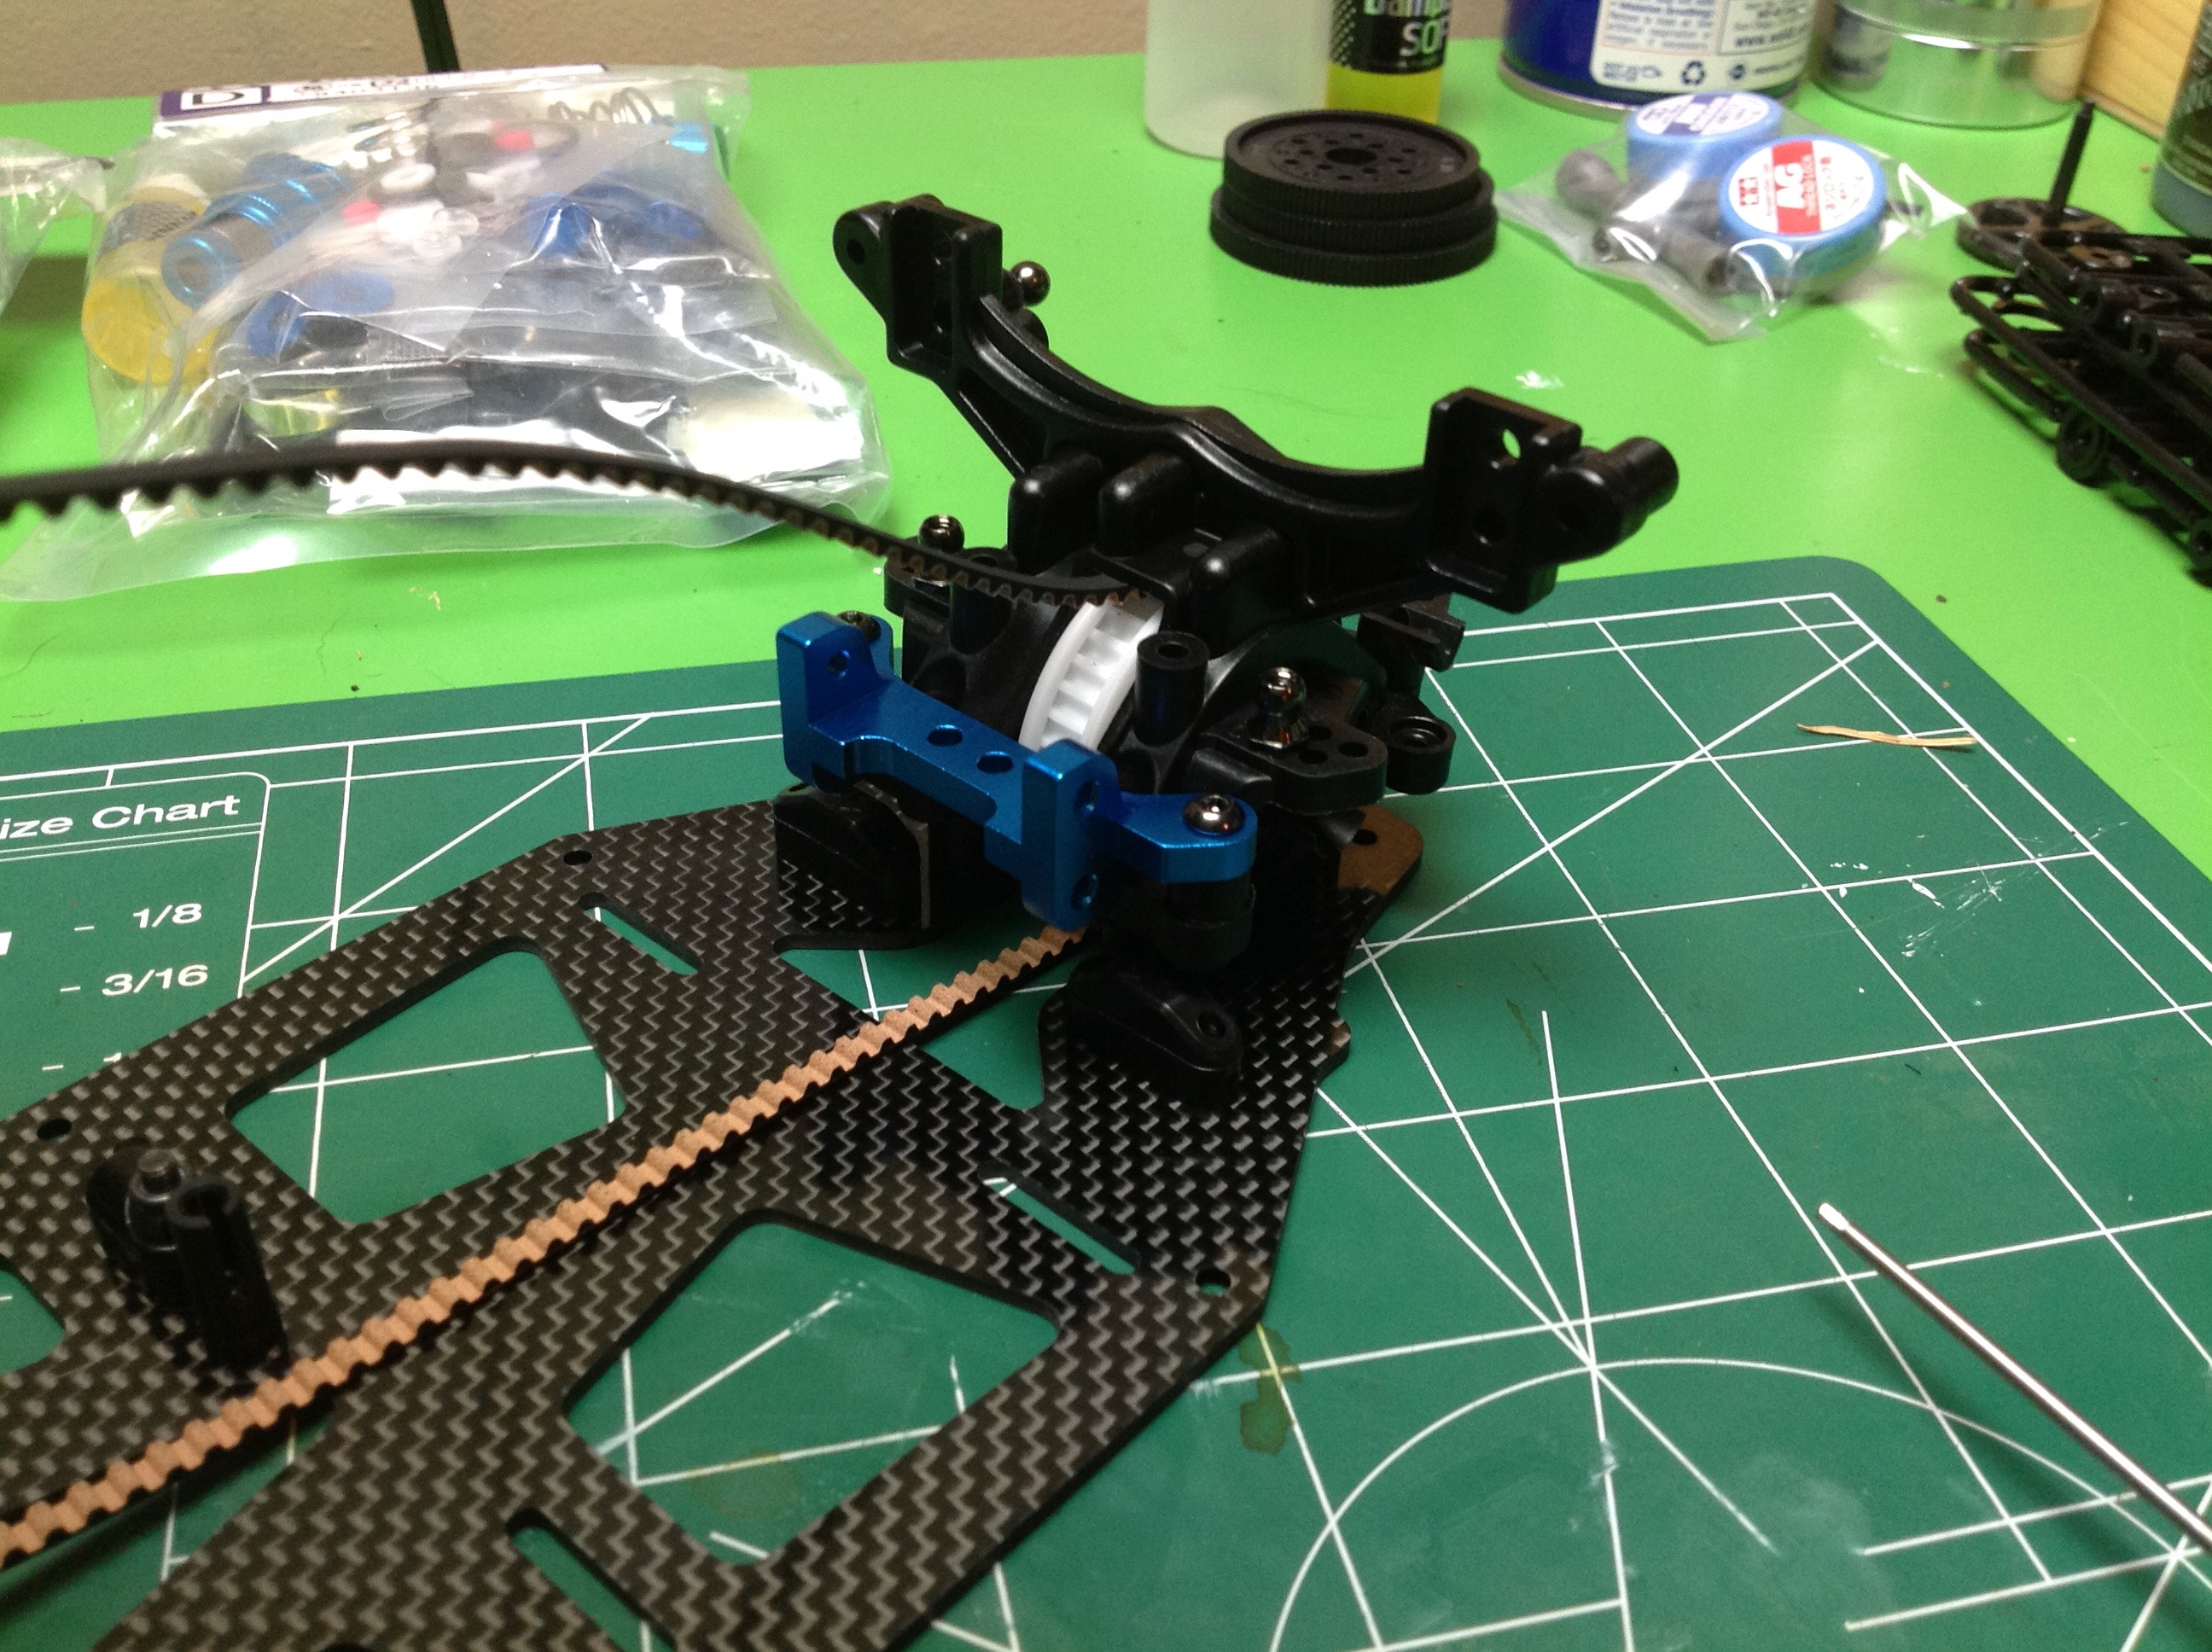
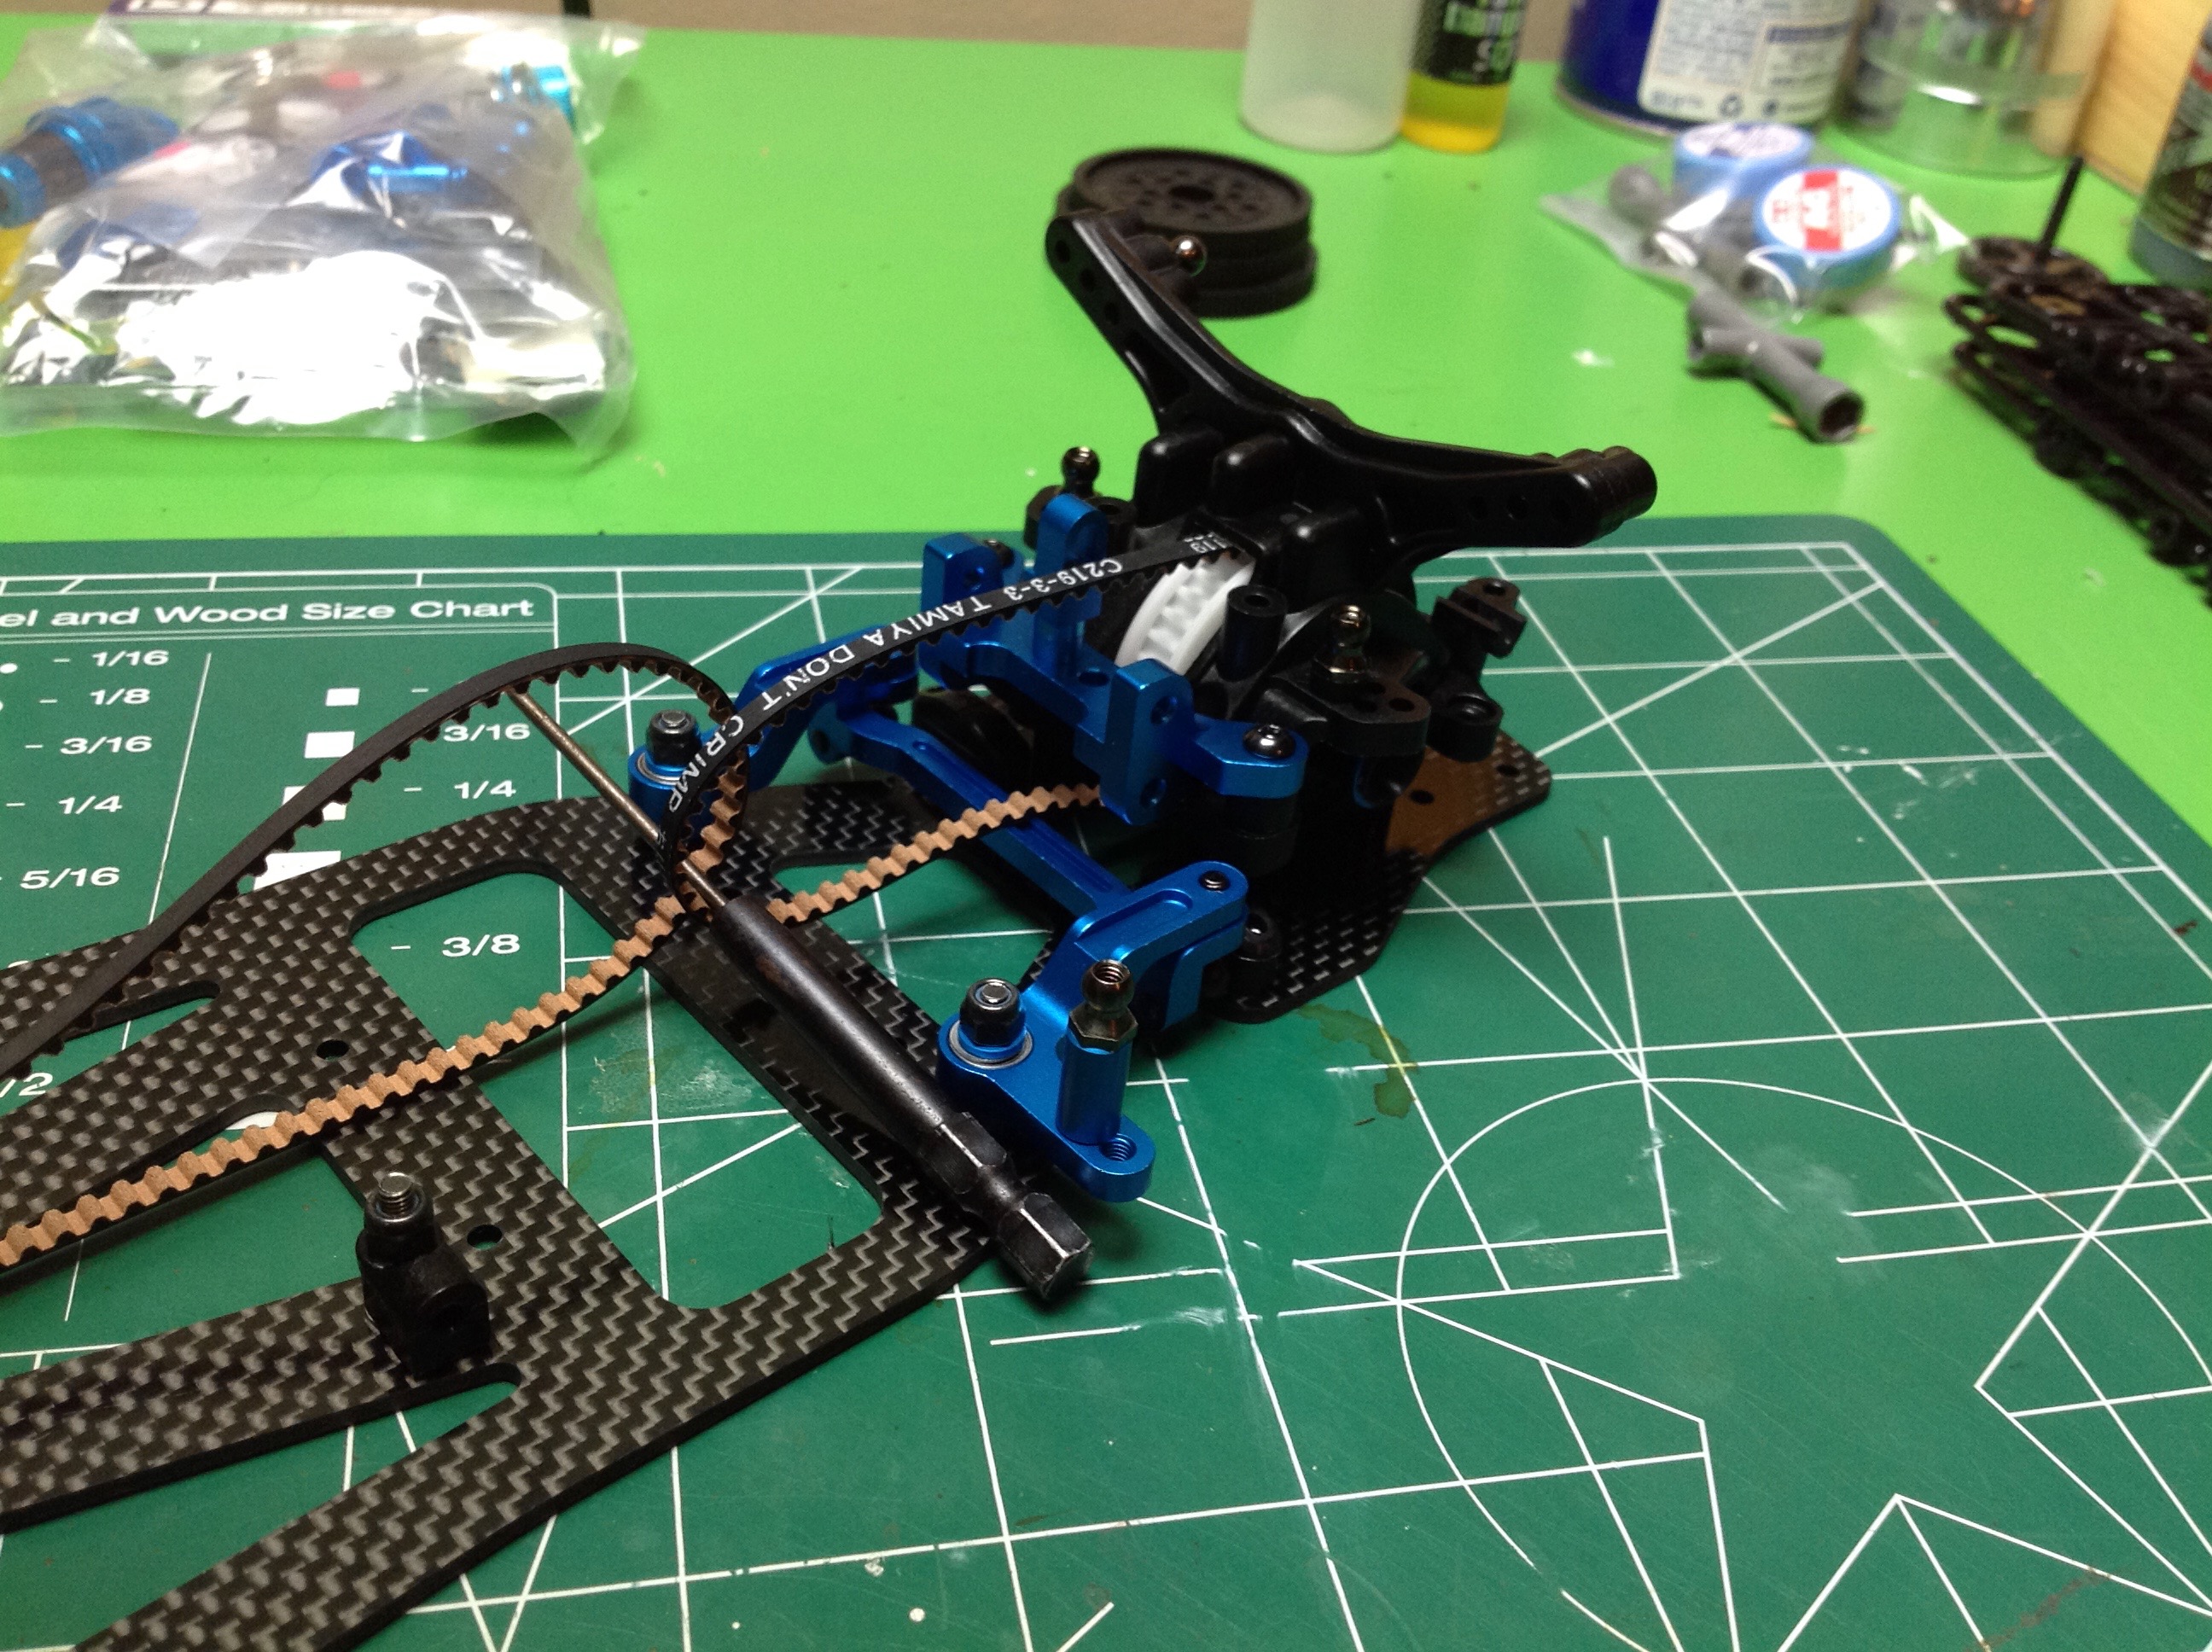
With the front and rear assemblies installed, it is time to start on the
center. The motor mount and center pulley configuration is really
unique. The motor is mounted very low and actually recesses into a
slot in the lower frame but does not protrude below it. This keep
the CG very low. The spur gear and center pulley need to be on a
common axis, so they are actually installed above the motor so the belts
will be high enough to clear everything else. The model uses 04
mod spur and pinion teeth, the smallest I've seen. This makes it
easy to make big changes in ratio because there are so many teeth to
work with. The stock spur is 120 teeth, but 112 and 128 are also
included in the box. The stock pinion is 39 teeth. In the
second image you can see a kink in the lower part of the rear
belt. This is from a midspan roller used for tension and to reduce
slap.
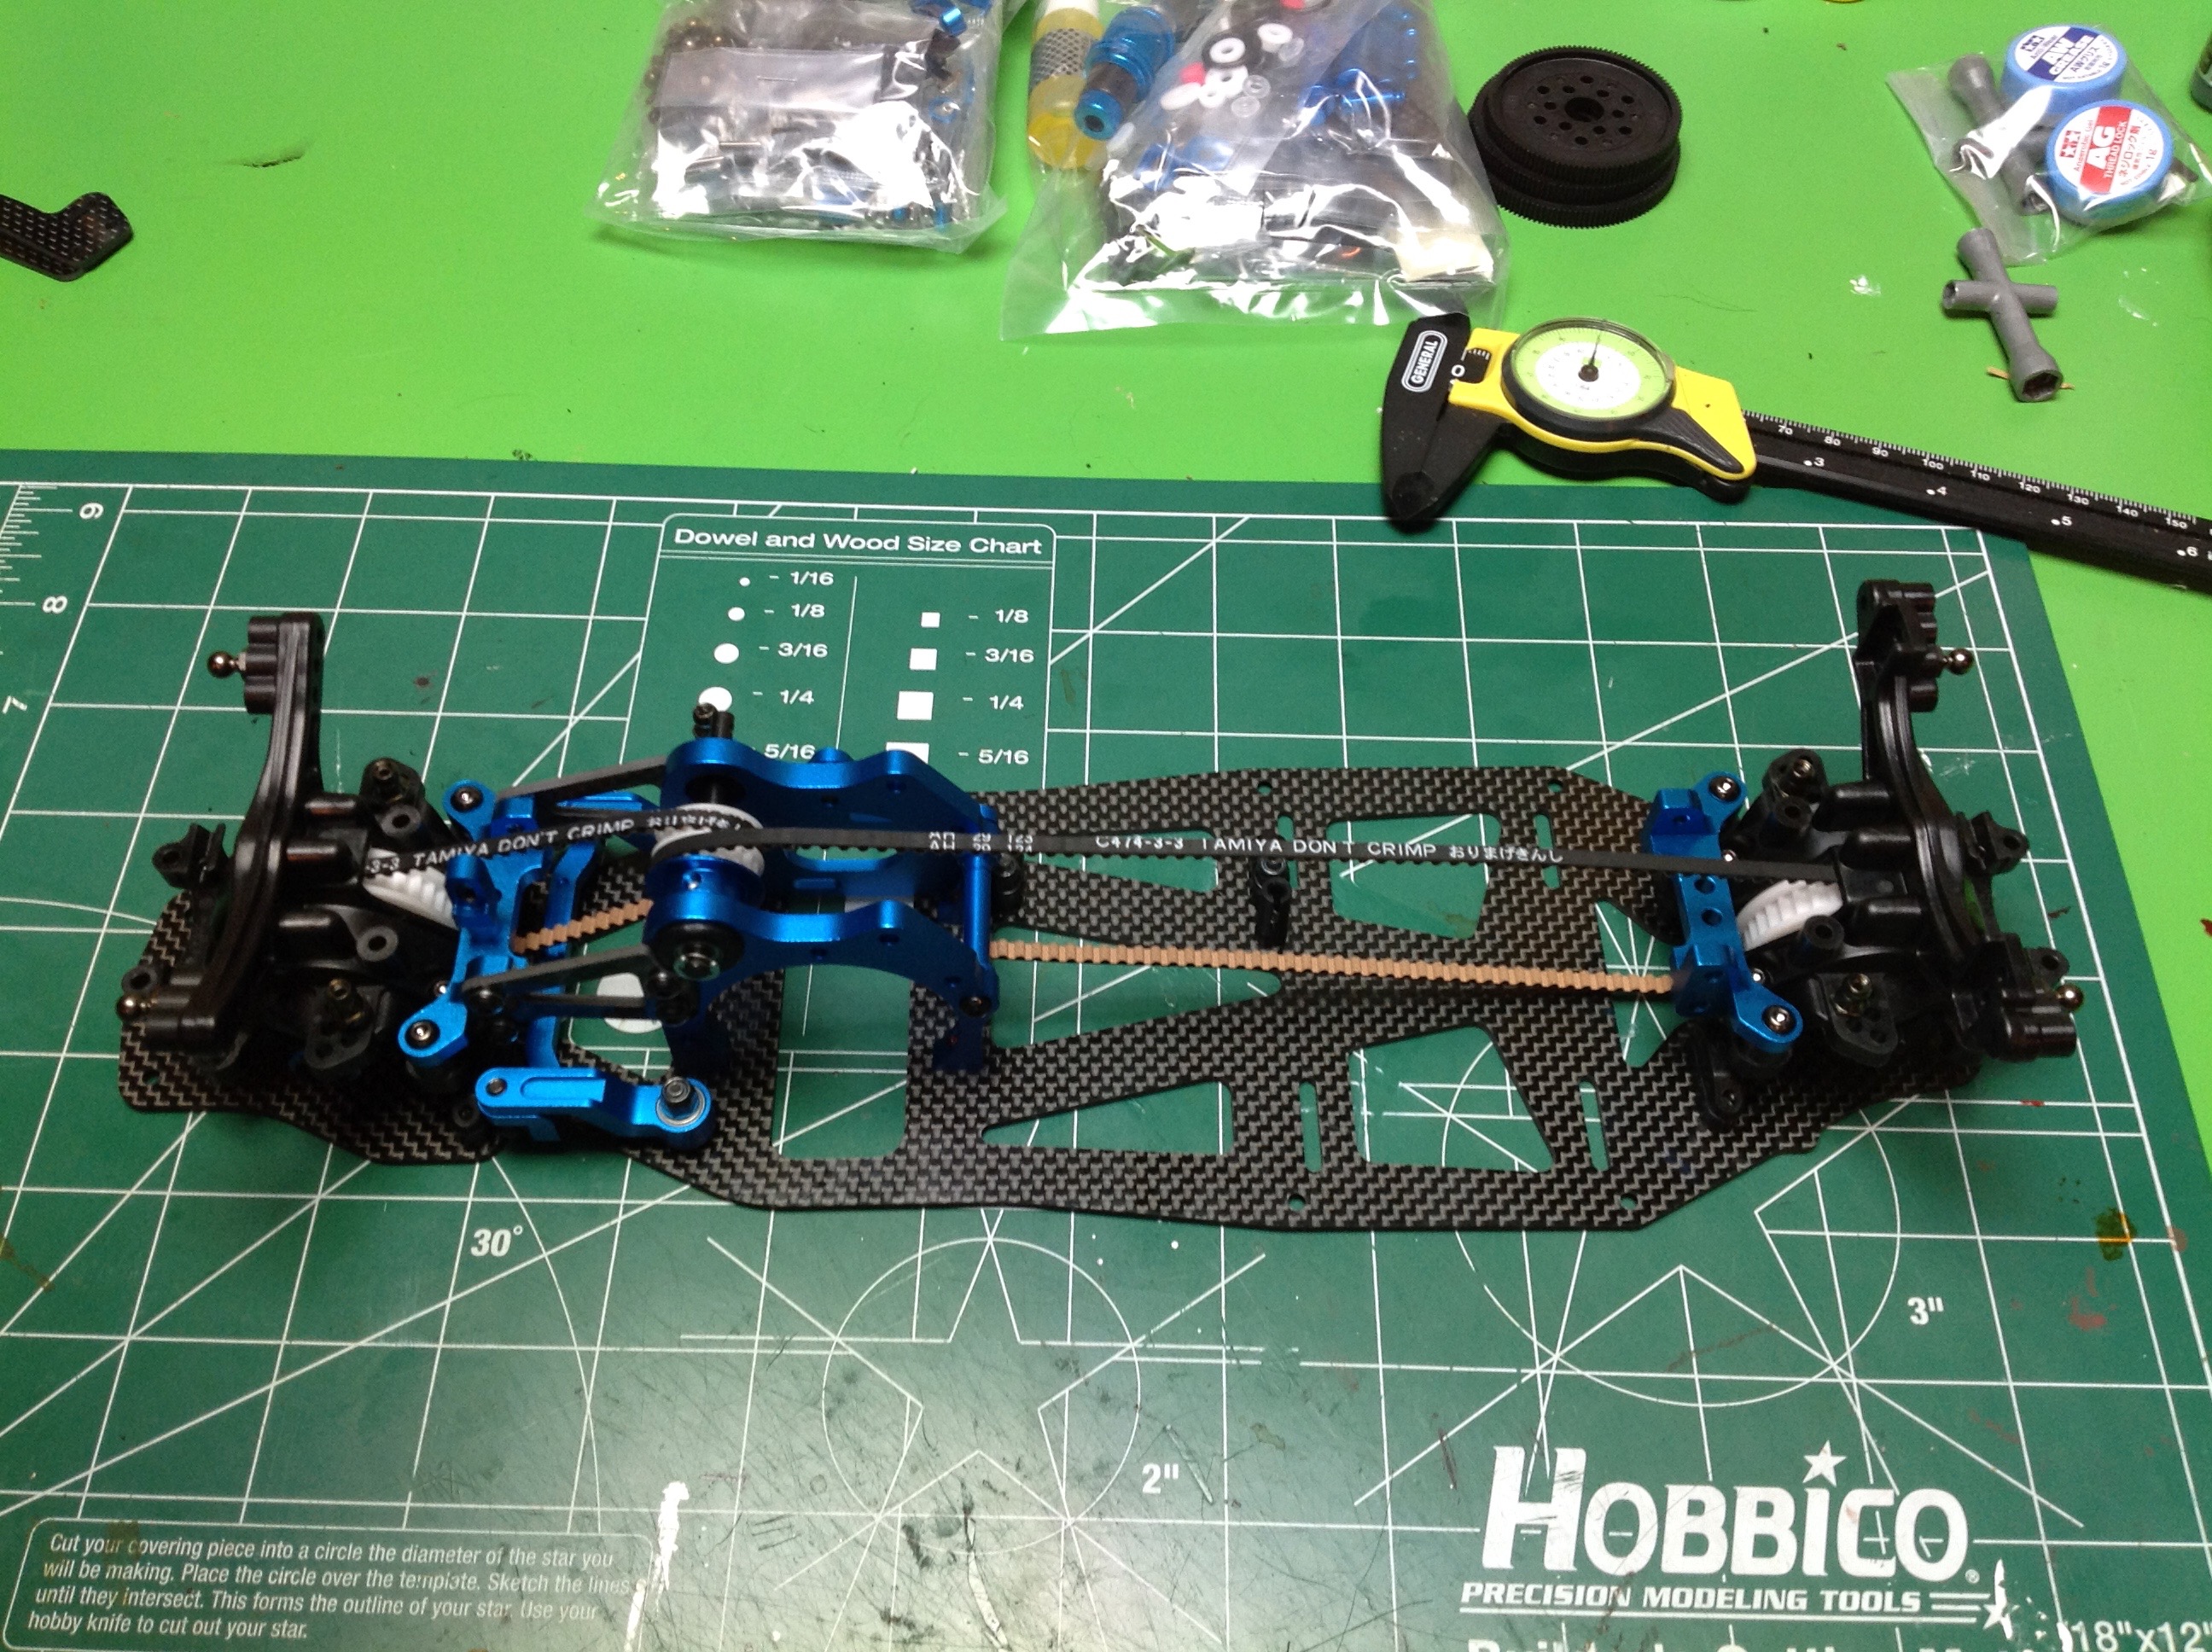
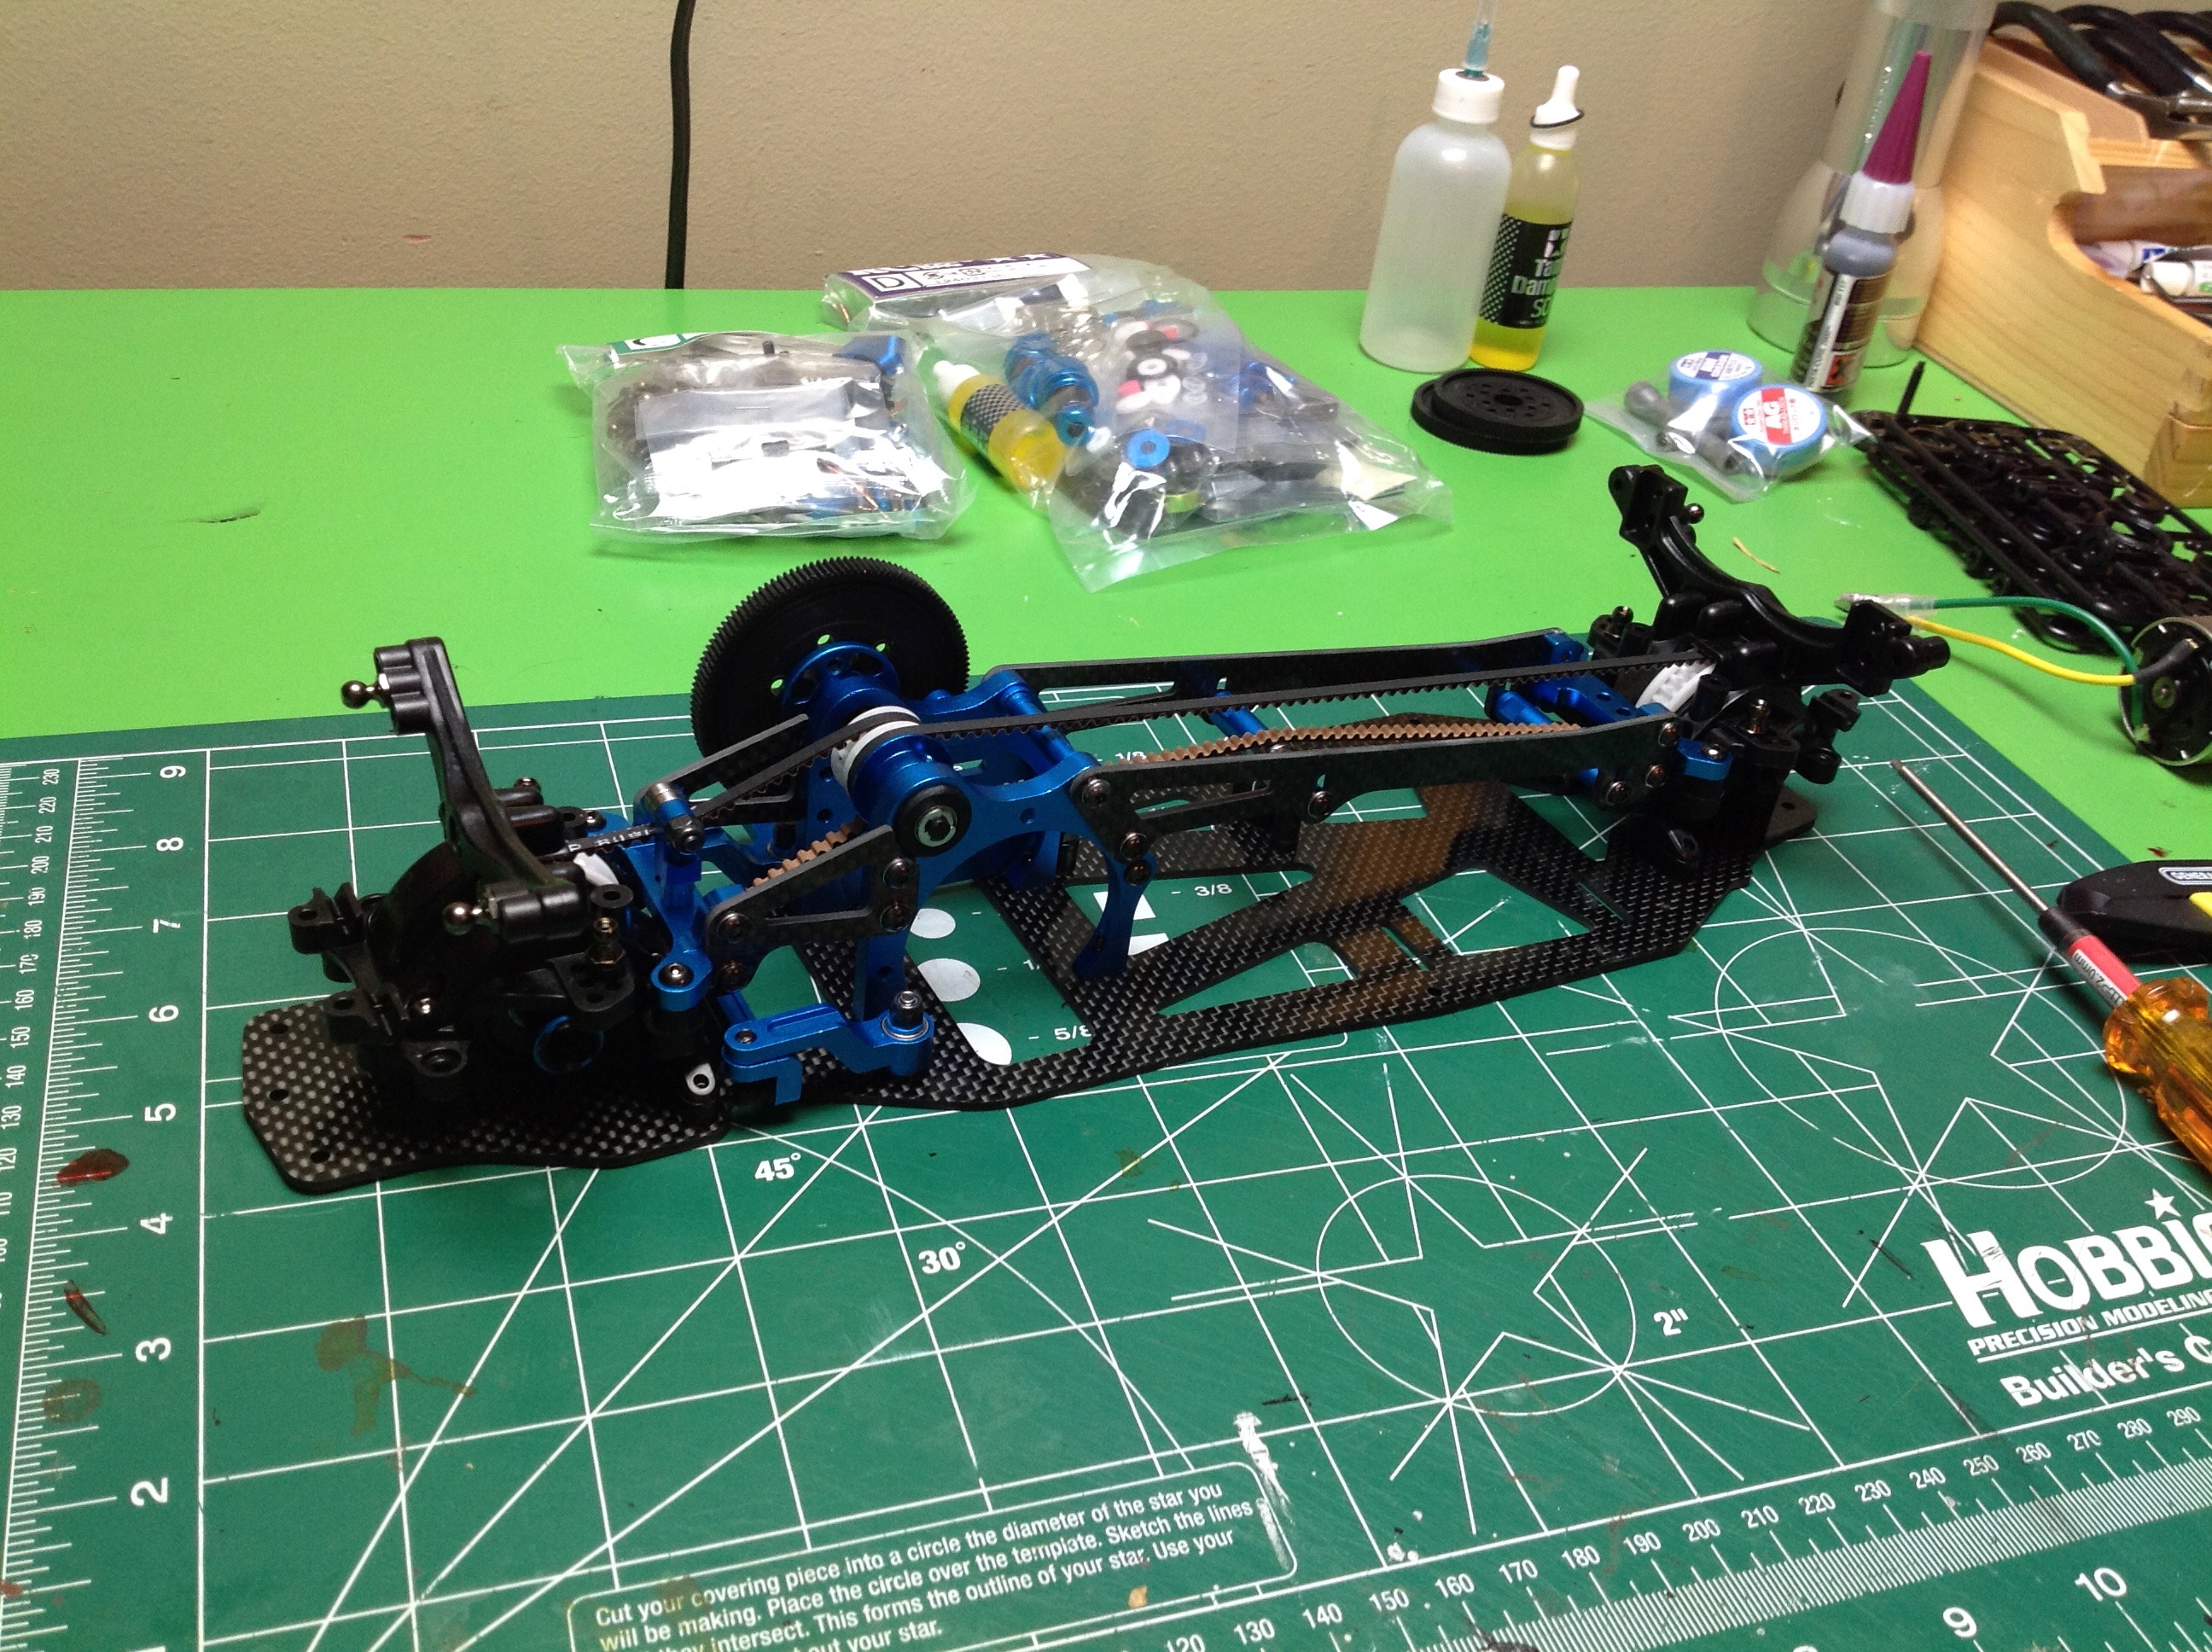
Time to build the suspension. The reversible control arms are the
same type used on other high end Tamiya touring car chassis. There
are four shock attachment options per arm. The upper links are
turnbuckles. The axles are all CVDs. The front steering hubs
have aluminum extensions to give them more steering lock. The
shocks are TRF spec, best you can get. This is a beautiful
chassis.
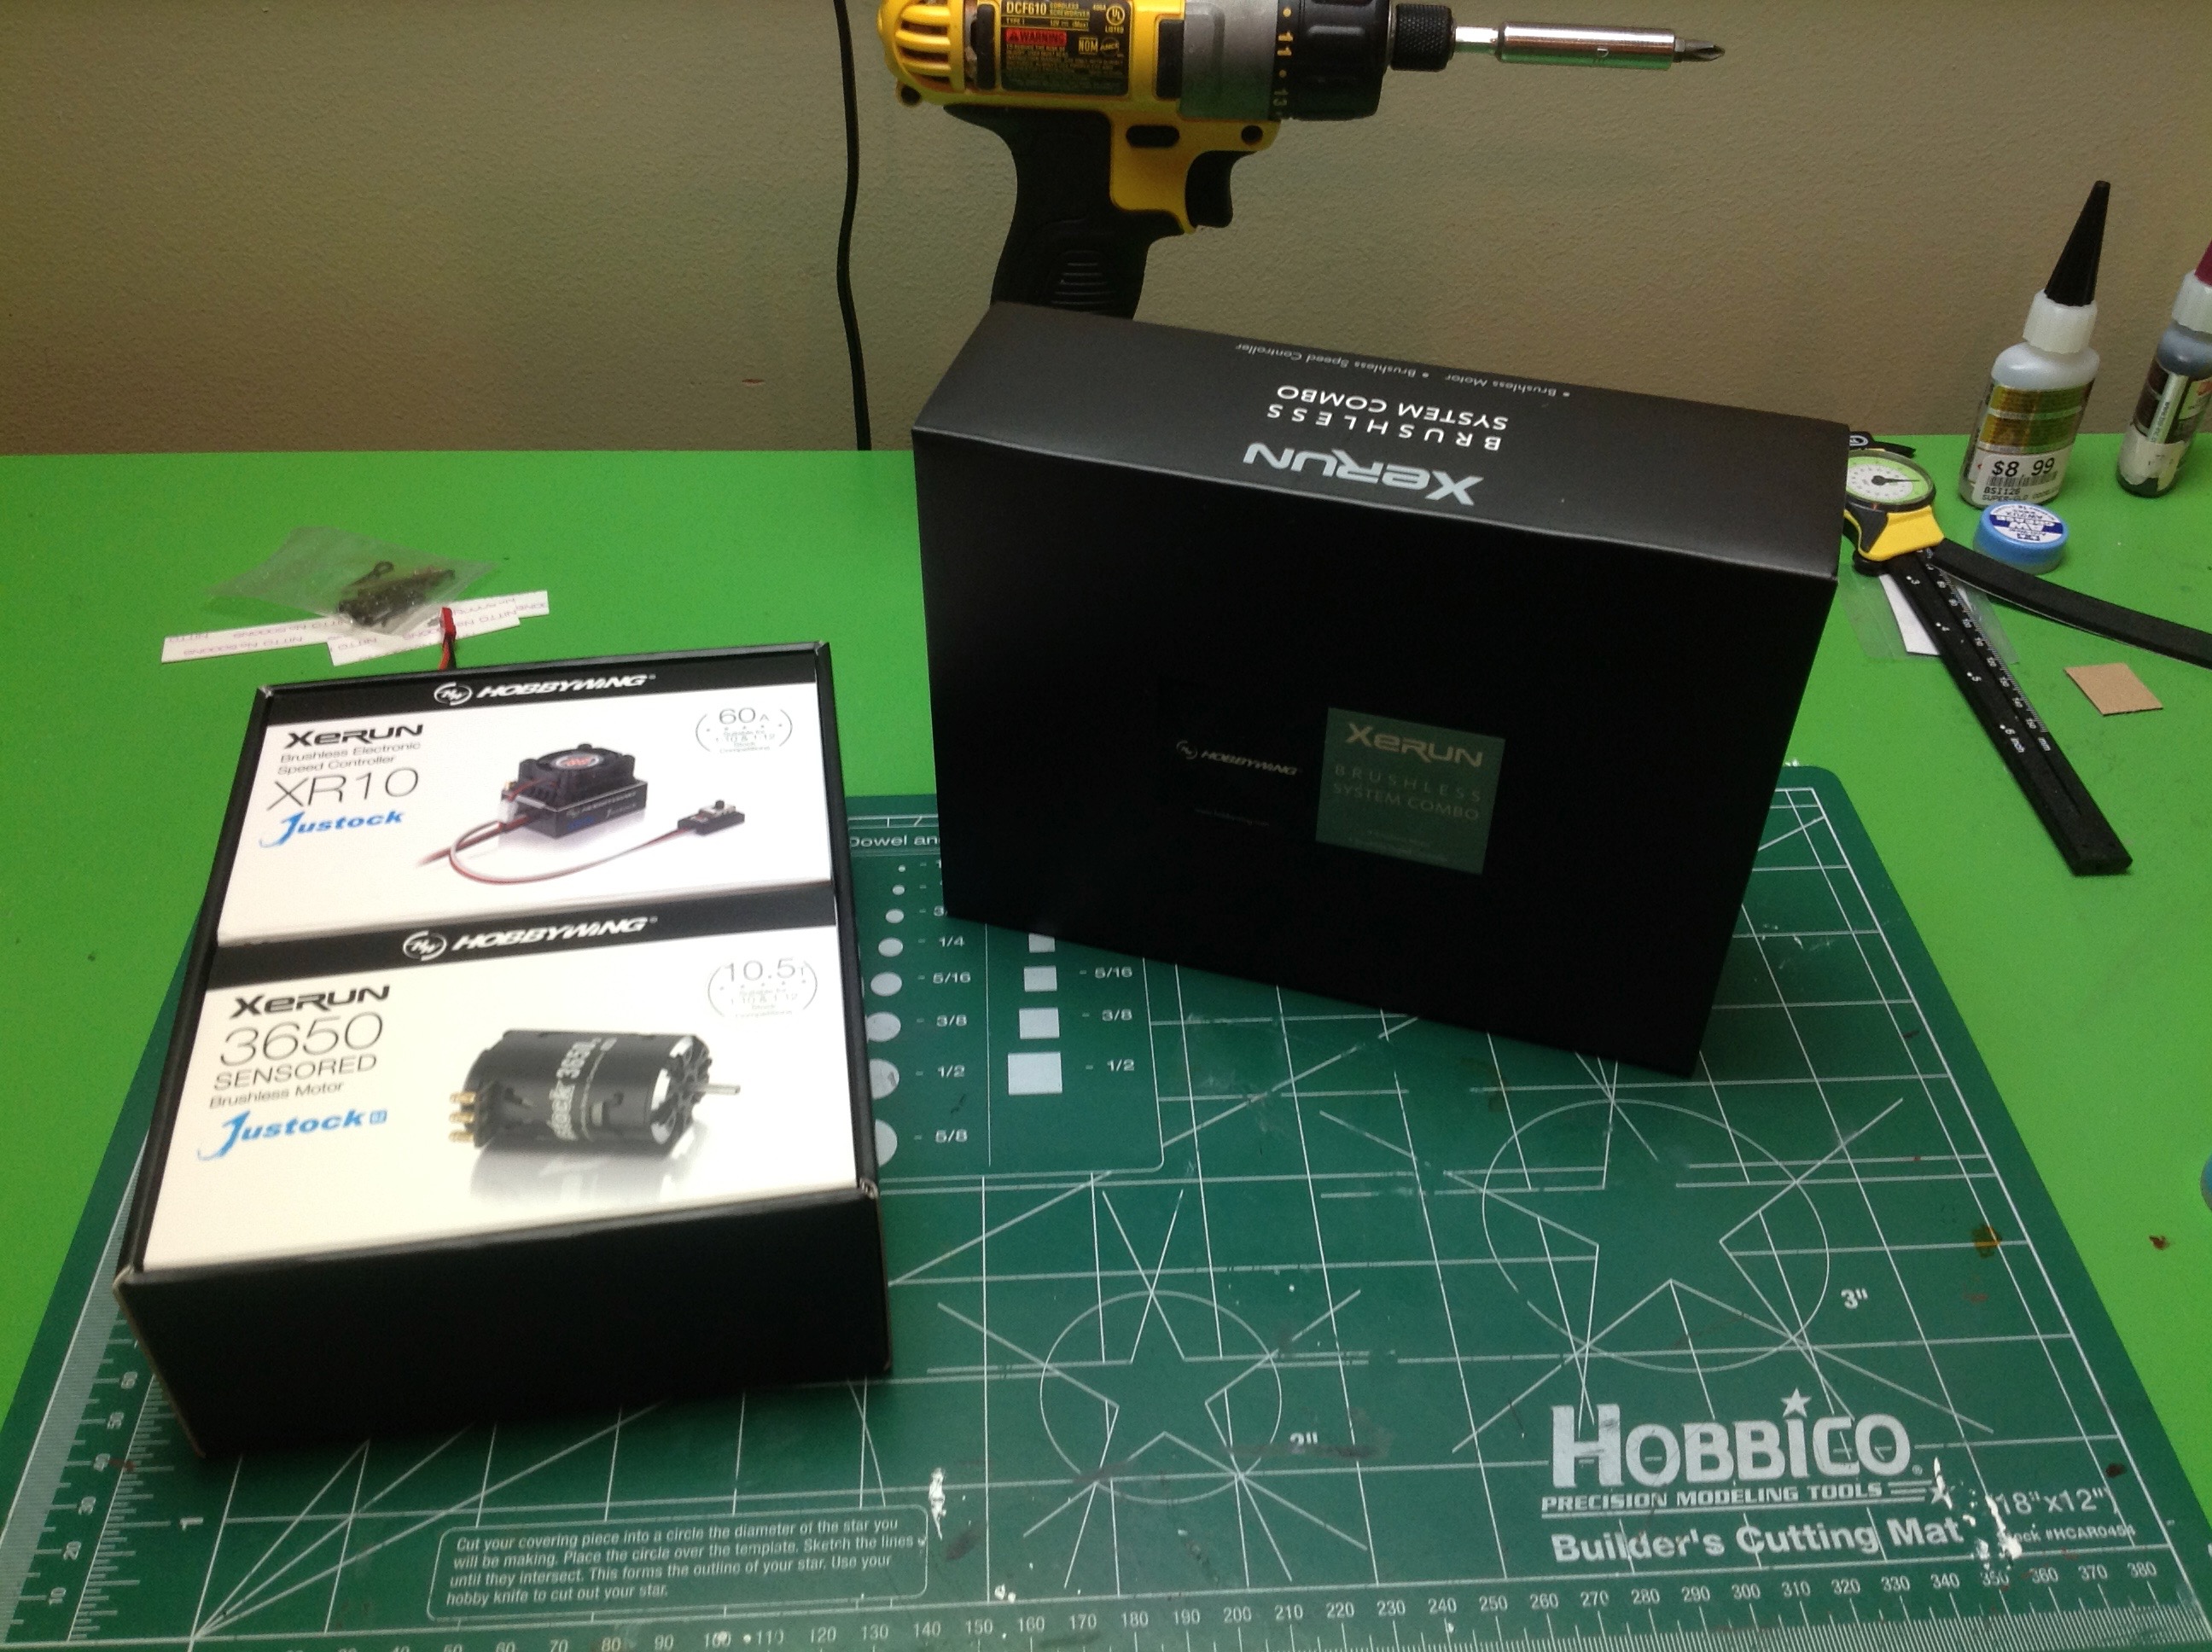
Time for the power system. I chose a Hobbywing Xerun Justock
brushless system with a 10.5T 3600kV motor. This will give me high
RPM but is unlikely to draw a lot of current. As a sensored
system, it should also offer very smooth throttle control.
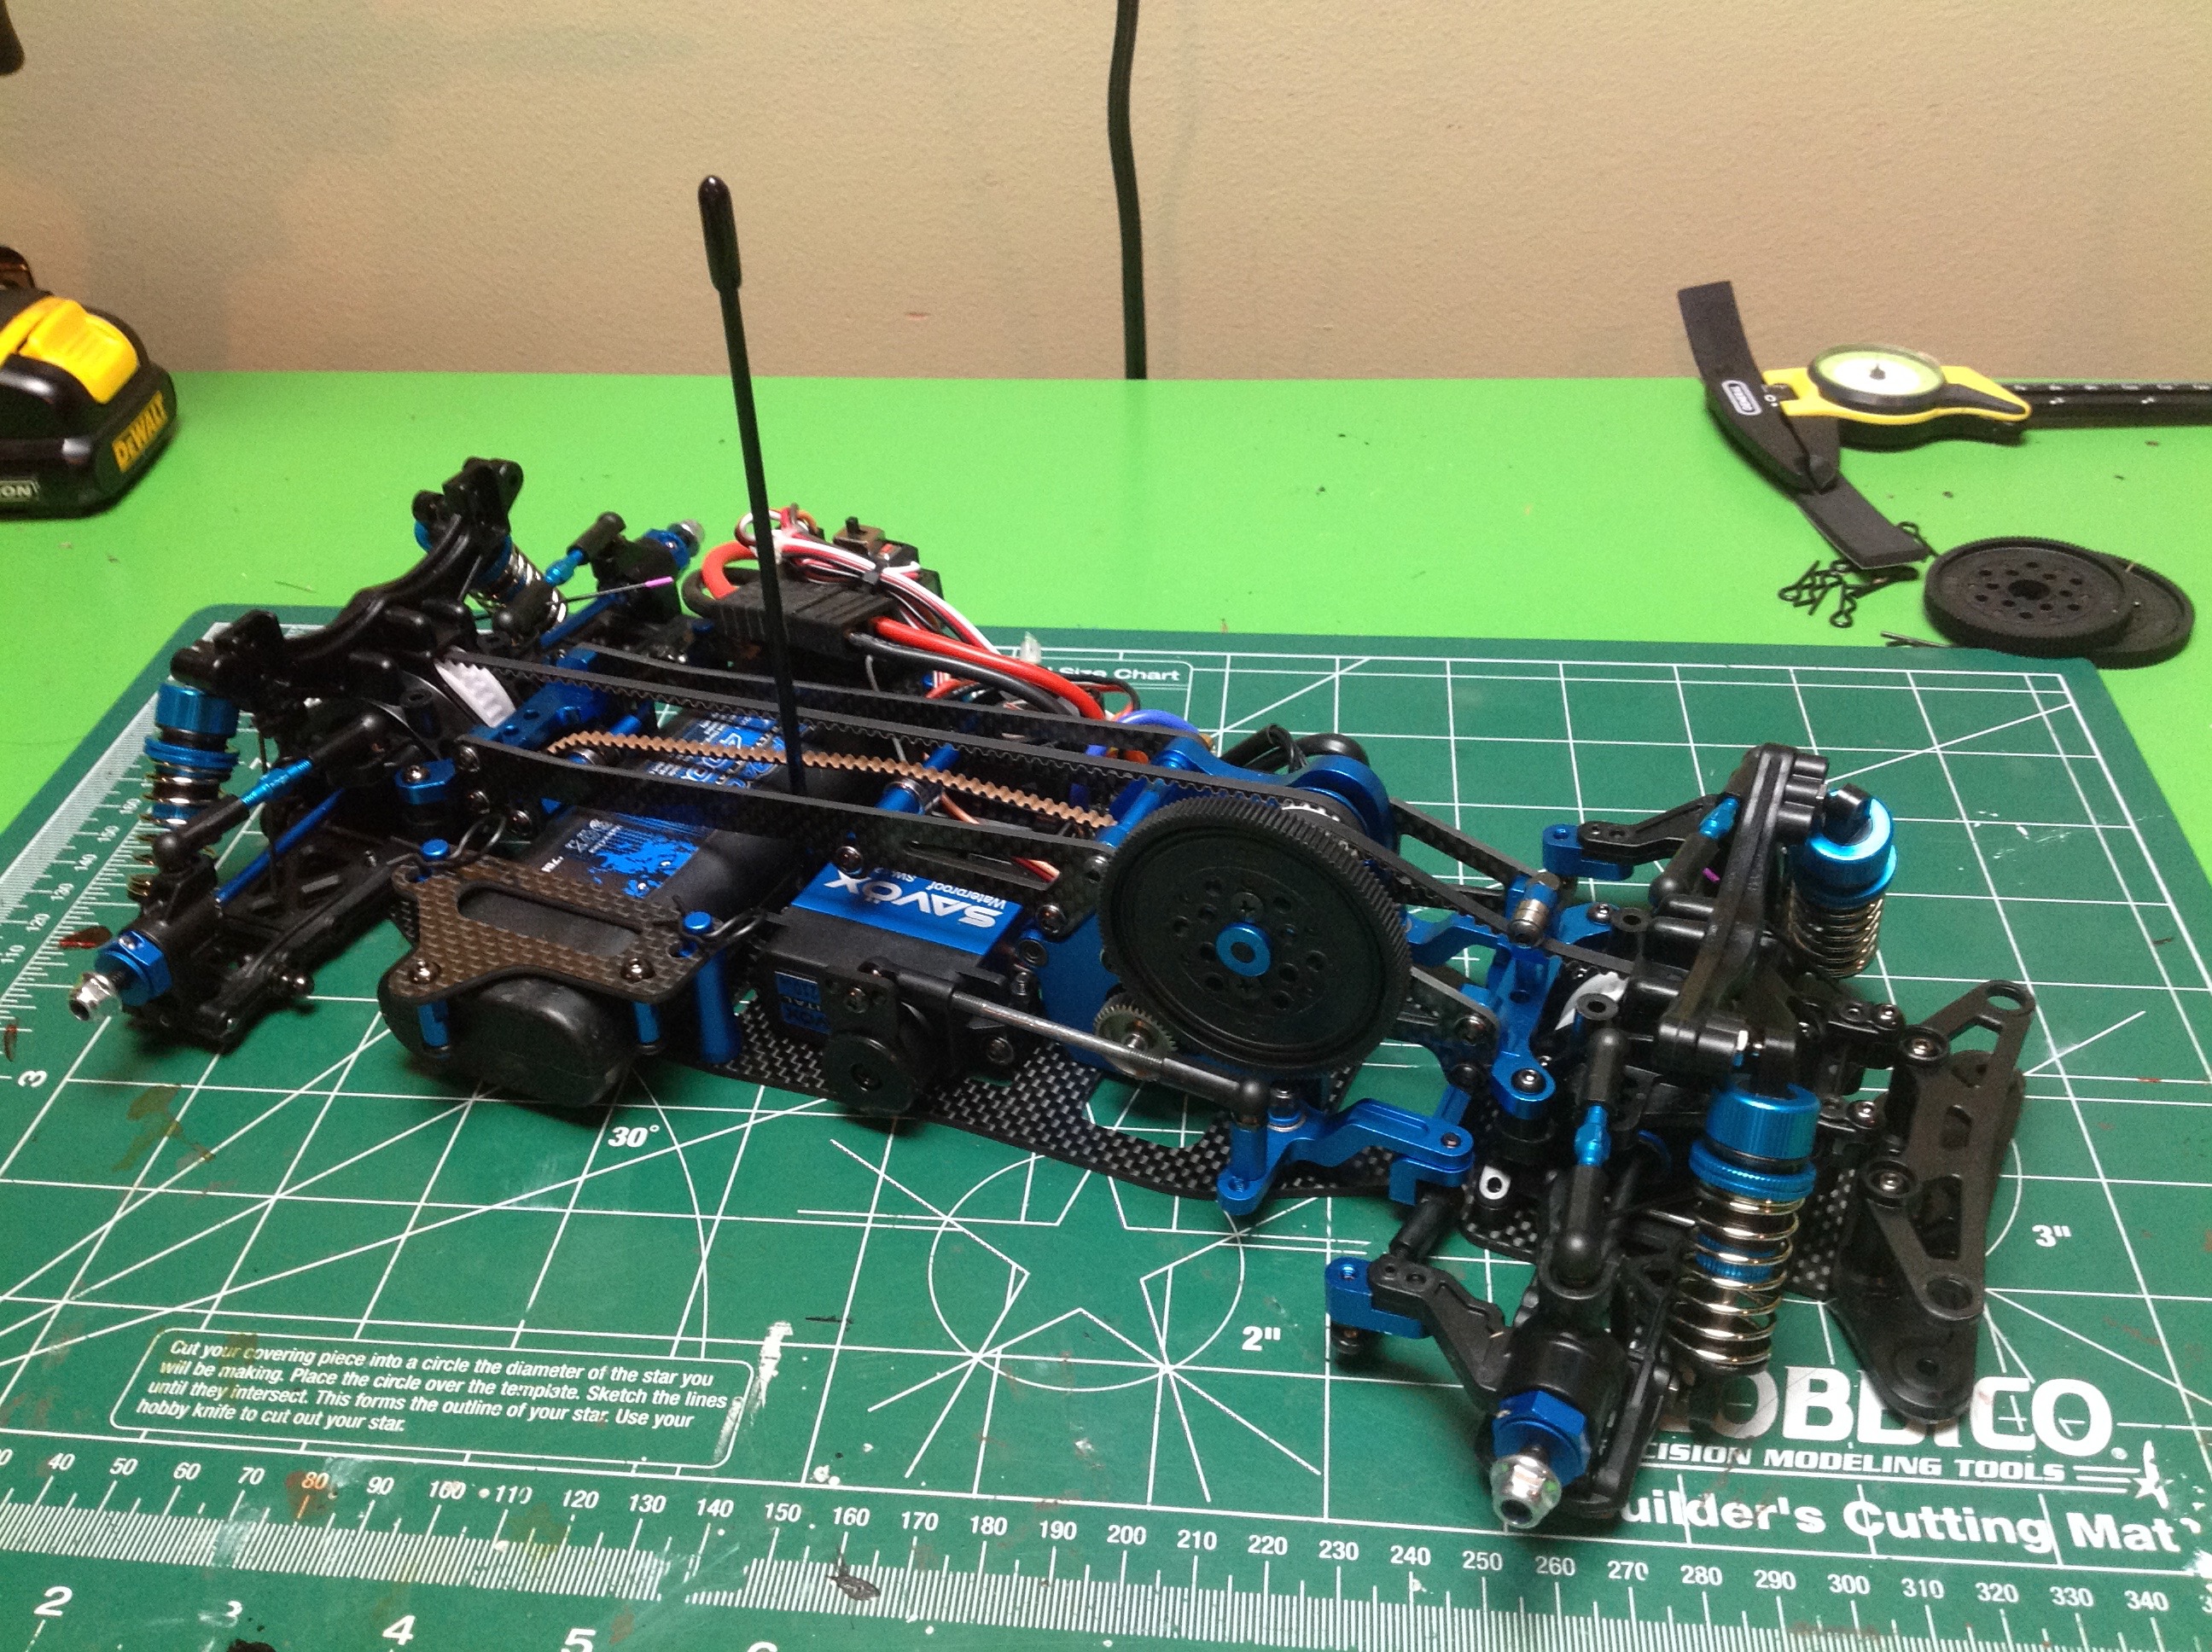
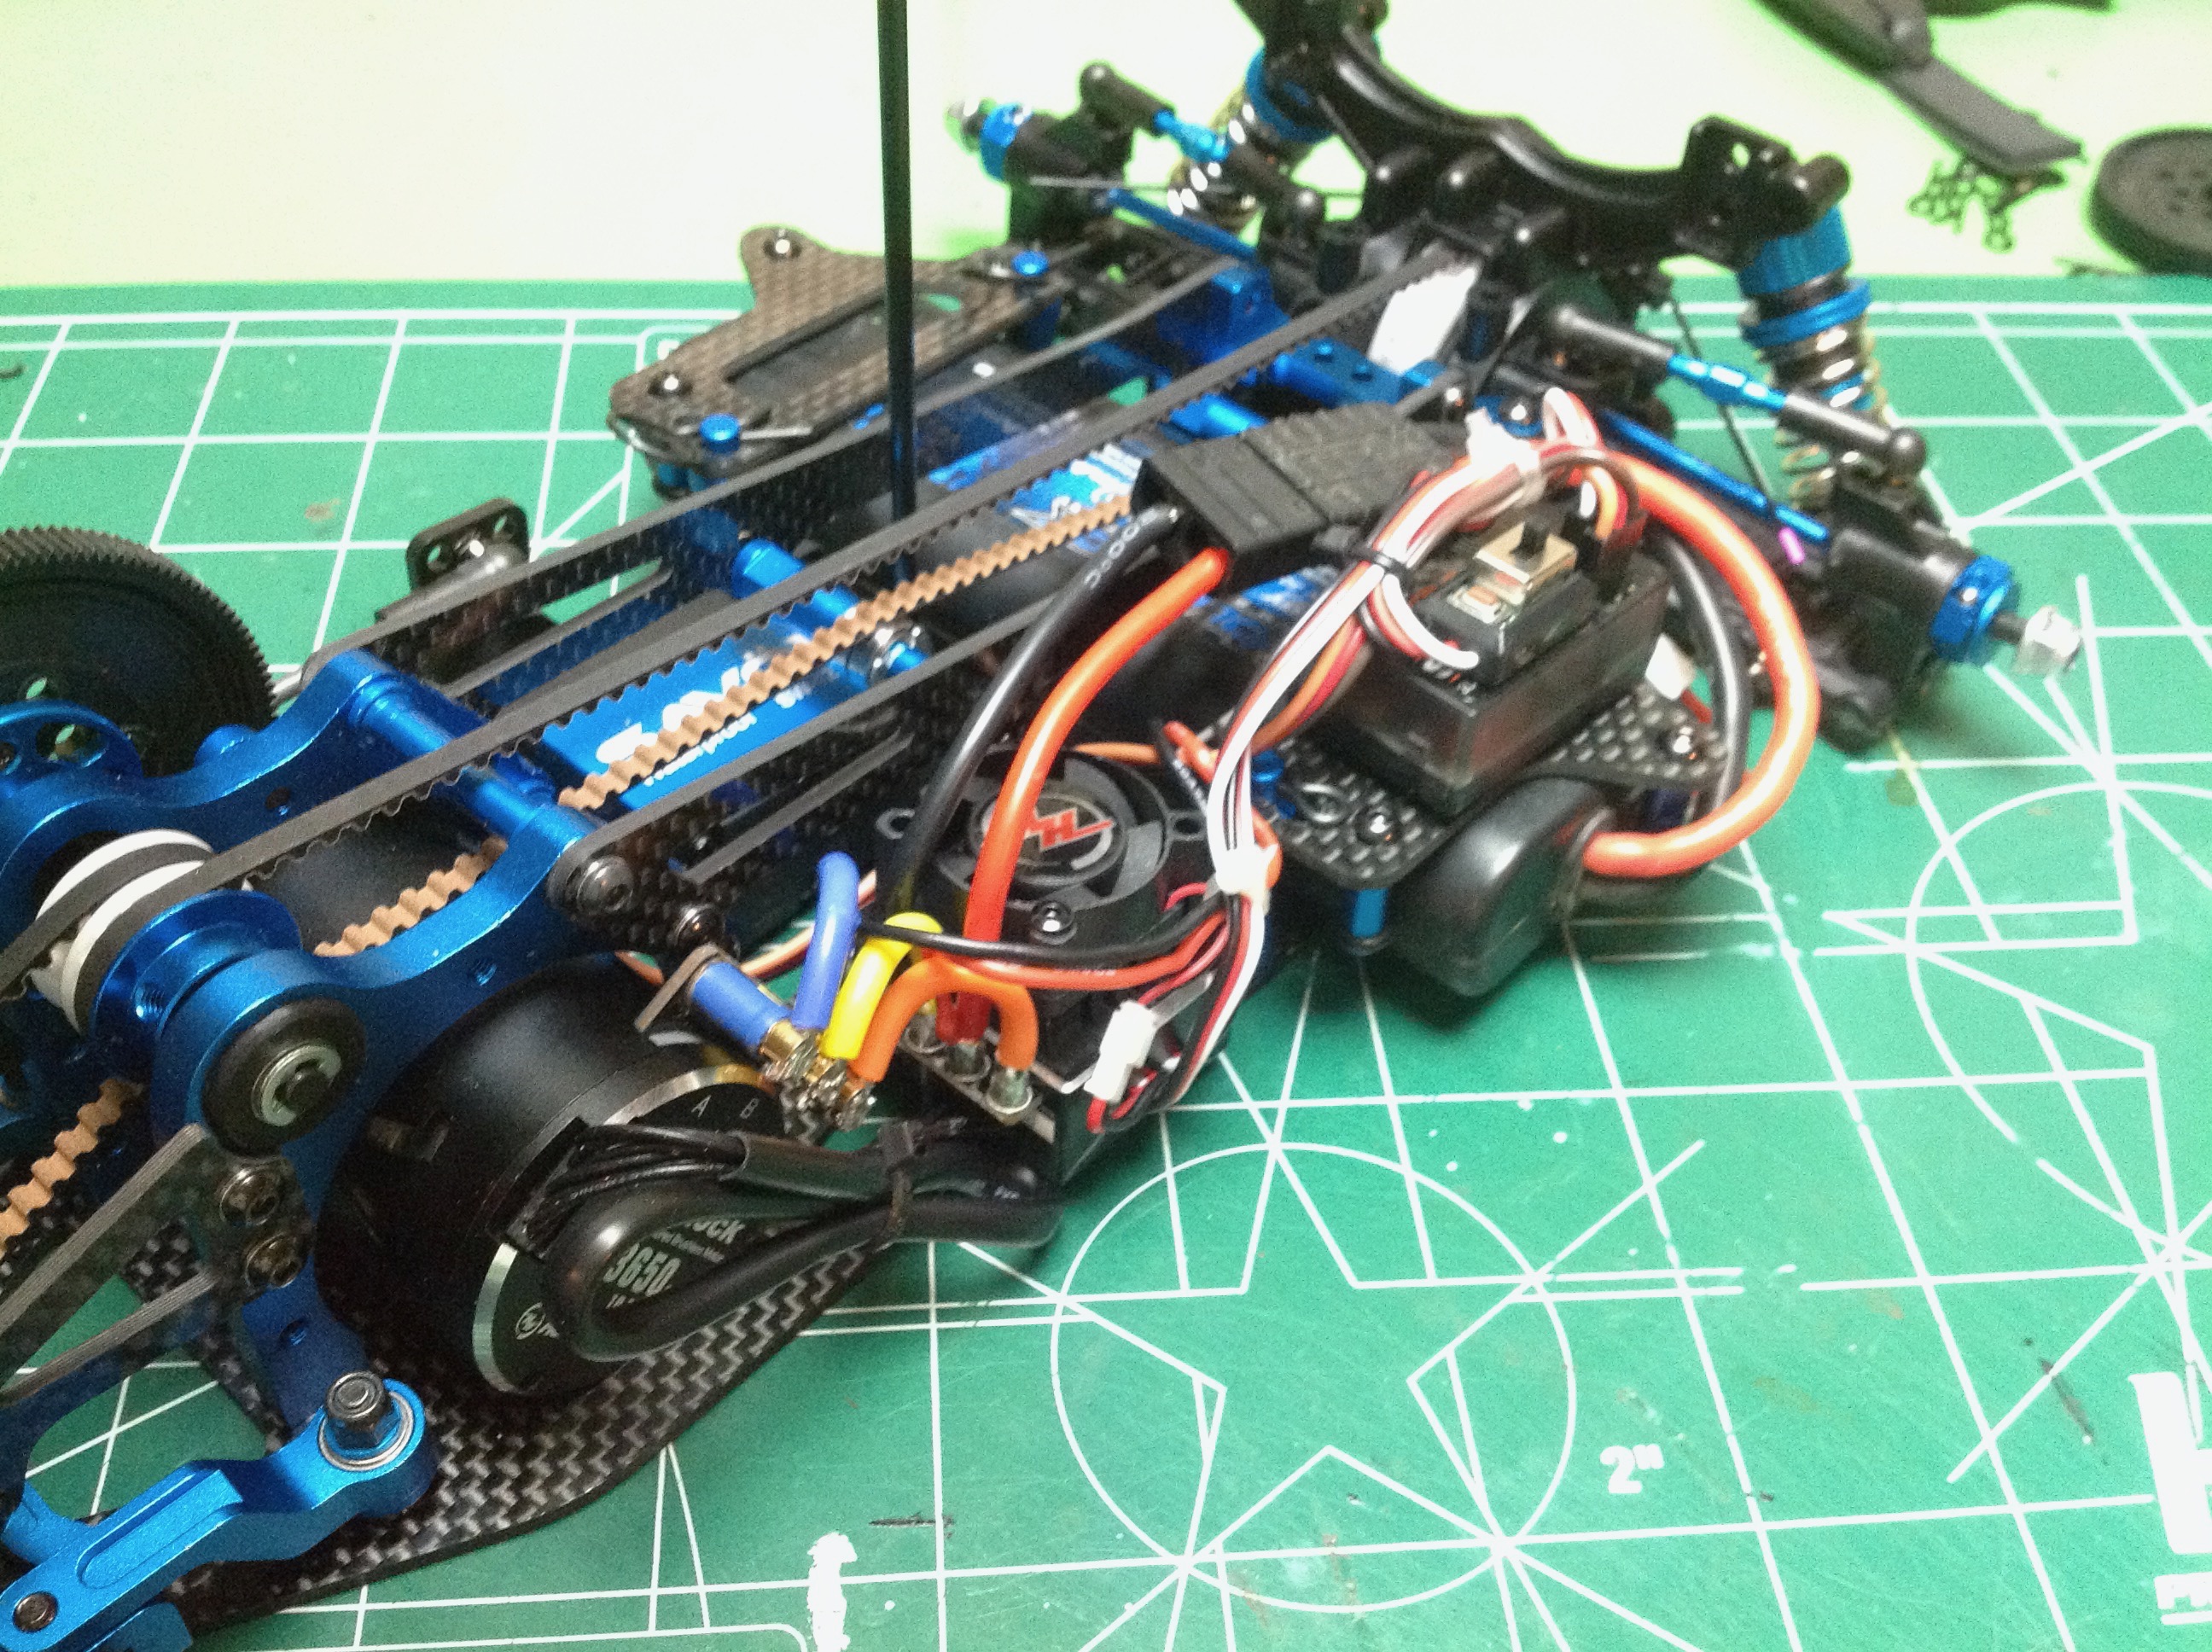
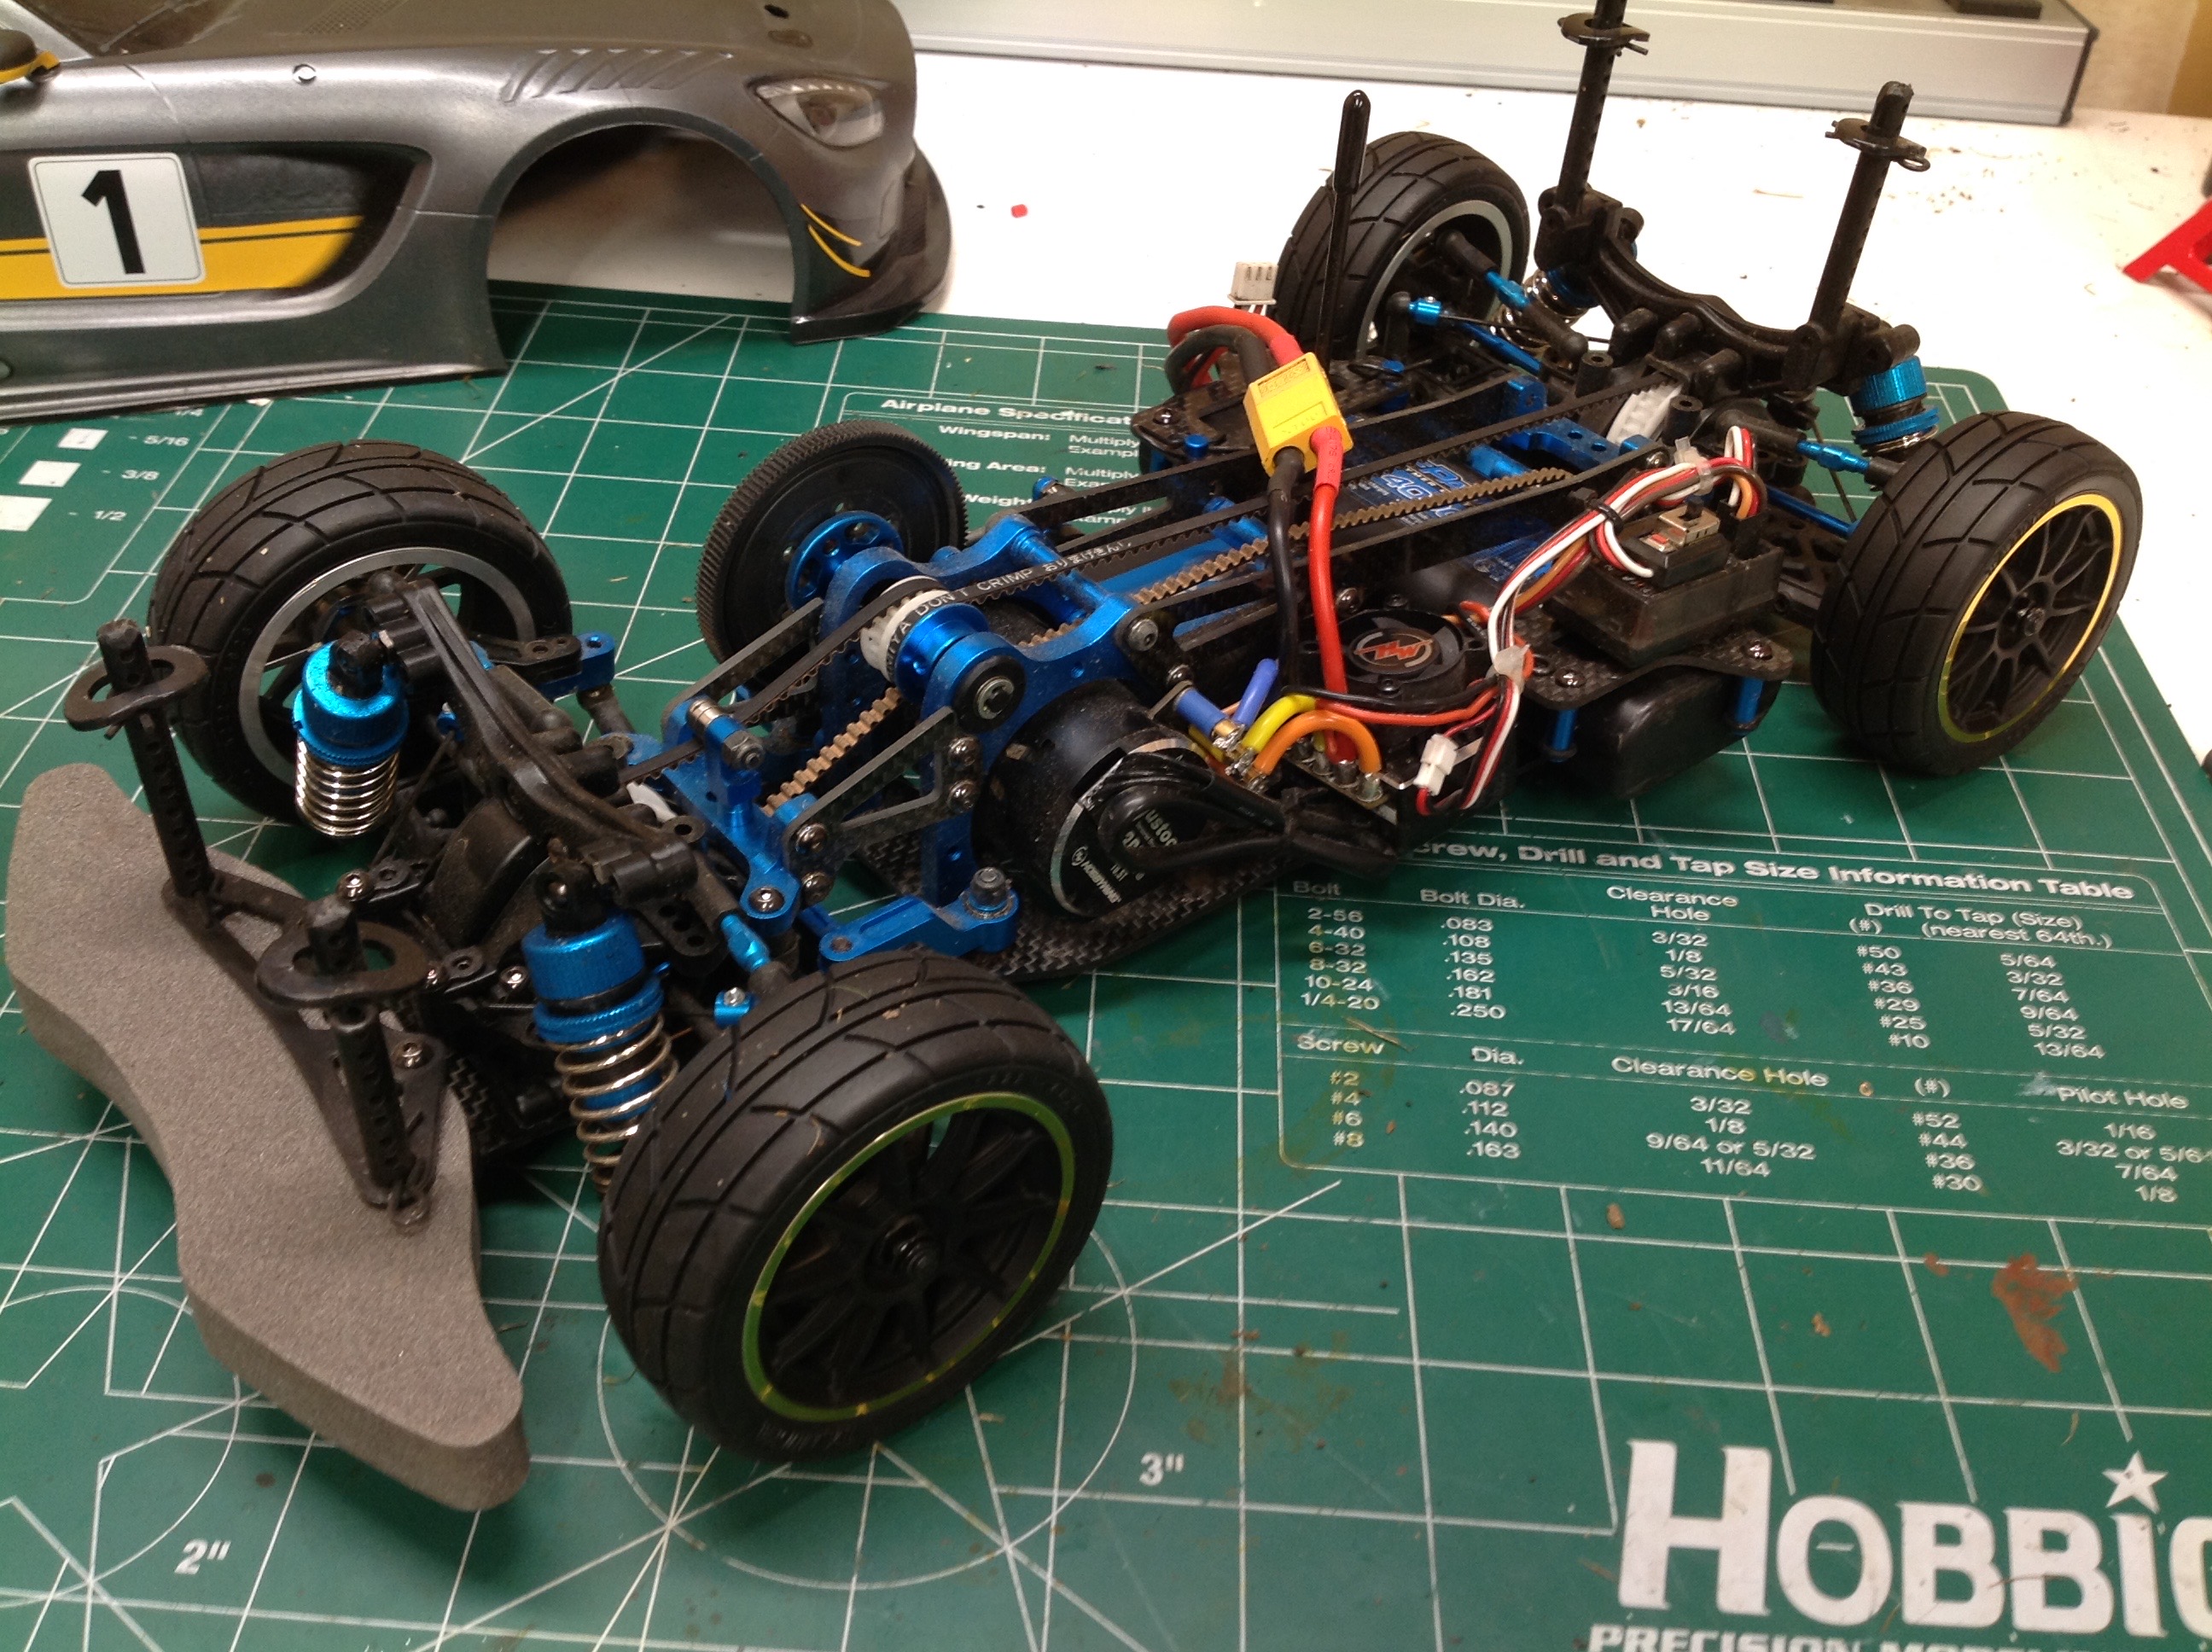
These images show all the electronics installed including the Savox
steering servo, Hobbywing power system, and Wolfpack Li-Po battery
mounted crossways. In the right hand image it all looks pretty
tight. I soldered the wires as short as possible to try to keep
everything tidy.
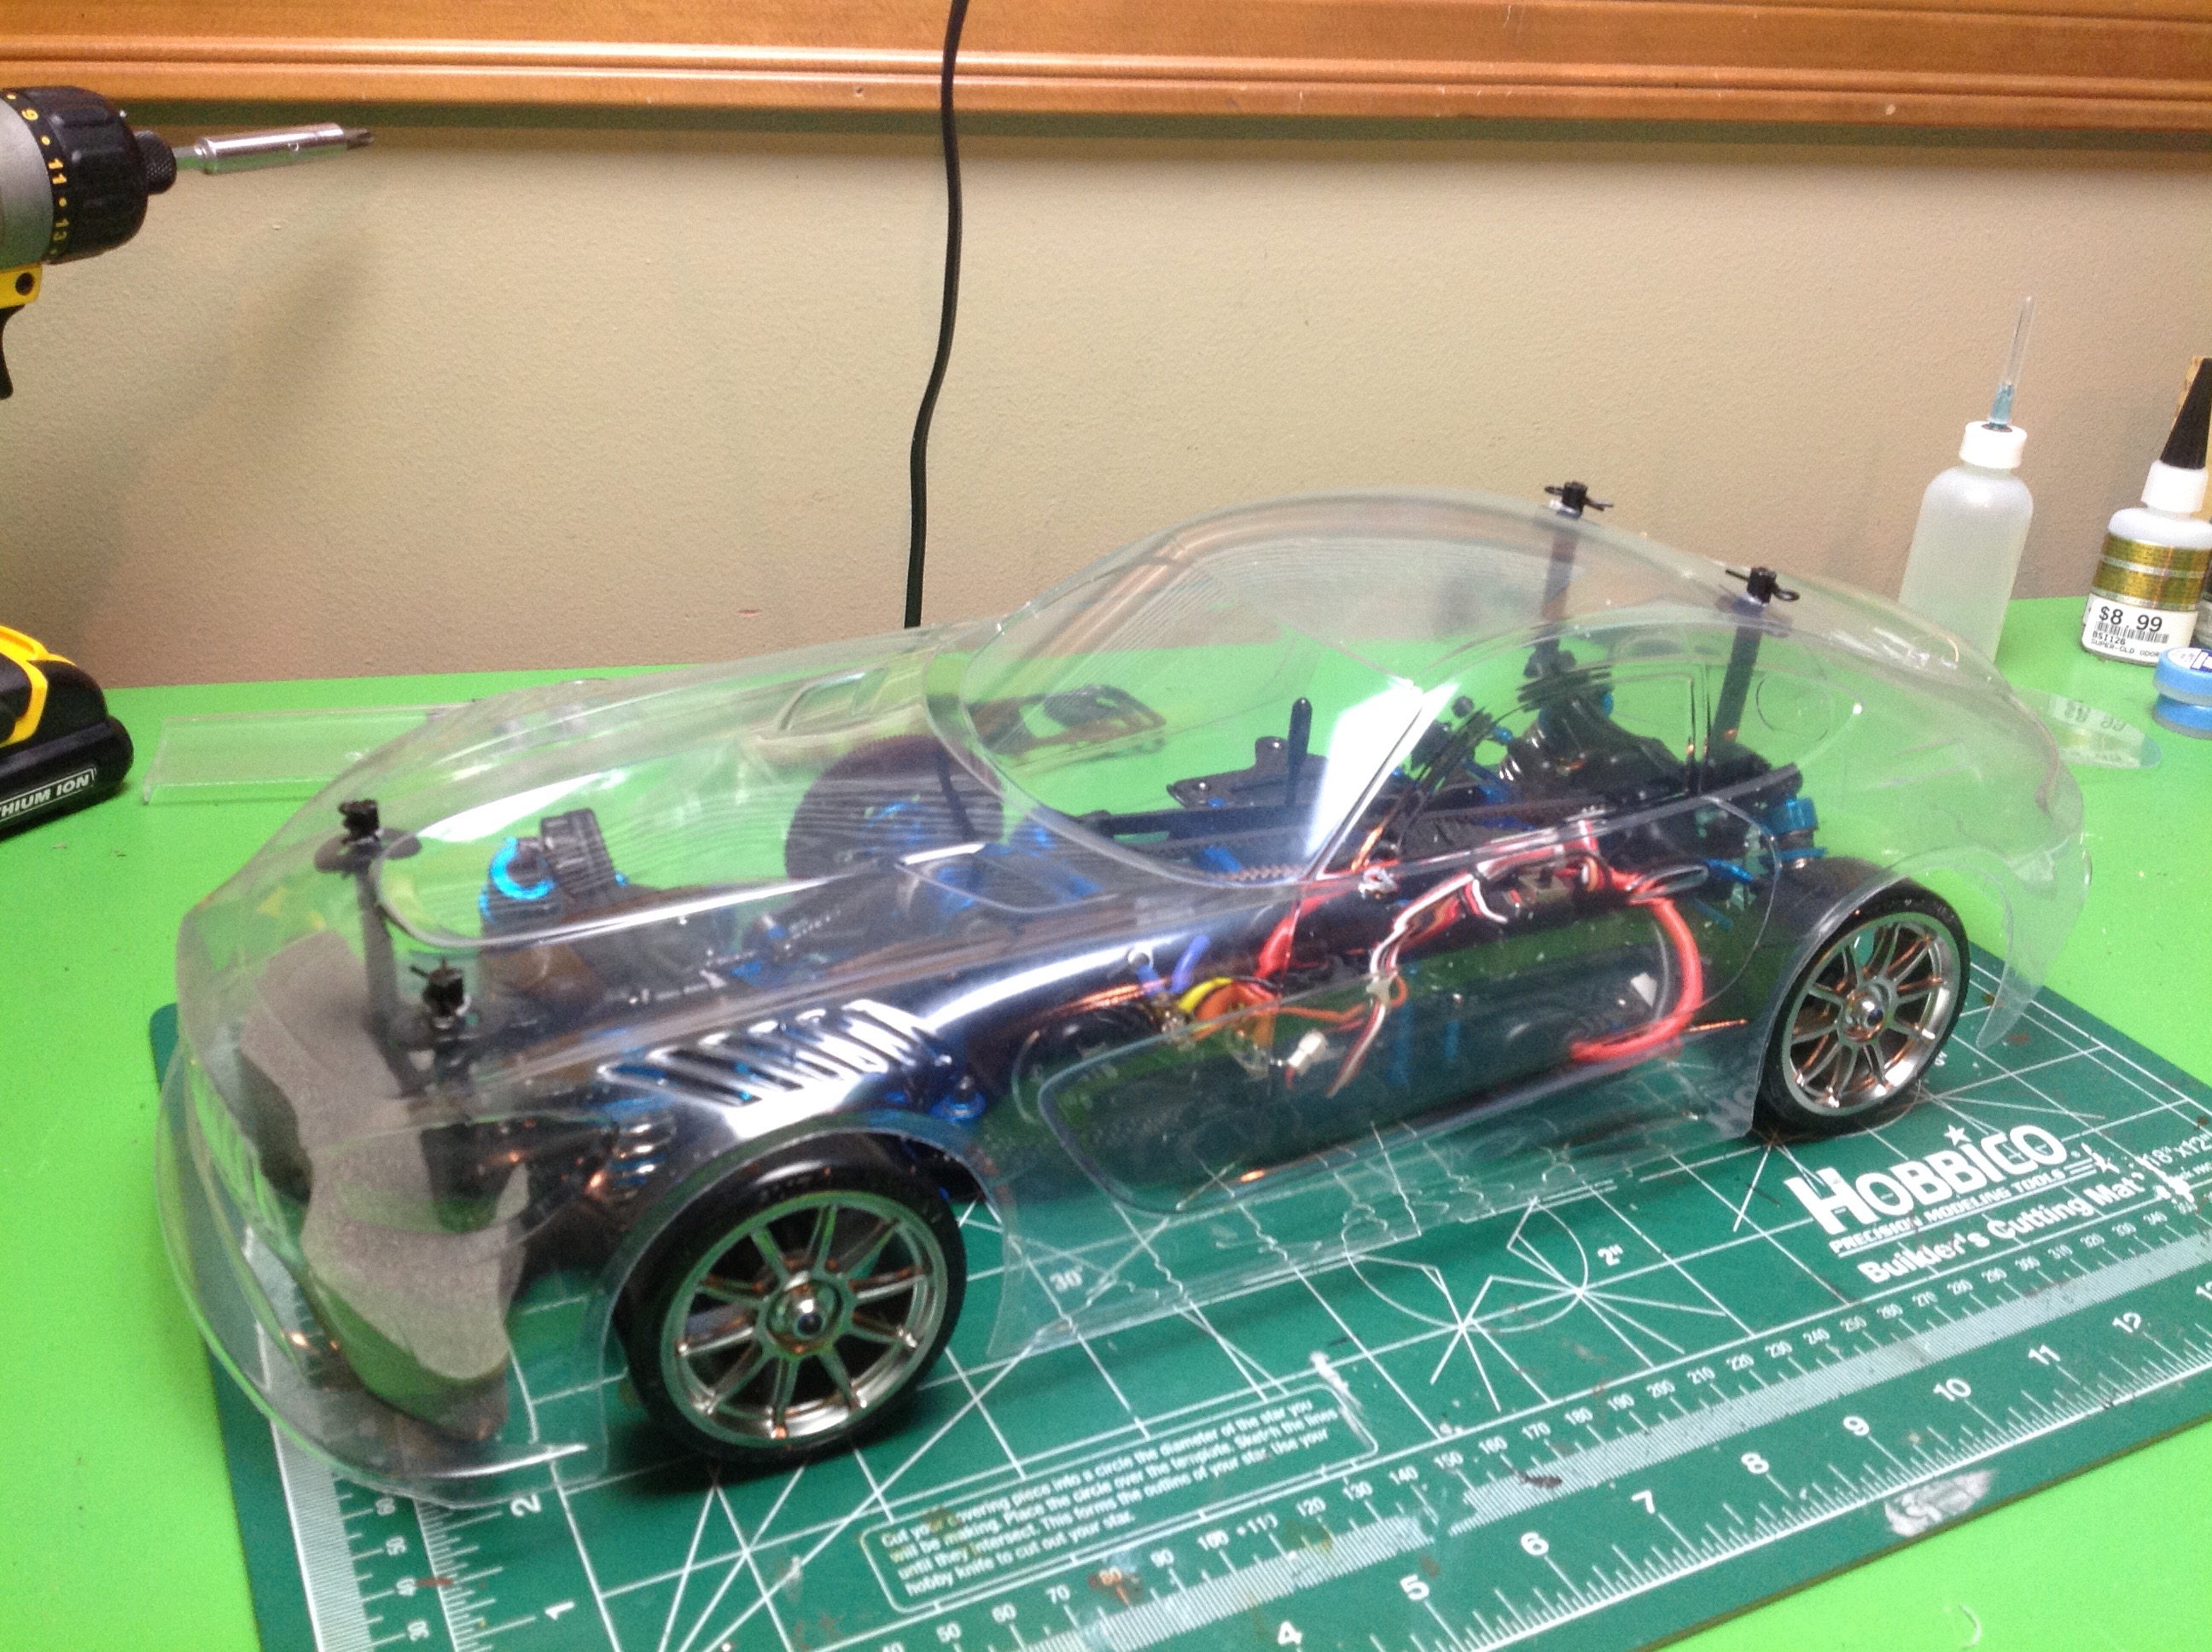
Up to this point I did not actually have a body or wheels and tires for
this model. I found some temporary wheels and tires in stock
locally to try out, and bought the AMG GT3 body which I hoped would
fit. As you can see here in the test fit, it looks just
right. Now I'll have to do some painting.
Phase 2:
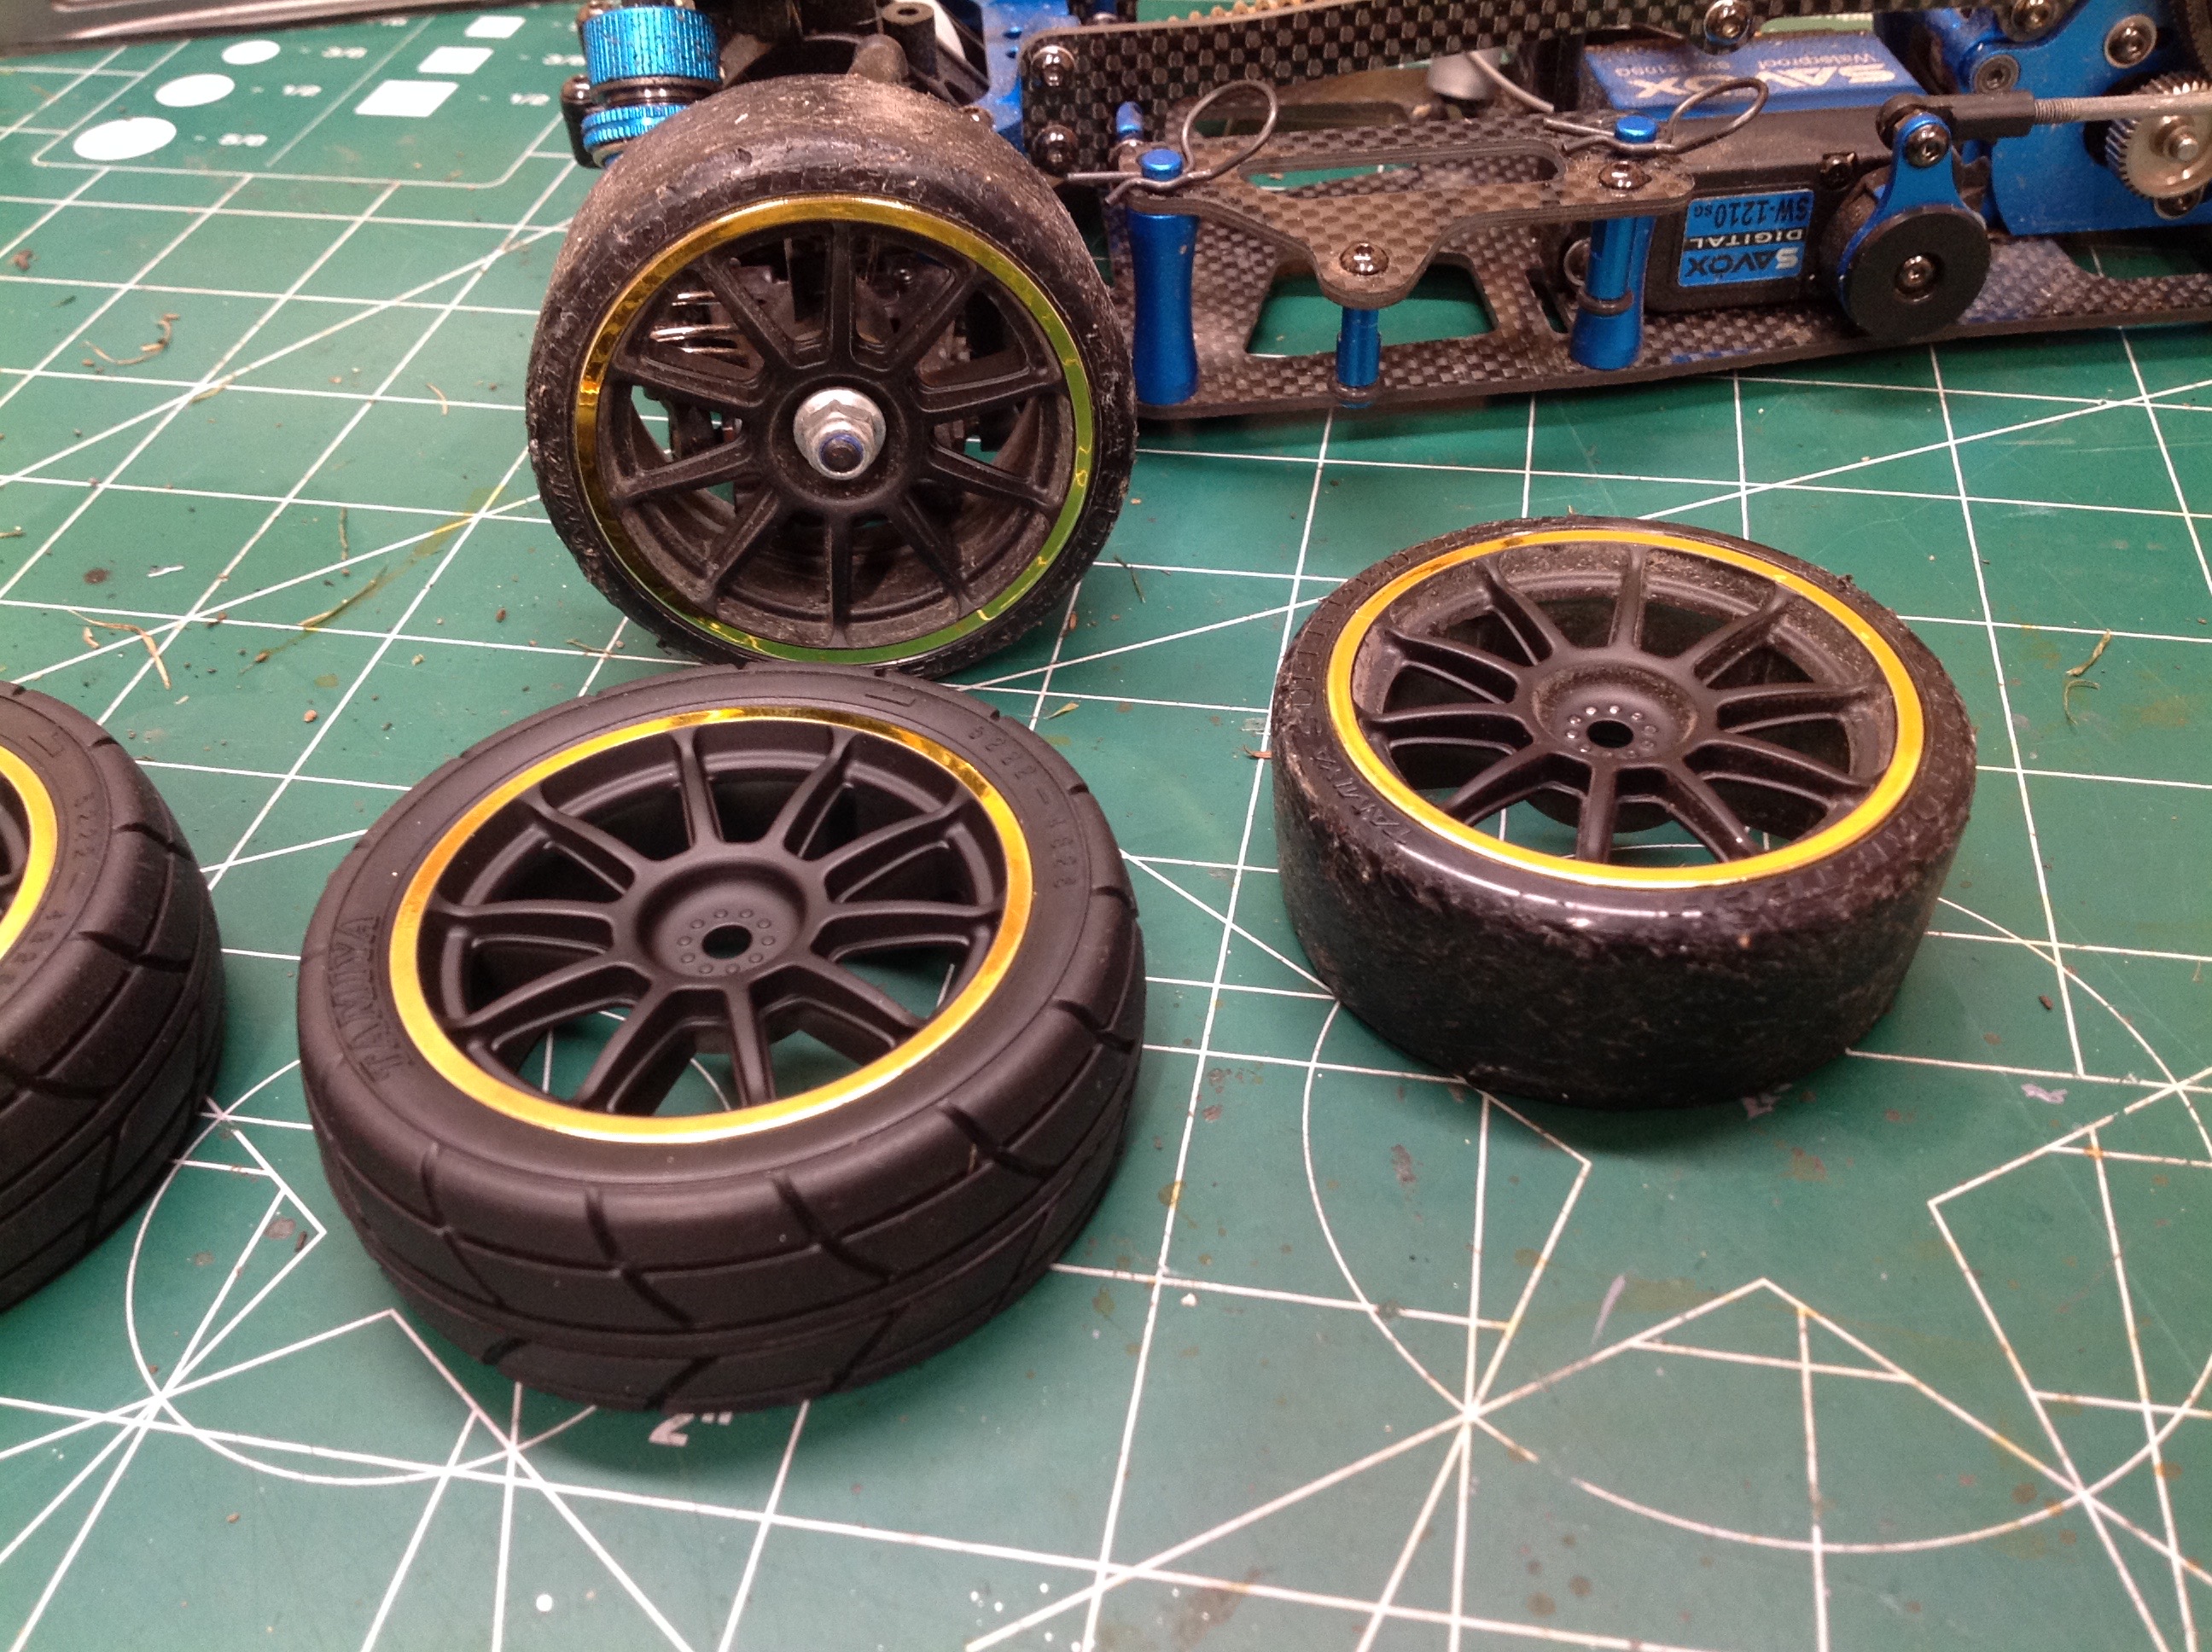
About a year later I decided to convert this from a drift car to a
standard touring car. I built another purpose designed drift car
and decided I only needed one and would rather enjoy this one as a
touring car. I was able to use the same wheels and simply change
the tires as shown.
©2018 Eric Albrecht