Tamiya TA-05 VDF Project
Page 2: Paint
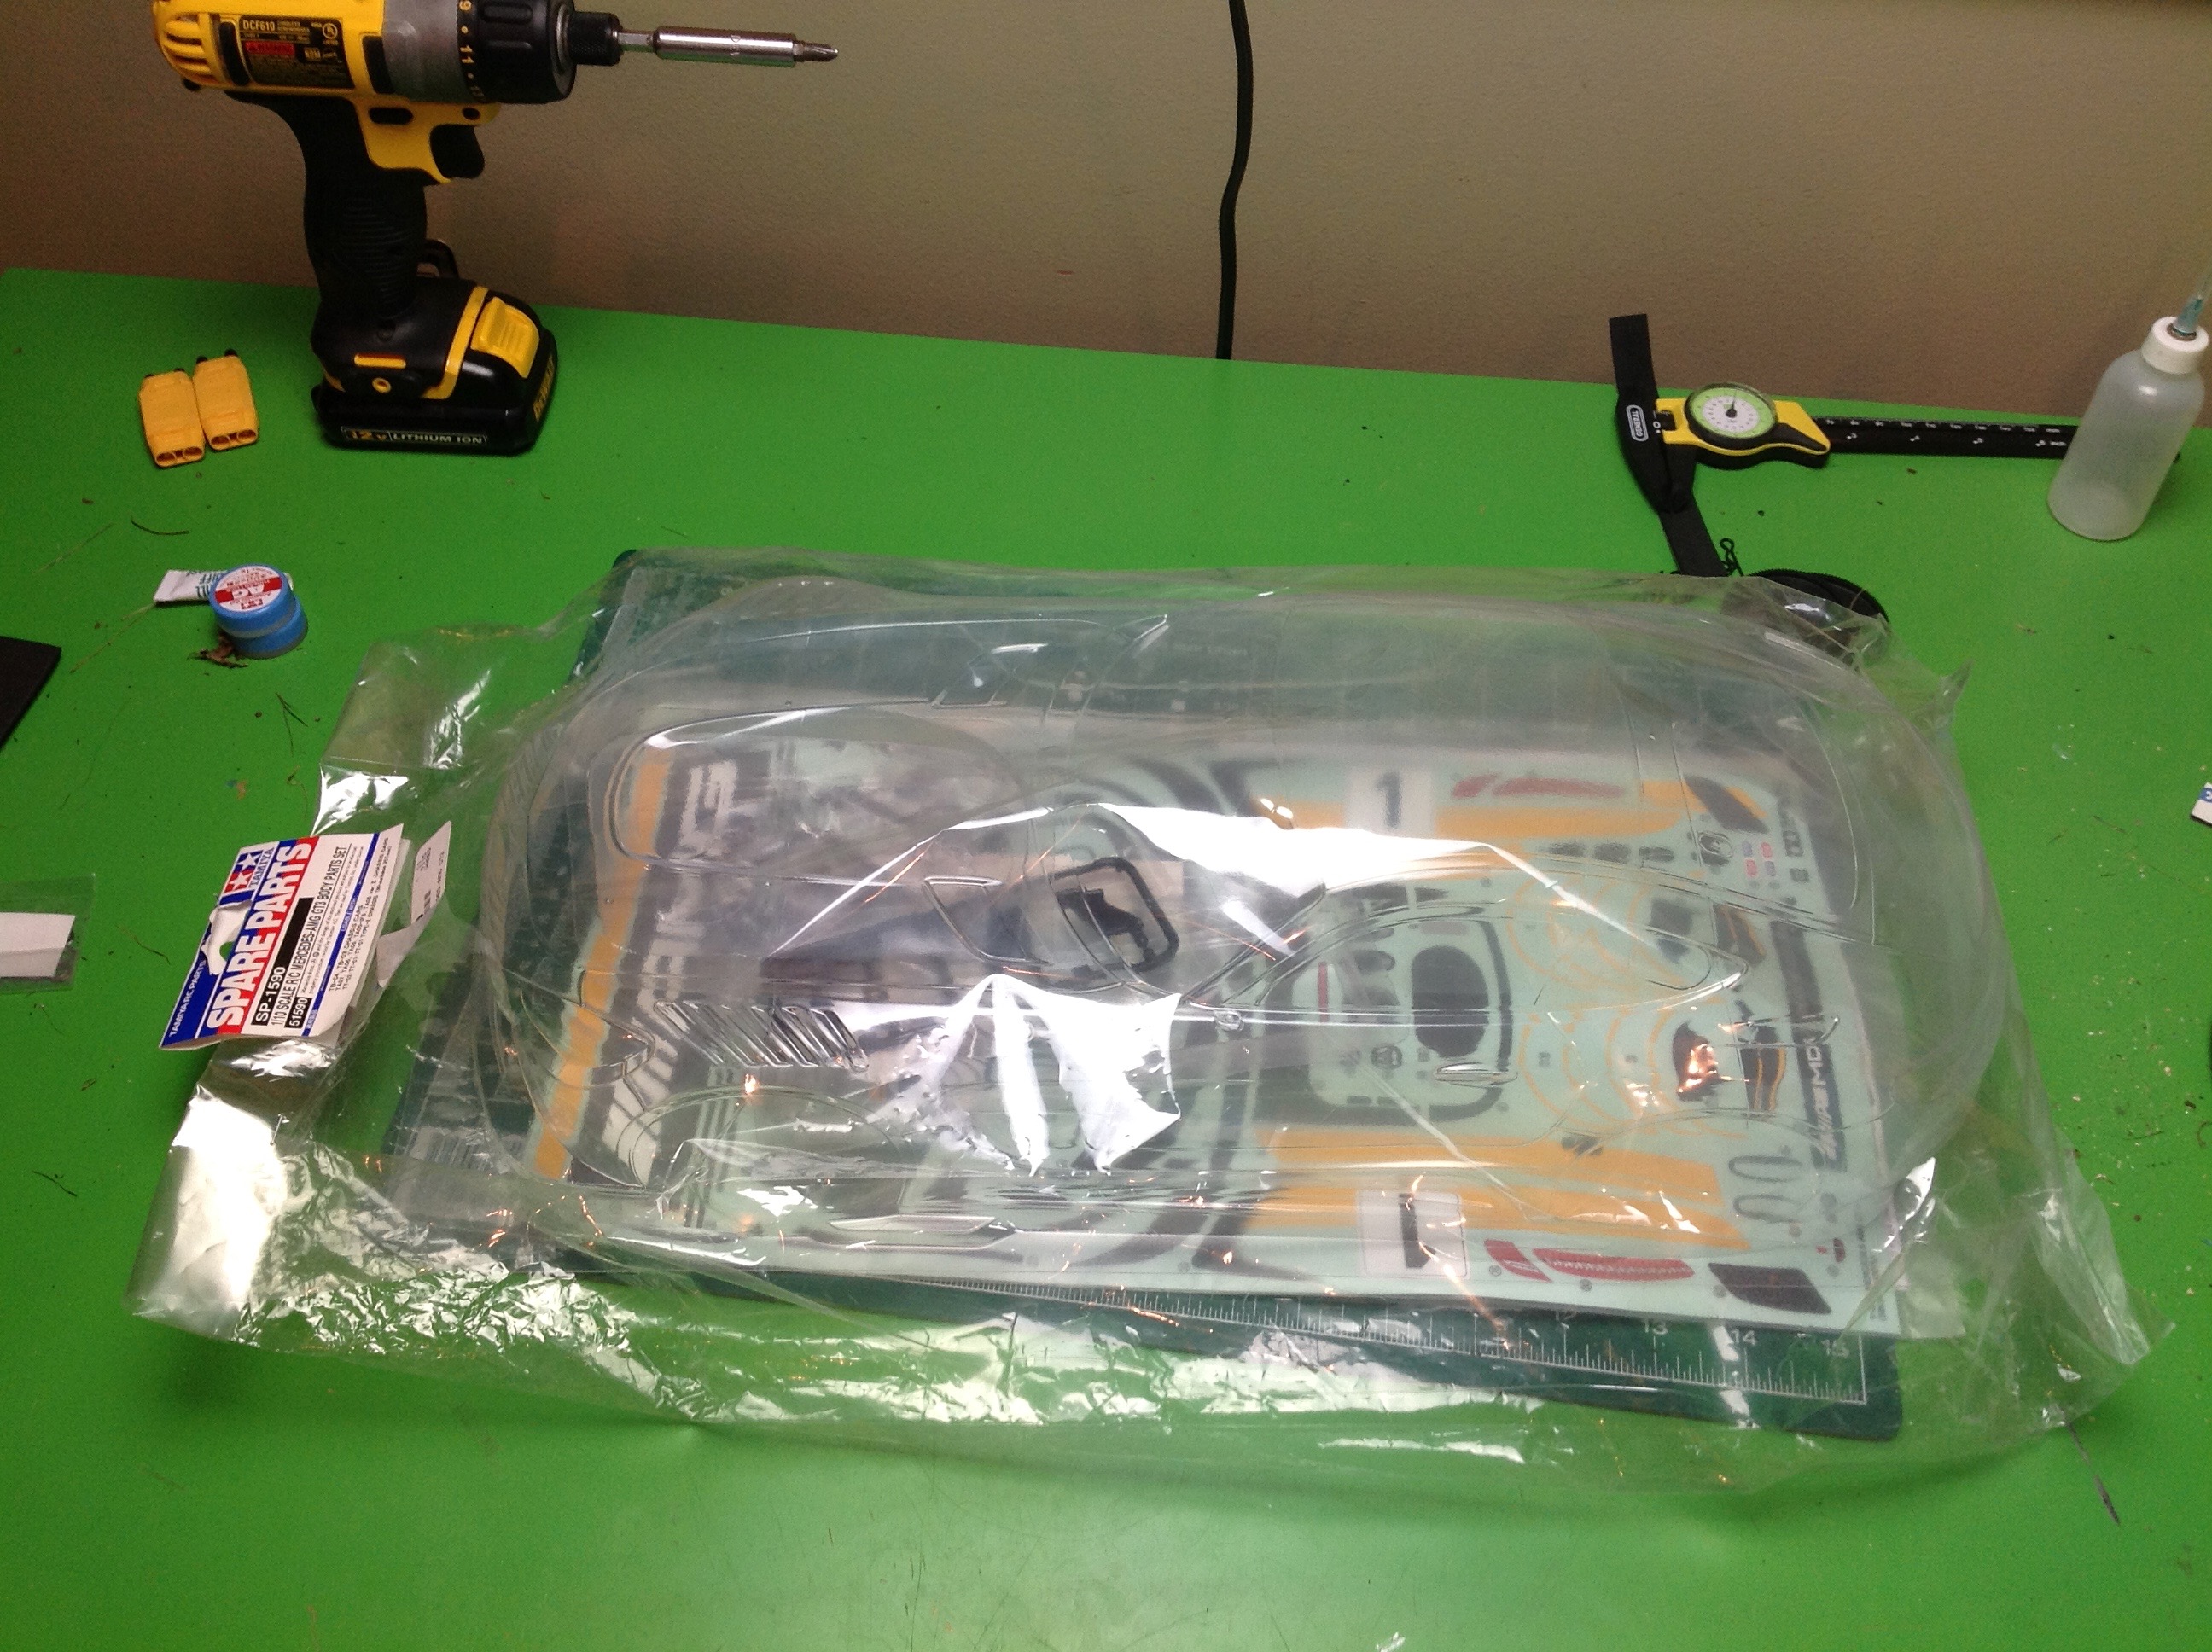
Finishing this body was not a particularly simple process. The
picture on the left shows the bag in which the body comes
packaged. Step 1 after unpacking is applying the window and
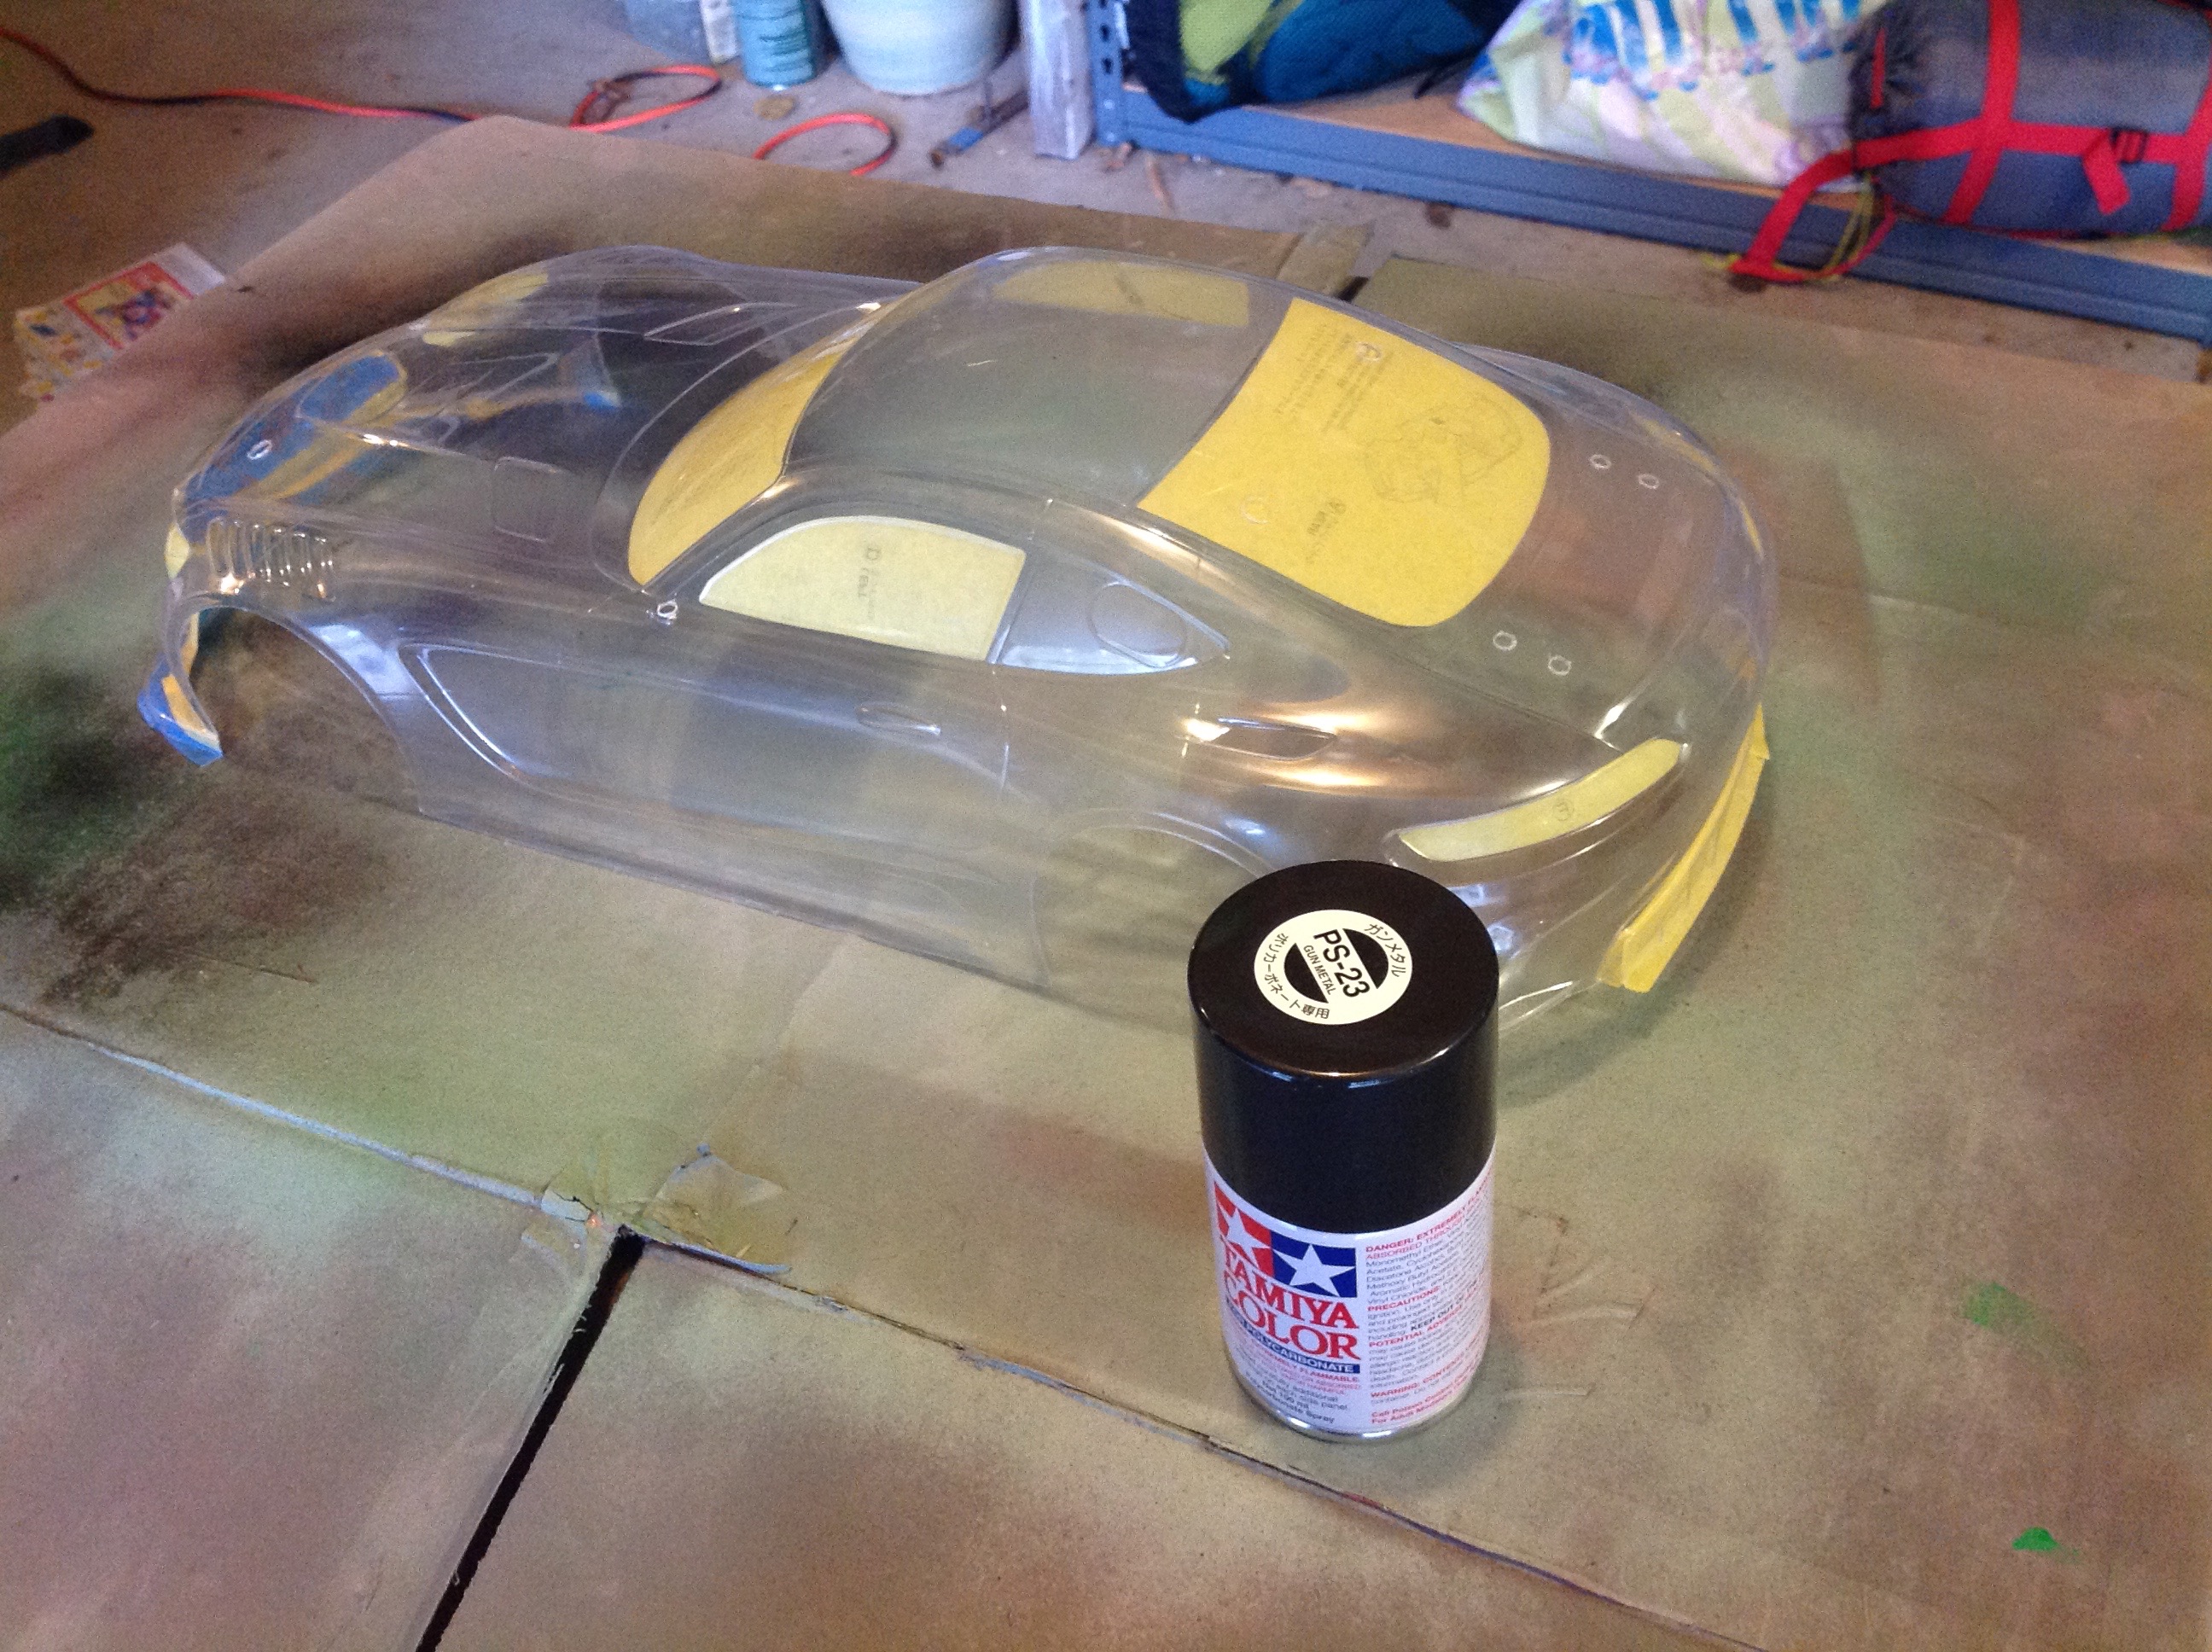
headlight masks, then also masking the grille and bumpers which will be
black.
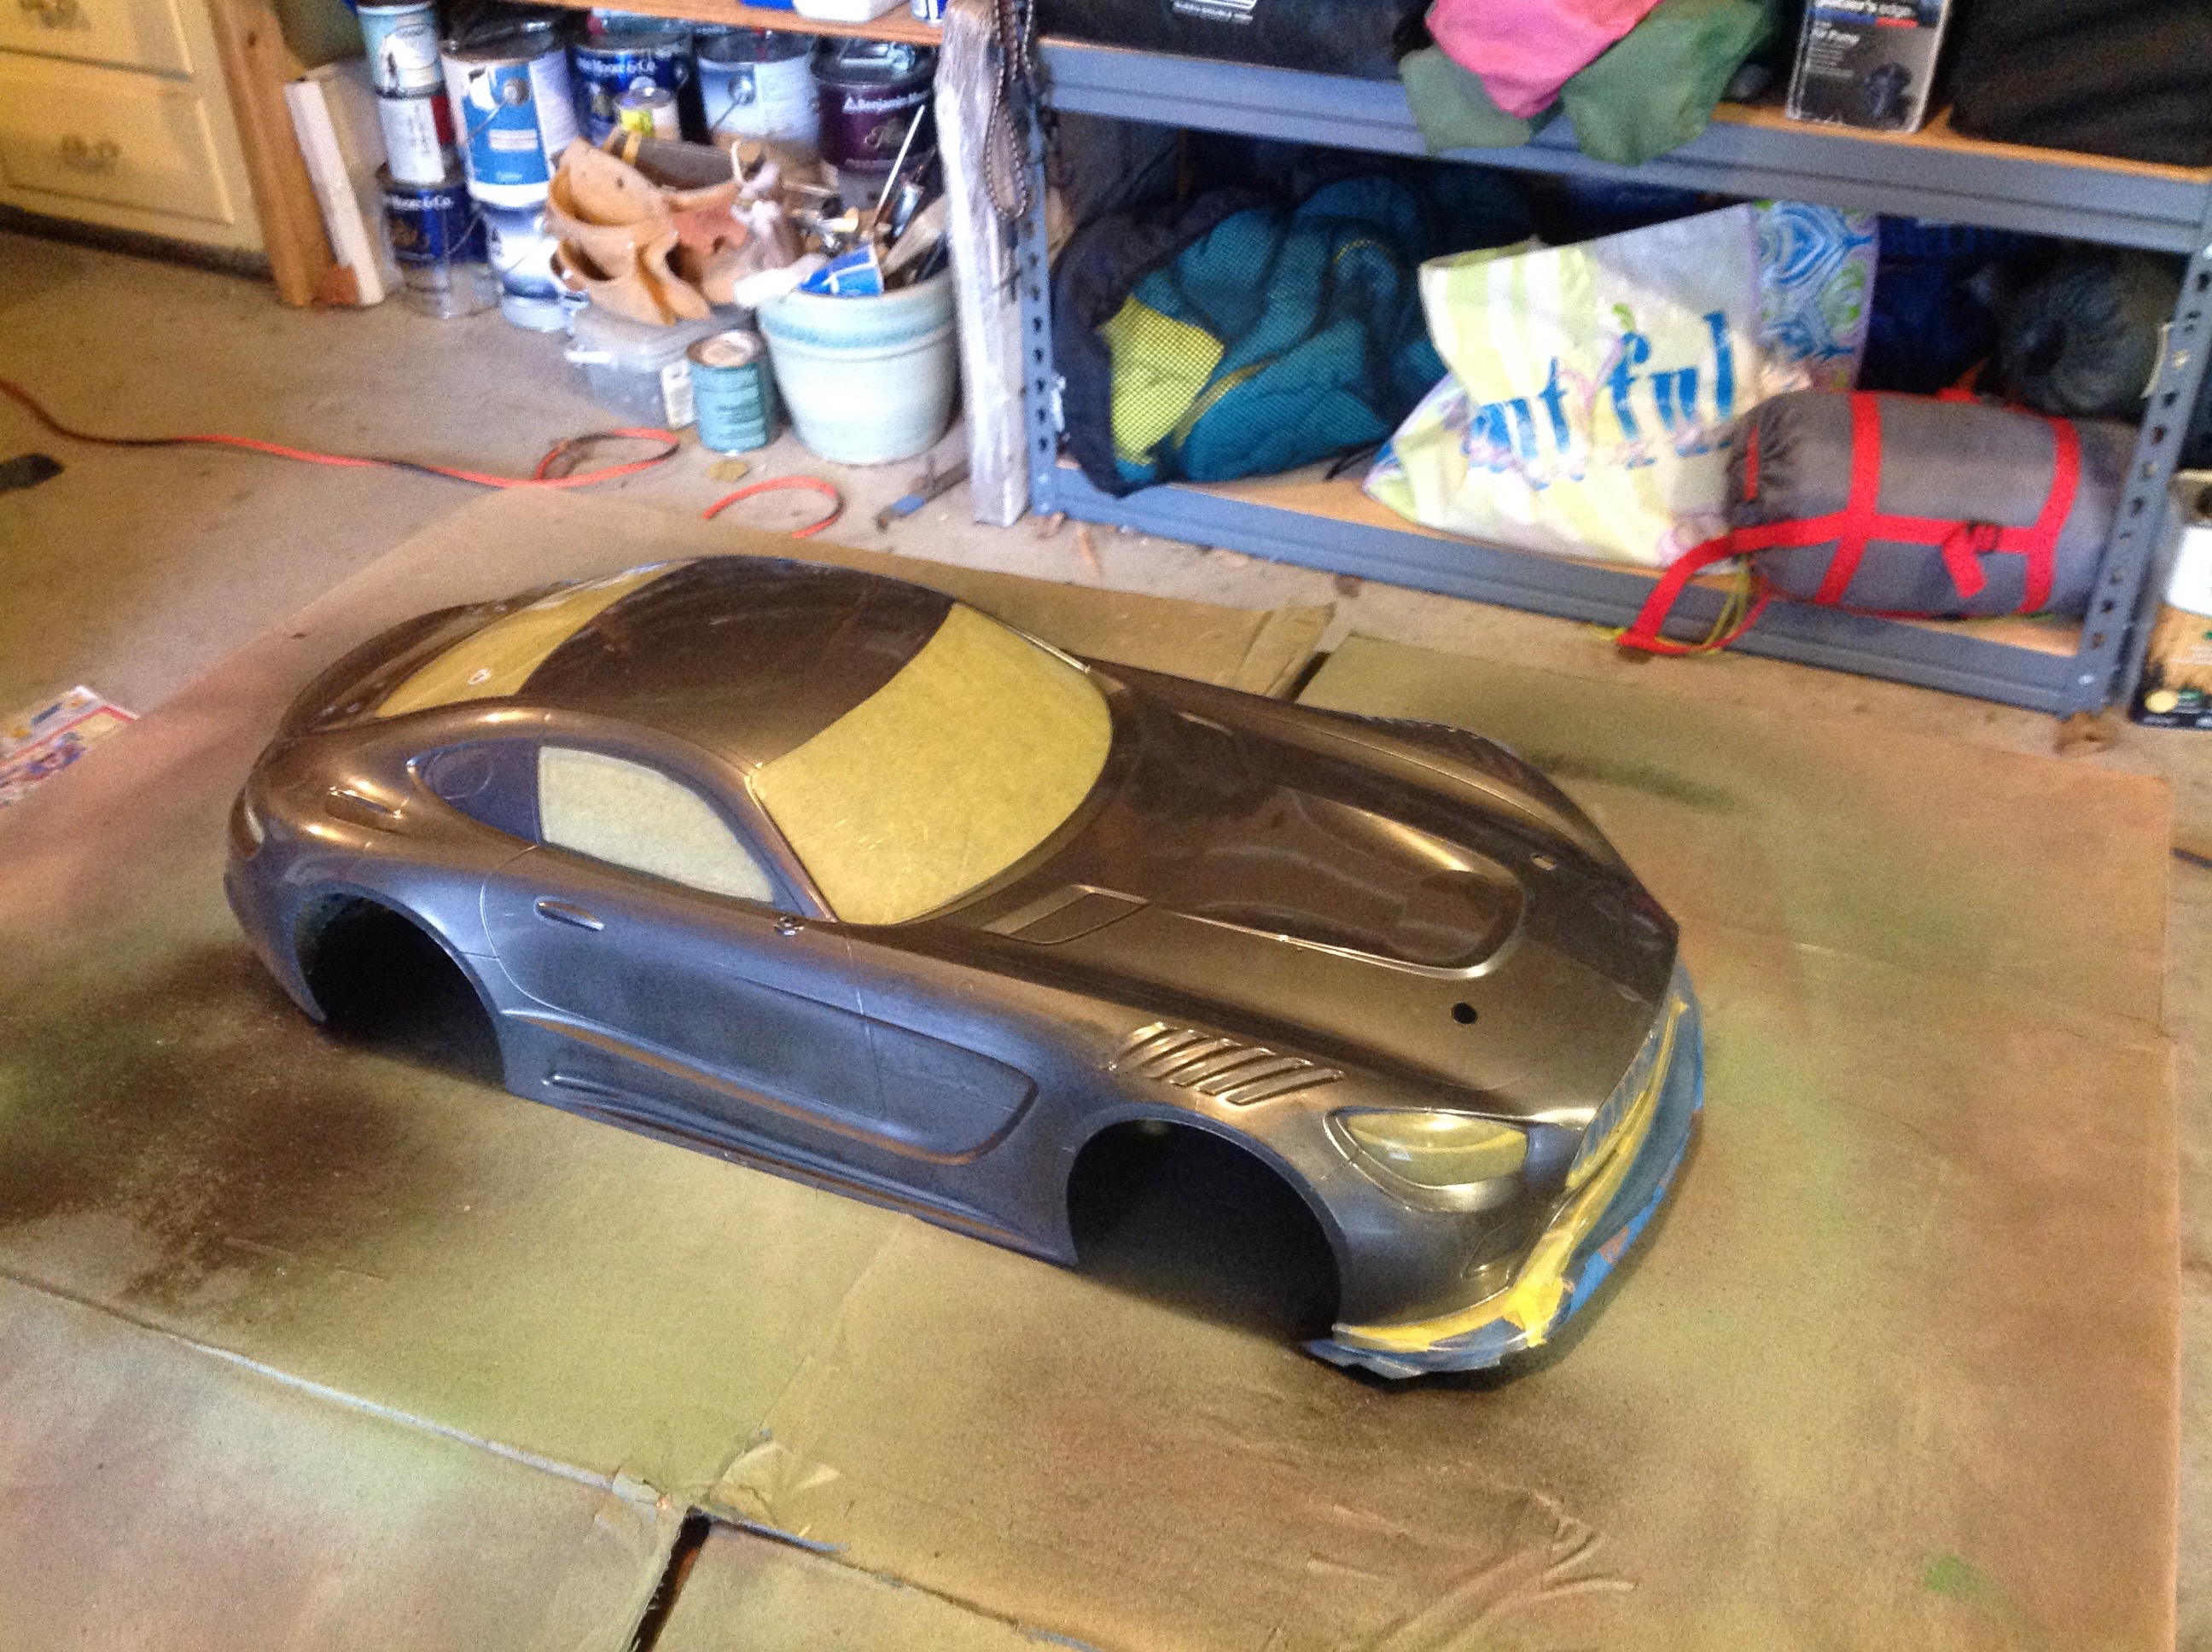
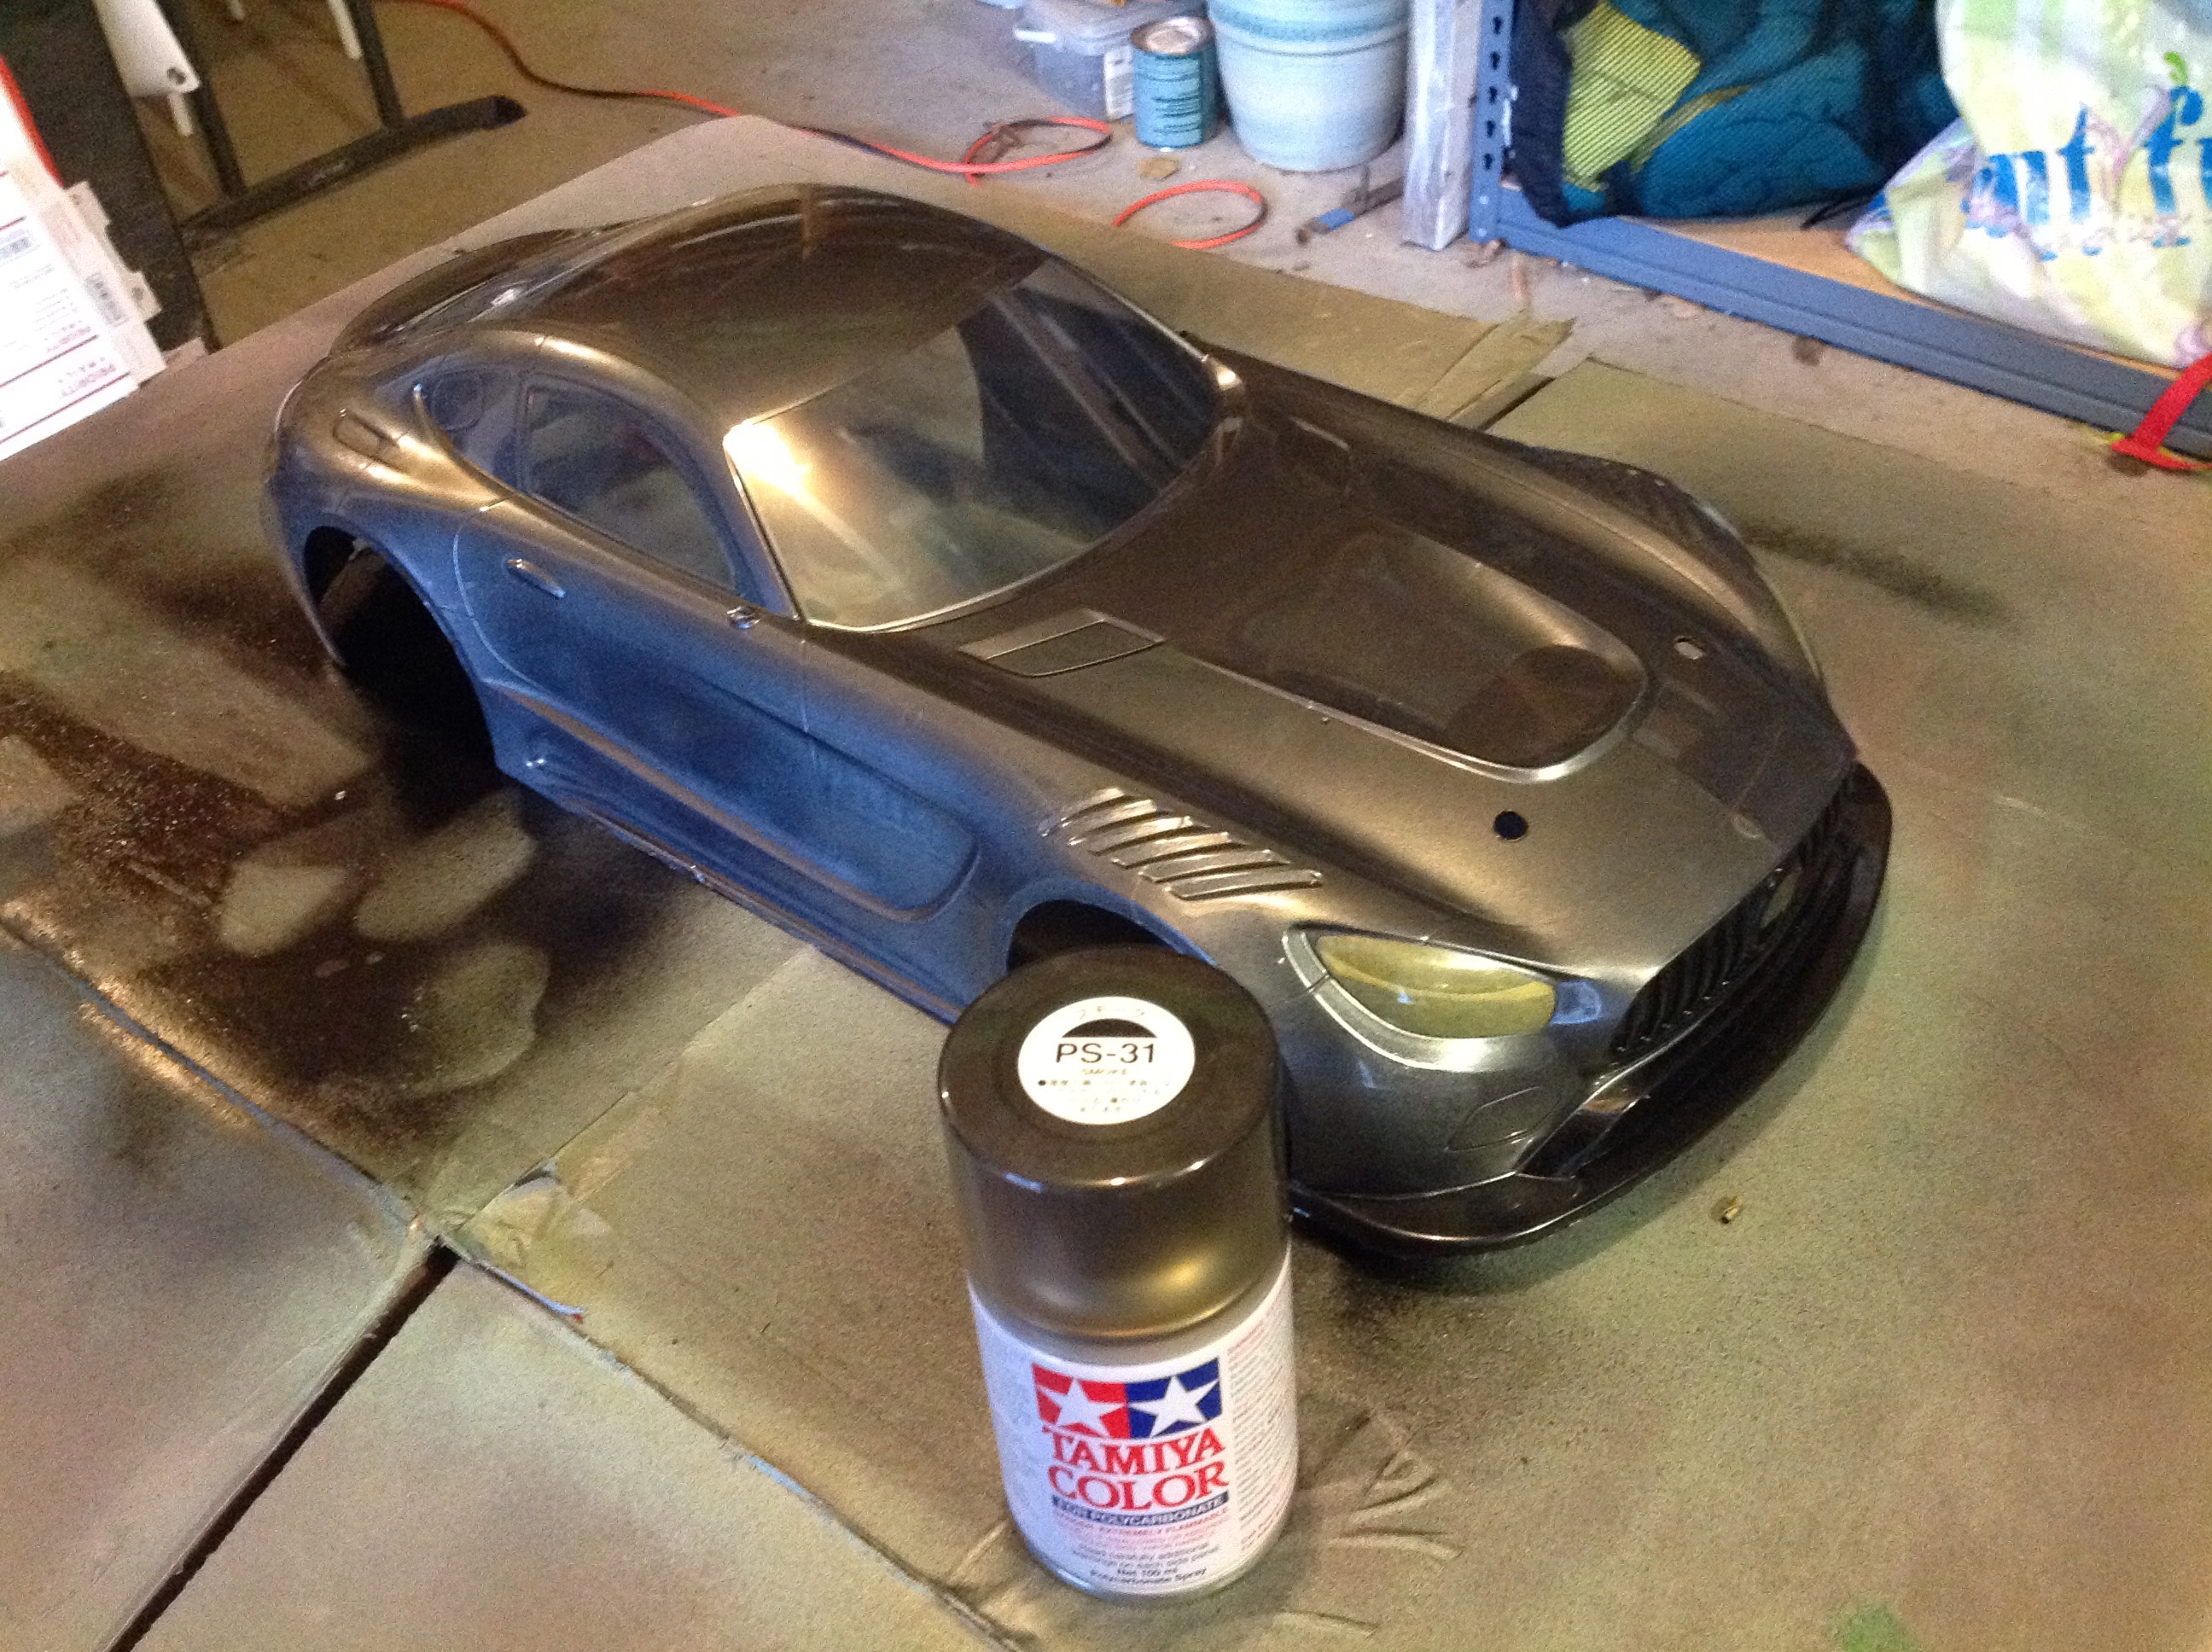
I put on the gunmetal gray polycarbonate paint first. The right
hand image shows the results prior to removing any masking.
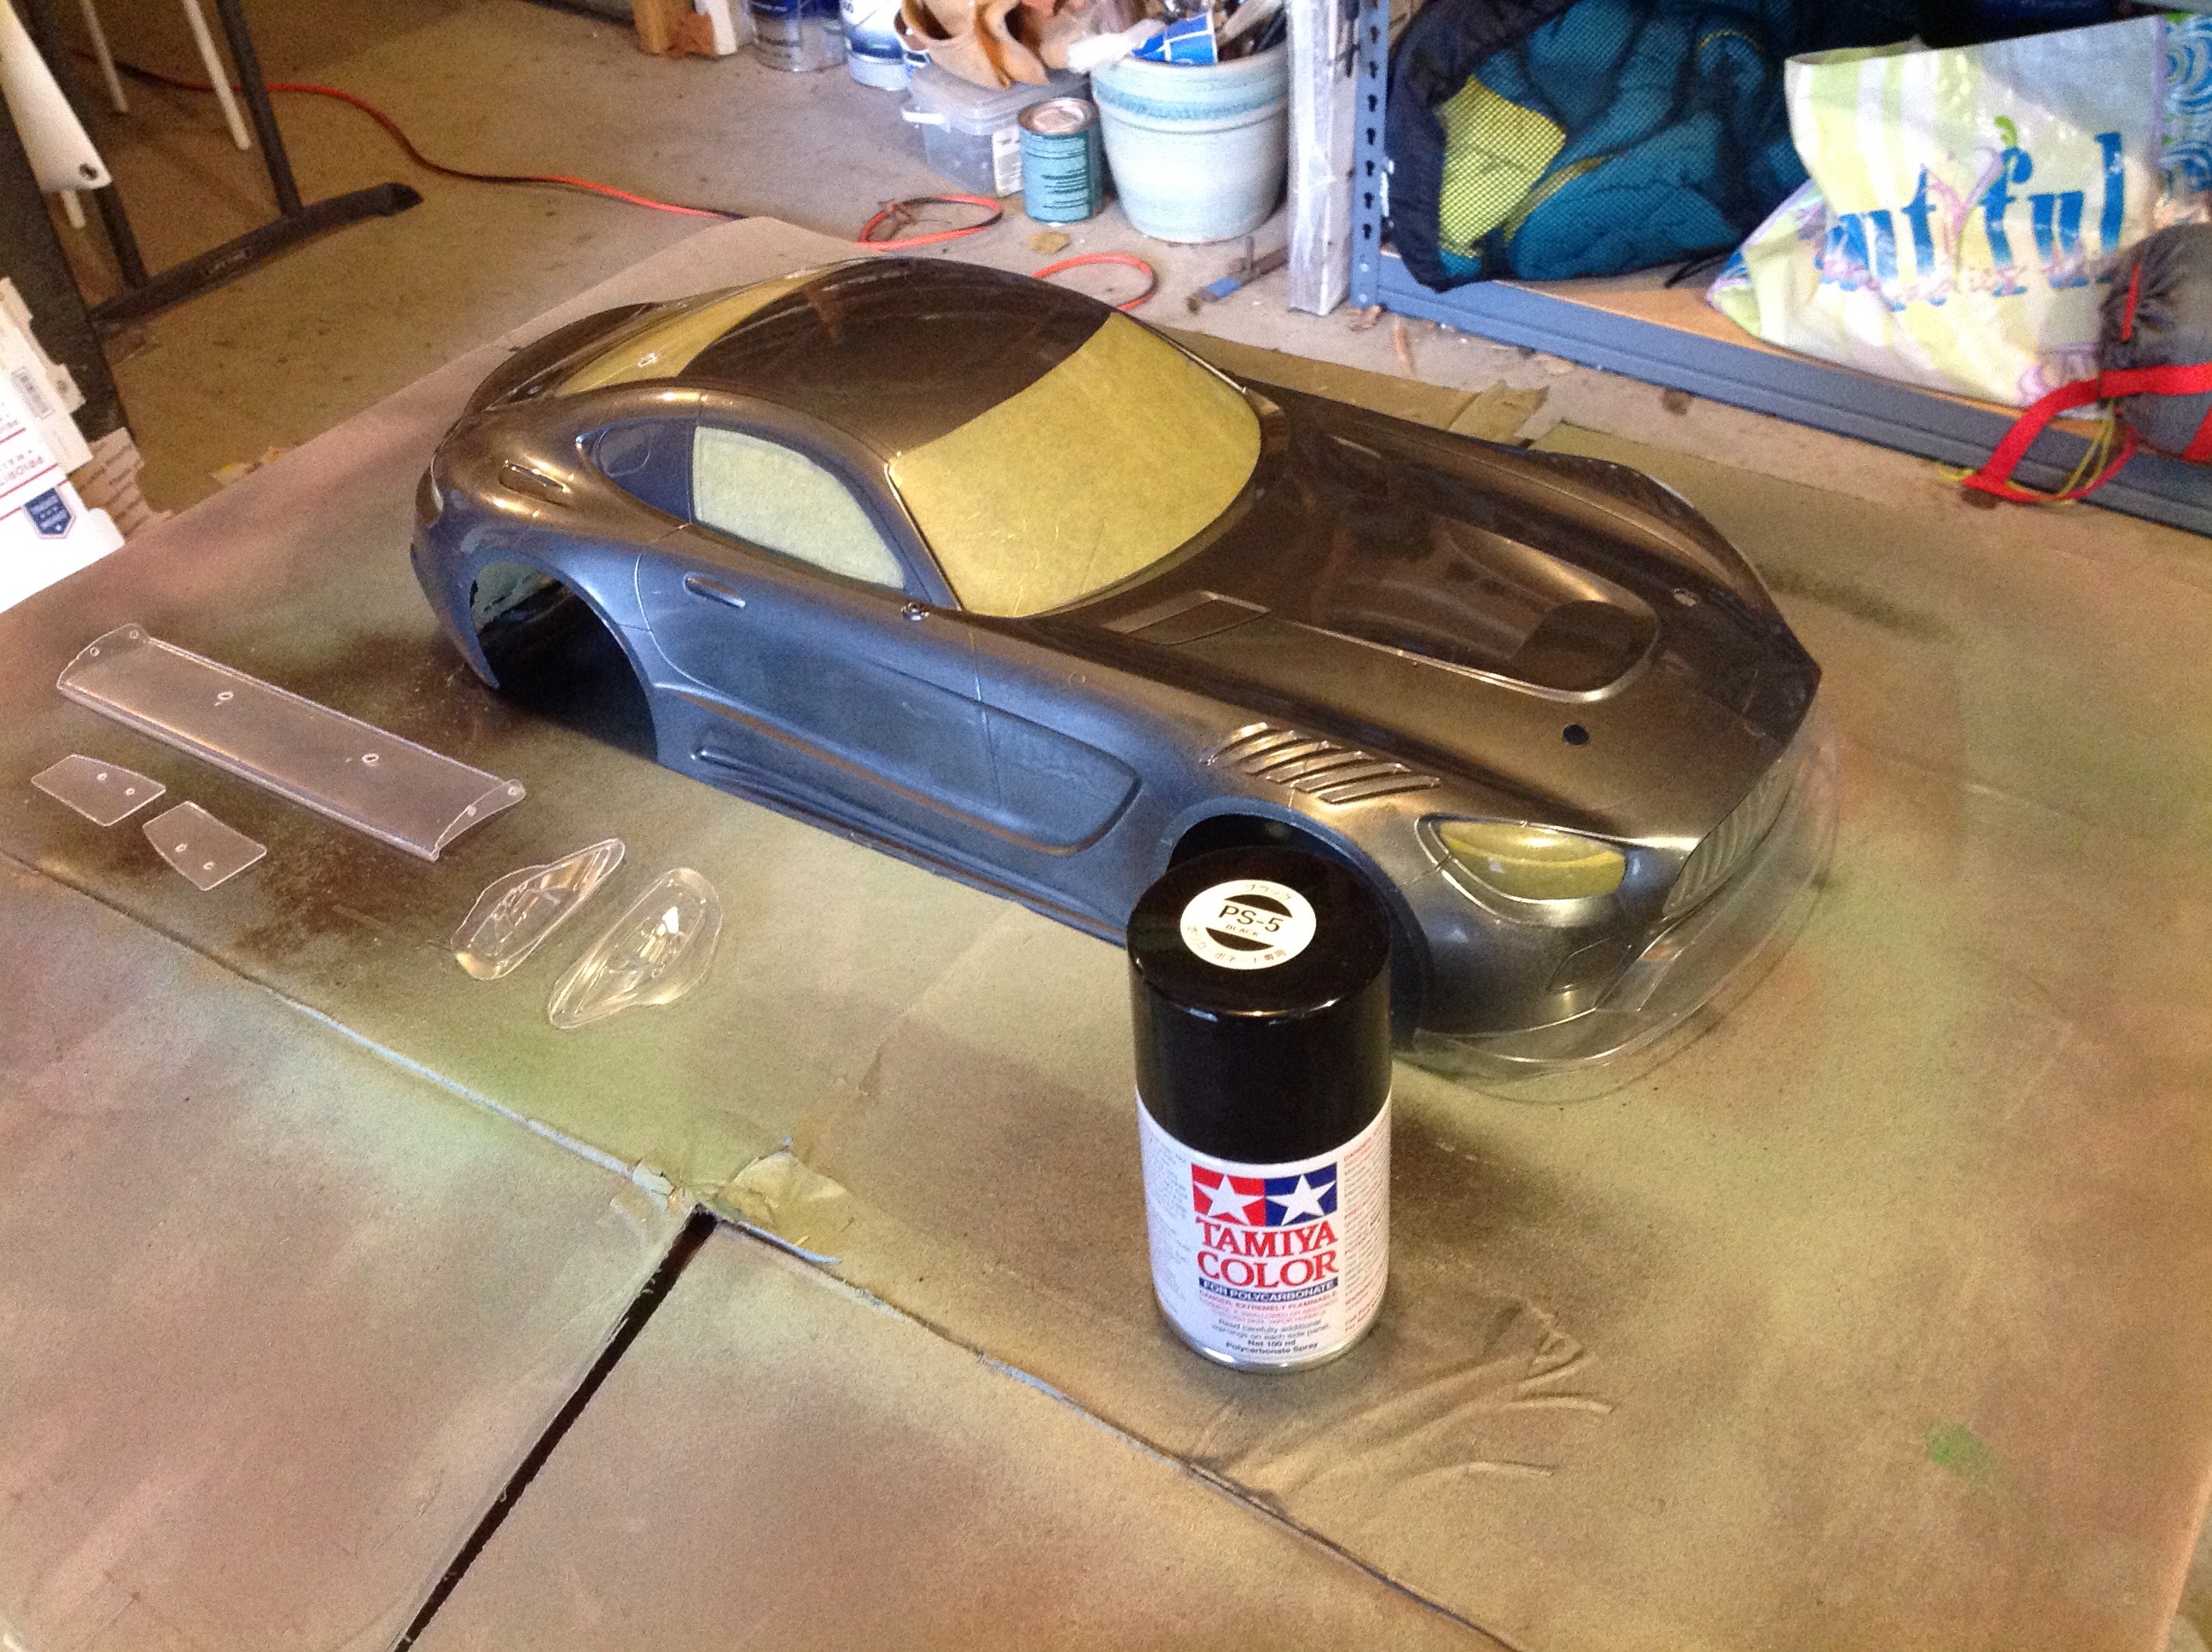
Next the masking is removed from the grille and bumpers so the black can be applied.
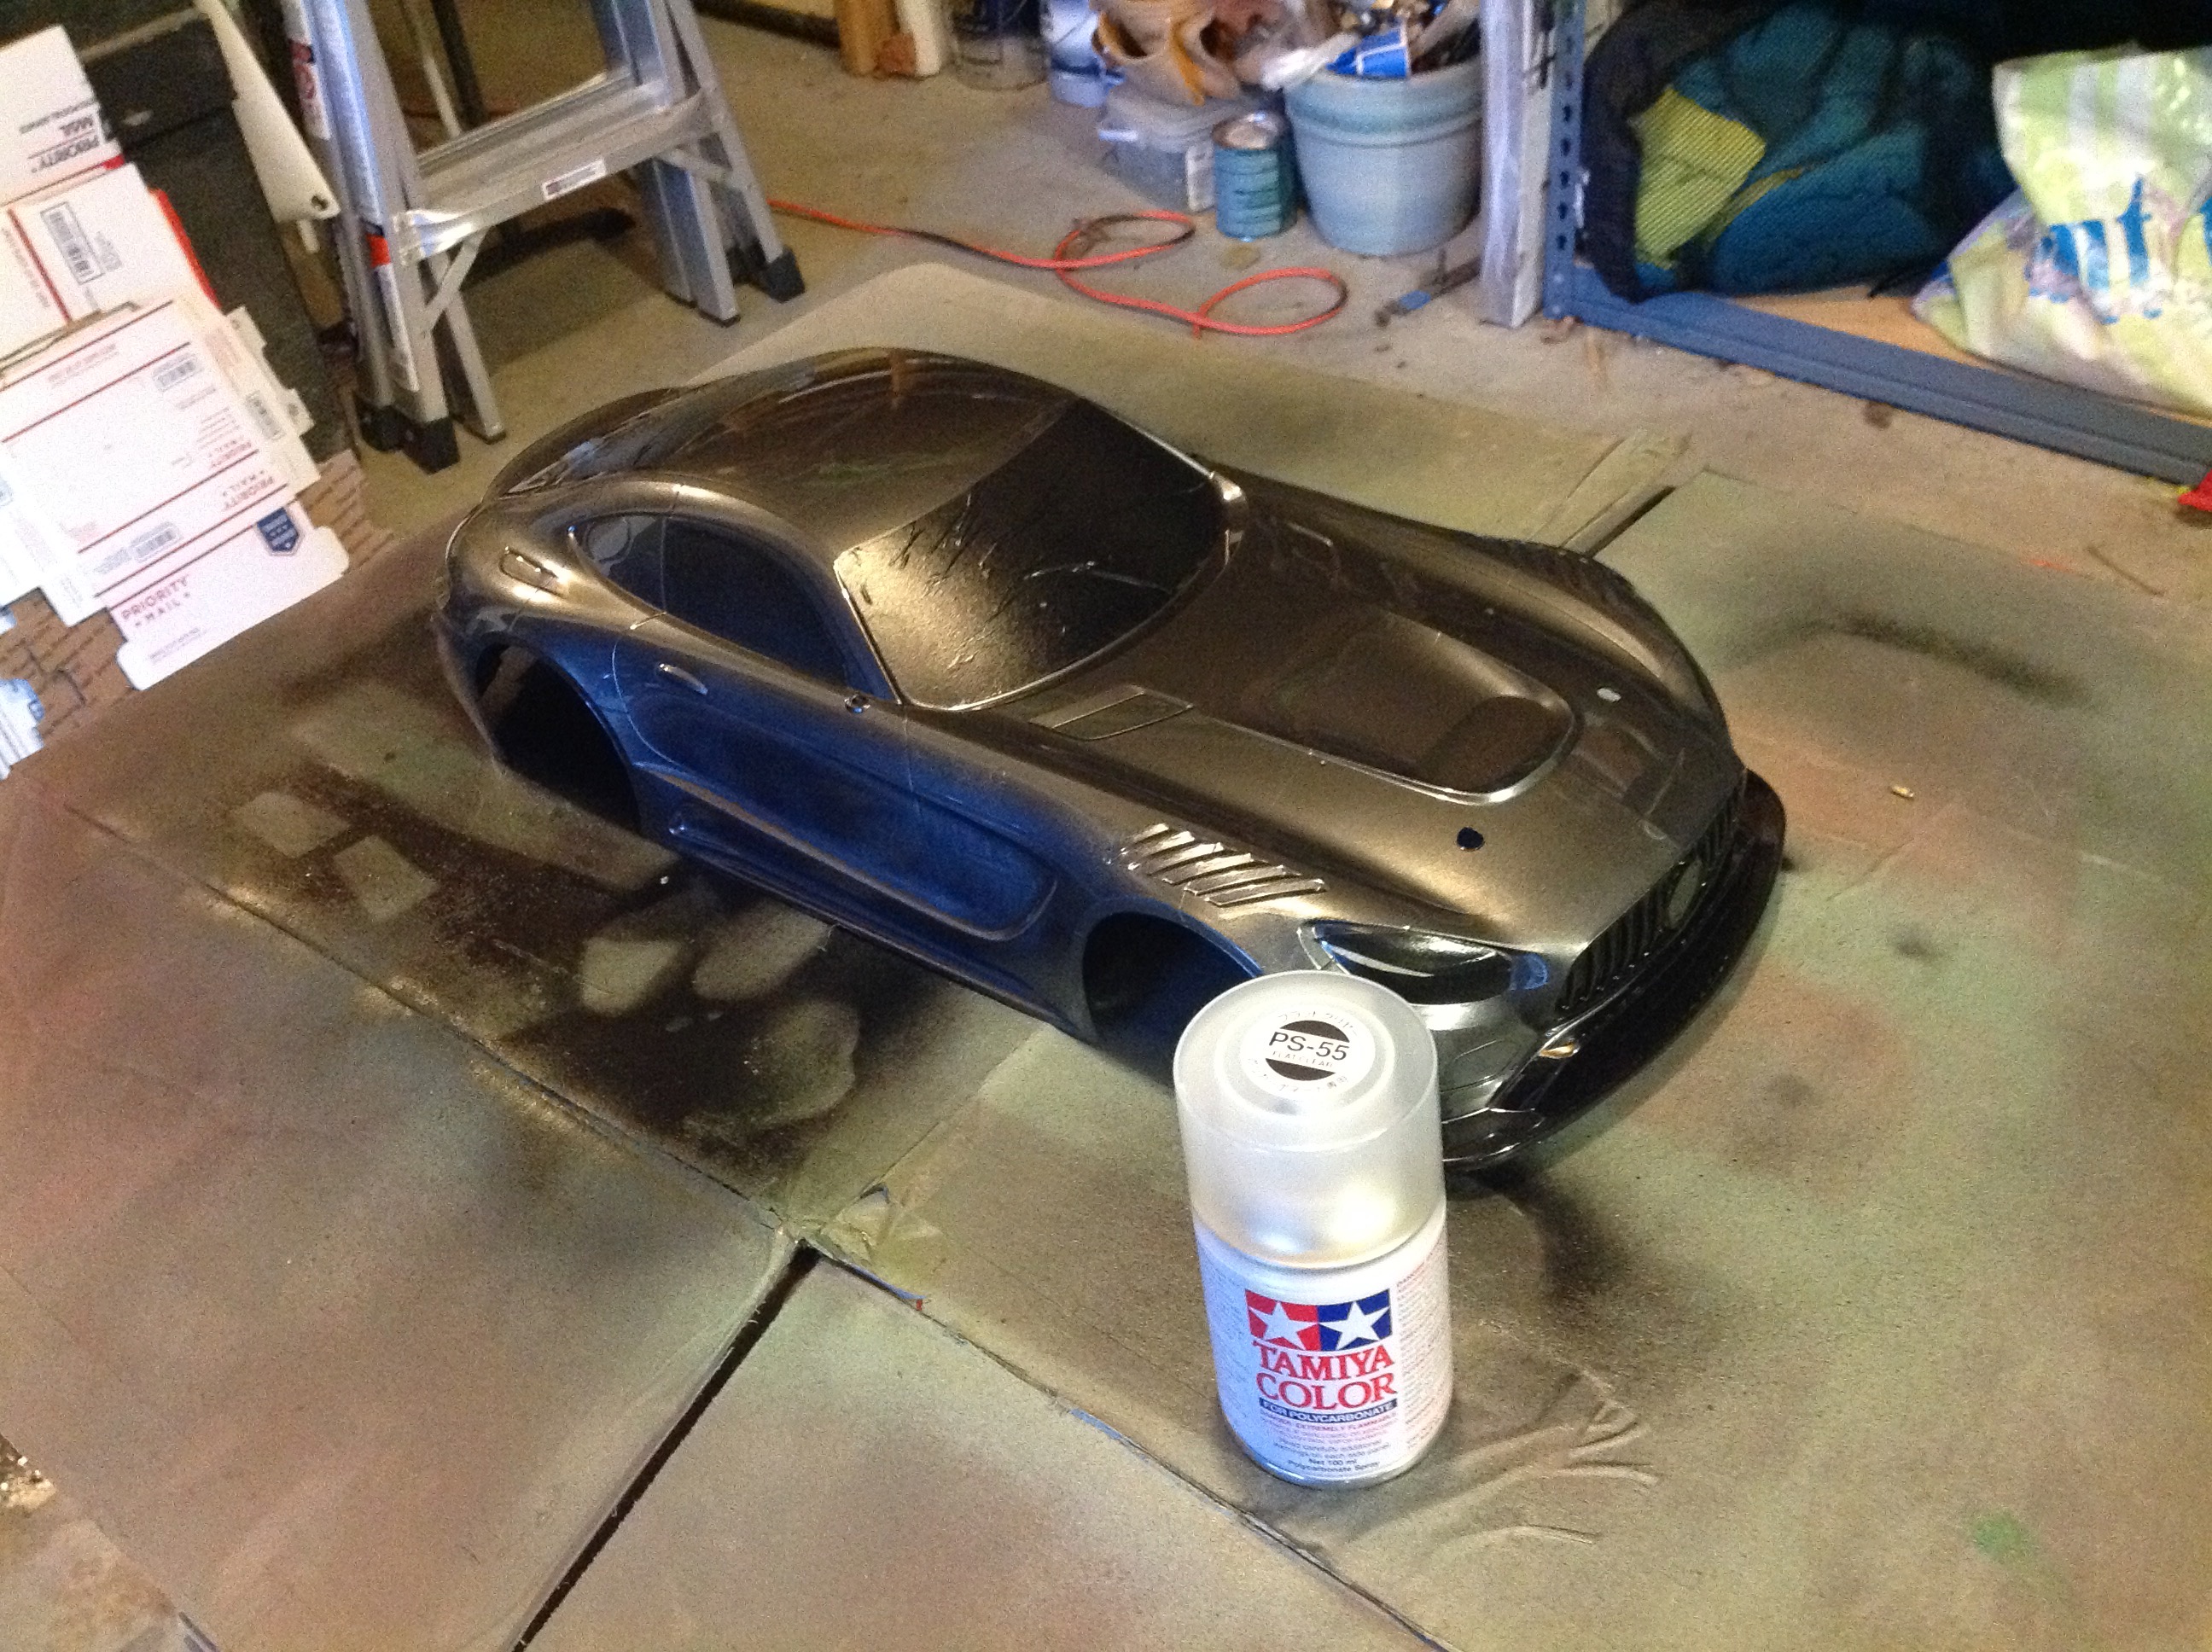
After the black, the windows can be unmasked to apply PS-31
smoke. This gives a tinted effect to the windows so the wires
inside are not so obvious.
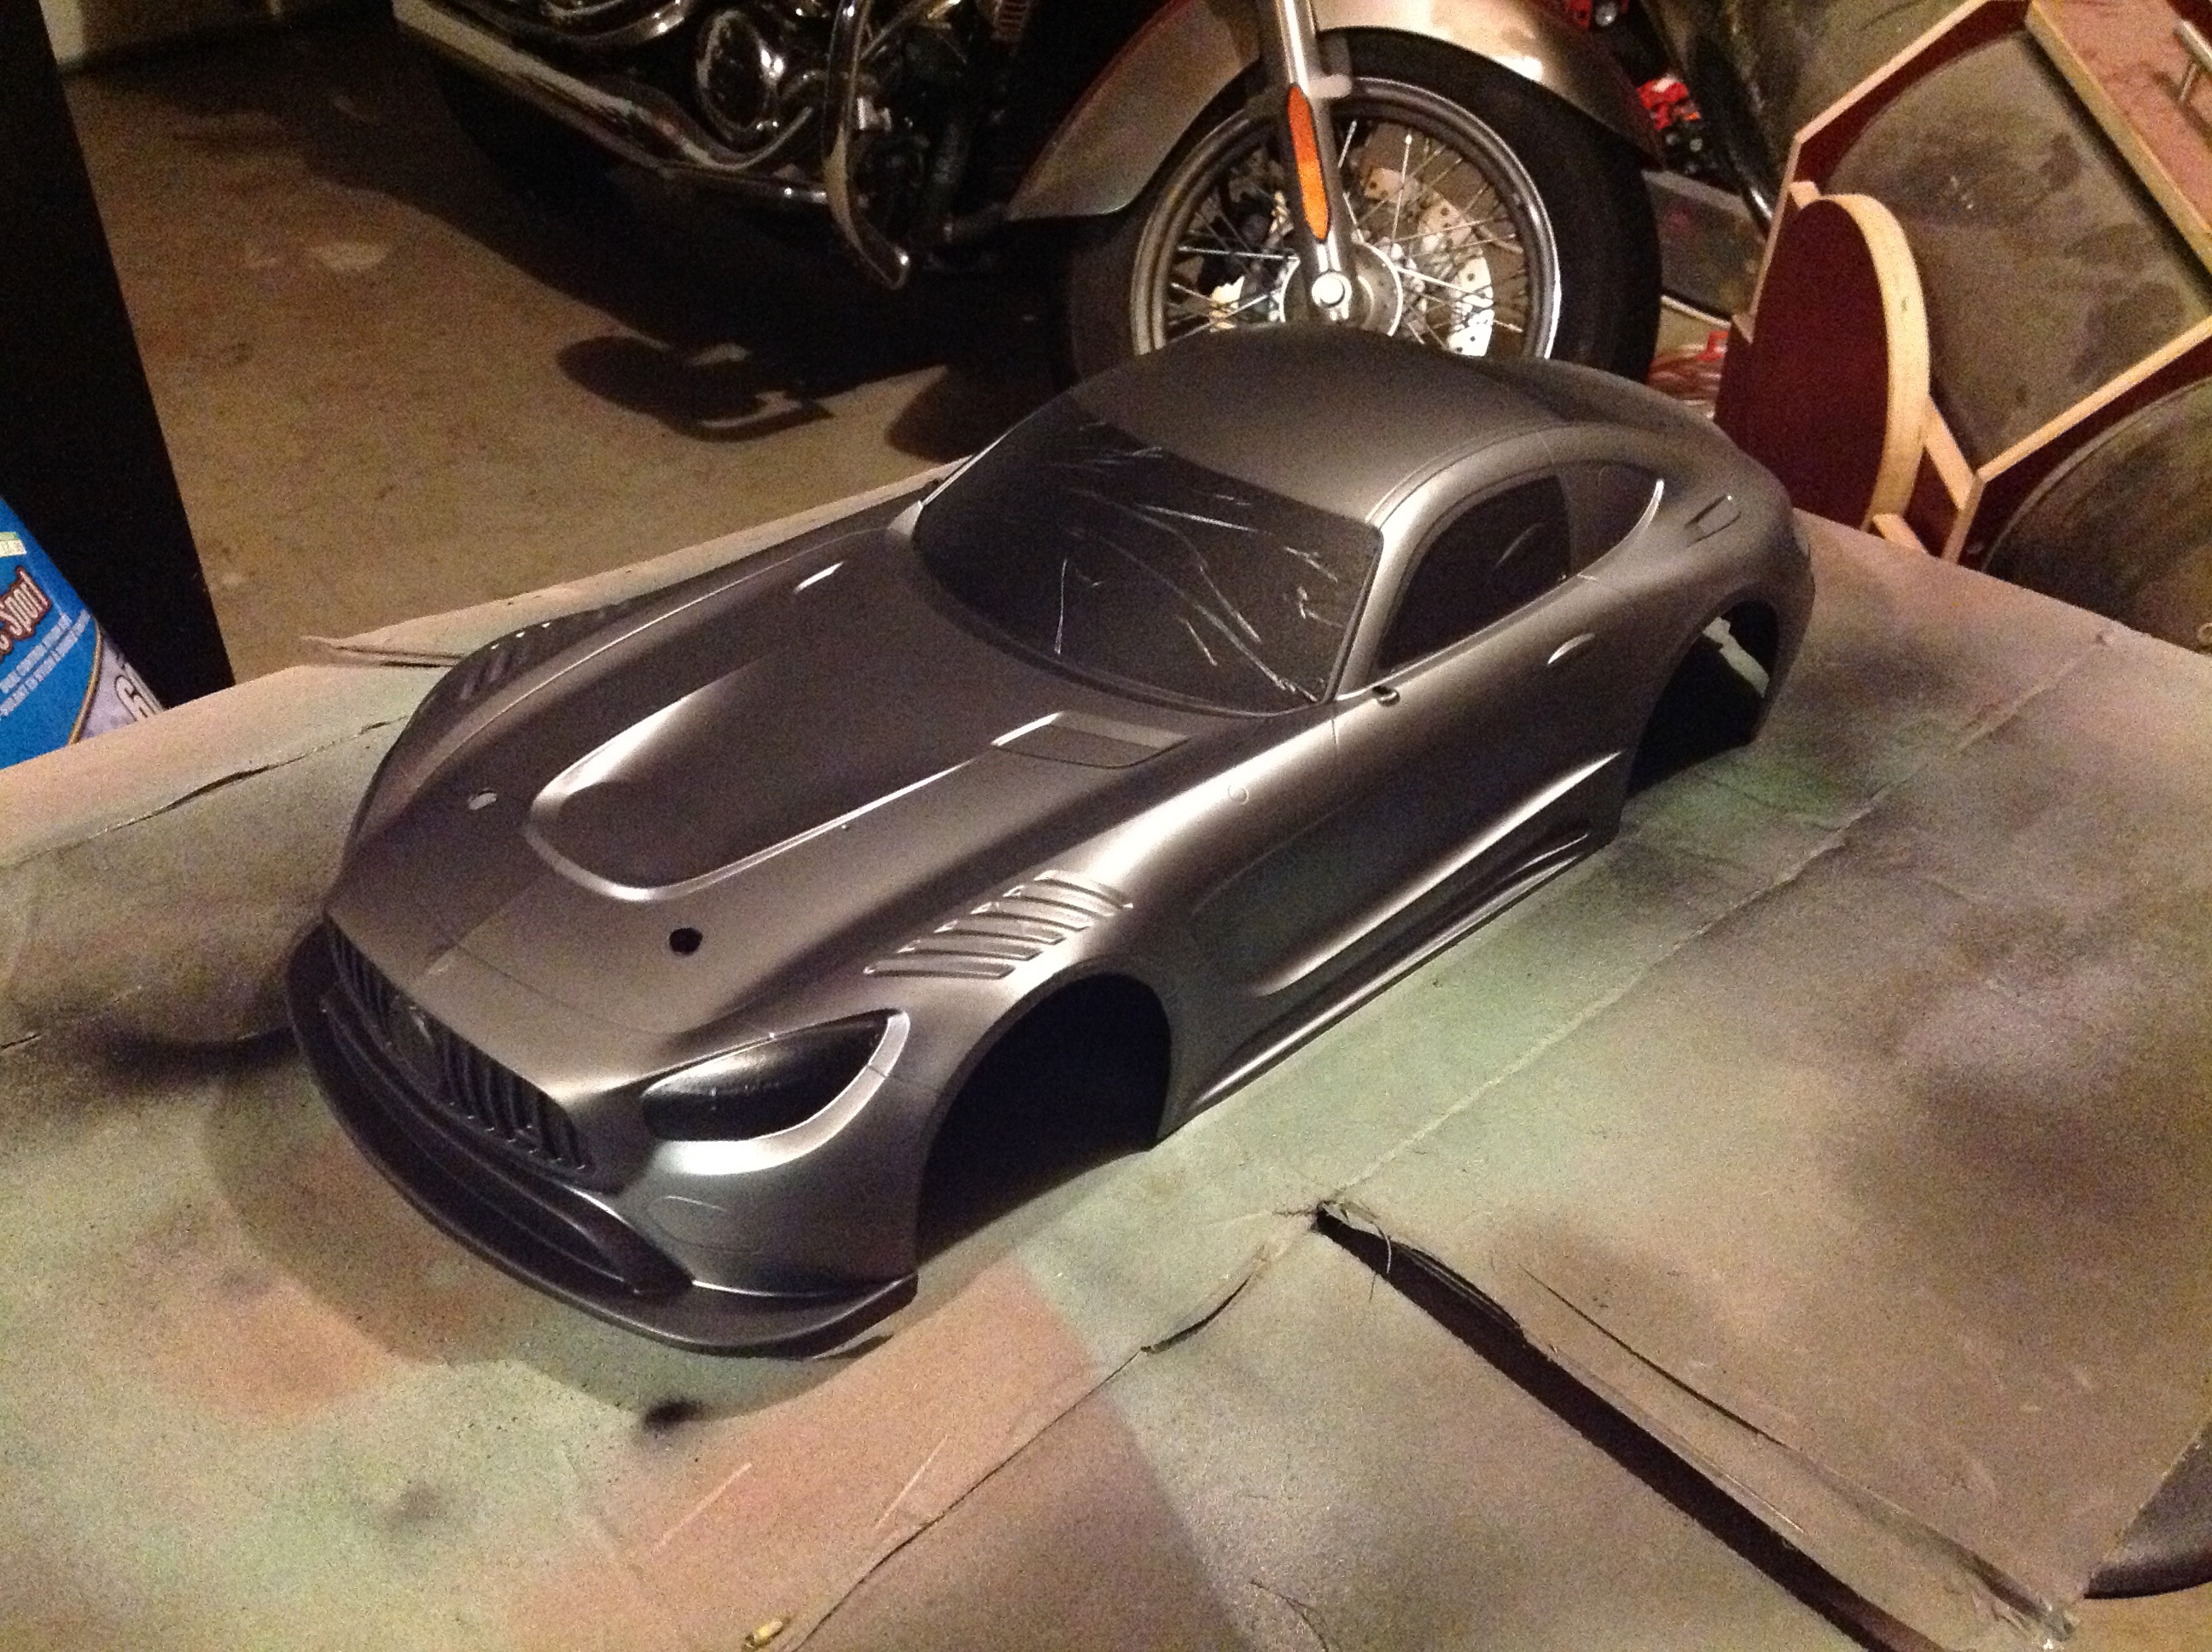
Clear bodies are always painted on the inside which results in a deep
glossy finish. However, this model is supposed to have flat
paint. To achieve that I removed the overspray film, then moved
the window masks to the outside and covered the whole thing with flat
clear spray. It worked perfectly. I almost didn't remember
to mask the windows which would have made them cloudy.
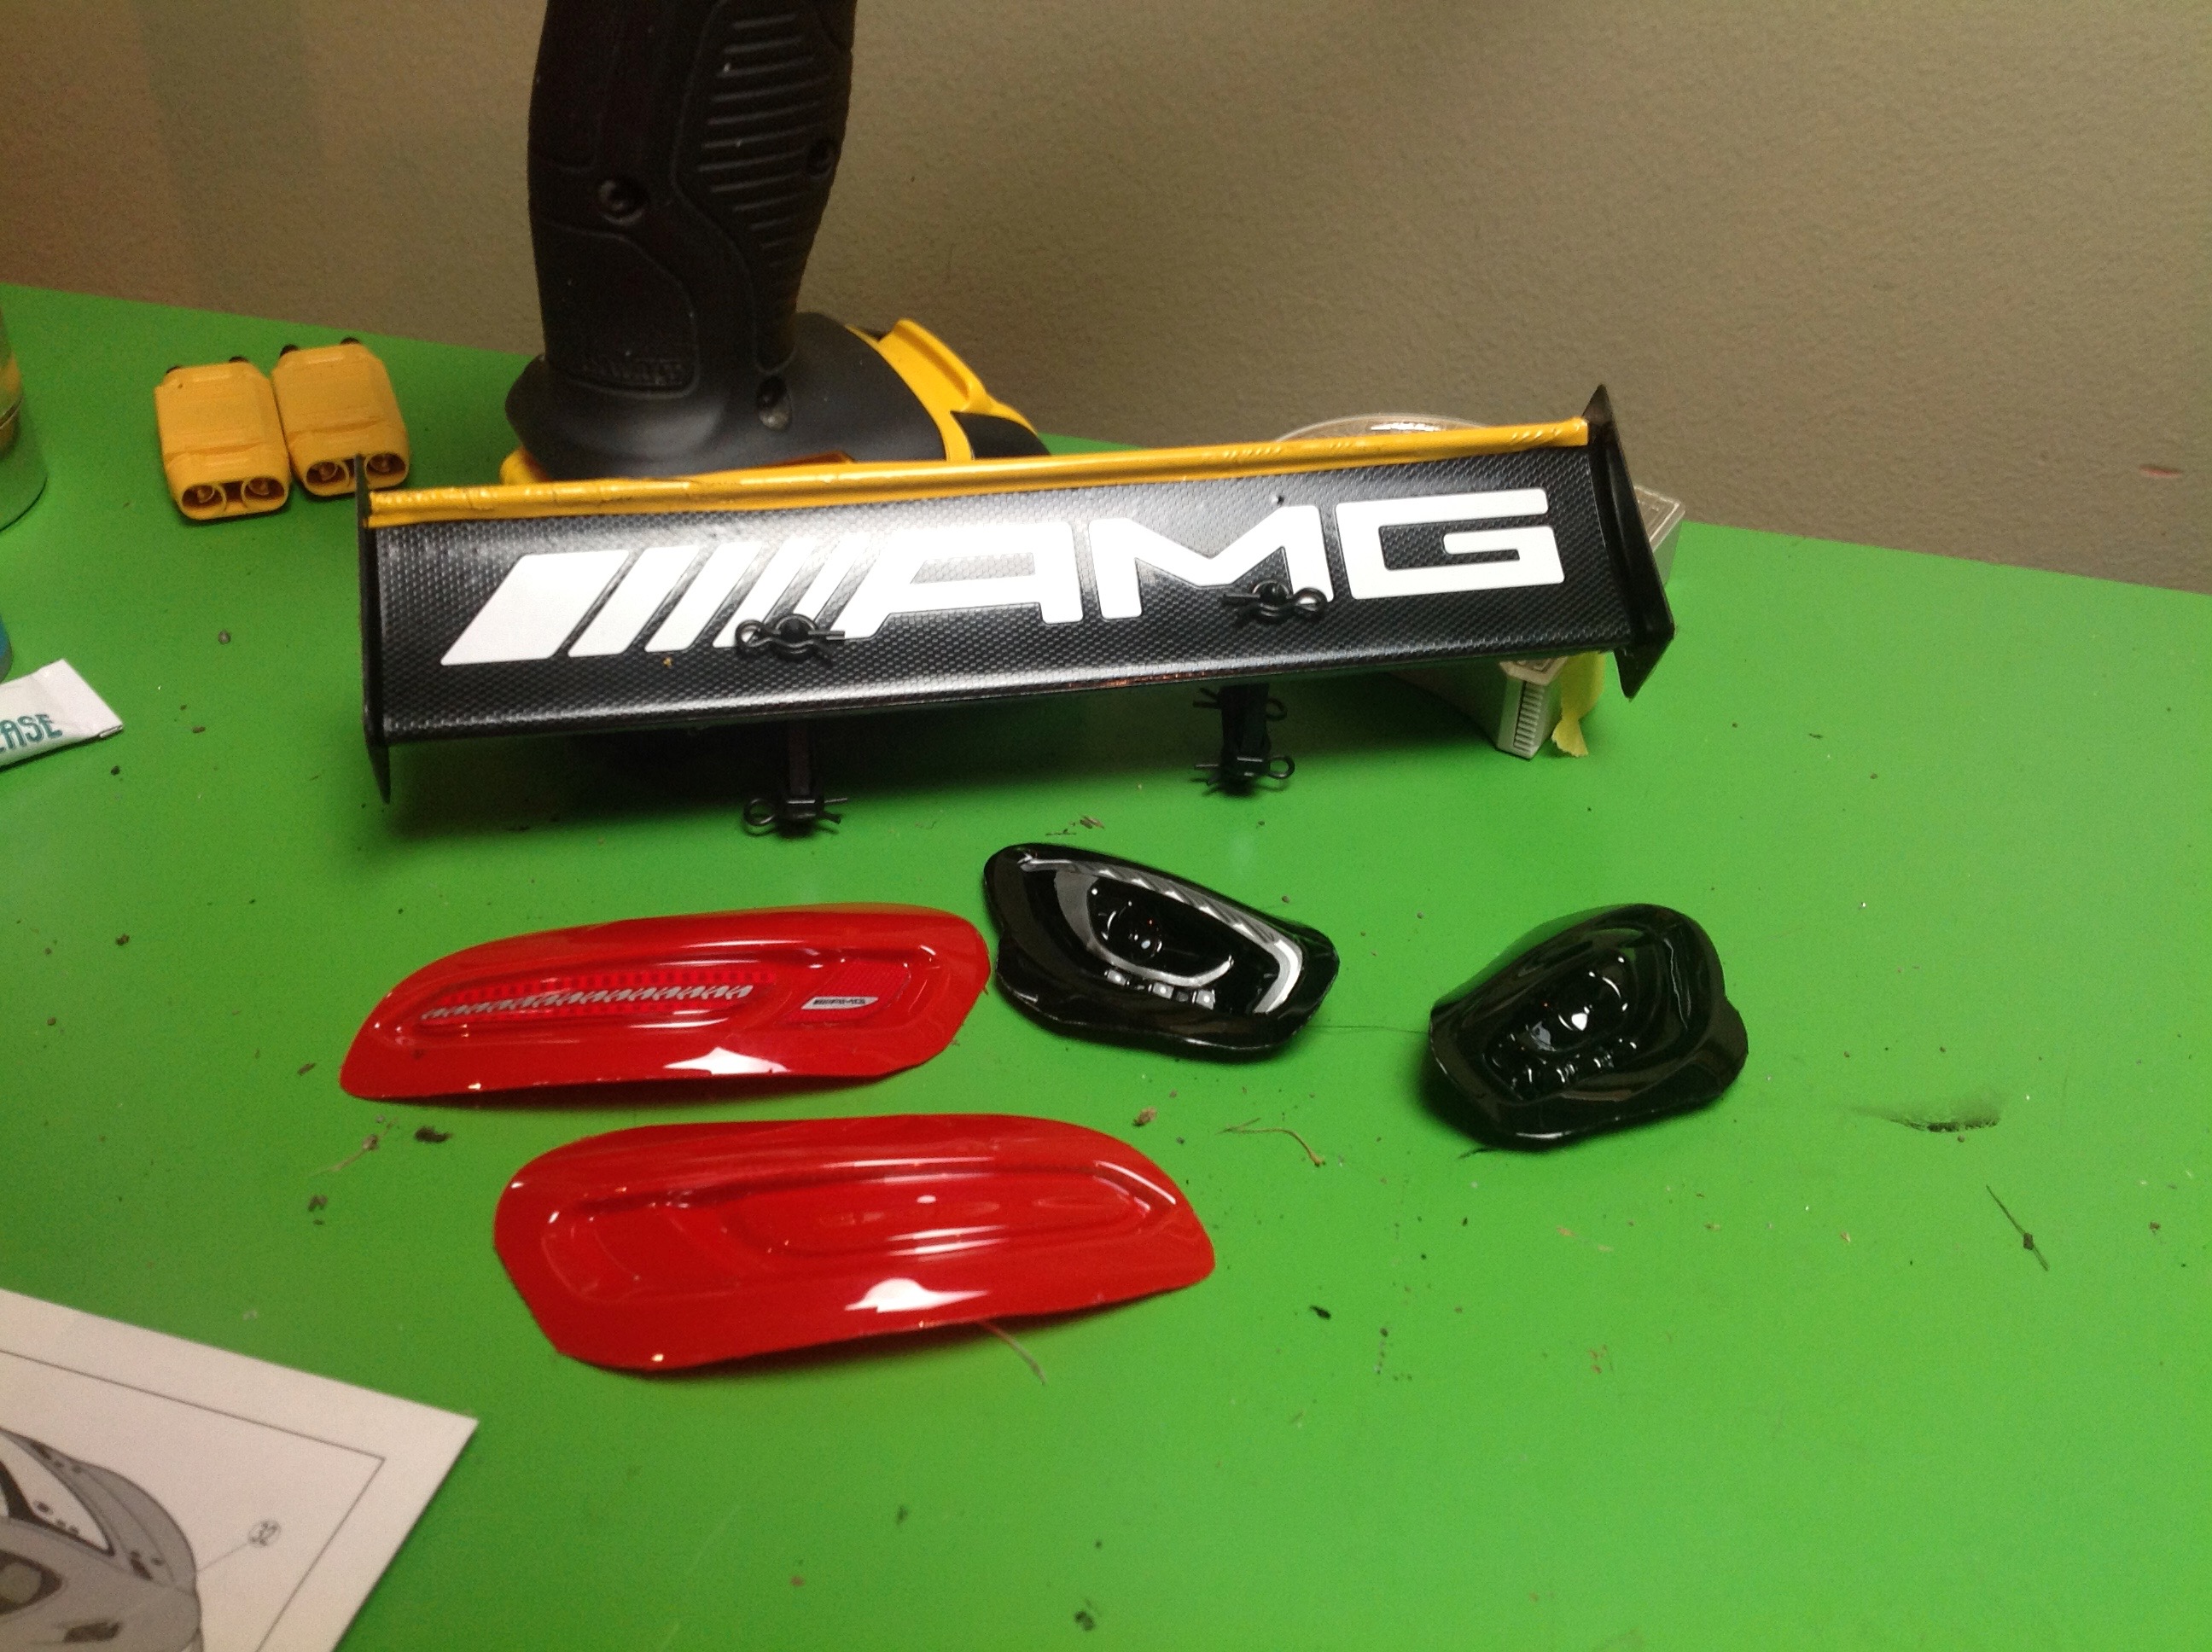
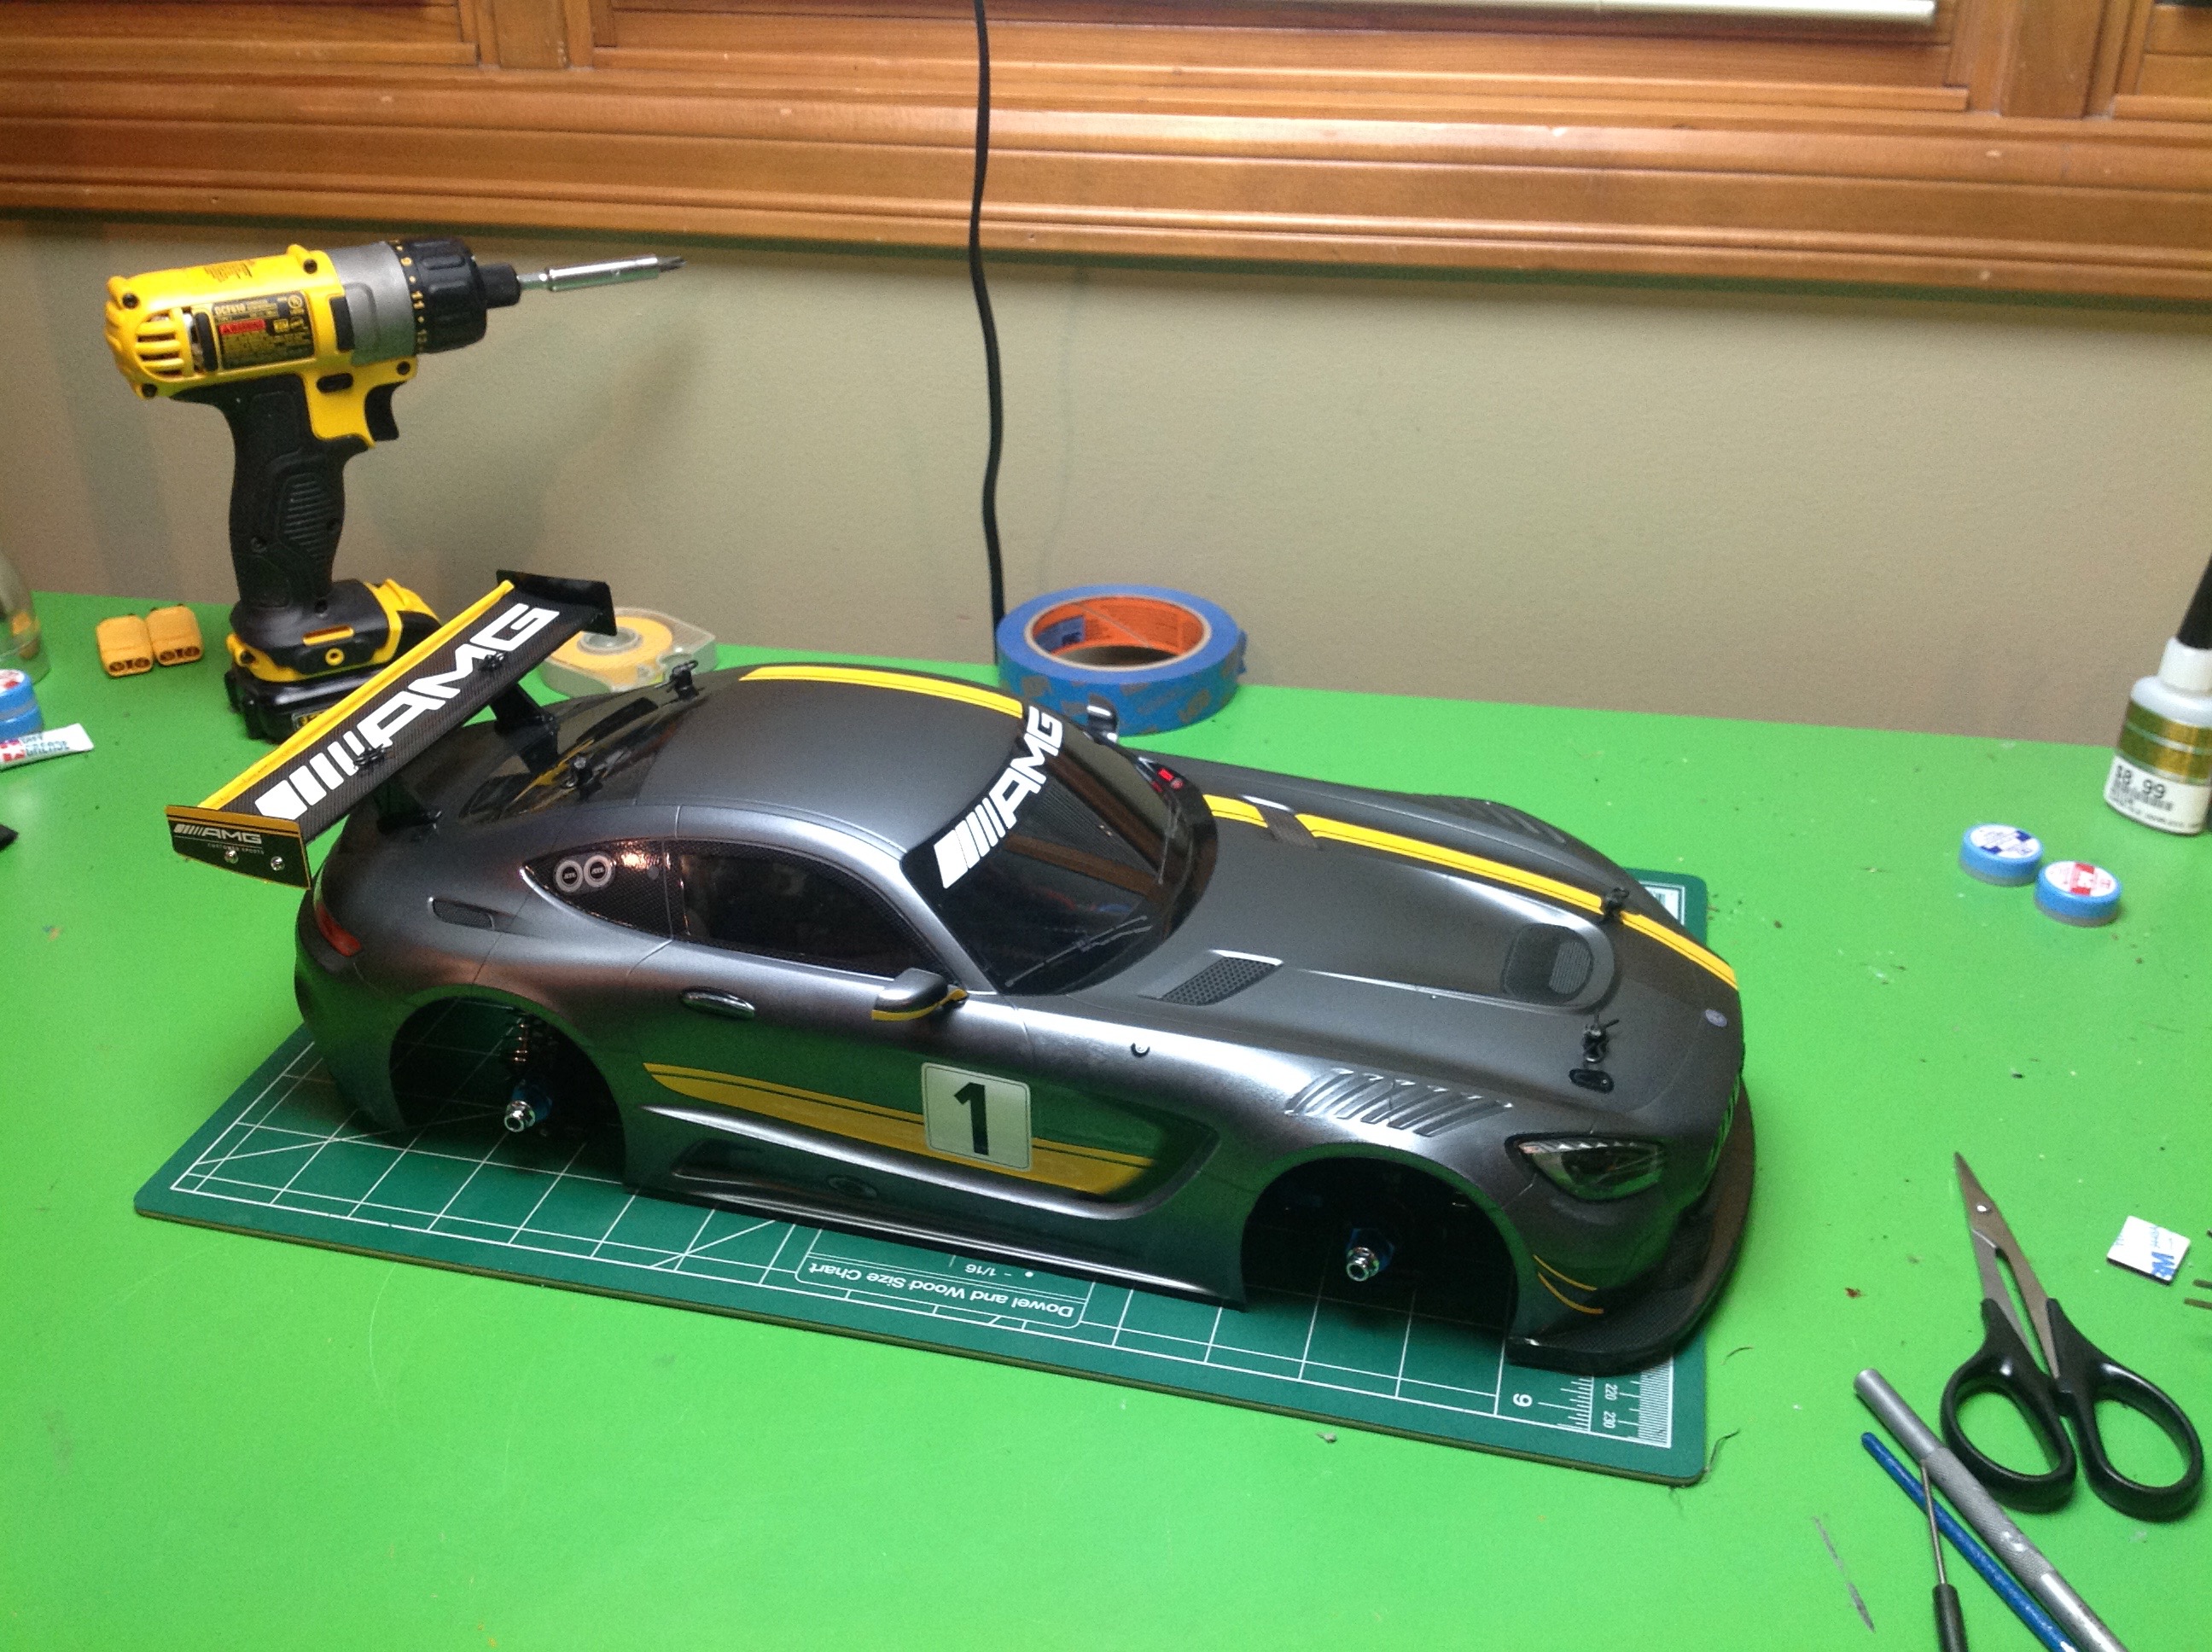
Wait, we're not done yet. The headlight and tail light lenses sit
behind the body, so they need to be painted as well. So does the
rear wing which is assembled from several pieces. After that we
need to put on the dozens of decals, including those tiny specs you see
on the headlight lenses.
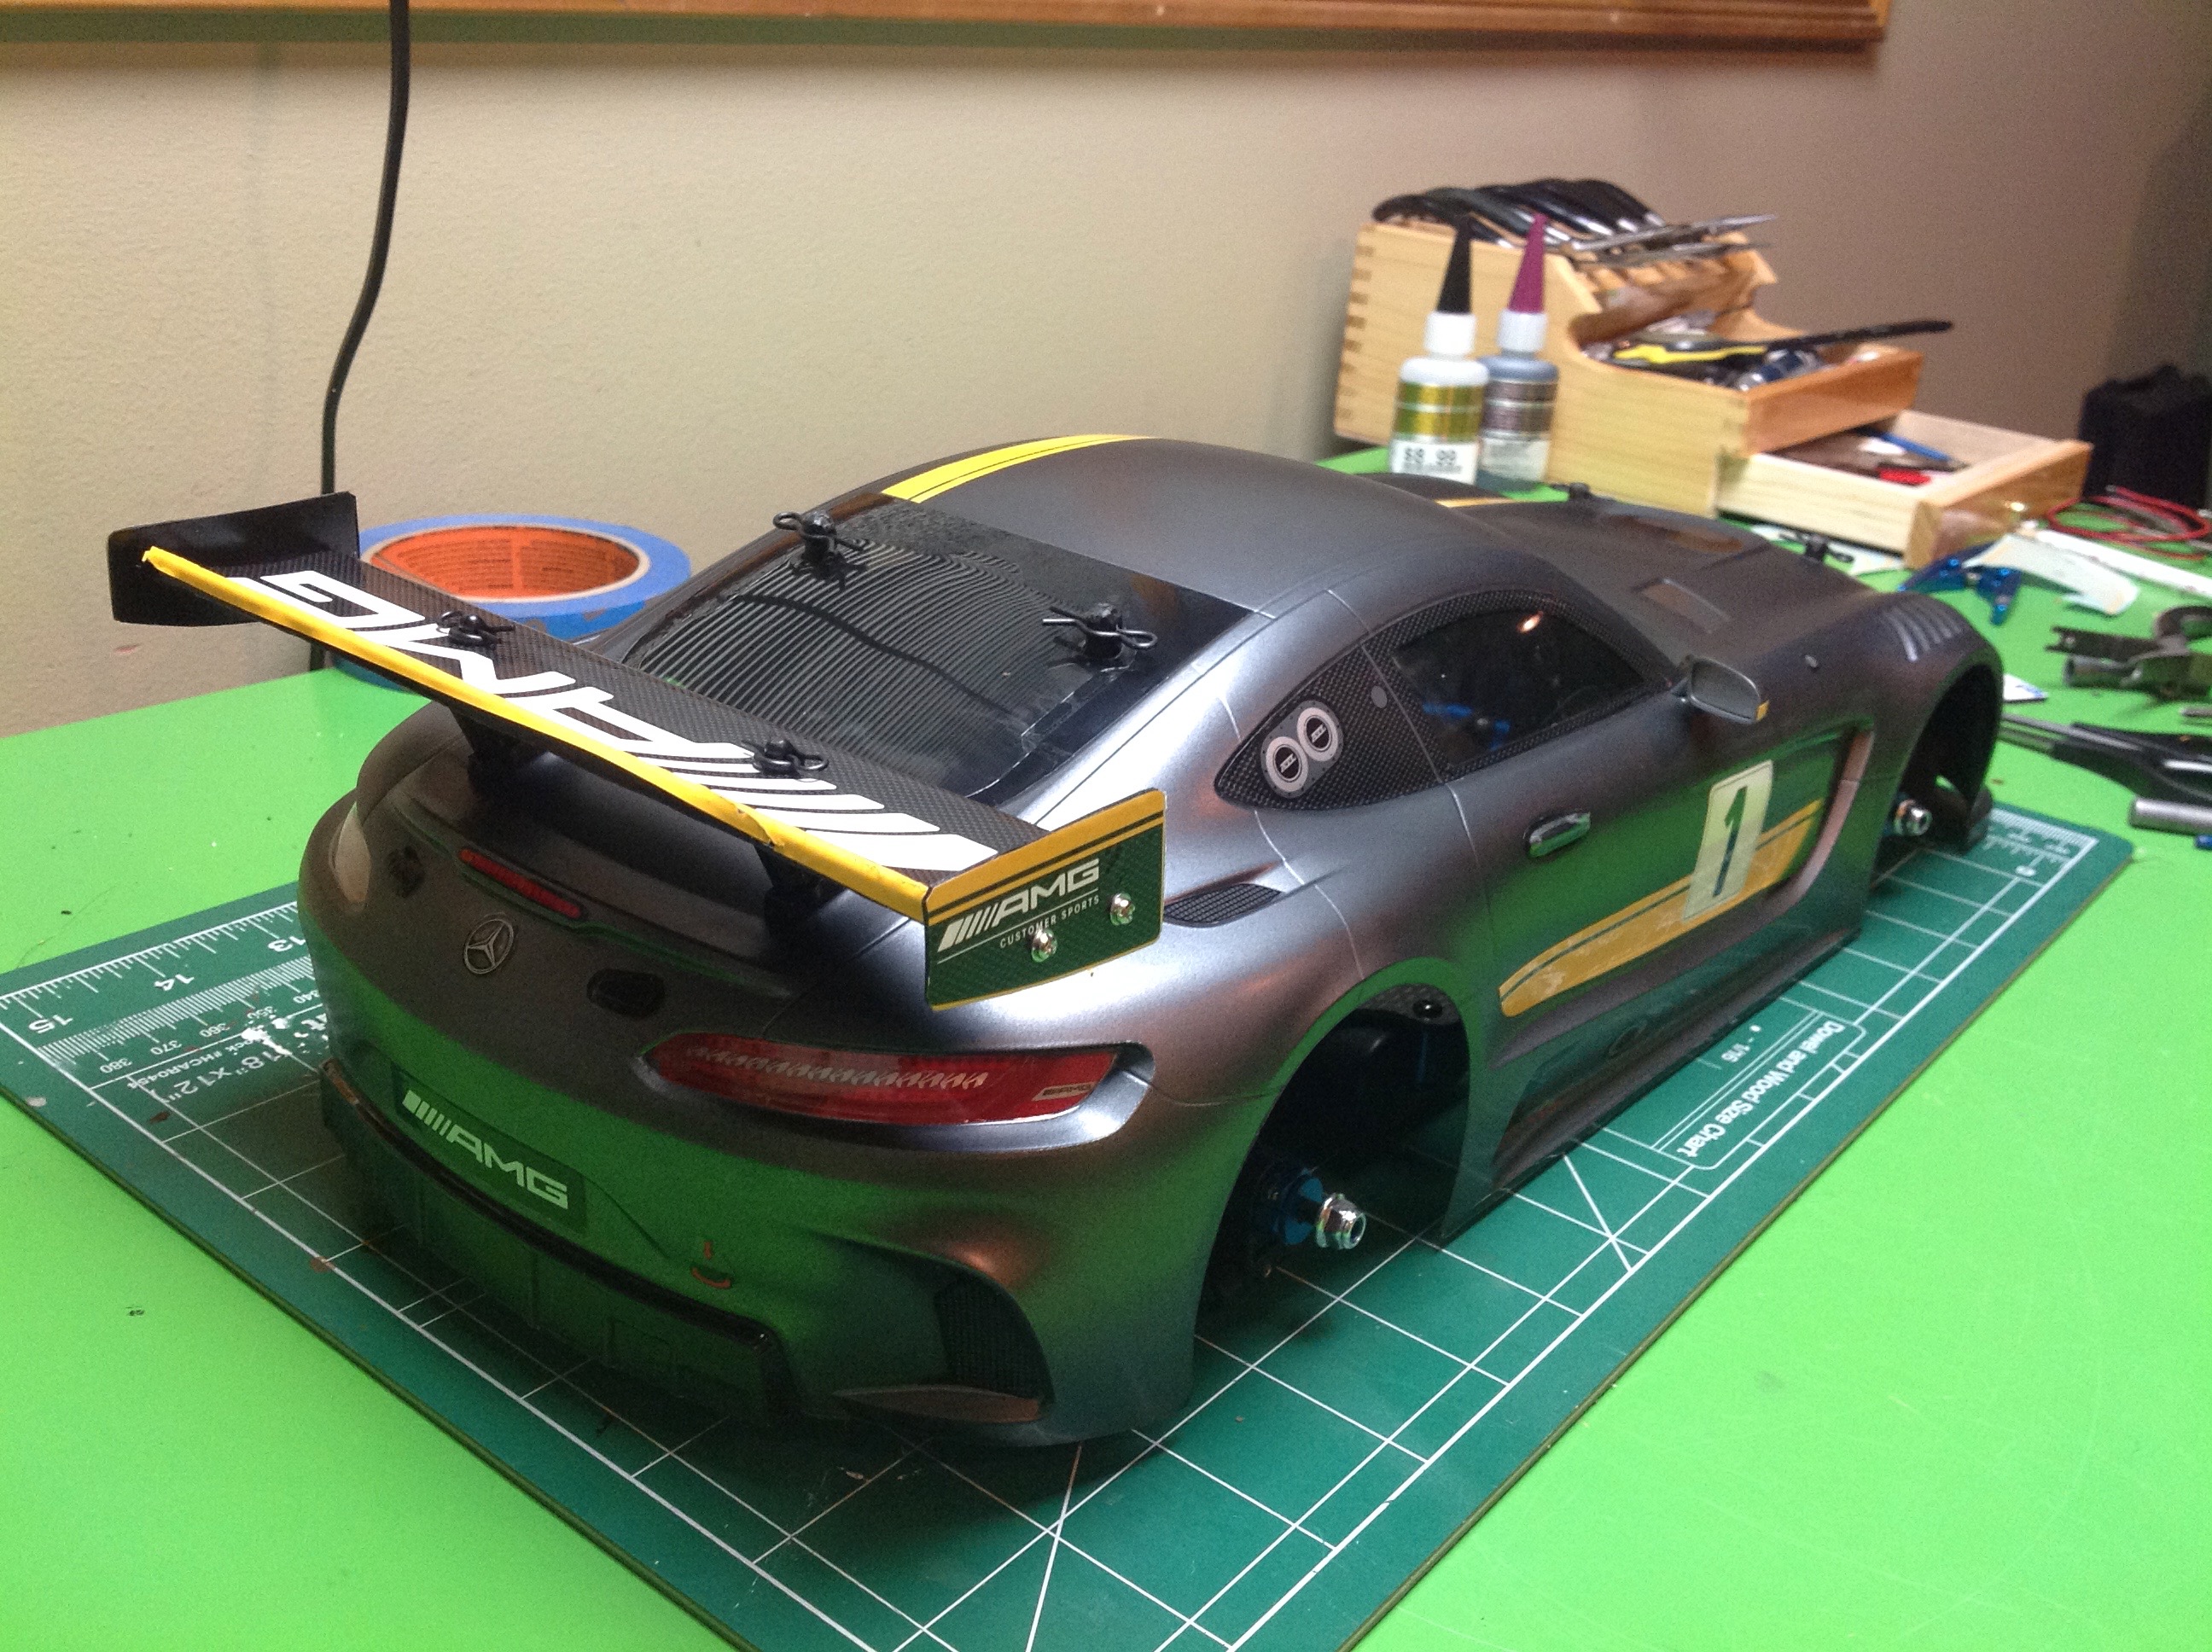
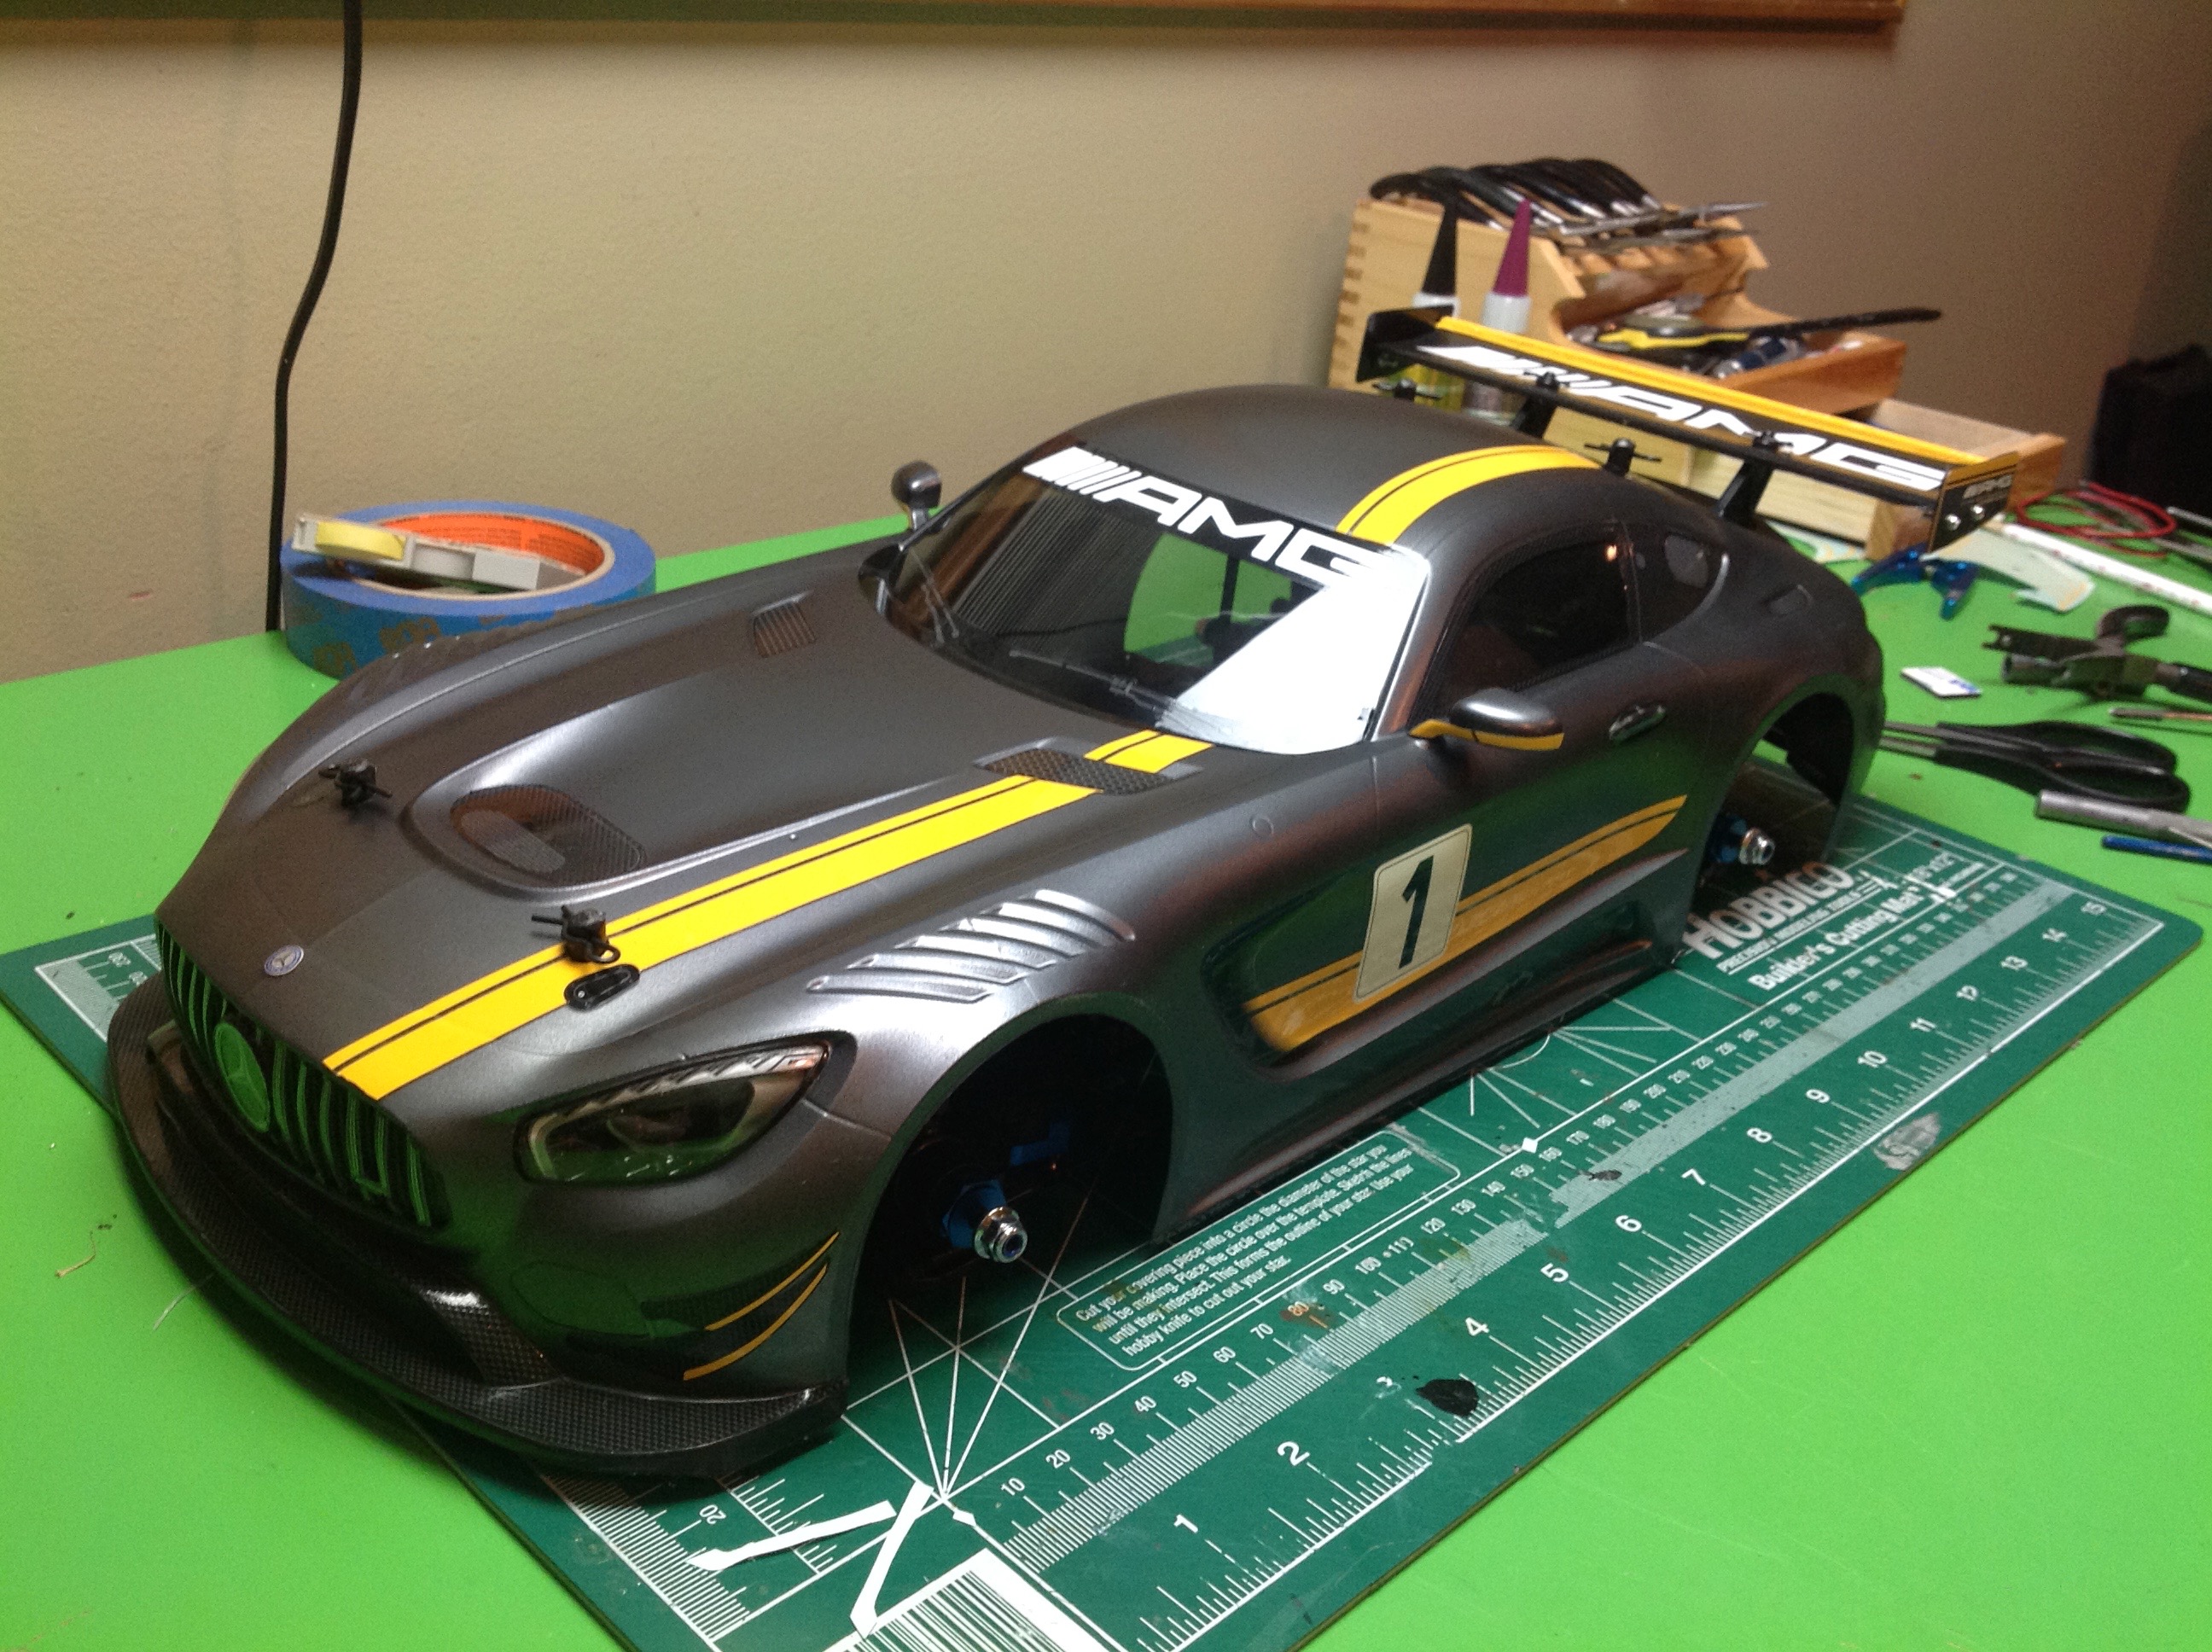
Here is the final results on the chassis. Without any wheels and
tires (which hadn't arrived yet from Japan), the body sits flush on the
ground. It would be another two weeks before the wheels would show
up so I could actually drive it.
©2018 Eric Albrecht