Tamiya Formula E Project
Page 2: Body Assembly and Painting
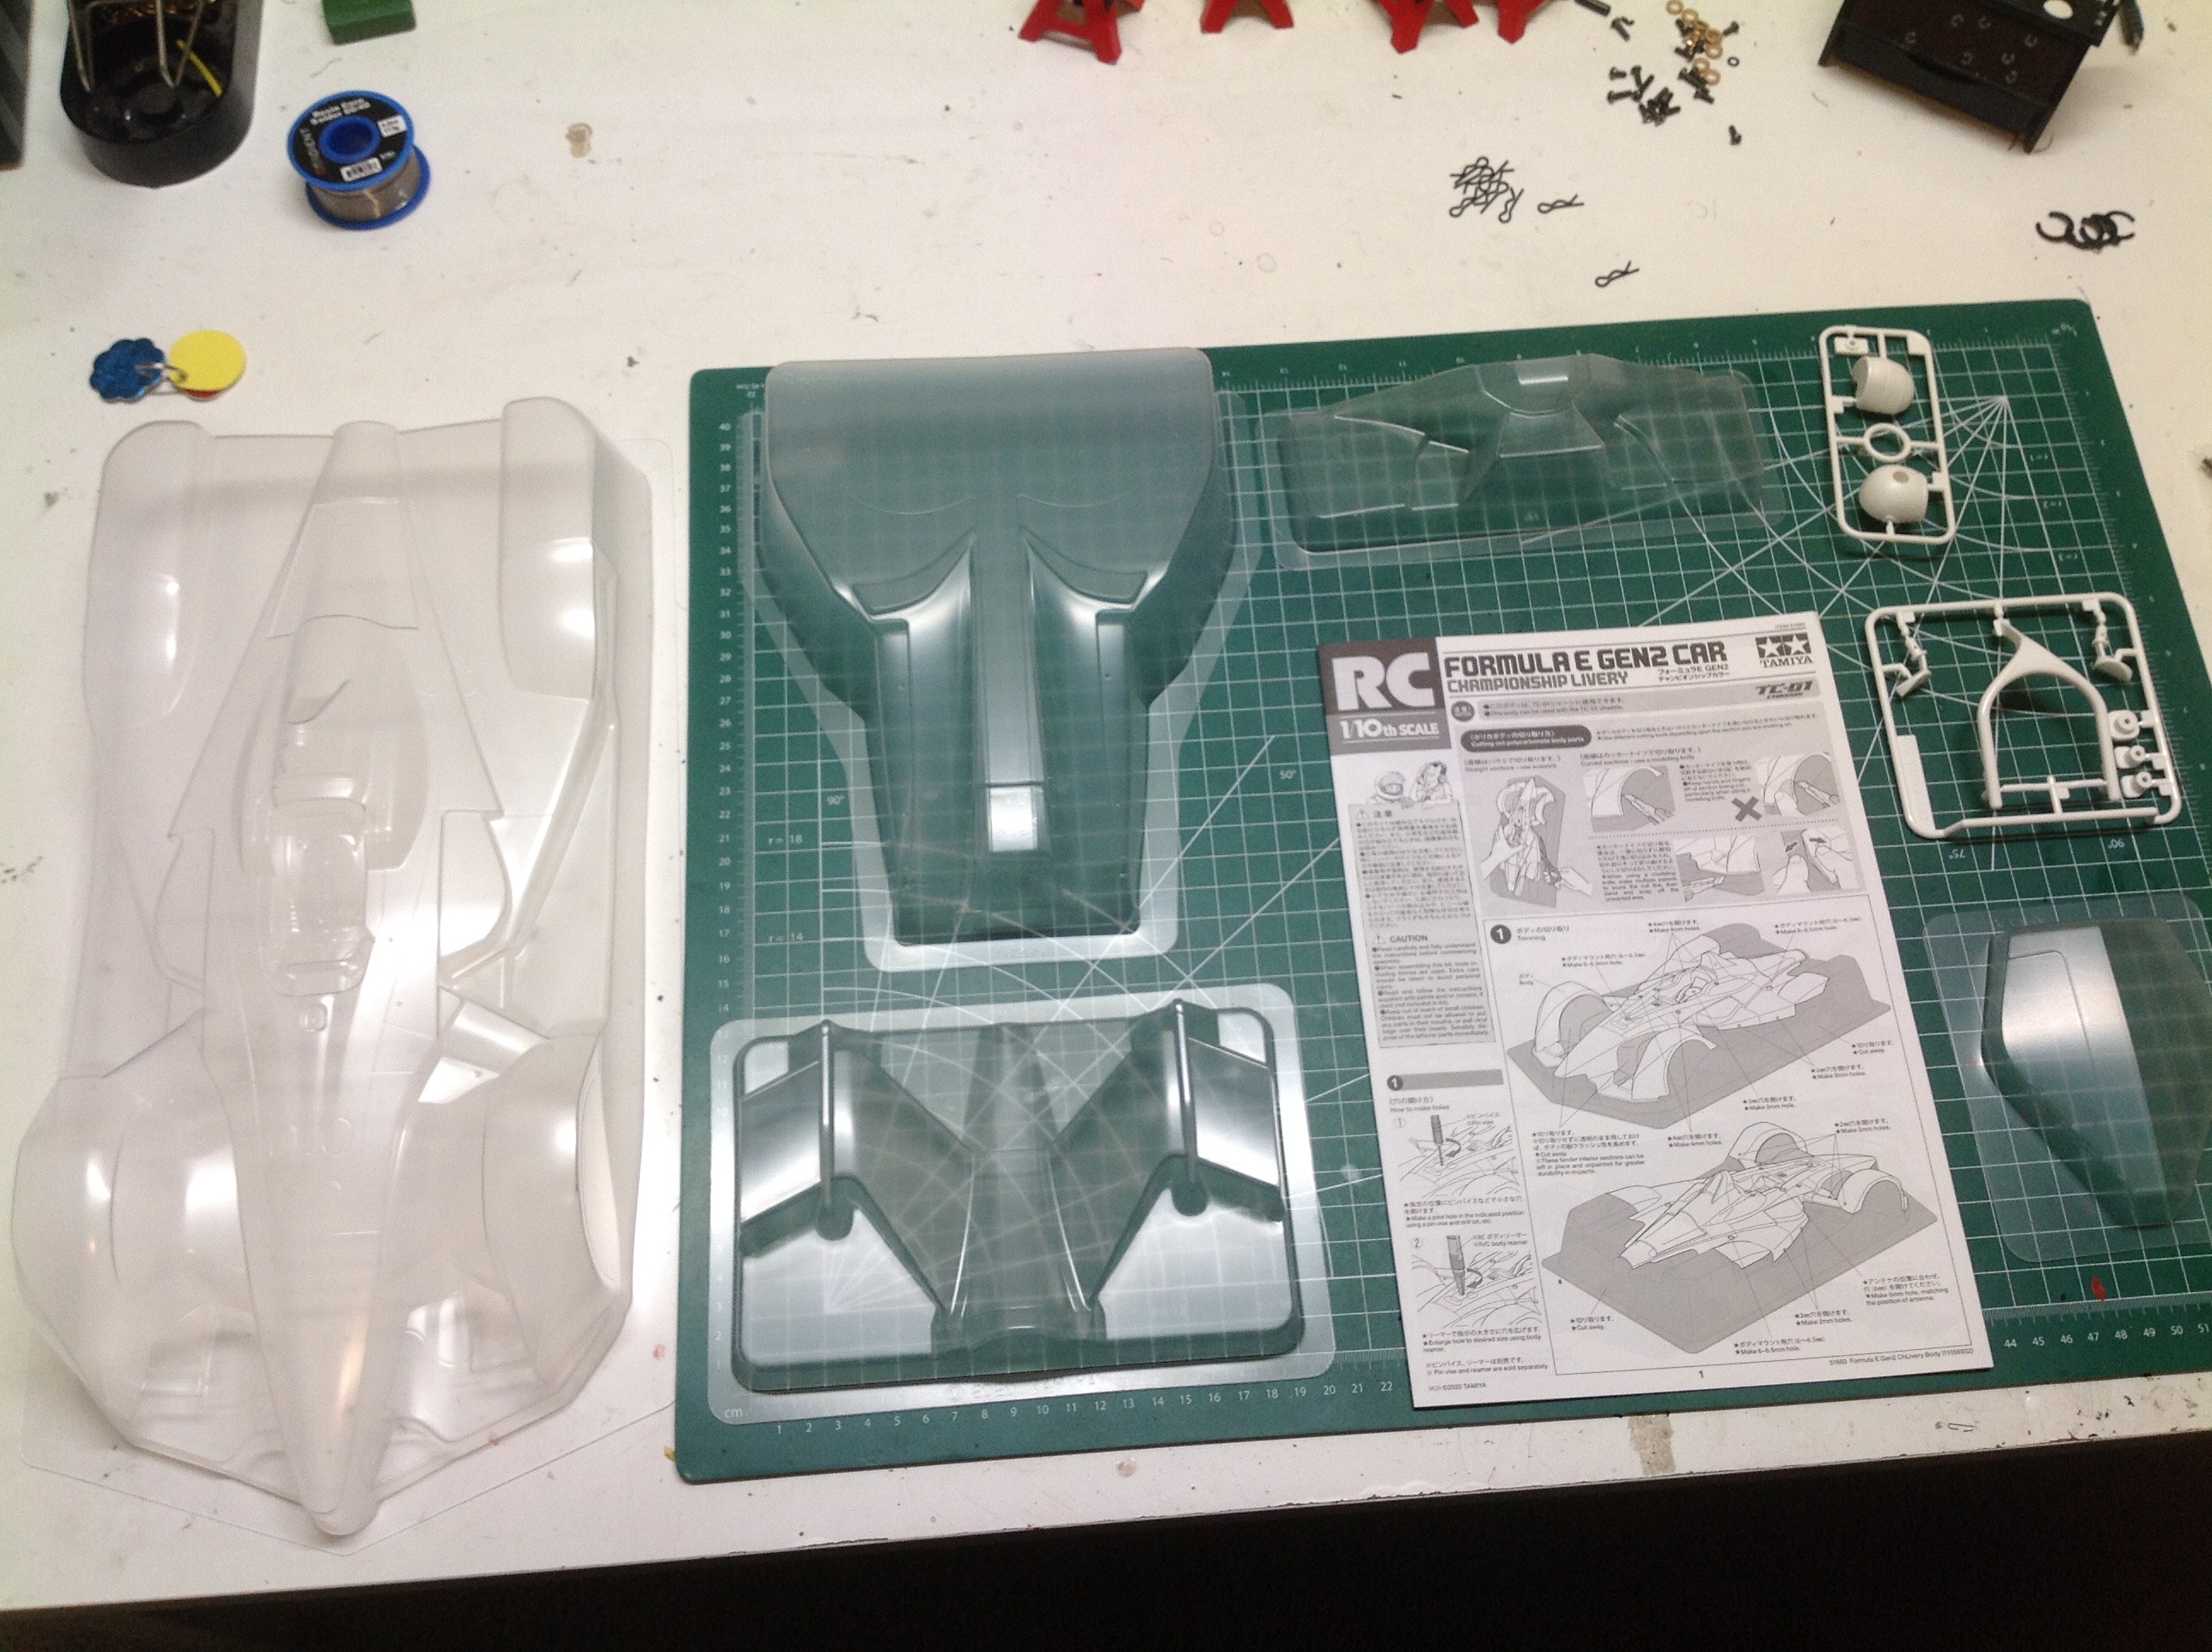
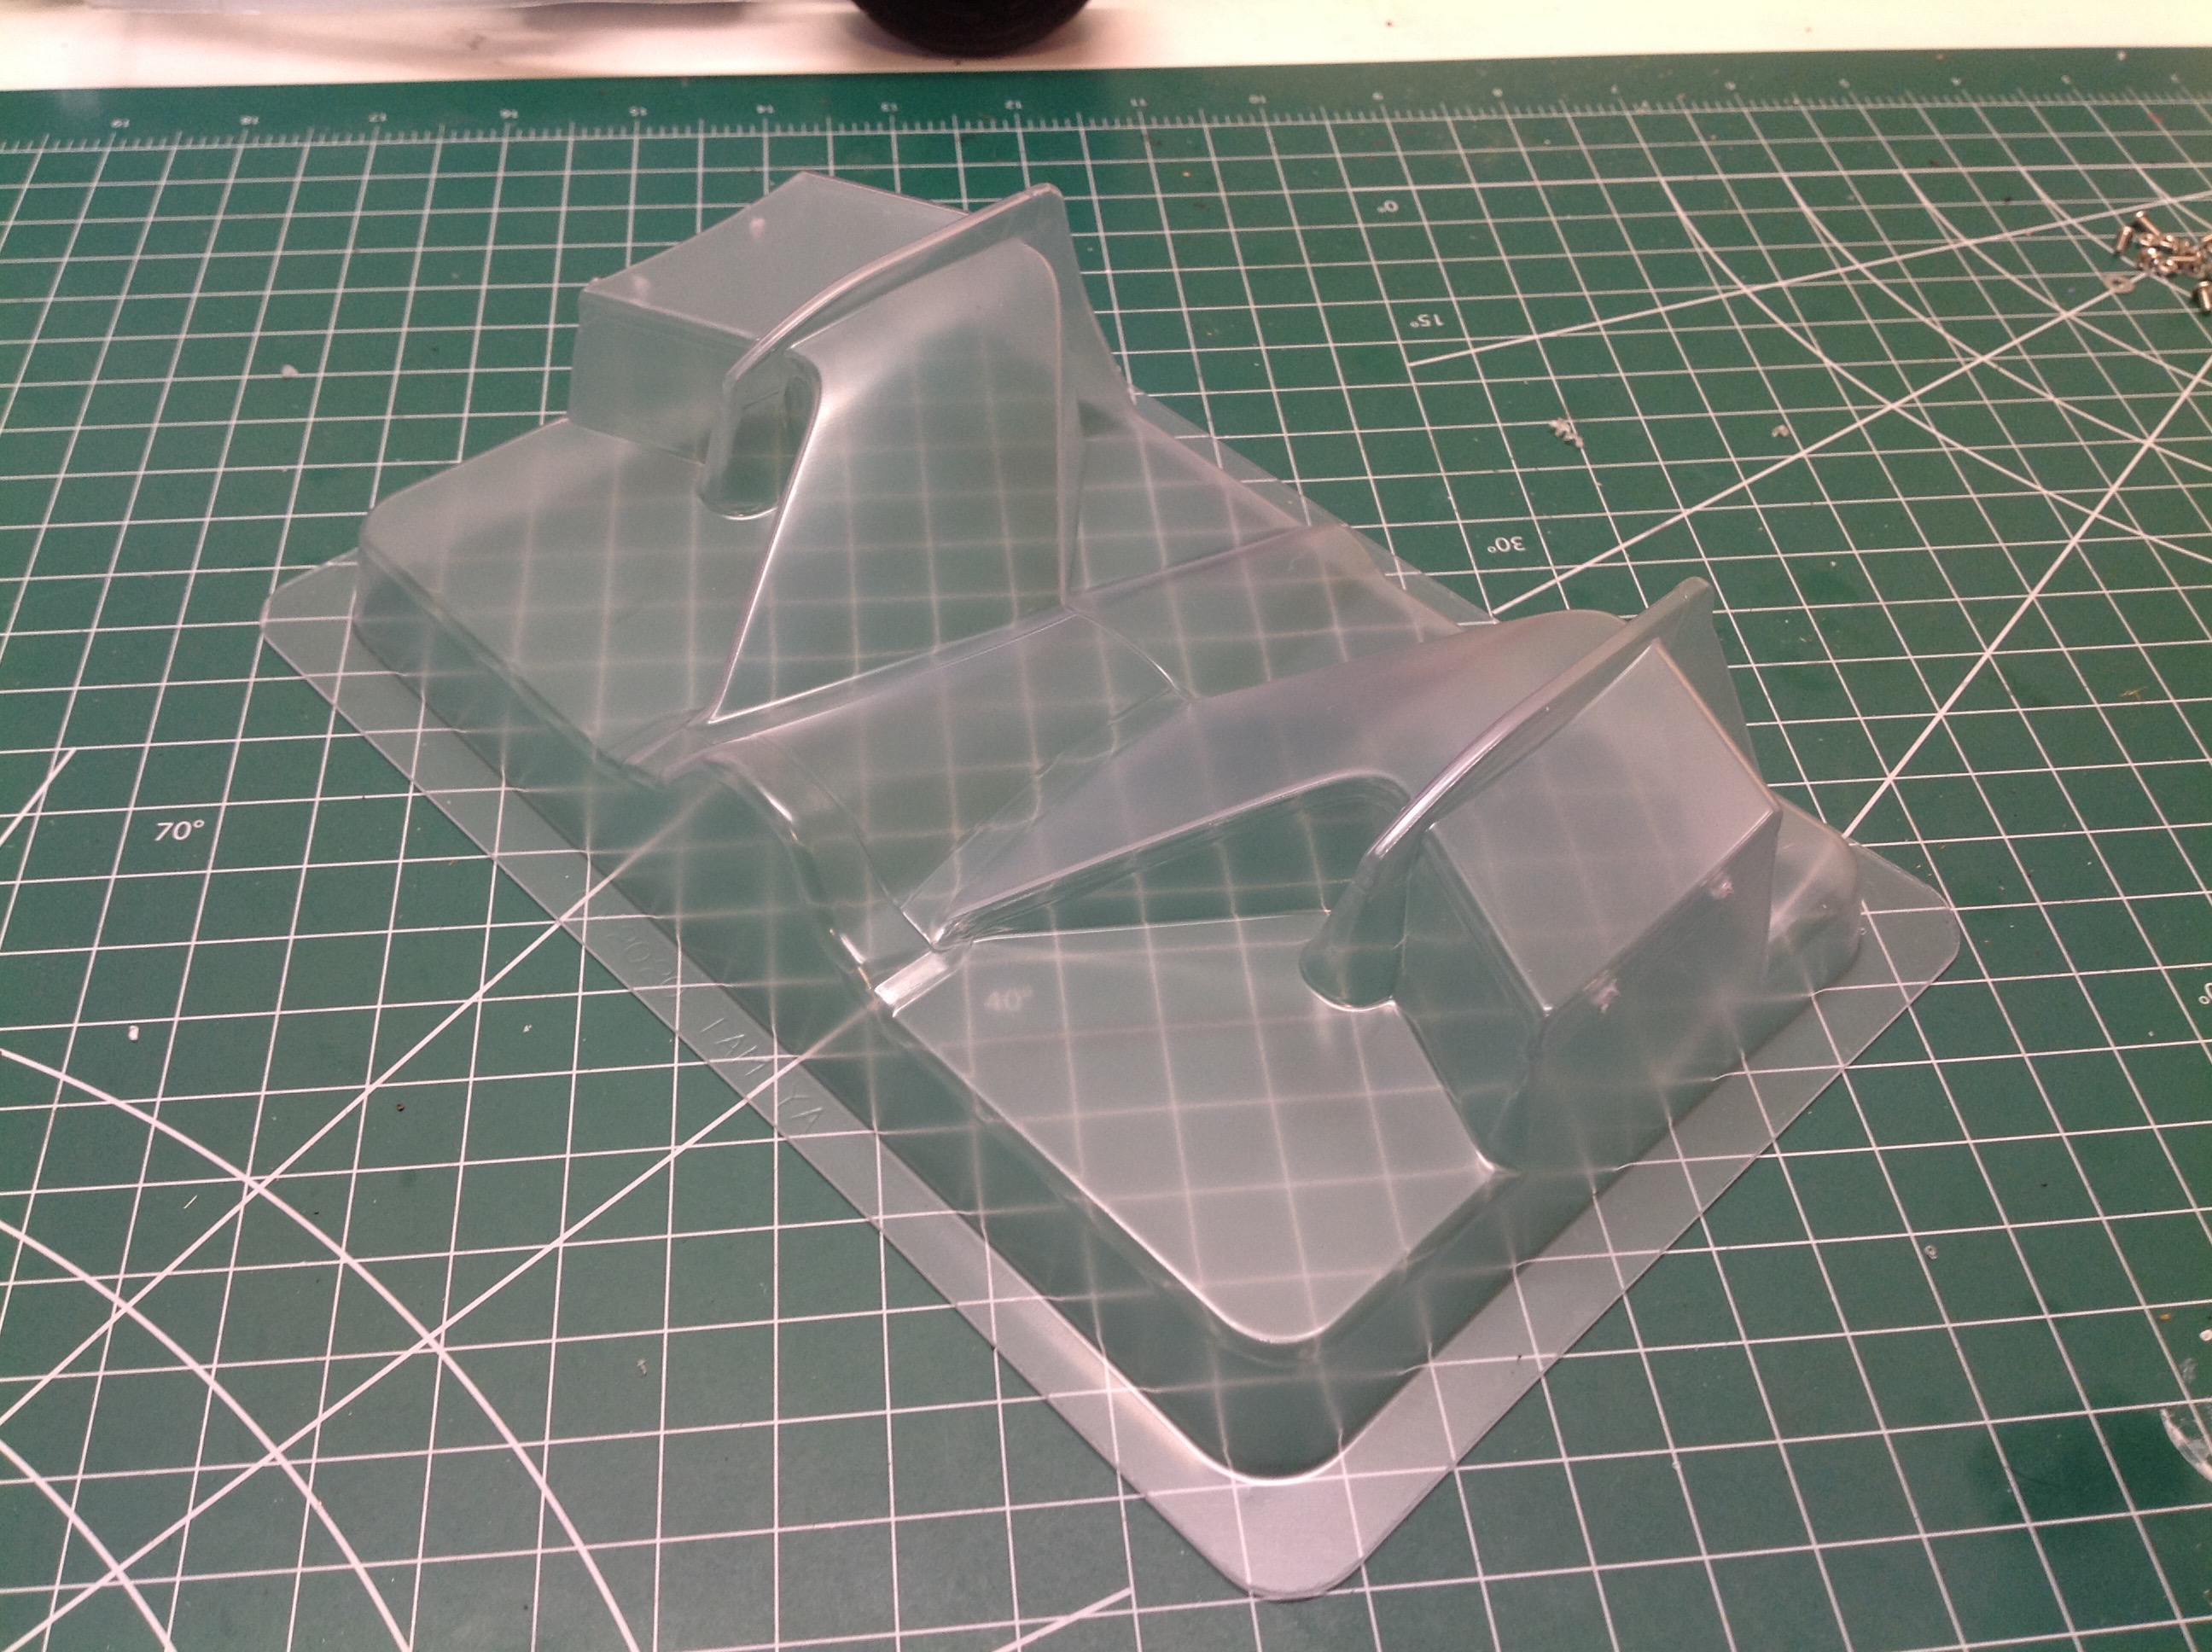
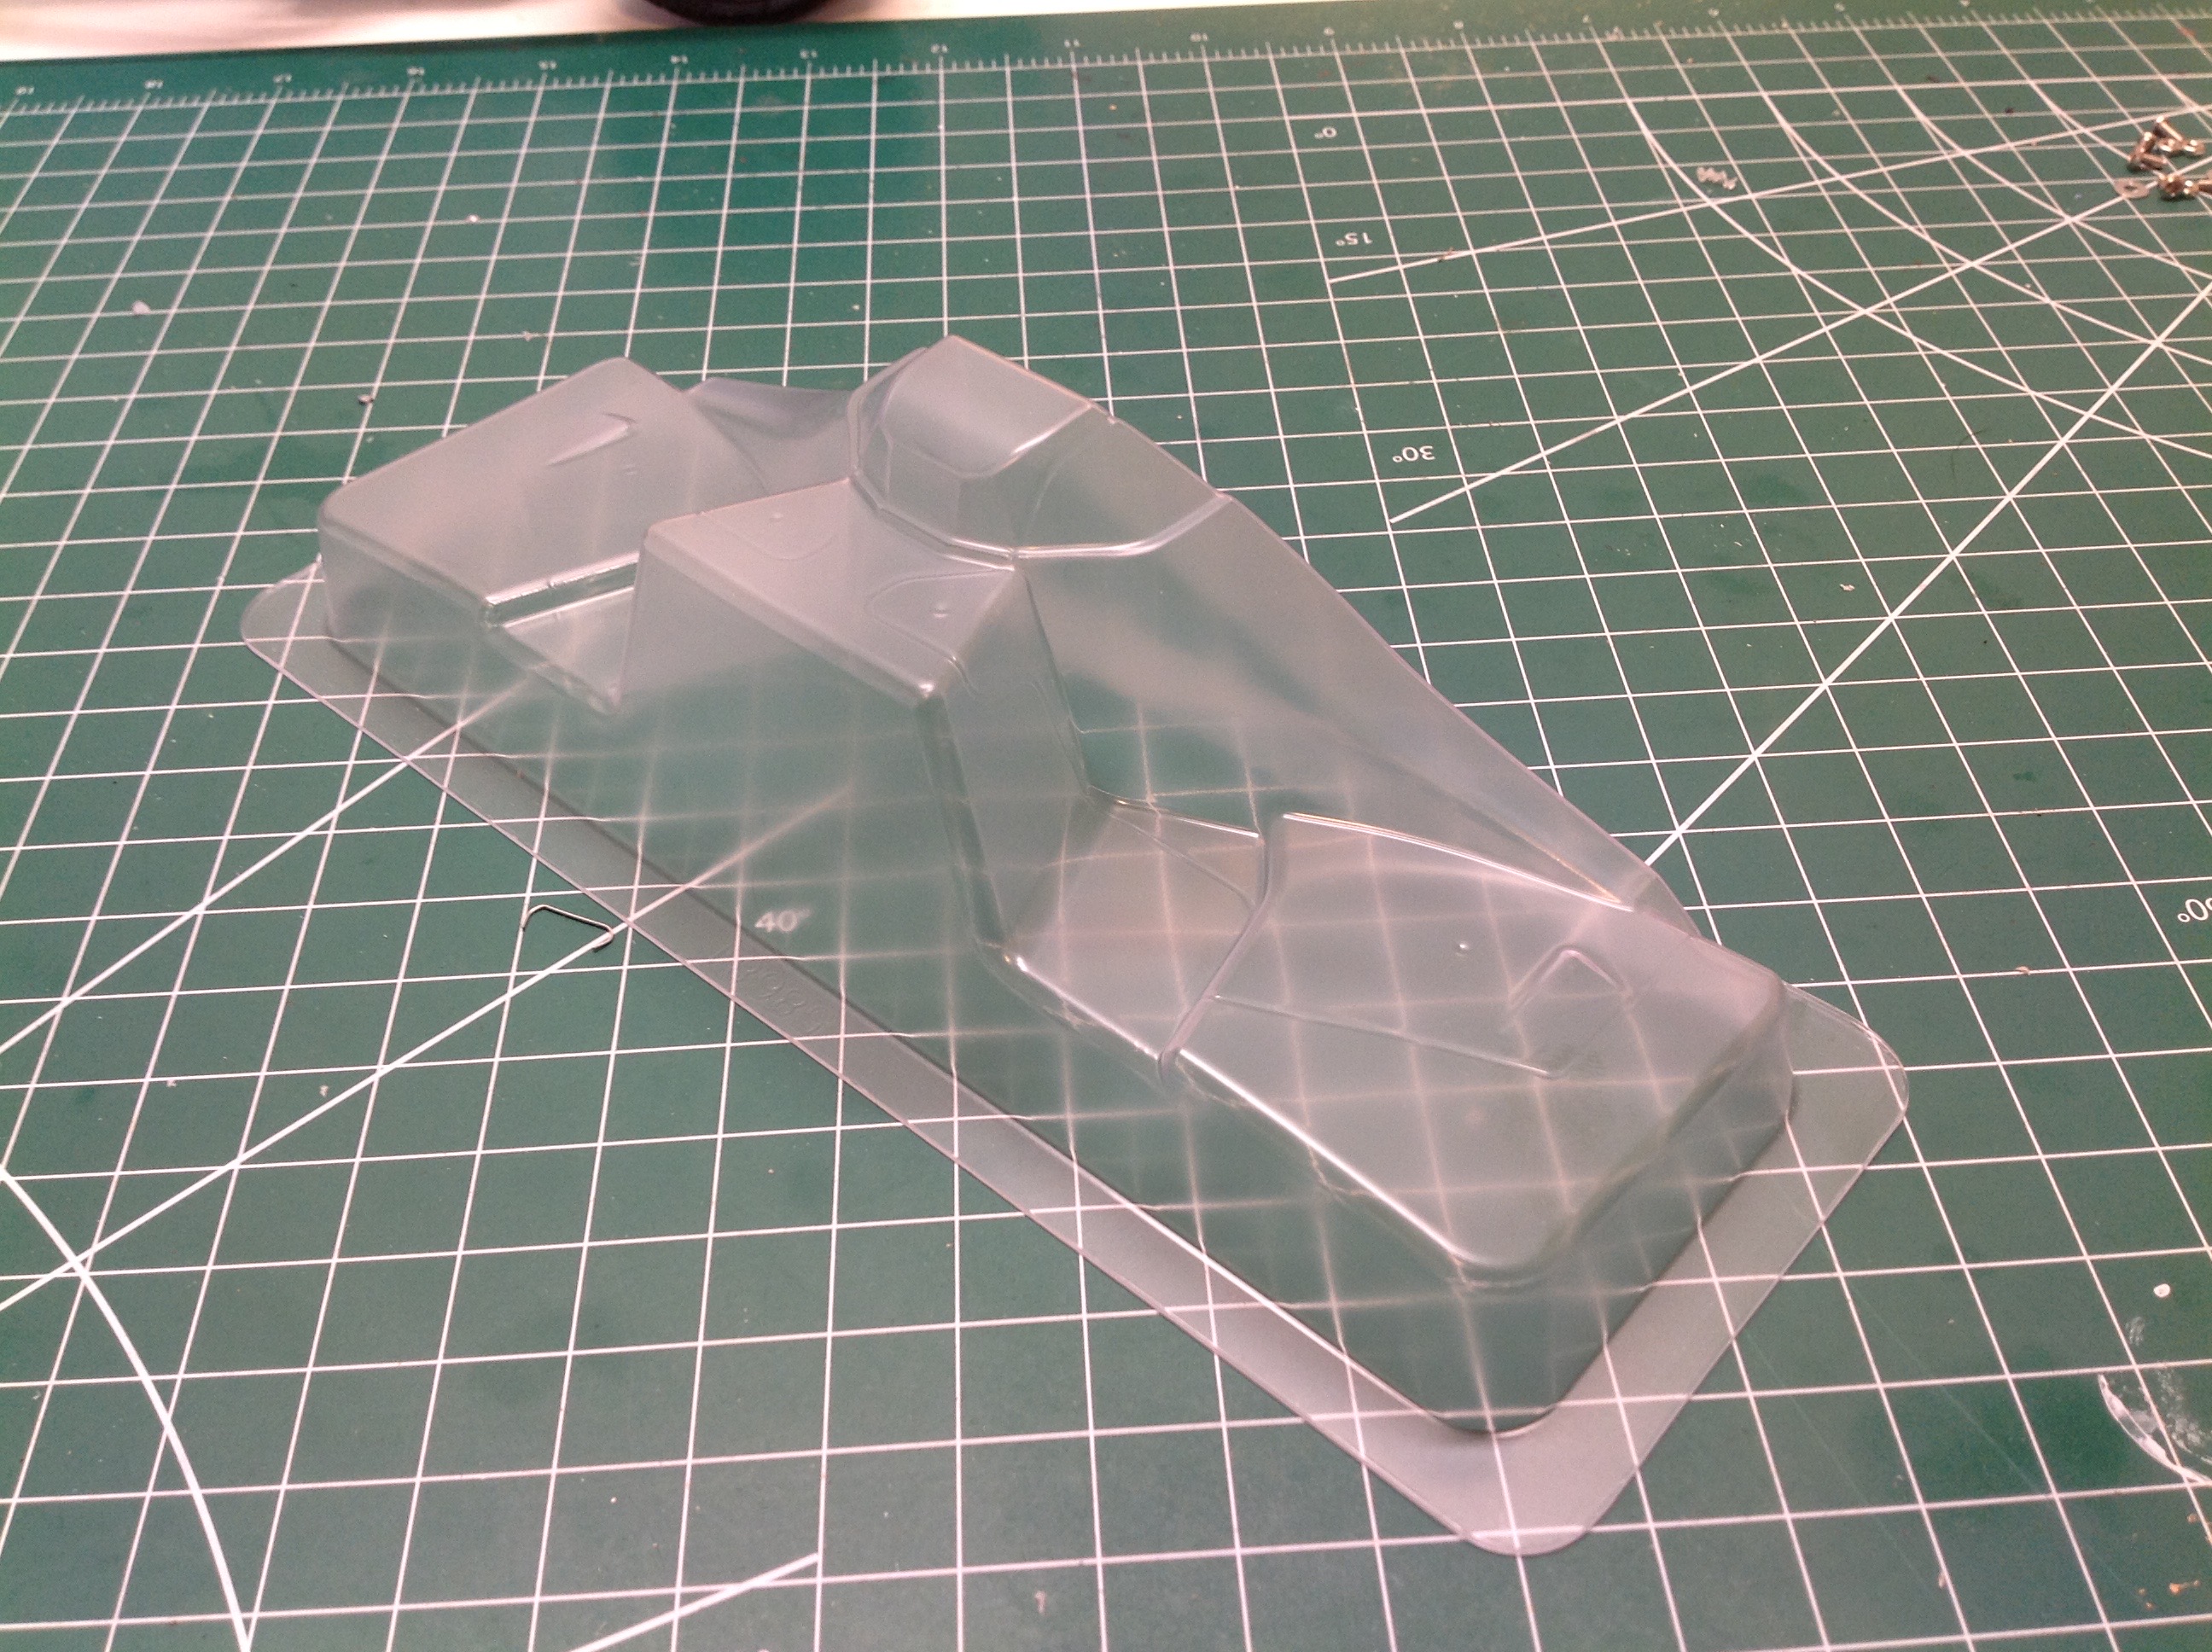
This is easily the most complex Lexan body I have ever had to
build. There are 5 separate vacuum formed parts as well as 2 trees
of molded parts and countless stickers.
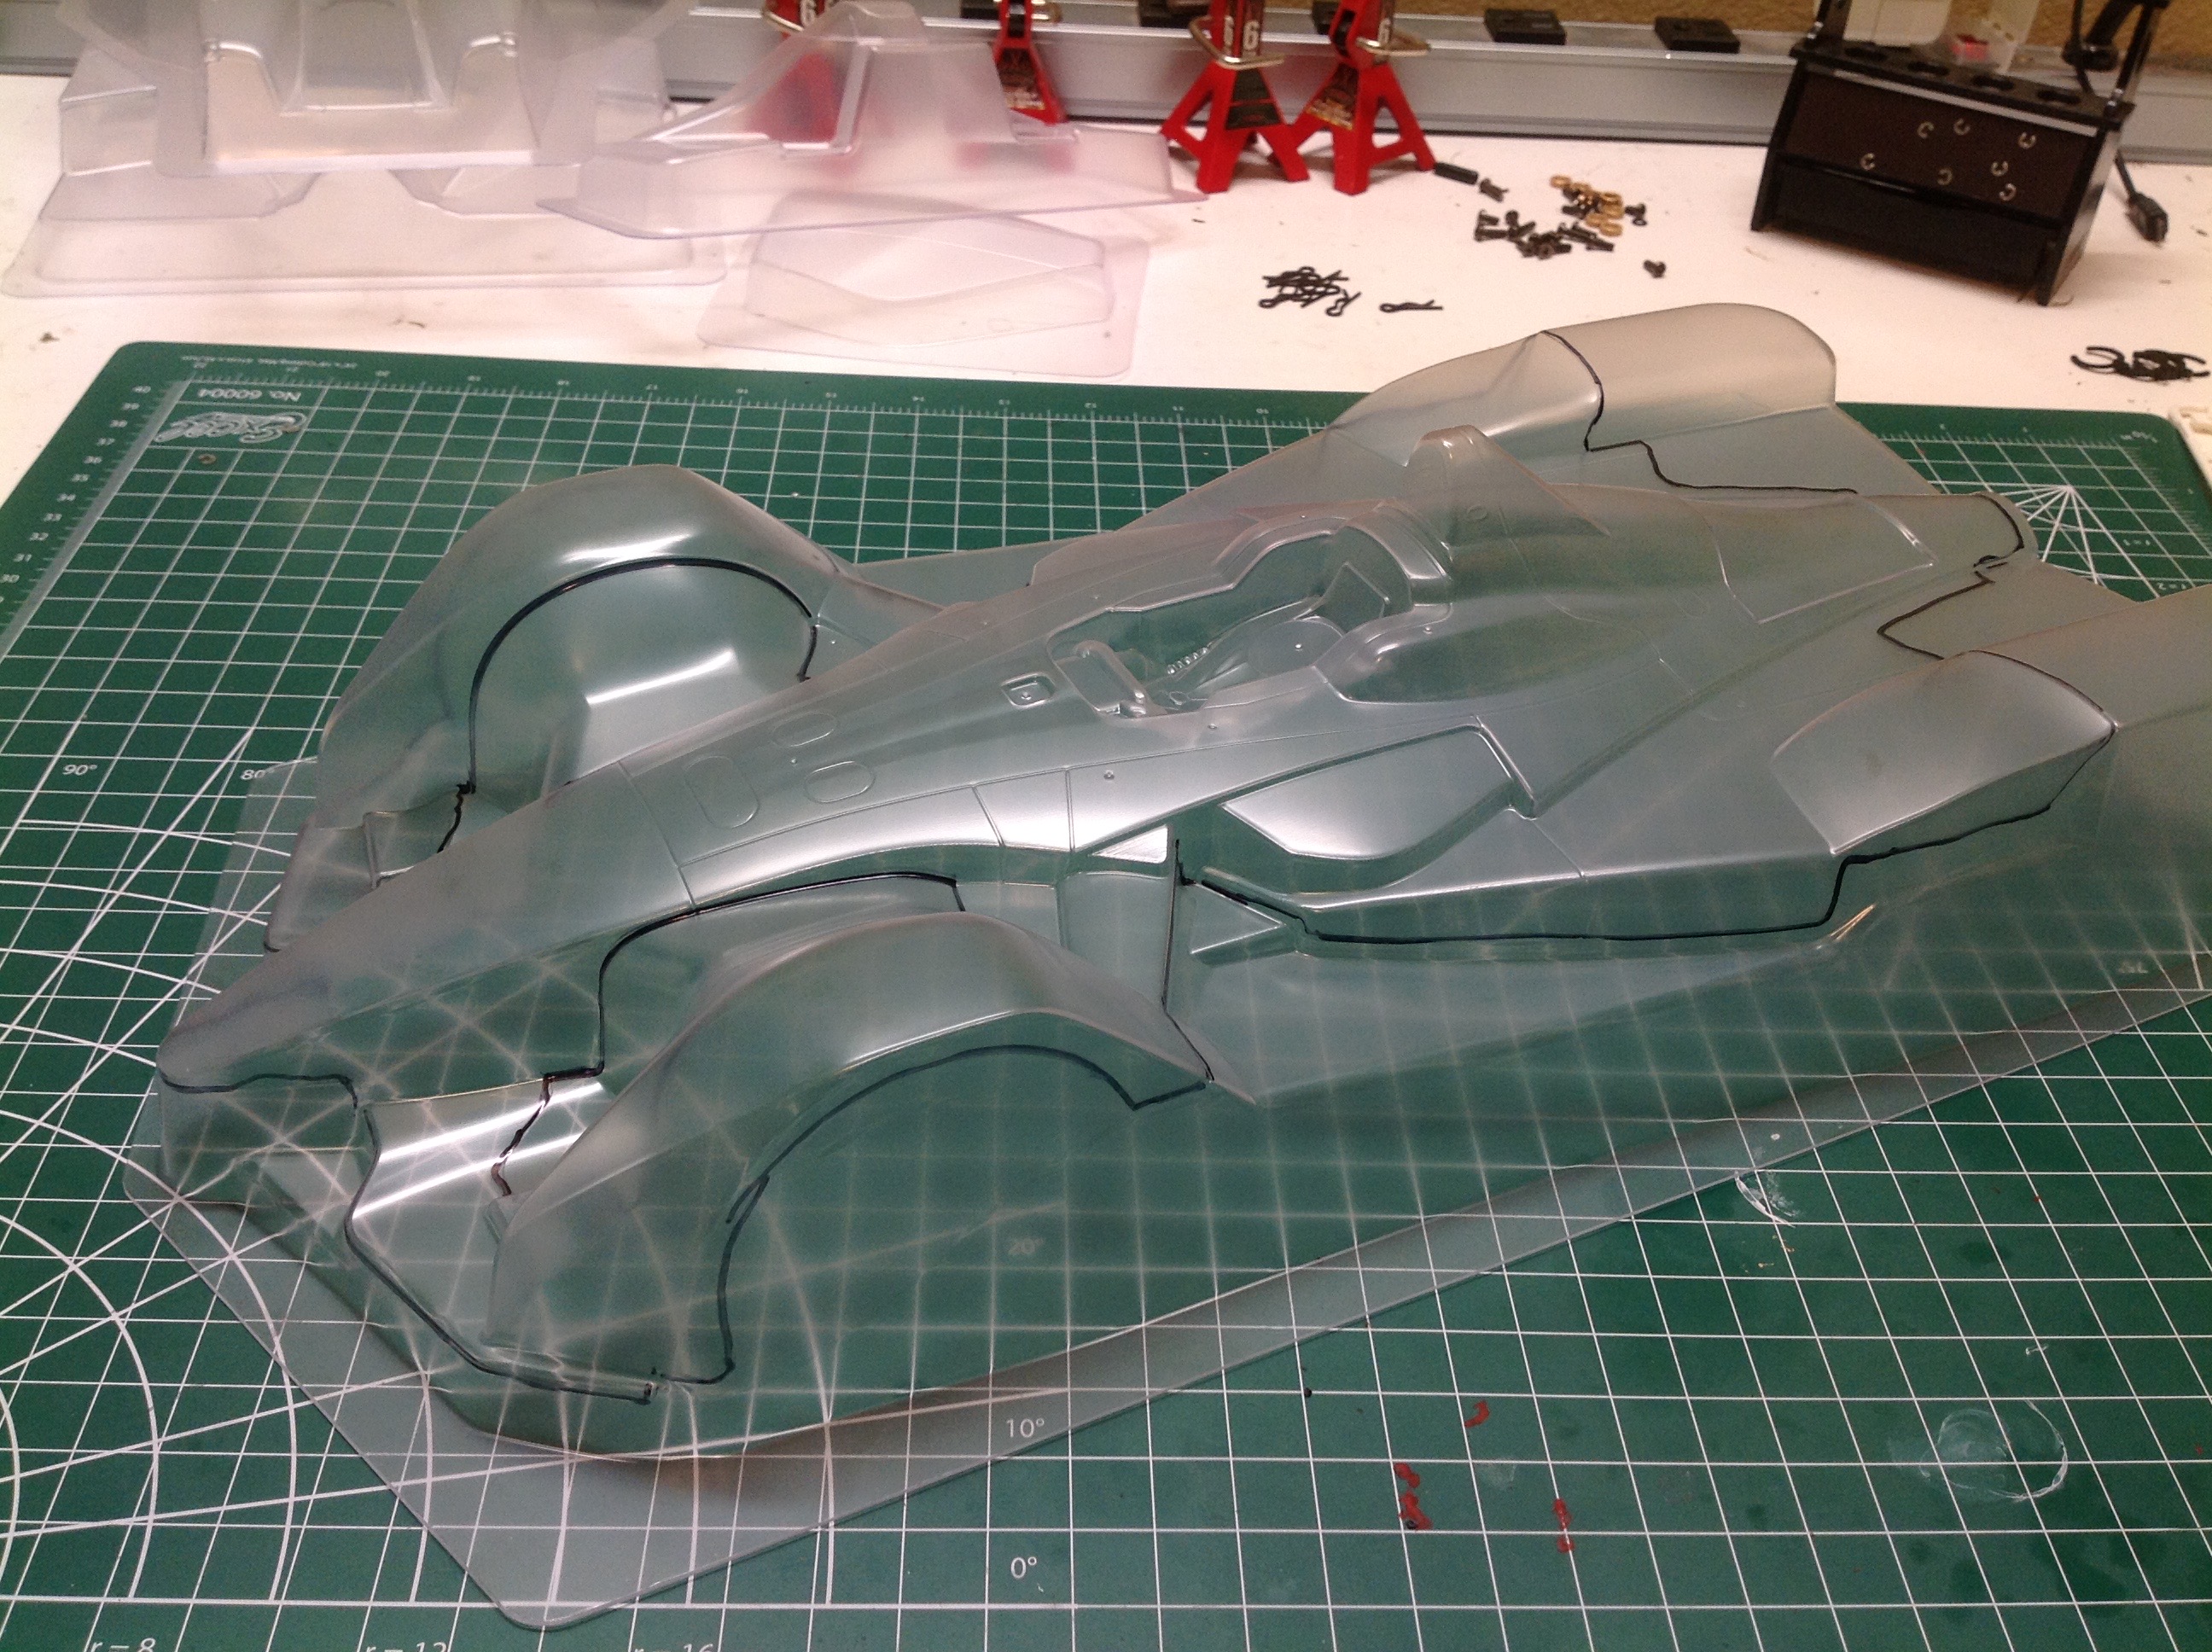
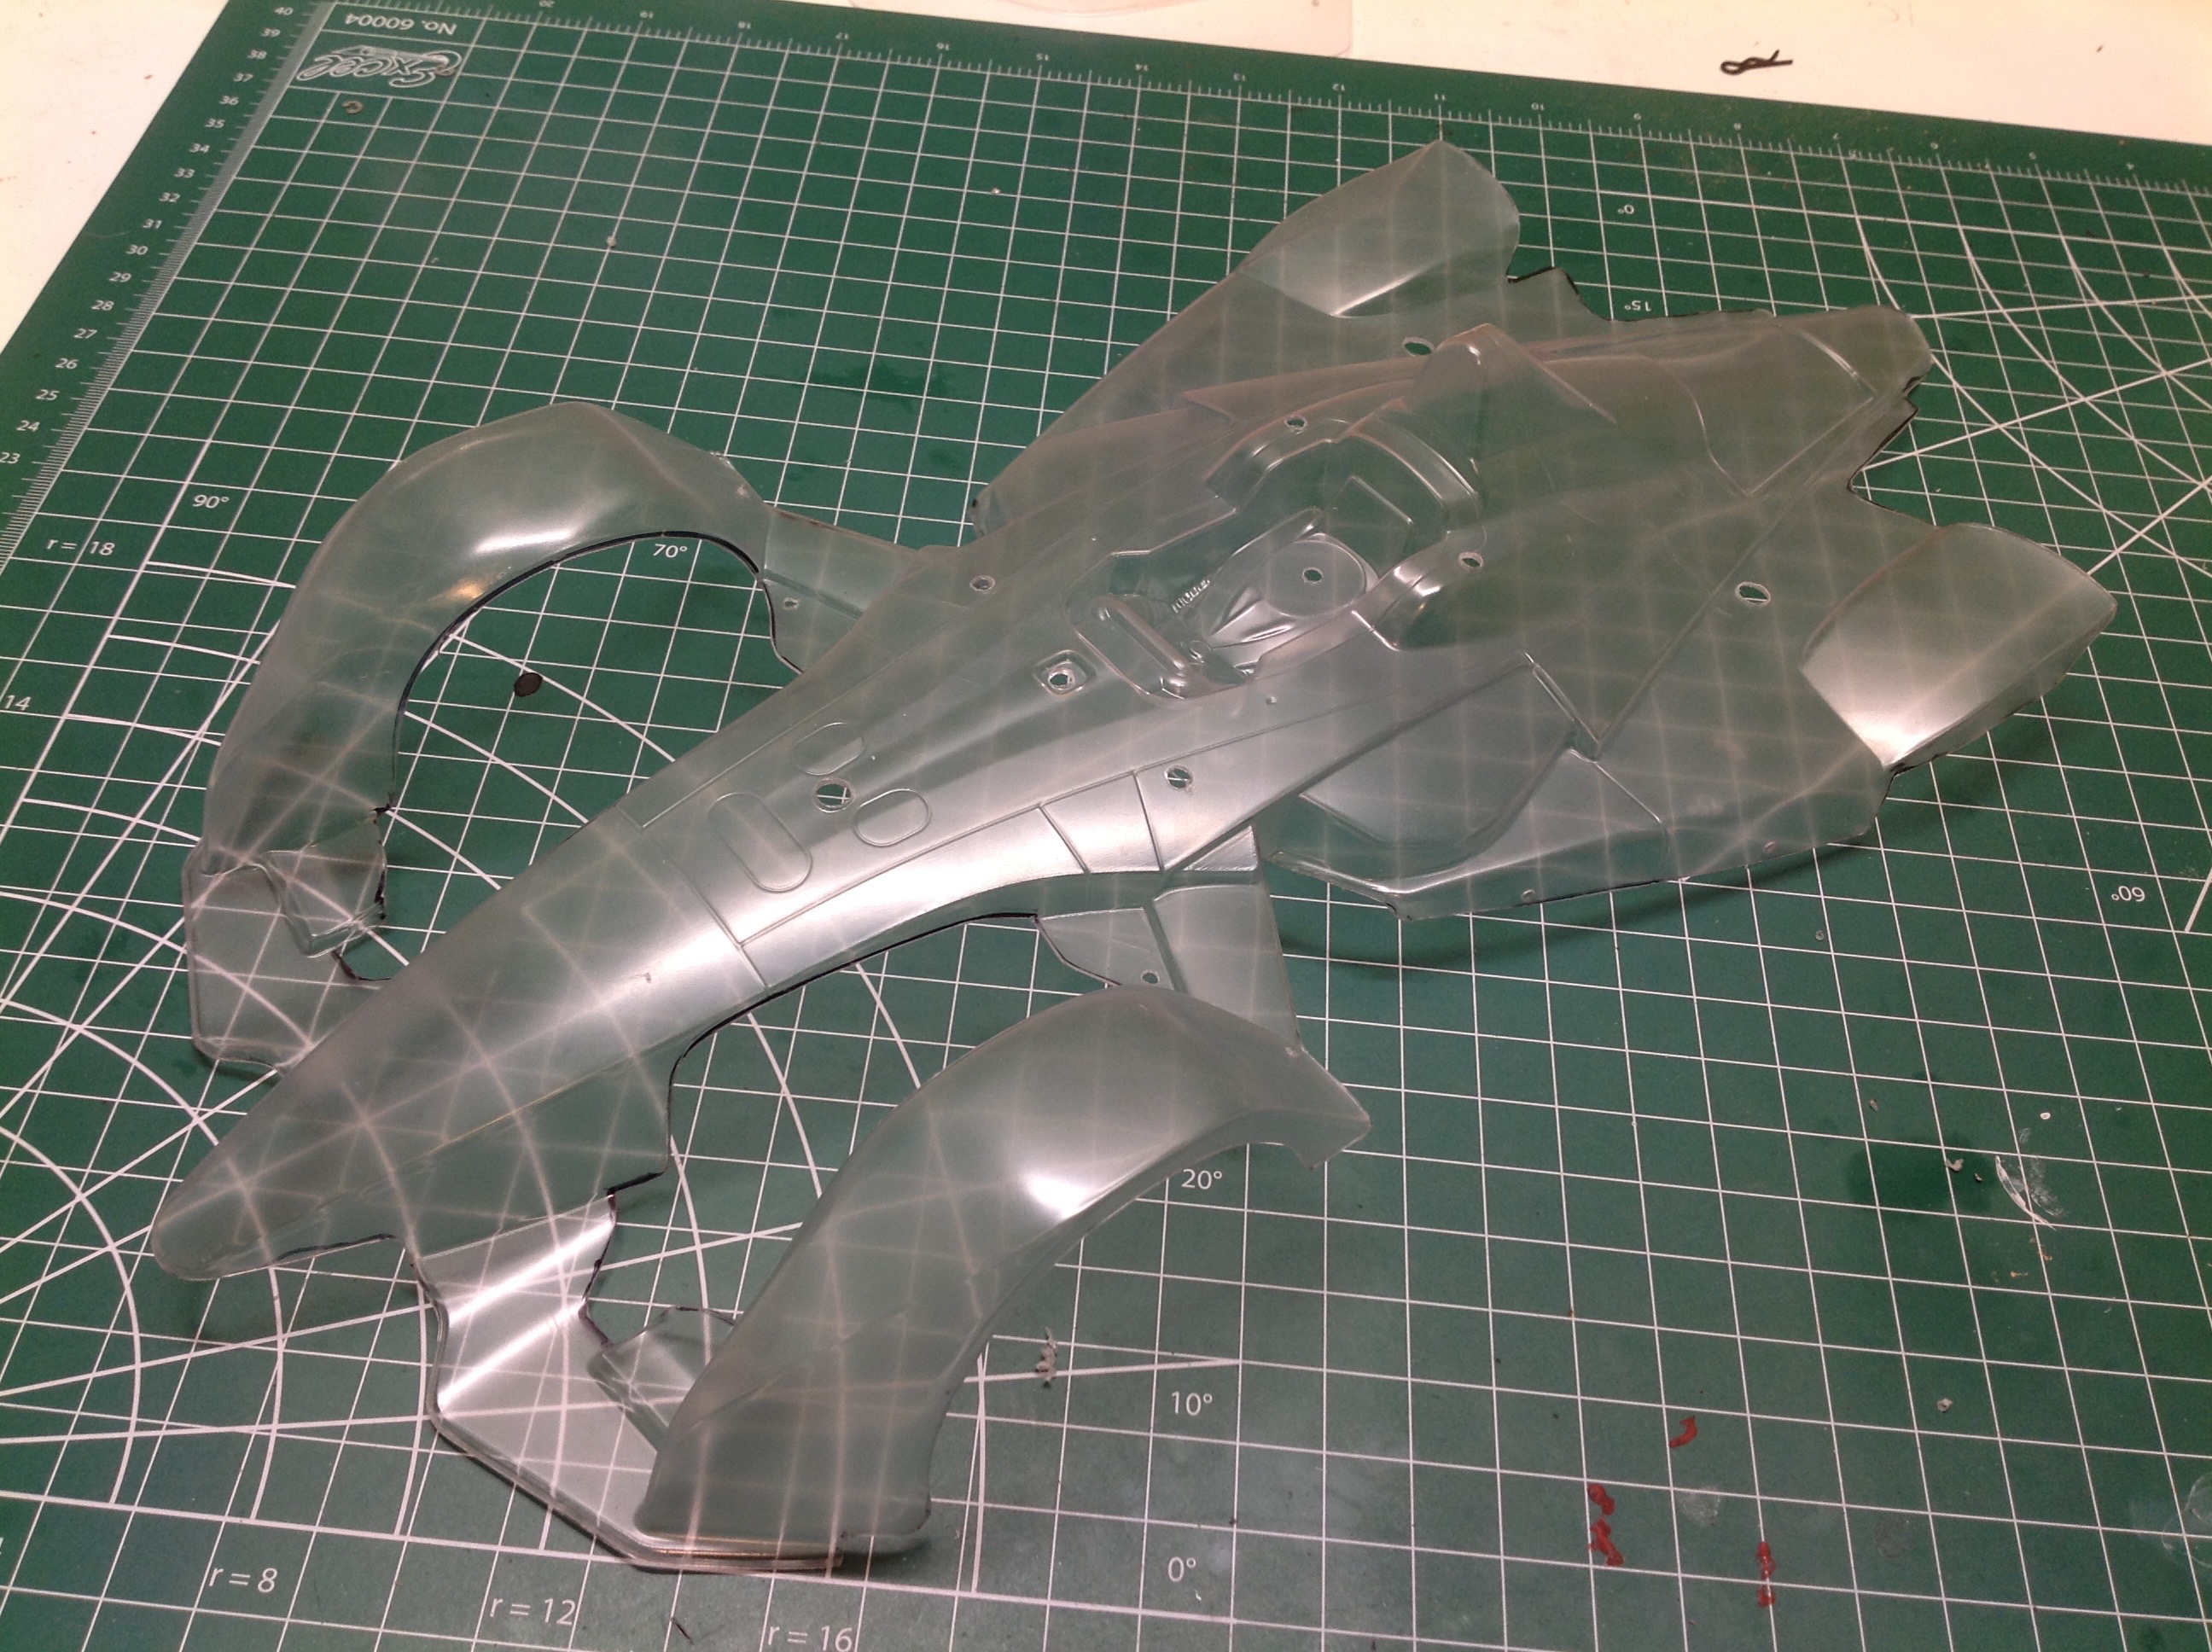
The trim lines for the main body are by no means obvious so I traced
them onto the outside with a Sharpie. In addition to the complex
outer lines, there are inner sections which have to be cut out around
the front suspension as shown, then there are more than a dozen holes to
drill in different sizes.
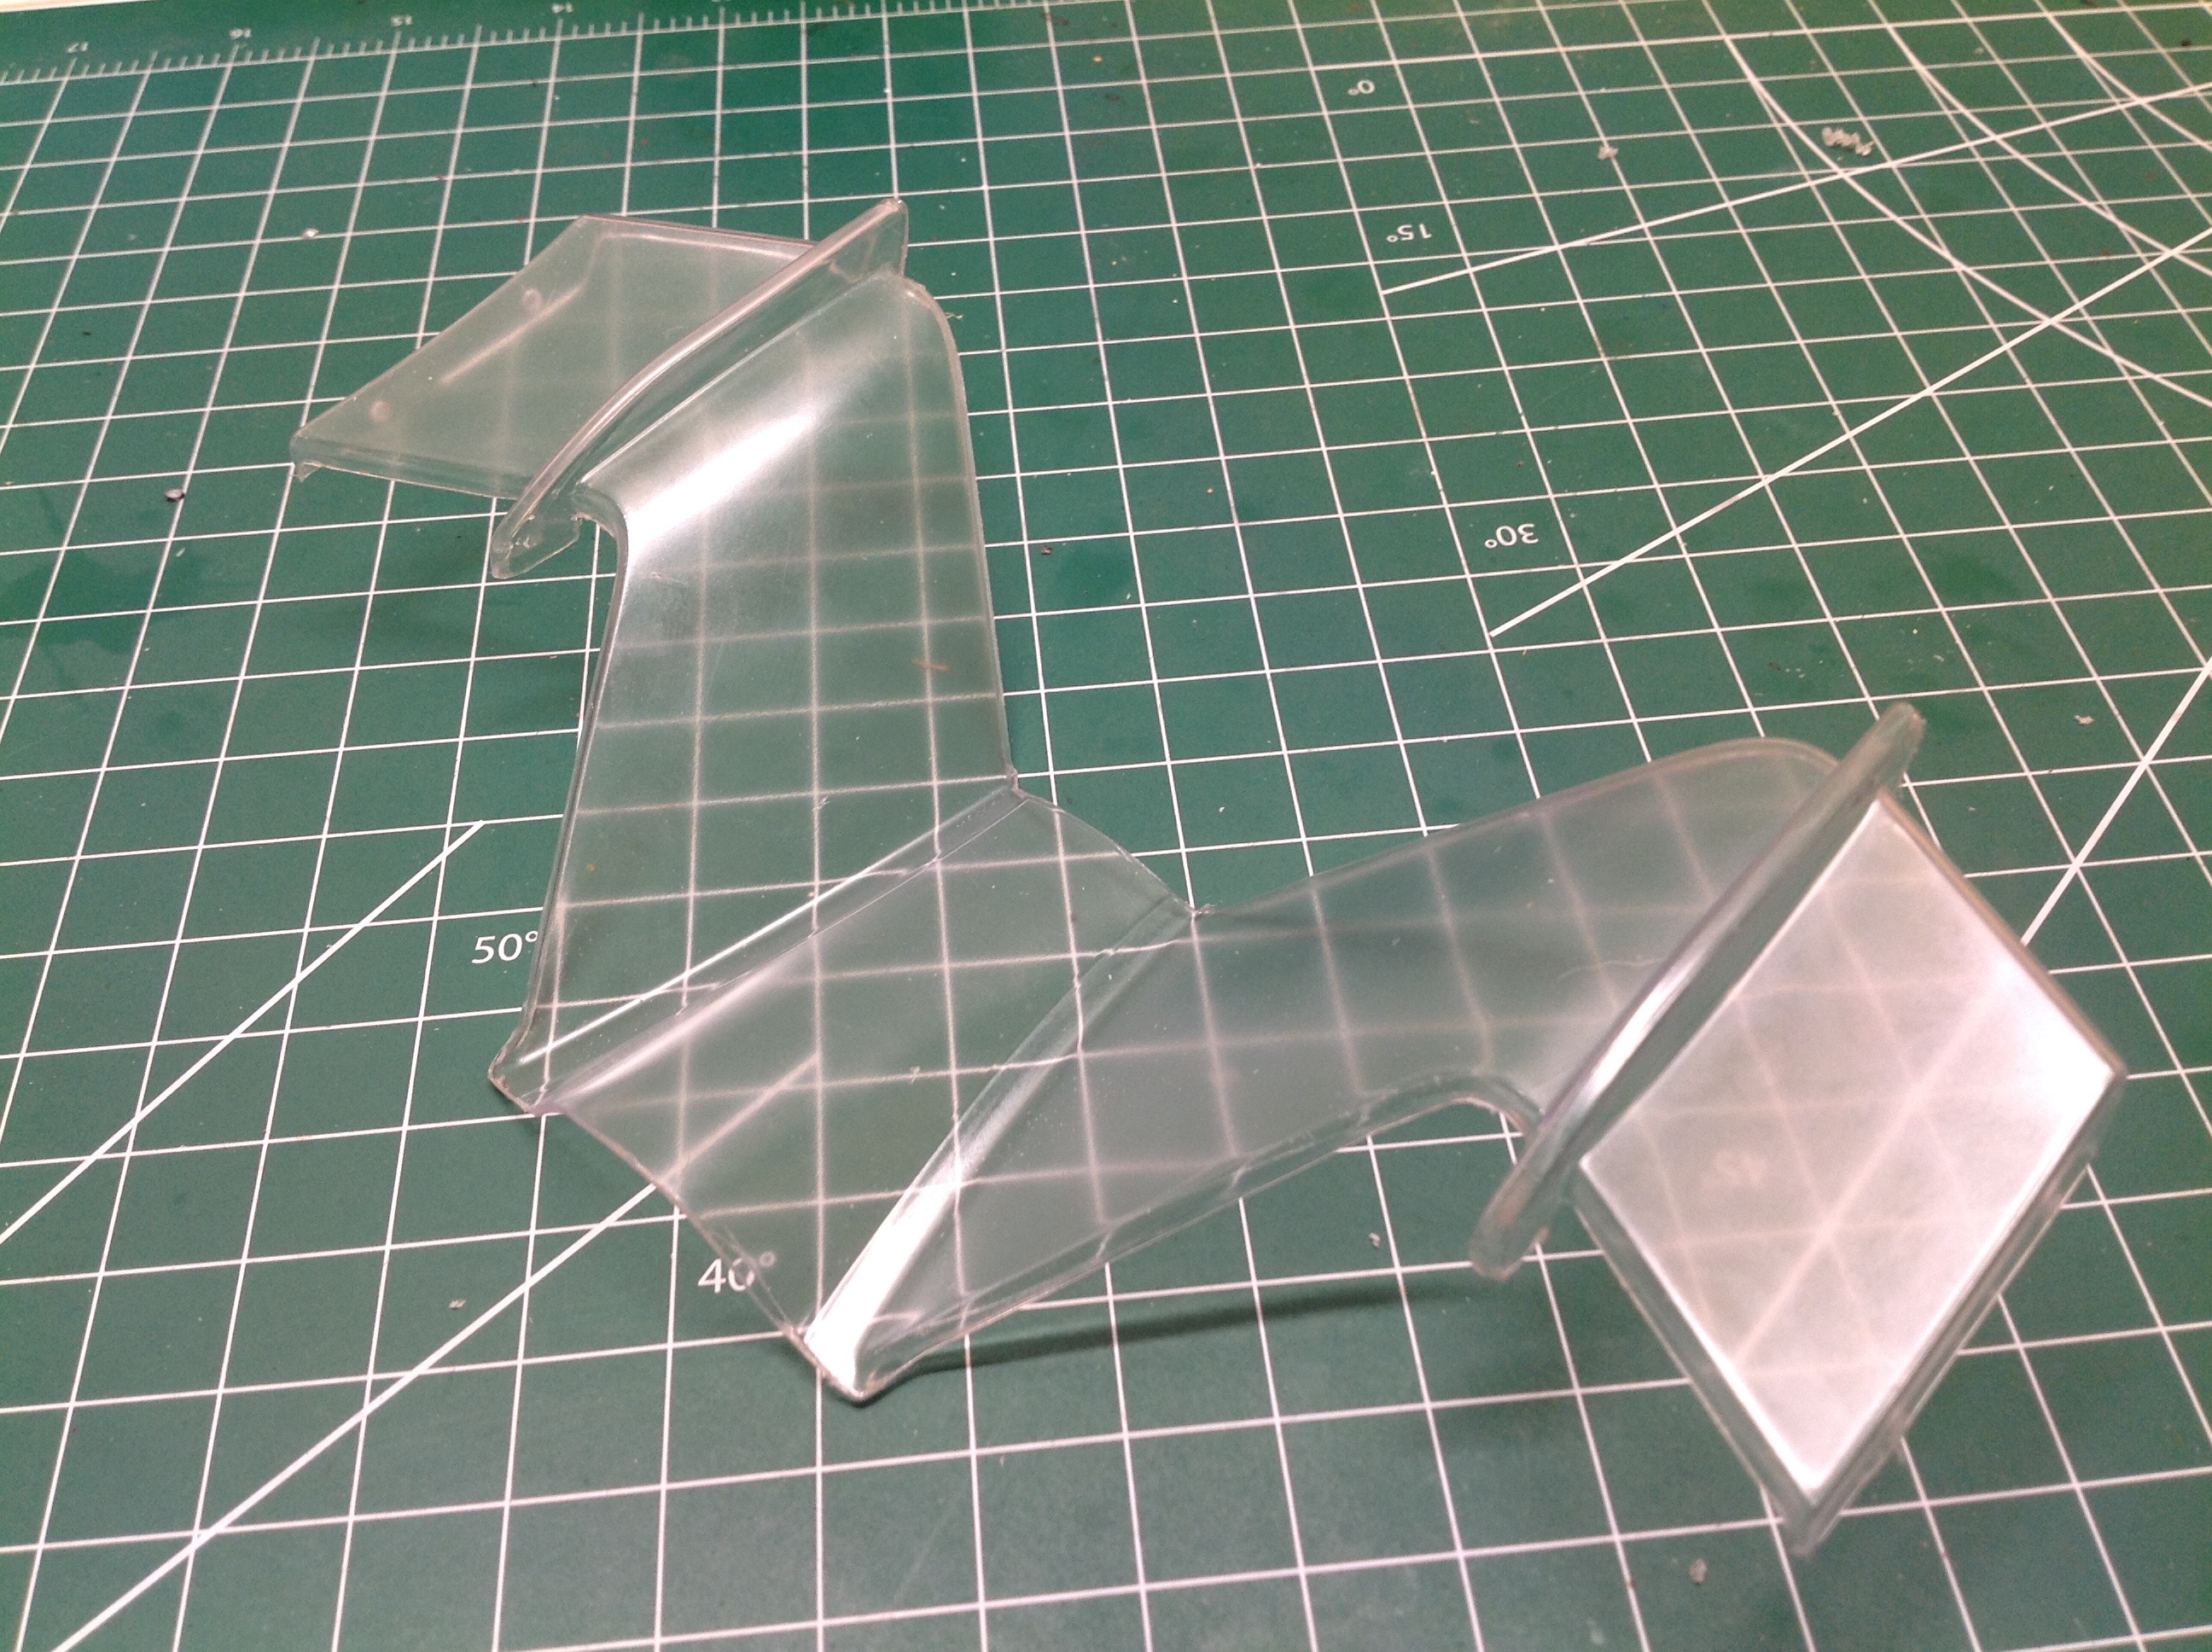
The side pods were cut out next. Left and right came from the same
part. These are very thin at the back but they will screw to the
wing for strength.
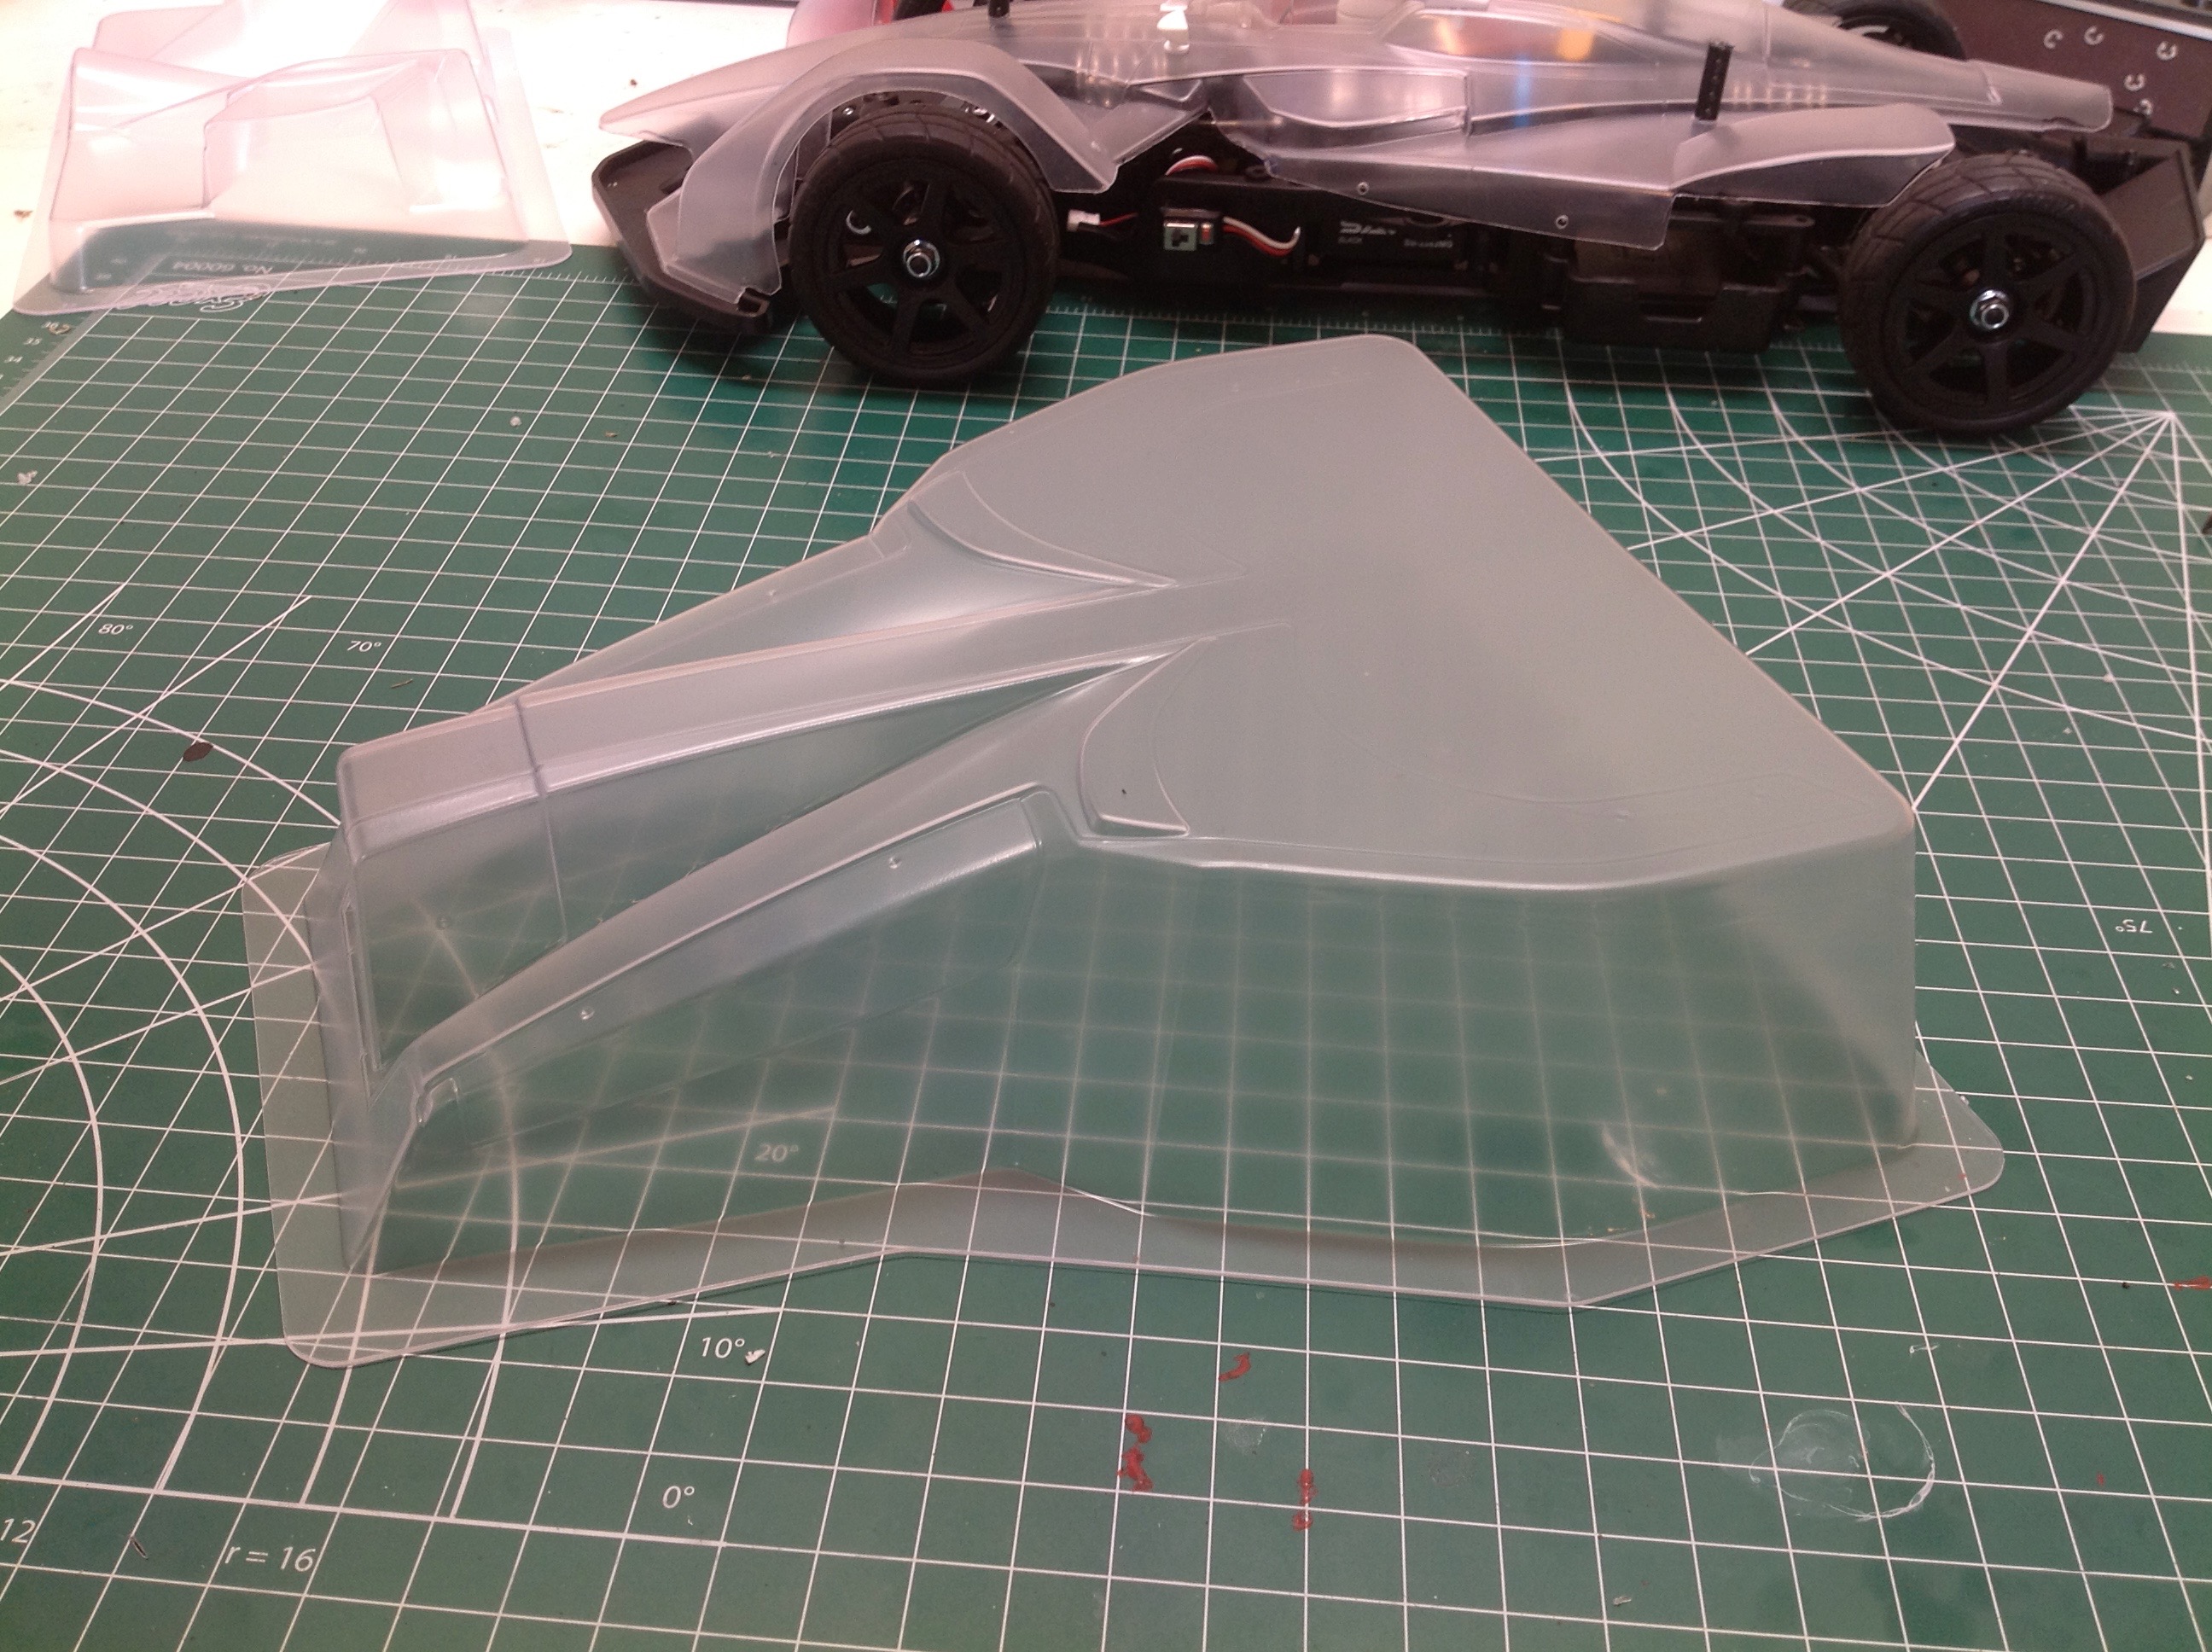
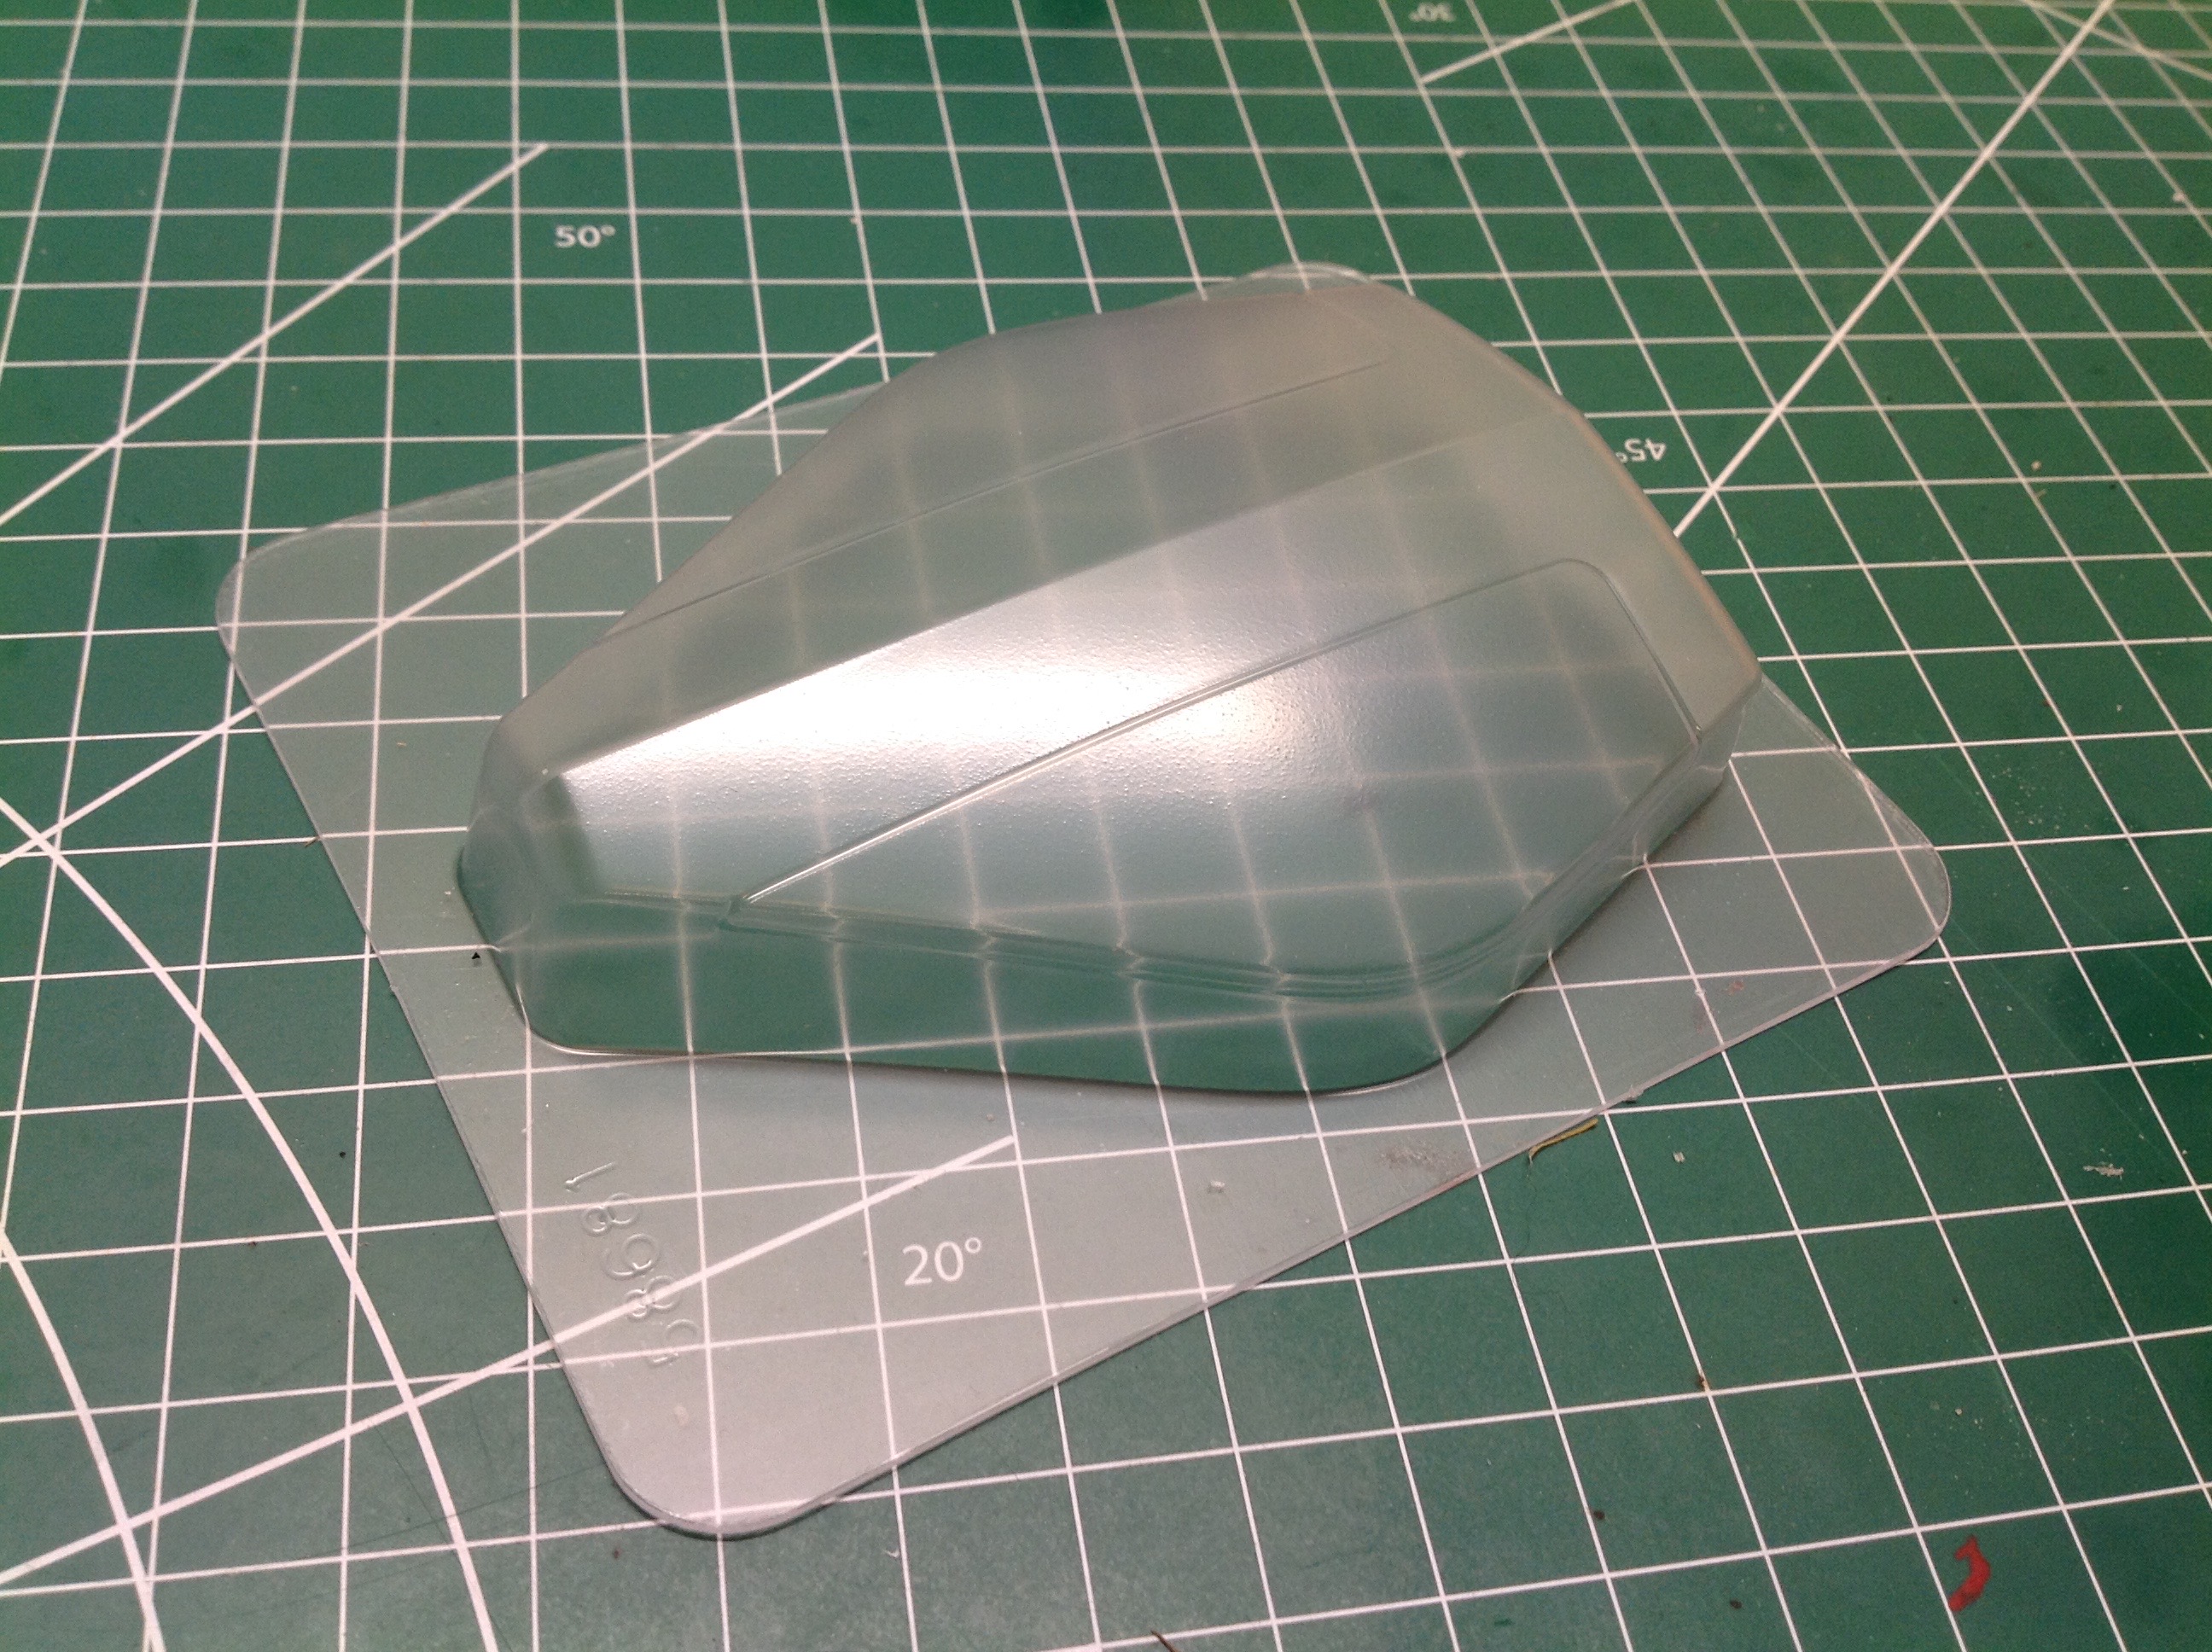
Next is the rear wing which is a single part with complex lines.
The bottom part needs to fit into a recess in the main body so the
profile needs to be just right.
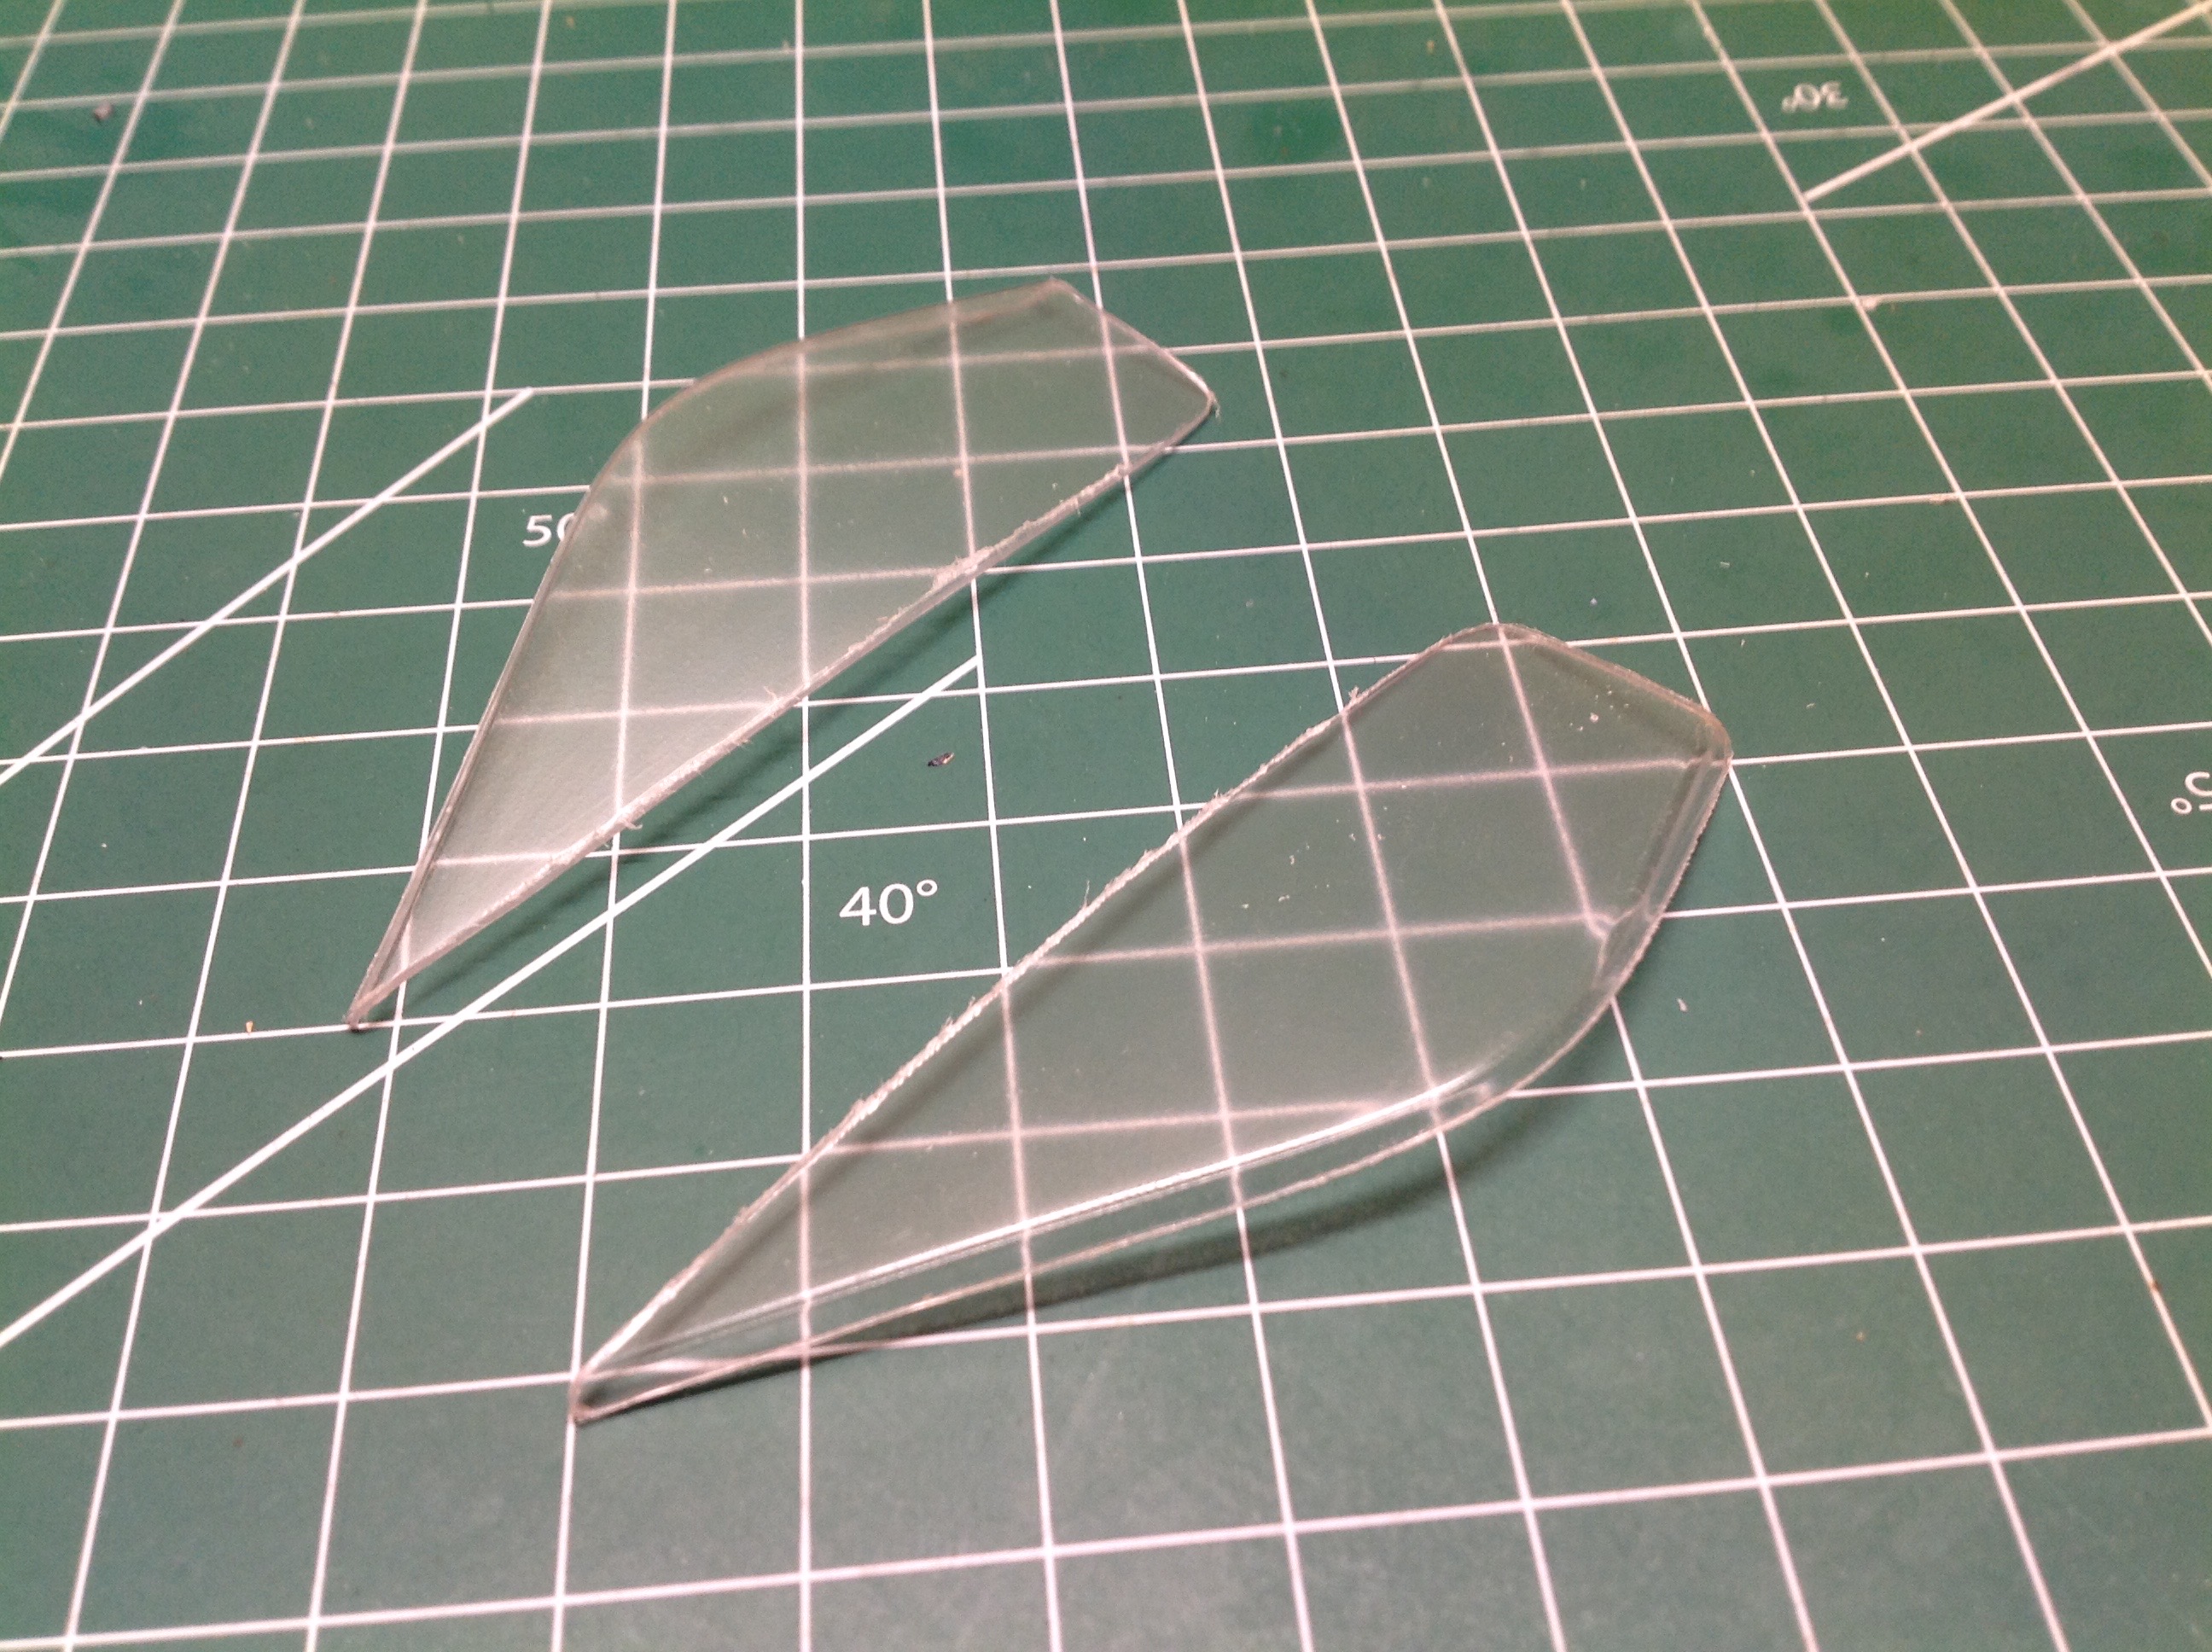
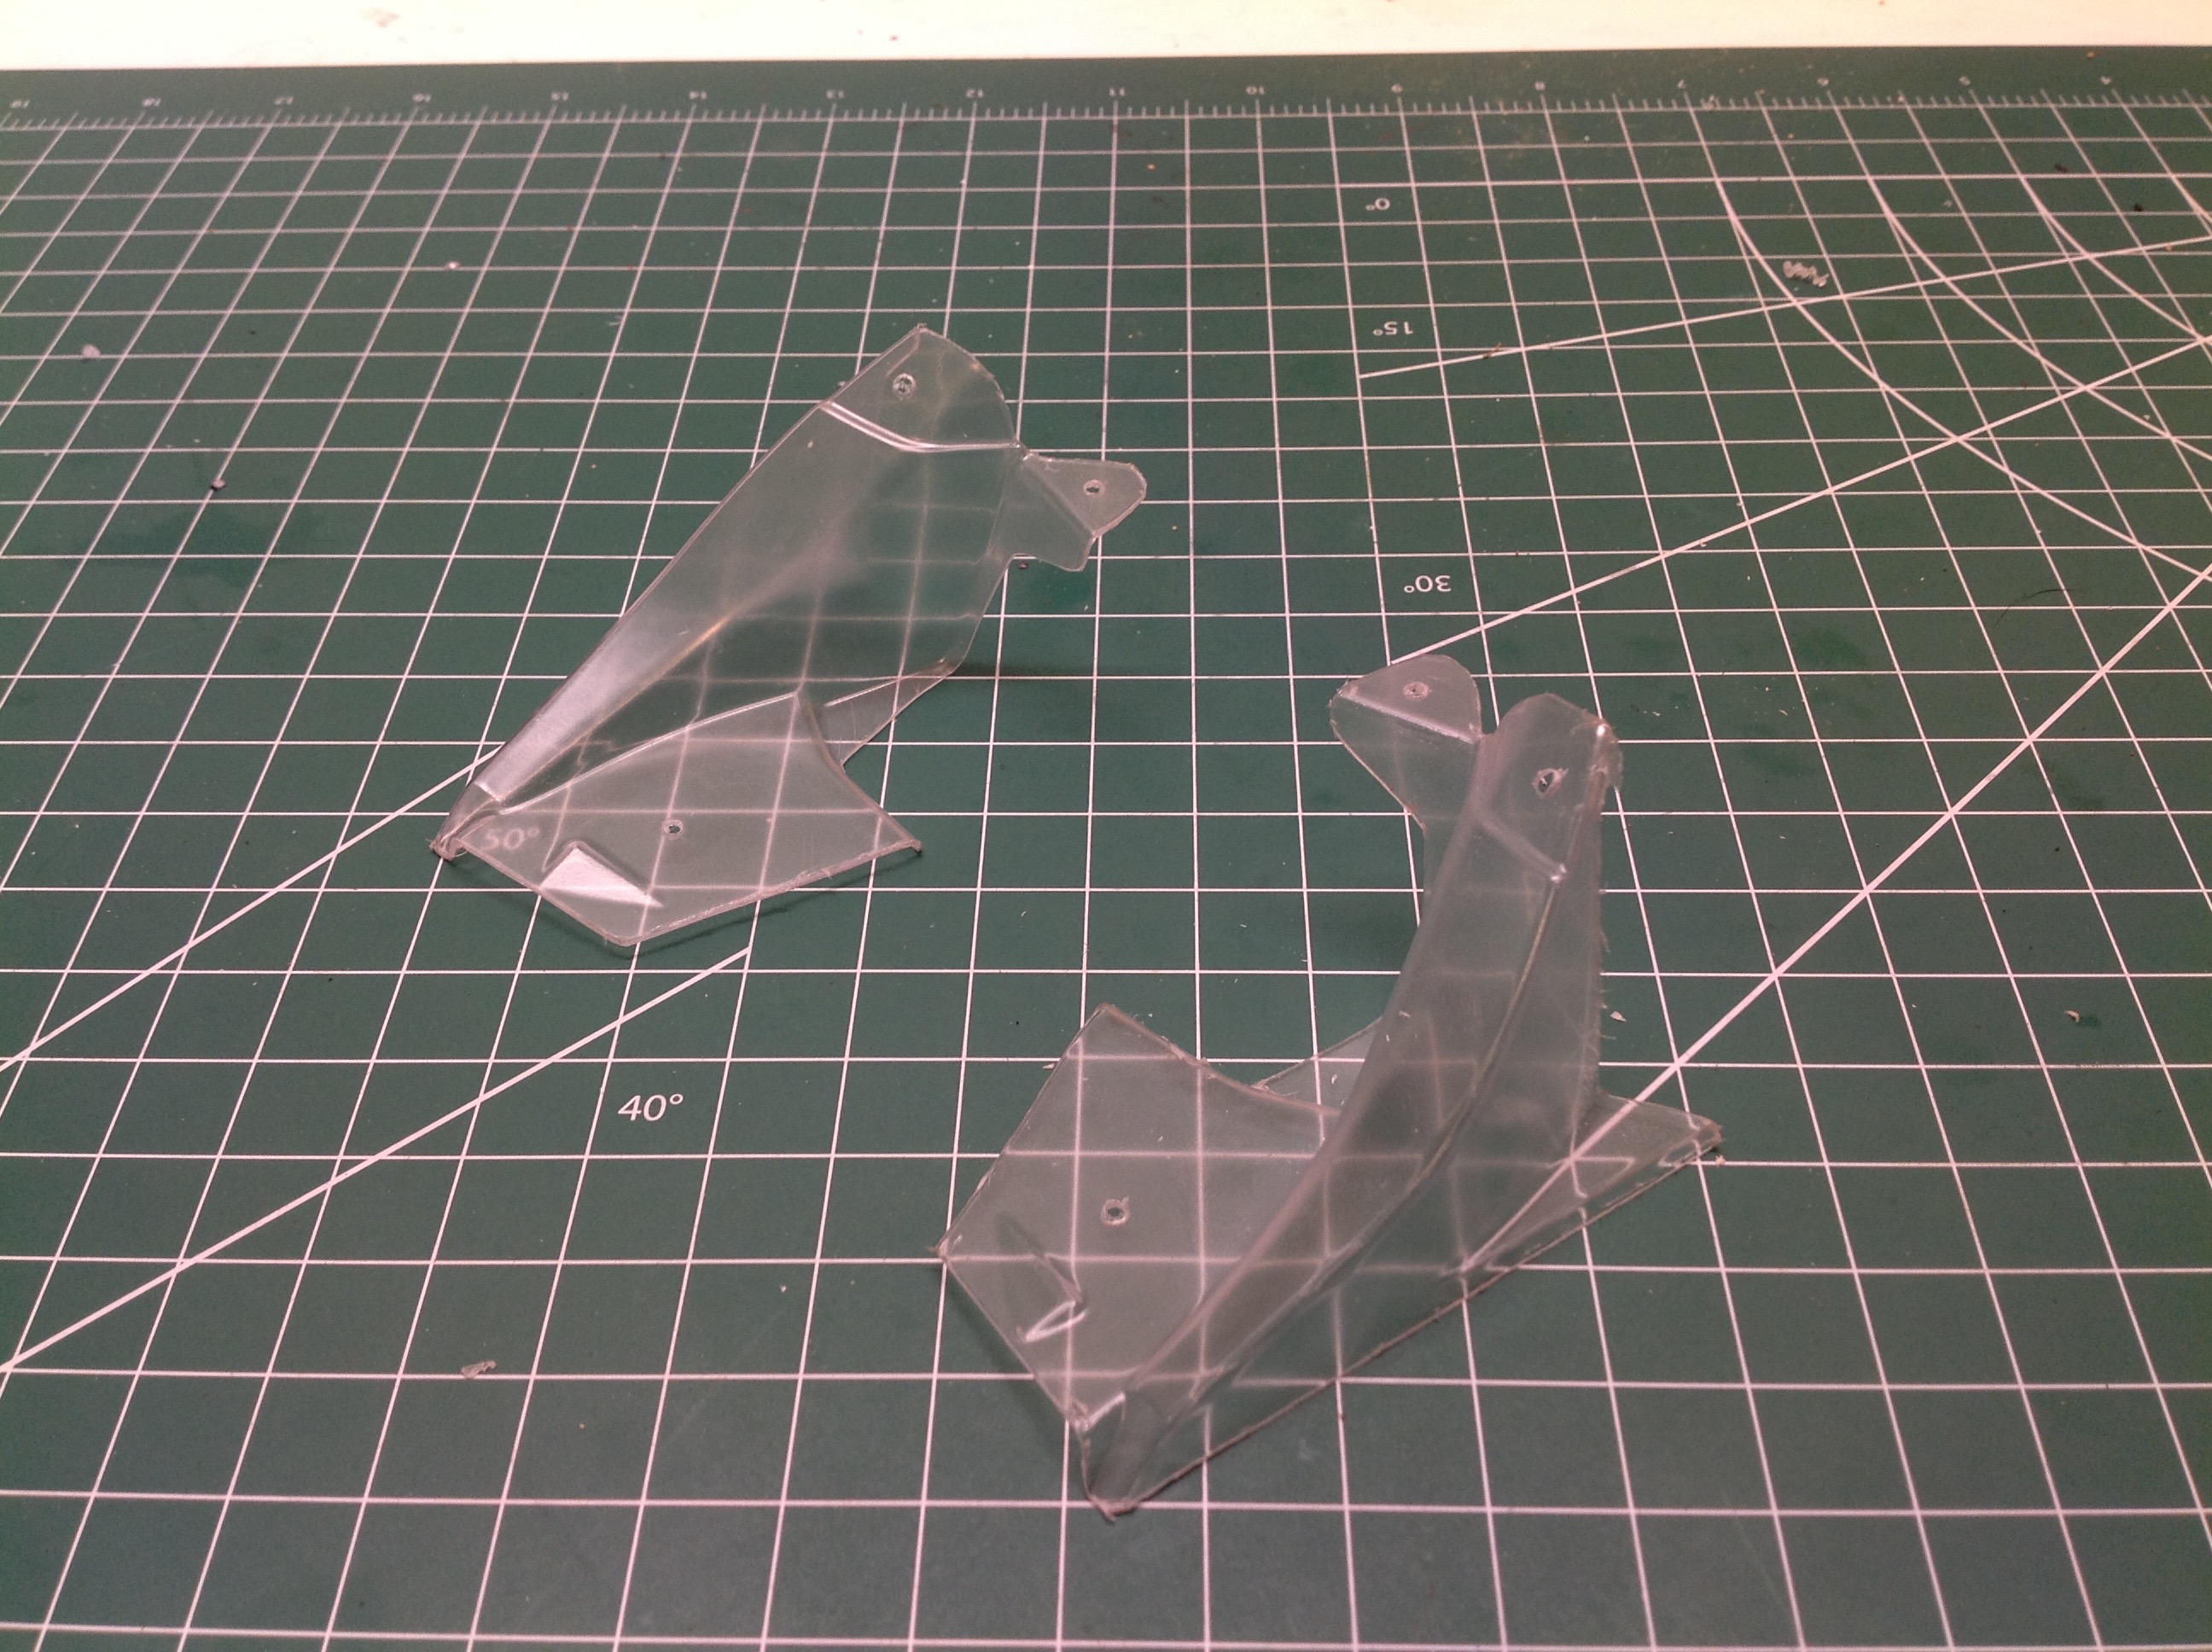
I'm not sure what you would call these parts, but they cover the side air ducts.
These parts are very complicated and connect the rear of the front wheel arches to the side pods.
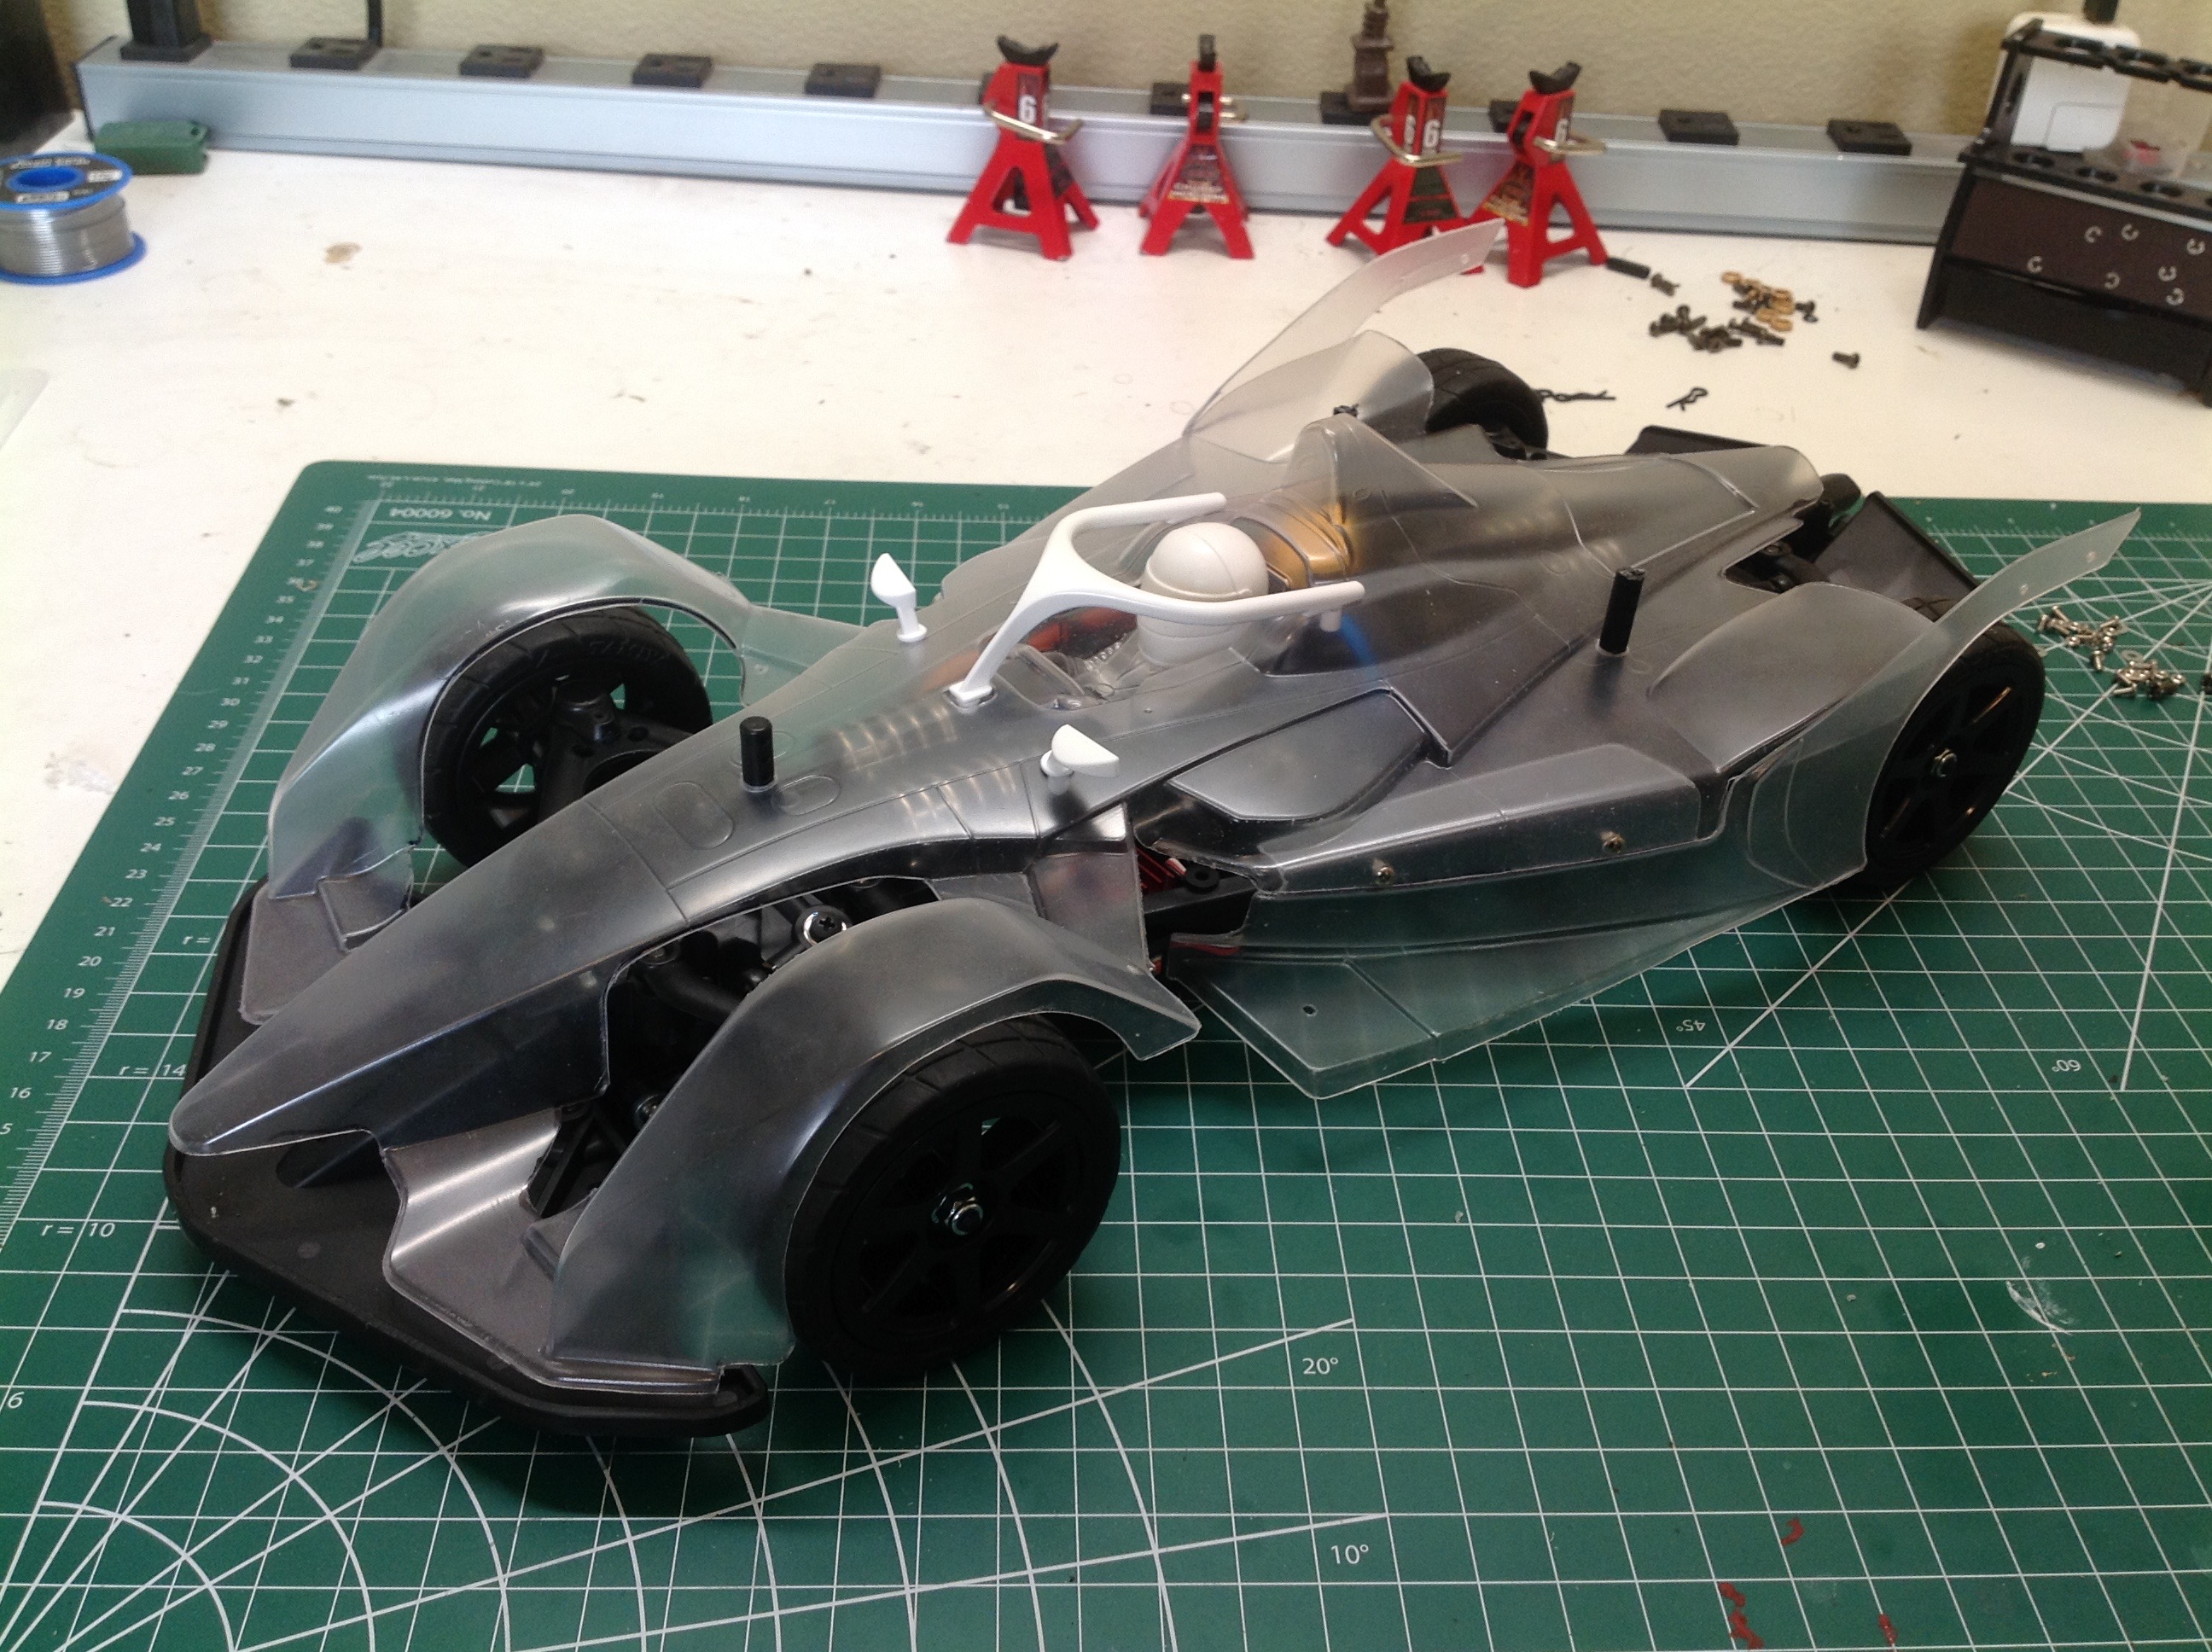
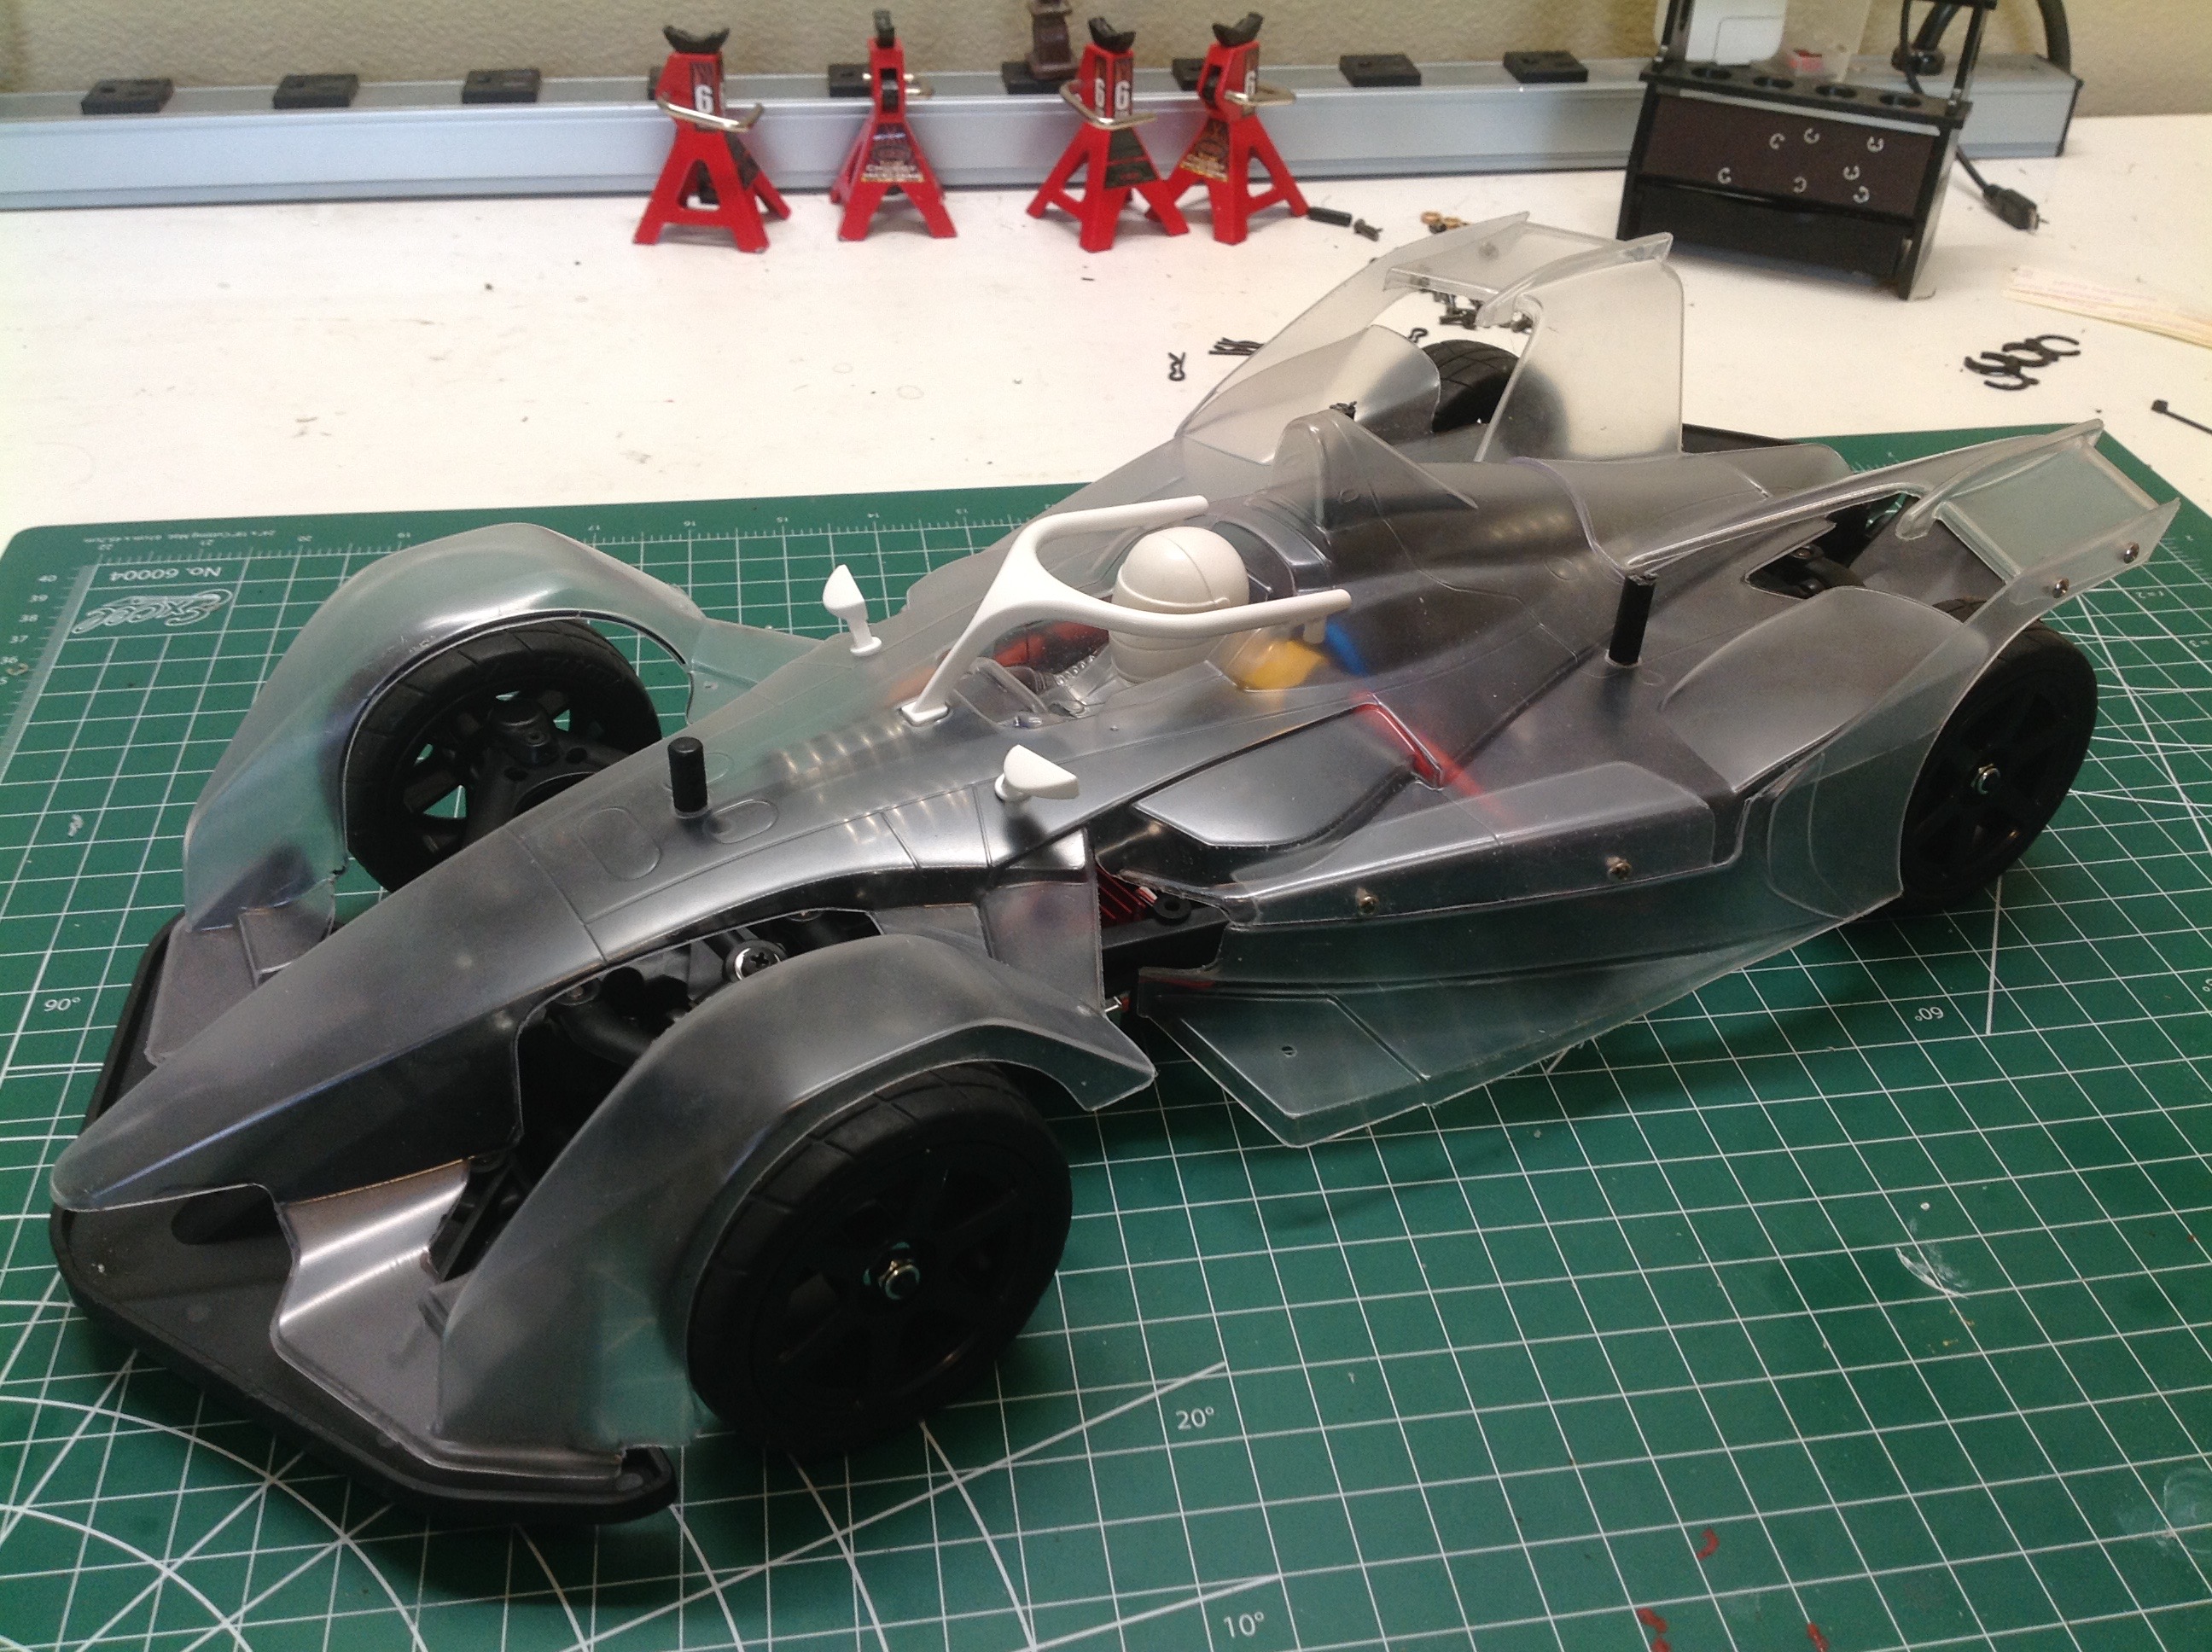
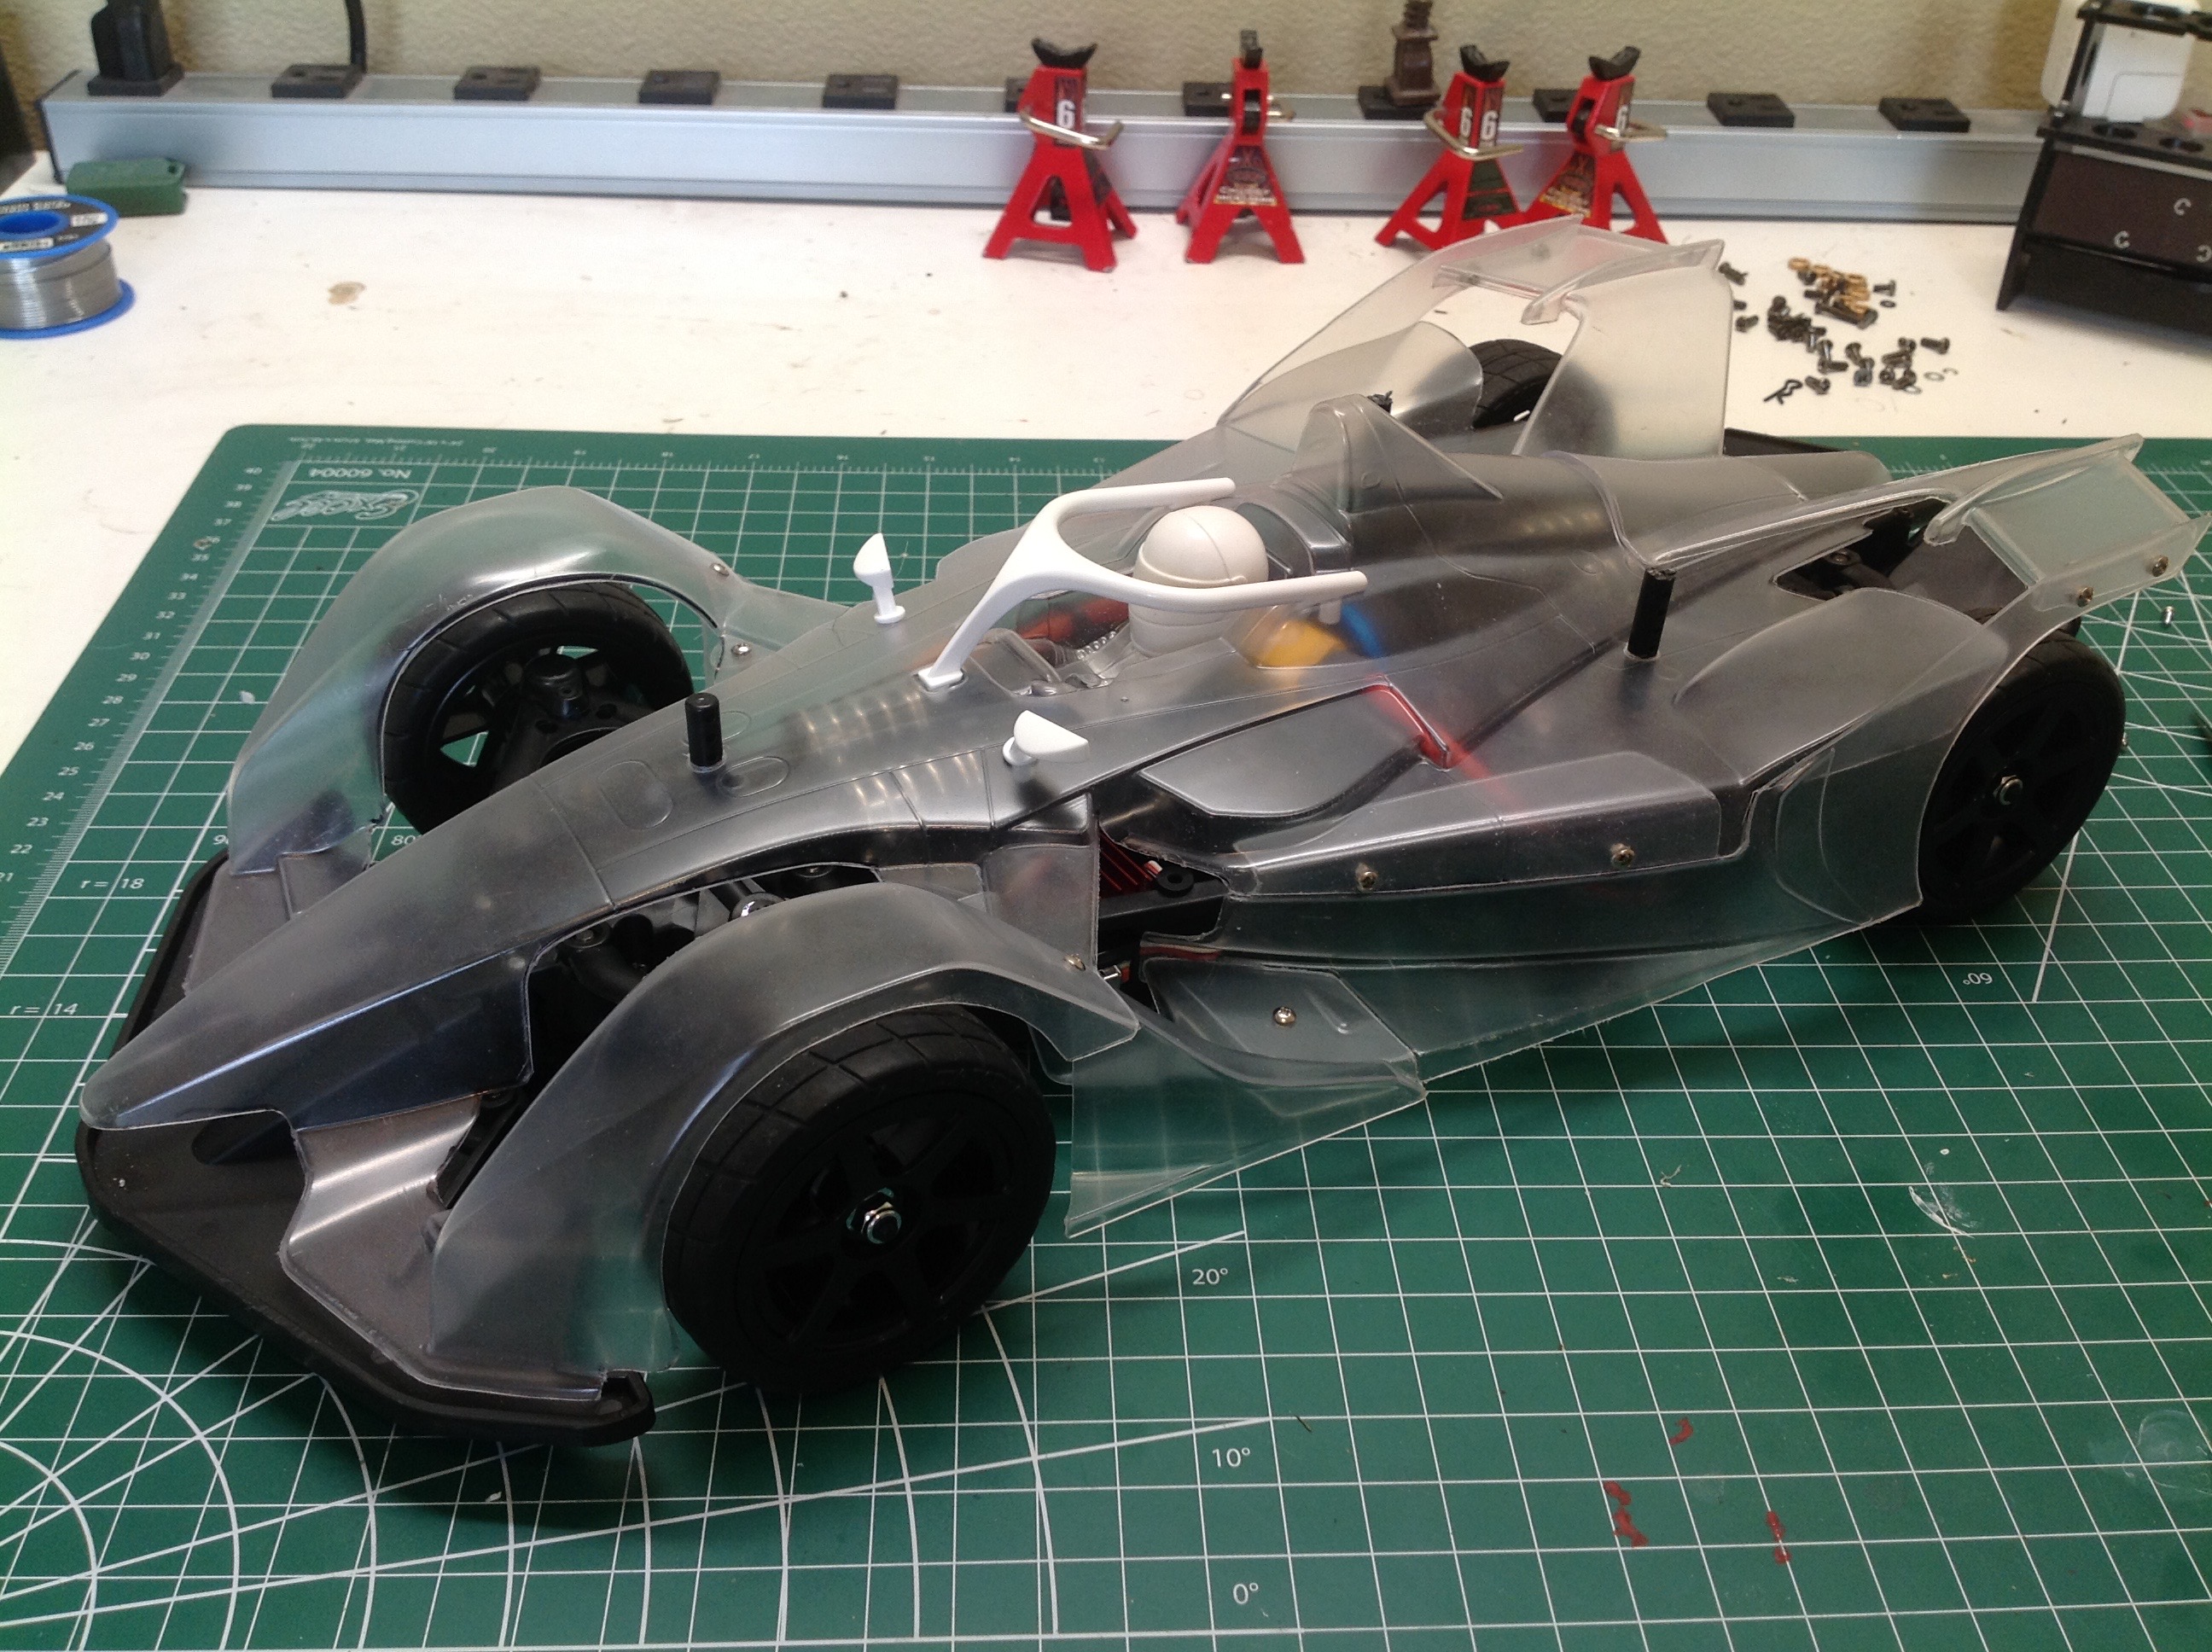
These pictures show a test fit of the body on the chassis. The
picture on the left uses the main body part only, but on the right the
side pods, driver, mirrors, and halo have also been test fit.
Now I've also attached the rear wing as shown on the left. On the
right I've added the front fenders and all remaining parts.
The parts are attached with a combination of screws and double sided
tape. Fitting all these while the body was still clear allowed me
to check for
clearance with all the wiring.
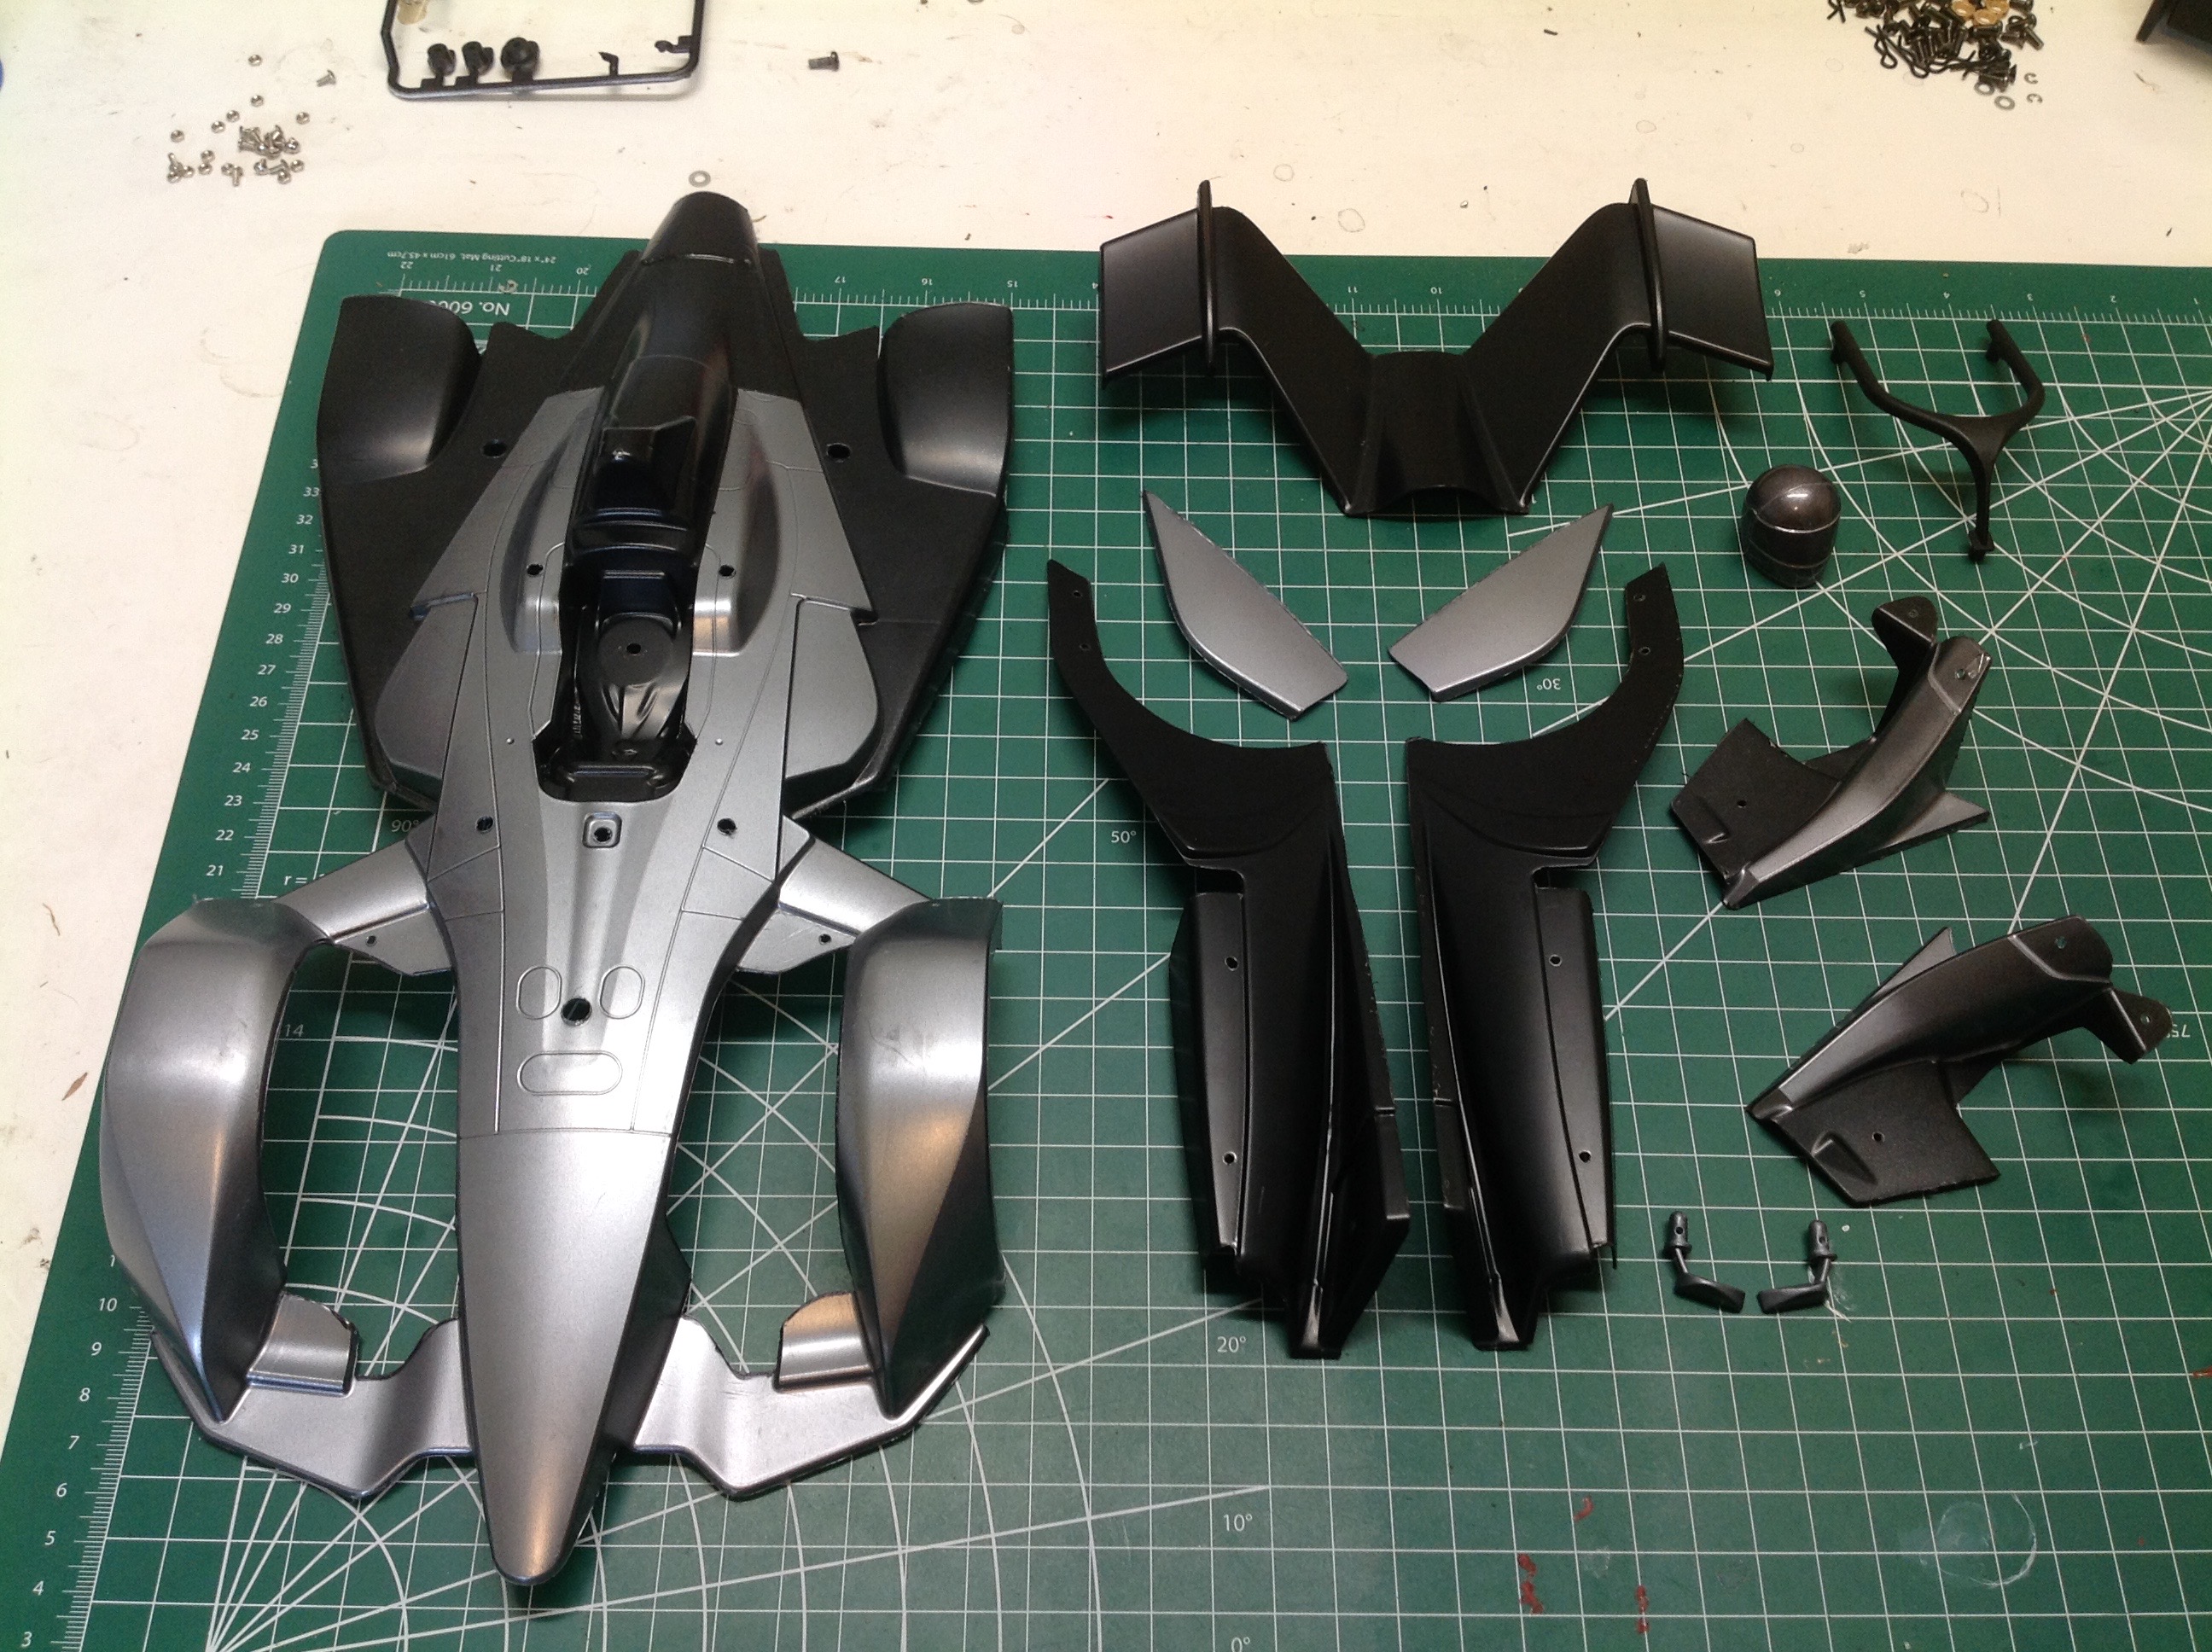
Now I've masked and sprayed all the parts. Most of the parts use
only a single color, but the main body requires a complex mask profile
which took a considerable amount of time. PS paints are used for
all the polycarbonate parts, and TS paints are used for the hard plastic
parts which include the halo, the mirrors, and the helmet. I also
went back and painted flat clear over the driver so he wouldn't be
shiny.
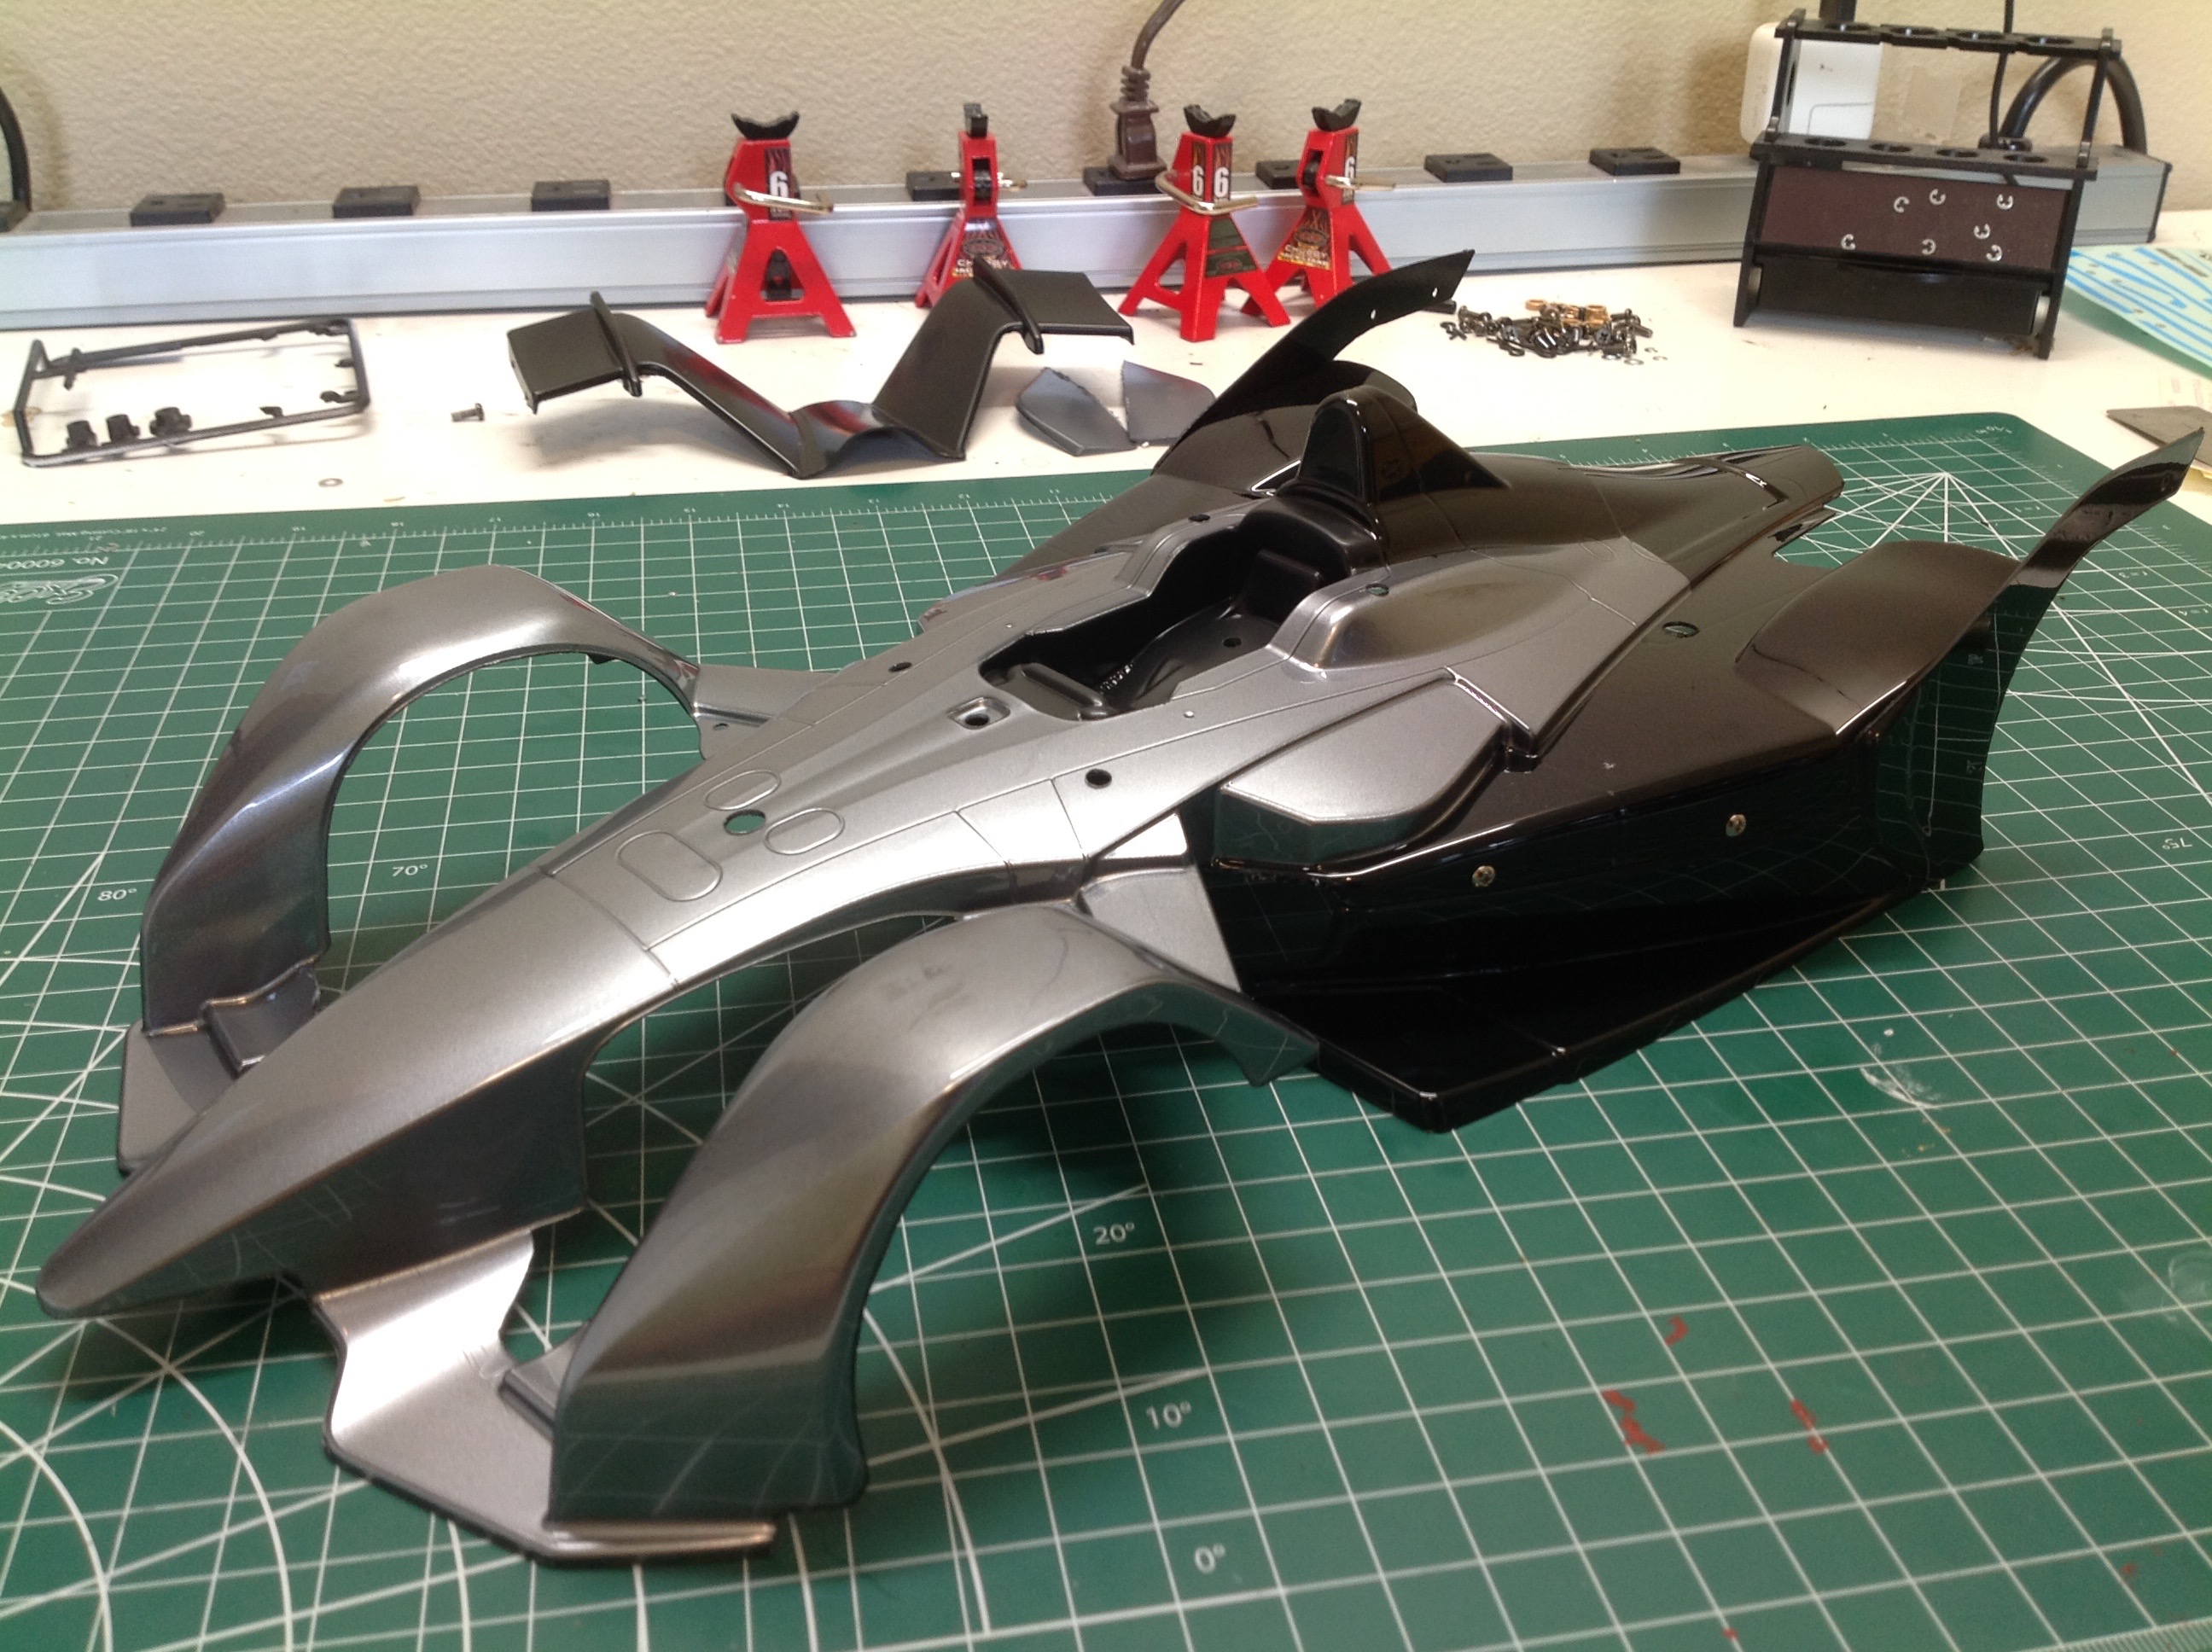
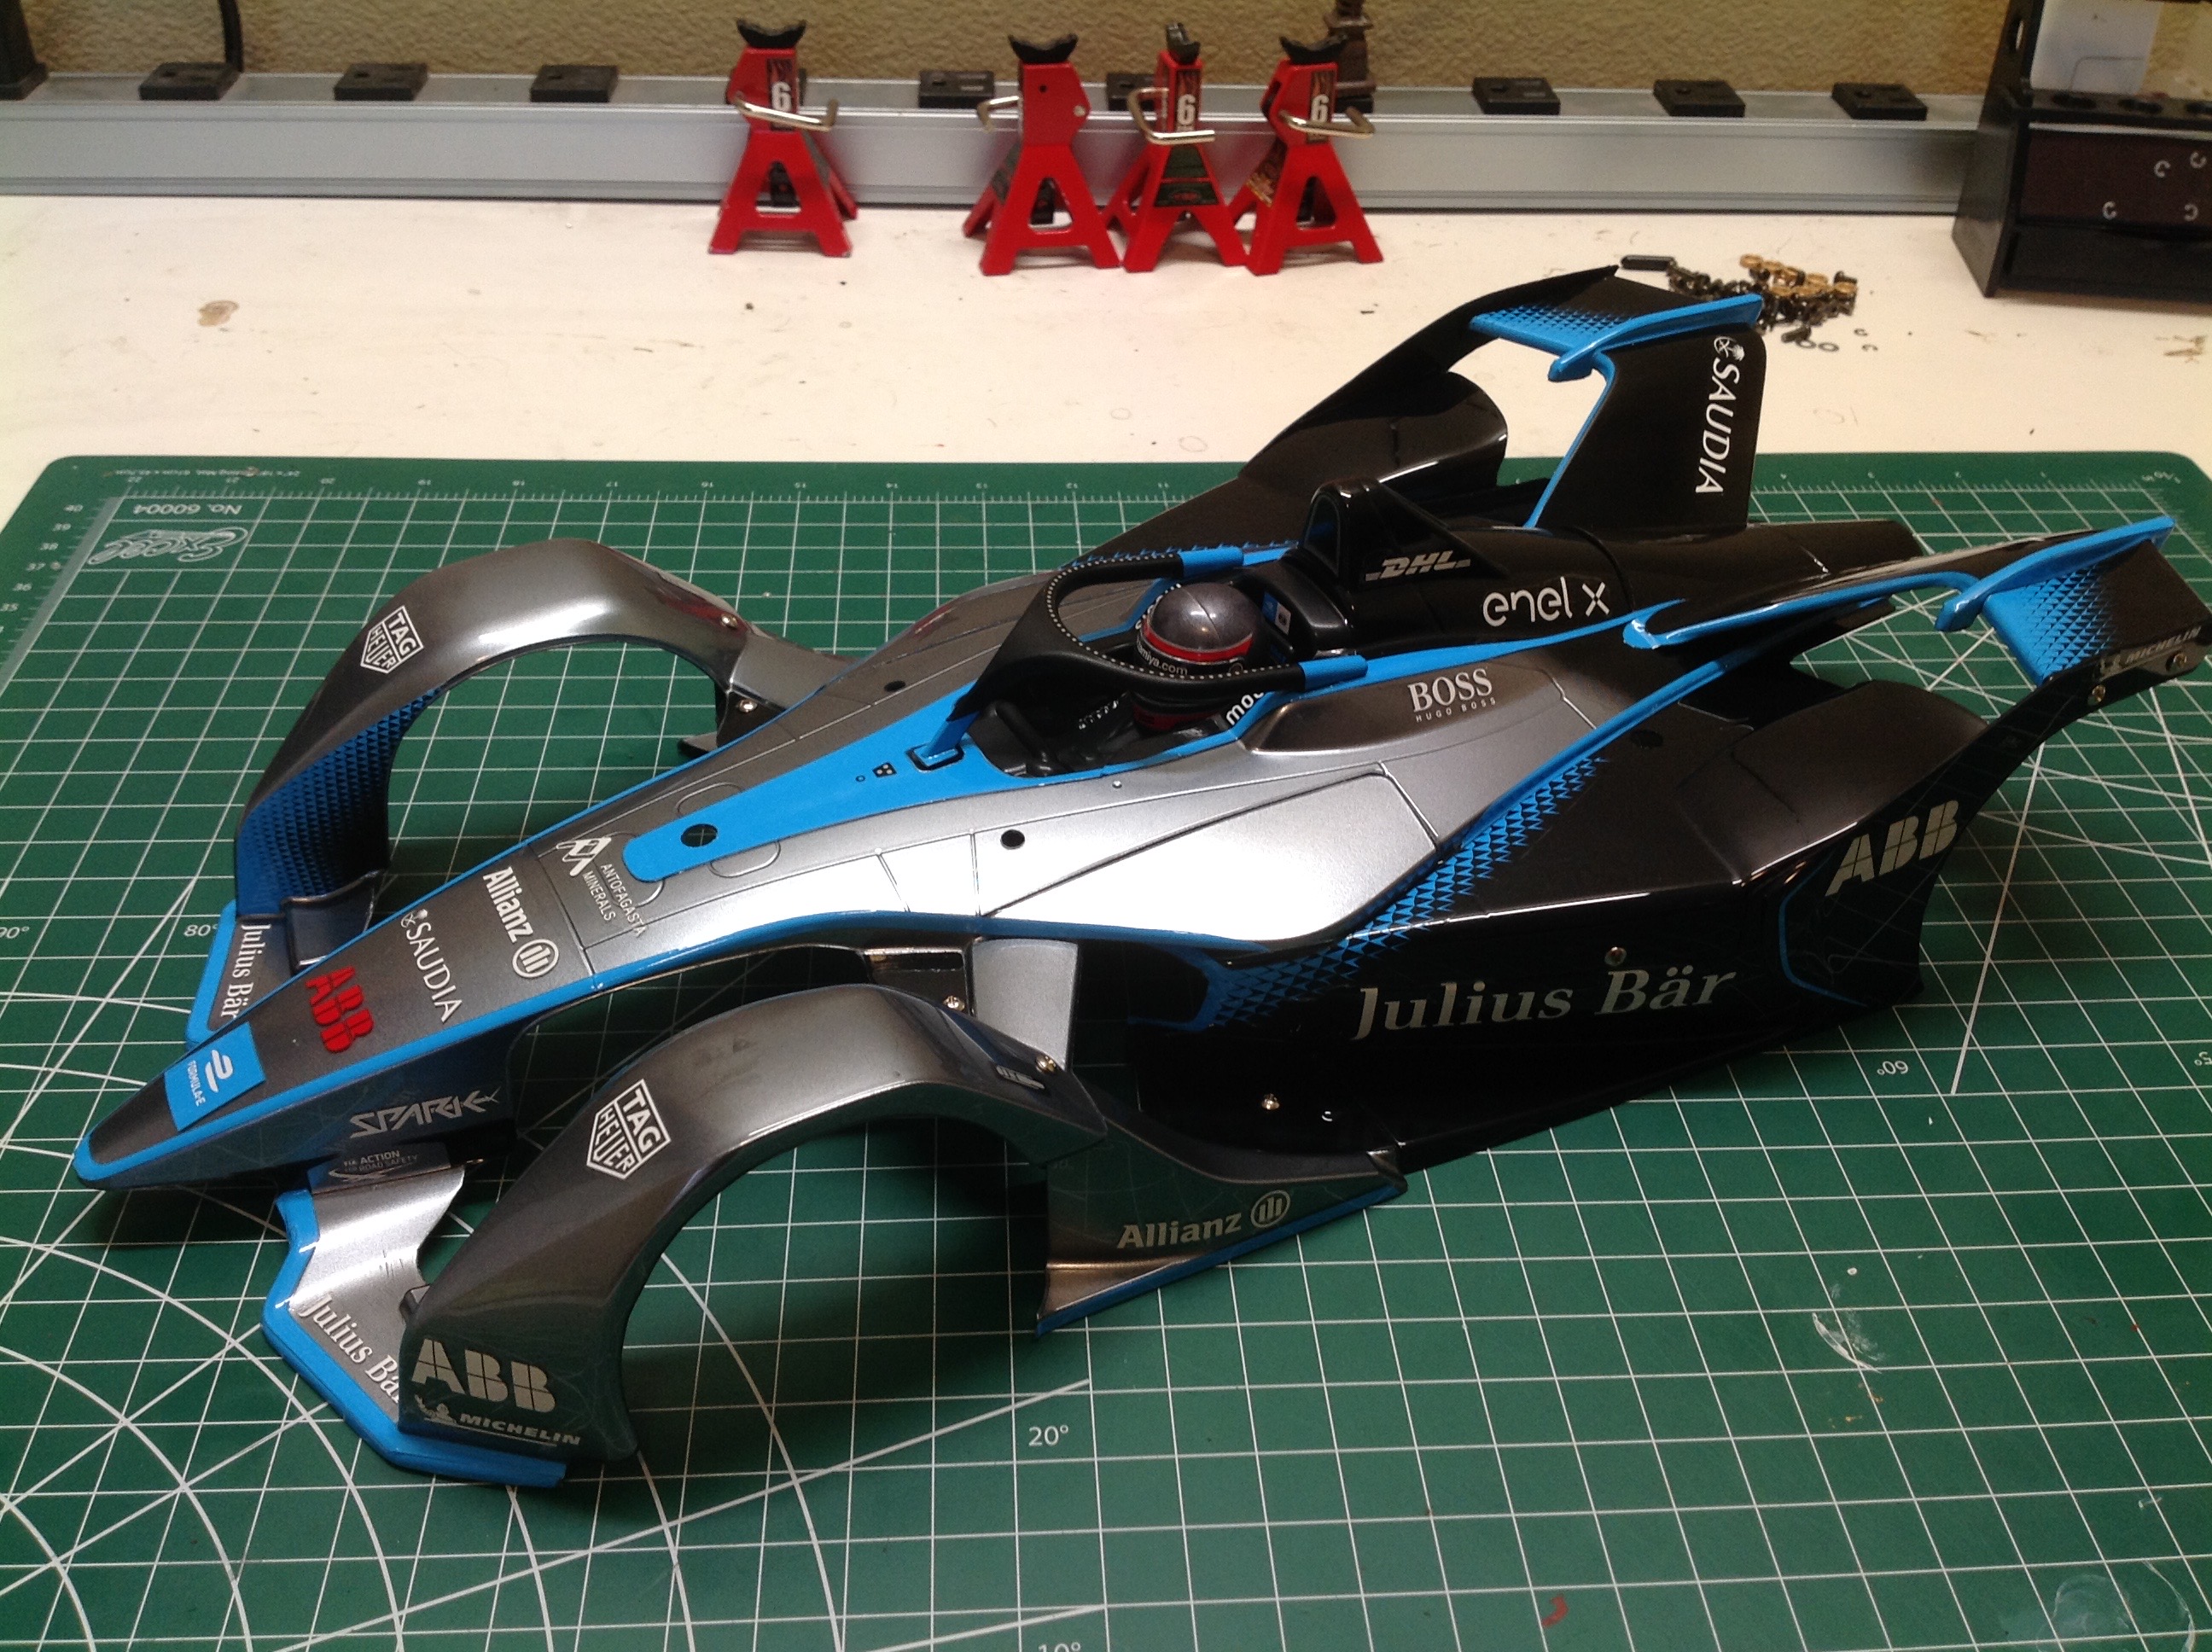
Here is the painted main body with the side pods attached and the overspray film removed. On the
right I've attached the remaining poly parts and also started on the
first few stickers which represent the blue leading edge stripes on the
wing. These were hard.
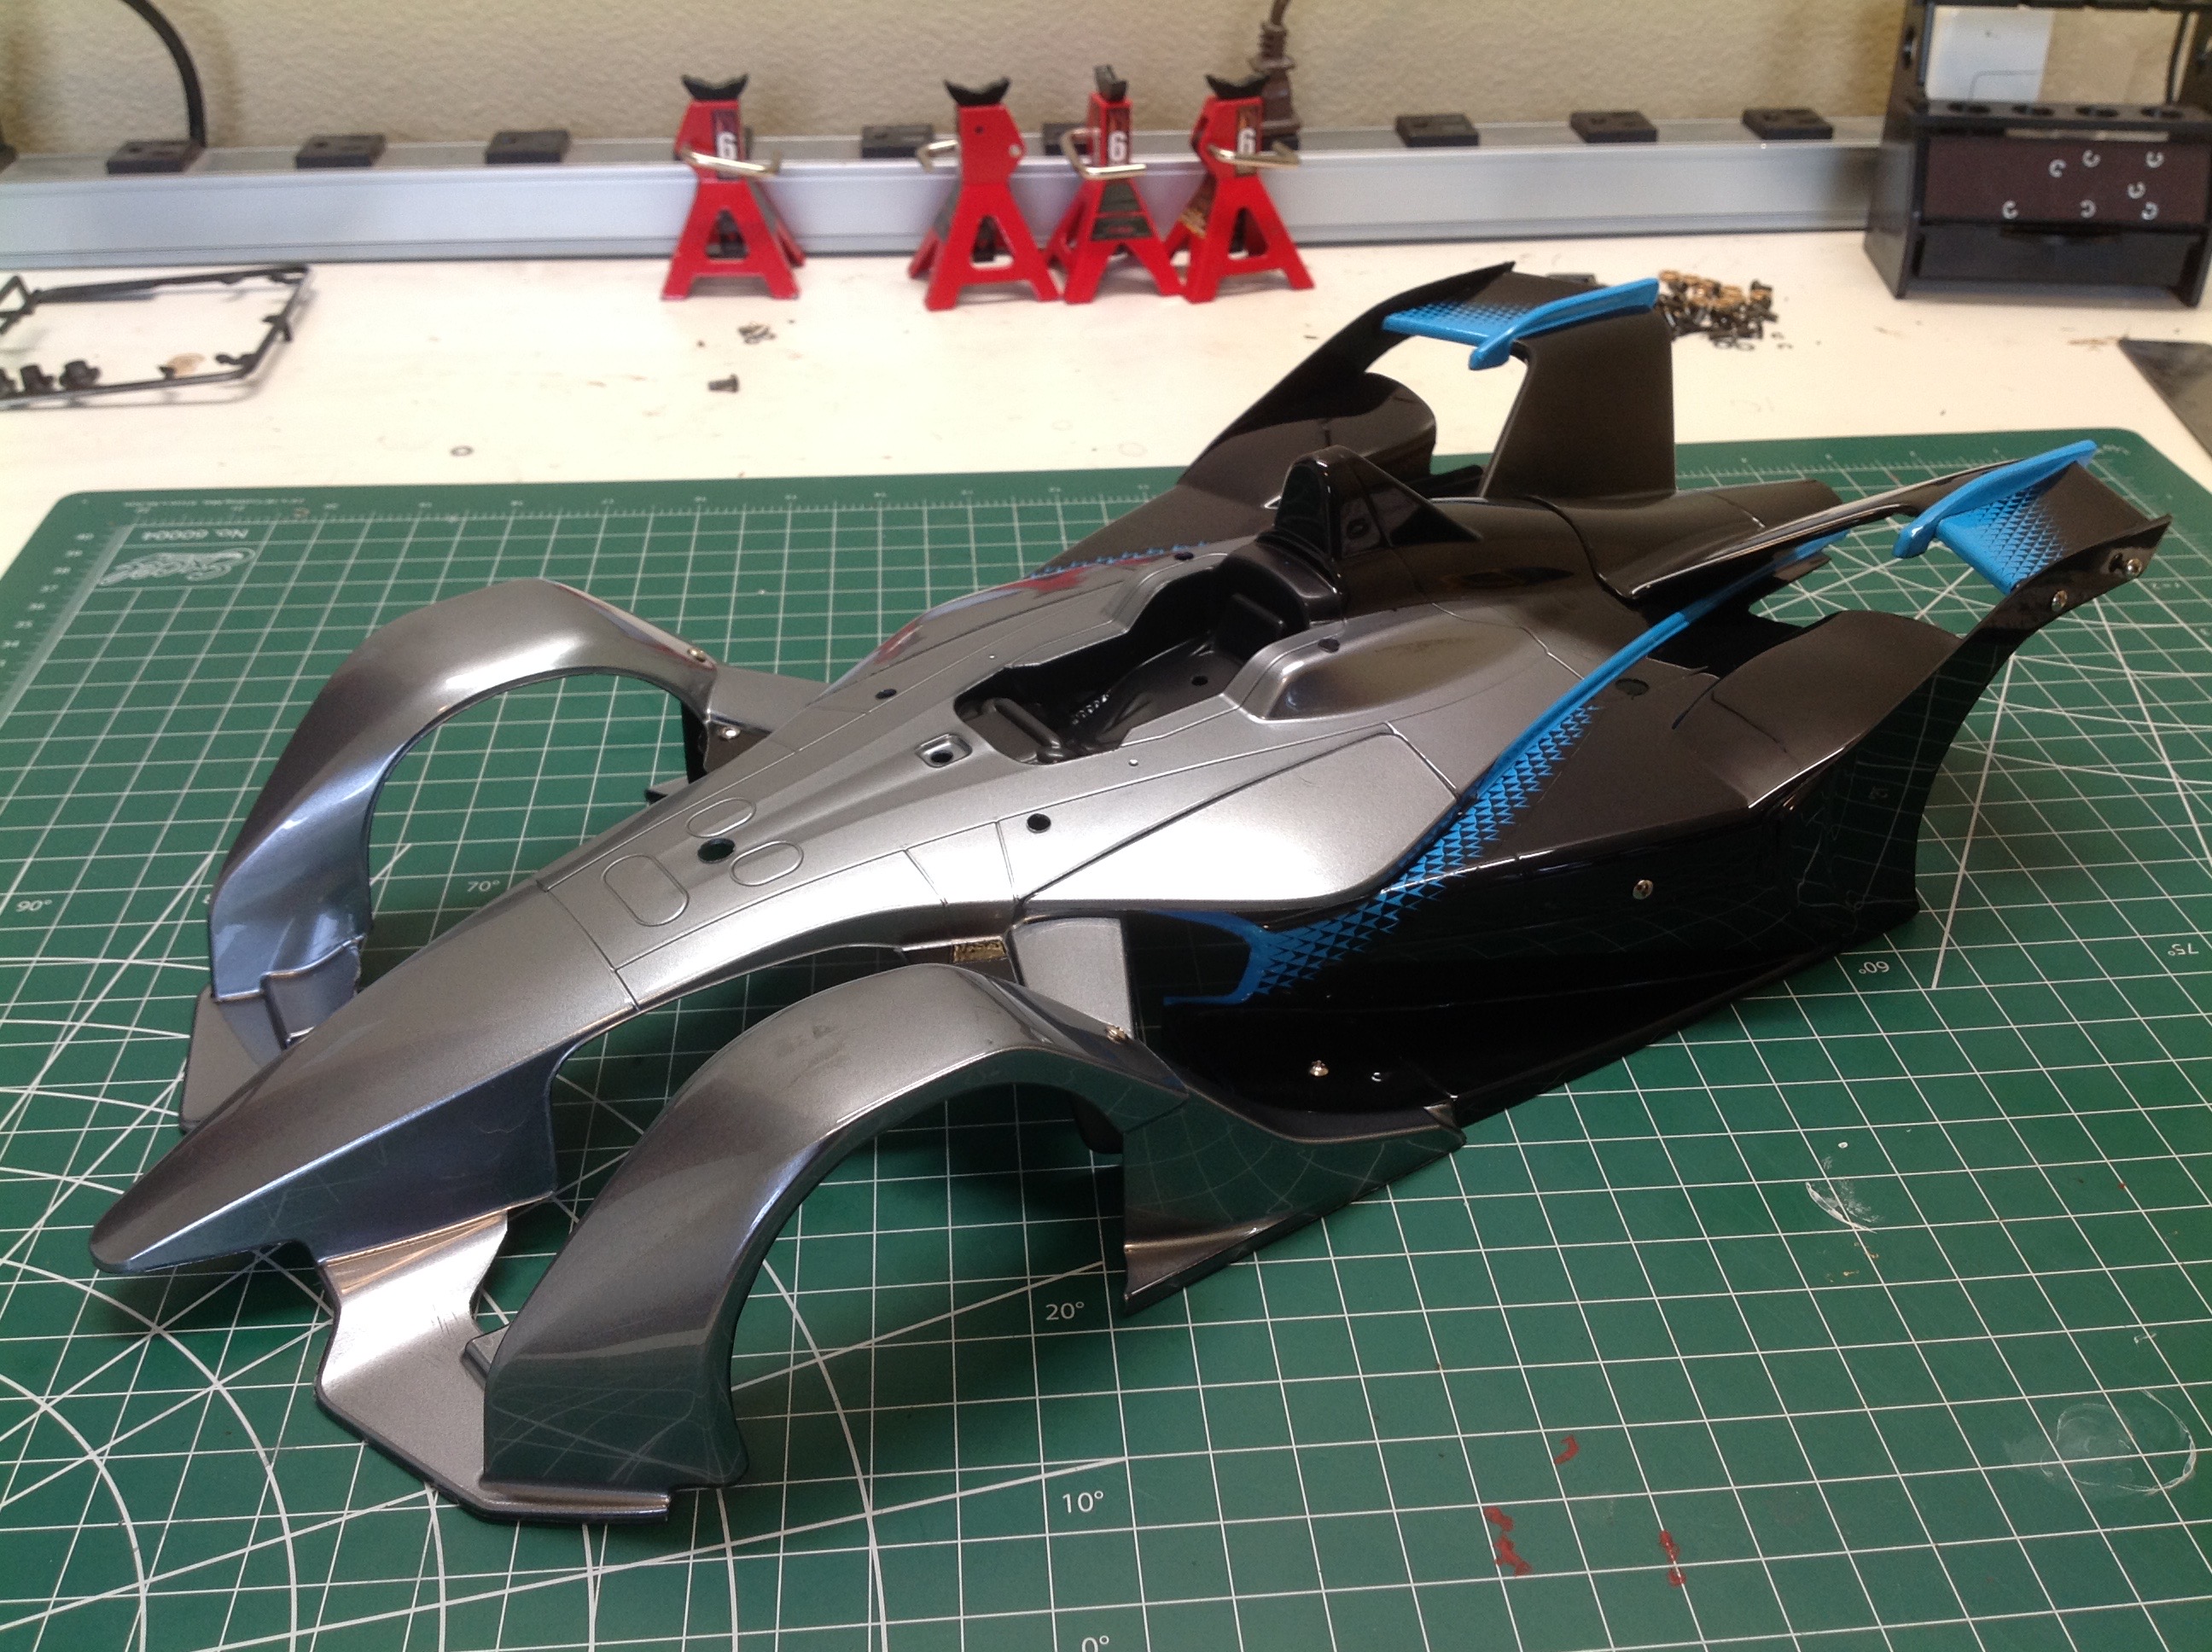
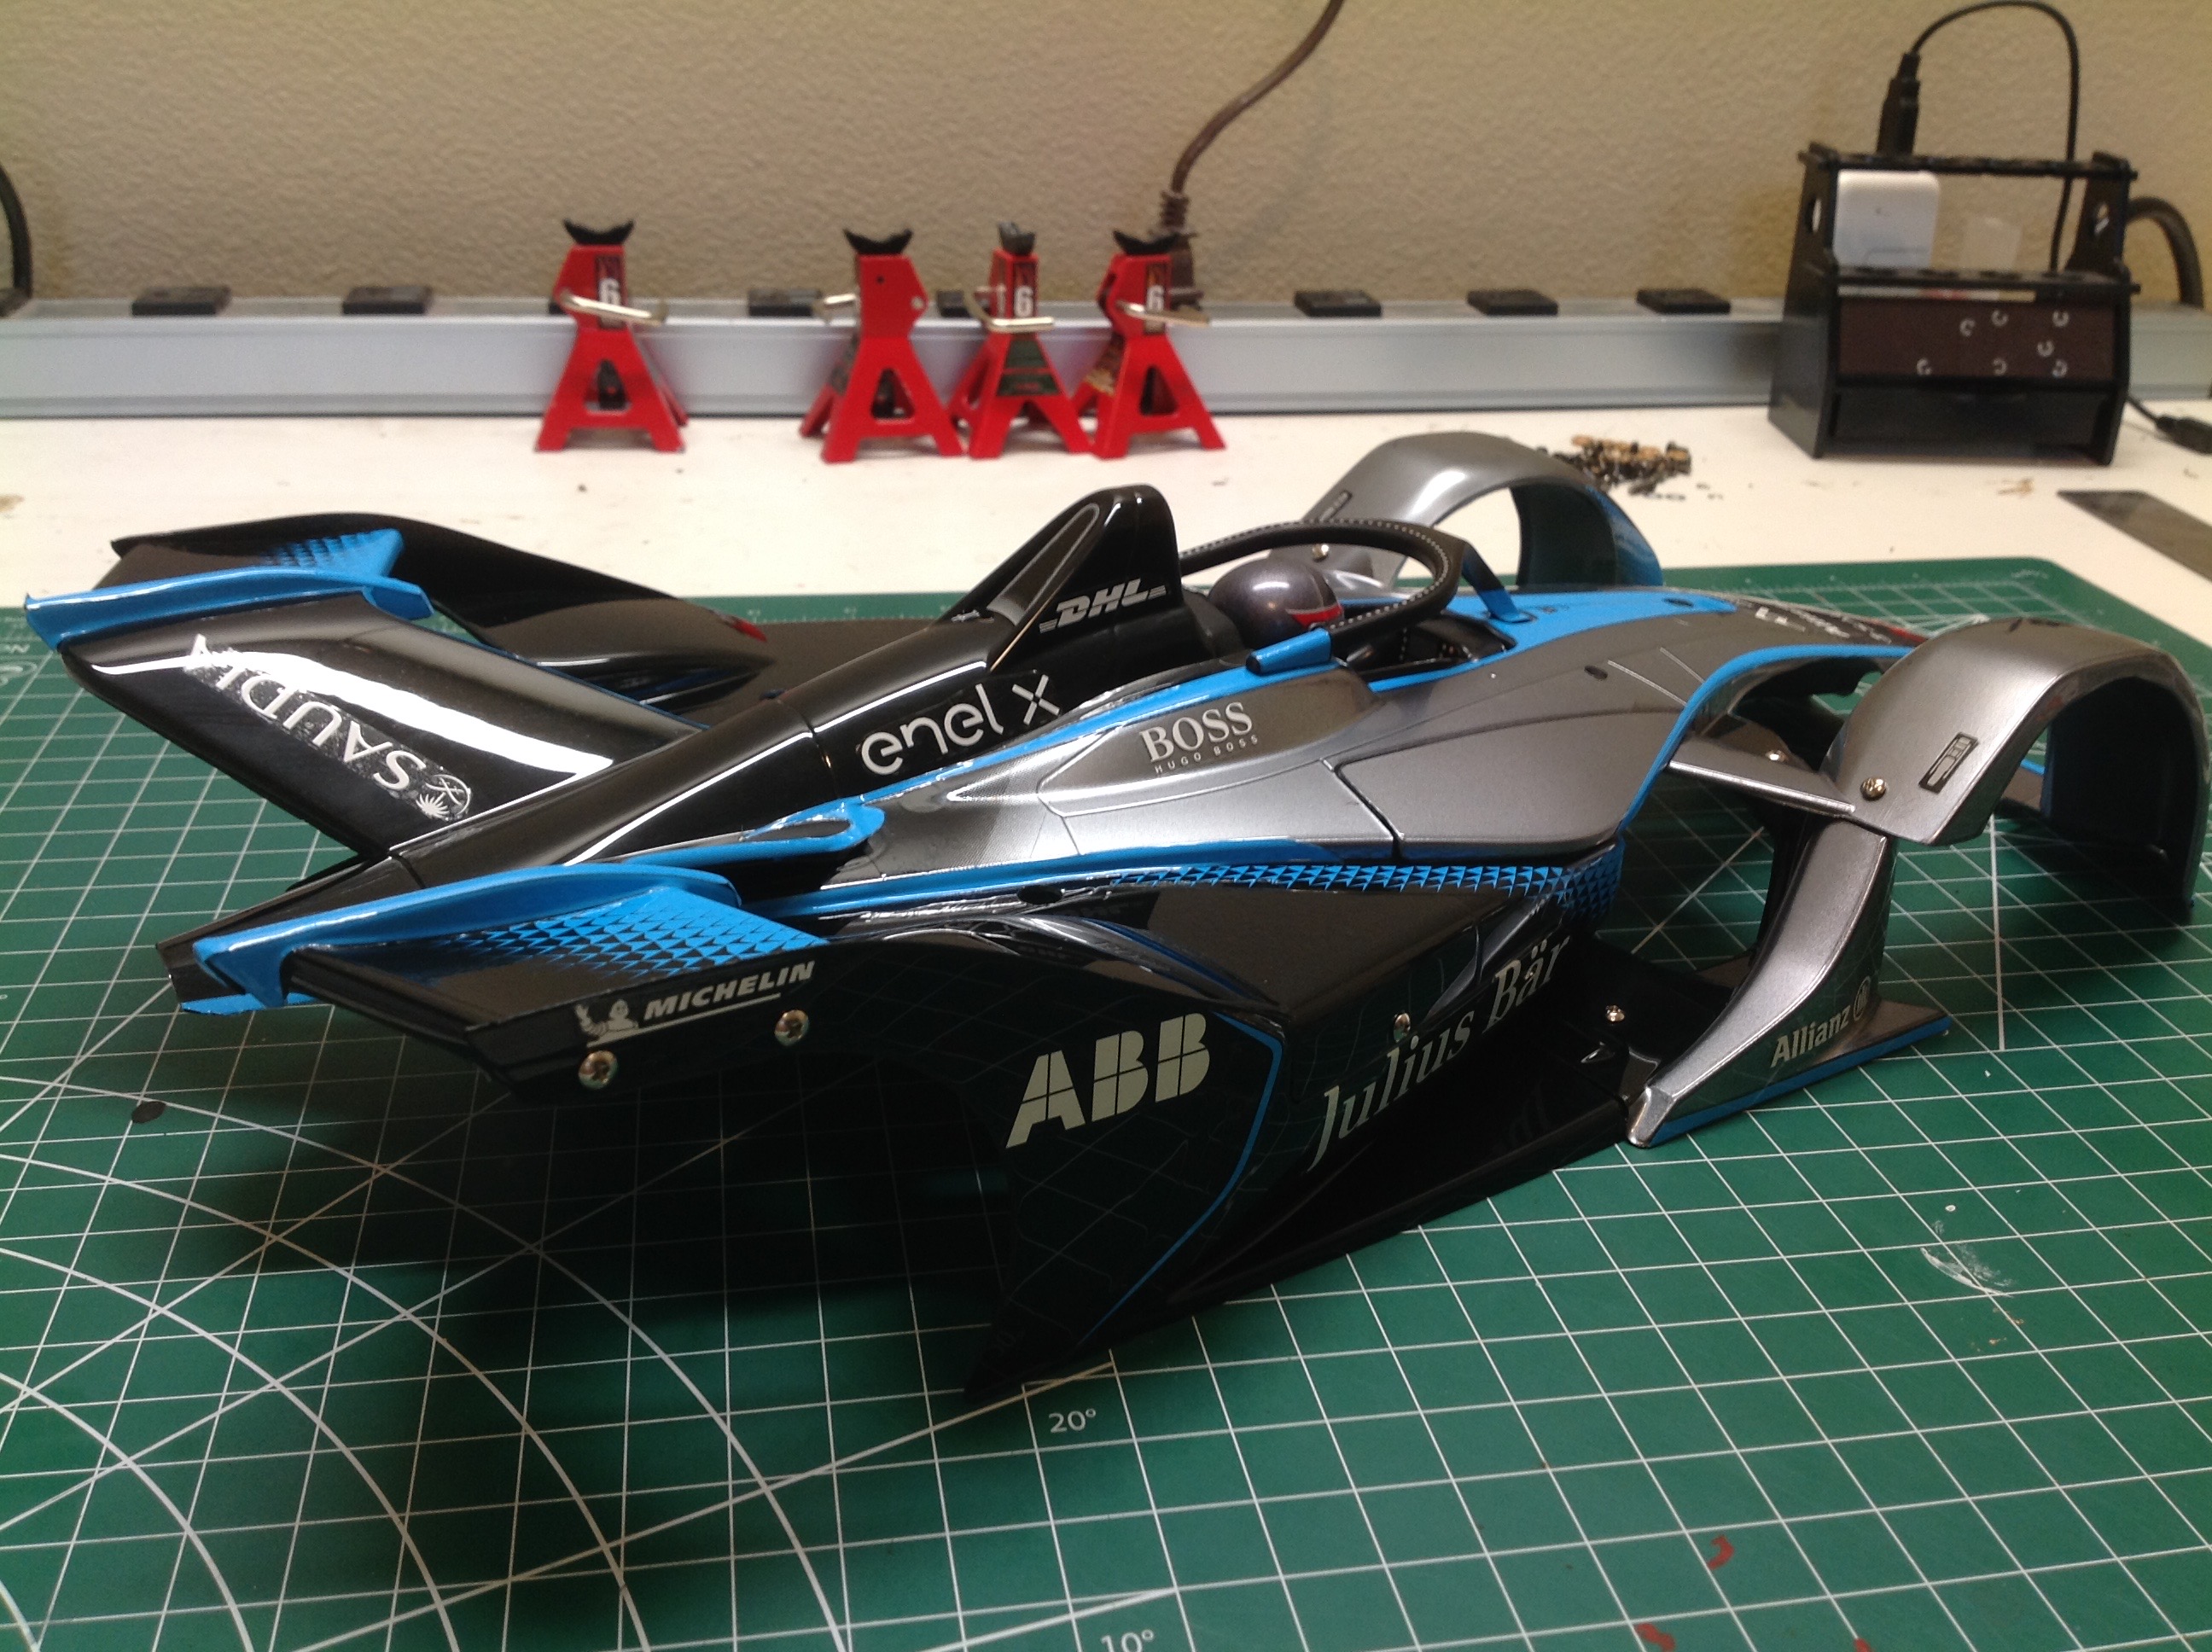
After many more hours I've completed the decals and attached the hard
plastic parts as shown. Front and rear quarter views are
shown. There are a lot of open areas in this body which make it
weak, but luckily it is well supported by the body.
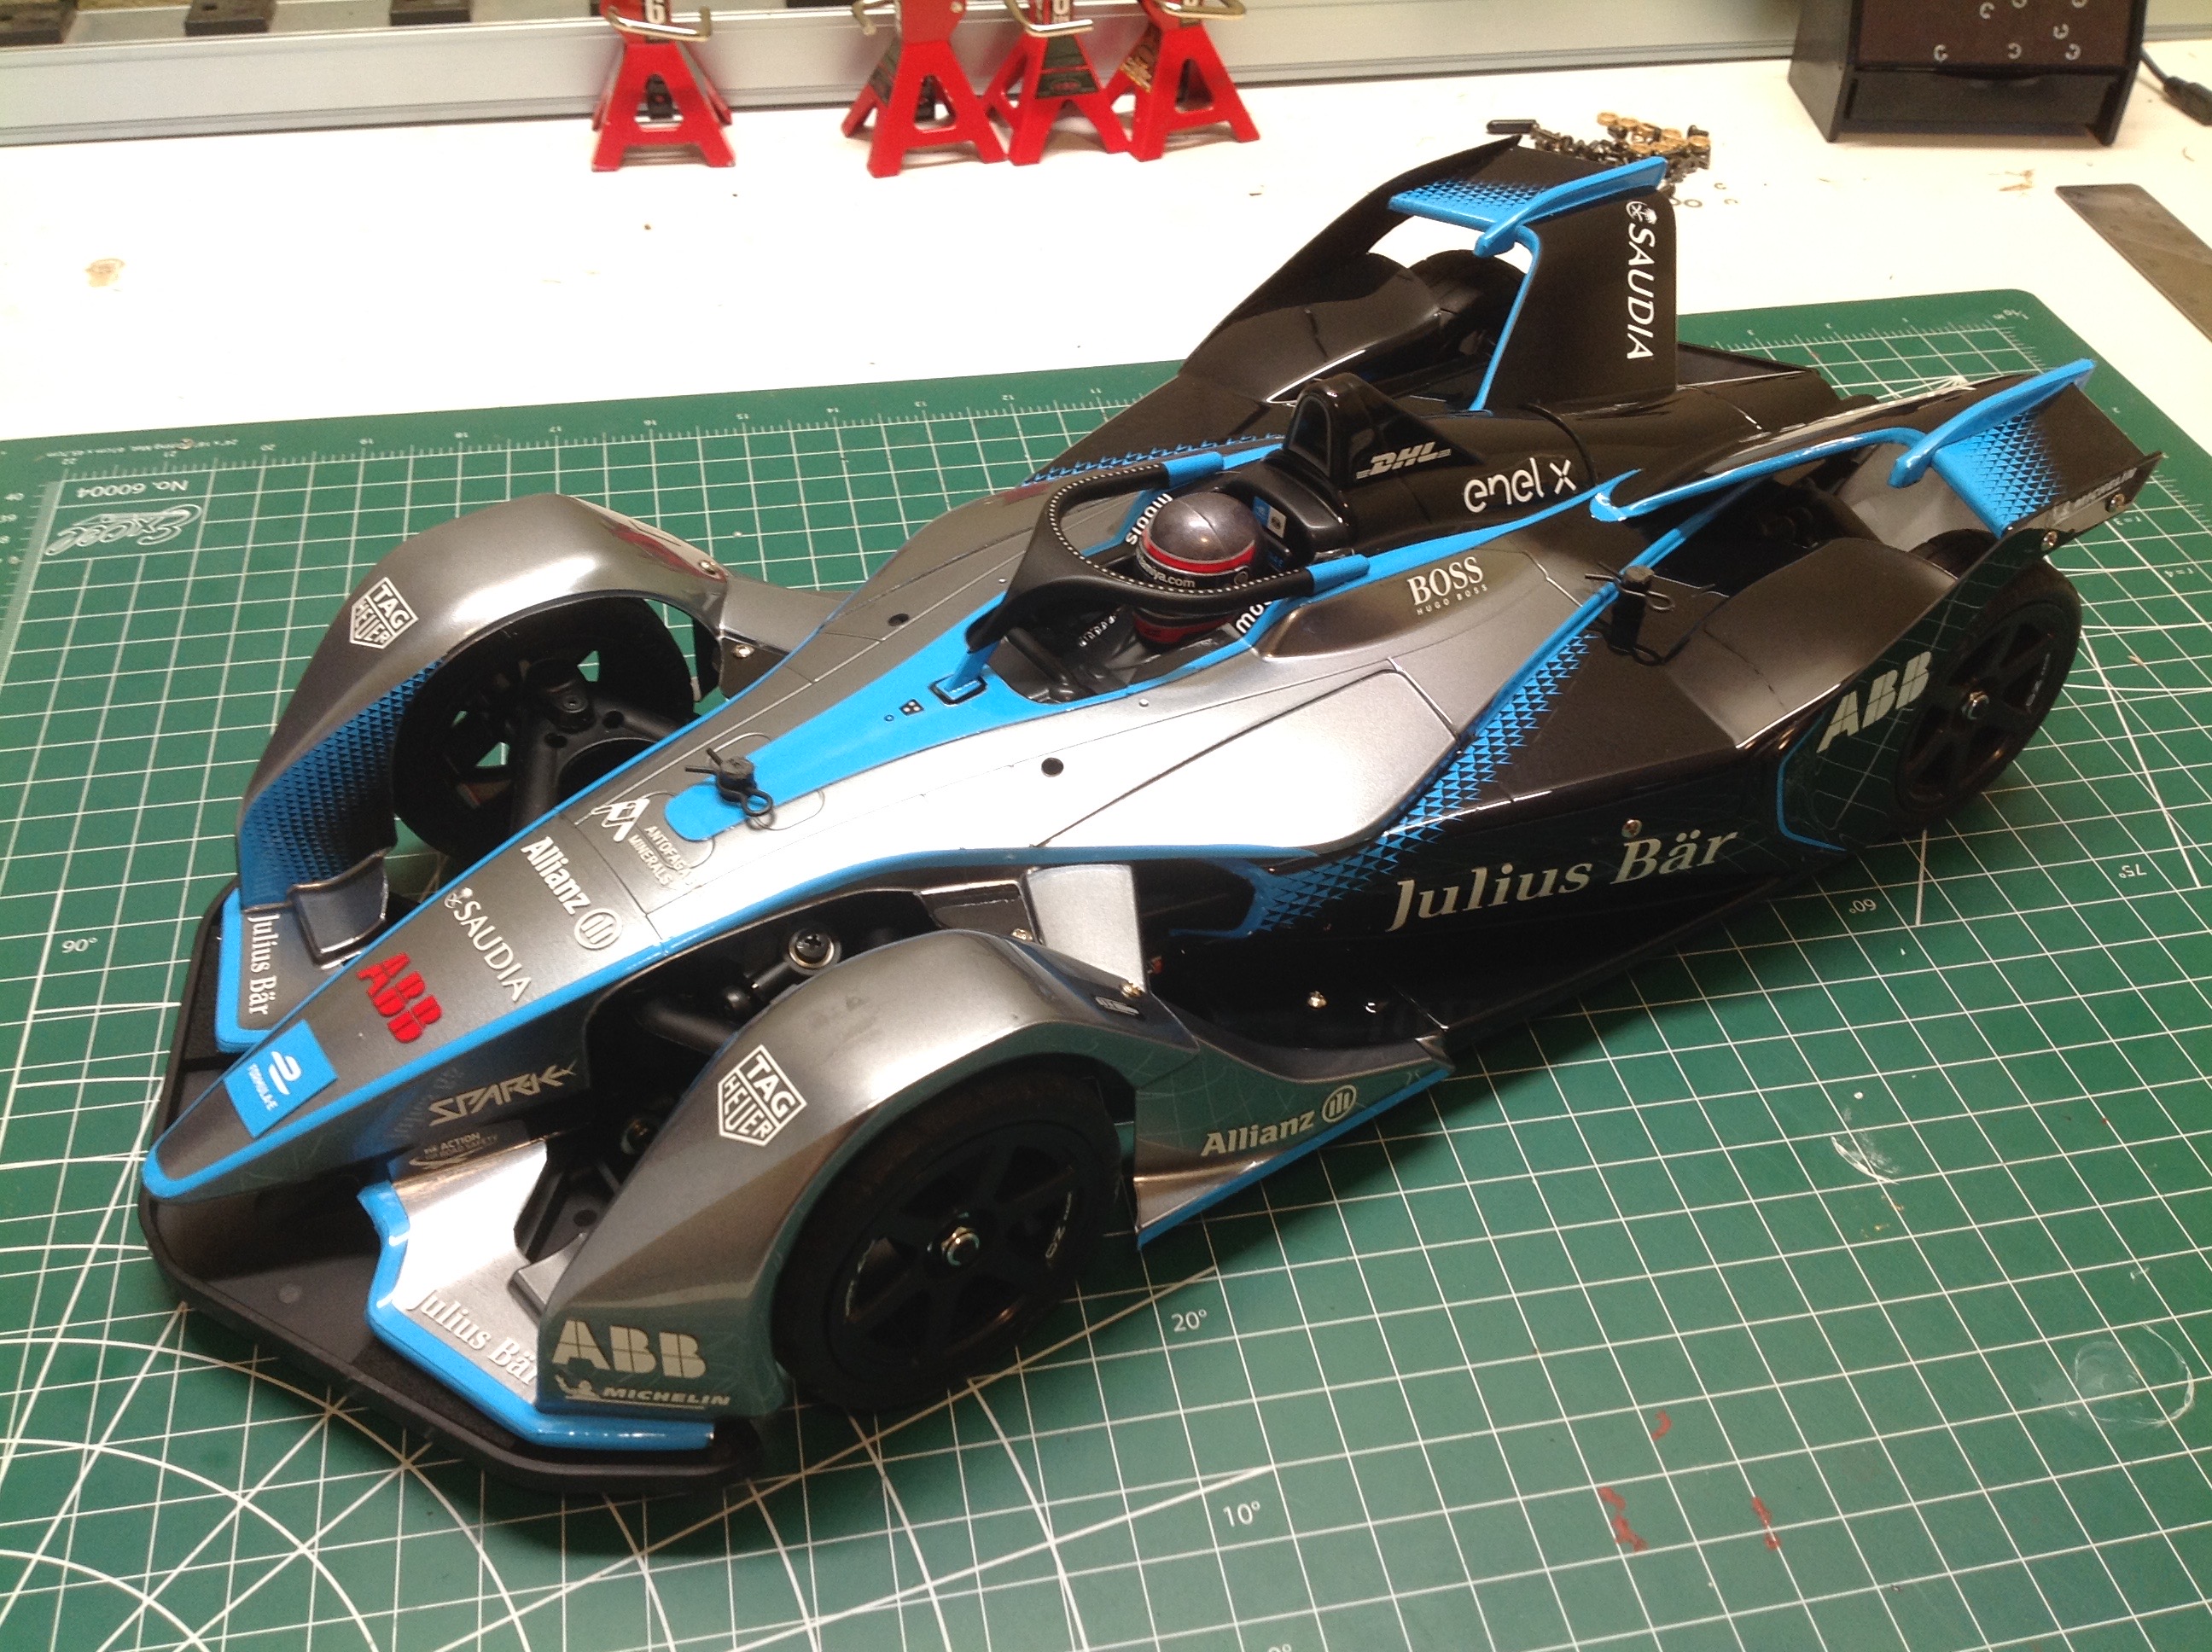
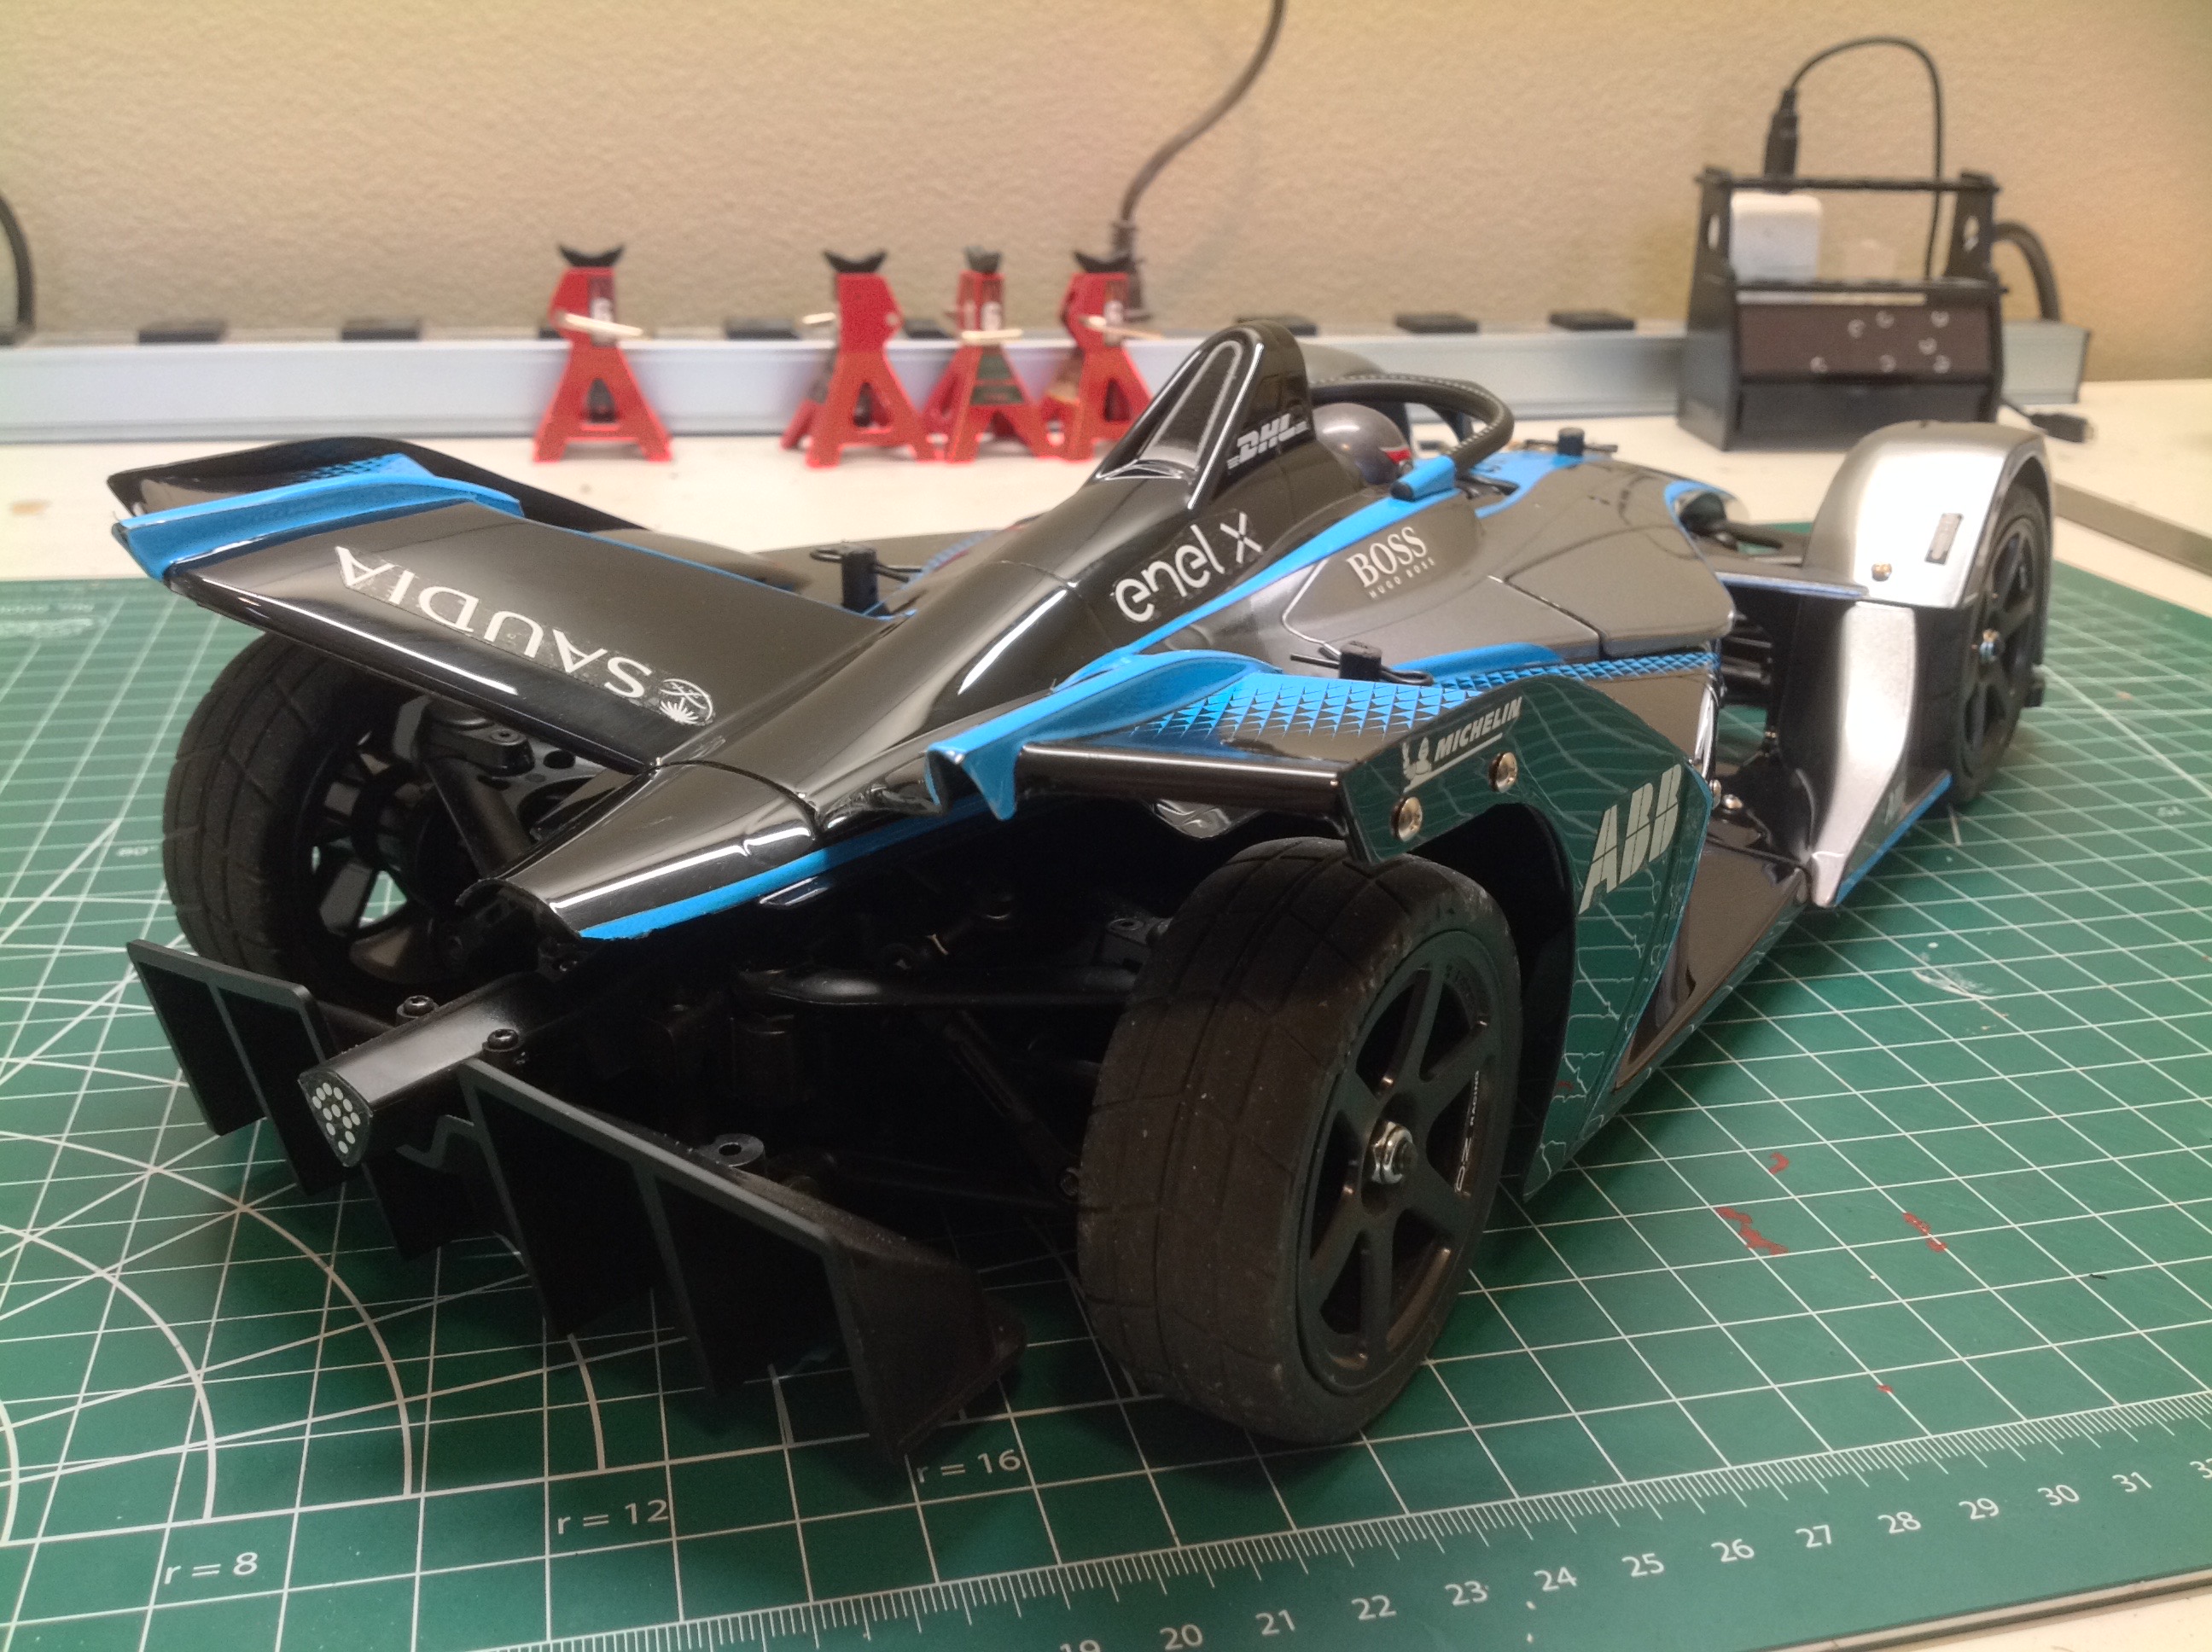
Now the body has been attached to the chassis completing the
model. There is very little room underneath for anything.
The front splitter completely protects the front of the body so there is
really little chance of damaging it unless you roll the car over.
The only sticker on the chassis is the tail light.
©2021 Eric Albrecht