Tamiya Fuel Tank Trailer Project
Page 1: Building the trailer
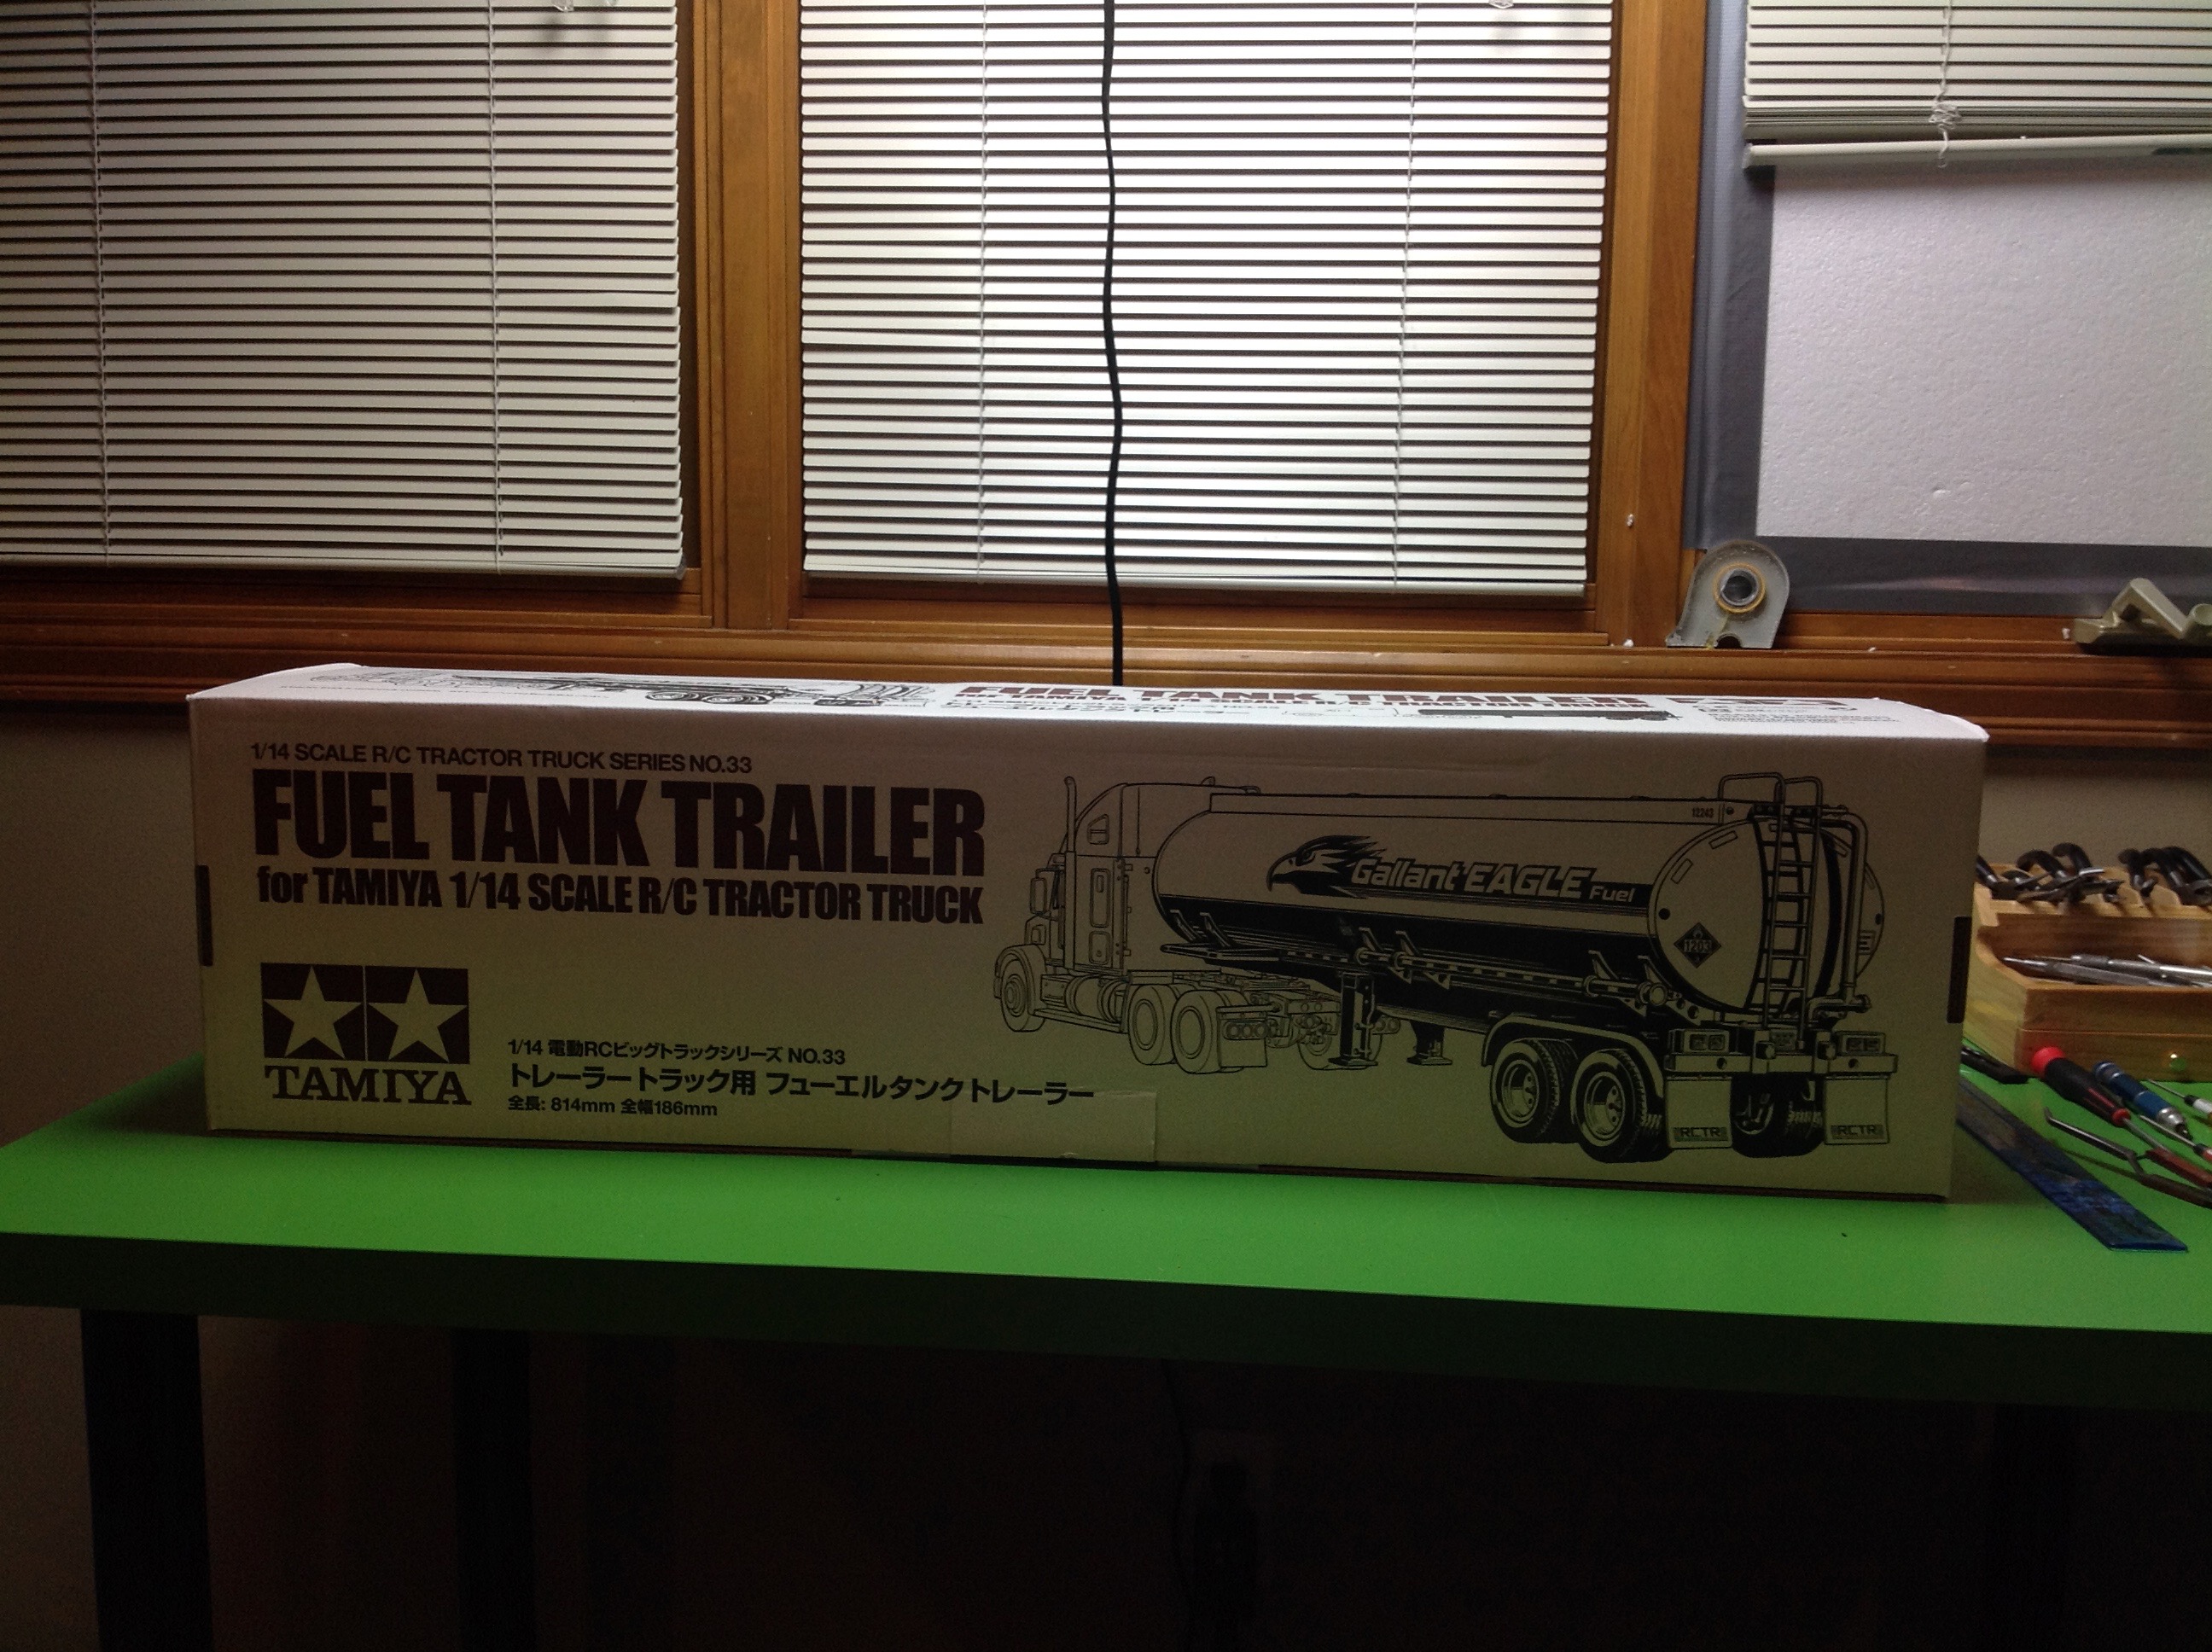
Time to build the trailer. The box for the fuel tanker is much smaller
than that for the truck, and of course the trailer is just a dead weight
with no motor or control so I figured it would be pretty easy compared
to the truck. It ended up being much more complicated than I expected.
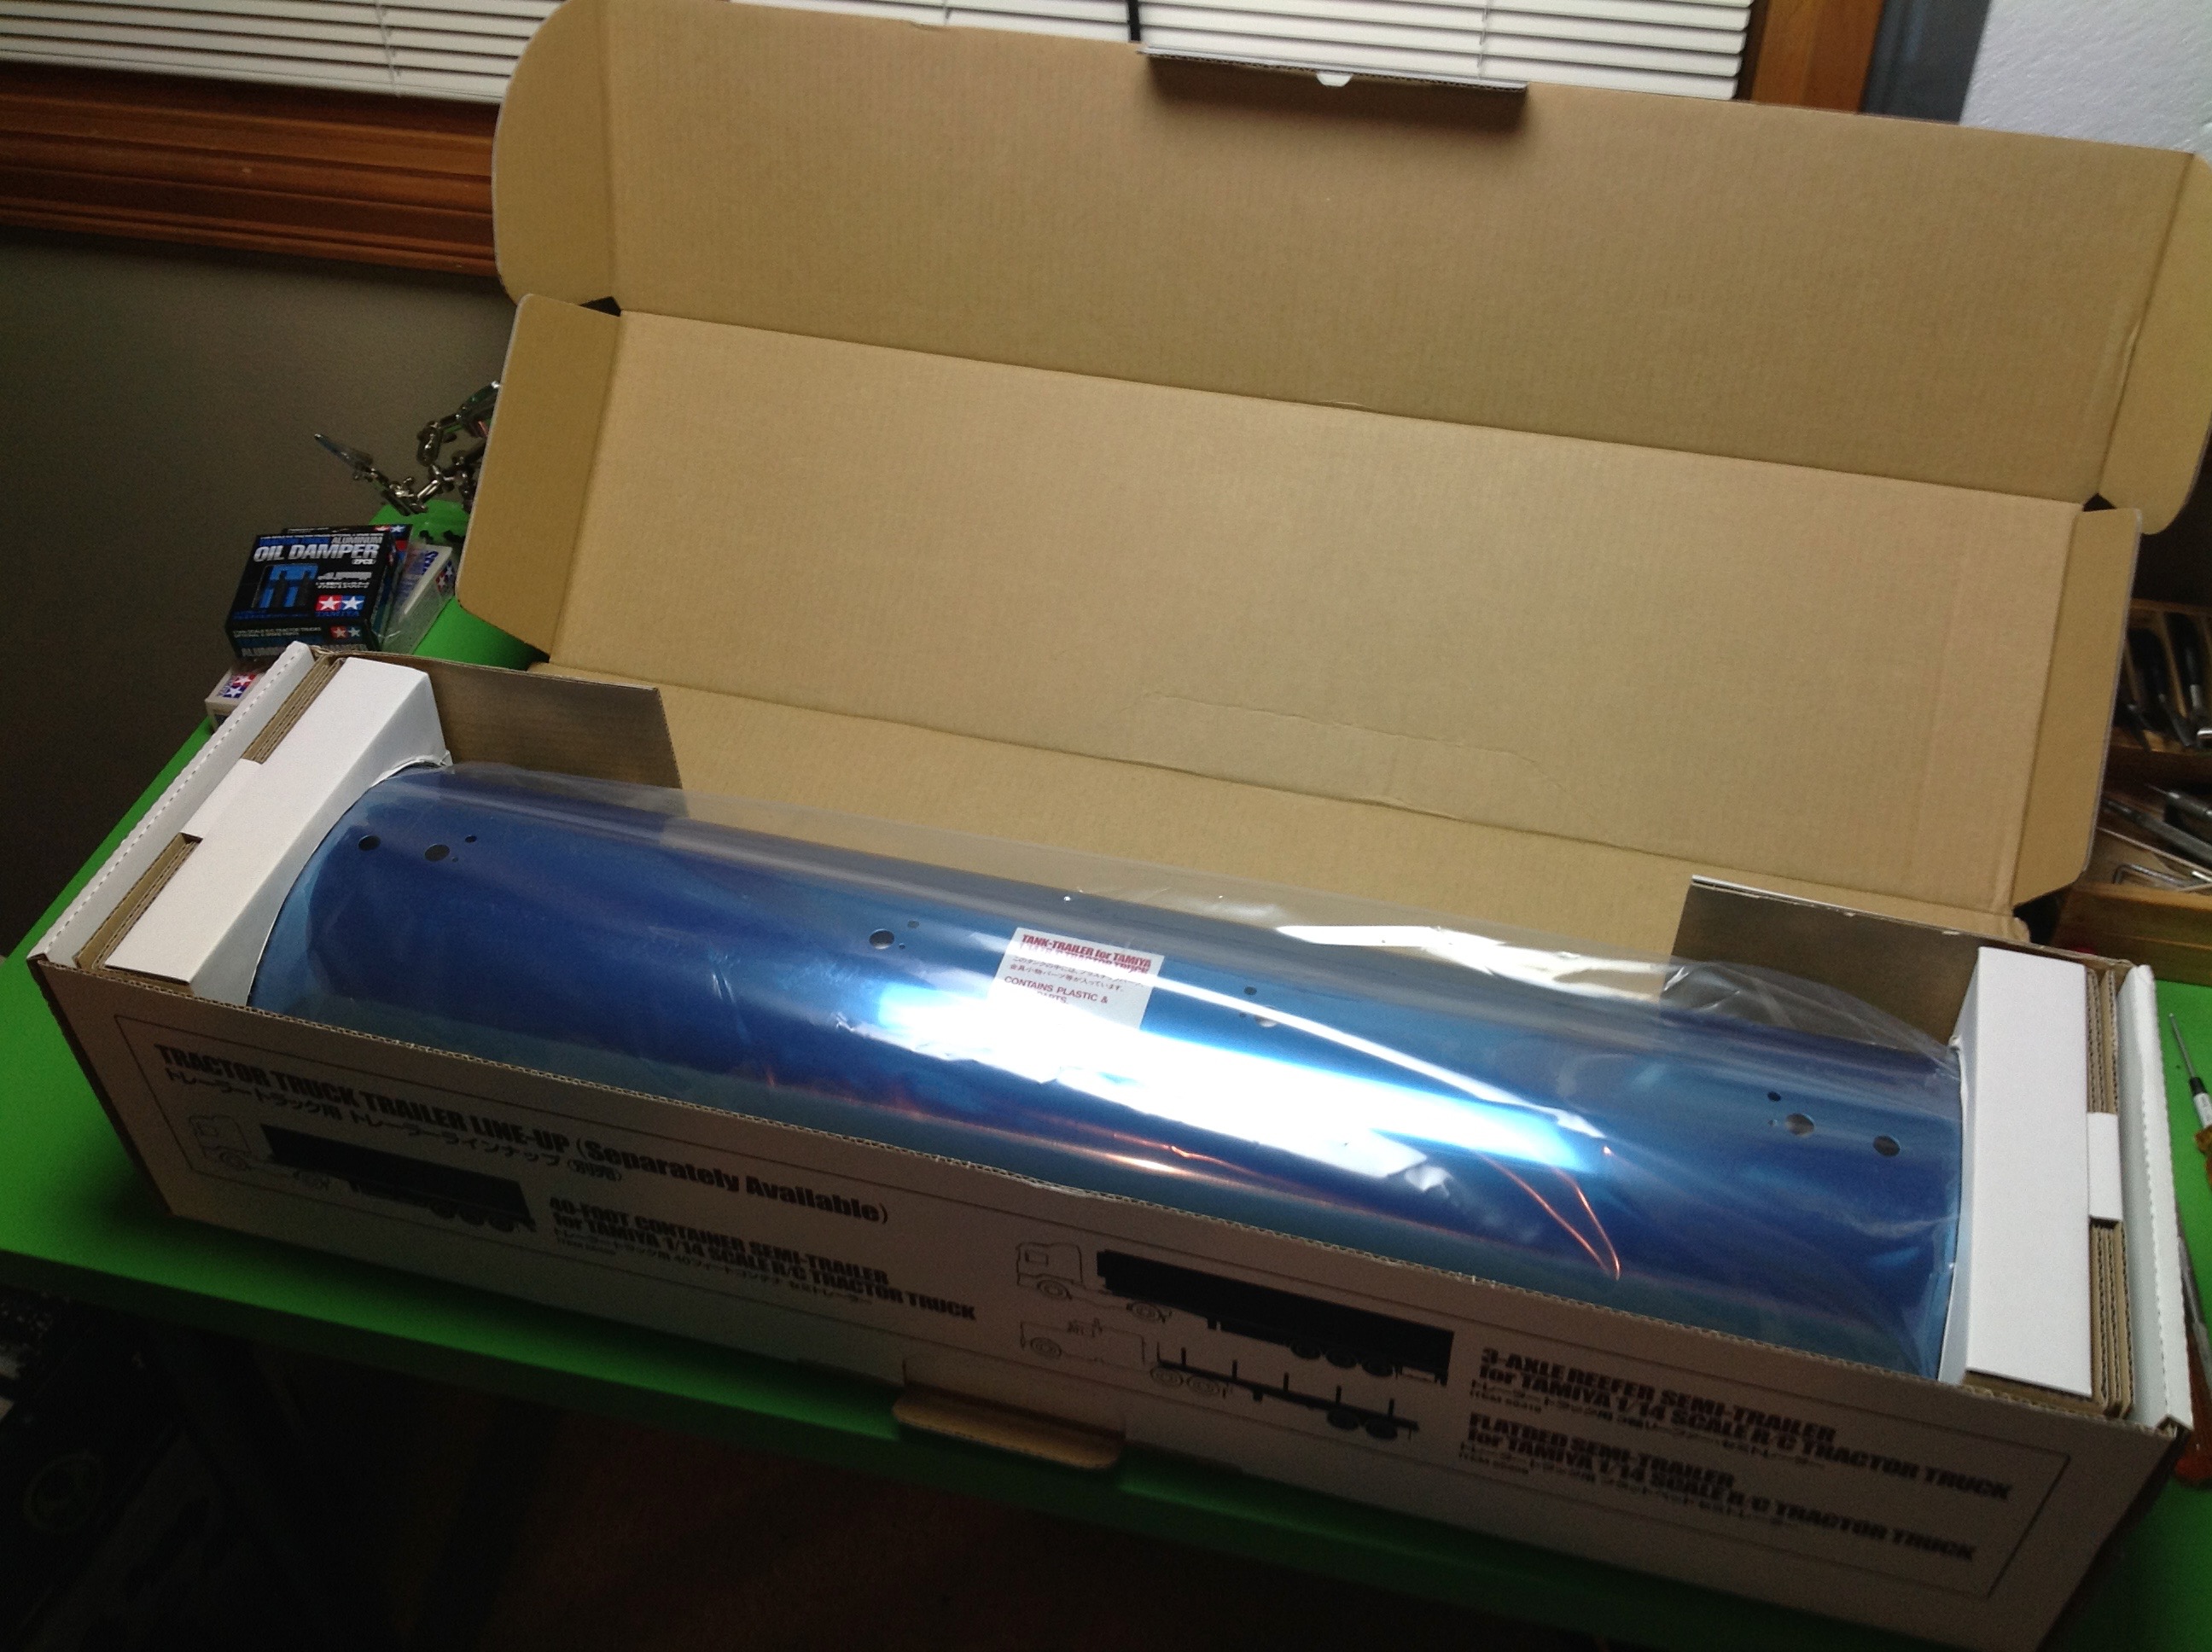
At first glance it looks like there isn't much in the box. Just a
big metal tube protected with blue film like a new airplane
fuselage. Most of the parts are actually packed inside the
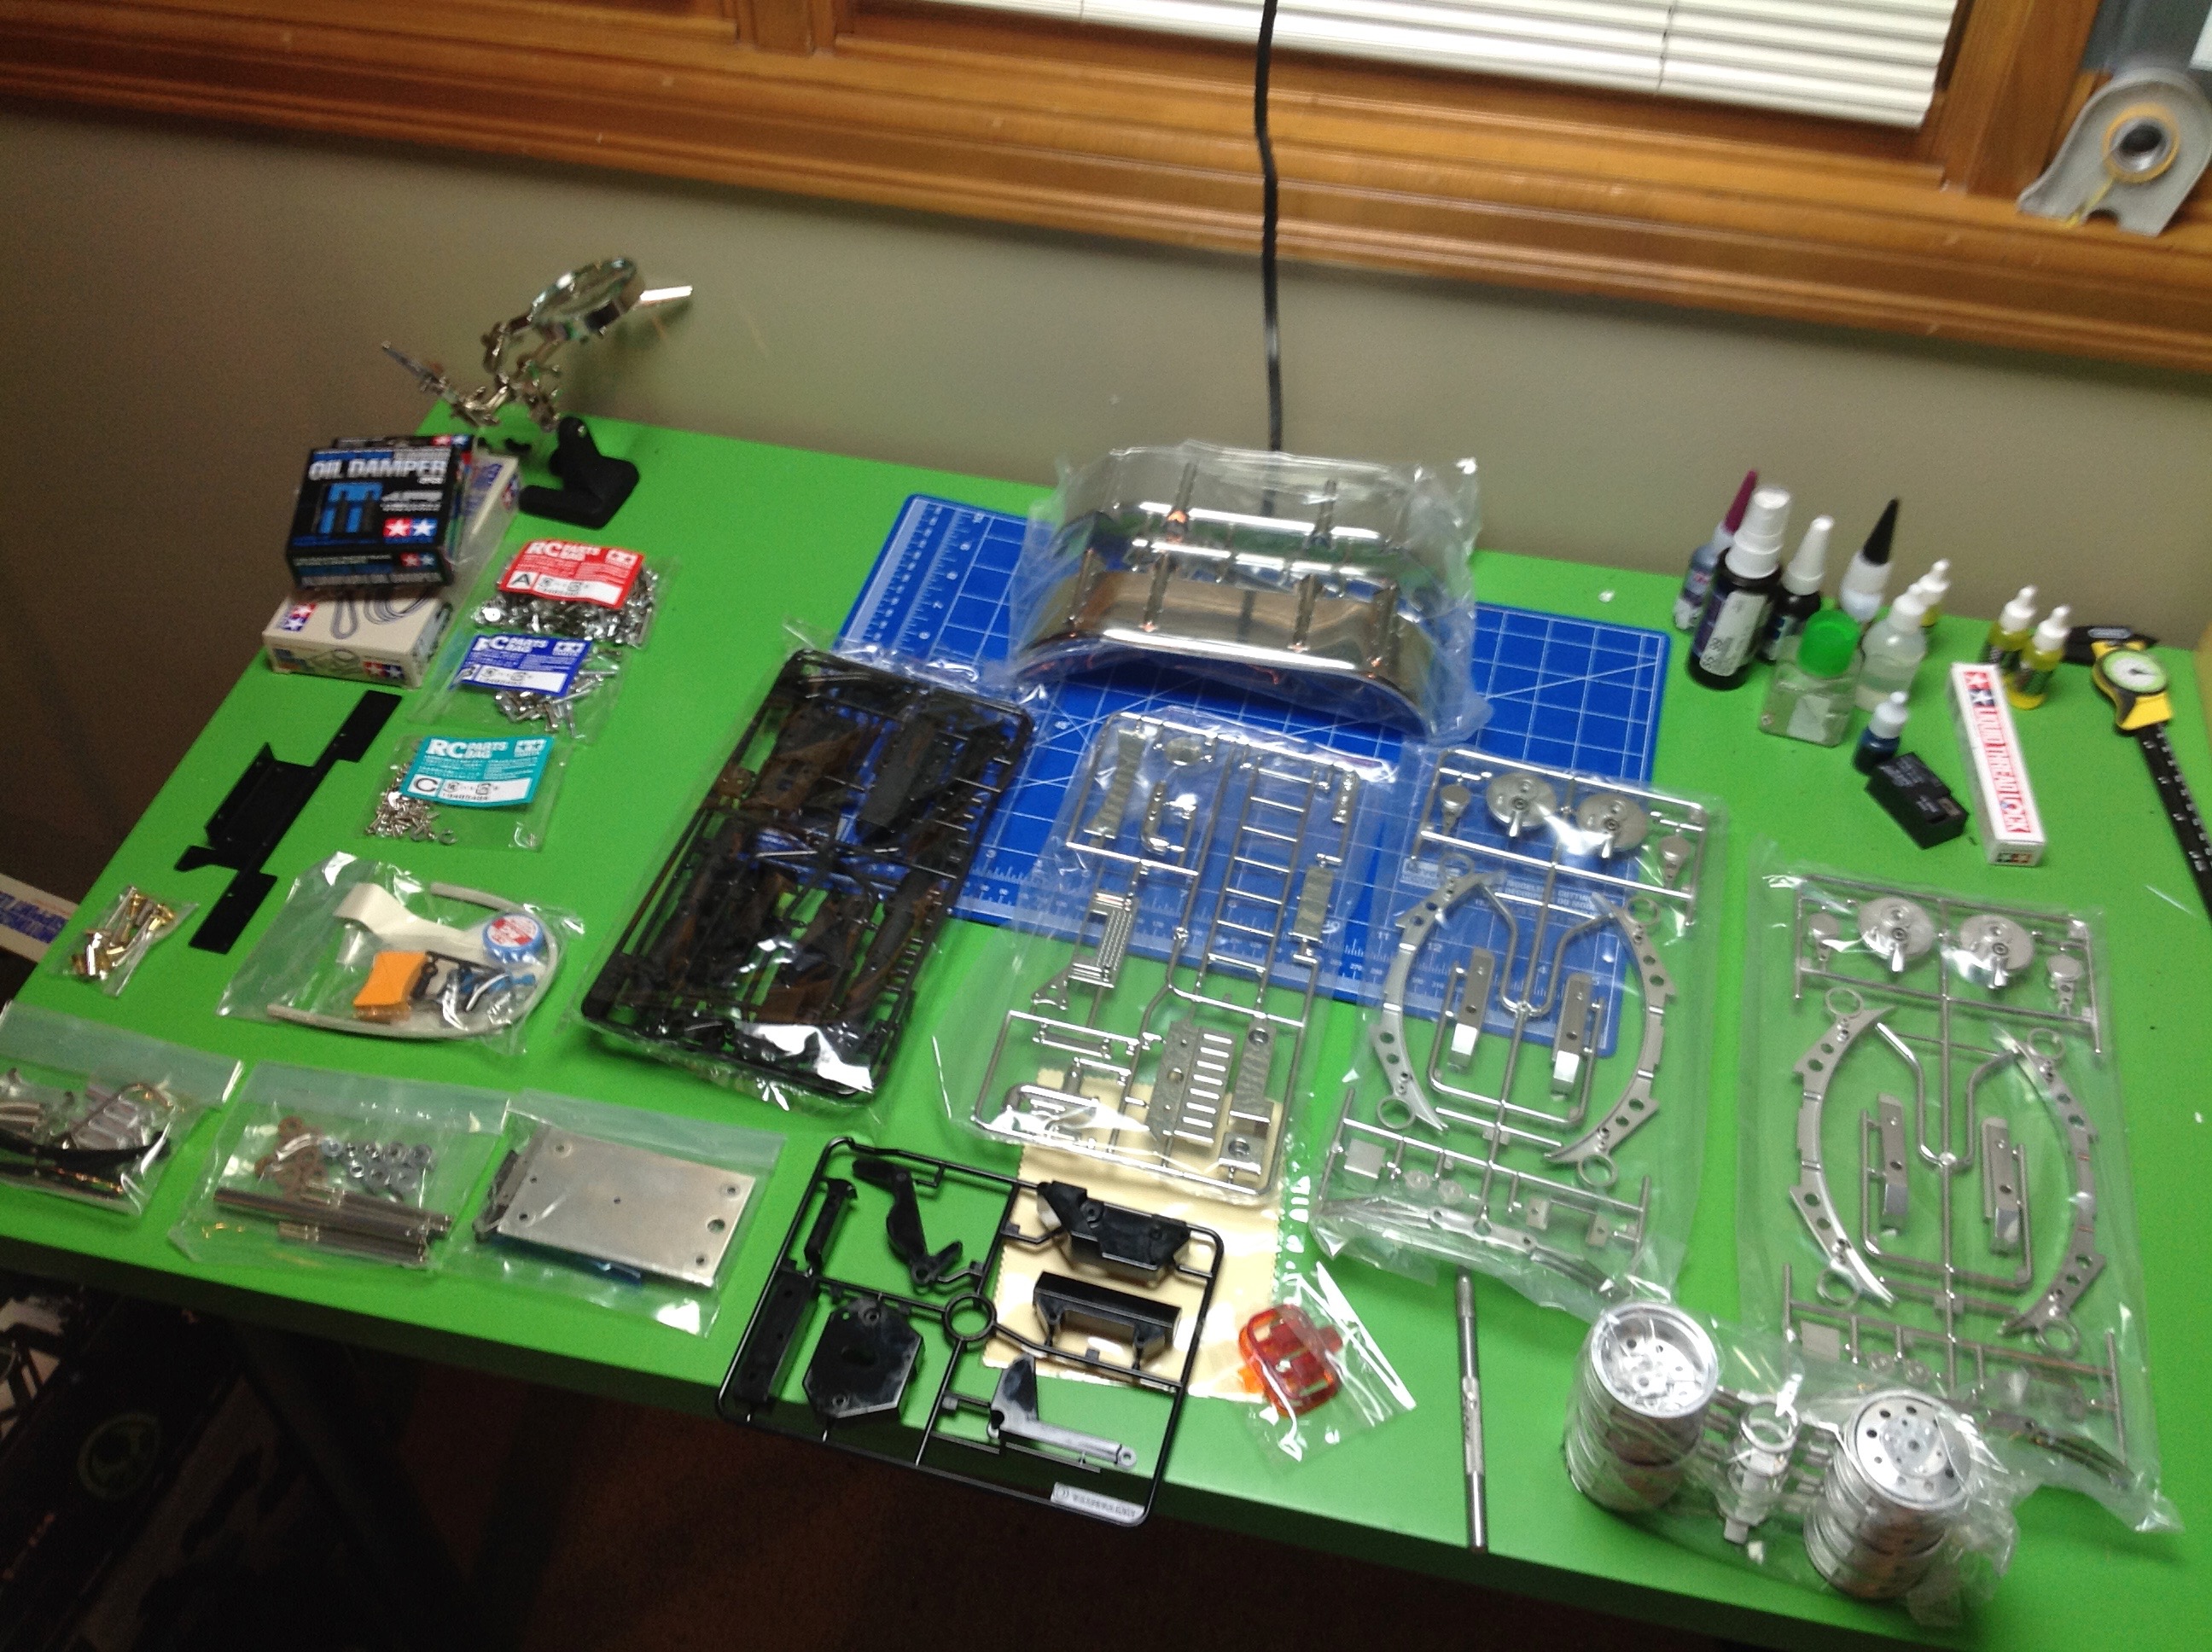
tube. The second image shows the considerable pile of parts and
hardware, not including the metal parts which are elsewhere.
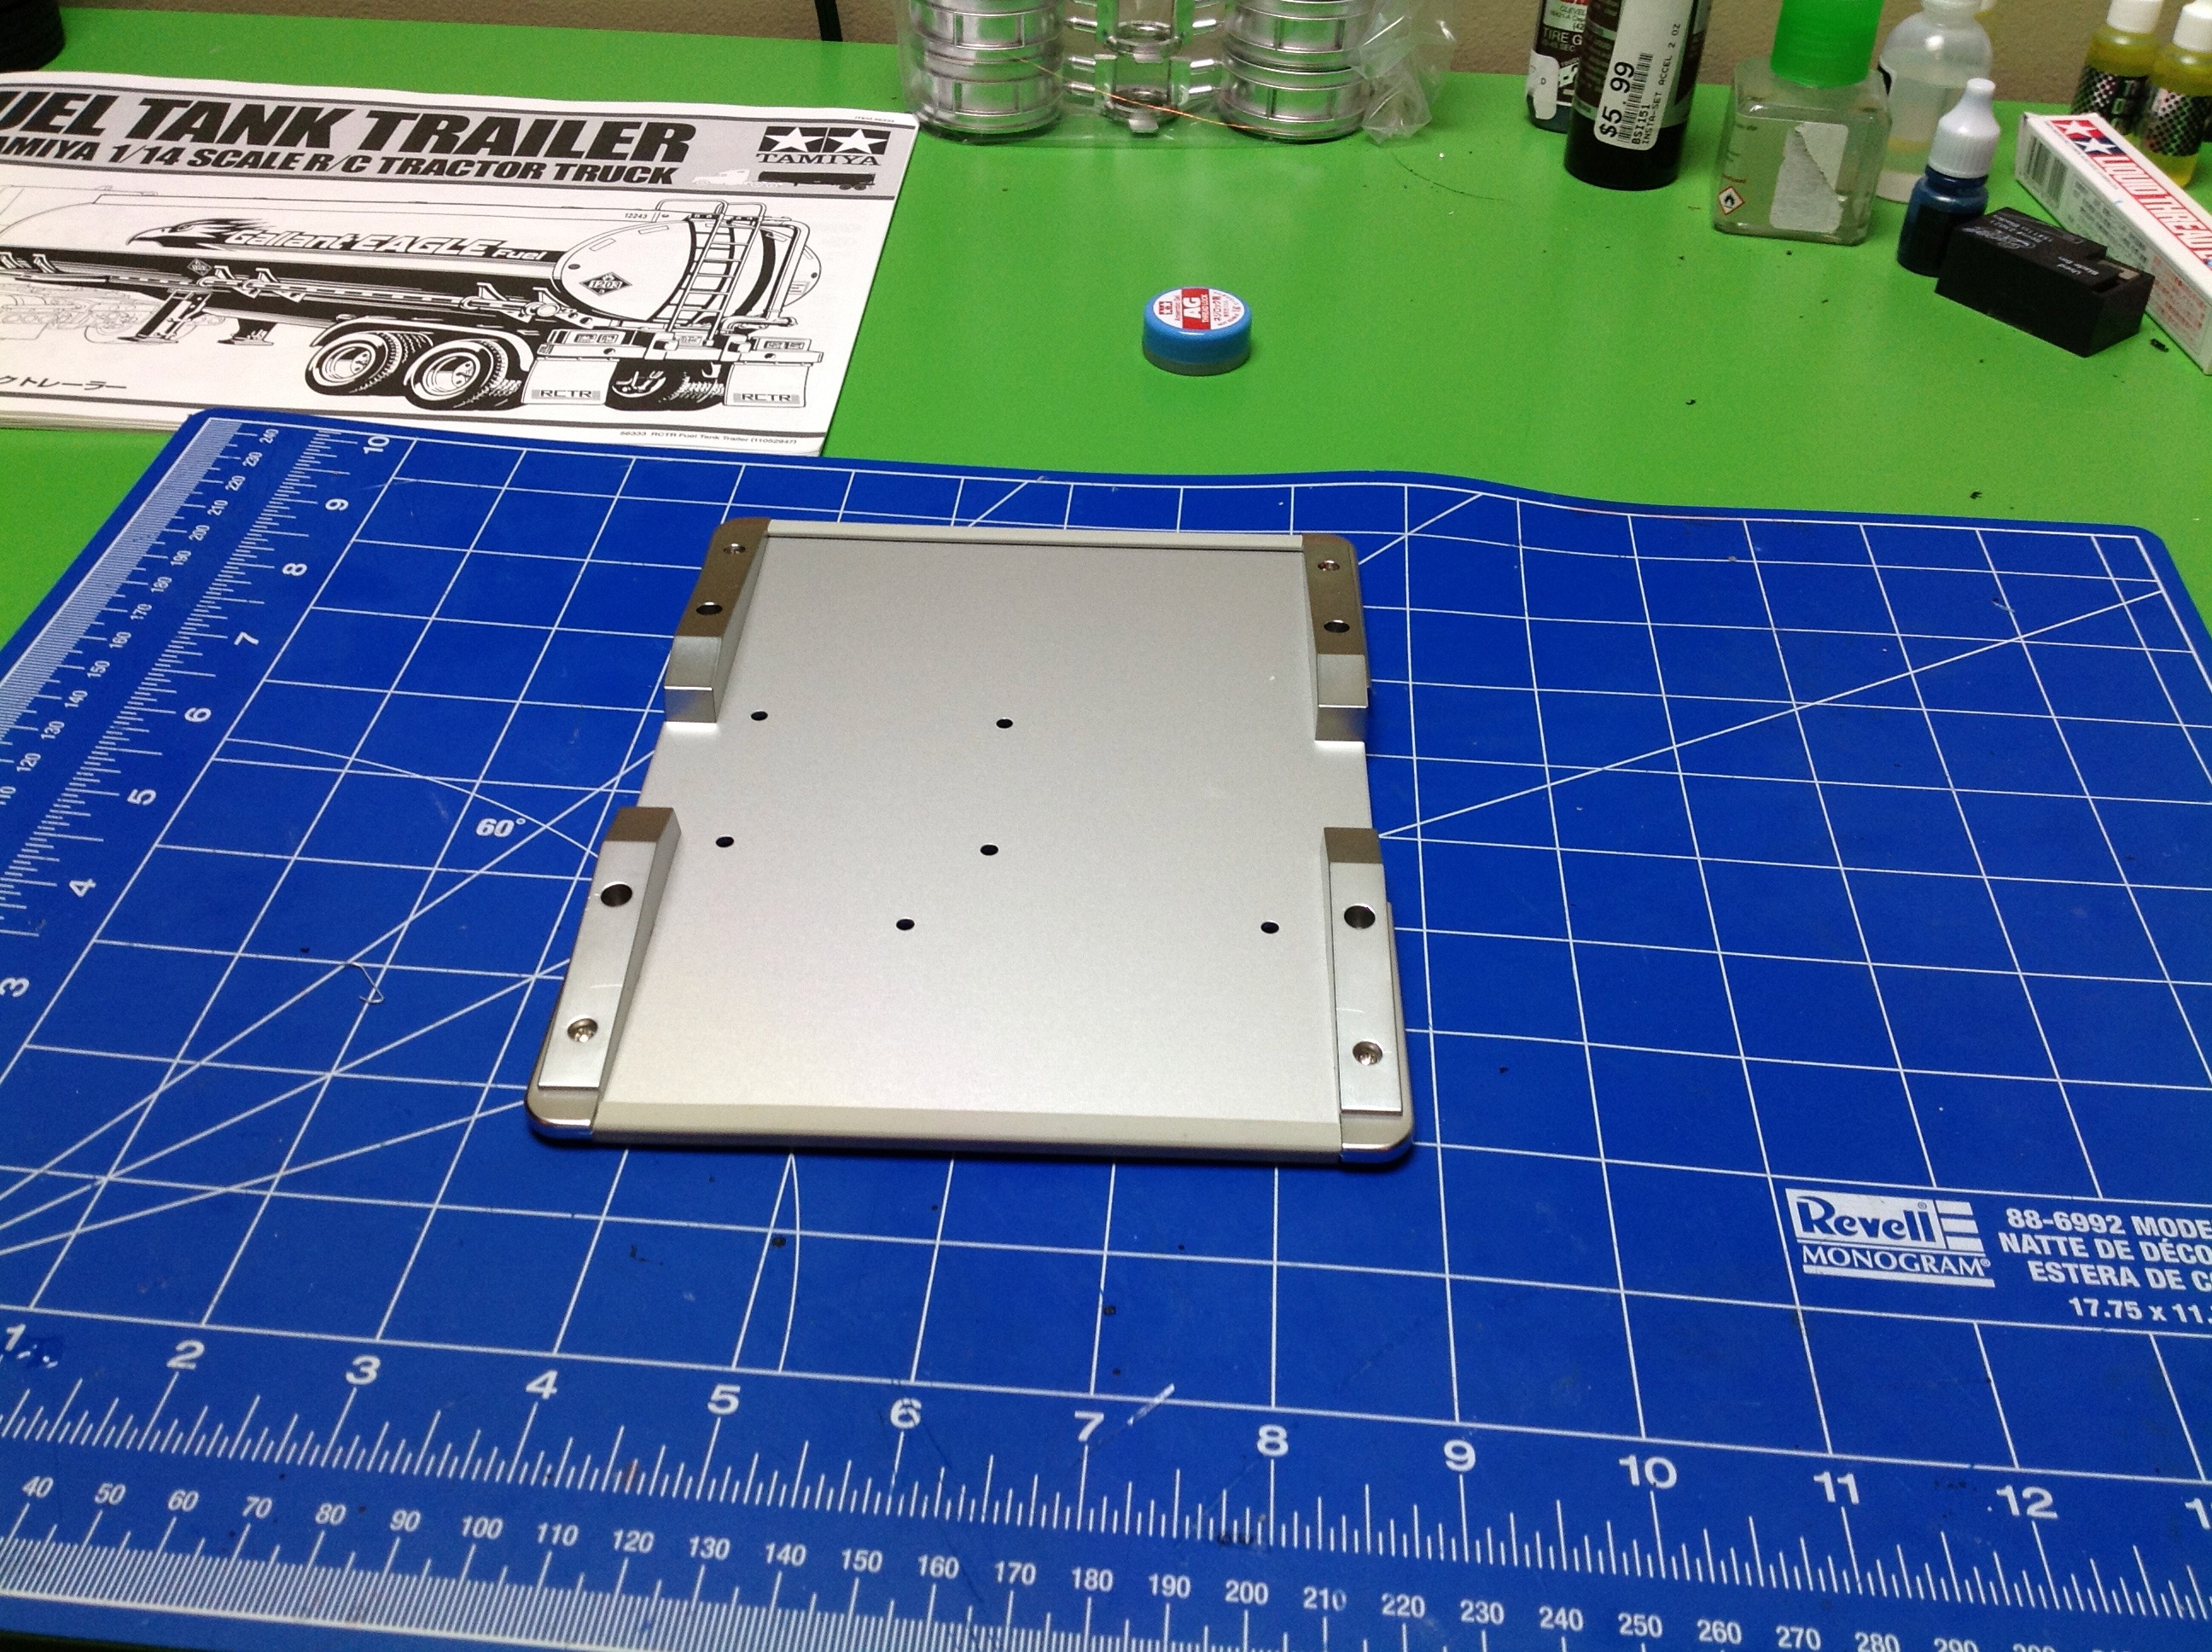
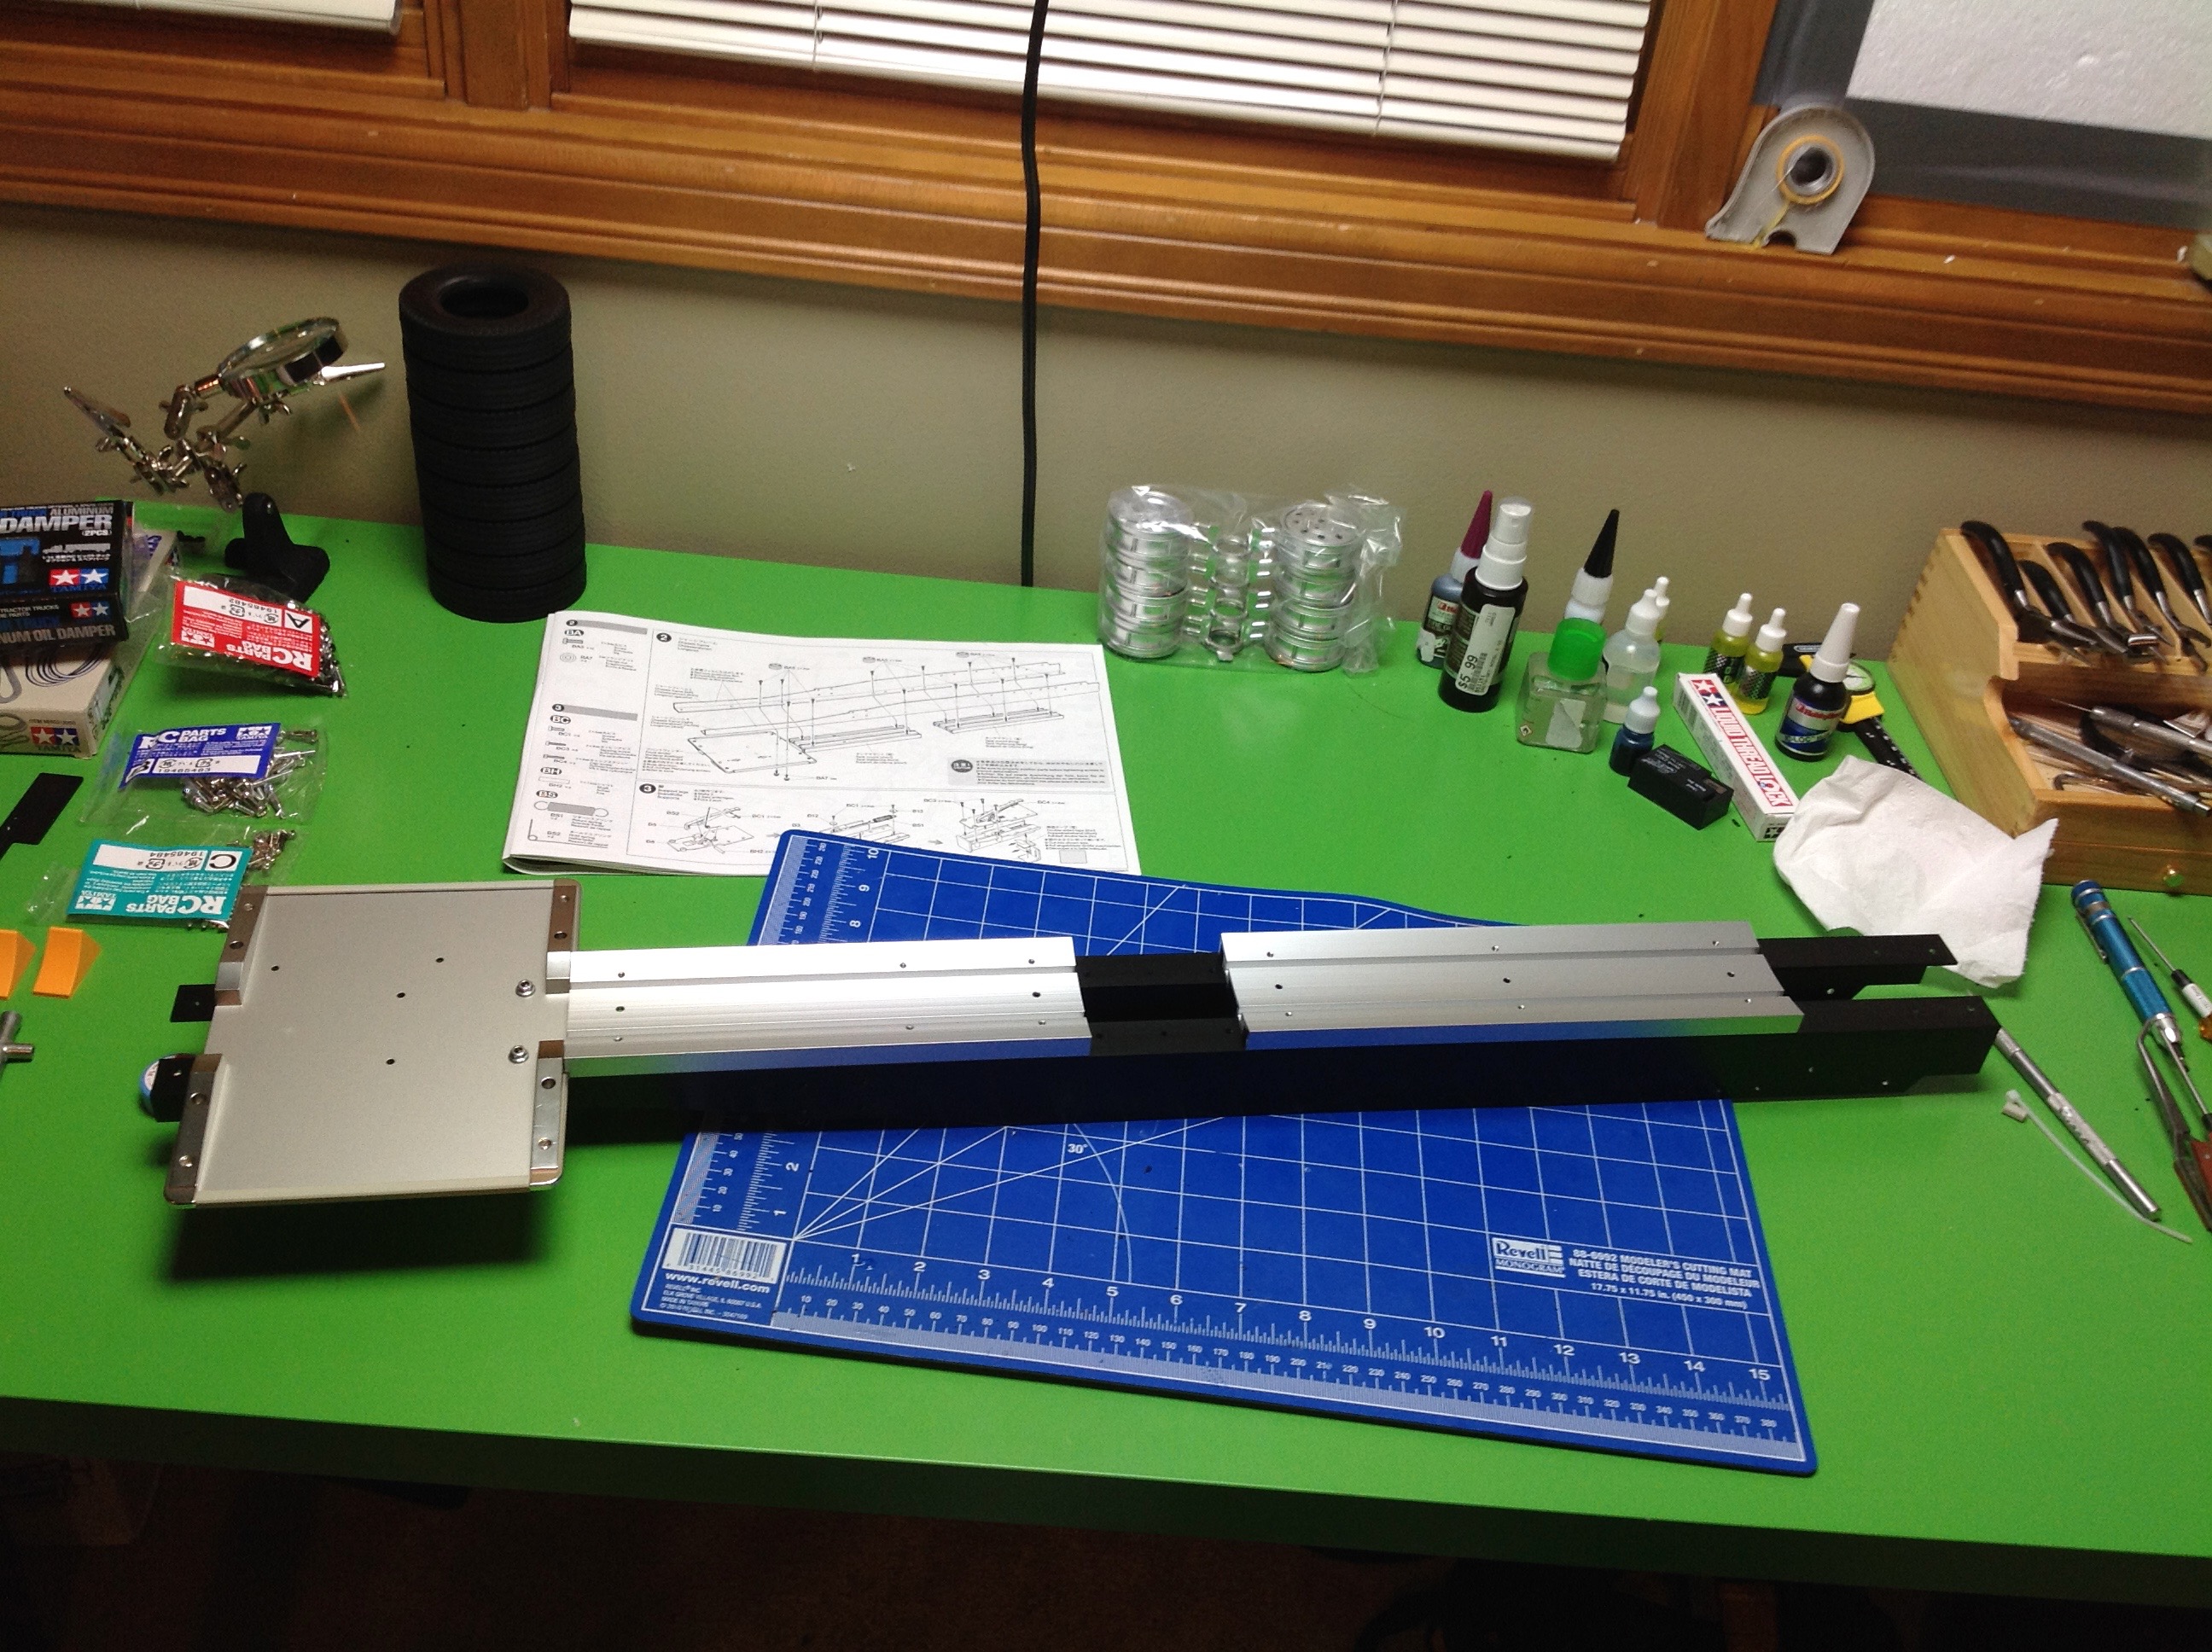
Step 1 is the forward deck which is an aluminum plate with some attached plastic stiffeners.
The side rails are long aluminum L-channels pre-drilled and
tapped. To this base the front deck is attached along with some
complex extruded aluminum supports for the tank.
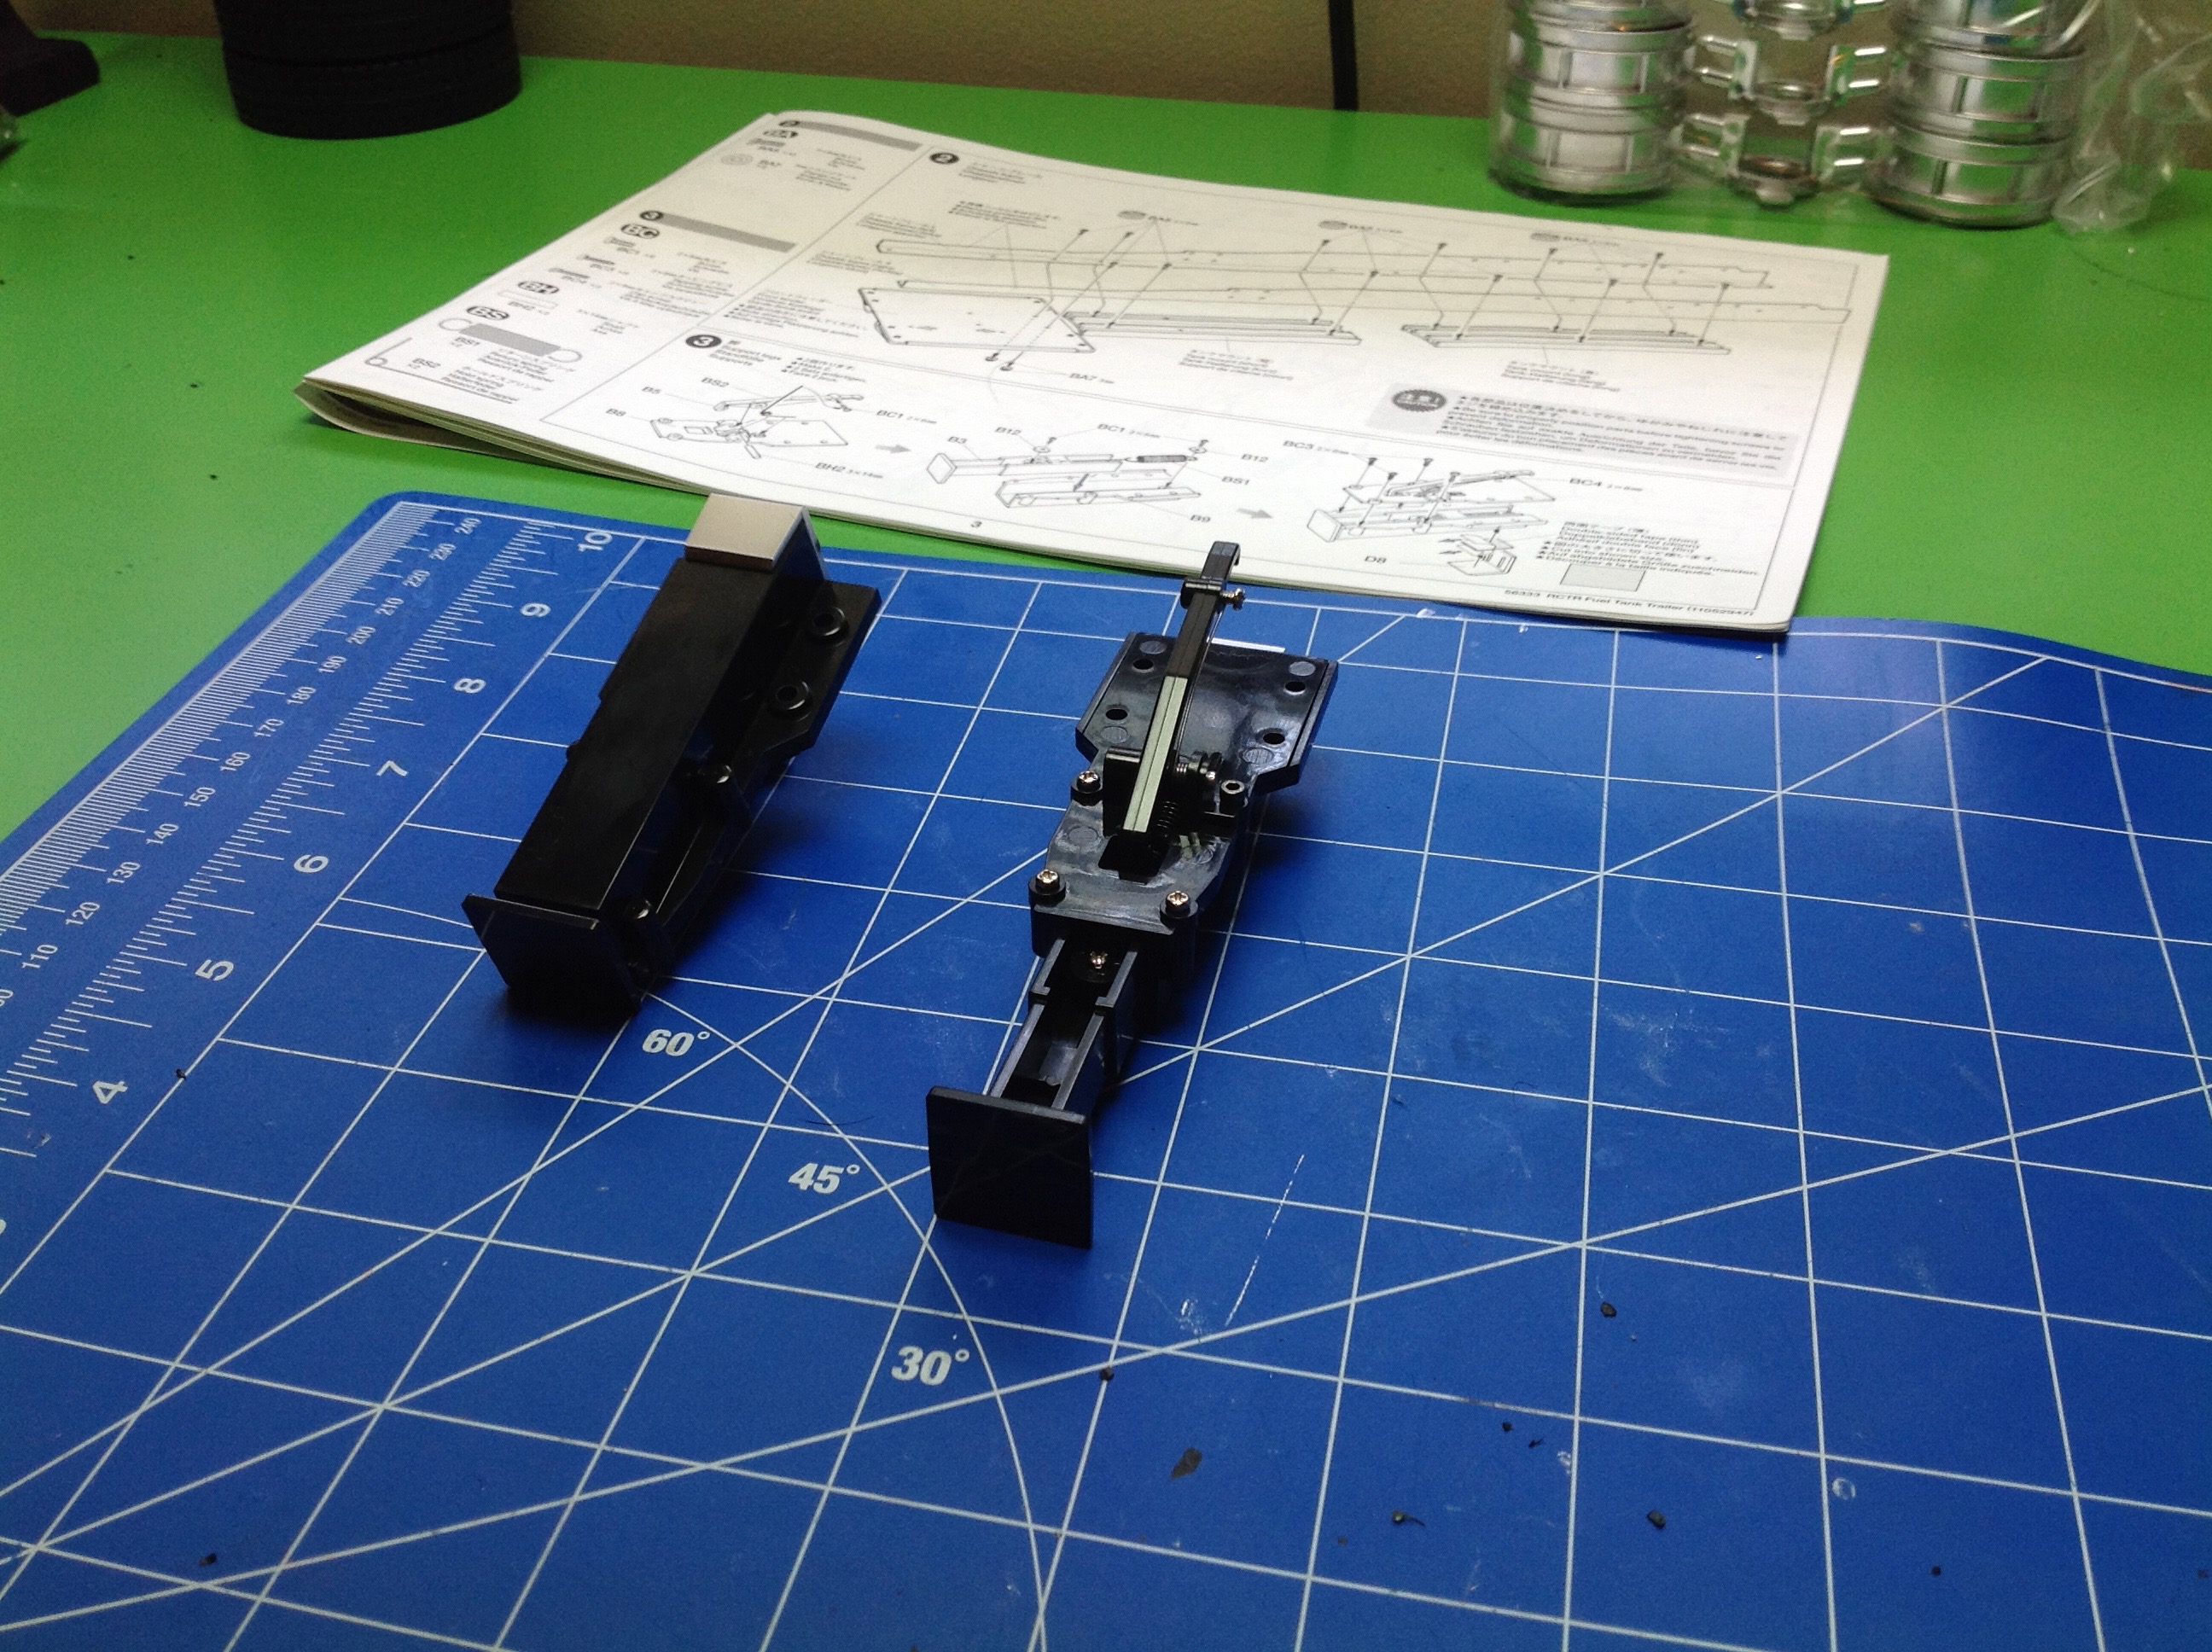
Step 3 is the spring loaded support legs or "landing gear" for the front
of the trailer. They are quite sturdy even with a heavy trailer
load.
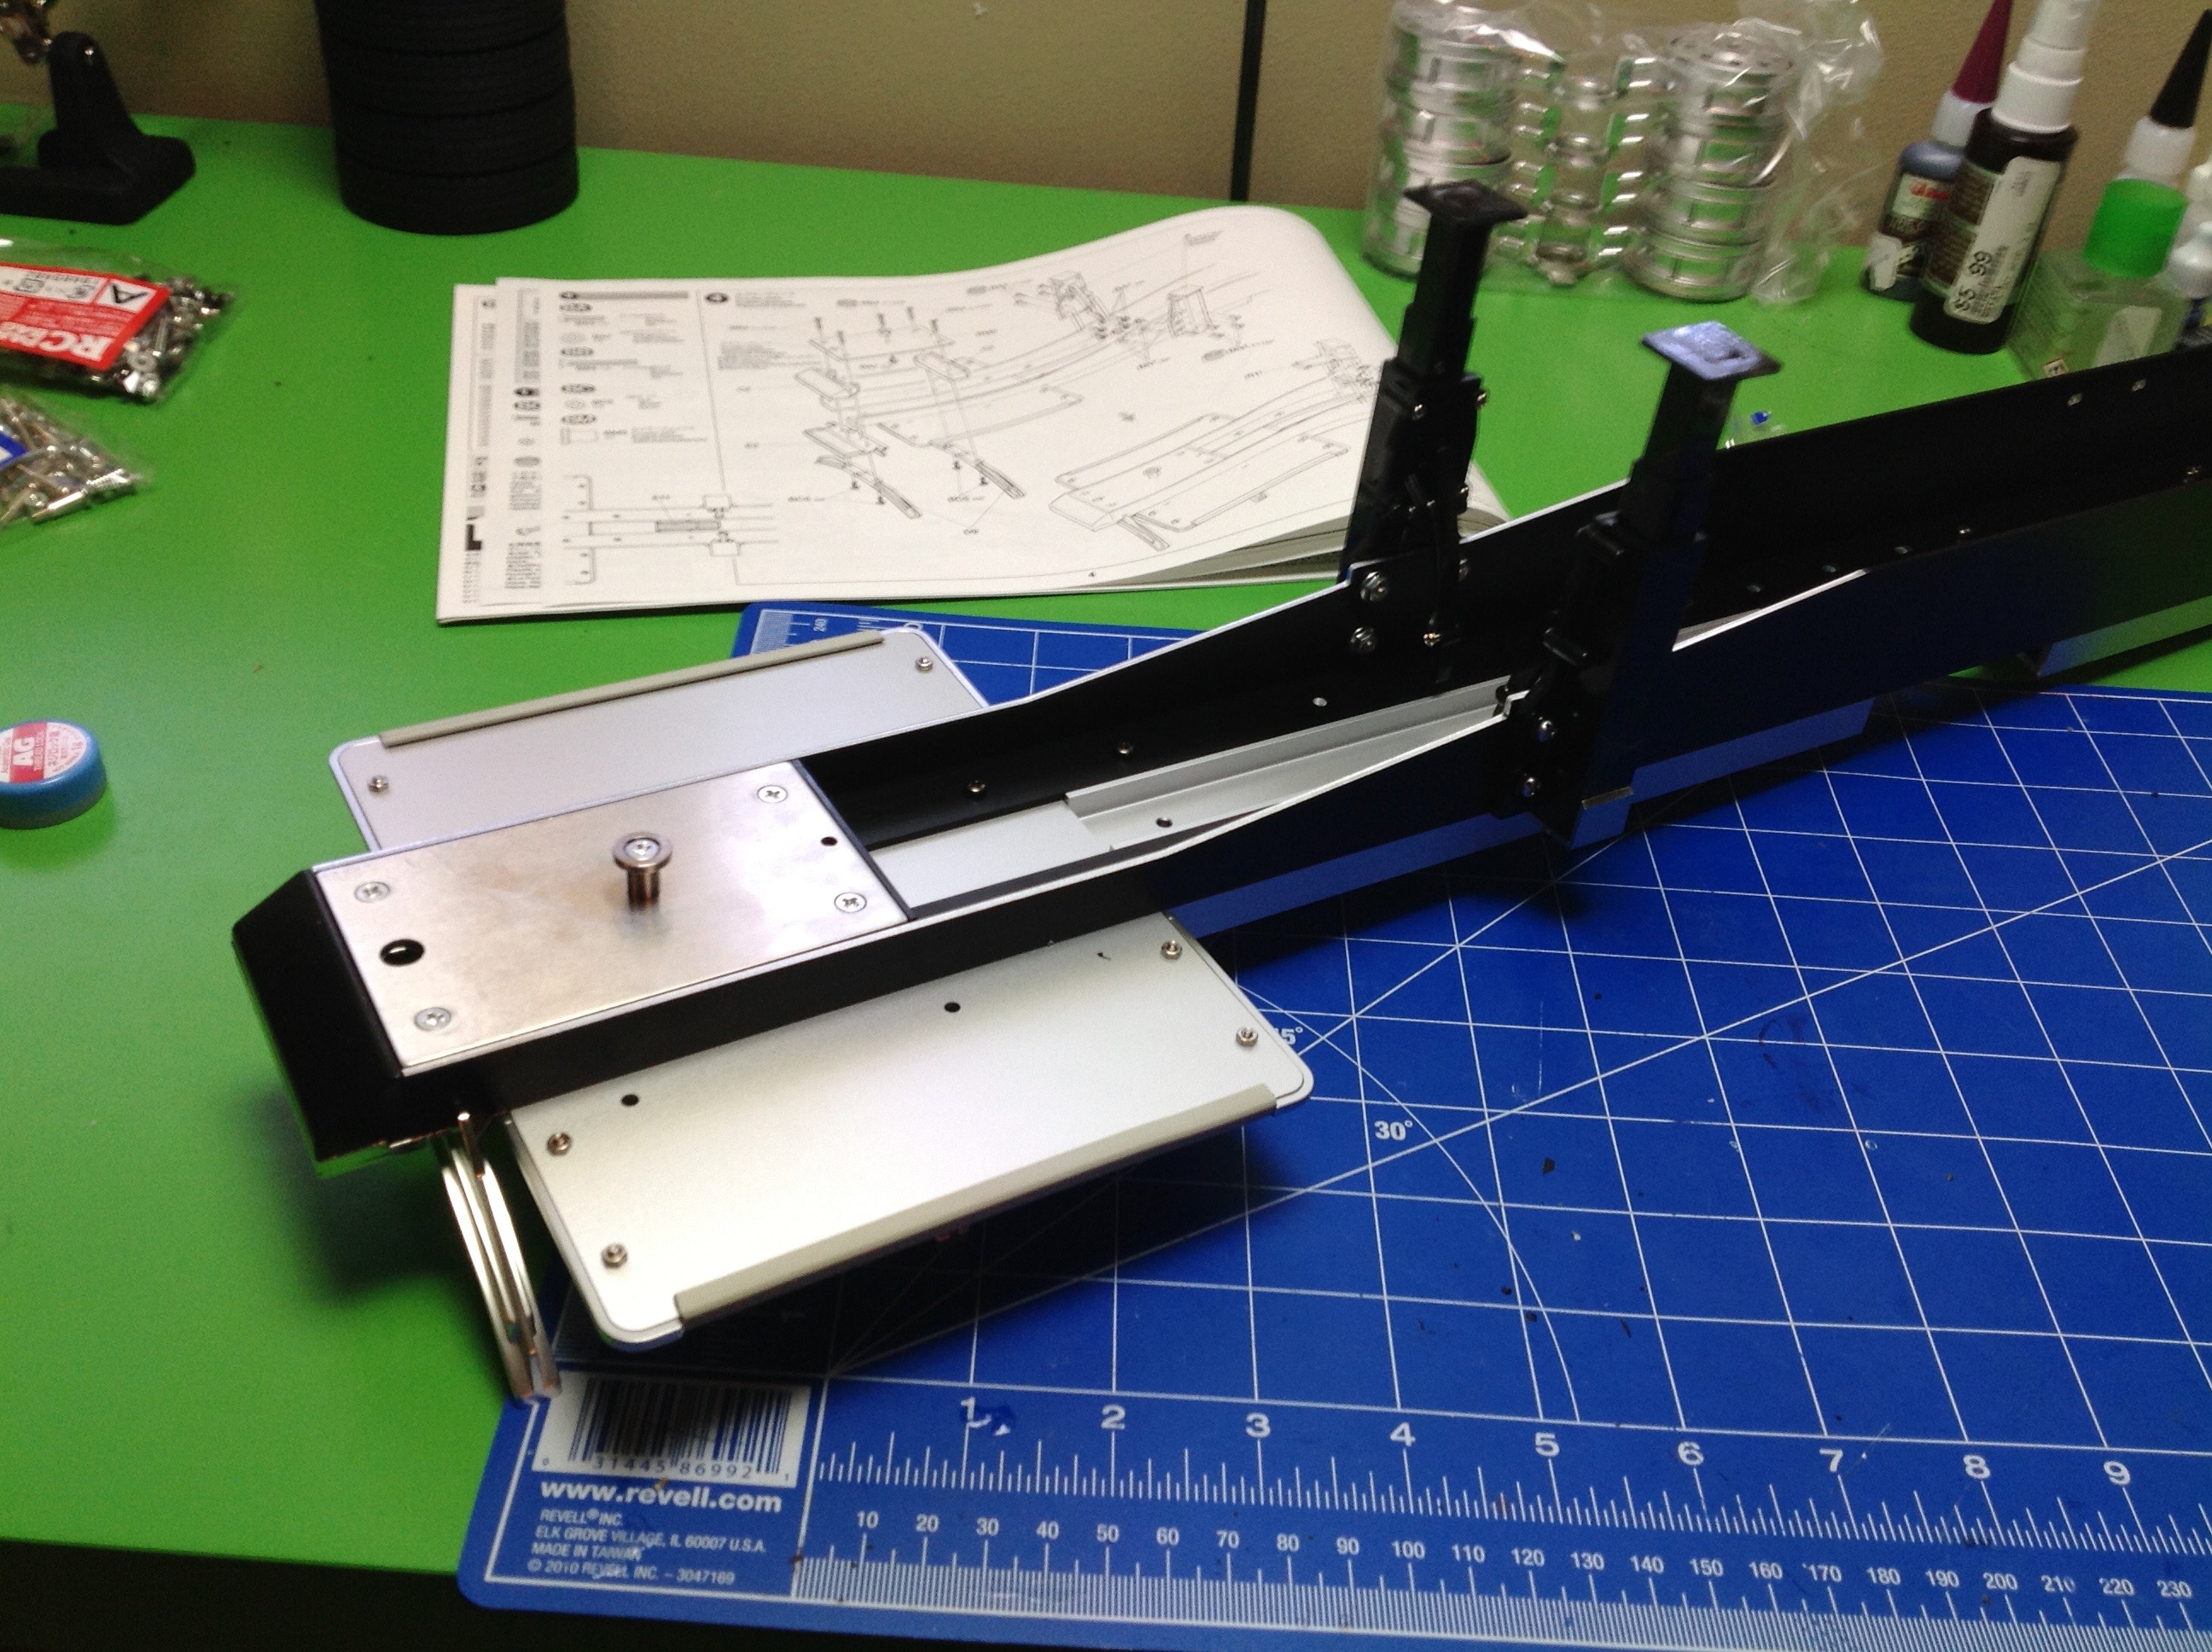
Now the legs are attached to the frame in Step 4 along with a bunch of
other plates and the kingpin. One thing you can start to notice is
that virtually the entire trailer is metal. The only plastic
parts are the support legs and the bumper.
The rest of the coupling mechanism is installed in Step 5, and it is
pretty slick. When the kingpin engages with the 5th wheel it
pushes a rod which triggers the spring loaded support legs to
retract. This means you can back up to a trailer and couple all
remotely without ever touching the model. You do need to manually
disengage the coupler and extend the legs when disconnecting though.
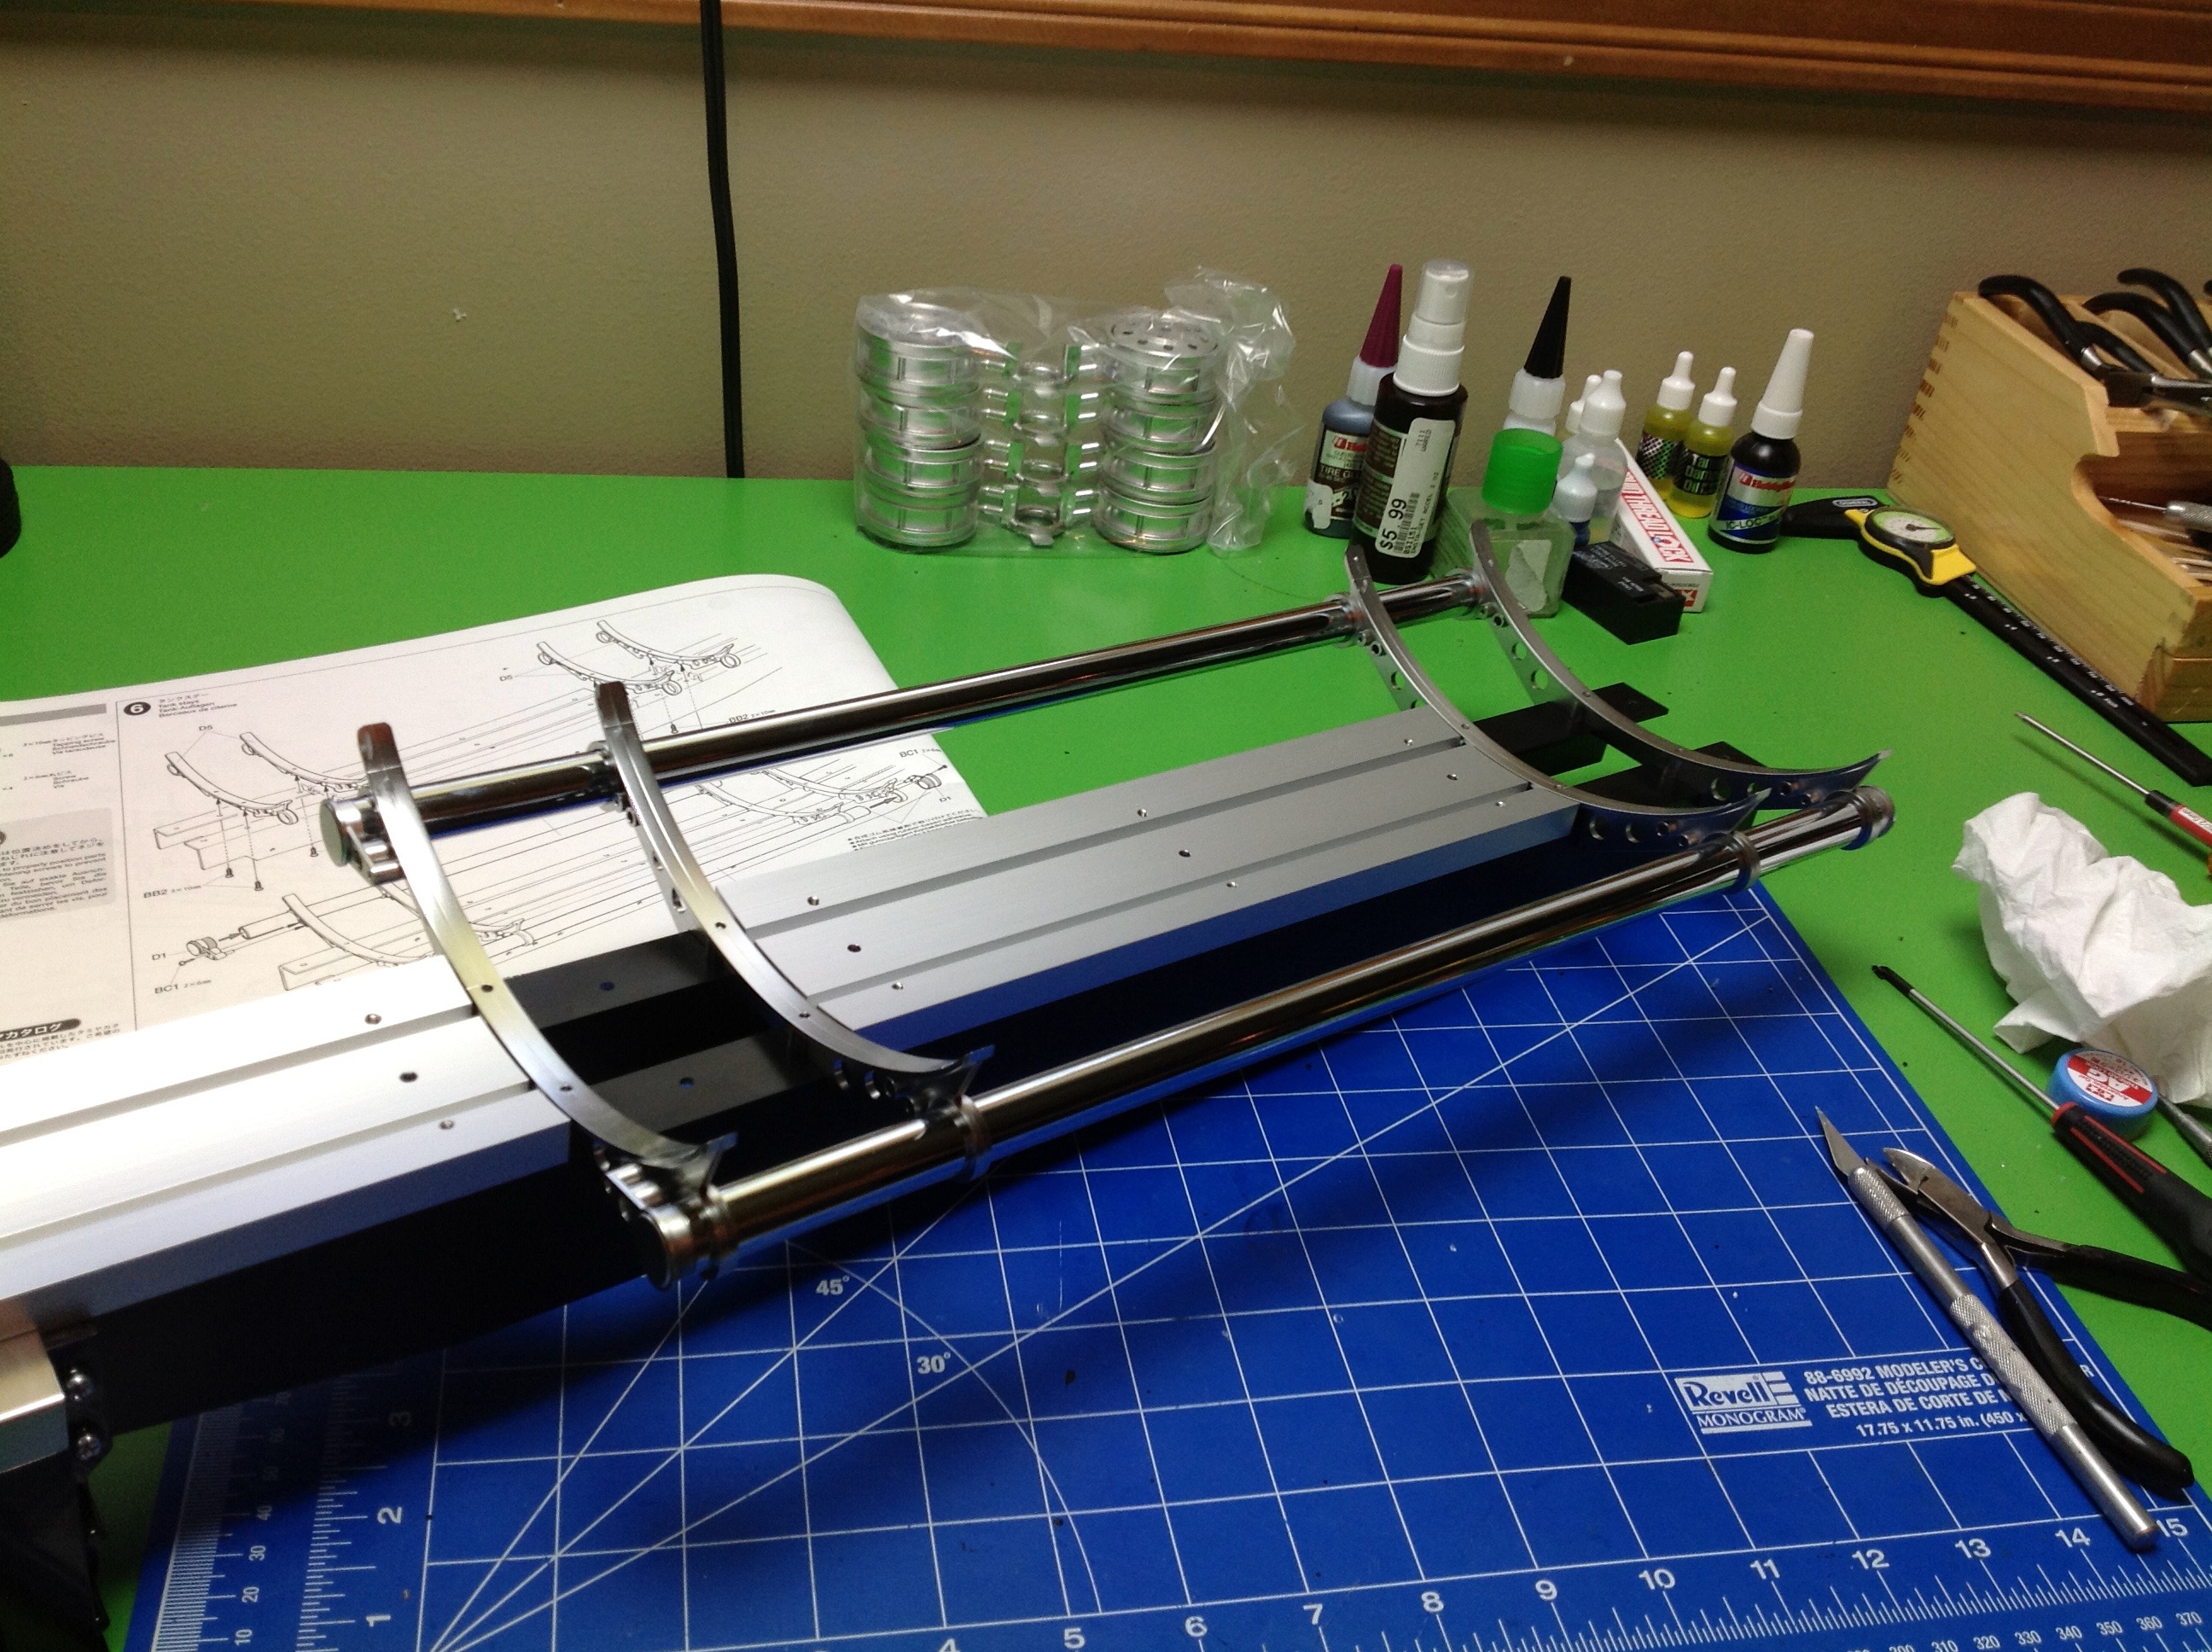
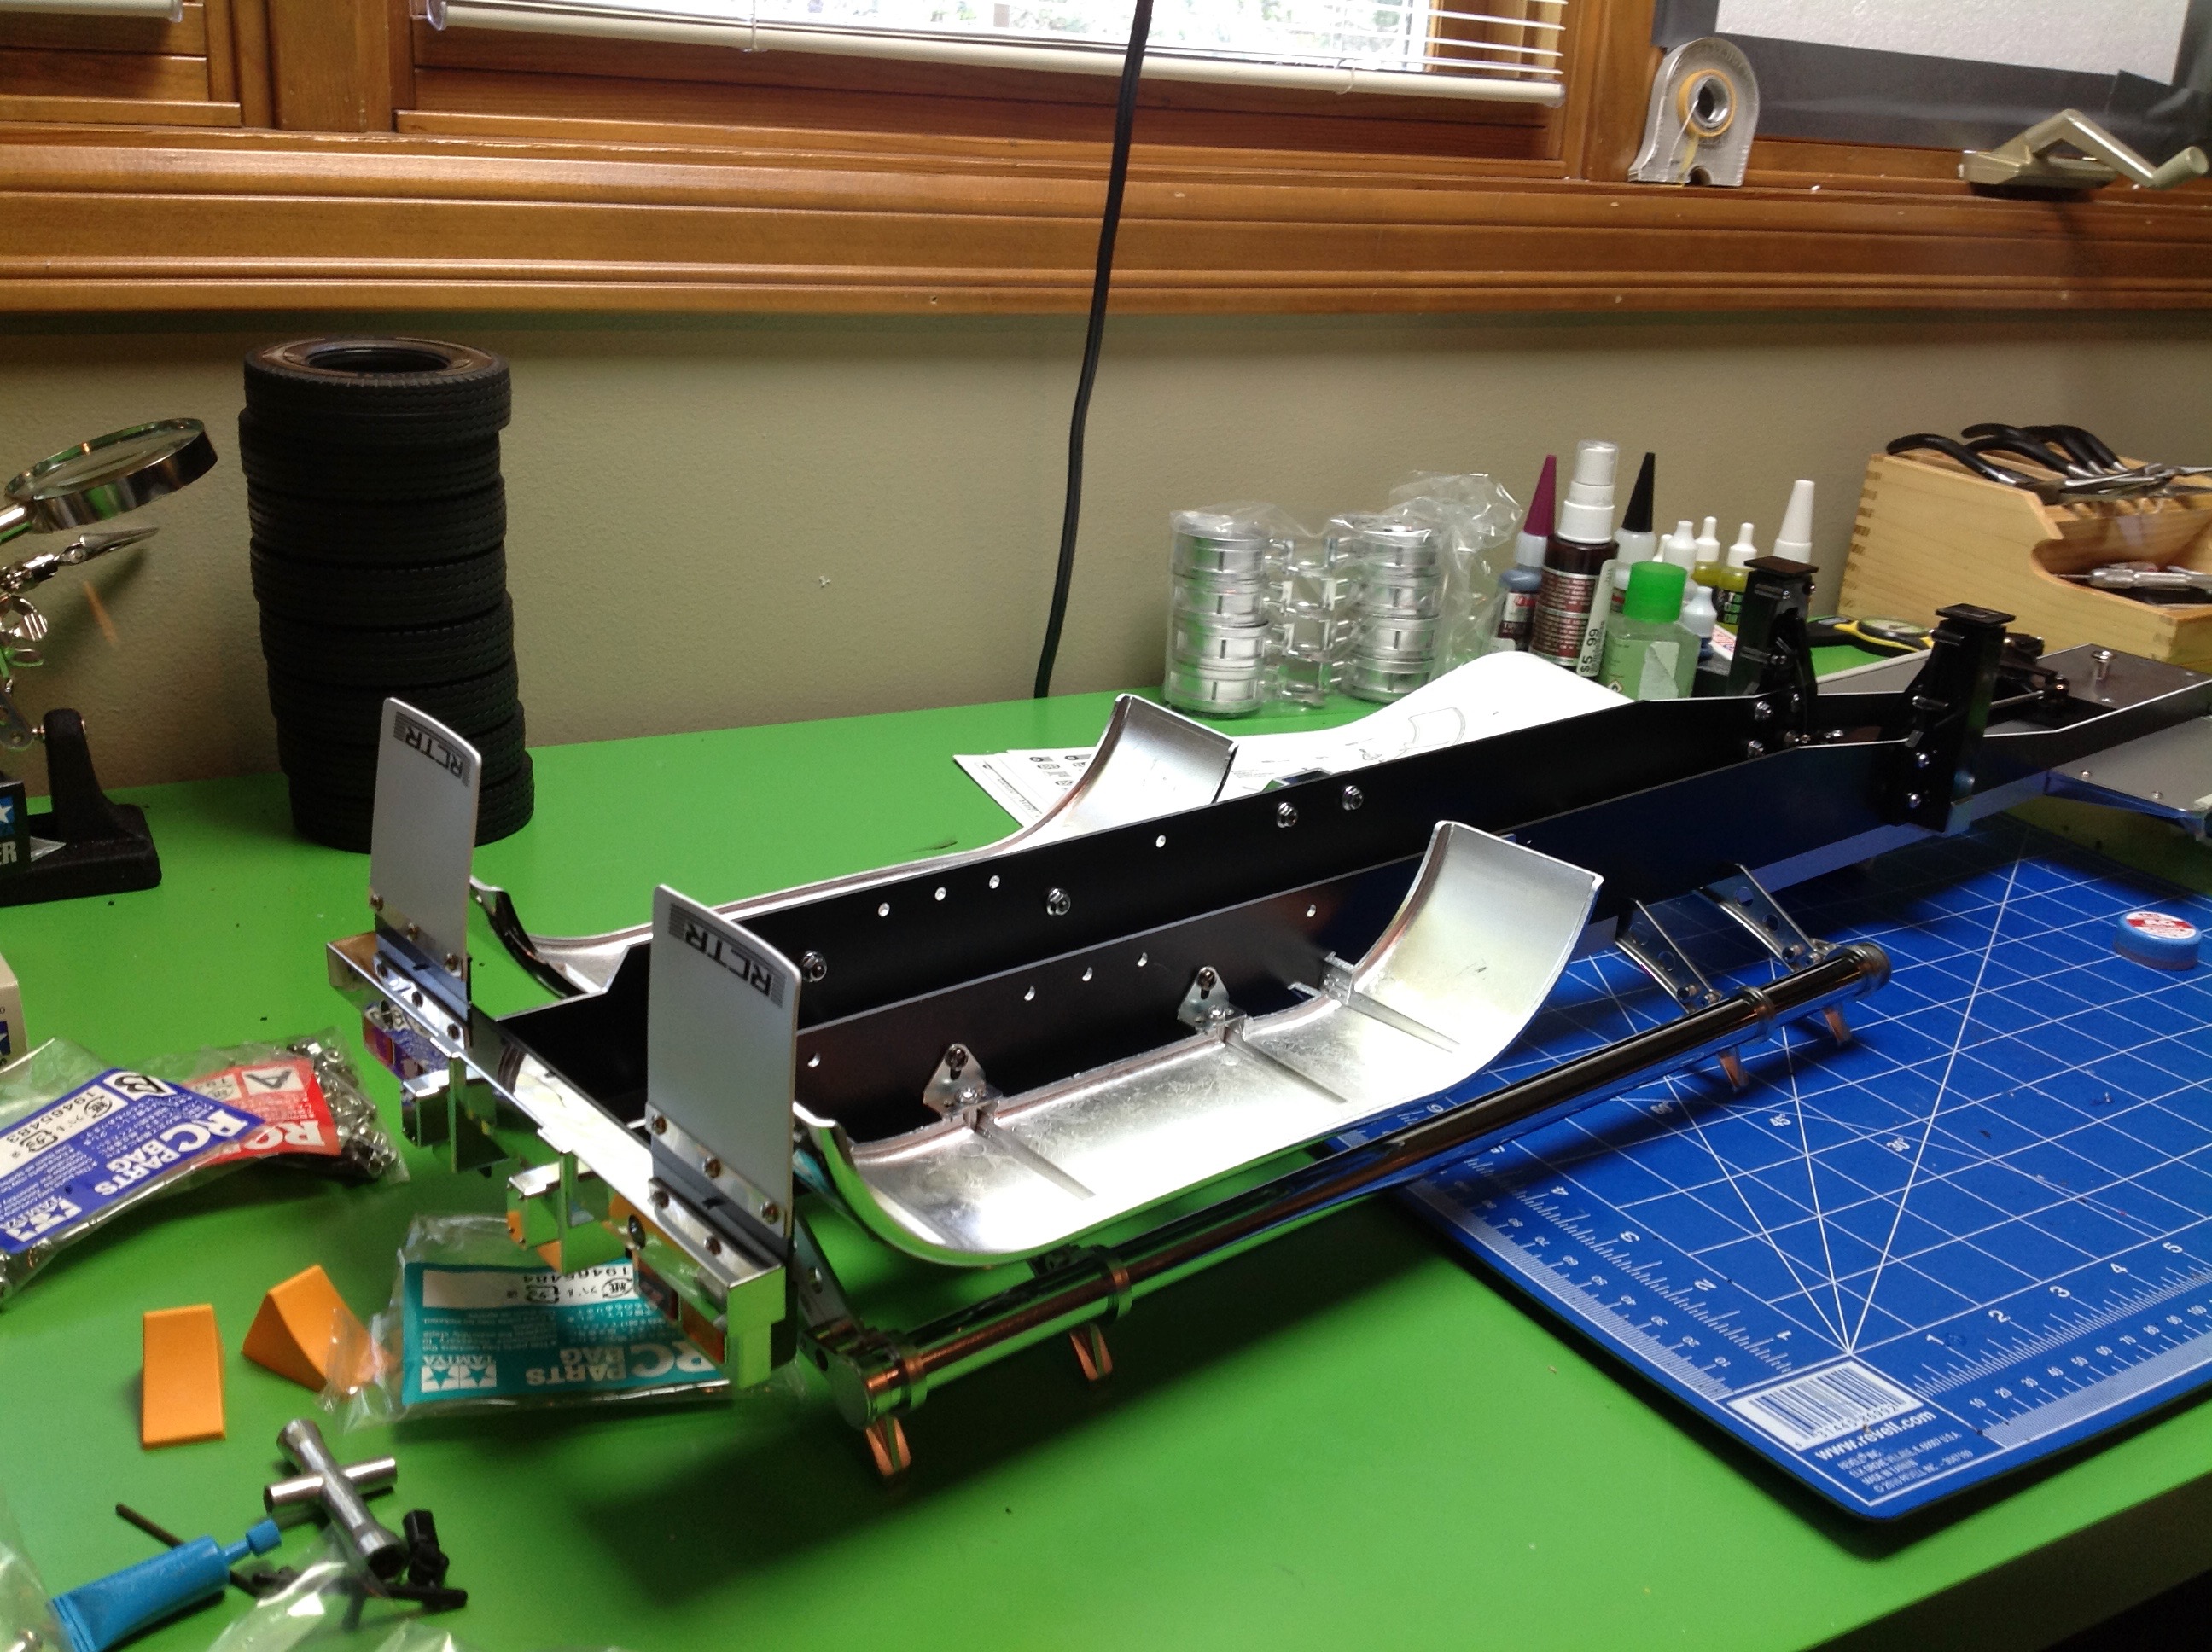
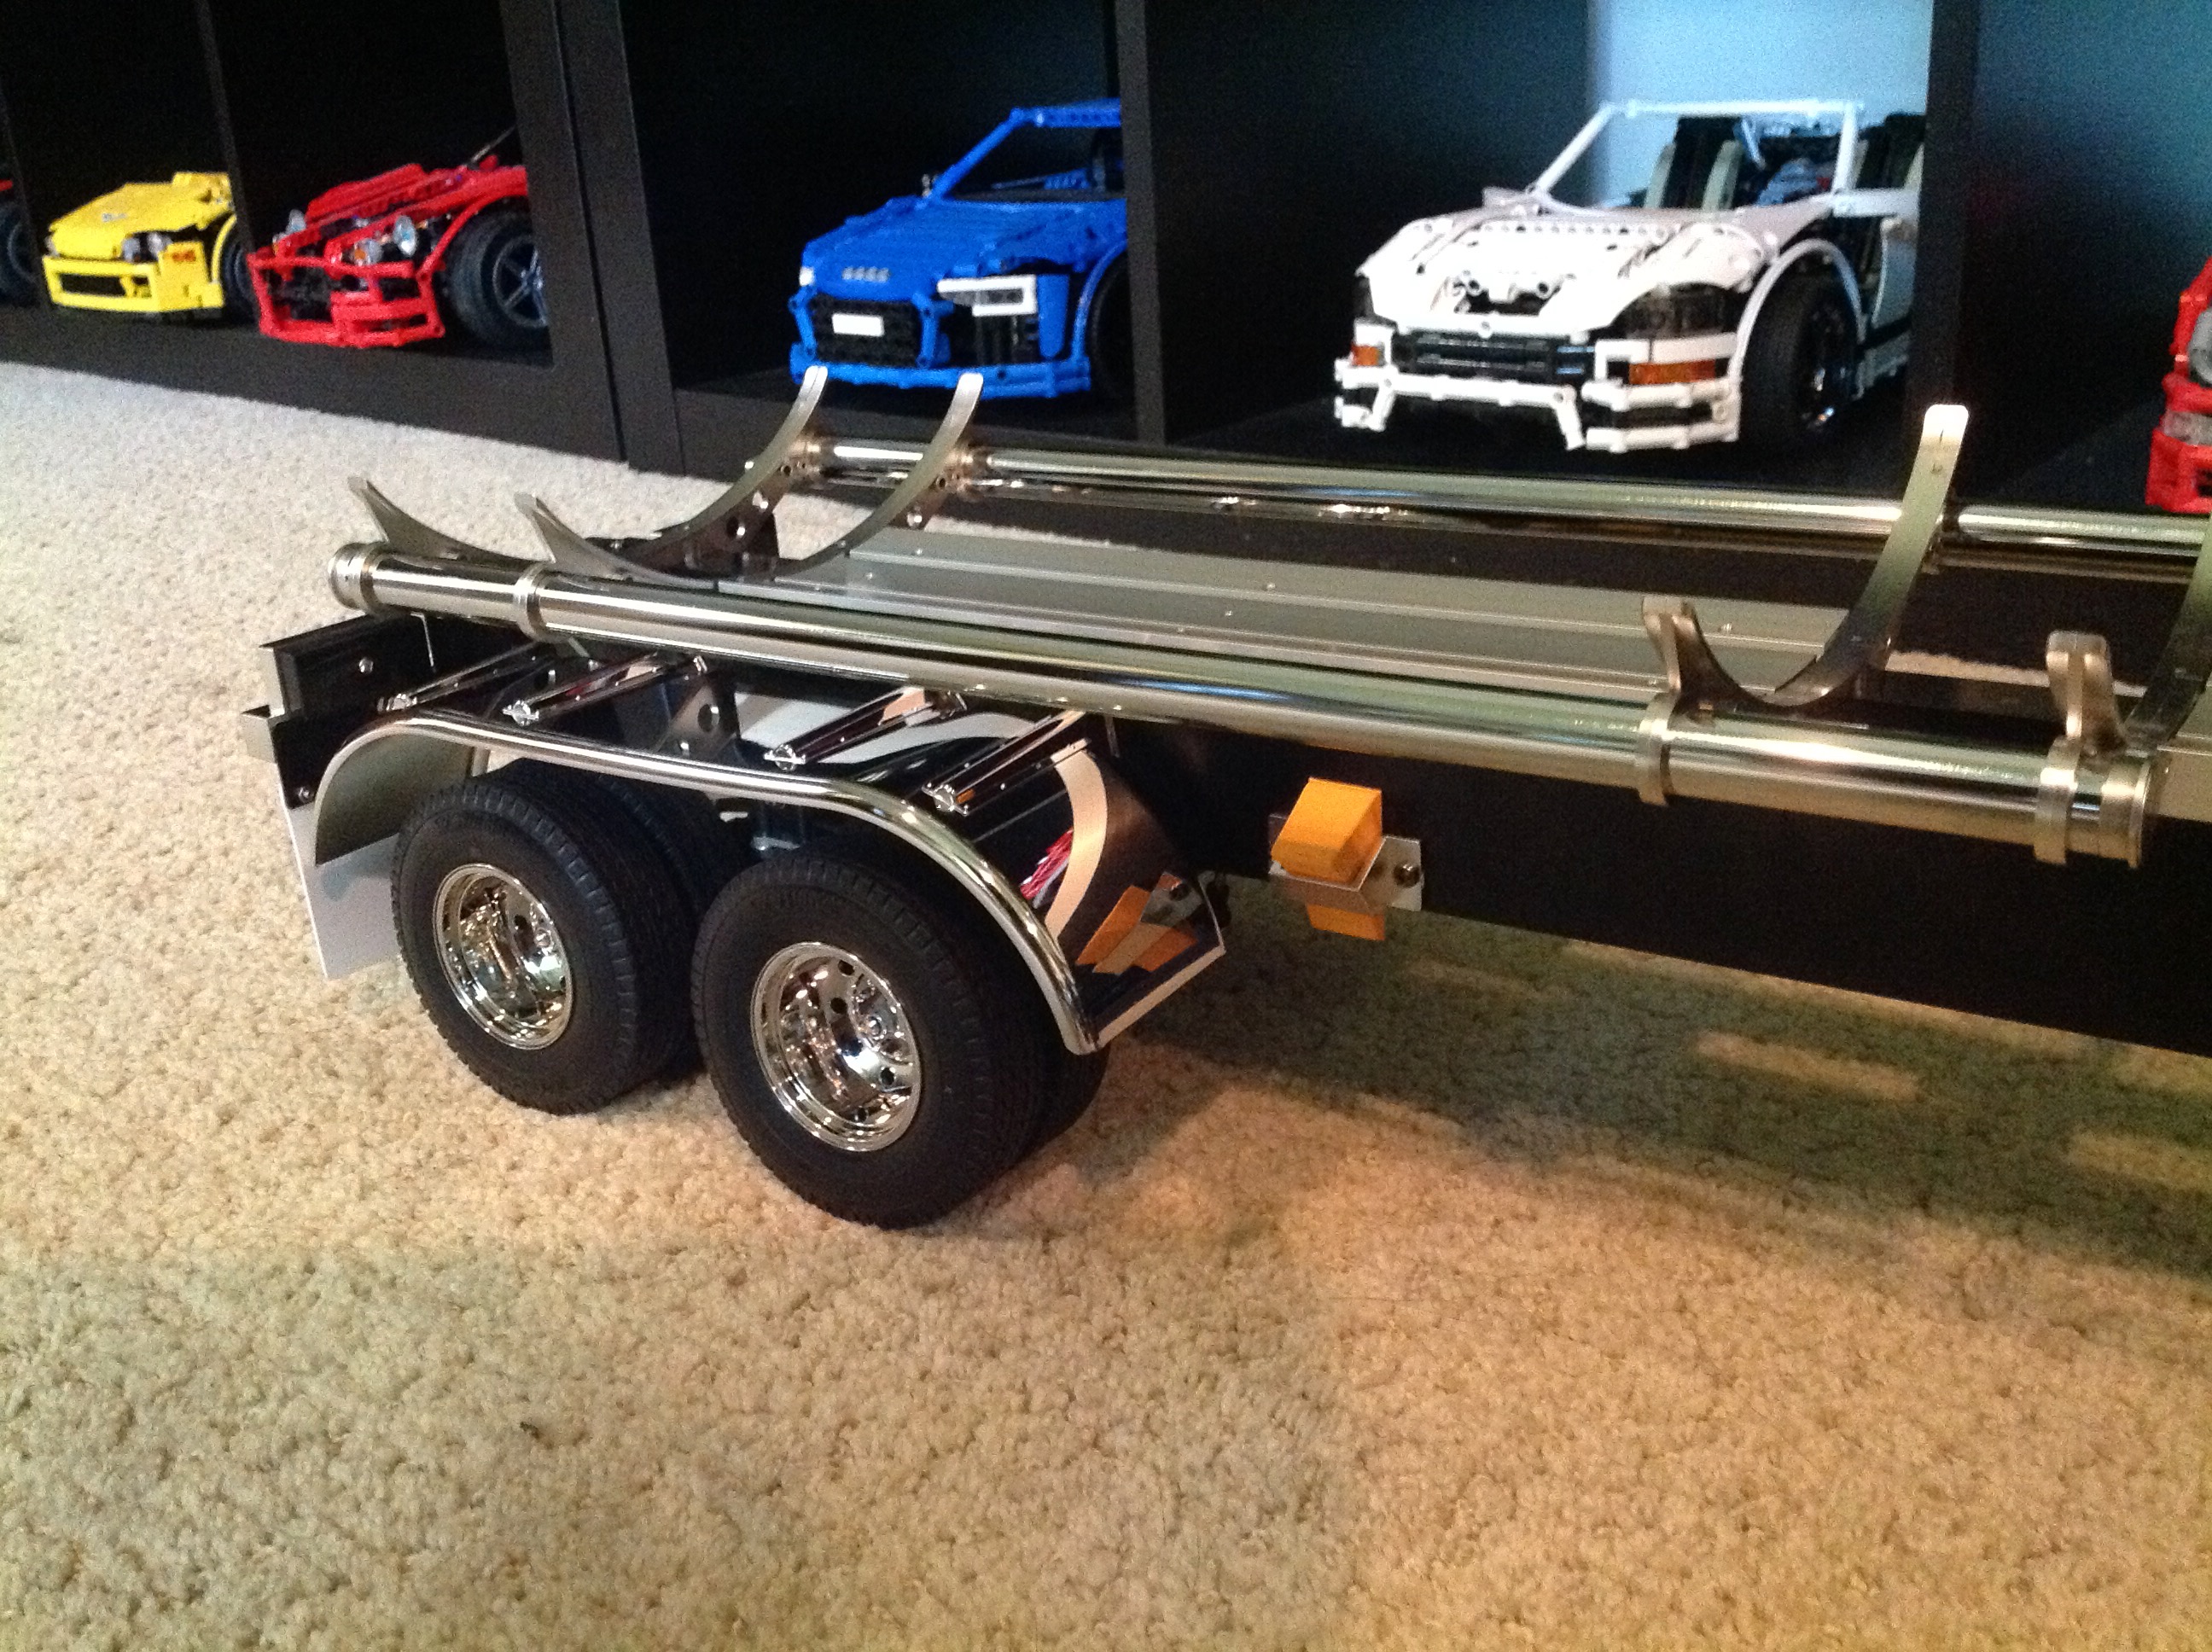
Step 6 is the installation of the cradles and also the long tubes along the
edge. These are usually used to hold flexible ribbed hoses for
unloading the fuel into underground tanks.
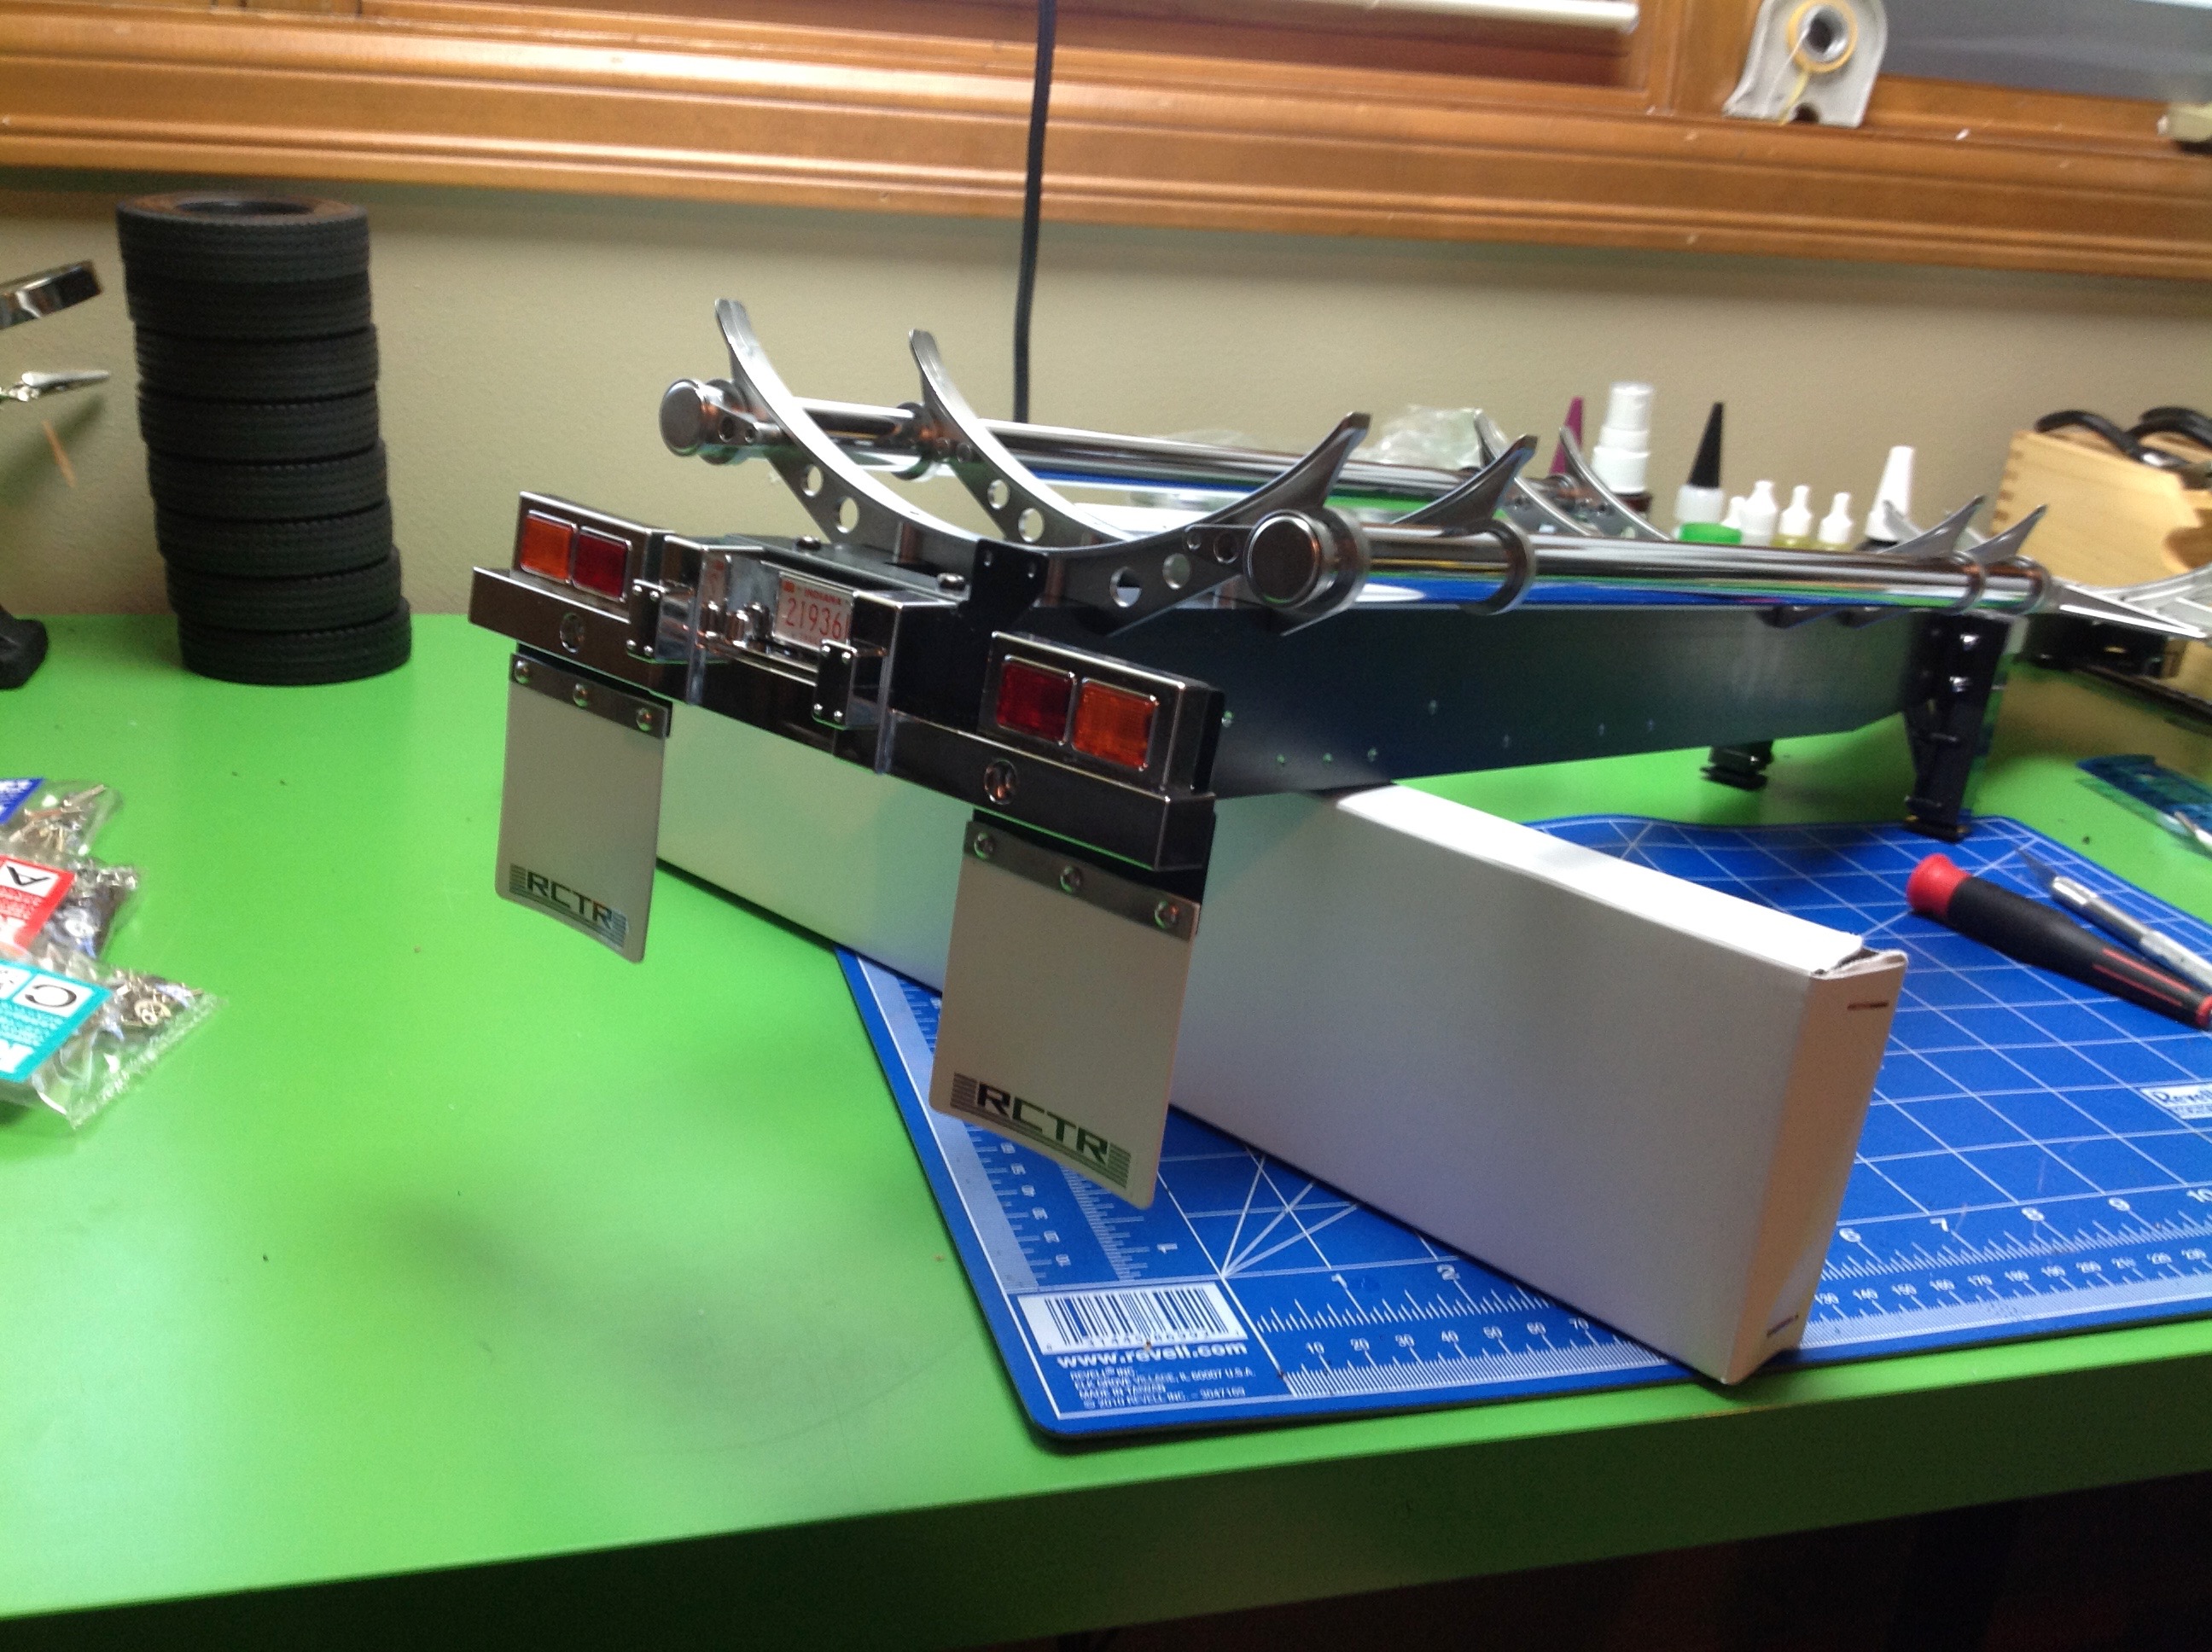
Step 7 is the rear bumper and the mud flaps. Notice that these
match the shape and style of those on the truck. I'll also be
installing trailer lights here which will plug into the truck MFC and
operate accordingly.
Step 8 installs the long chrome fenders. There are also a pair of
brackets which support the wheel chocks. The chocks end up being
important because you need to secure the trailer from rolling backward
when you back the truck into it.
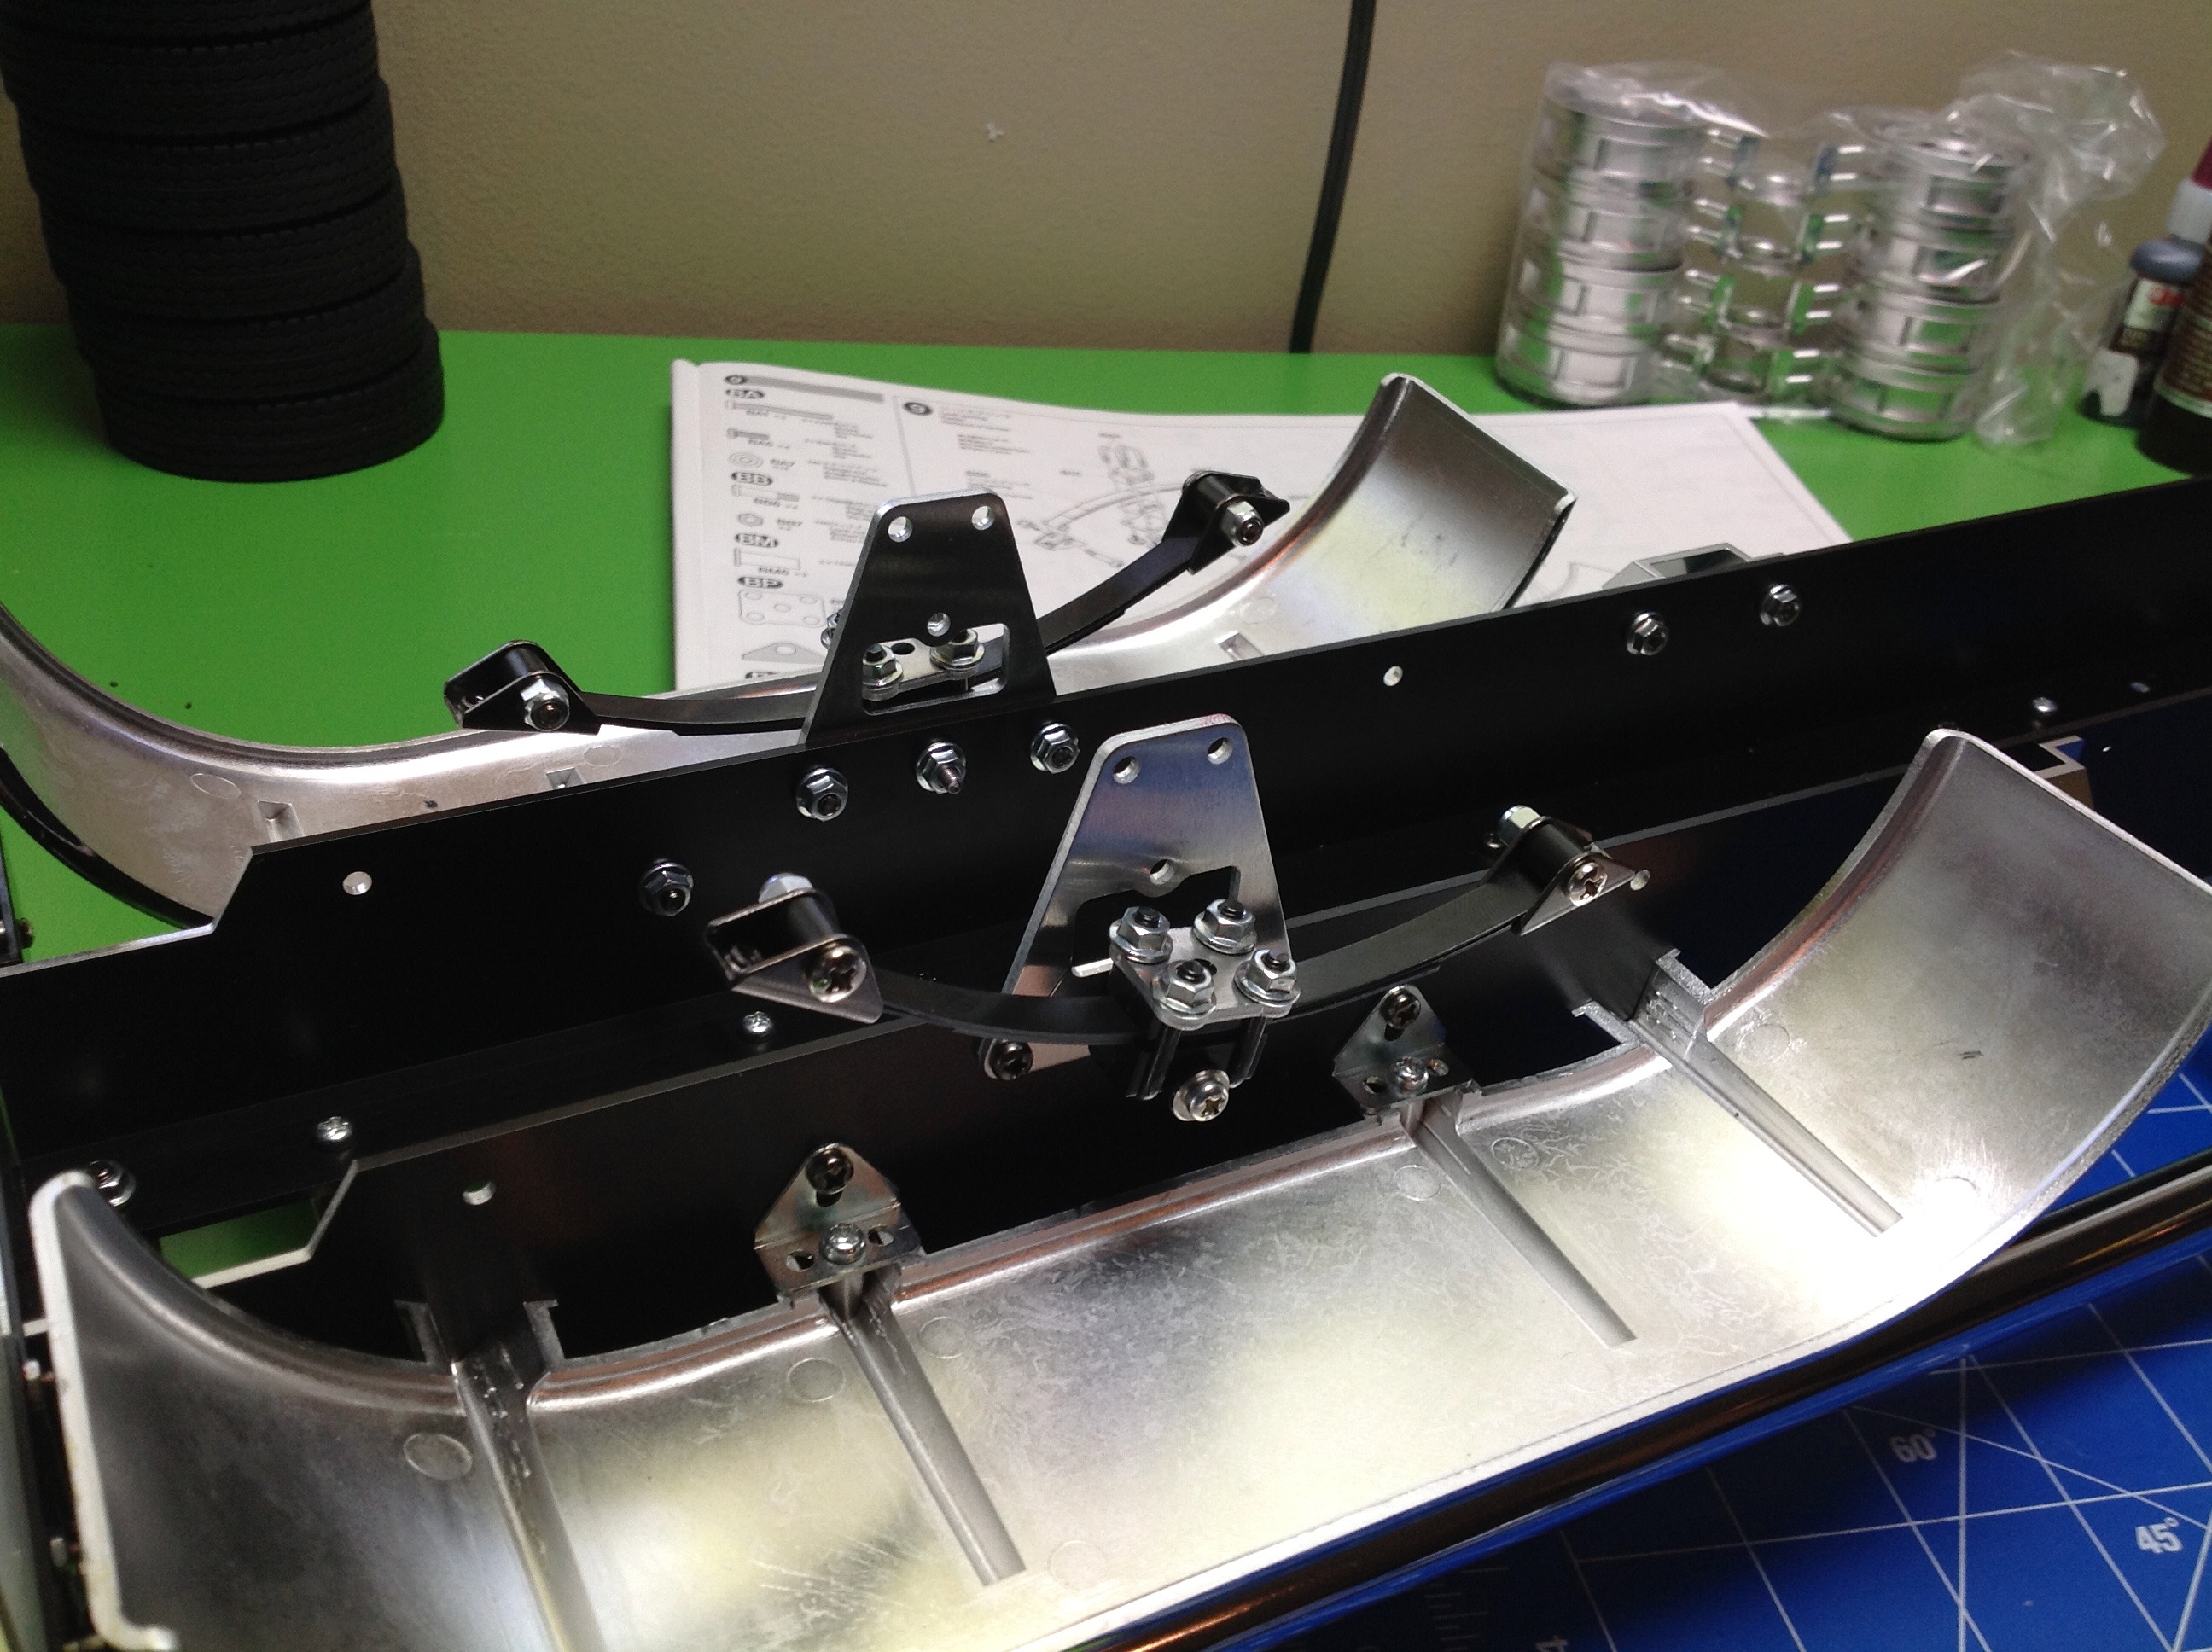
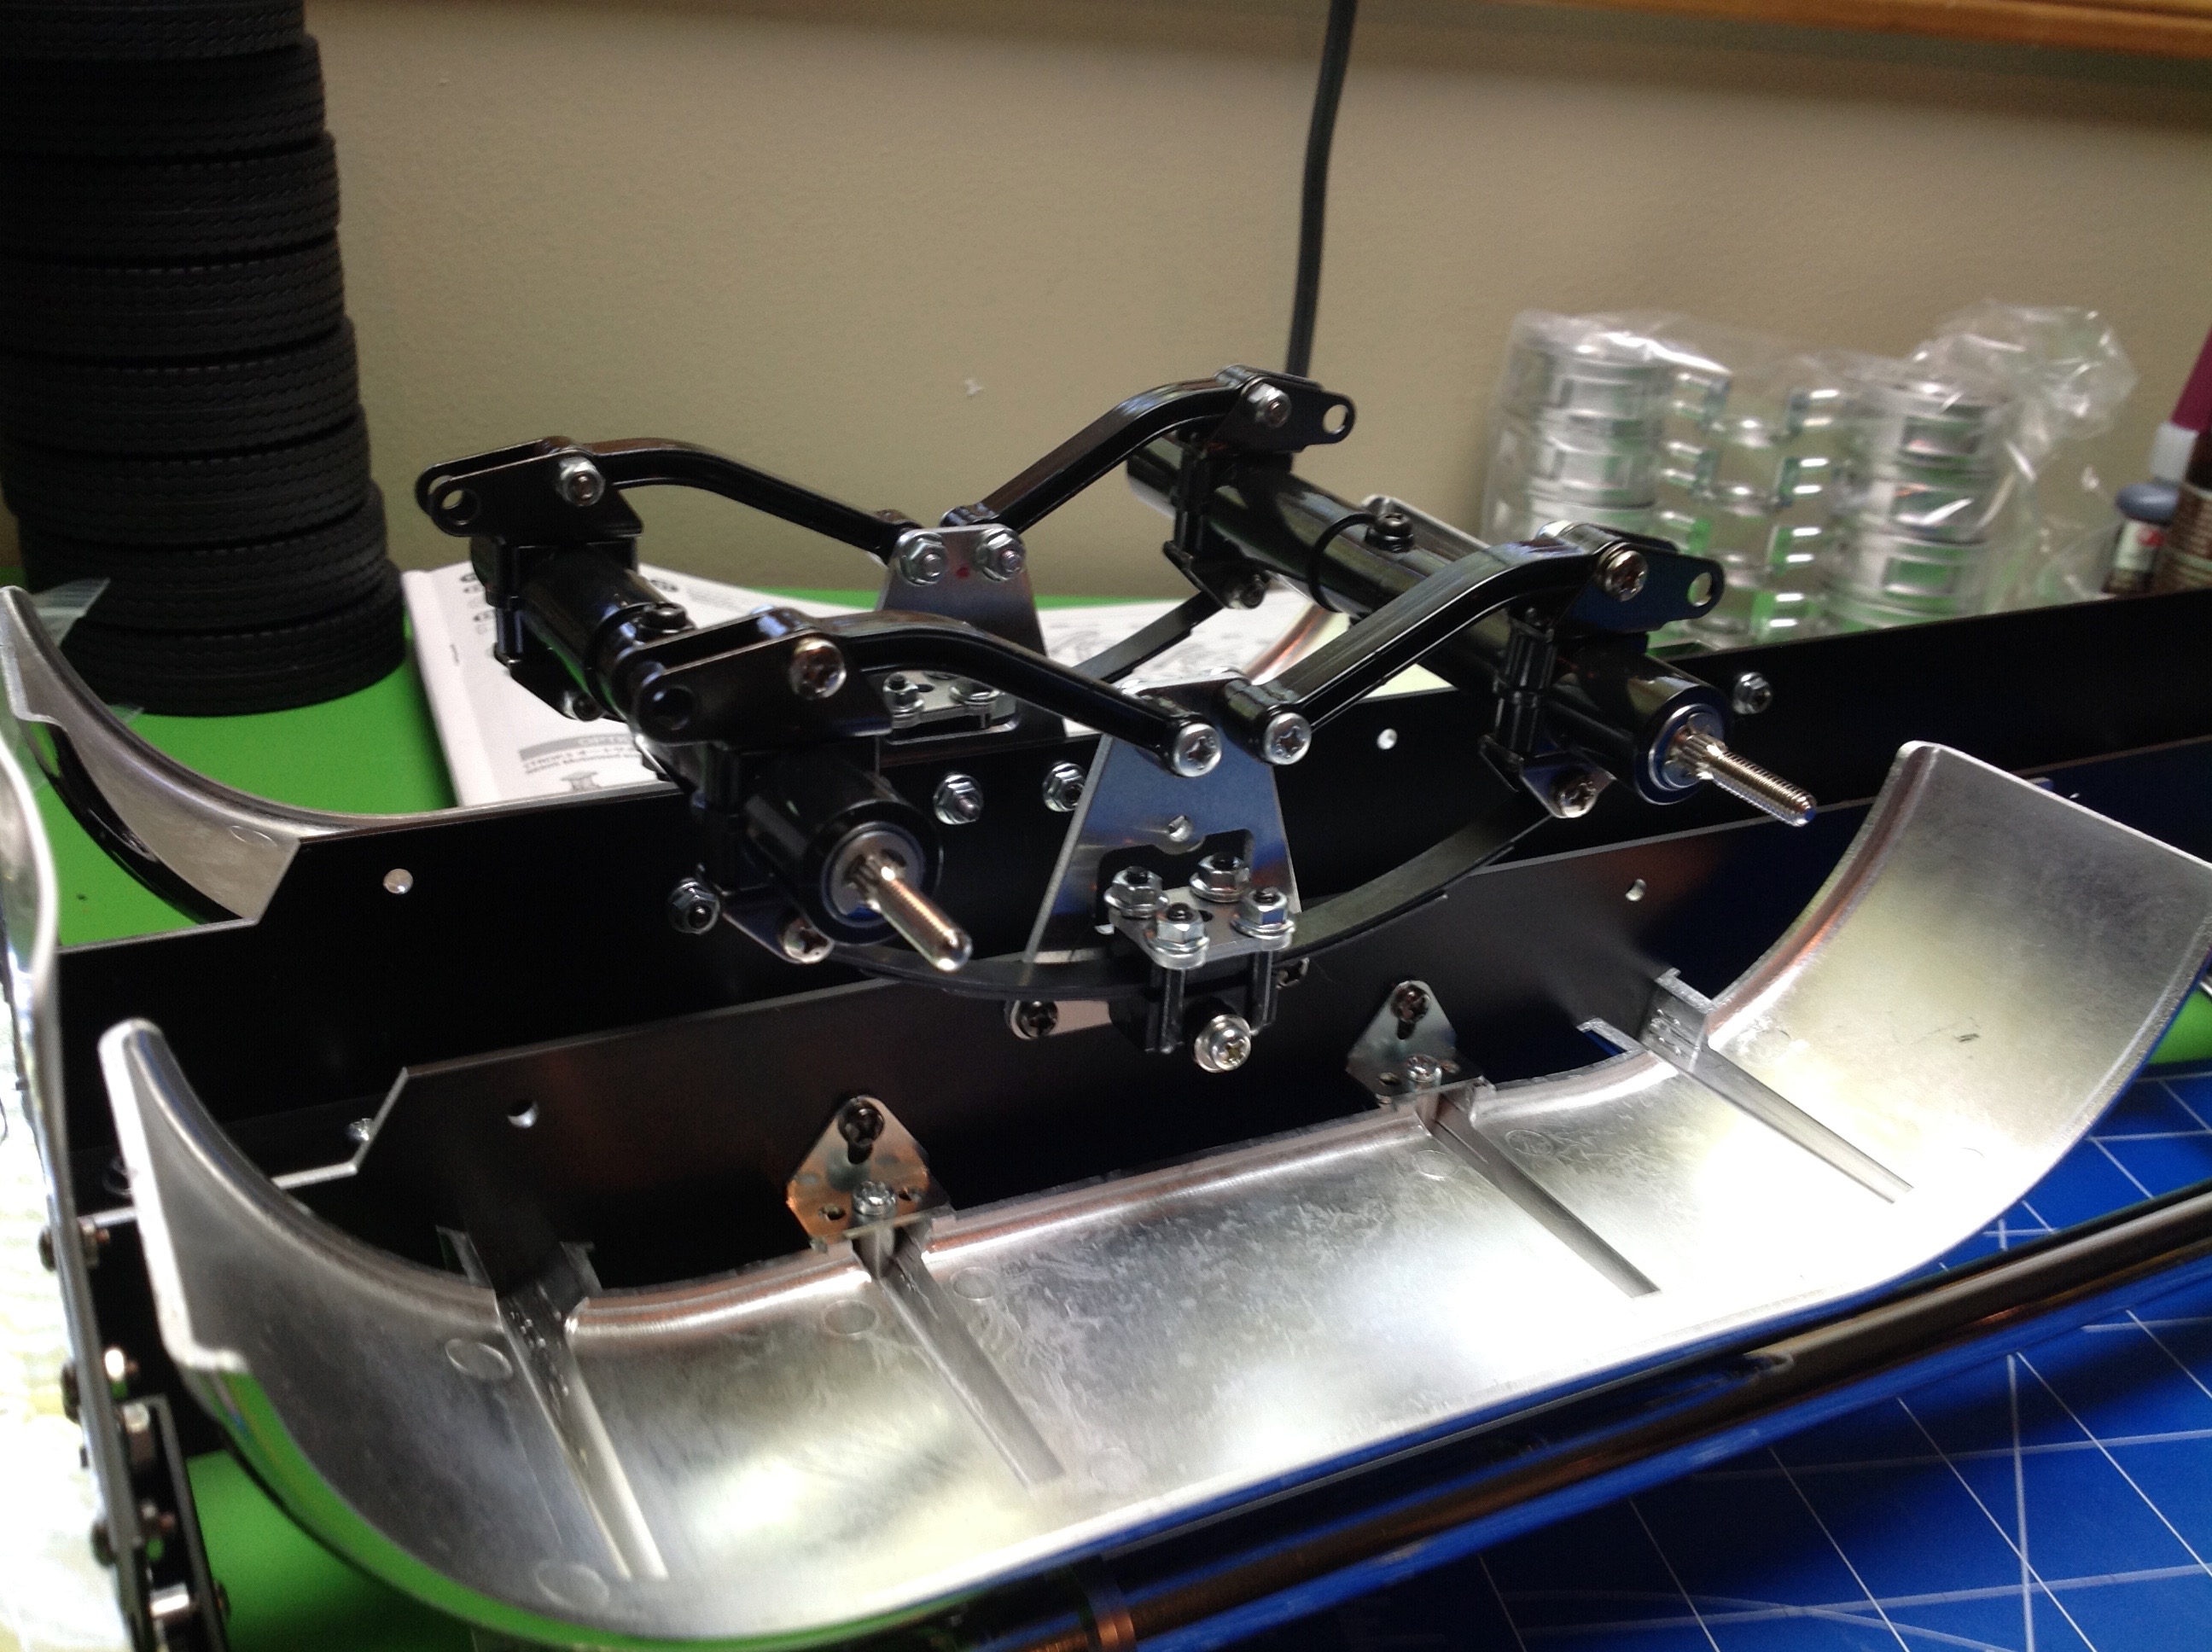
Now we start the suspension. Step 9 builds the leaf springs and
installs them onto the frame rails. This should look very
familiar. The system and many of the parts are the same as used on
the tractor.
Next come the axles. Unlike the tractor axles, these are not
driven so there's no differential or pinion gear. The left and
right sides are independent axle shafts so they can turn at different
speeds. Like with the tractor, I upgraded the metal bushings to
ball bearings.
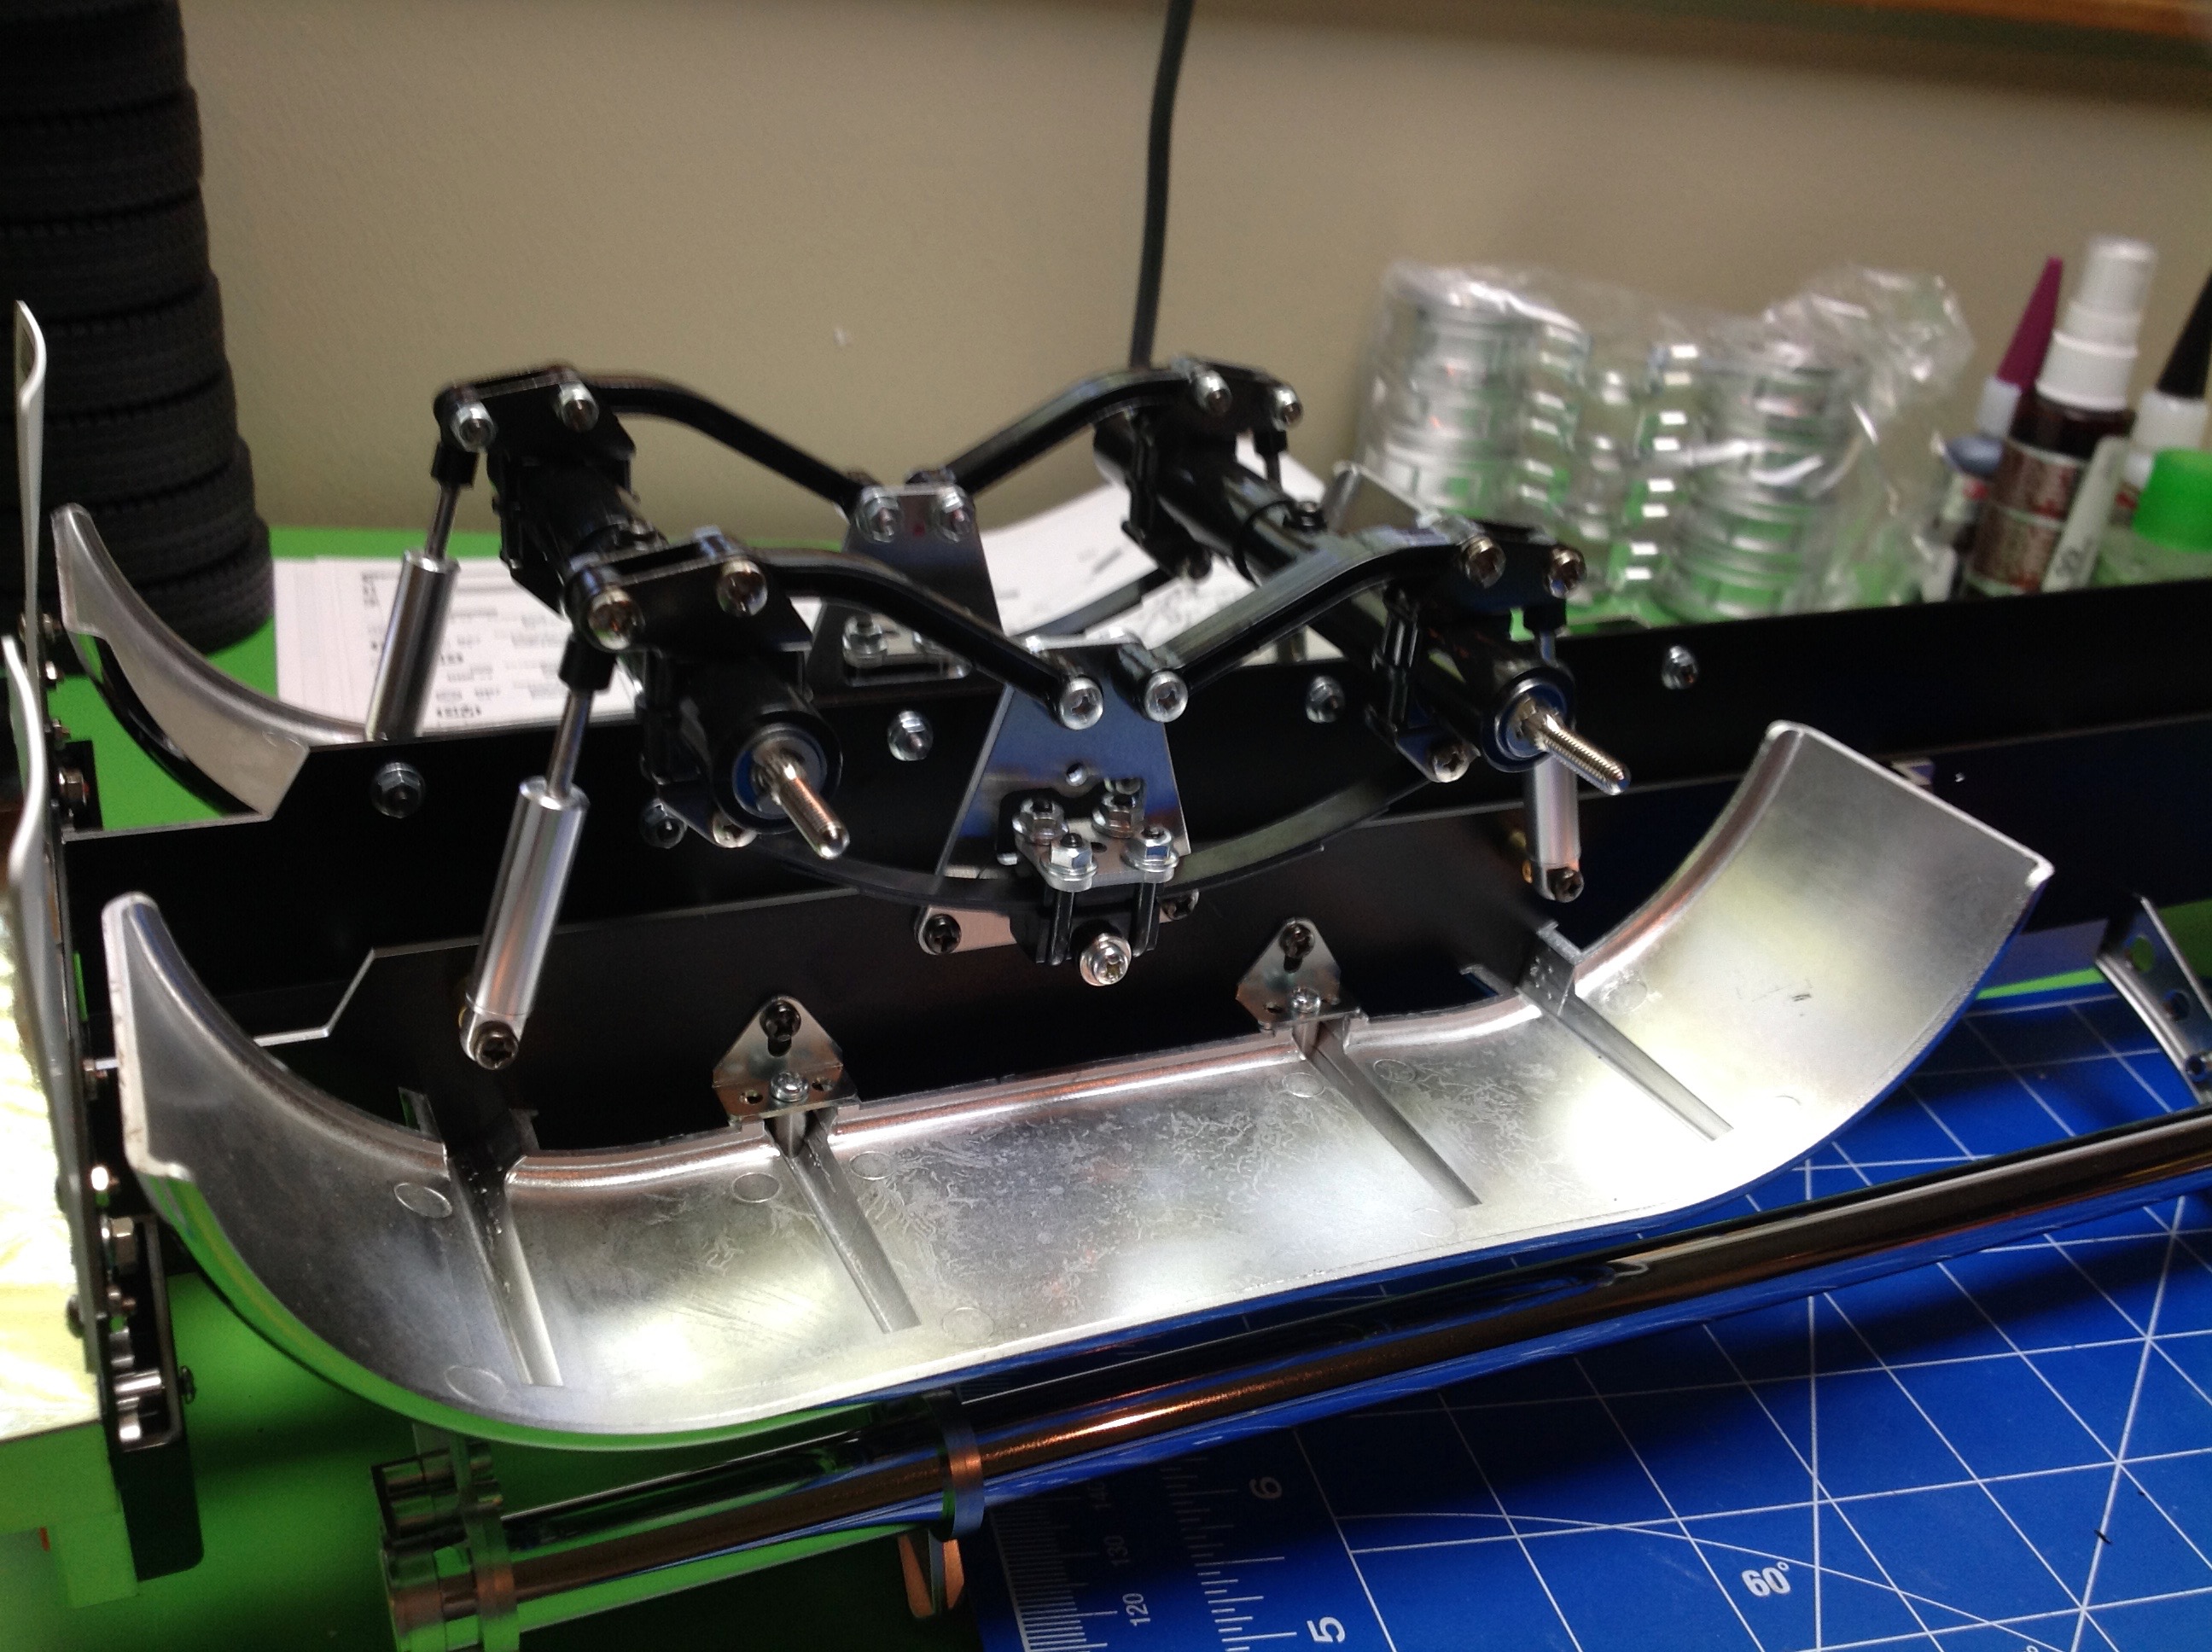
Step 11 installs the radius arms which are plastic. There is
actually quite a bit of articulation here: certainly plenty for a
trailer. Step 12 doesn't actually build anything, it just explains
how the legs operate. Why they chose to put that step here in the
middle of the suspension build instead of with the legs I'm not sure.
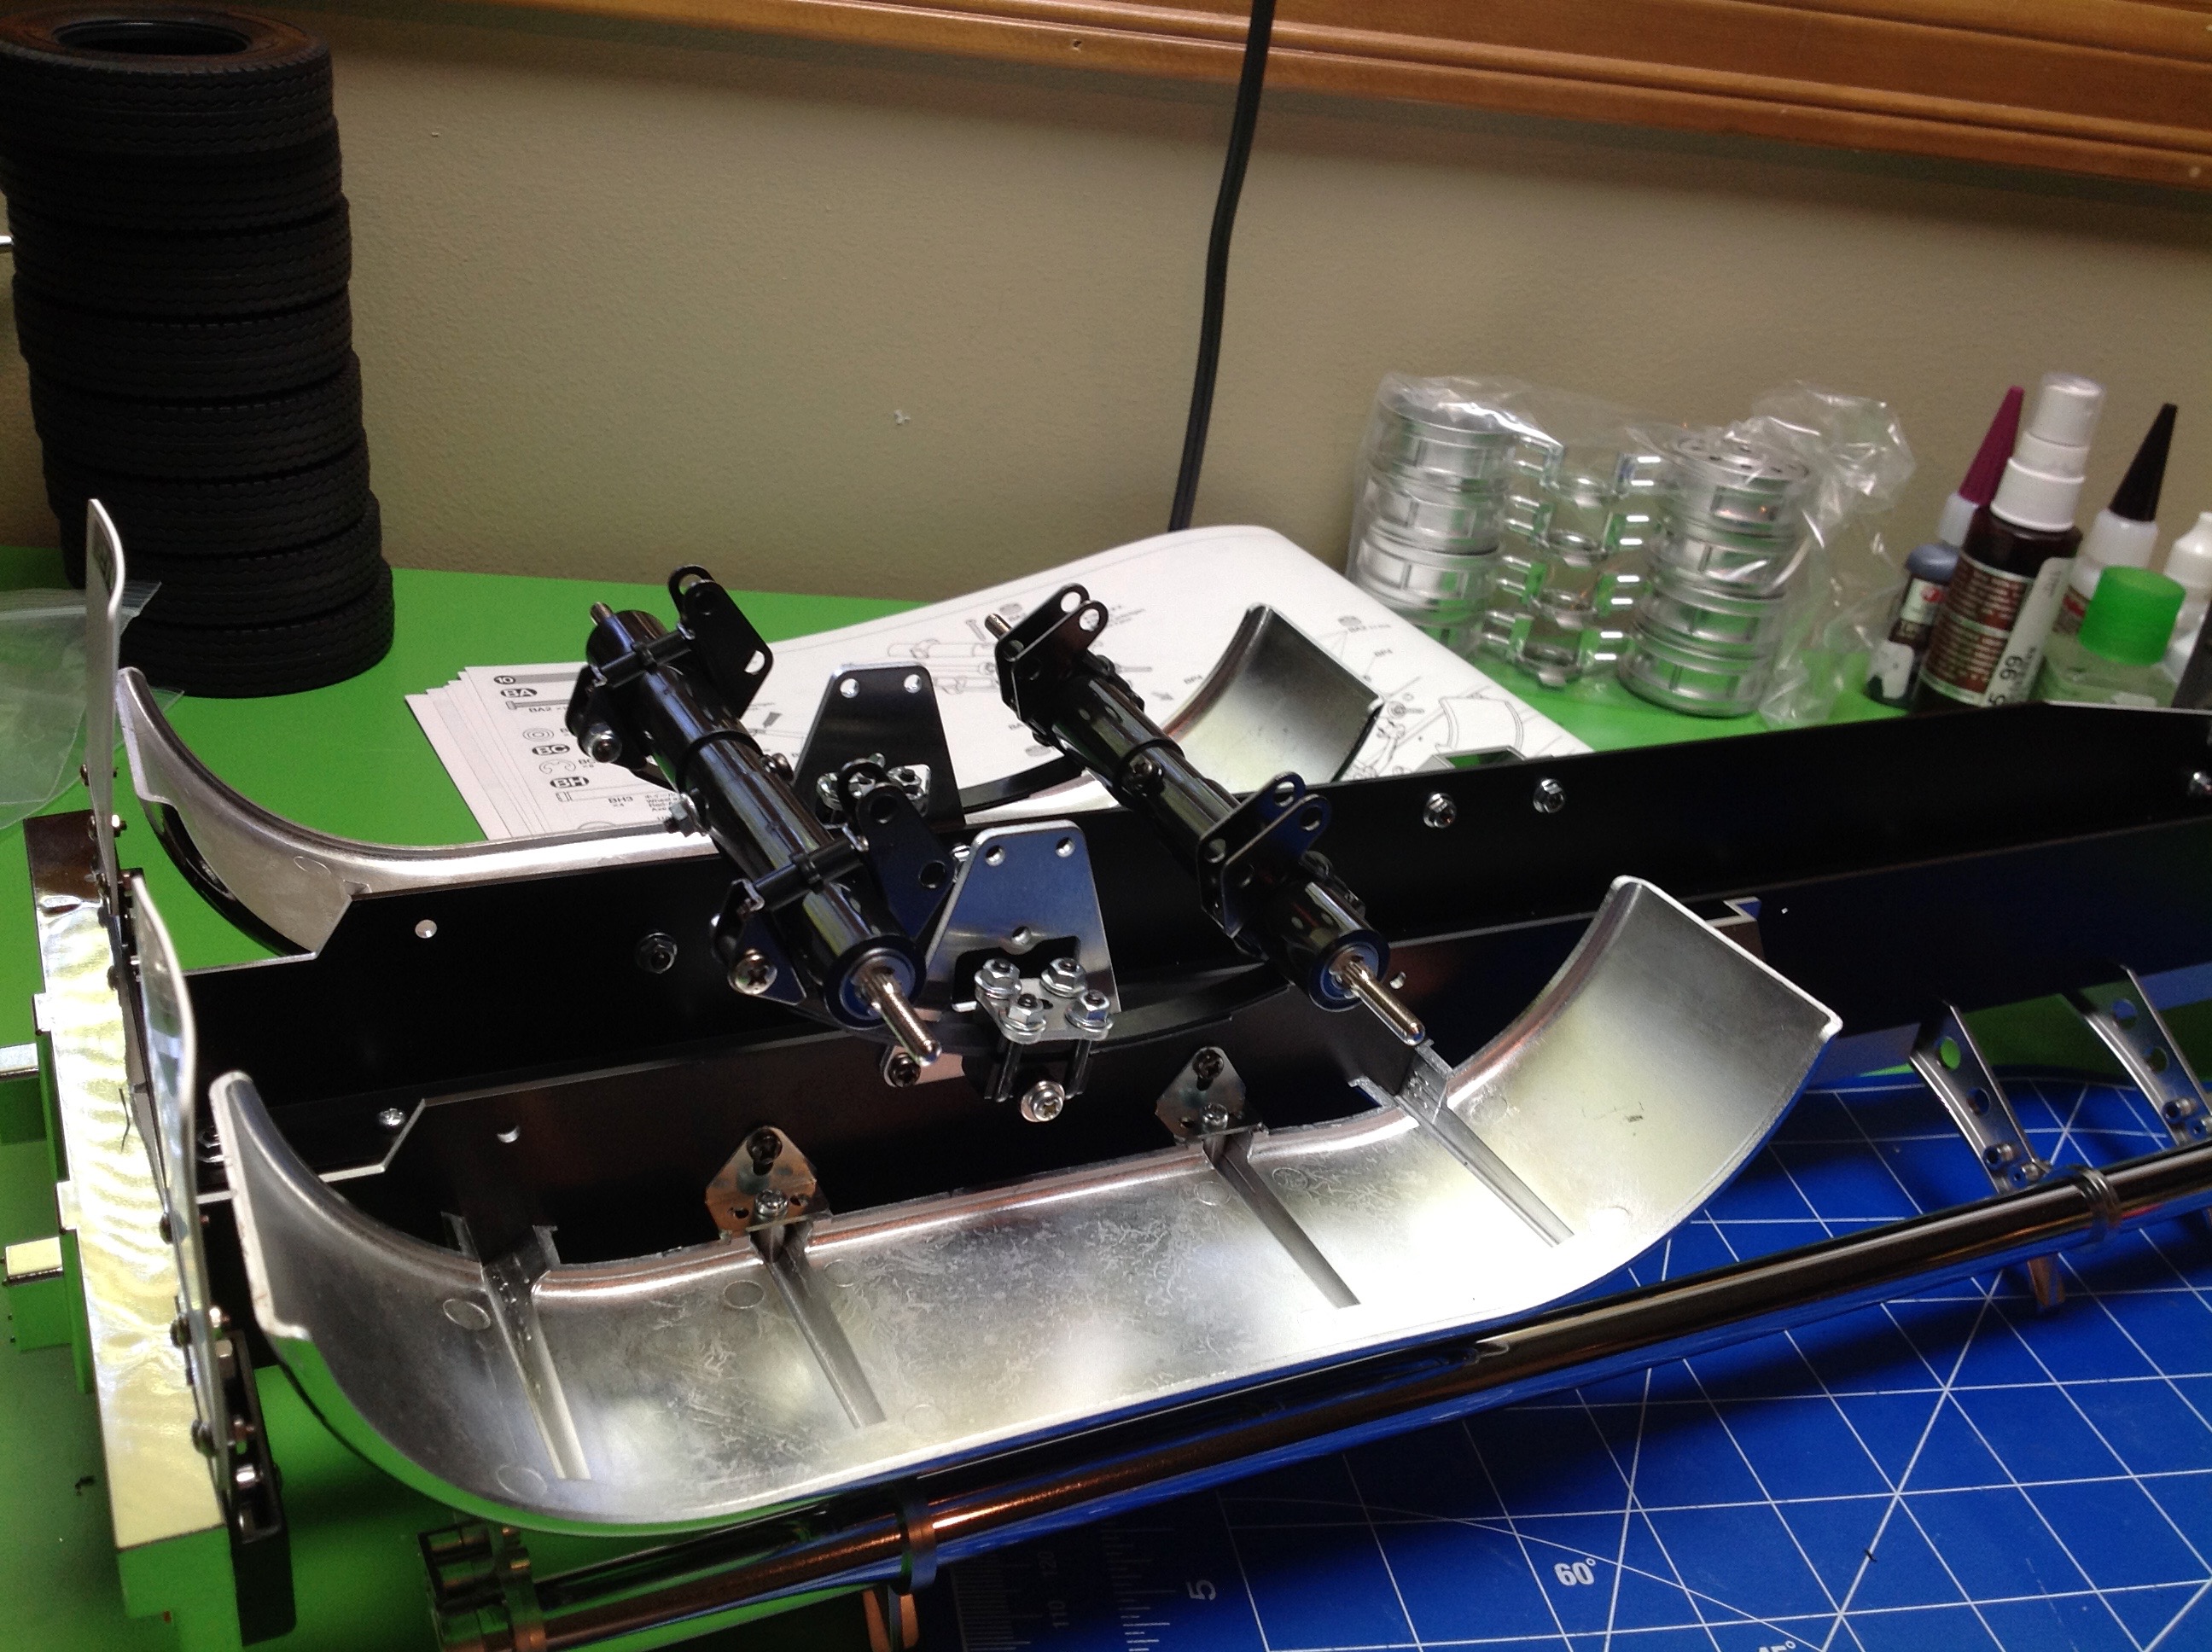
The final step in the suspension (Step 13) is the construction and
attachment of the dampers. I had intended to upgrade to oil
dampers here, but they were out of stock and after seeing that I
wouldn't really have needed them on the tractor I decided to stick with
the stock units. Although the tractor dampers were a pink color,
these are neutral silver.
Step 14 attaches the wheels and tires which means the trailer is built
enough to try. I attached it to the truck and commenced
merriment. I confess that there comes a point in most projects at
which I become so excited to finish that I forget to take any more
pictures. This is that point. All that is left is attaching
the tube and ladder (steps 15-17) and then applying the stickers.
You'll have to skip forward to the final photos to see the result.
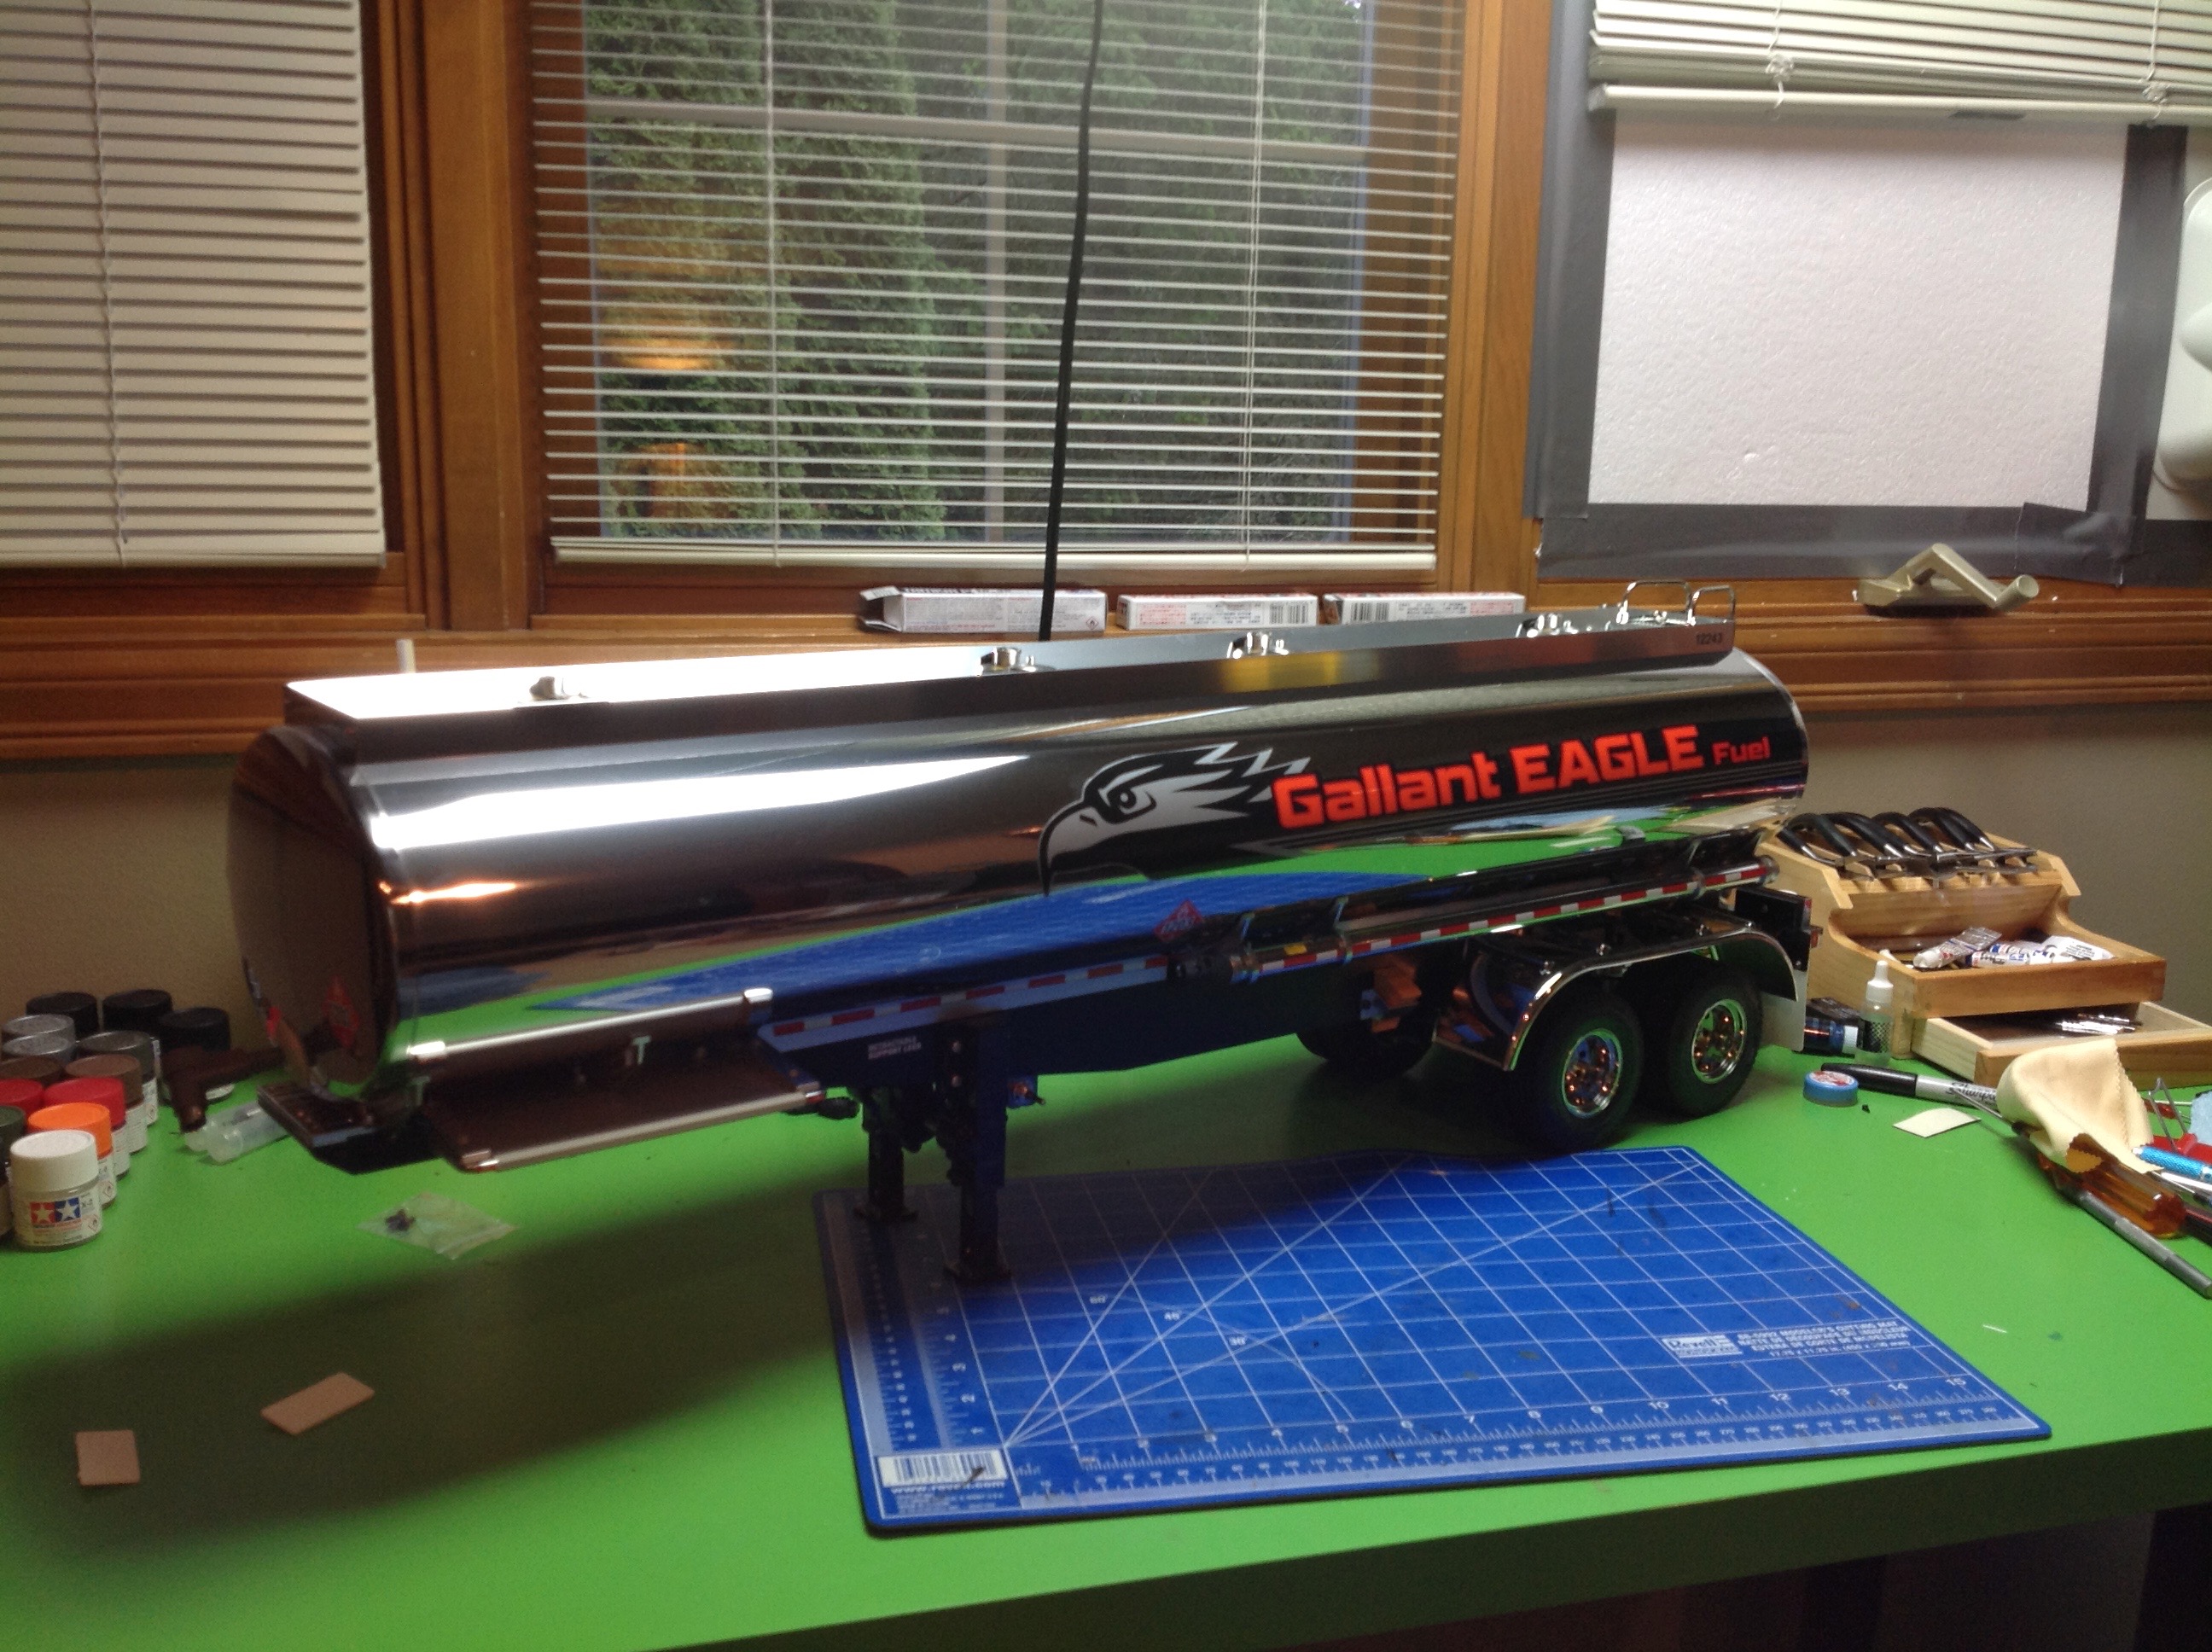
The stickers on the side of the tube were hard because they are very
long so it will be very obvious if they are not straight.
Additionally, since the tube is so lustrous any bubbles or wrinkles will
be quite obvious. I managed to avoid any of those pitfalls but
instead tore a couple of the big stickers when removing them from the
backing. Not very noticeable though.
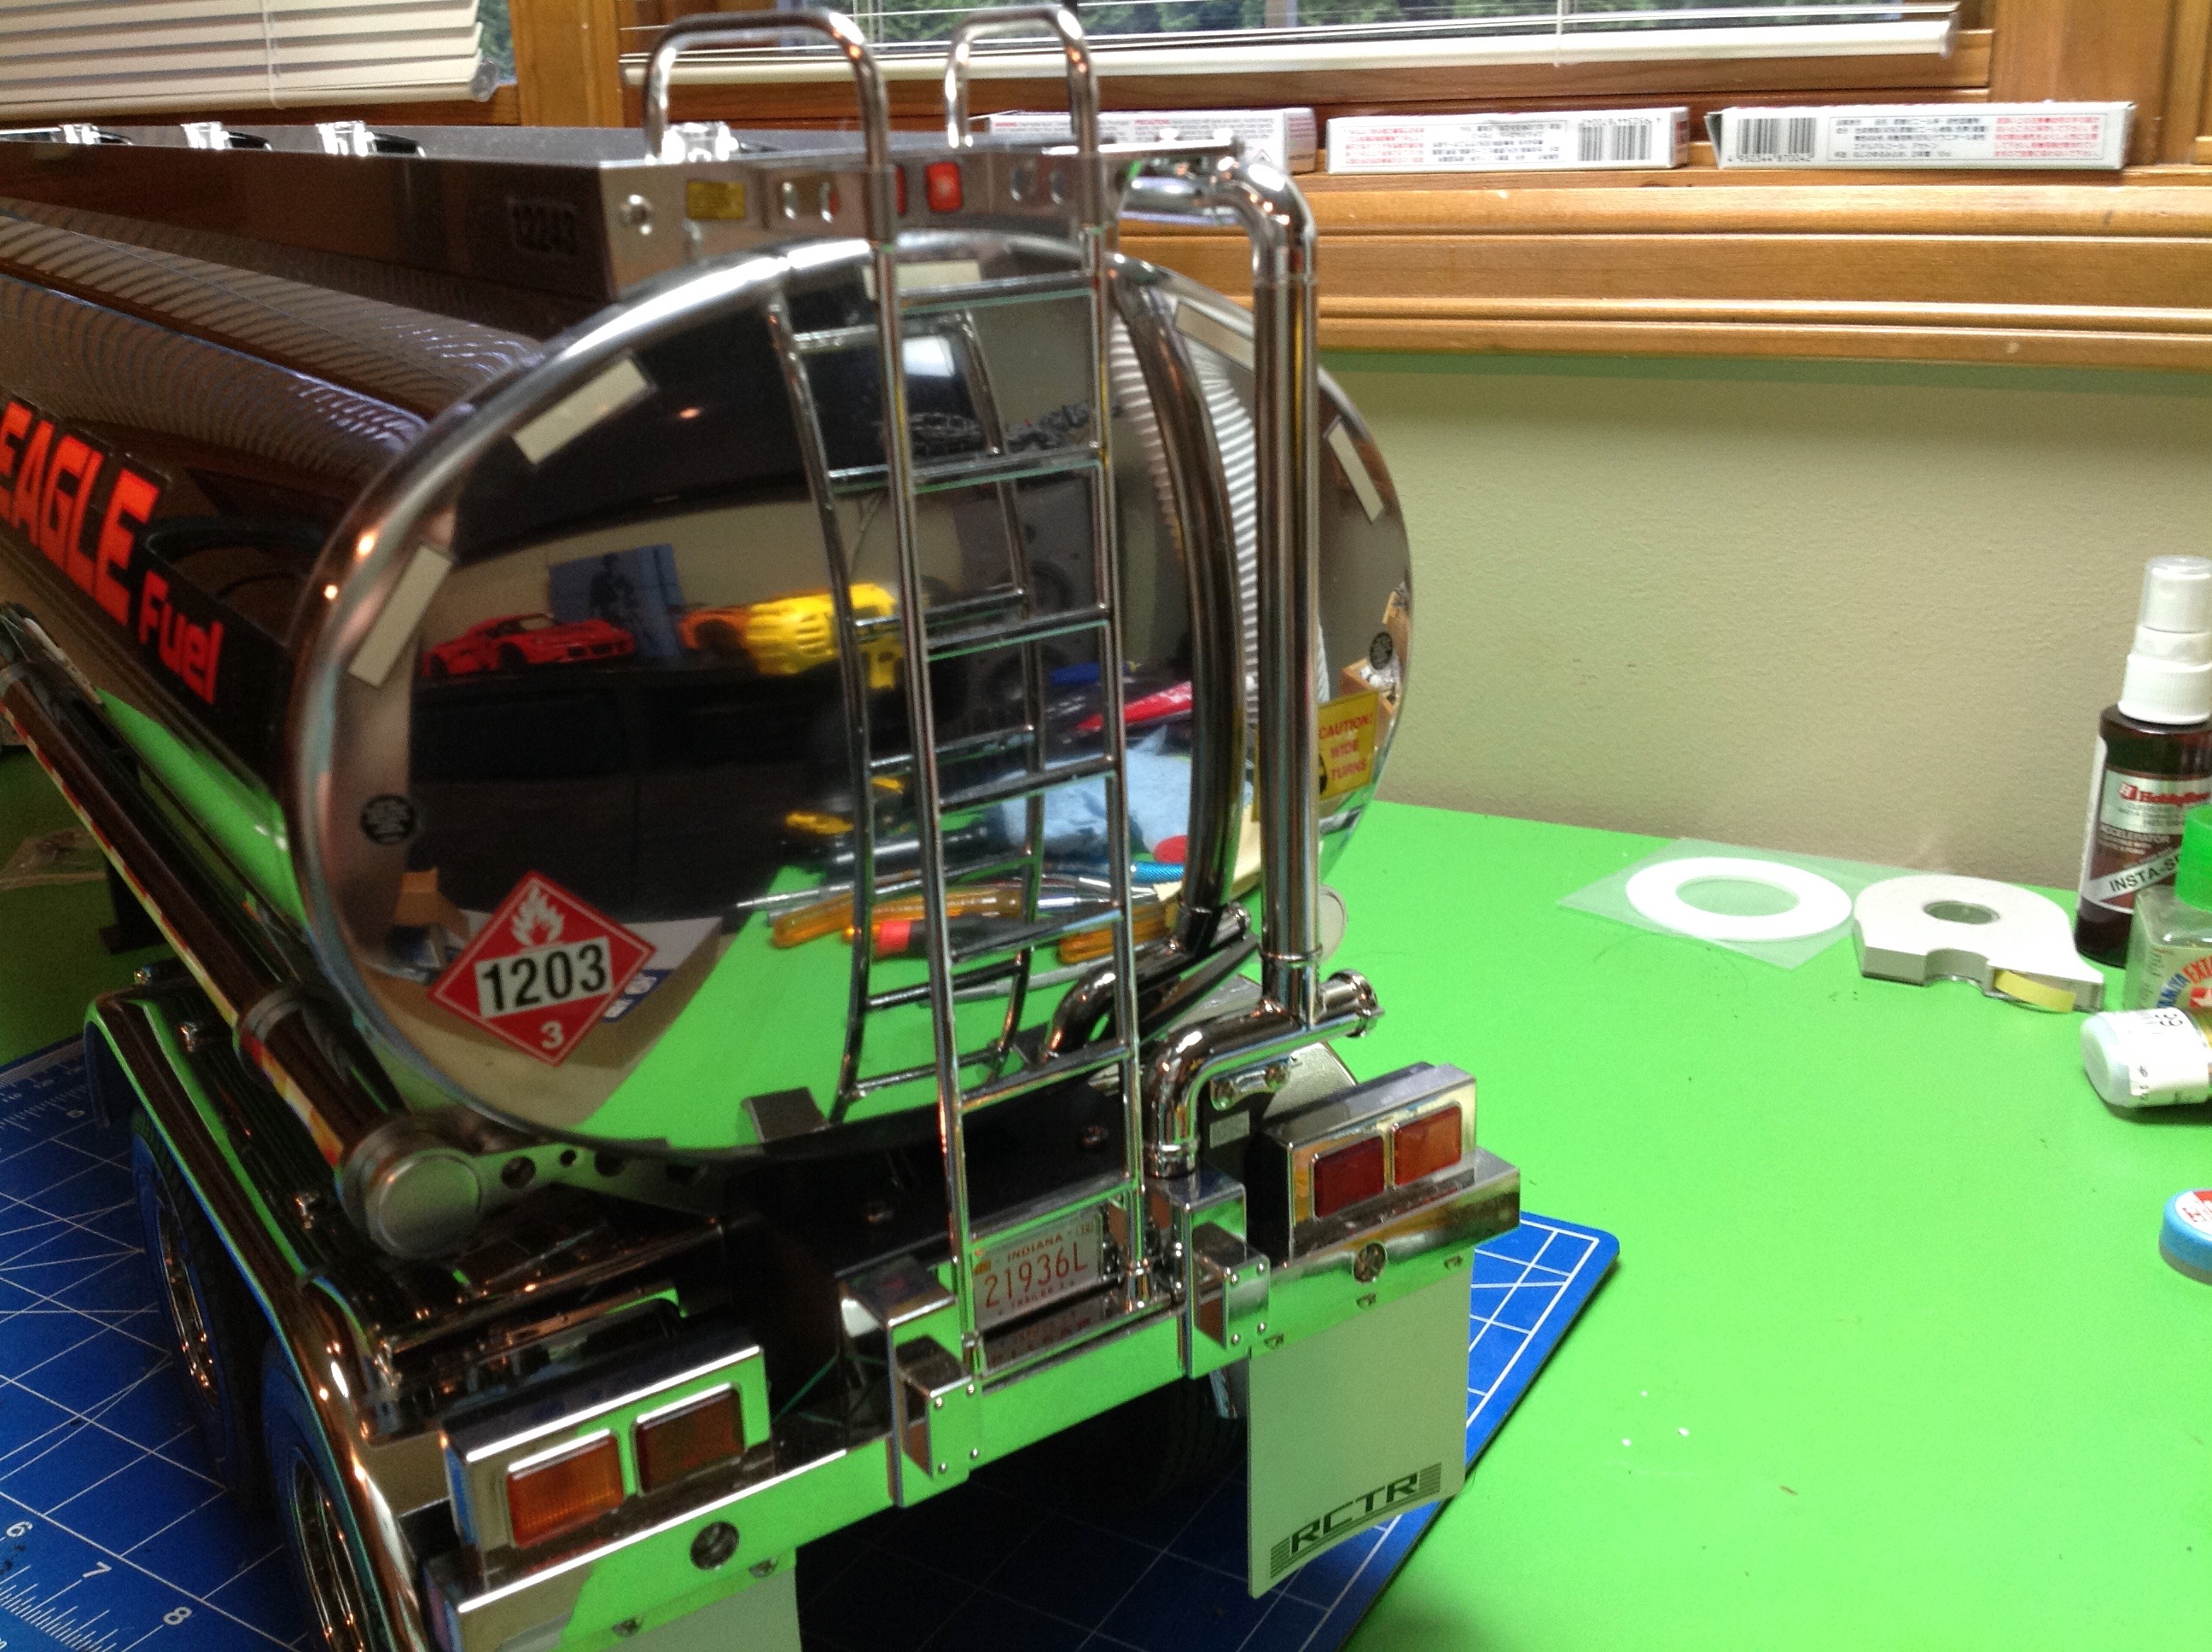
Final photos of the completed trailer taken weeks later. The metal main tube is highly polished and hard
to keep clean. The wire for the lights has to be run through the inside
of the can. The back is nicely detailed with a ladder and some
piping. The top rail has some access points for filling. The stickers
tie everything together and make it real.
©2017 Eric Albrecht