Arocs Tipper Project
Page 1: Assembly
Since I've already fully documented a tractor truck build on my King Hauler page and the chassis is 90% similar, I'll be providing only a cursory overview of the build here.
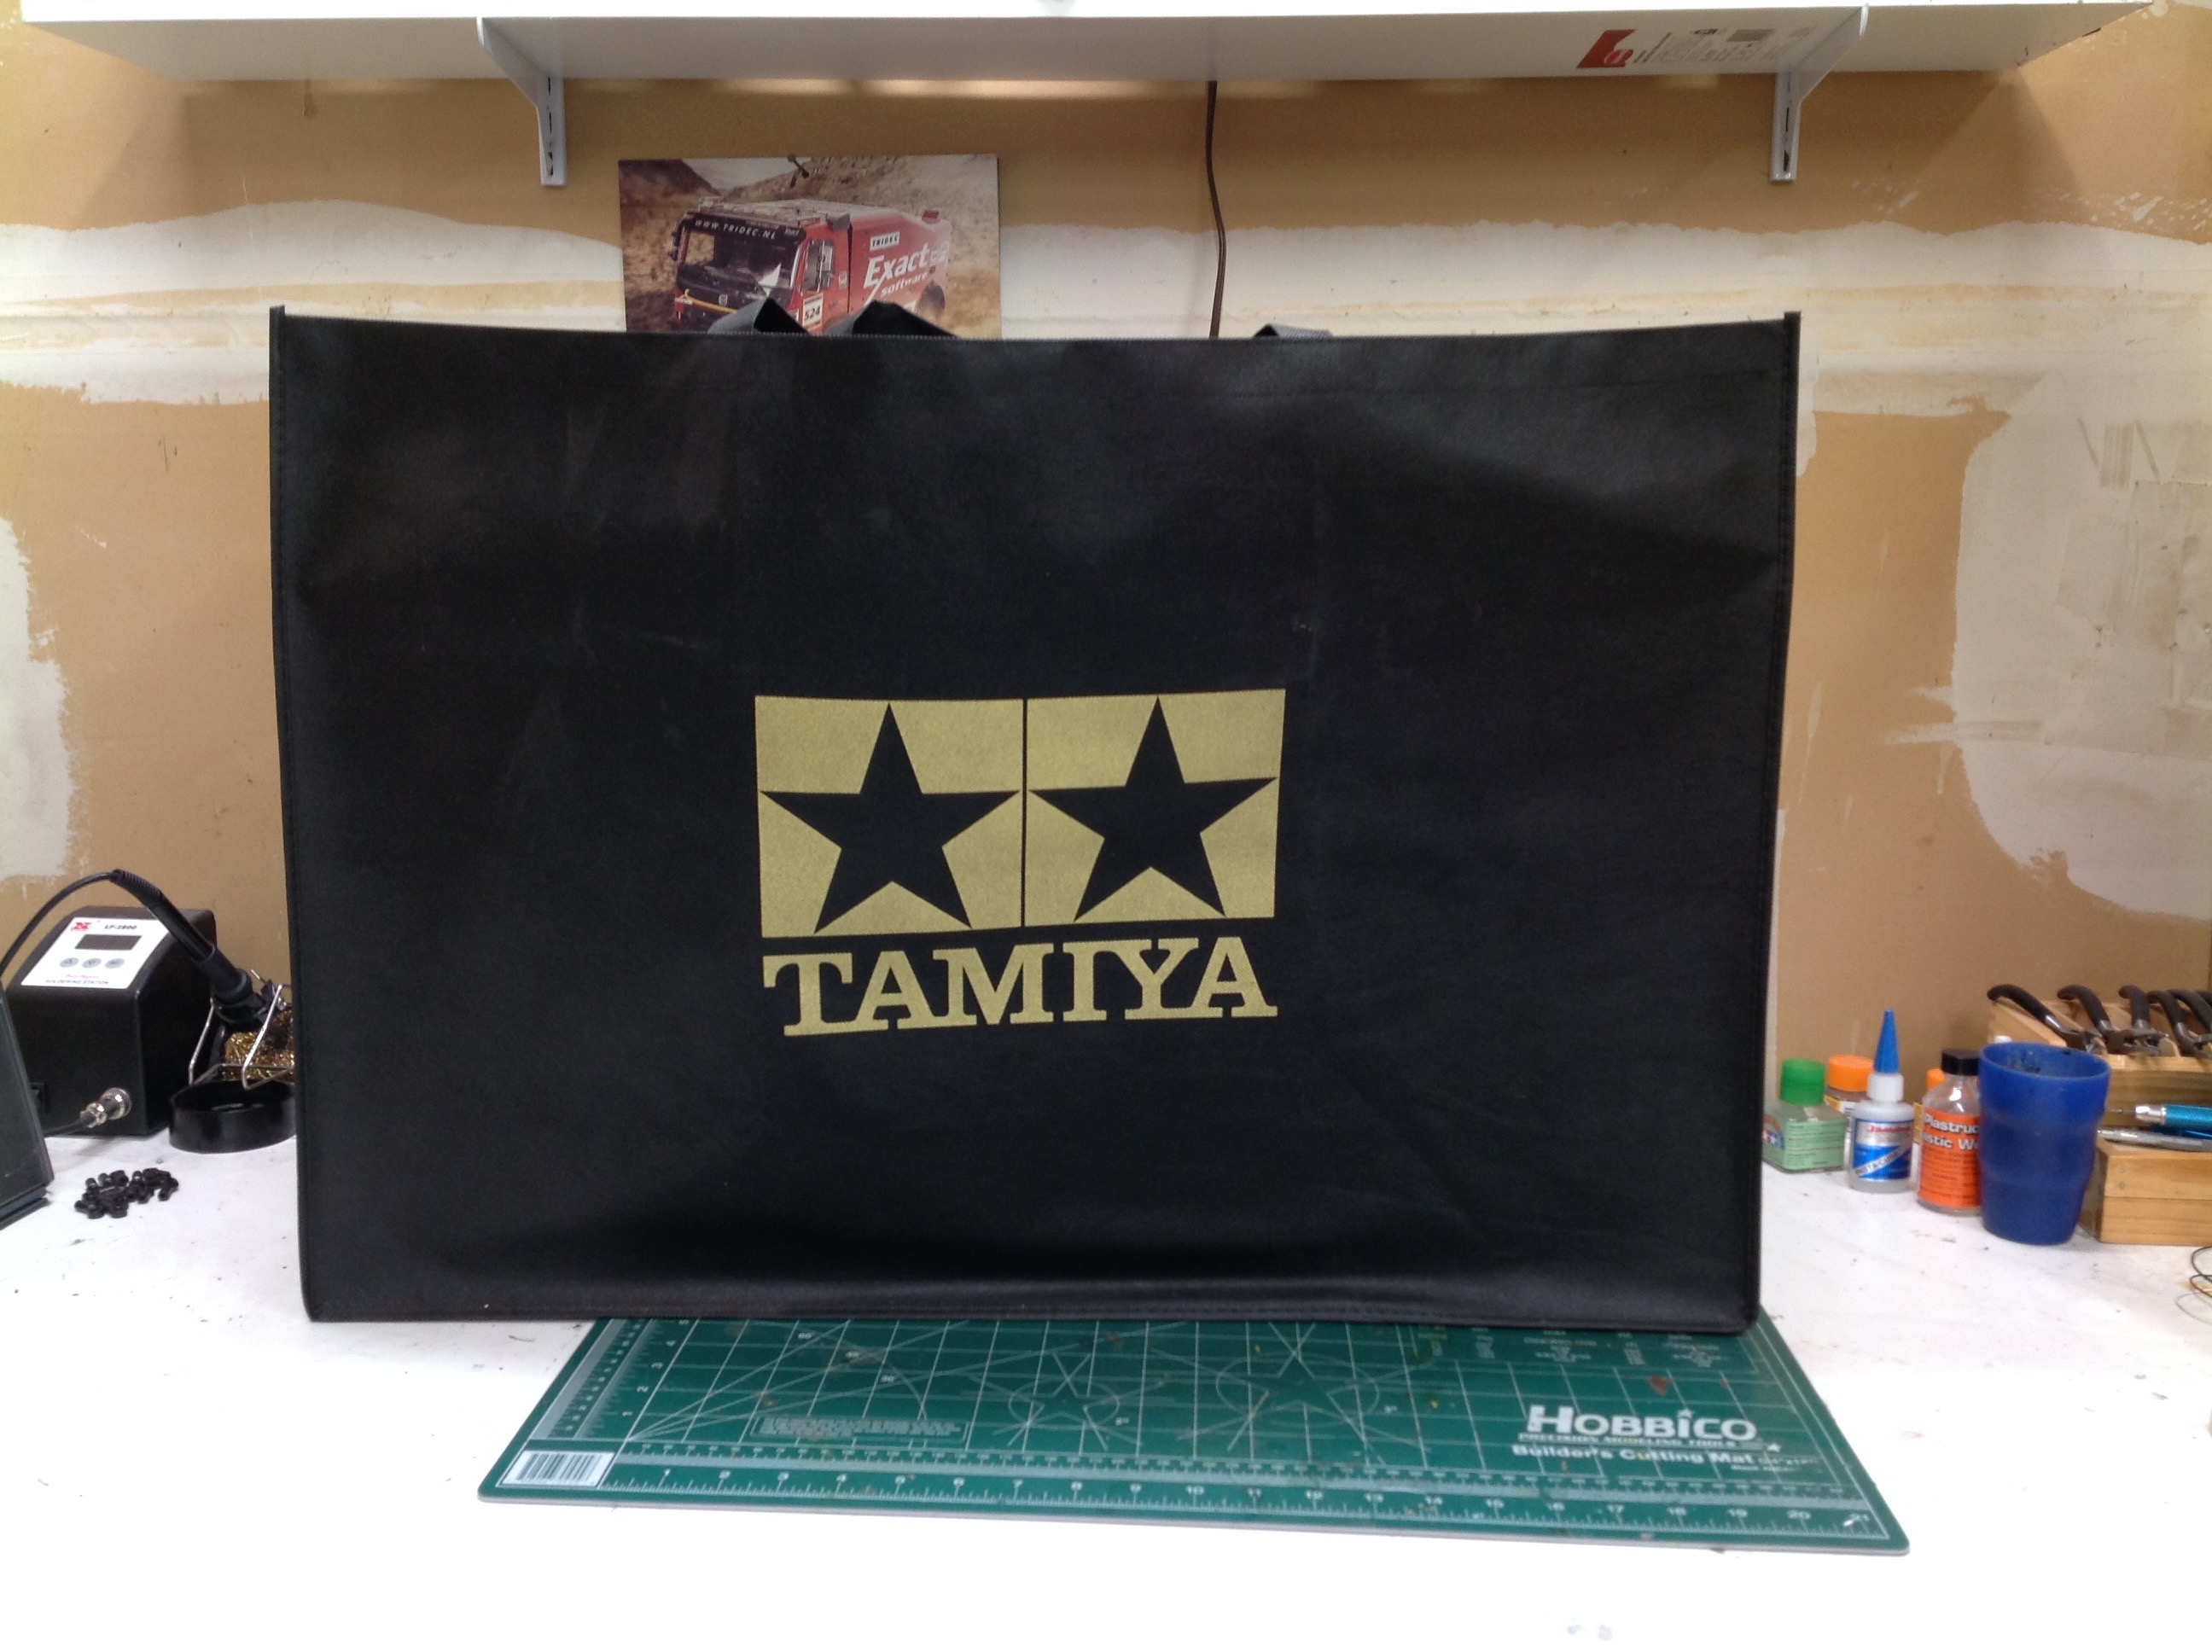
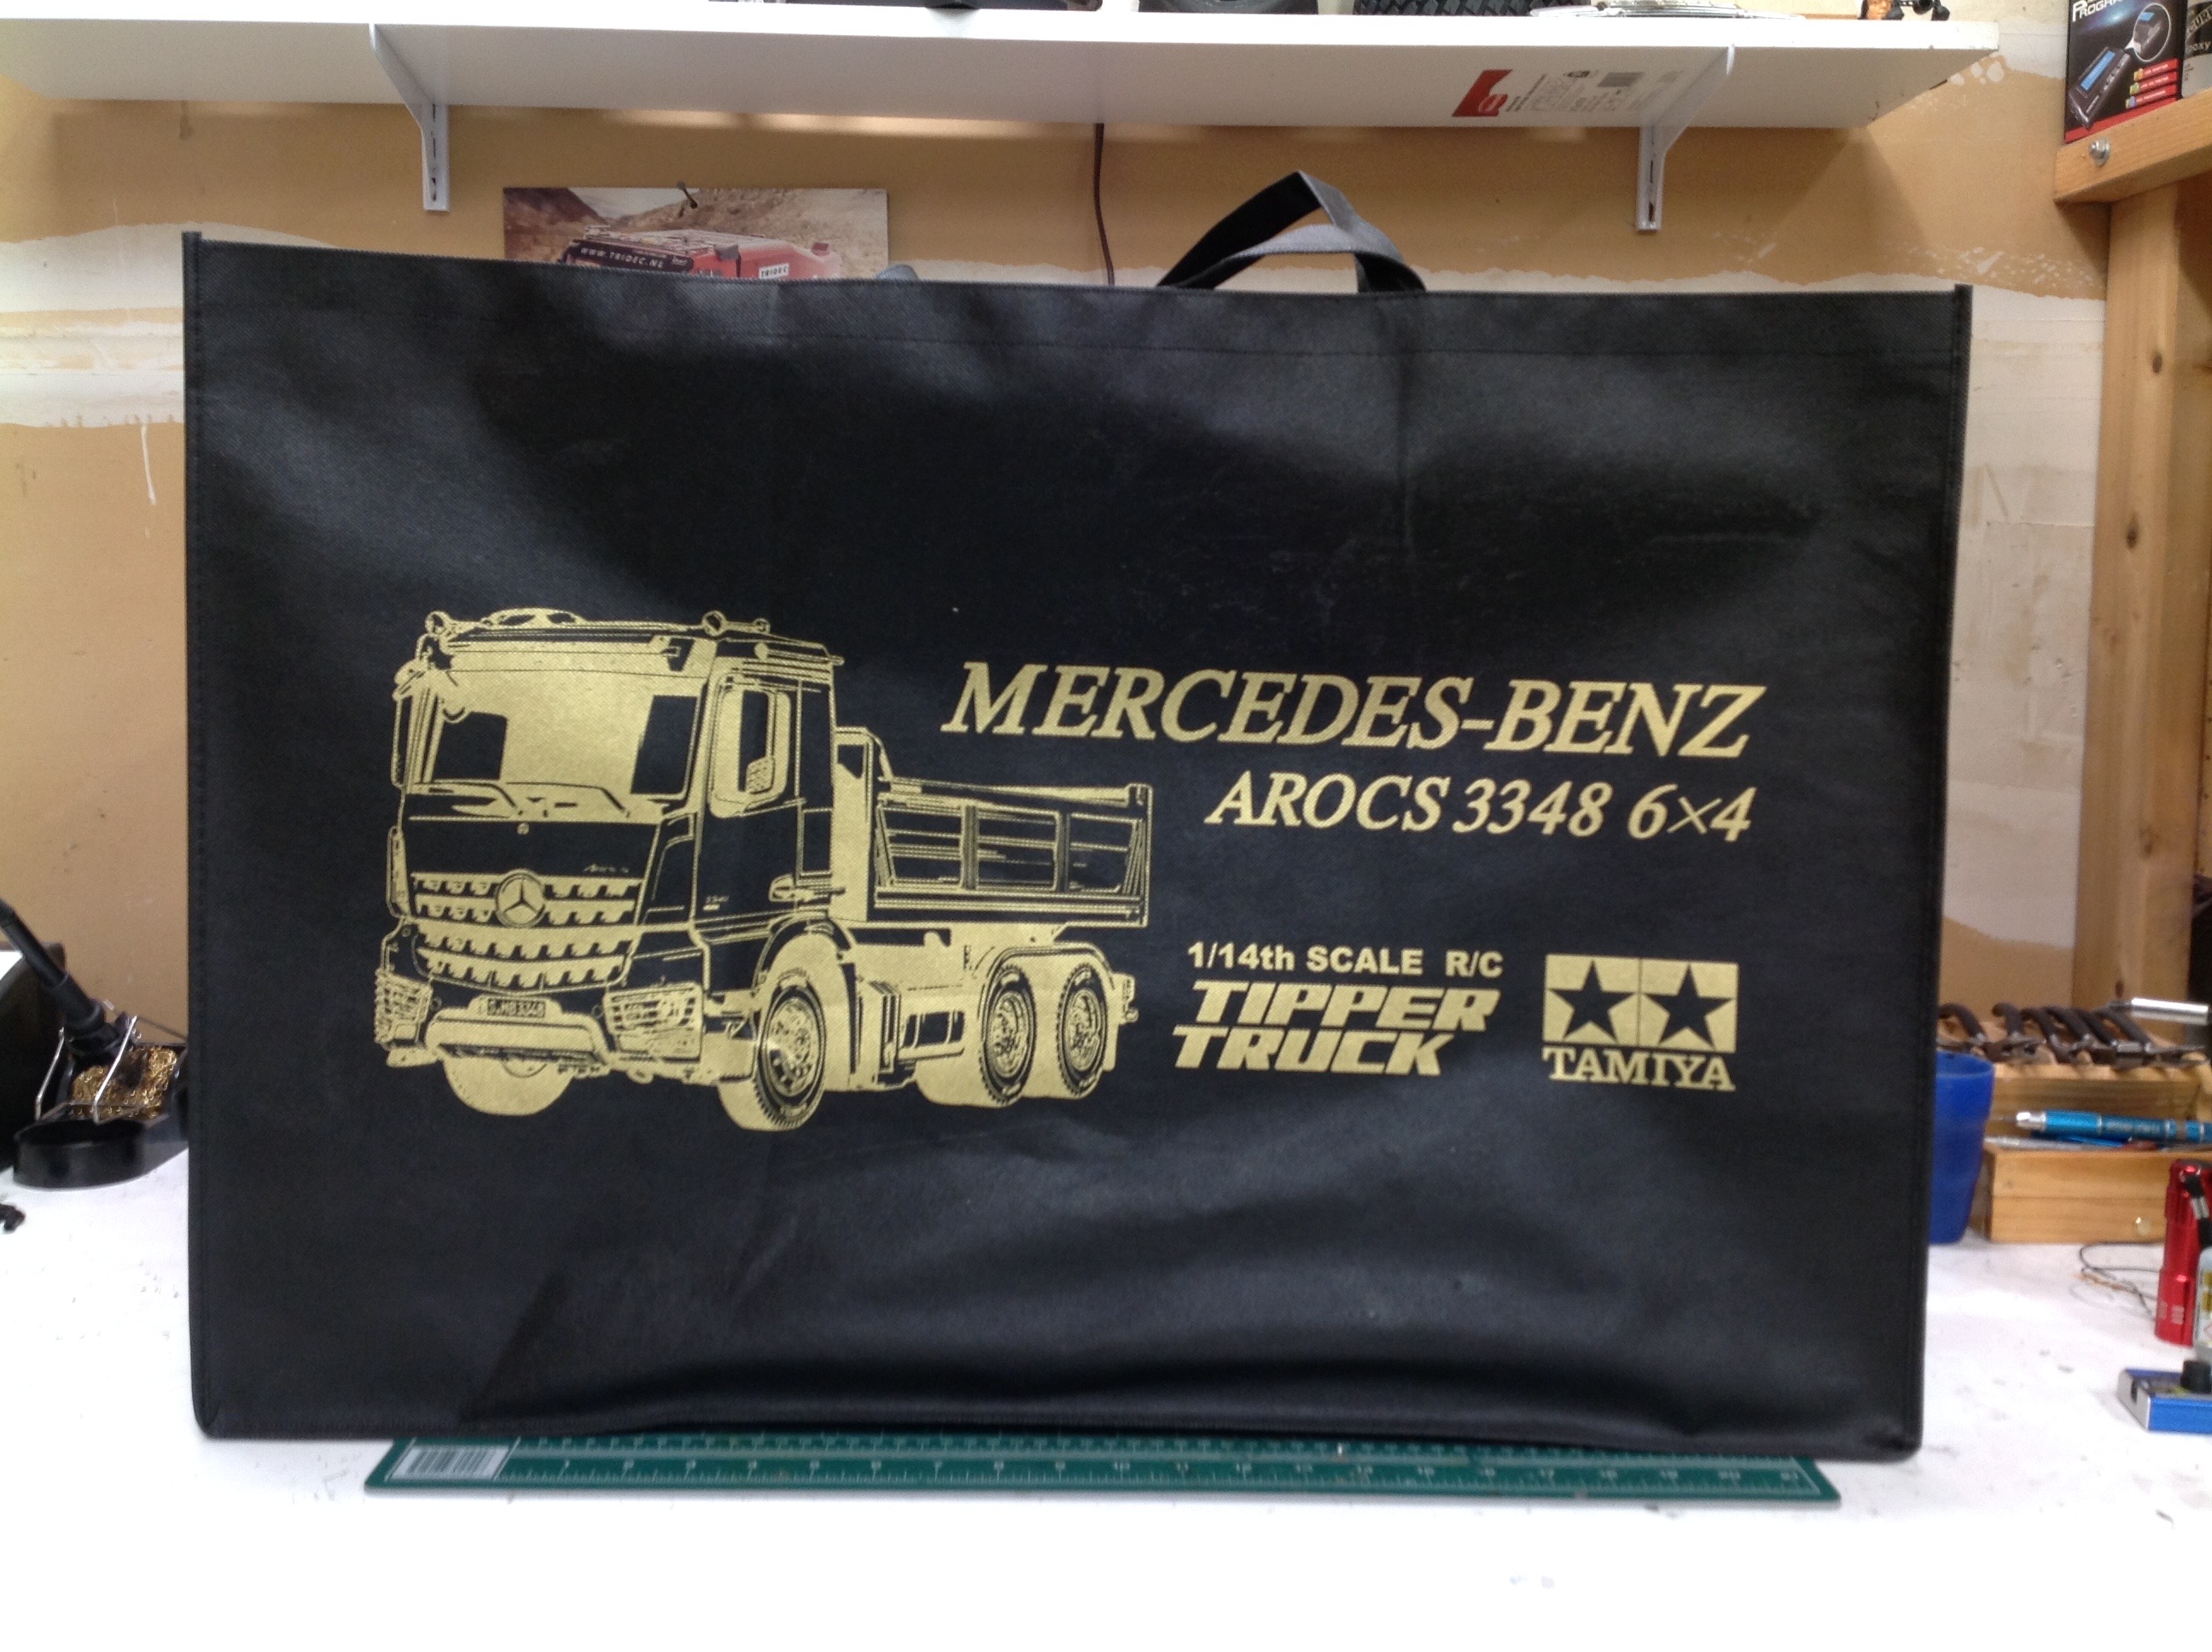
I don't know if every buyer got this, but my copy of the Mercedes Arocs
3348 Tipper came with this lovely bespoke carrying bag. The bag has to
be huge to accommodate the huge box. It also includes carrying
handles on the top. I'm not sure what I'm going to do with this
bag after building the model, but at the very least it is a collector's
item.
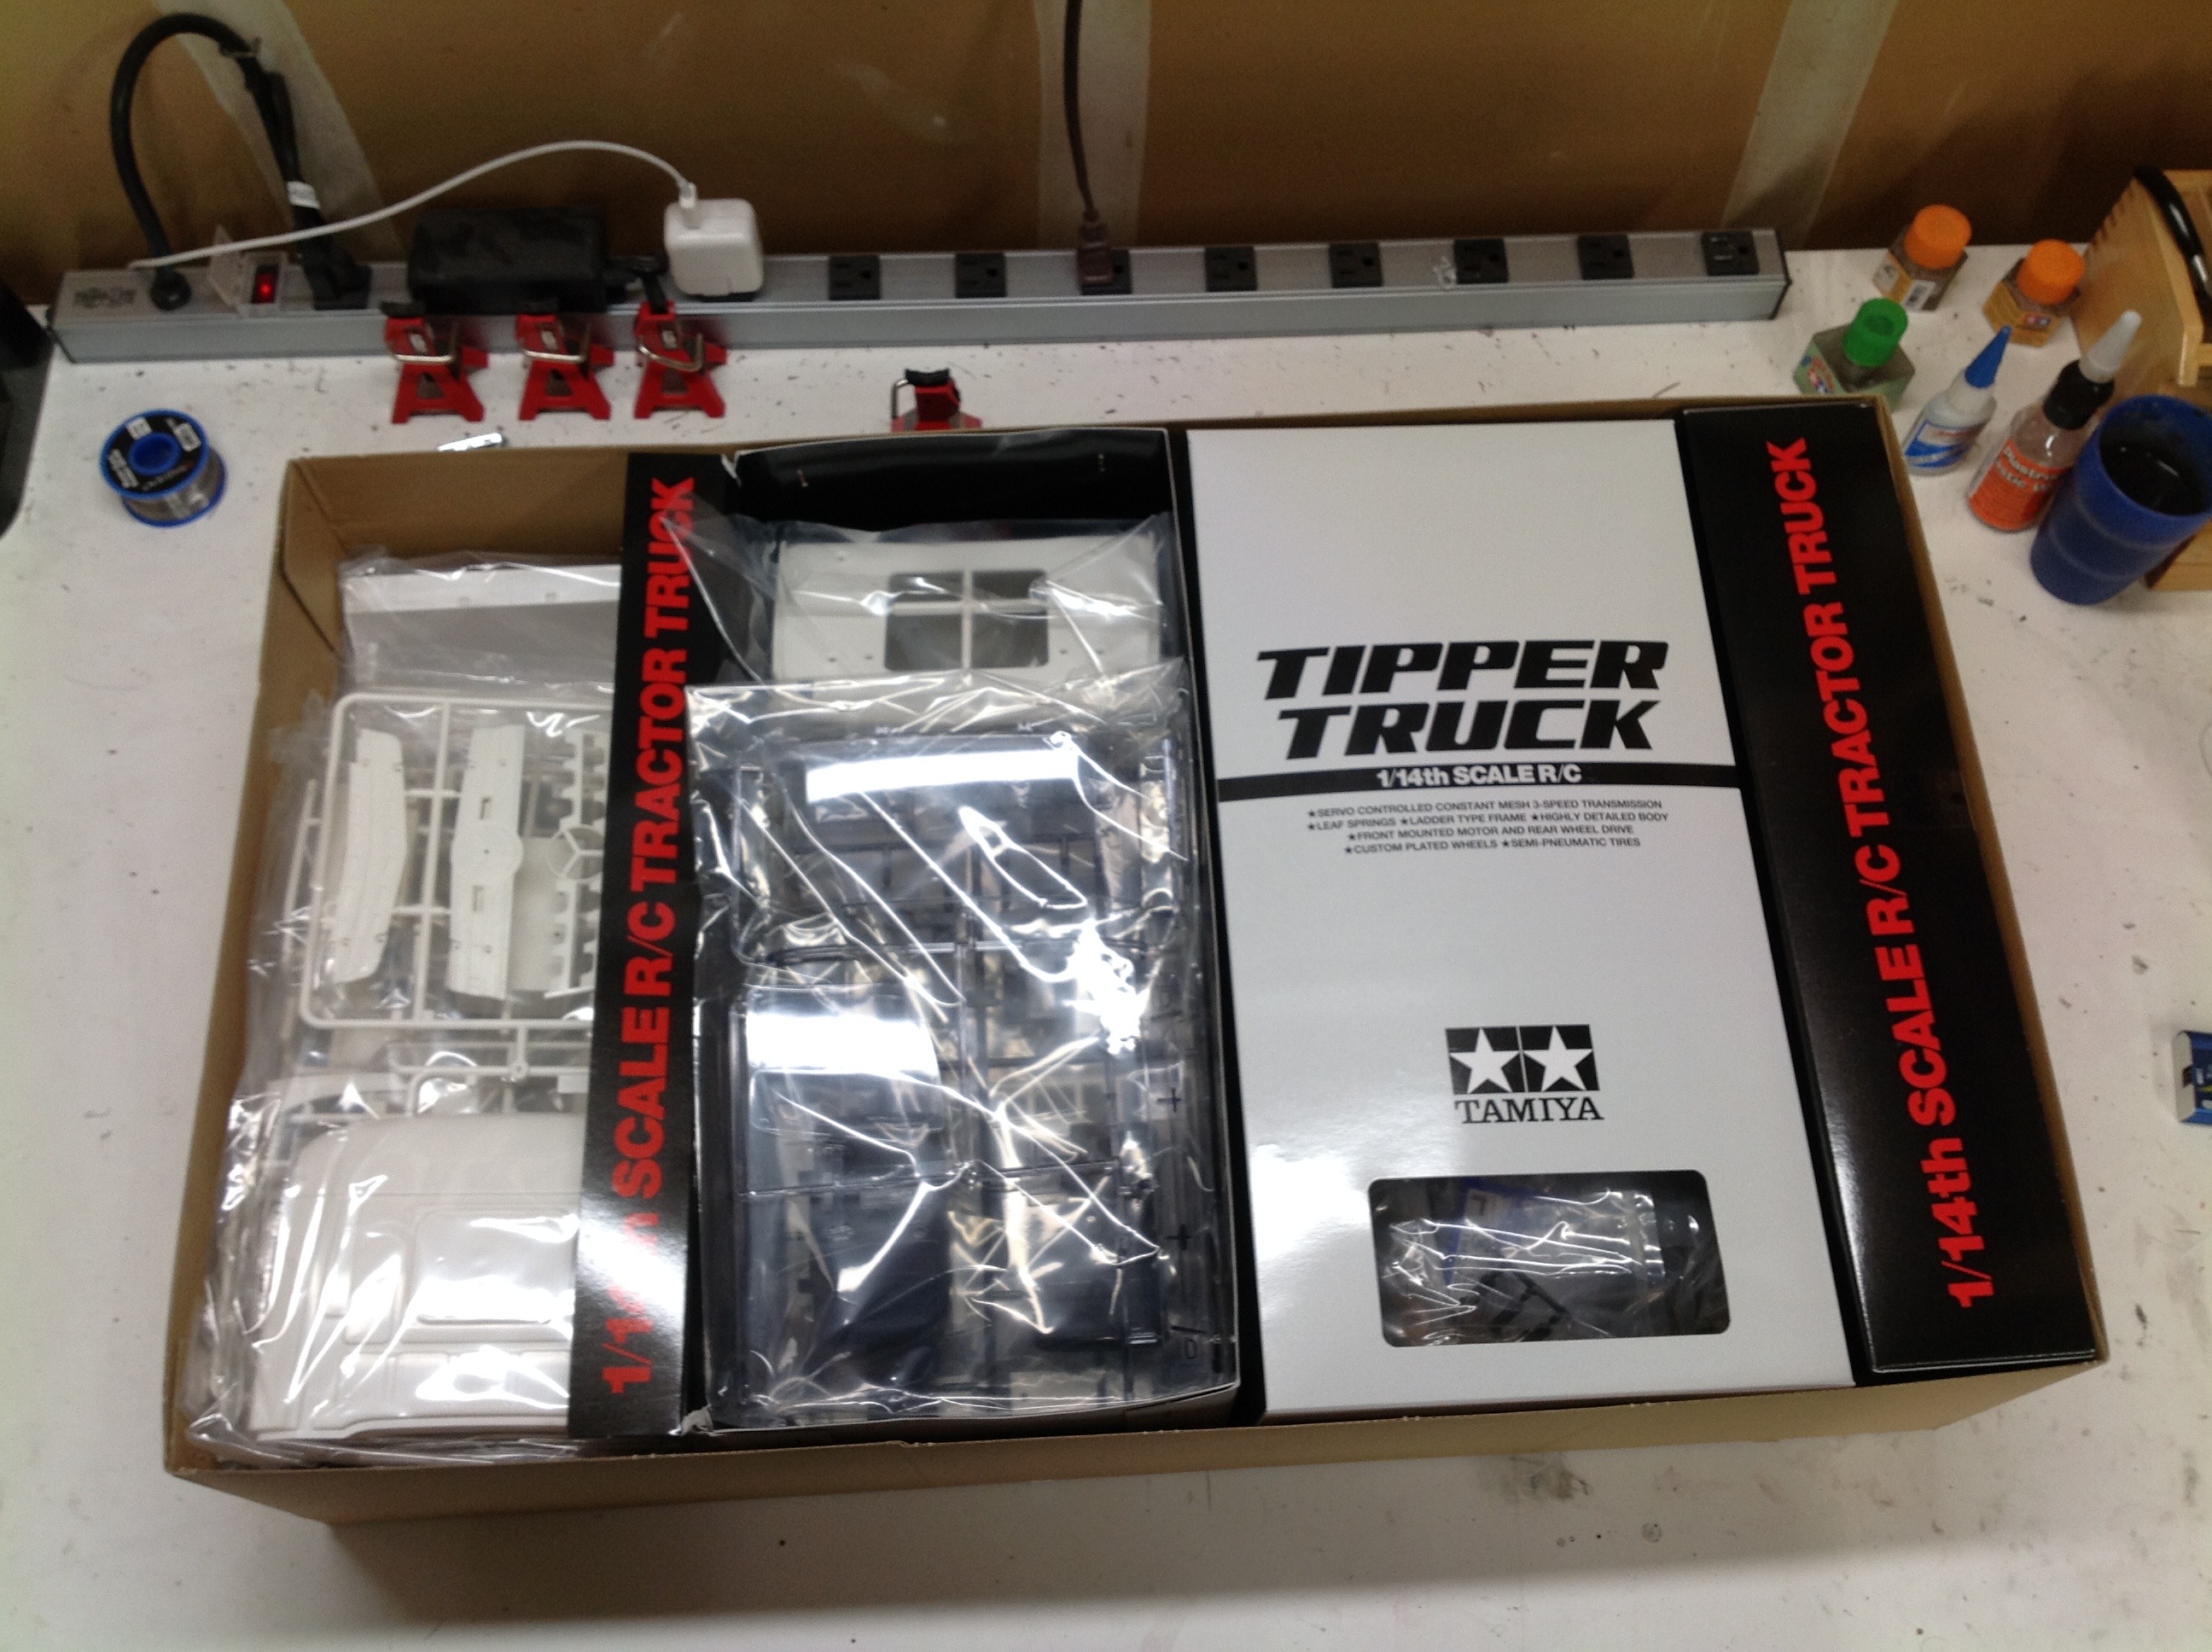
The front of the box doesn't have the typical Tamiya artwork but instead
features a photograph of the truck on a simulated background.
Lovely picture, but I am not a fan of the plain gray color. I'll
be doing something more vibrant. The right hand image shows the
inside of the box. Like all Tamiya tractor truck models, the box
is divided into sections roughly corresponding to body, chassis,
hardware, and miscellaneous parts. The chassis rails are packed
along the back edge for protection.
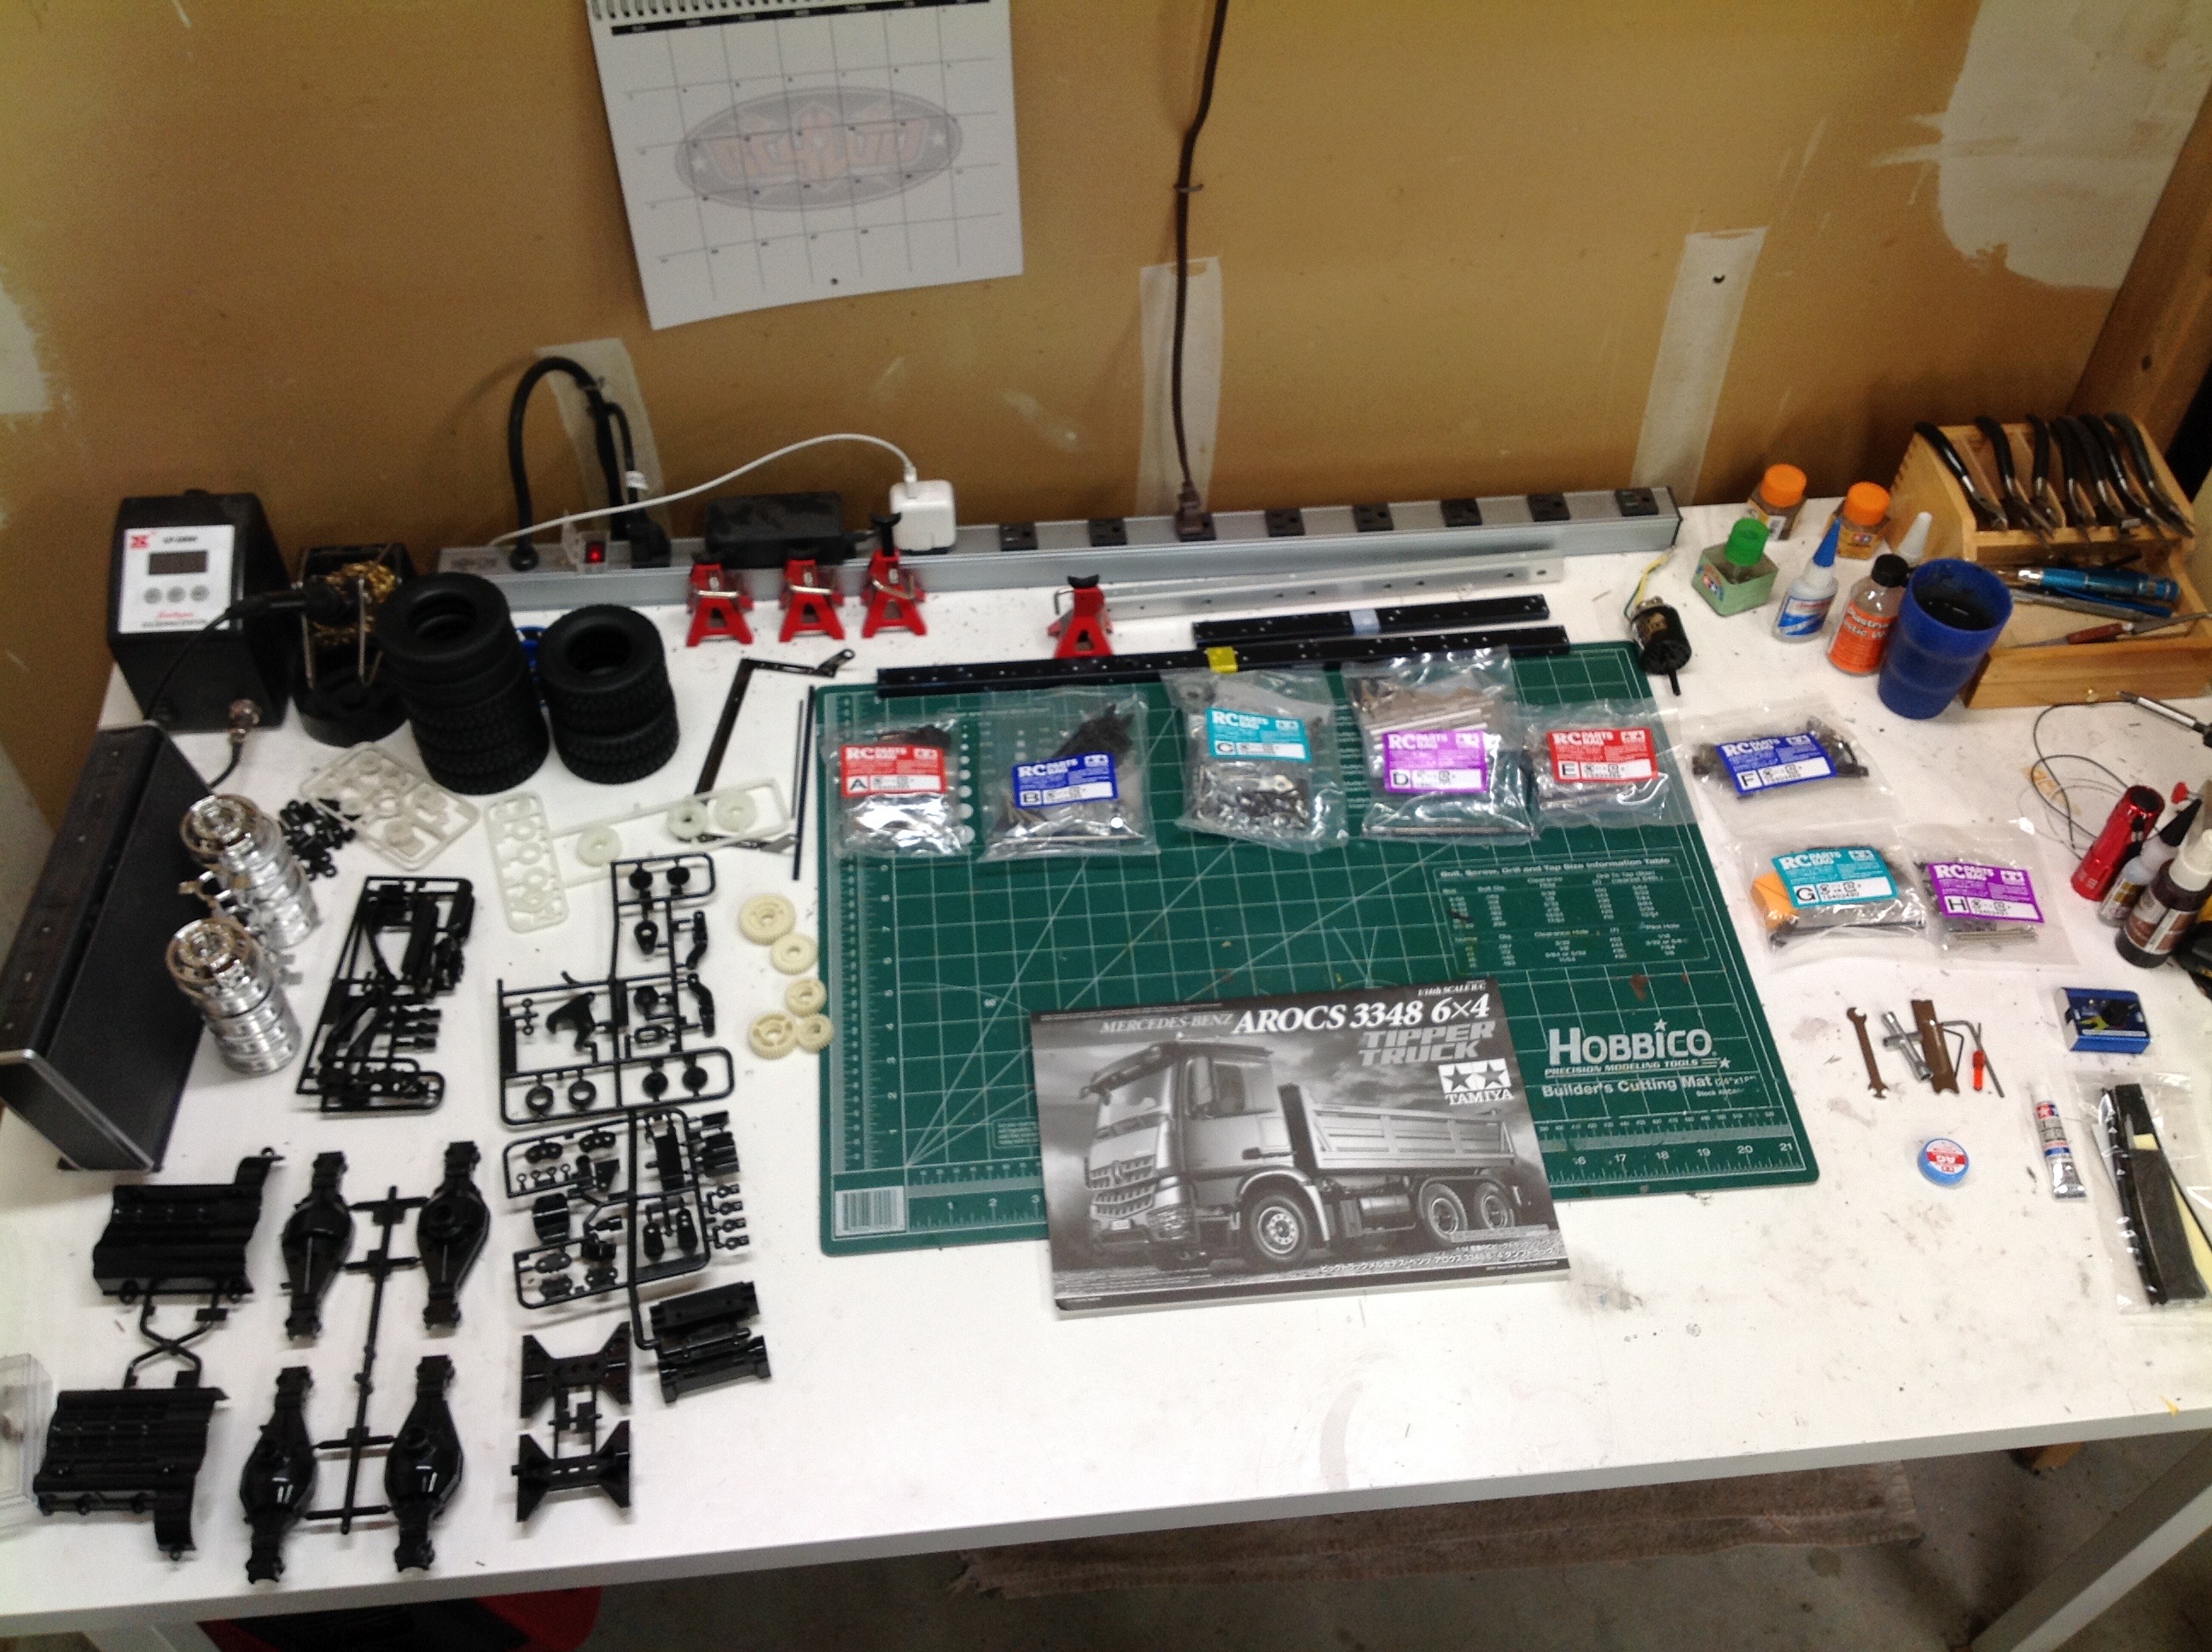
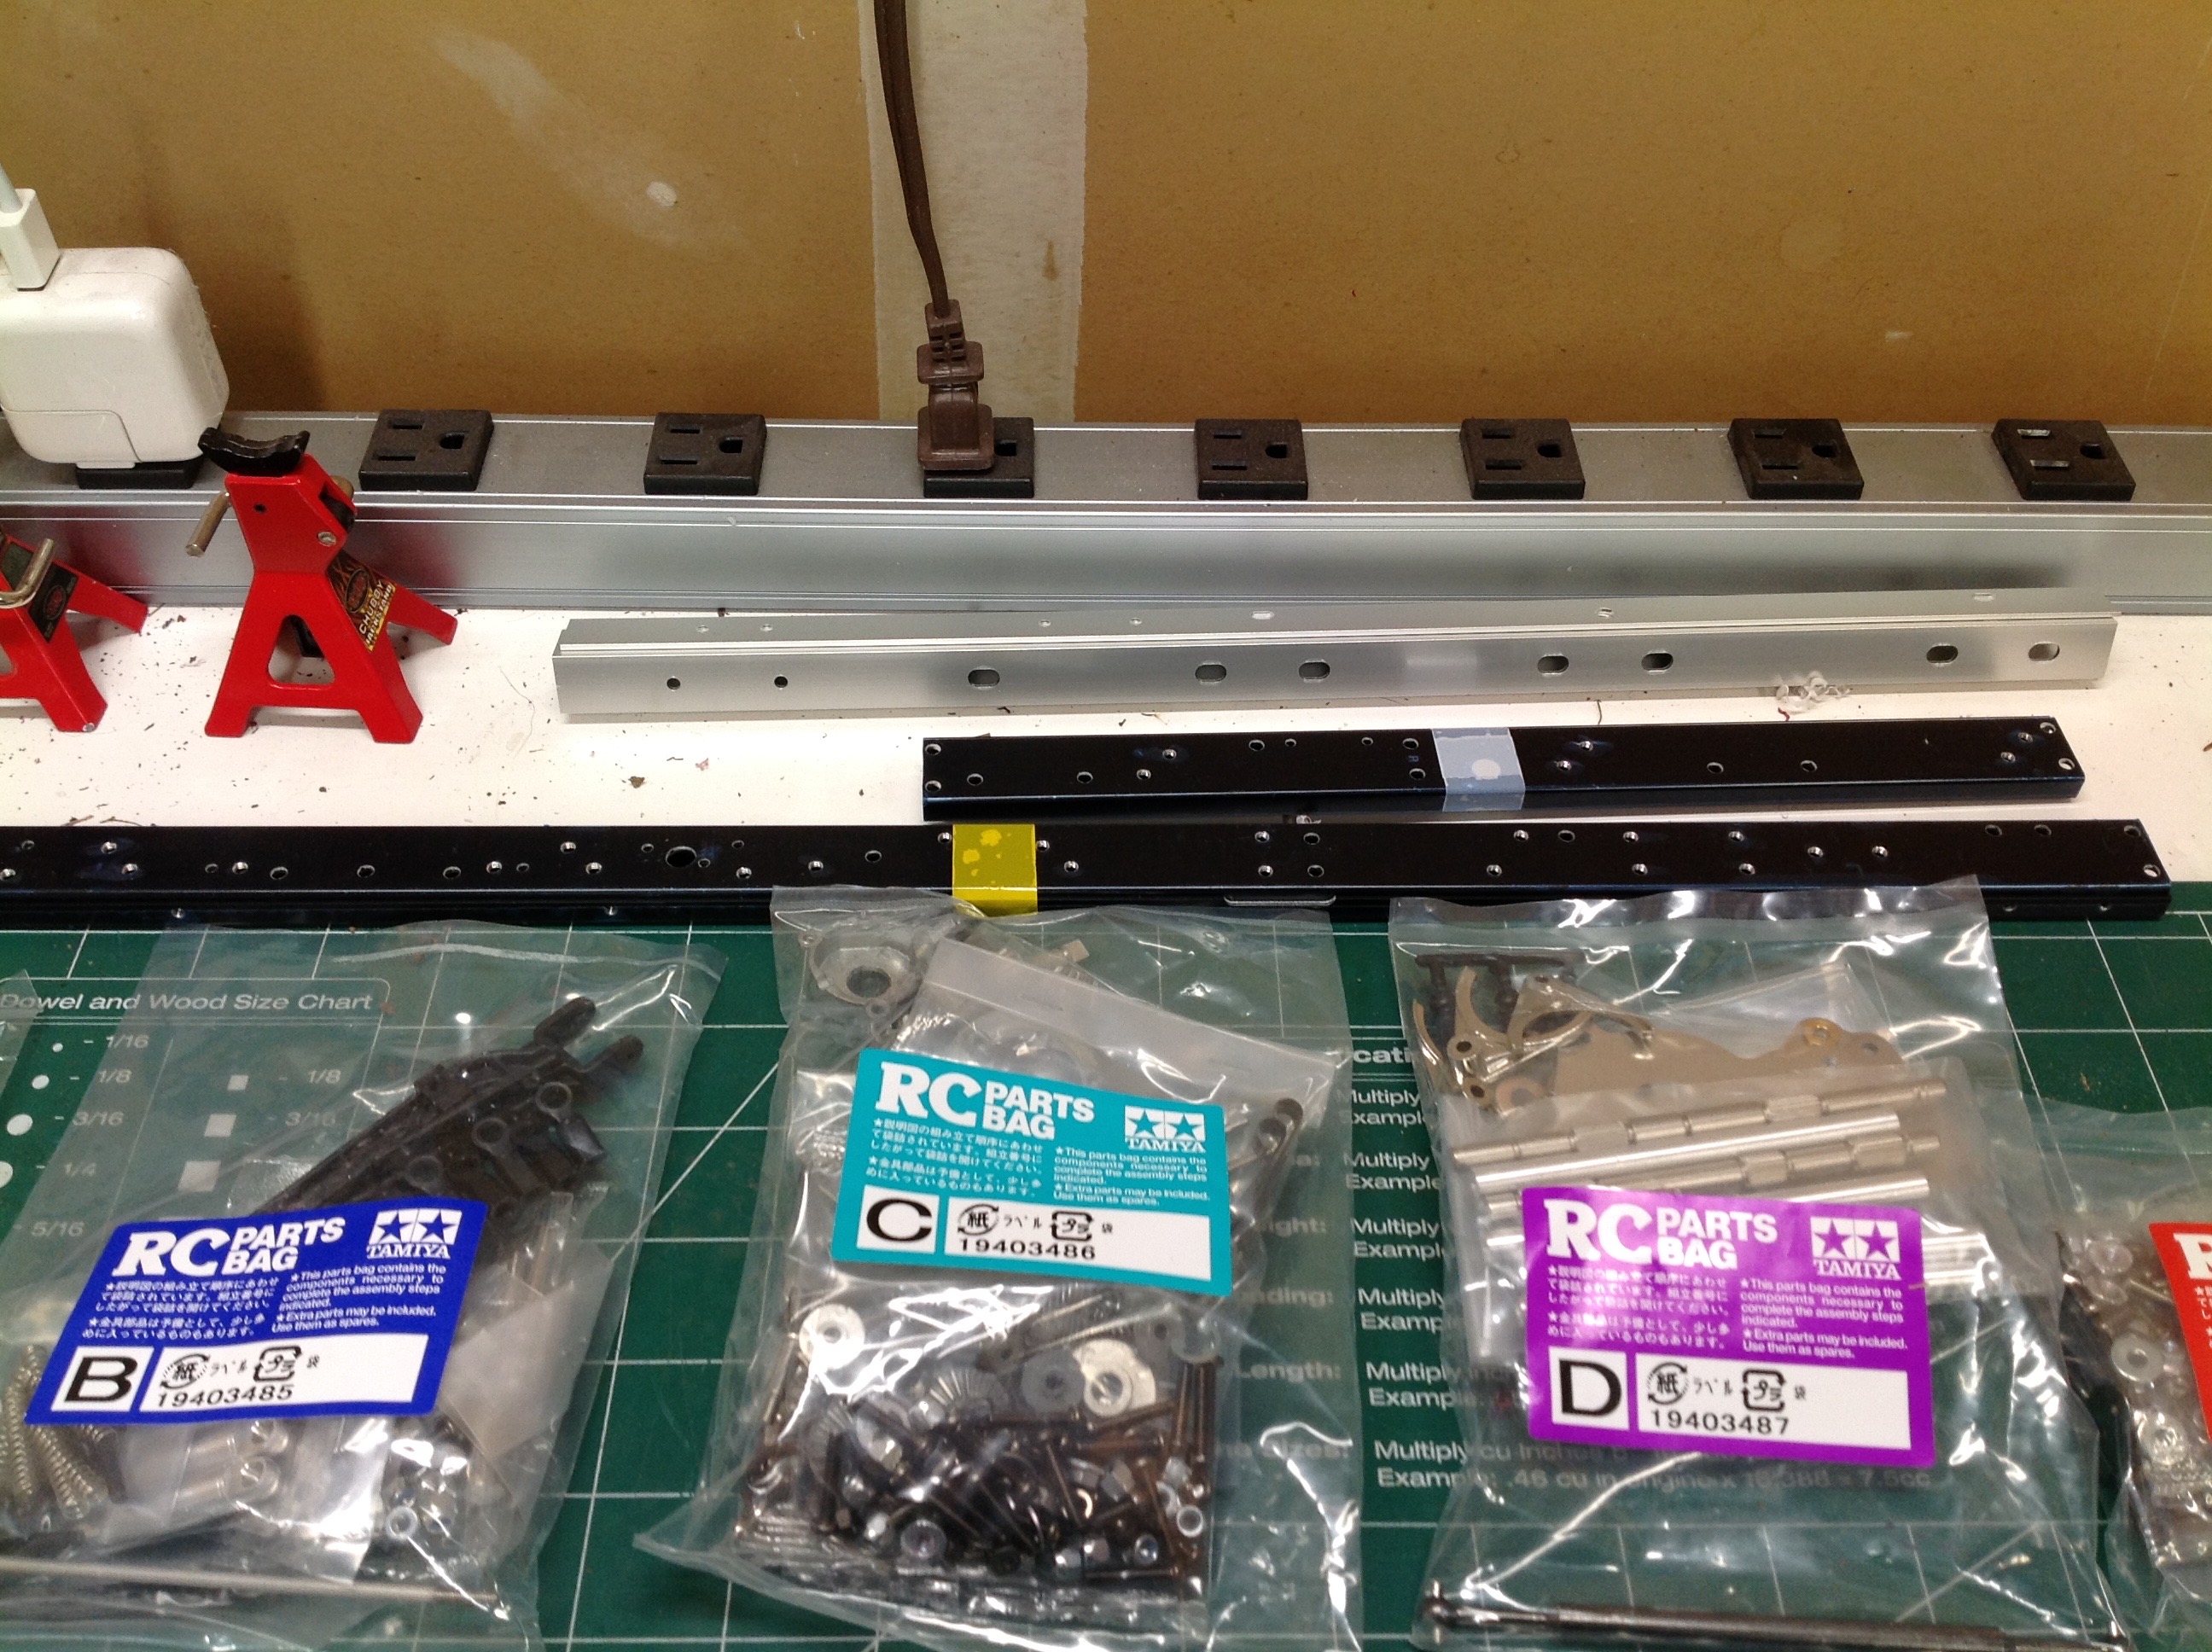
Here I've extracted the parts needed for the chassis. There are
far too many parts (and my table is far too small) to unpack everything
at once. The right hand image shows some of the hardware bags and
the aluminum chassis rails. This model contains an extra set of
shorter rails for the dumping bed.
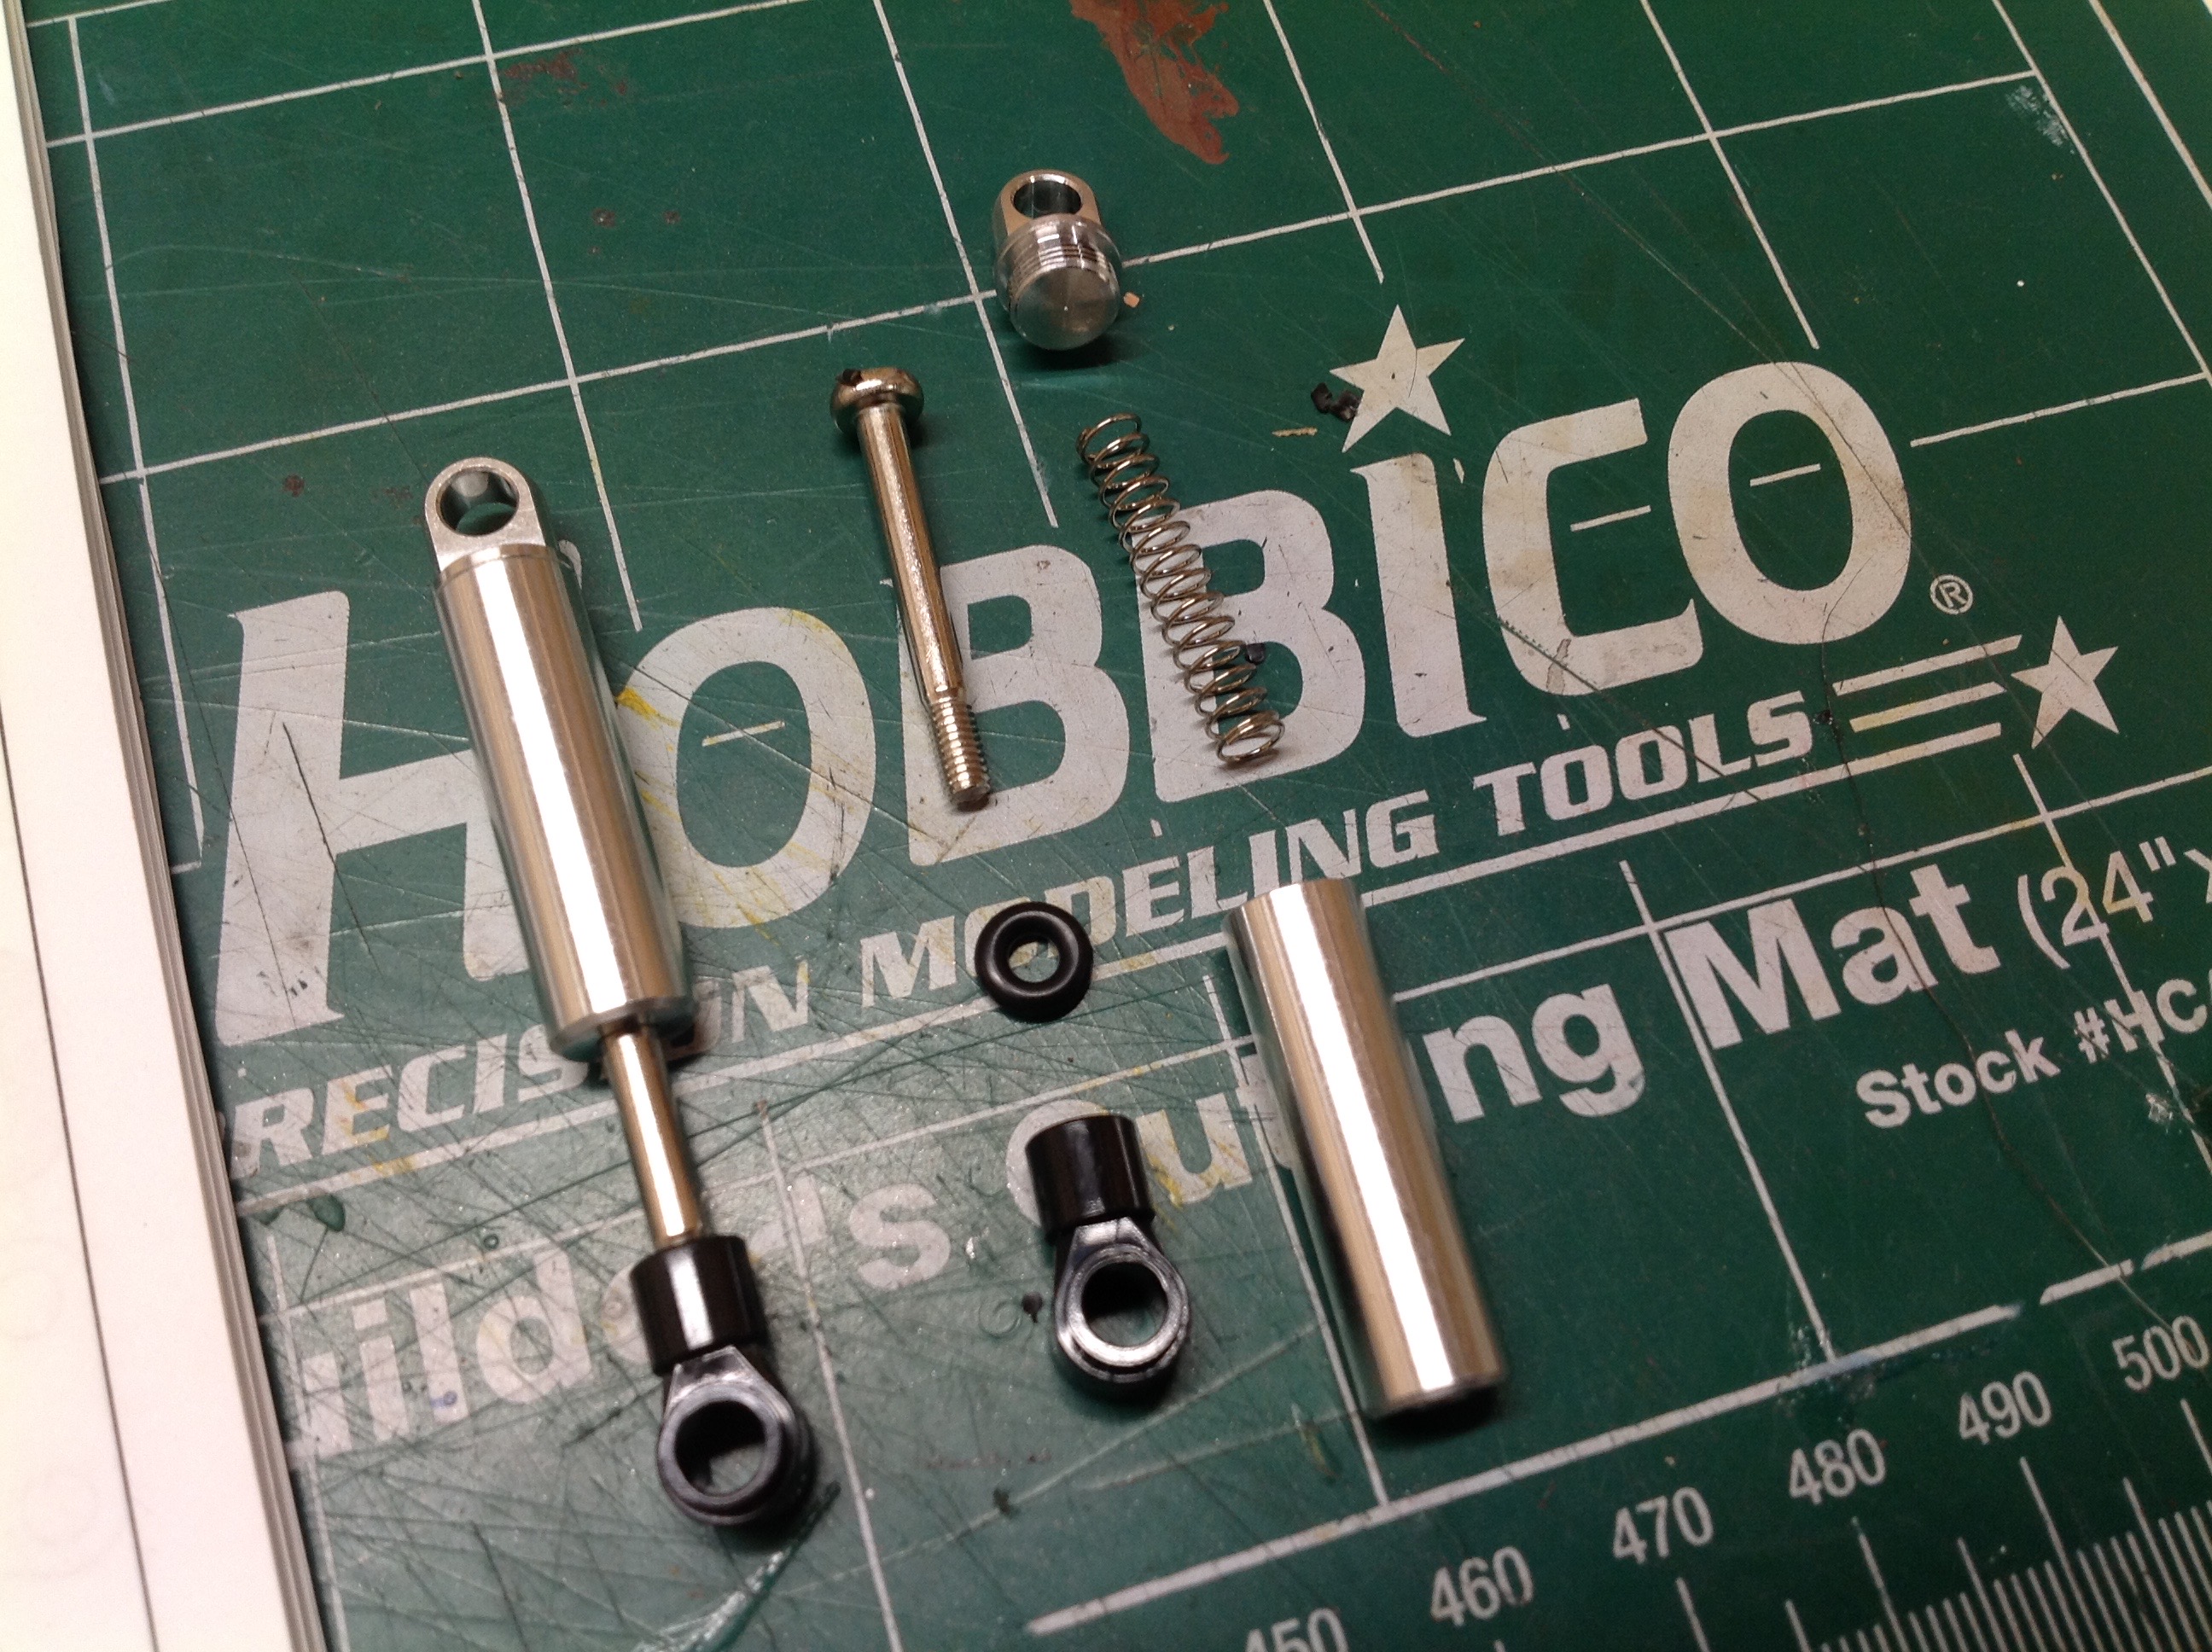
The metal shocks are internally sprung and undamped. They are
really just for looks. They are identical to the King Hauler
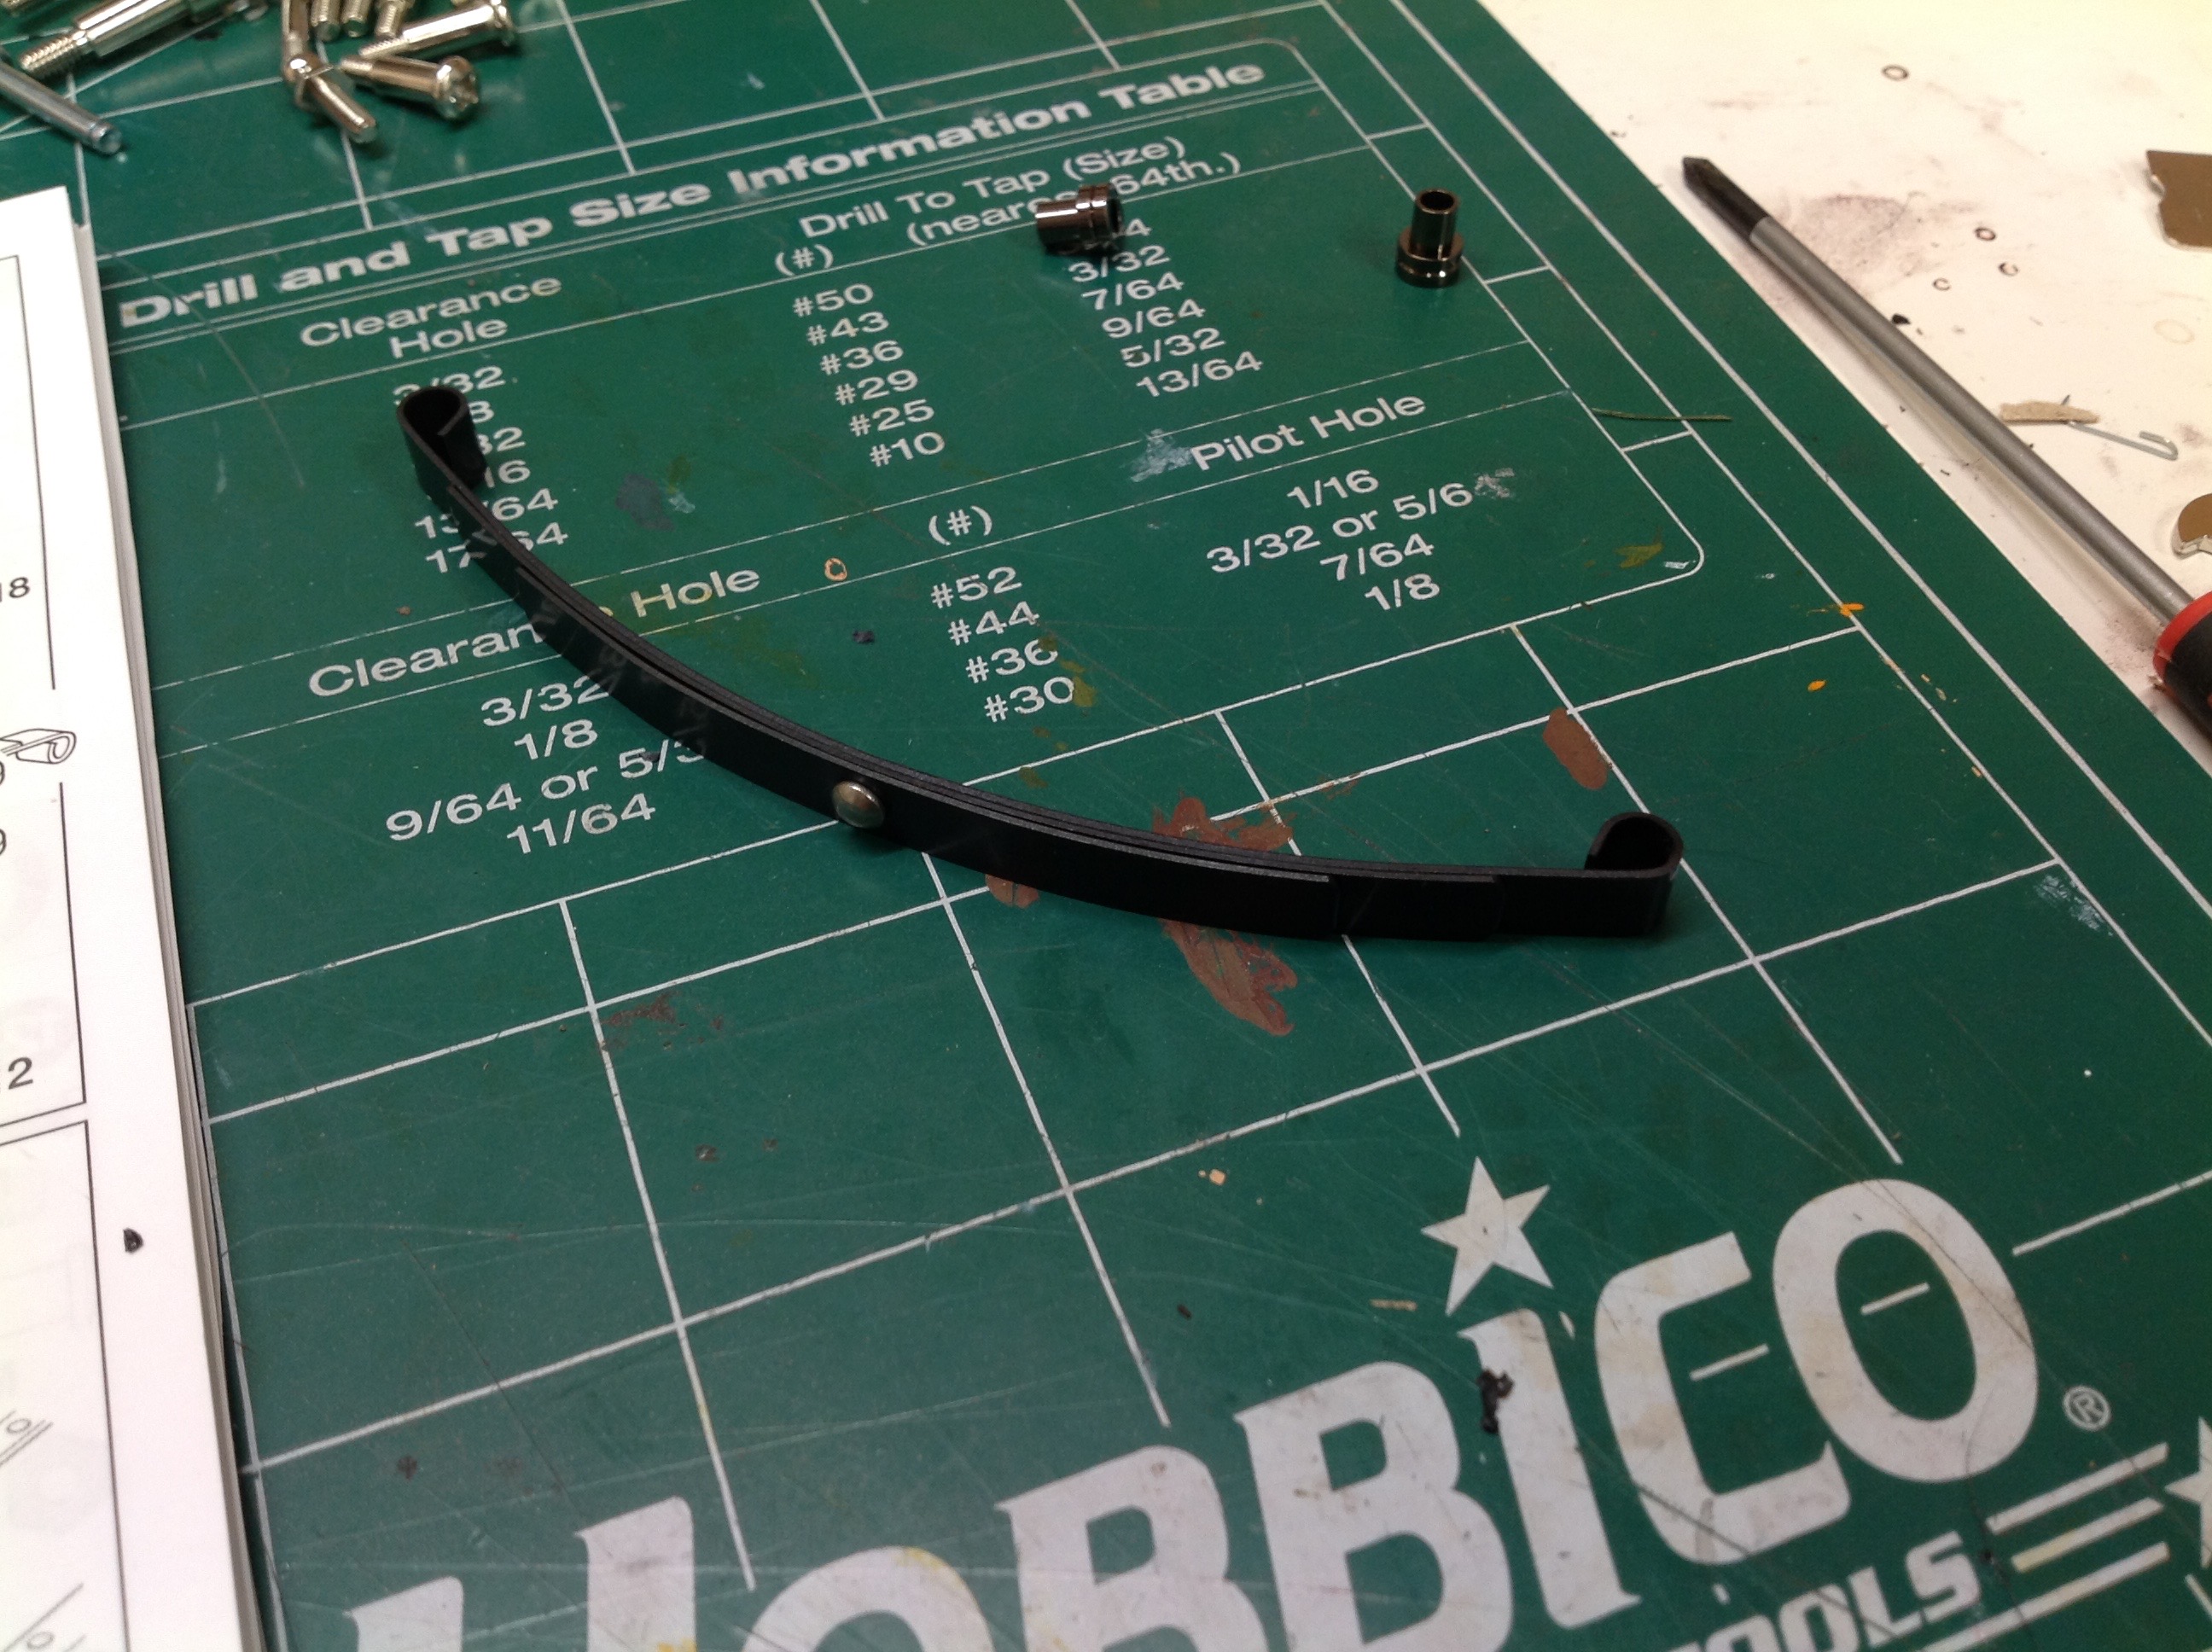
shocks except for color. The front leaf springs have 3 layers
while the rear have 4. Makes sense for carrying a heavy load in
the bed.
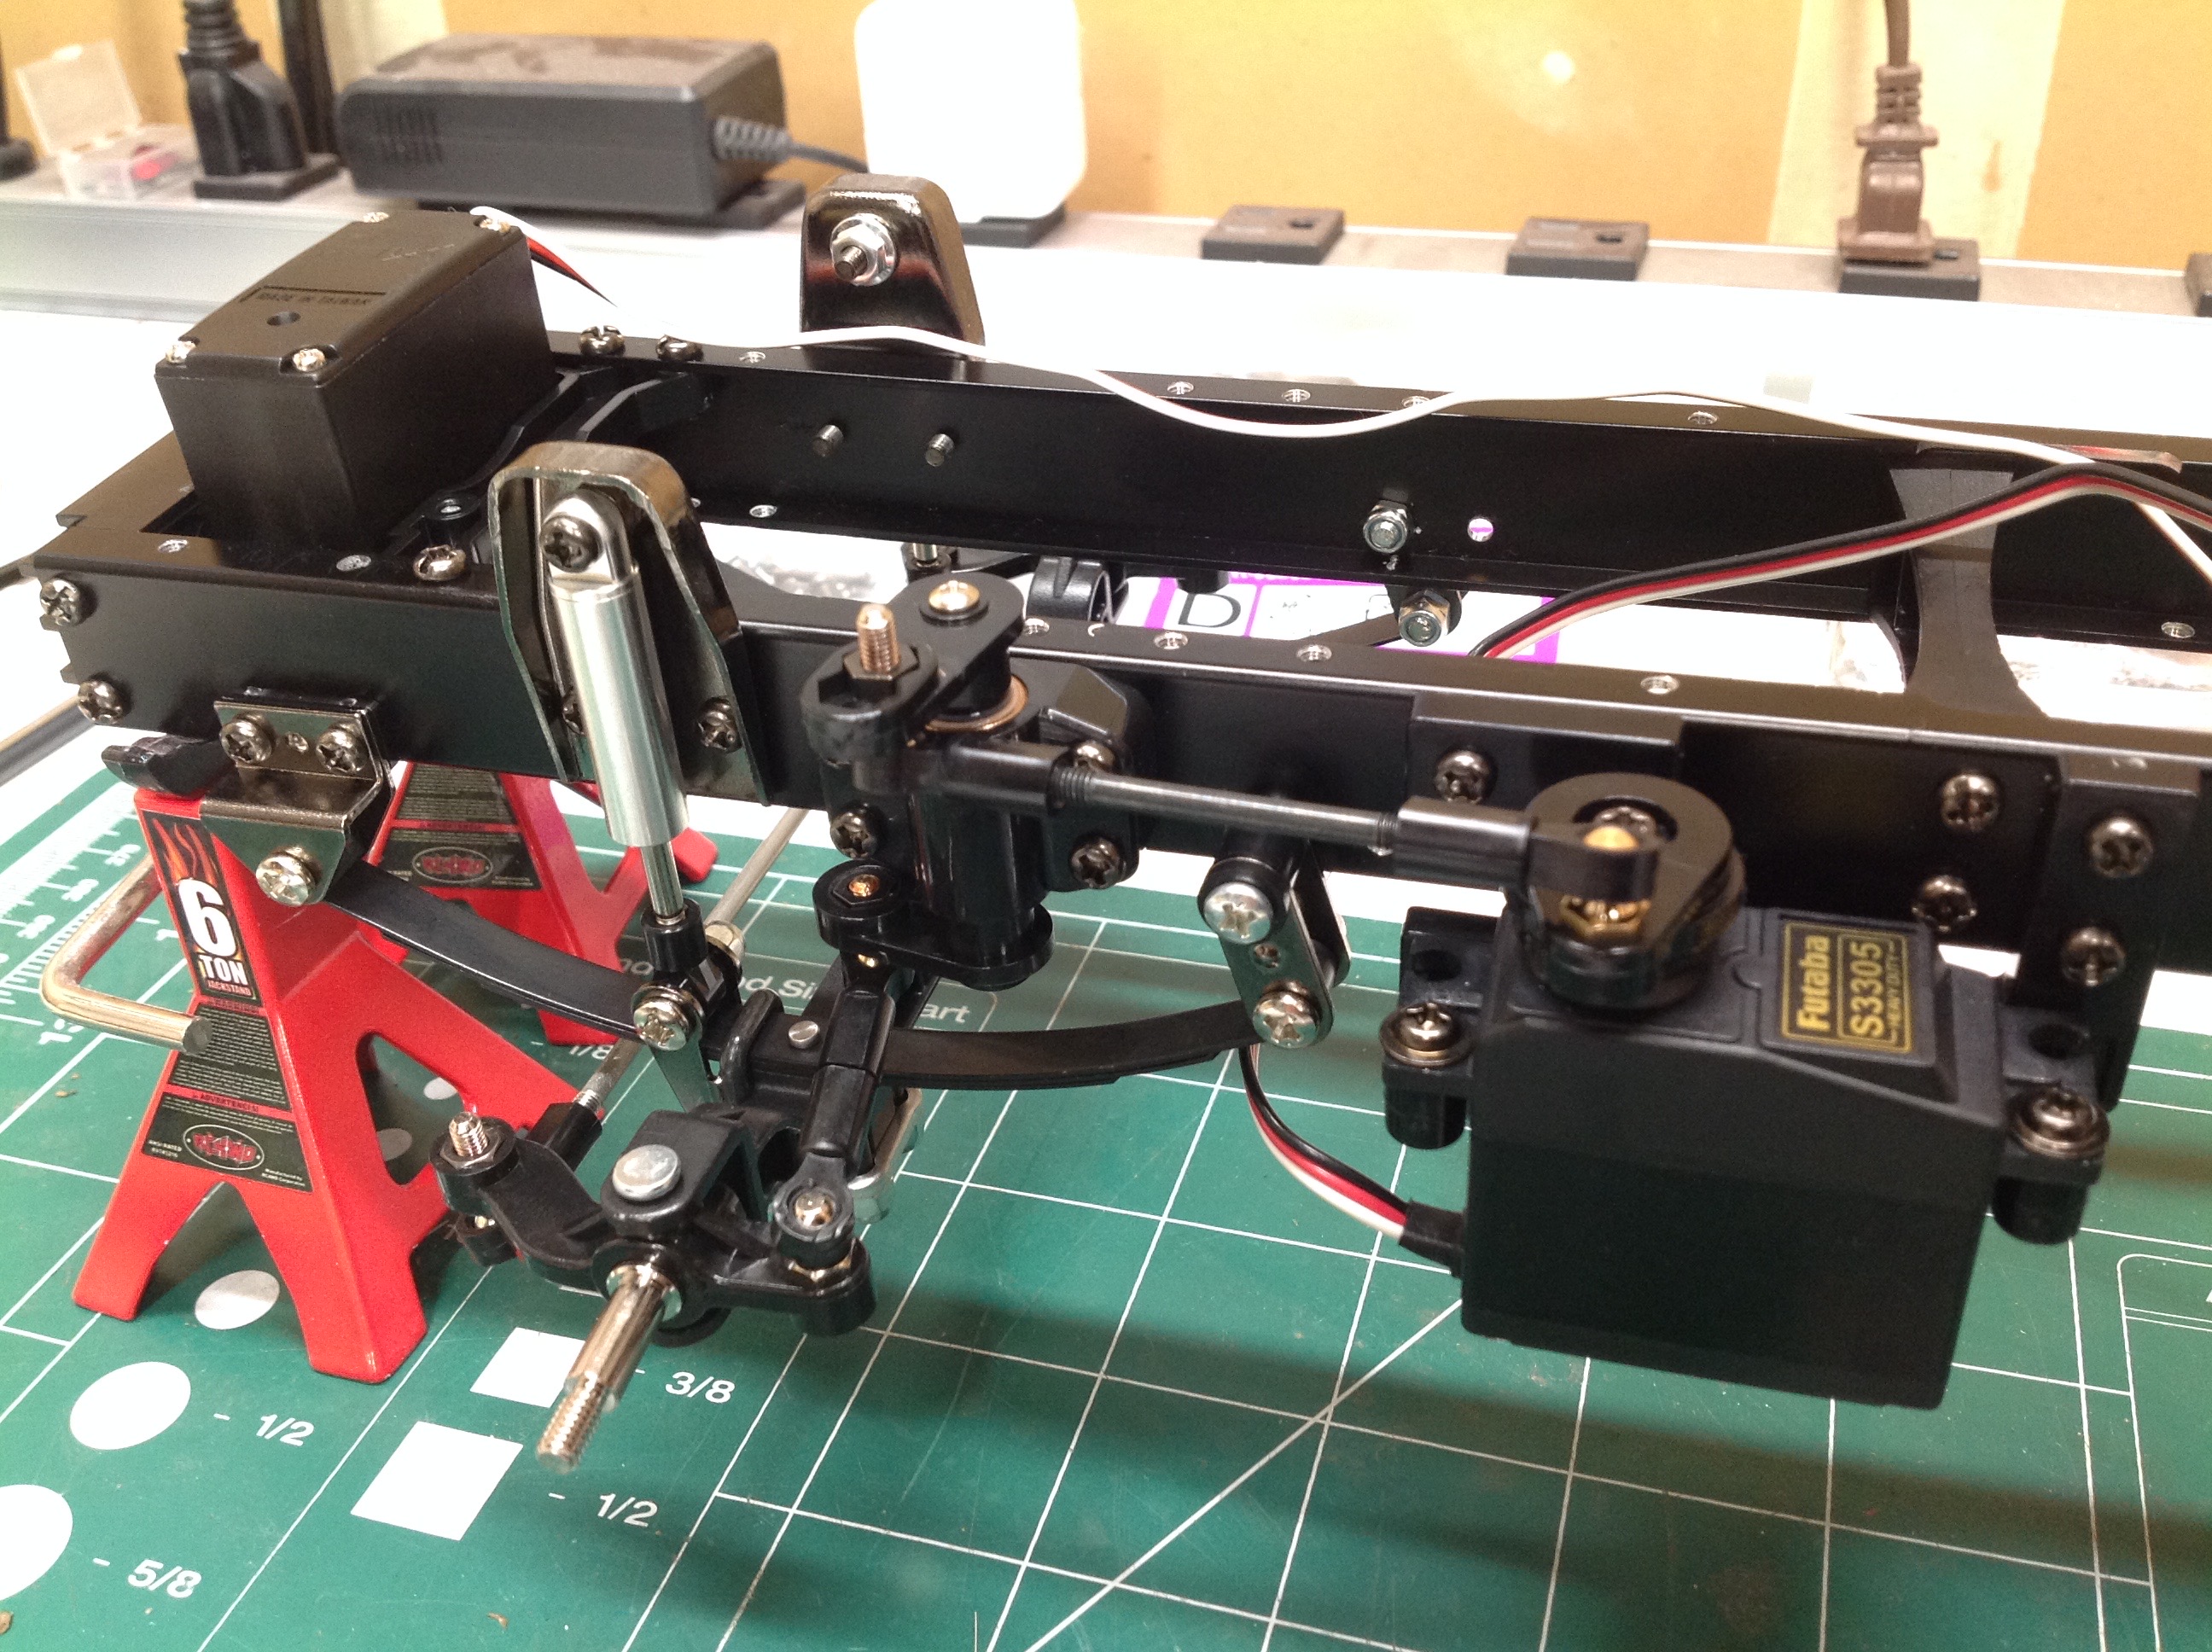
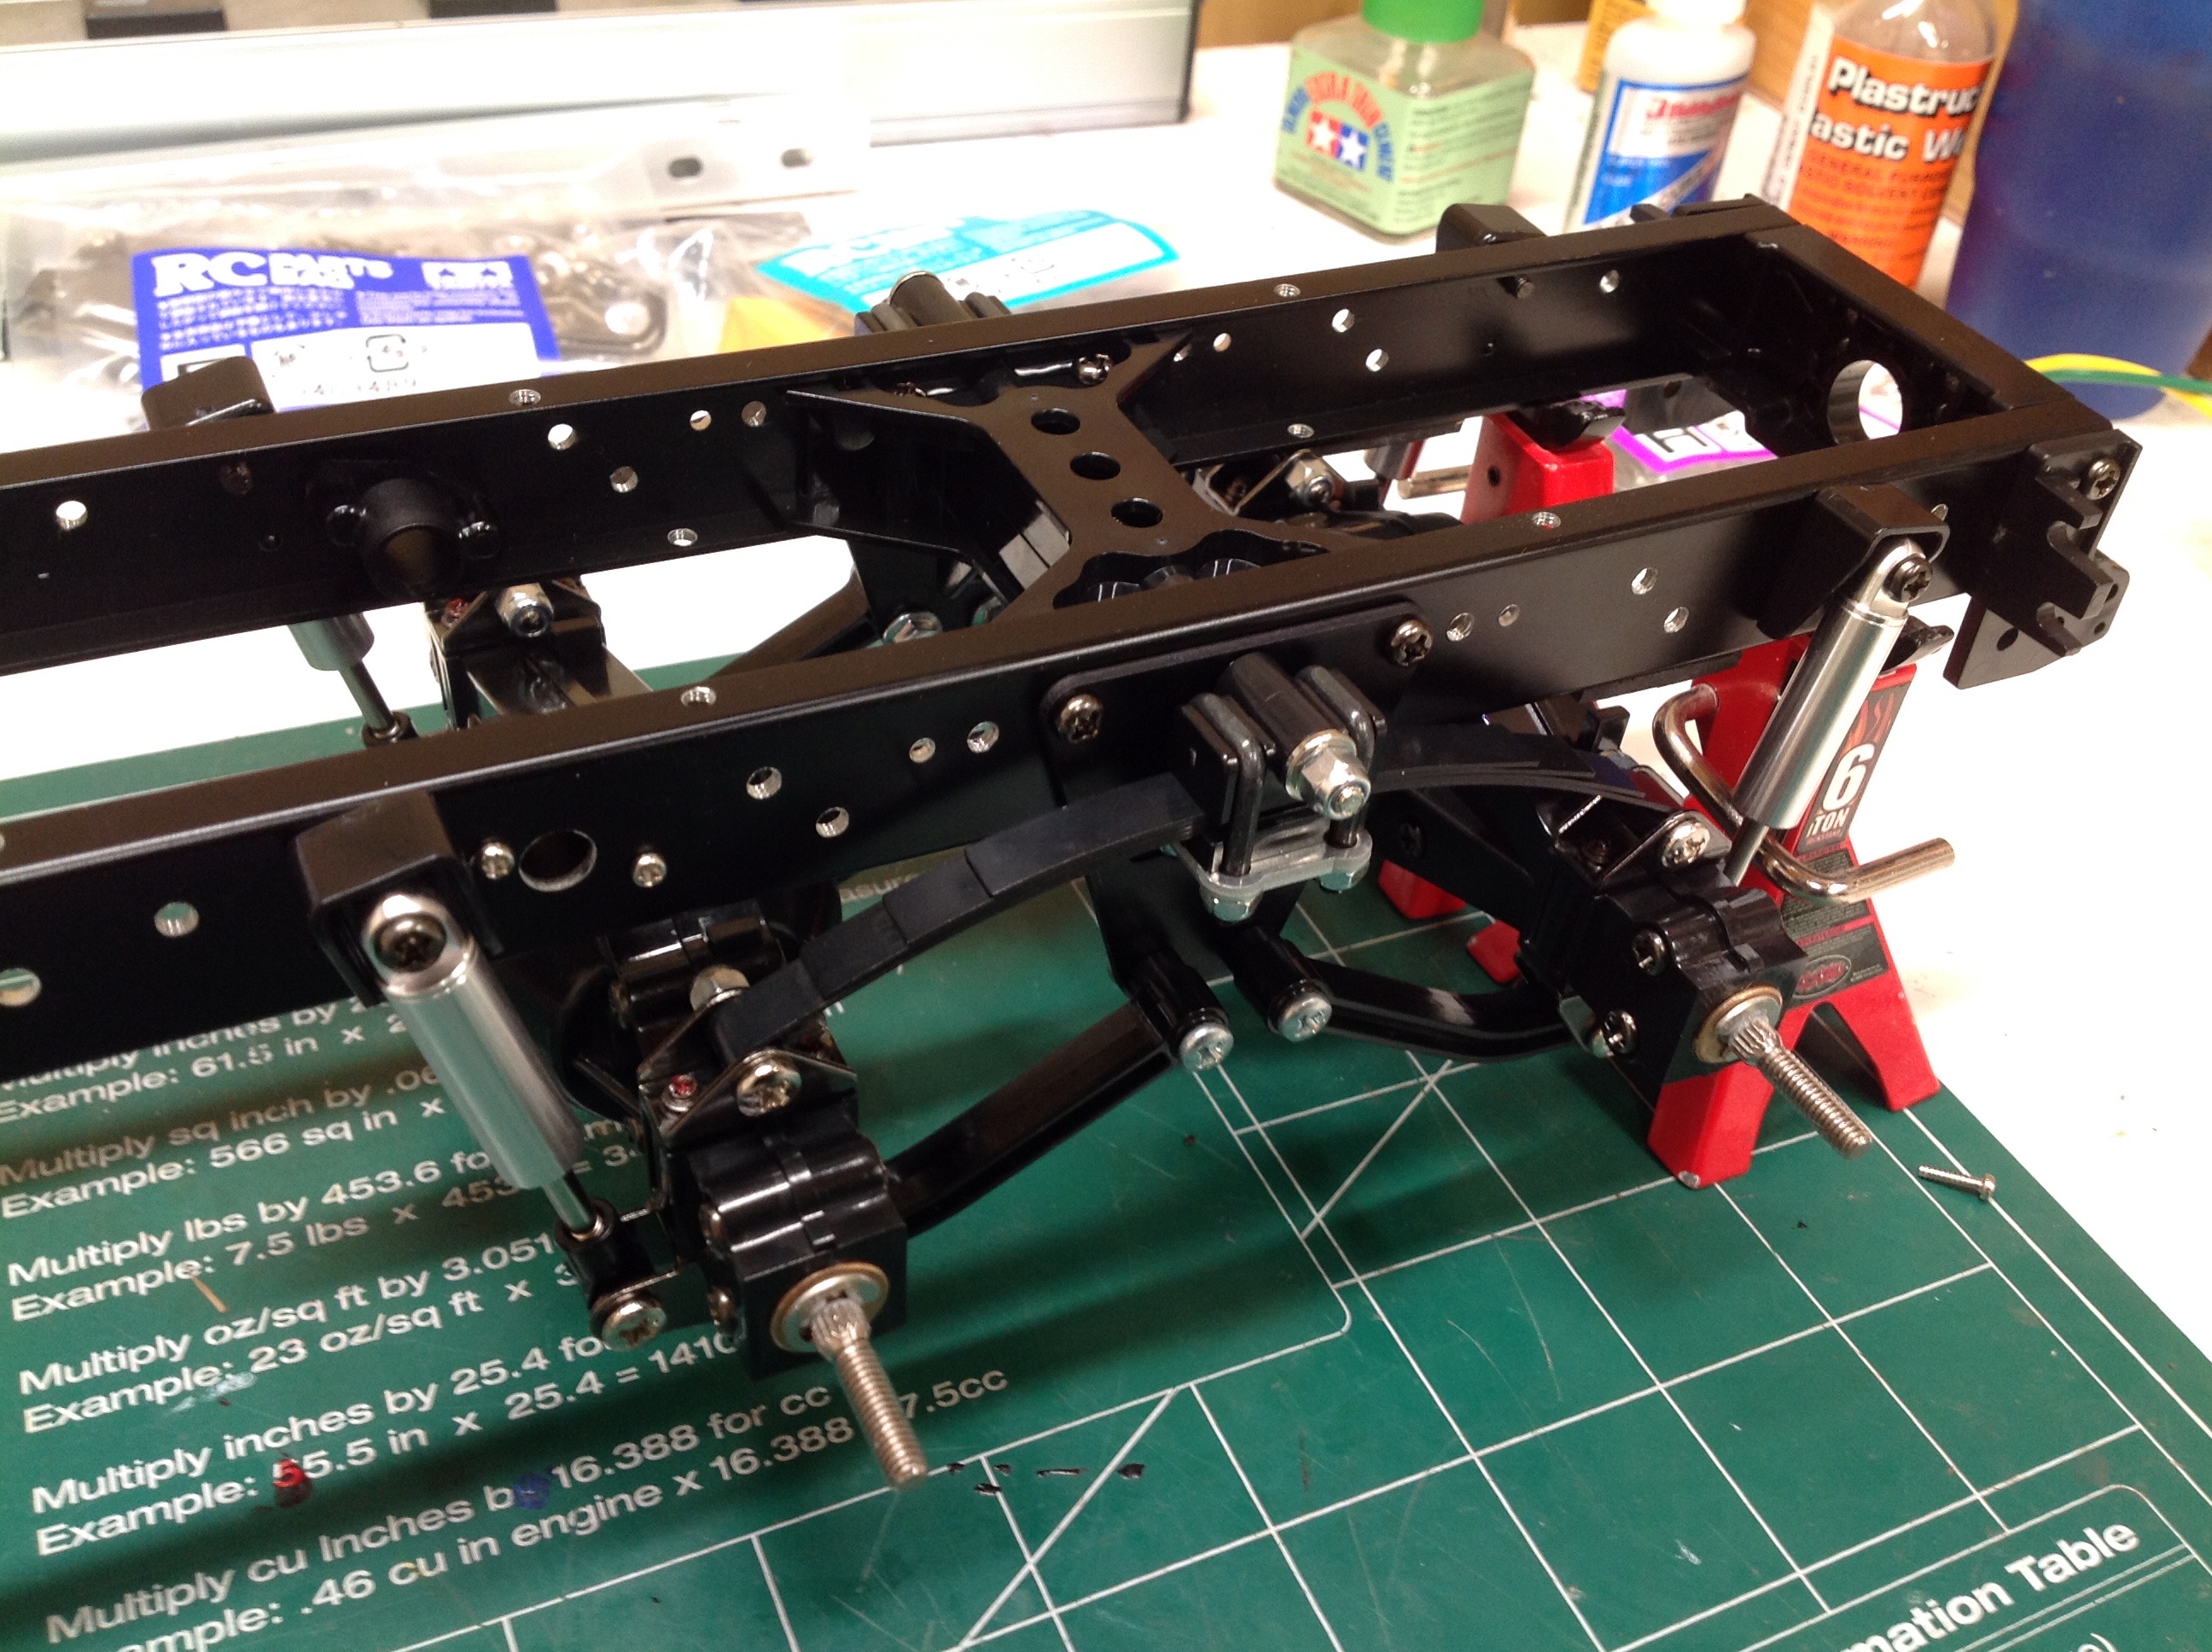
While the King Hauler and other longnose trucks put both servos up front
between the chassis rails, the European style cabover trucks put the
steering servo on the side and connect to the front axle via an
additional crank arm. The front axle beam is metal on this
model. The rear axle system is identical to the other 6x4 tractor
trucks with metal differentials, plastic axle housings, metal bushings
(instead of bearings), and shared leaf springs and radius arms.
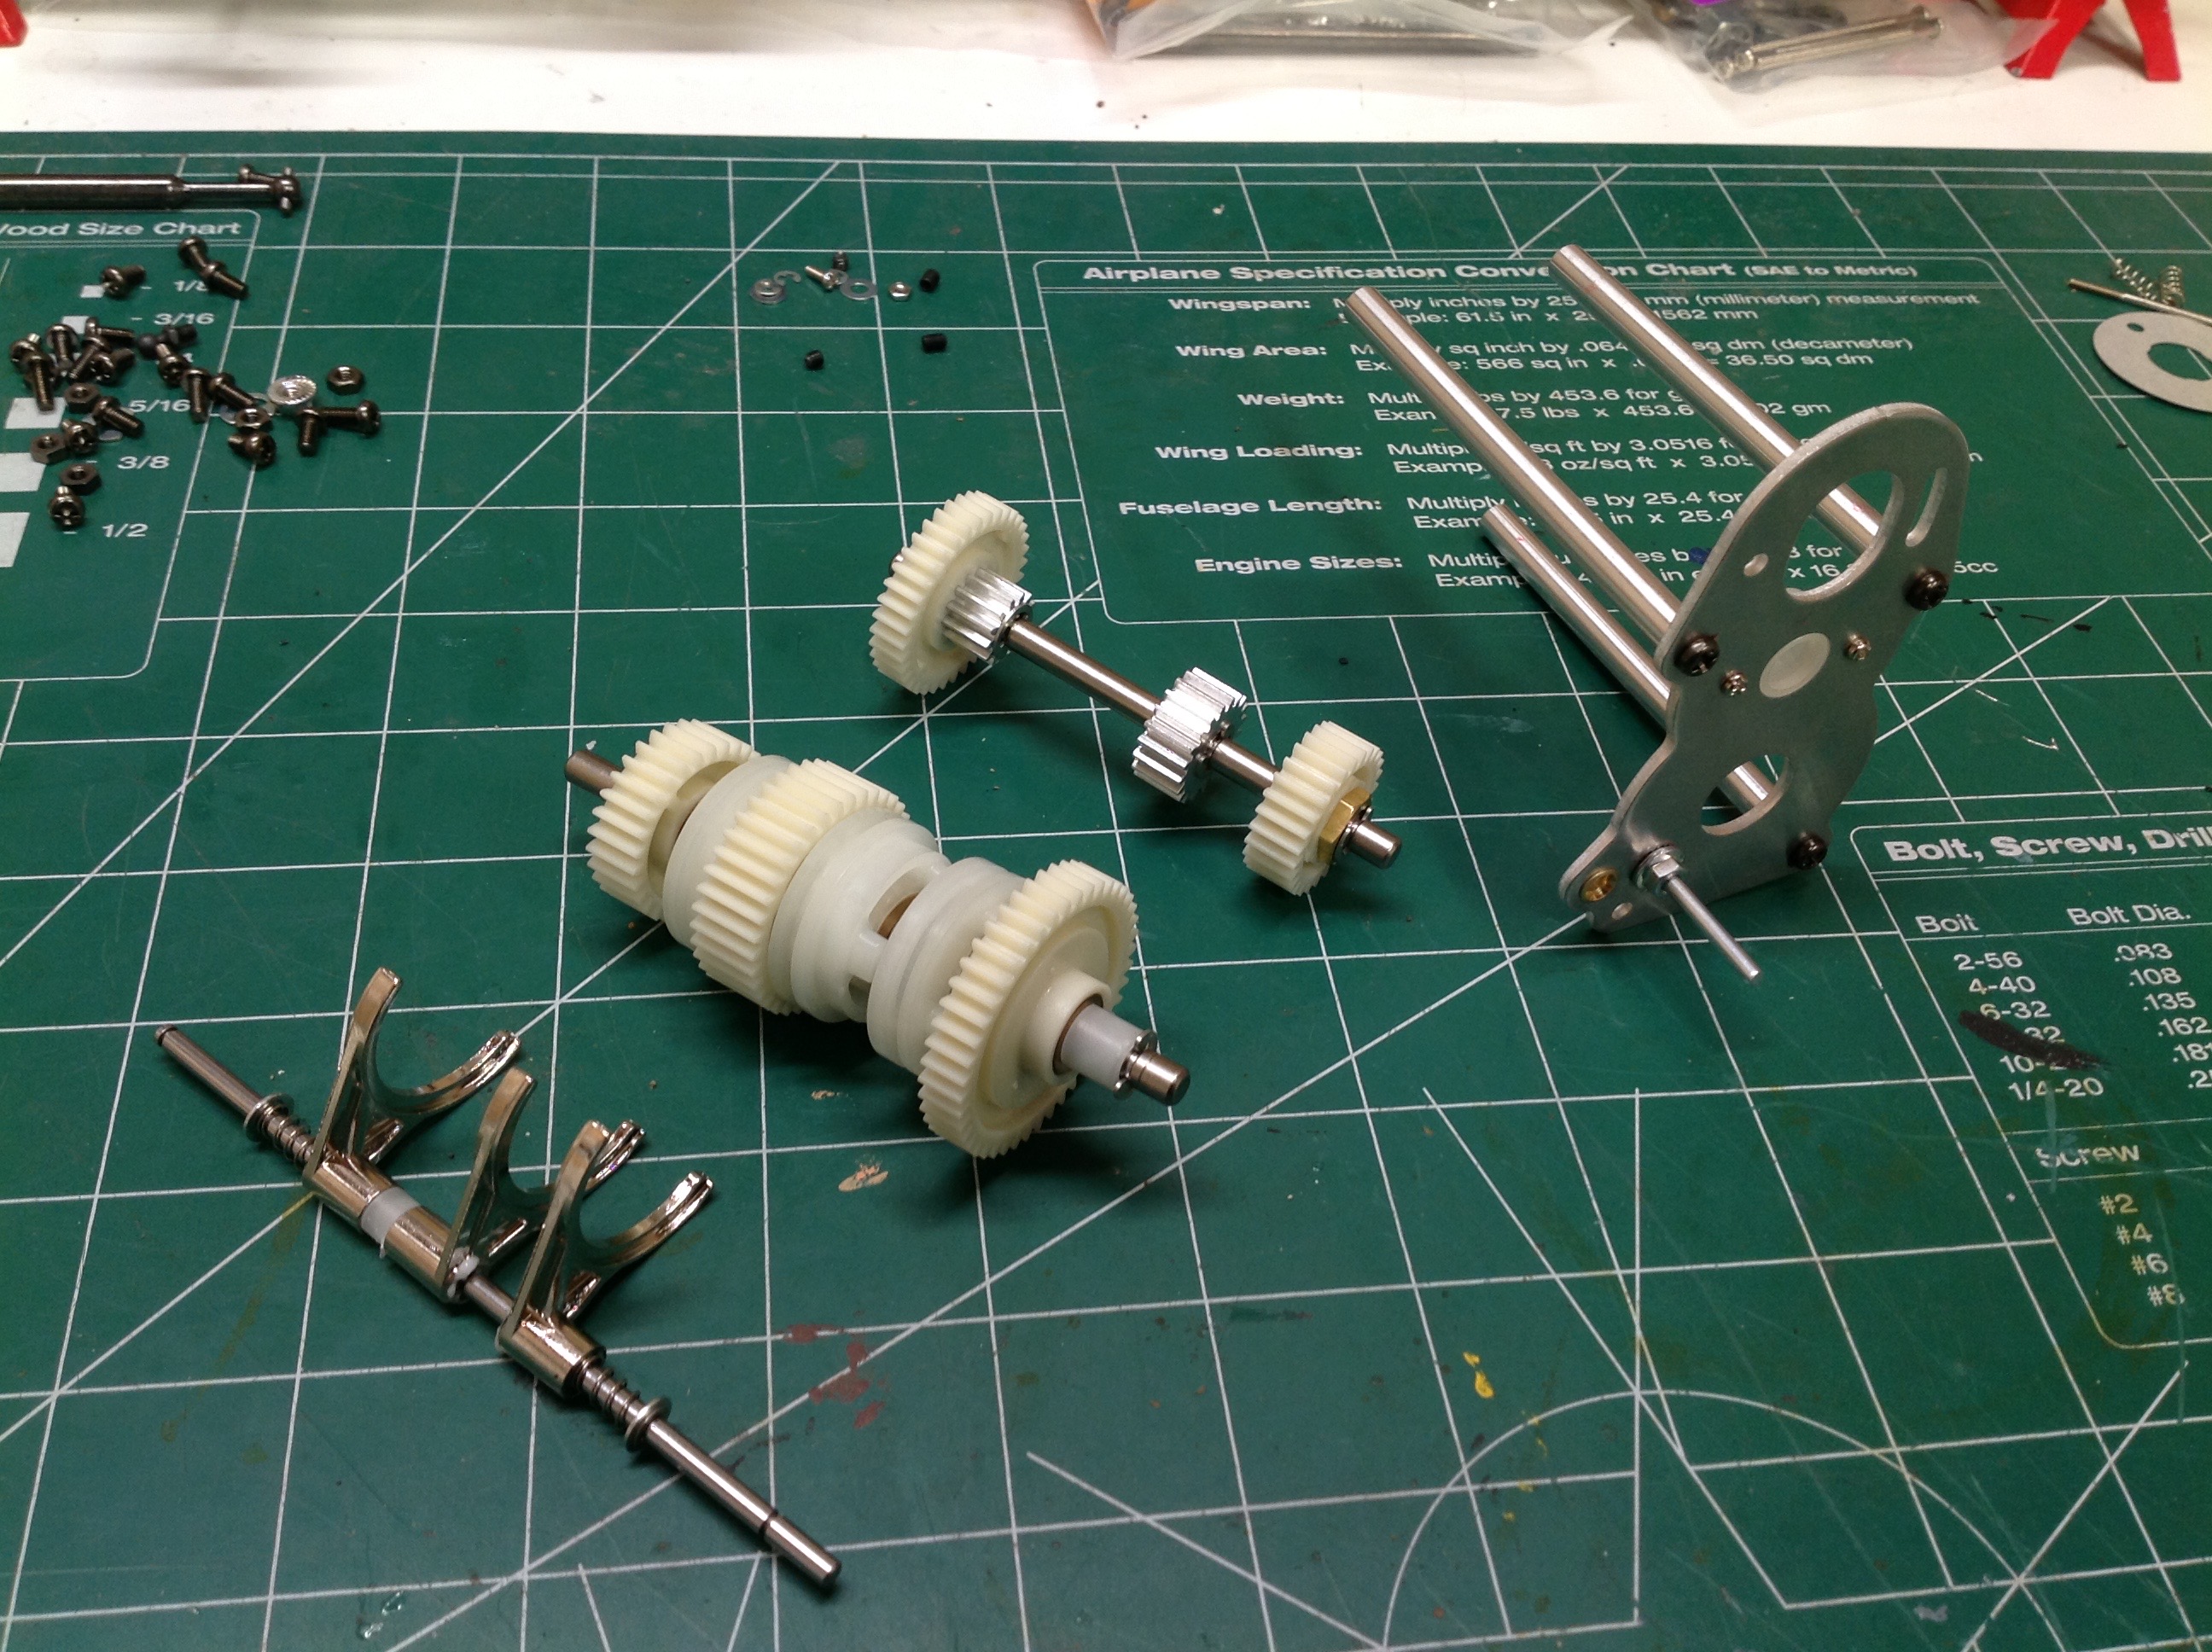
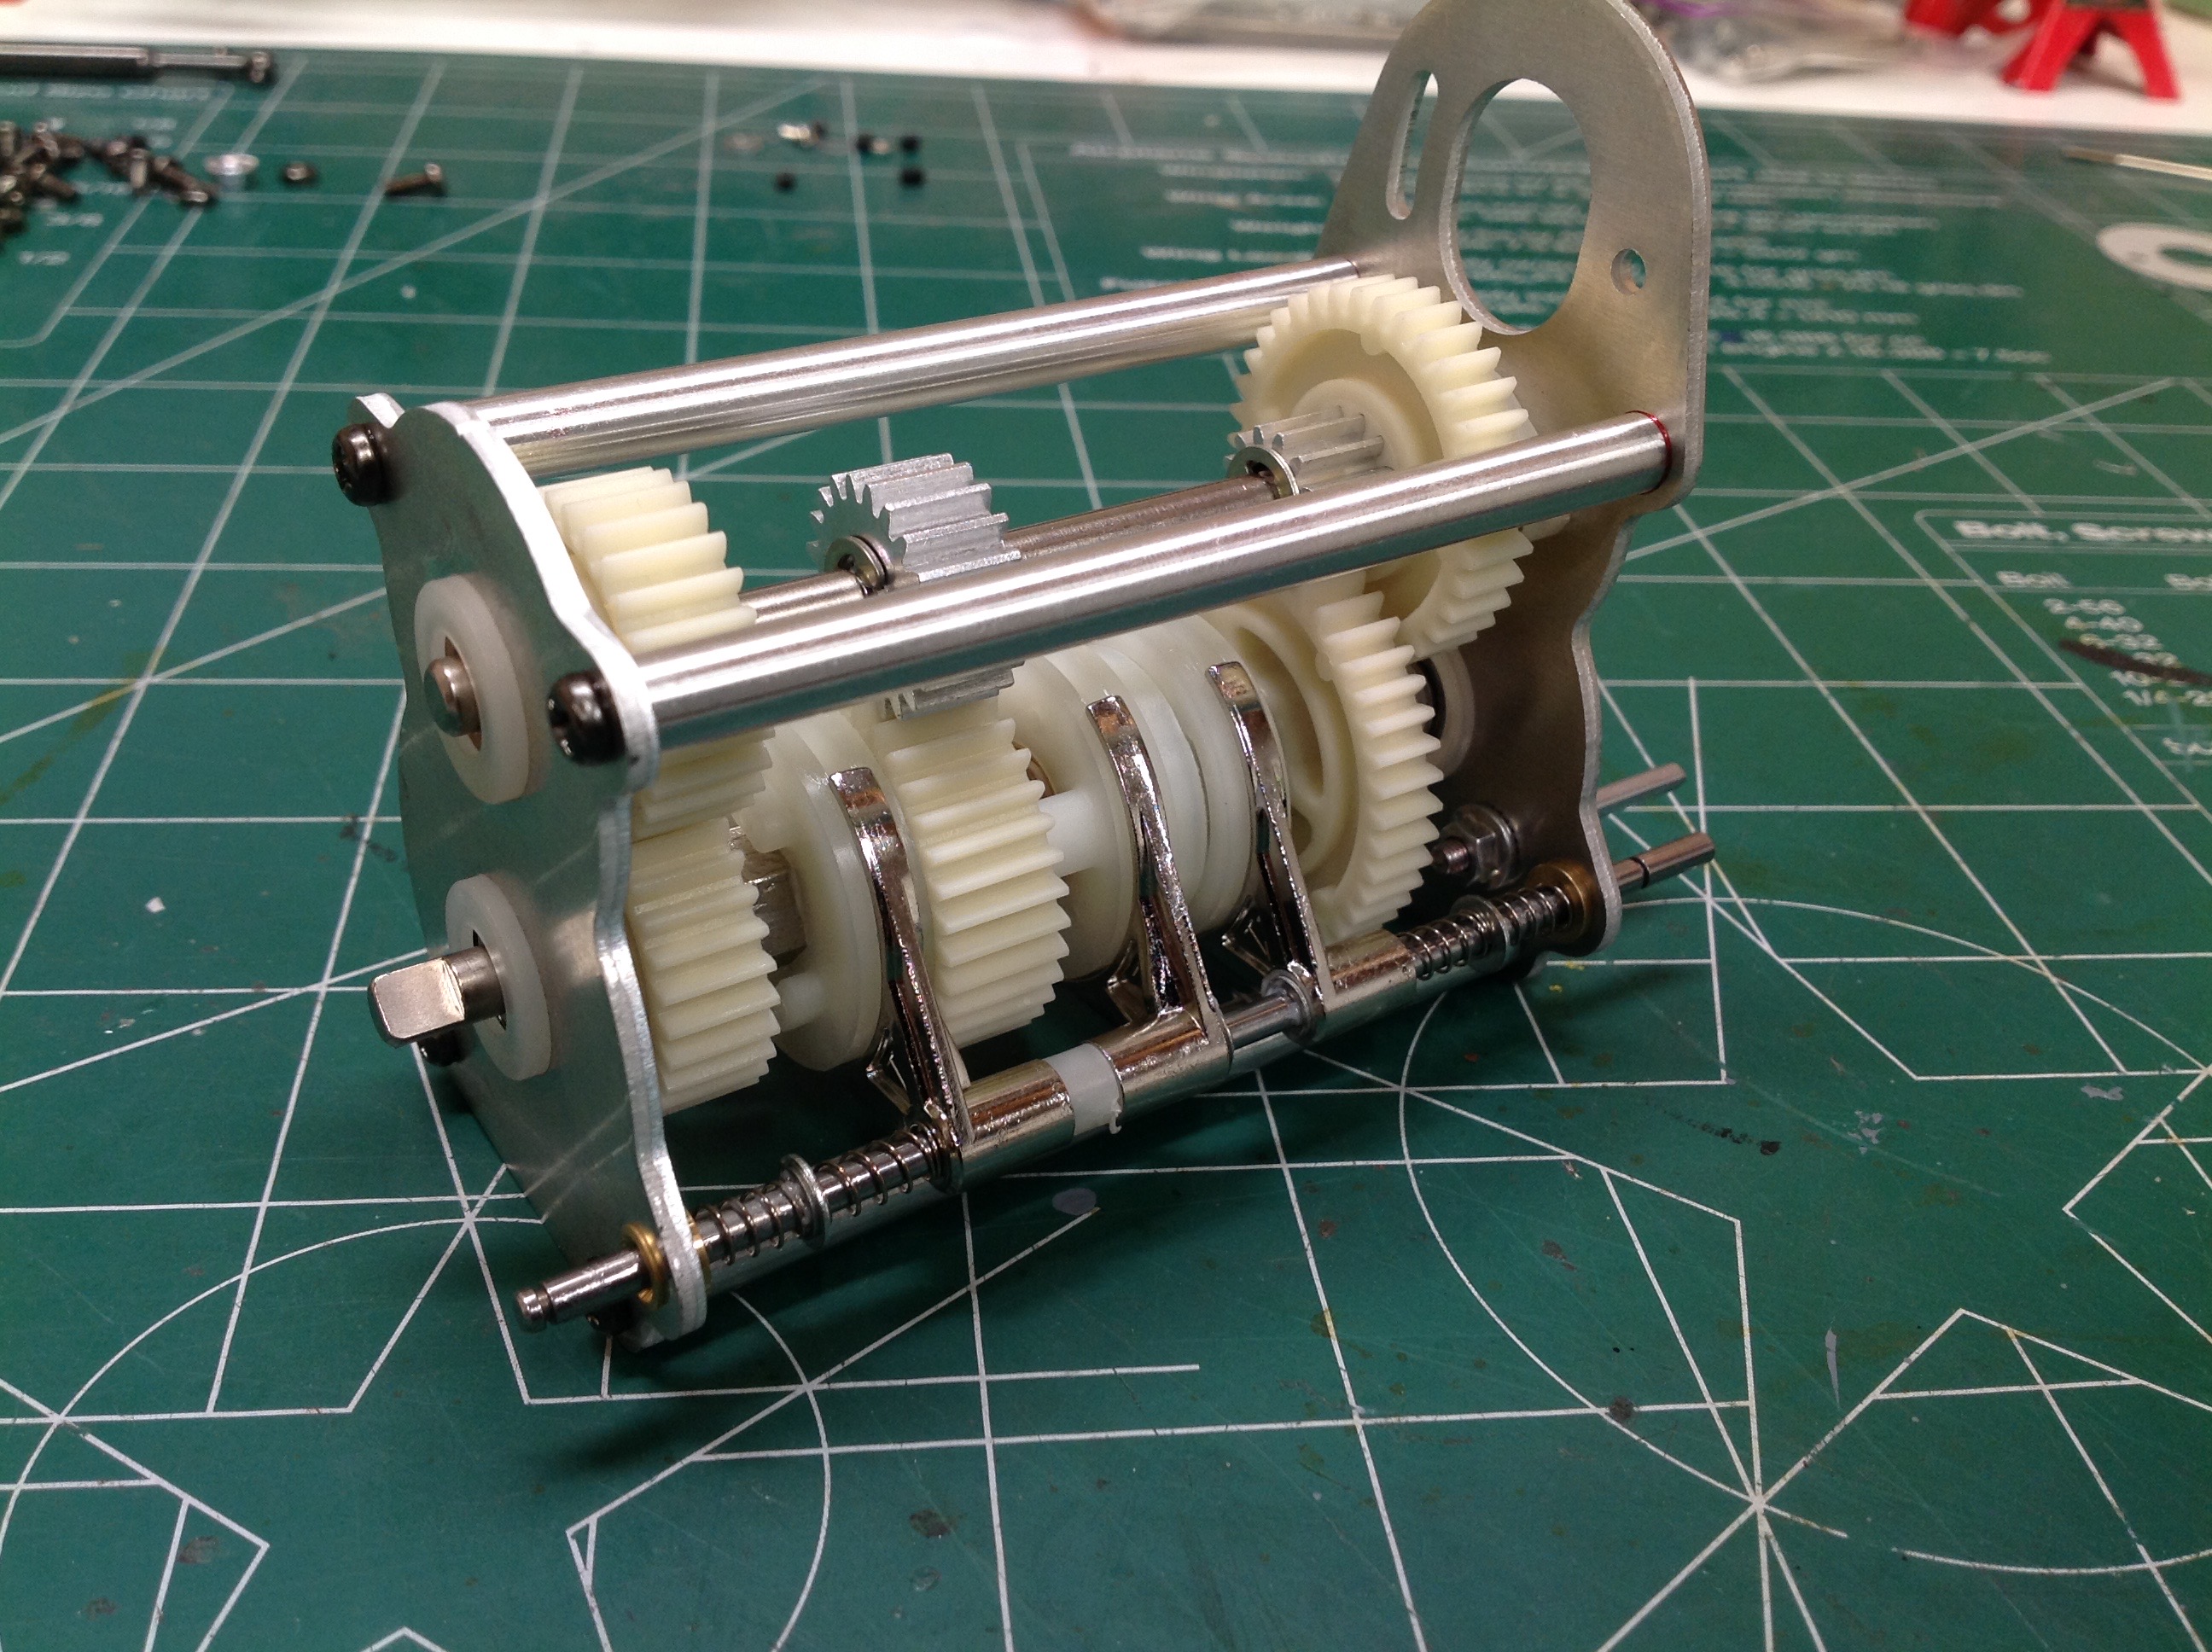
The 3-speed transmission is the same as that used in all the other
1/14th tractor trucks, but I couldn't resist taking a few redundant
pictures anyway. The smoothness and durability of this gearbox is a
bit of a miracle. I can shift it under load at any speed with no
problem and so far have had no failures. Most of Tamiya's tractor
trucks come with a 27 turn "silver can" motor which is much too fast for
a tractor truck, but this particular model comes with the new "Mighty
Tuned" 35T motor which is much more reasonable, and rebuildable to boot.
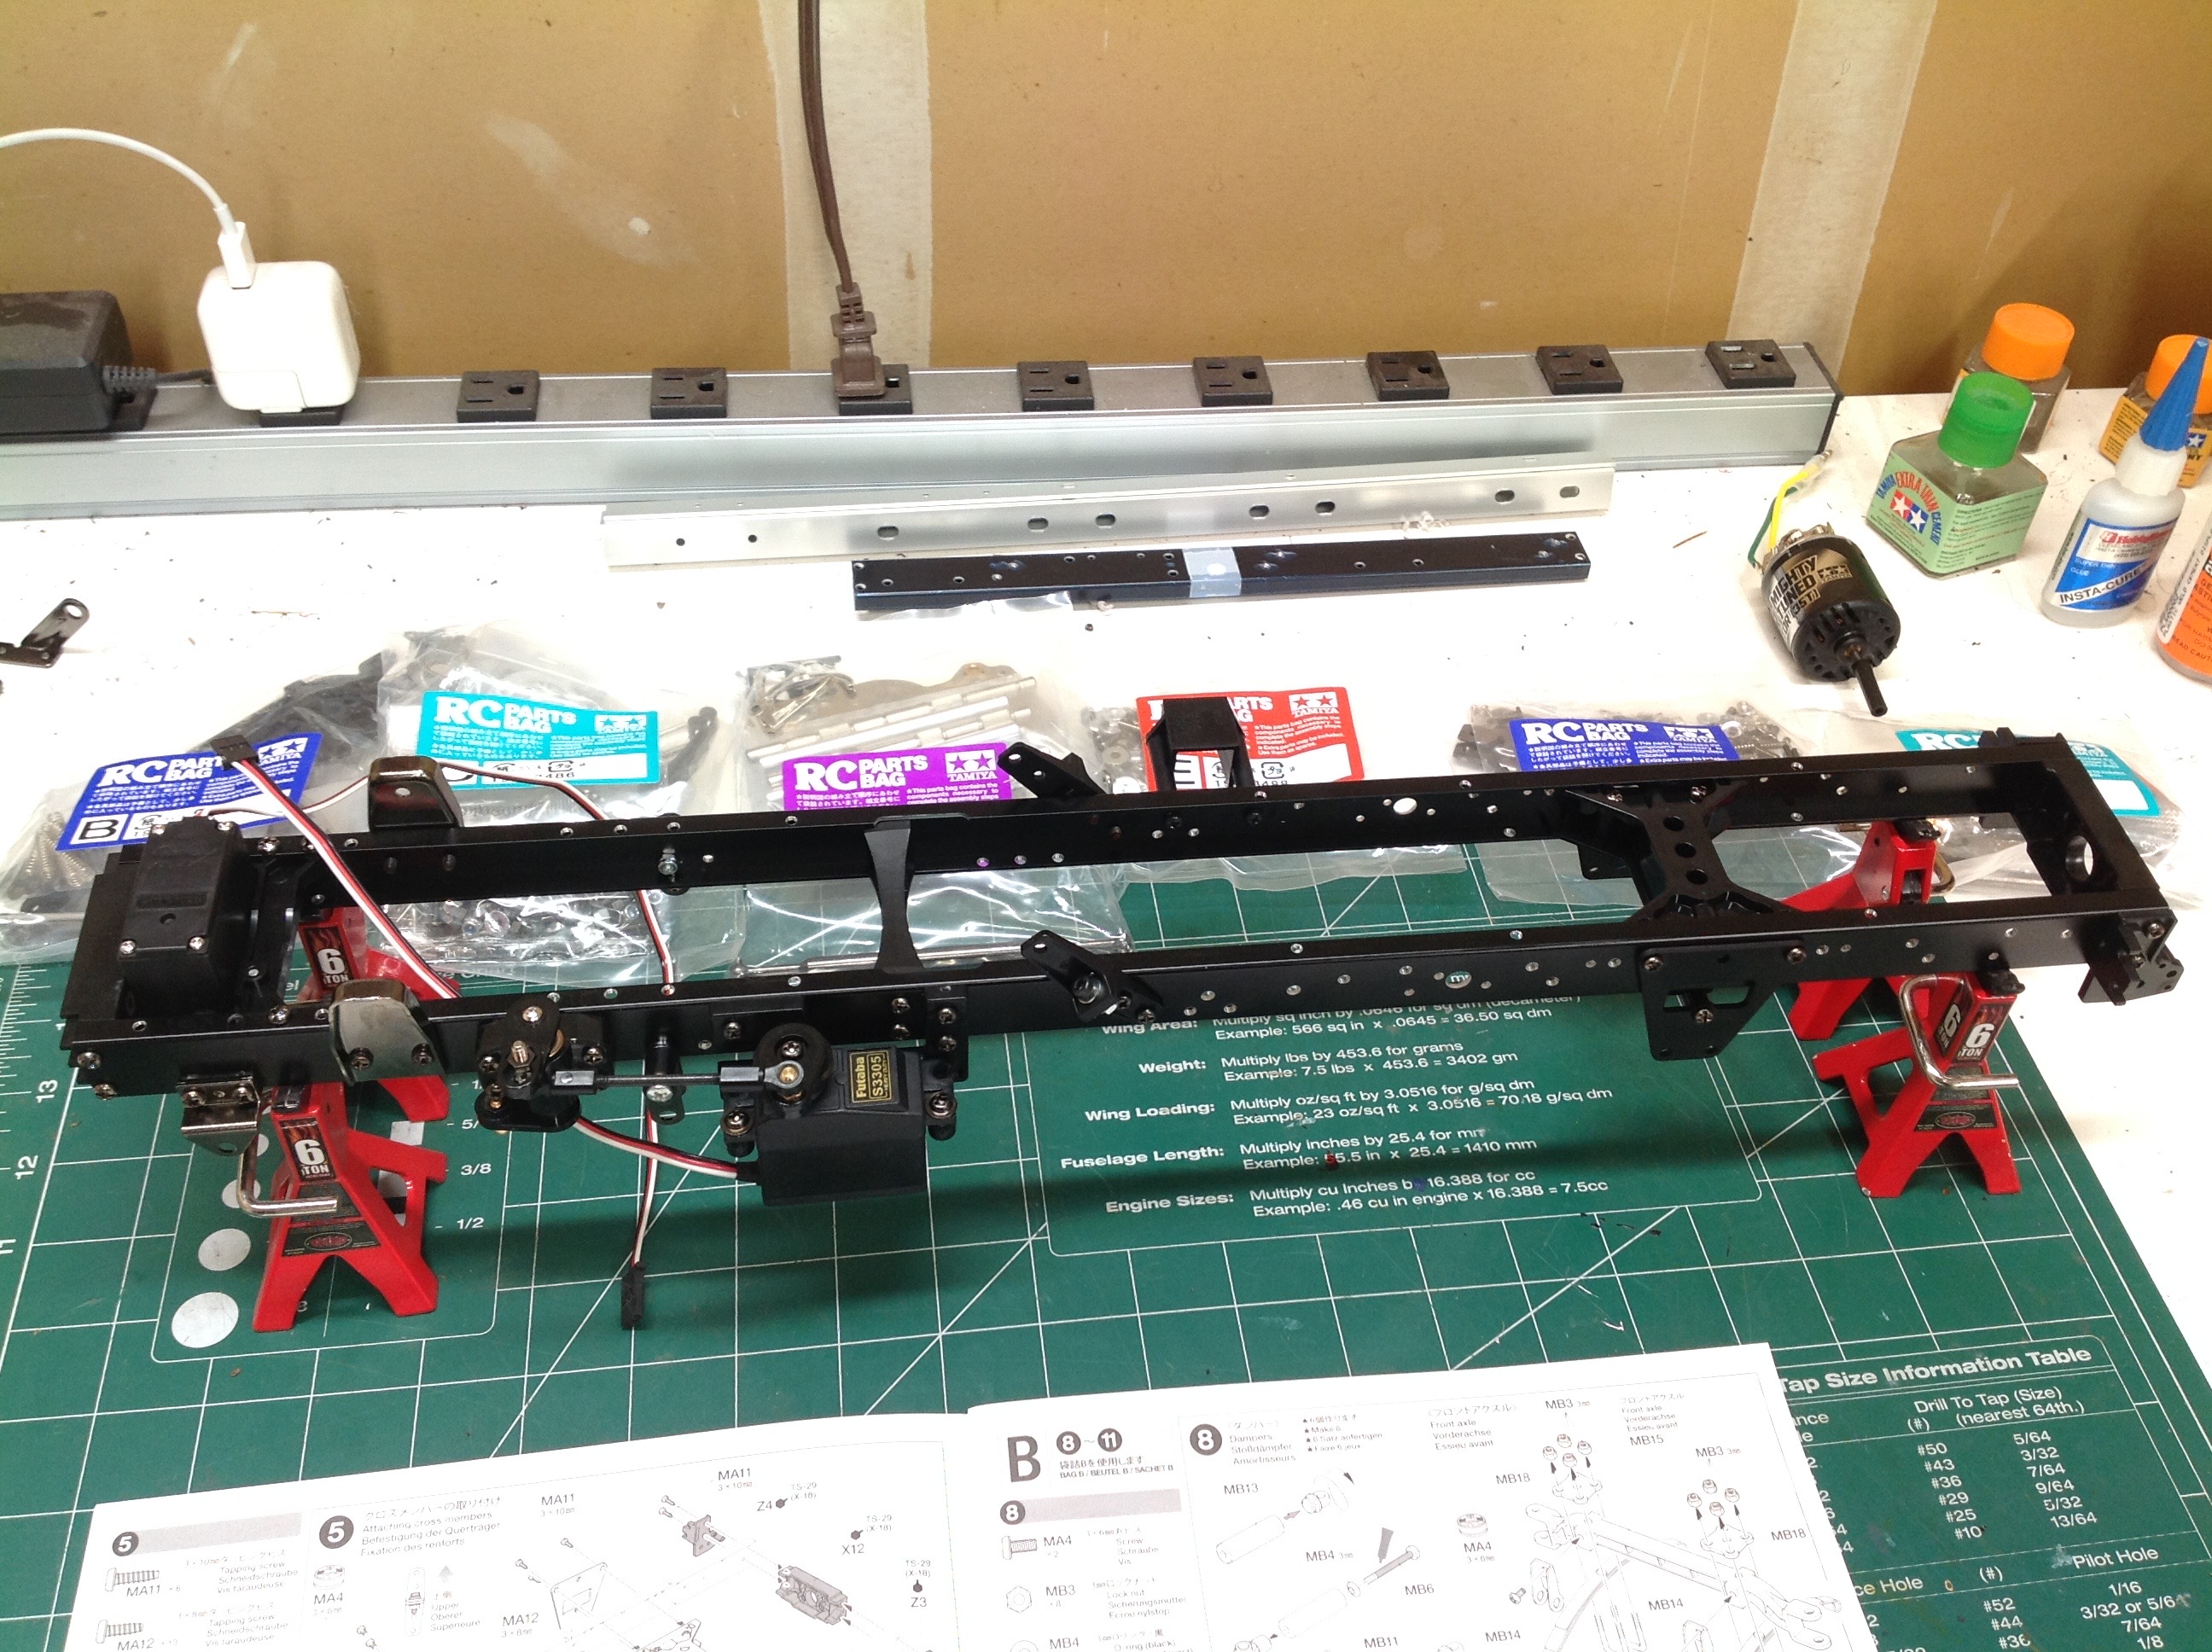
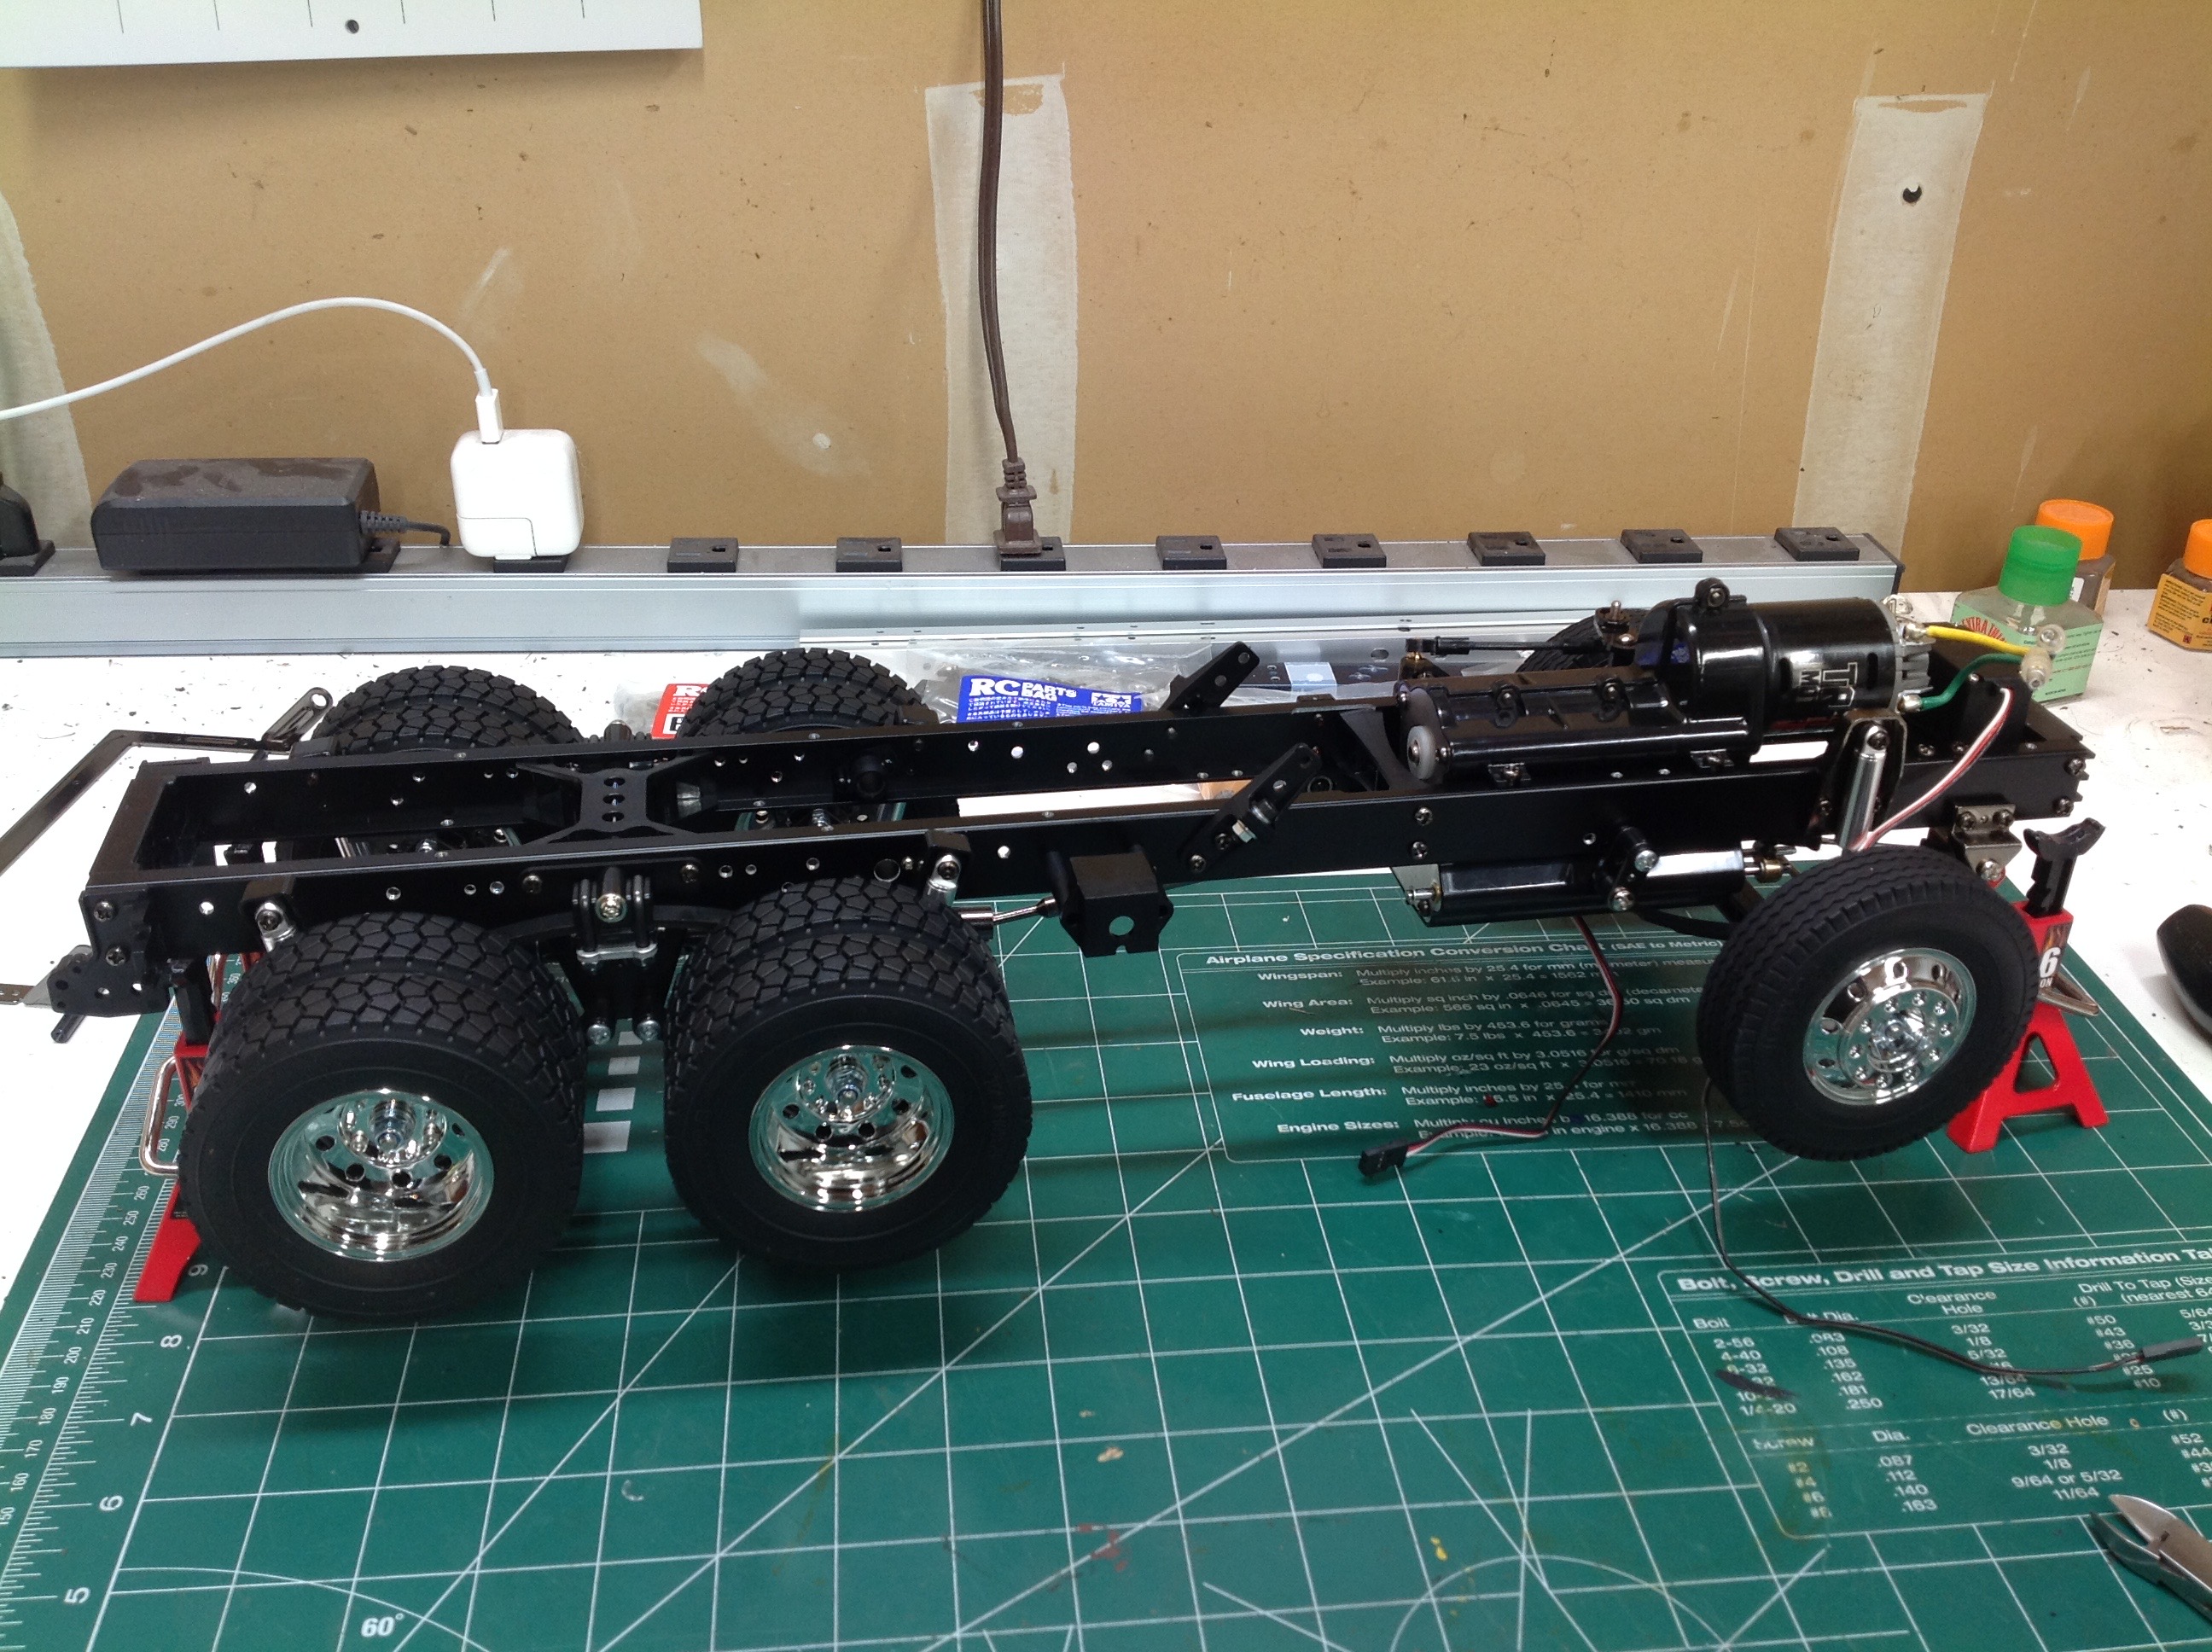
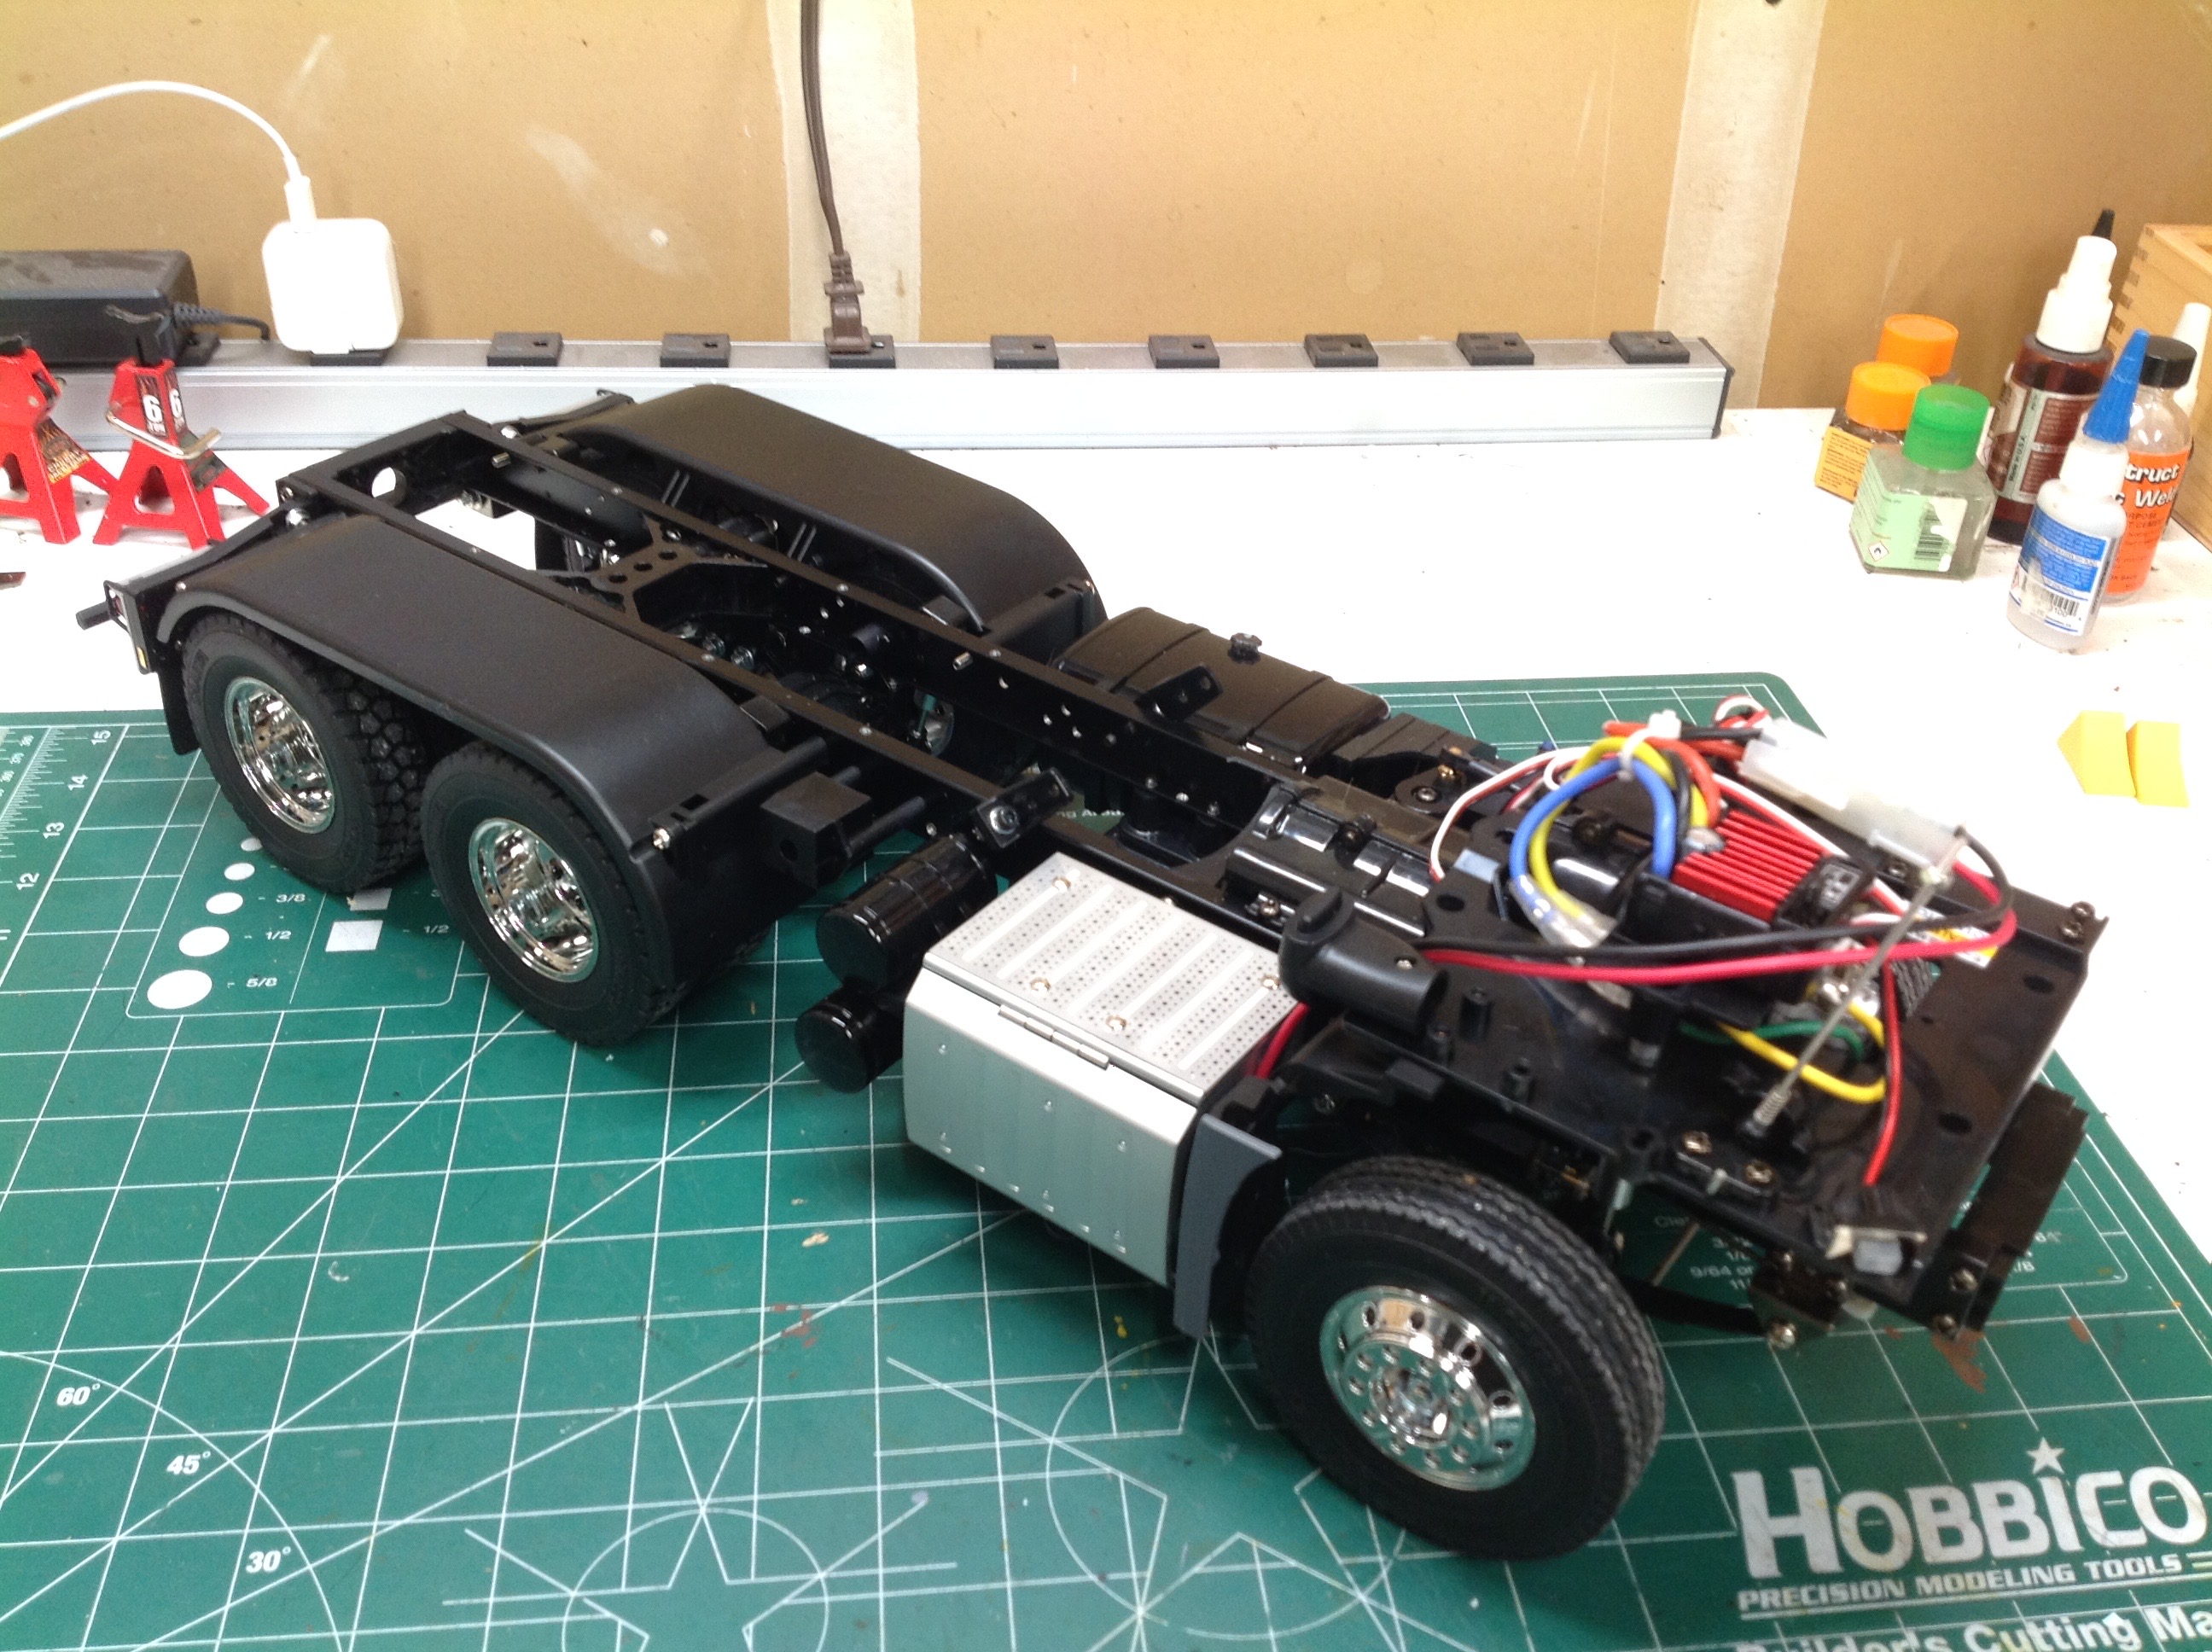
Here we can see the chassis before and after the drivetrain is
installed. On the left is the frame with steering and shift servos
attached as well as cross members and spring hangers. On the
right the springs, axles, transmission, shocks, and wheels have been
added. At this point temporary electronics can be installed and
the rolling chassis can be test driven.
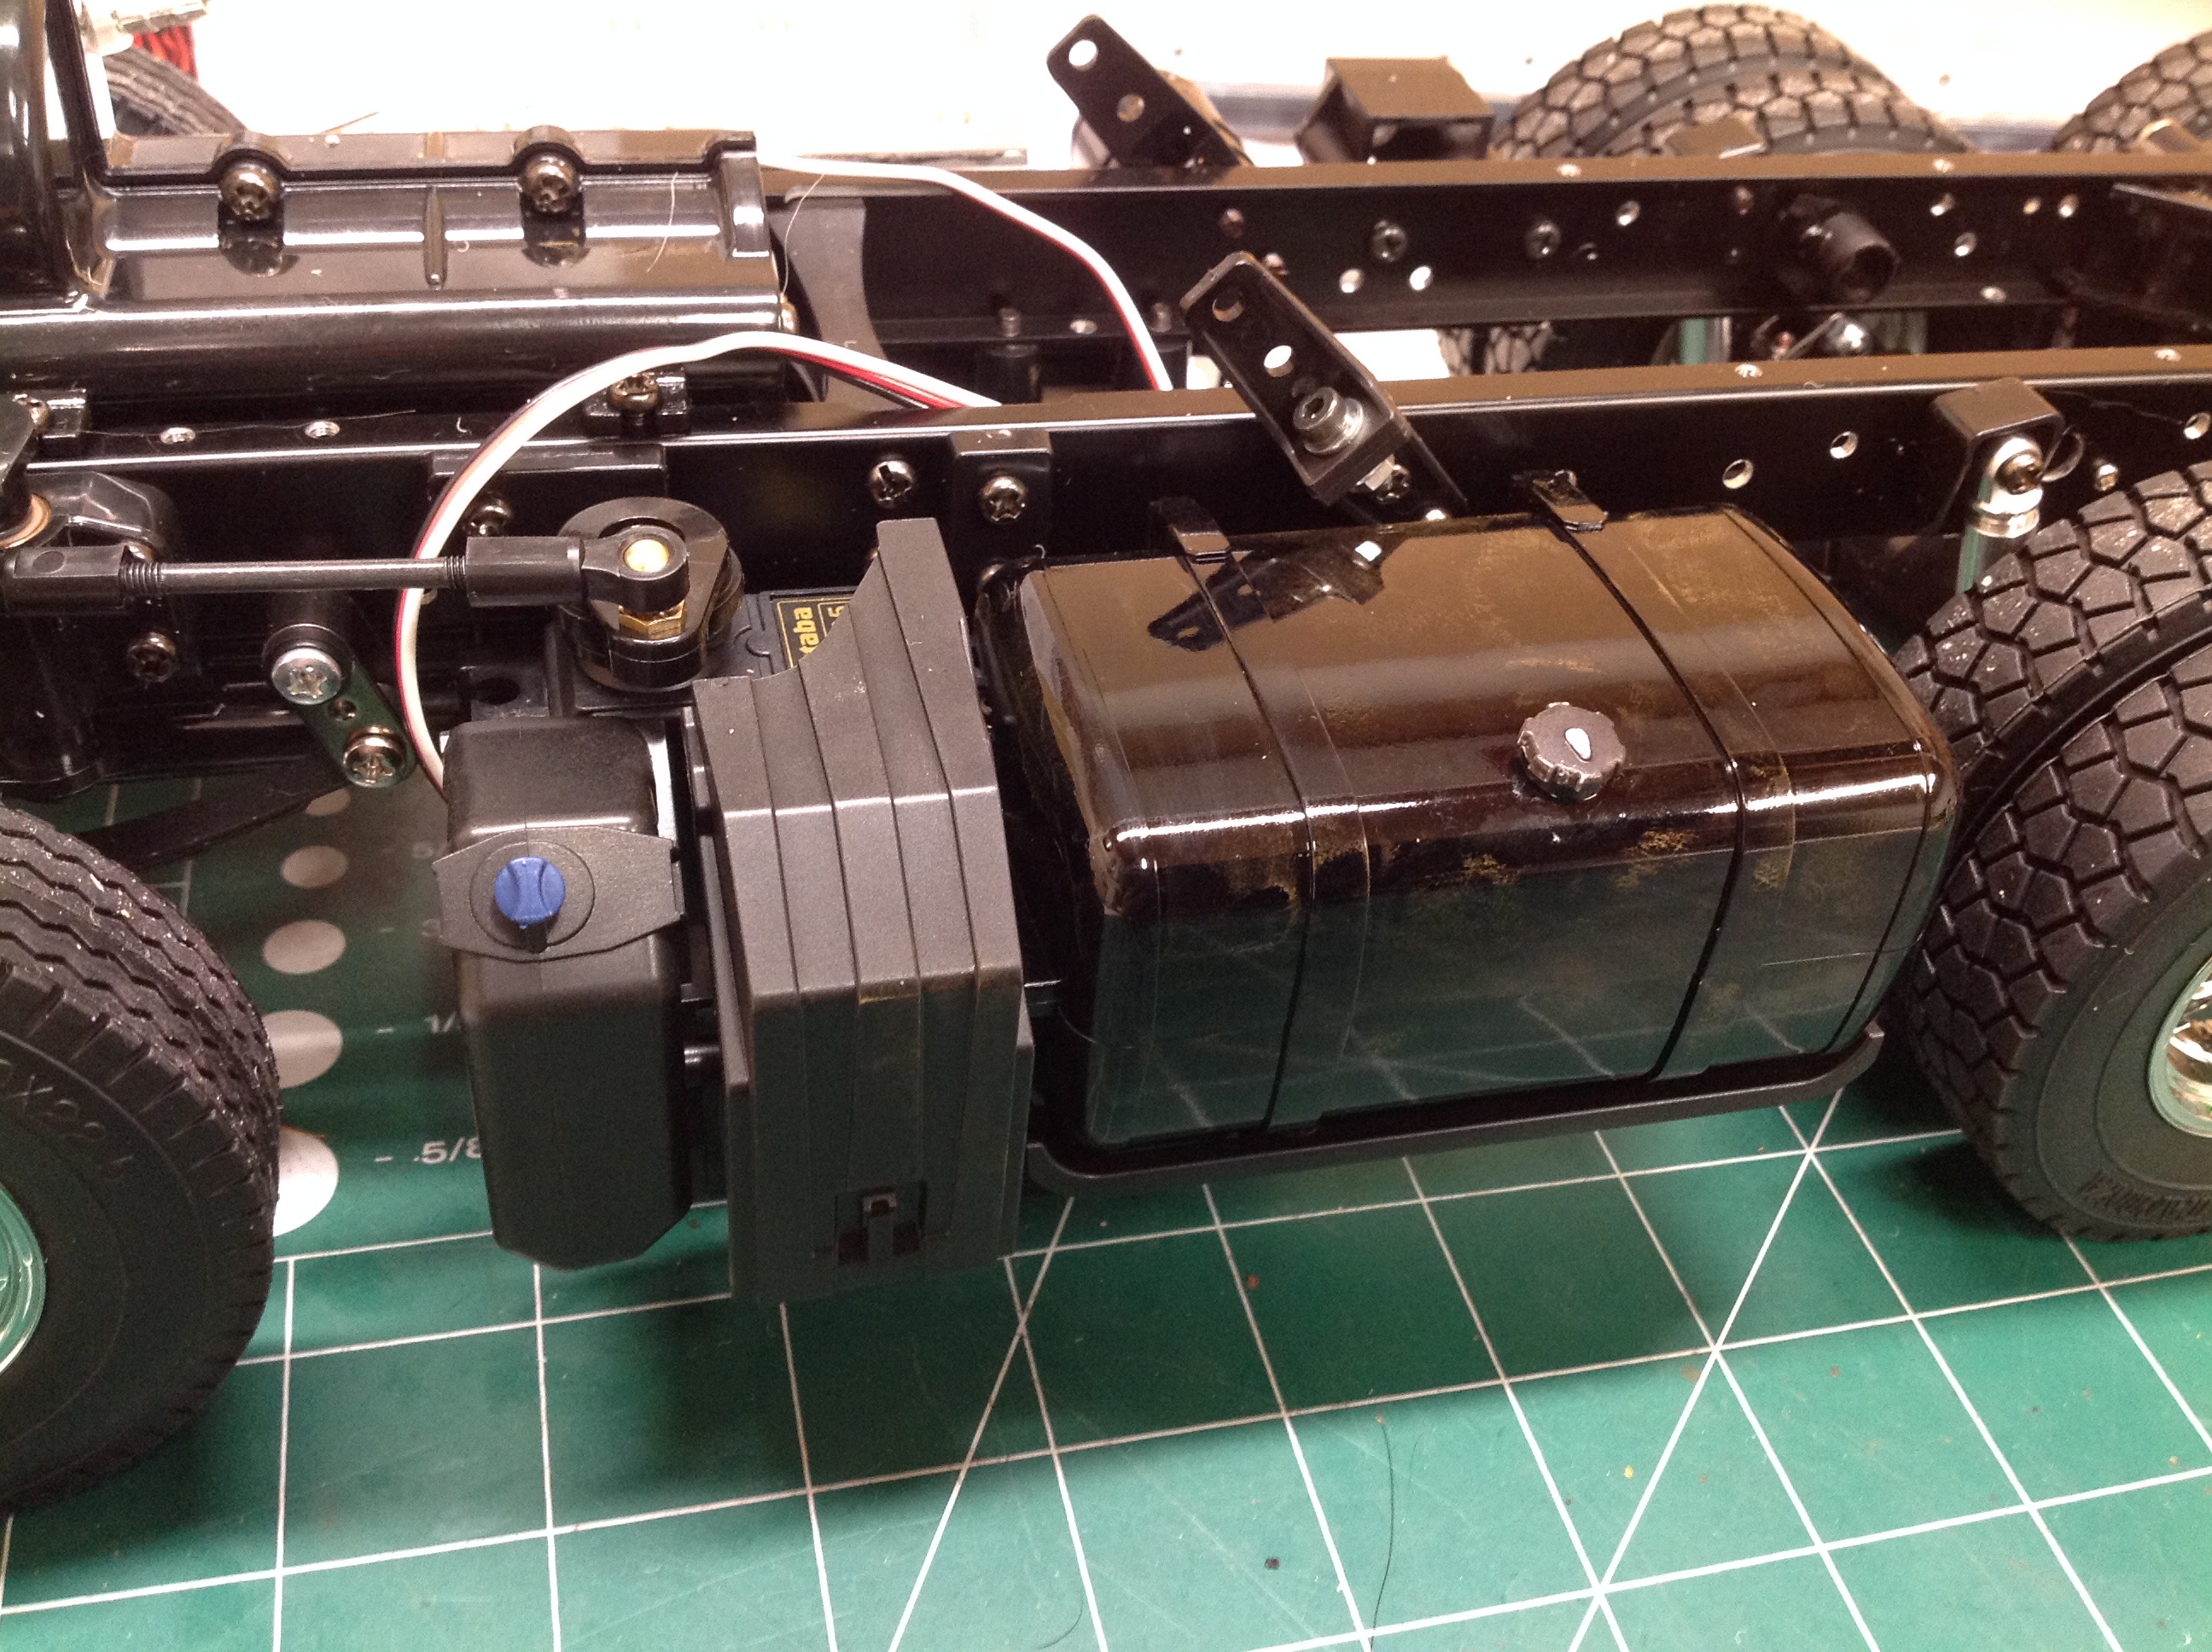
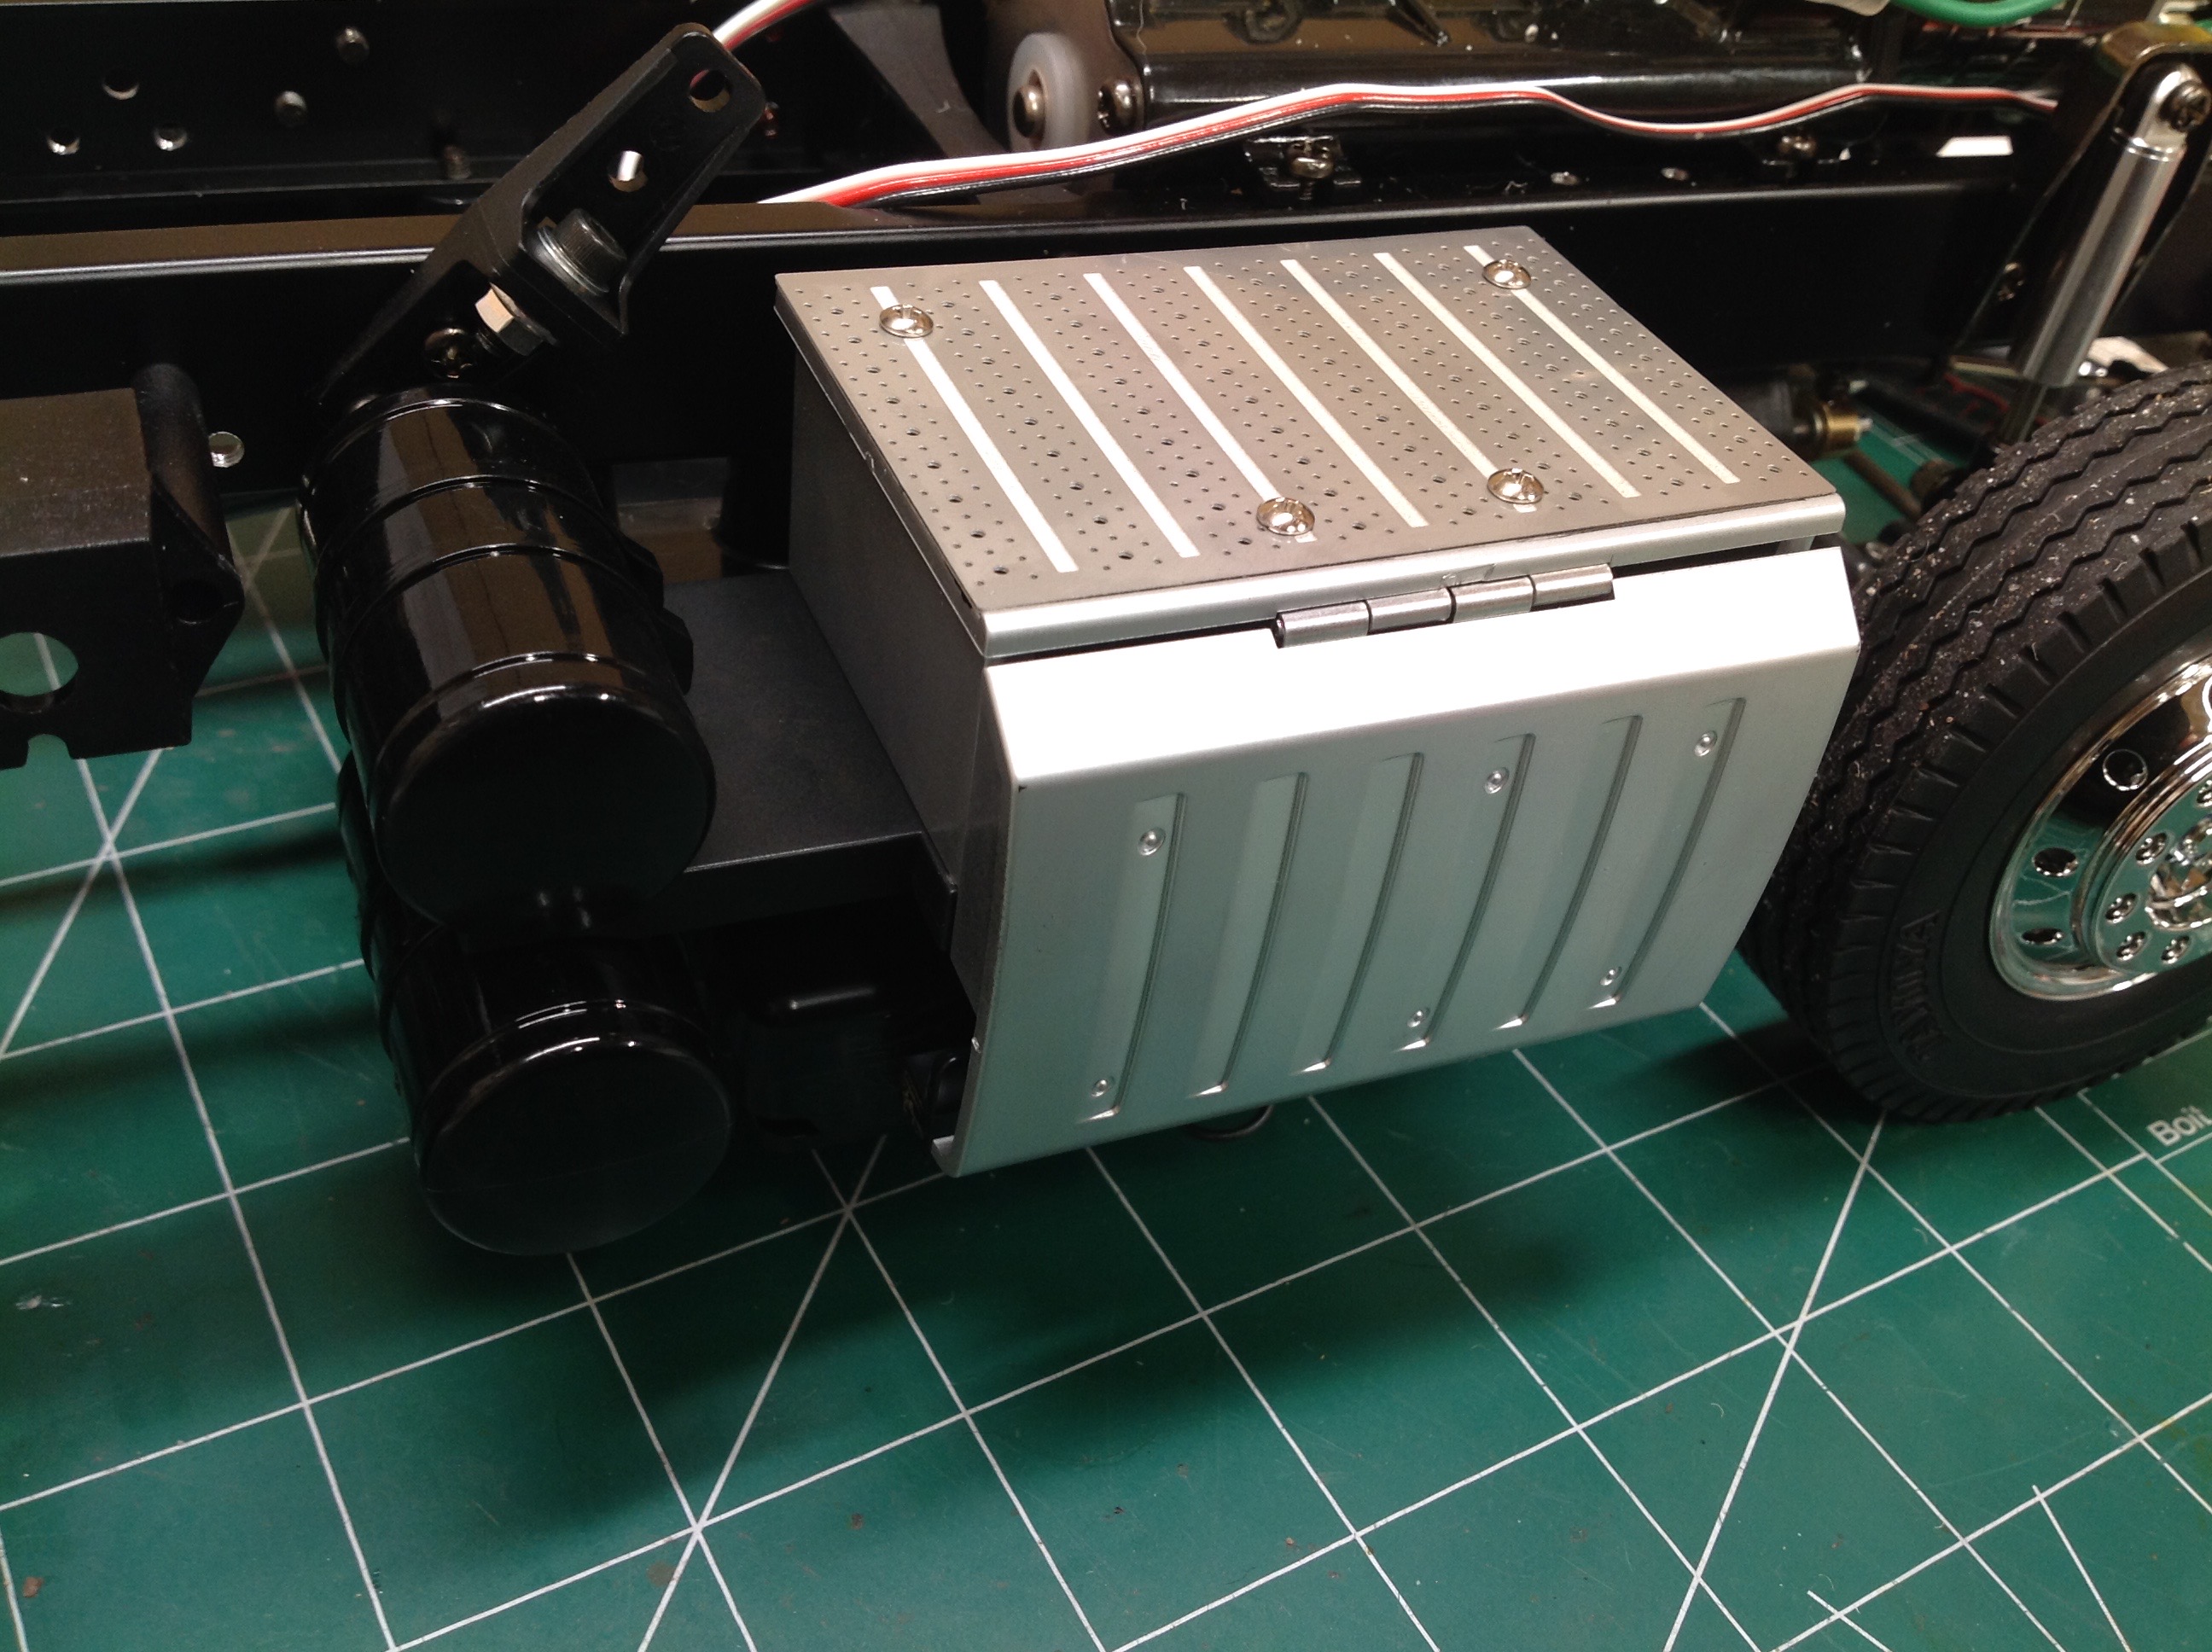
The rolling chassis was still pretty skeletal without any of the
accessories installed, so we'll do that next. On the left side we
put a large fuel tank, a battery box, and a water tank. The latter
two are cut out in back to allow room for the servo and effectively
hide it. Note the many different types of black finish here.
The instructions call for black (gloss), semi-gloss black, and flat
black. The difference in finish does a lot to break up the
otherwise monotonous color palette. I think the silver box on the
right side is intended to be the hydraulic pump and control system with
attached reservoir tanks. On the model, it serves as the home for
the control panel if using the optional MFC. The battery holder is
slung under the chassis between the fuel tank and the hydraulic
box. This is a nice hidden location but makes changing the battery
difficult since you have to access the bottom of the model but you
can't set it on a table upside down.
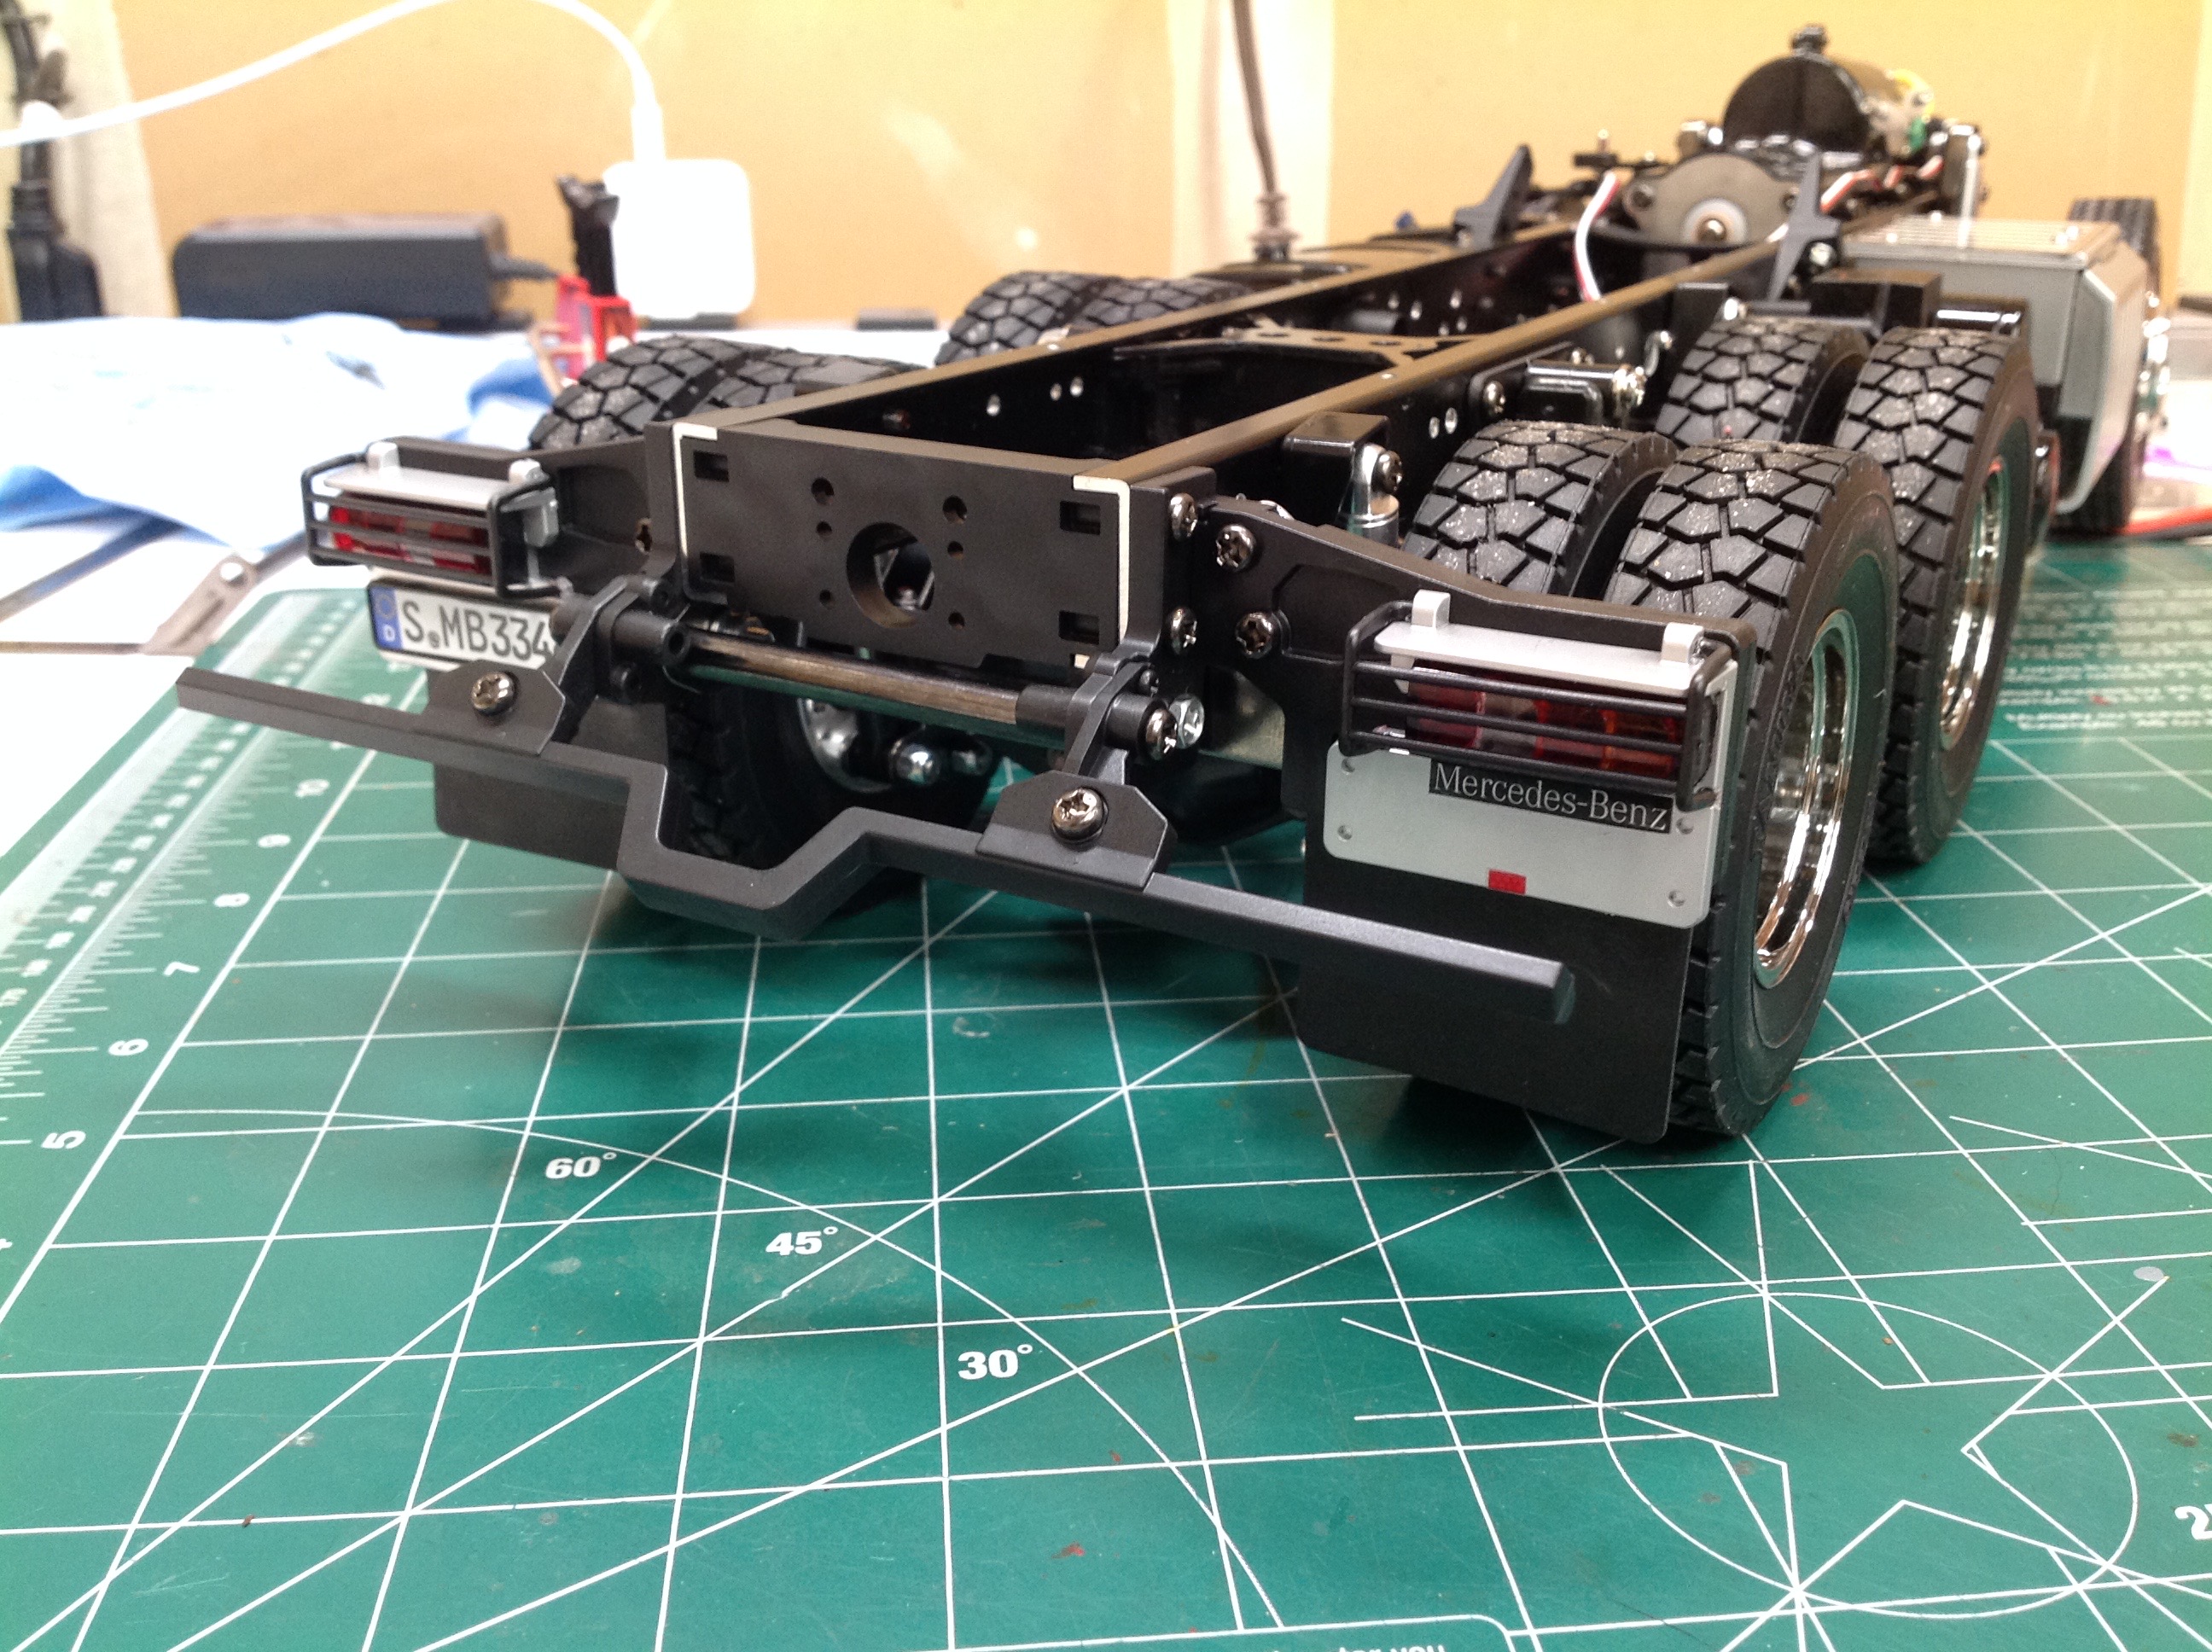
Here are some pictures of the completed chassis. On the left you
can see the rear bumper along with the tail lights and mud flaps.
The thin plastic bumper is a bit of a problem since this is a natural
lifting point for carrying the model but is not really strong enough to
be used for that. The tiny plastic grate around the tail light
lenses also requires care when carrying the model. Note the tread
on the rear tires. These are an off road tread different than
other tractor trucks. The front tires are normal. In the
right hand image you can see that I've installed temporary electronics
on the flat deck in front and also the rear fenders. I always
intended to add an MFC, but I like to build the model in two stages just
to see what it is like in stock form first.
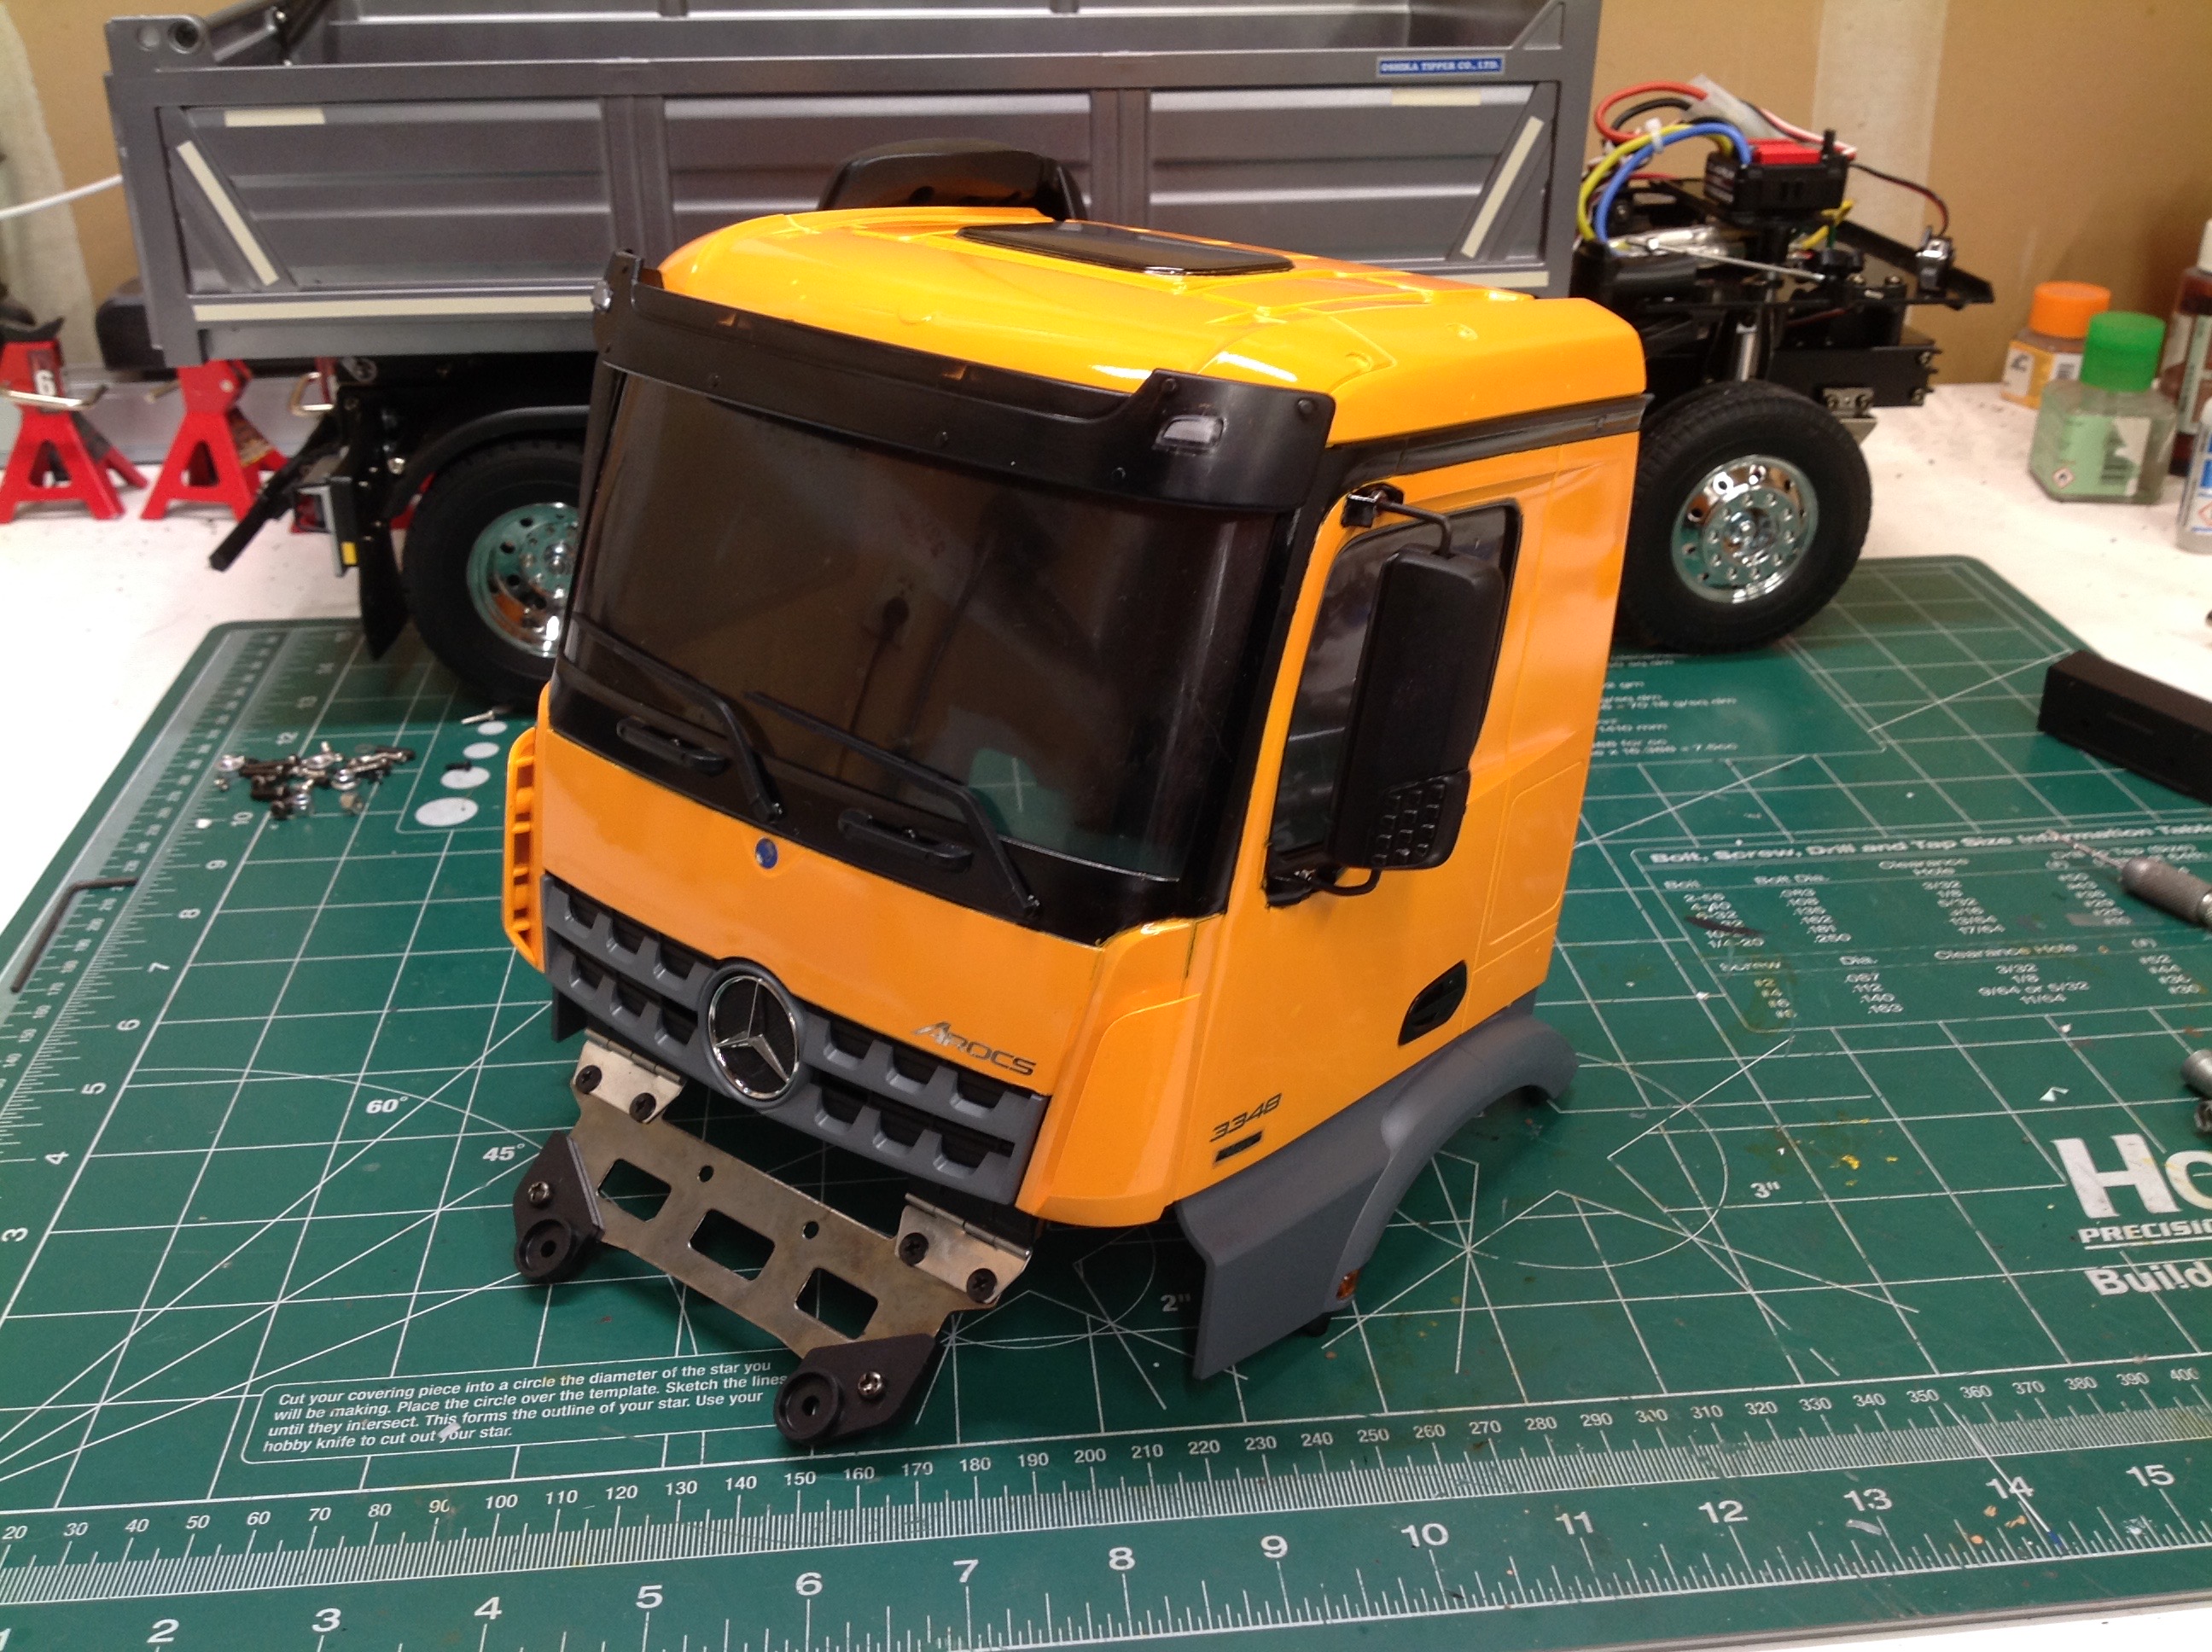
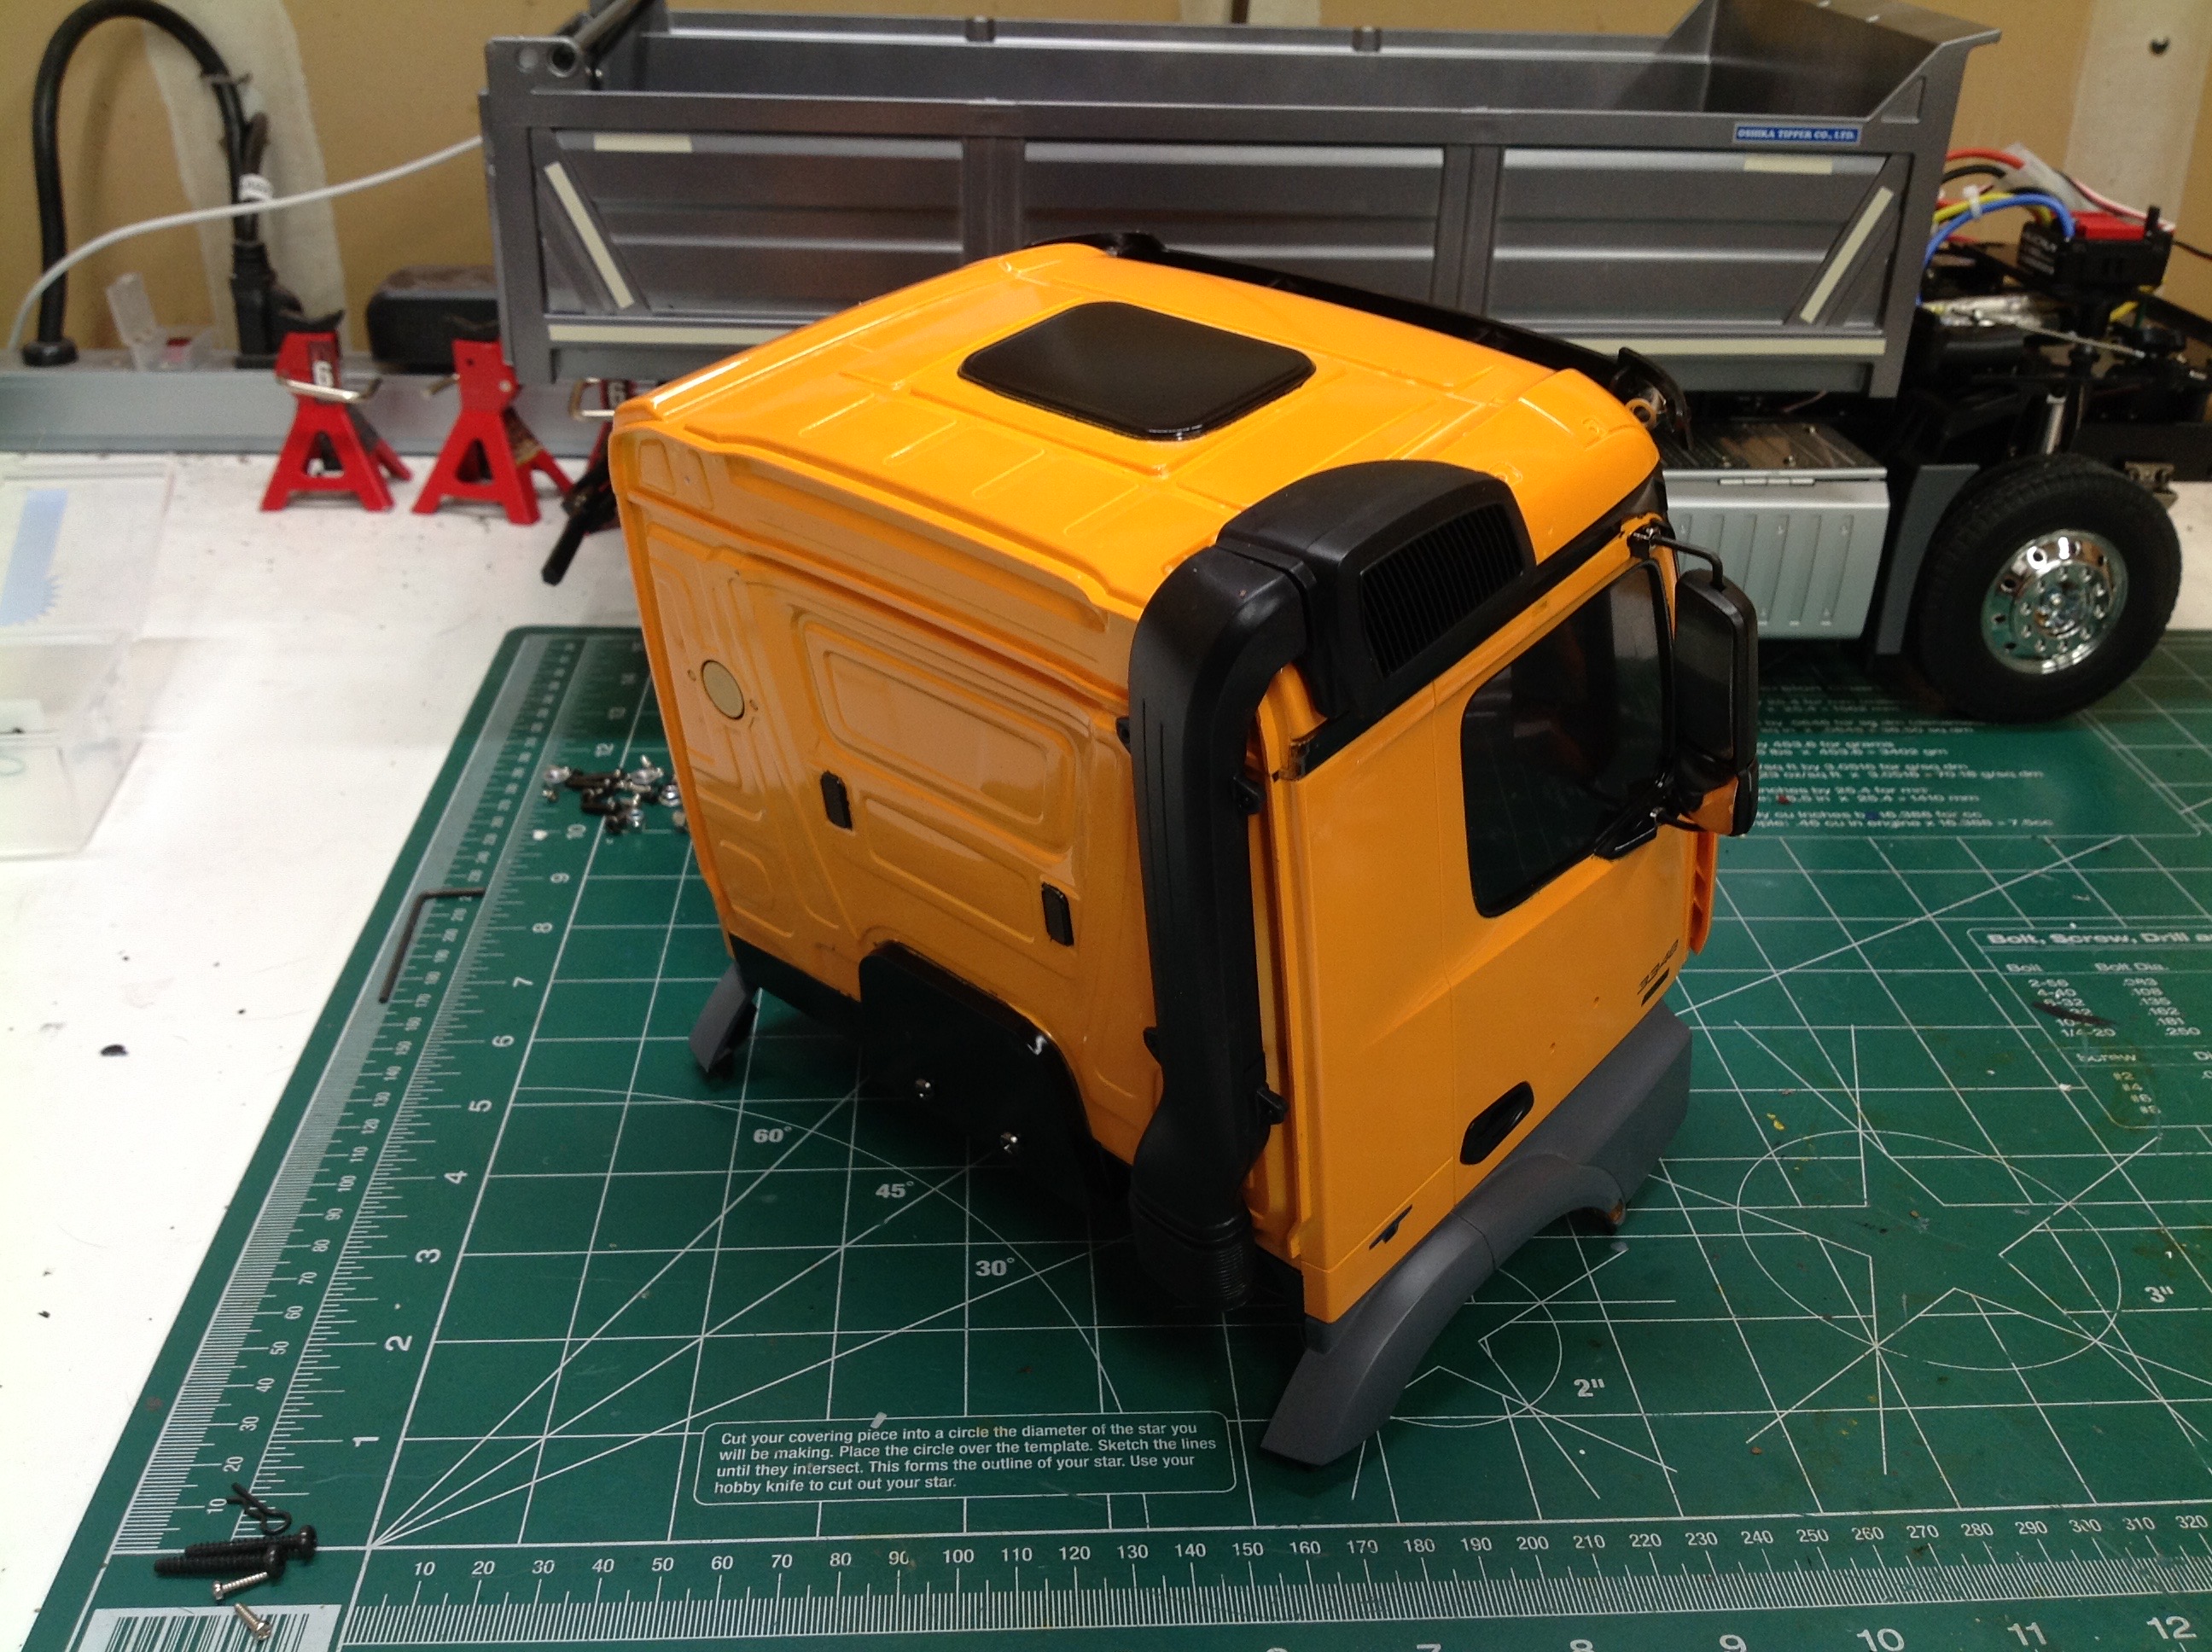
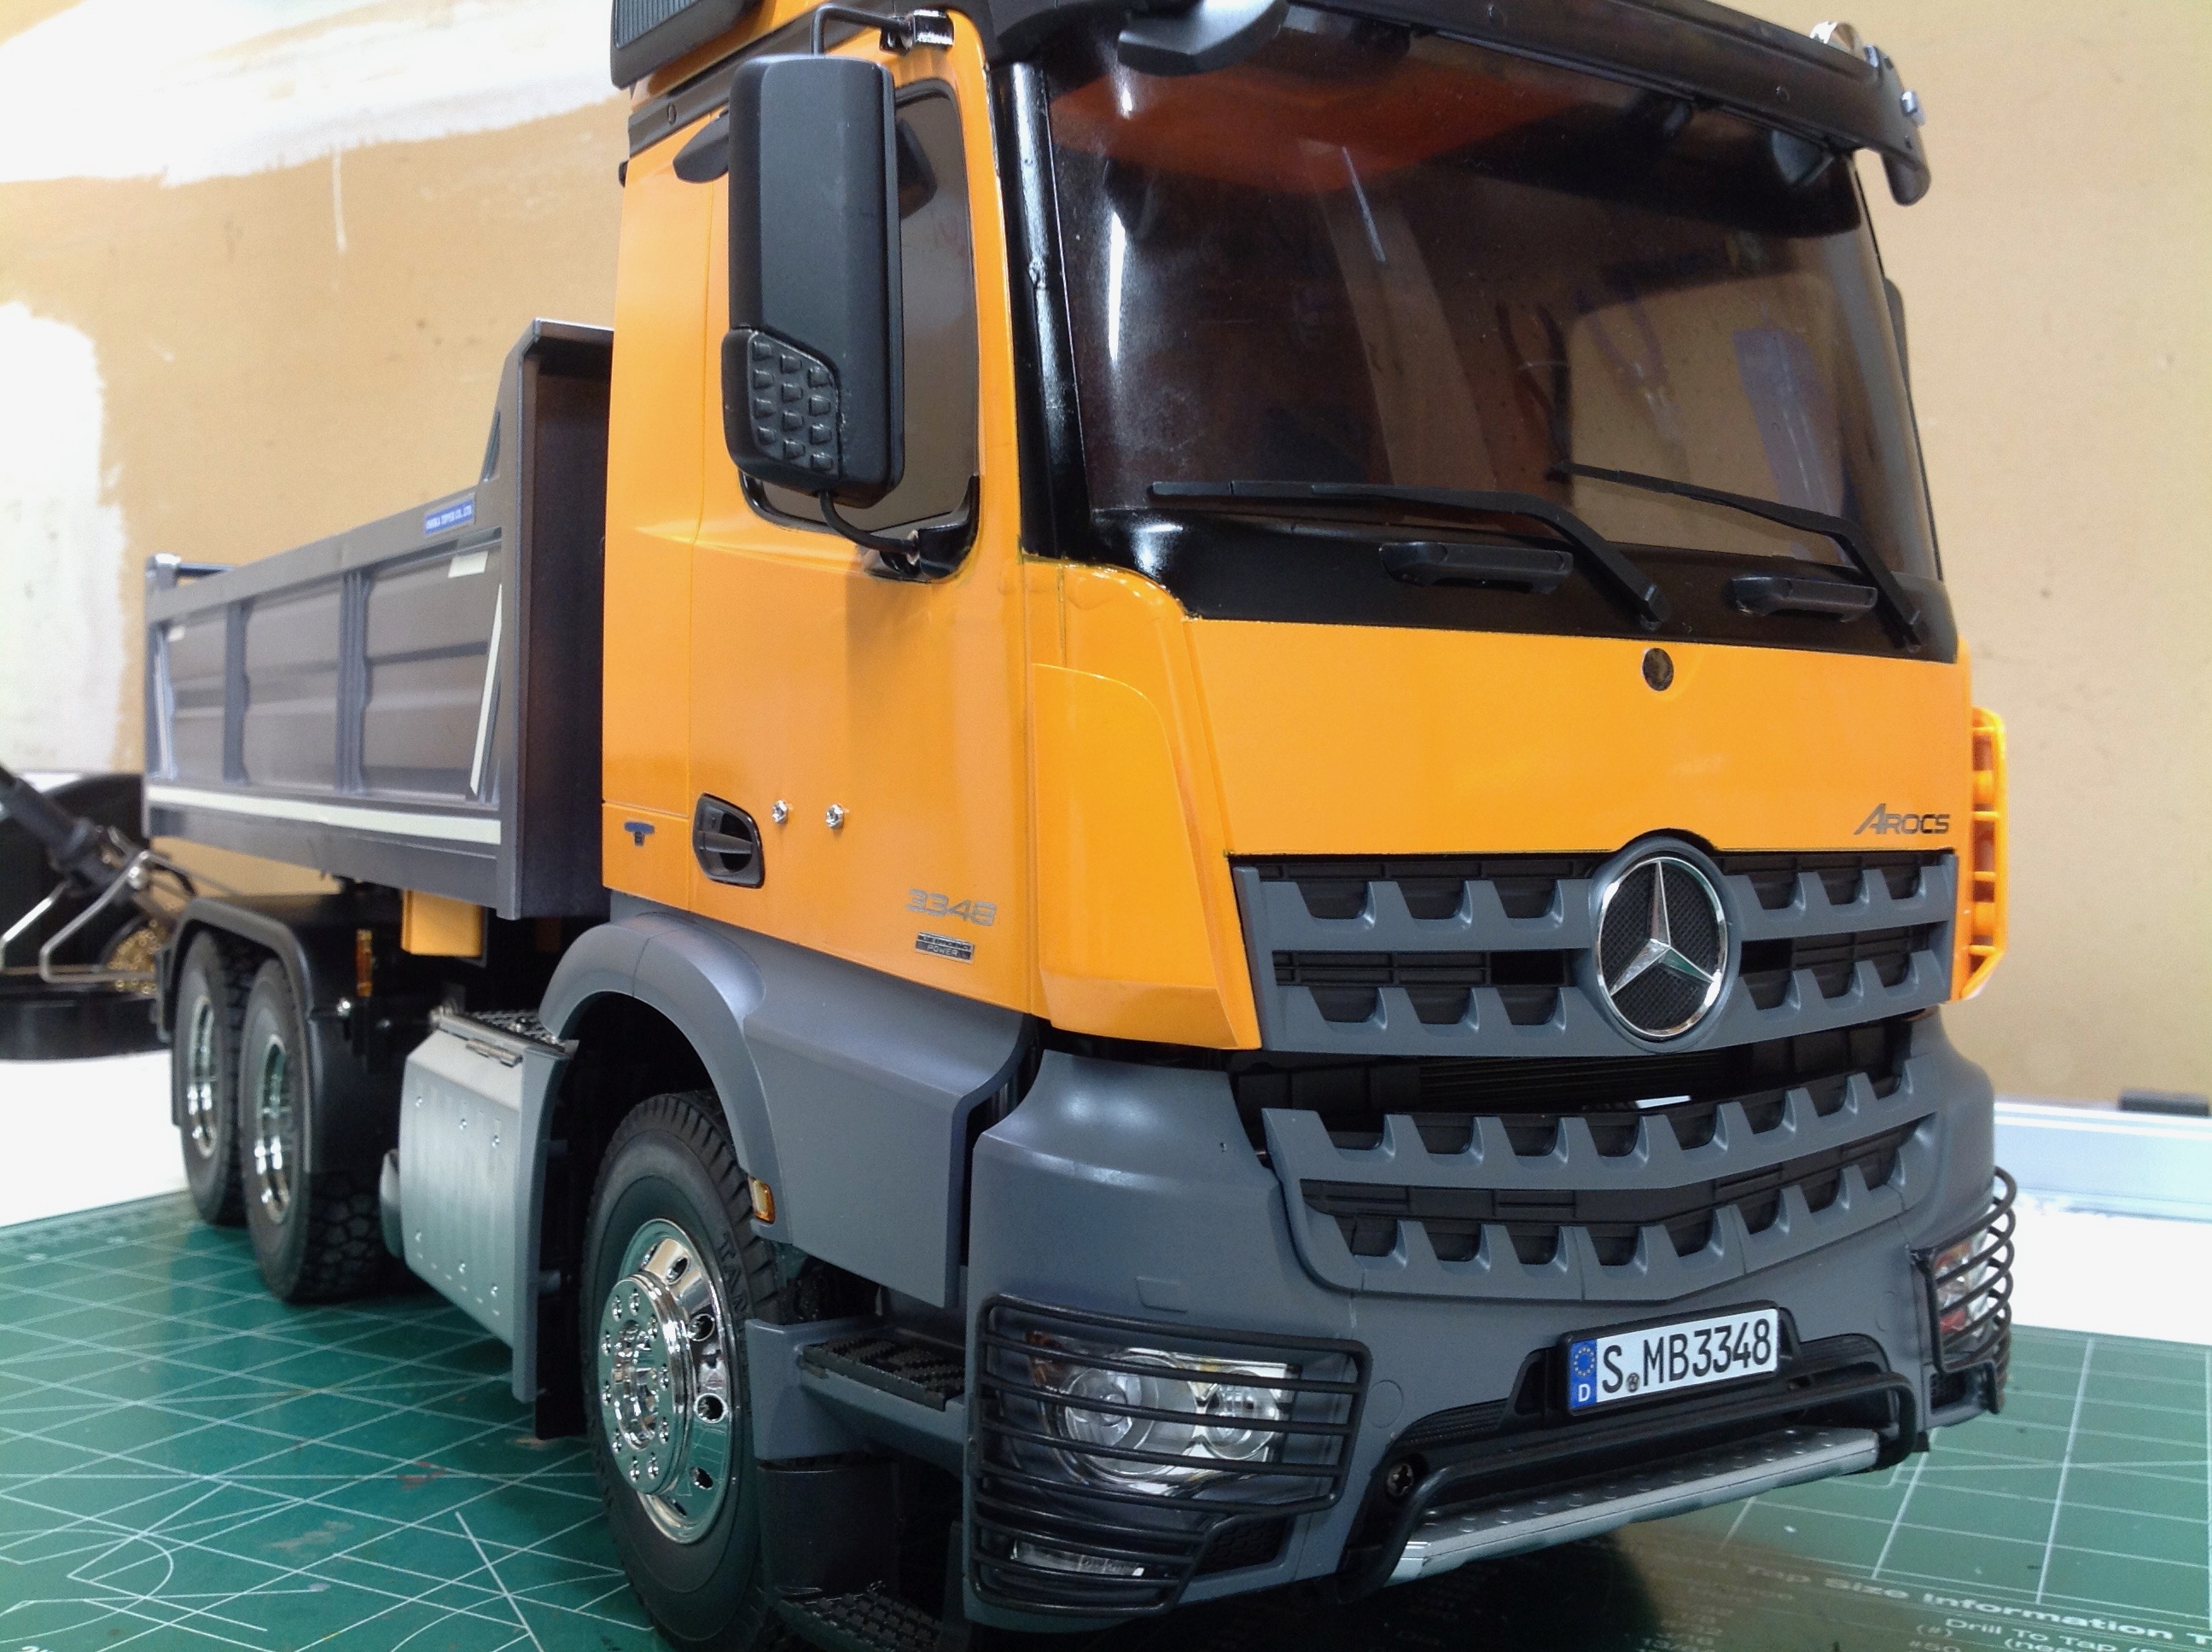
I've skipped forward quite a few steps here to the nearly completed
cab. A lot of painting and masking is required, more if you want
to do the model in 2-tone like I did. The main body is Brilliant
Orange and the fenders and grille are German Gray. The accents on
the cab and the exhaust are semi-gloss black. I put several coats
of clear on when done. I started by painting the whole cab orange
and then masked for the bulk of the black trim. I also did the
windows in Smoke to hide the interior wiring. Most of the details
are screwed together, but I was surprised to see that the front arches
are actually glued. I worried that this would be a problem if
running off road, but even though this is a dump truck it really doesn't
have the clearance to run off road on anything rougher than gravel.
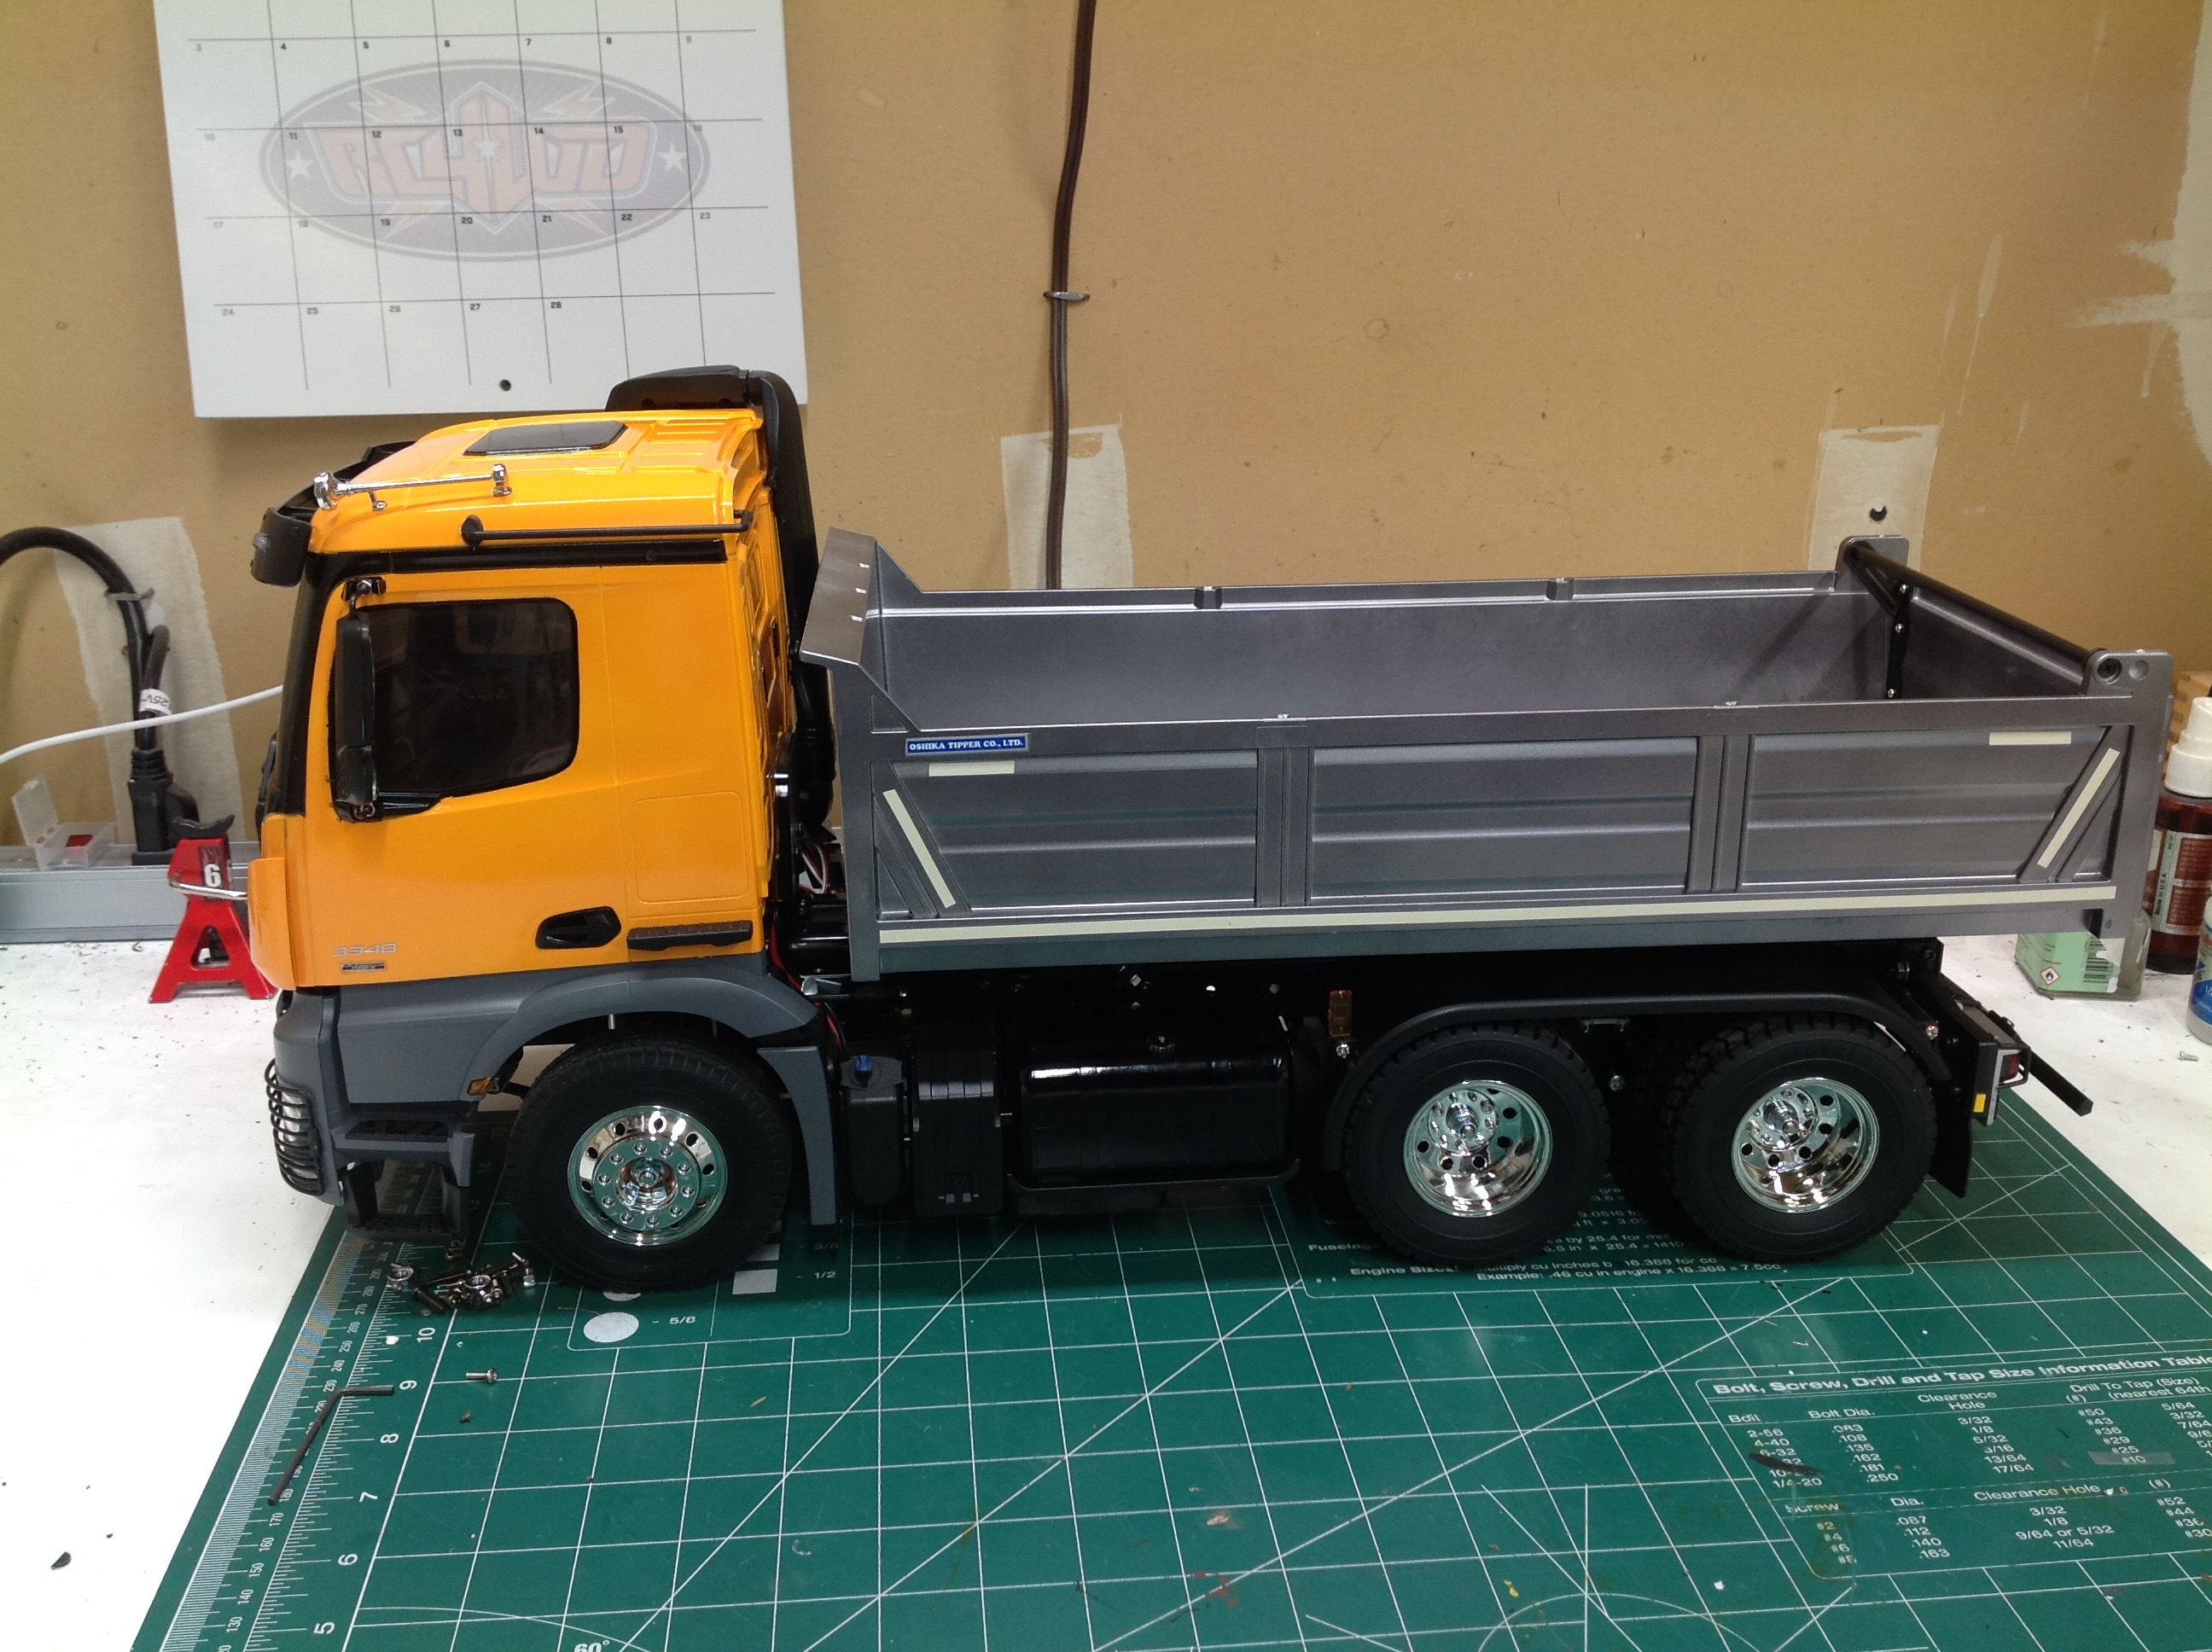
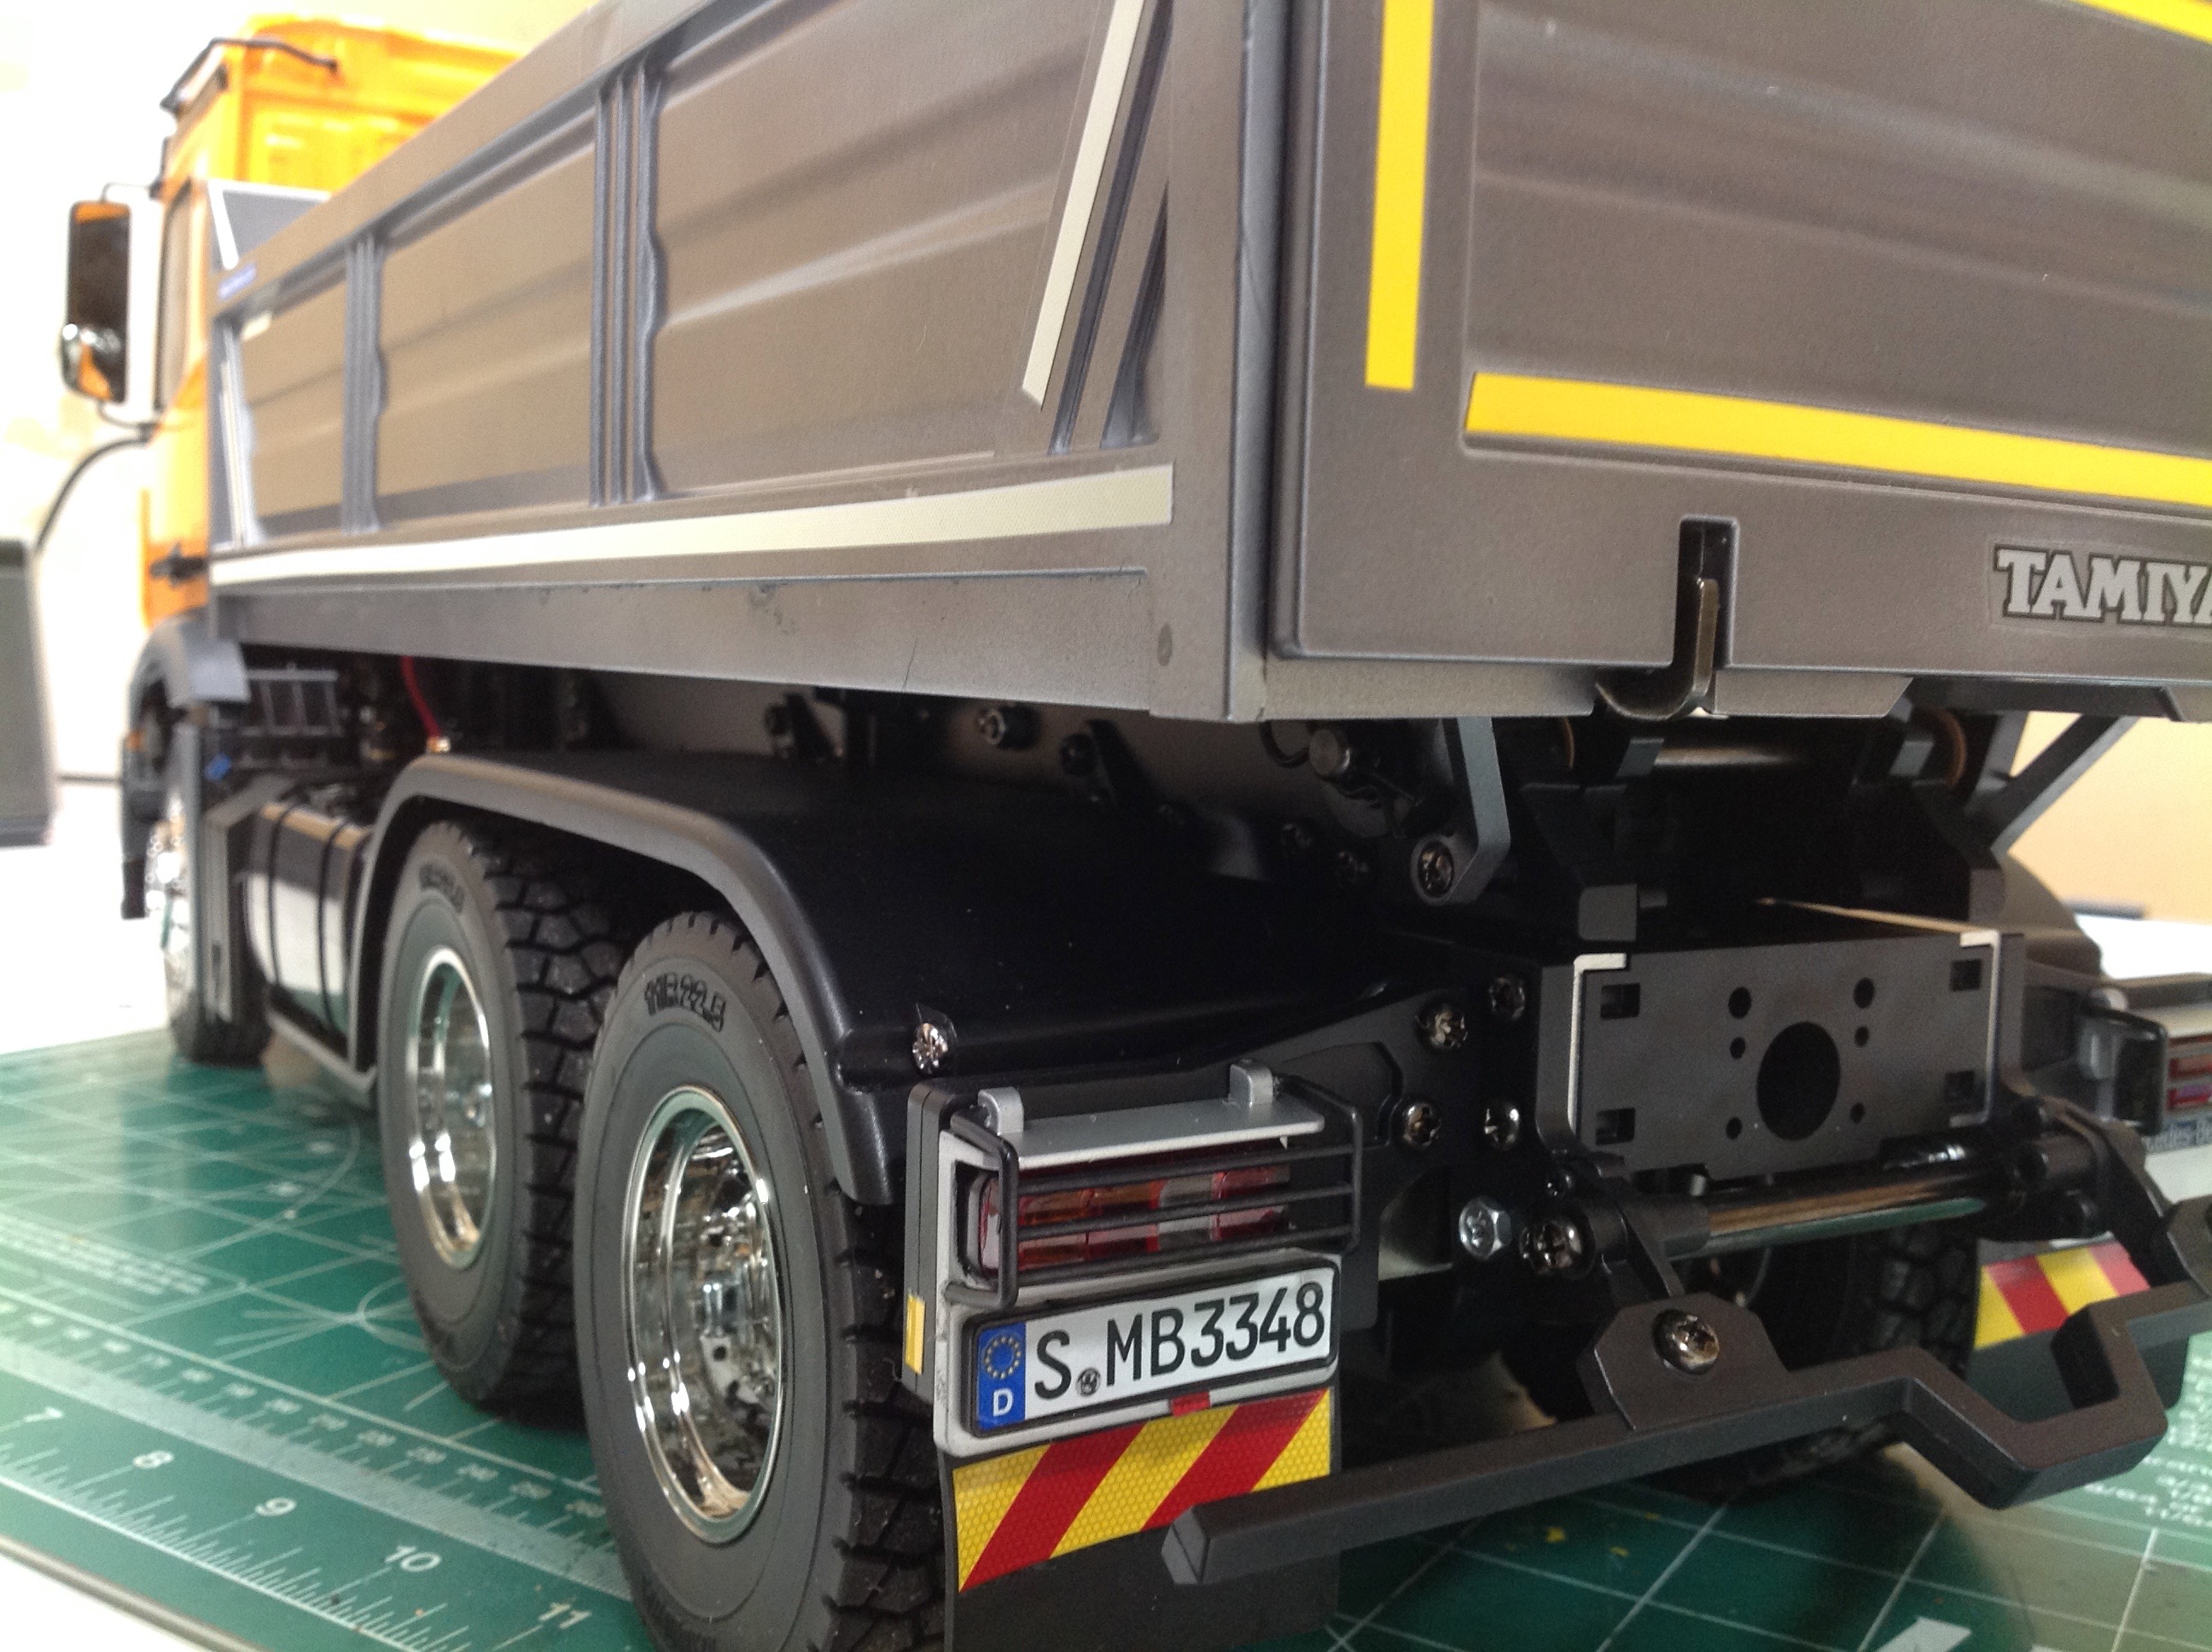
Many real Arocs tippers paint the bed in the same color as the cab, but I
wanted some contrast so I went with Bright Gun Metal which has a nice
metallic hue. The bulk of the bed is a one piece plastic molding,
but the rear gate and much of the underside reinforcement are separate
parts. When viewed from the bottom, note the square aluminum
extruded rails for bed stiffness. The black rails will be fixed to
the chassis and the silver colored rails move with the bed. The
plastic box you see is empty unless you add the powered lift
system. Oddly, the instructions have you insert screws which lock
the bed in the down position. You cannot lift the bed manually
unless you remove the screws.
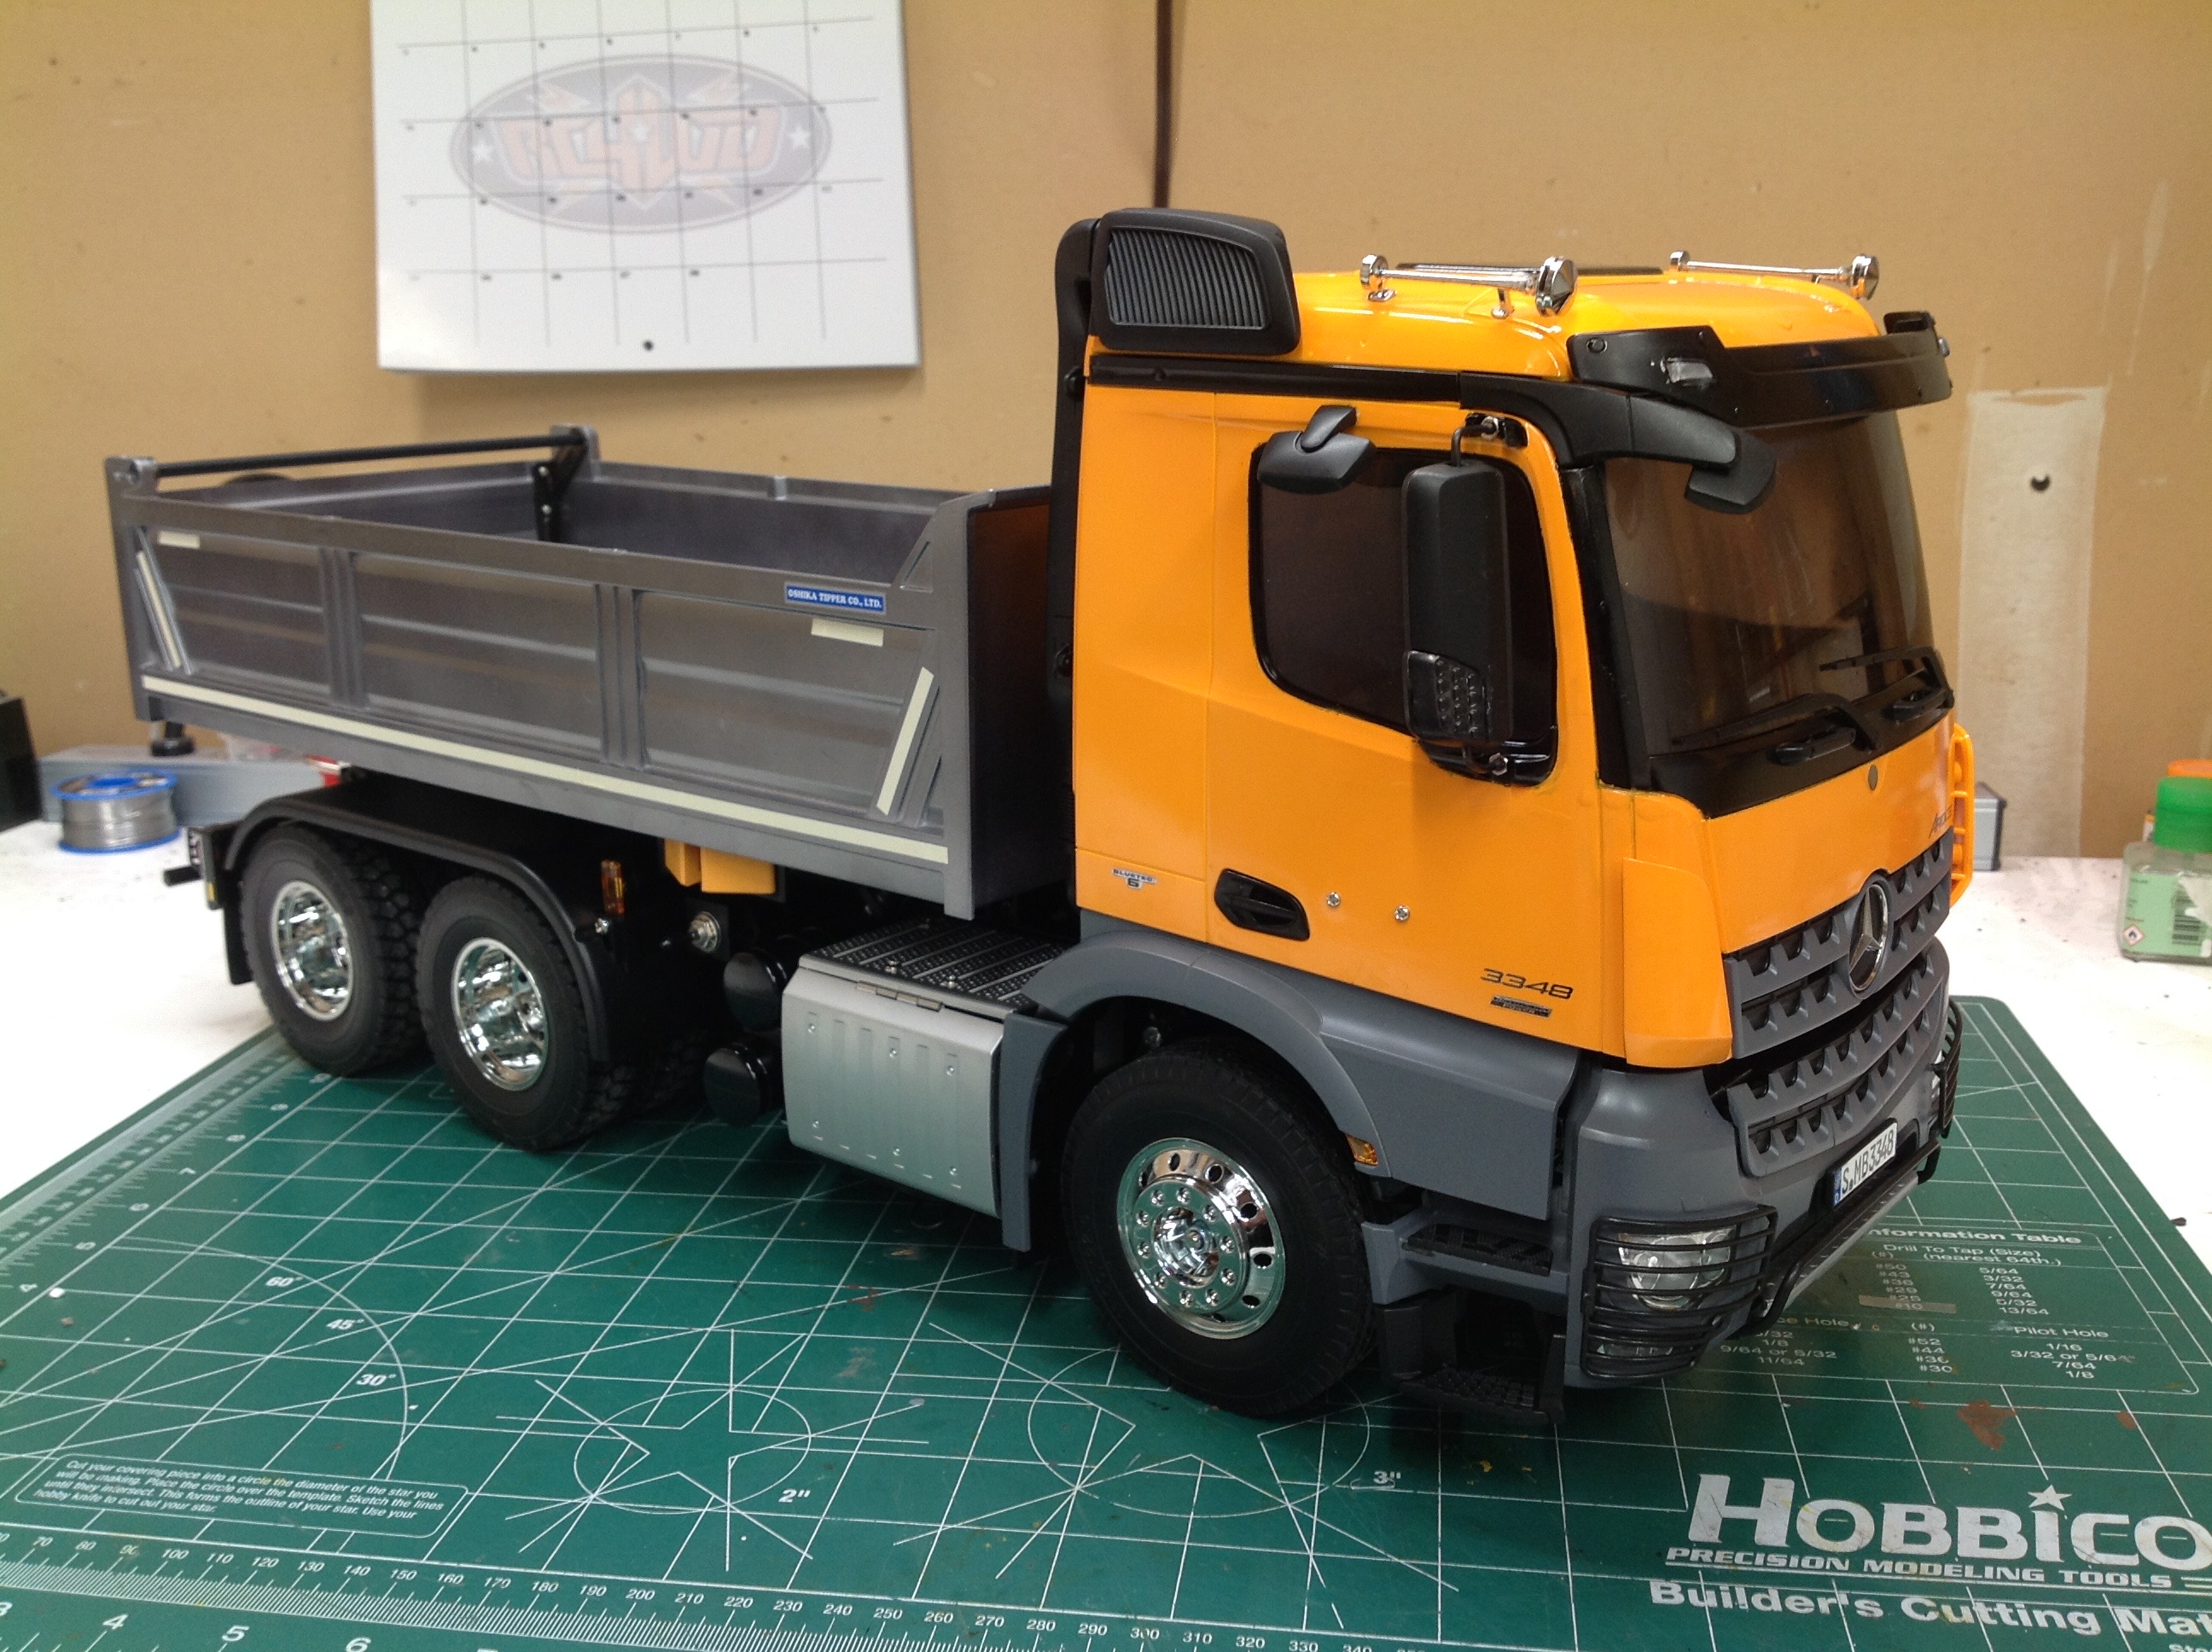
Here is the completed truck built per instructions without any additions
or modifications (yet). It is really a beautiful and imposing
model. It is quite a long truck, but the wheelbase is slightly
shorter than the King Hauler and much shorter than the Grand Hauler, but
longer than other 6x4's like the Scania or MAN.
Some detail views of the front and rear.
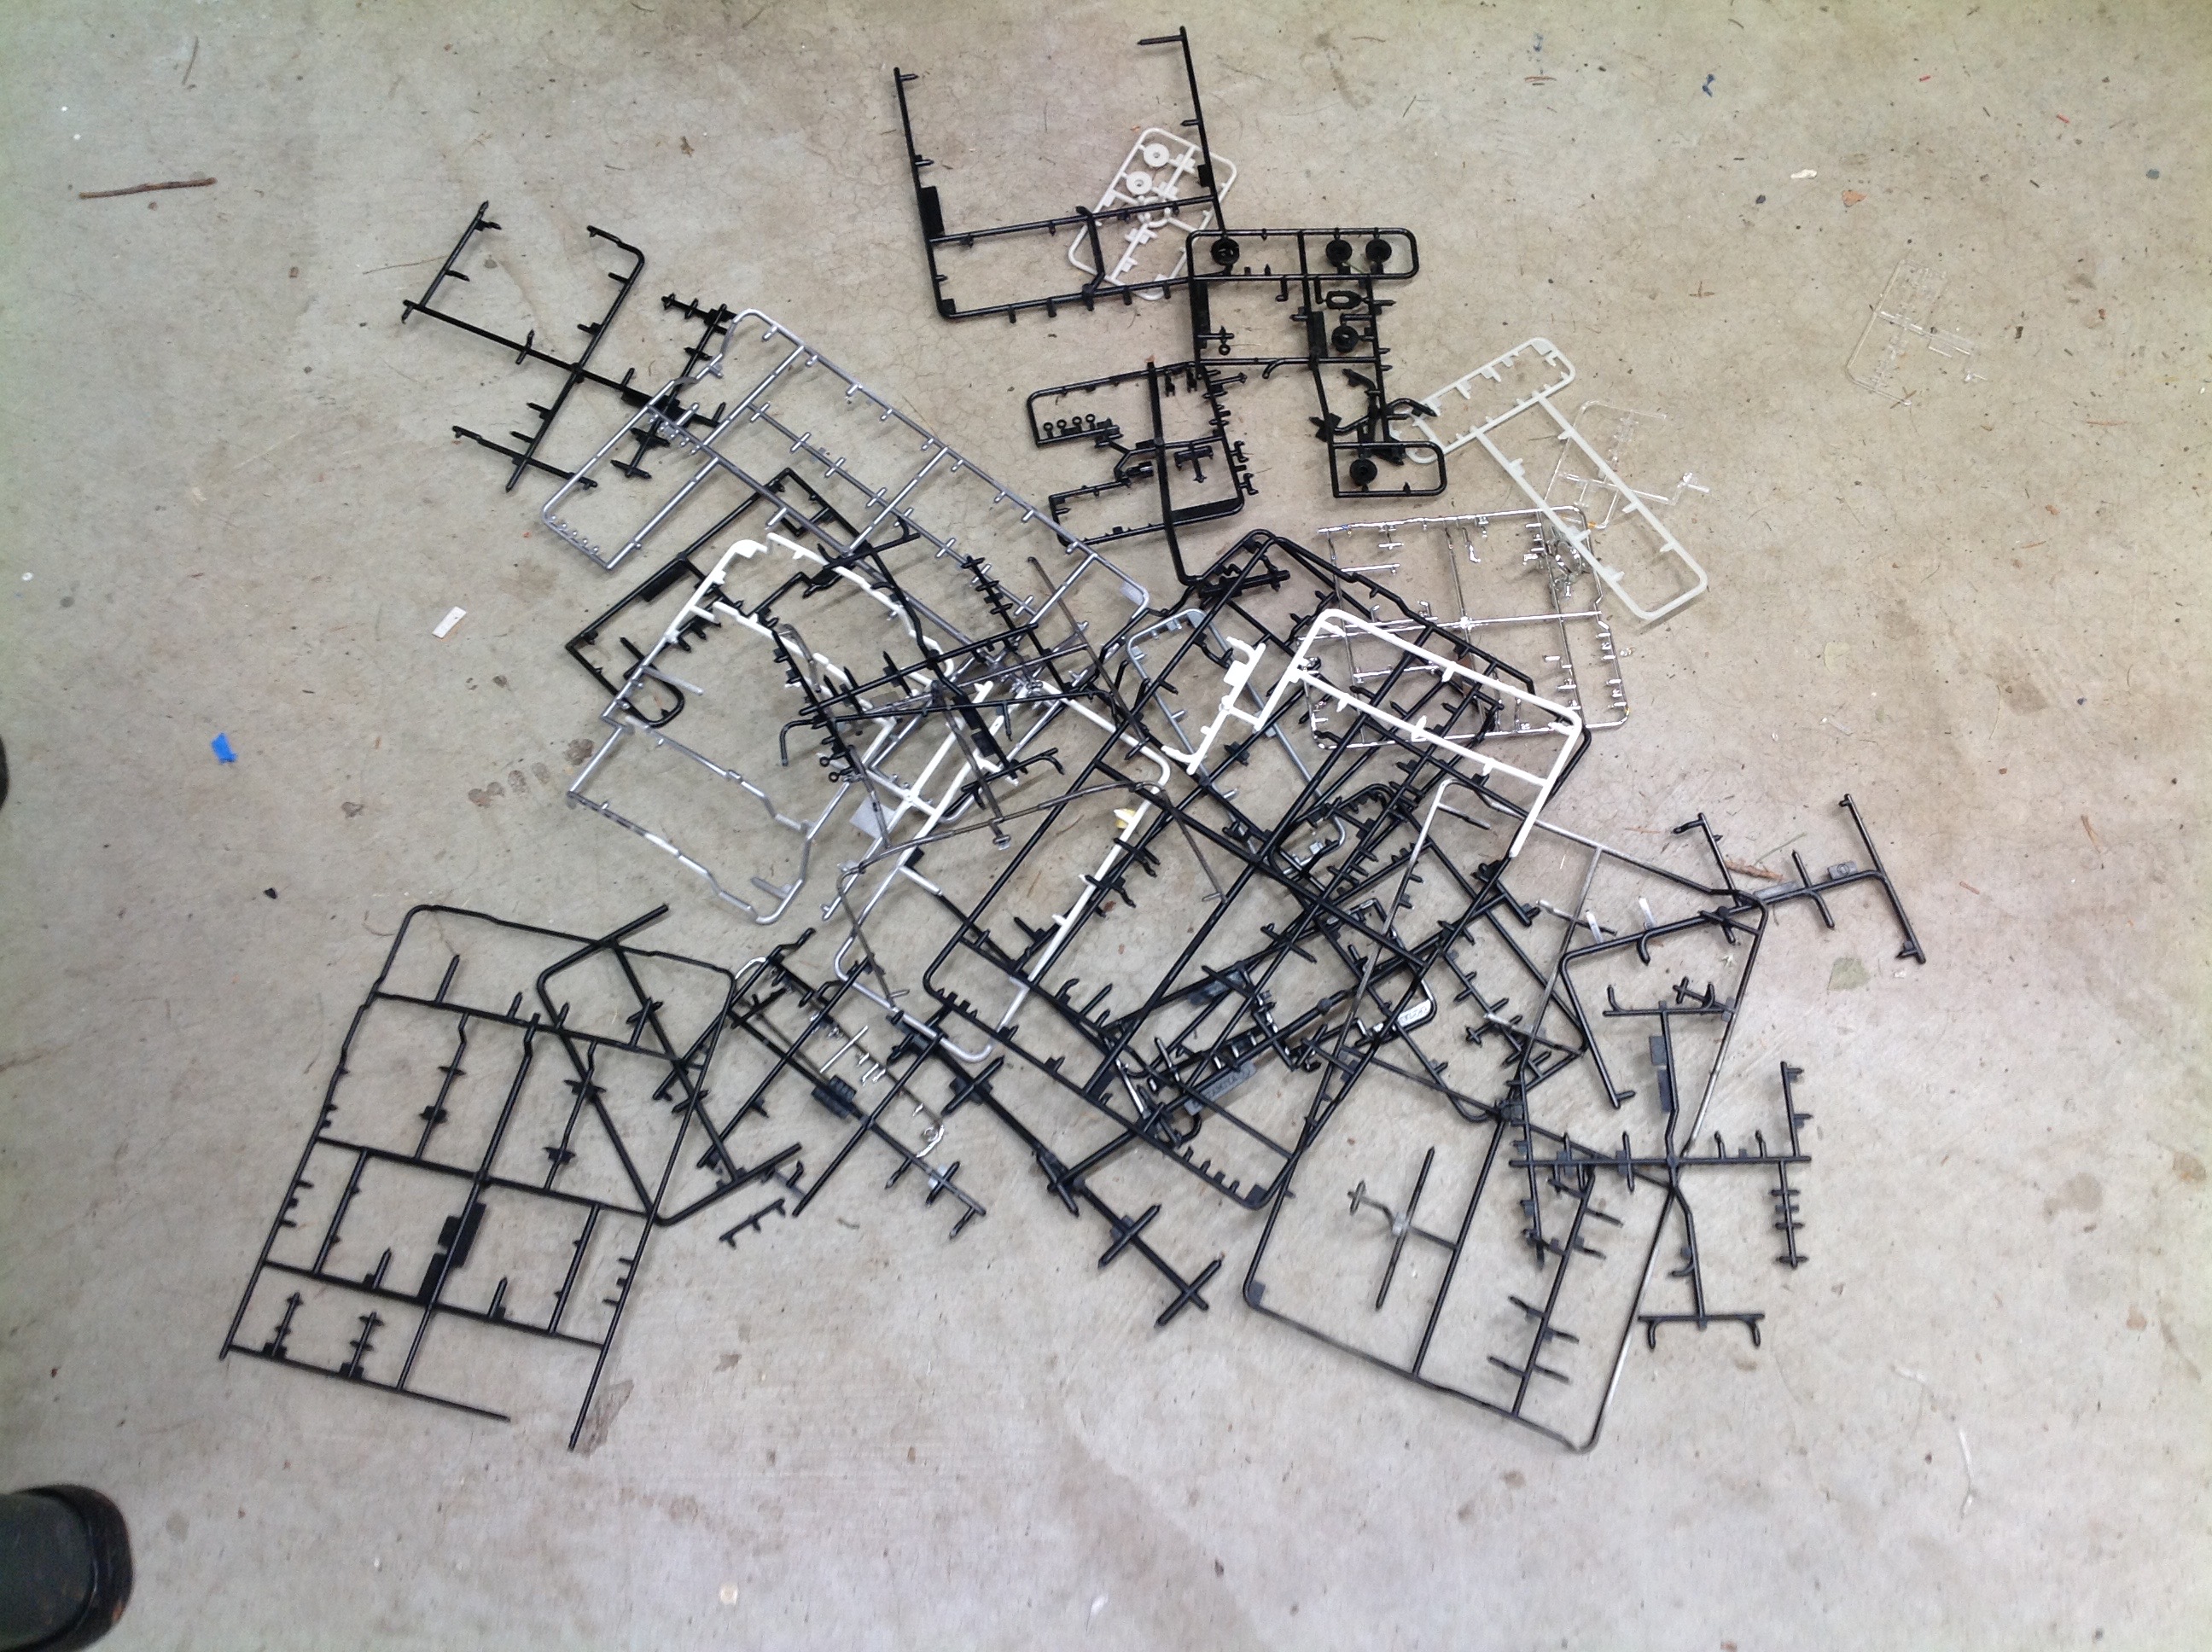
I used a LOT of paint colors for this model, although most of them are
shades of black, gray, and clear. The right hand image shows the
huge pile of empty parts trees as evidence of all the work that was
required.
©2019 Eric Albrecht