Page 1: Assembly
I've built a vehicle on the CW-01 wheelie chassis before, but this
will be my first WR-02 so I am interested to see the differences.
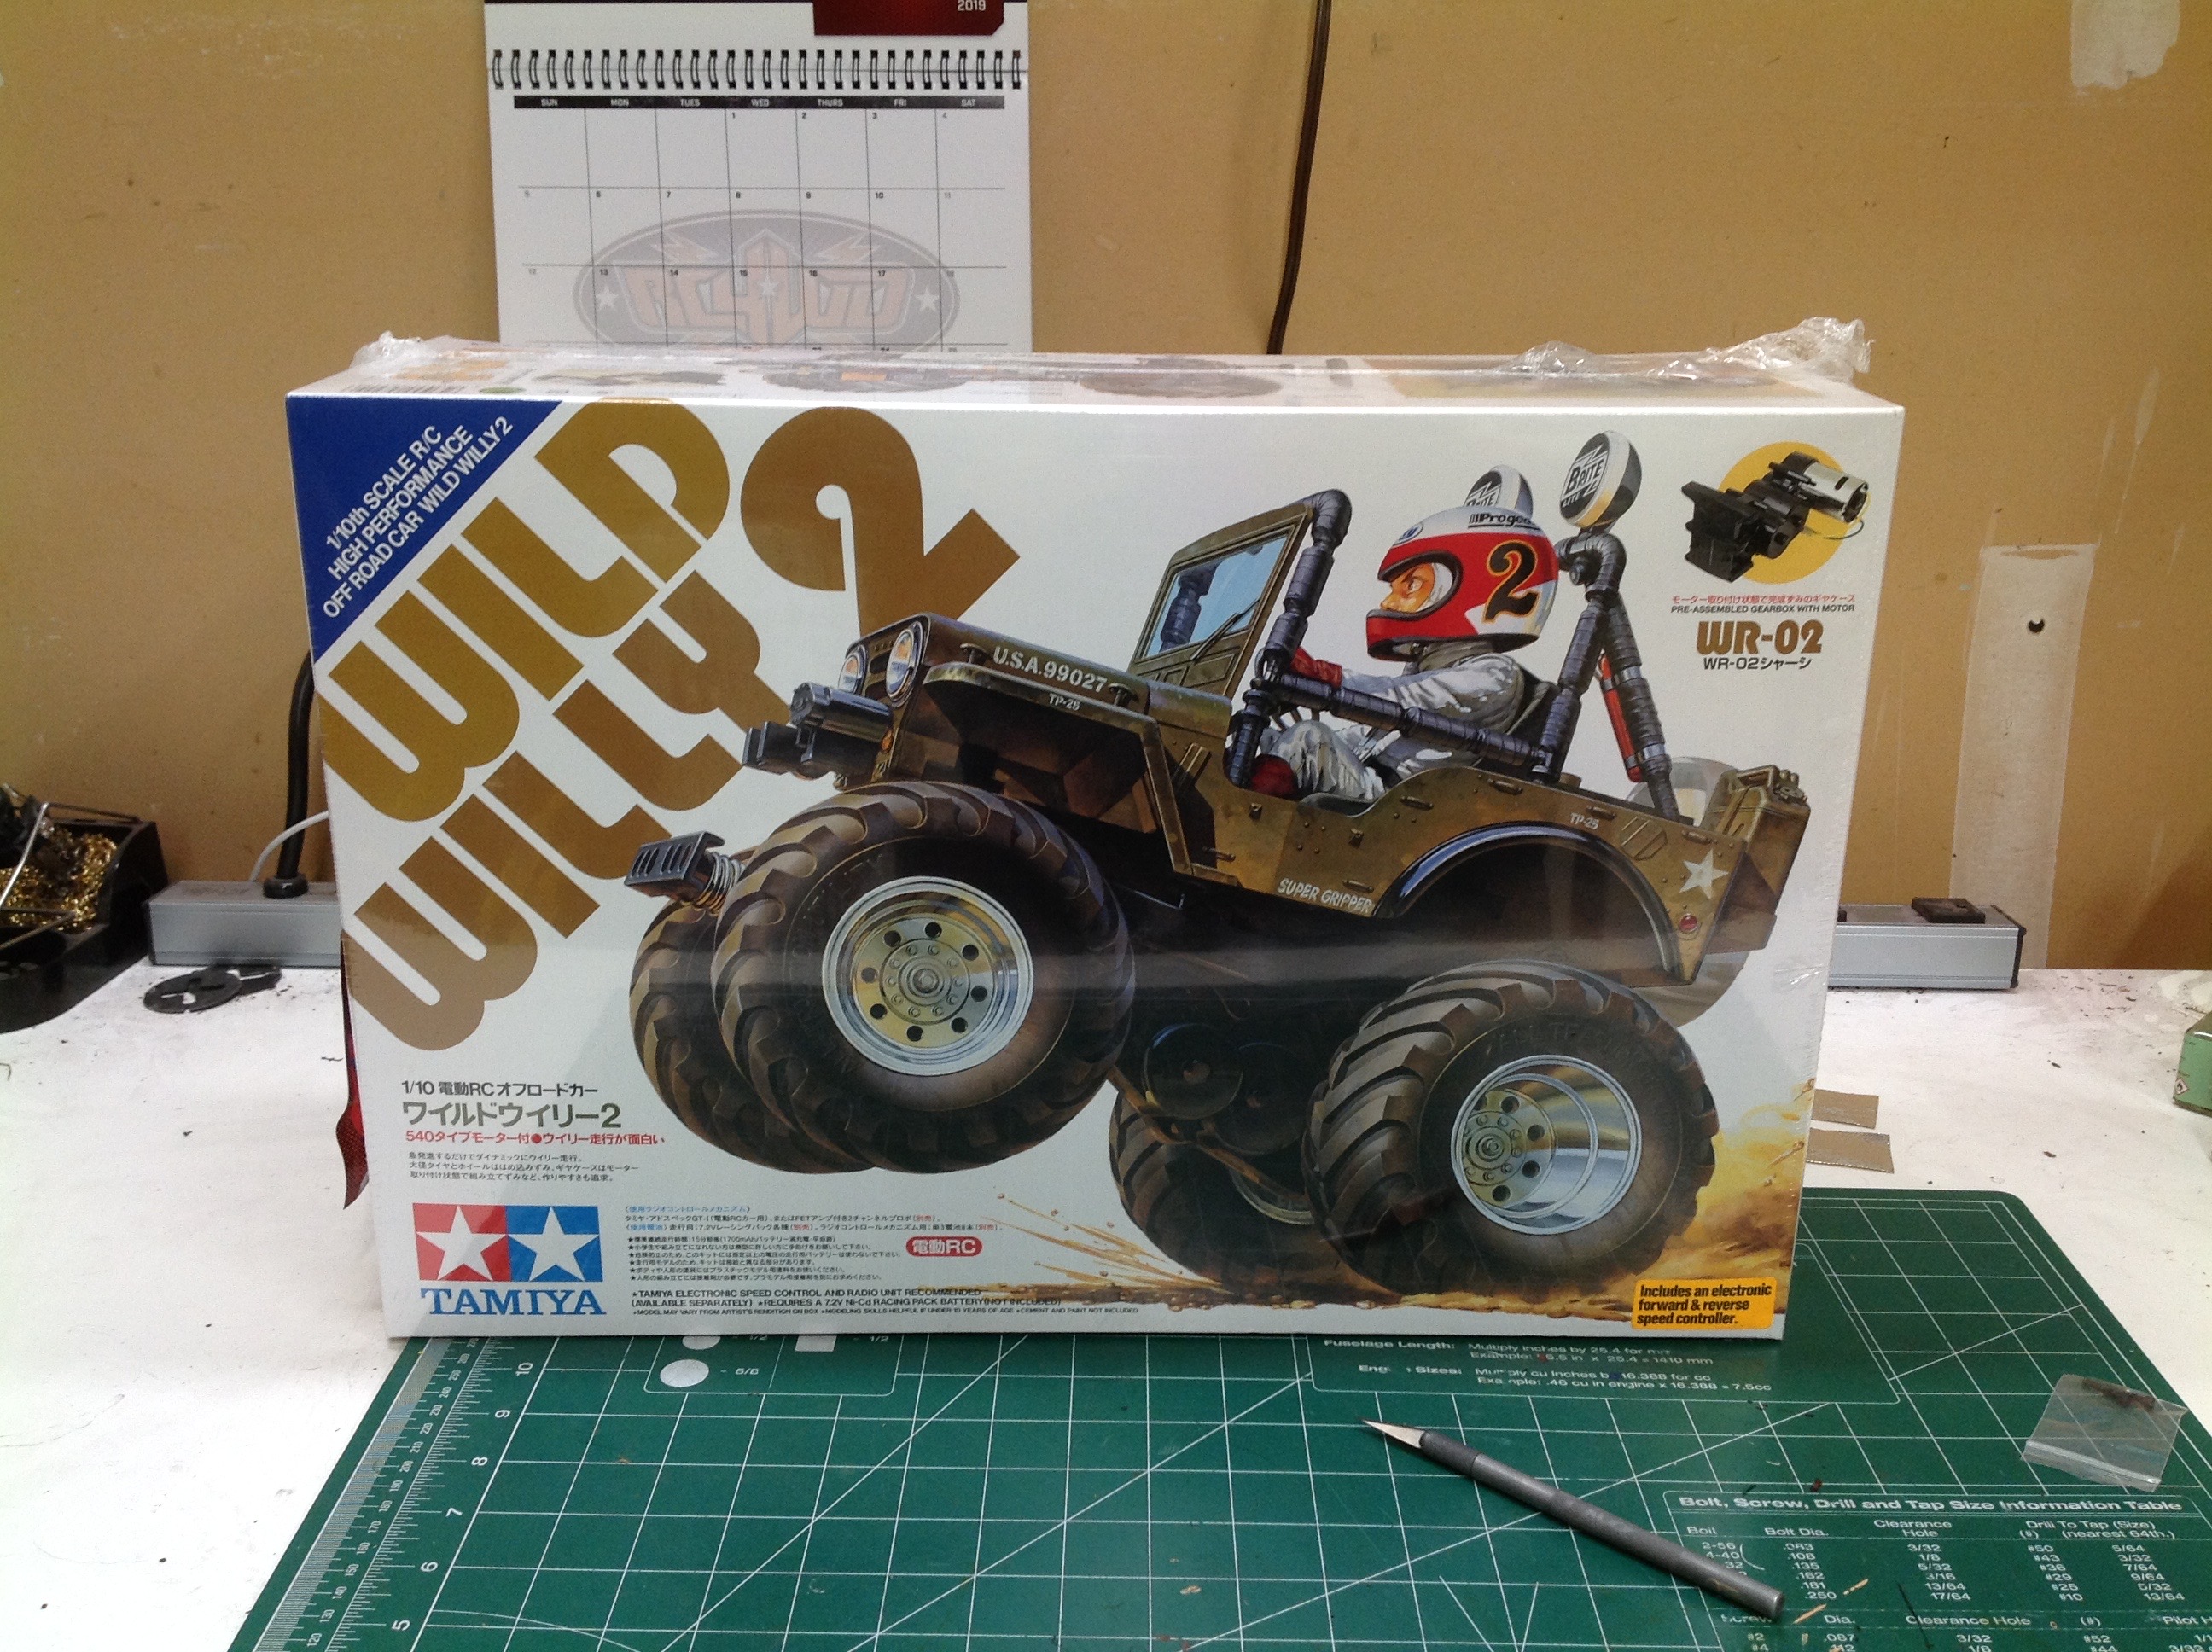
Wild Willy comes in a lovely box with classic hand drawn box art.
The art is reminiscent of the original in pose and angle, but it shows
the new chassis and wheels and the decoration on Willy's helmet has
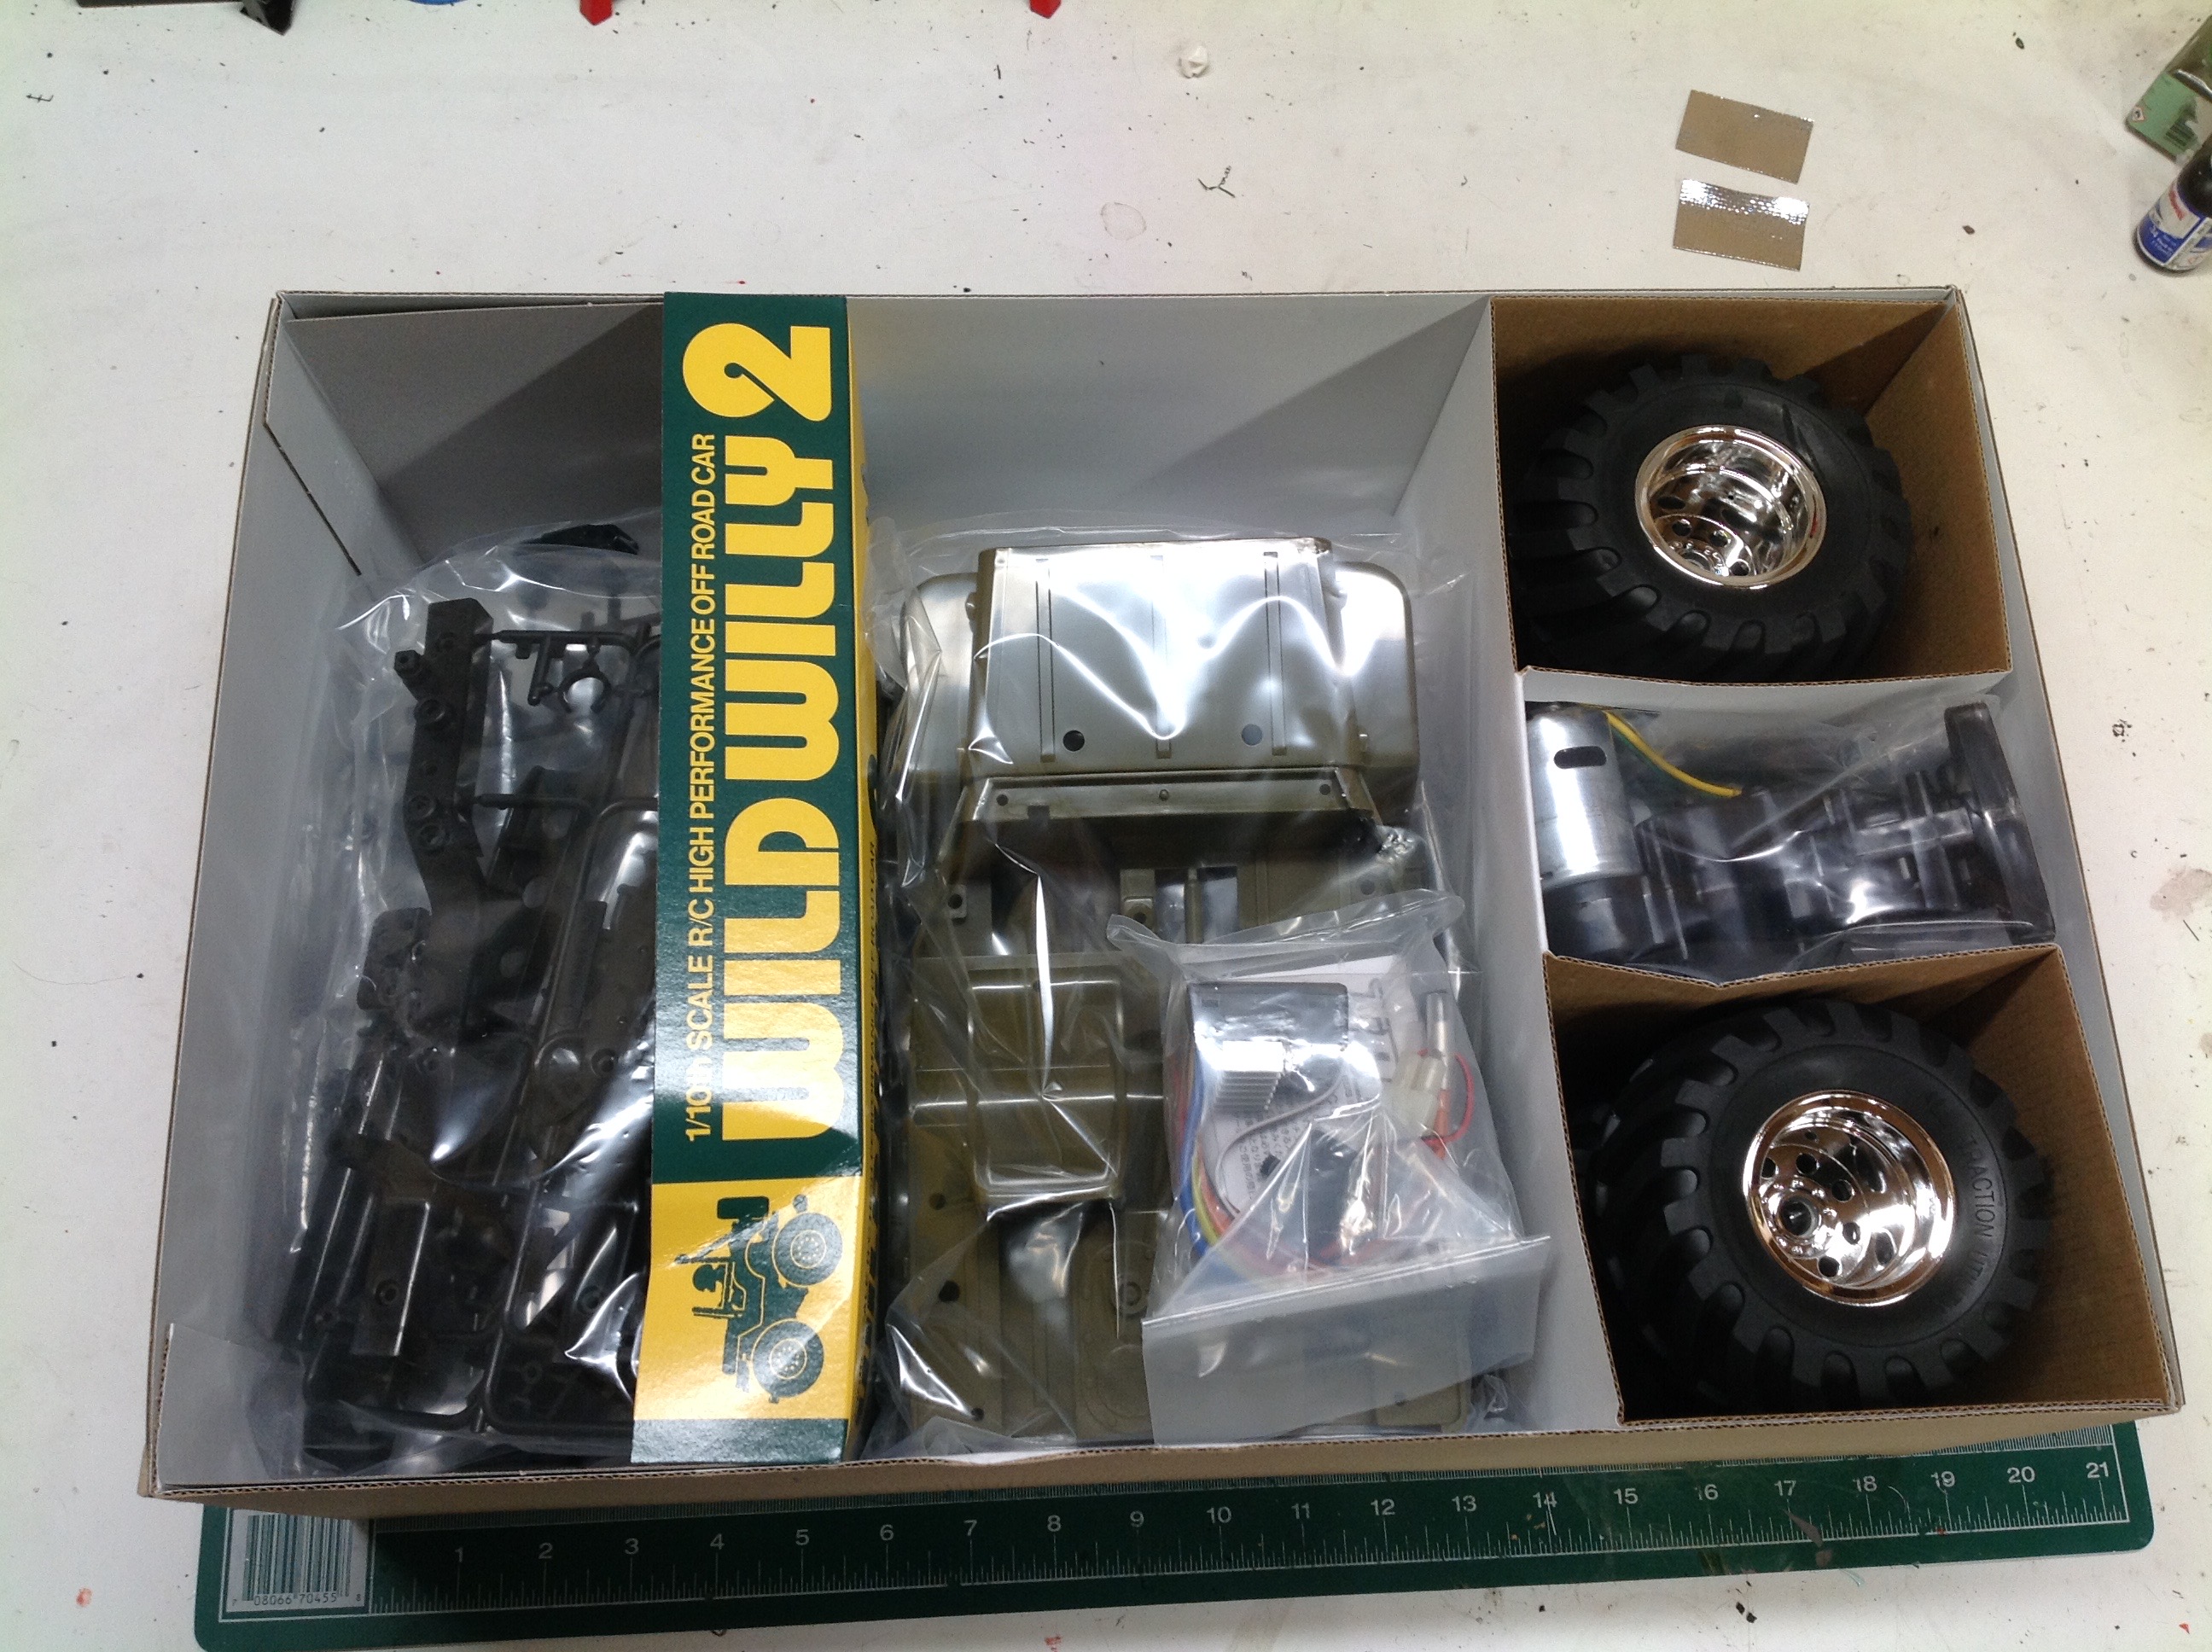
changed. Inside the box is a nicely organized mess of parts and
the iconic olive green body.
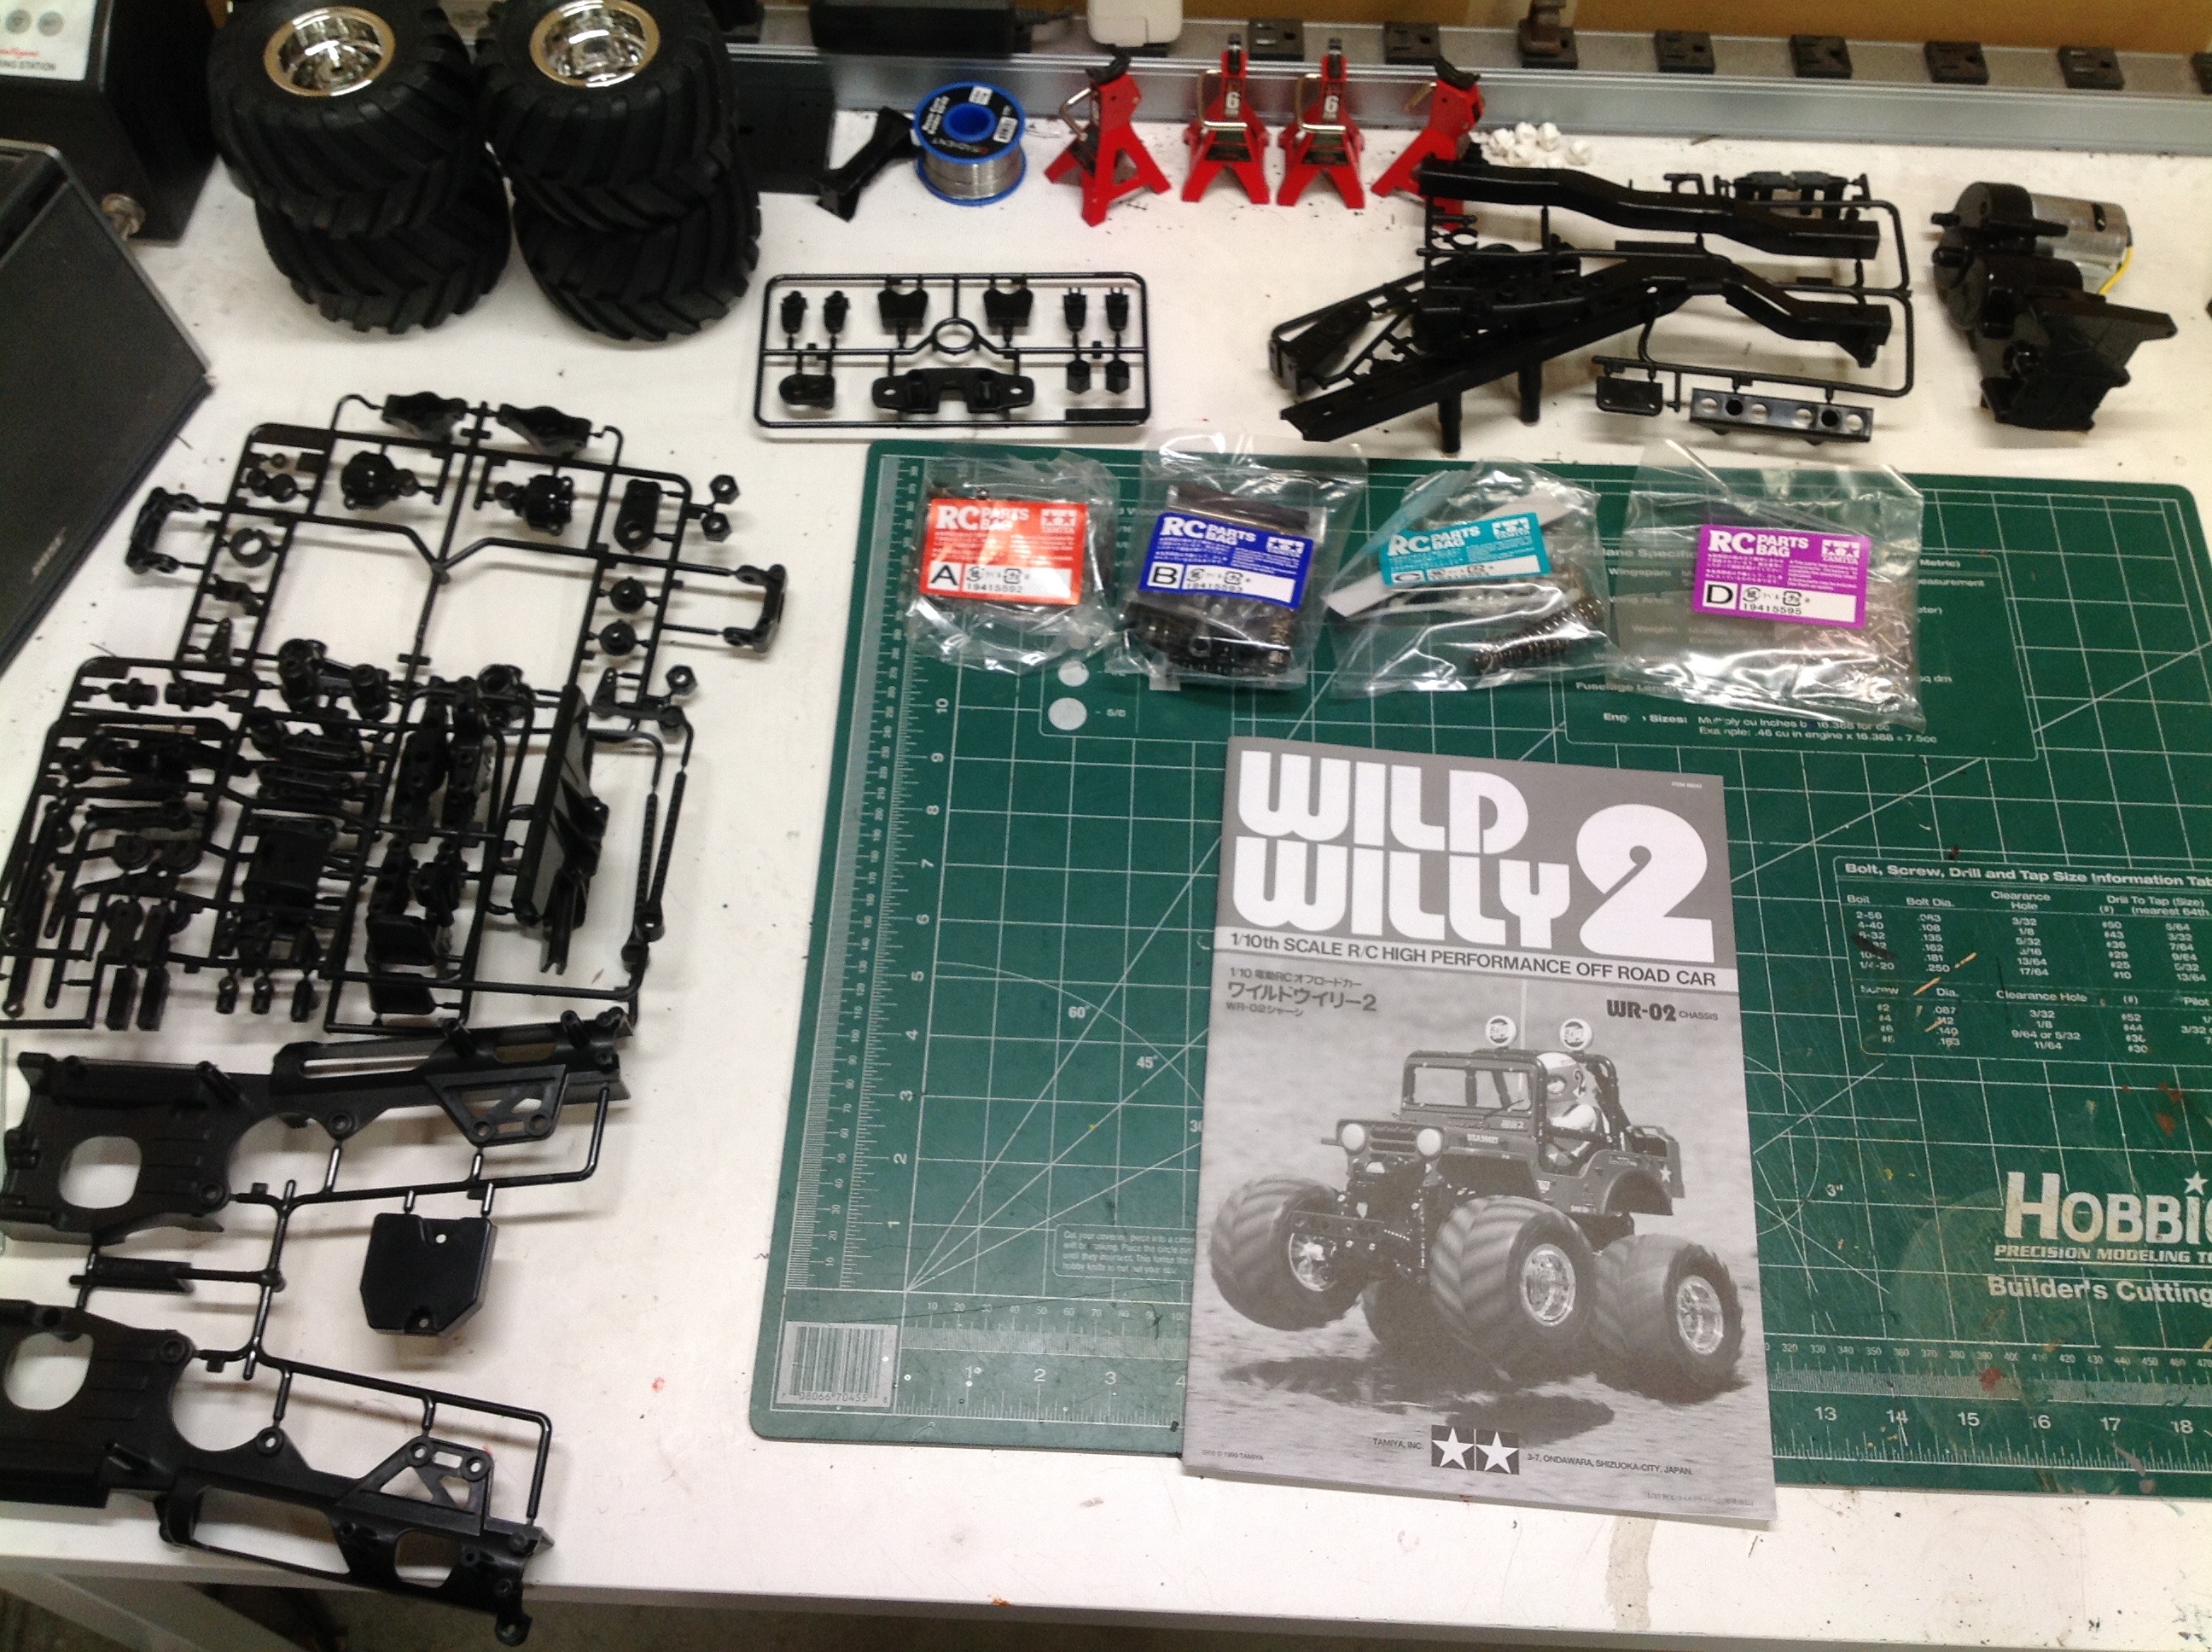
Here are the parts for the chassis laid out on my build table.
As you can see, there isn't much to this chassis. It should be a
quick build.
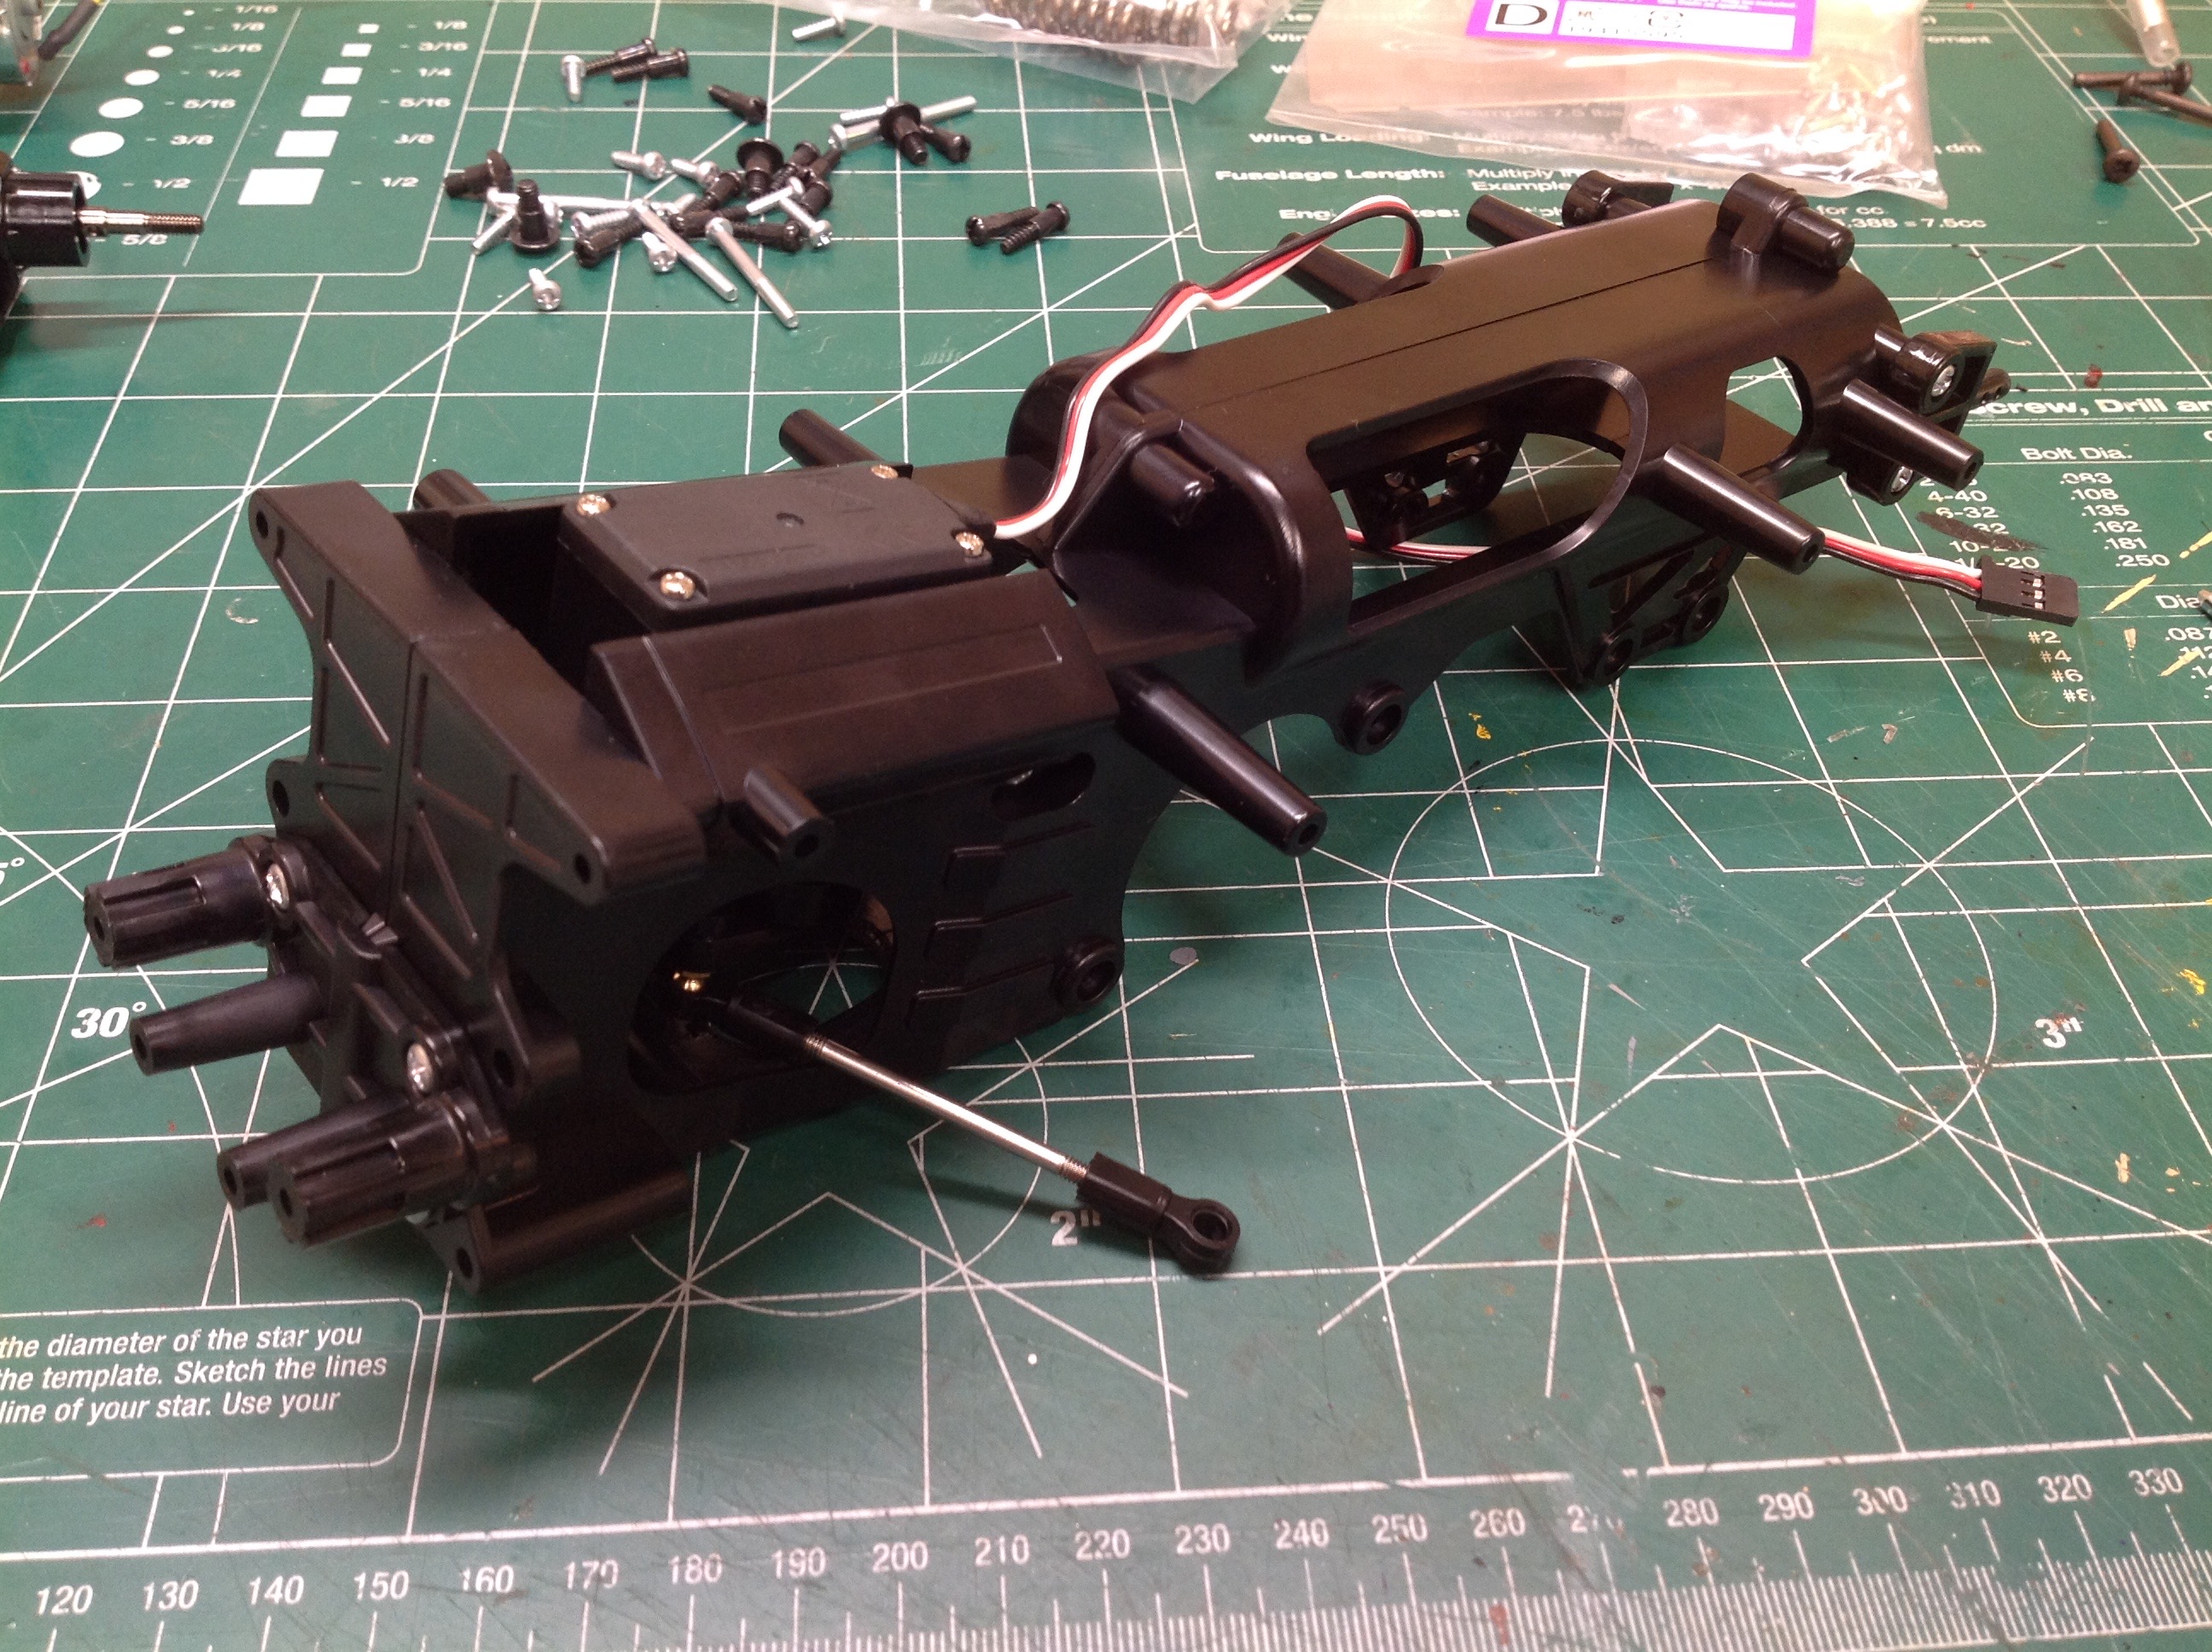
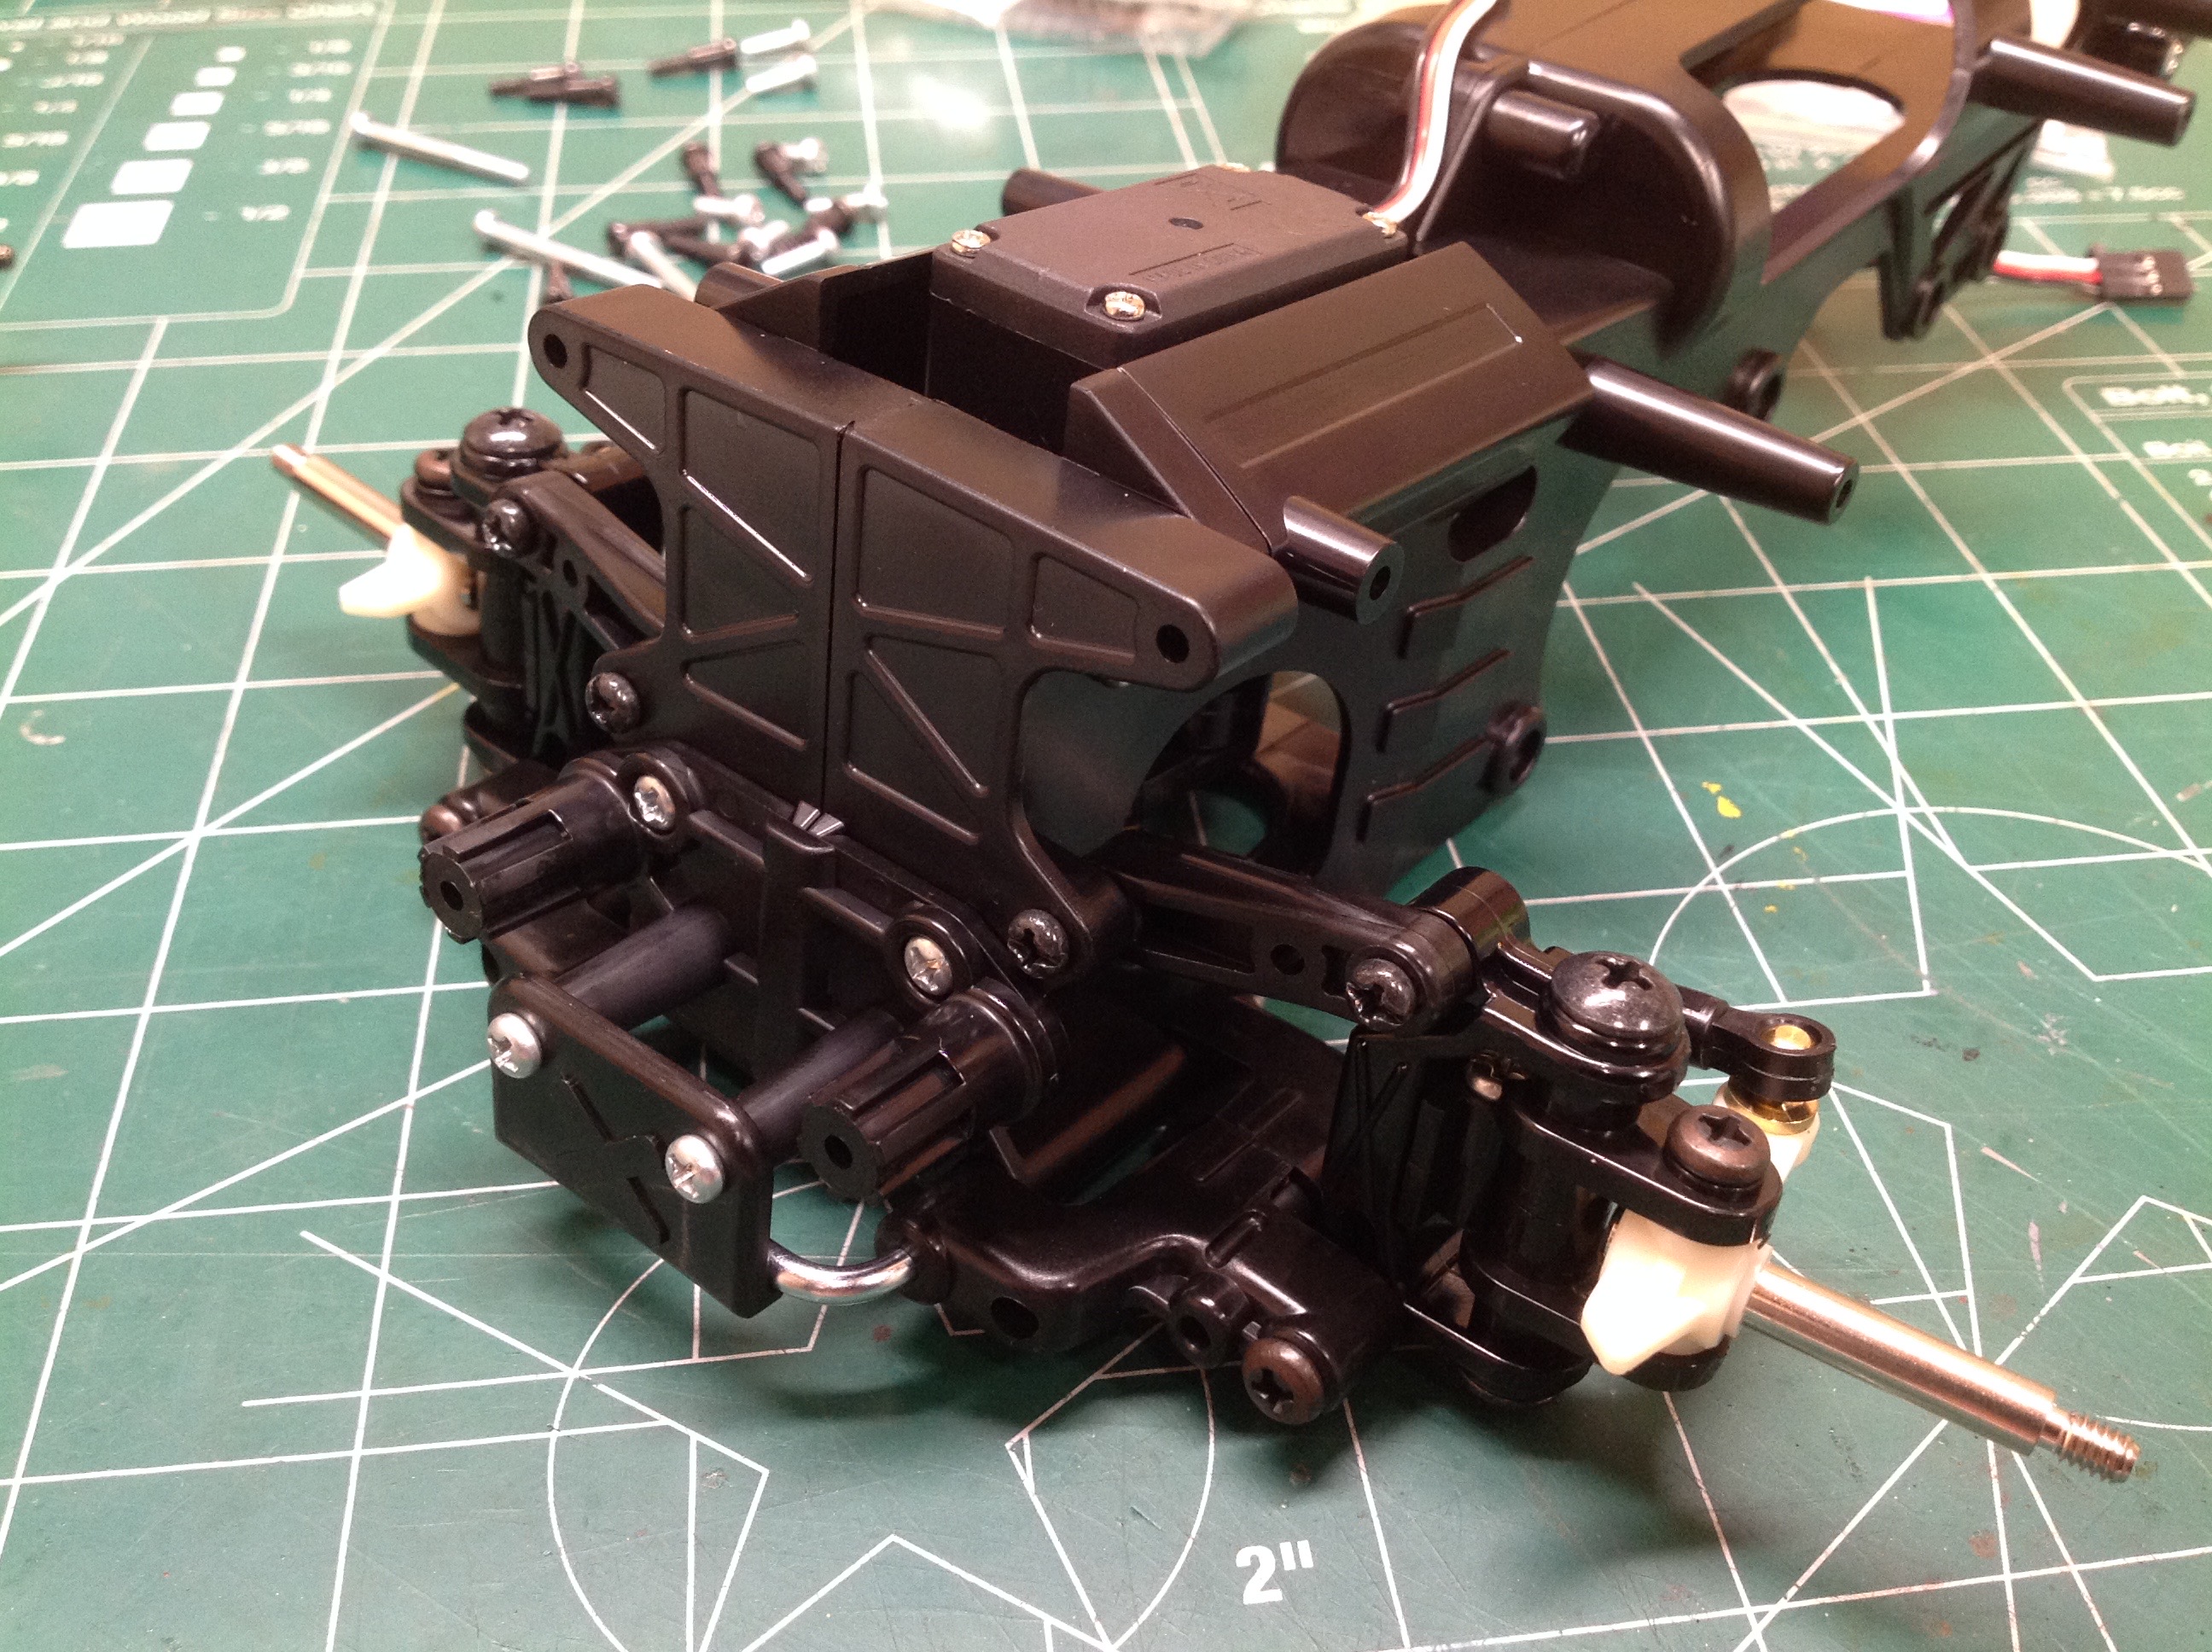
The build begins with the main frame which is composed of two halves
screwed together. The steering servo is sandwiched between the two
sides up front. If you look closely, you'd see the valve covers
of a scale V engine surrounding the servo which faces down. The
servo saver connects directly to the steering knuckles with no
intermediate linkage. The front double wishbone suspension arms
connect to the frame as shown.

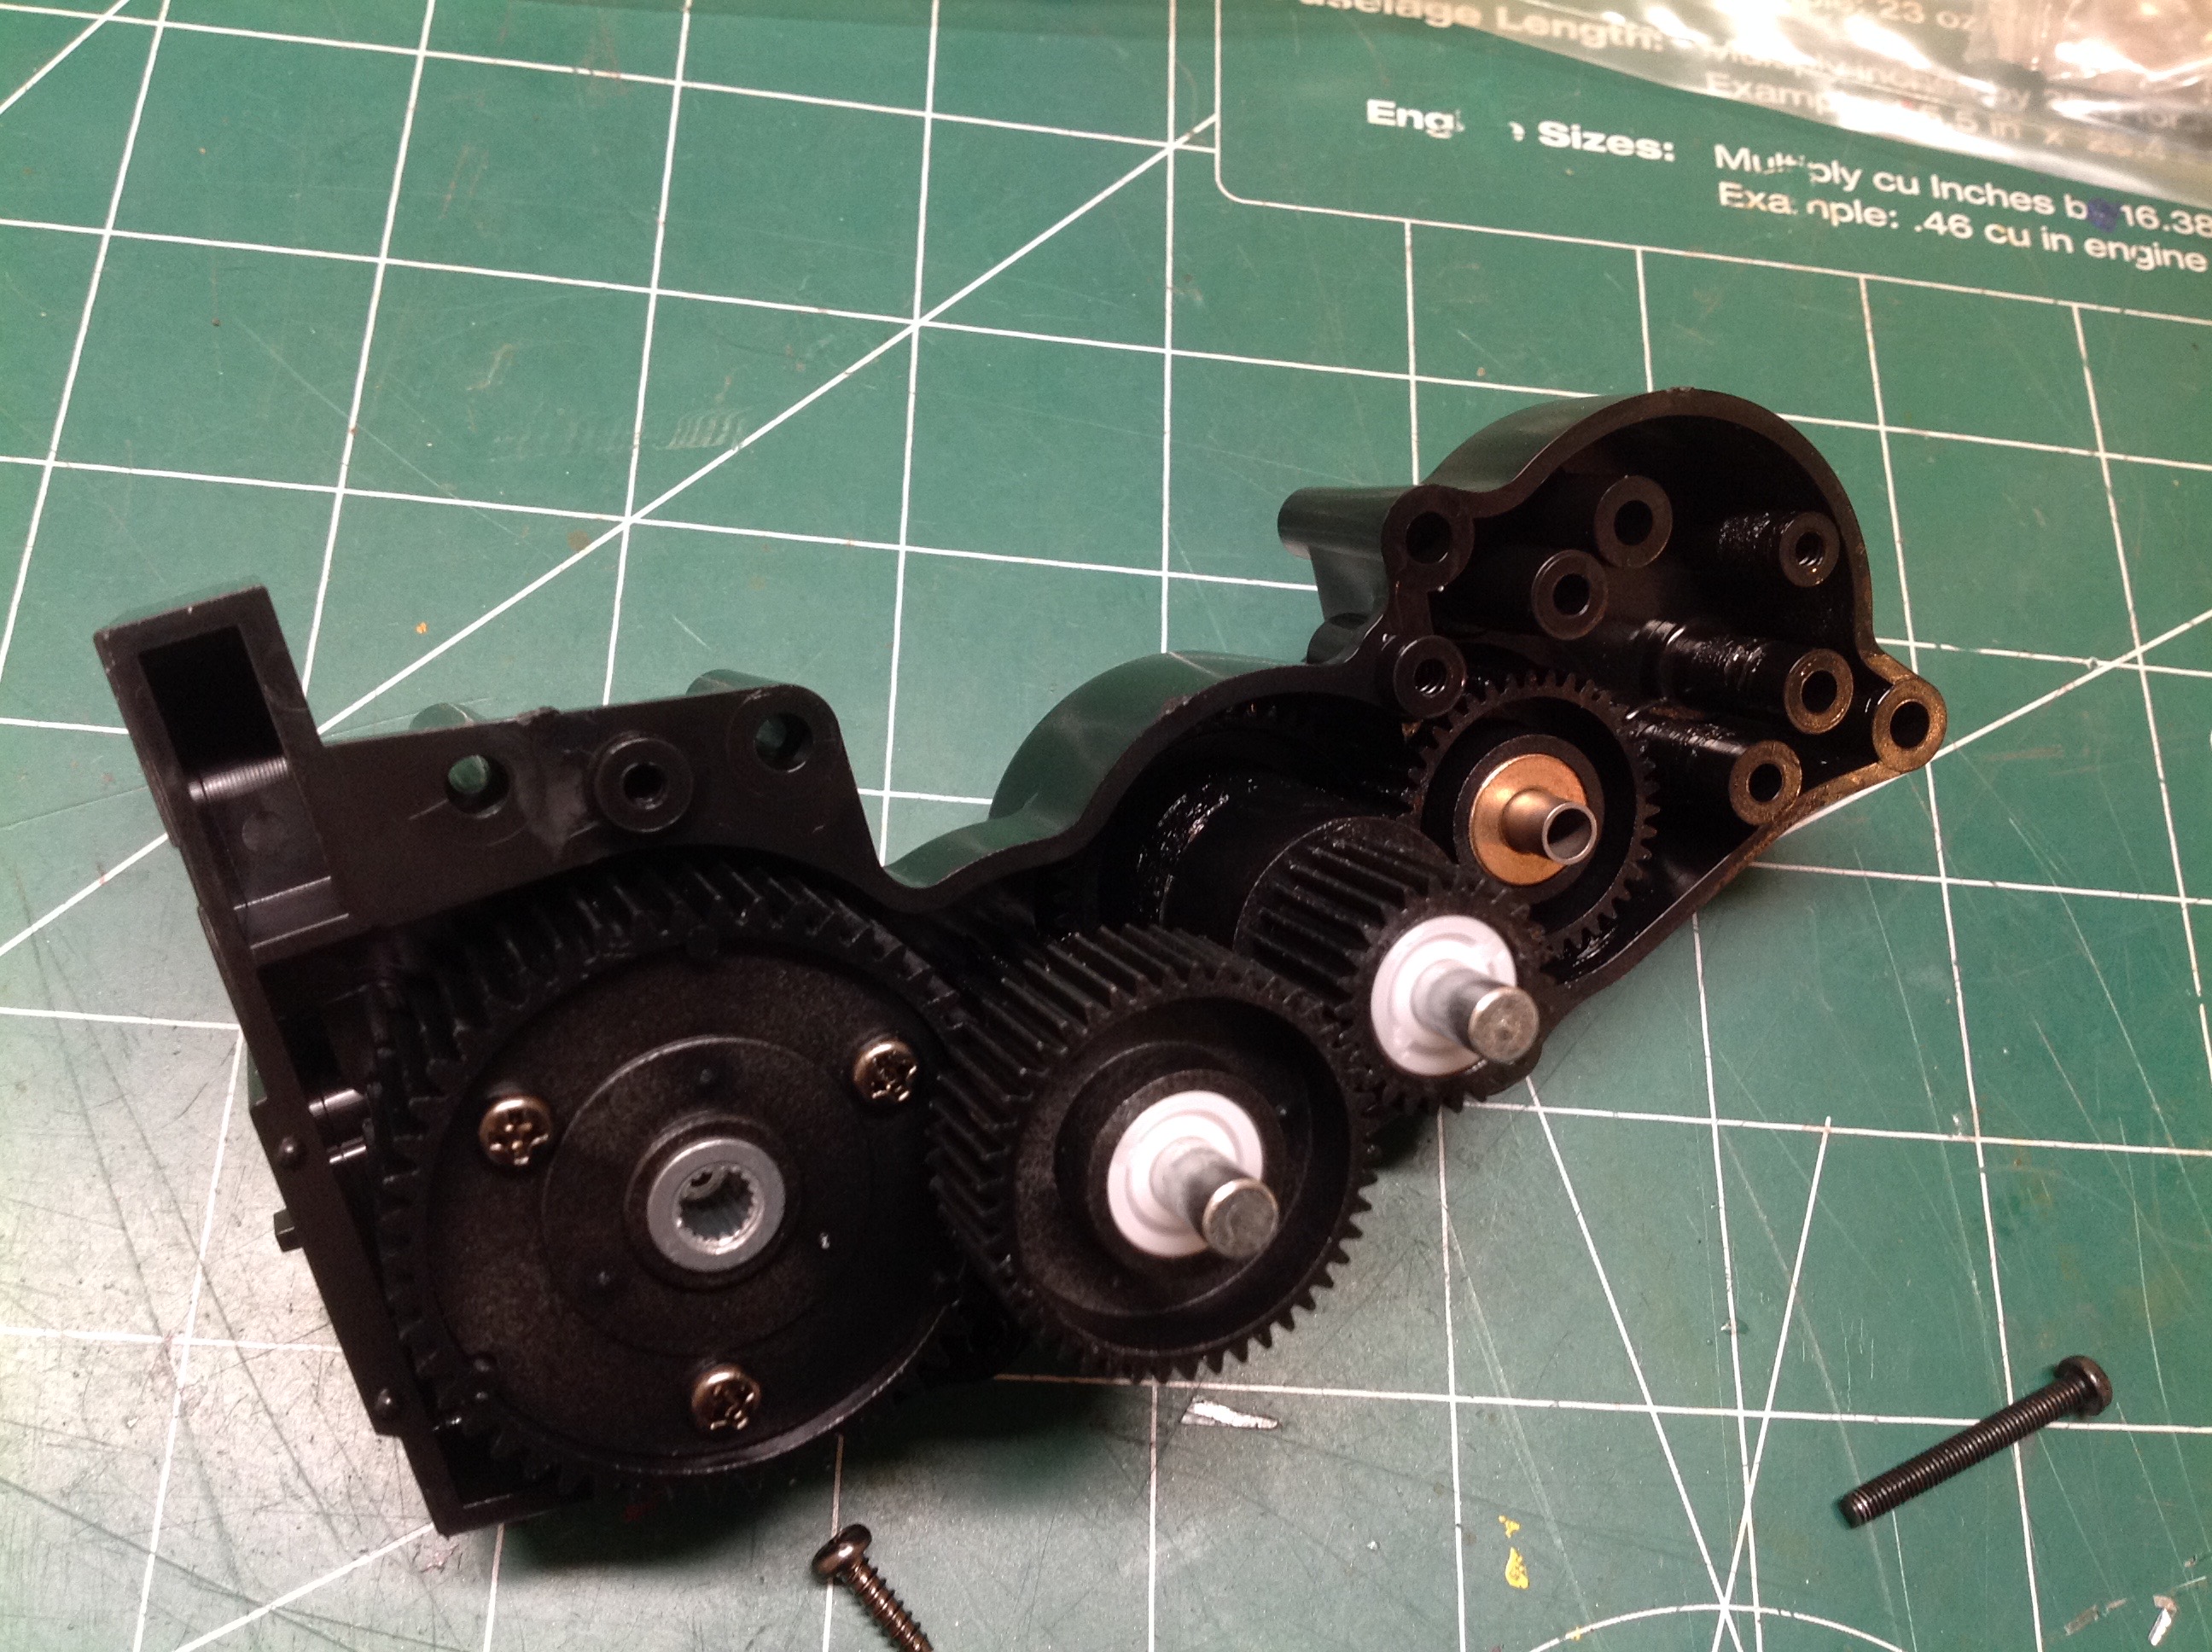
Unlike most Tamiya kits, in this one the gearbox and motor are
pre-assembled for you as shown on the left. You could
theoretically just use this as is, but I took it apart as shown on the
right. I used the opportunity to replace the plastic bearings and
metal bushings with ball bearings. I also added more grease to the
gears. Note the extensive train of spur gears with no bevels or
shafts. The big black gear on the far left contains the
differential.
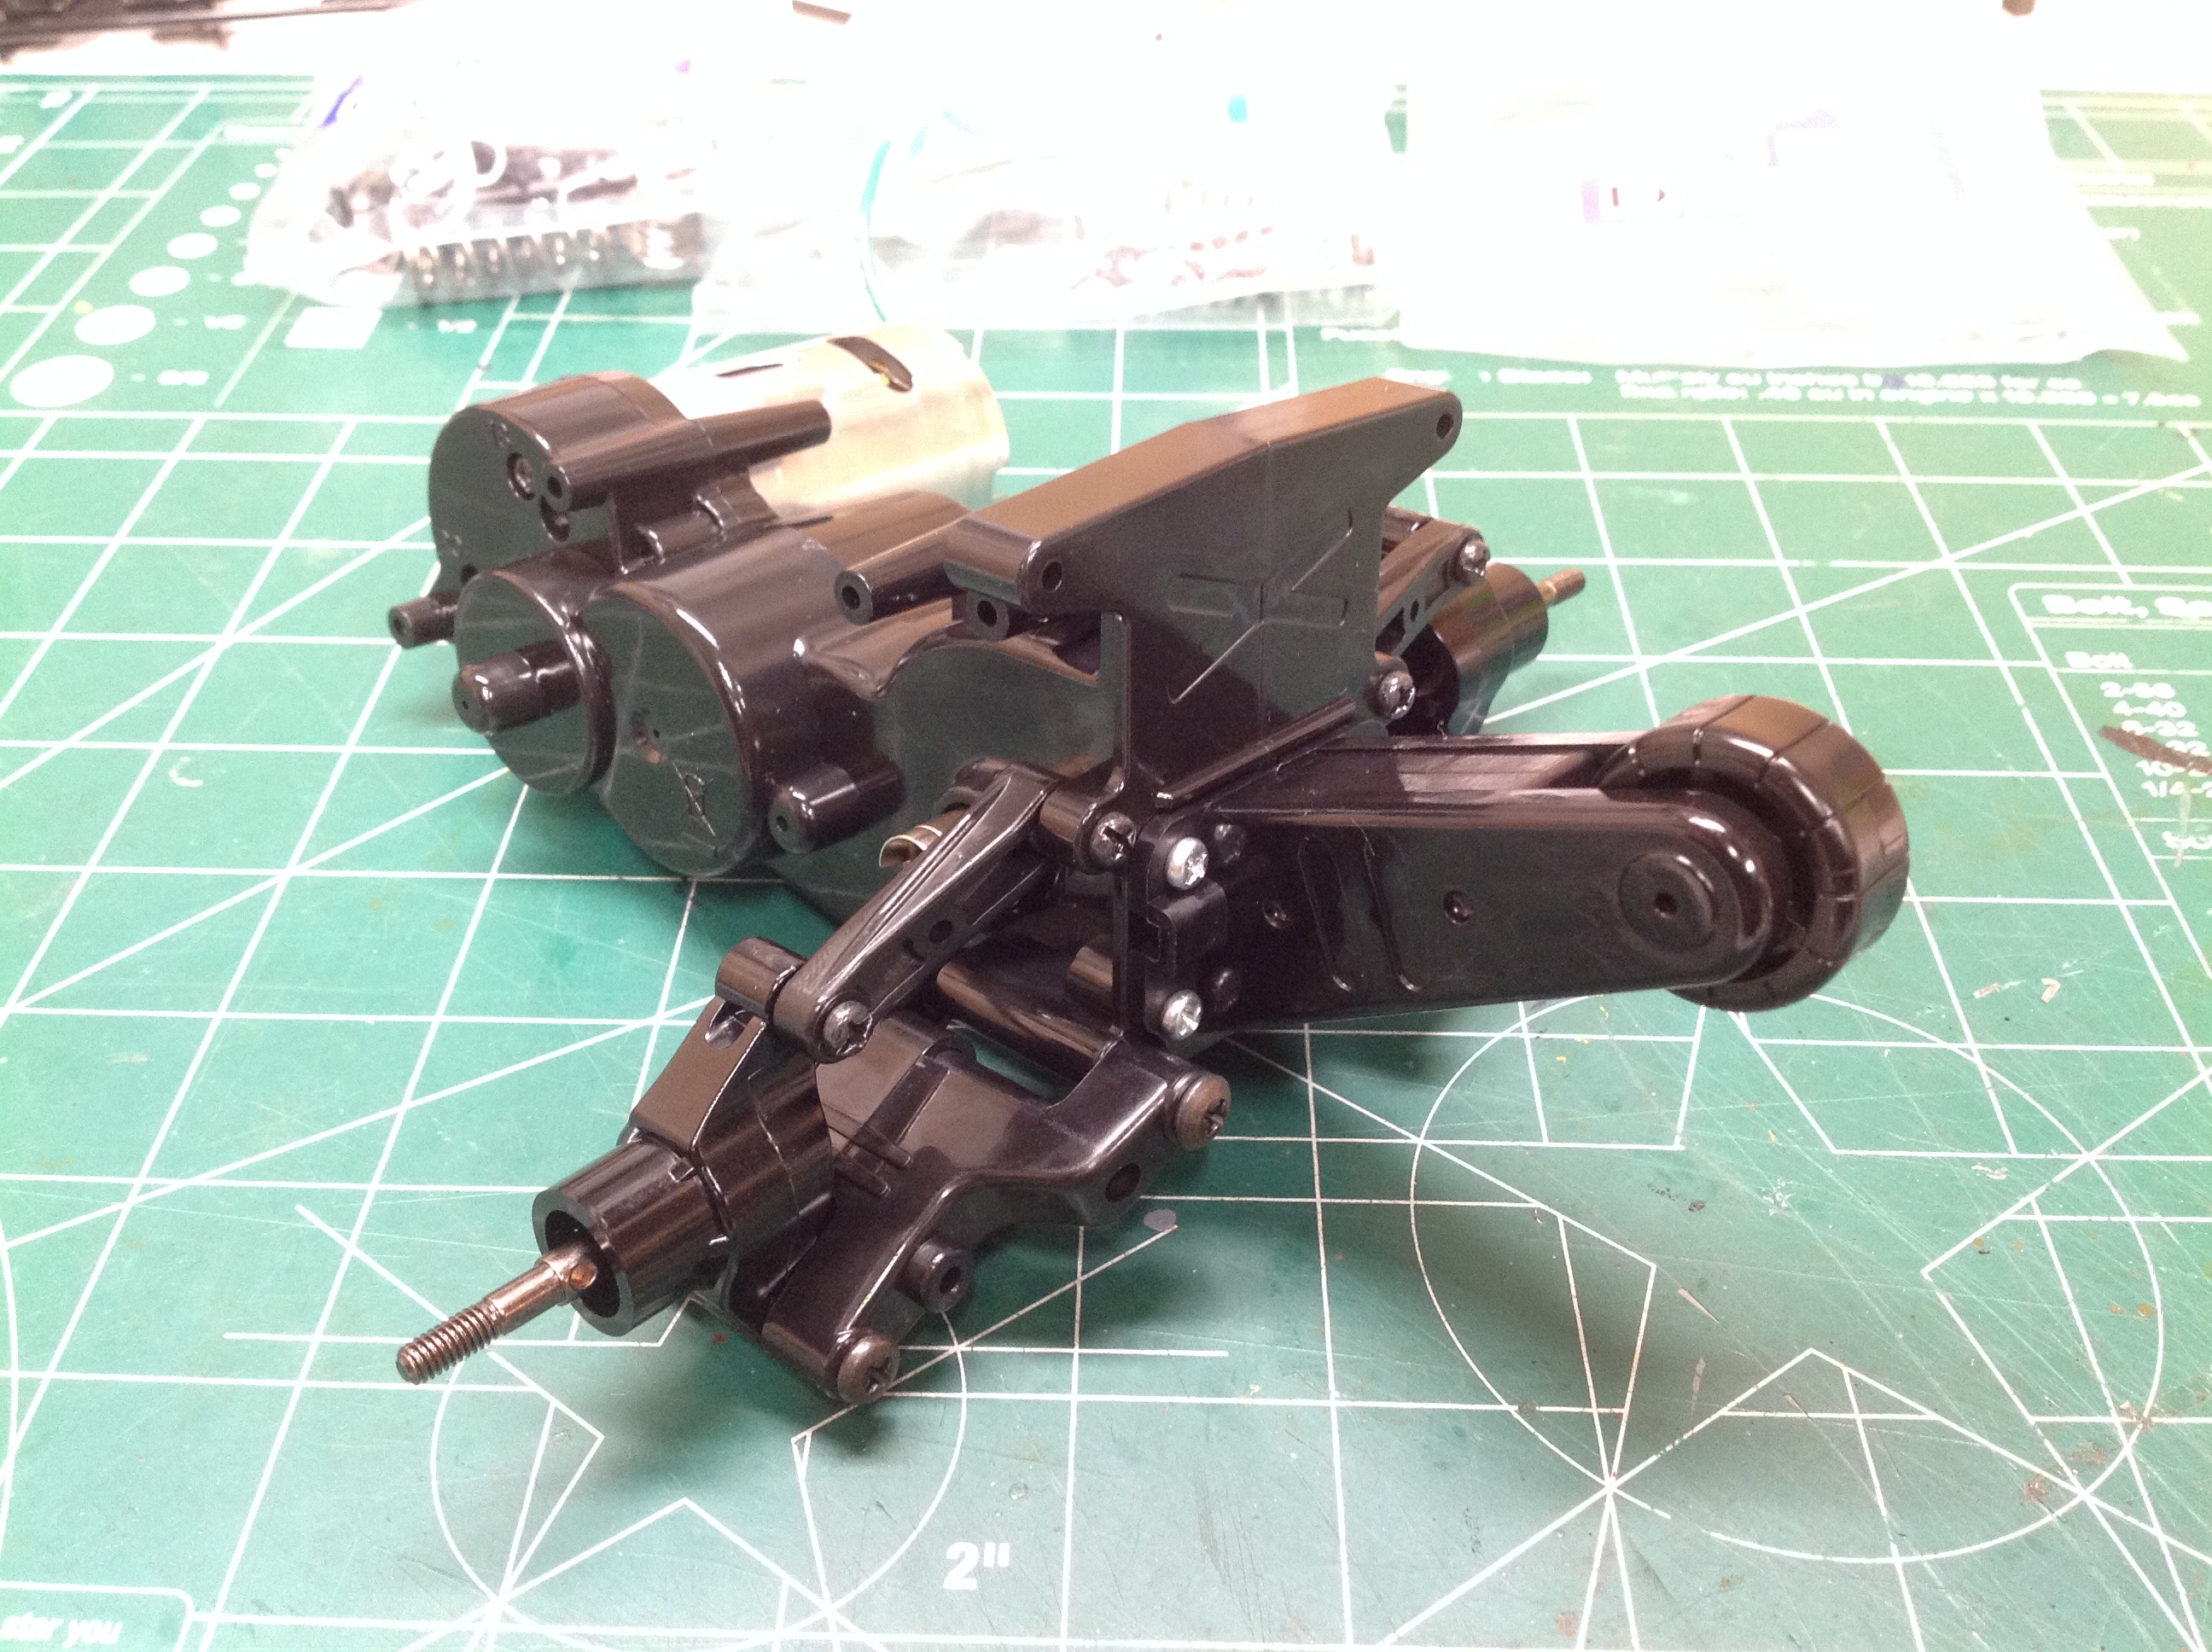
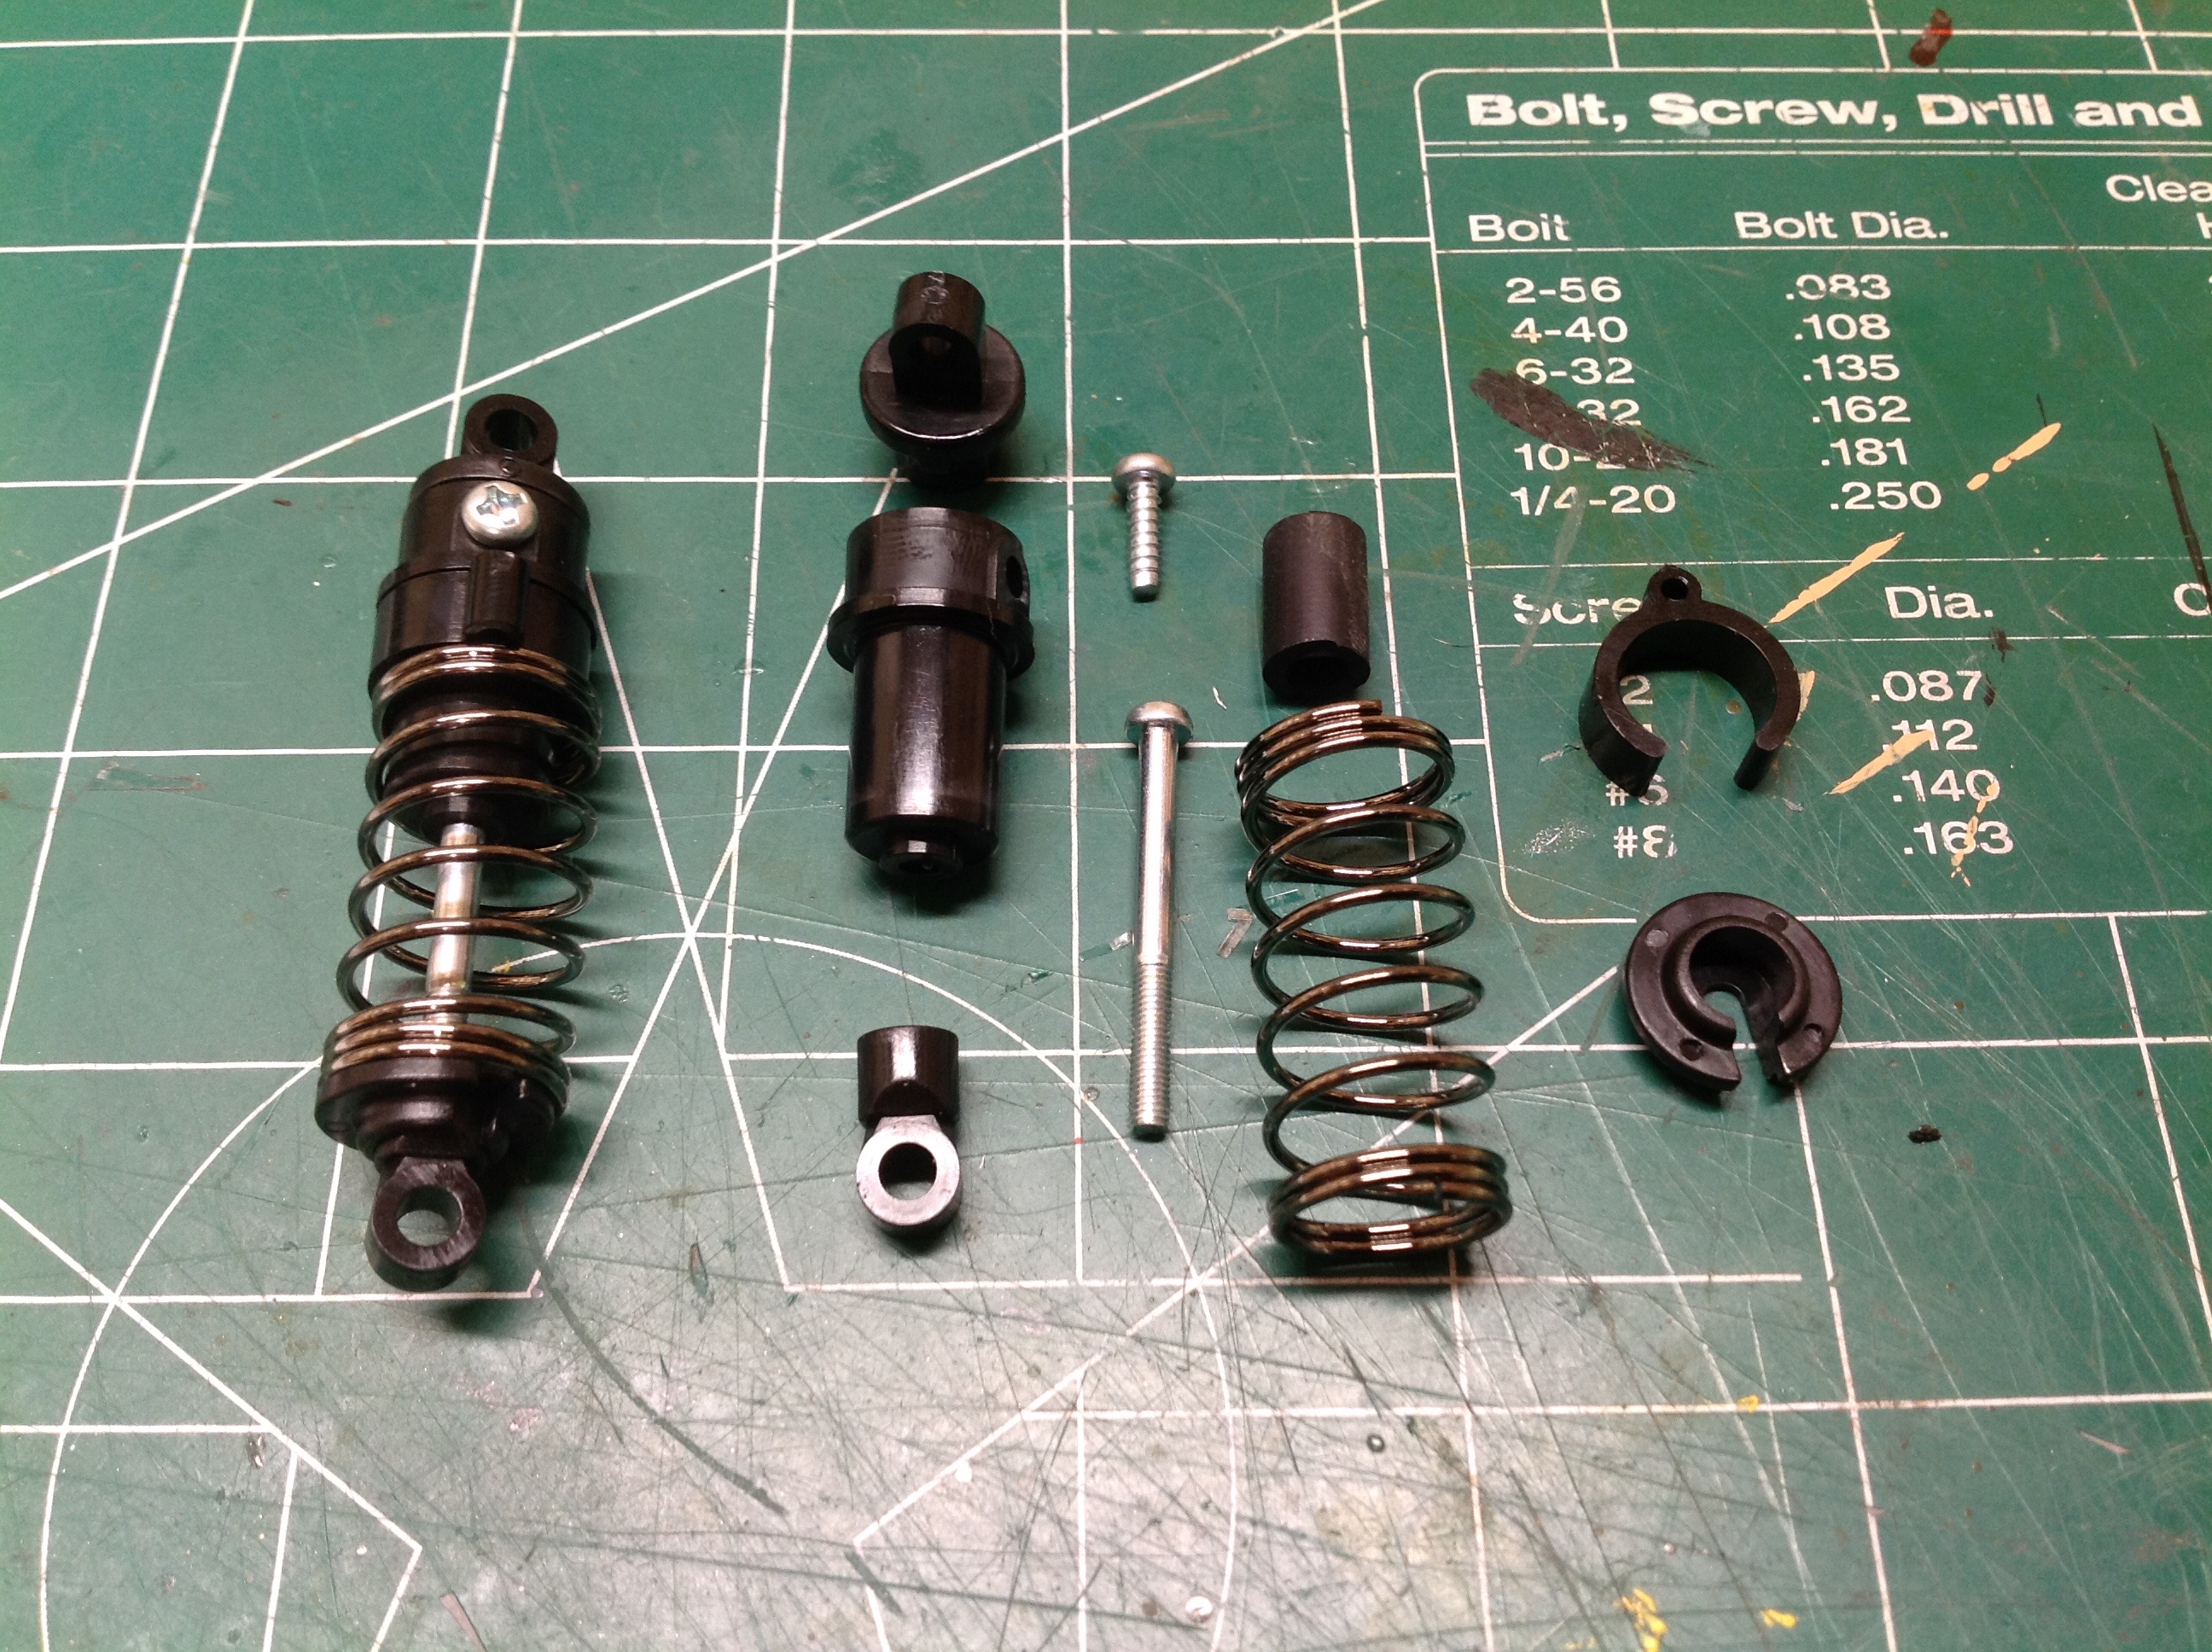
The rear suspension arms connect directly to the gearbox as does the
wheelie bar as shown. The shocks are "friction damper" type, which
I hate, but at least they are not the worst kind. The rubber
sleeve shown just above the spring does actually provide a small amount
of friction and therefore some damping.

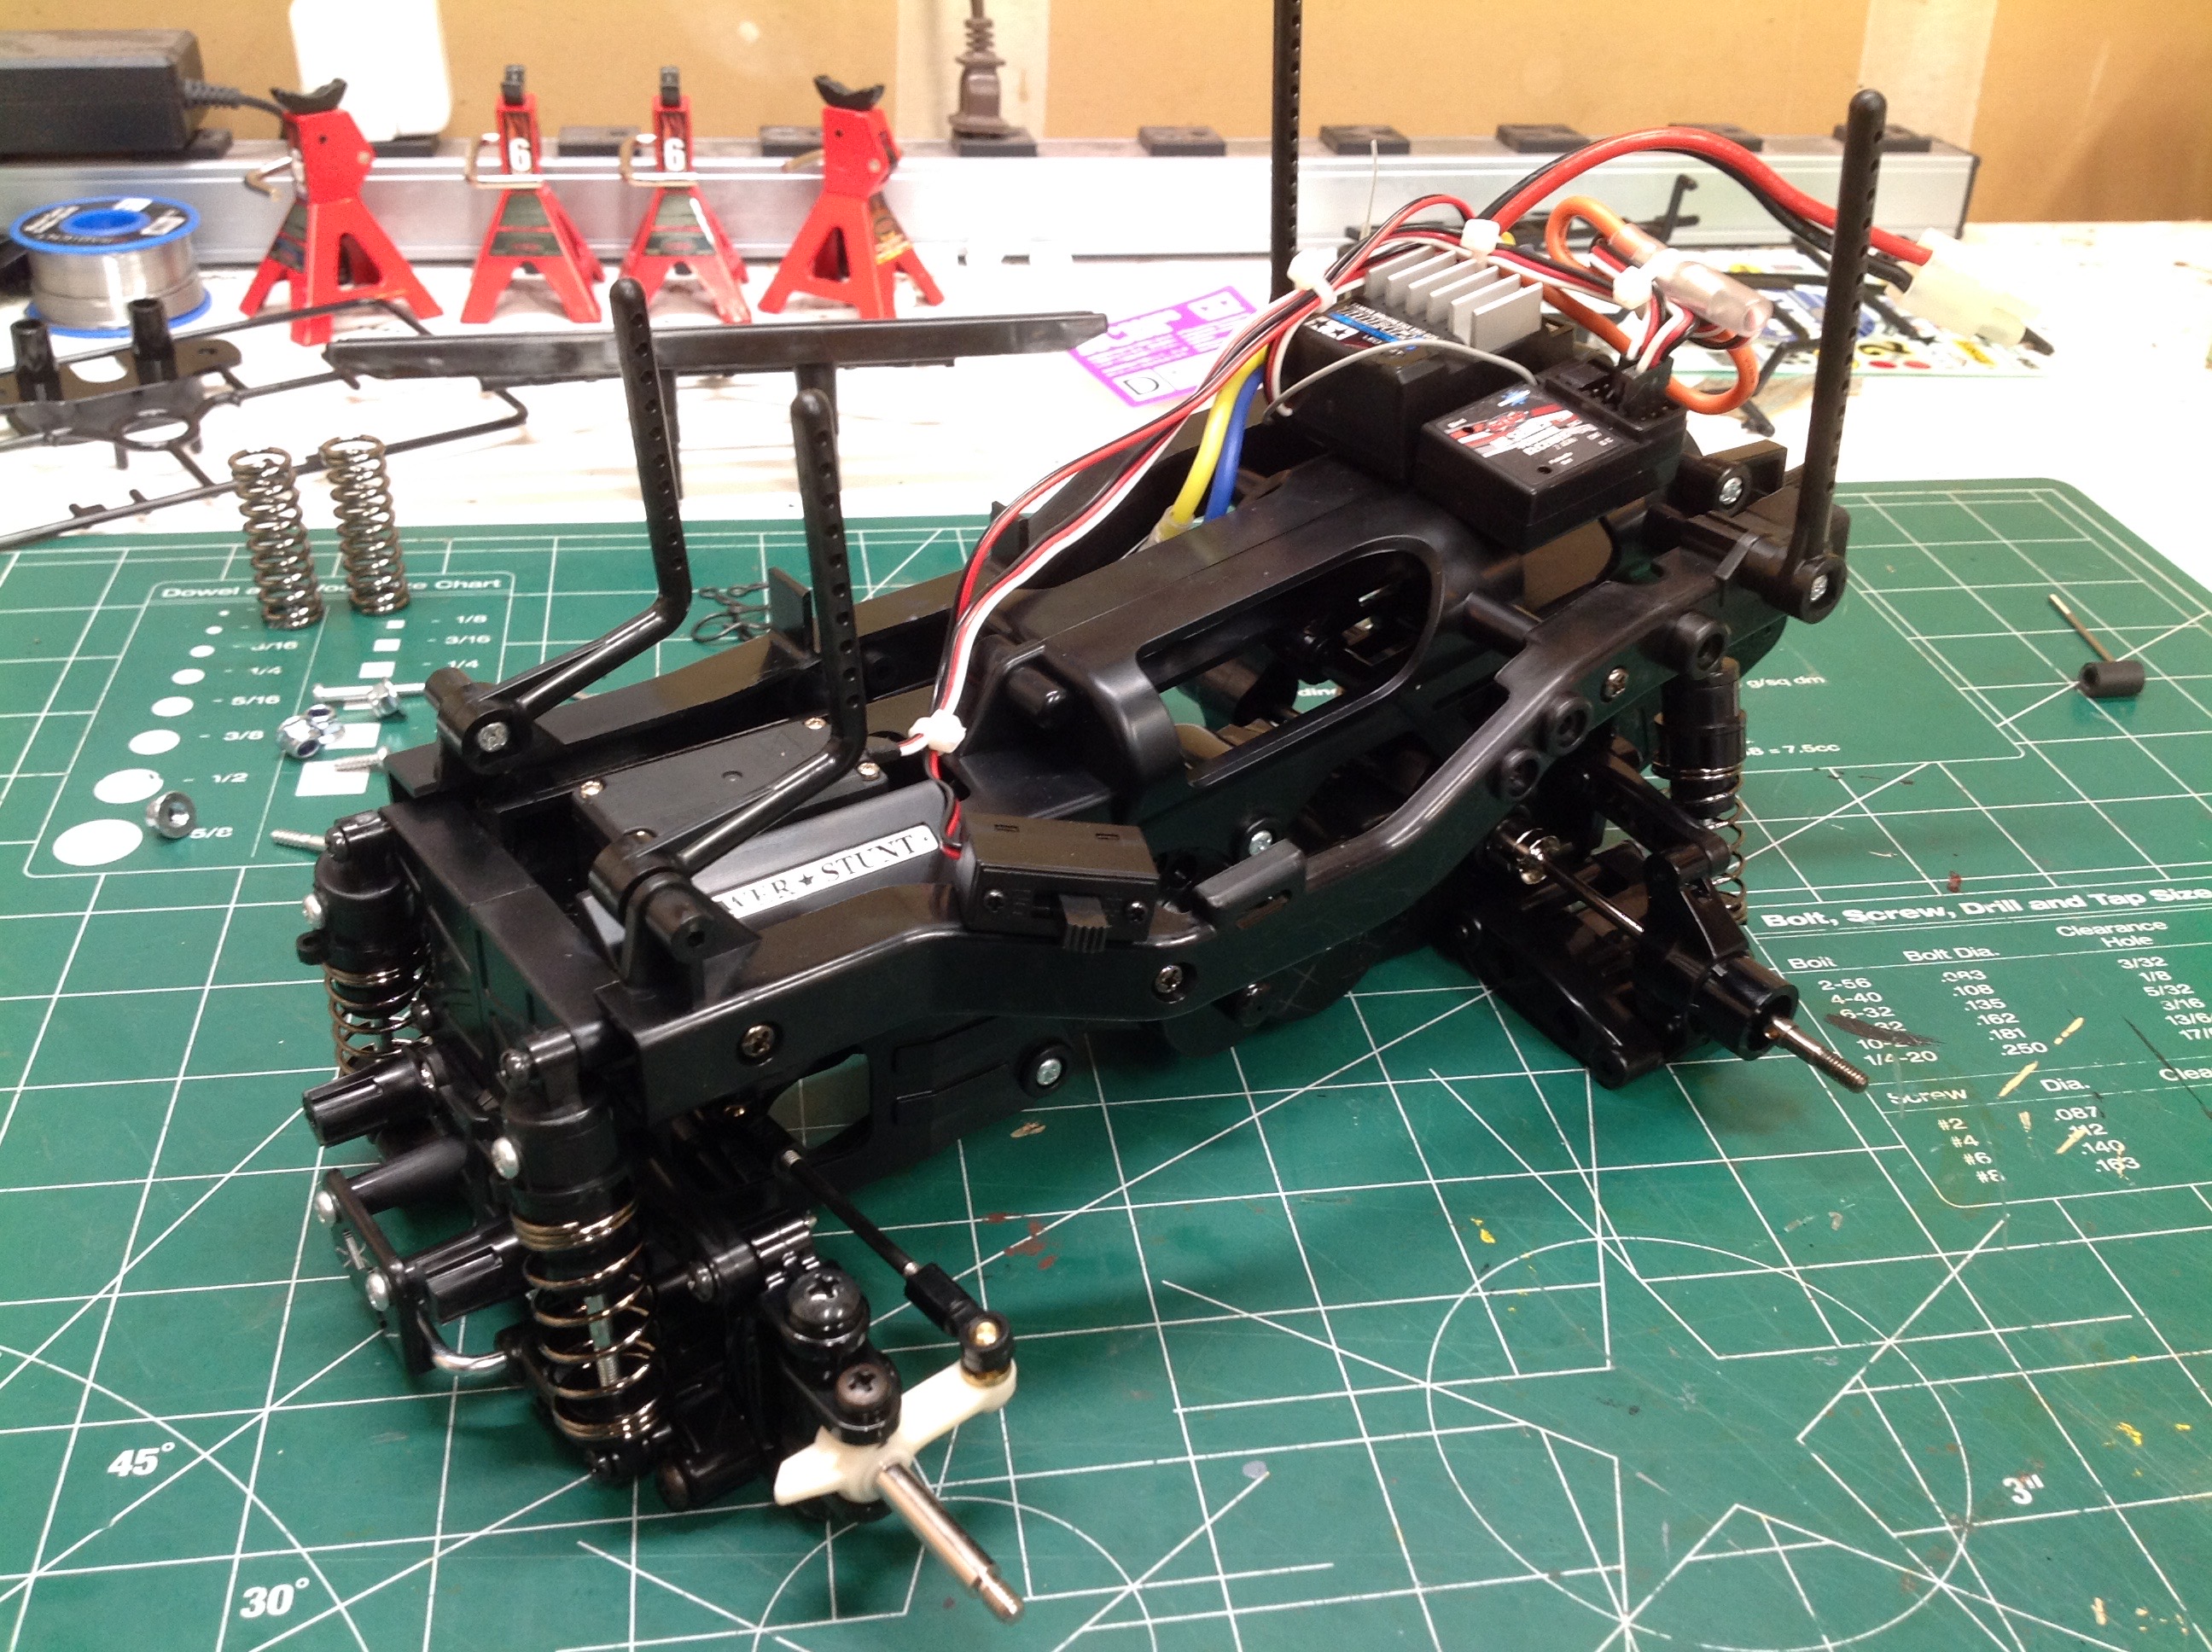
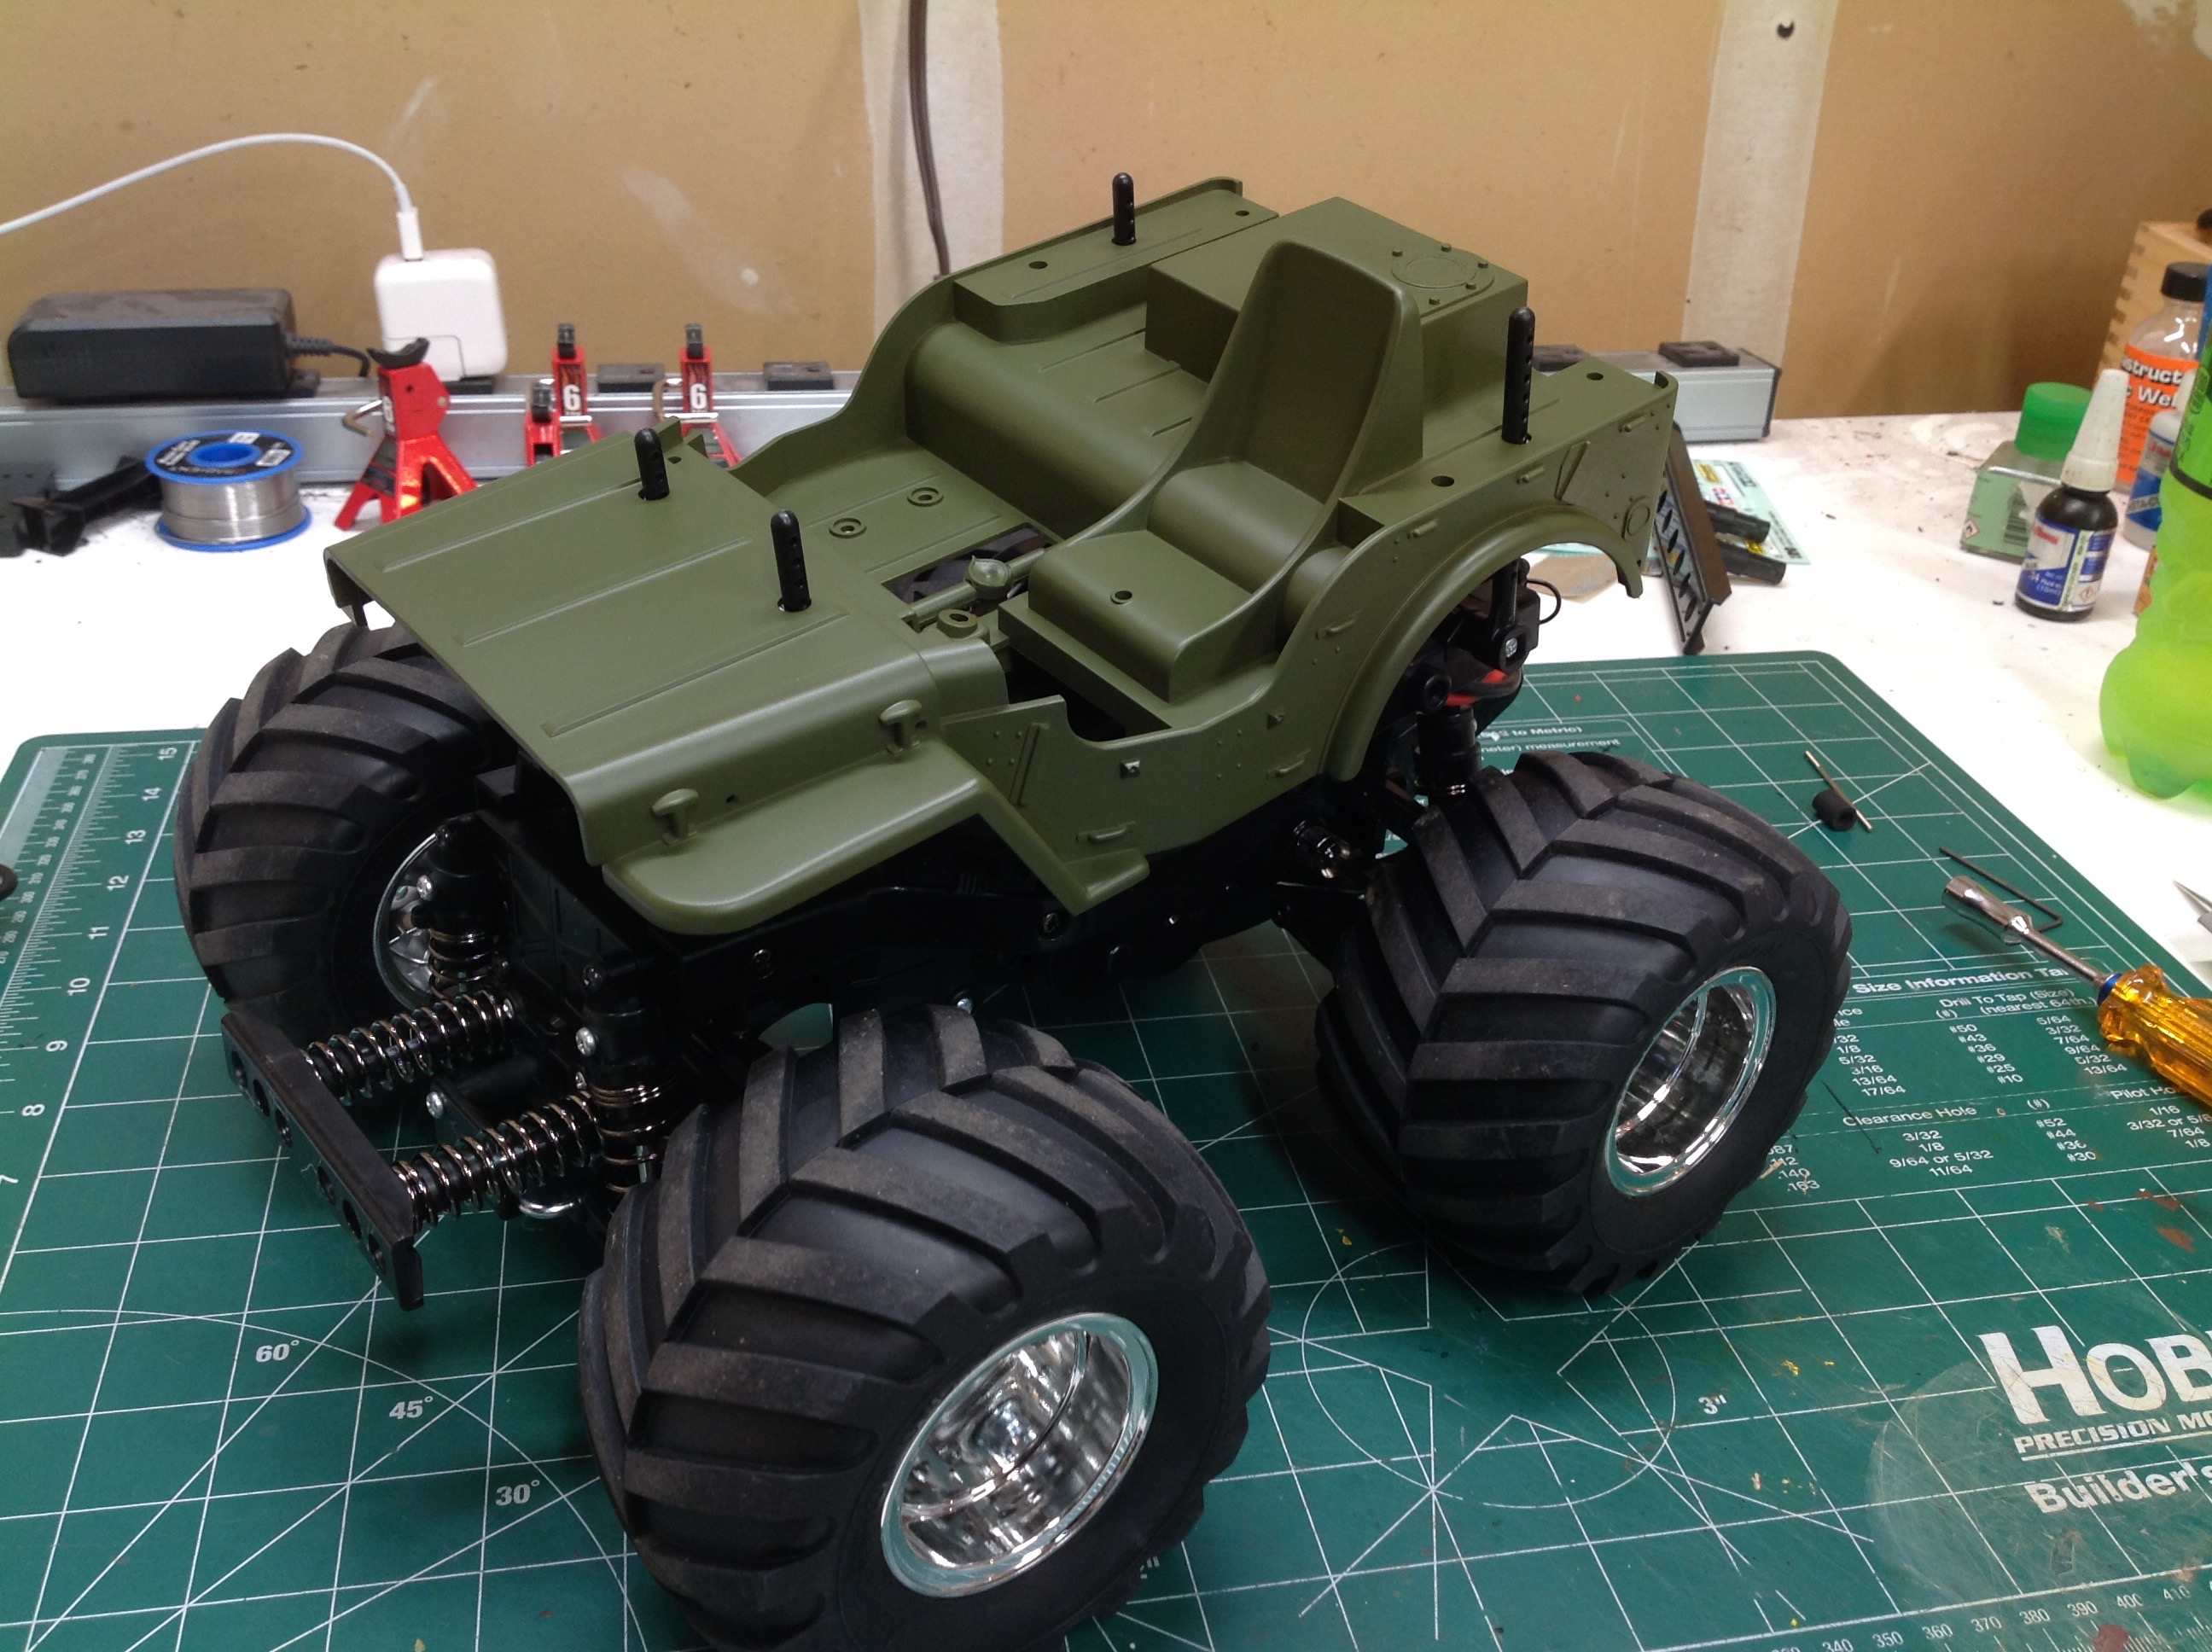
Once we connect the rear gearbox (which as you recall was
pre-assembled) to the frame, the model is pretty much done! That
was fast. All we need to do is install the electronics which sit
on the rear. The battery inserts into a slot in the back.
The rear, high center of gravity helps with initiating a wheelie.
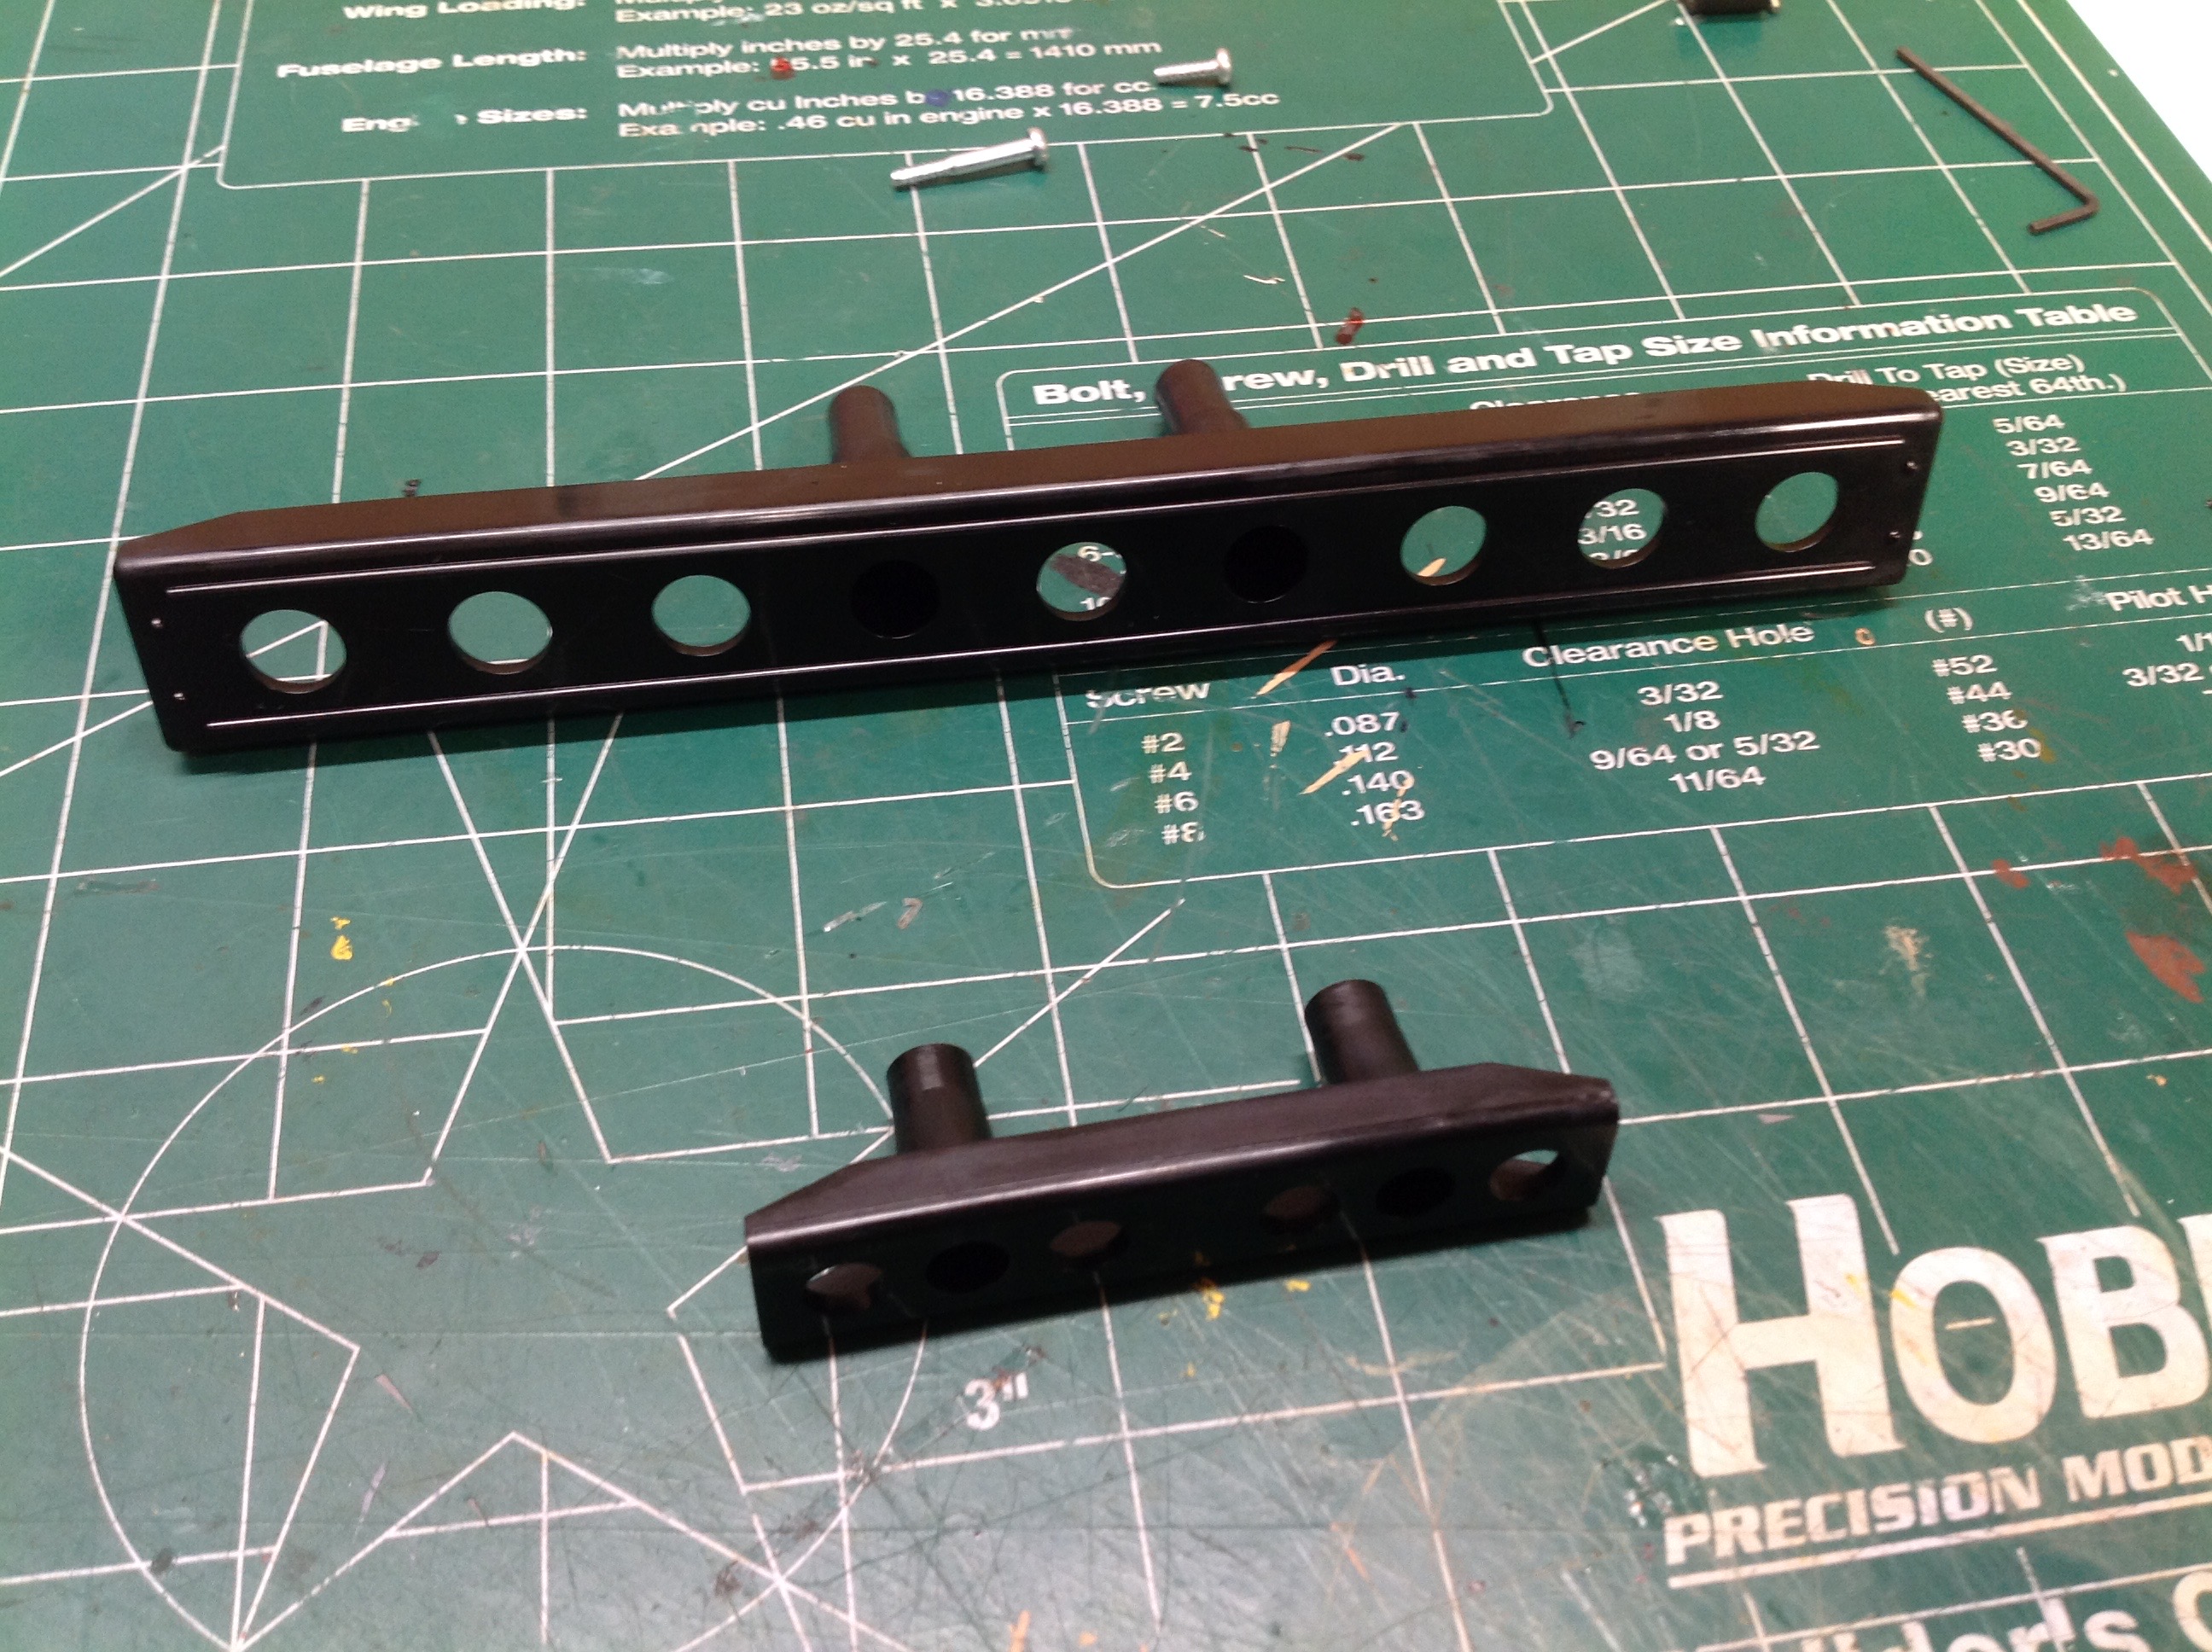
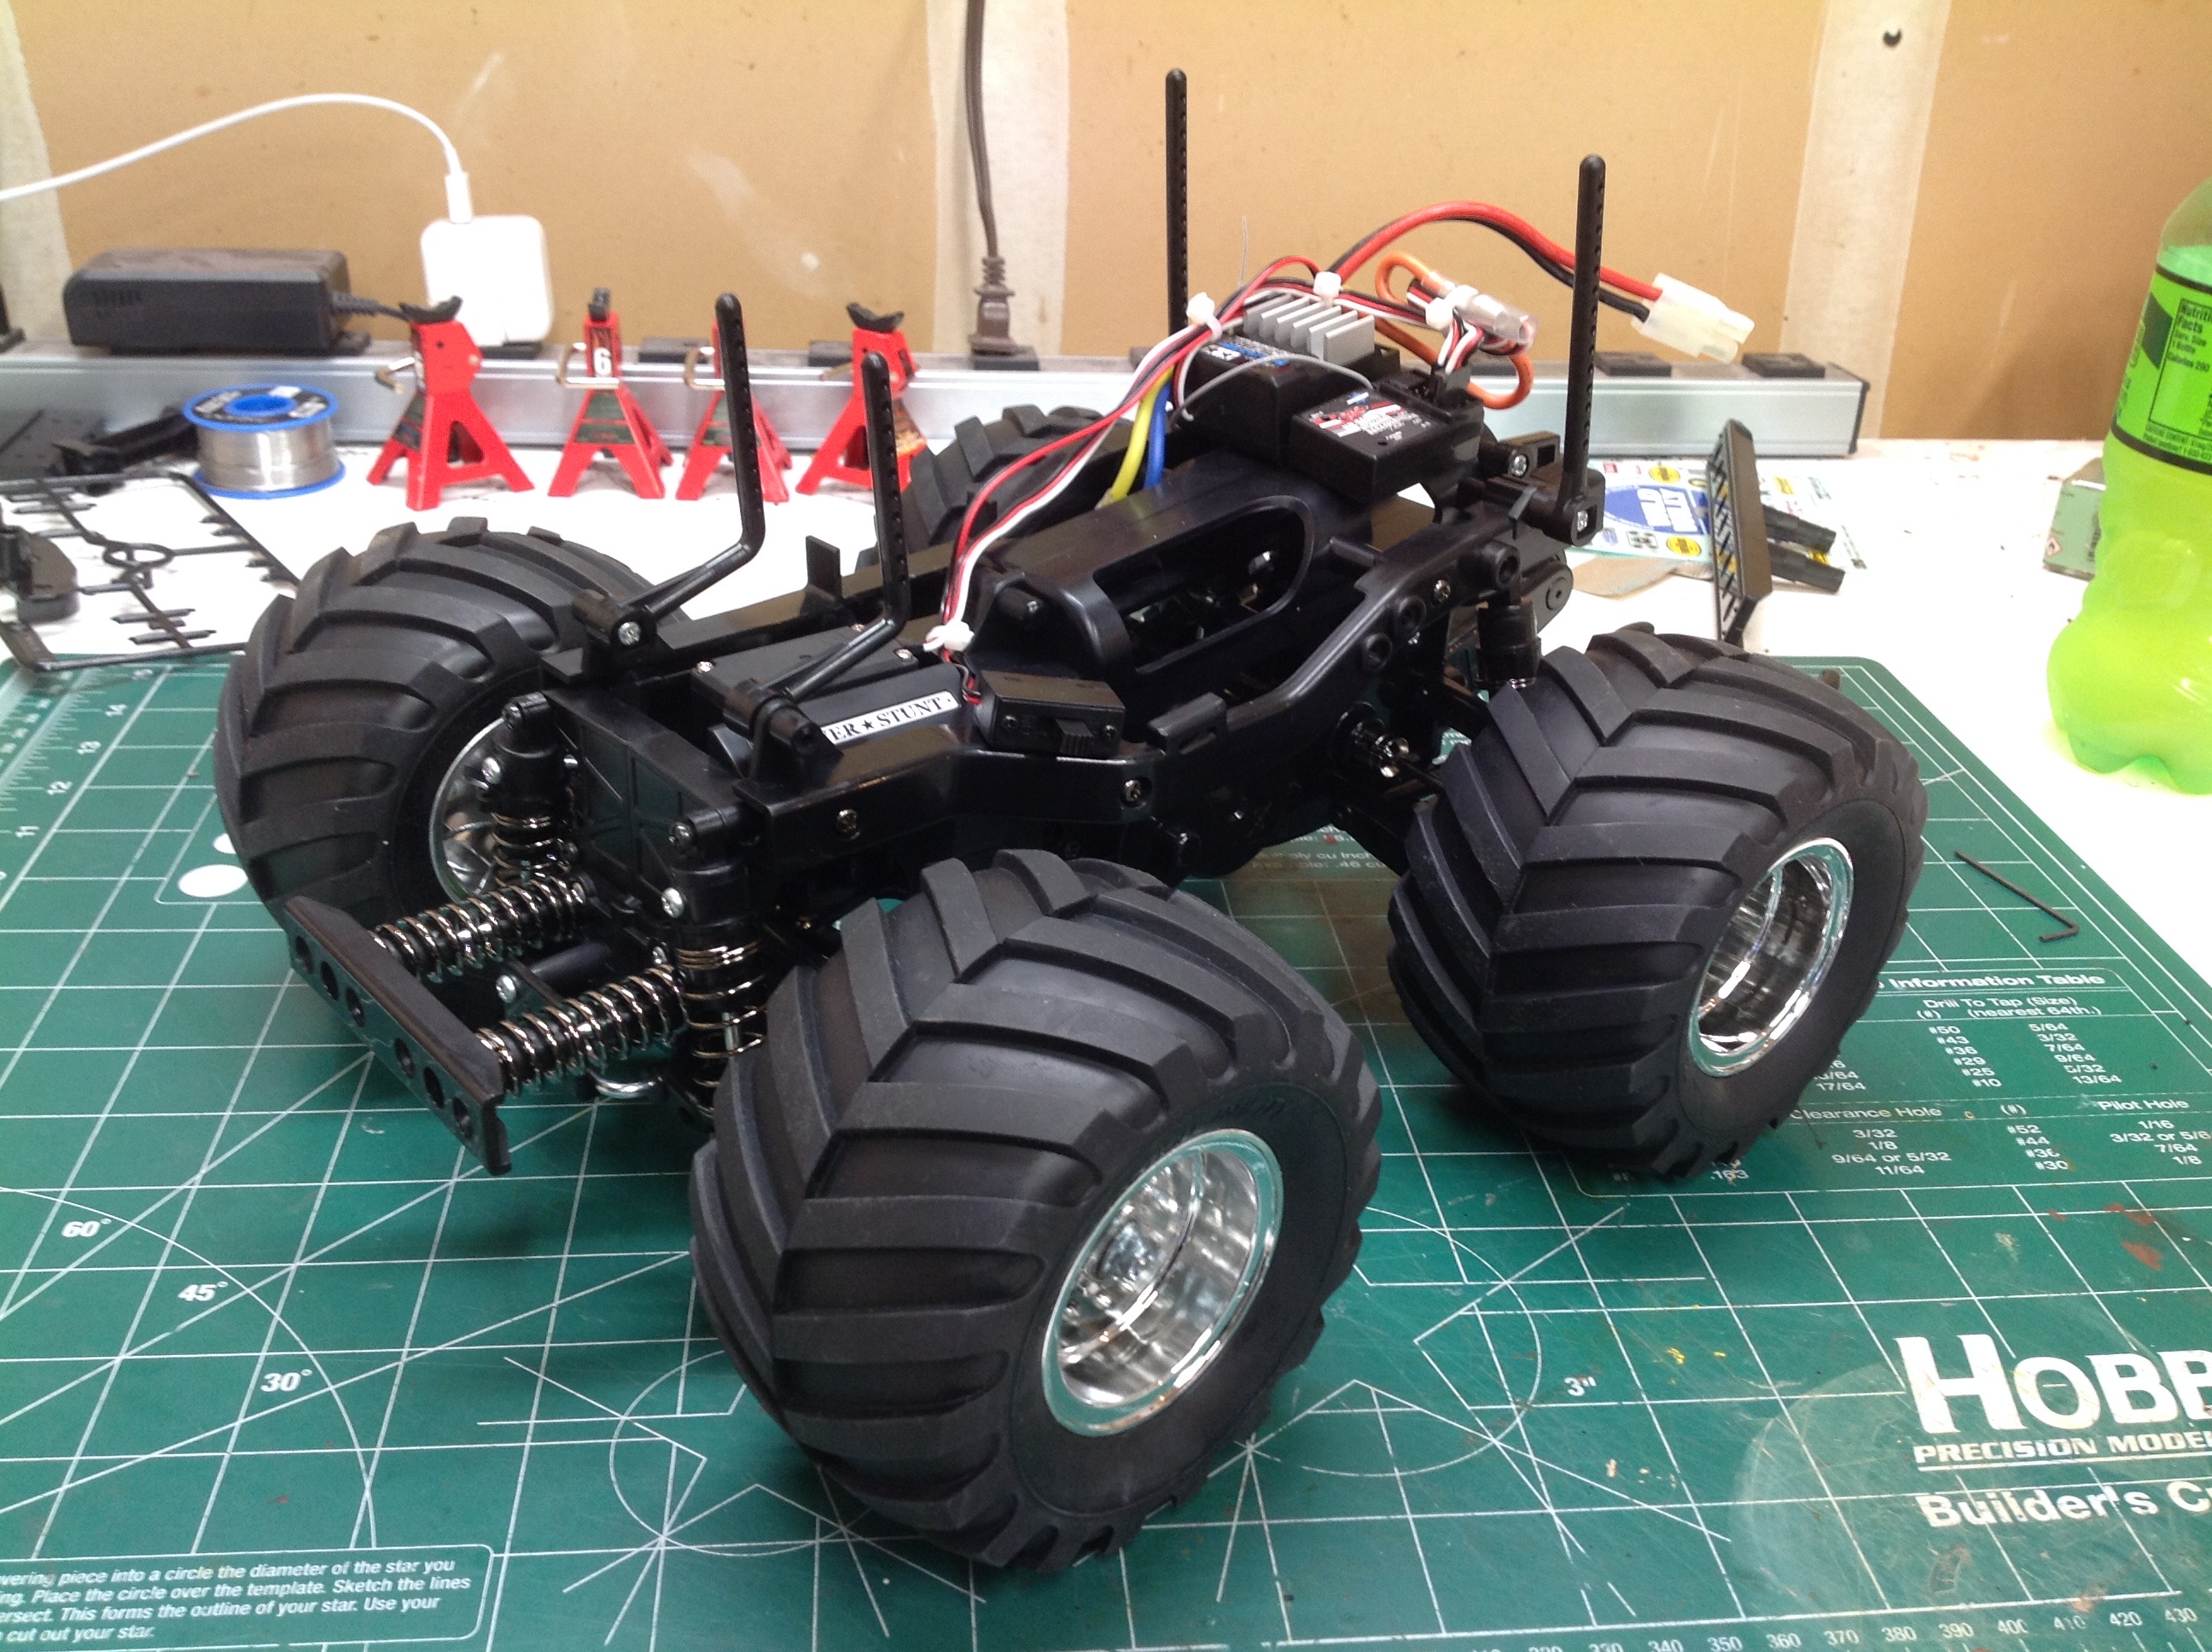
The kit comes with two bumper options: large and small. The
large provides protection to the tires while the small only protects the
body. I found the small bumper to detract much less from the
overall appearance so I used that. The balloon tires are same size
as those used on the Lunchbox, Monster Beetle, Konghead, and other
models. Because the wheelbase is so short the footprint is almost
square.
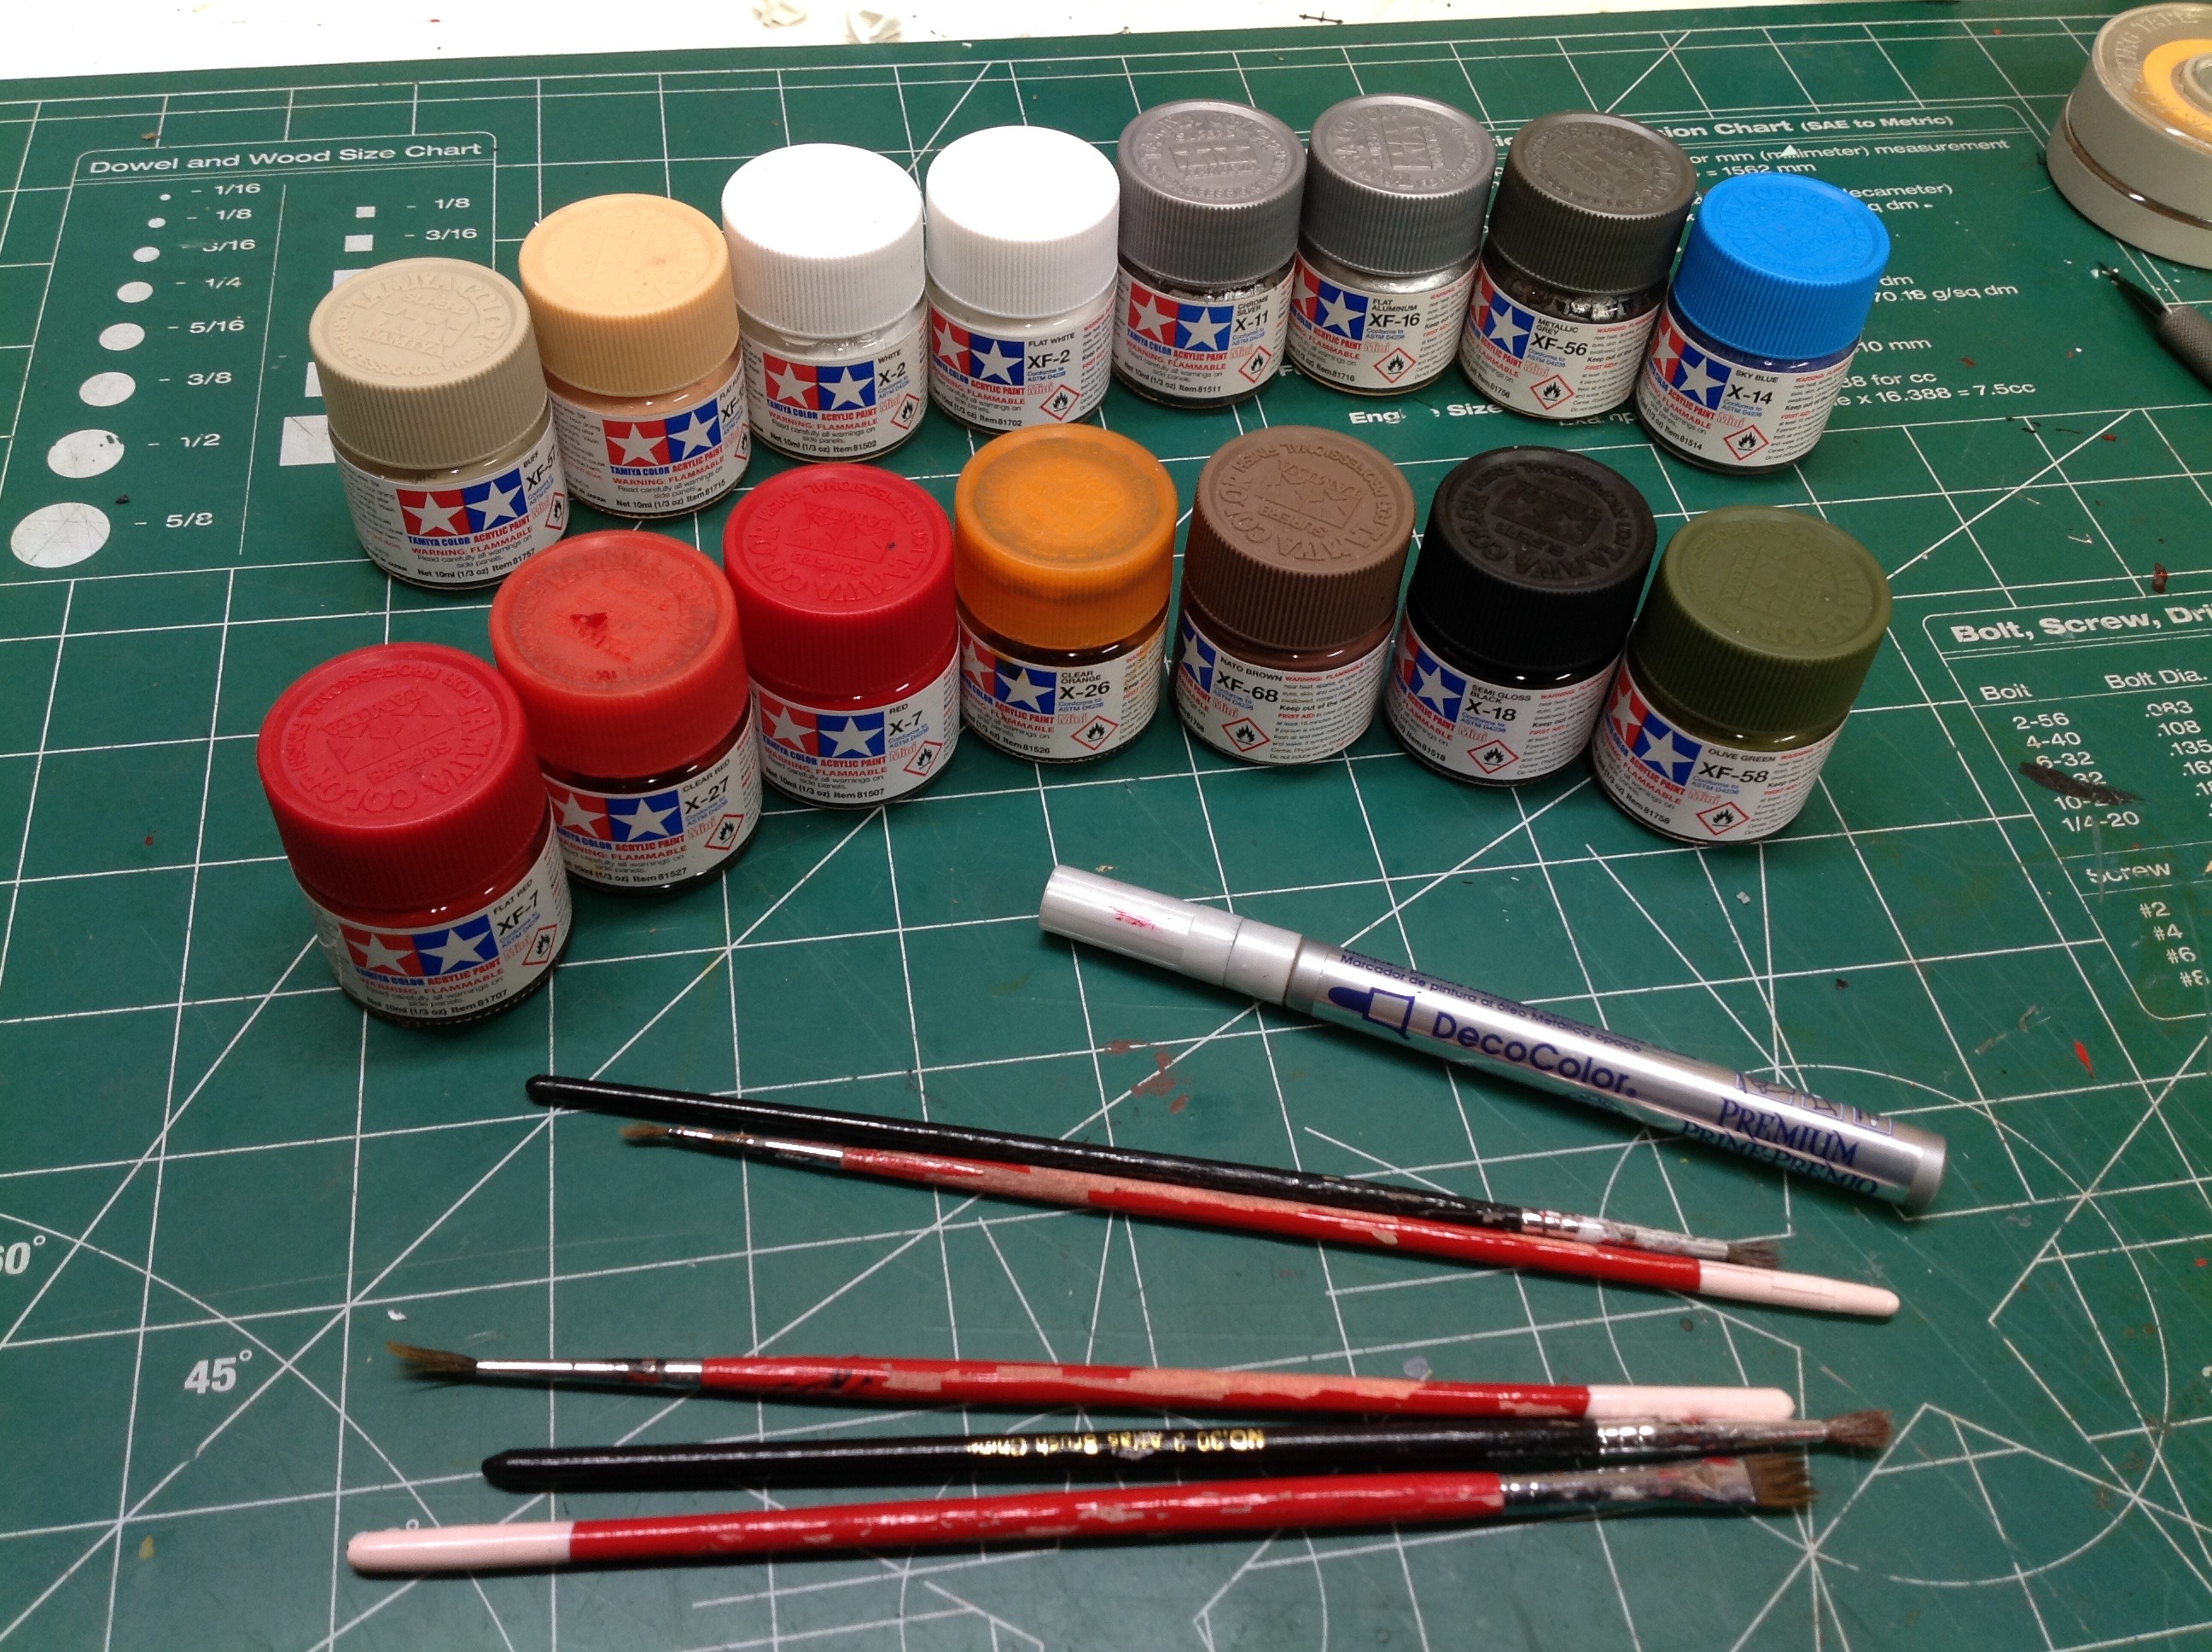
I was under the impression that this body would be dirt simple to
paint because it is just all olive green, right? Wrong. In
fact I needed all the colors shown. Many were used on the driver,
but among the other items which need paint are the fire extinguisher,
the nitrous bottle, the roll cage, the dashboard, the light lenses, the
fuel cell, the seat, and the spare tire.
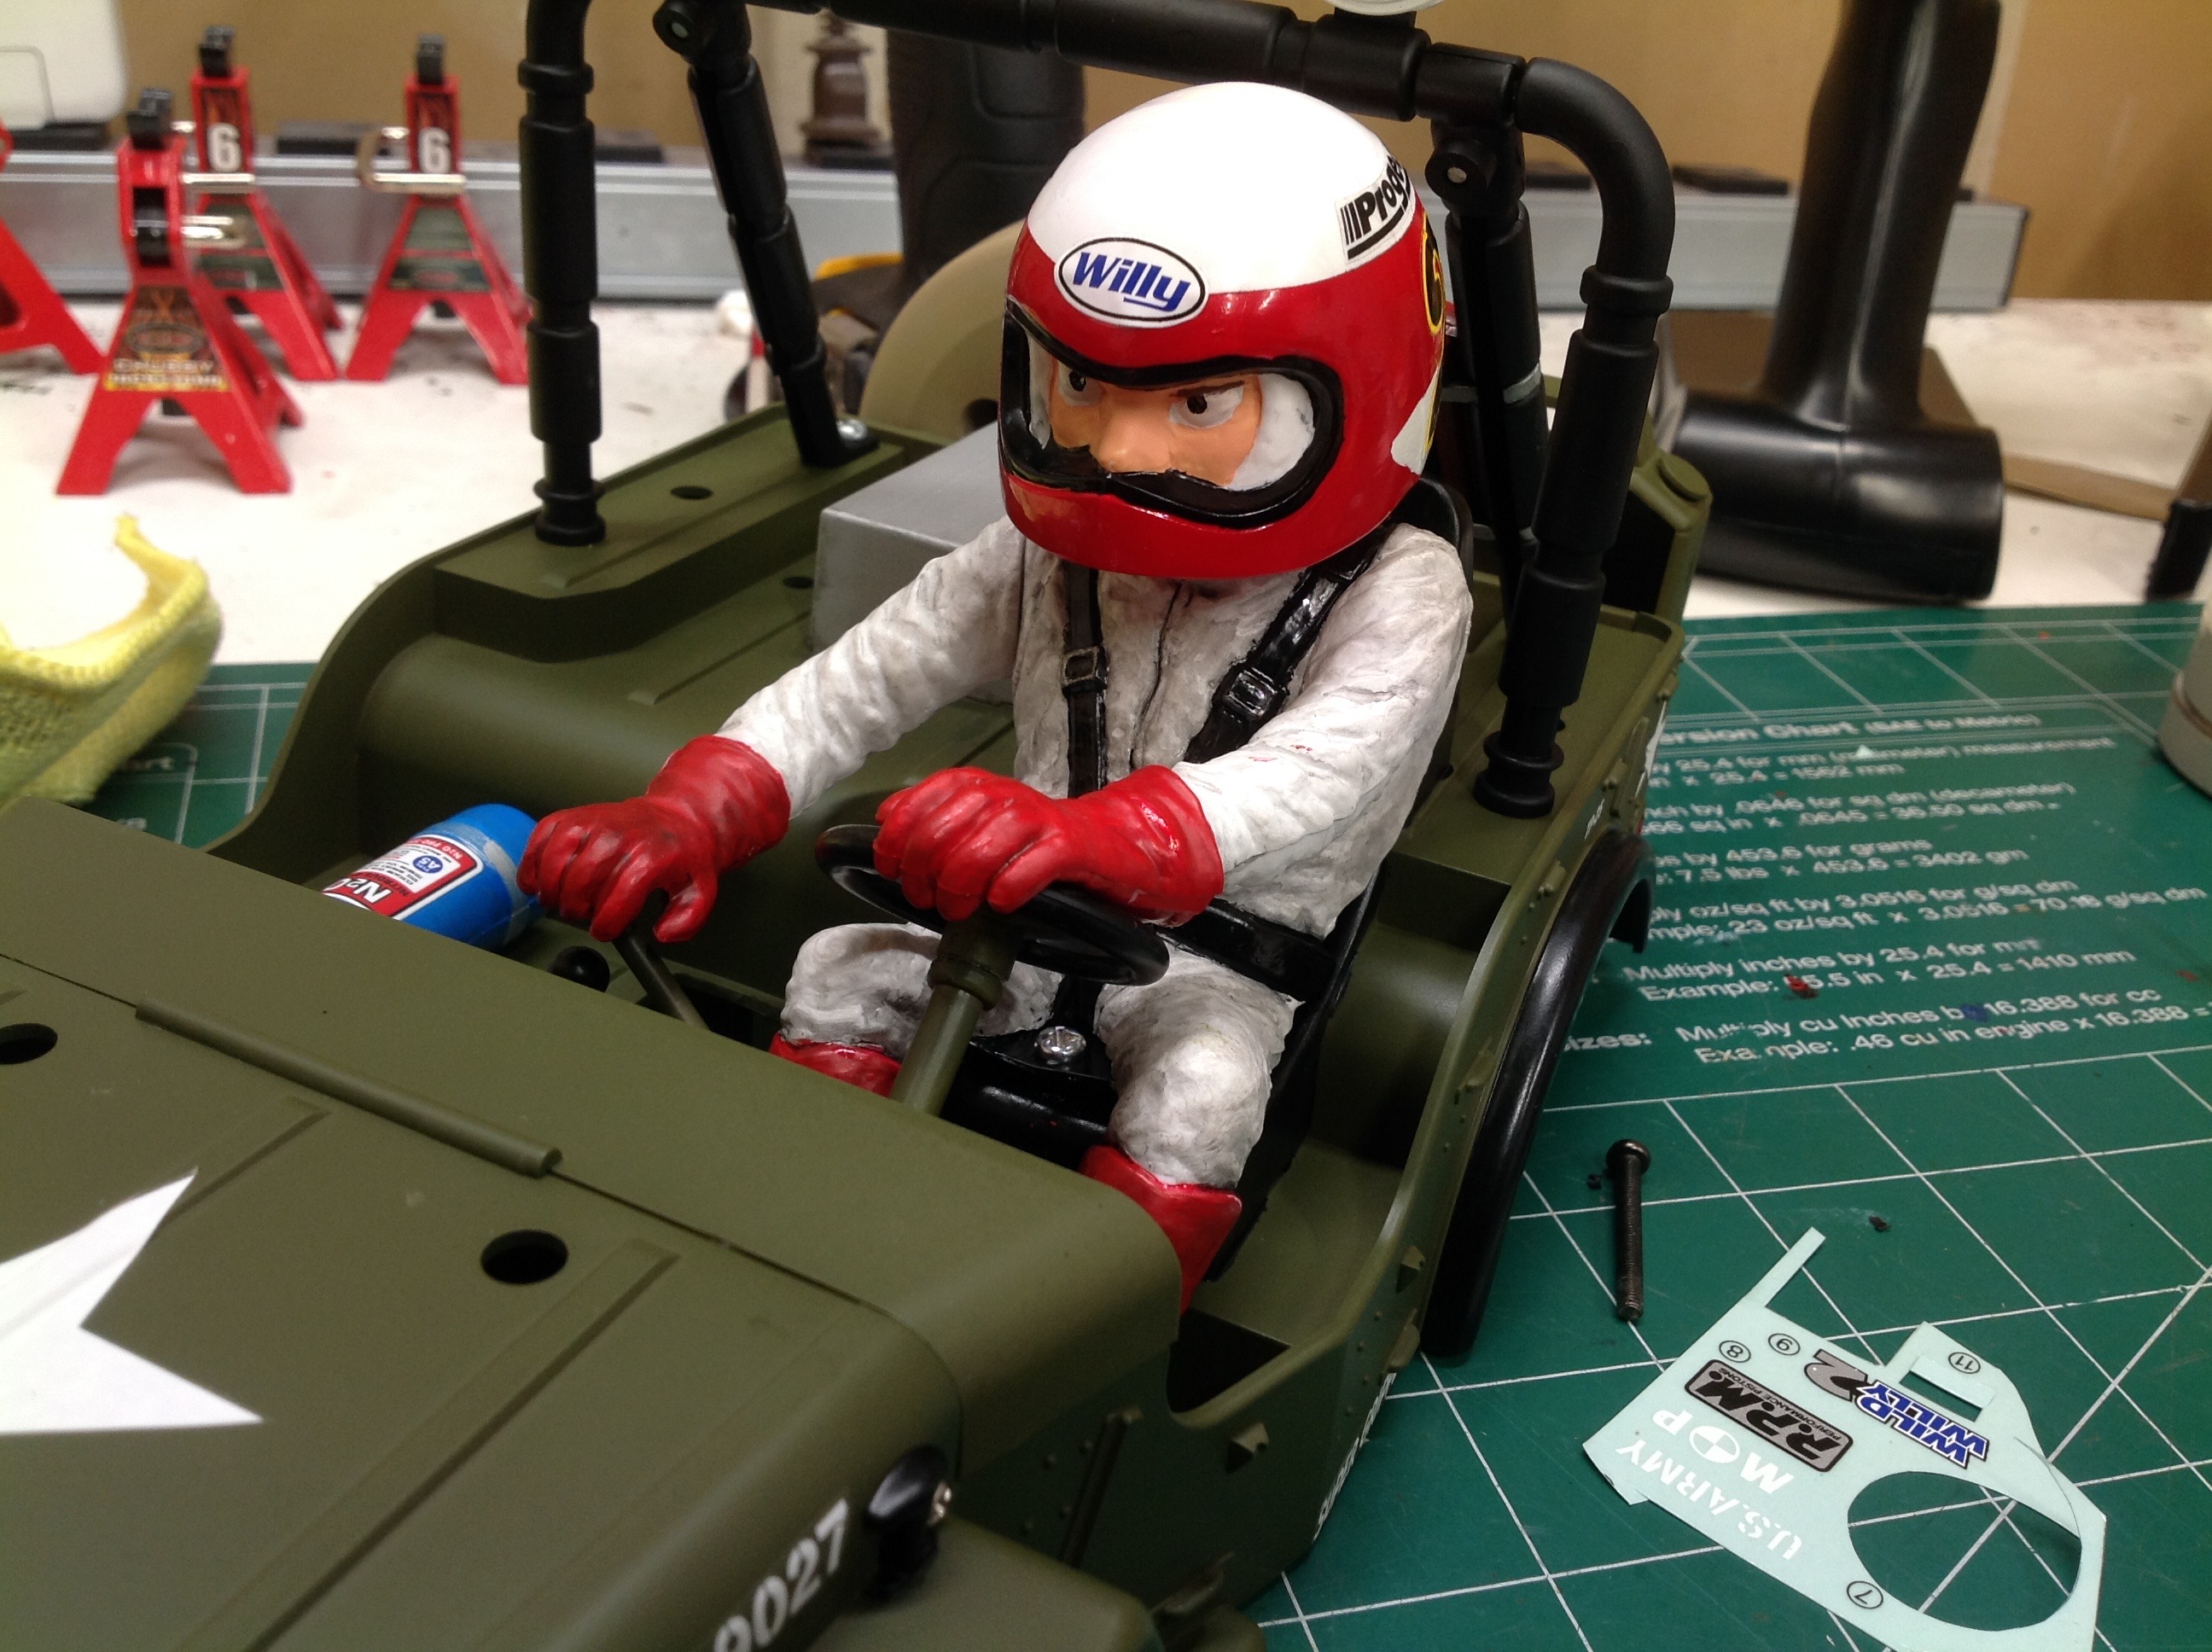
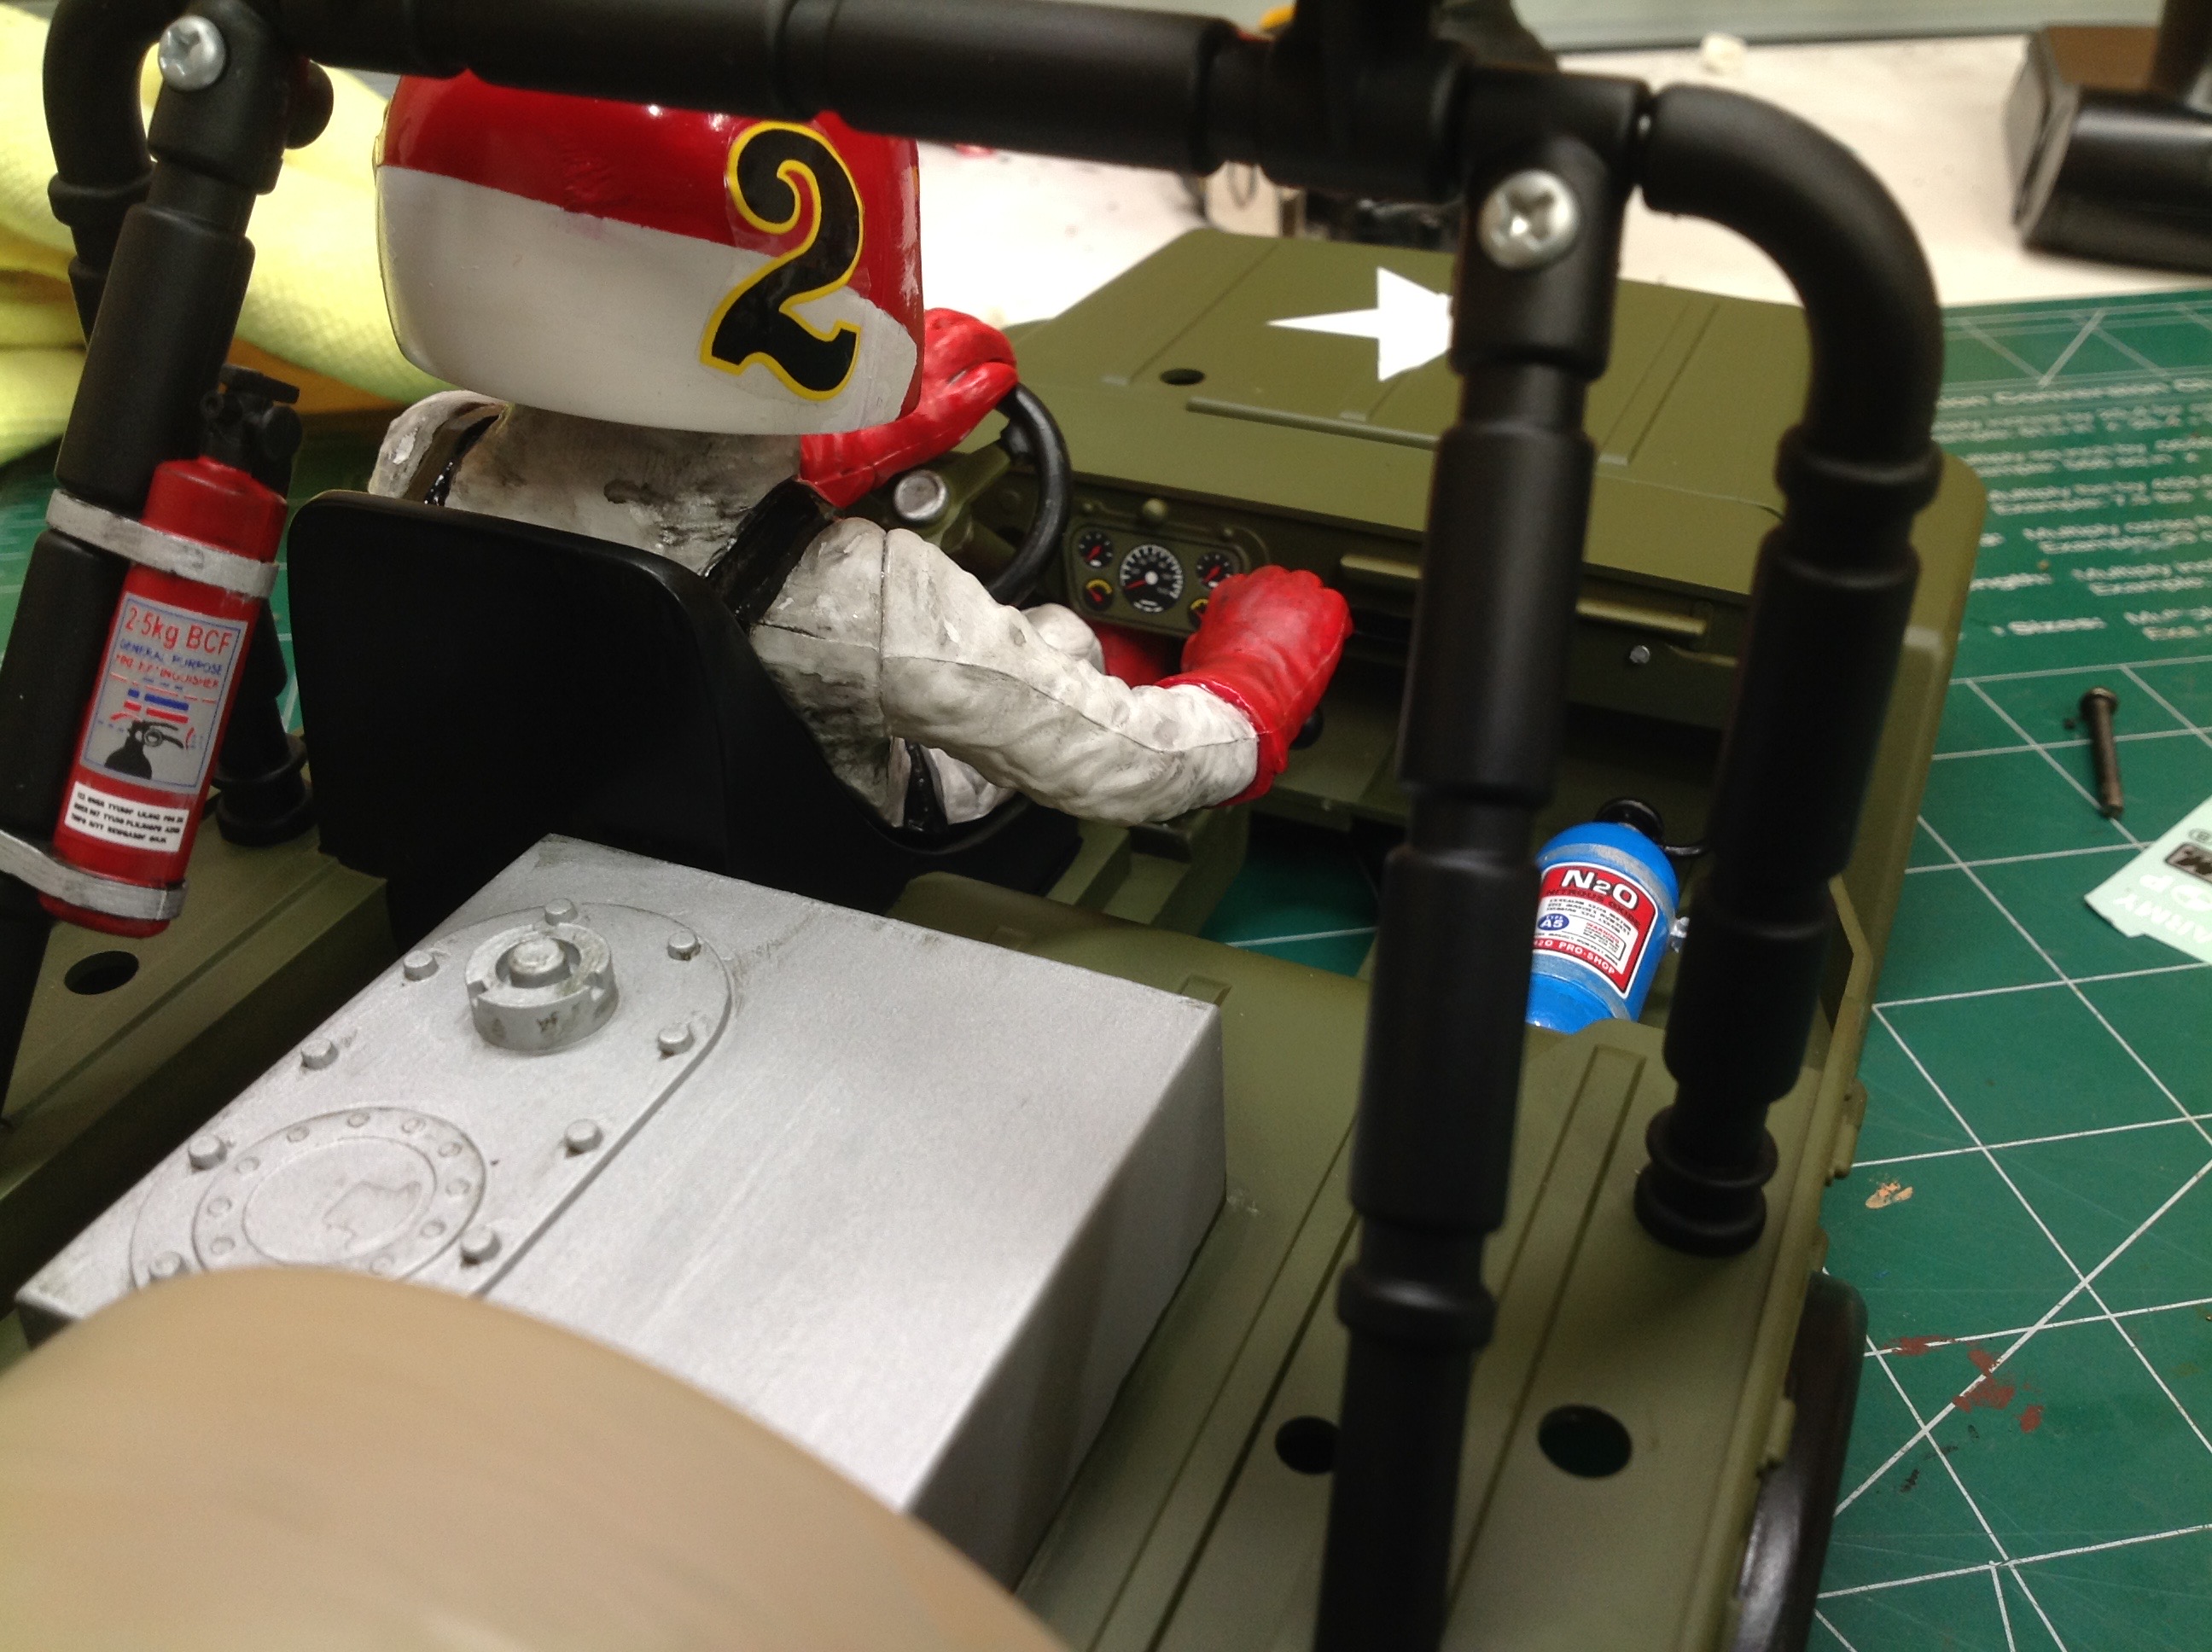
Here's a close-up of Willy with his huge head. I love the way
he is posed perfectly for the vehicle with his feet on the pedals, a
hand on the wheel, and another on the shift lever. The pattern on
his helmet was tricky to mask and paint. In these pictures you can
also clearly see the N2O bottle and the fire extinguisher. I used a black wash to bring out the oil detail on Willy's jumpsuit.