Page 2: Painting the Body
I knew that there was no way I could hope to produce anything even
vaguely similar to the complex box art paint scheme, but I also didn't
want just a boring single color job either. Since I have no
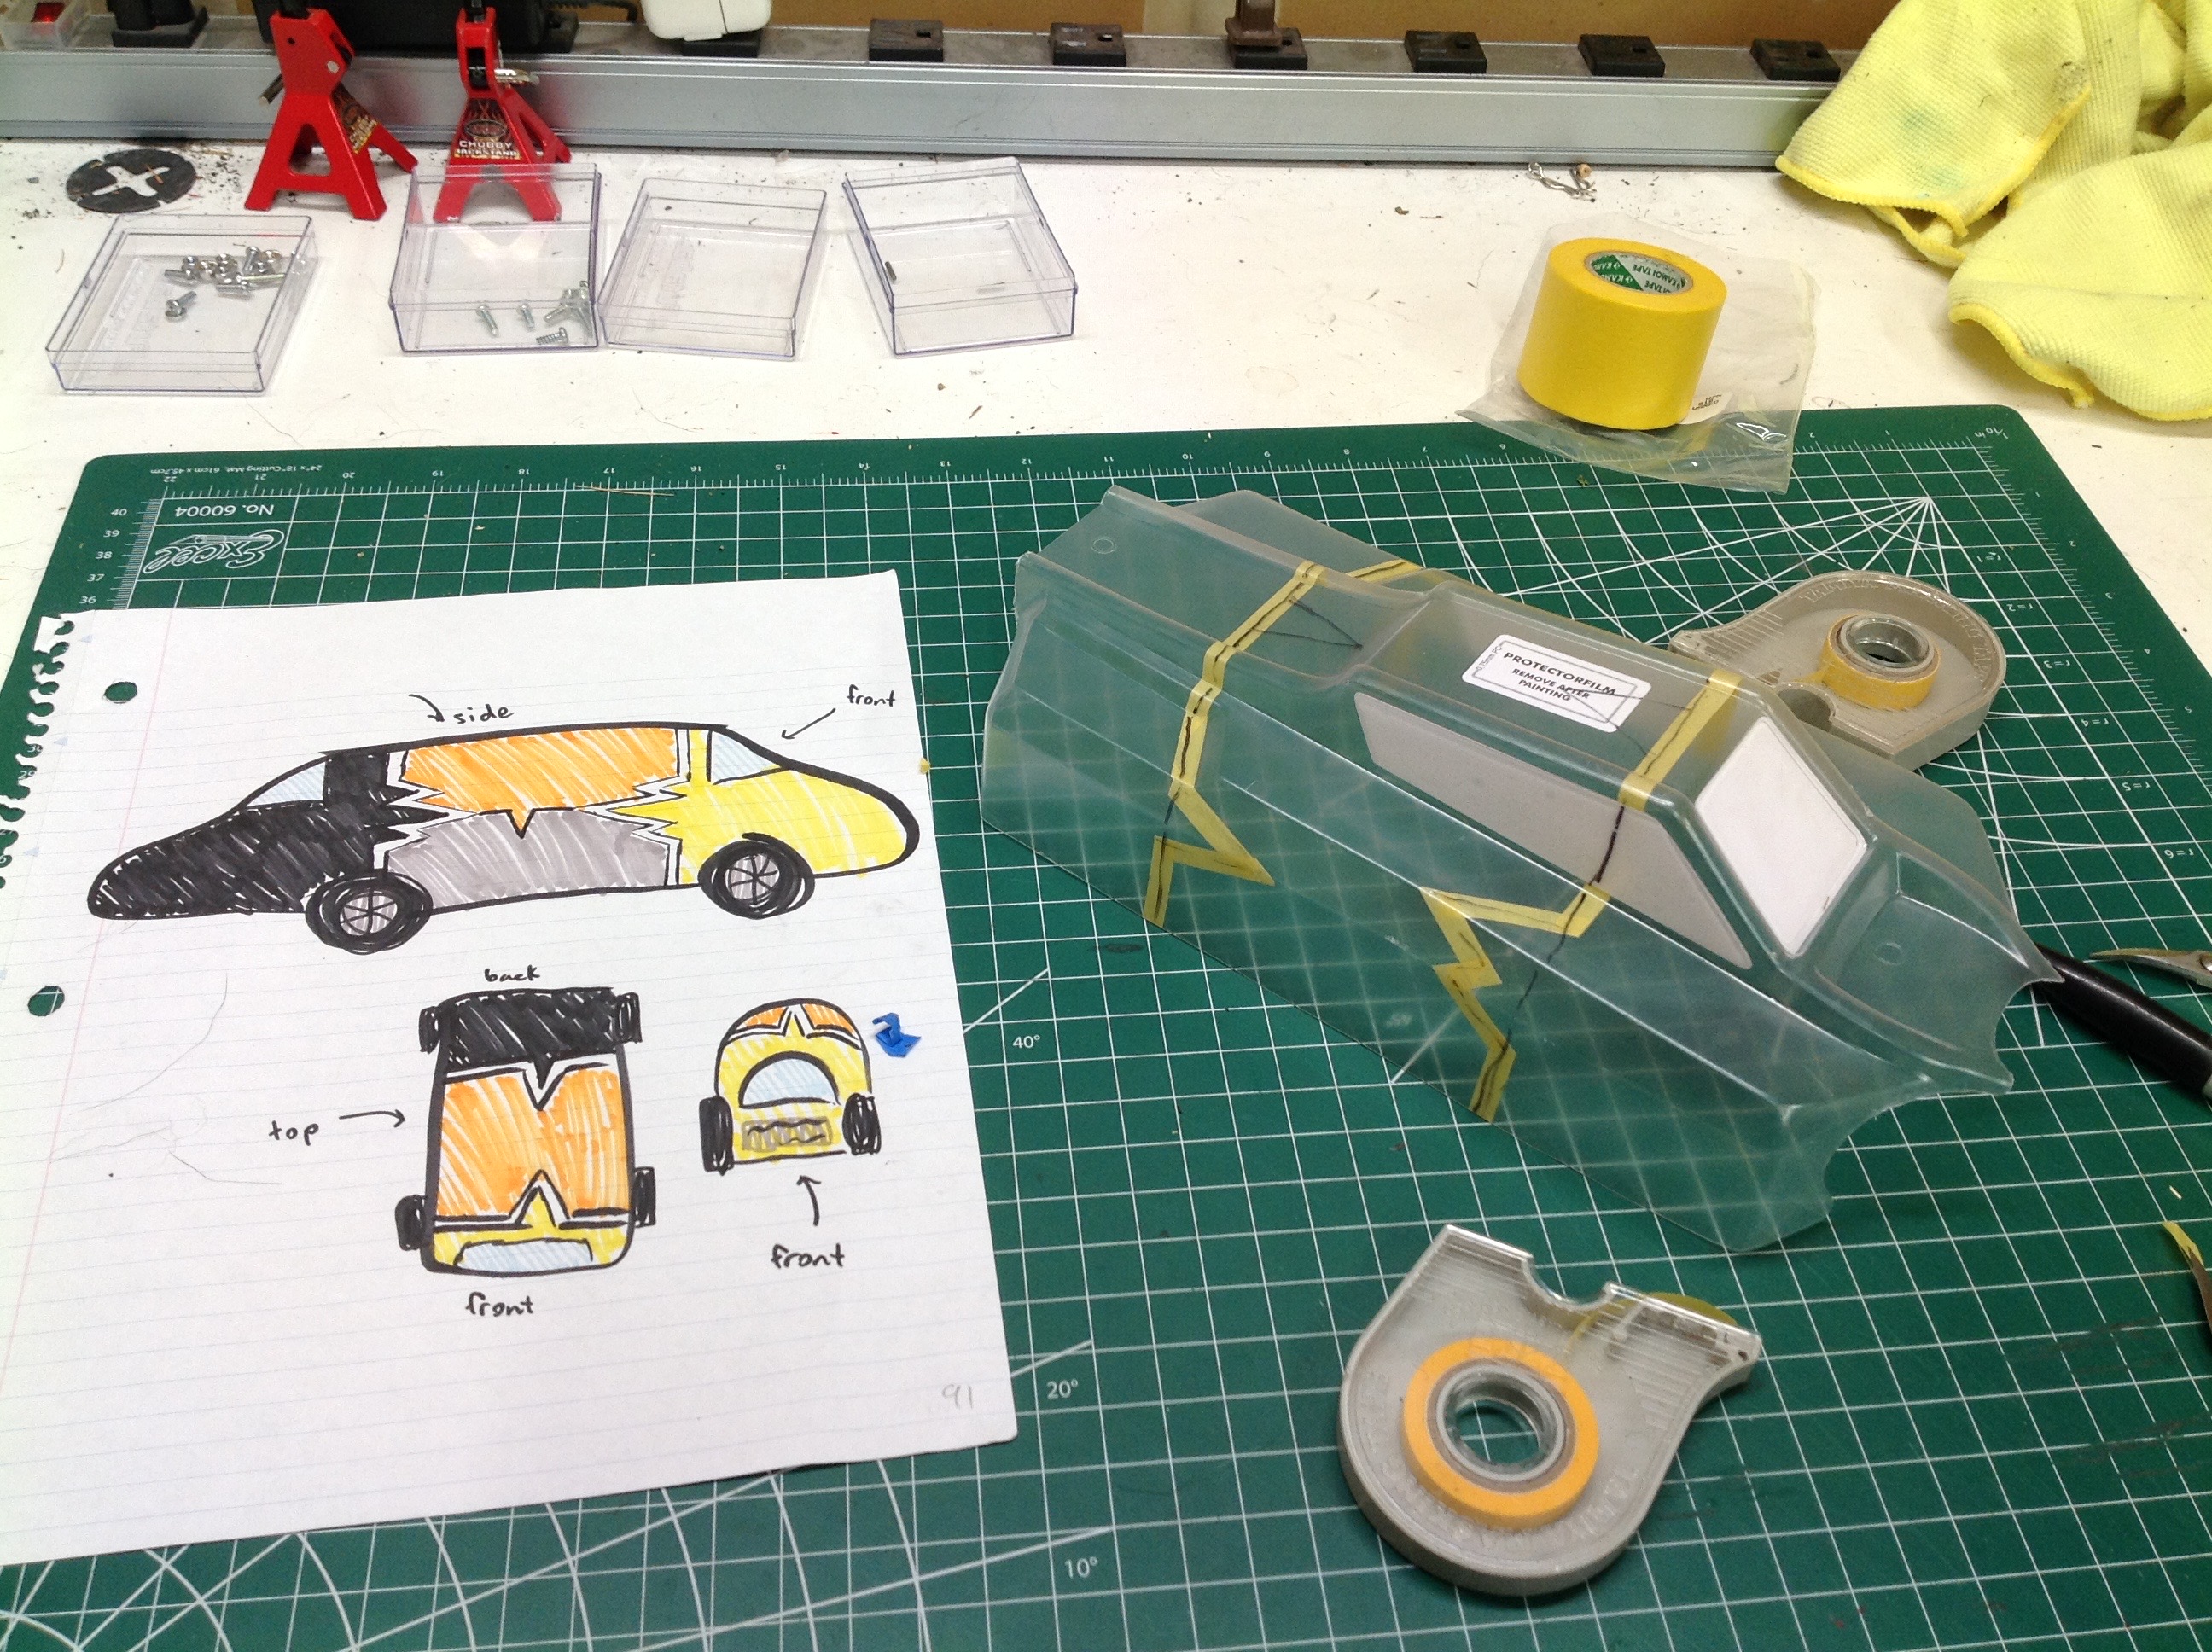
artistic talent, I enlisted the help of my daughter. I showed her
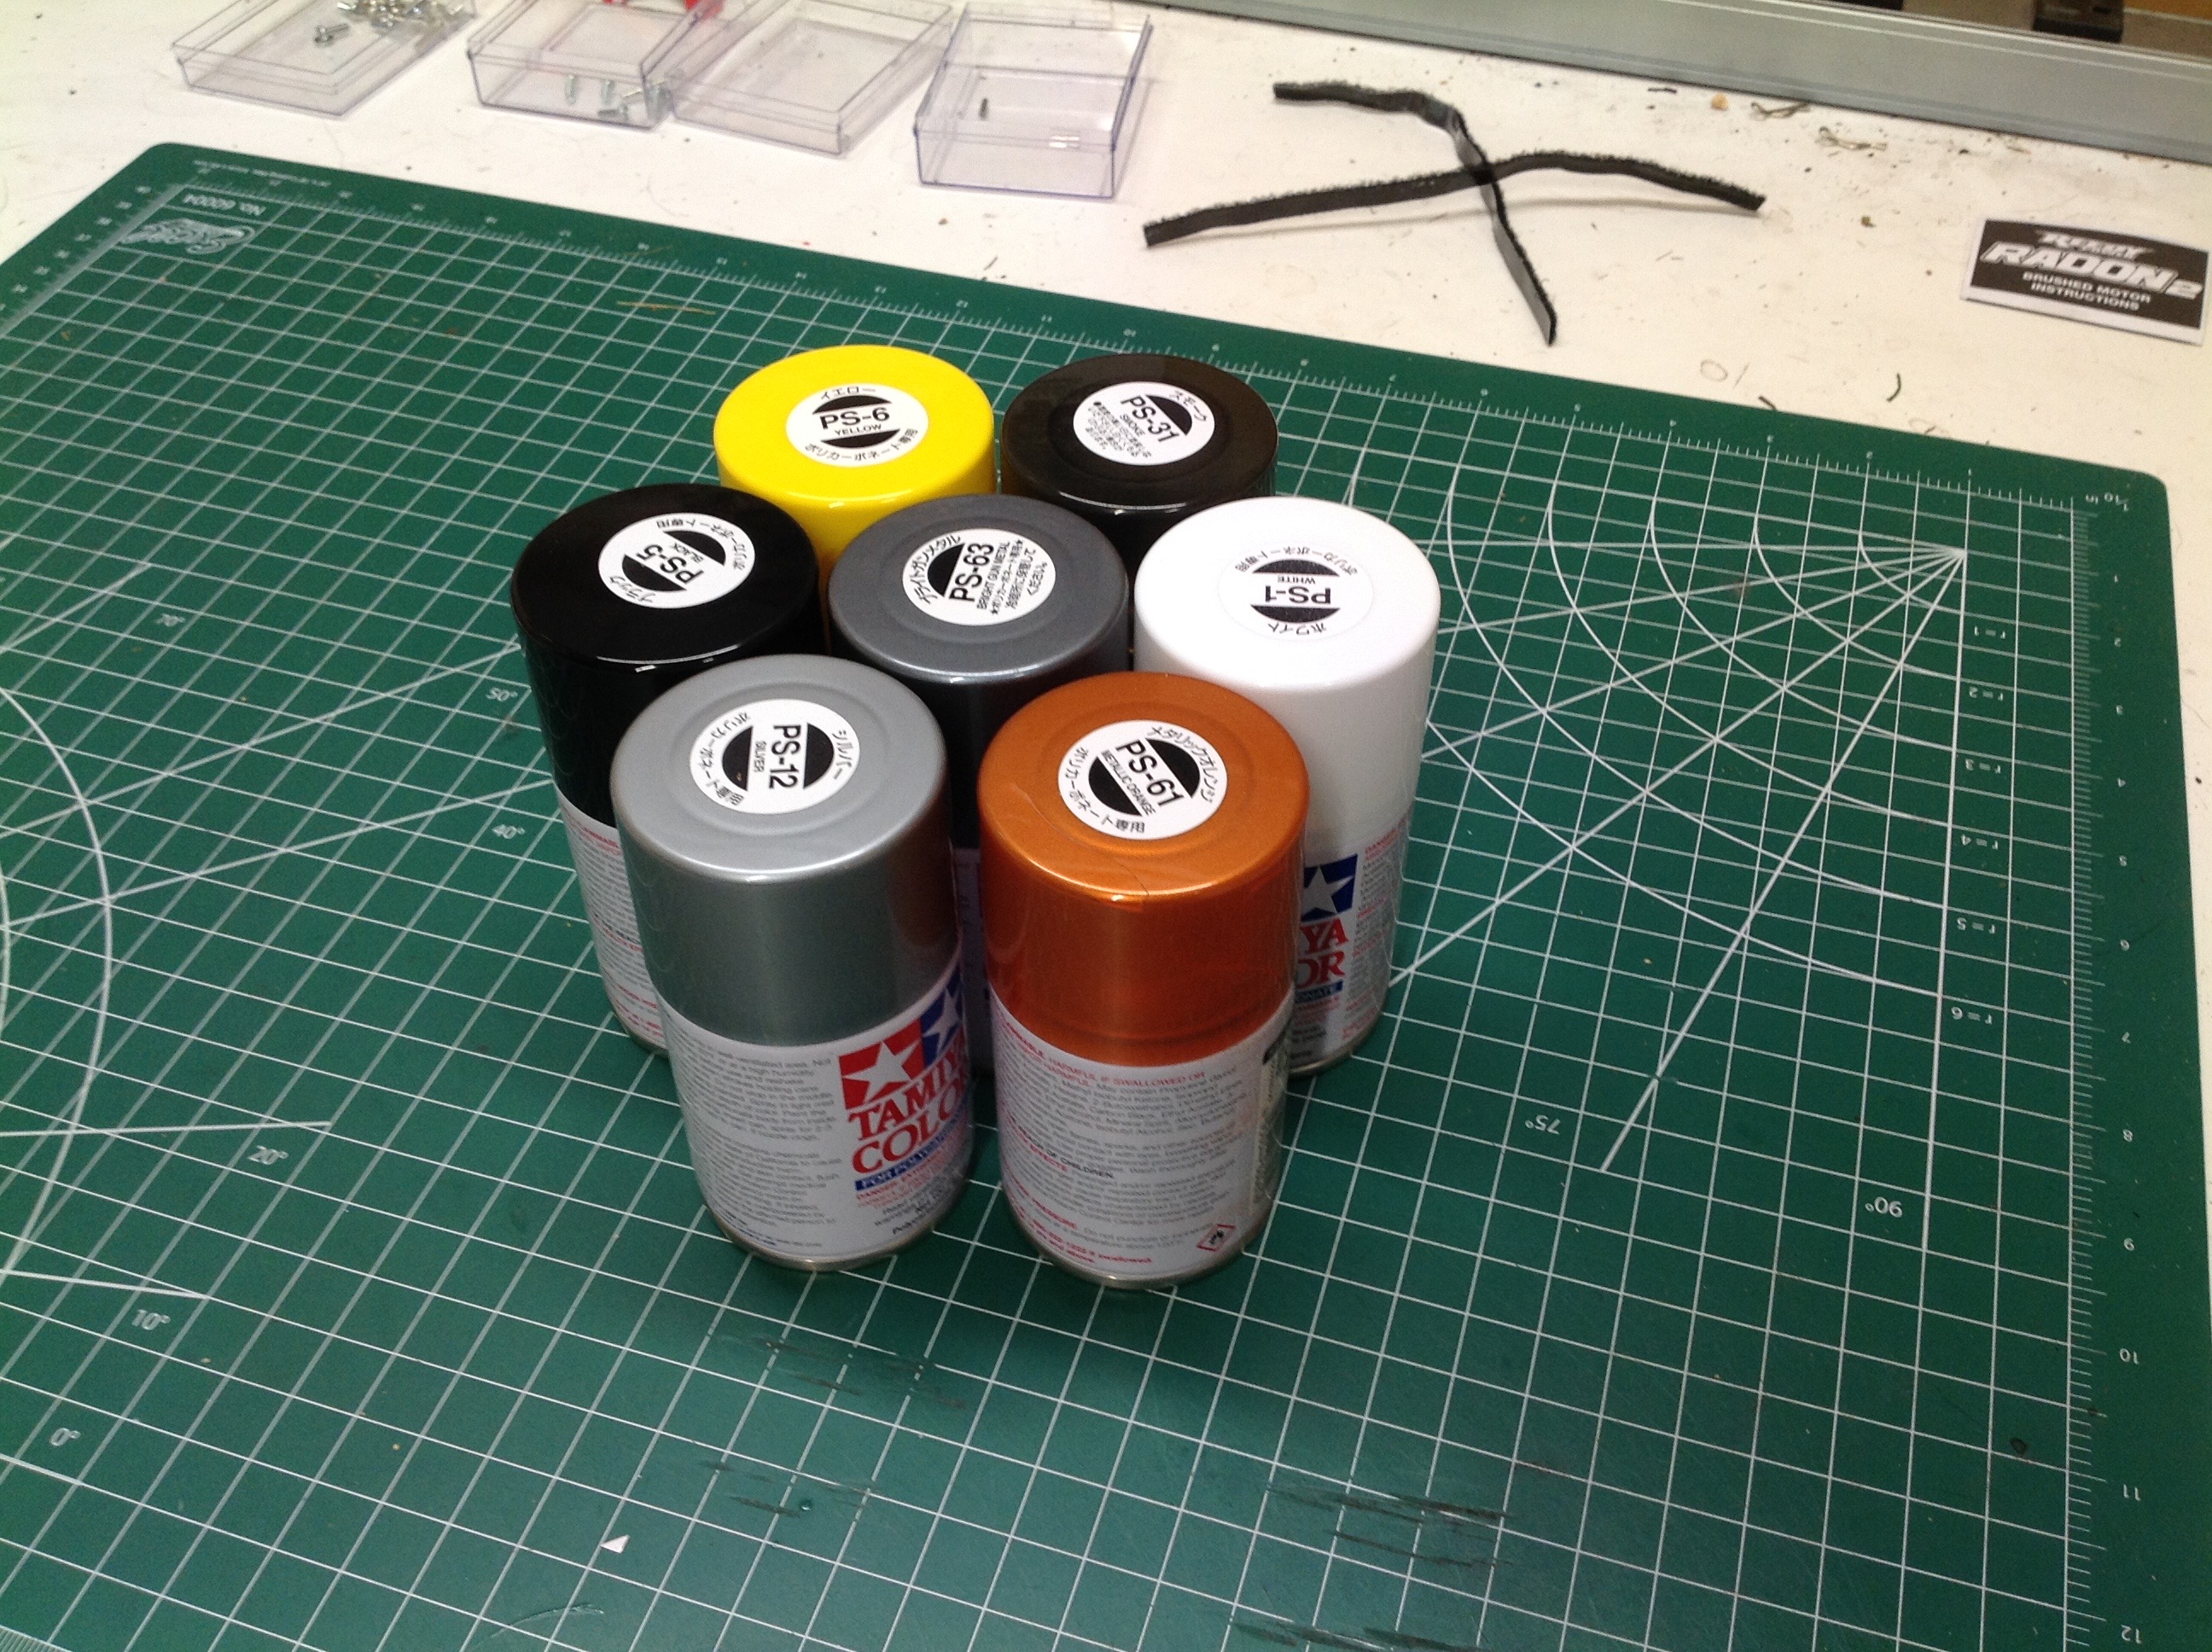
the colors of all the partially full polycarbonate spray cans I had in
my bin and asked her to design a livery using them. The crude
drawing at the left is what she came up with using the 7 colors on the
right. Note that these were not all the available colors, but they
seemed to fit together the best.
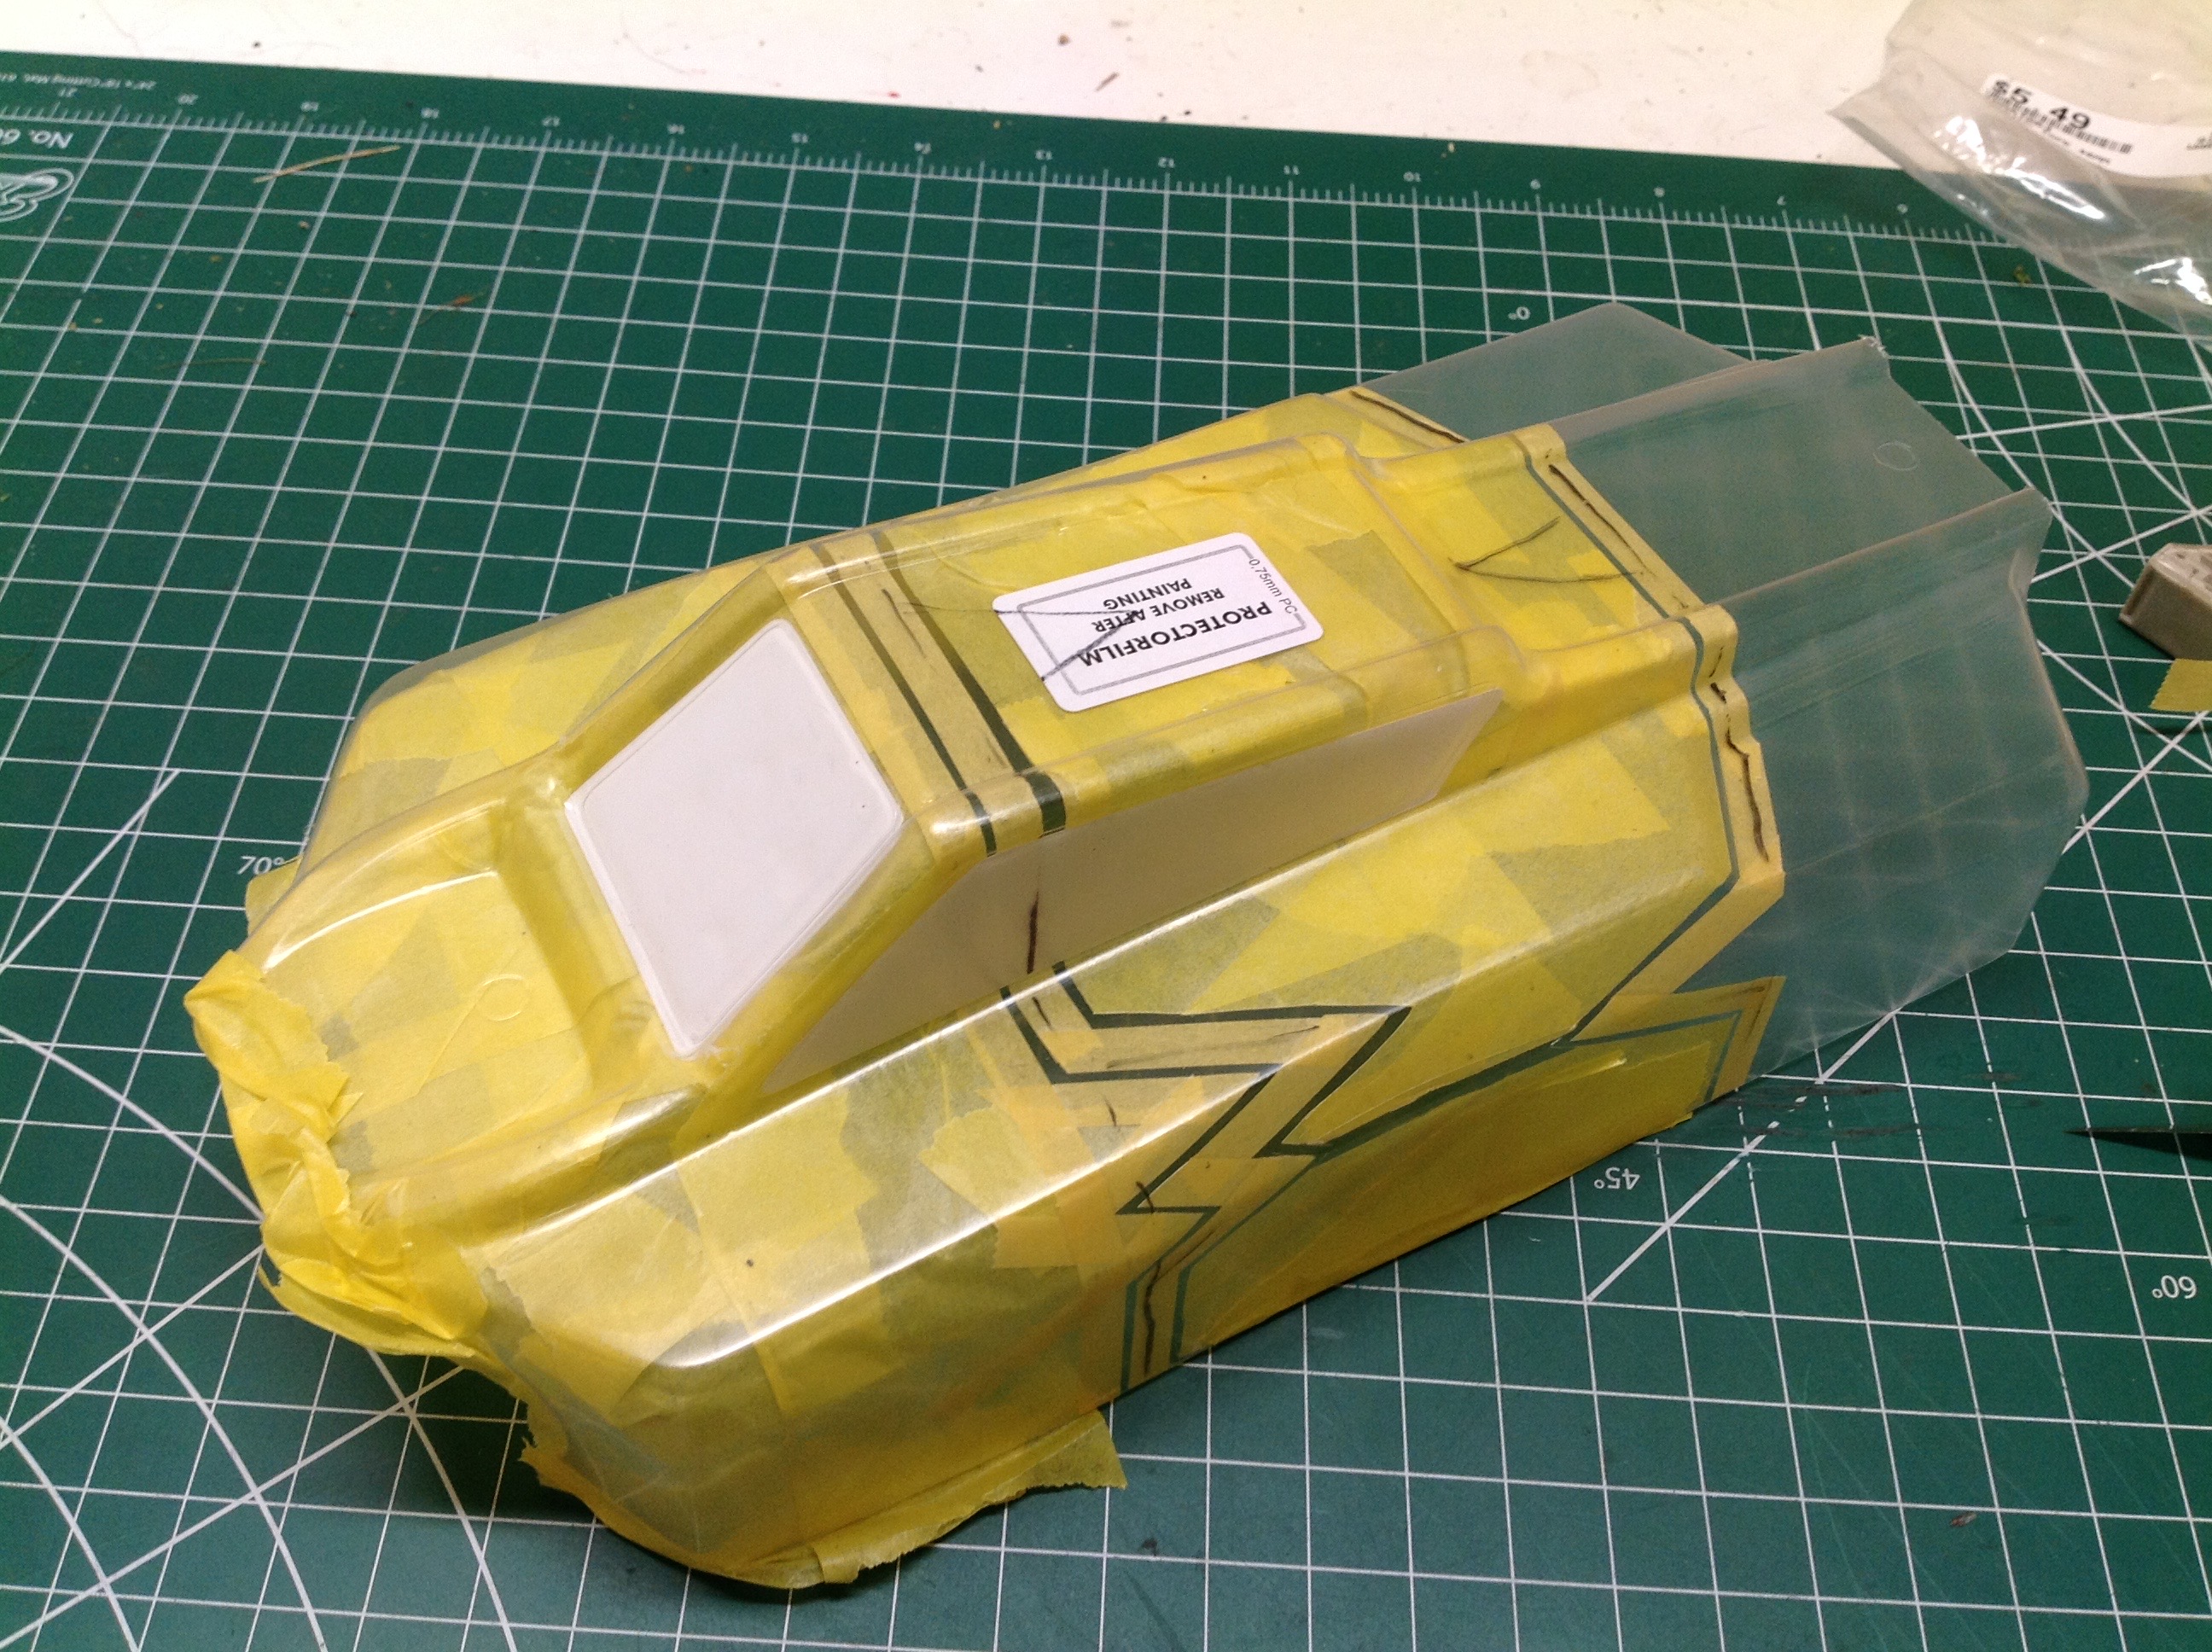
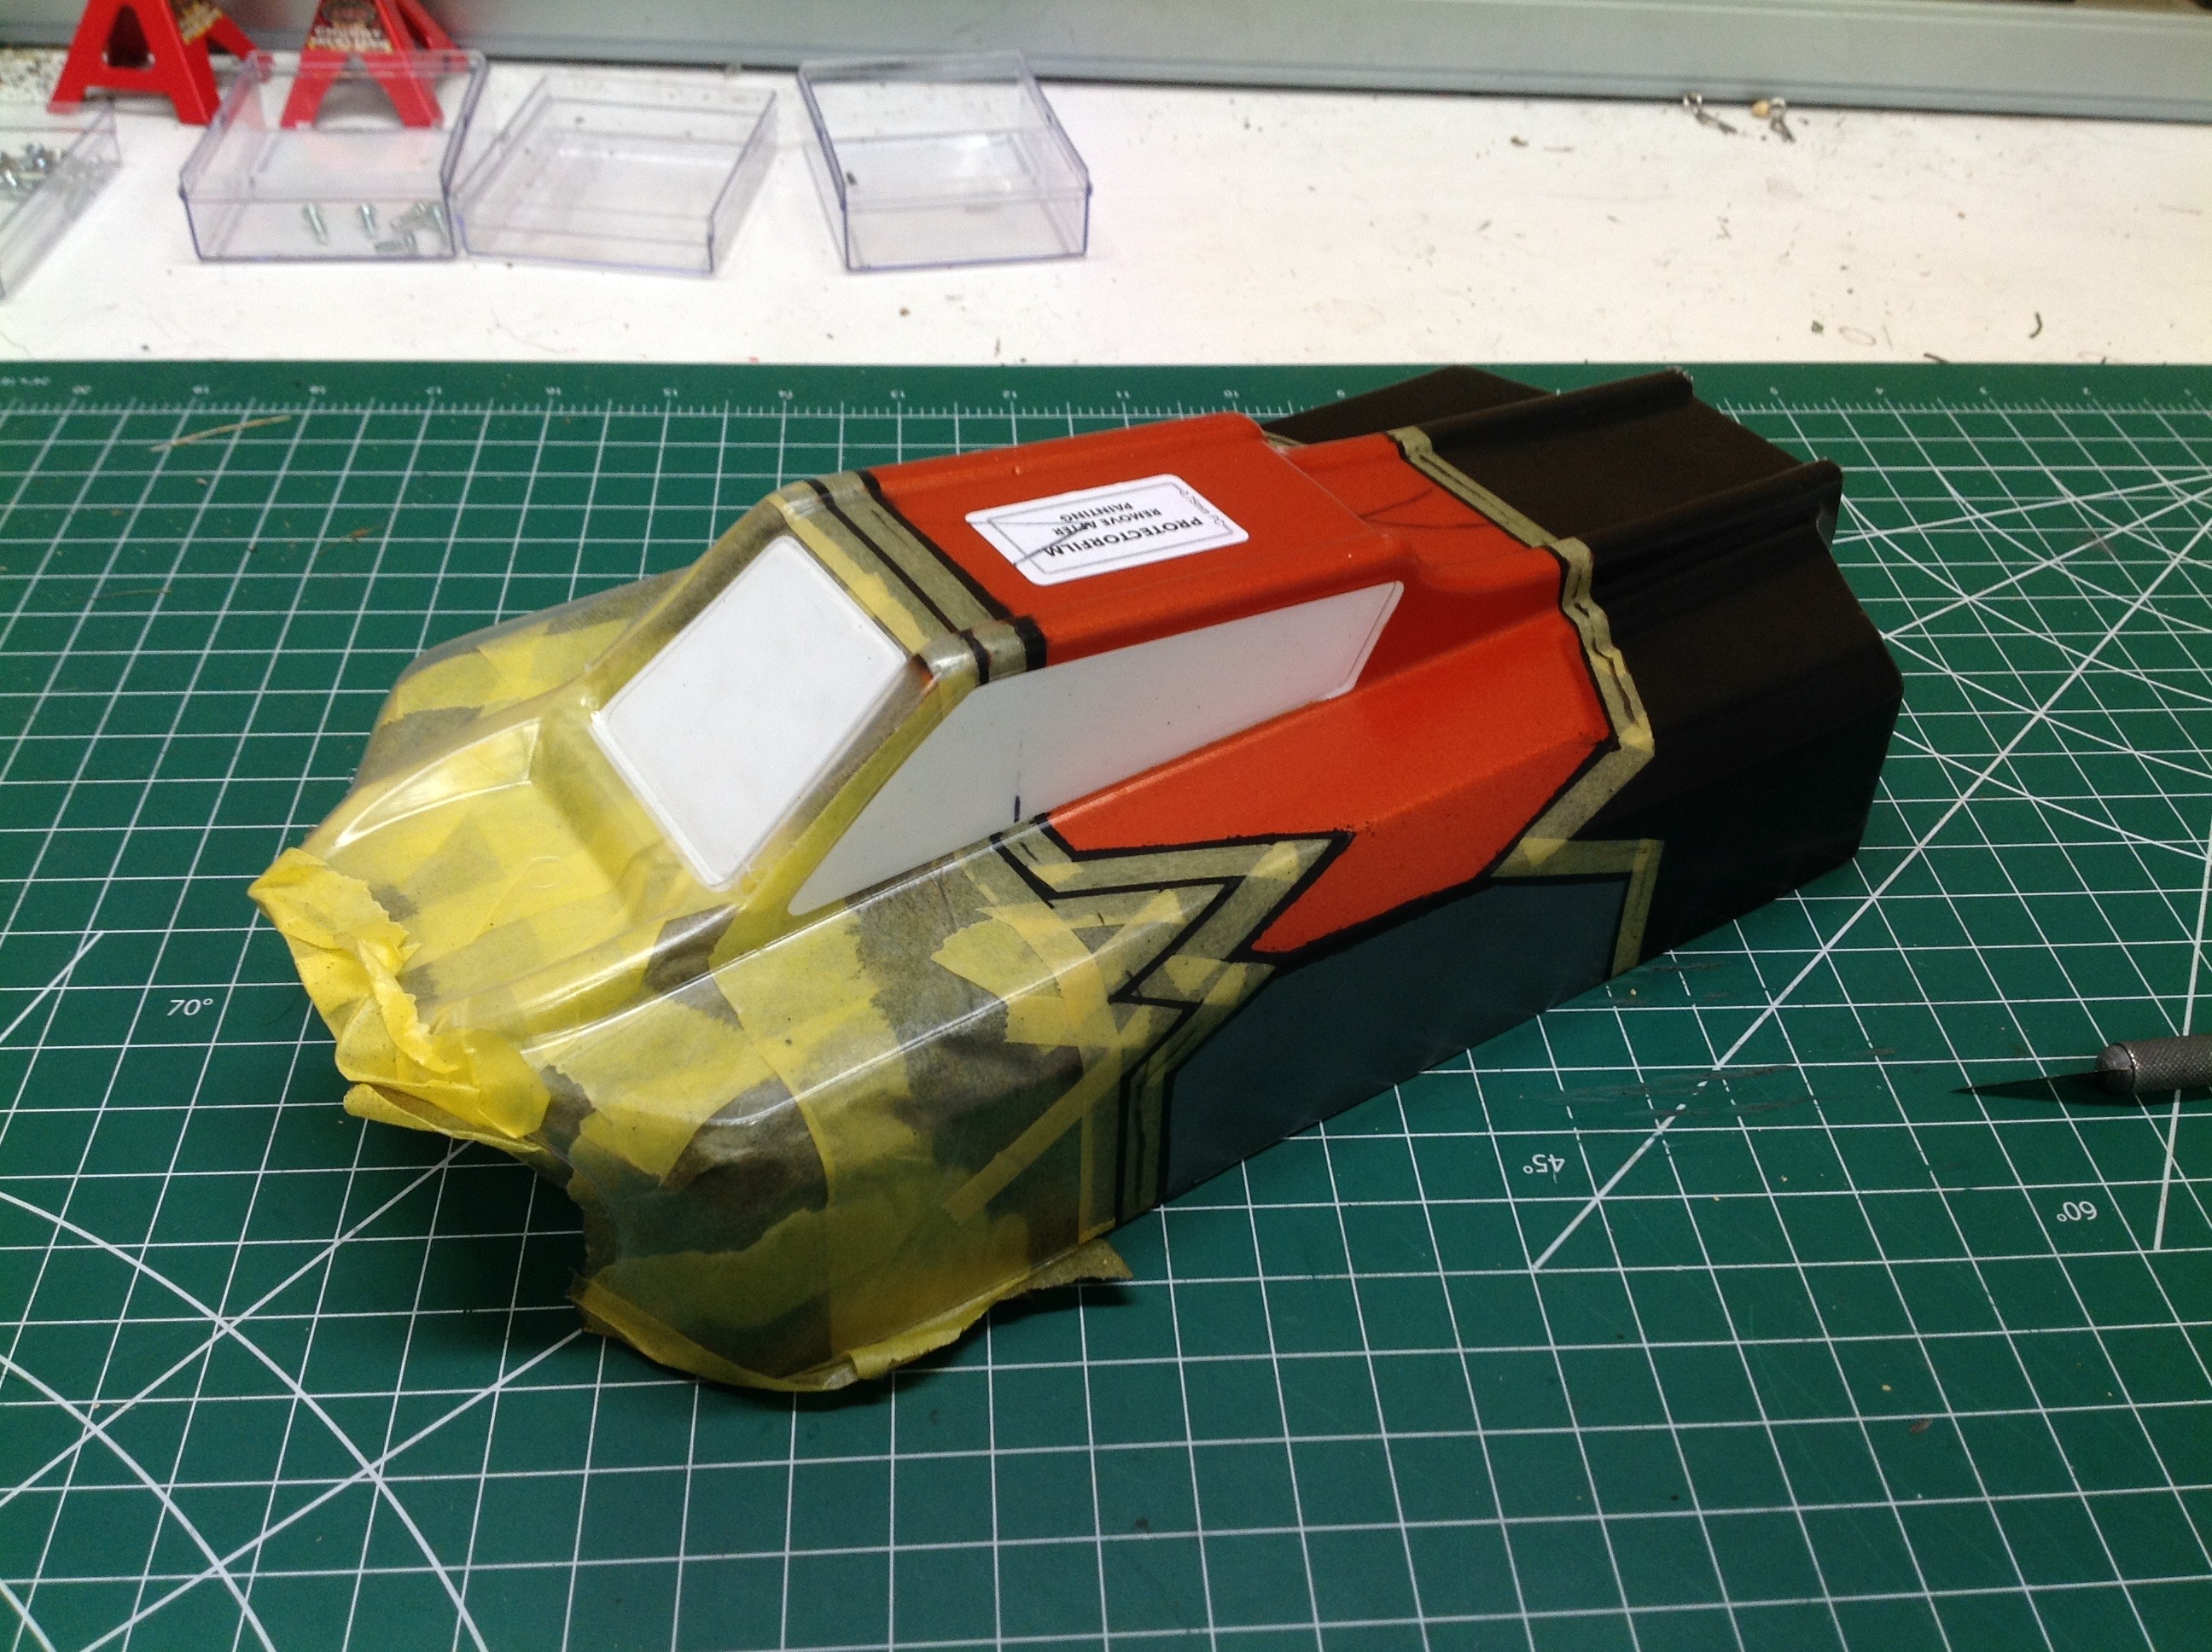
I started by sketching the stripes on the overspray film with a black
marker. After applying the window masks, I then traced the lines
with masking tape from the inside. Leaving a thin gap around the
stripe for a border, I then masked the rest of the interior as shown on
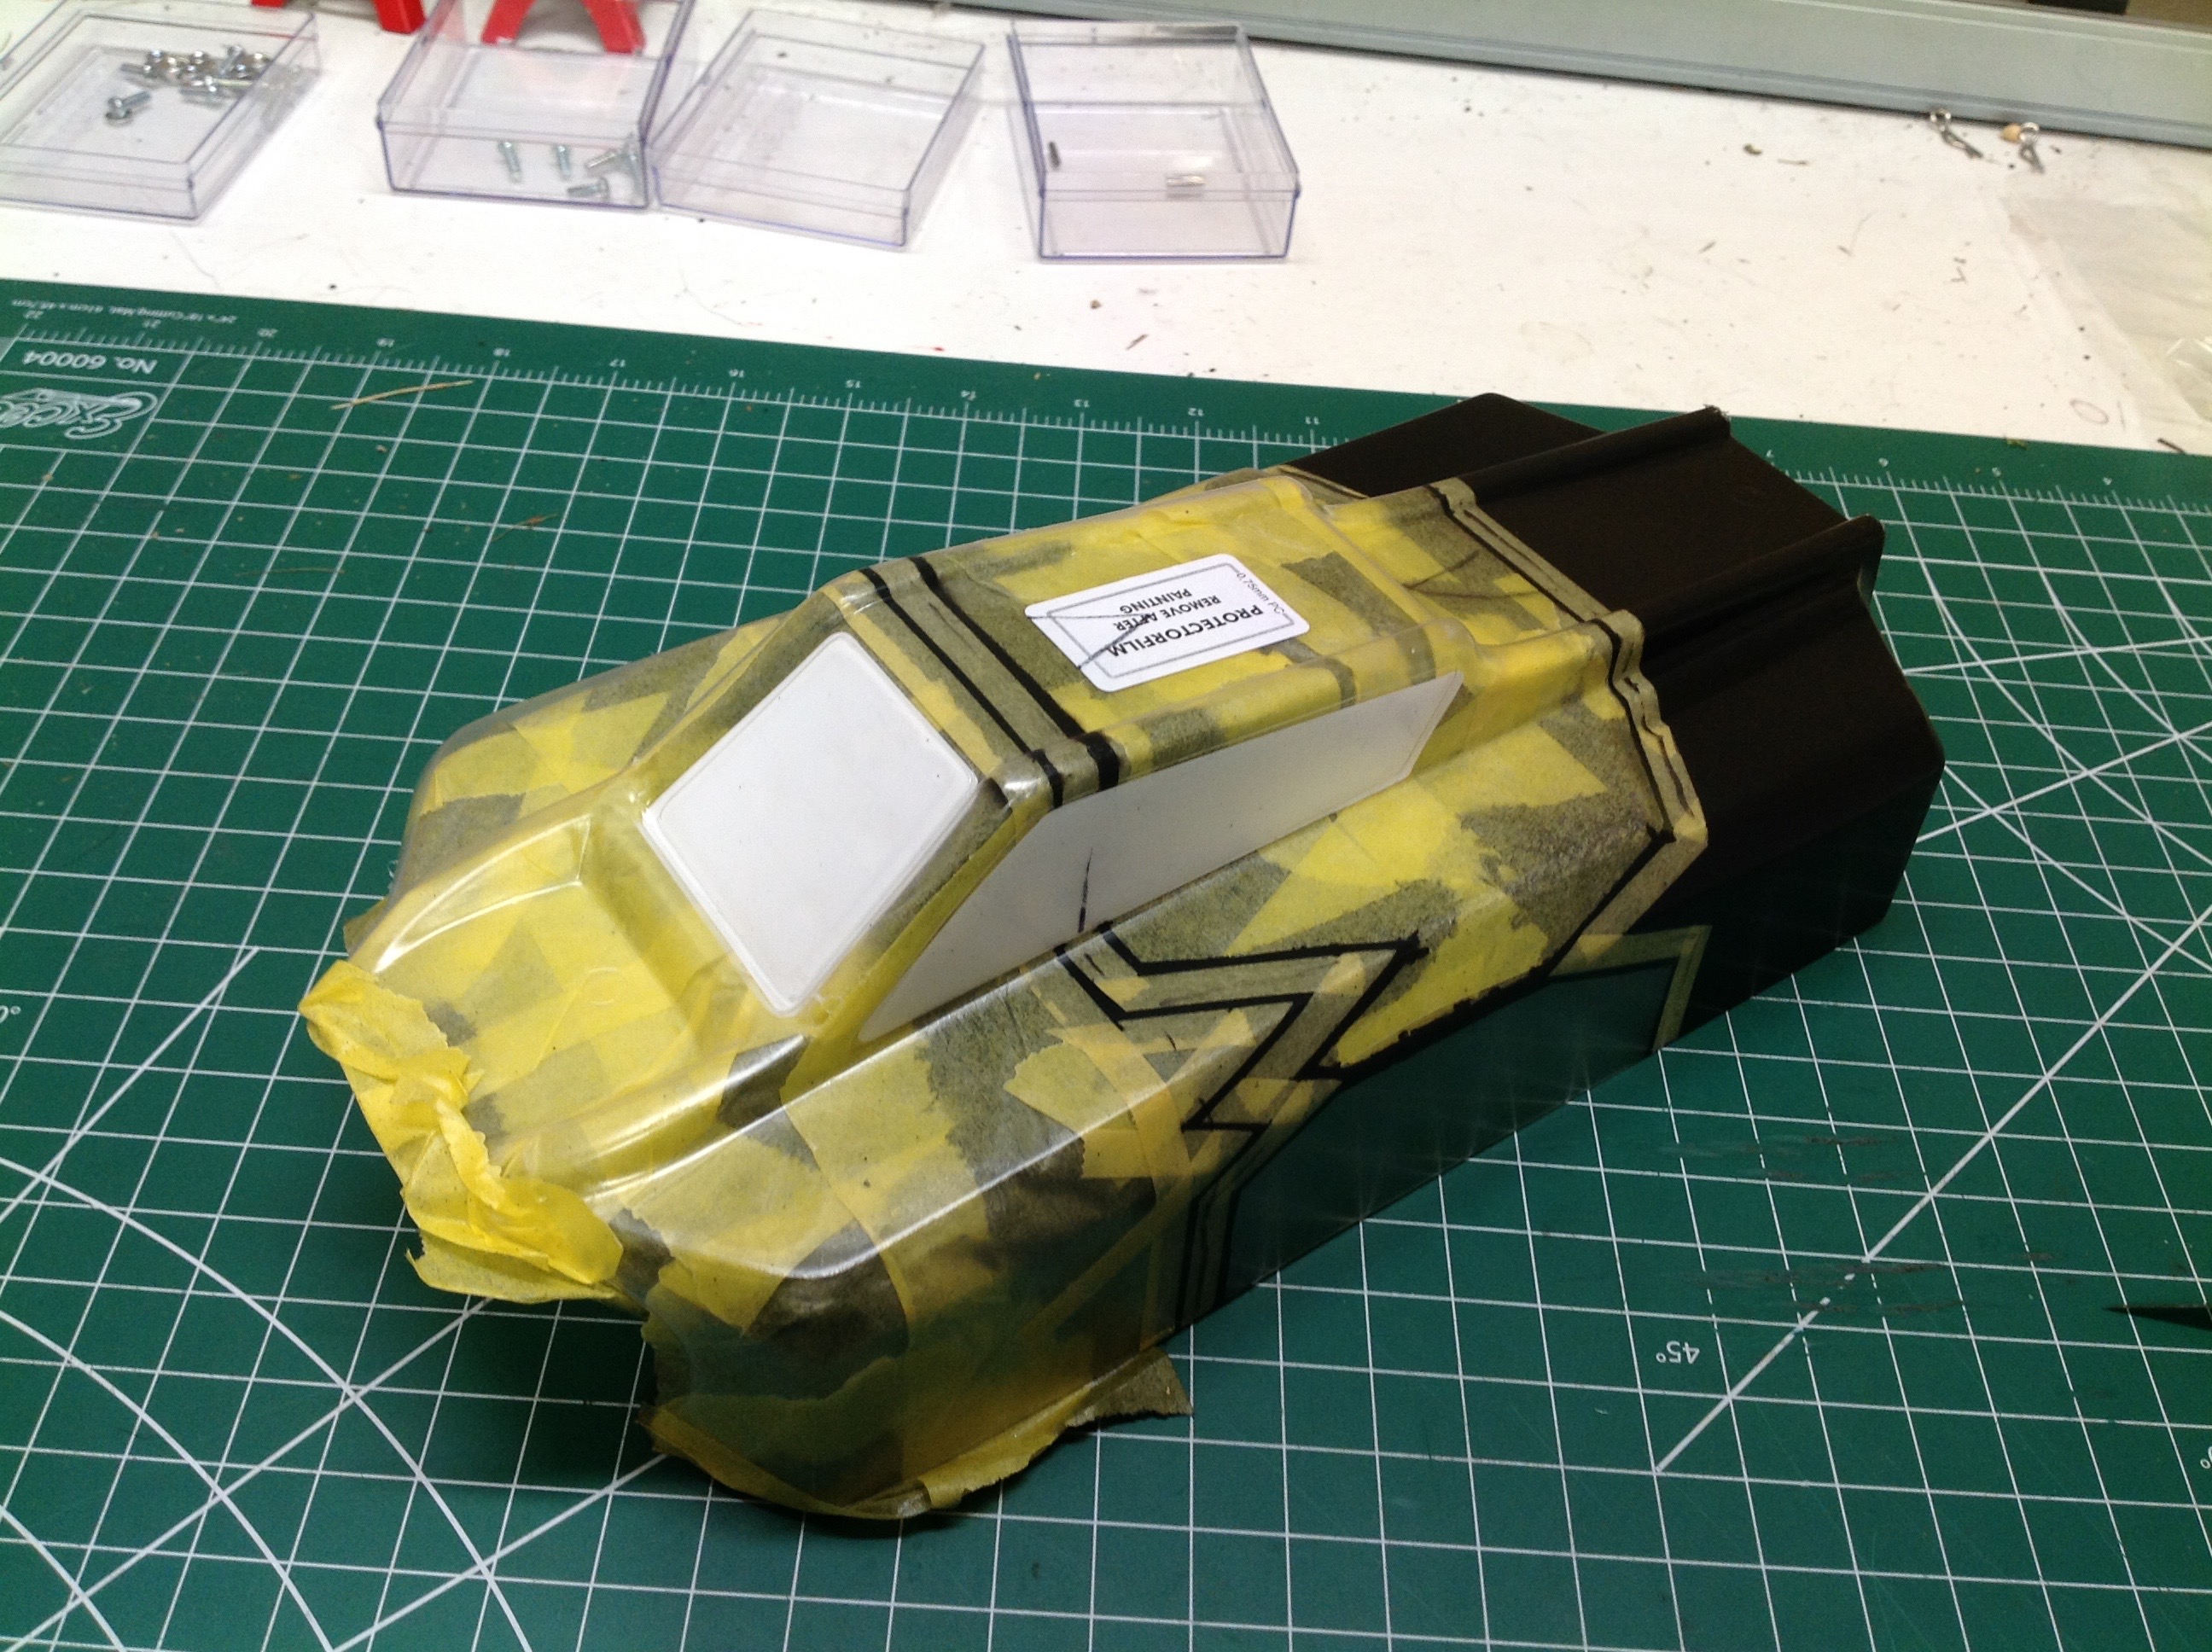
the left. The clear areas in the back and around the stripe are
for black. The picture on the right shows the black complete as
well as the gunmetal gray in the bottom center (hard to see at this
angle).
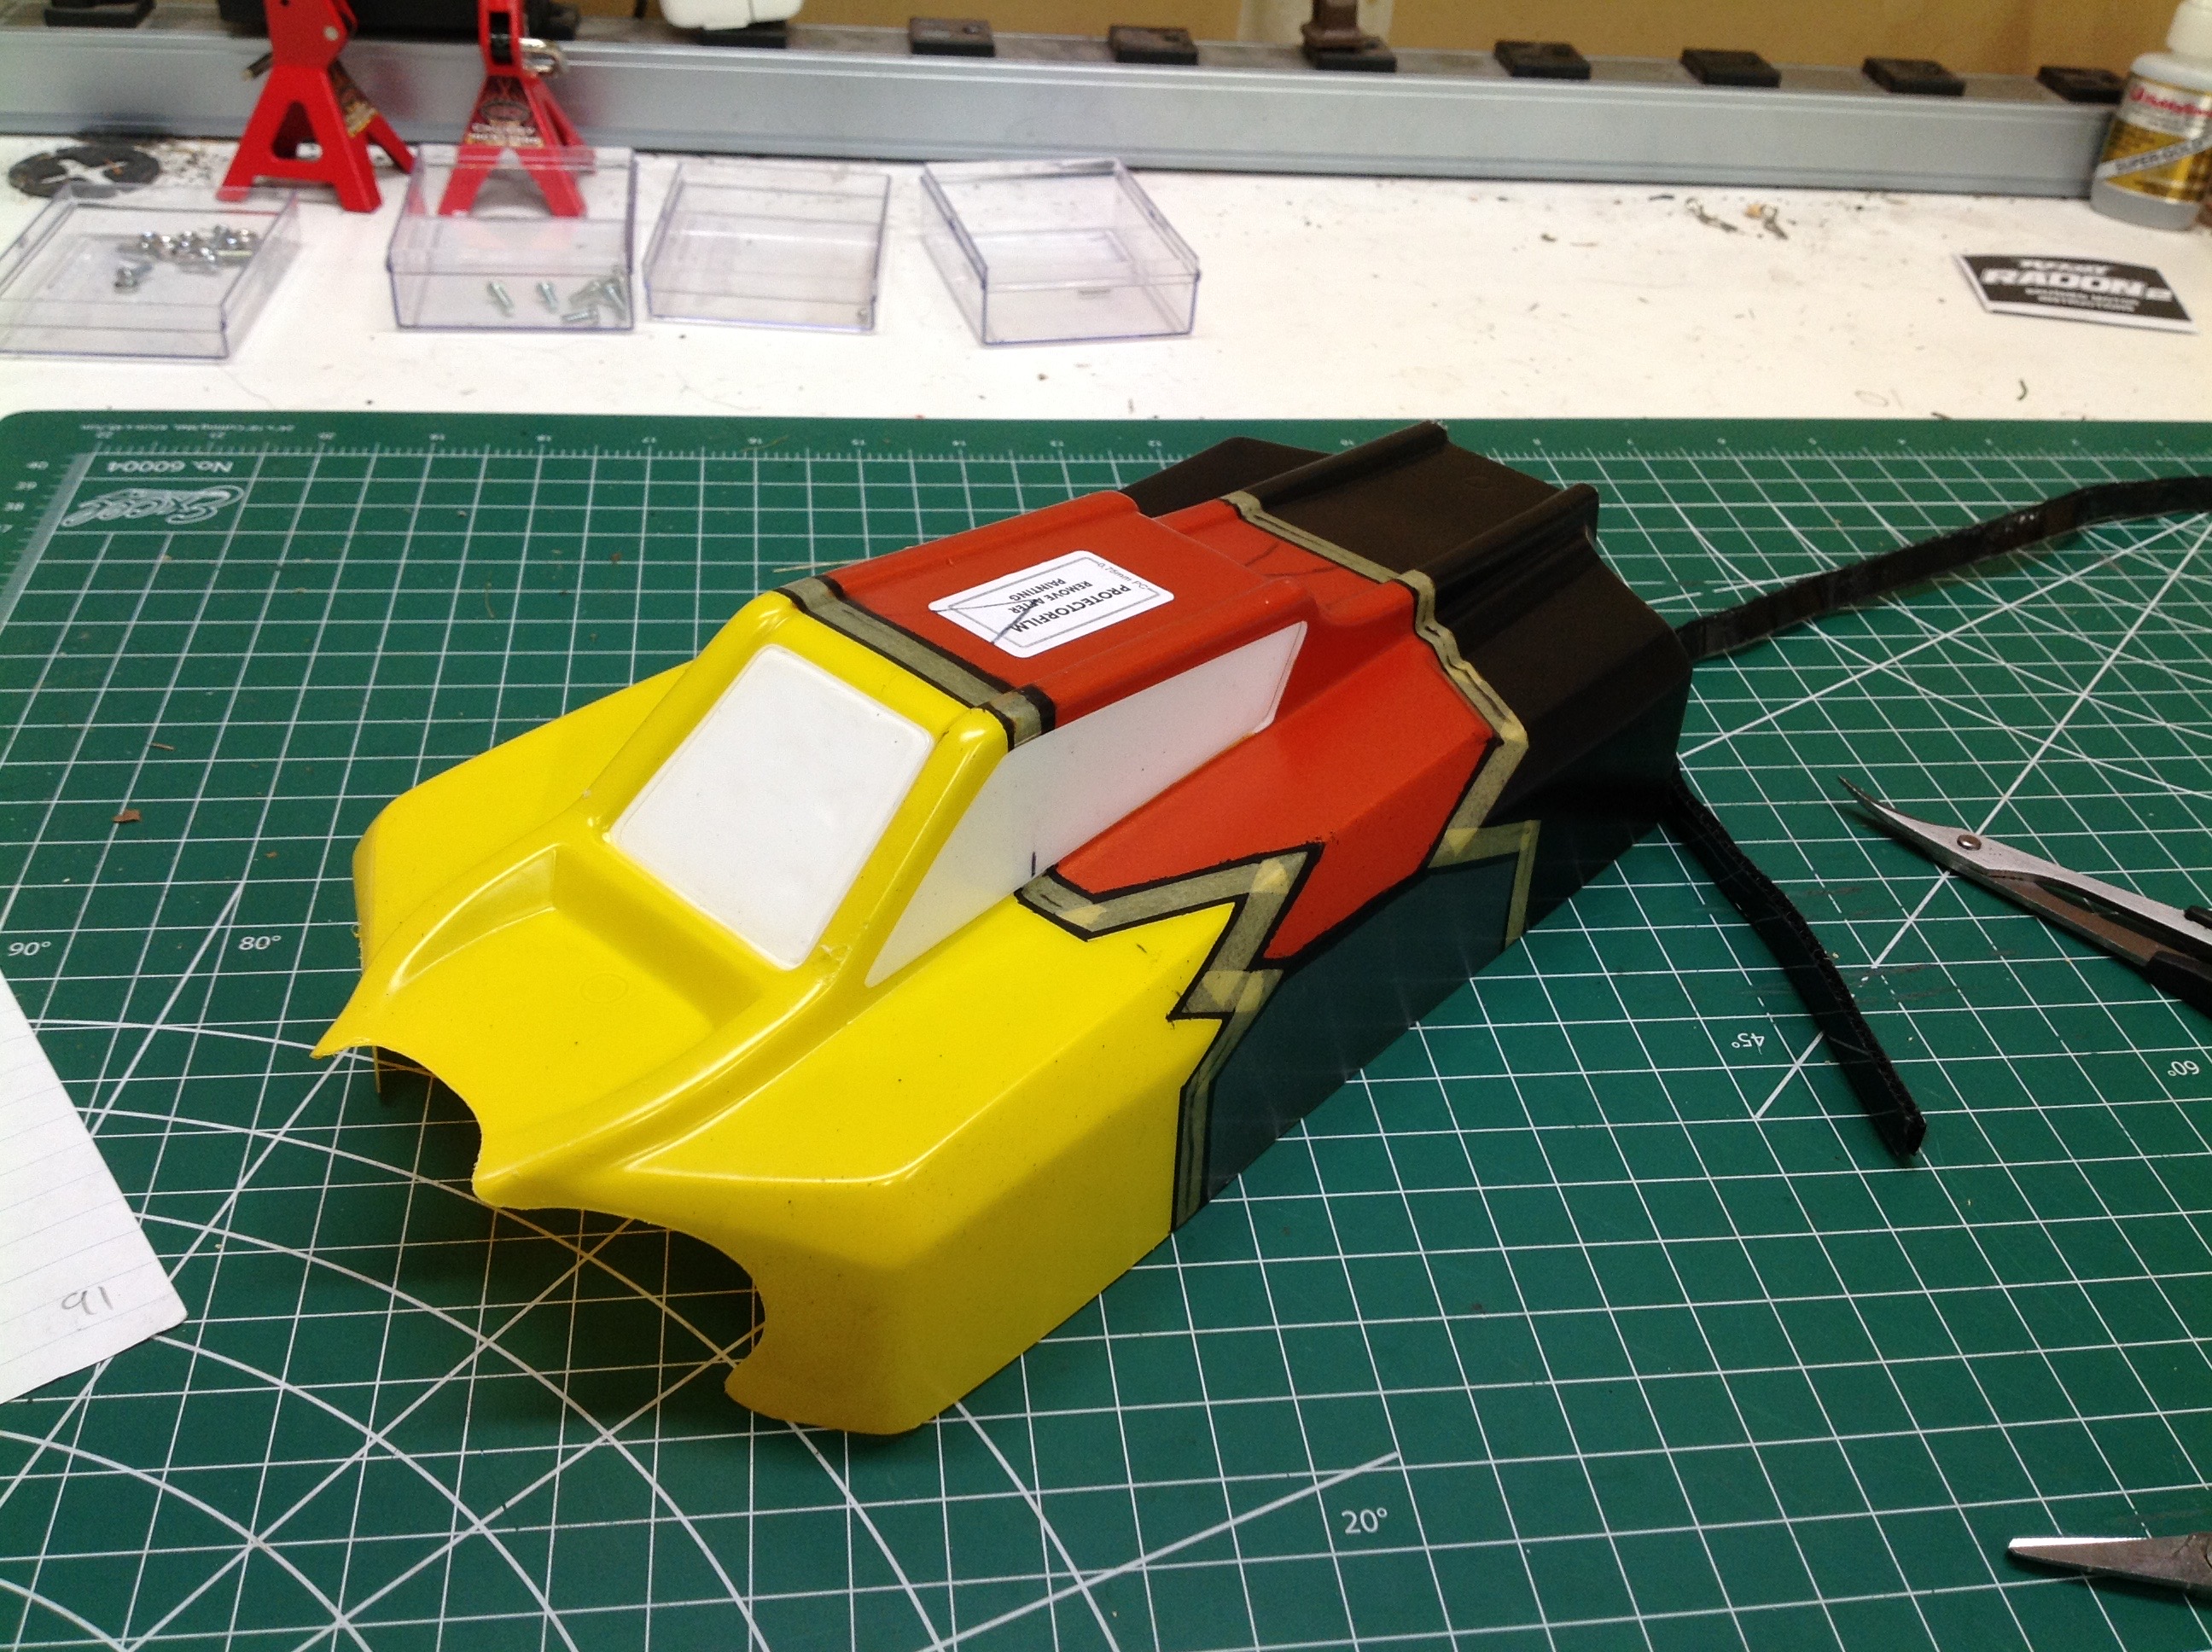
On the left you can see that I've added the metallic orange. Less
obvious is the fact that I've backed the orange with silver to help
accentuate the metal flakes. On the right I've added the yellow to
the front.
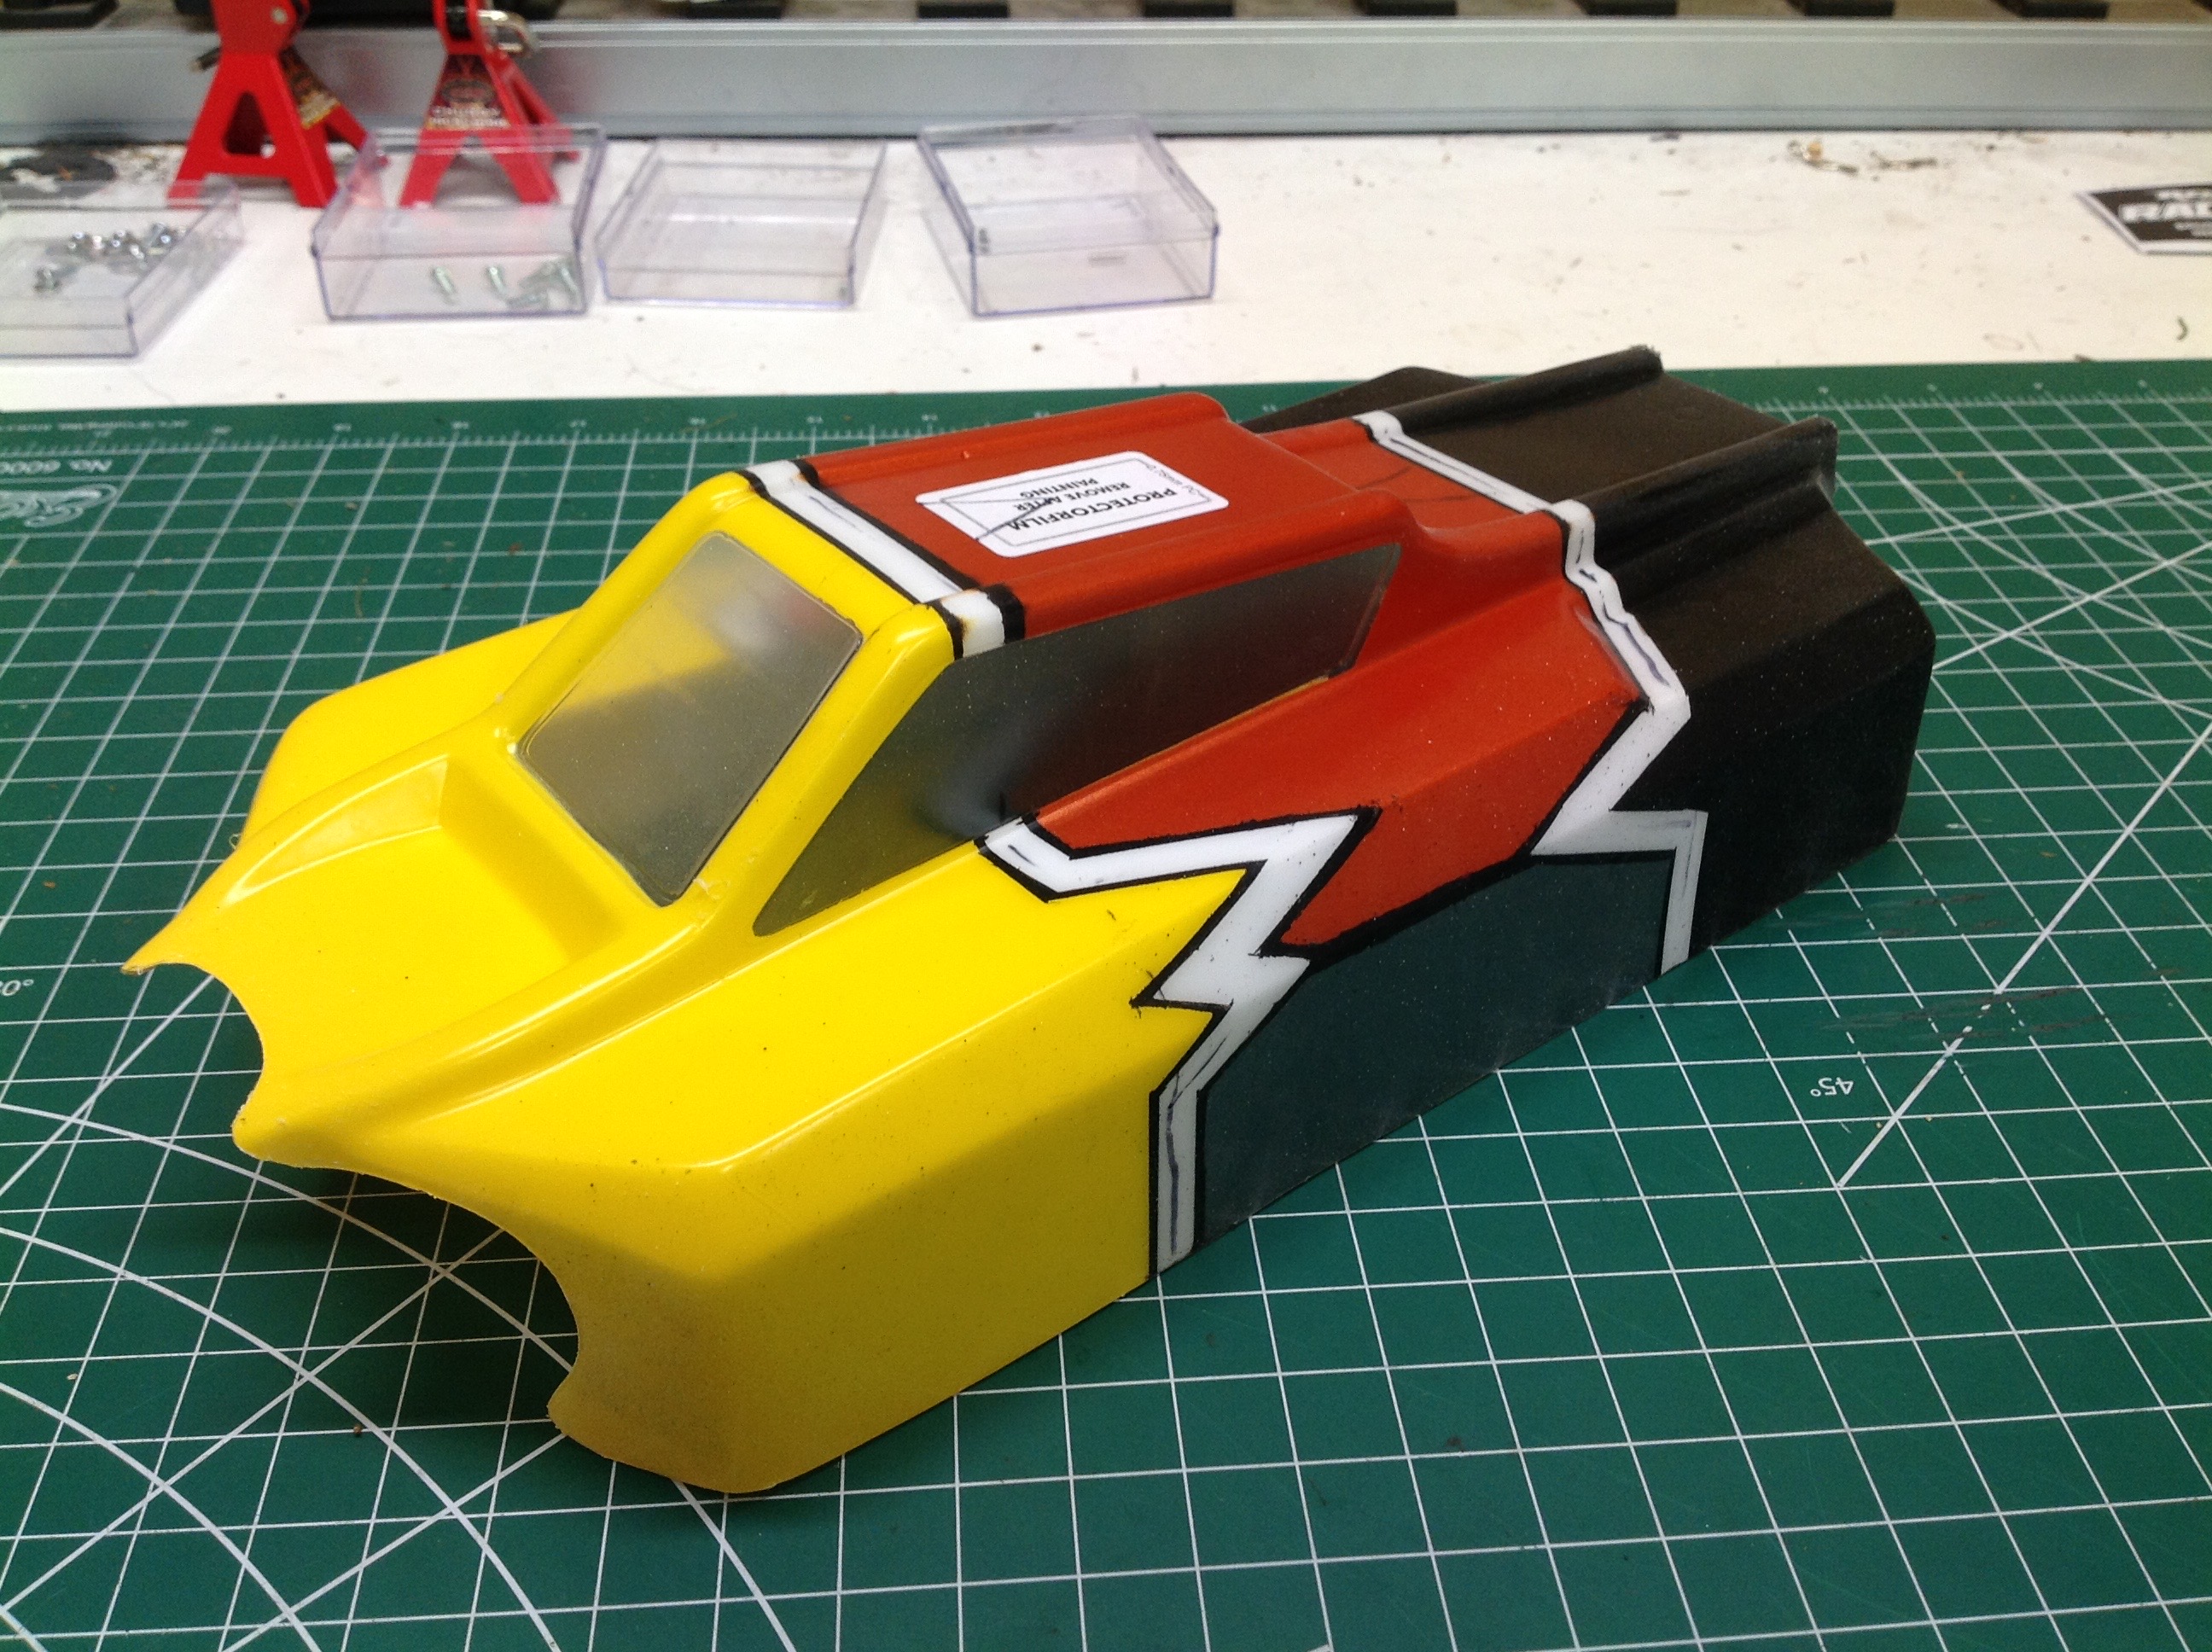
Finally, I painted the white stripe and then backed the clear windows
with smoke. In the picture on the left the paint is done but the
overspray film is still present. On the right I've removed the
film and added a few stickers. The kit doesn't include much in the
way of stickers so I used the branded stickers from some of the
electronics I chose.
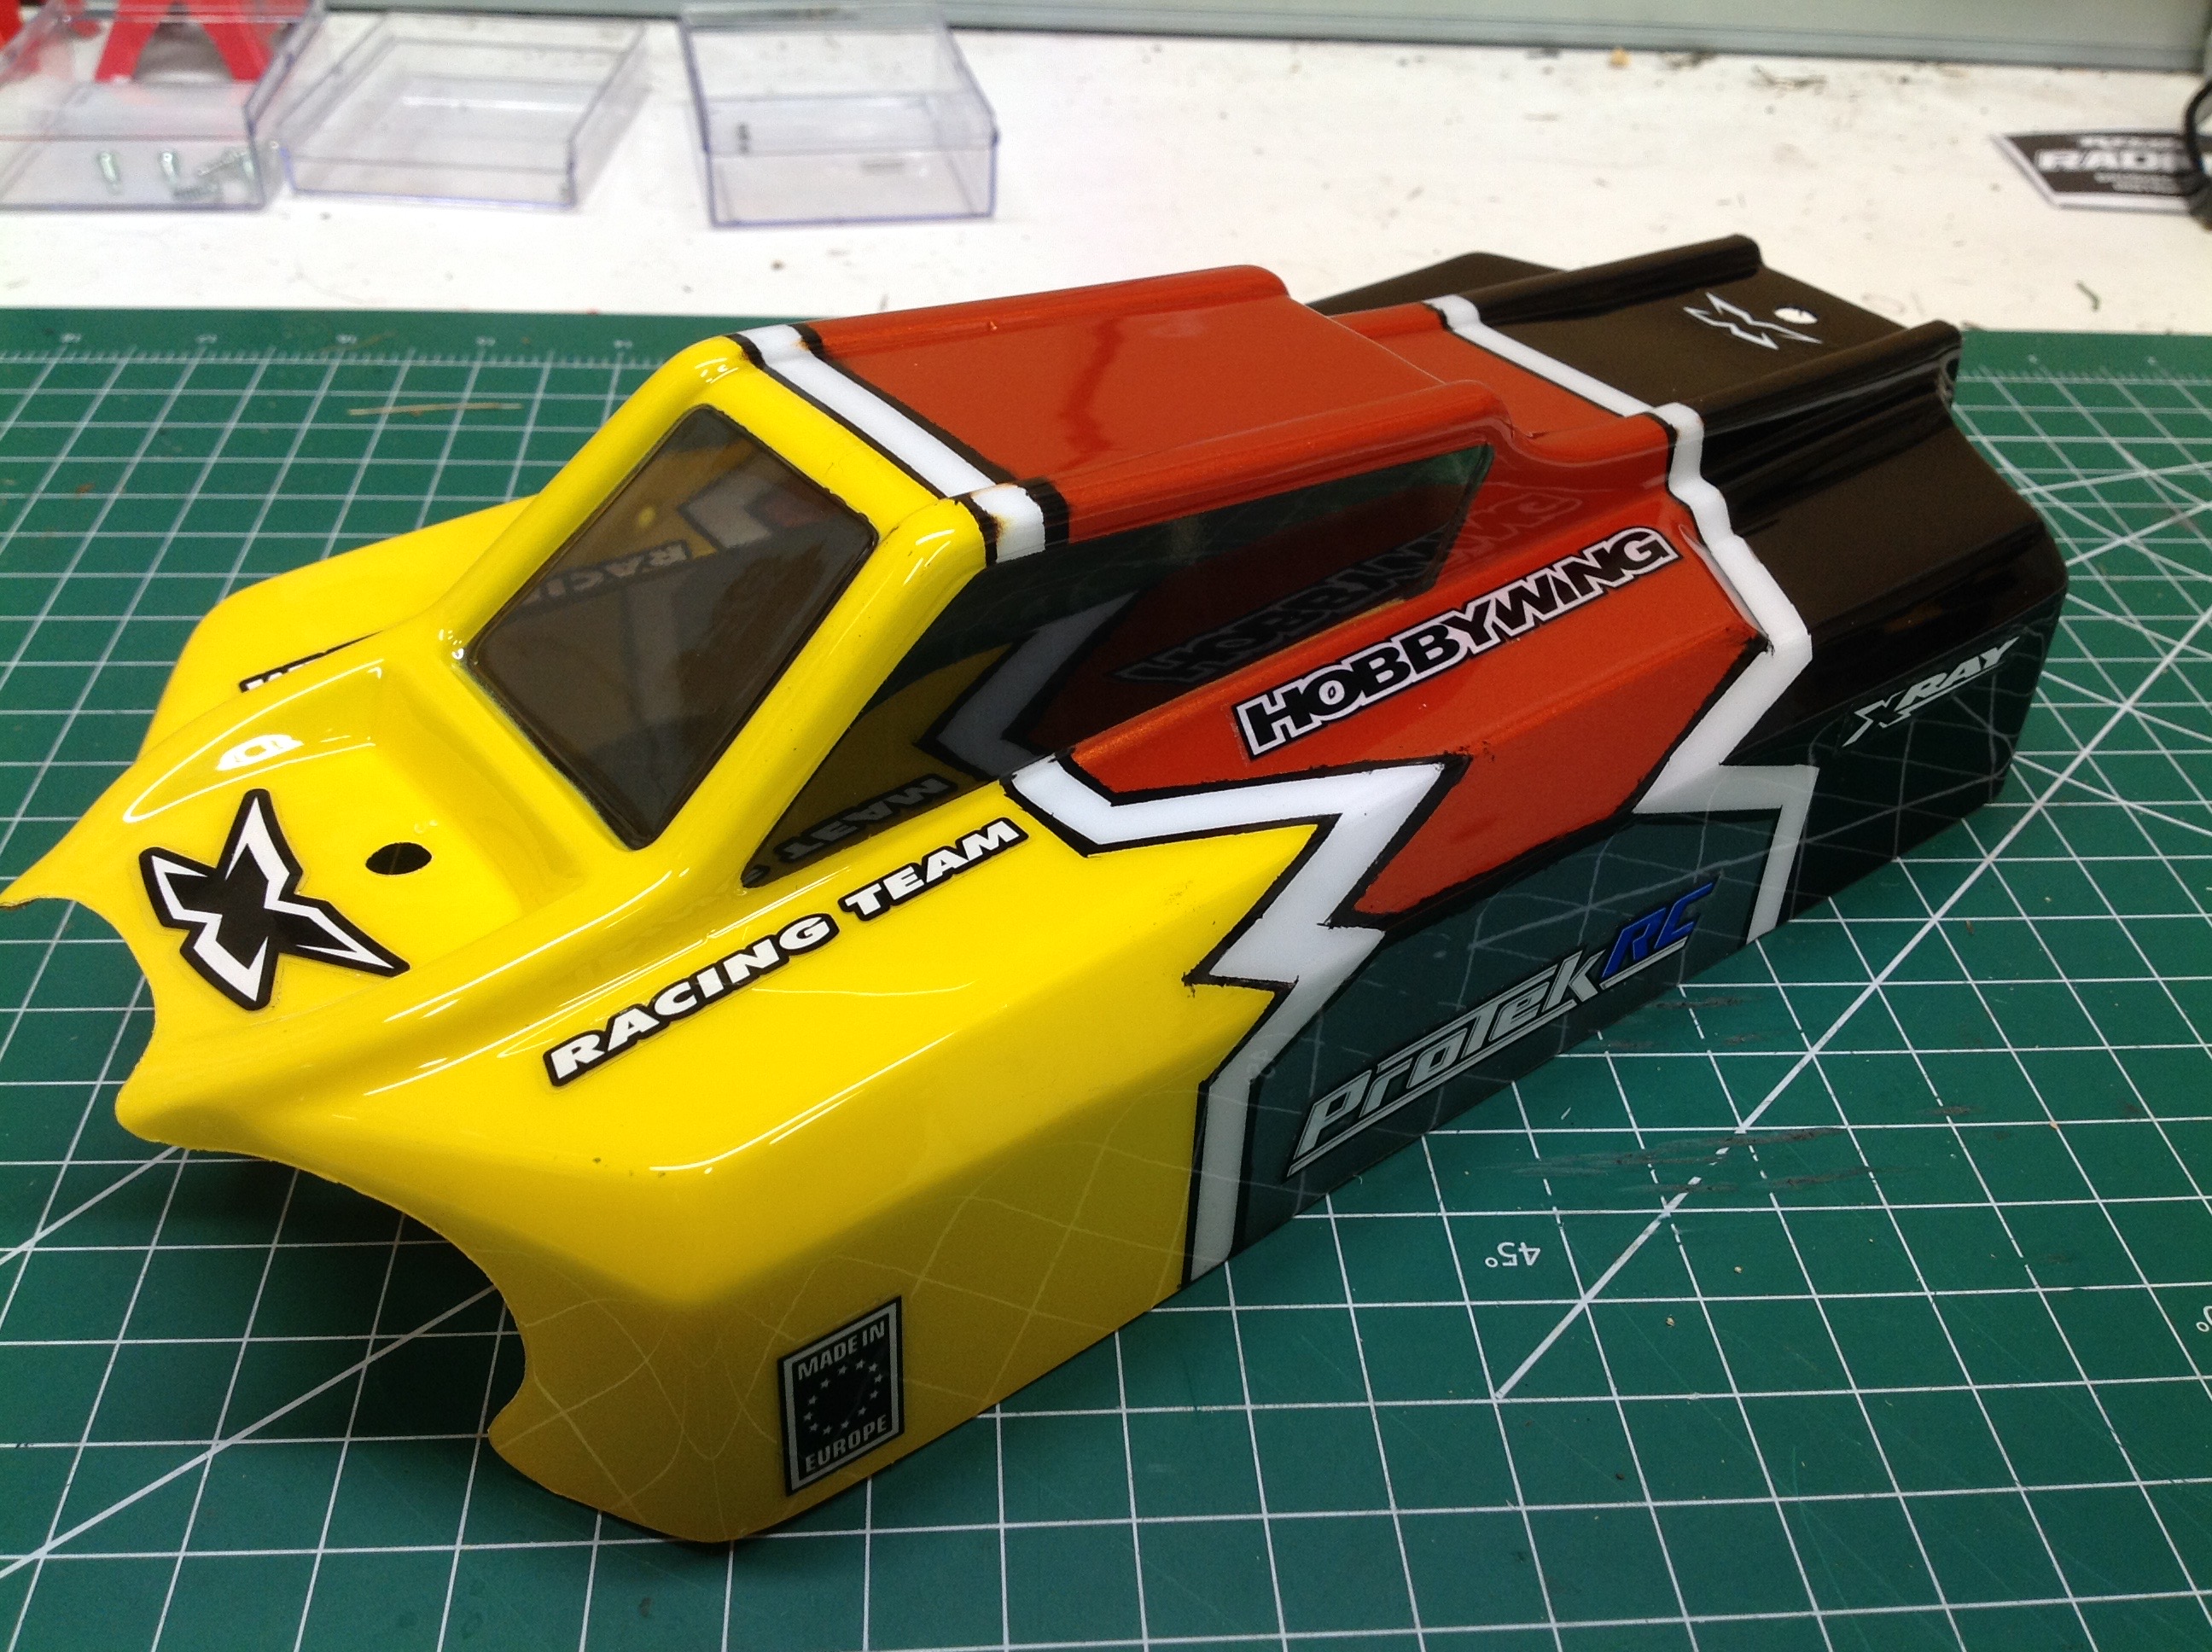
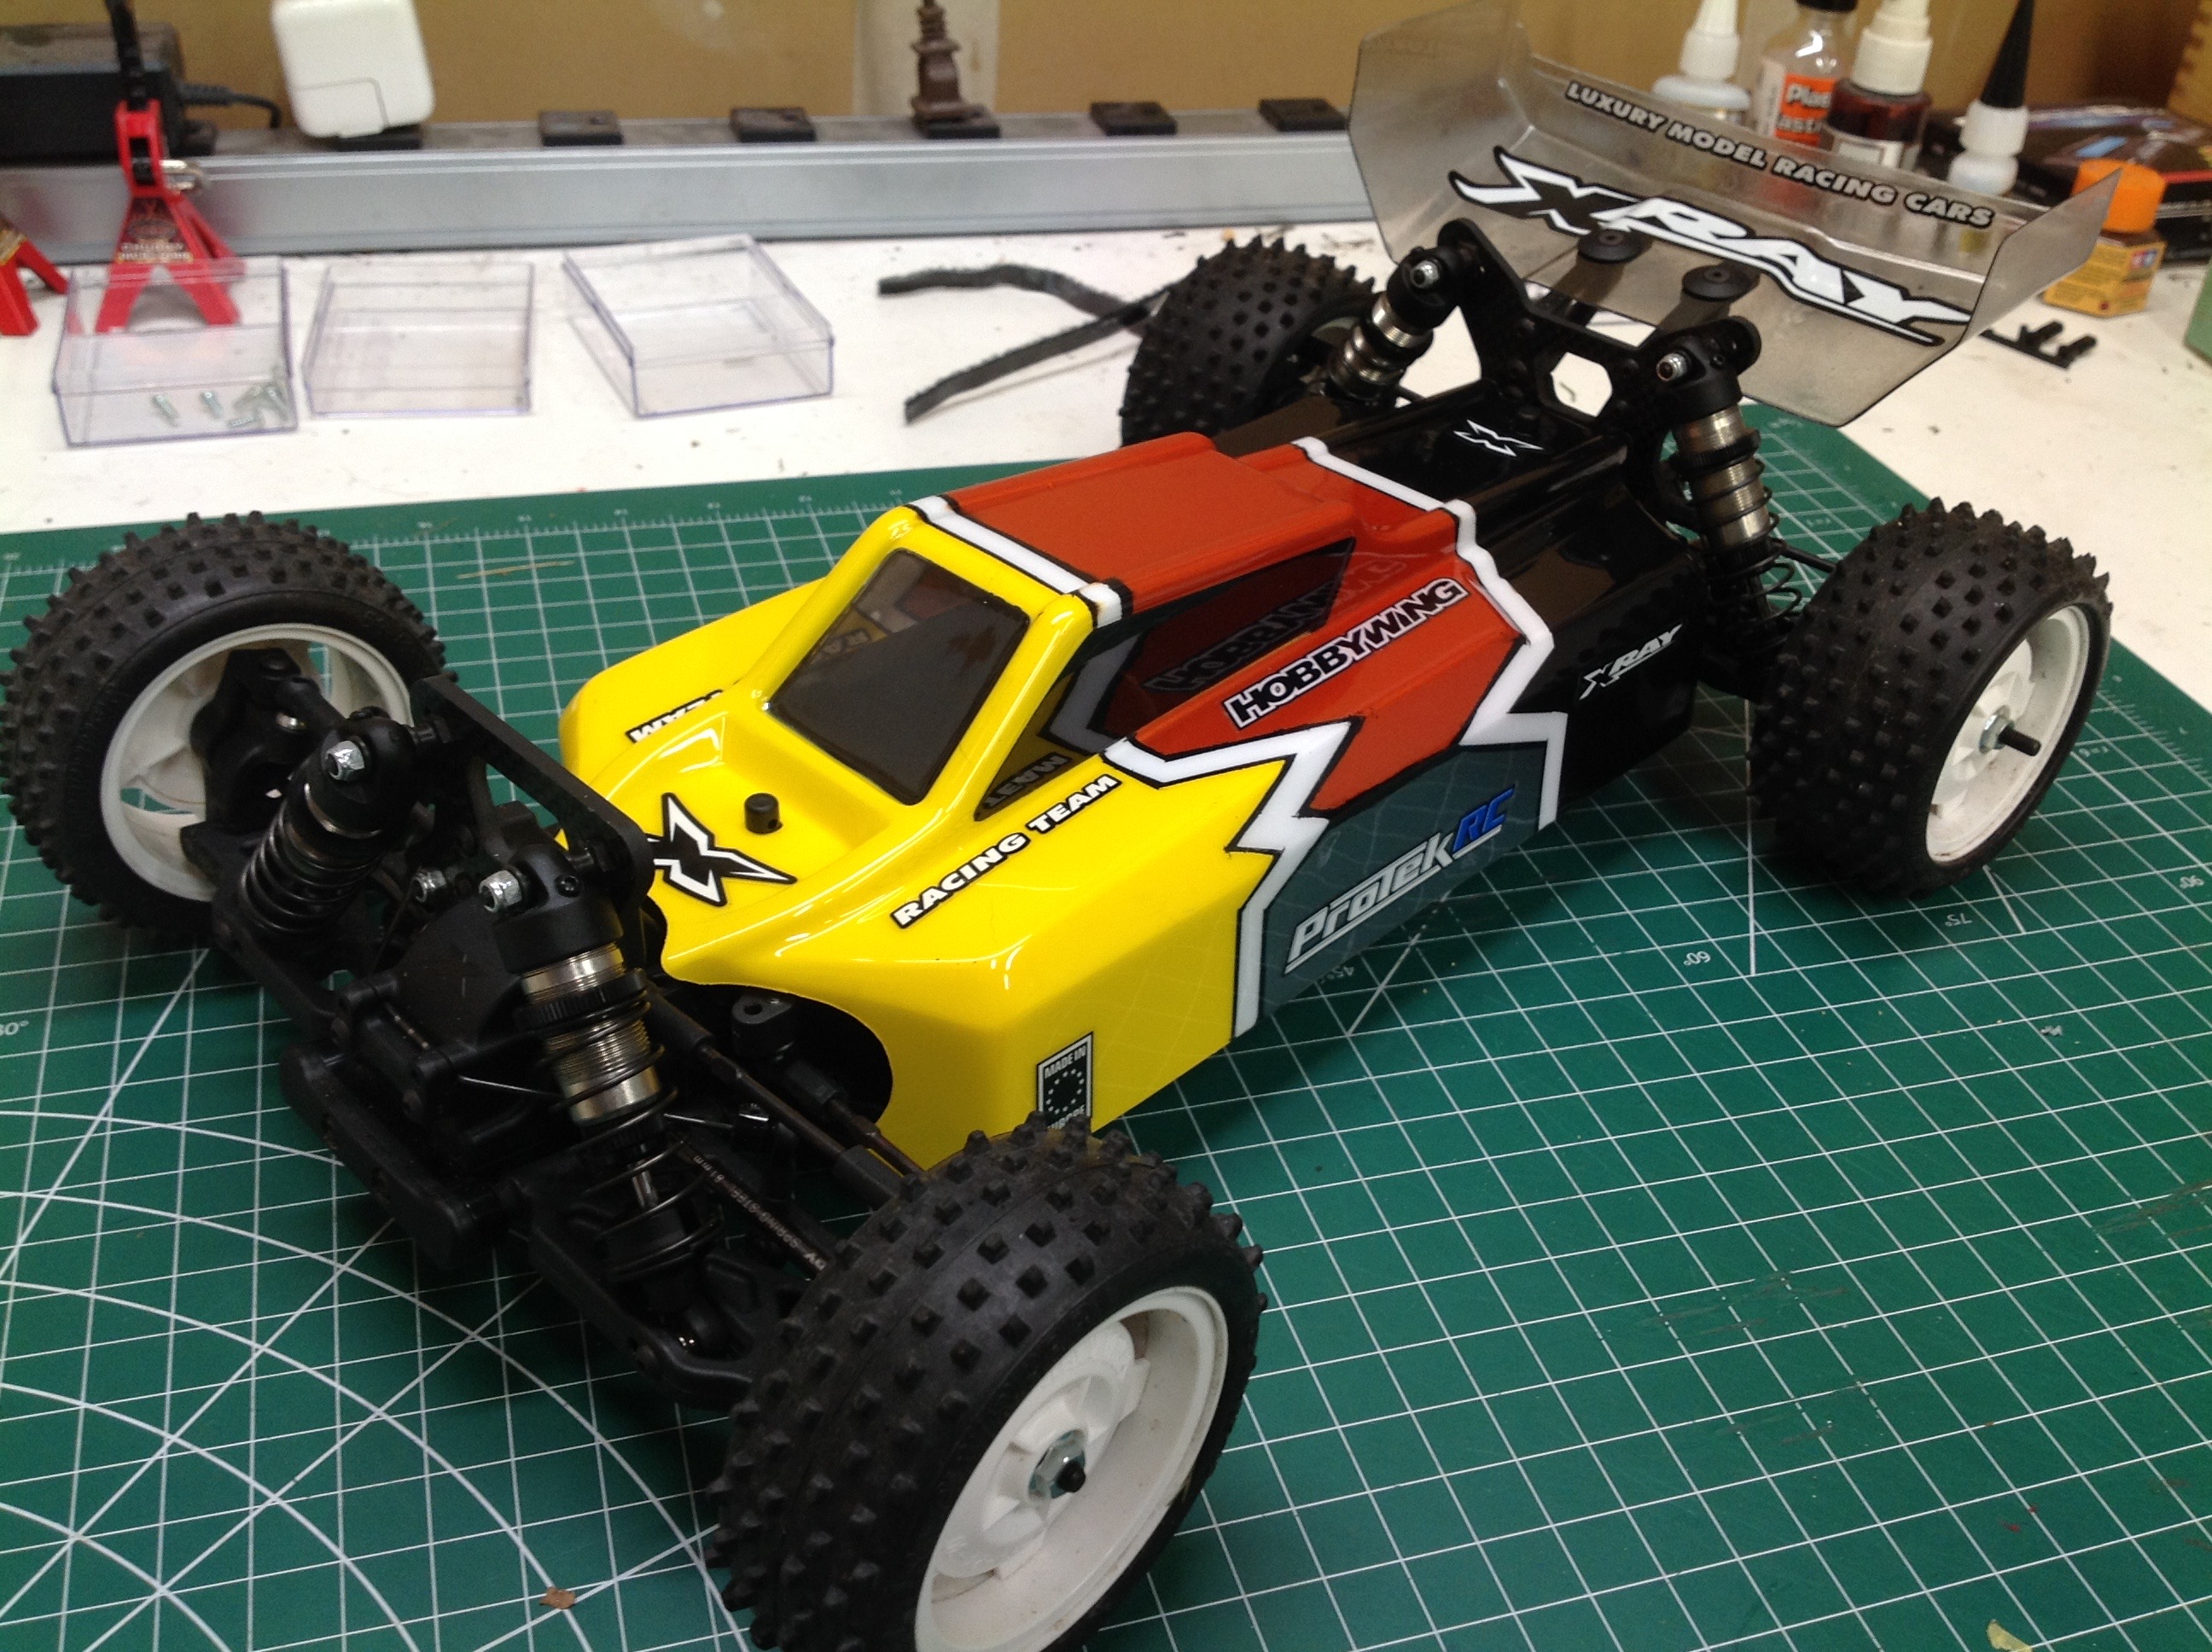
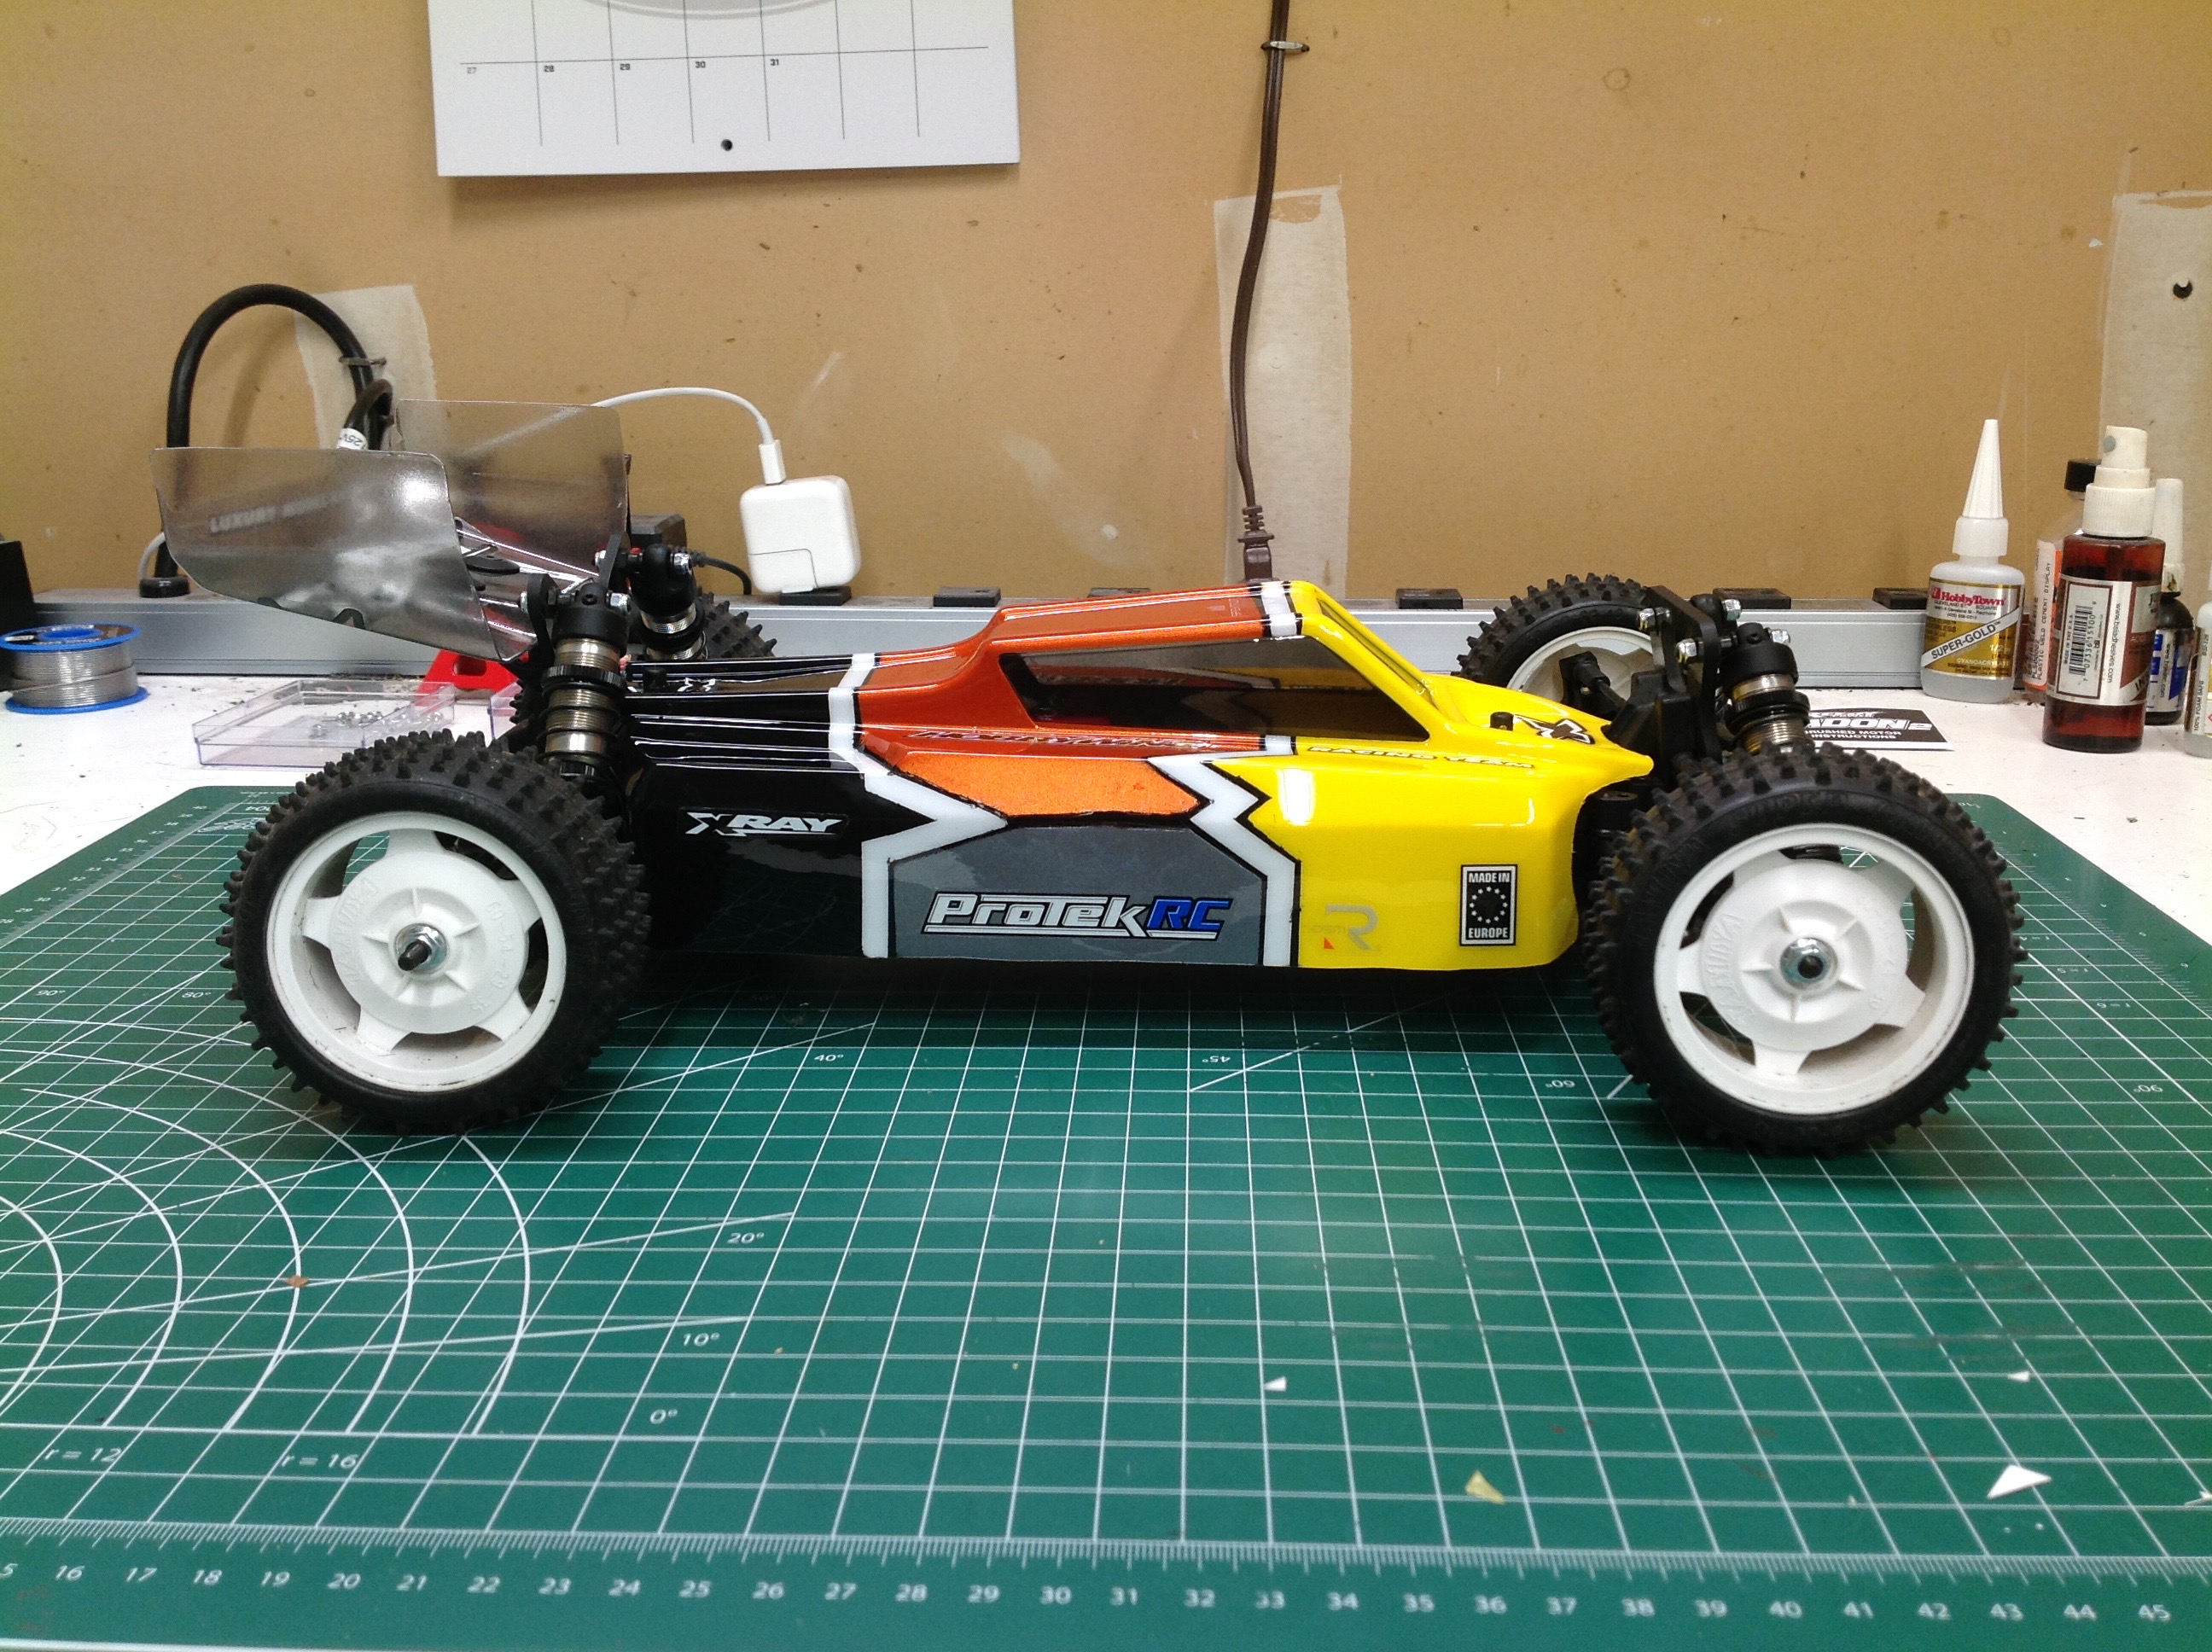
Here's the completed livery on the car. I think it looks pretty
good. The body attaches with a single body clip in the front and
another in the back along with a strip of thin Velcro on either
side. The rear wing was backed
with smoke for a tinted effect. The wing angle is not directly
adjustable, but the shape of the wing has three trim options along the
trailing edge to allow more flow or more down force. Note that the
wheels shown are just placeholders from a
Tamiya buggy. I was using these to test out the chassis prior to
getting and gluing my final tire choice.
©2019 Eric Albrecht