Tamiya TB Evolution II Project
Page 2: Assembling the Chassis
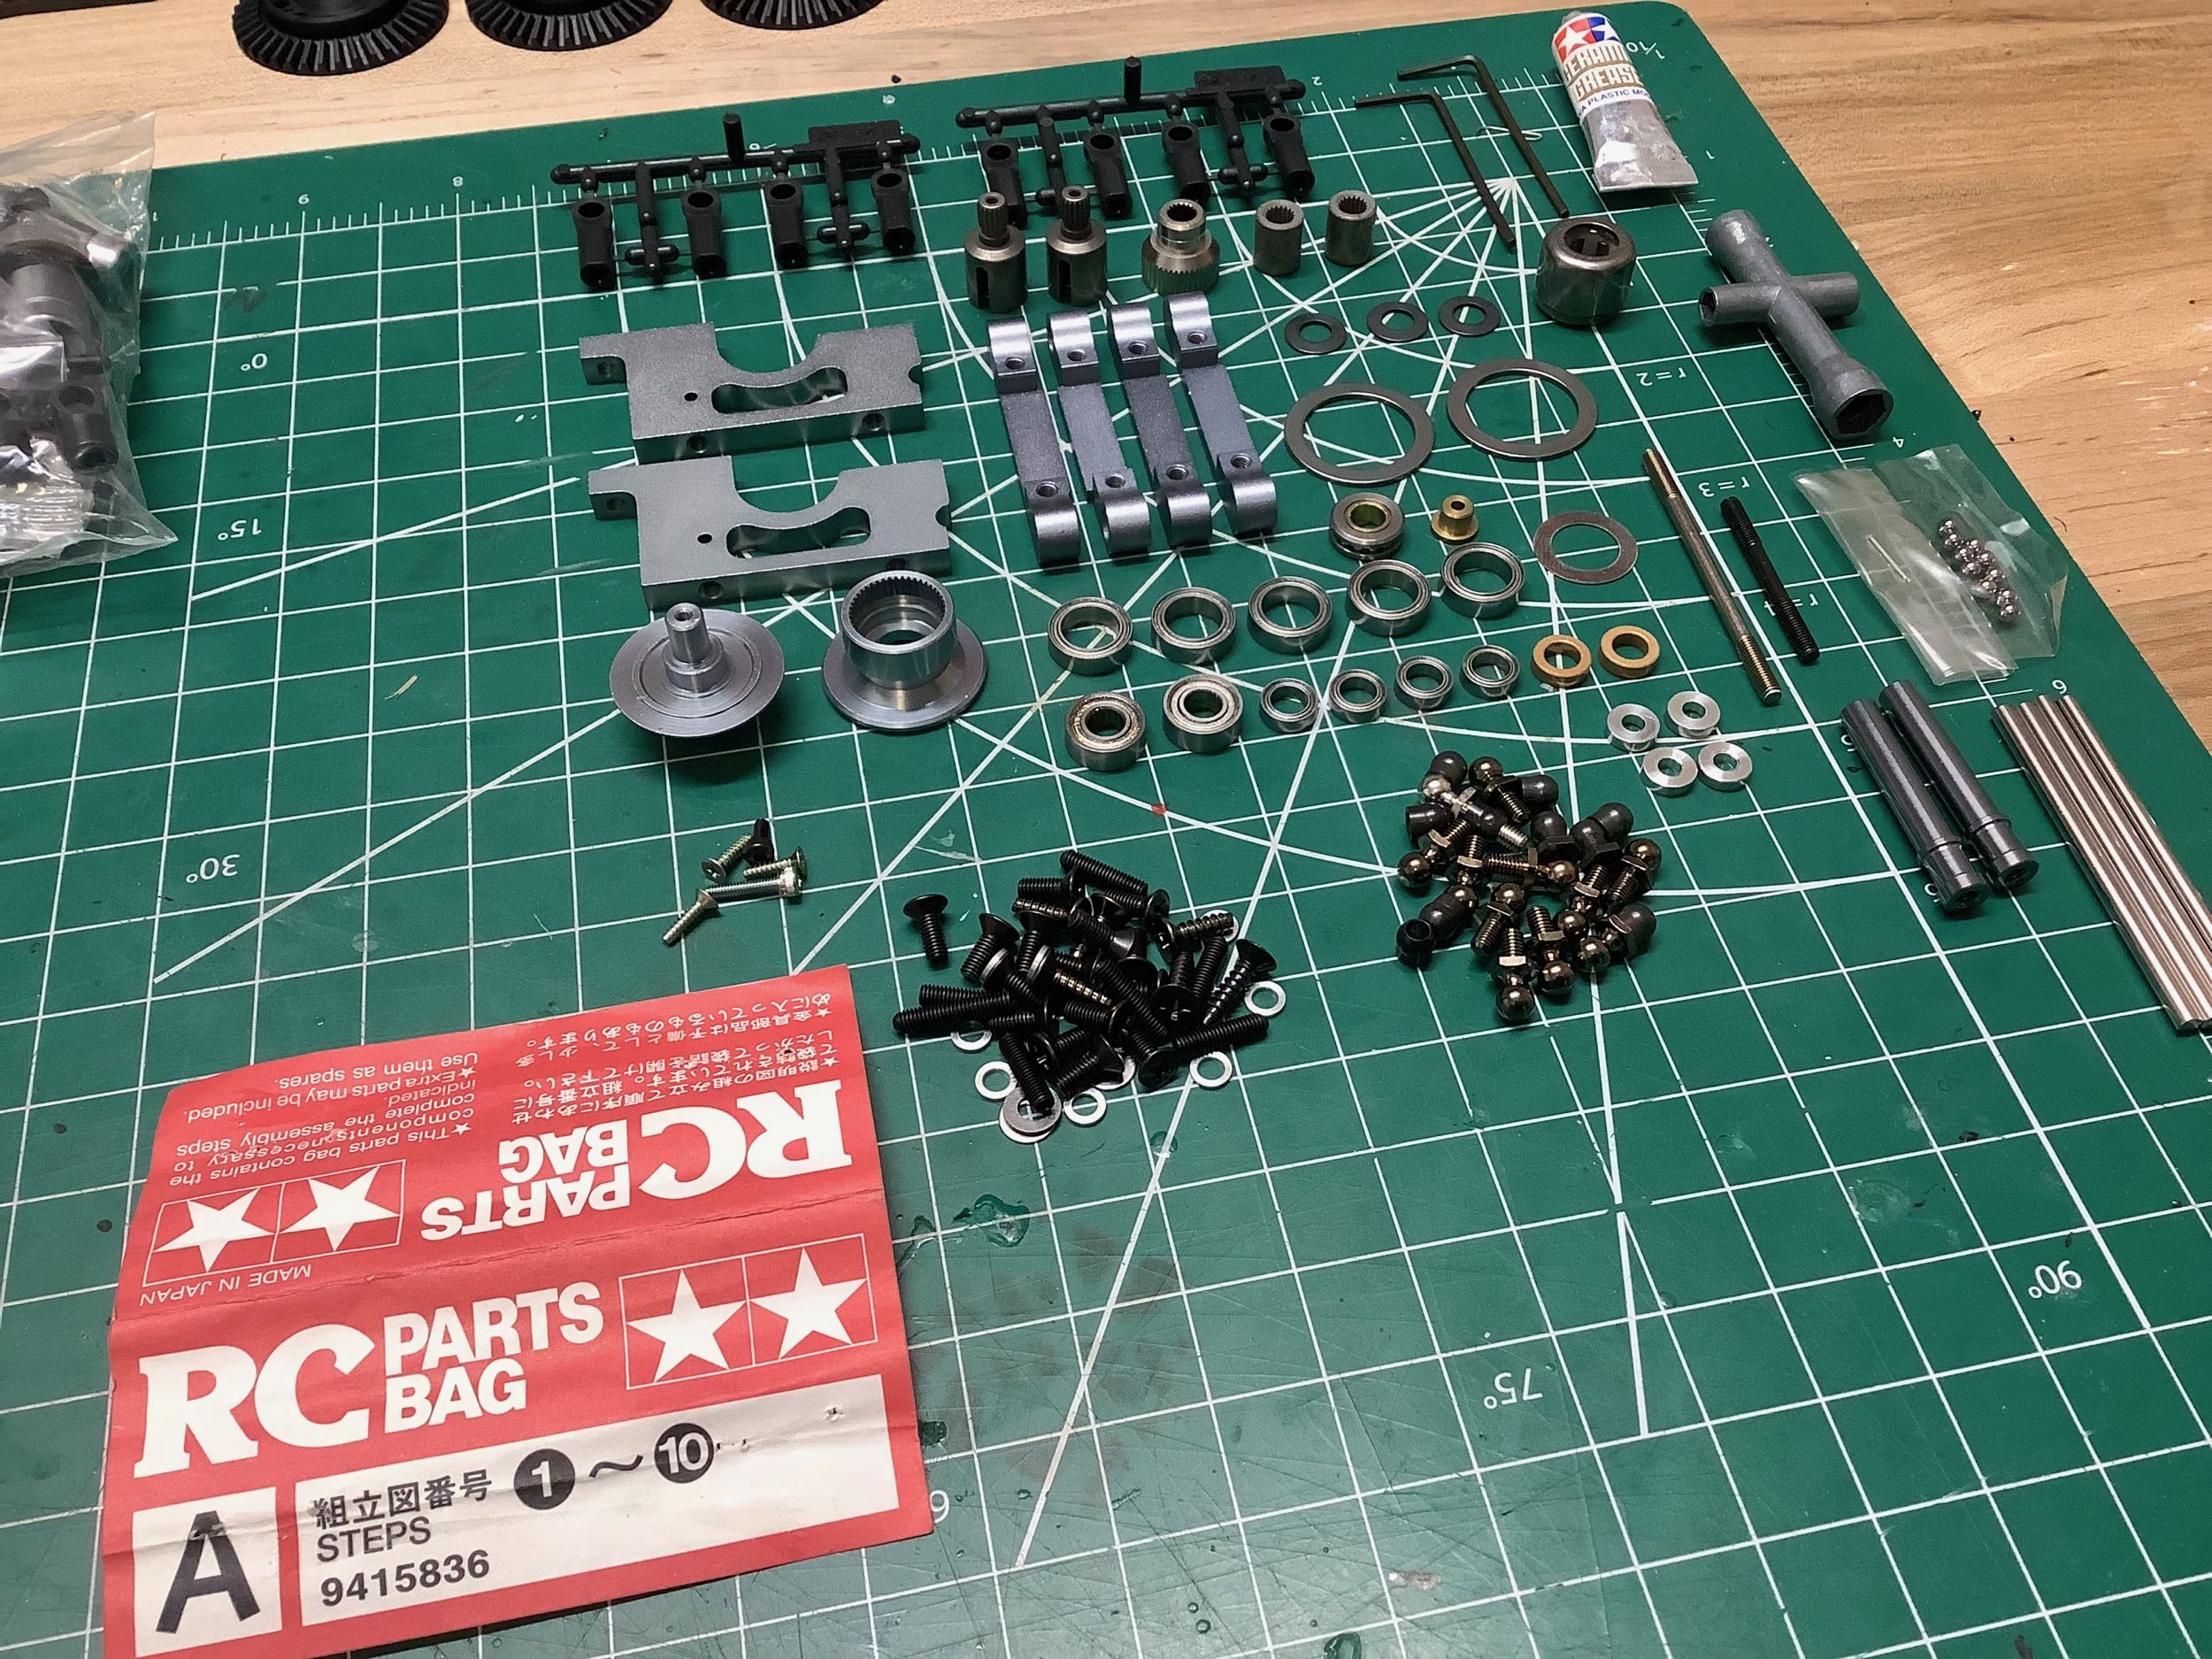
Hardware bag A contains the parts for Steps 1-10 which builds most of
the suspension. Compared to the original Evo, it can be
immediately seen that there is a lot more machined aluminum here.
The build order has also changed significantly because of the aluminum
bulkheads and suspension mounts.
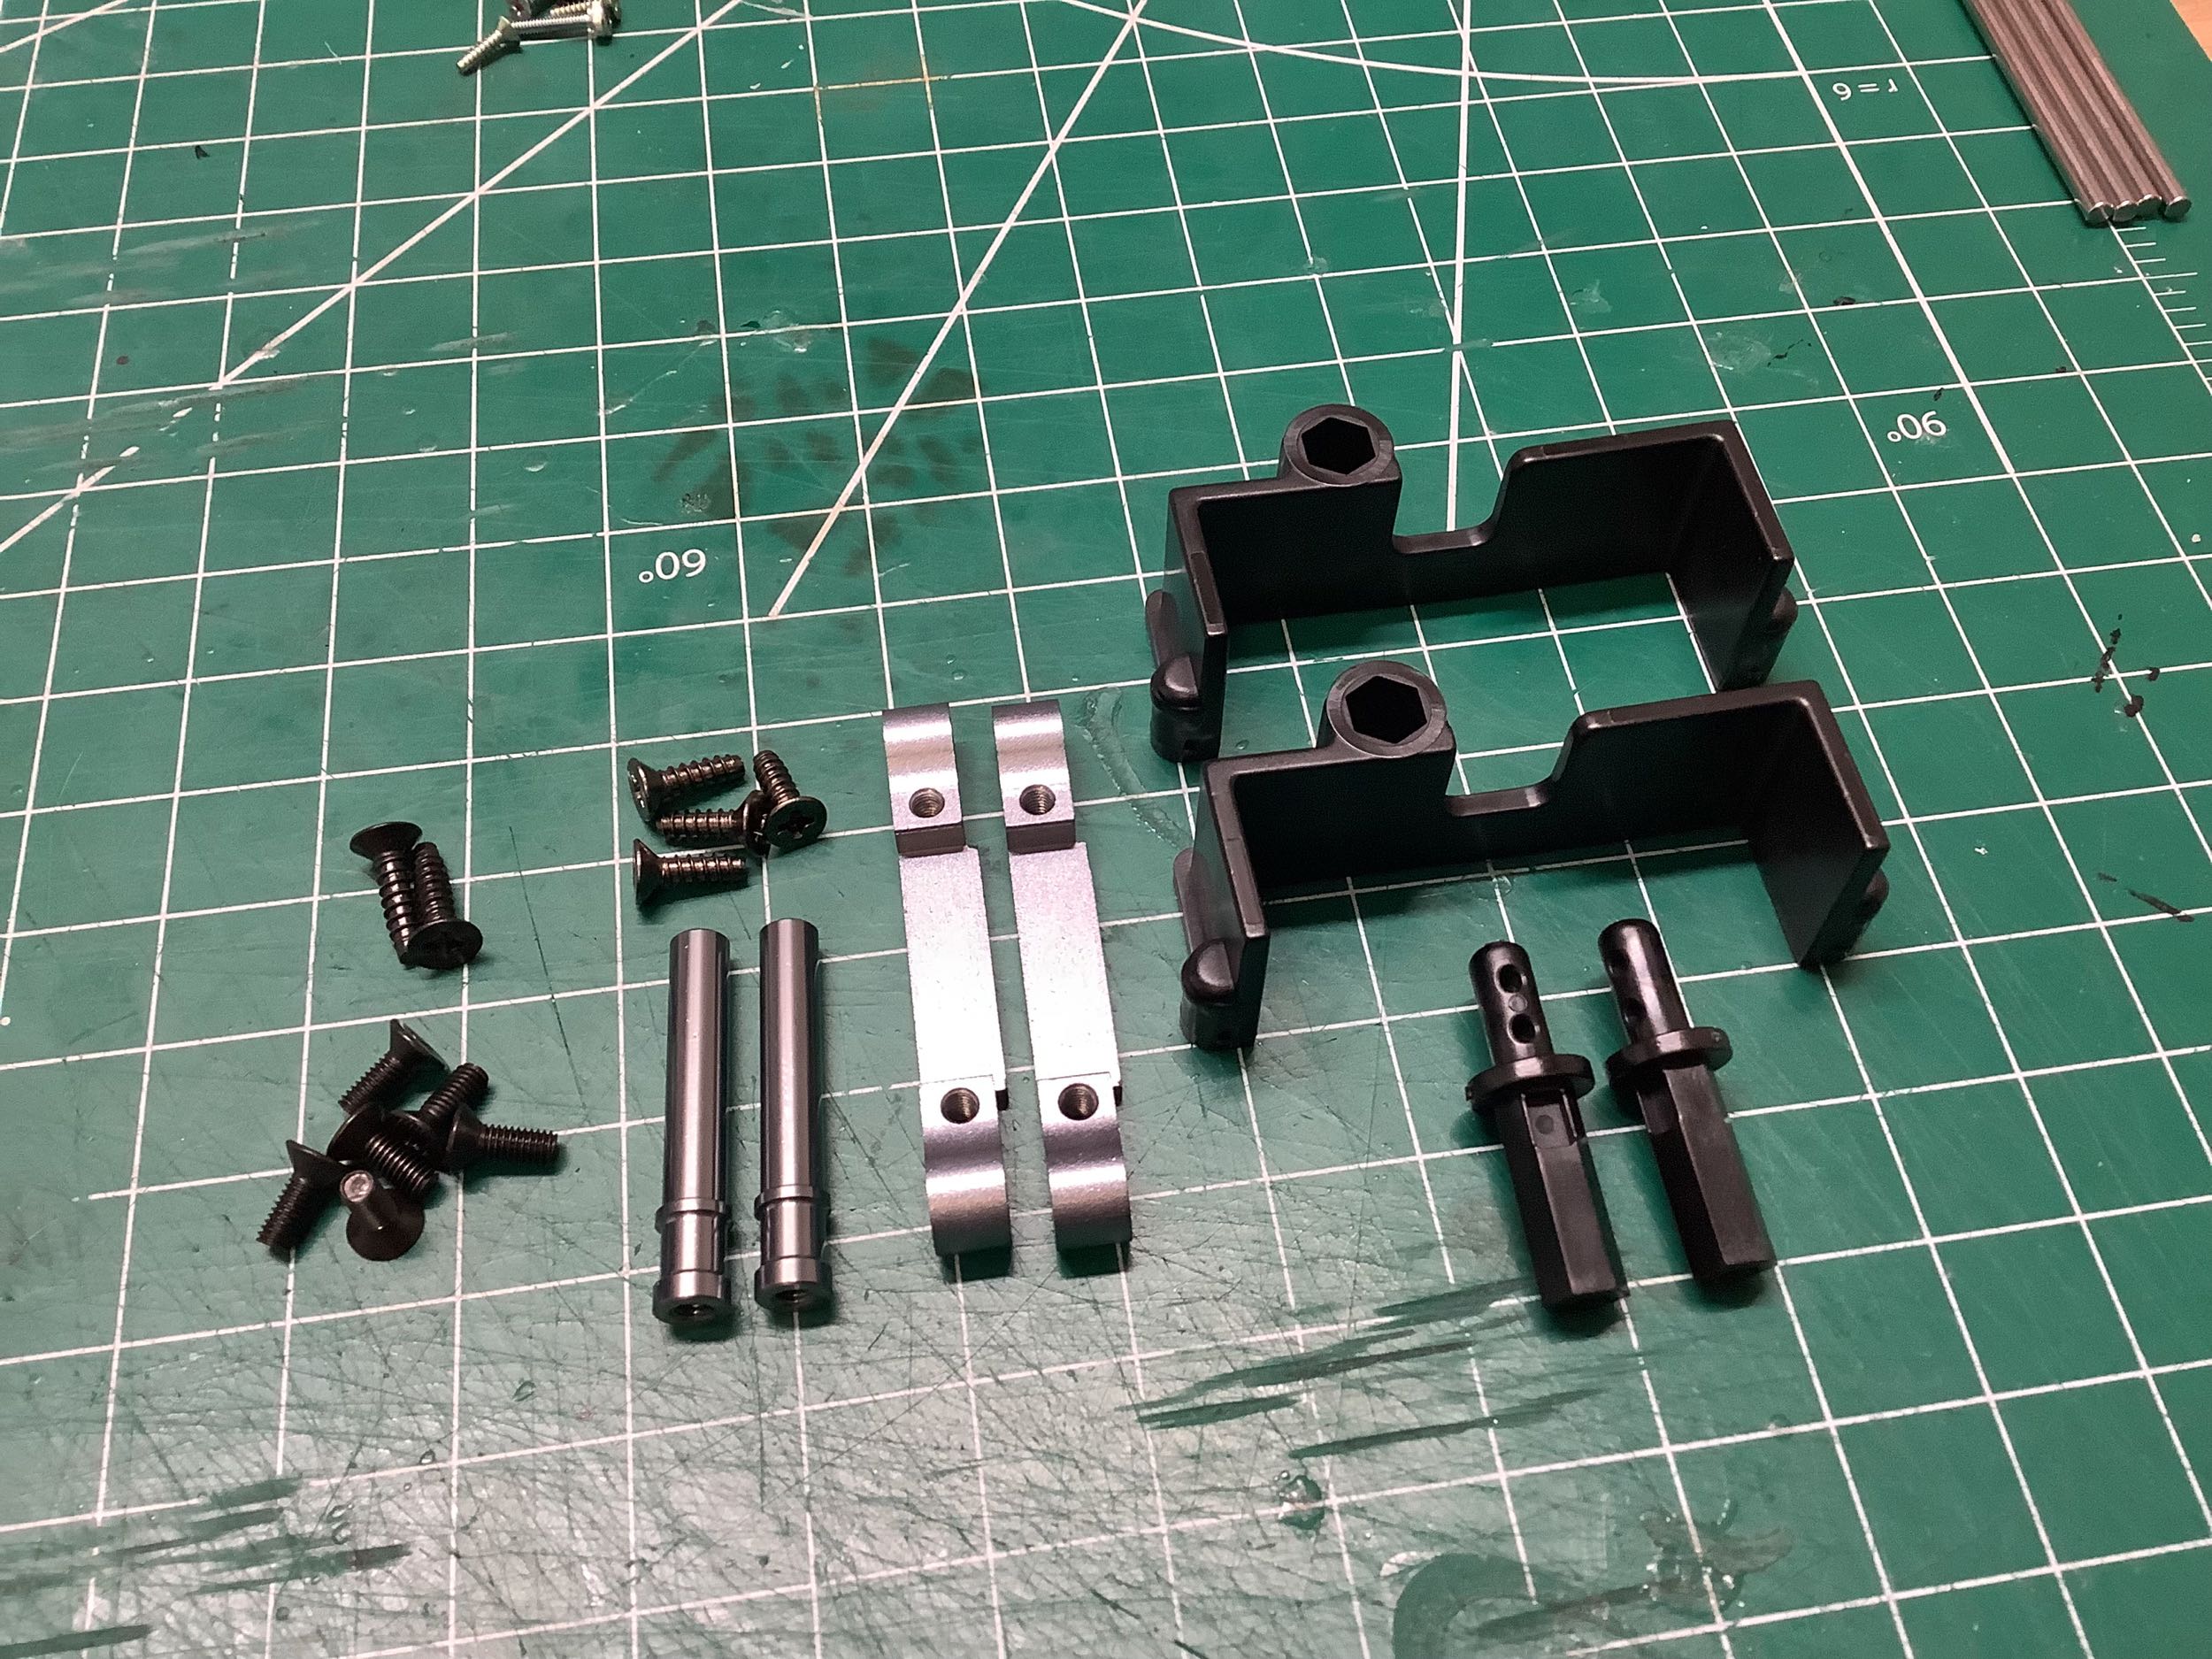
The Evo II uses the same battery supports as the original Evo, but here
they are installed immediately in Step 1 rather than in Step 5.
The steering posts have been changed to have integrated lower
standoffs. The most obvious change here is the addition of the new
suspension mounts which appear to be an evolution of the simple
rectangular blocks used on the TRF 414M, but without the width
variations that would come later. By this I mean that all four
suspension mounts are the same size resulting in no sweep angle.
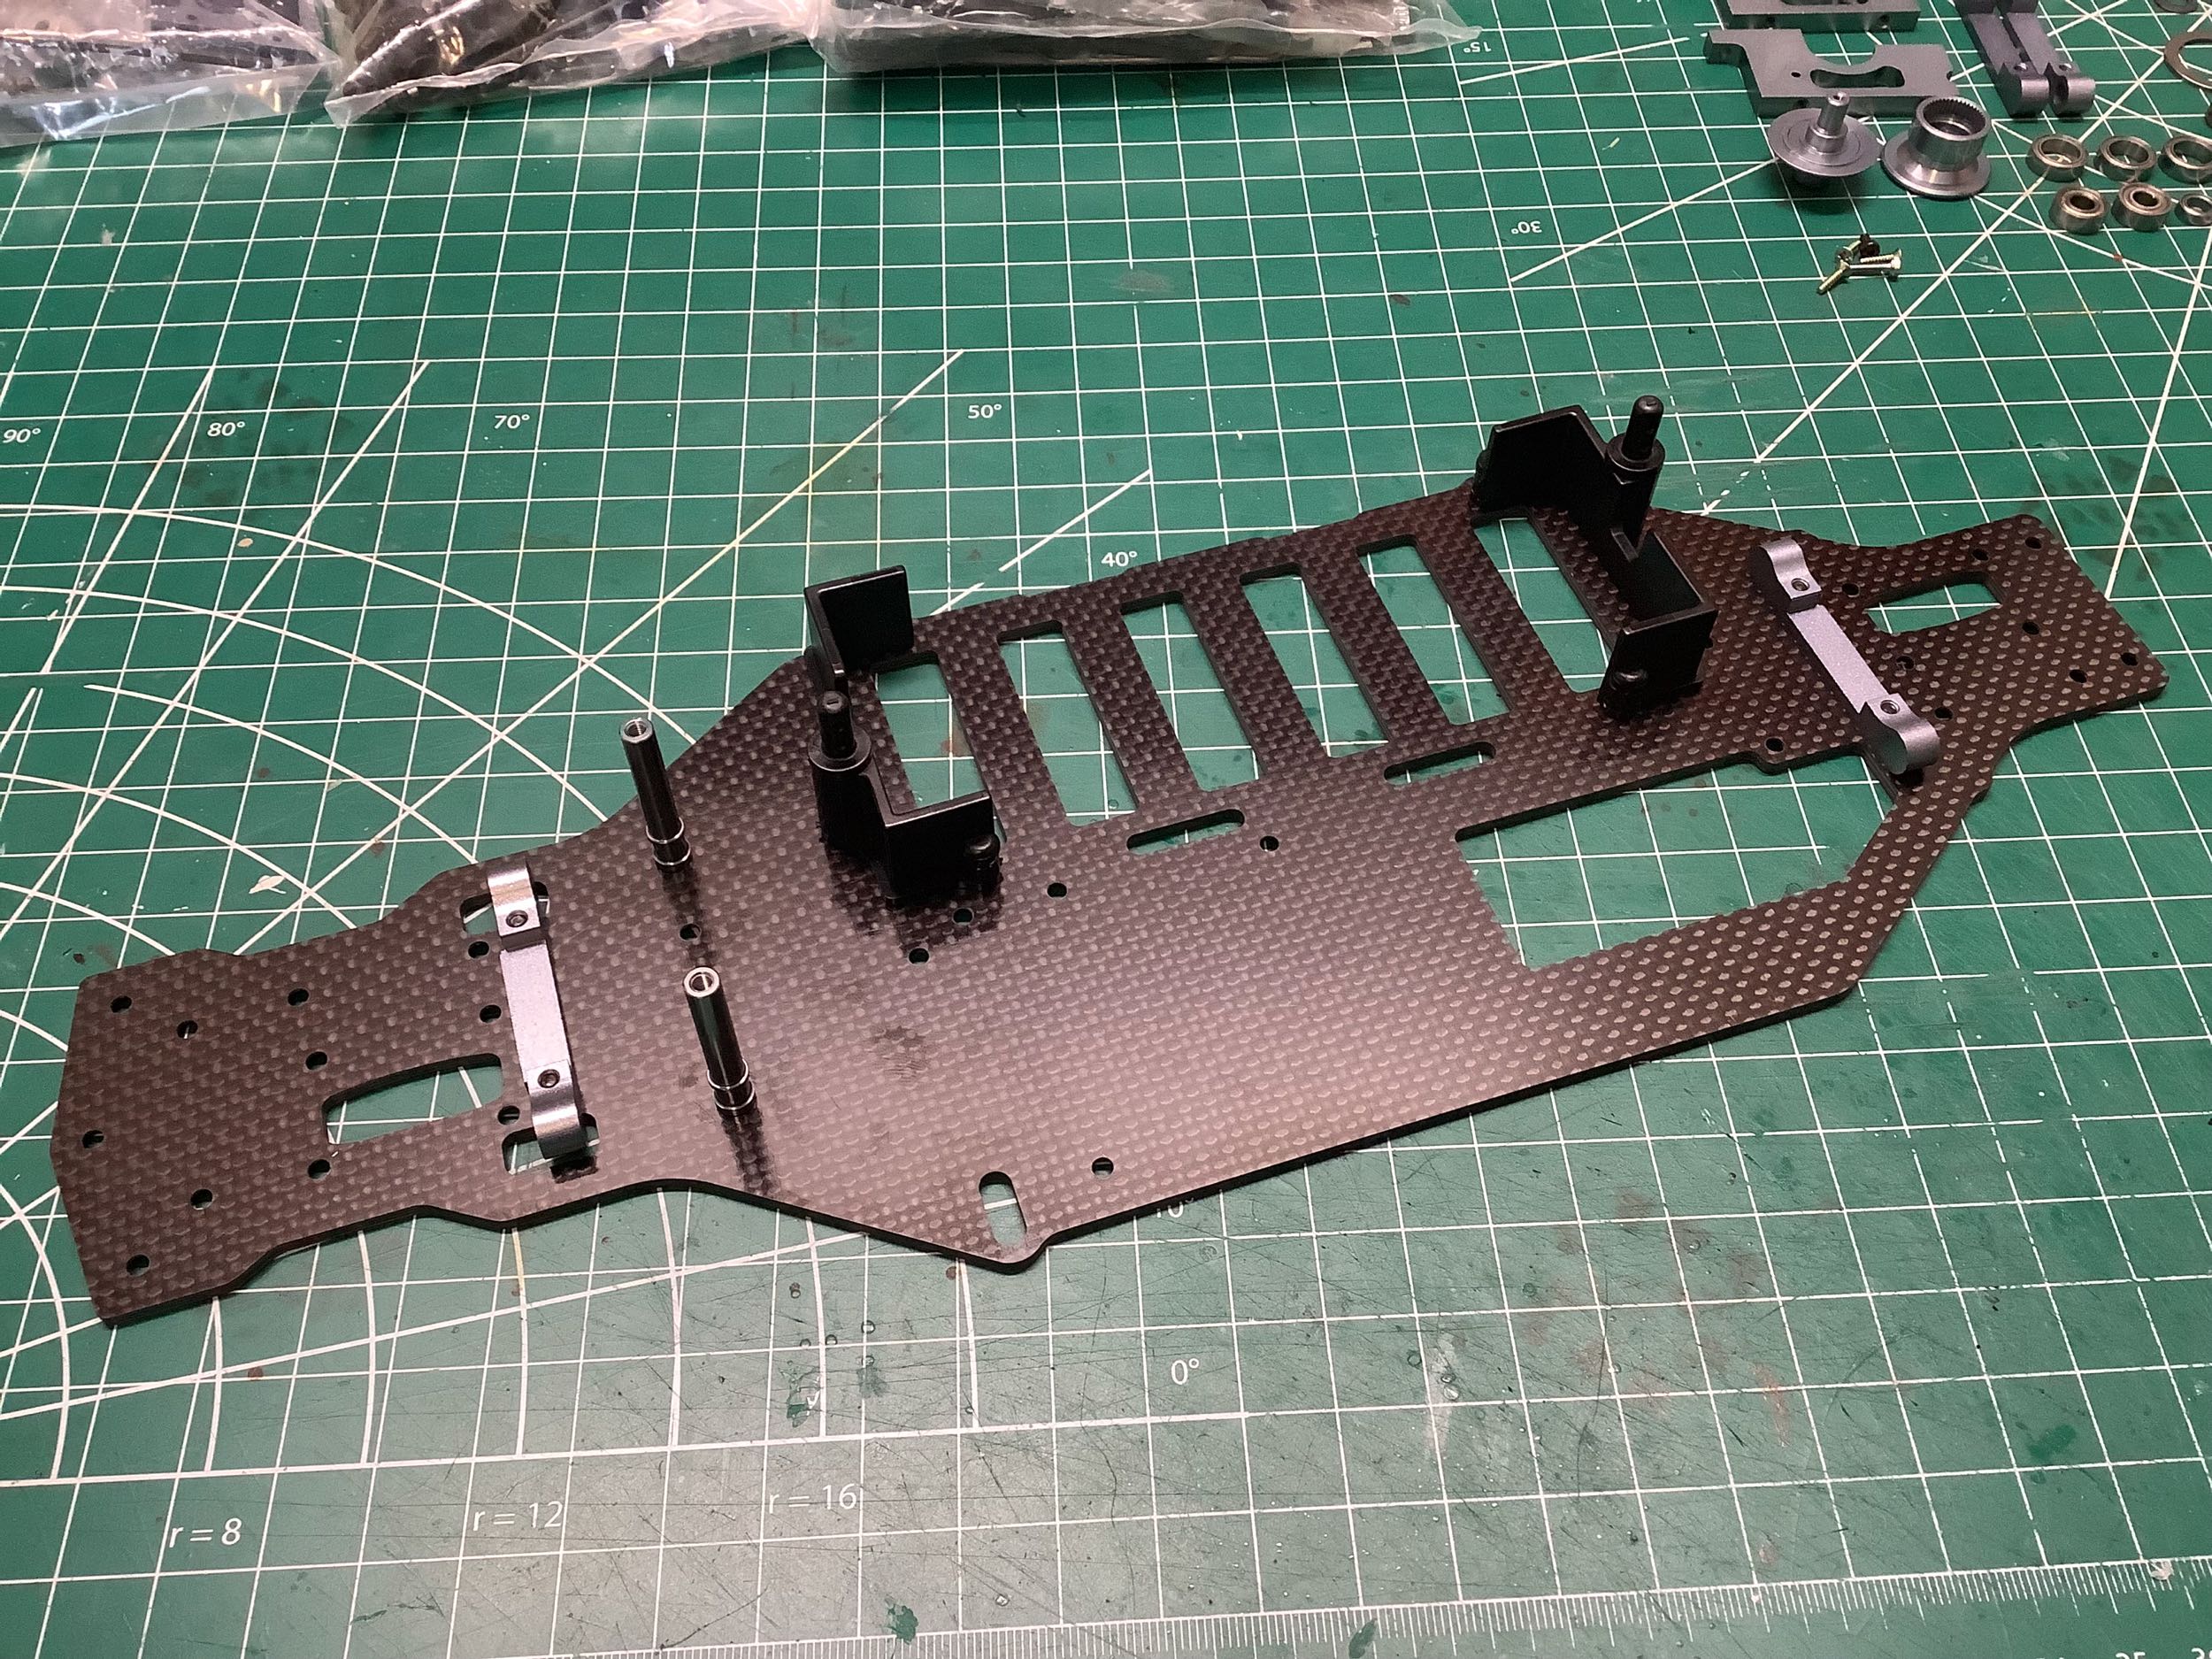
The lower carbon deck is 2.5mm thick.
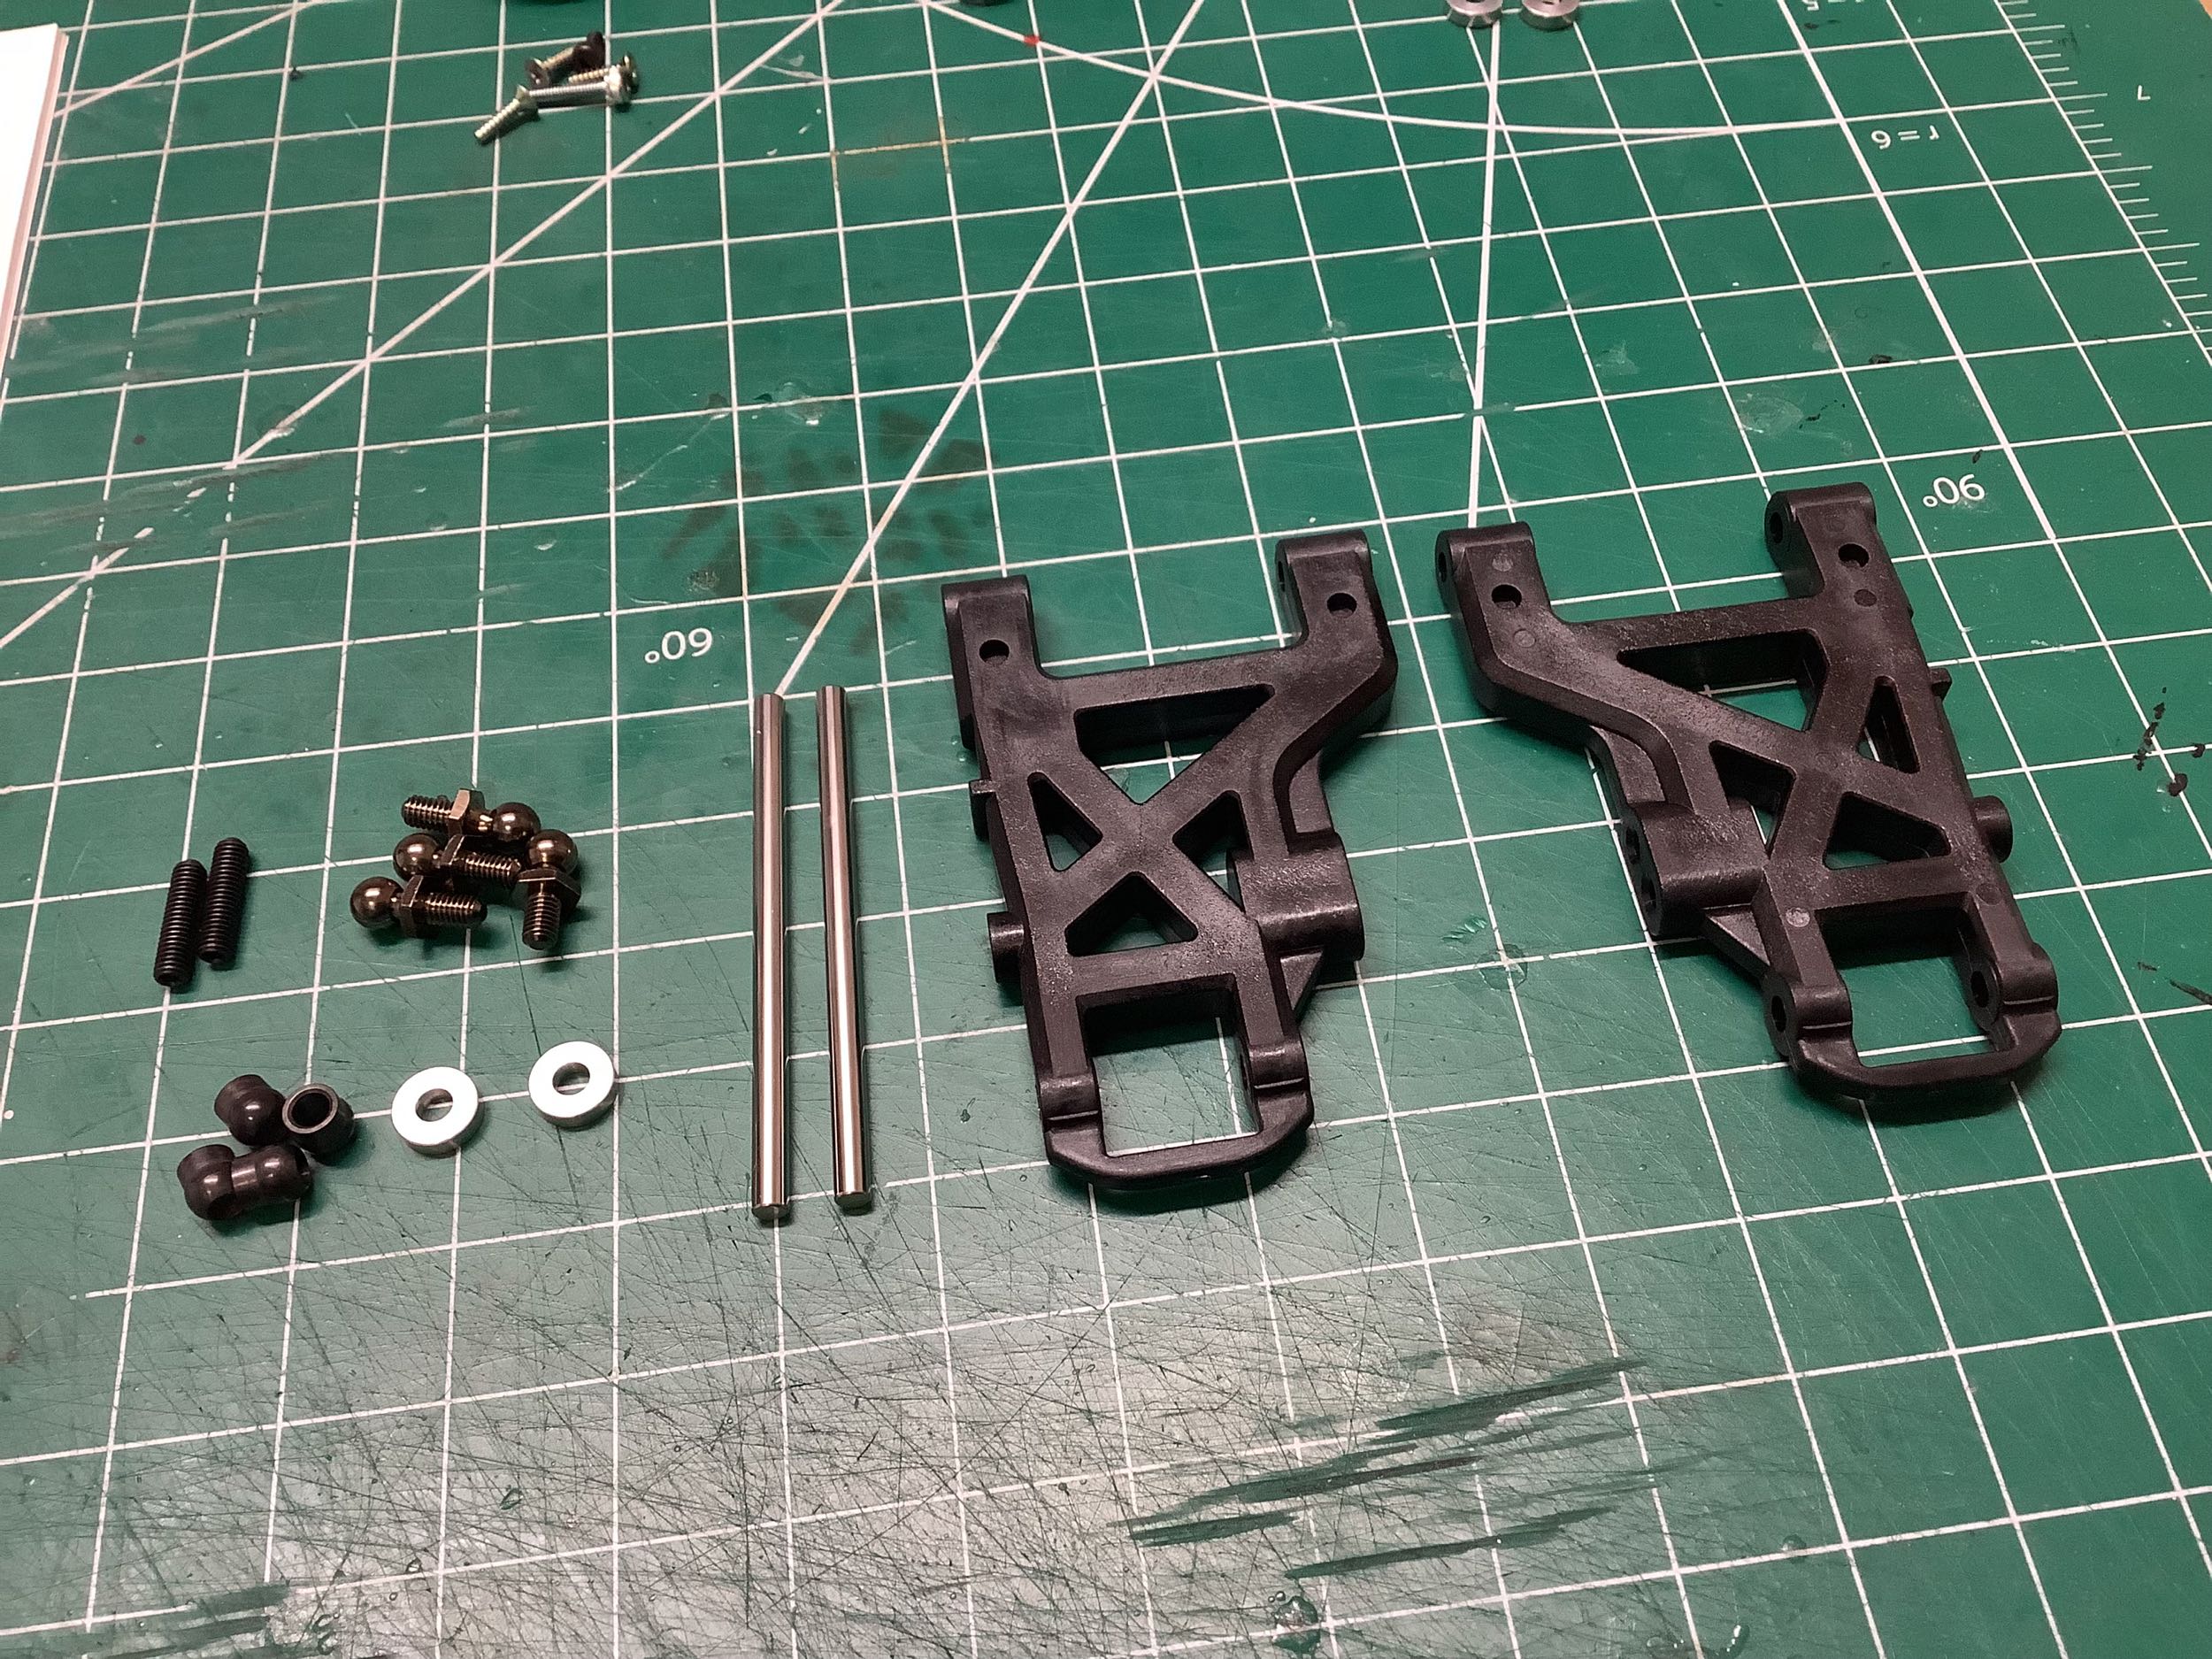
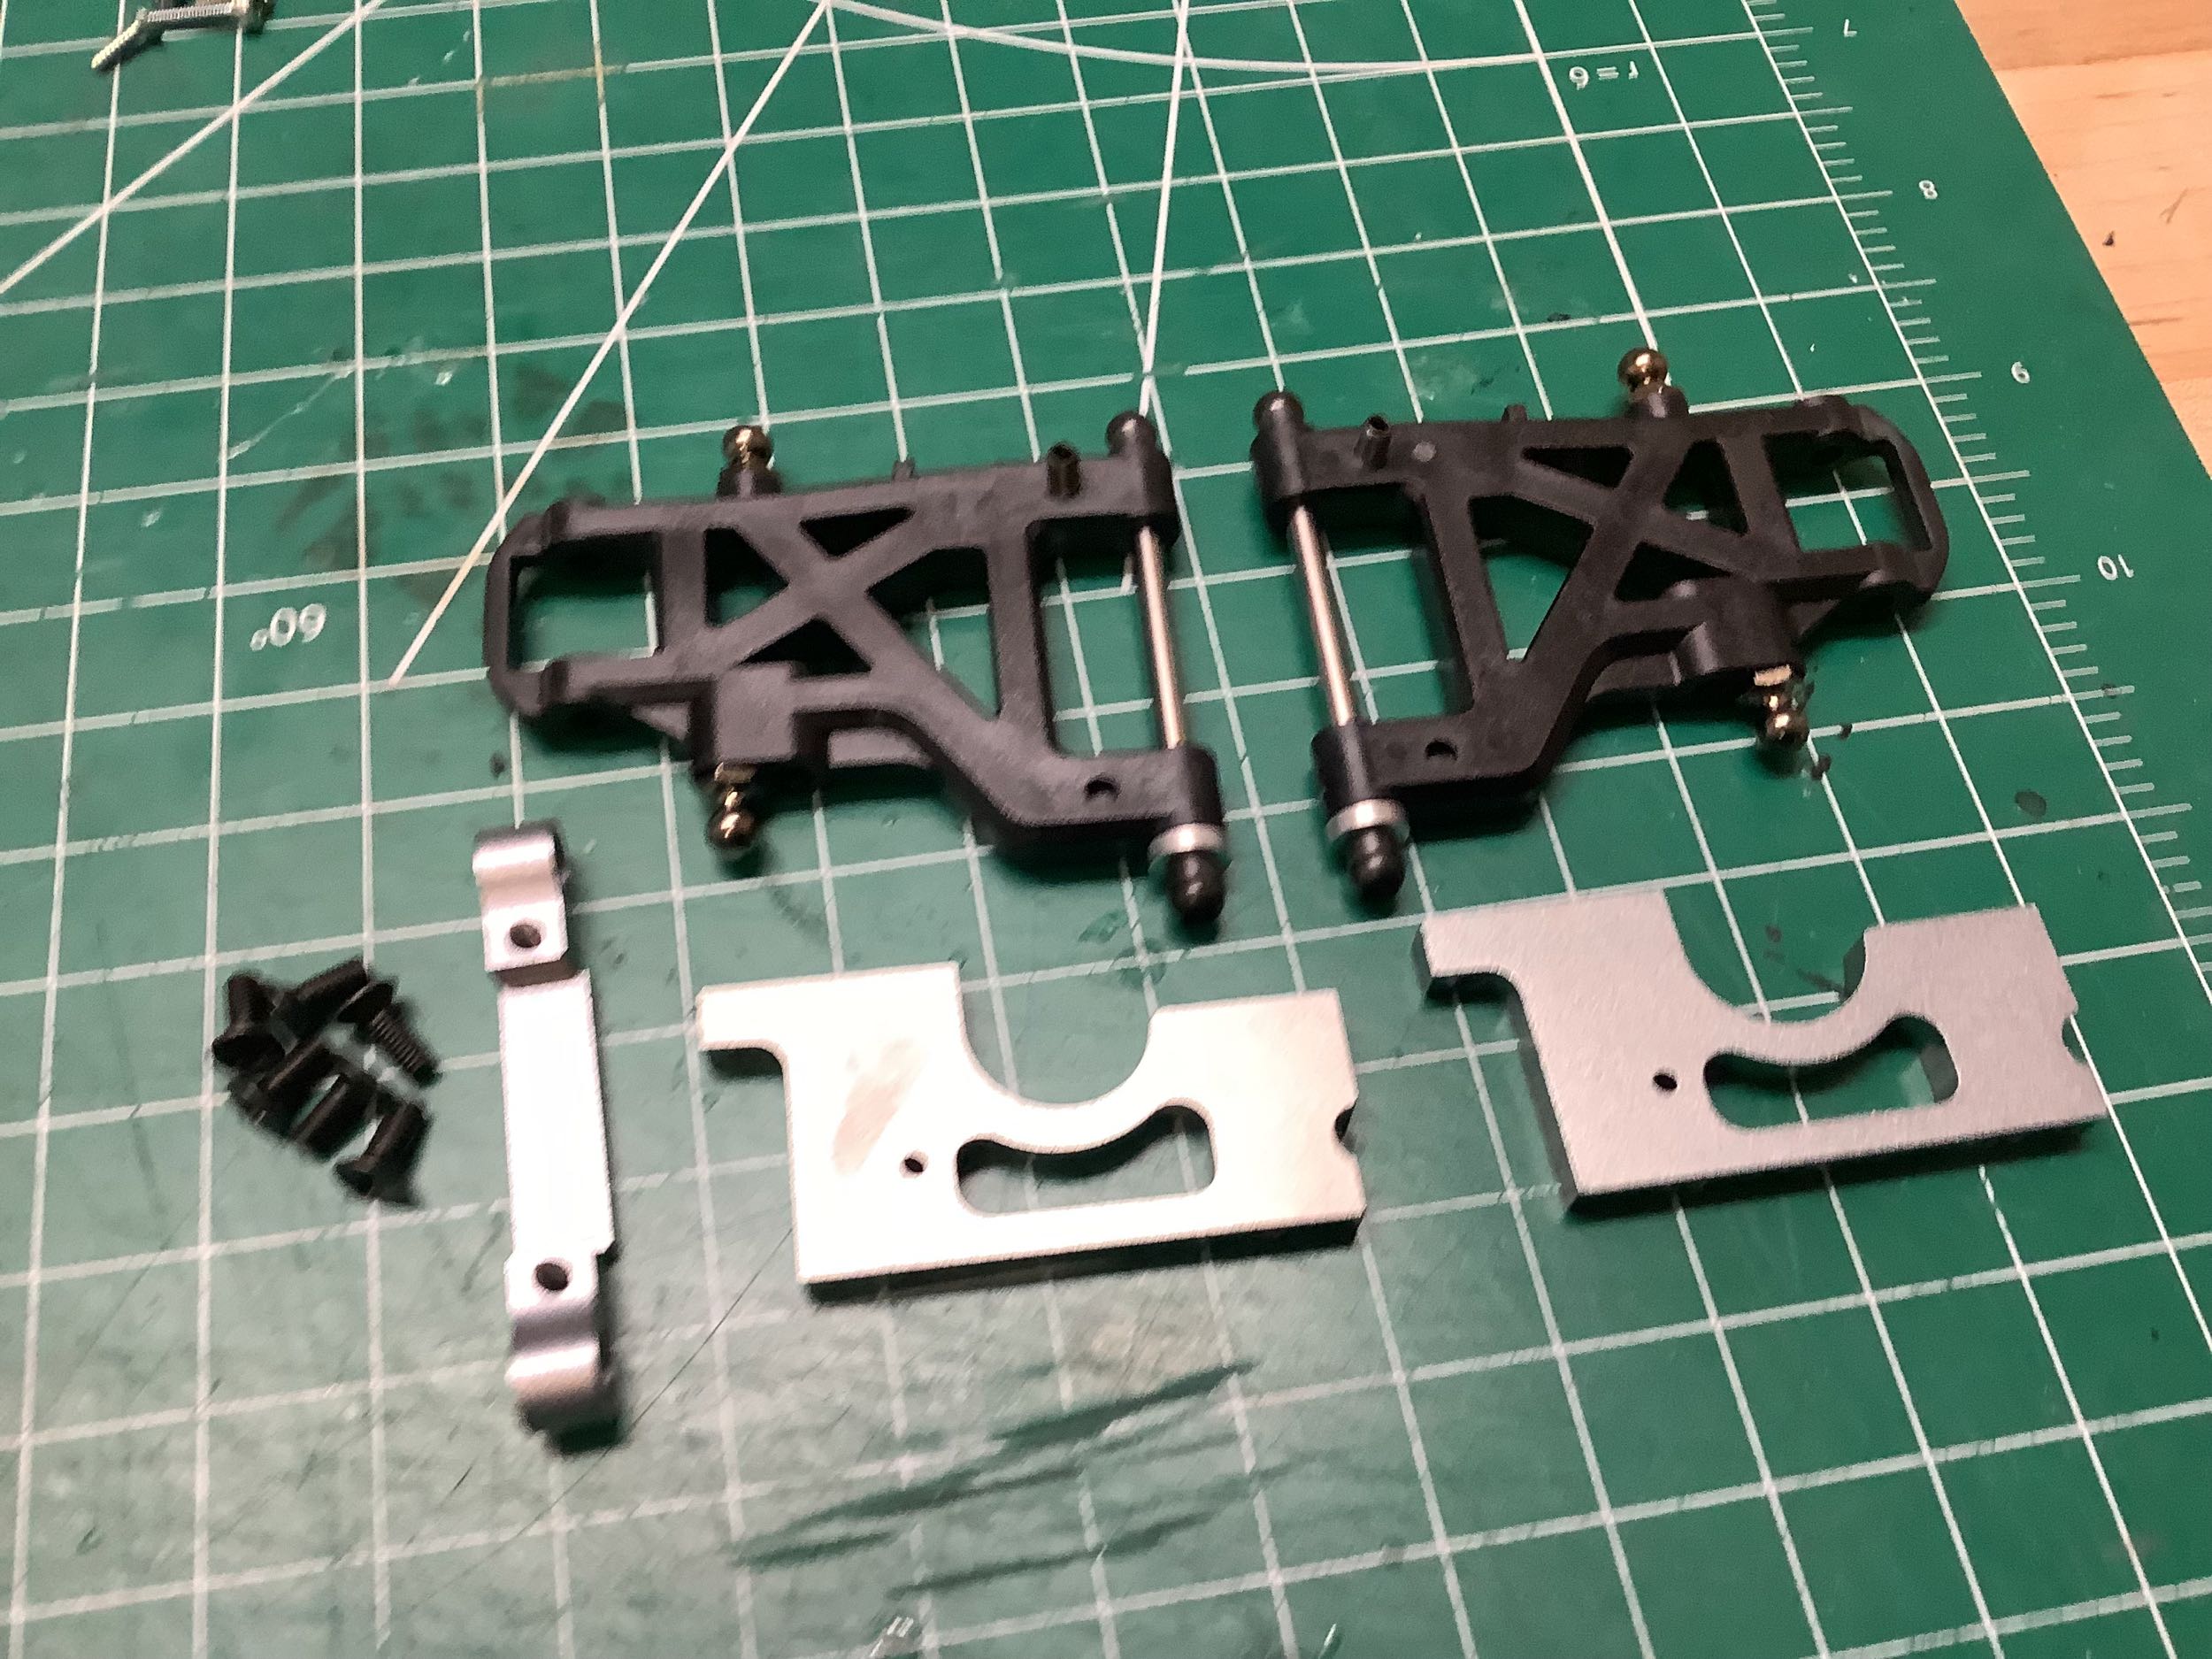
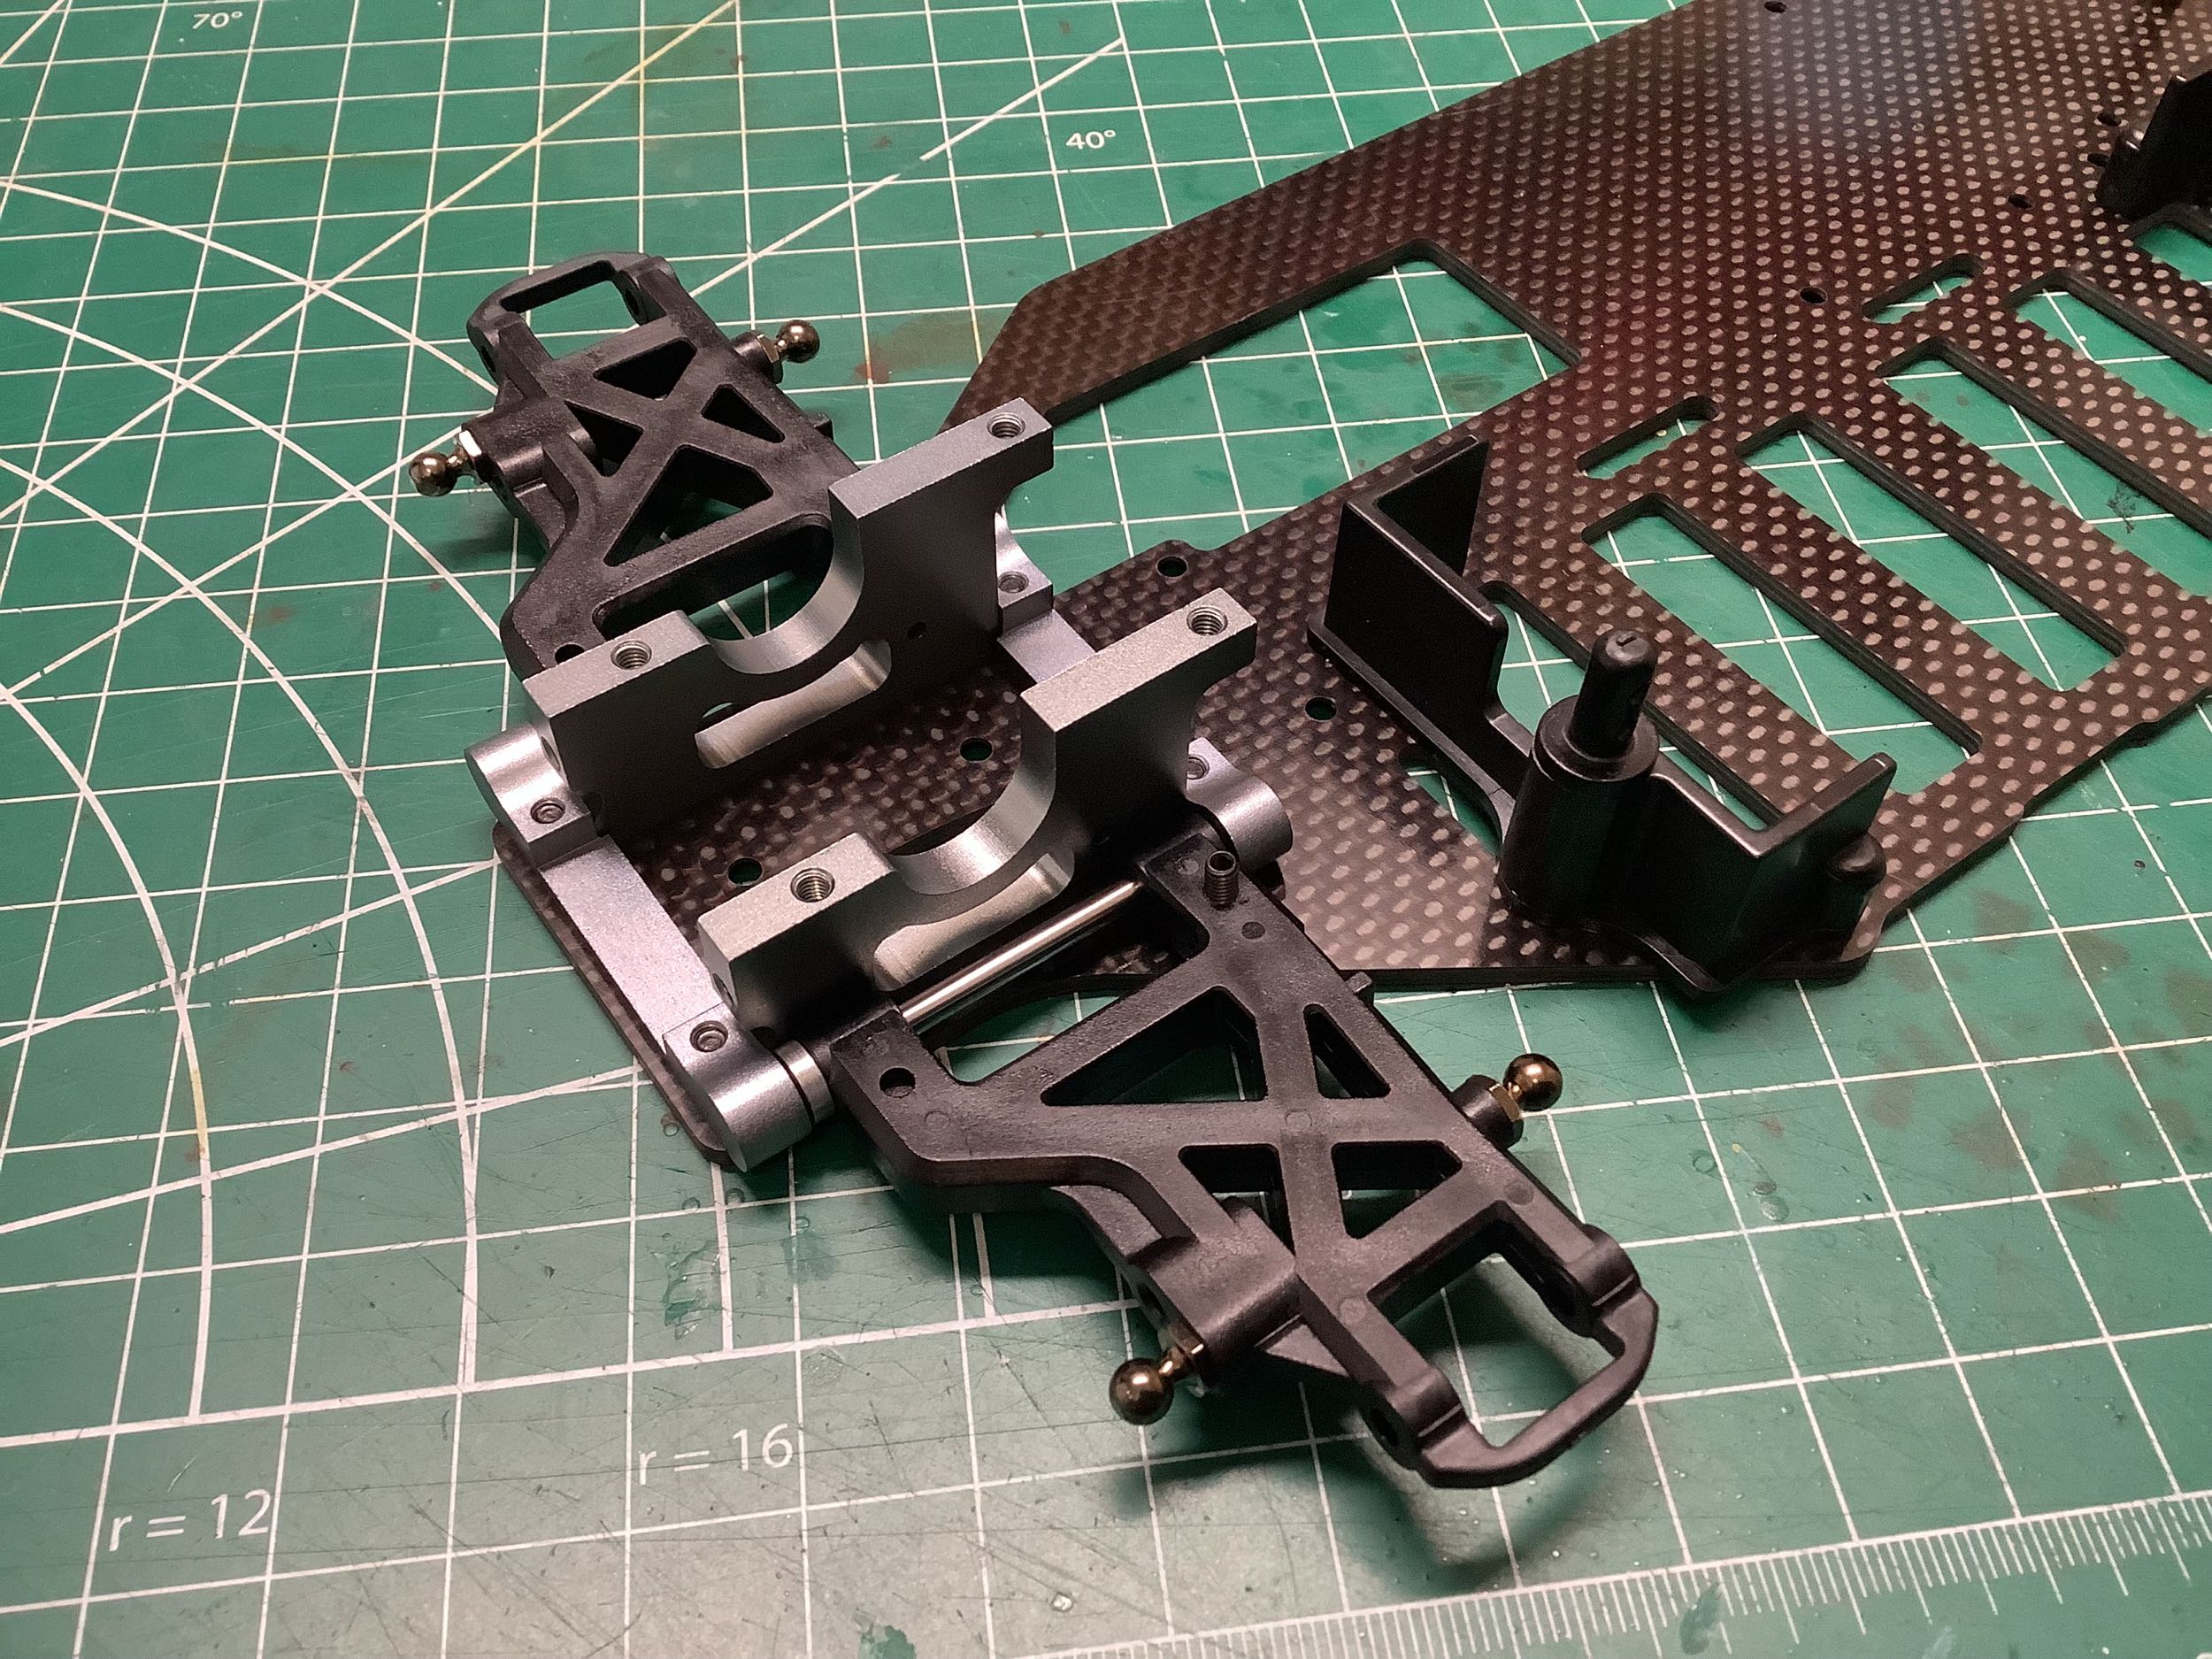
The plastic suspension arms are carried forward from the Evo, both front
and rear (rear shown here). The aluminum bulkheads, on the other
hand, are brand
new. In the old design, the hinge pins passed through holes in the
plastic bulkheads, but now the suspension mounts and bulkheads are
totally separate. The rear bulkheads are very simple machined
plates
with no pockets. The hinge pins are a very odd 51.3mm length which
allows for a bit of room for spacers to make slight adjustments to the
wheelbase, and they no longer use E-clips. The hinge pins now
terminate in ball joints which allow them to meet the suspension blocks
at non-right angles.
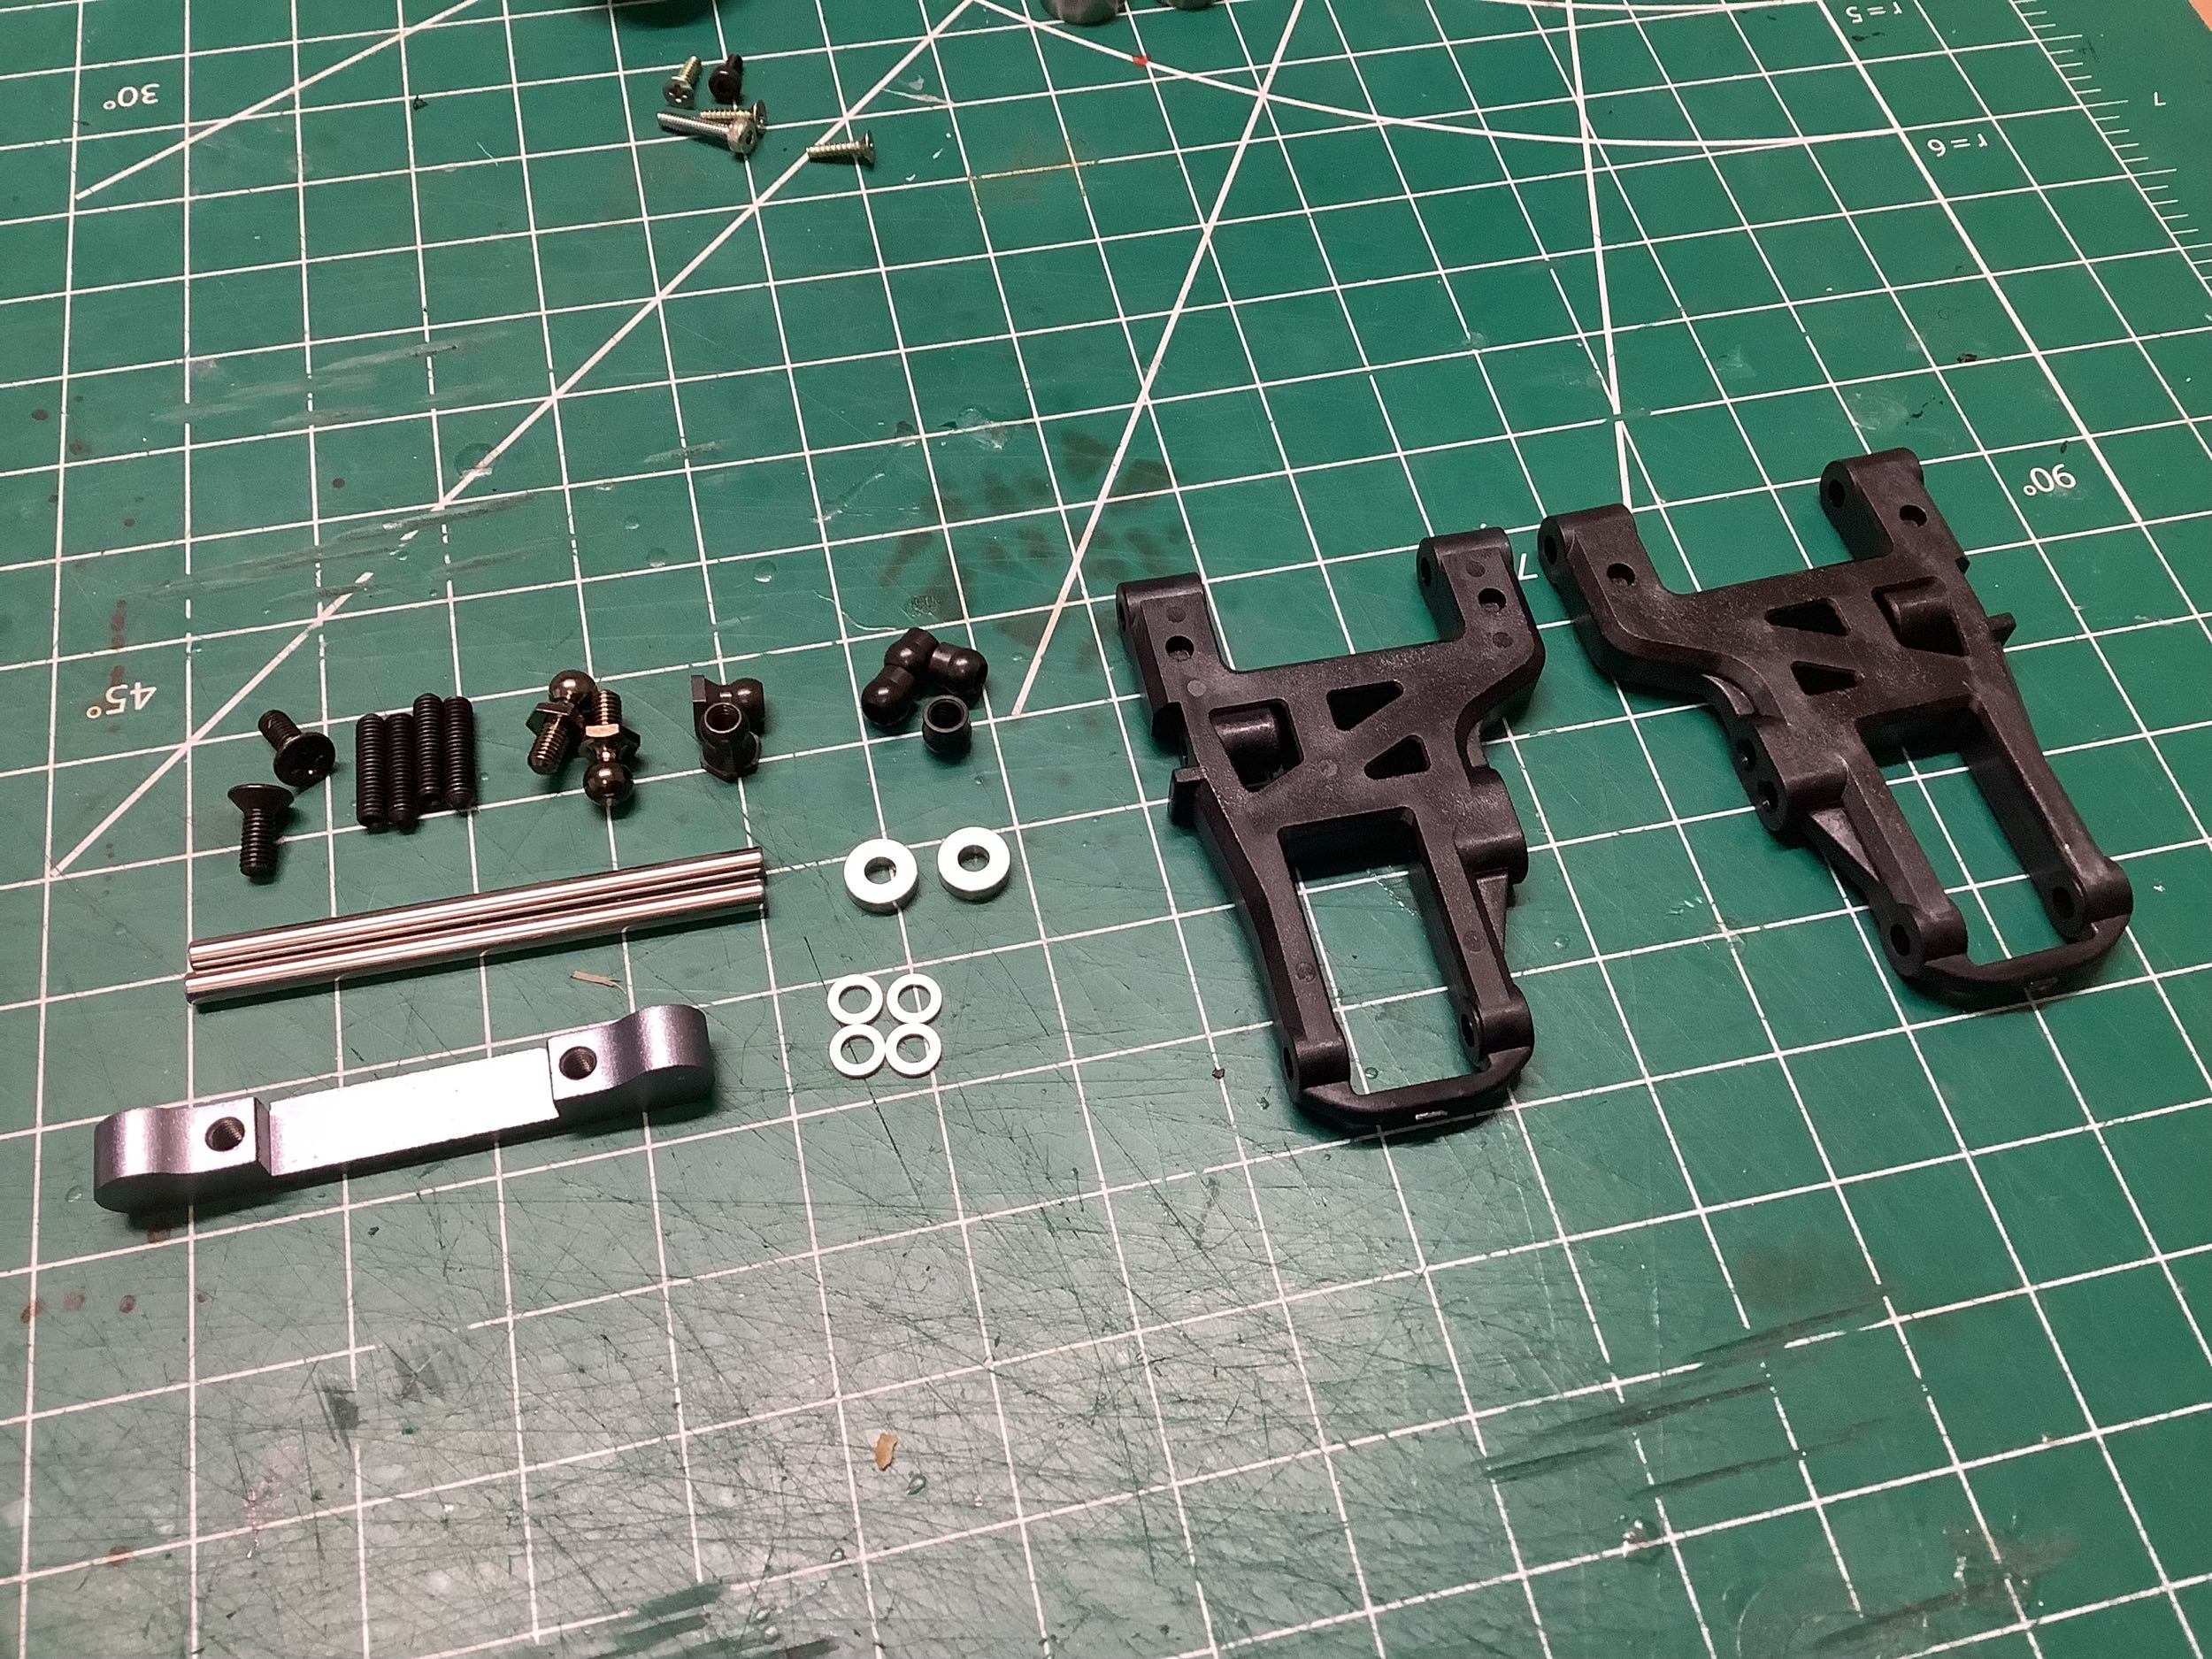
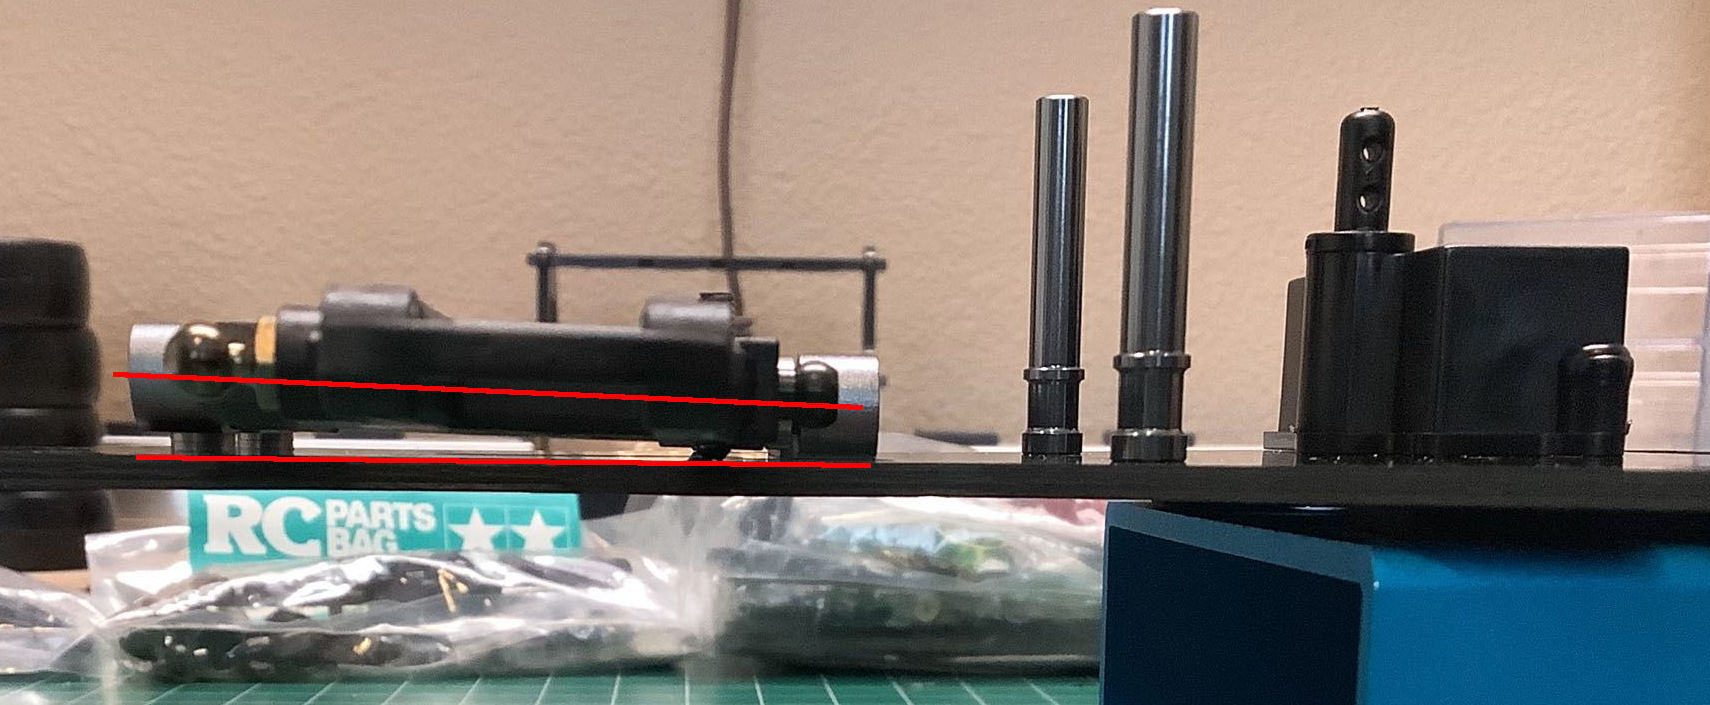
The front suspension arms are also carried over. When viewed from the
side, you can see that there are spacers underneath the front suspension
mount. These two stacked 0.7mm spacers result in a front kick-up
angle of about 1.6º.
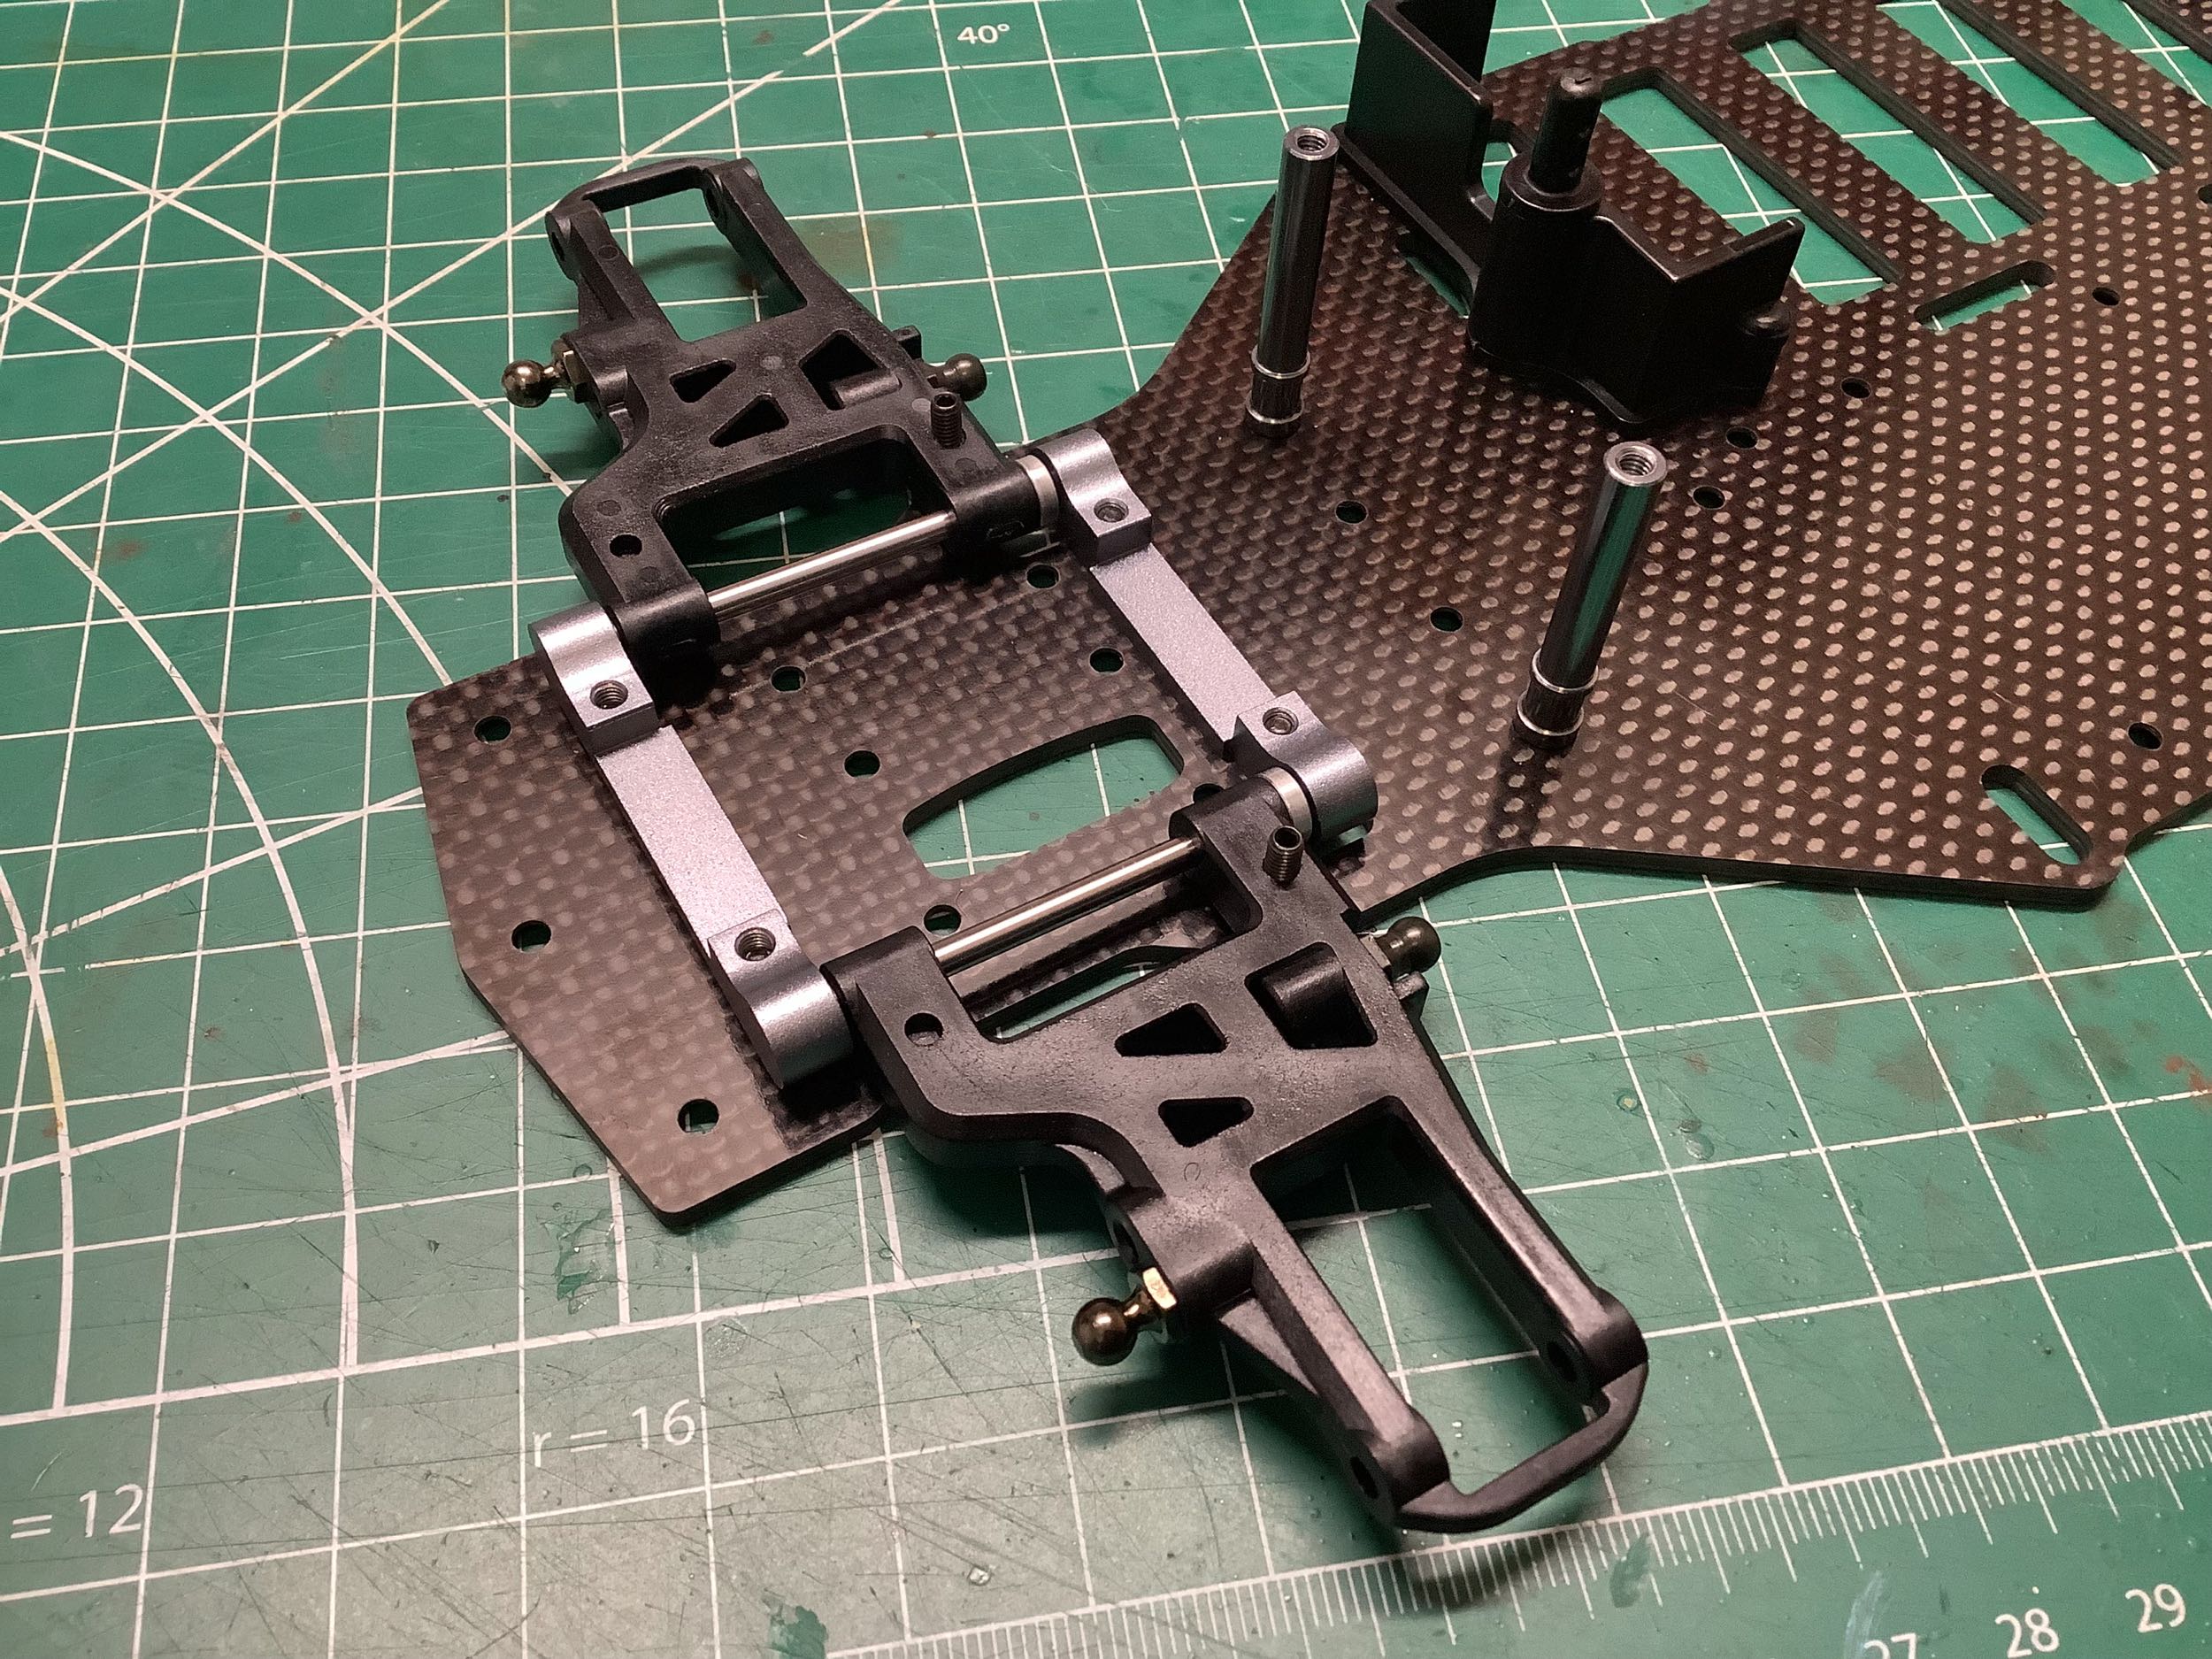
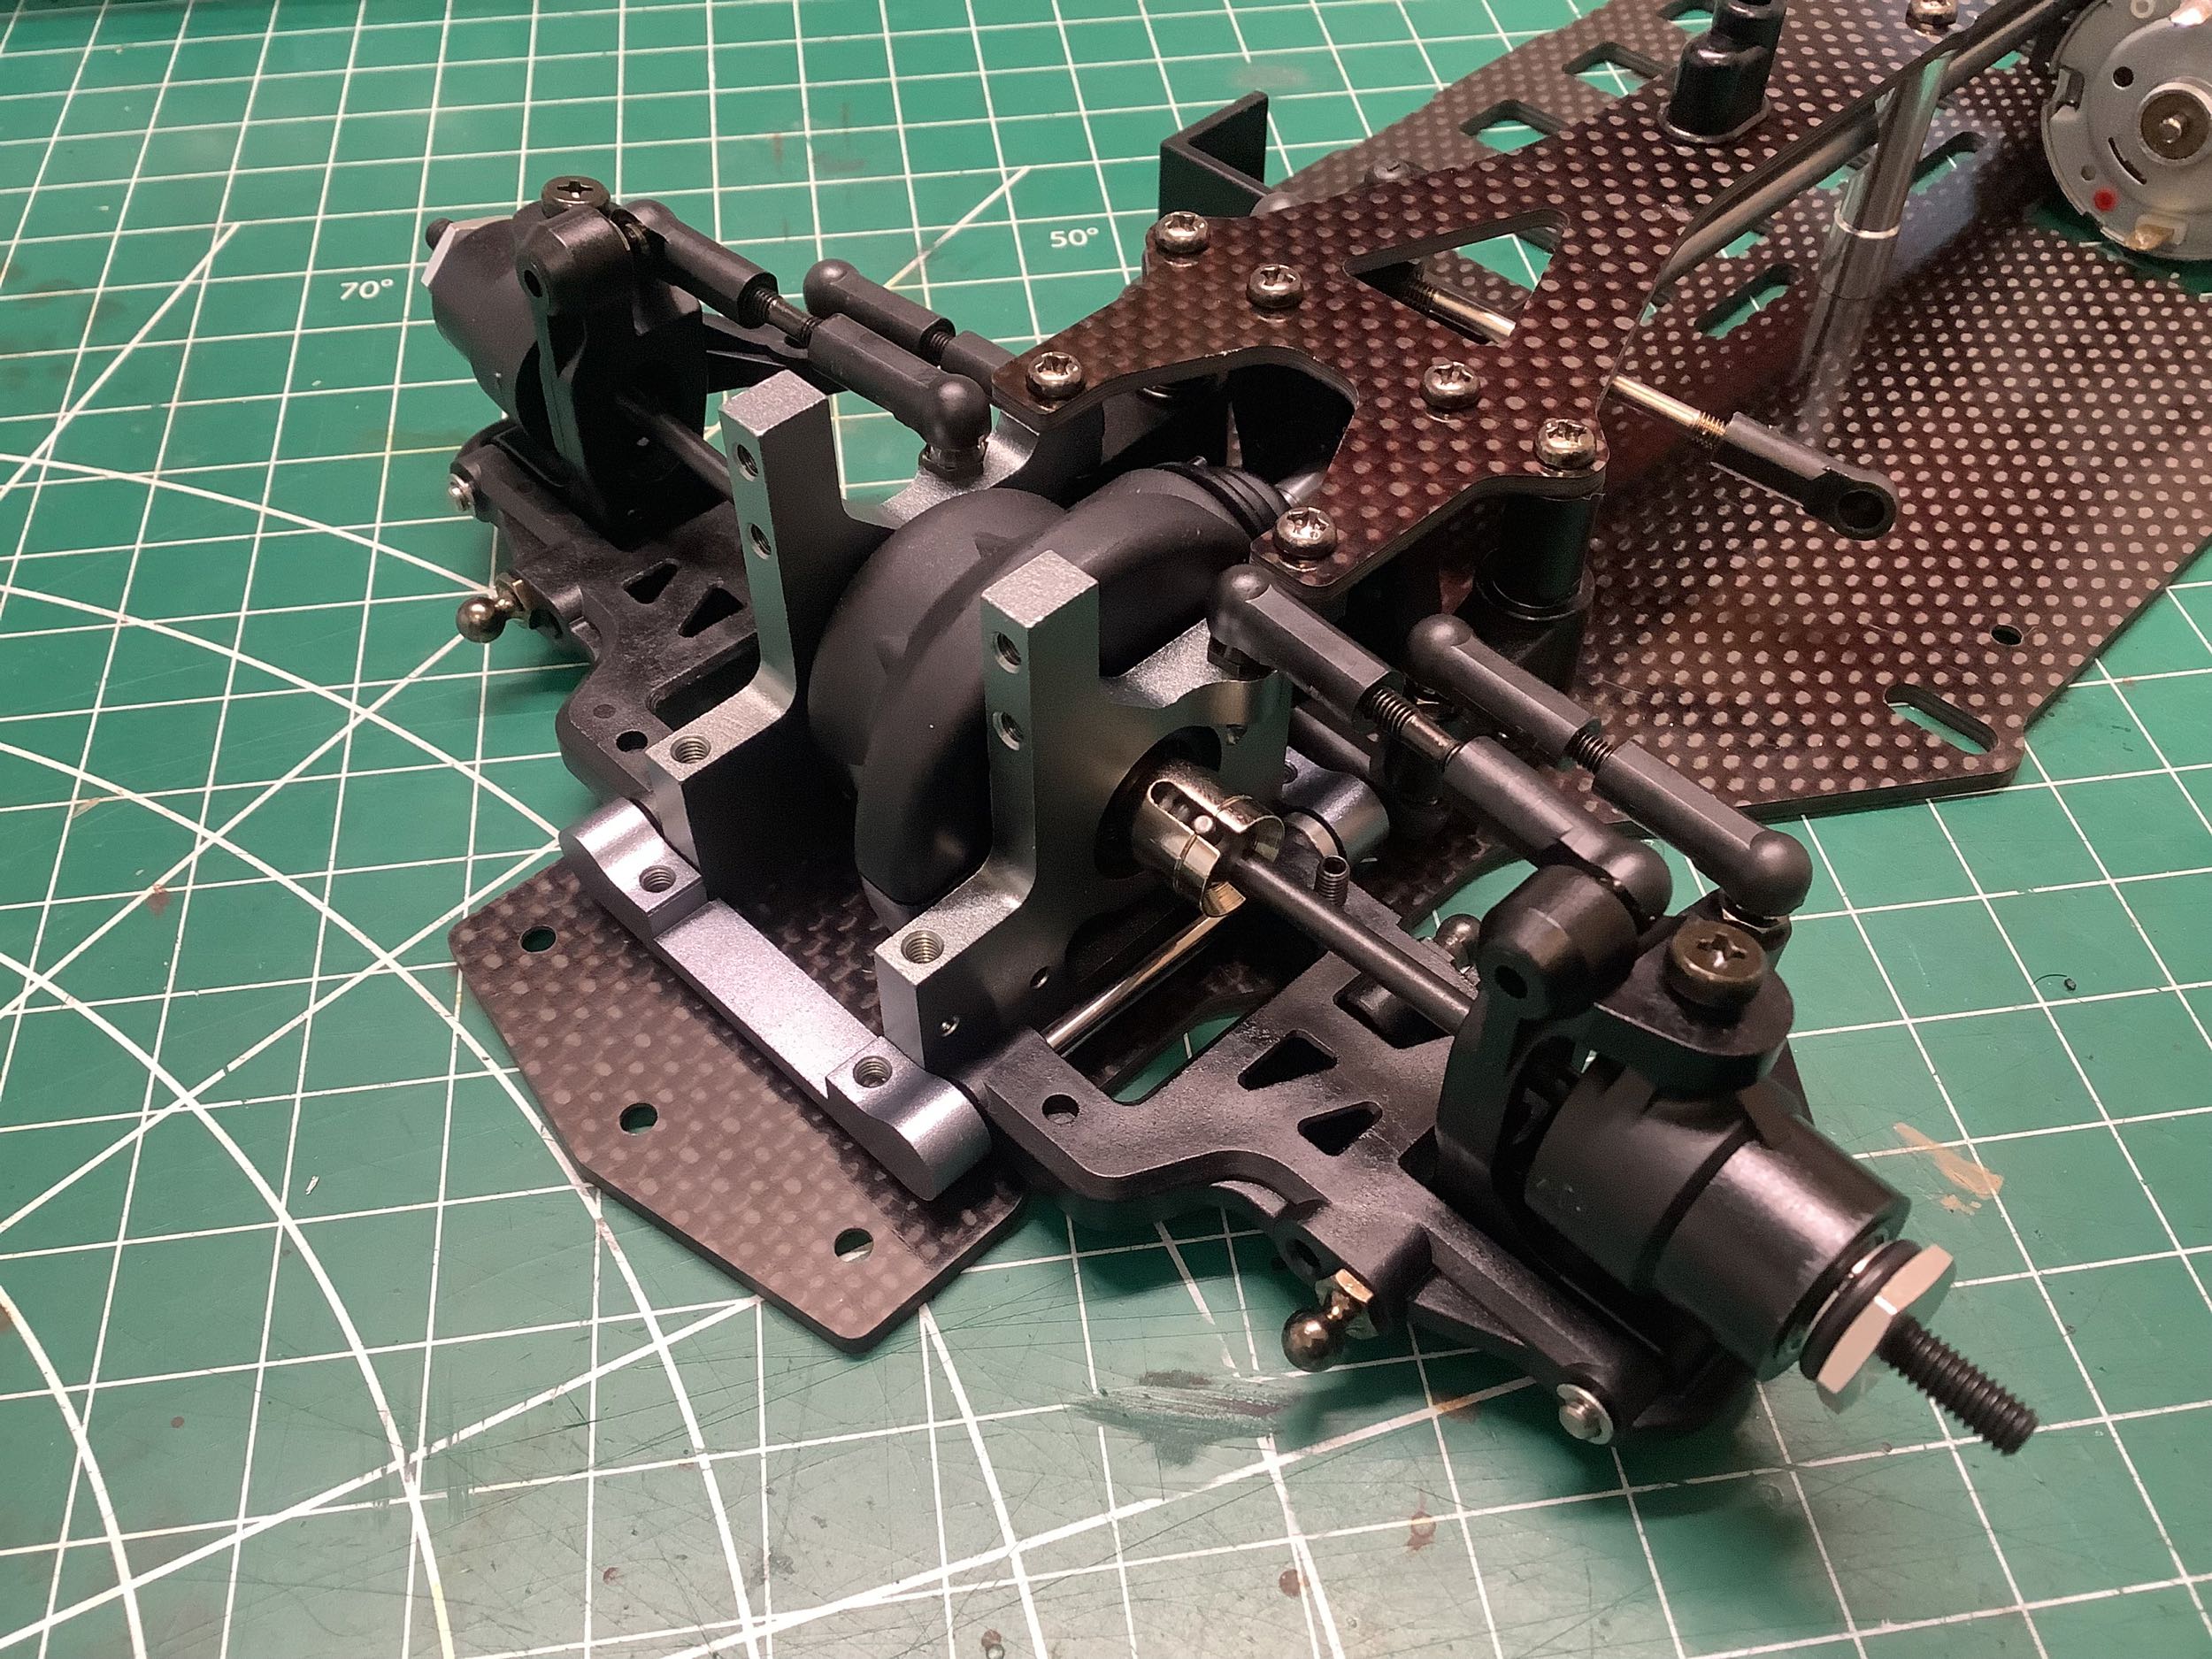
The front and rear lower suspension assemblies are extremely similar
using the same hinge pins and suspension blocks. The rear
bulkheads are installed now, early in the chassis build, but the front
bulkheads will come much later. You can see that the suspension
arms can be attached to the
chassis completely apart from the bulkheads.
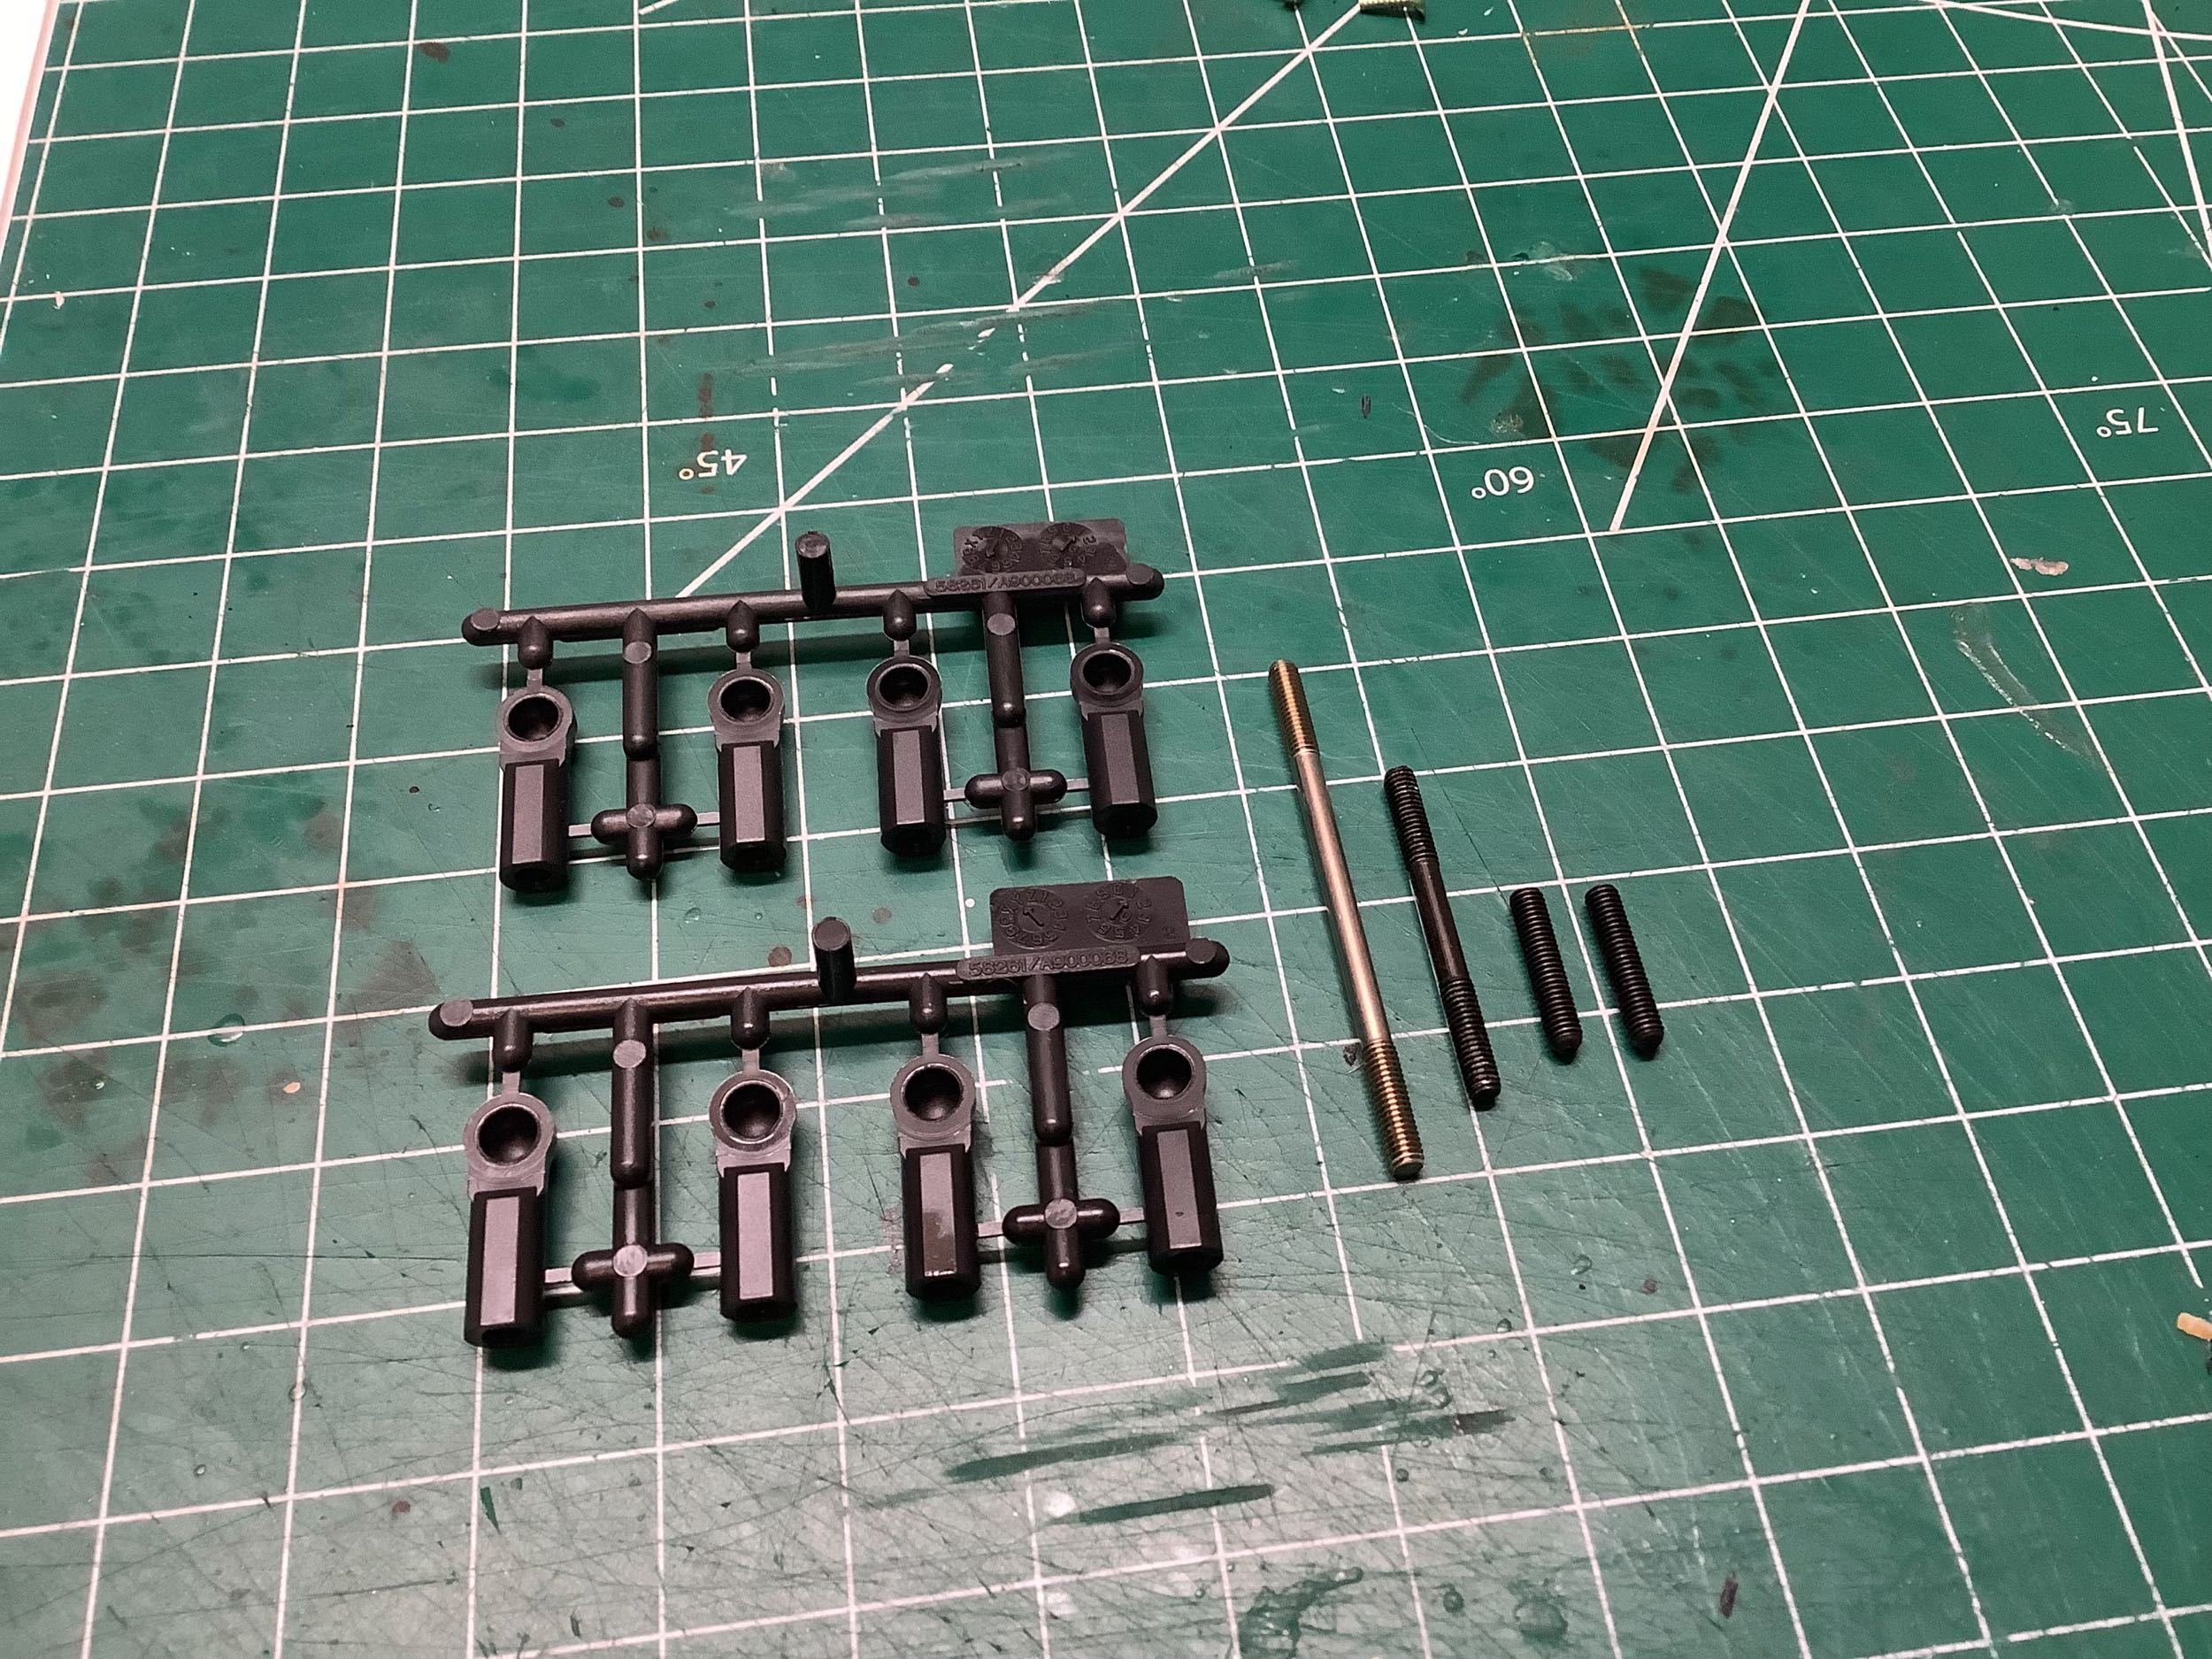
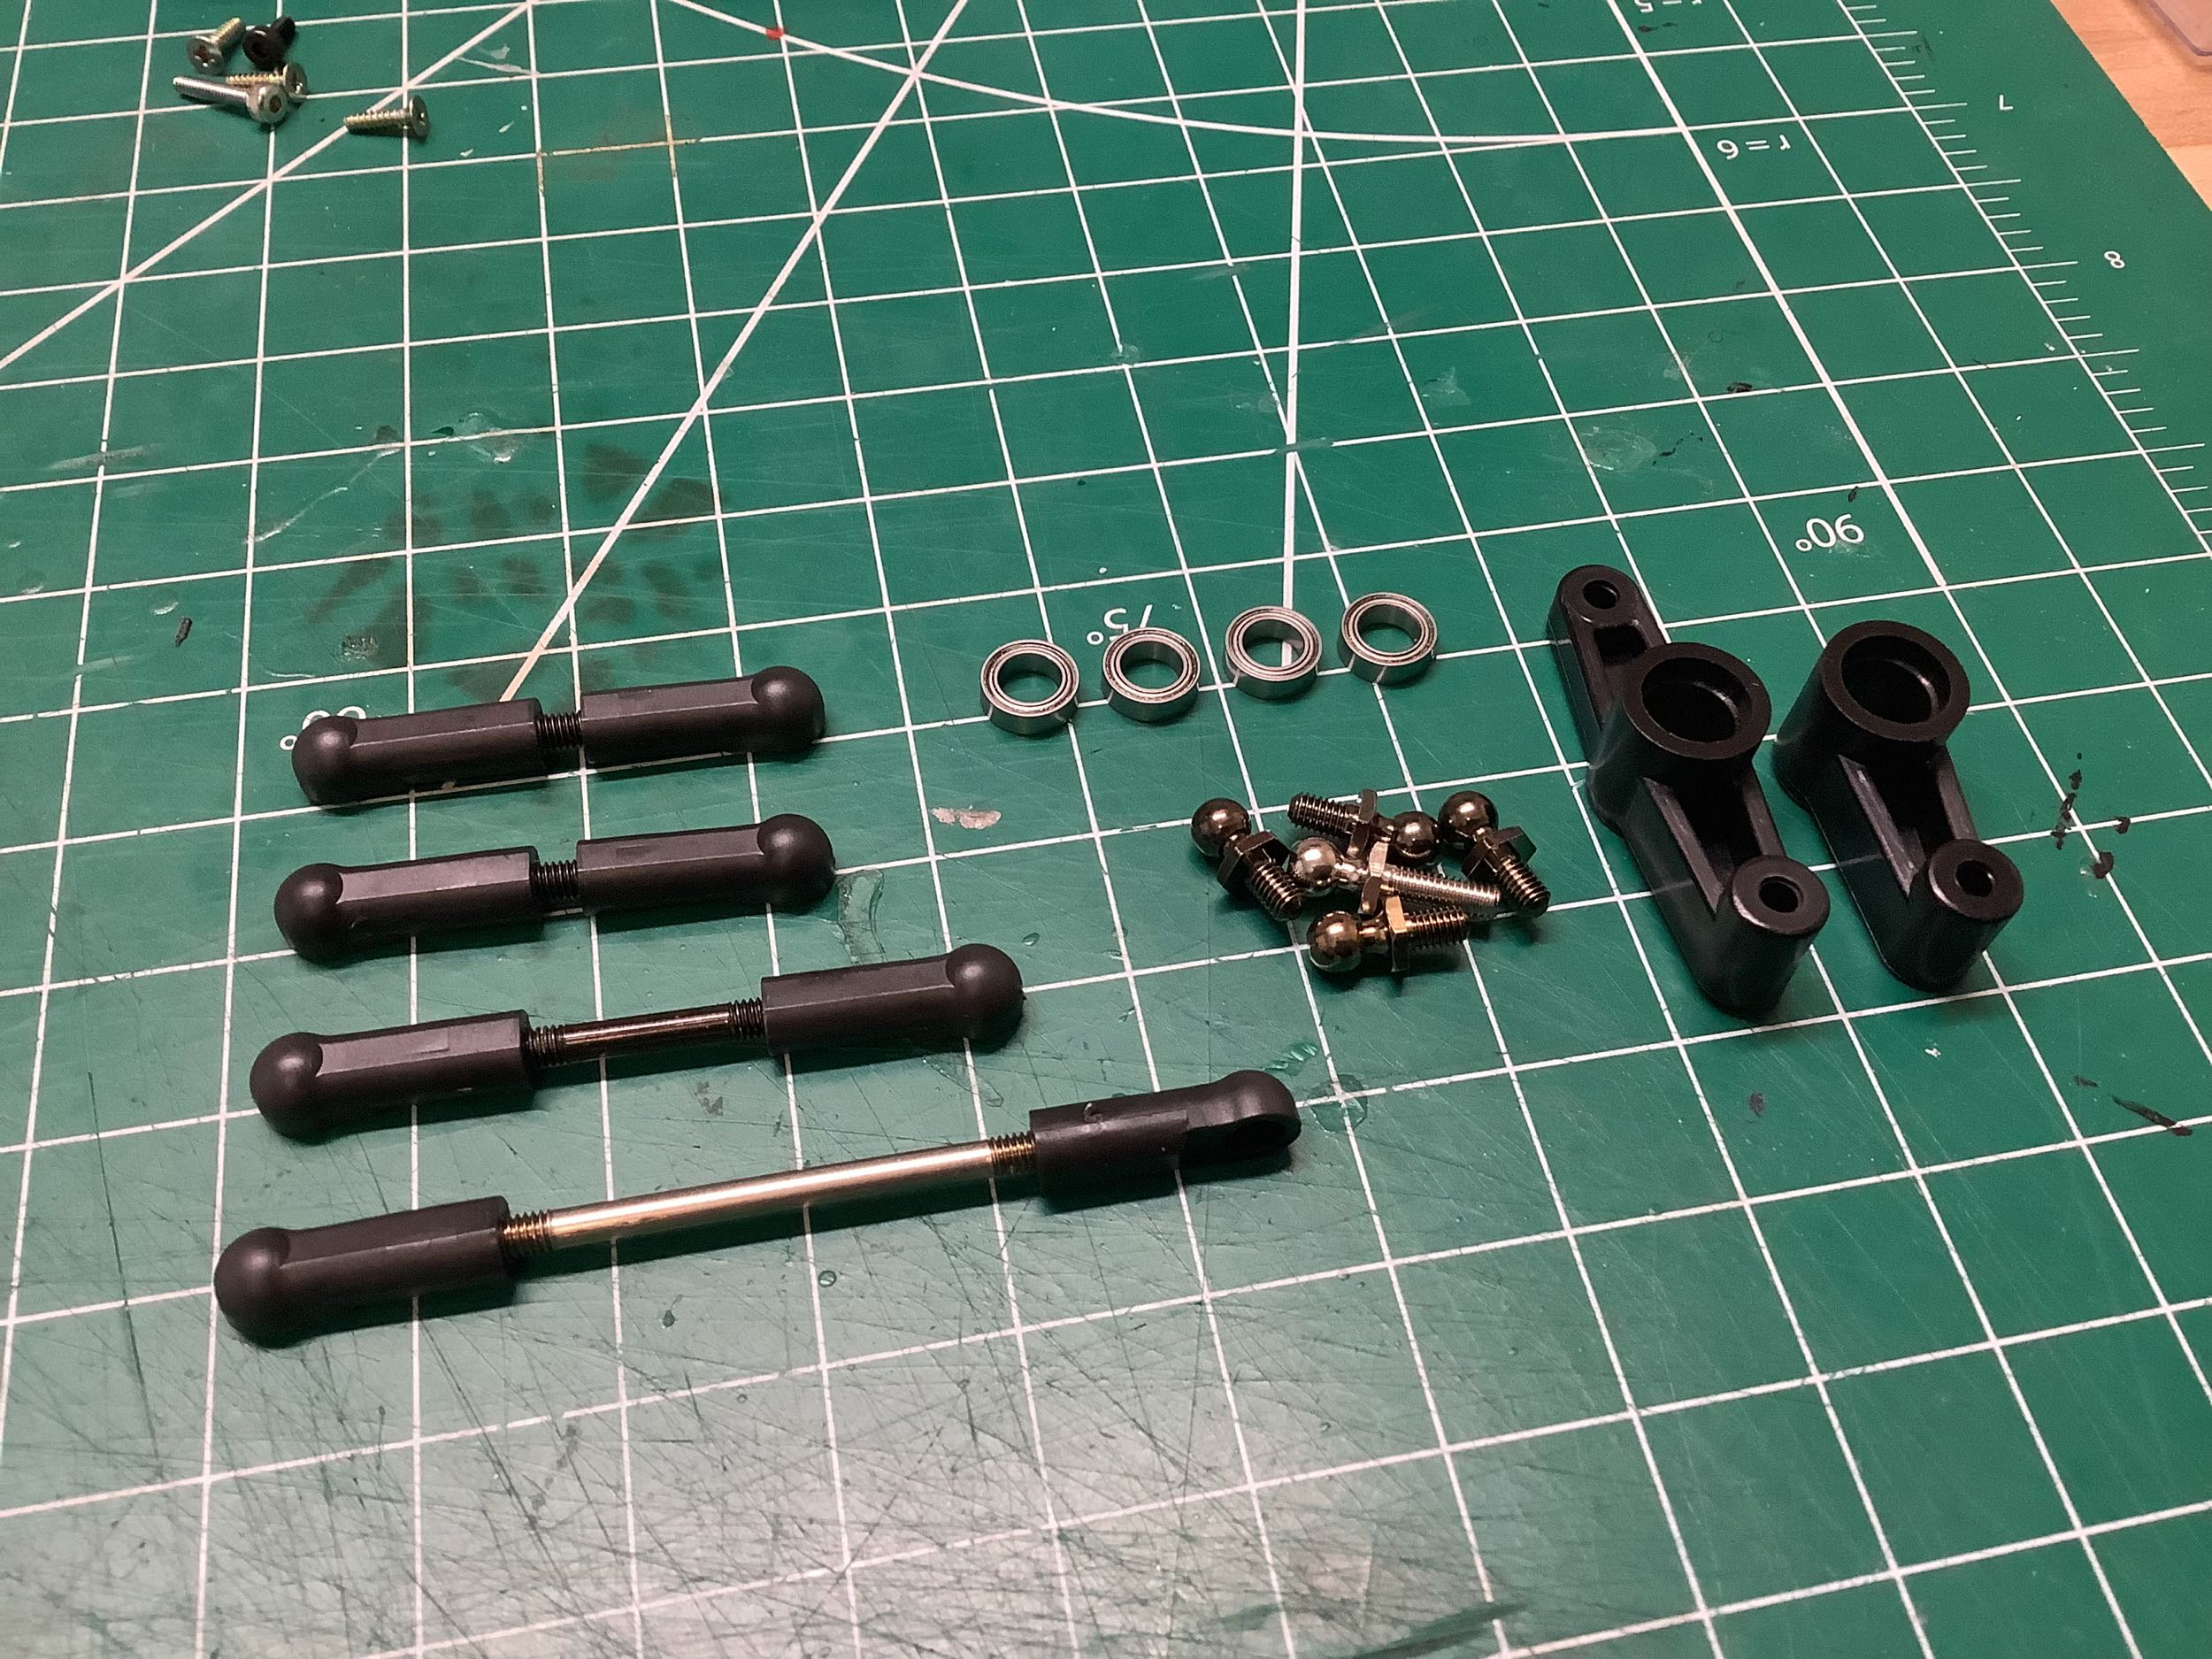
The dual bell crank steering uses the same parts as the Evo with ball bearings in the cranks and links made from threaded rods.
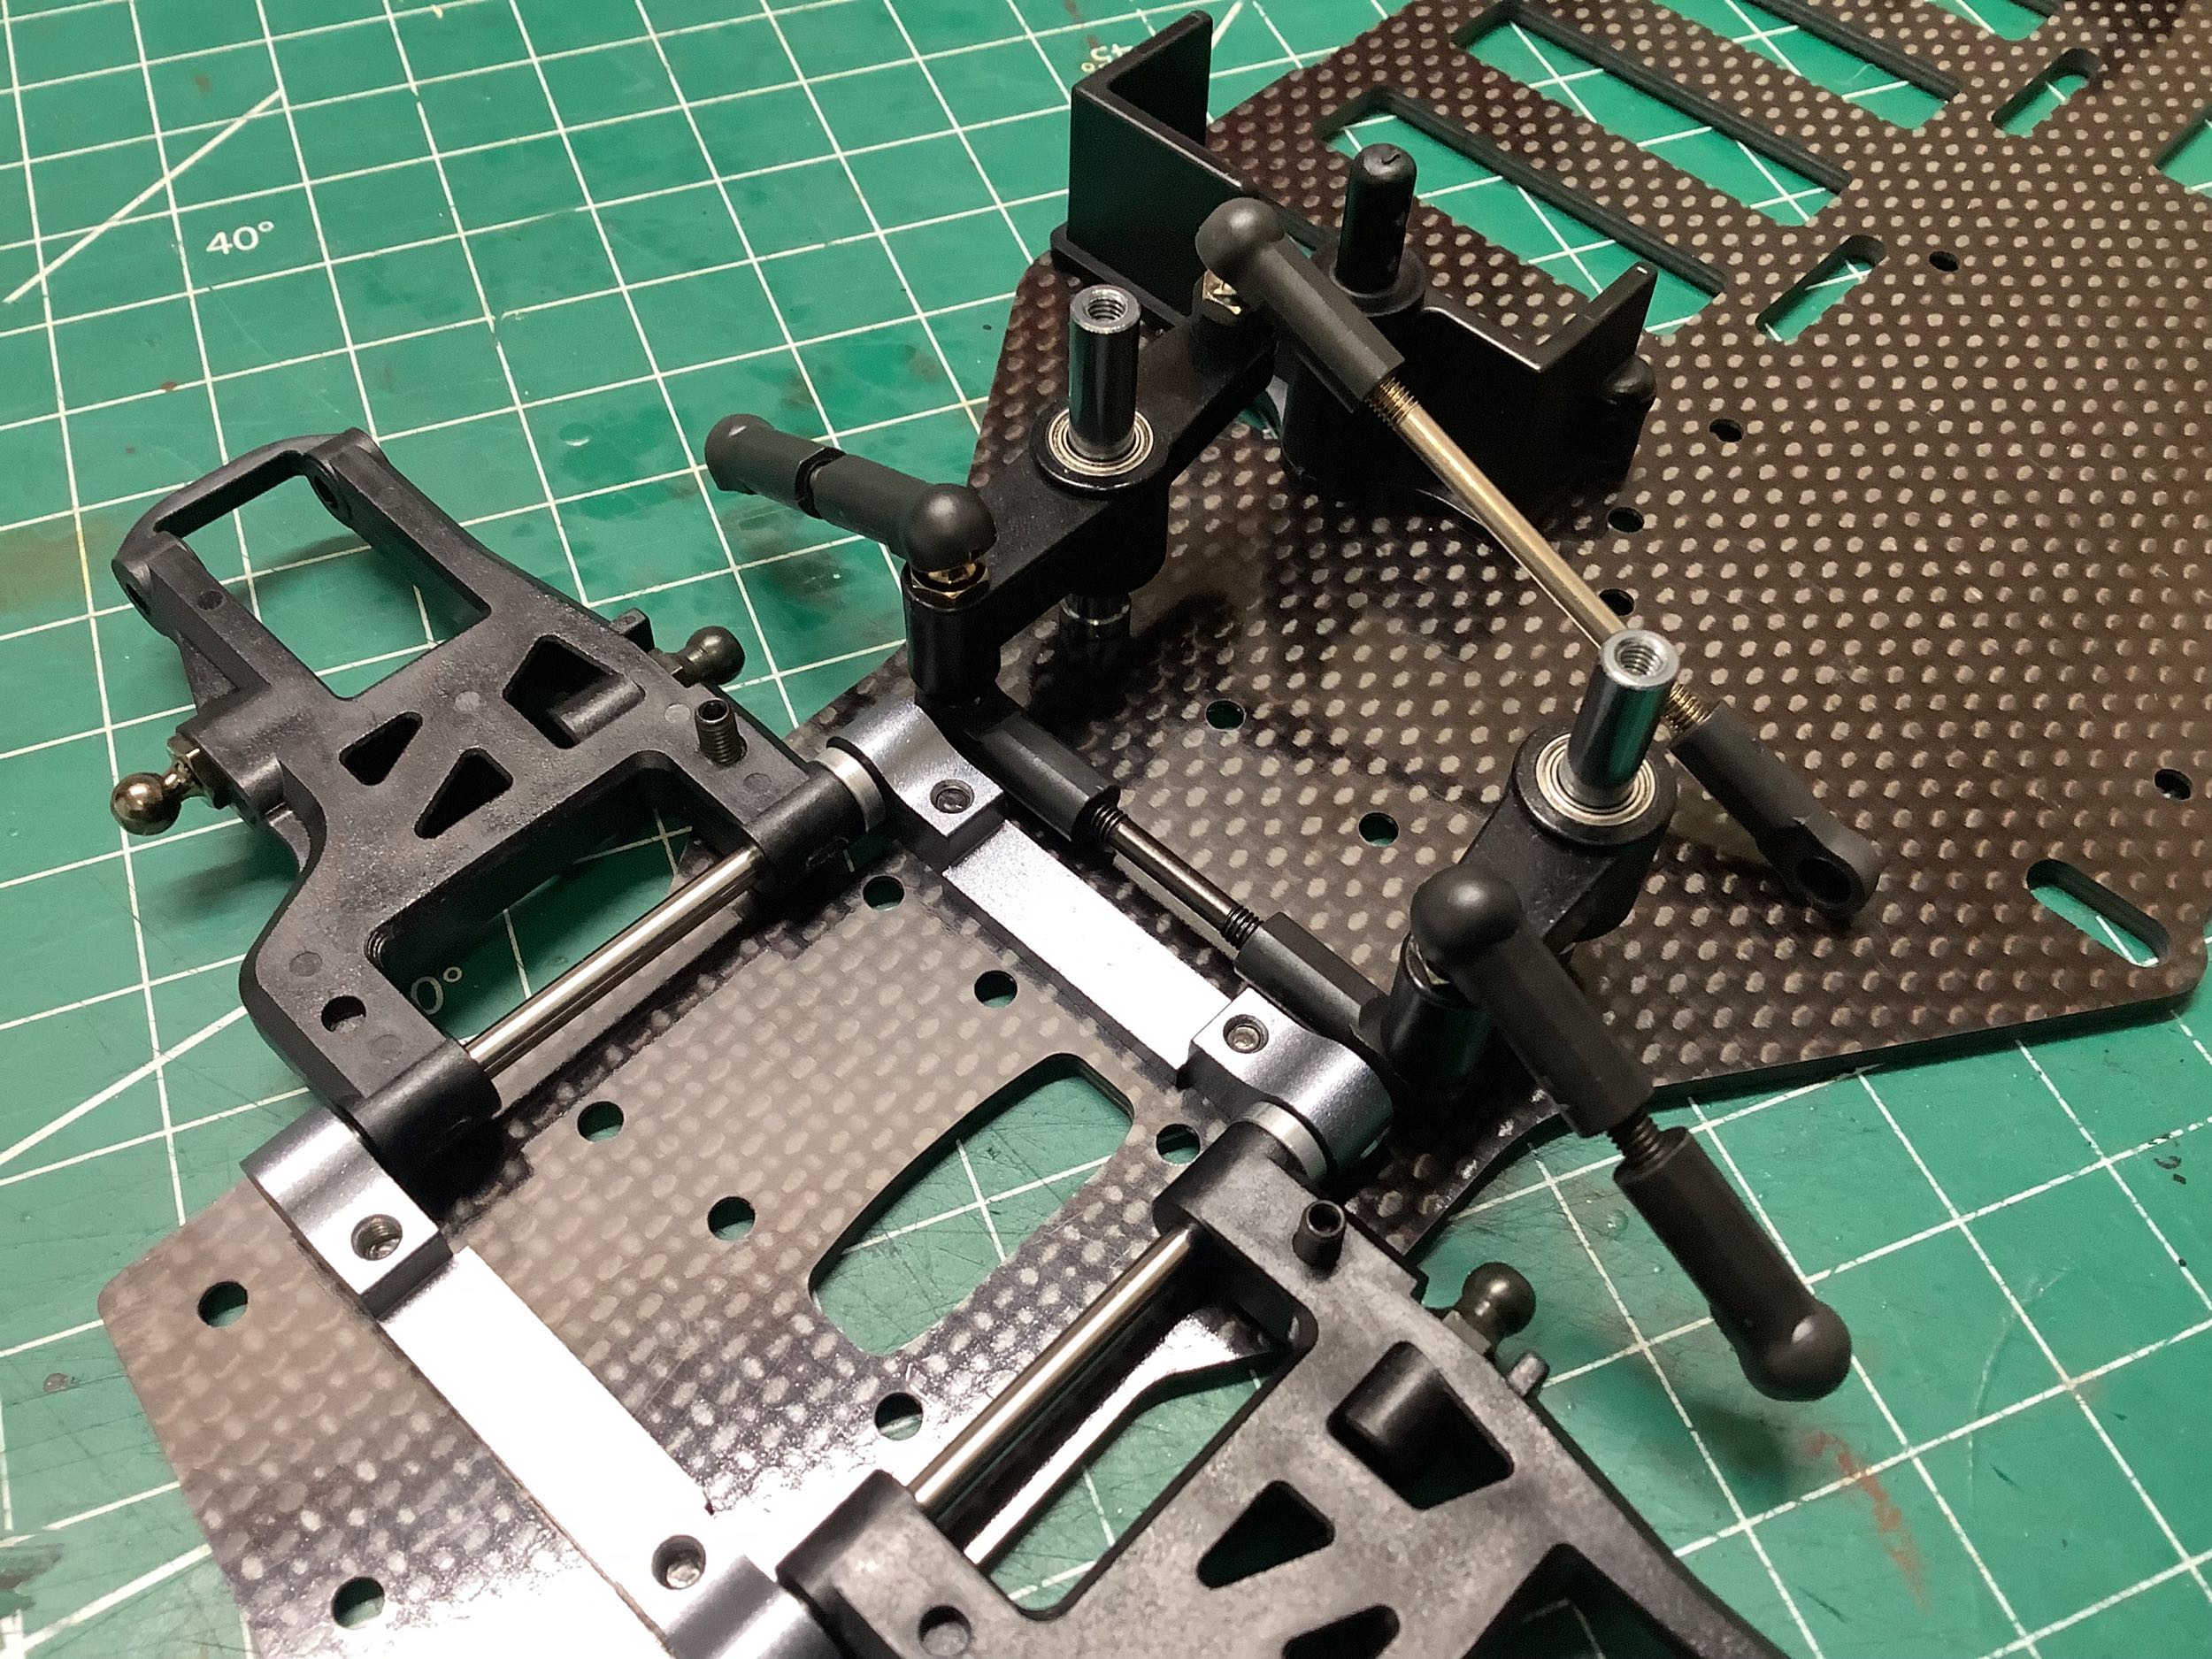
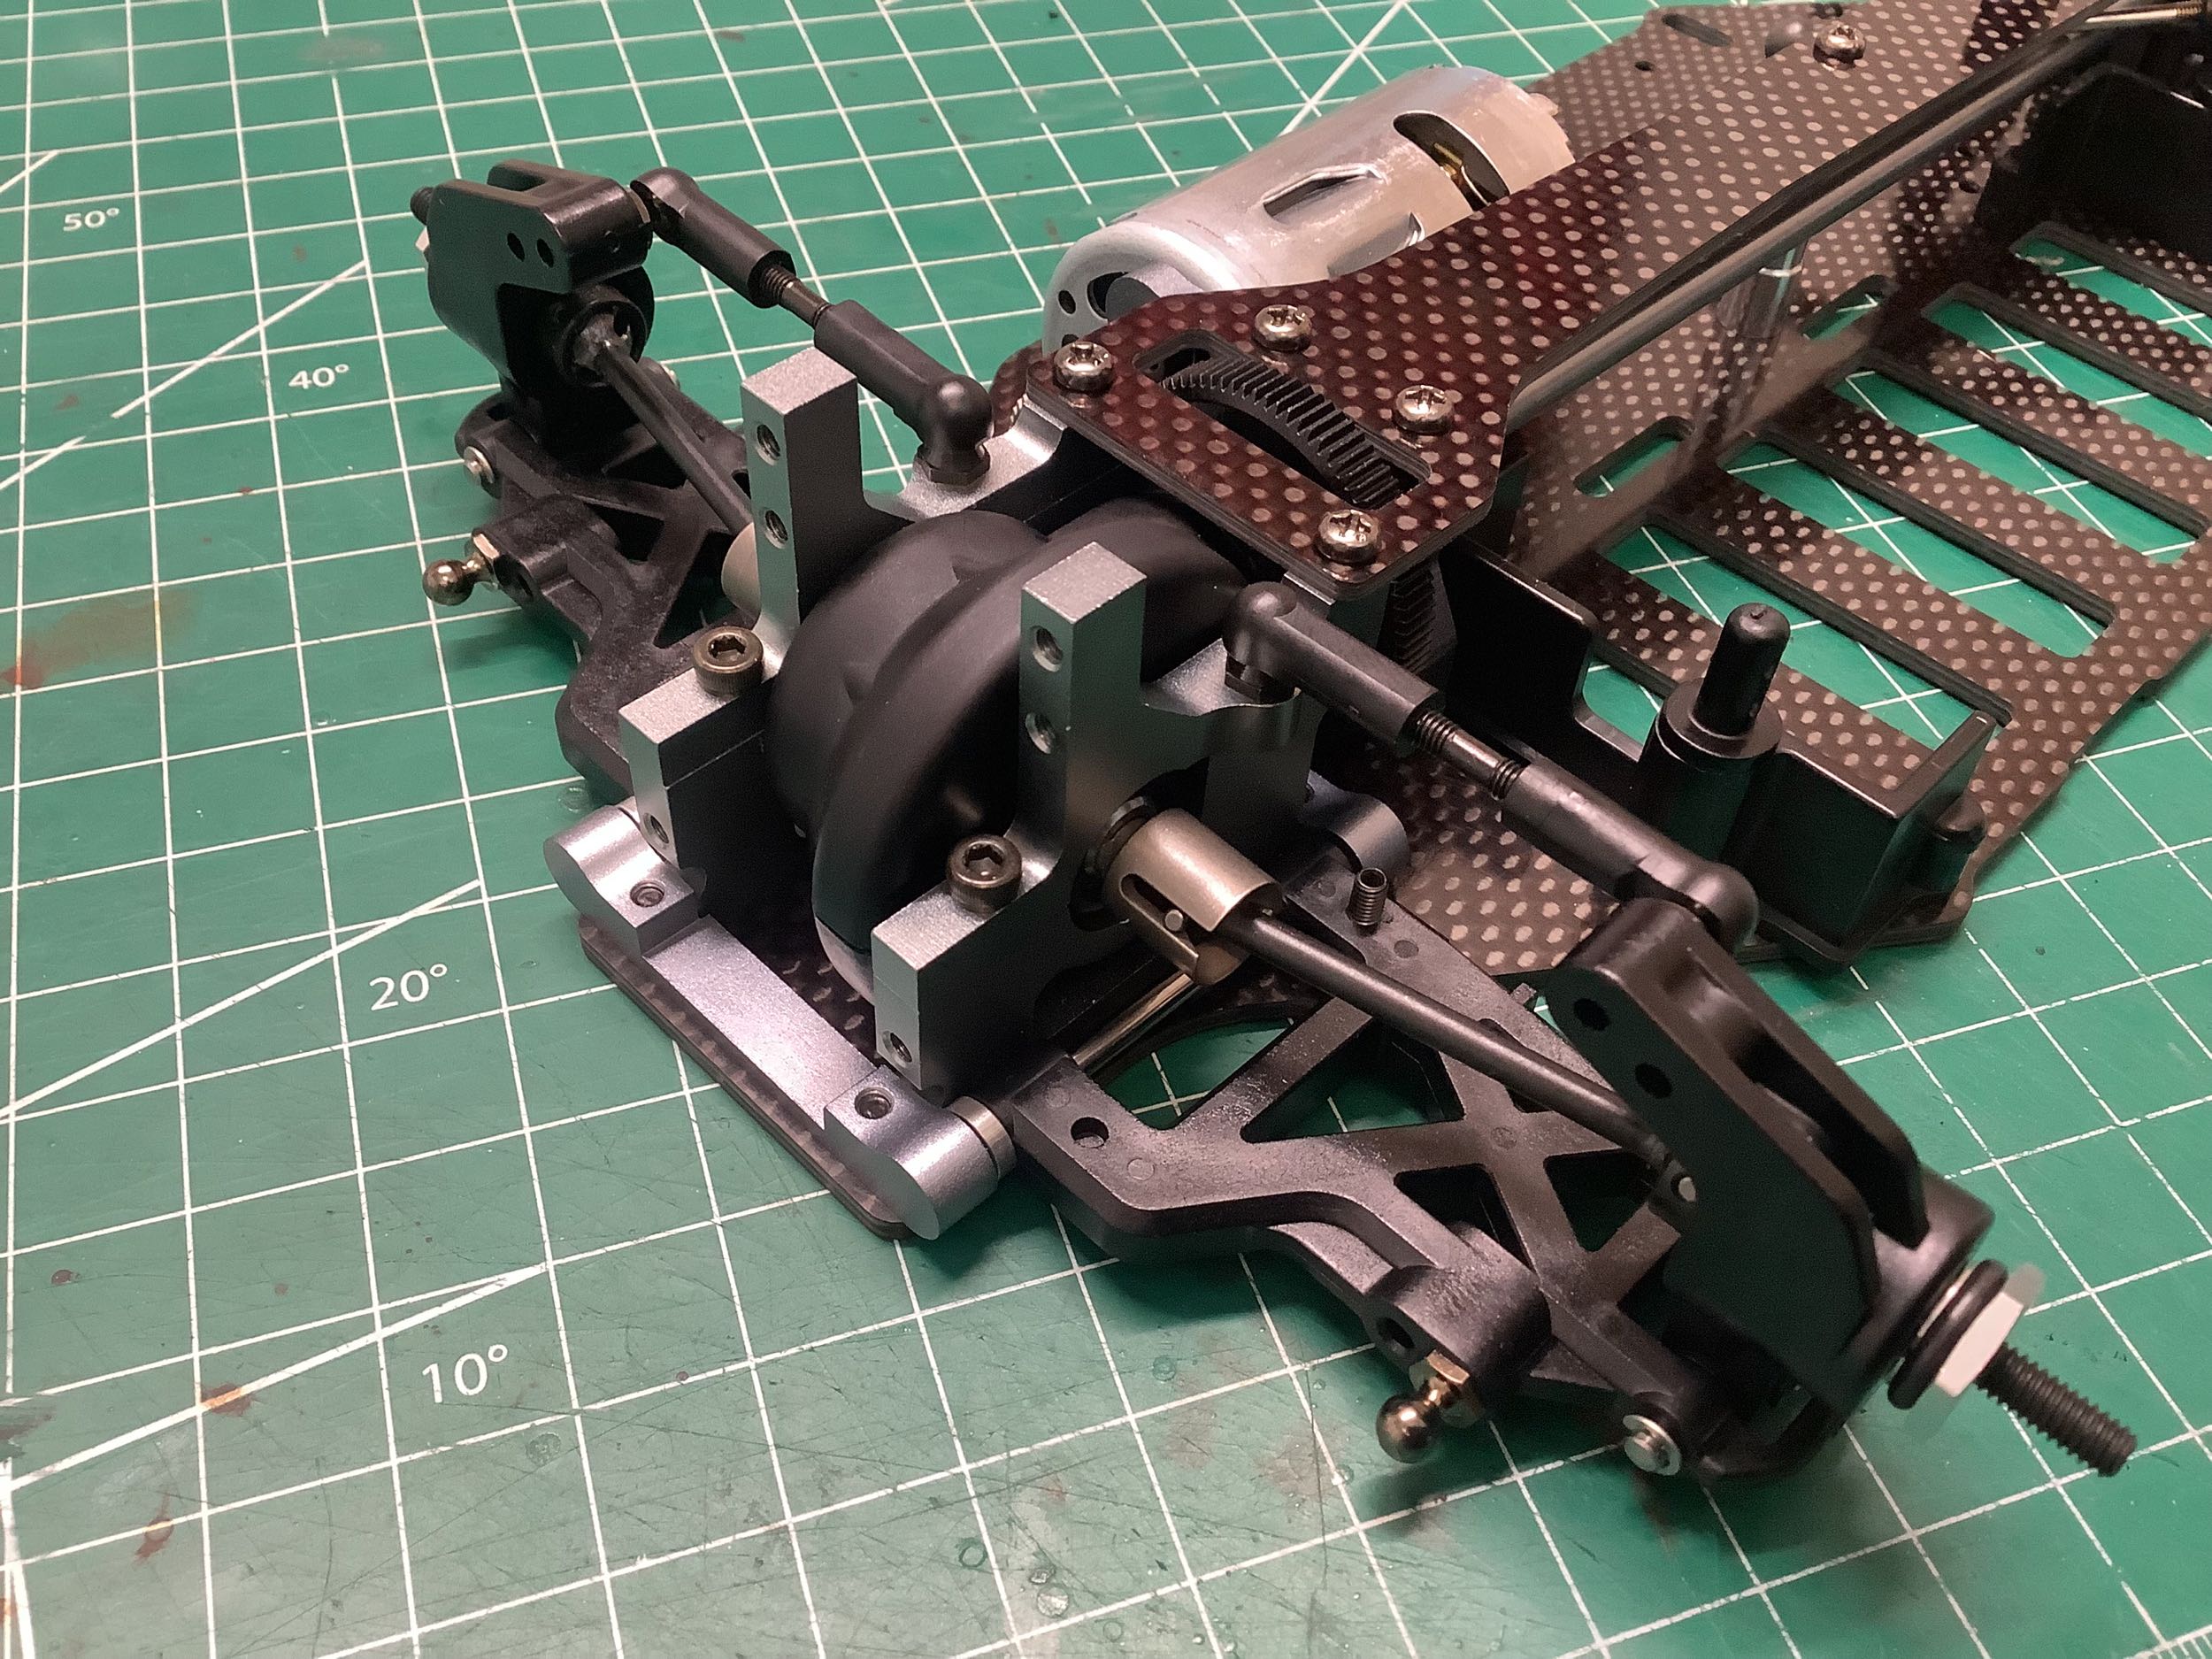
Now the steering system has been installed onto the chassis. Note
how low the bridge link is to allow room for the drive shaft to pass
over it. A belt drive chassis puts this link on top of the cranks
instead.
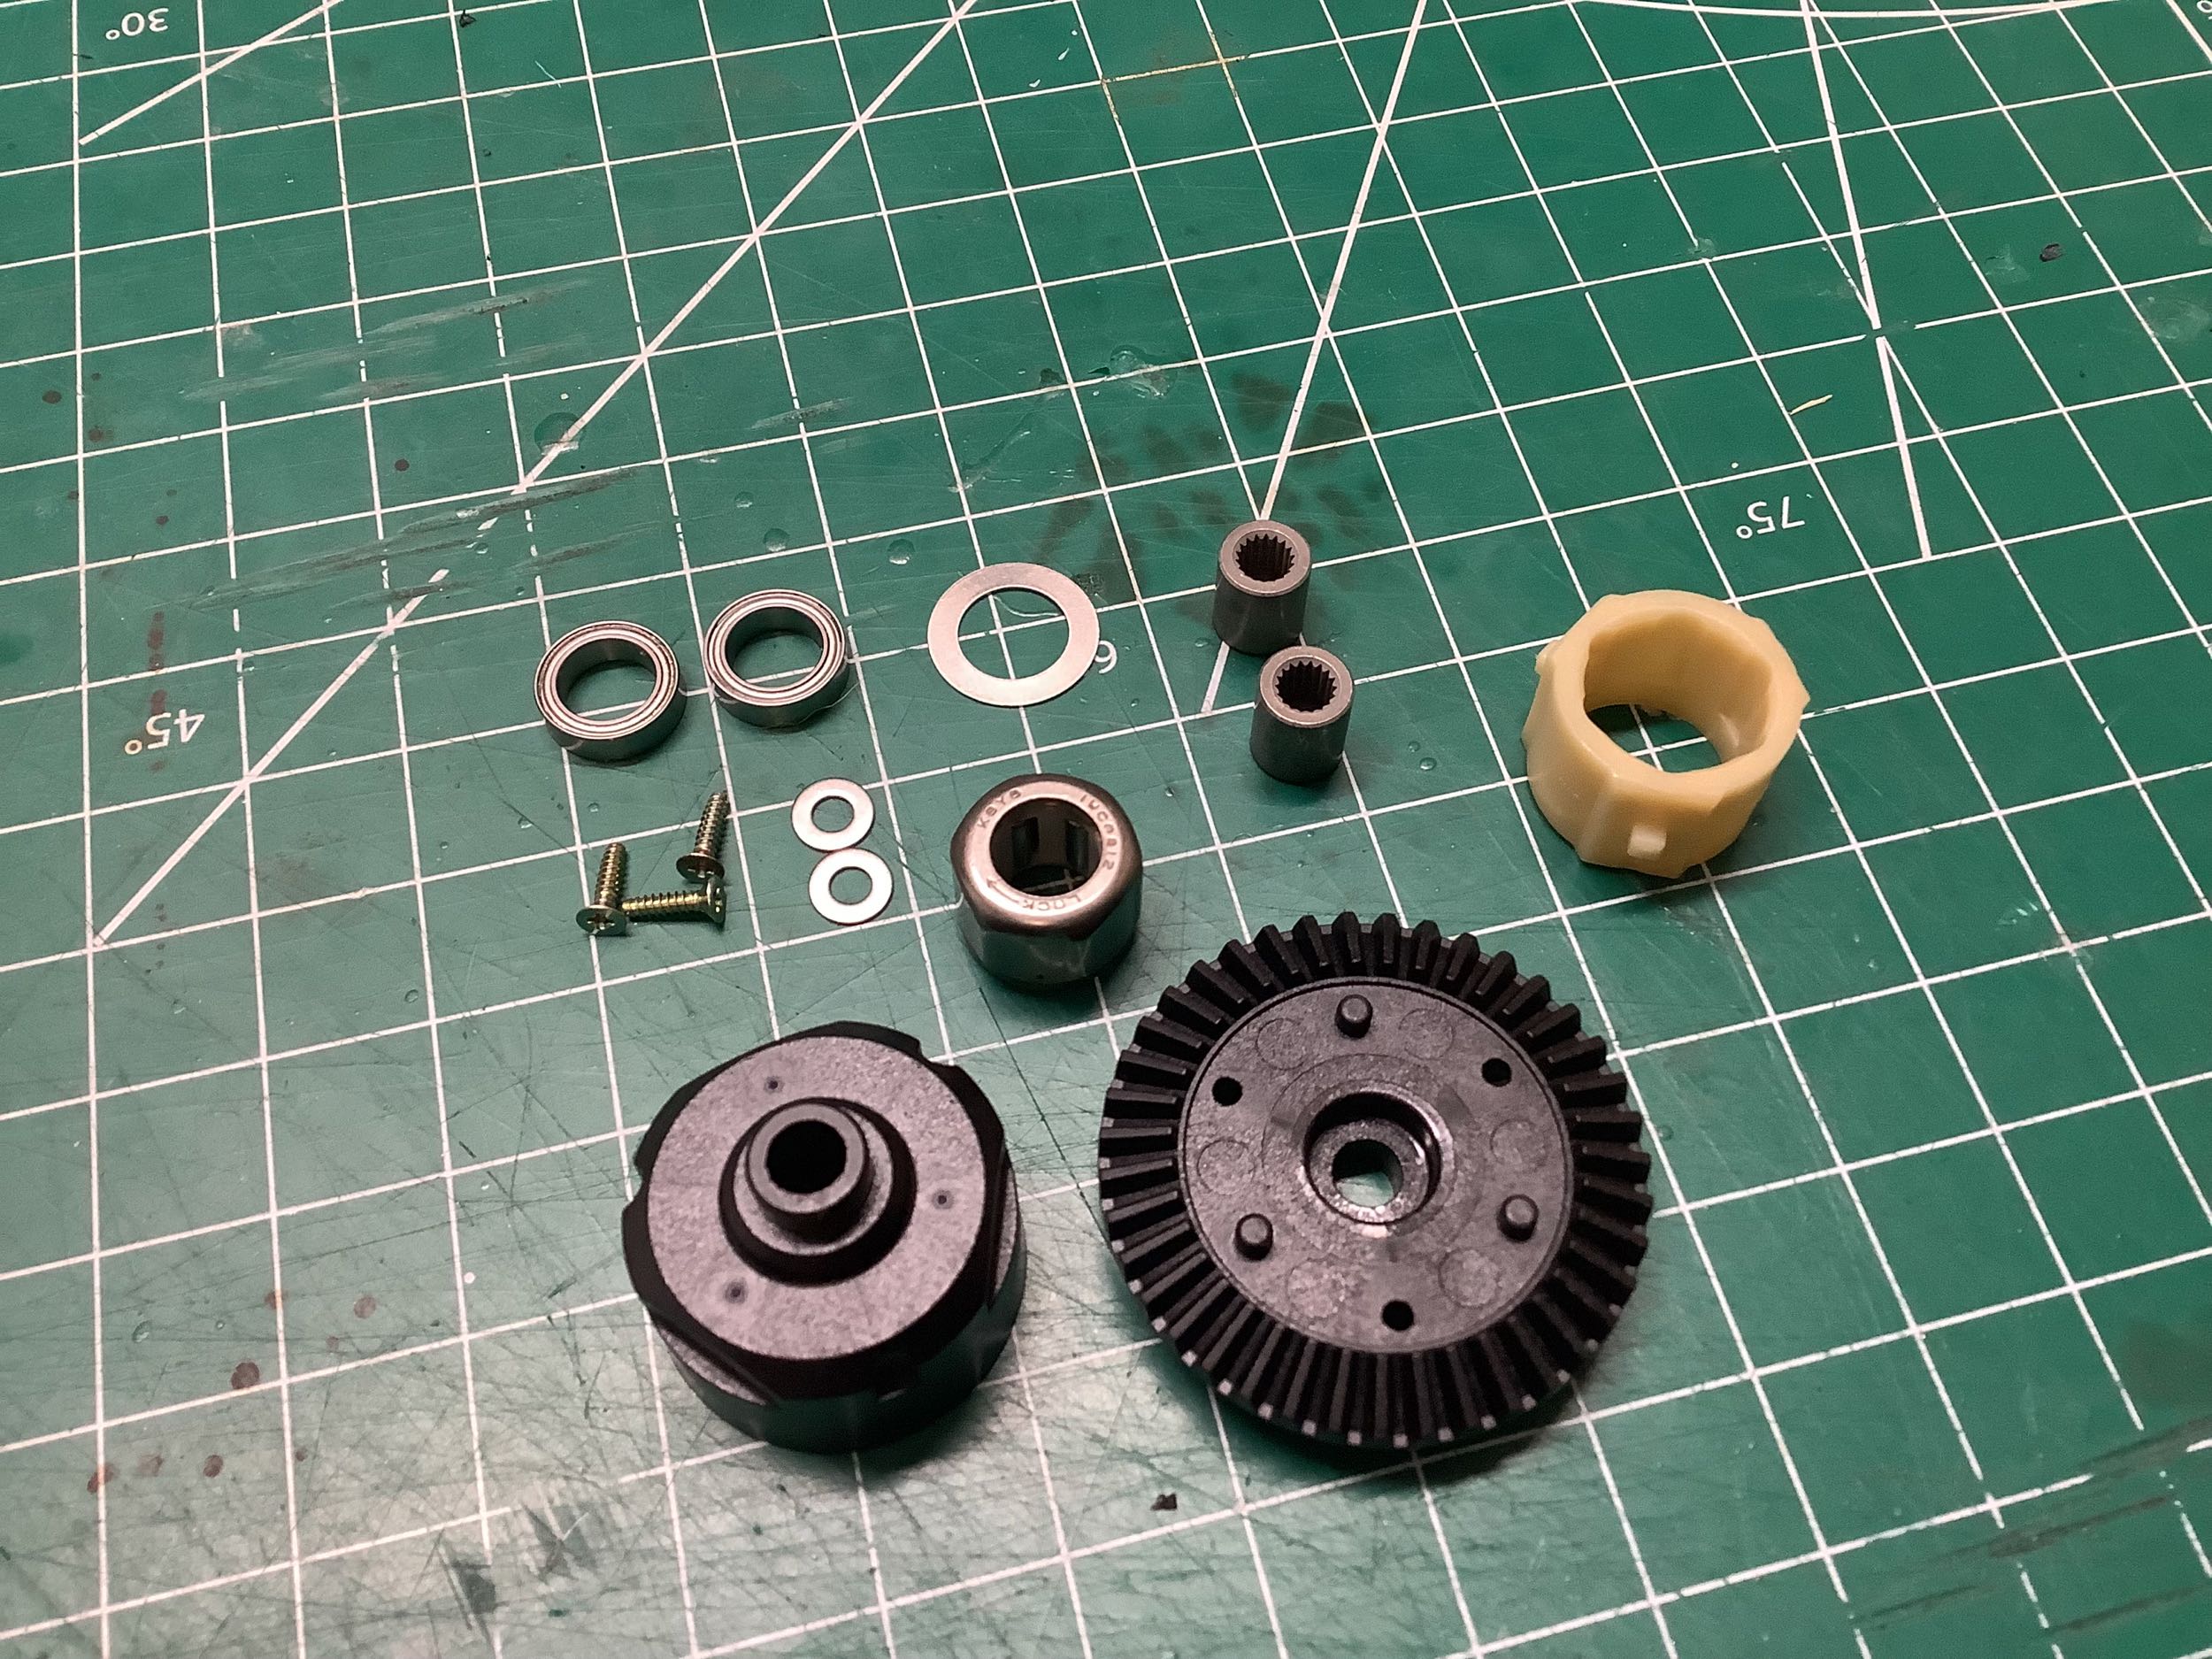
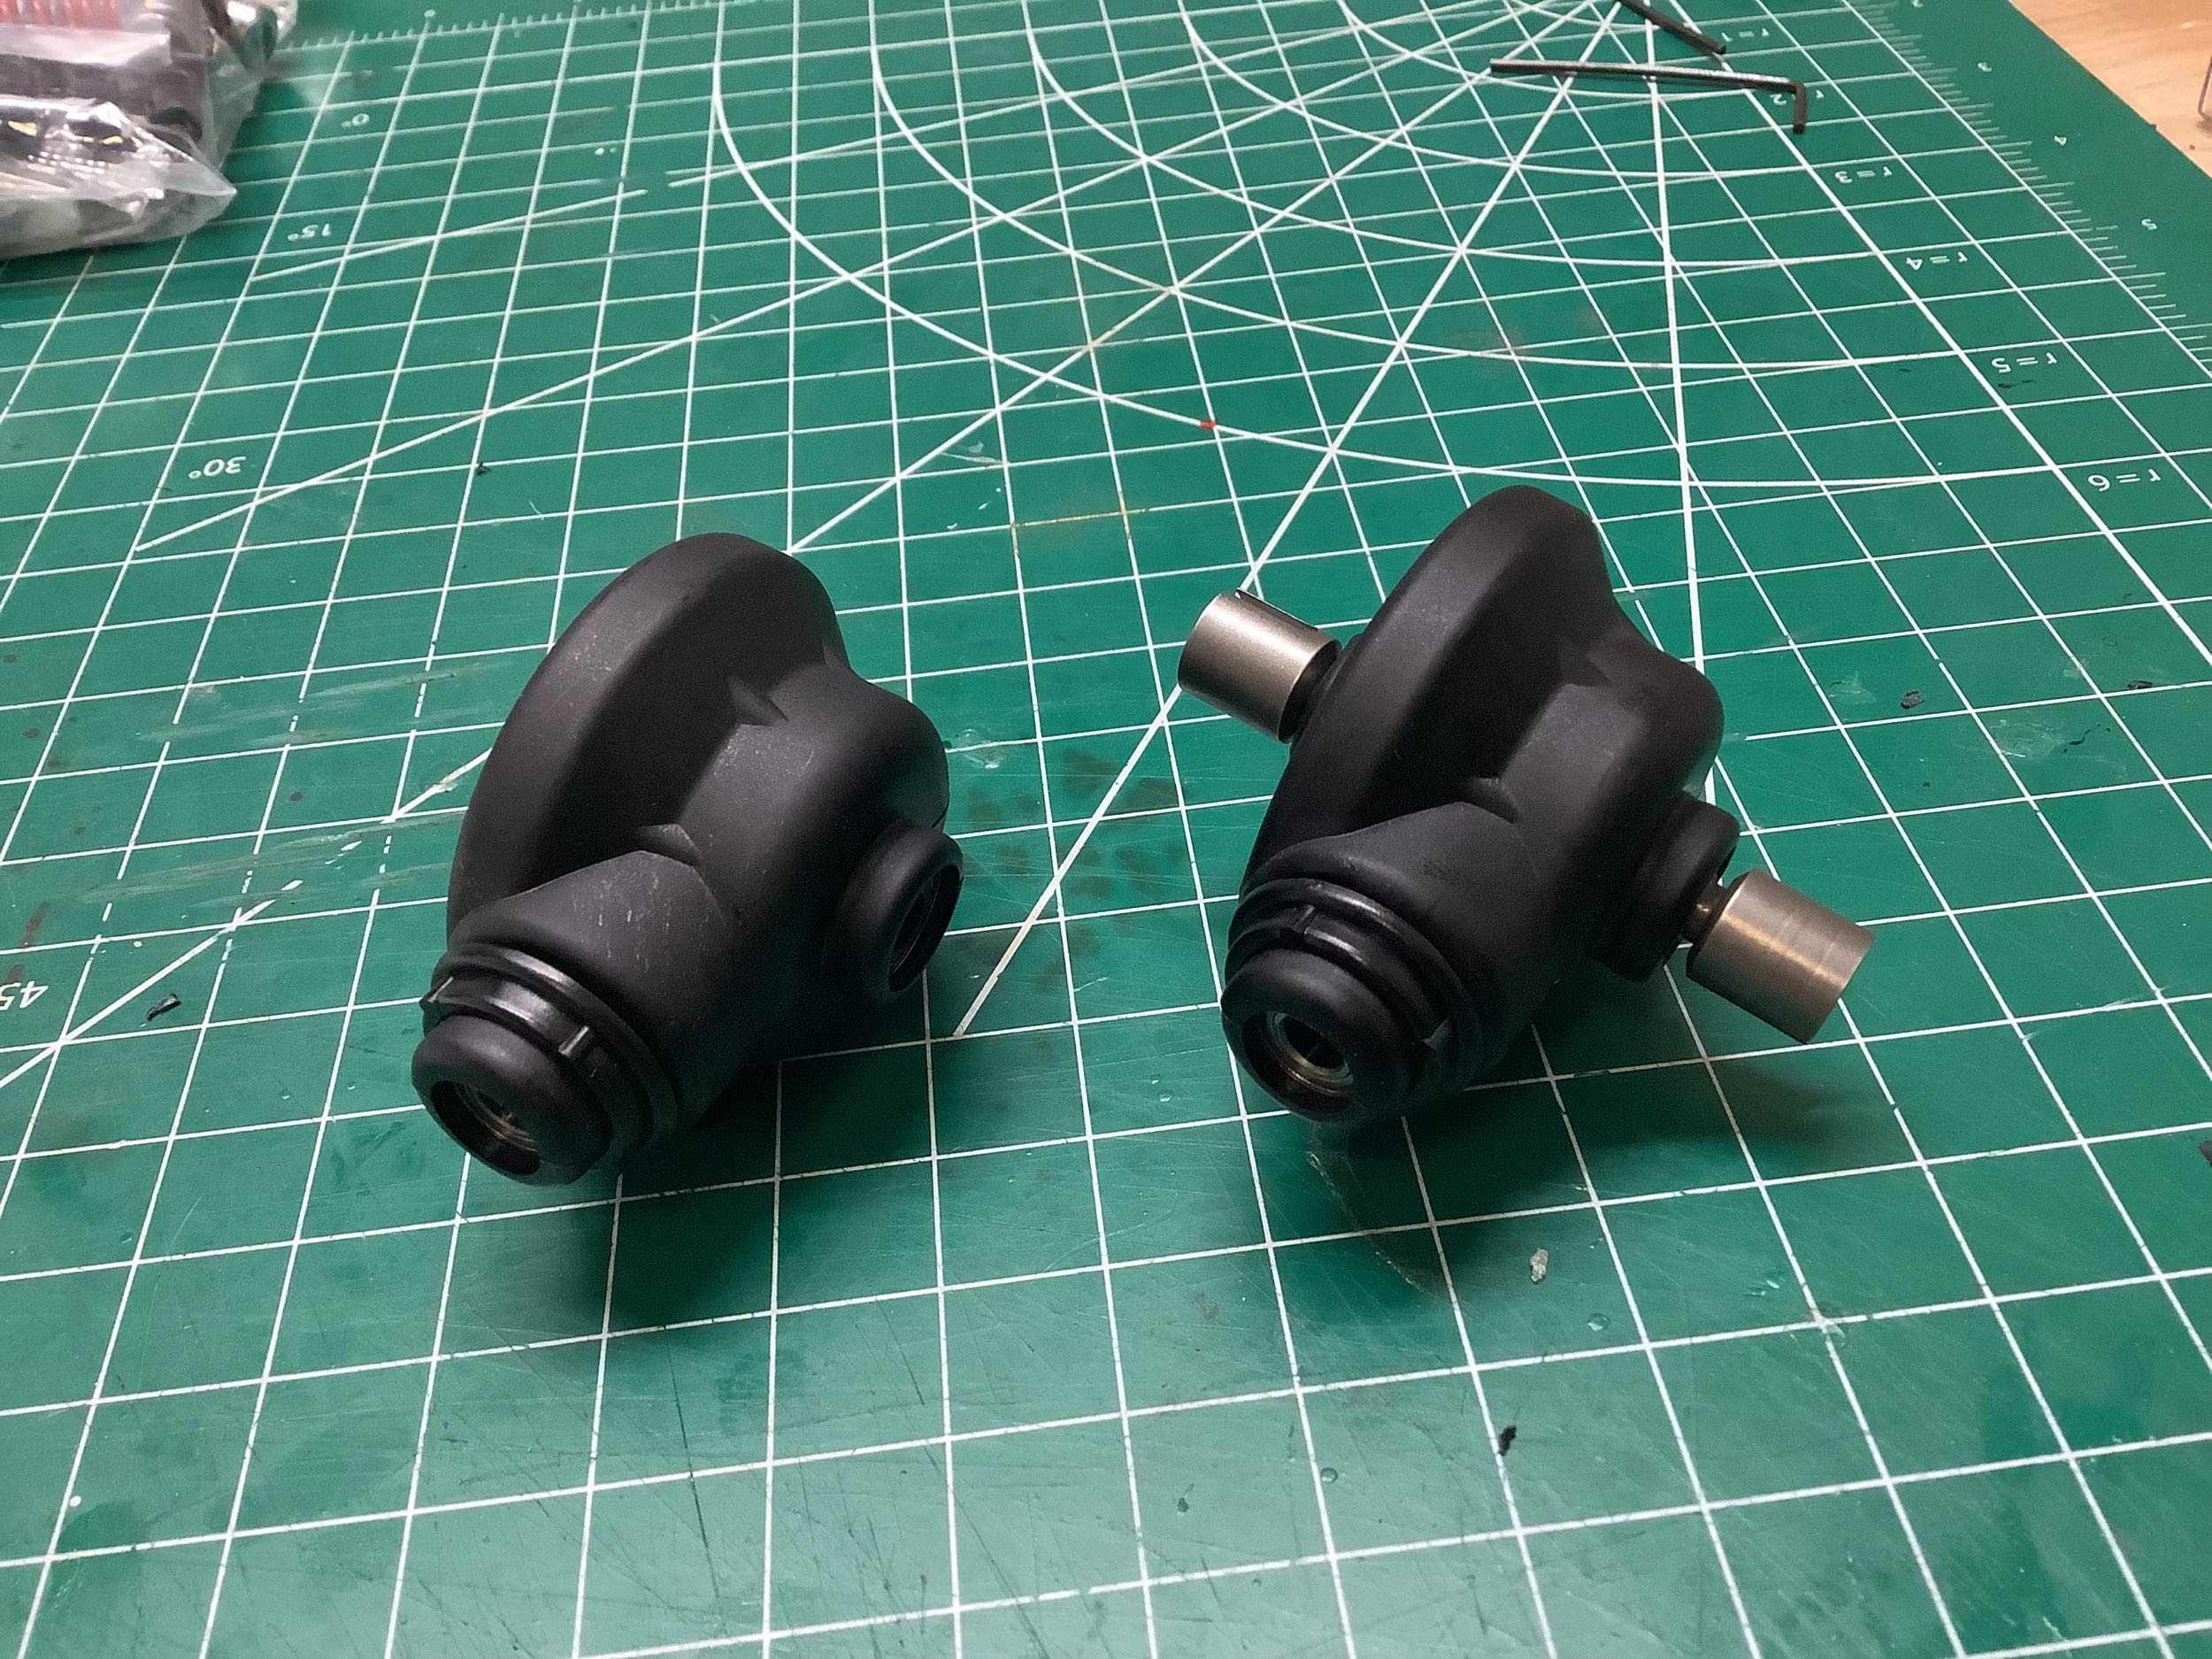
Time to build the front one-way which uses the same parts from the Evo including the highly sculpted plastic housings.
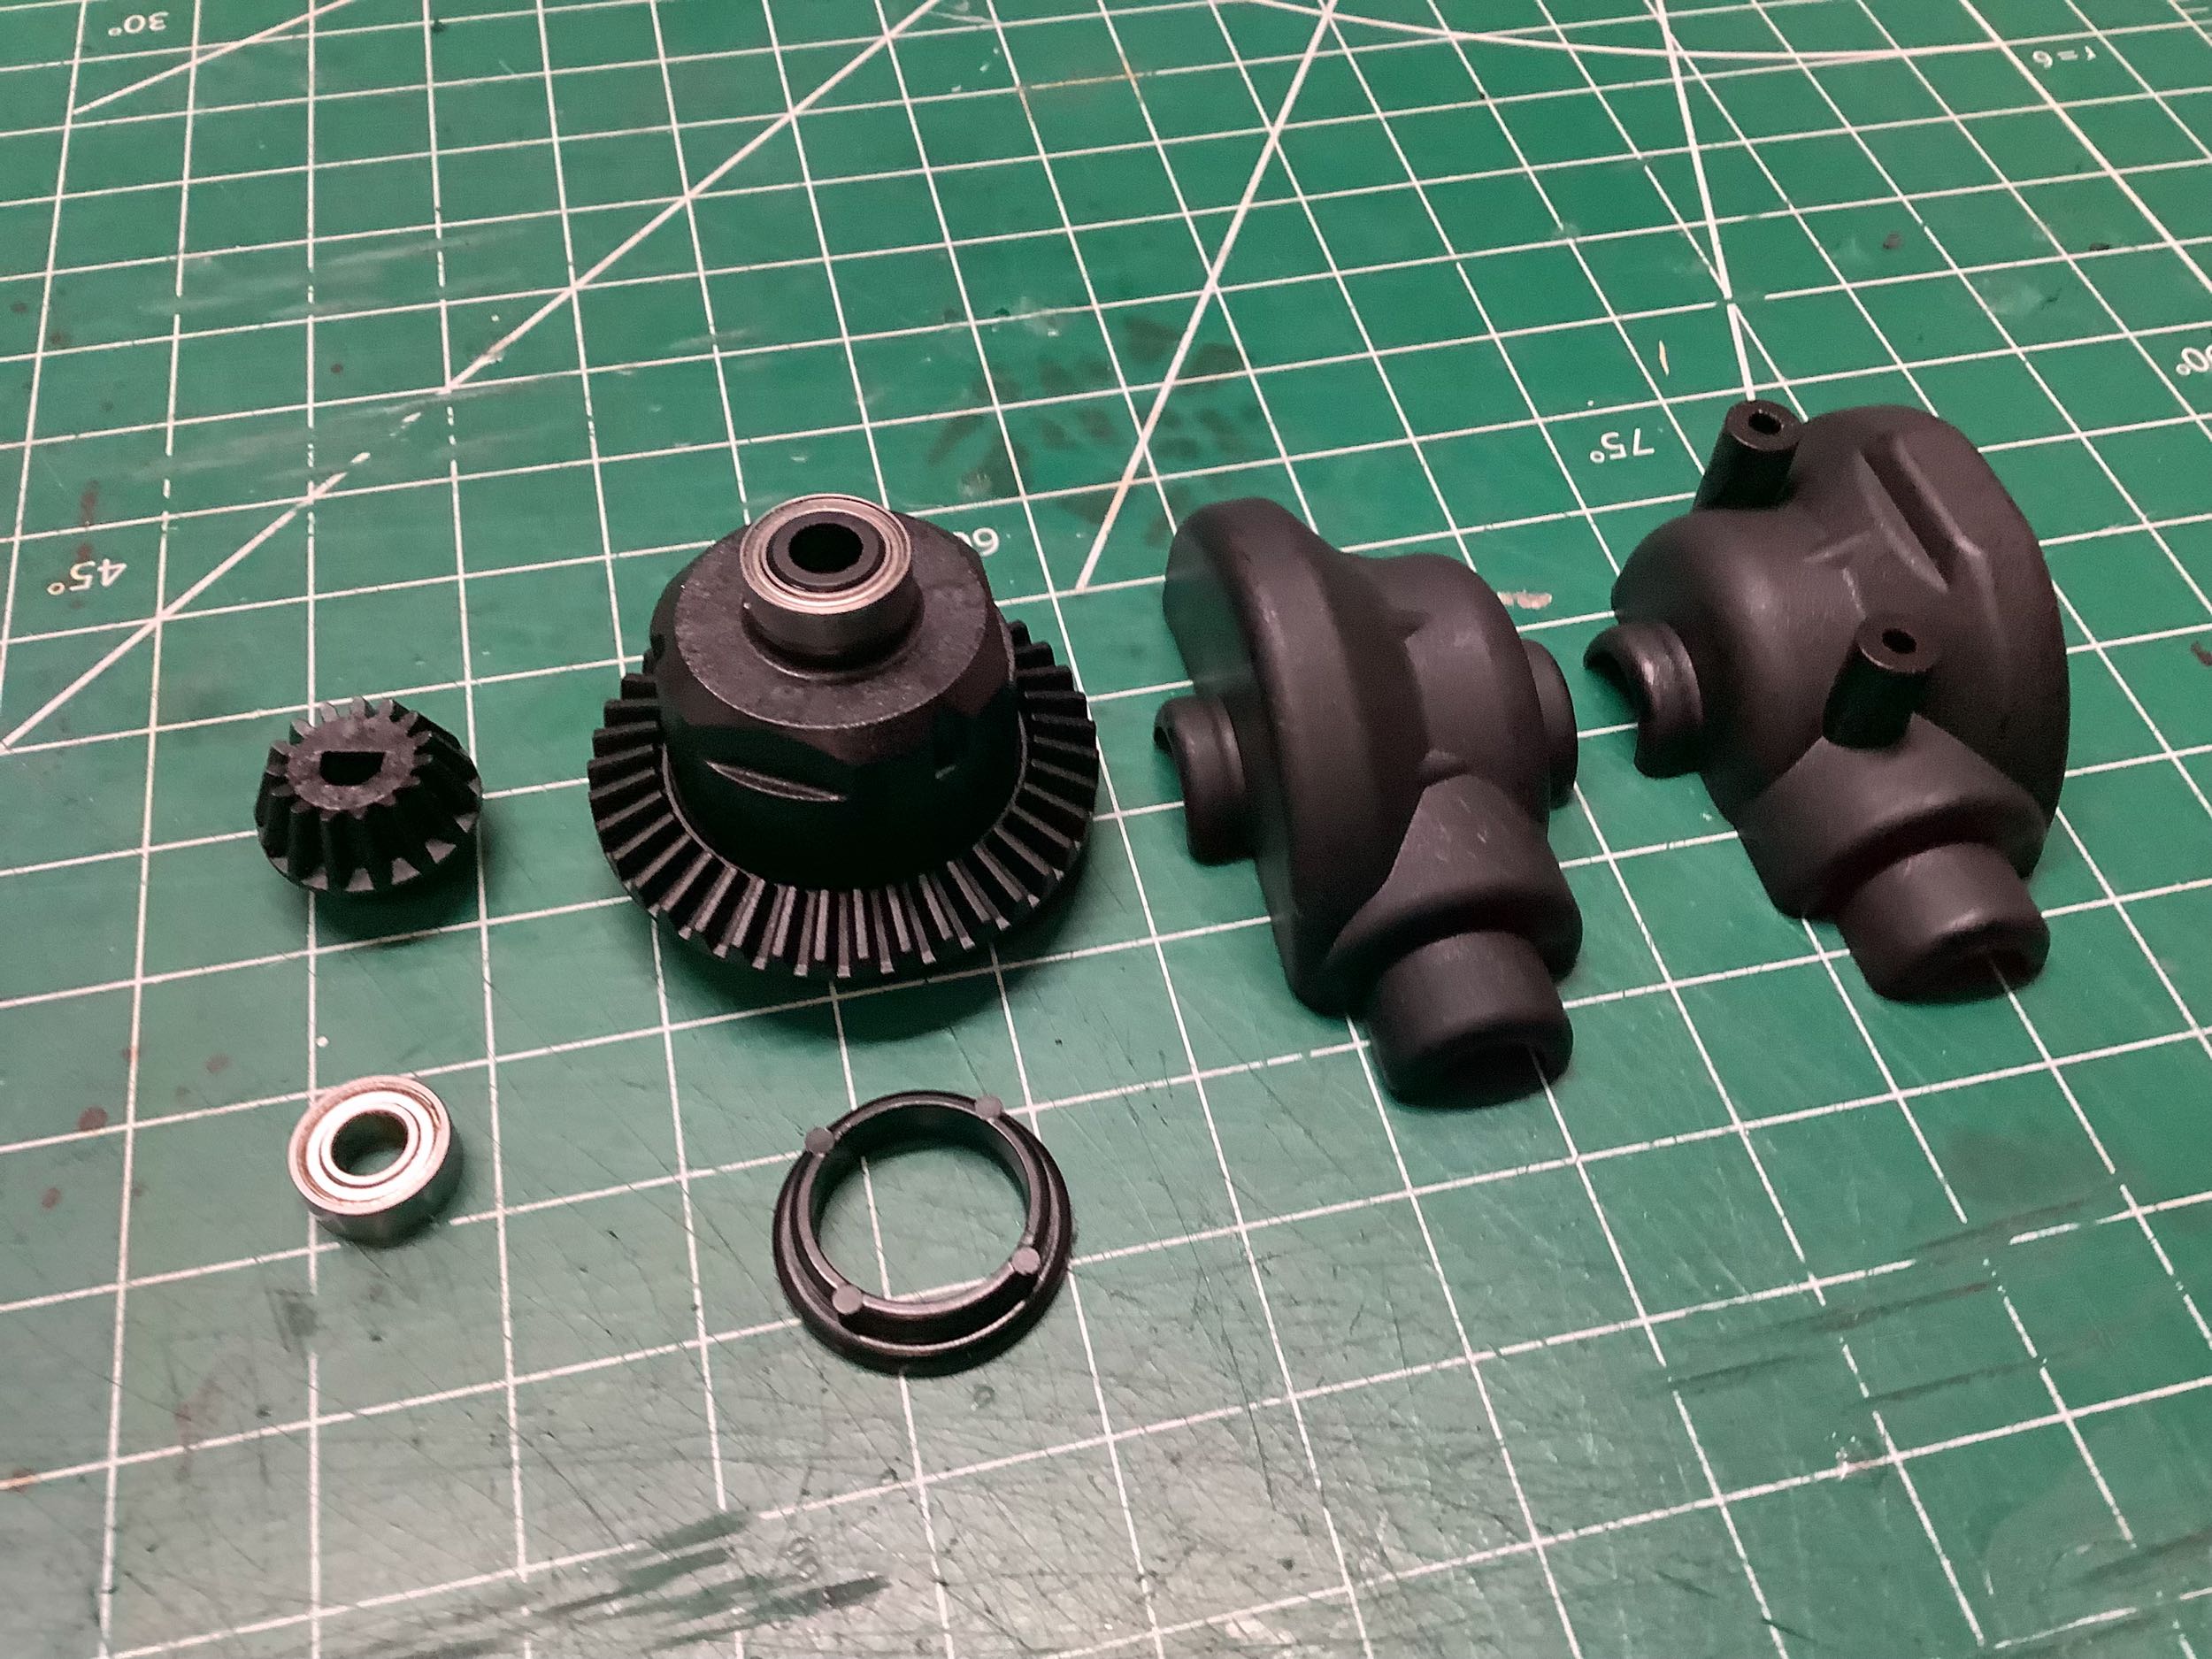
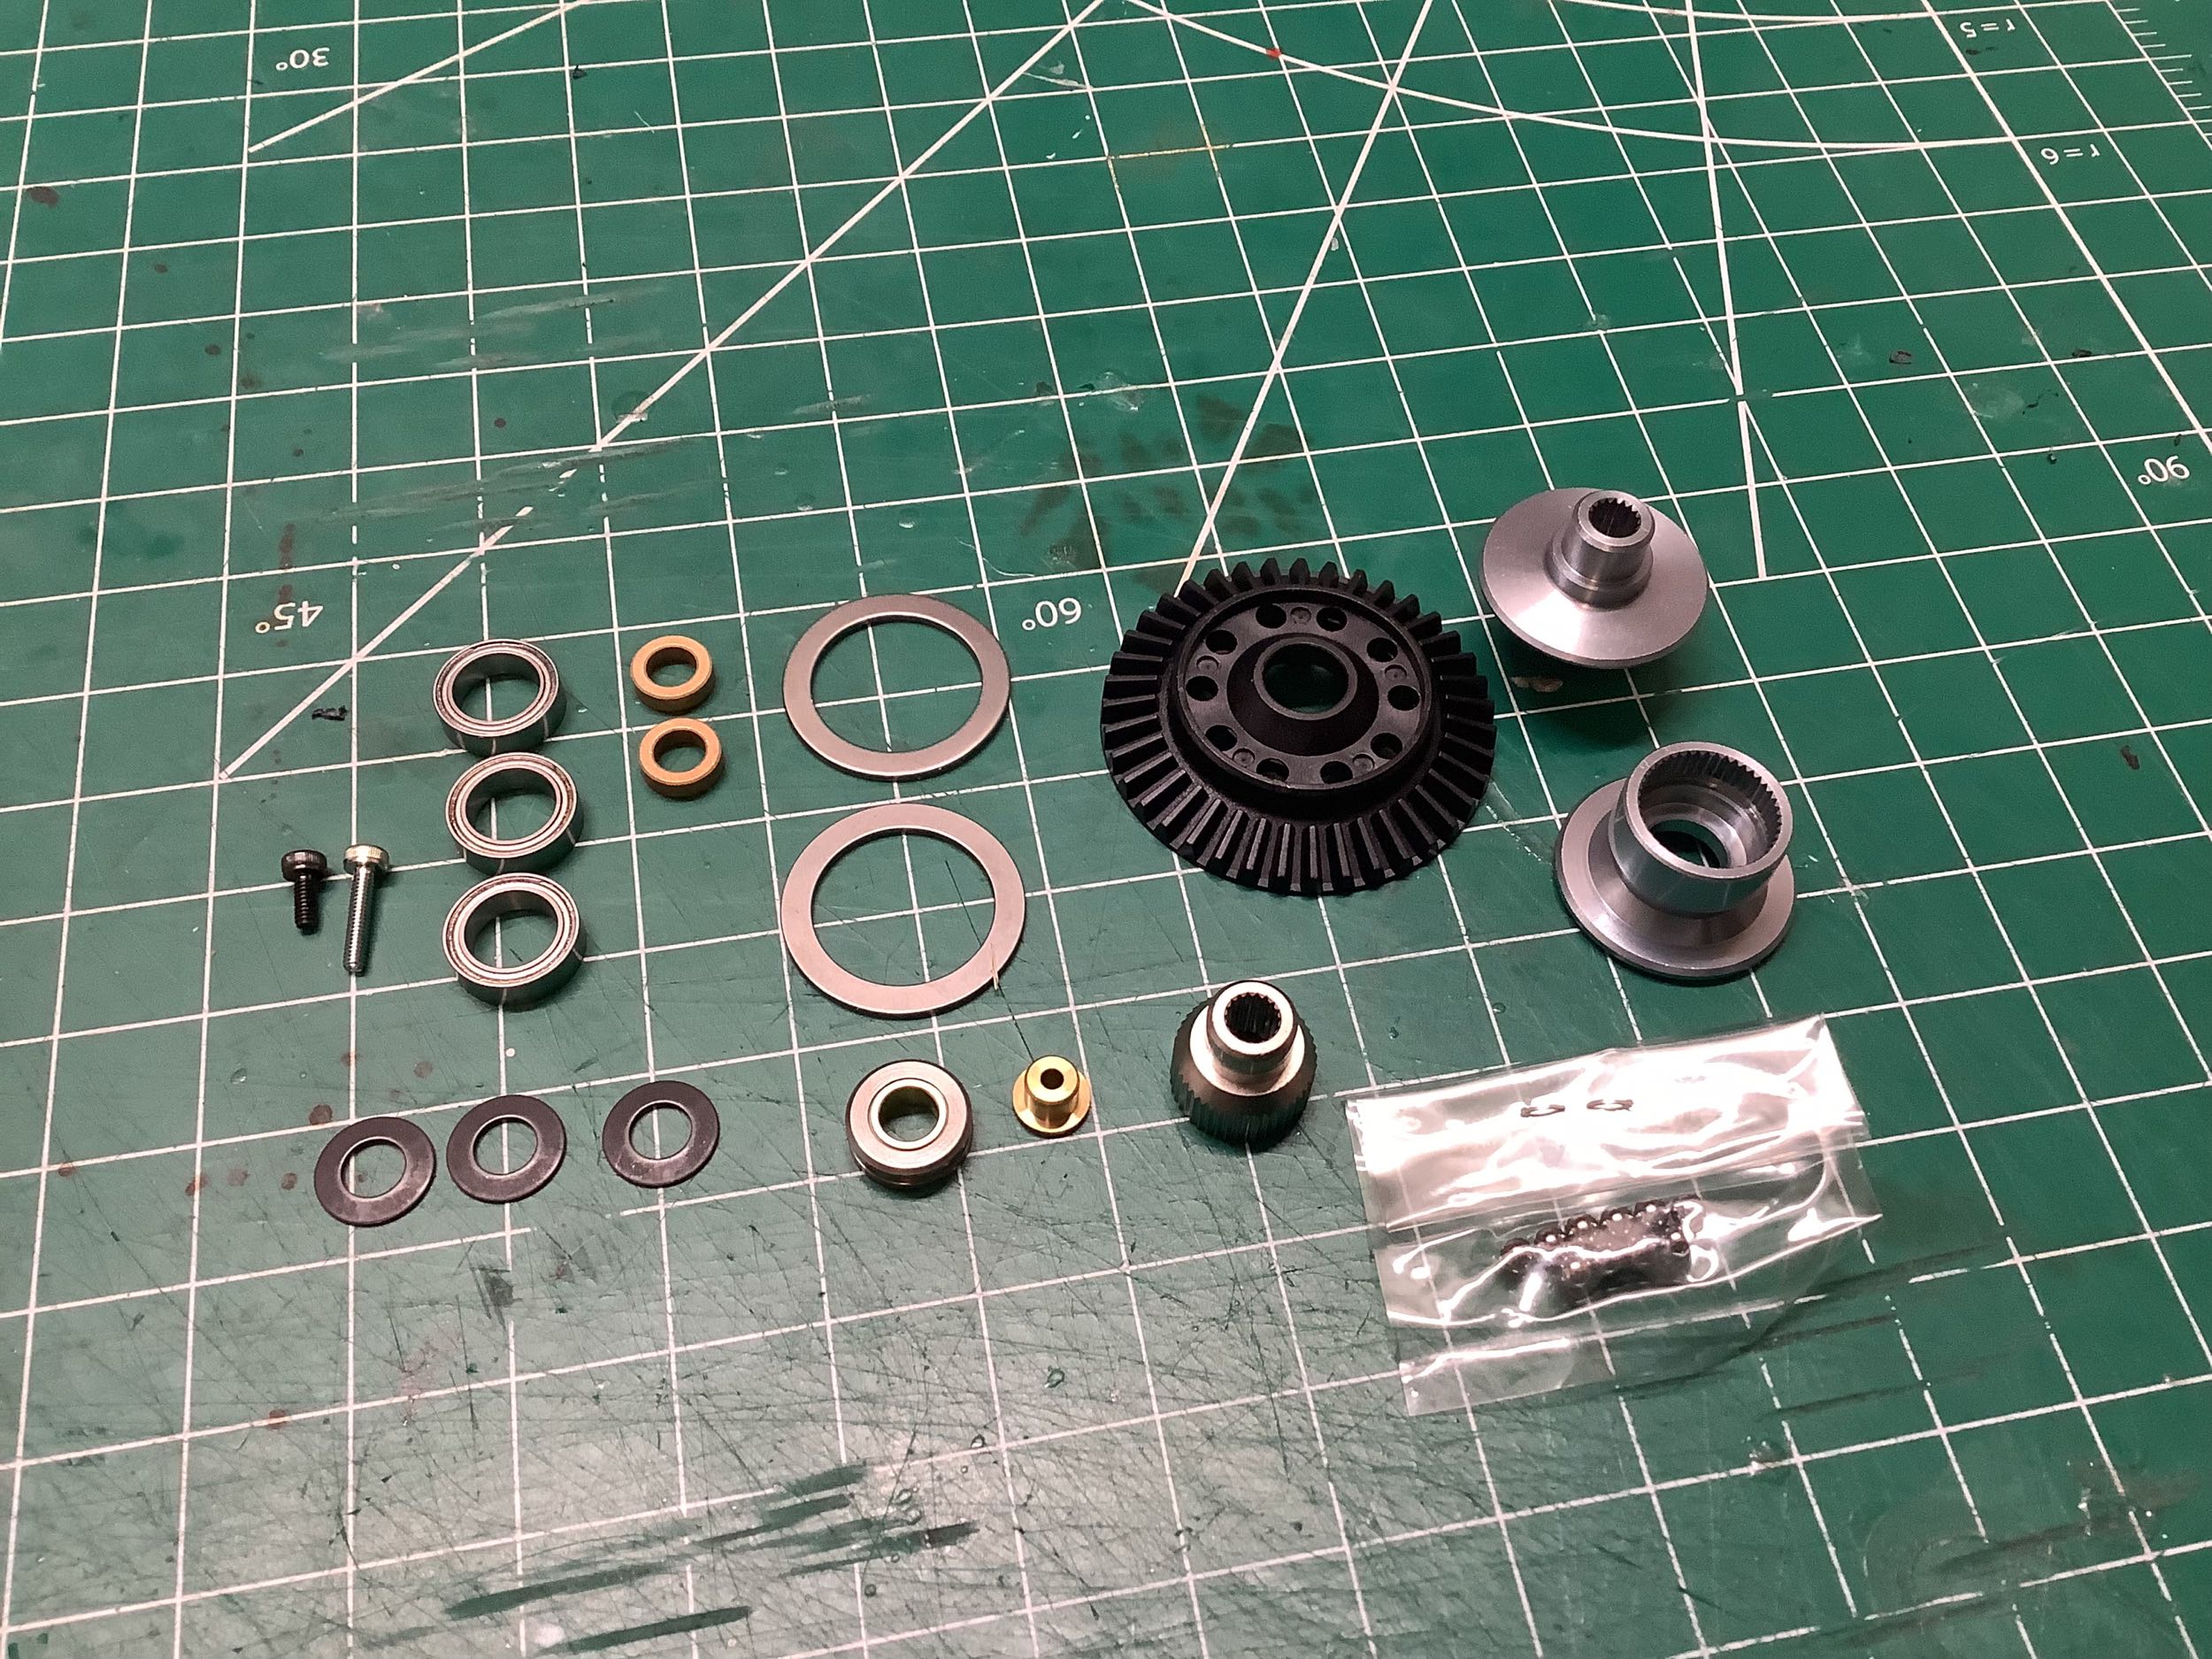
The rear ball differential is also carried over from the Evo and
includes the same odd splined pressure plate caps. The rear
housings are the same parts used in the front.
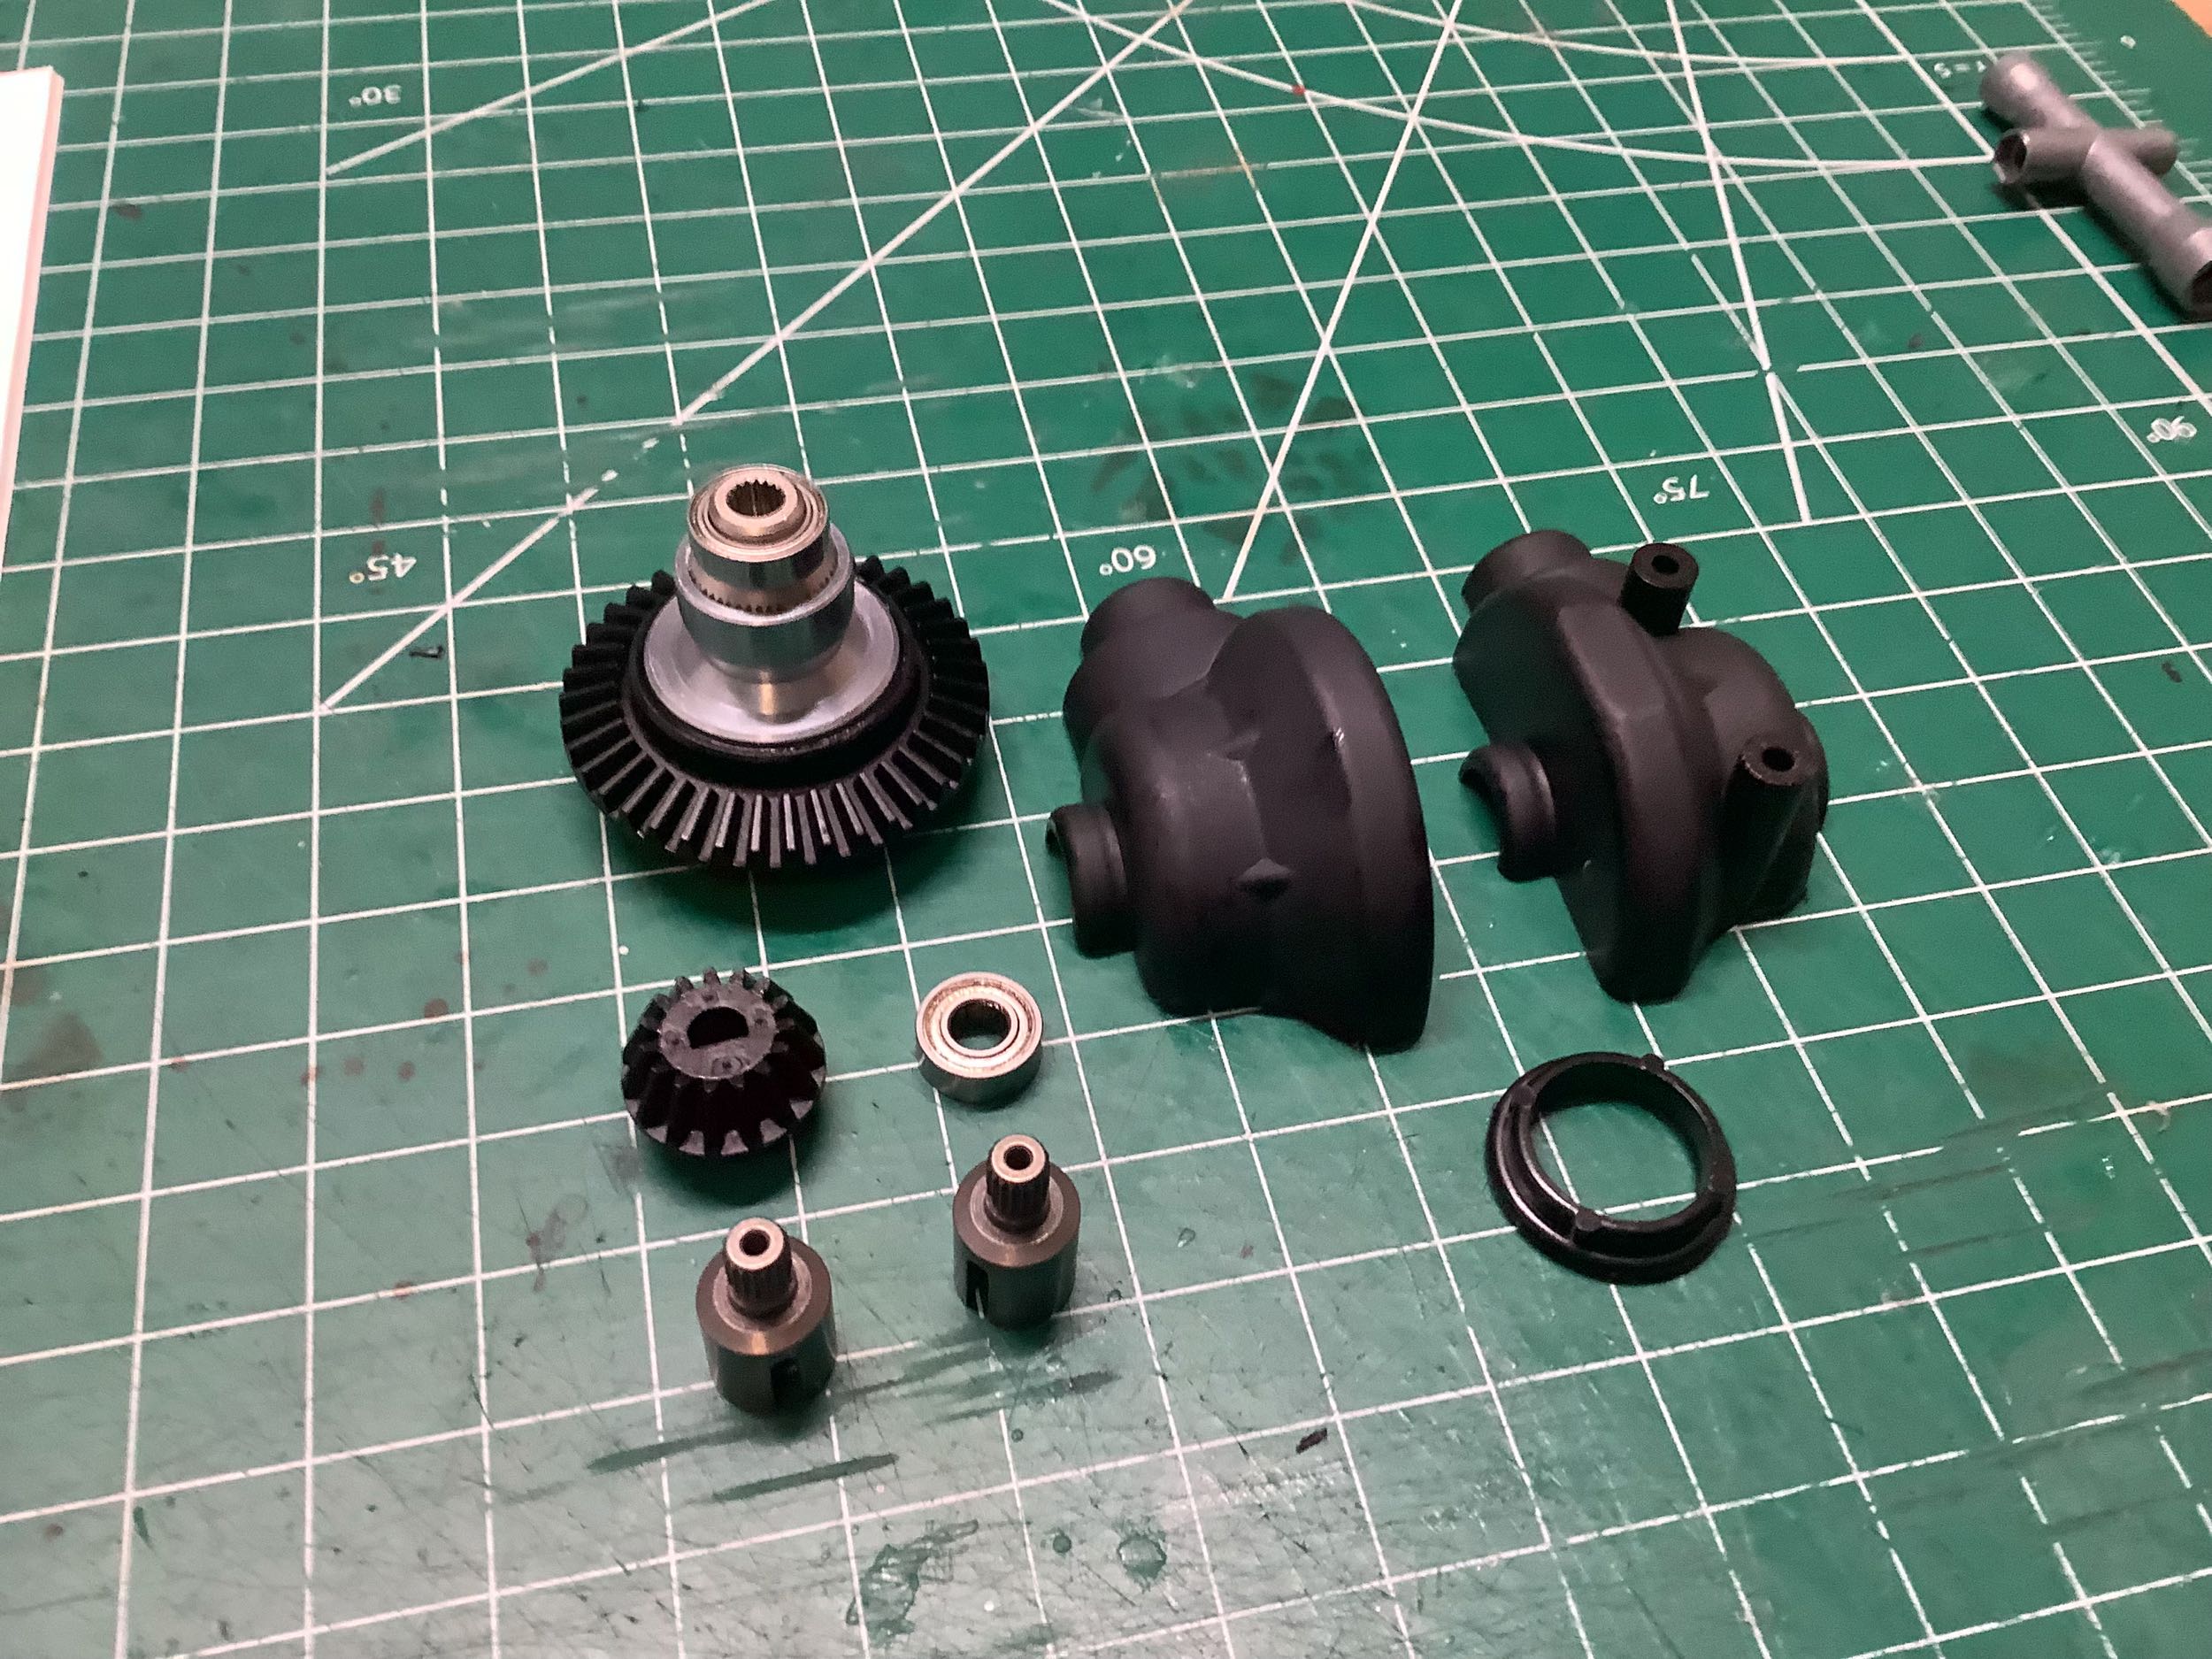
Here are the completed front and rear differential assemblies.
They would be visually indistinguishable apart from the fact that the
drive cups are already installed in the rear.
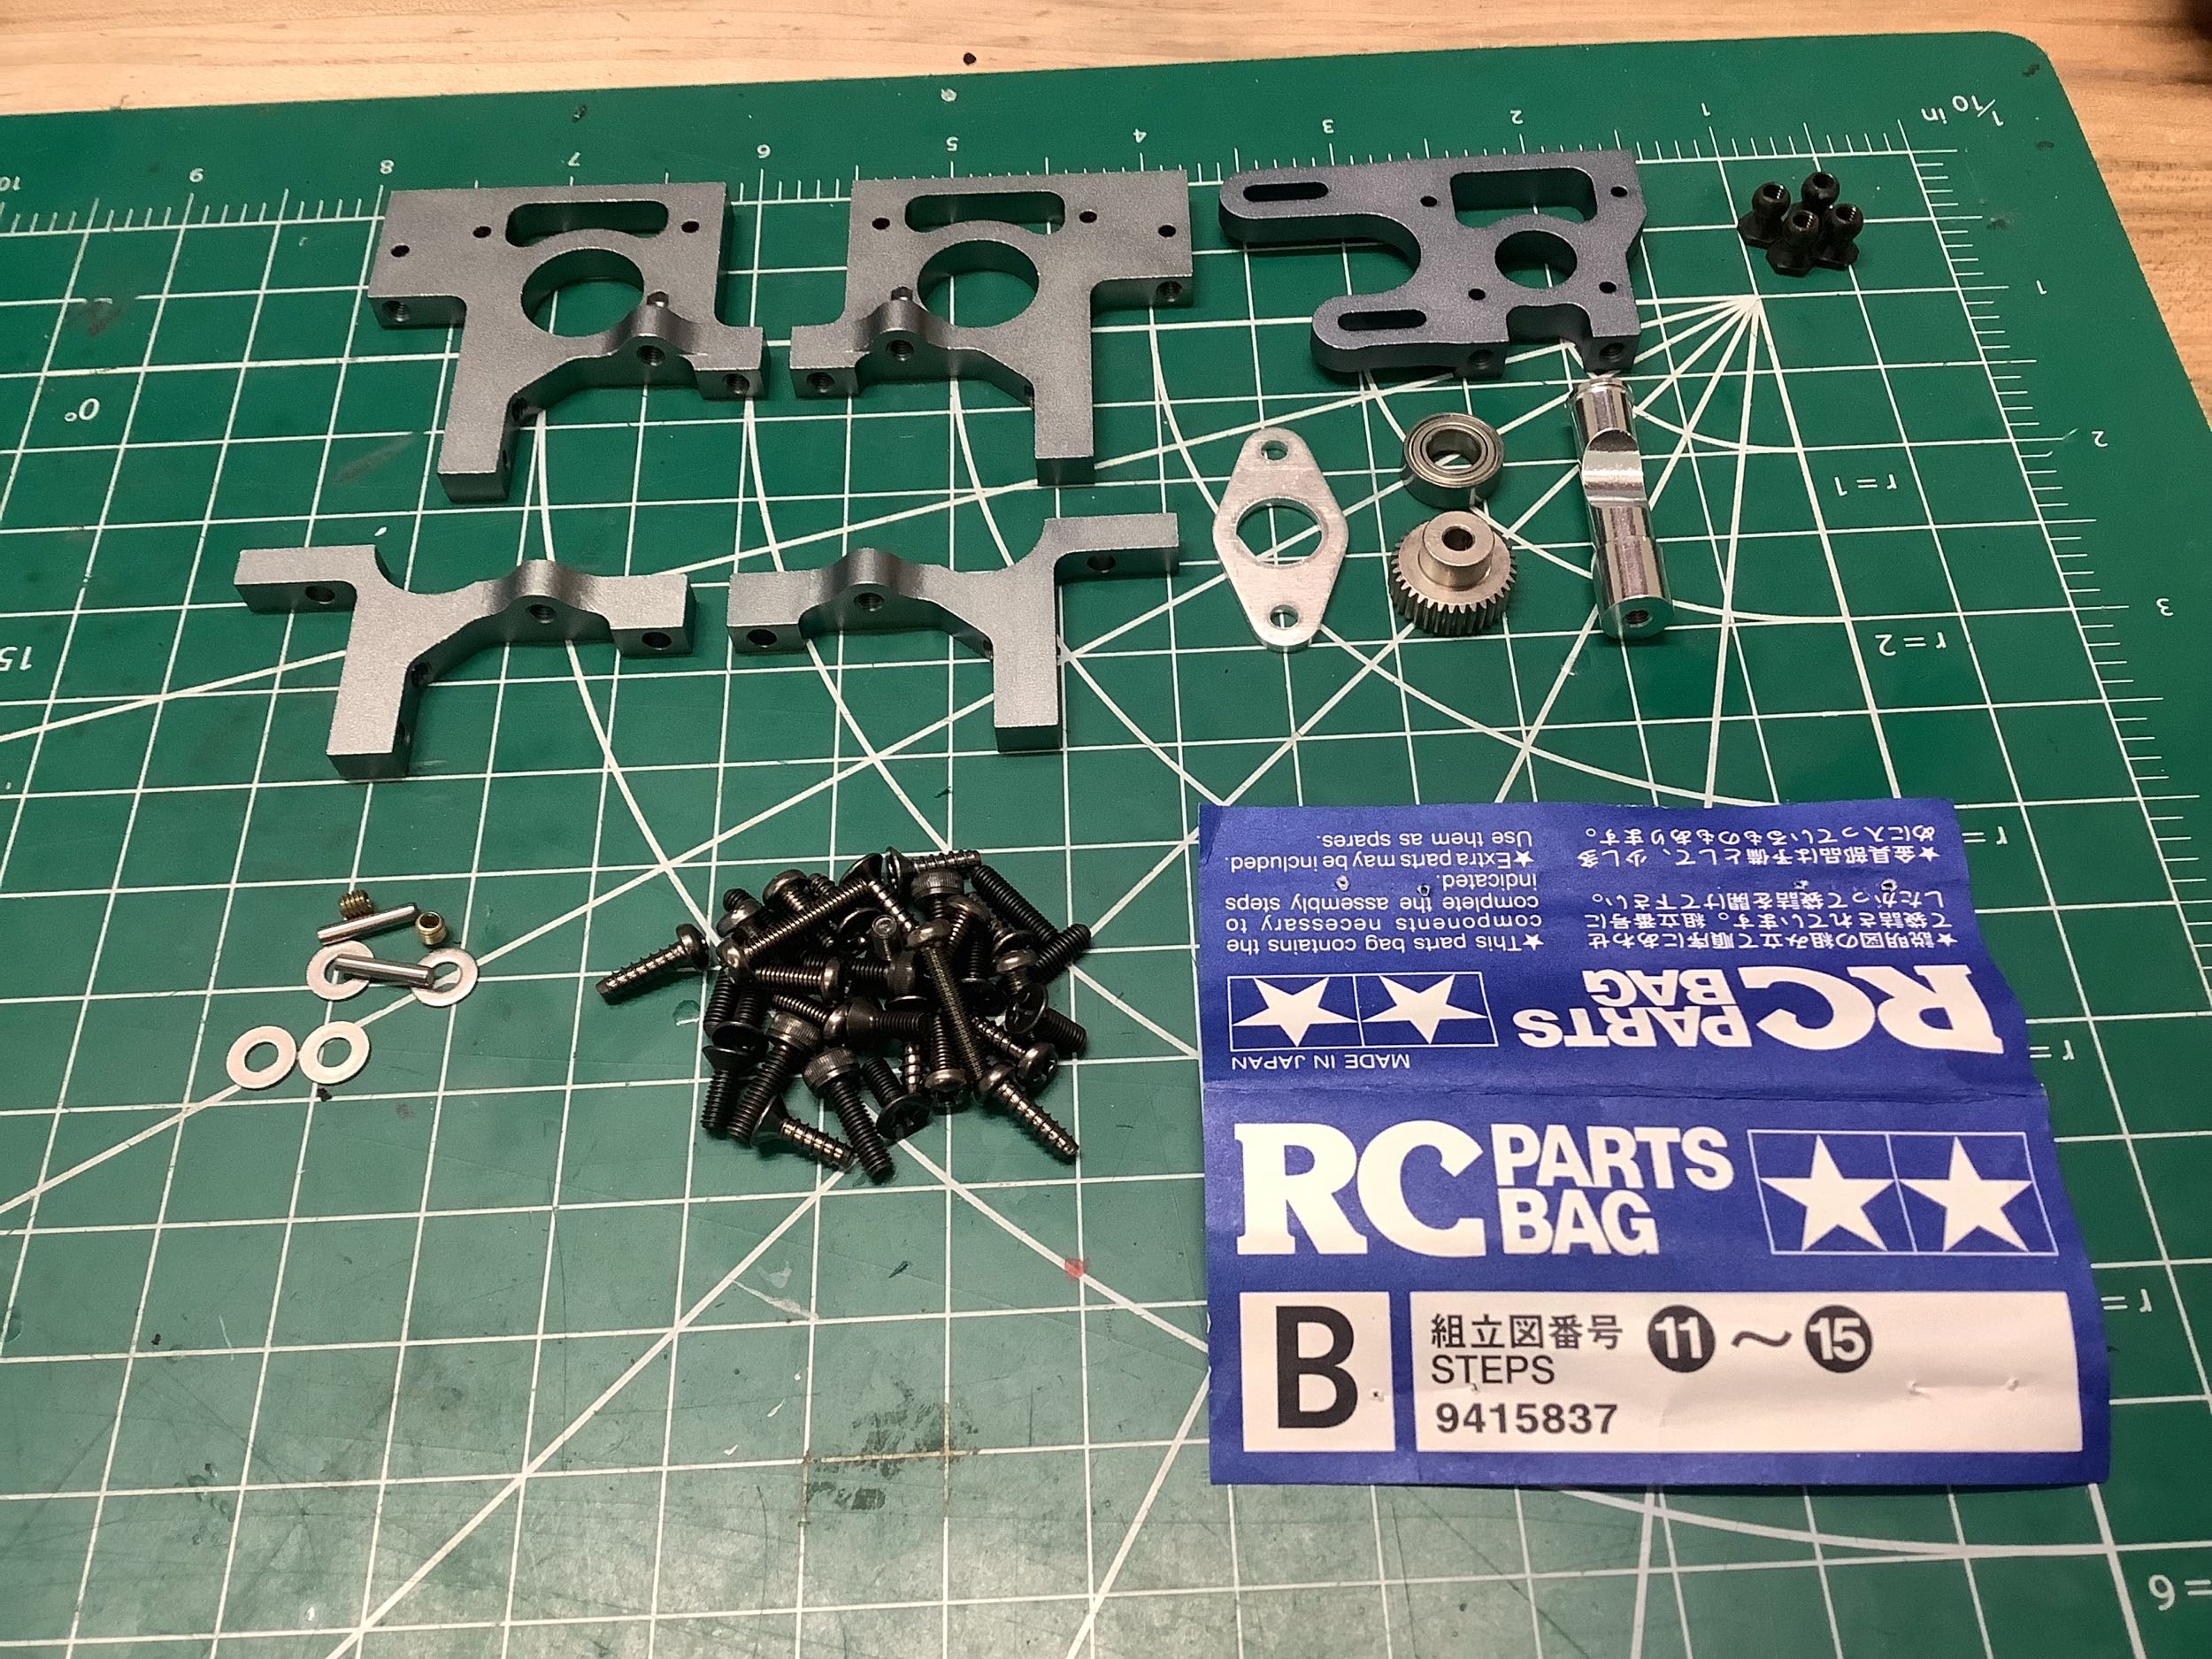
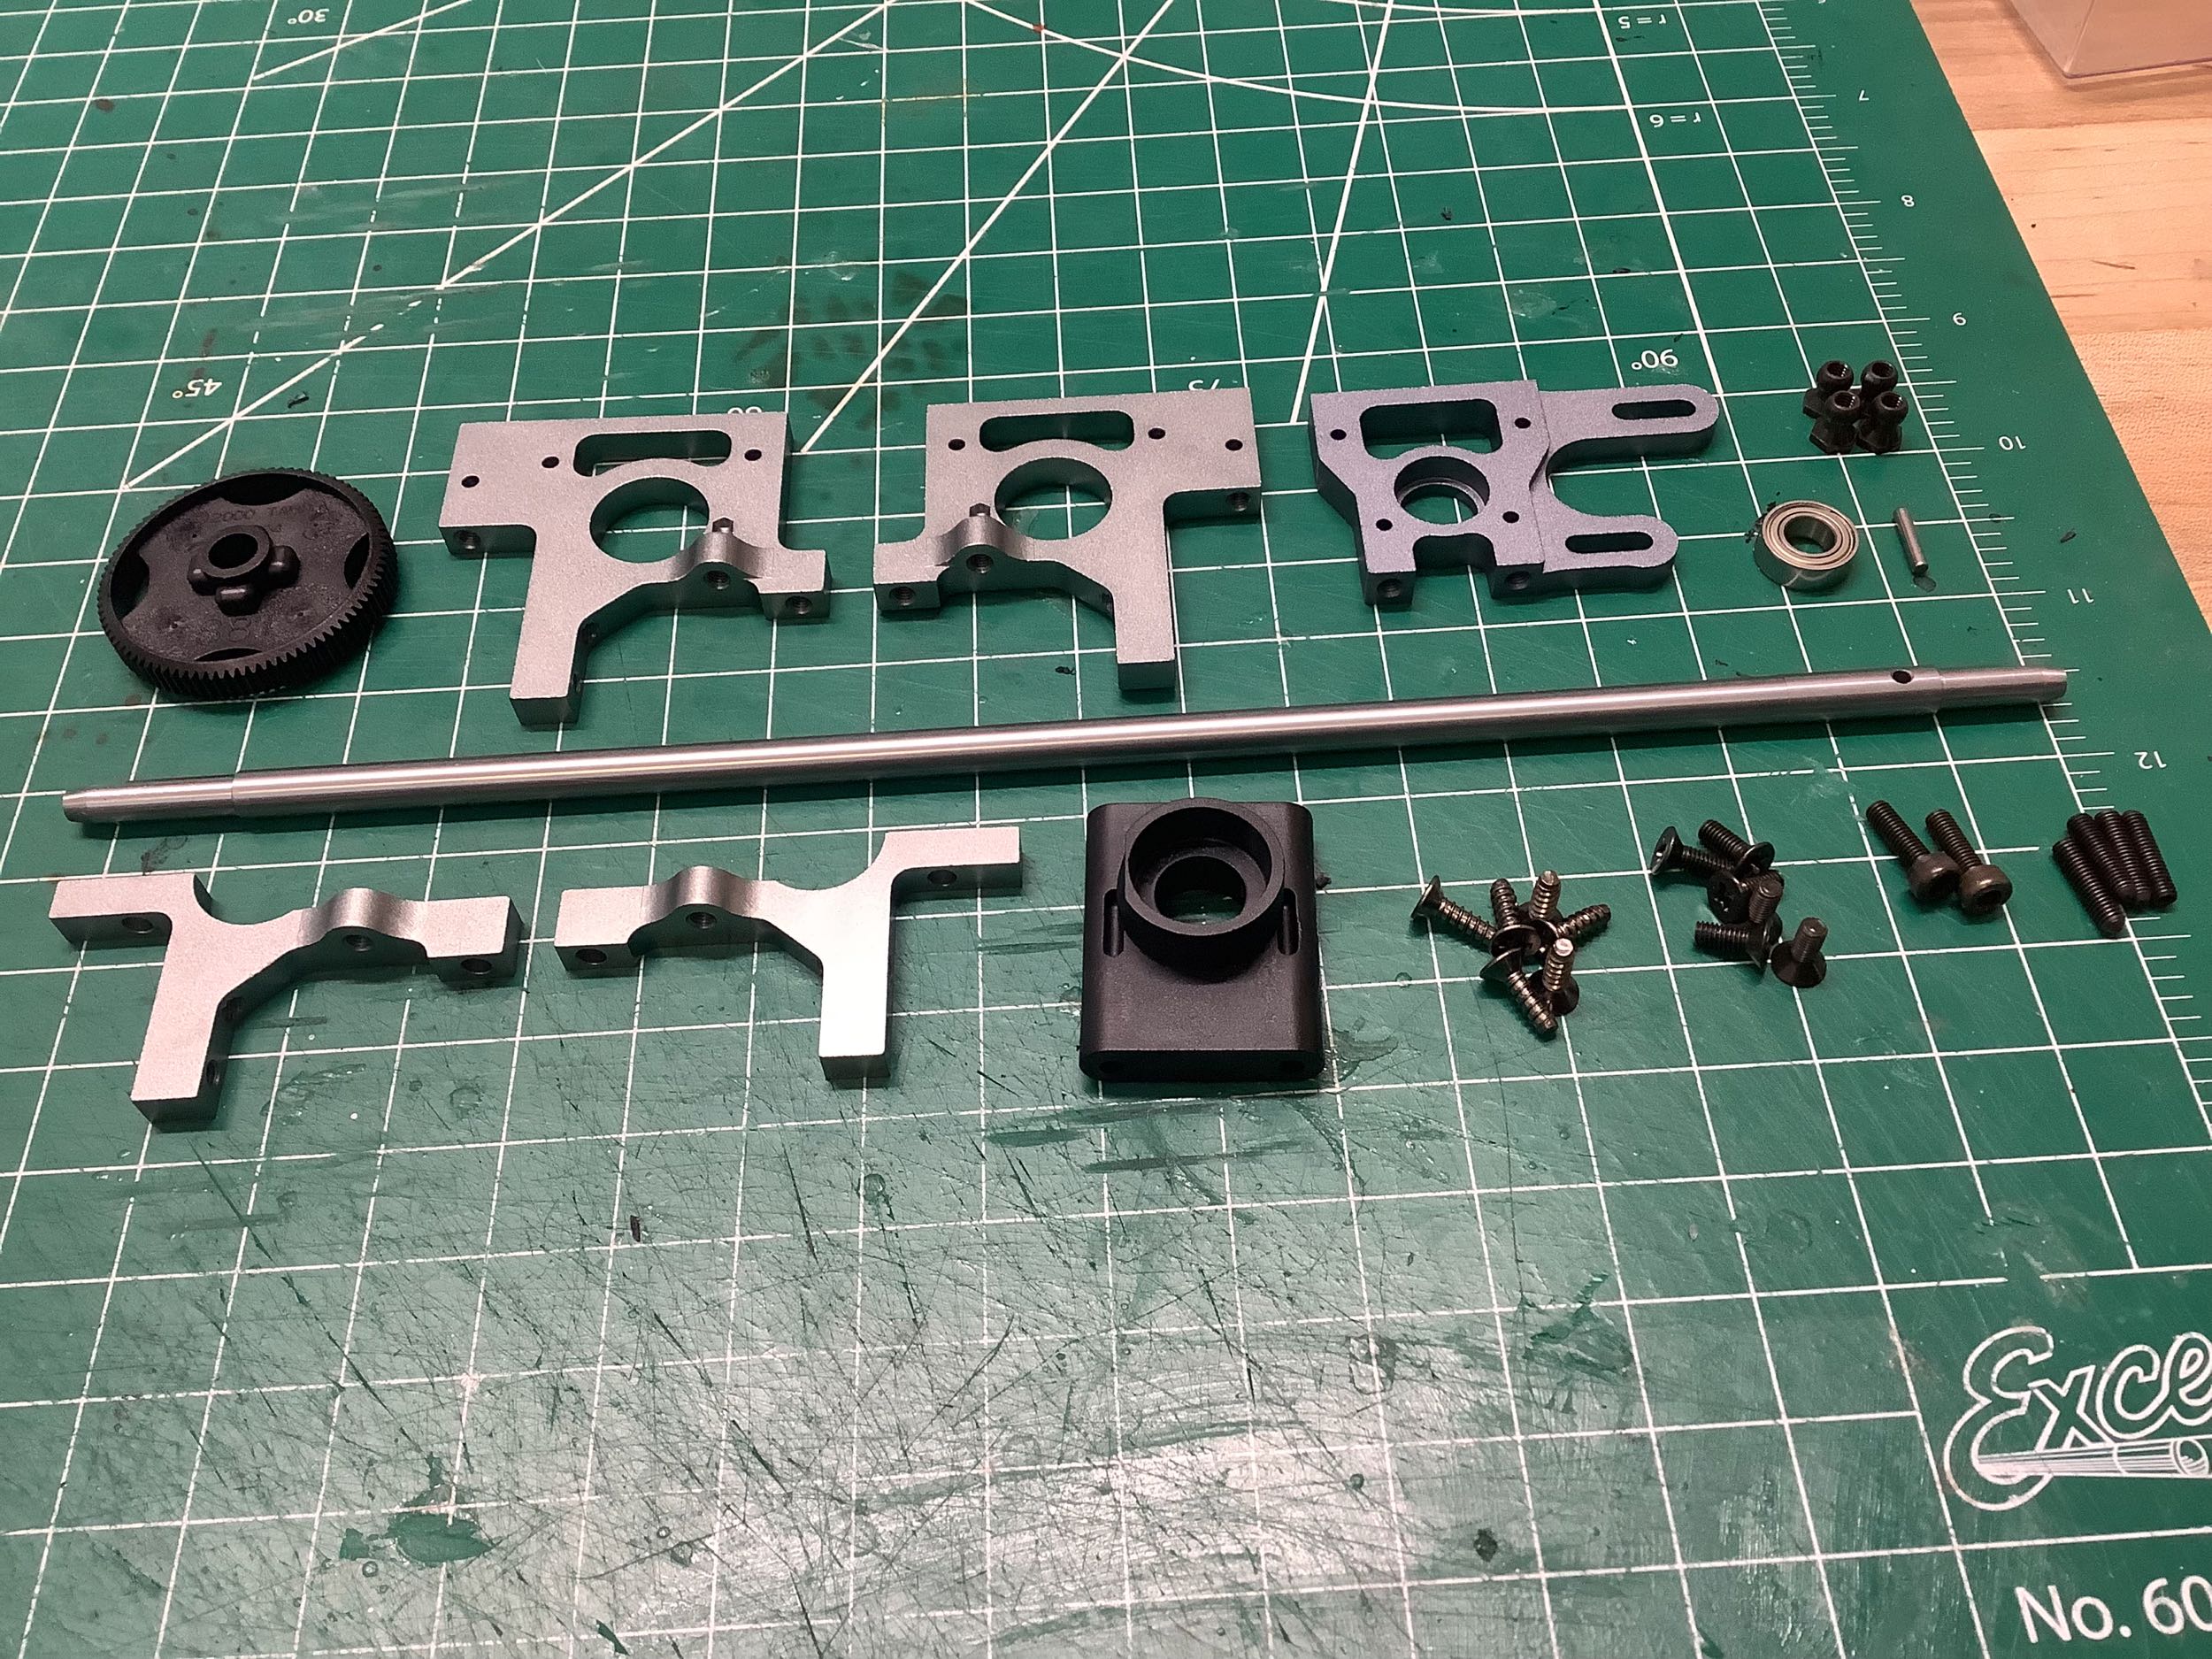
Hardware bag B contains the front bulkheads, rear upper bulkheads, and motor mount encompassing Steps 11-15.
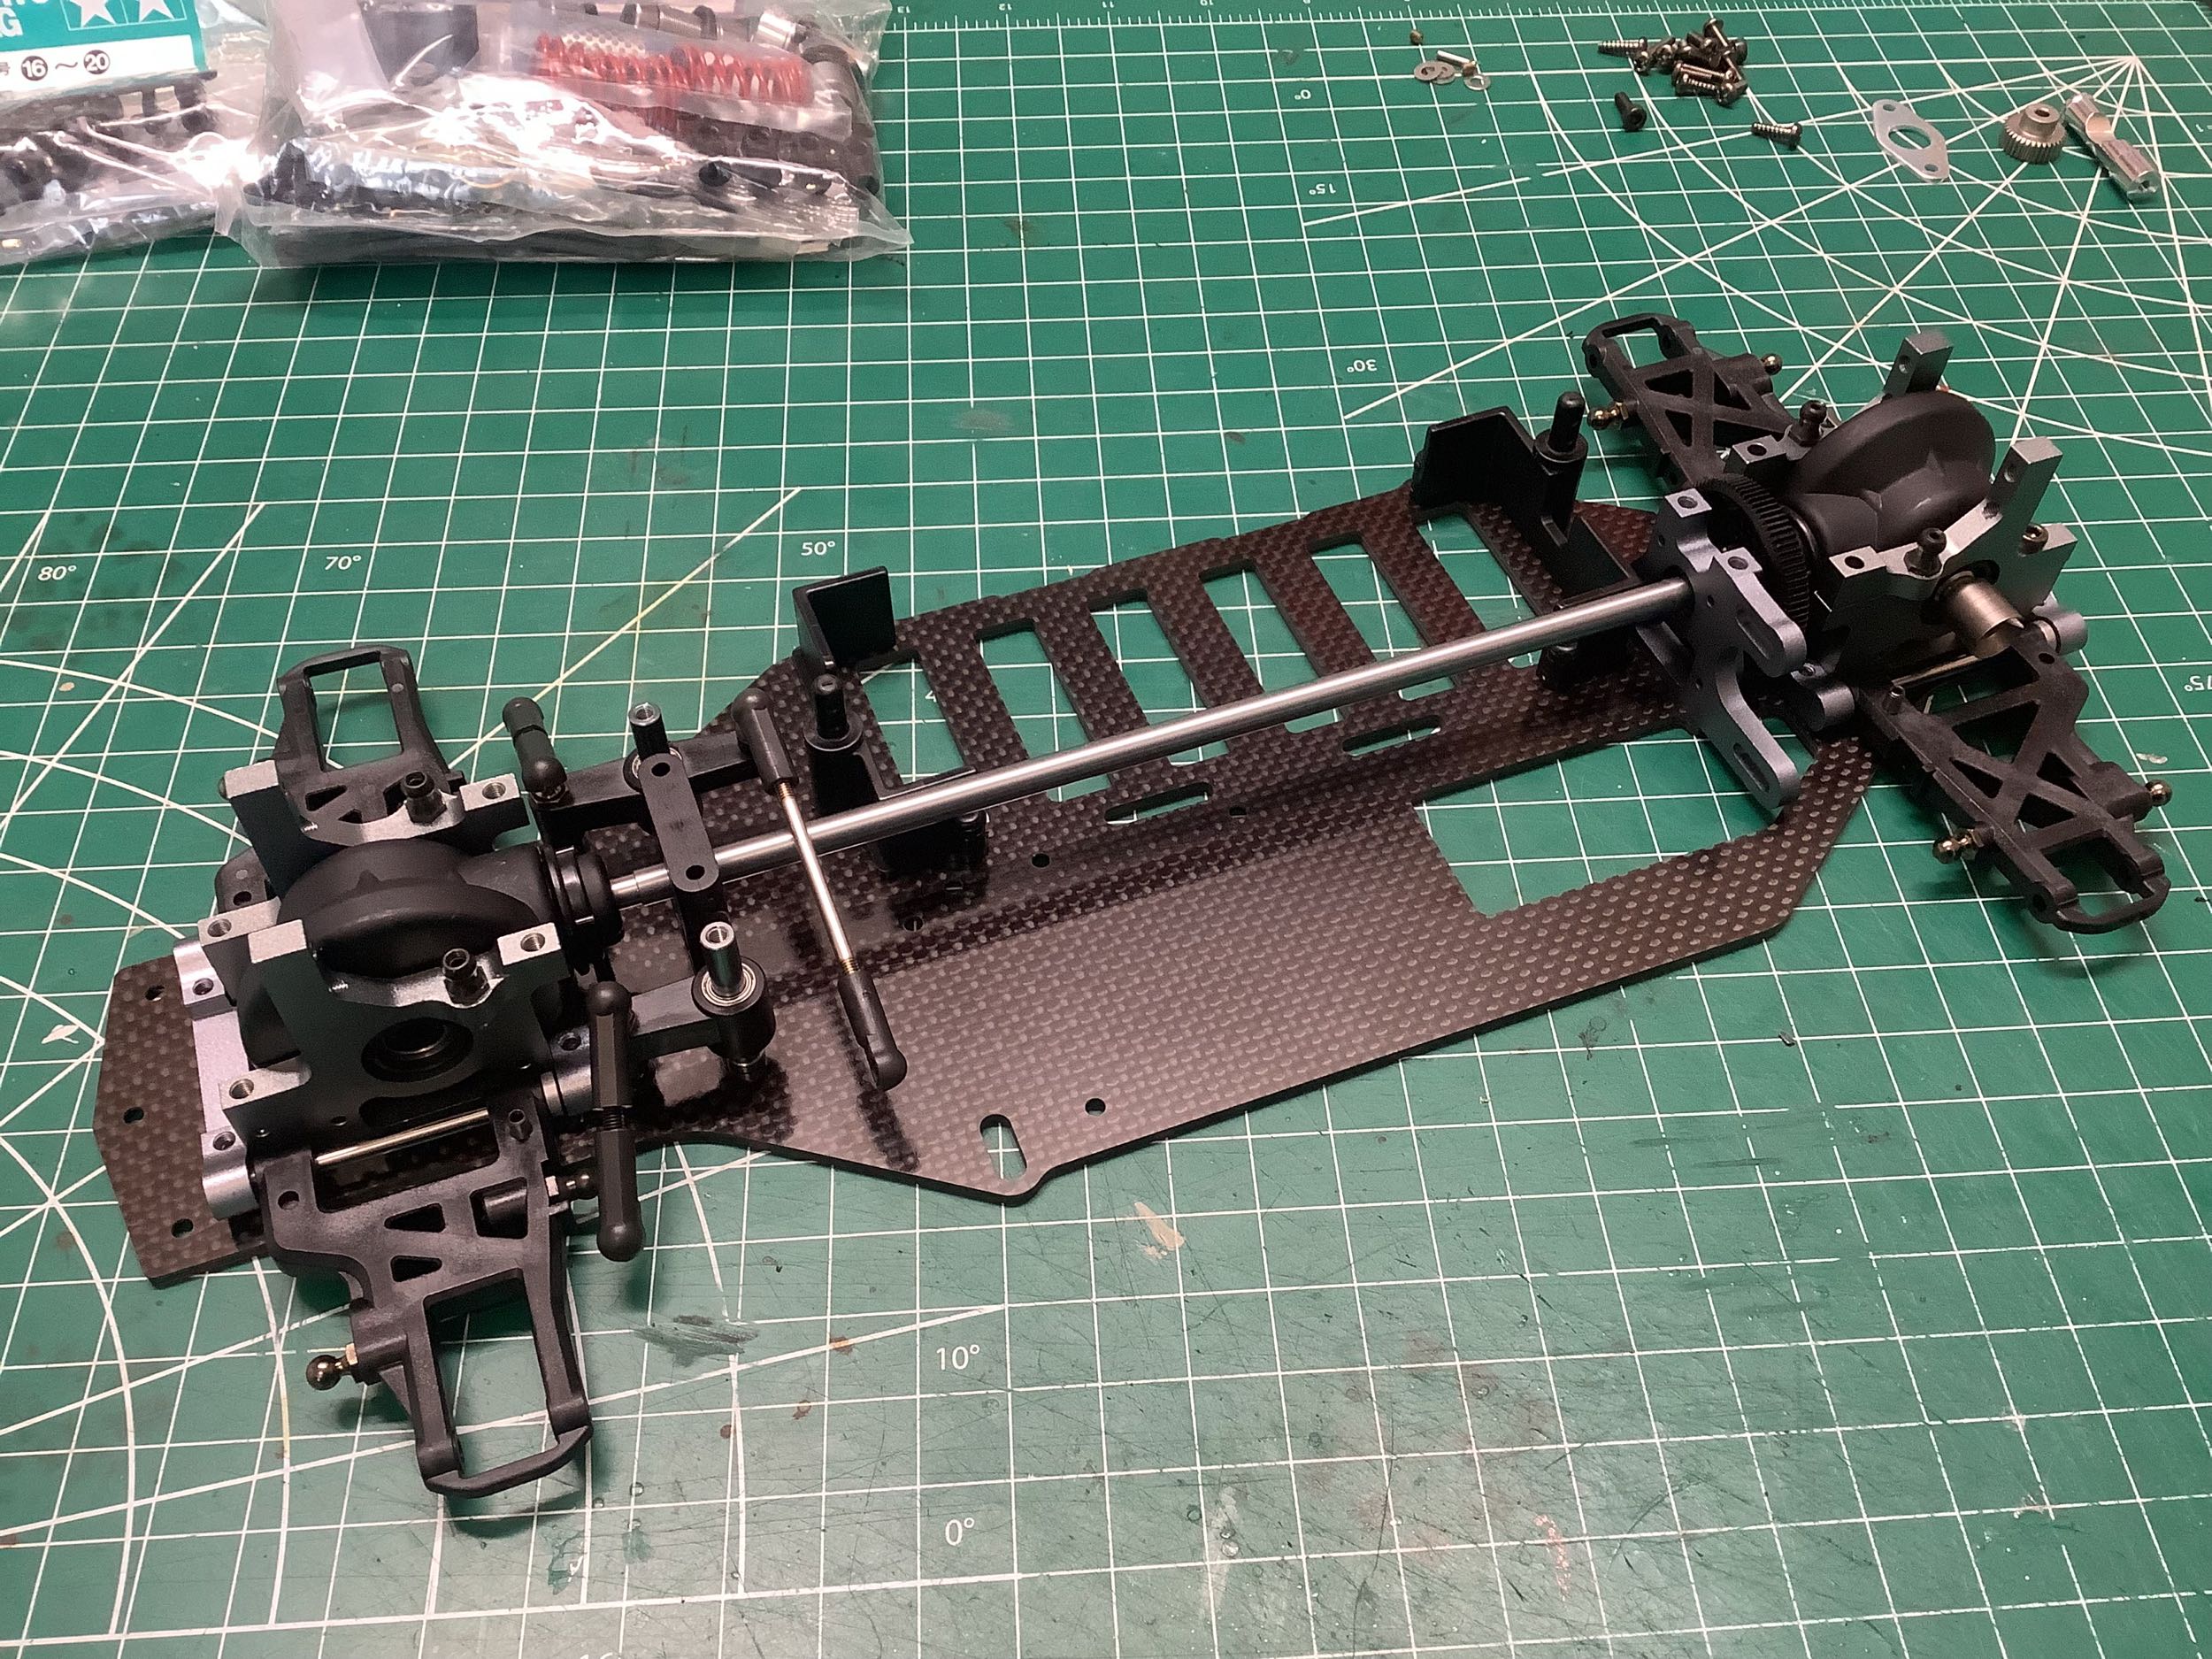
This whole vast pile of parts is installed in one step, and it kind of
has to be because the drive shaft is trapped between the front and rear
differentials. The front bulkheads are one-piece so they must be
installed with the front differential as a unit. The drive shaft
plug in to them, passes through the plastic center support, passes
through the motor mount, picks up the spur gear, and then locks into the
rear differential. This must all be held together and lowered
into place as a unit. It's tricky. If you forget anything,
you have to take the whole thing apart and try again. It's
important not to turn the chassis upside down while trying to do any of
this or the steering cranks will fall off. At least that's what
I've heard.....
The rear differential is theoretically easier to remove than the front
because of the upper bulkhead caps, but the reality is that it can't
simply be lifted straight up because of the drive shaft, so maintenance
at either end is quite a chore.
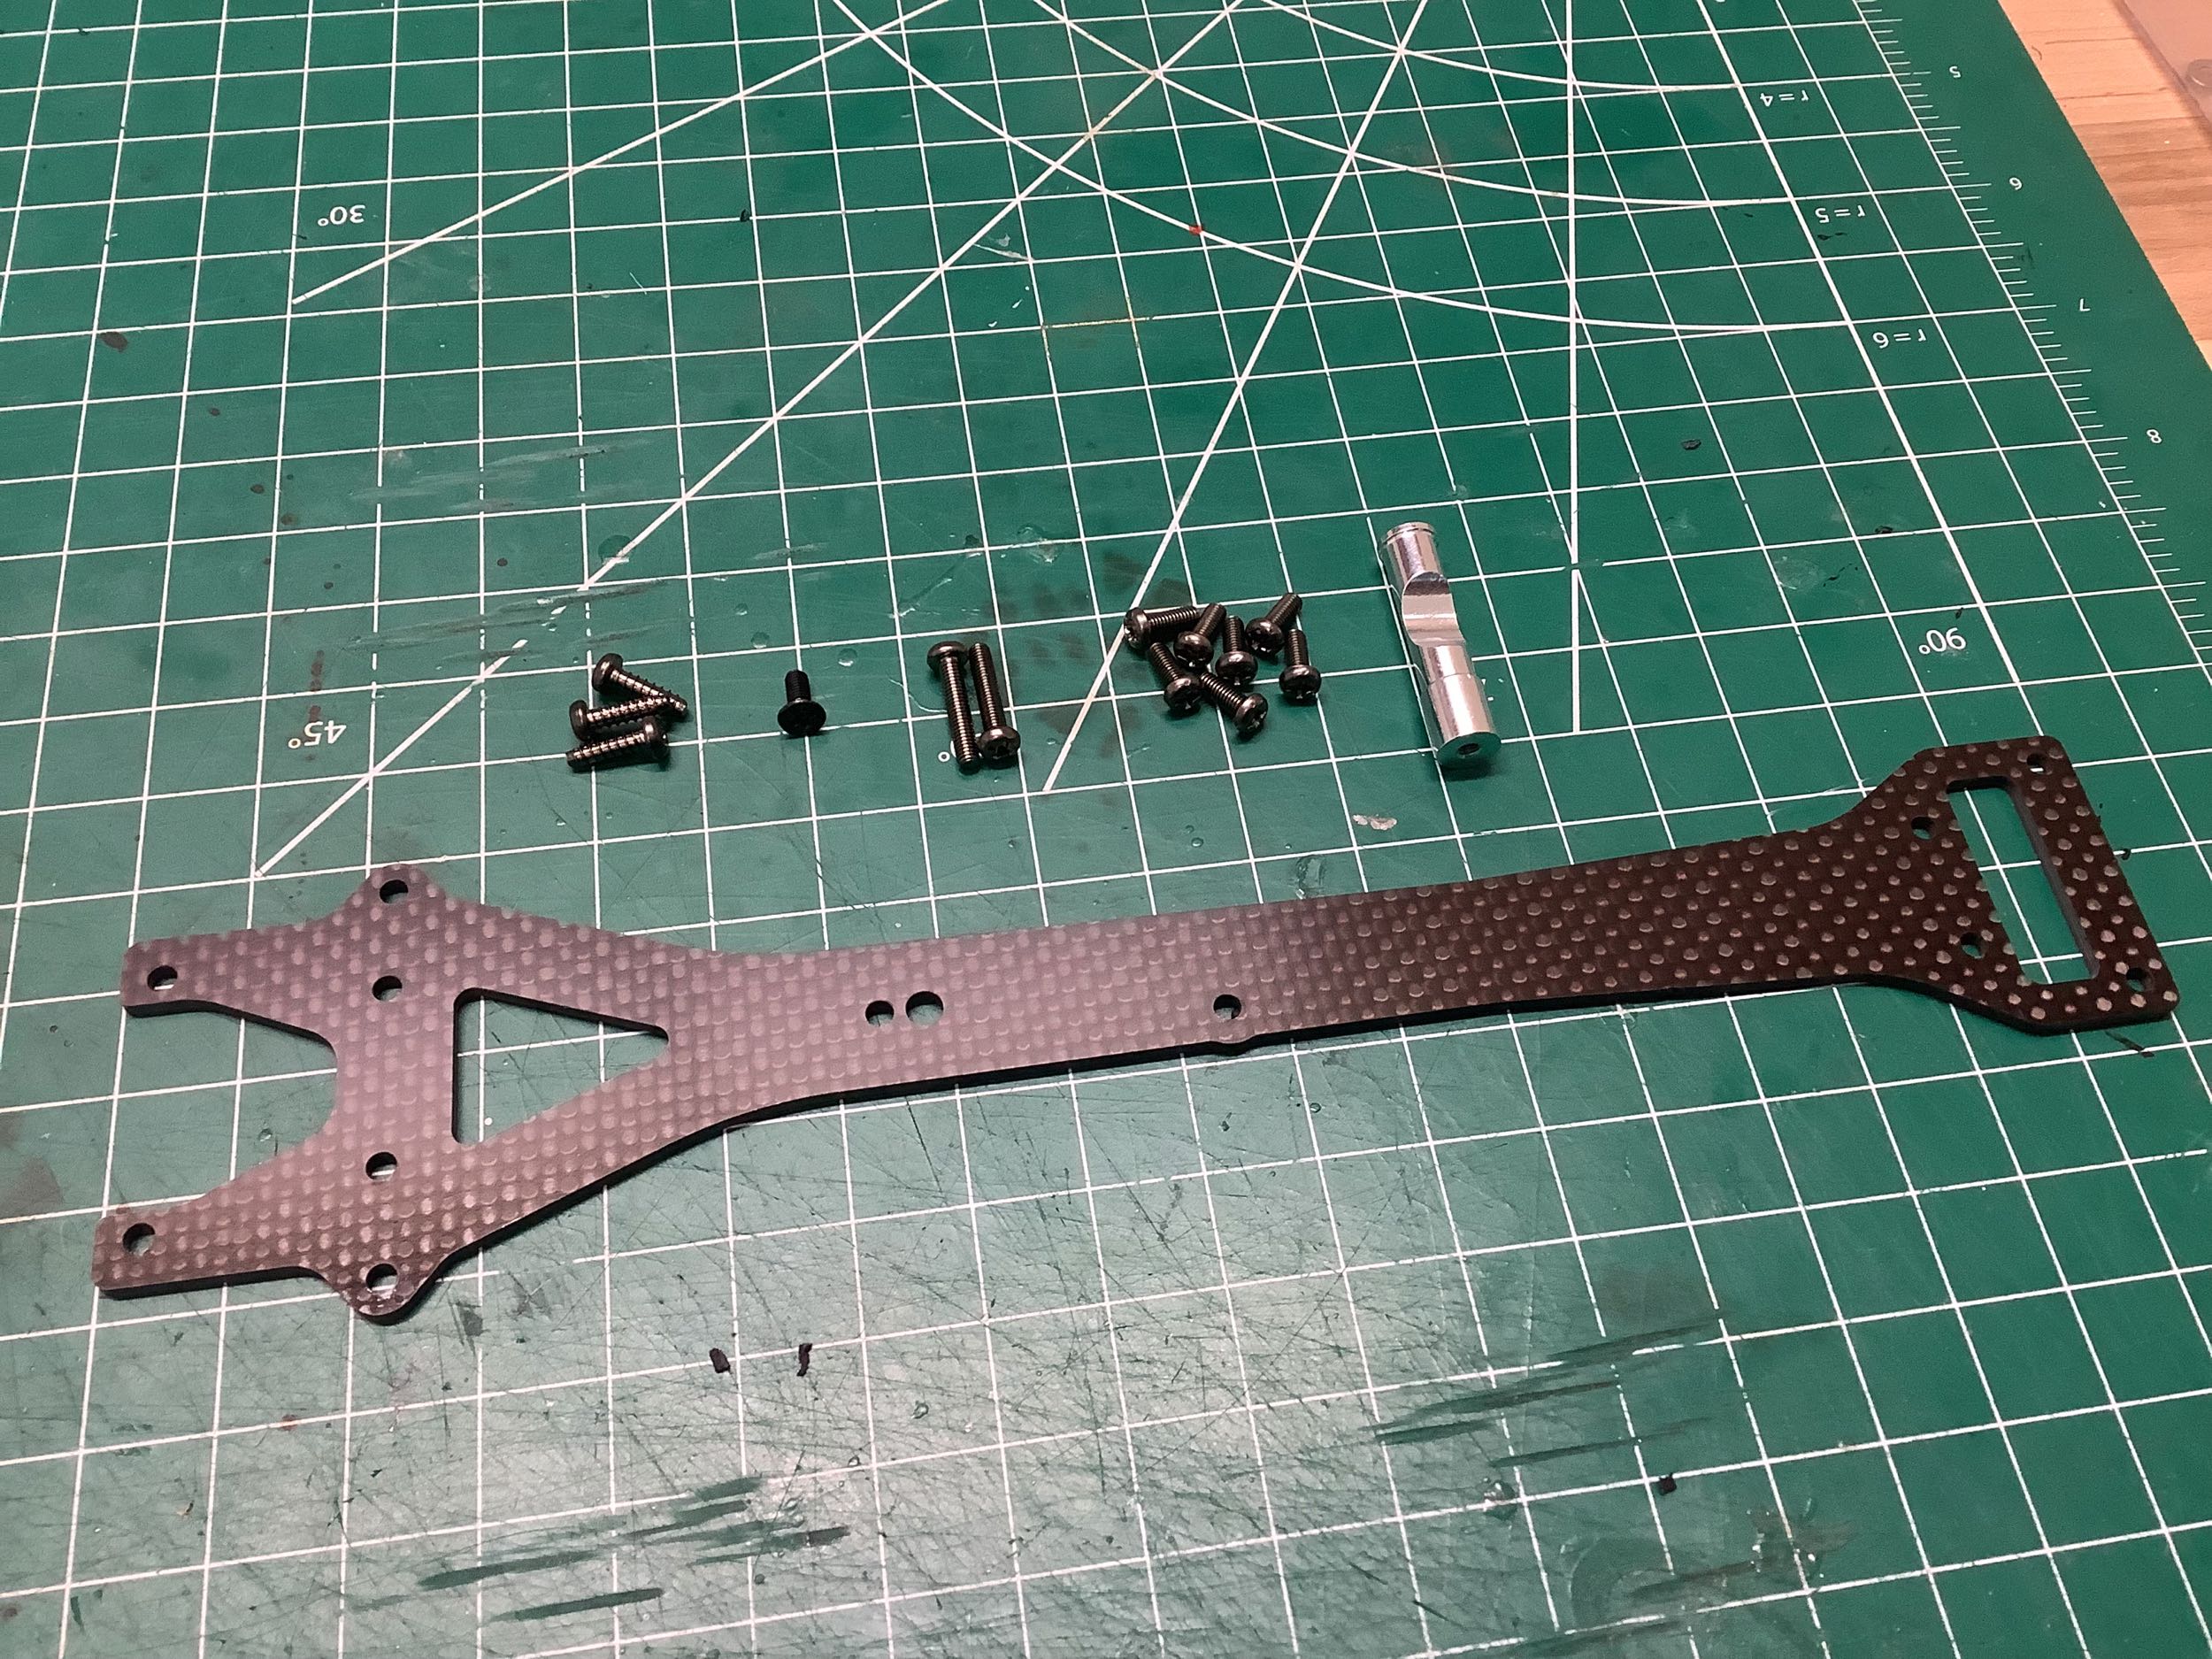
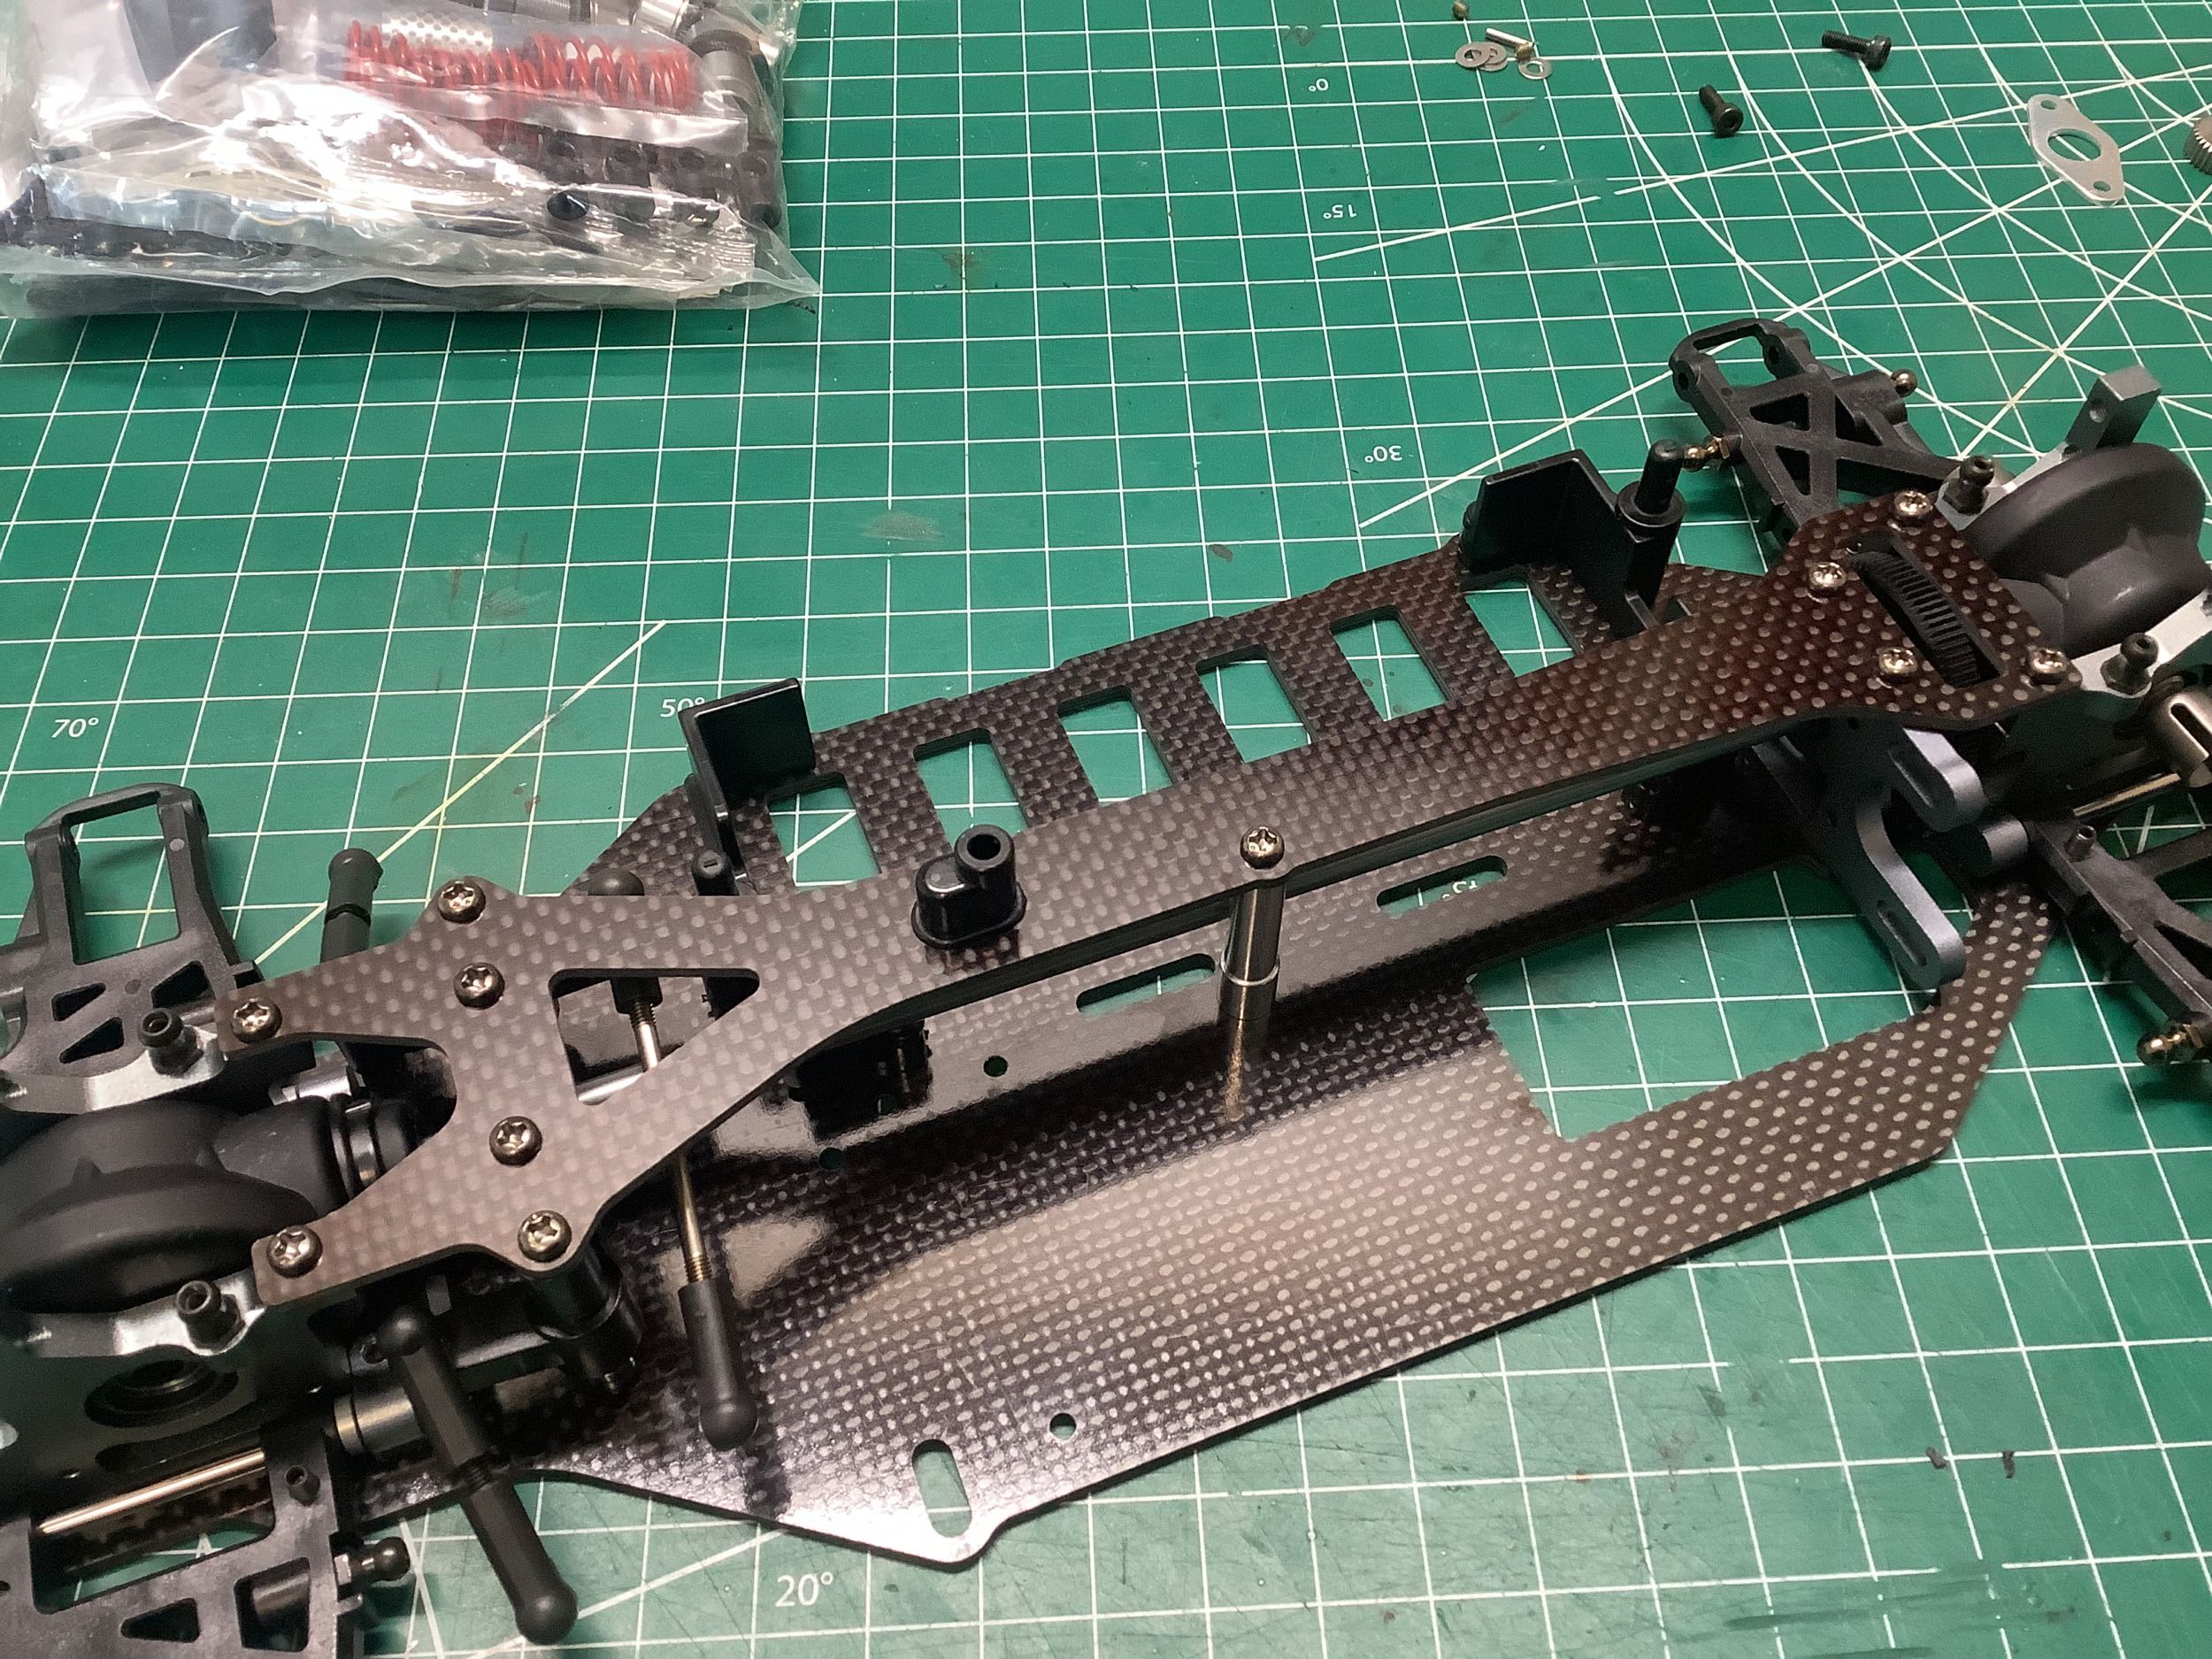
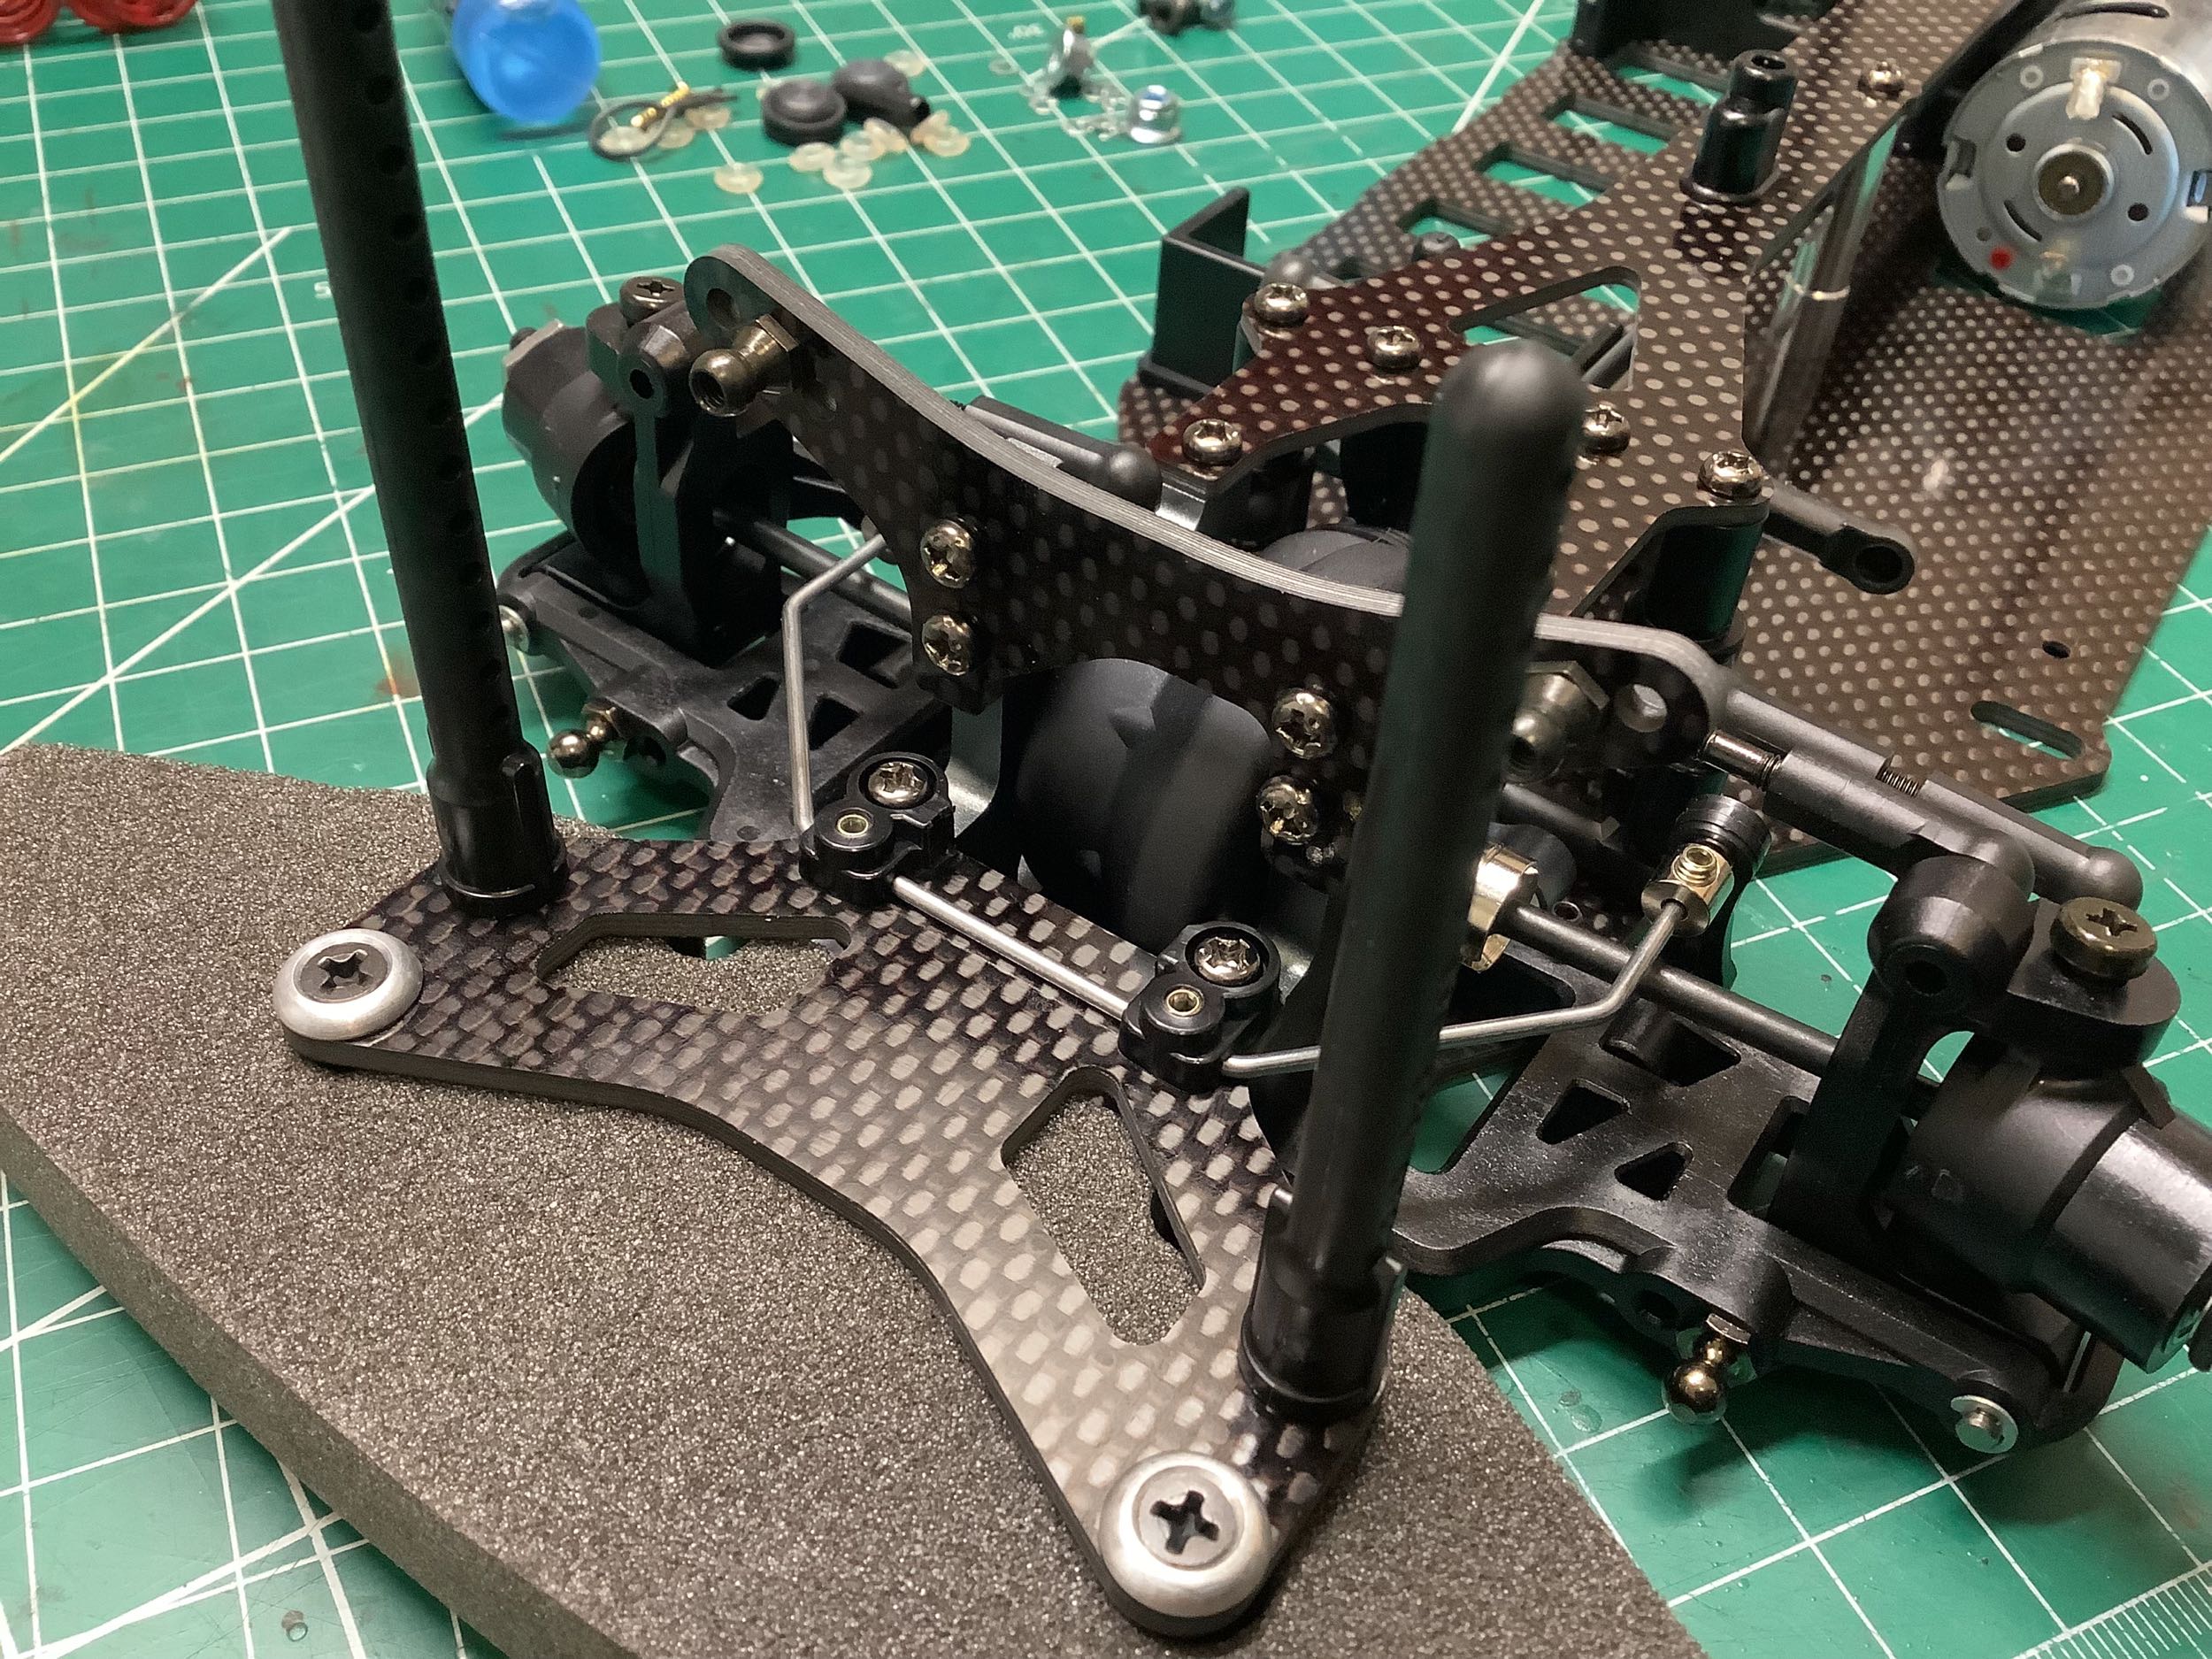
The 2.0mm upper deck goes on next with a big pile of screws. Note
the notch in the center aluminum post which makes space for the drive
shaft on the chassis center line. This model was obviously made in
the days when the chassis was intended to completely rigid rather than
having flexibility that contributes to suspension action.
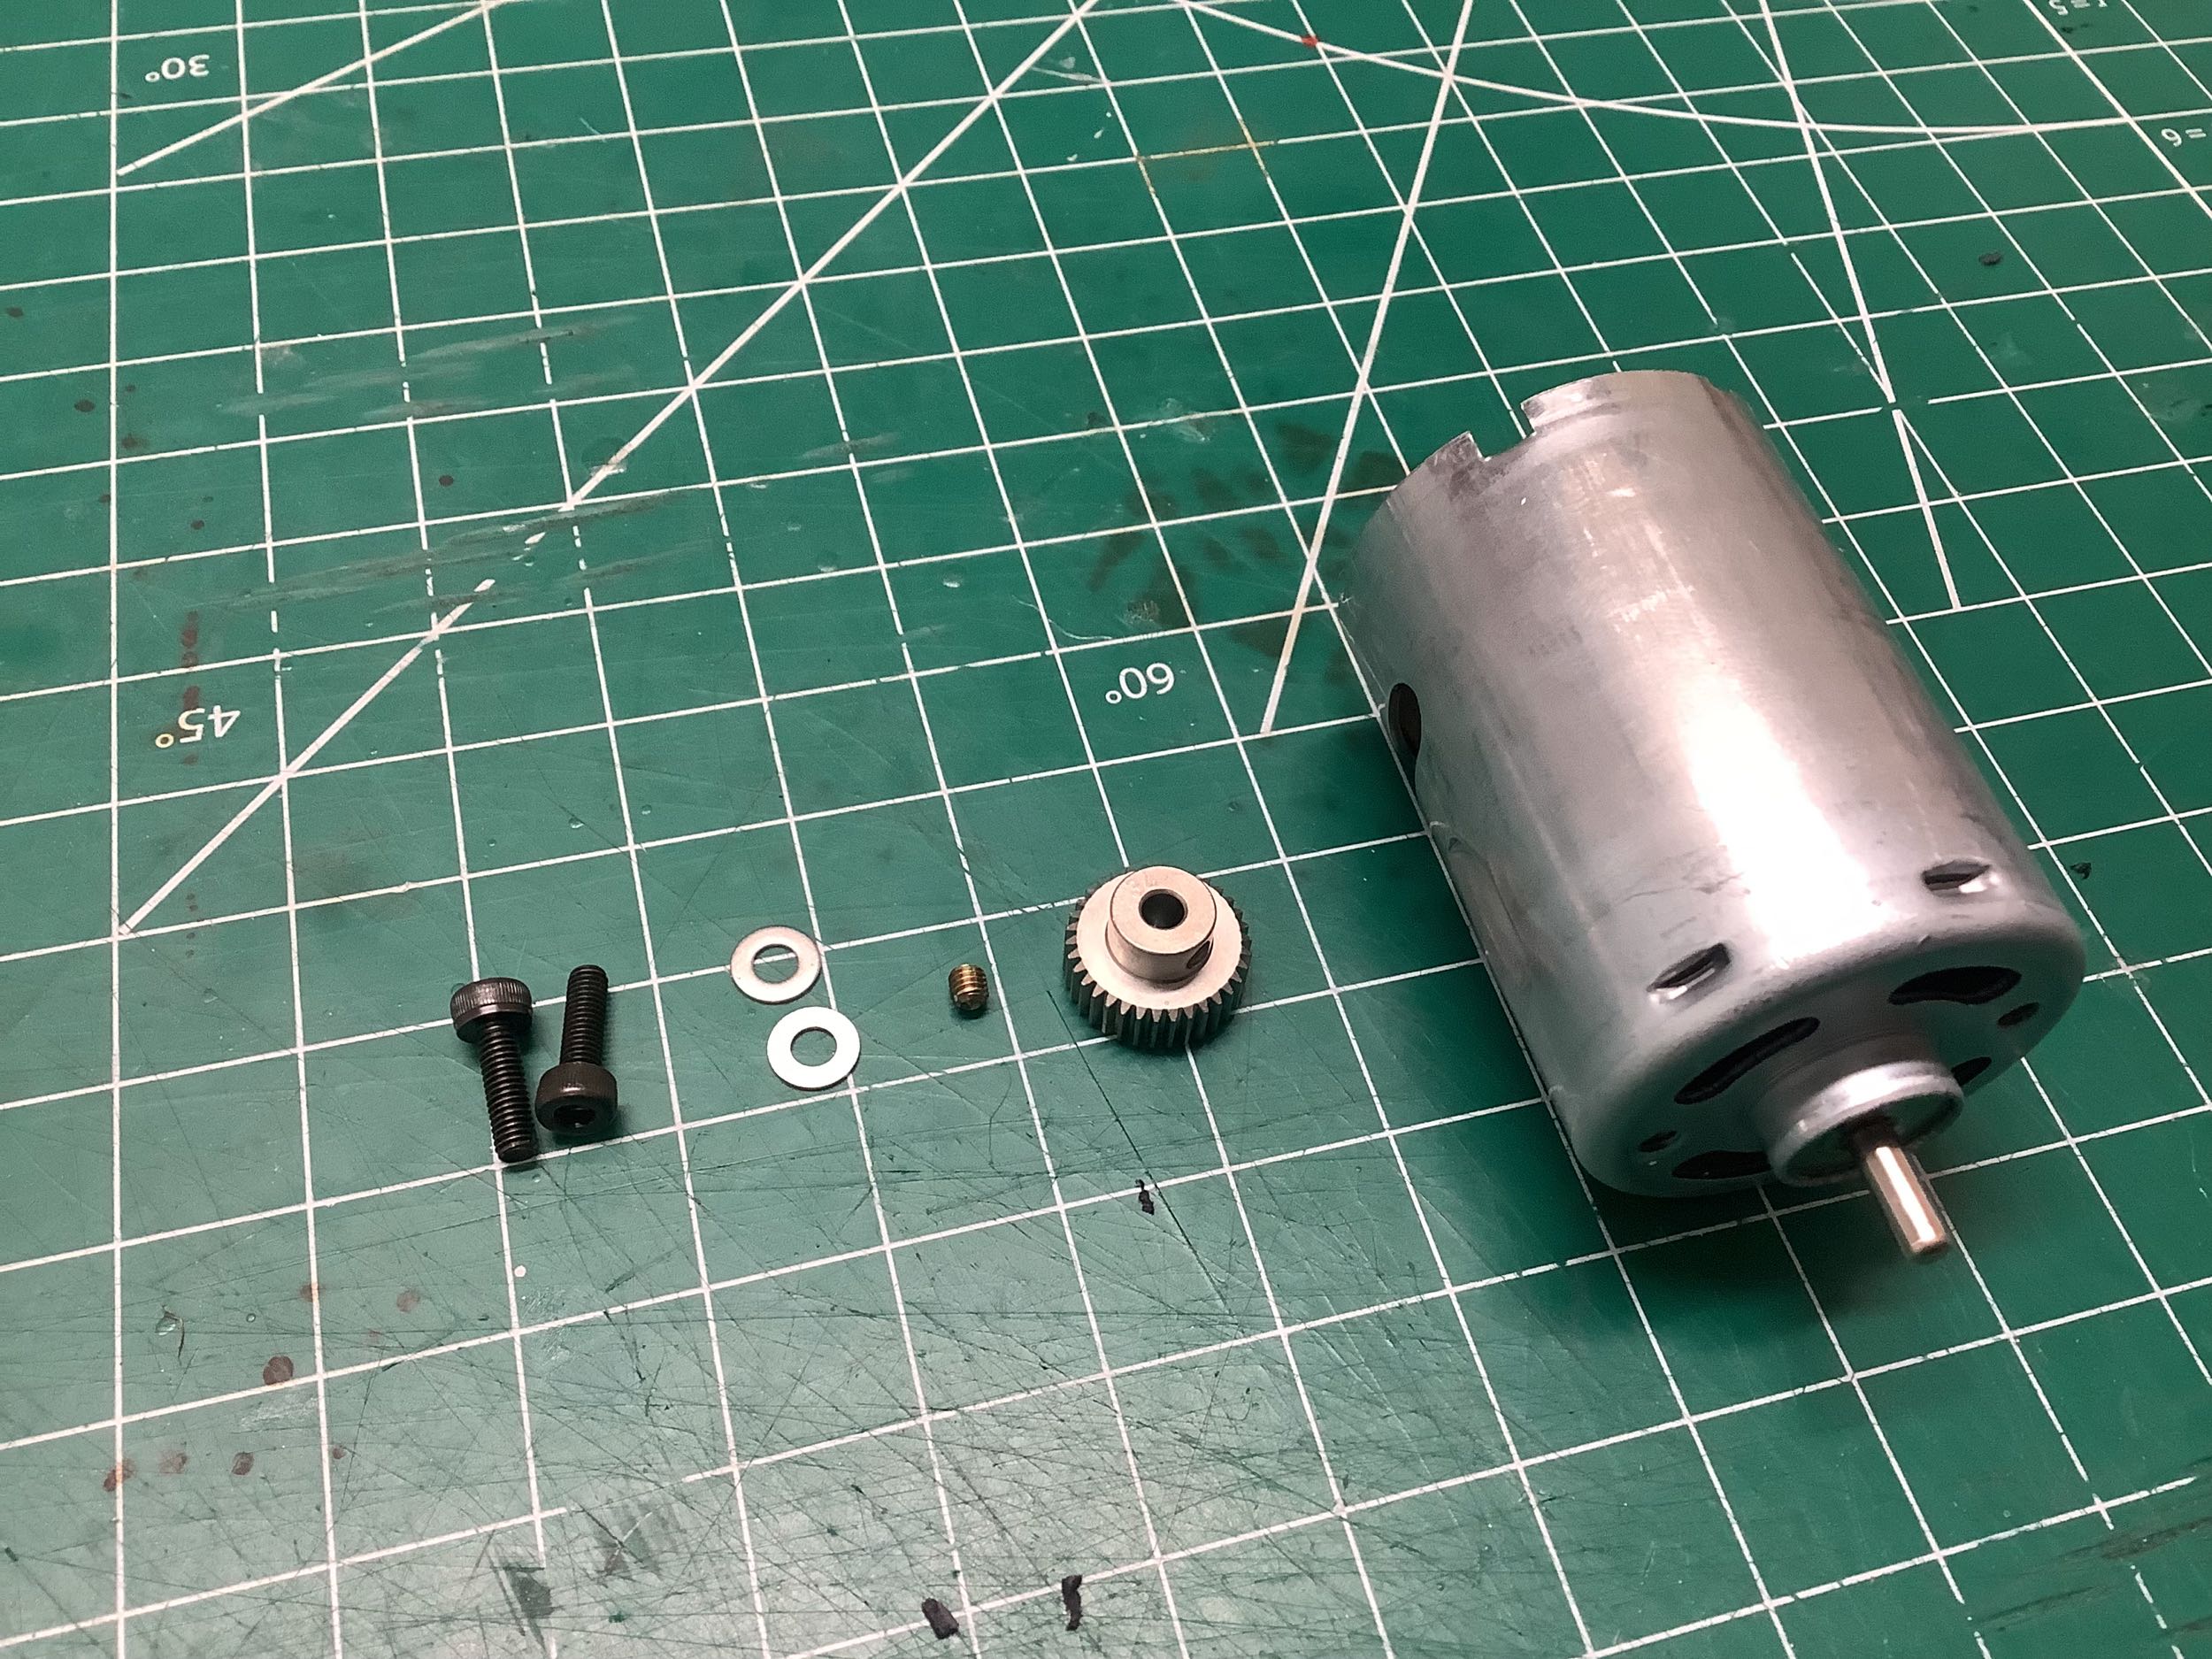
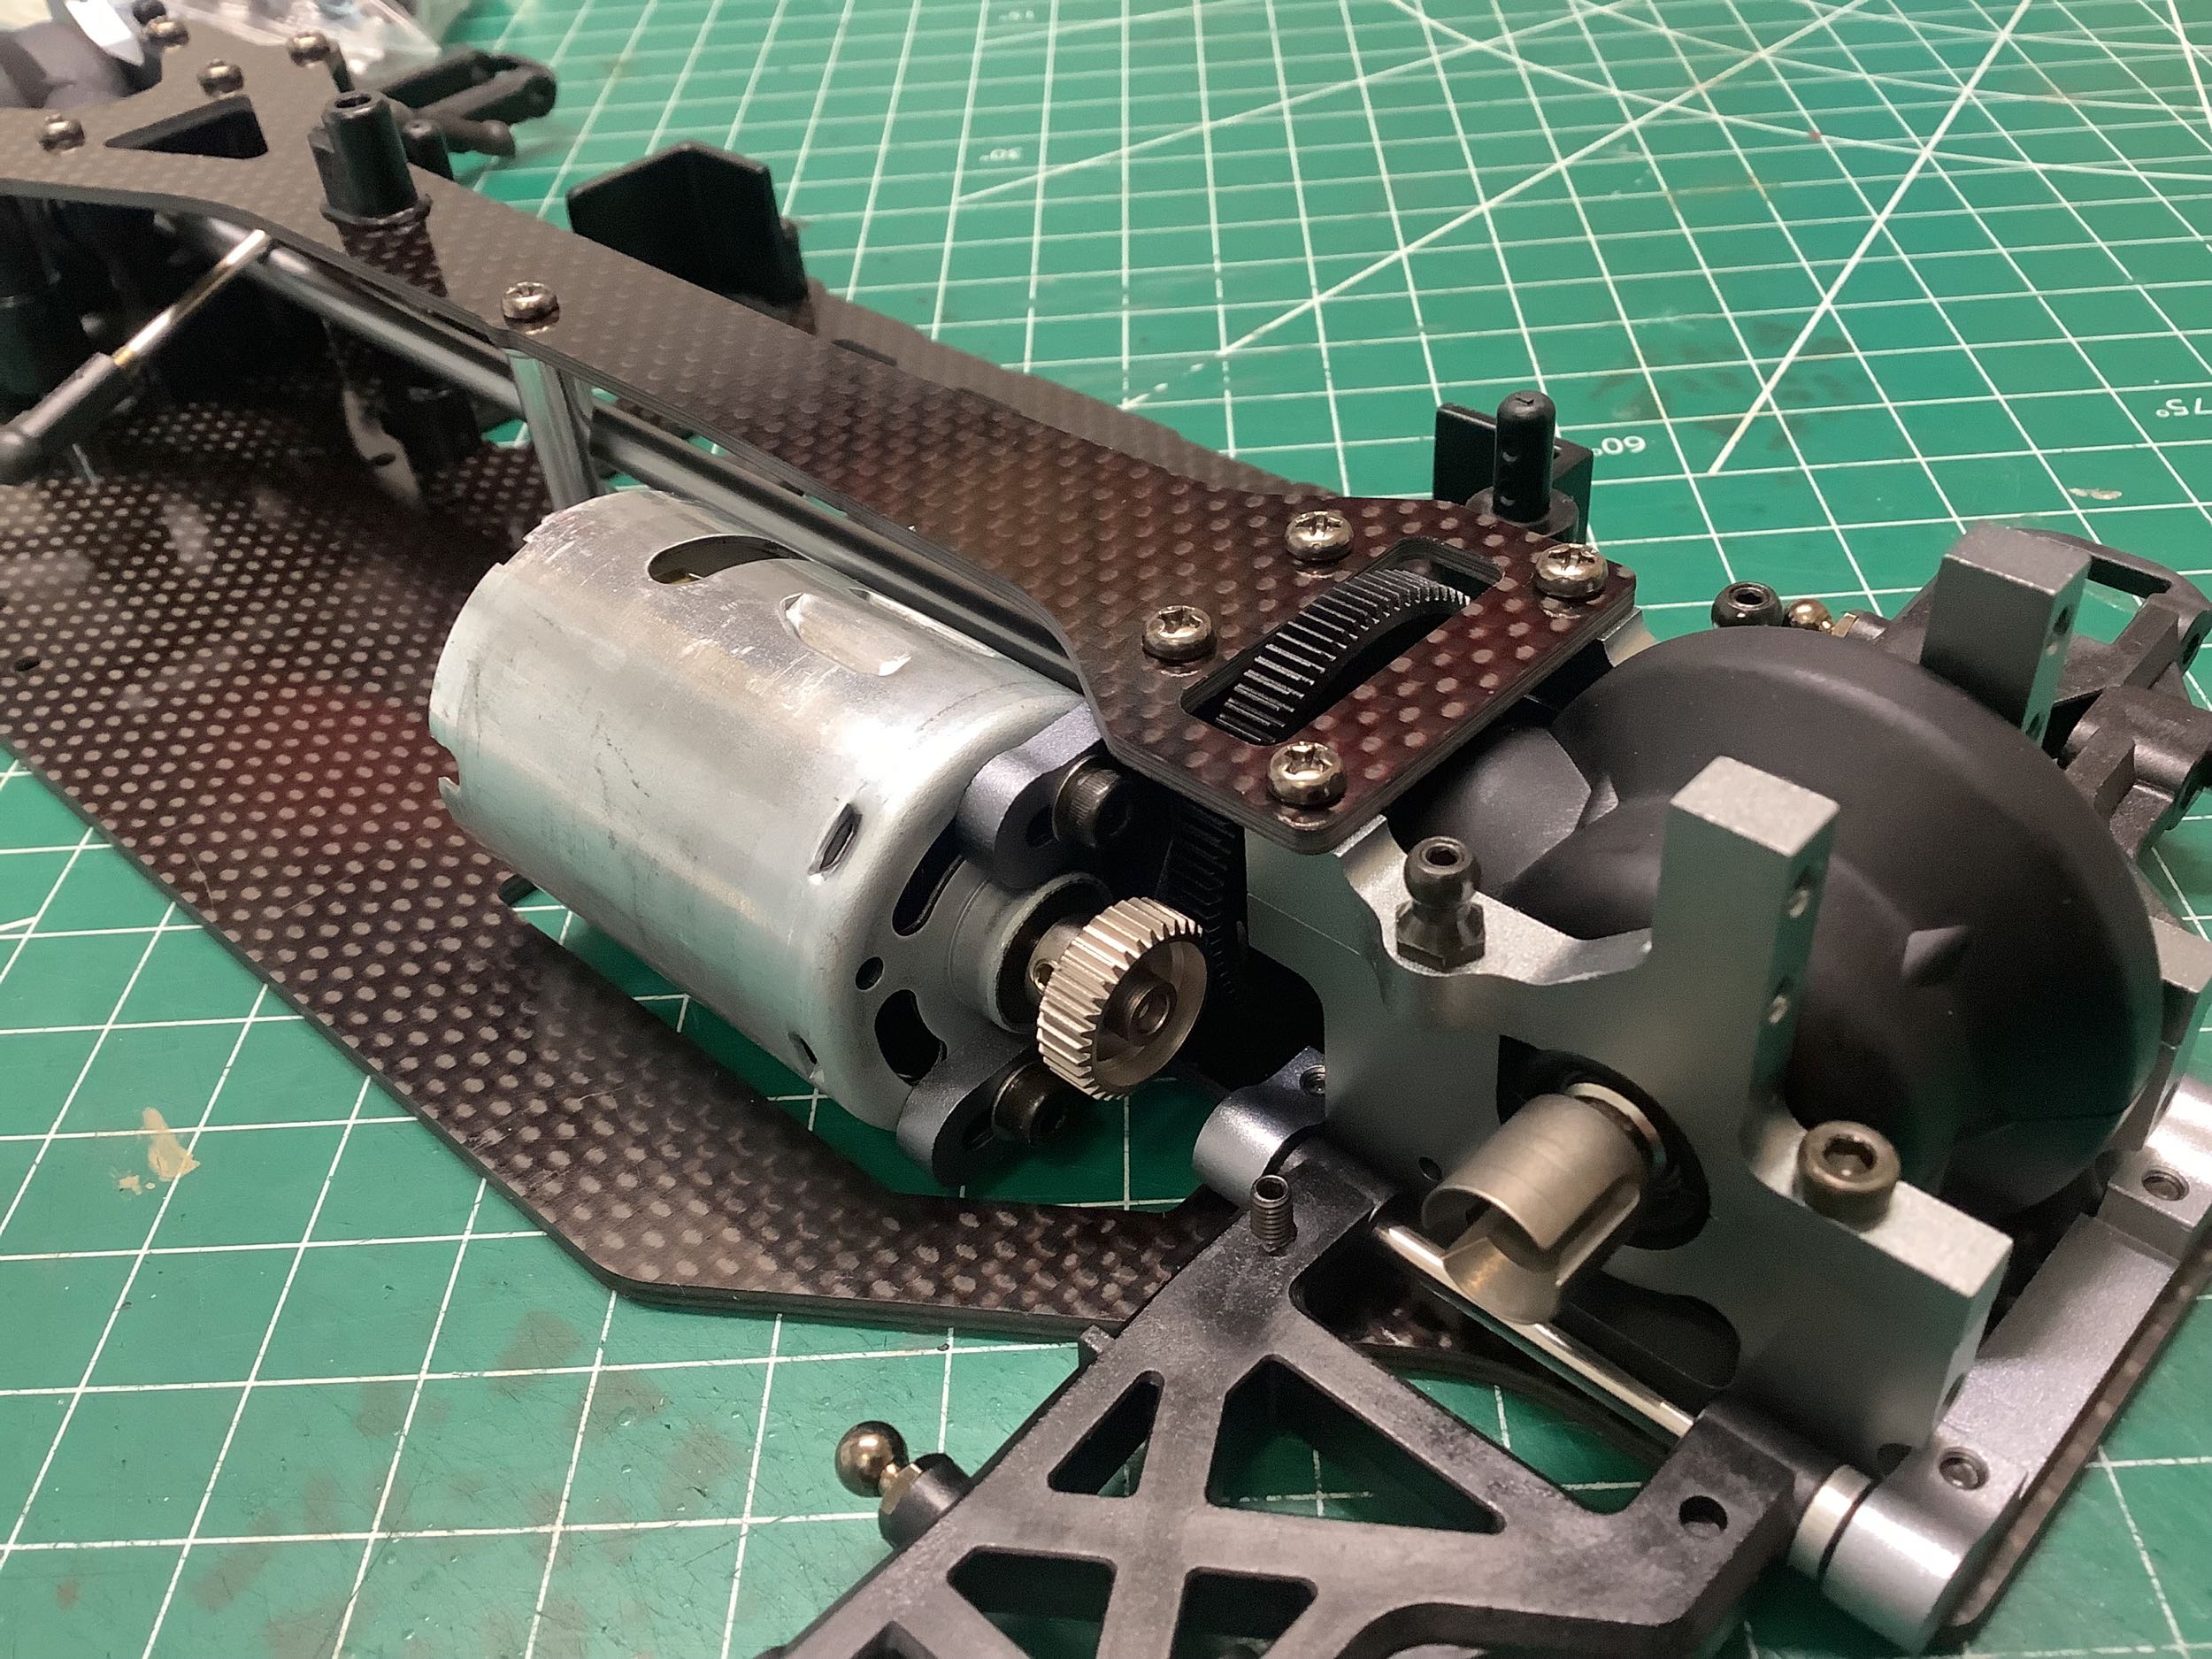
The kit comes with a 34T 0.4 Mod aluminum pinion. I mated it to a
standard silver can for shelf duty. The motor is tucked as close
to the chassis center as possible, but this still results in quite a bit
of offset to the CG which is theoretically balanced by the battery
(depending on the weight of your battery). The motor mount is a
lot more light and open compared to the original Evo.
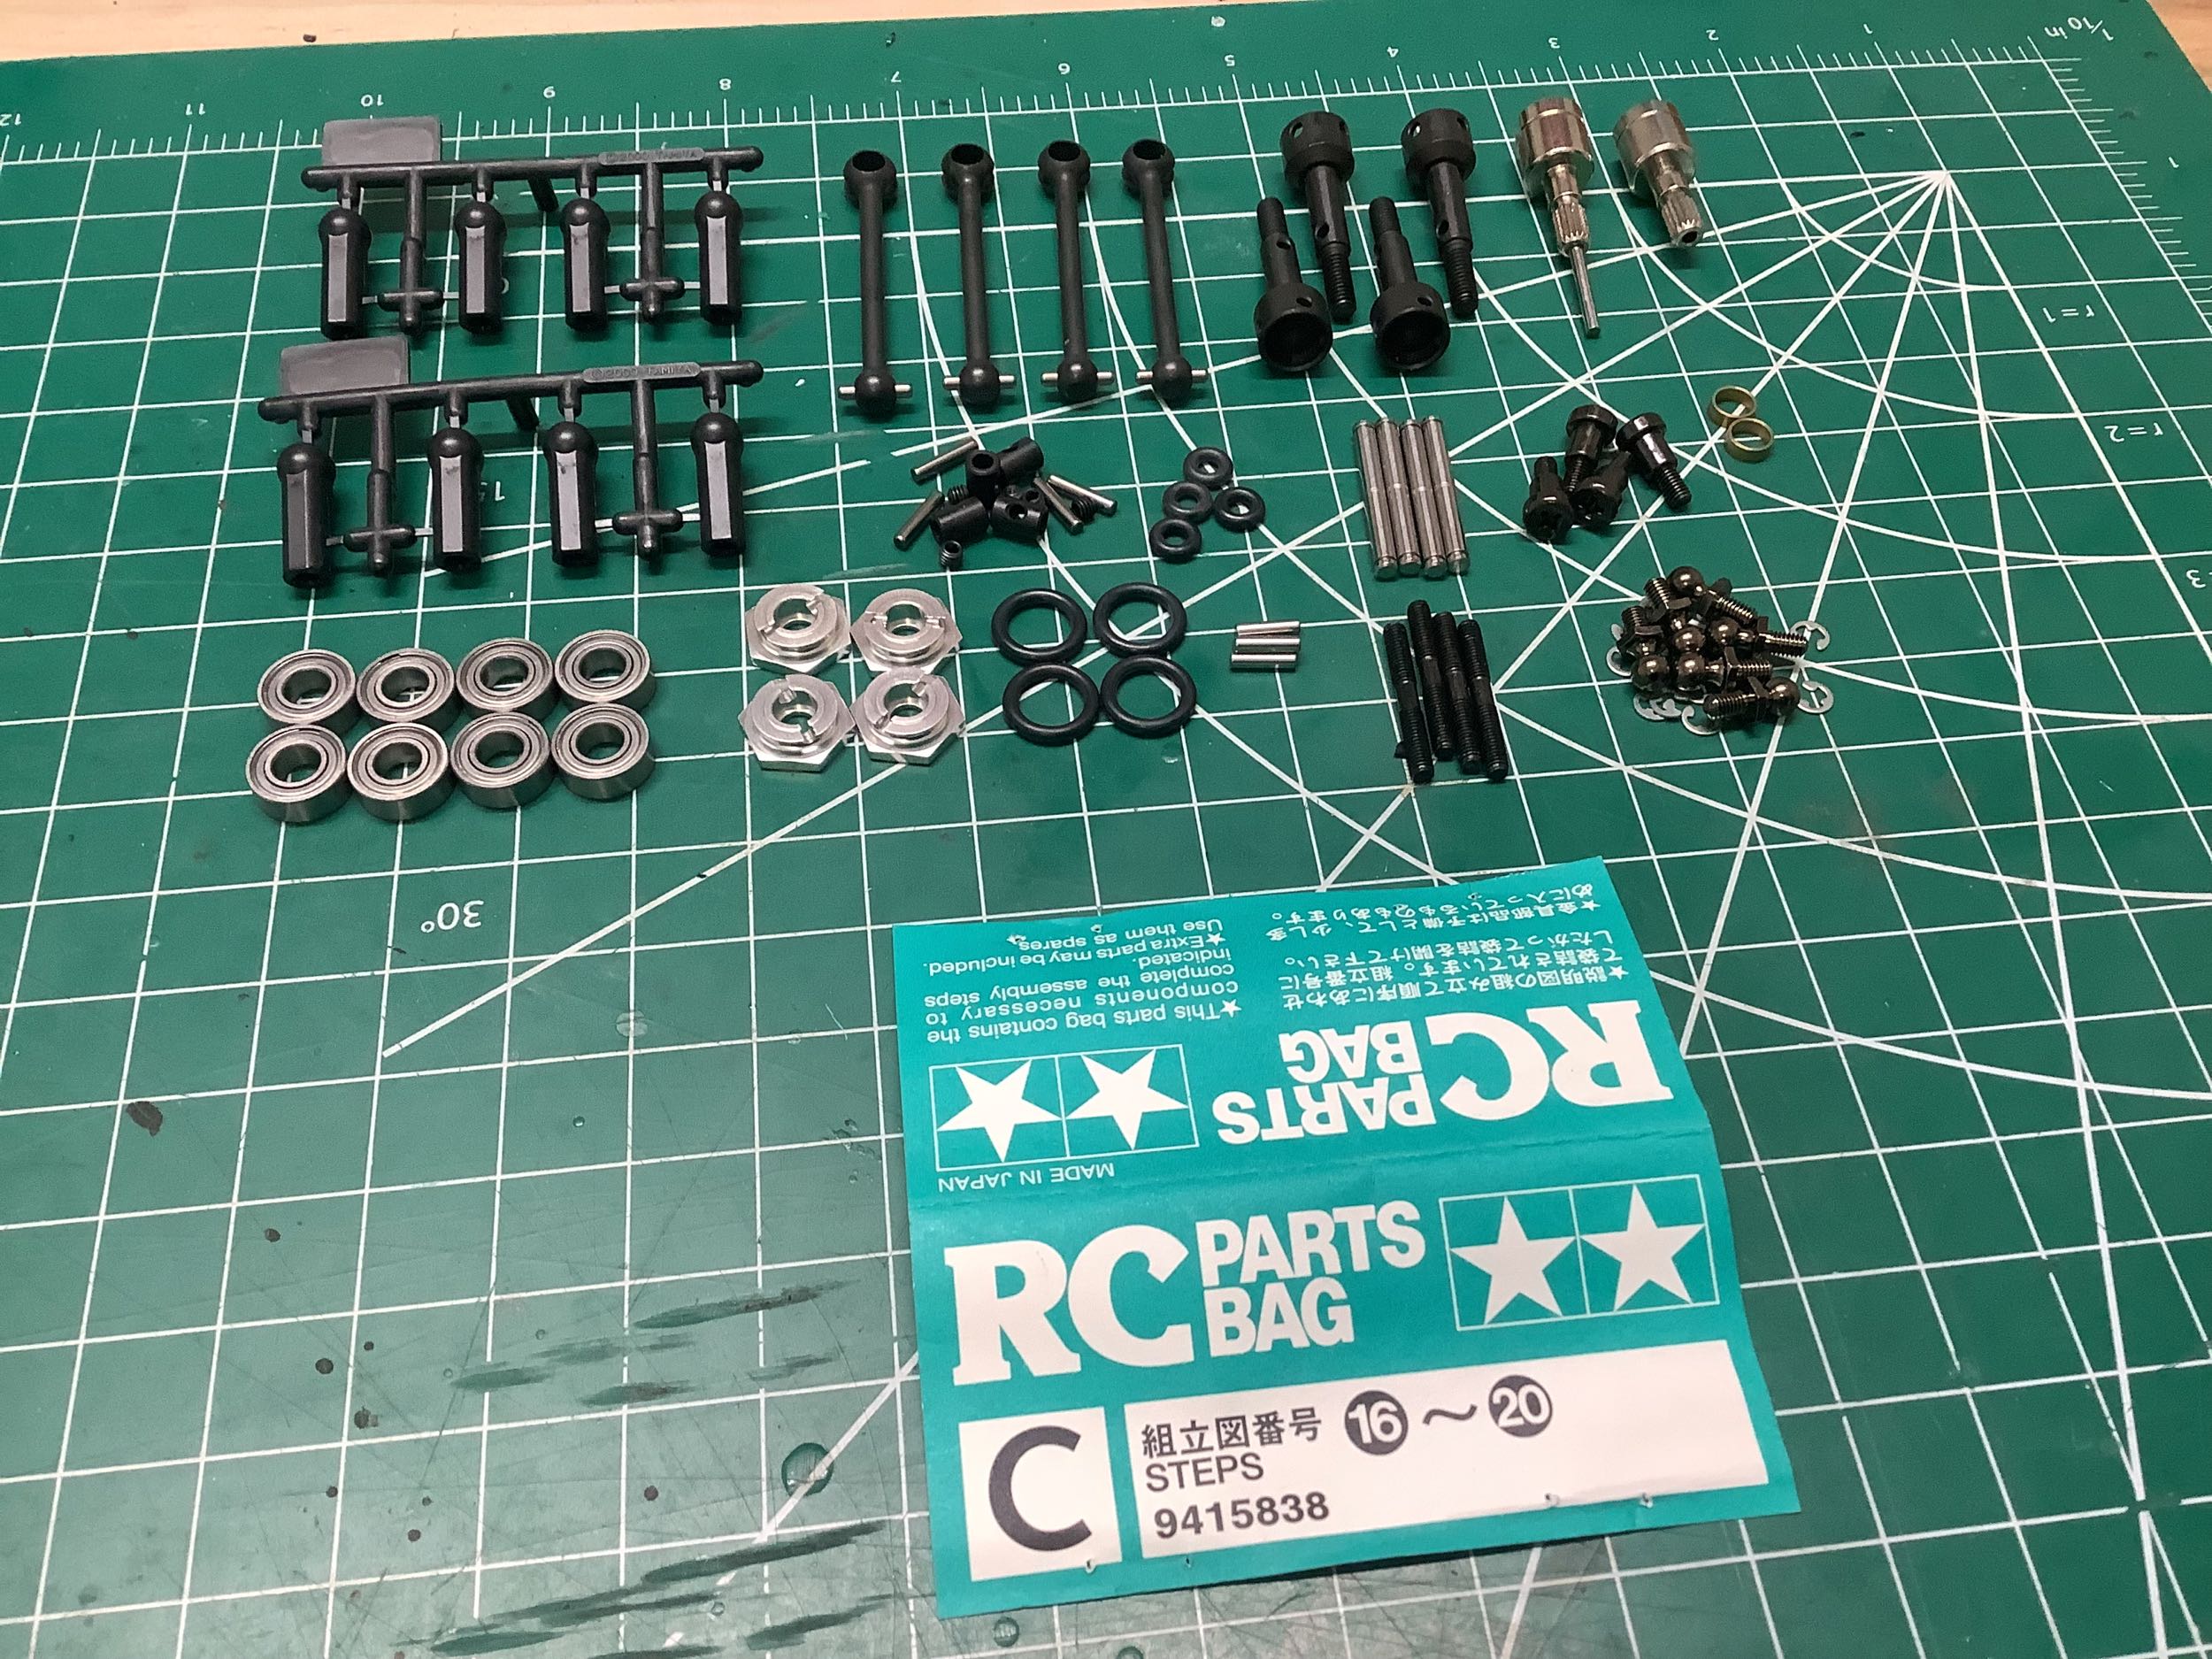
Bag C contains the parts to complete the suspension comprising Steps
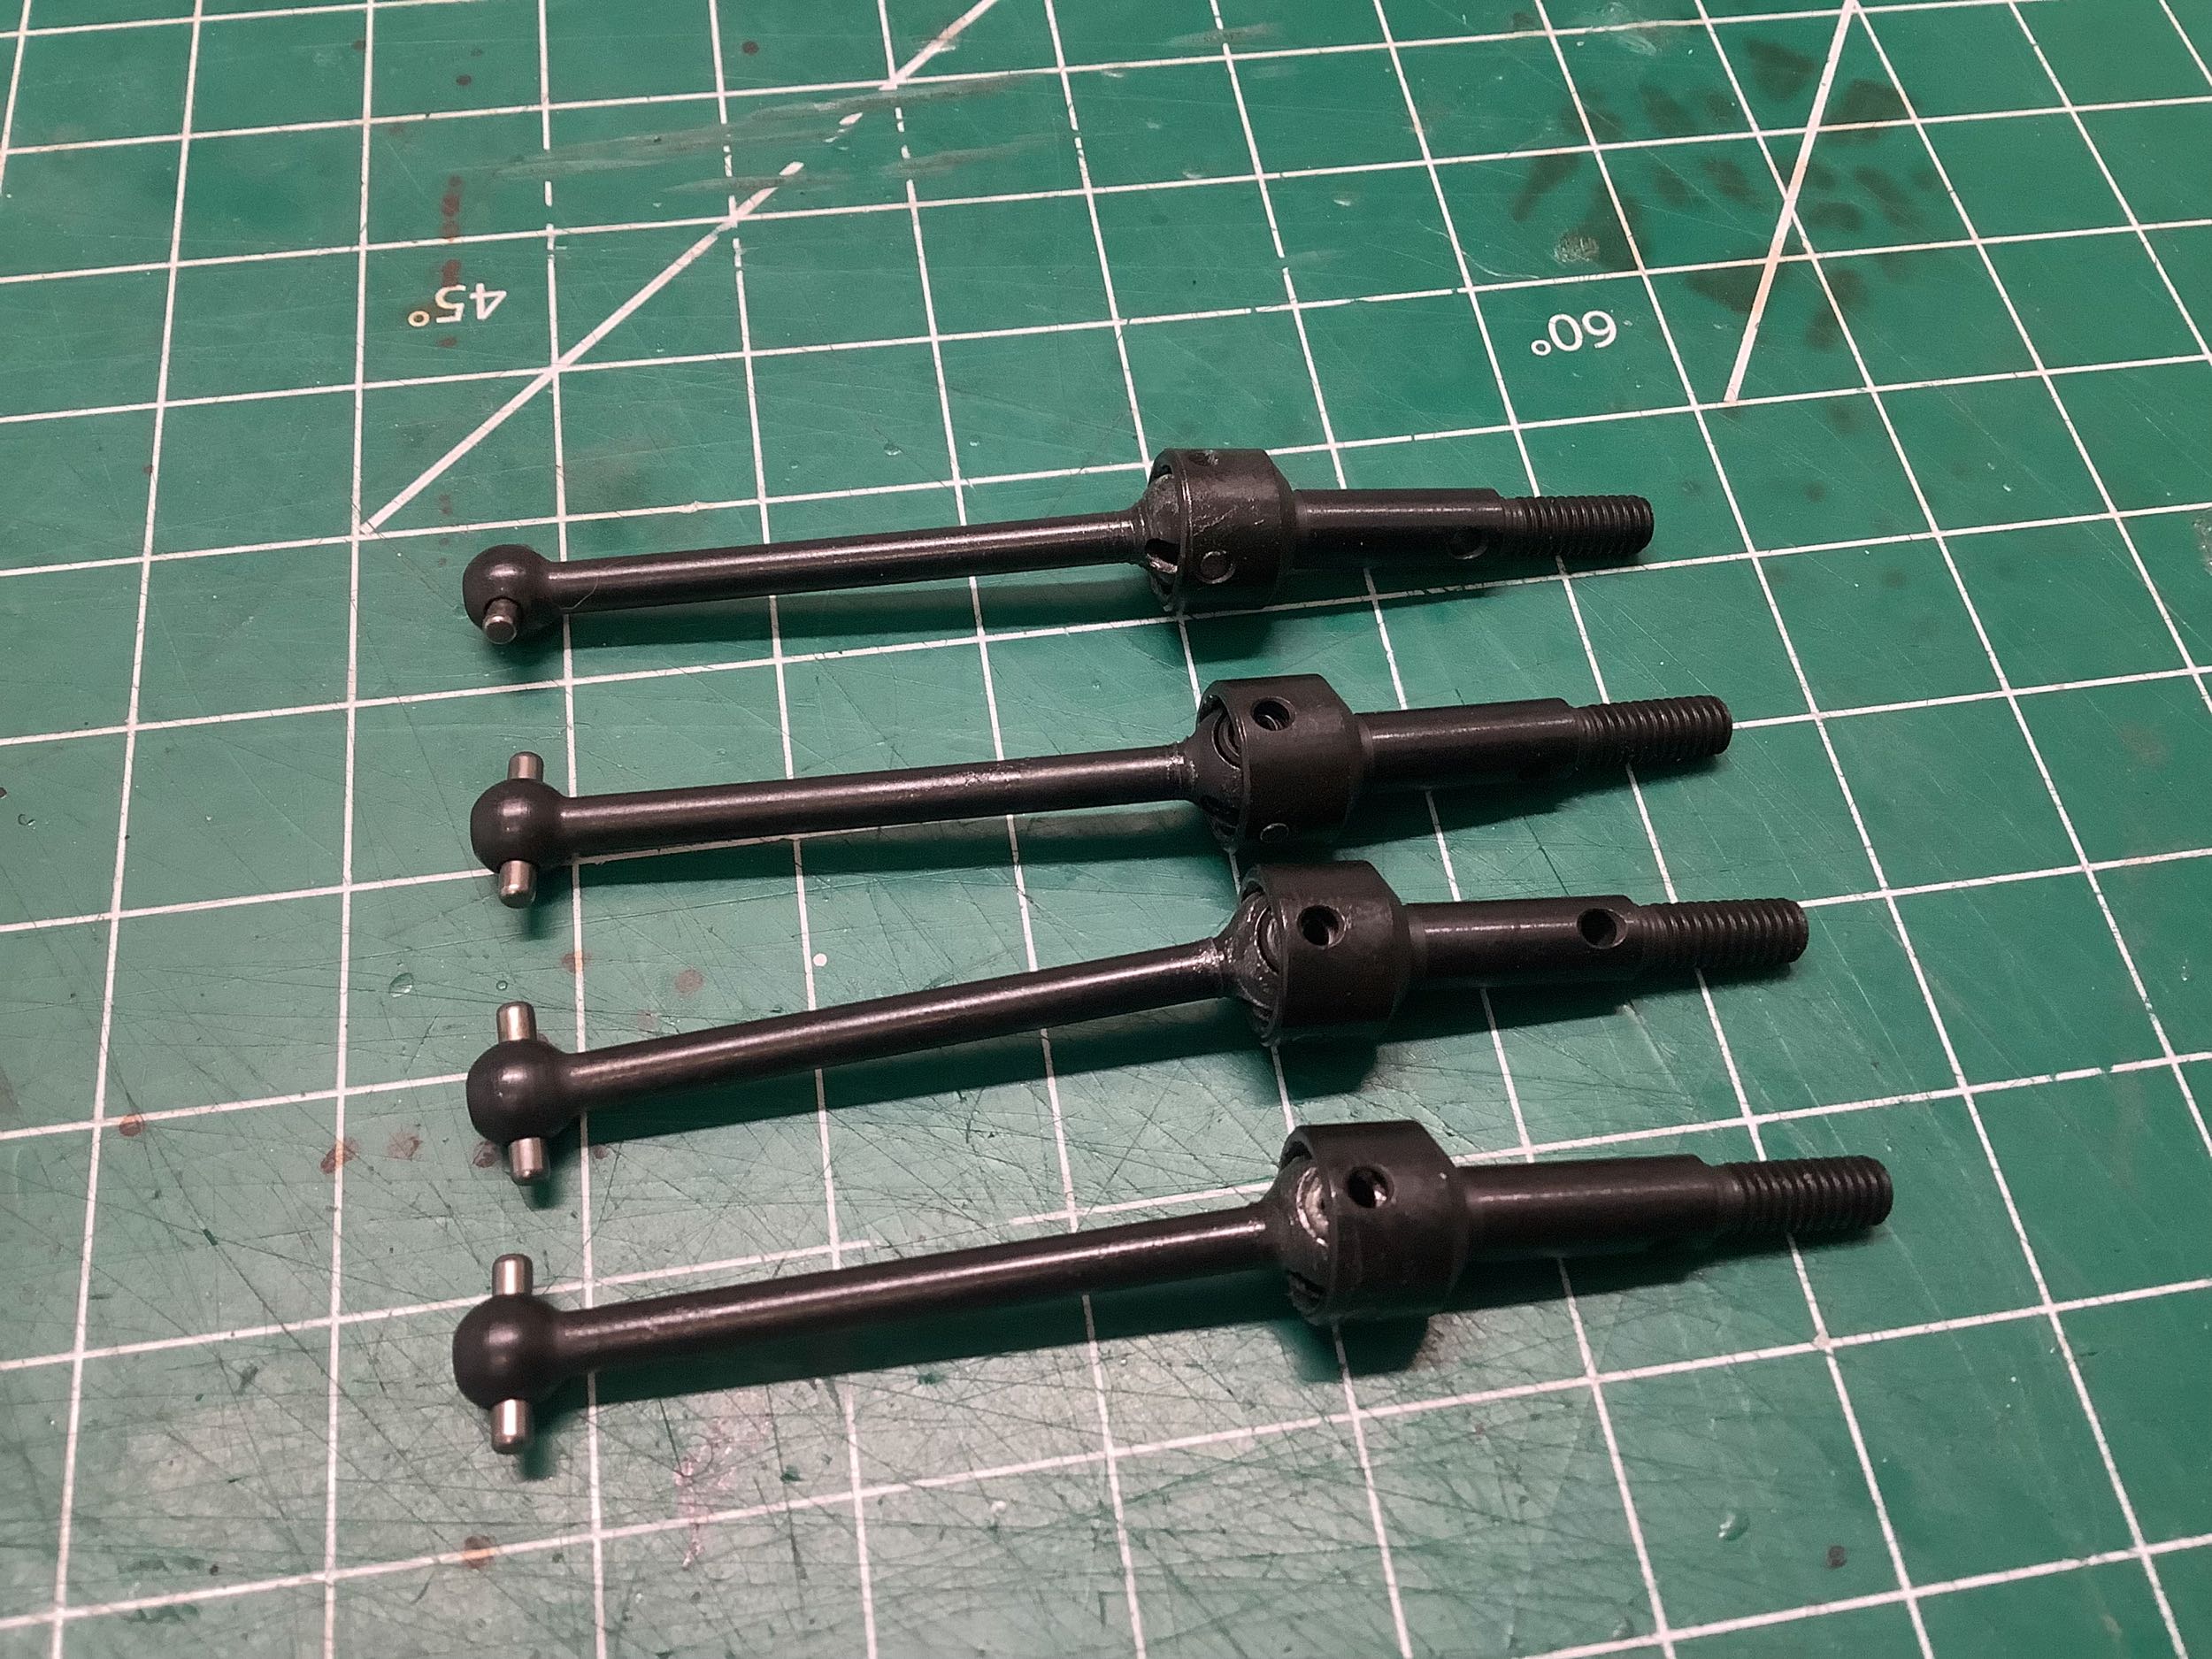
16-20. Whereas the original Evo used pre-assembled steel universal
axles with splined ends, the Evo changes to CVD type axles with
traditional cross holes. All four are the same length and must be
greased and assembled.
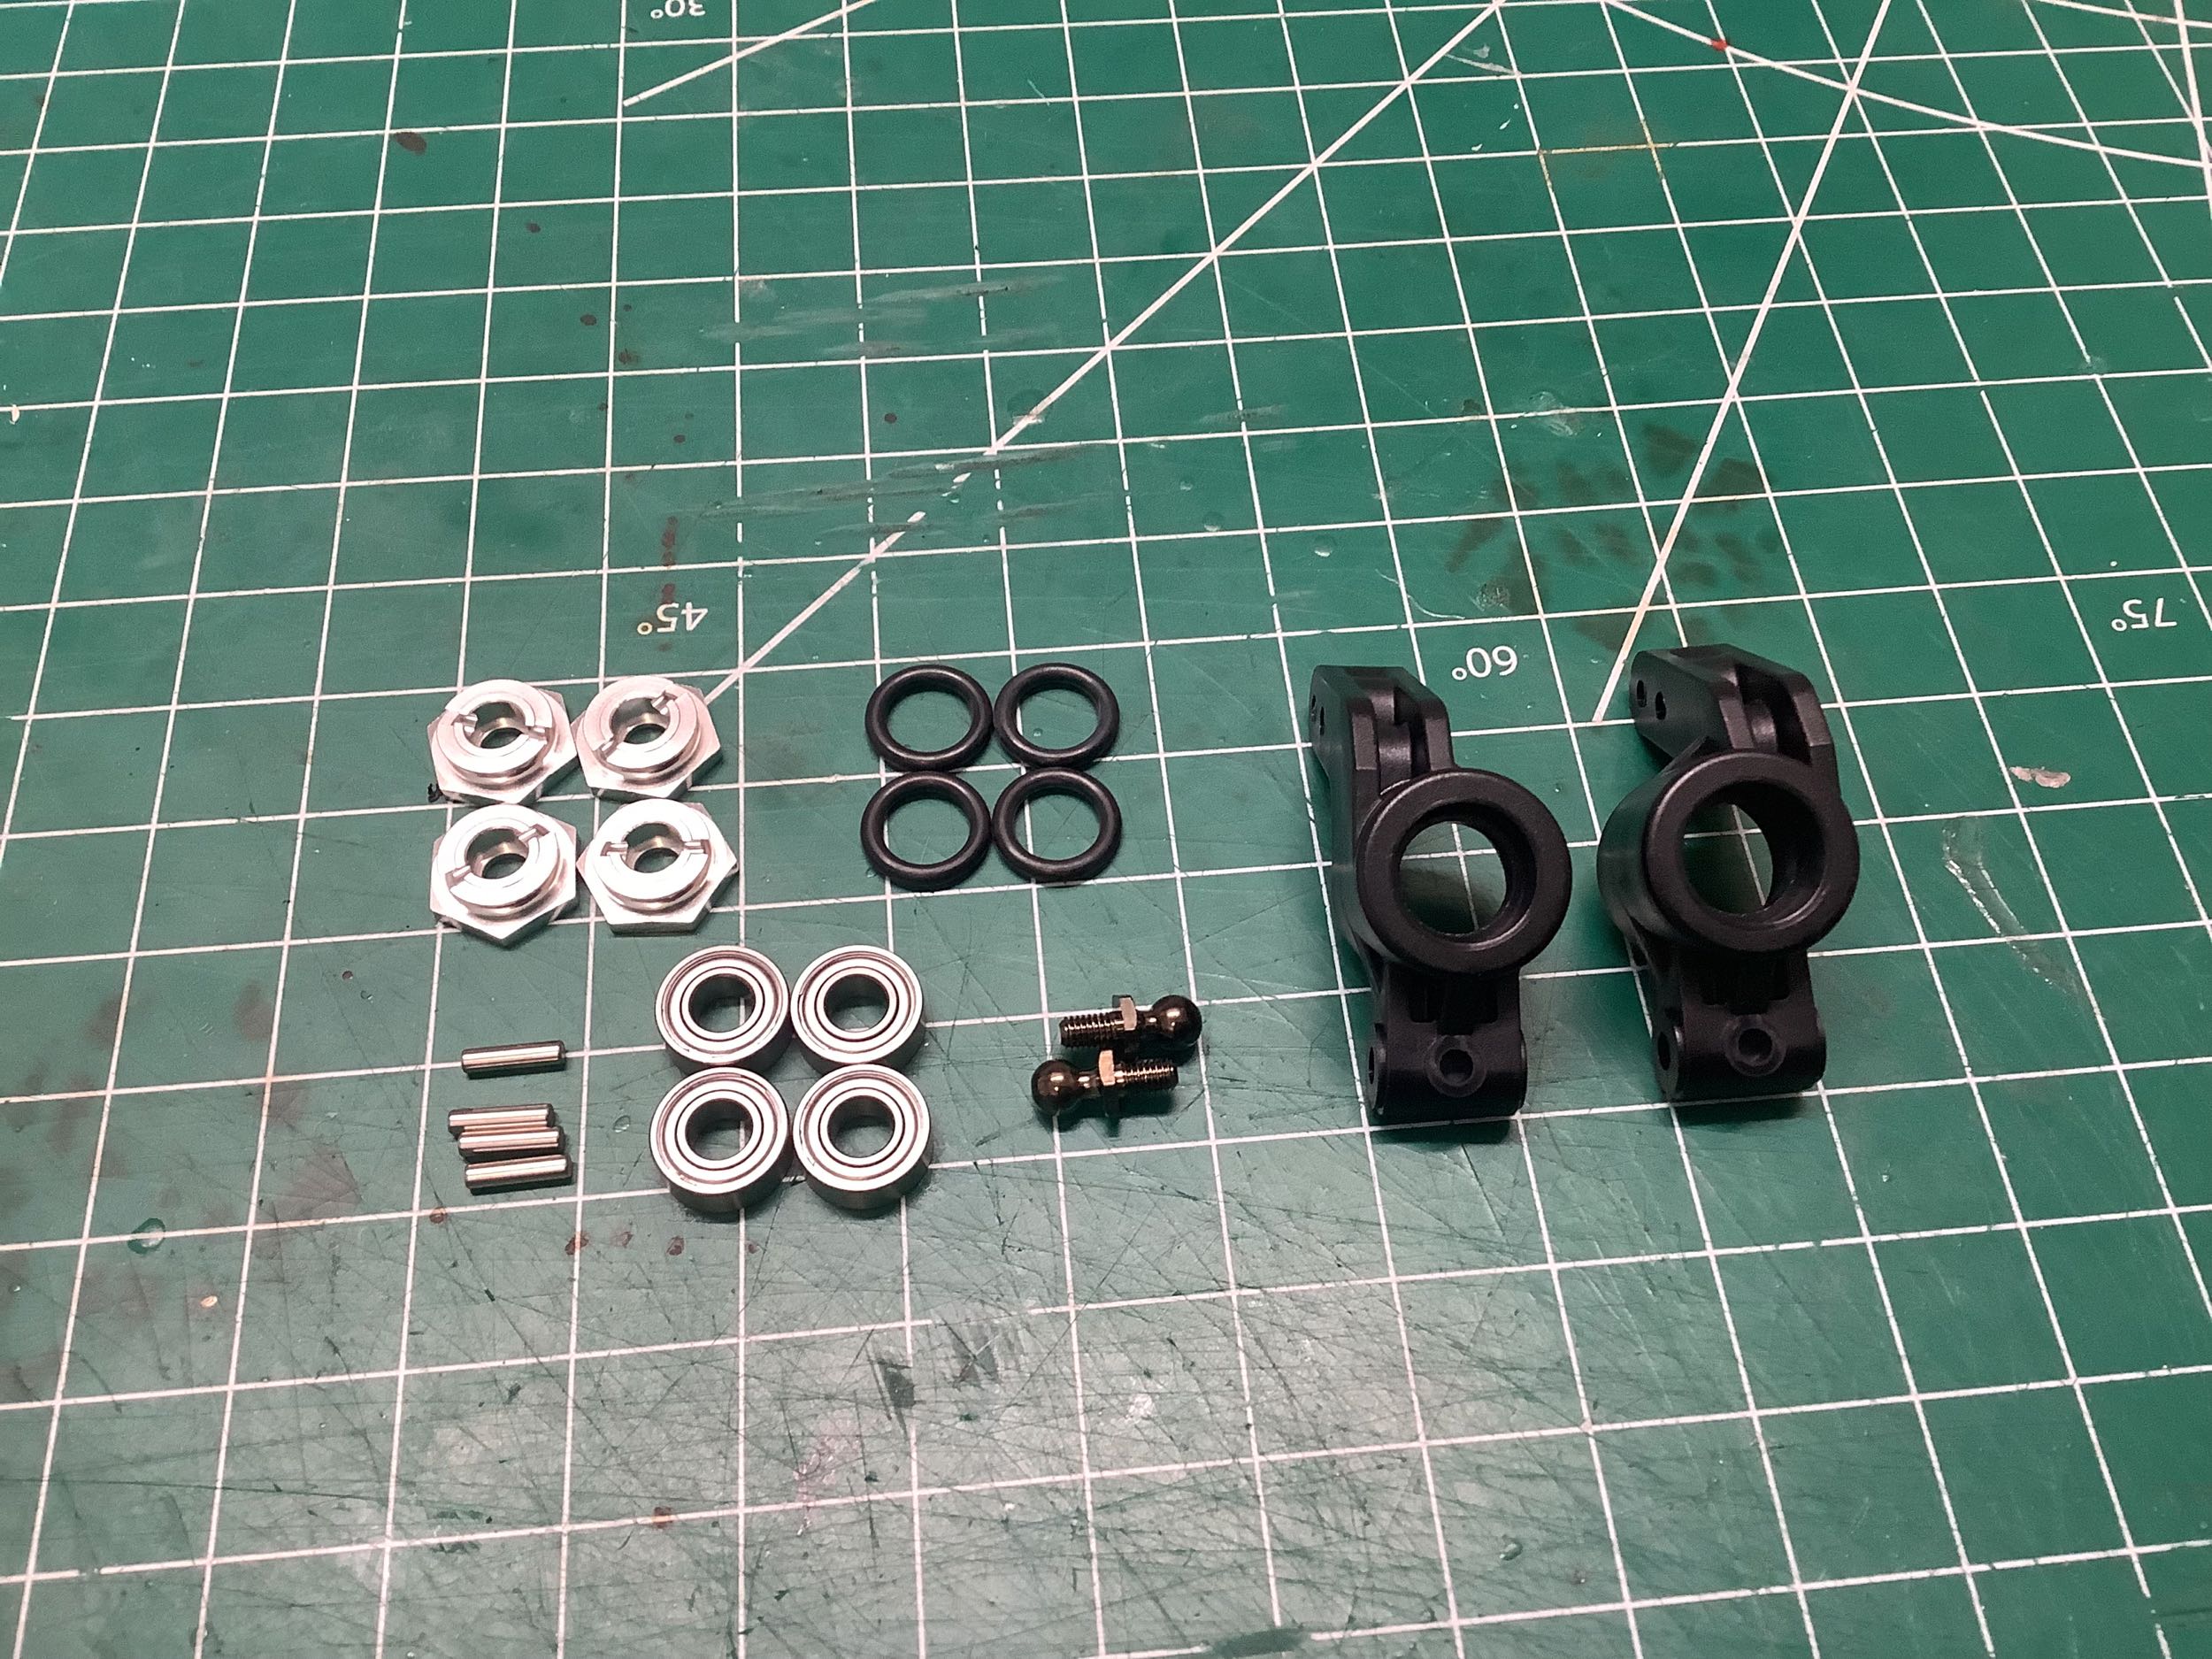
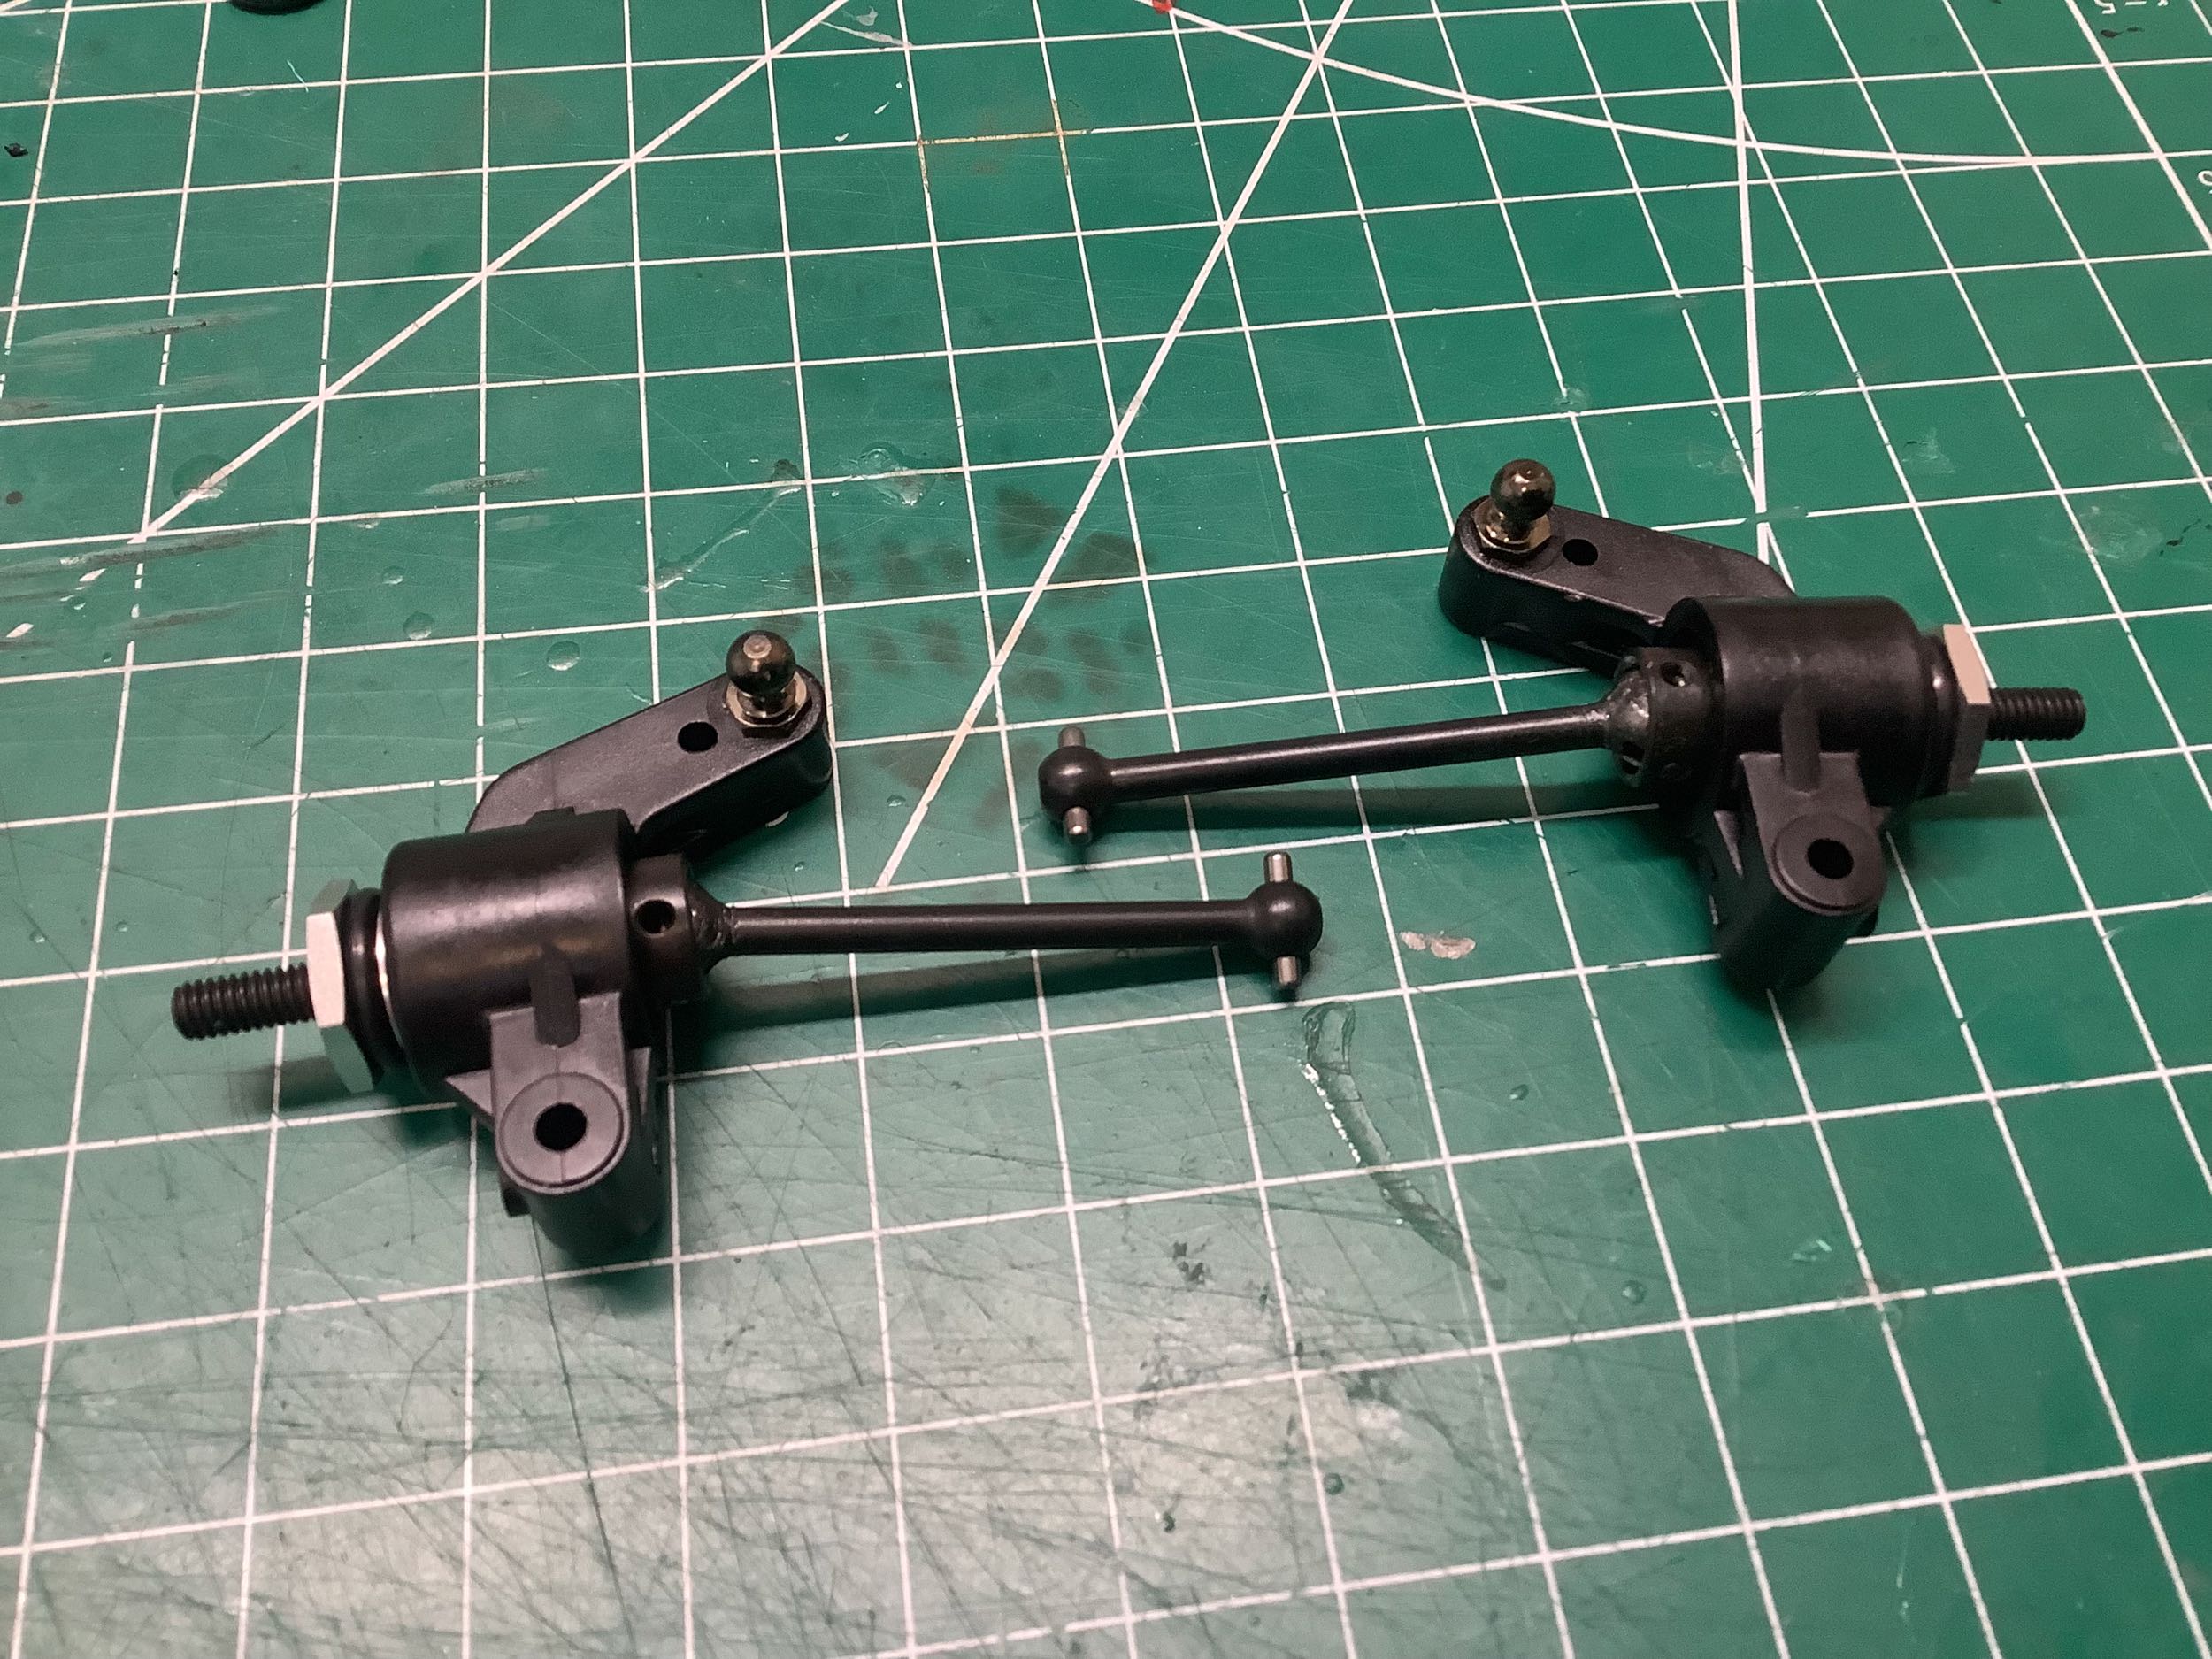
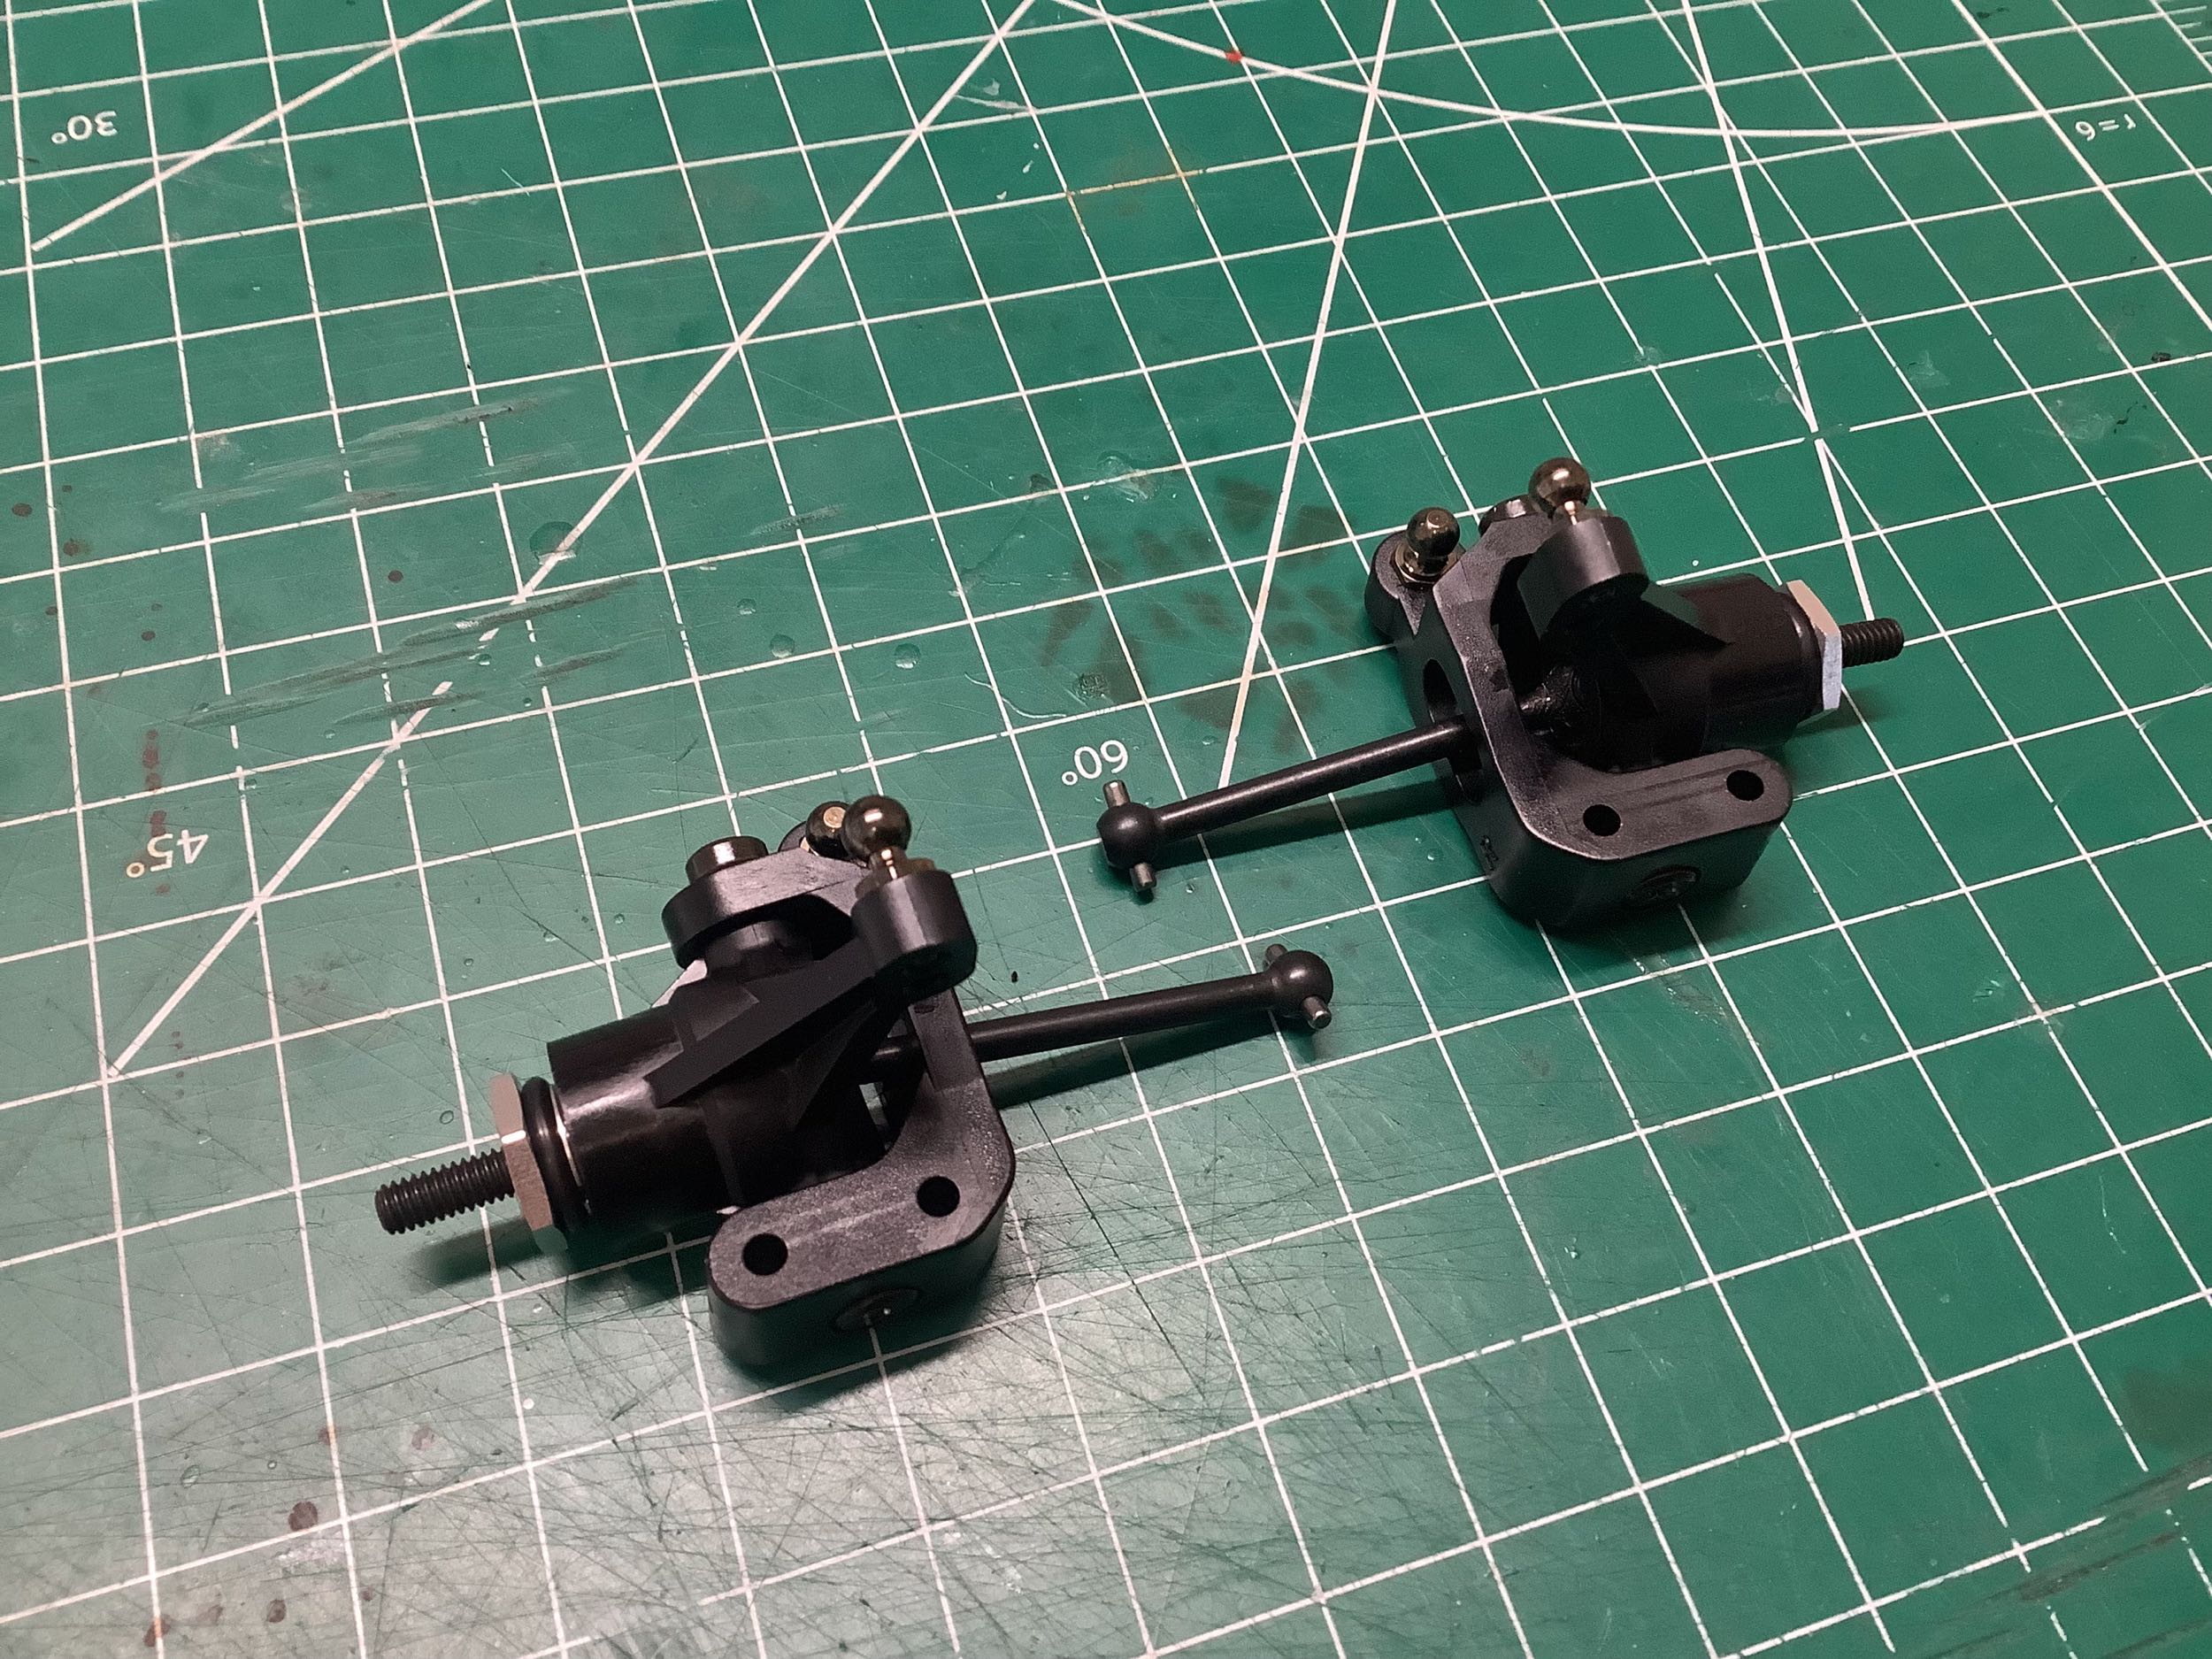
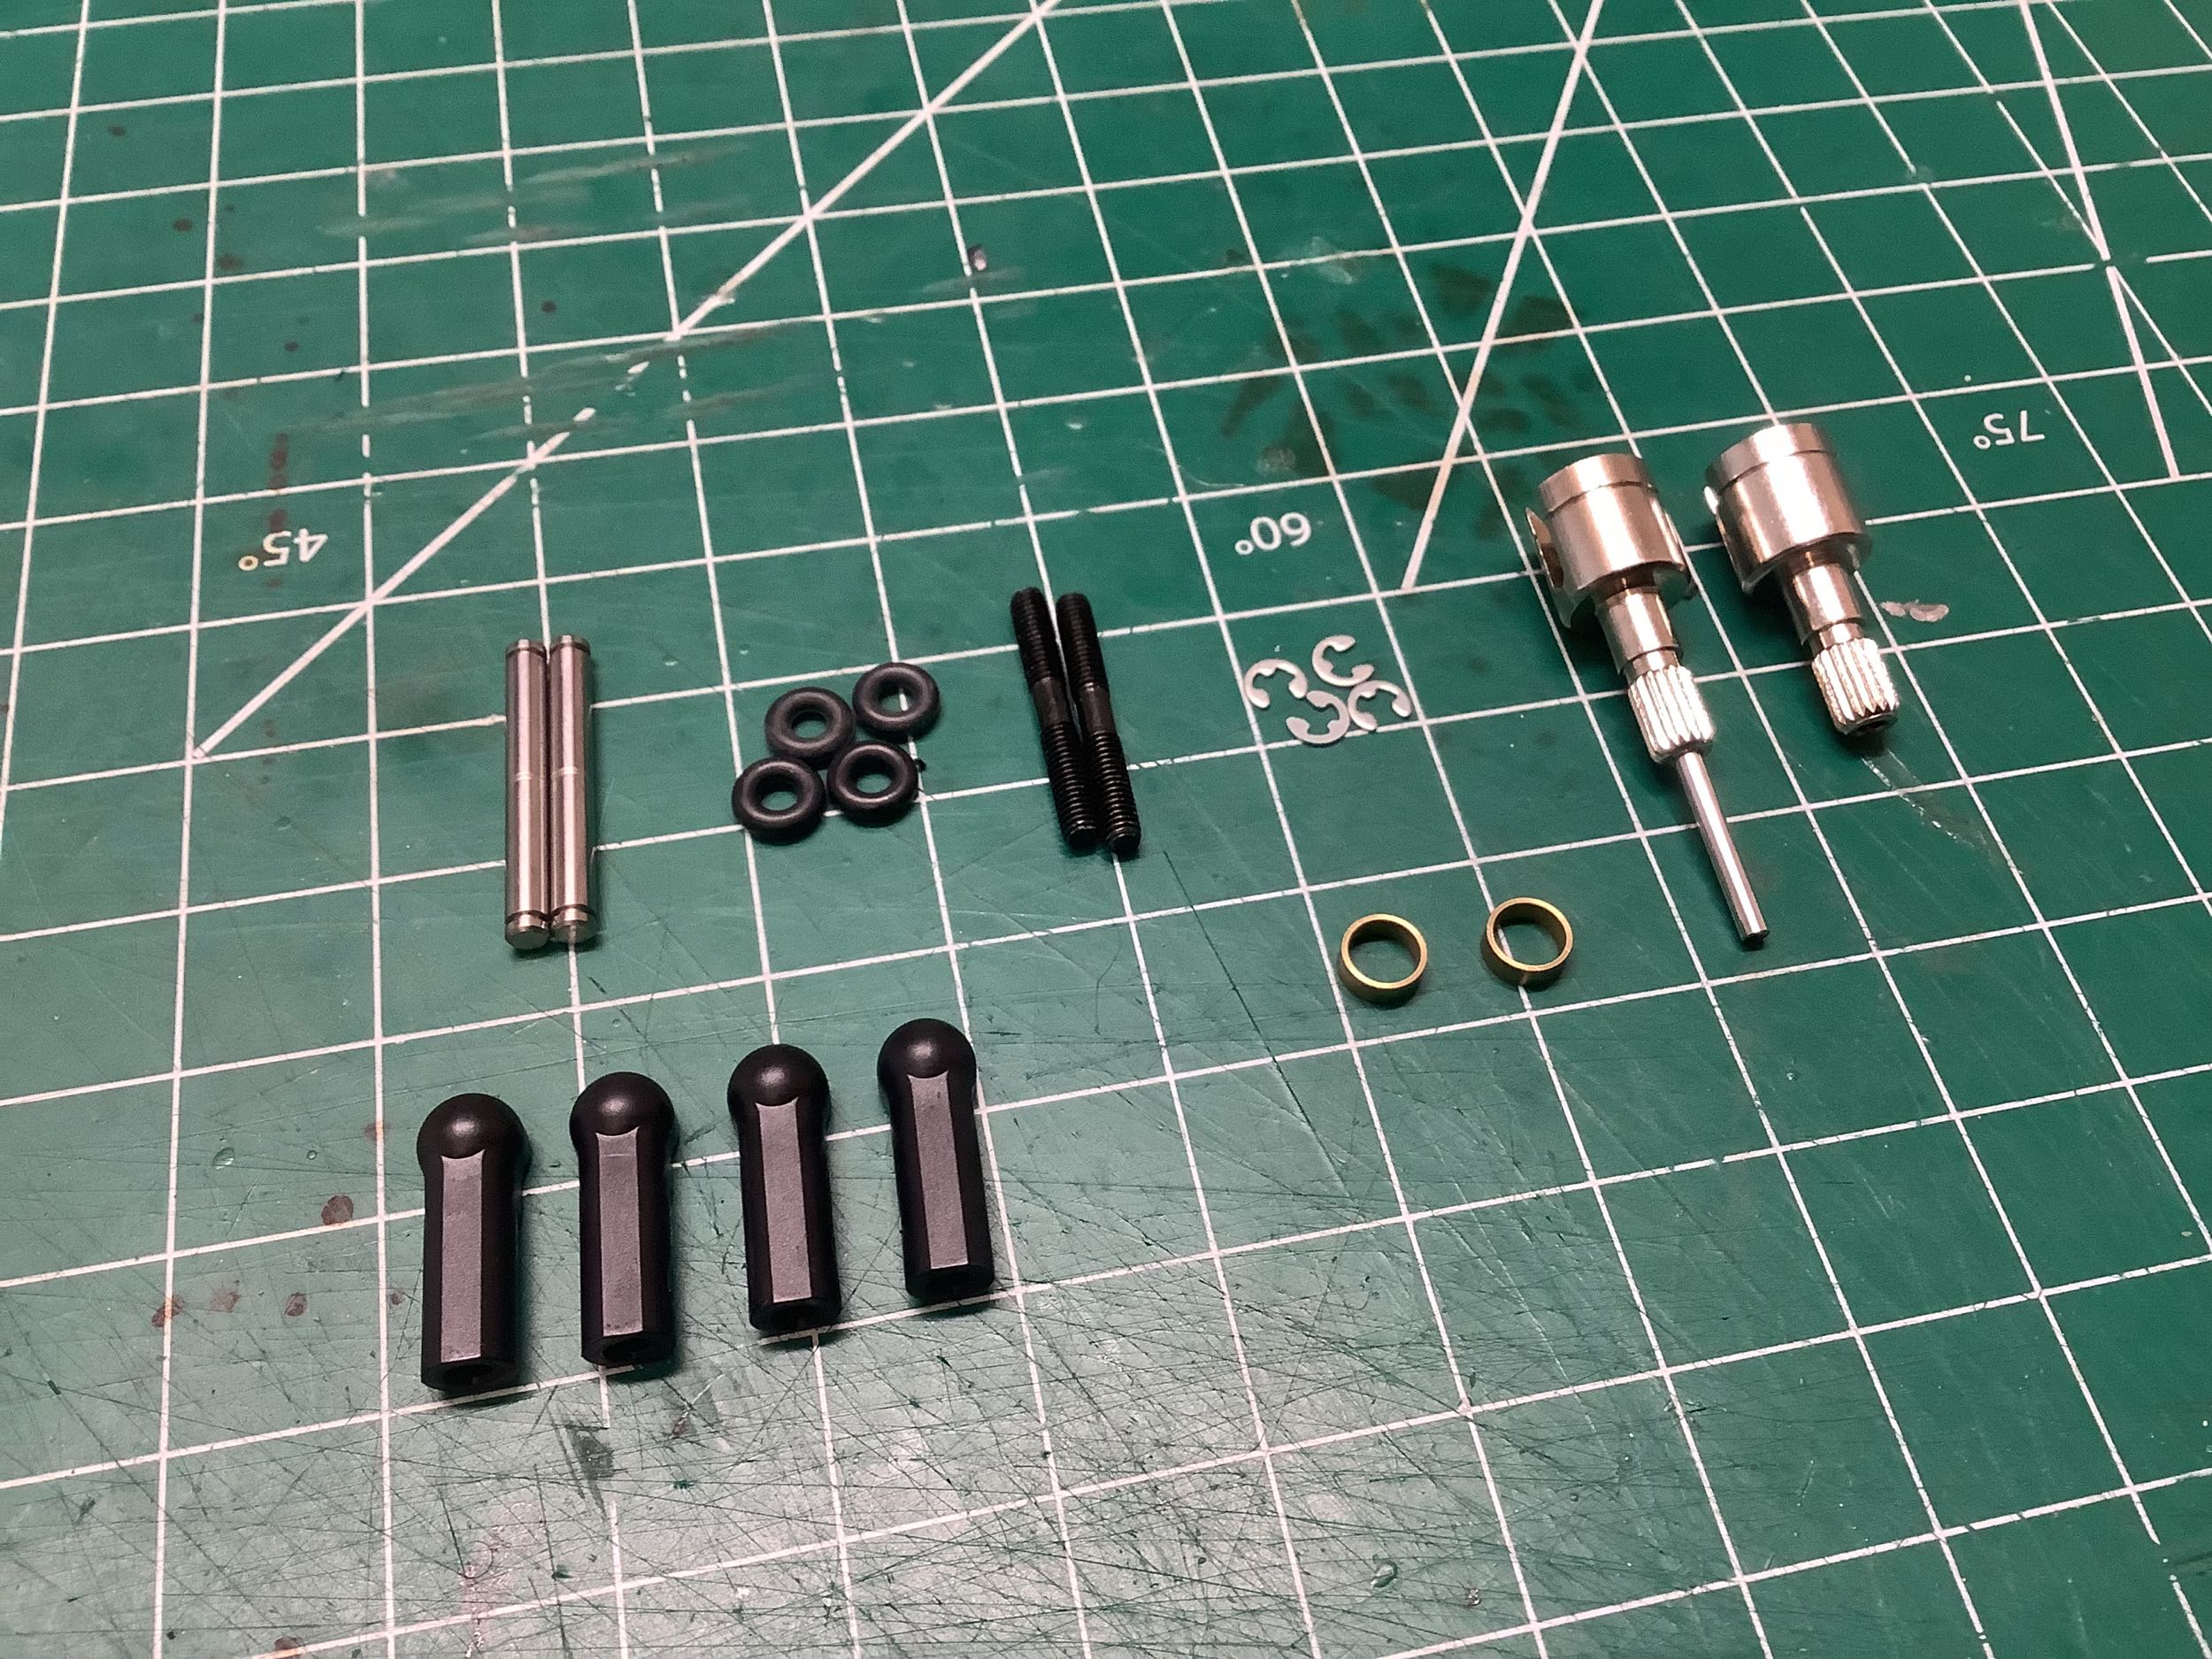
The rear uprights are the same parts from the Evo, but the wheel hubs
are retained in an unusual way using an o-ring instead of a set screw to
keep the cross pin from falling out. I'm not sure this has any
real advantage, but it does make them very difficult to remove.
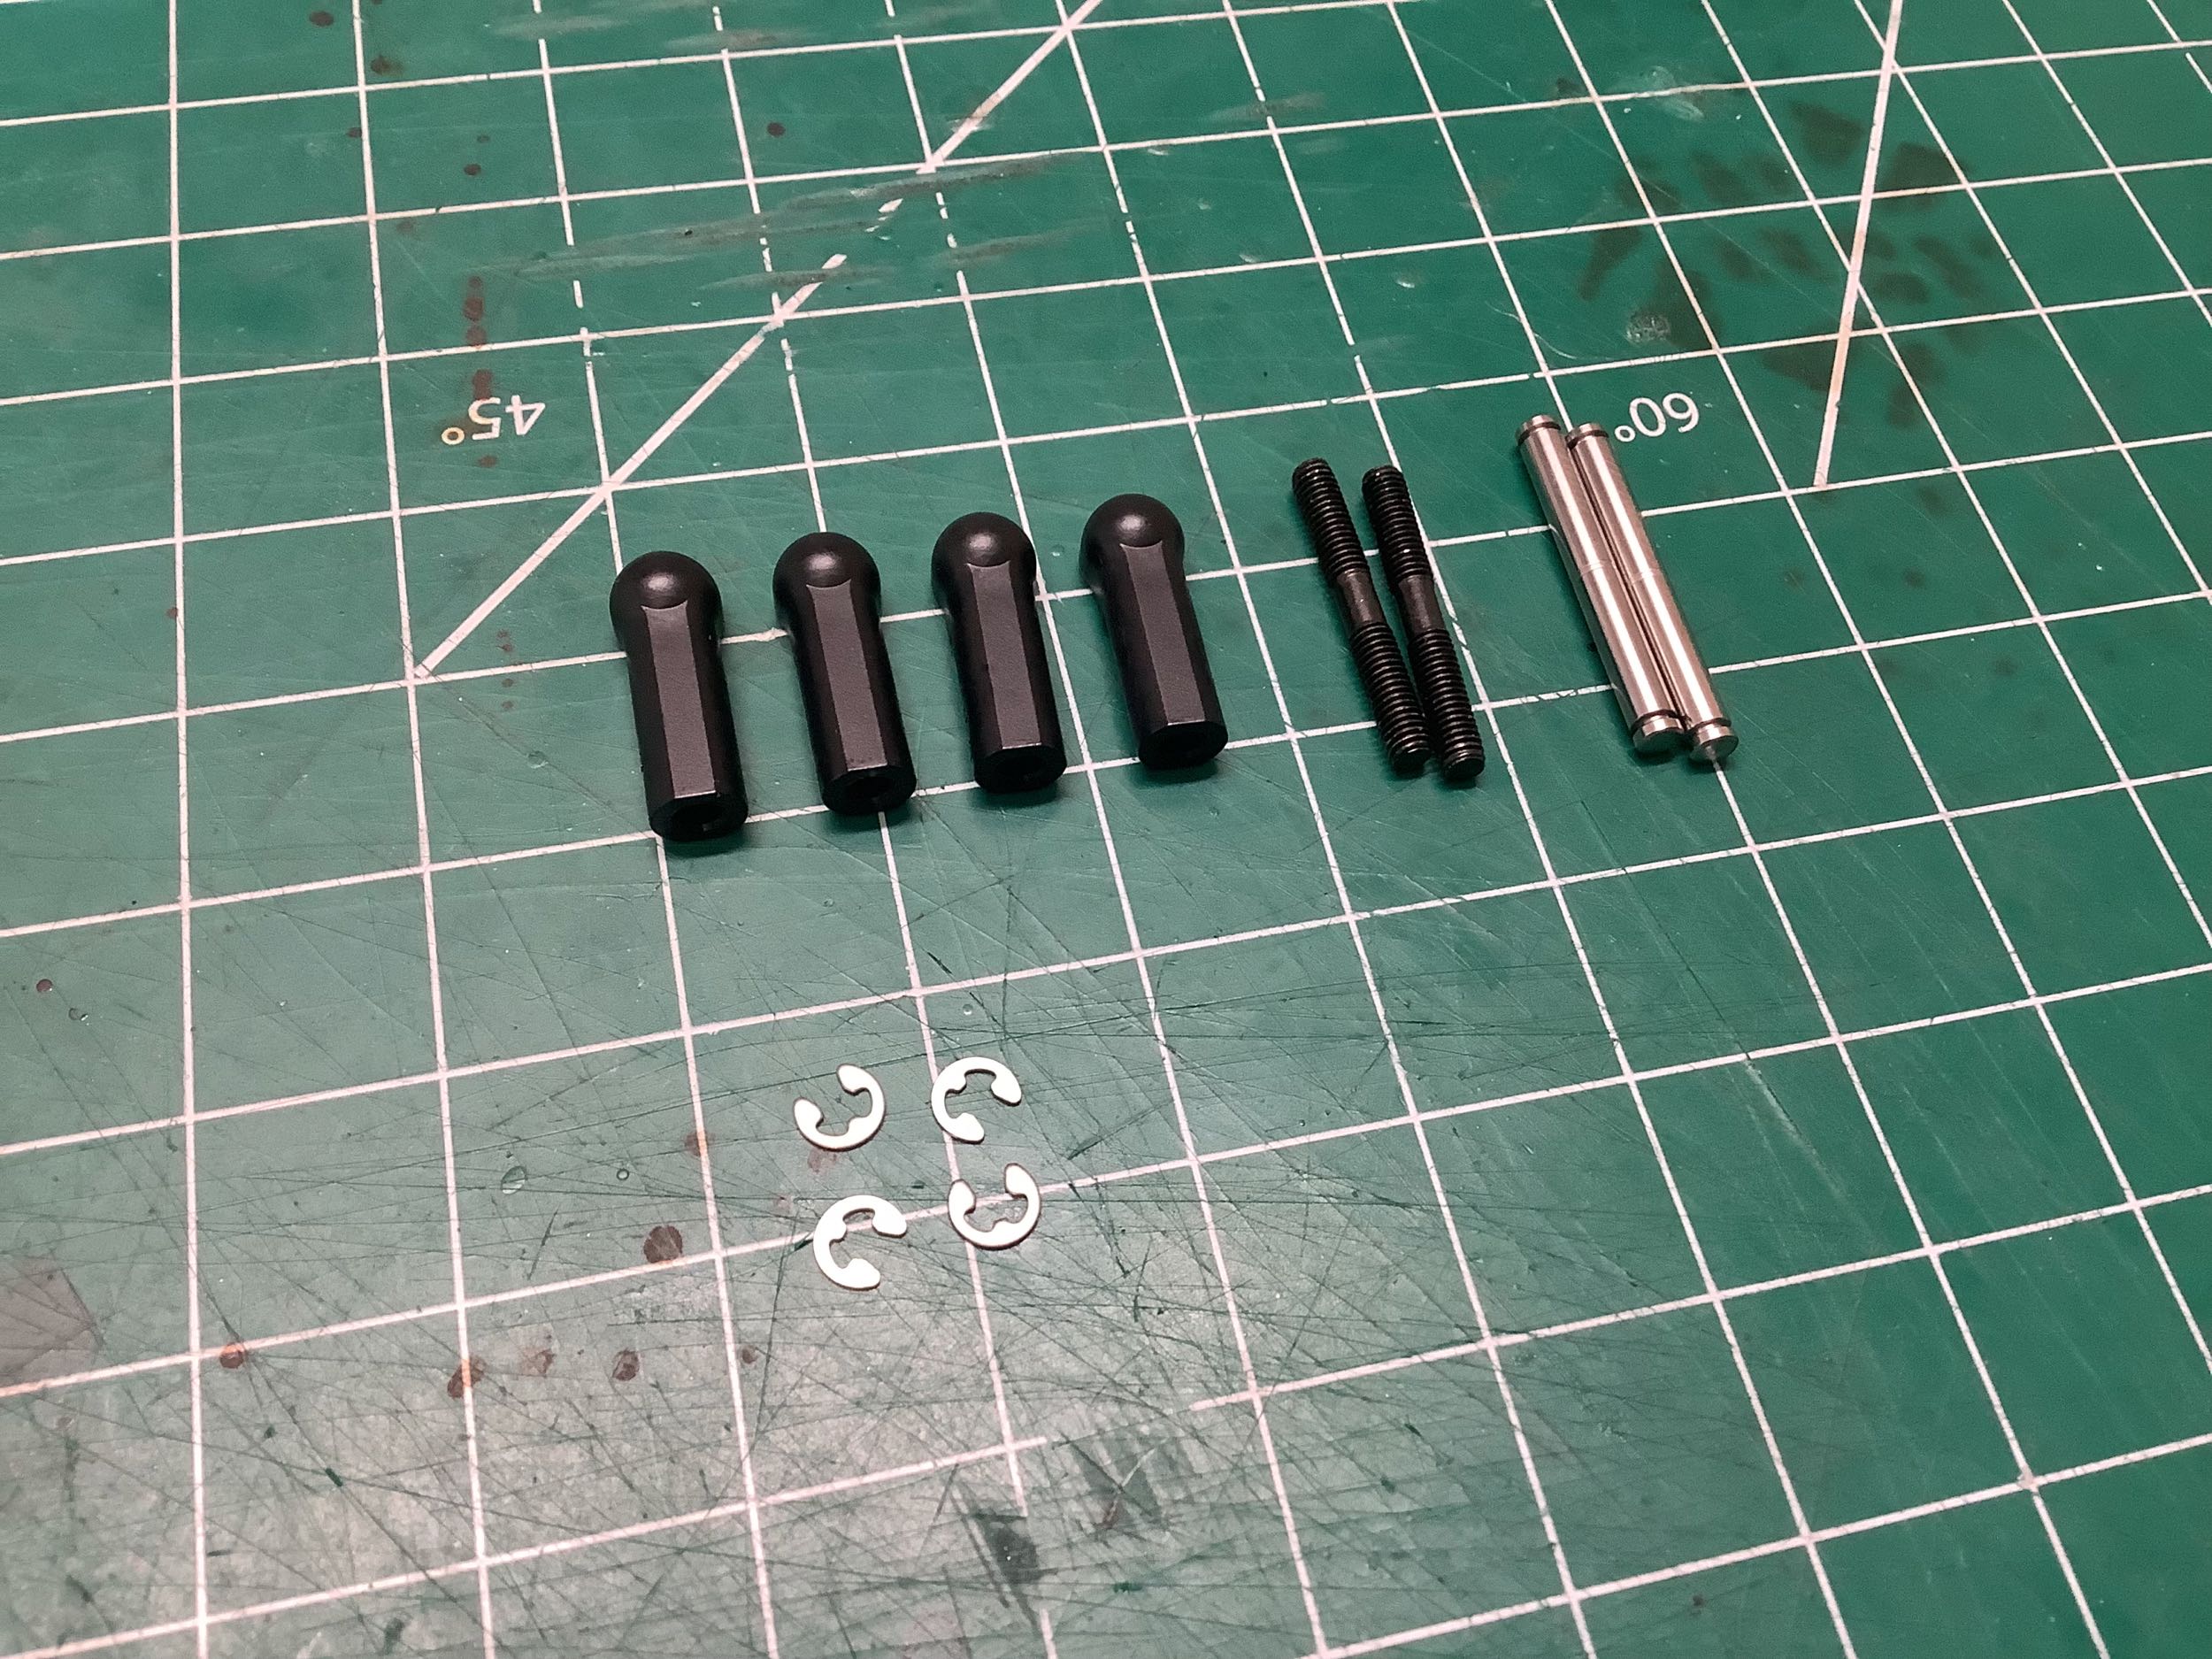
The original Evo used camber links which were wishbone shaped (which I
really liked), but the Evo II changes to a more standard threaded rod
(not a turnbuckle). This is less strong and can still only be
adjusted in 180º increments, so I'm not sure what the advantage
is. I guess it is easier to integrate with the new aluminum
bulkheads.
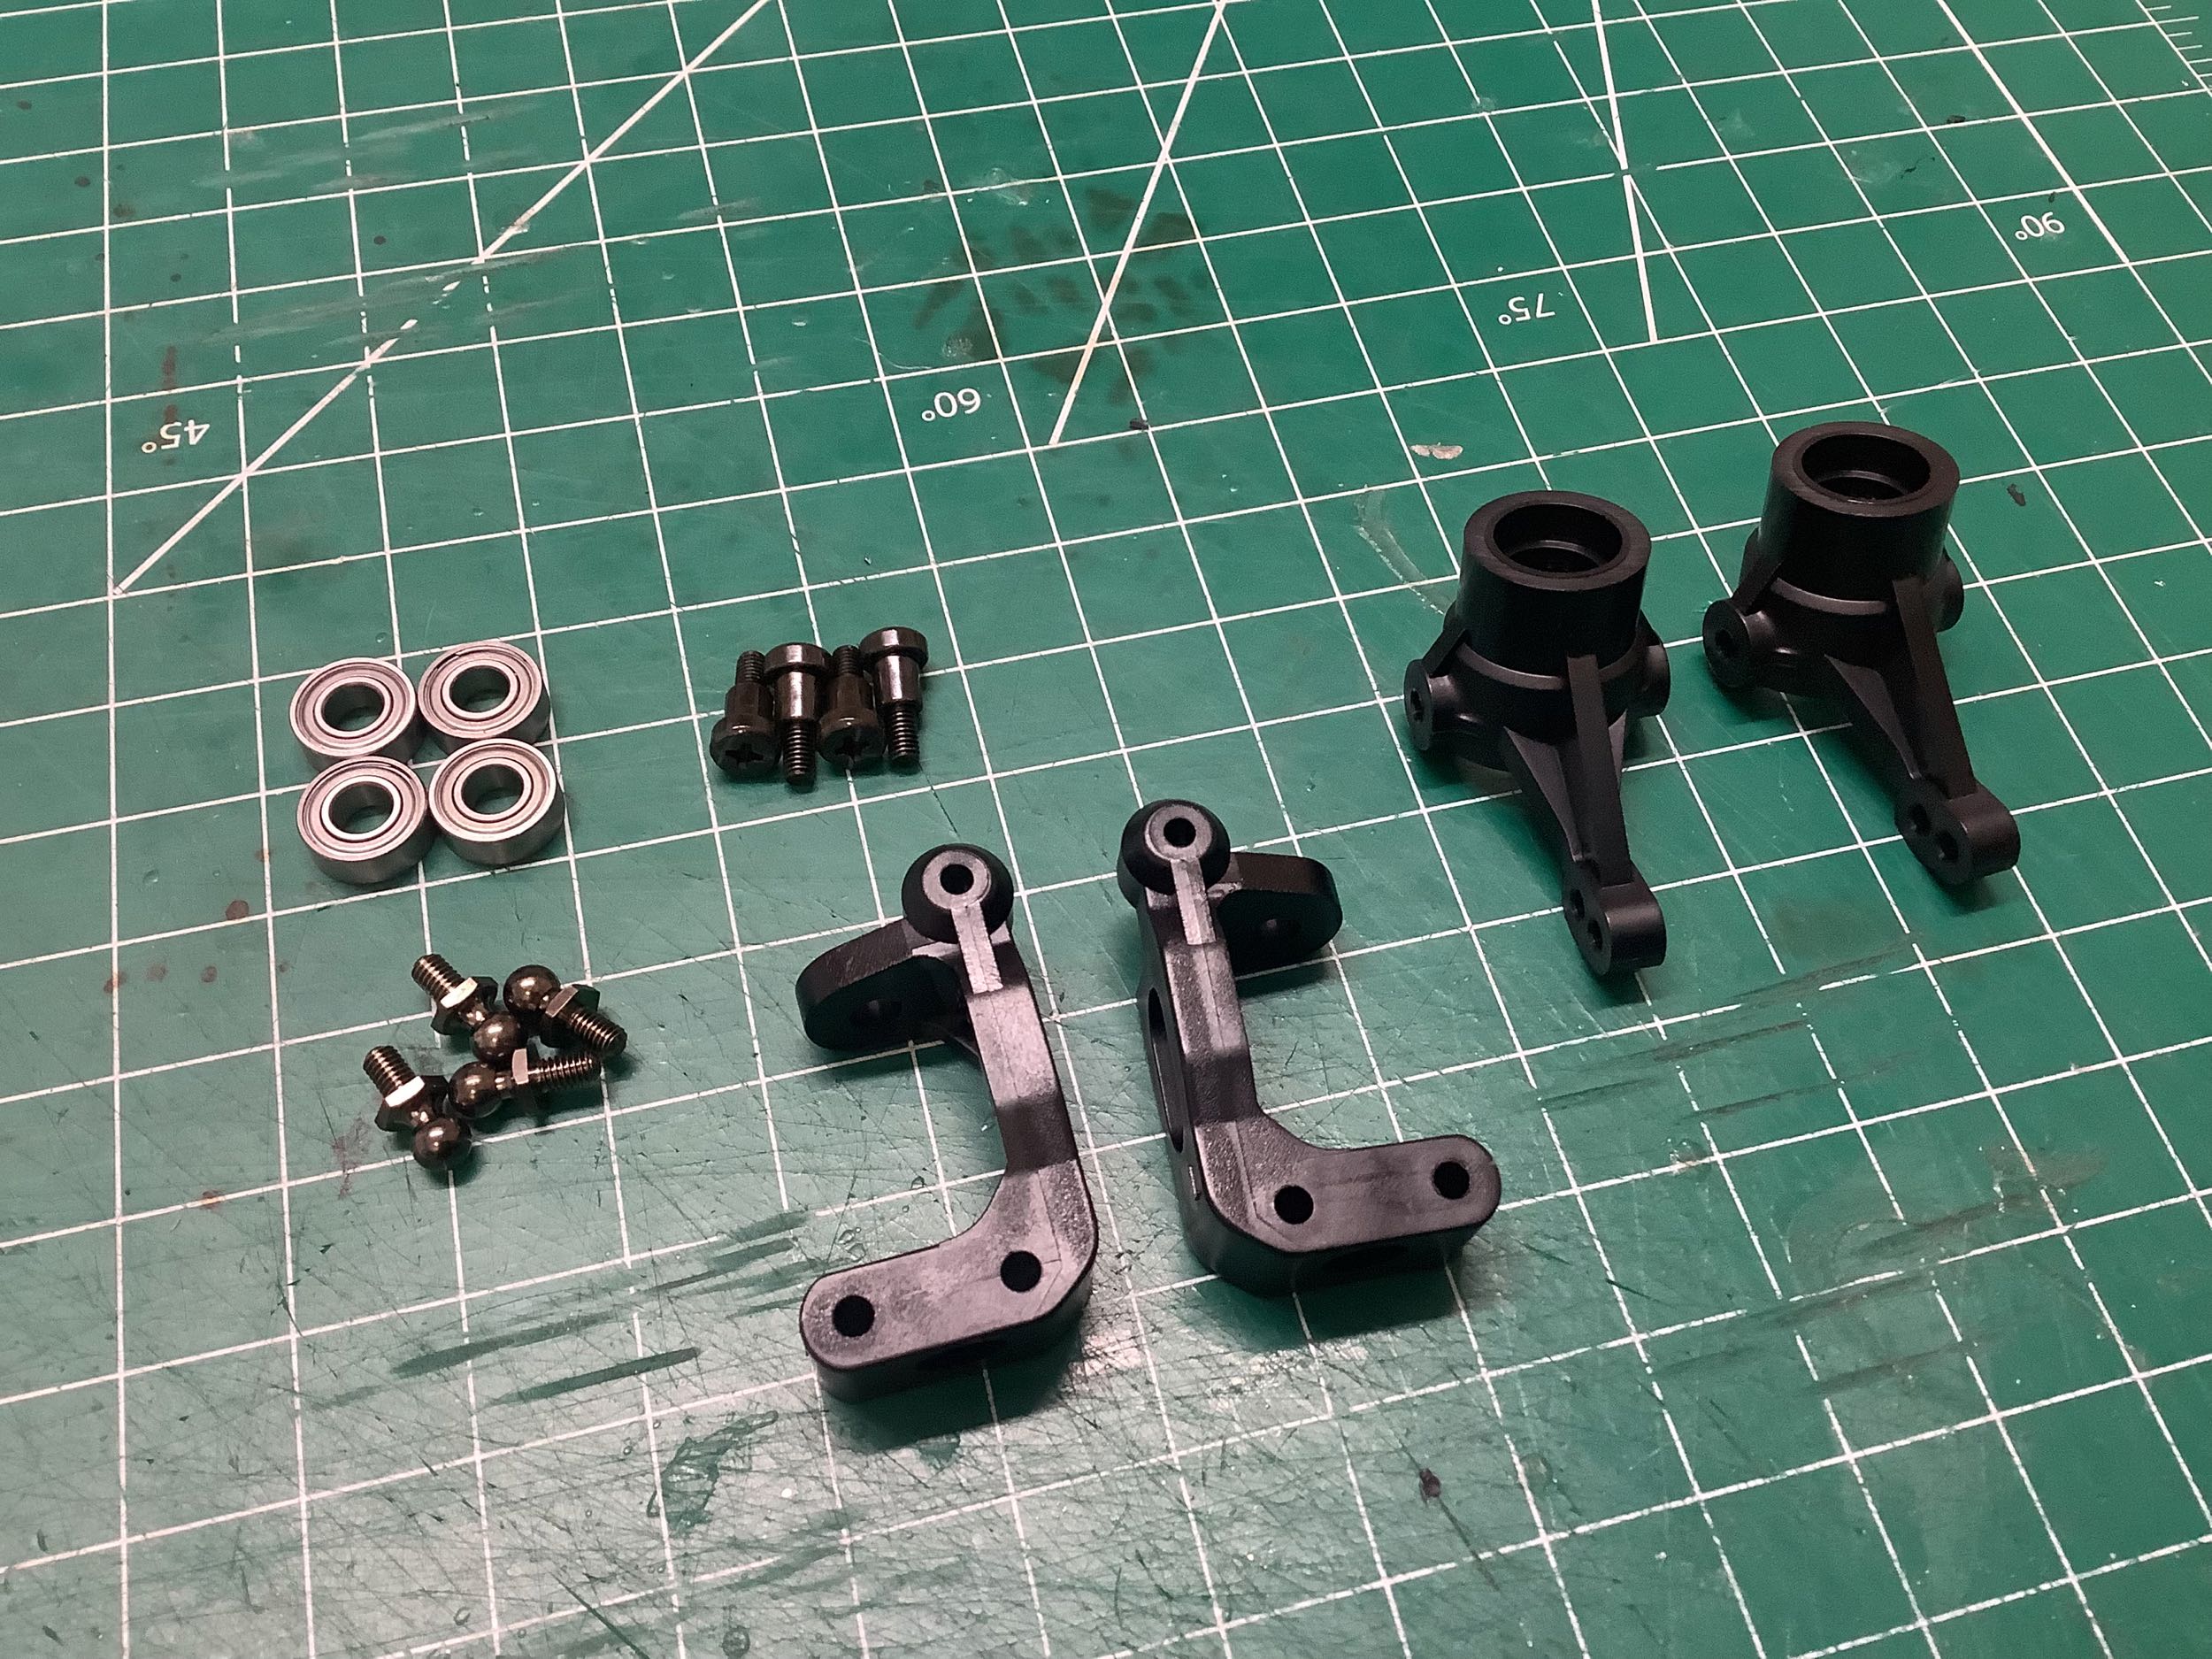
The C-hubs, steering knuckles, and kingpins are carried forward from the
Evo, so this front steering assembly looks very familiar.
The outer hinge pins use E-clips and install just like the Evo, except (like the rear) the camber links are now threaded rods.
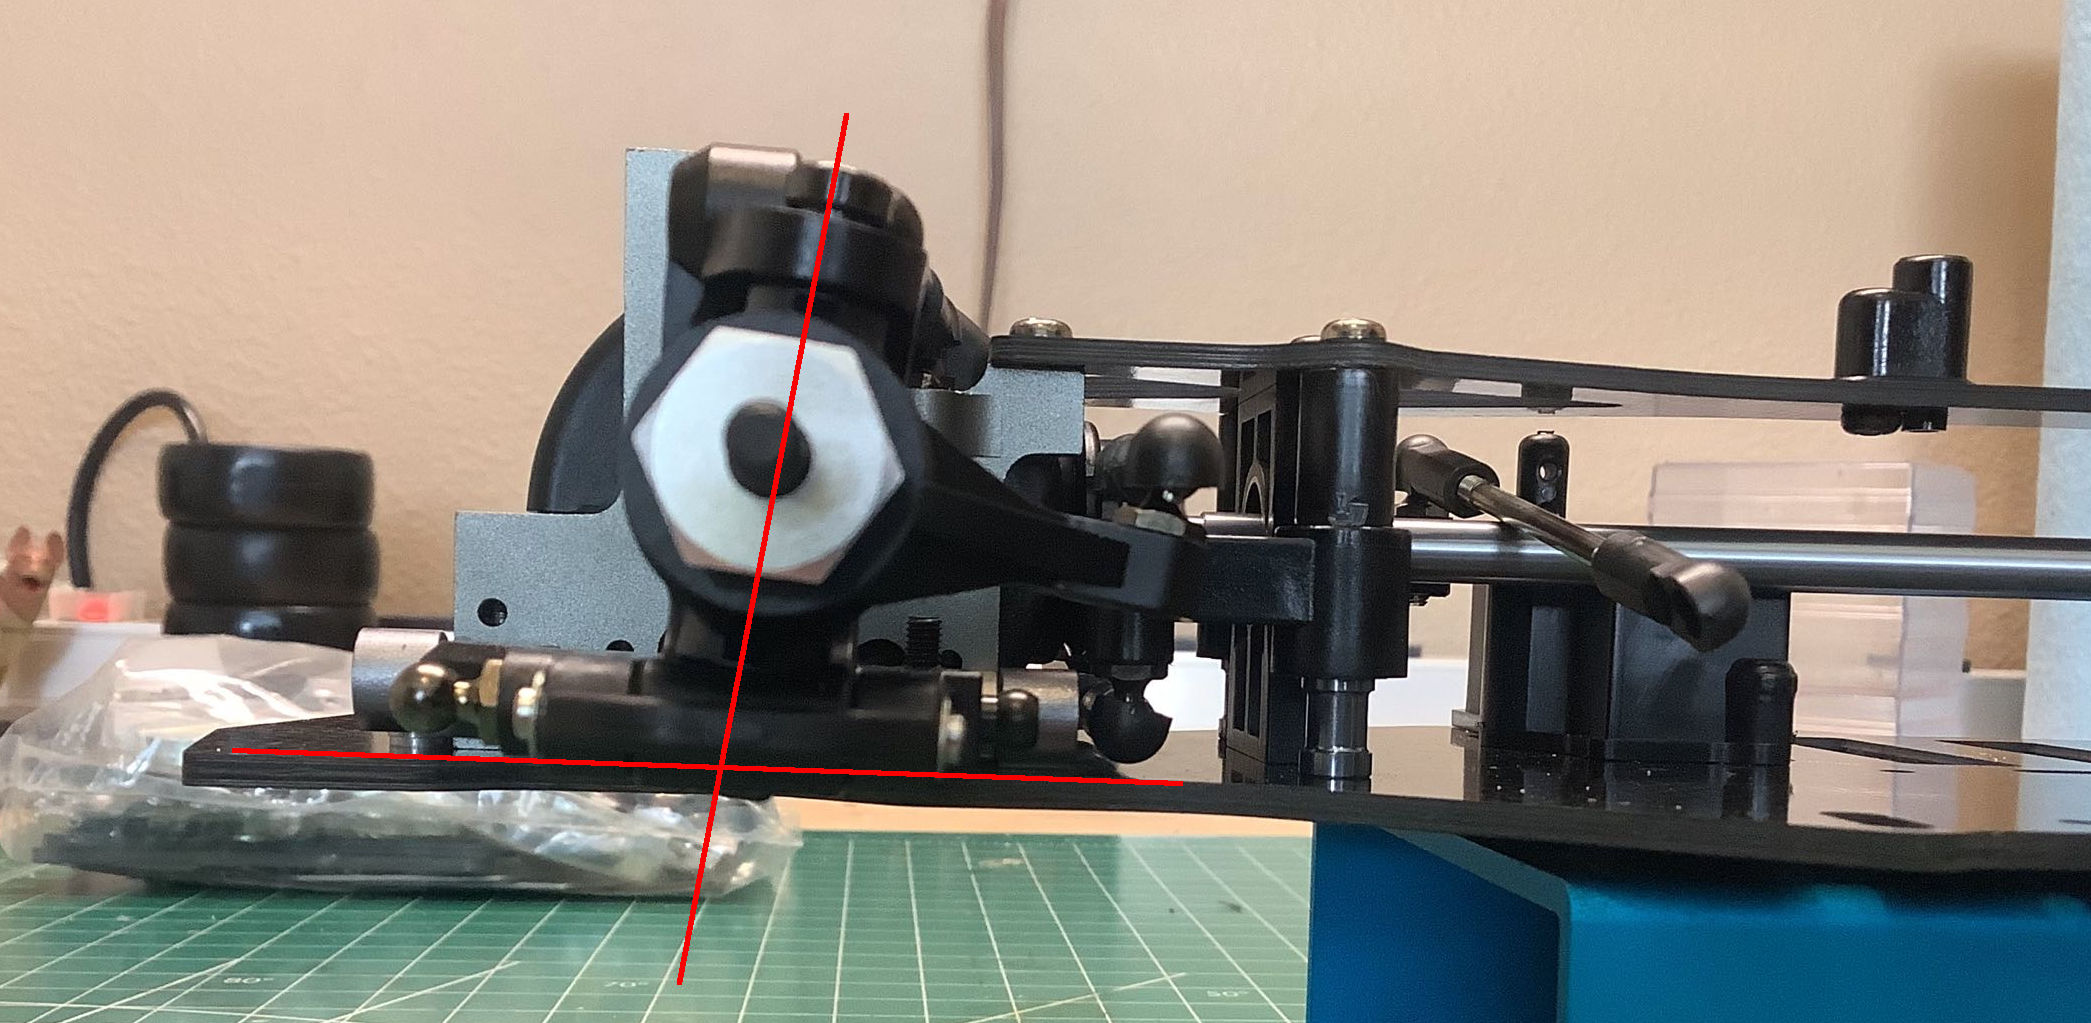
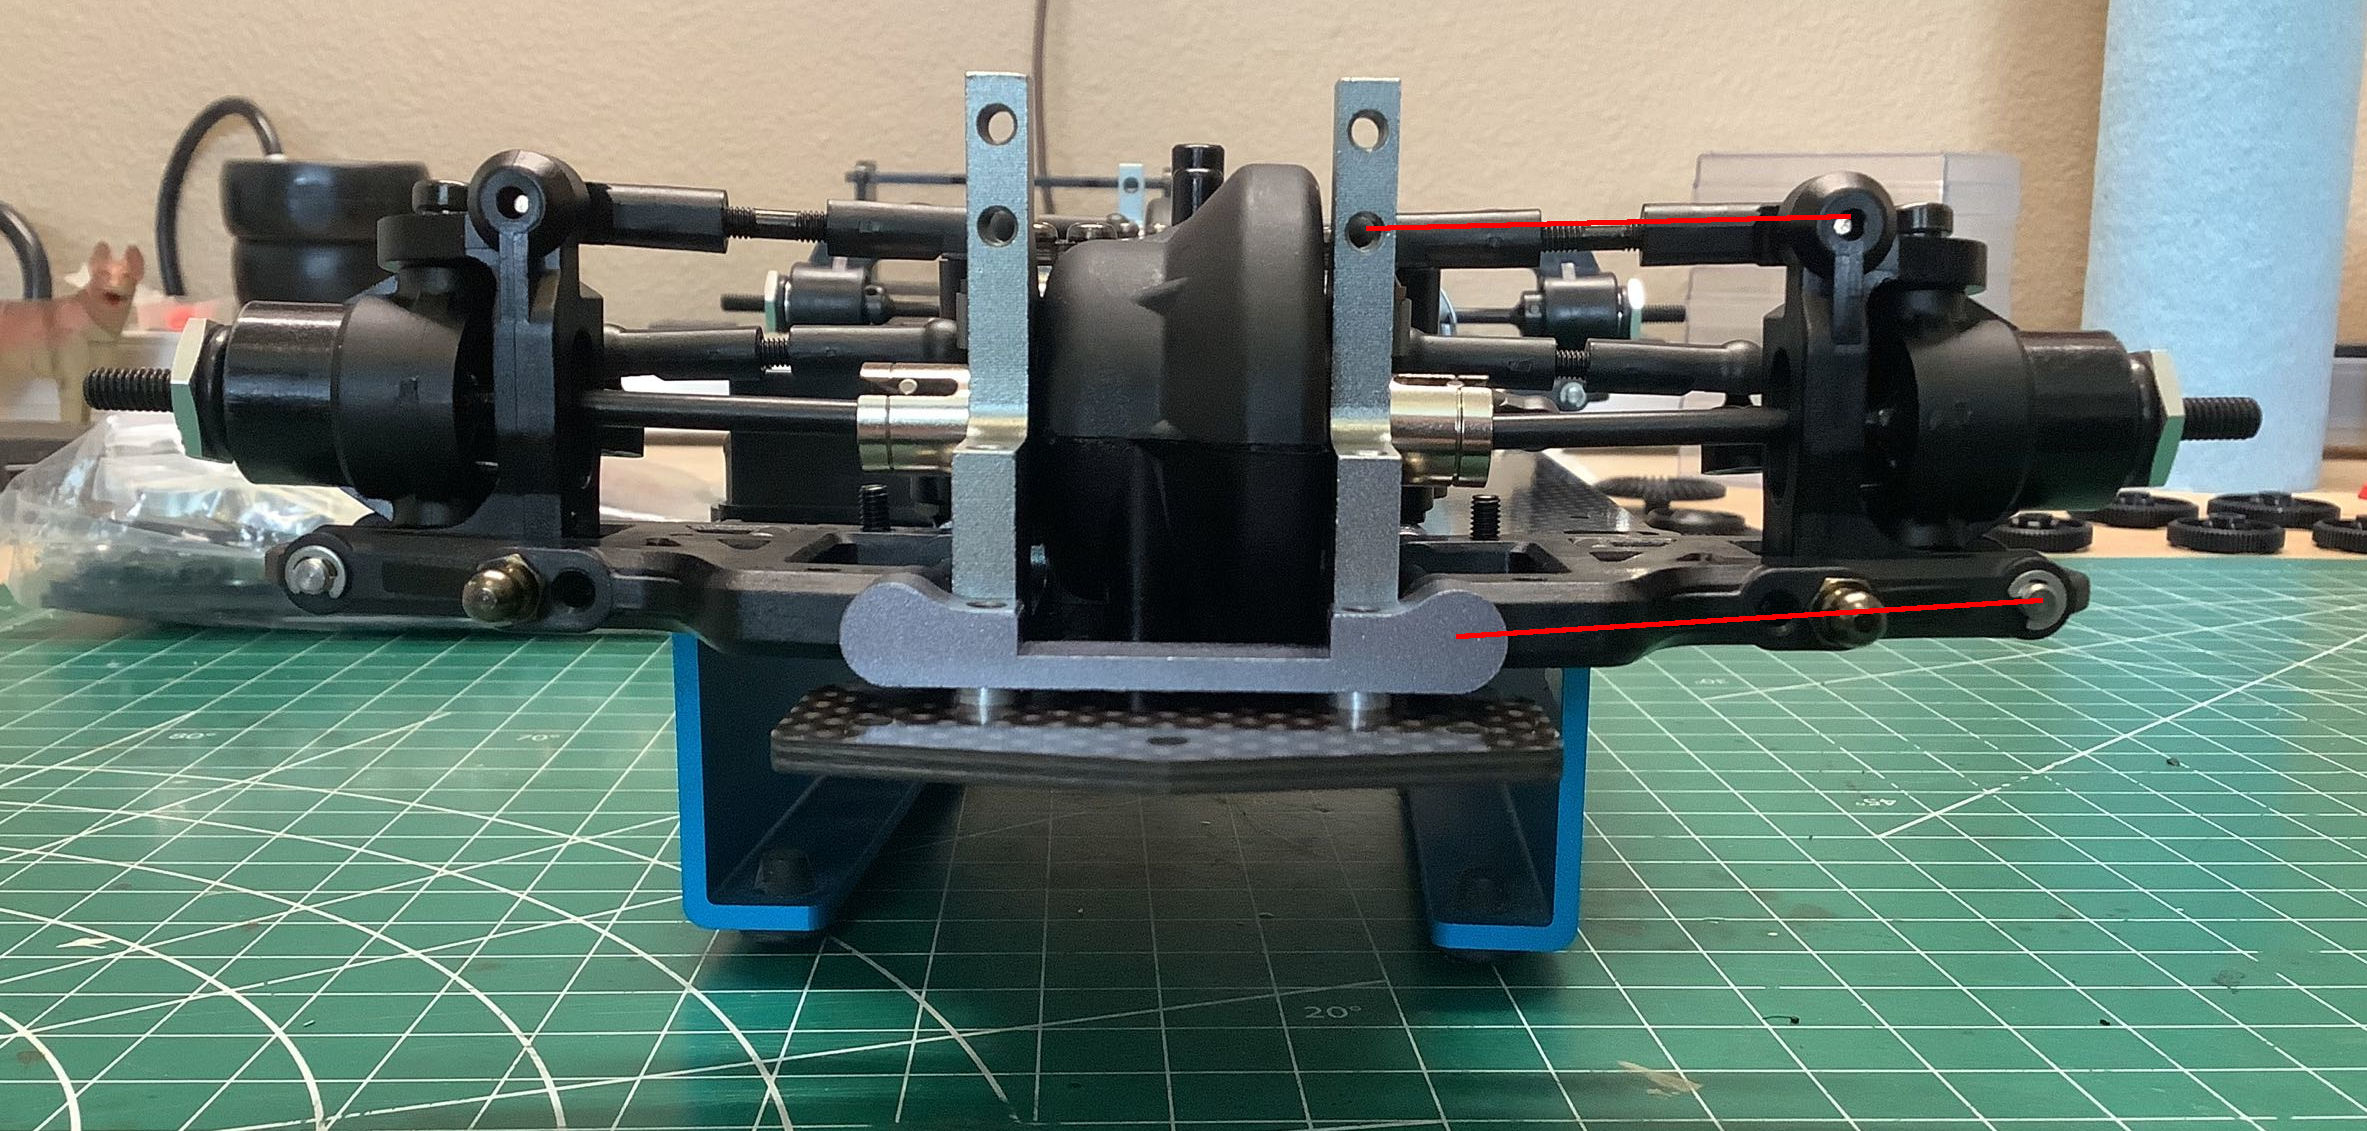
These pictures show some of the interesting suspension angles. On
the left you can see the caster angle. Some of this angle is from
the slight sweep of the lower arms, and some of it is built into the
C-hubs. On the right you can see that the upper arms are much
shorter than the lower arms which results in camber gain with suspension
compression.
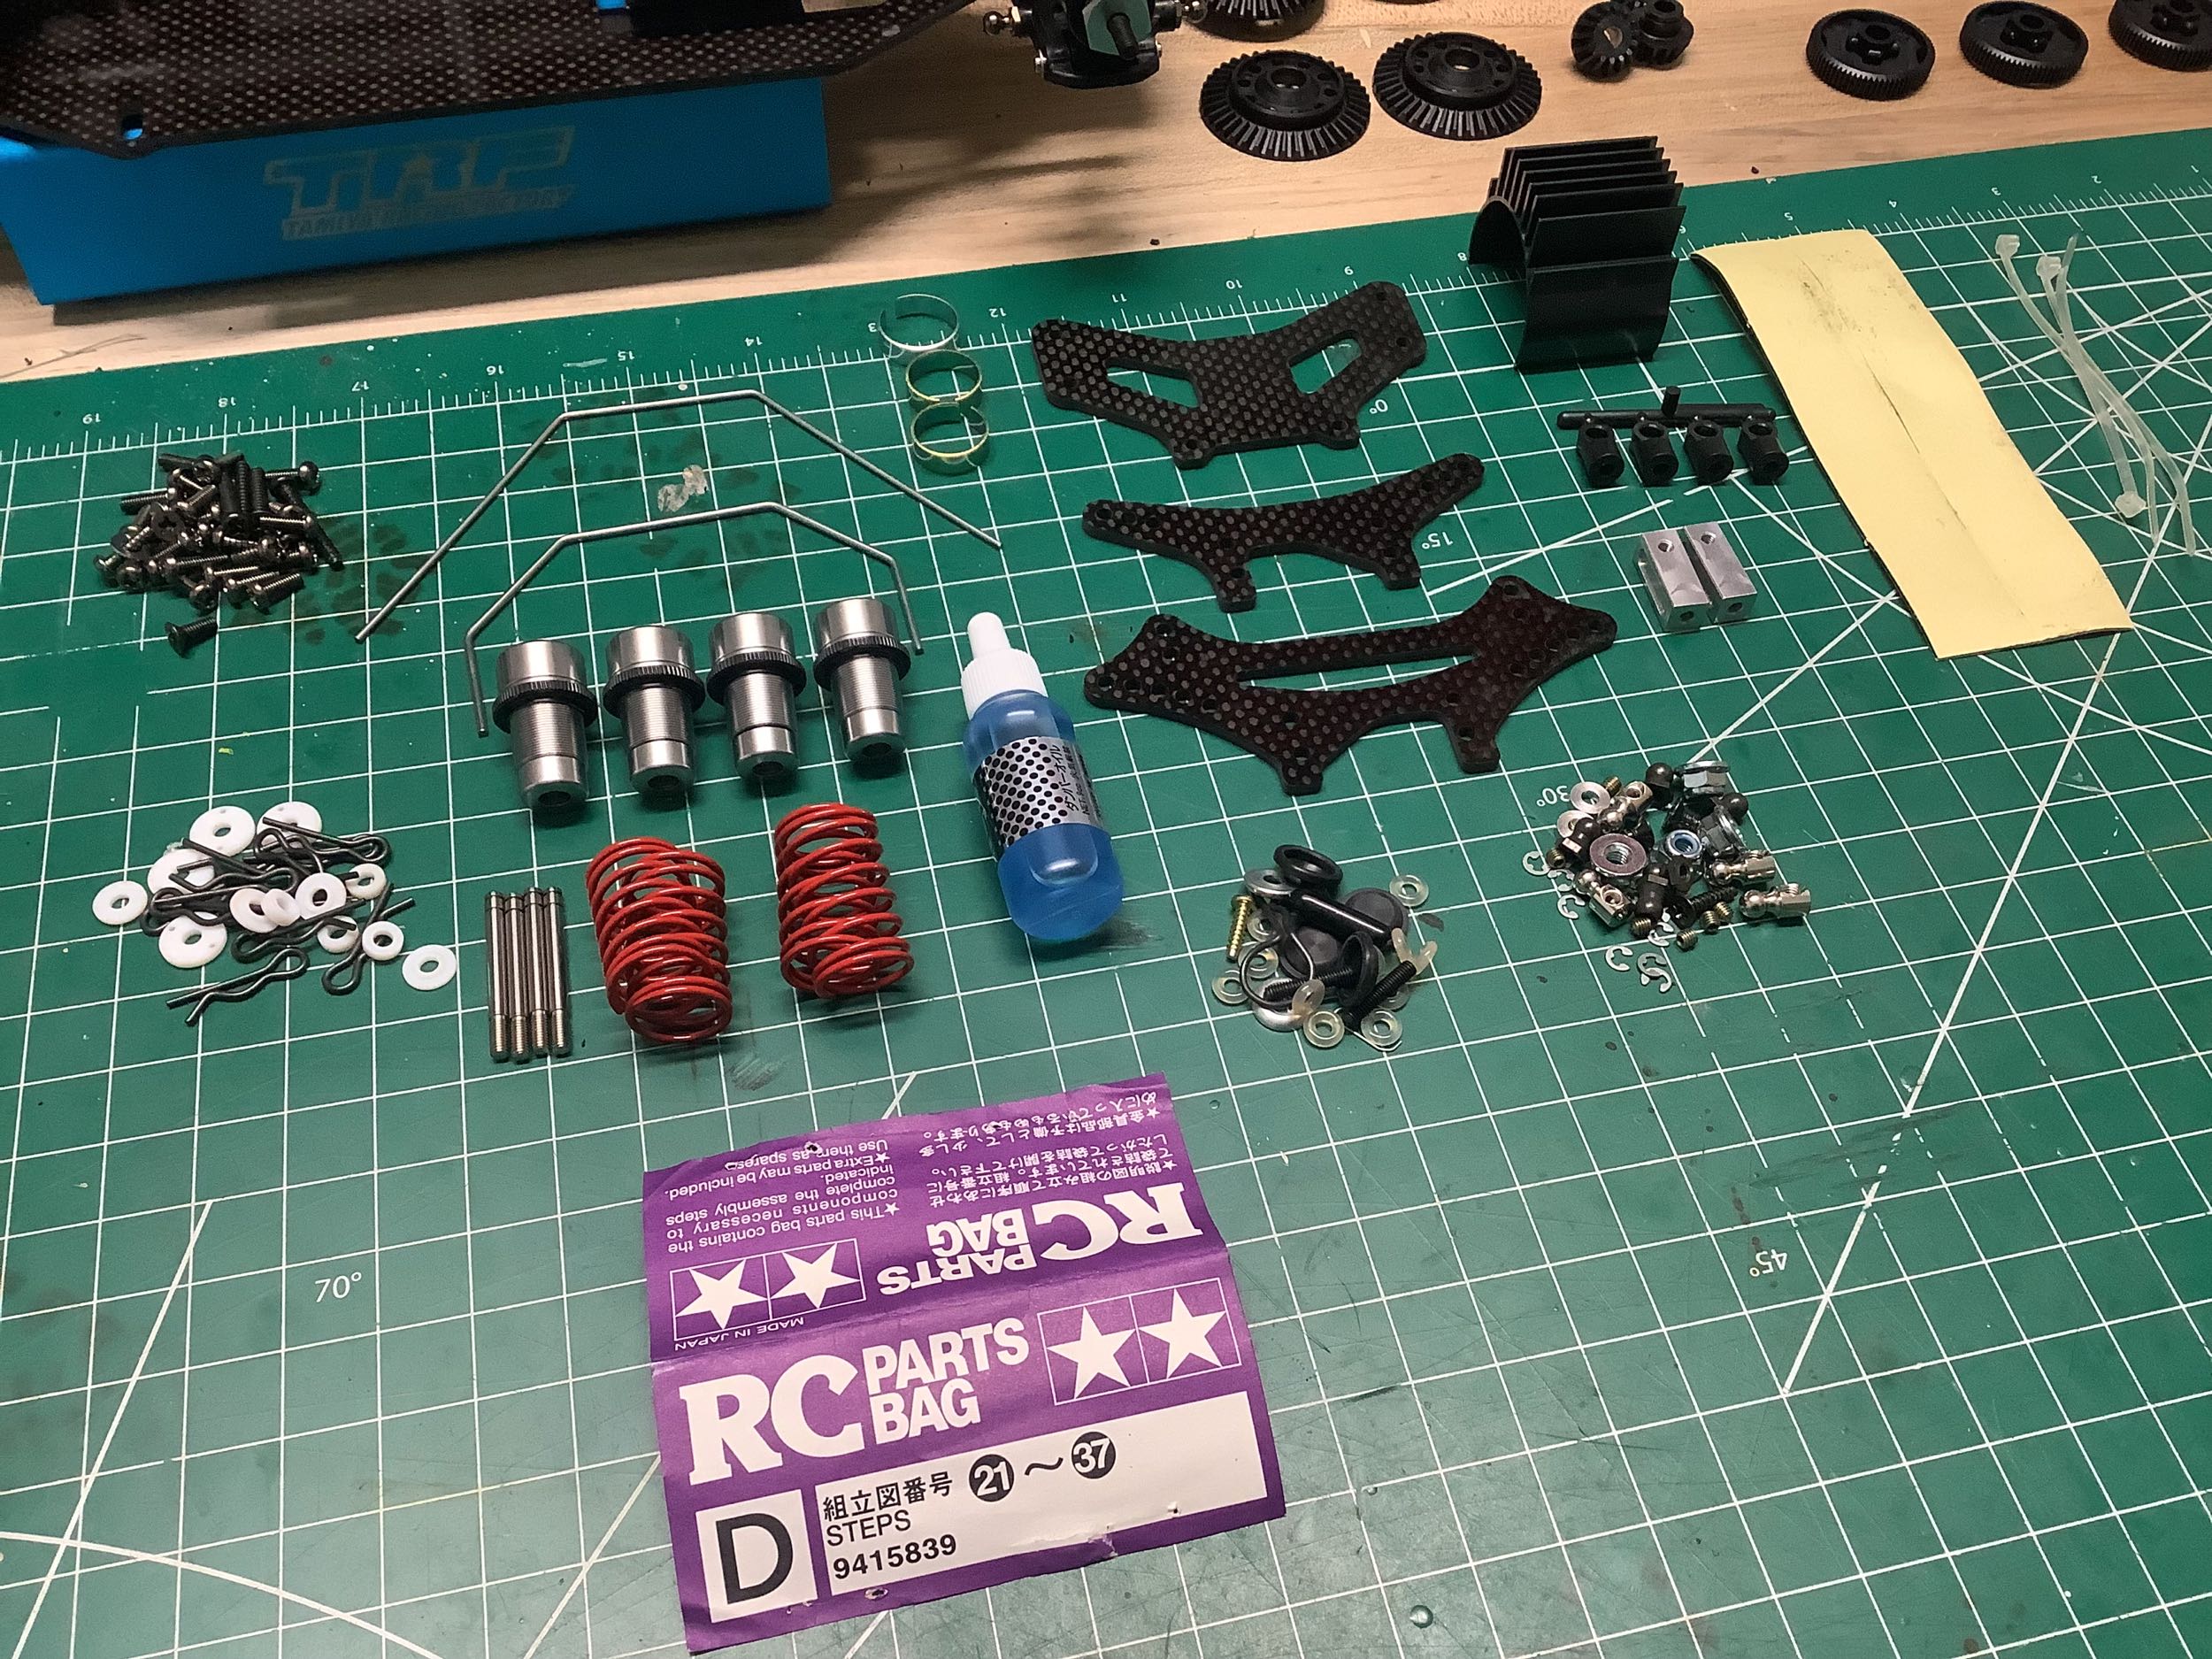
The final hardware bag is D and contains the shock parts covering Steps
21-37. That sounds like a lot of steps, but a lot of them are
installing the electronics and body.
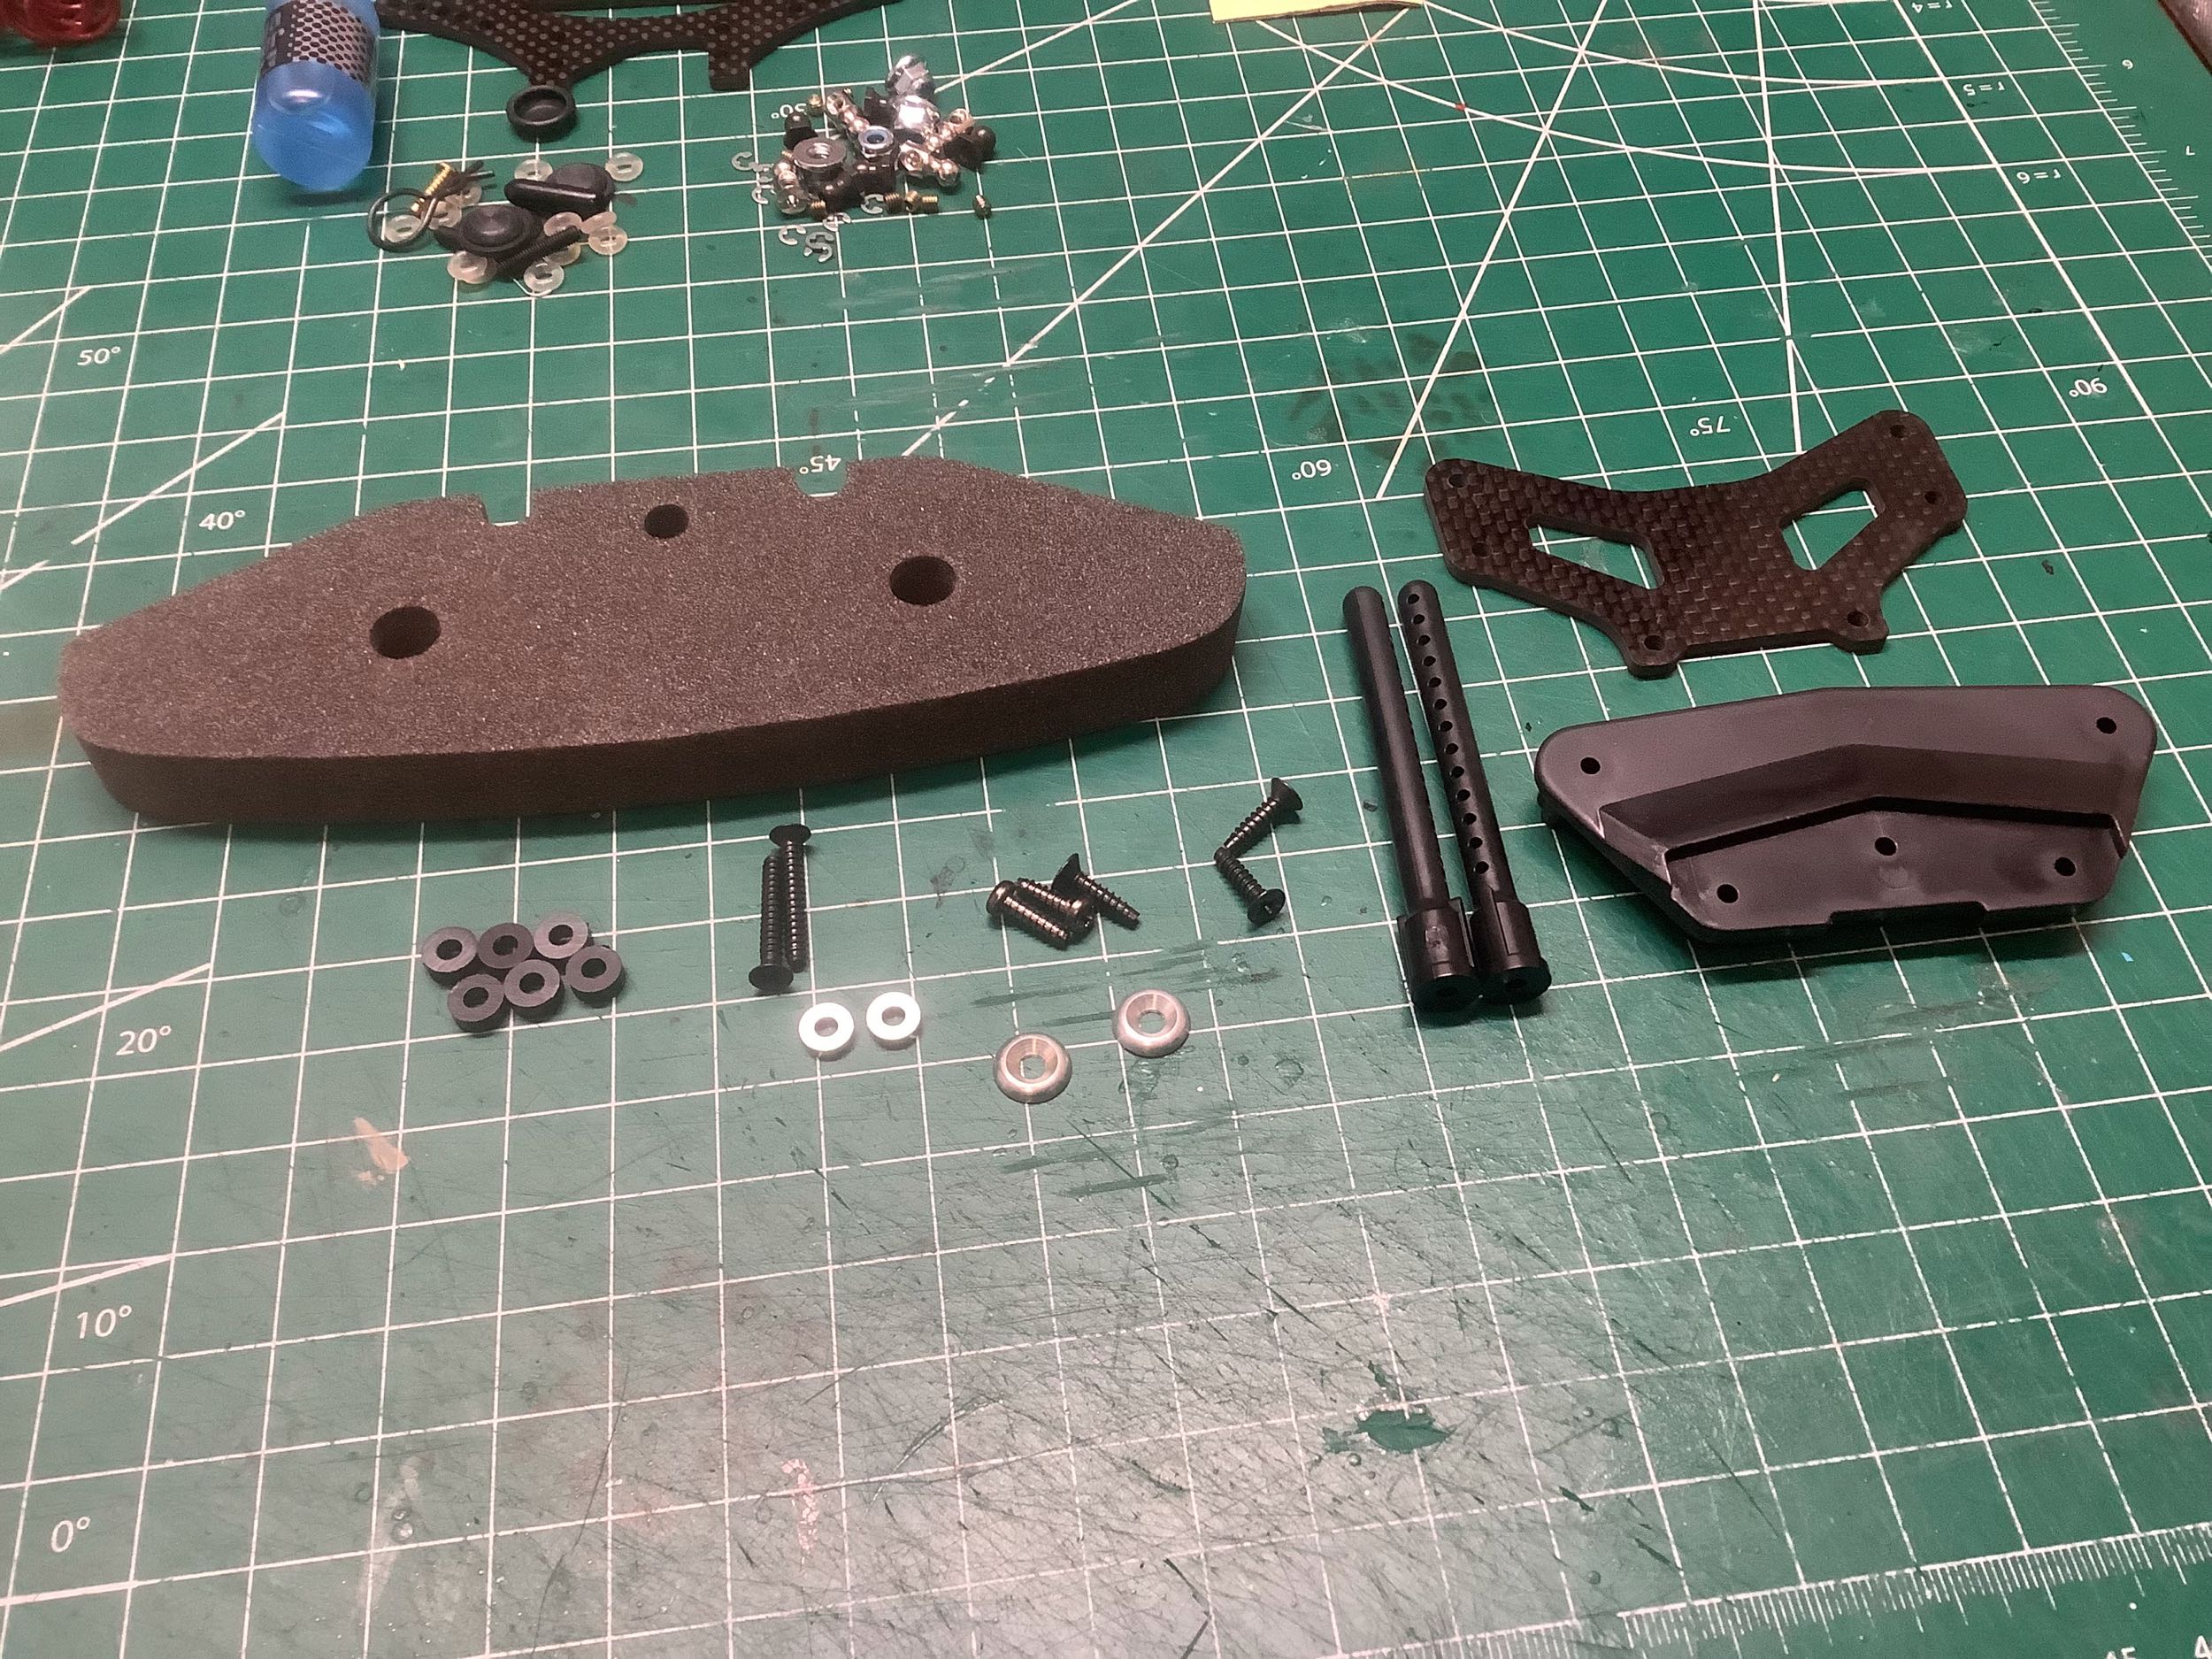
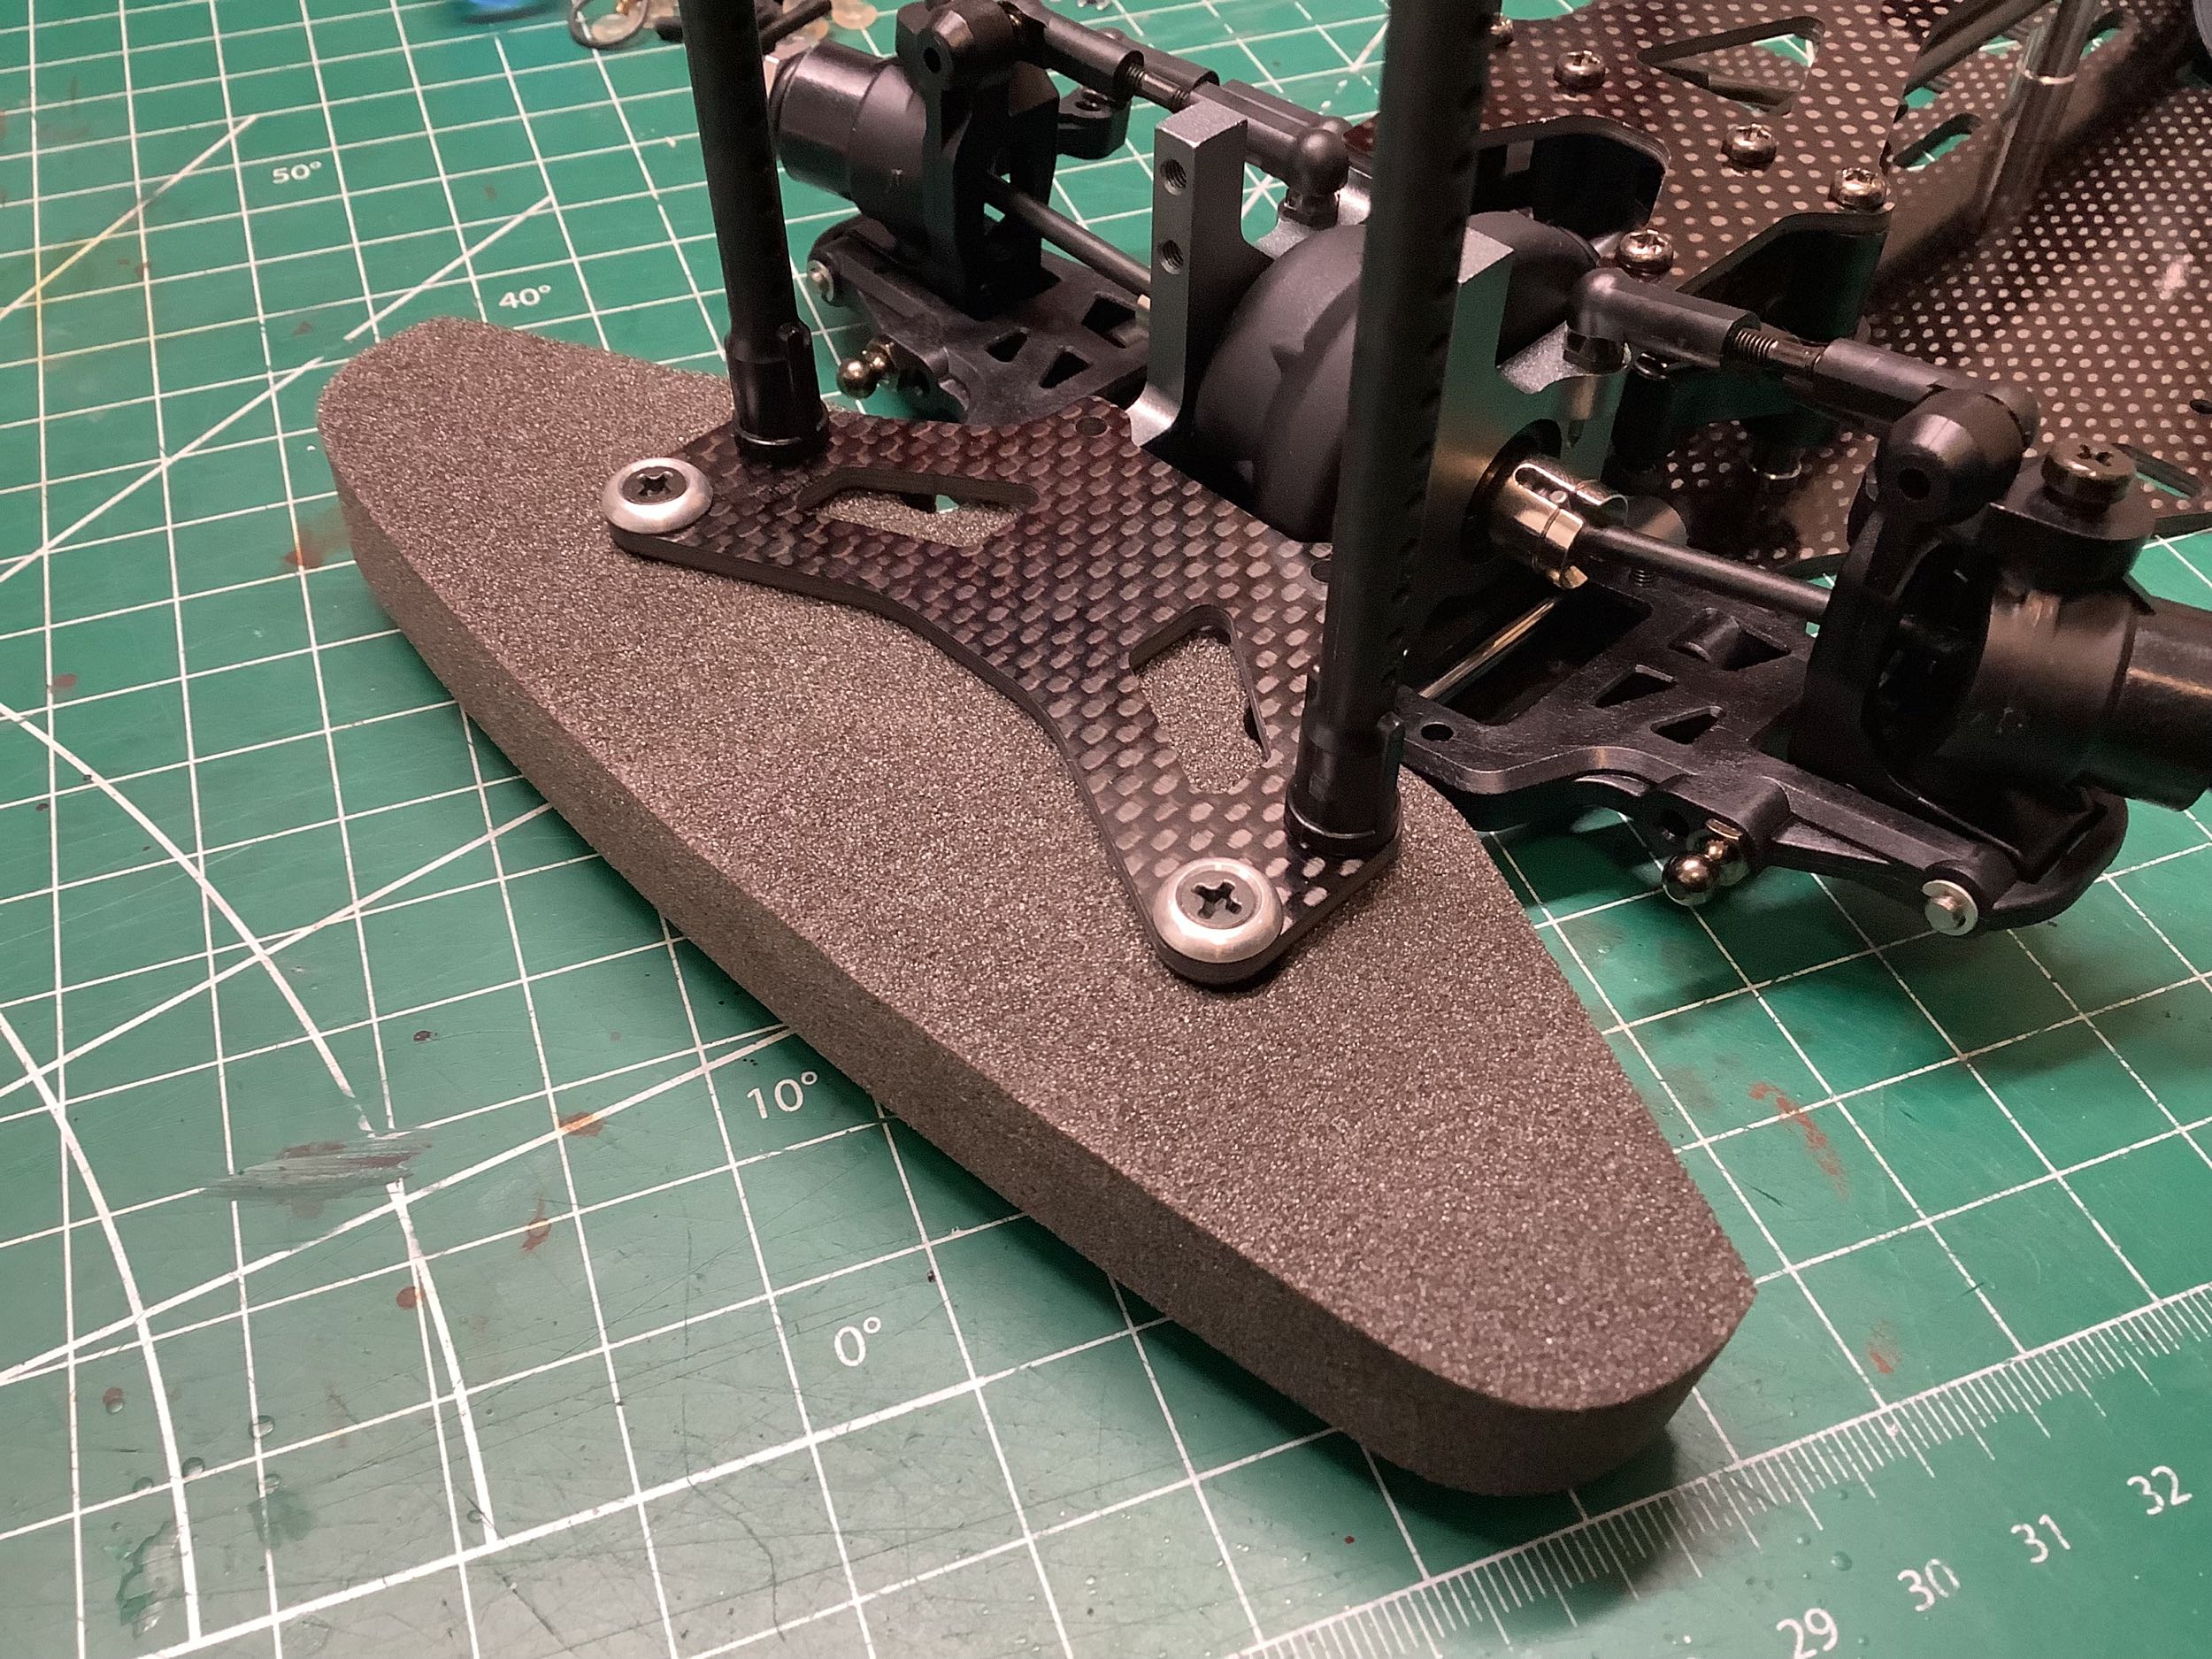
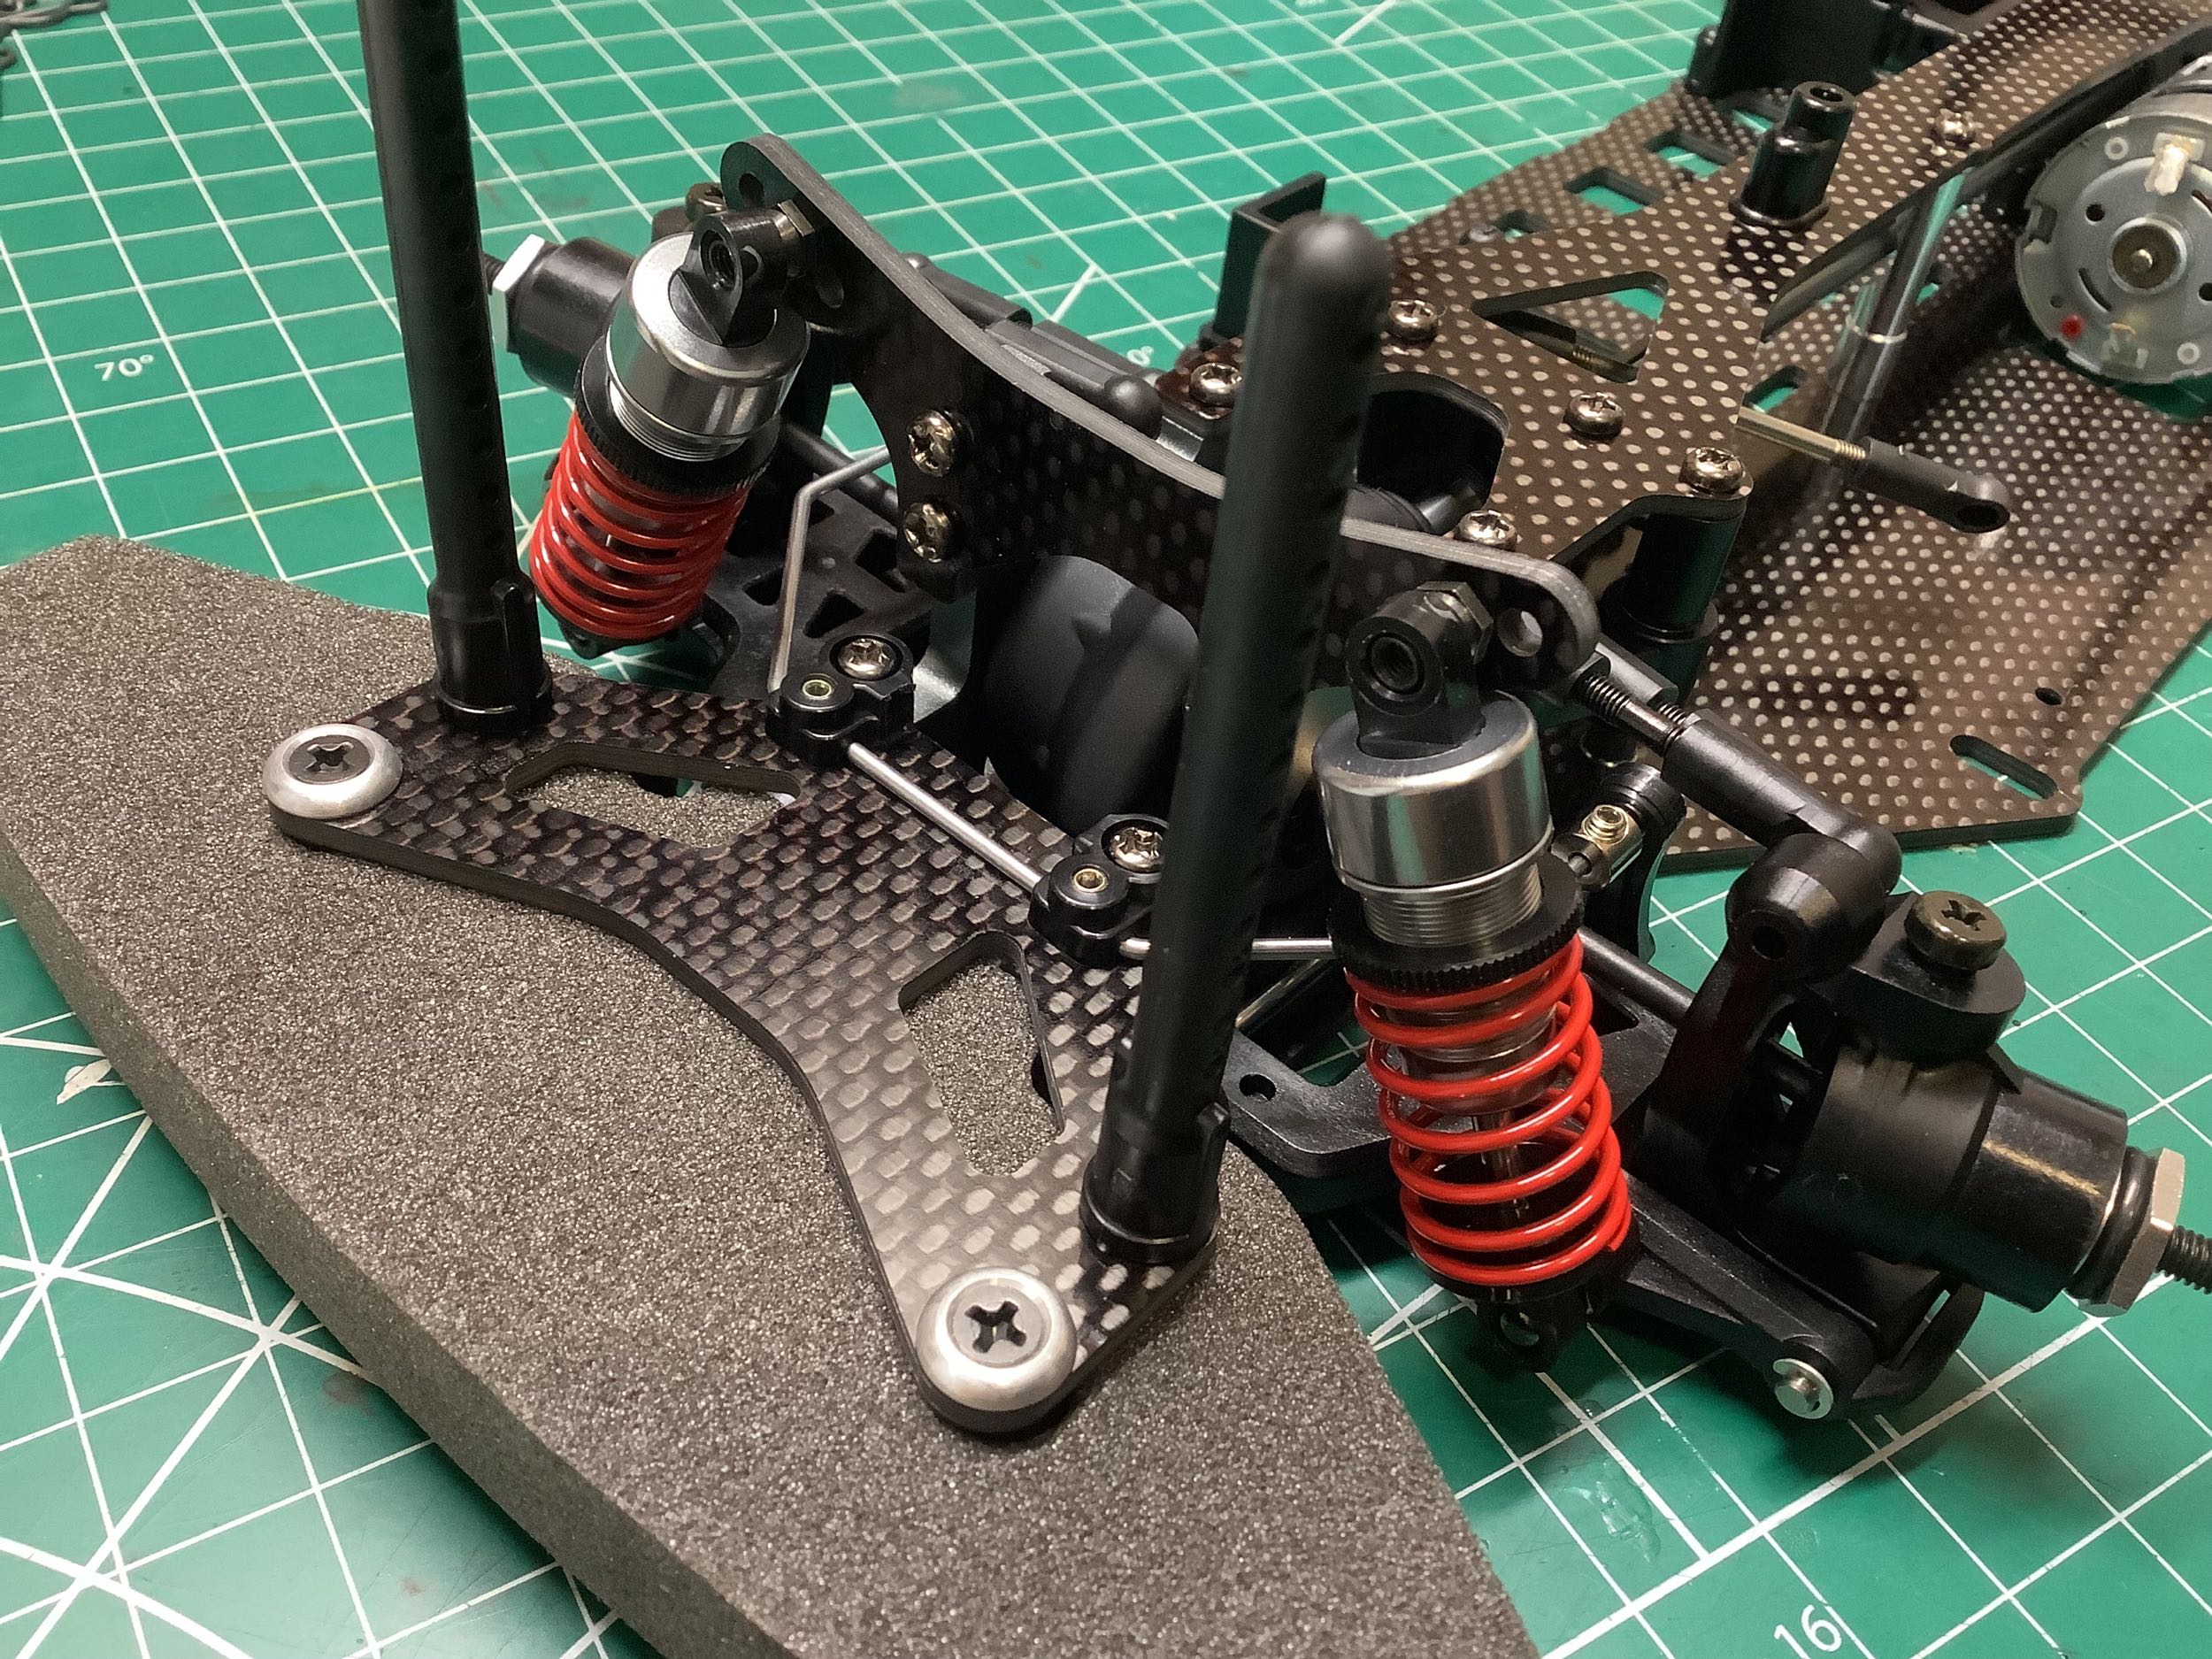
The front bumper is very similar to the original Evo, but now the upper
stay is carbon instead of plastic. It looks very much like a shock
tower so I was originally wondering what it was for.
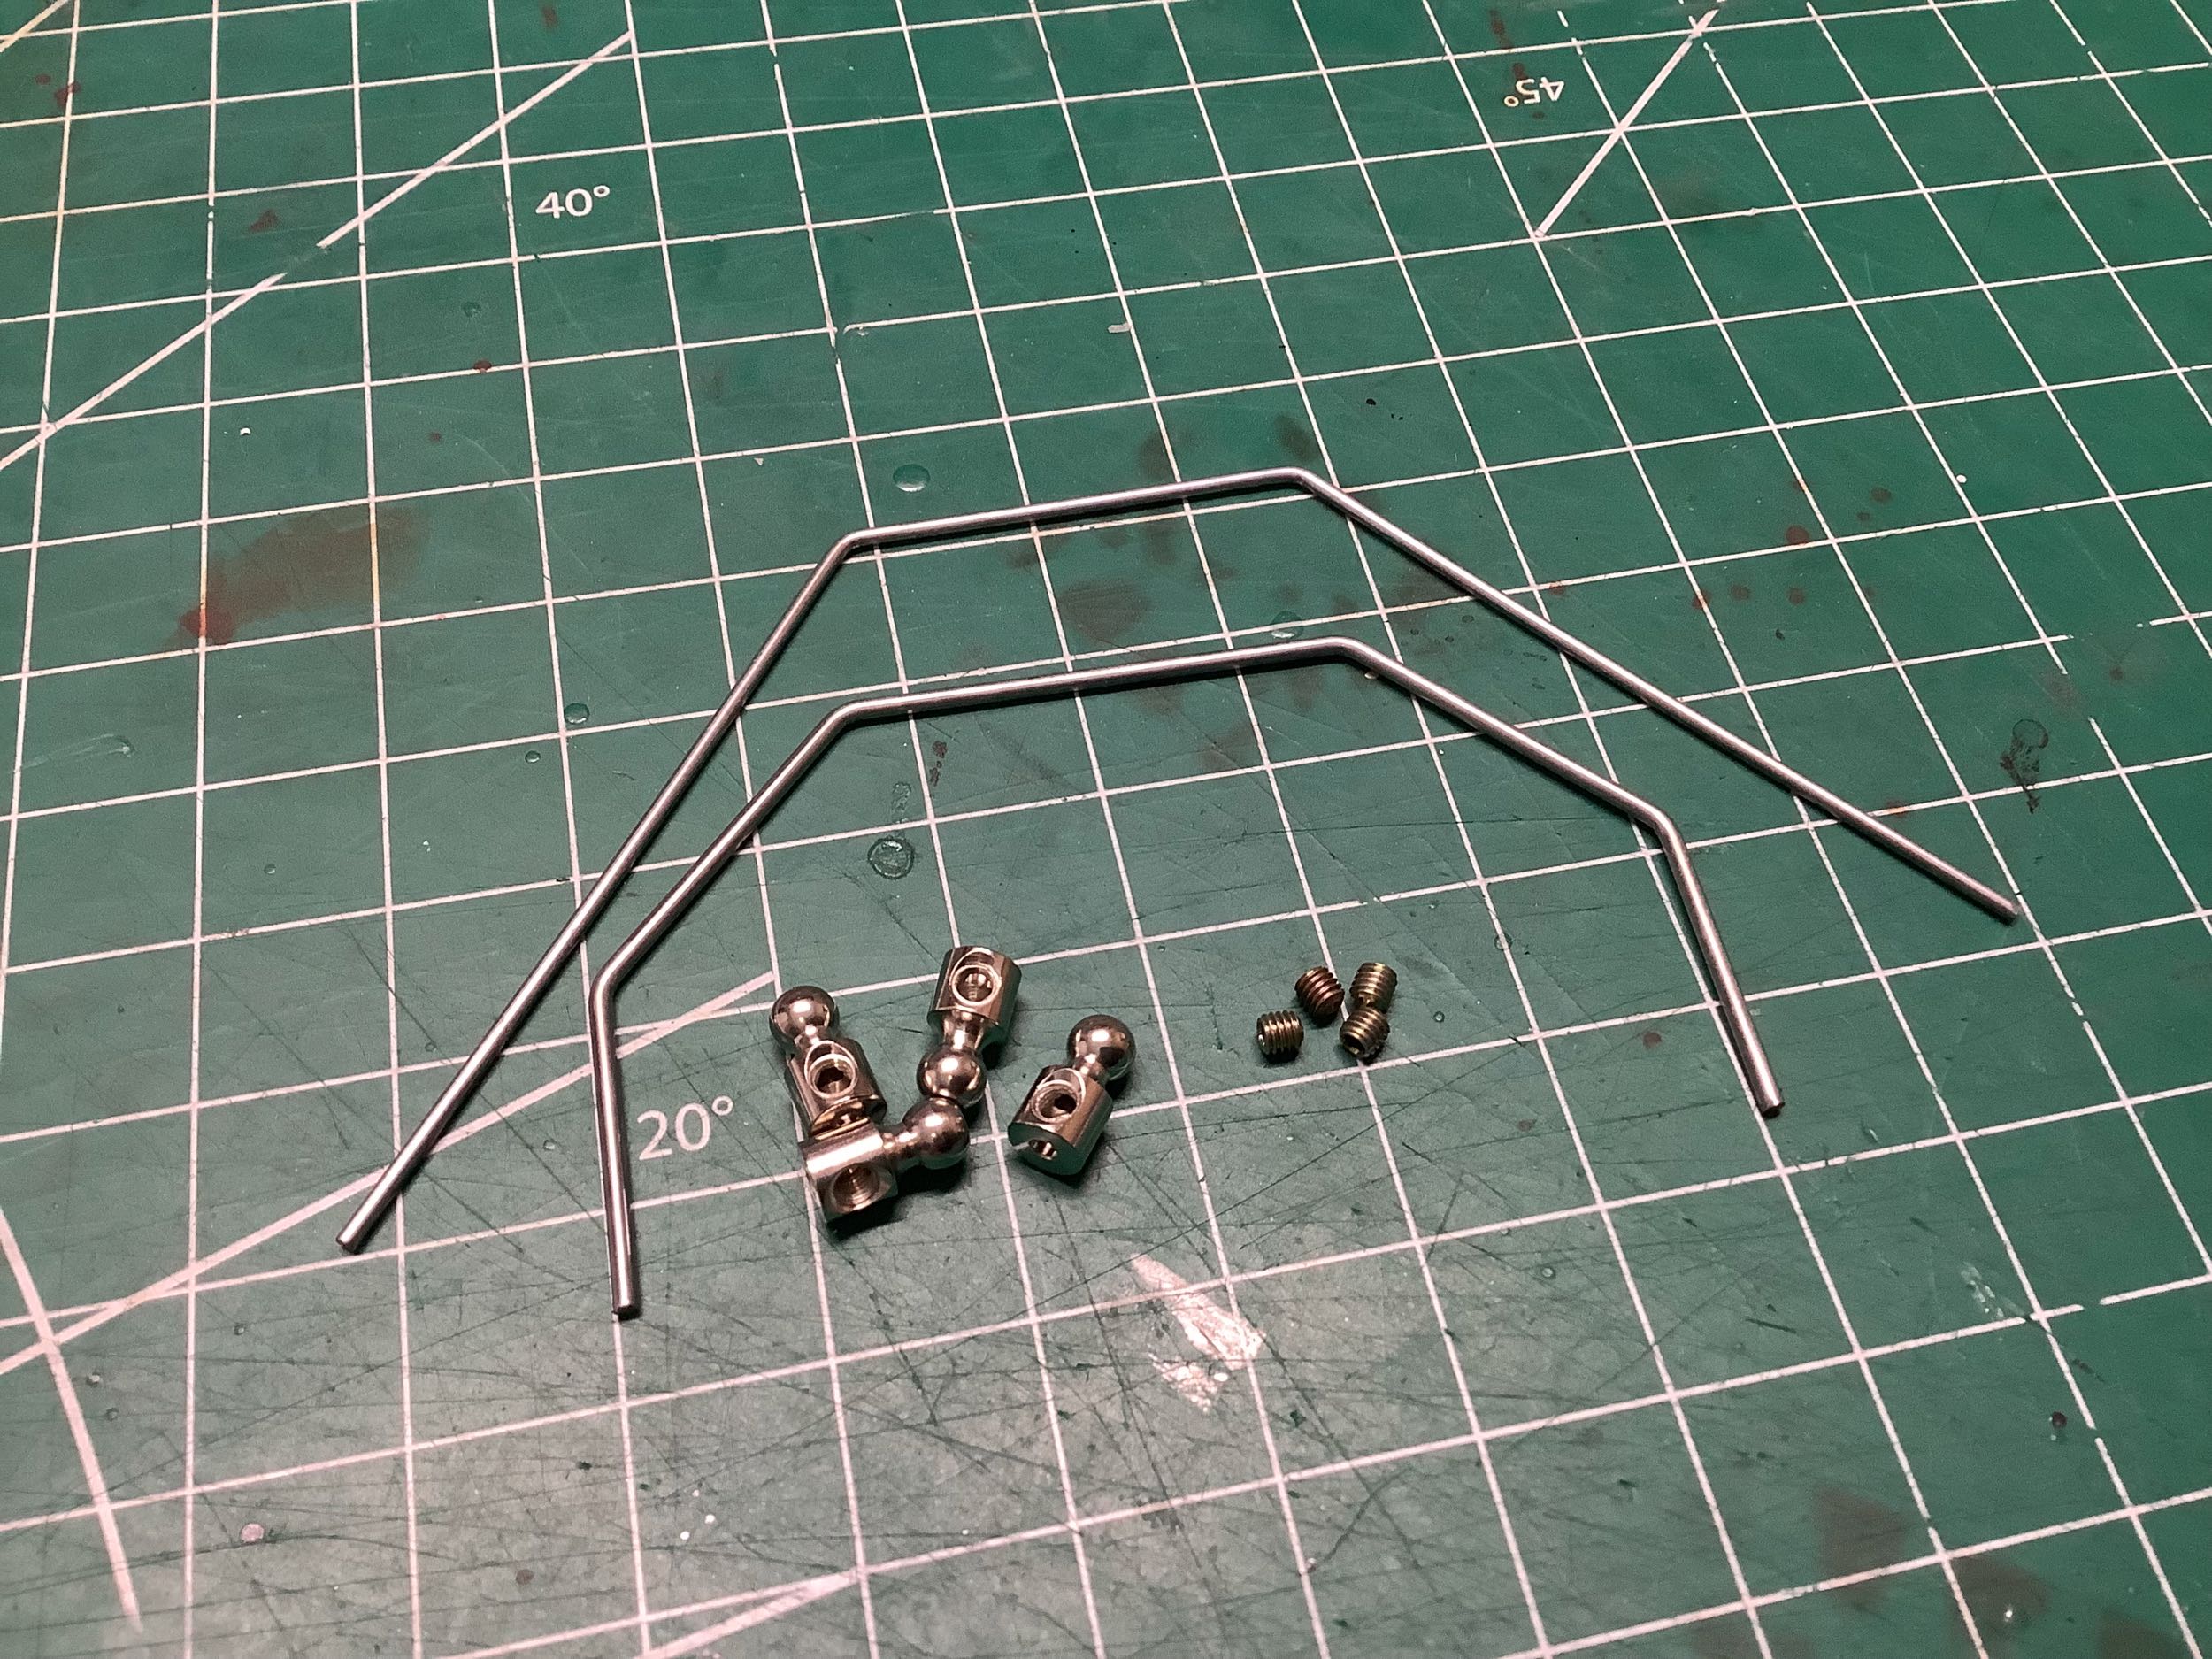
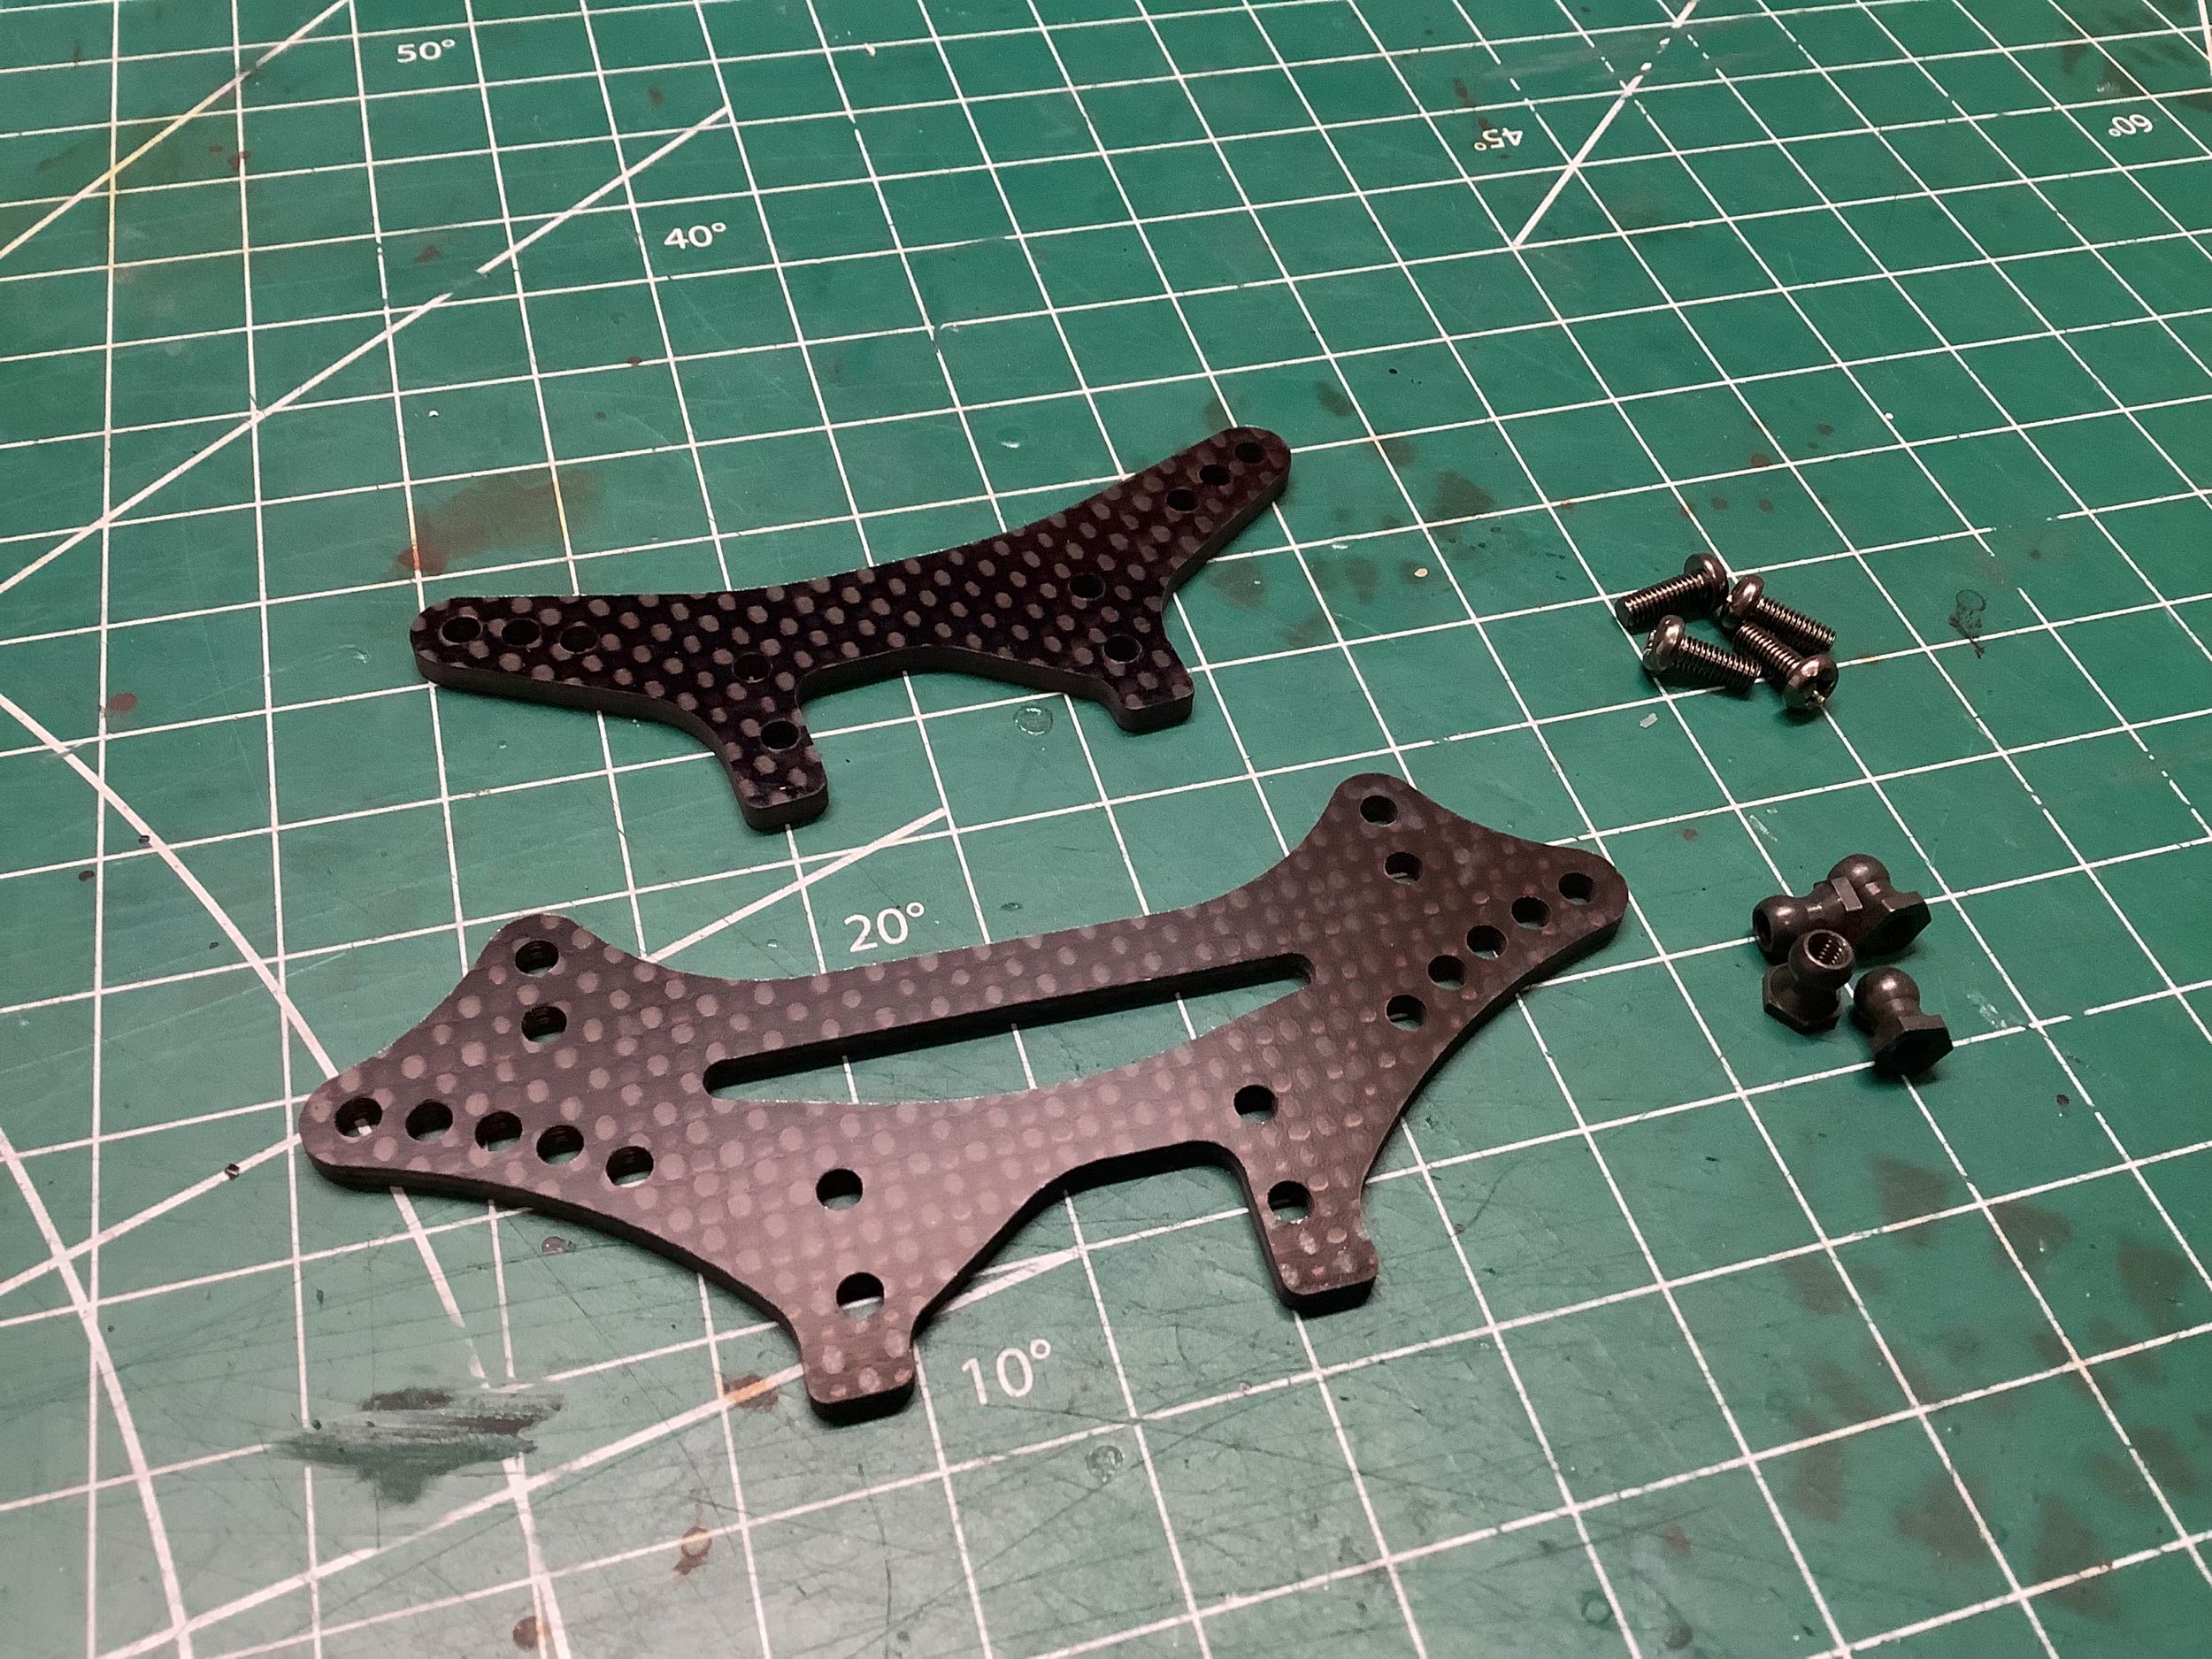
The front and rear sway bars are much simpler than those from the
original Evo and now have all the bends in one plane which makes them
simpler to install. We get asymmetric shock towers notched for the
differential housings again, but this time with many more optional
shock attachment holes.
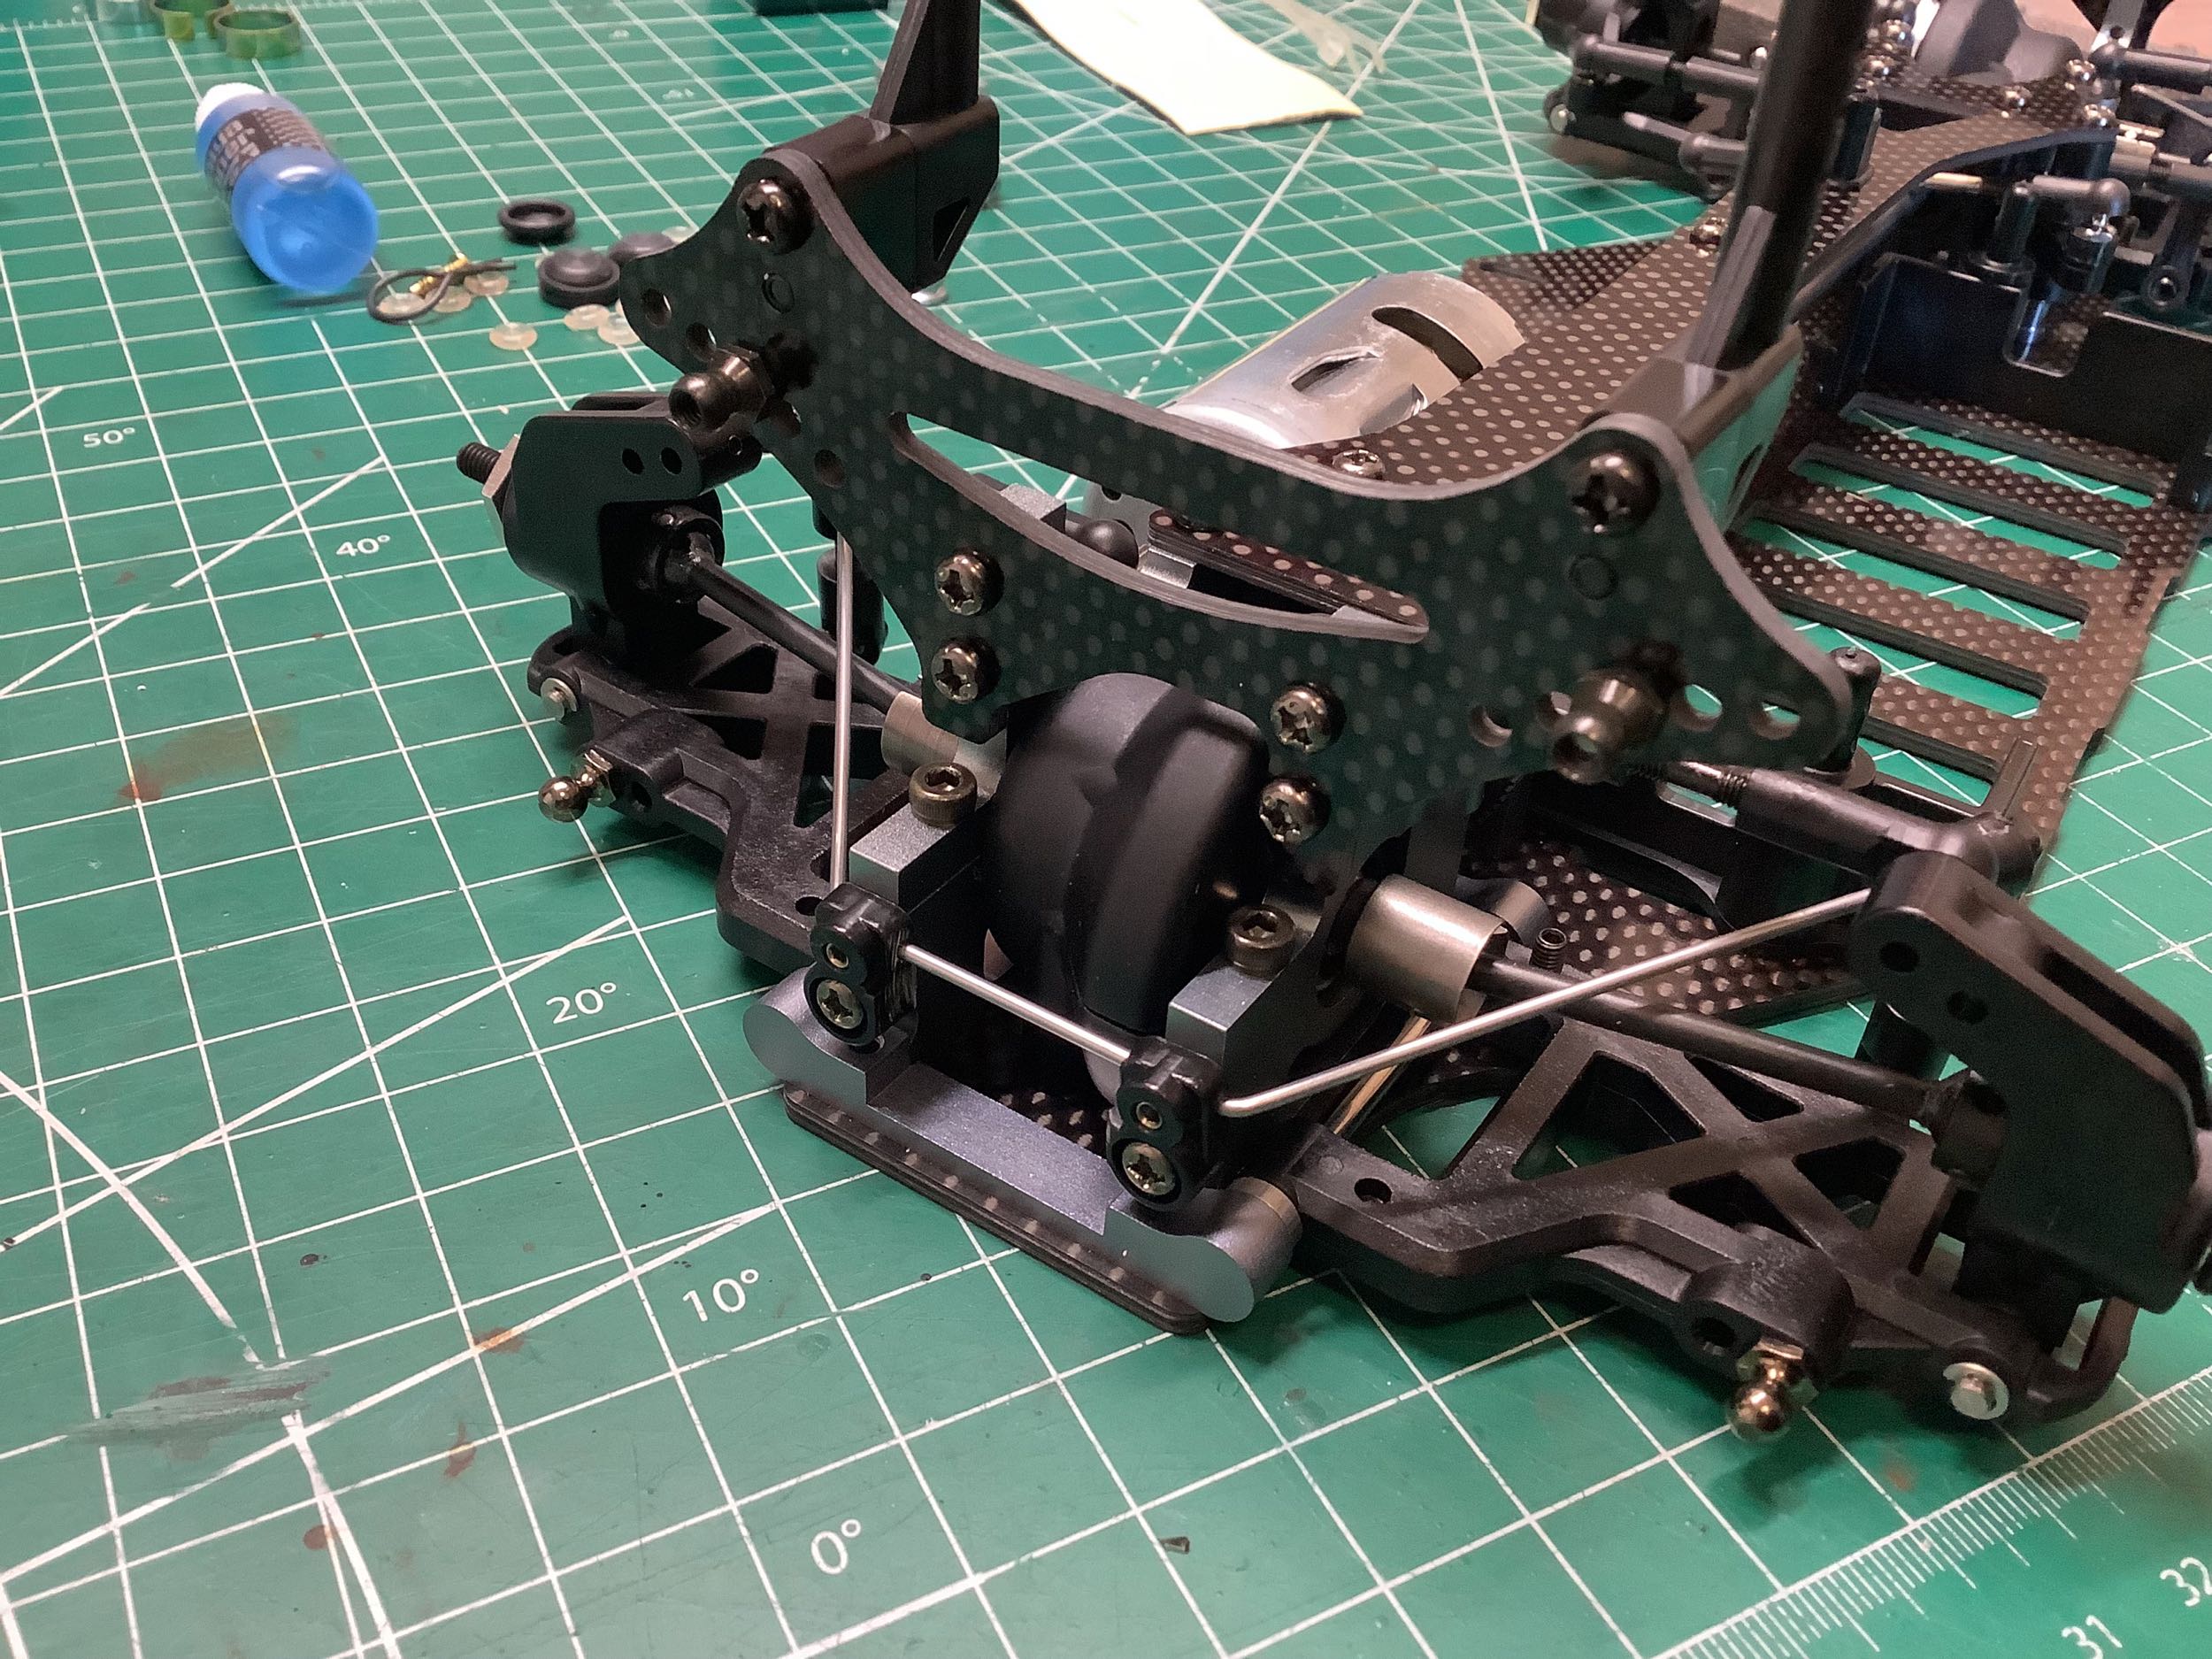
The front sway bar pivots above the bumper stay while the rear sway bar
connects to the bulkheads. Some people like to display their
chassis with the front bumper removed, but that wouldn't be possible in
this case unless the sway bar were also removed.
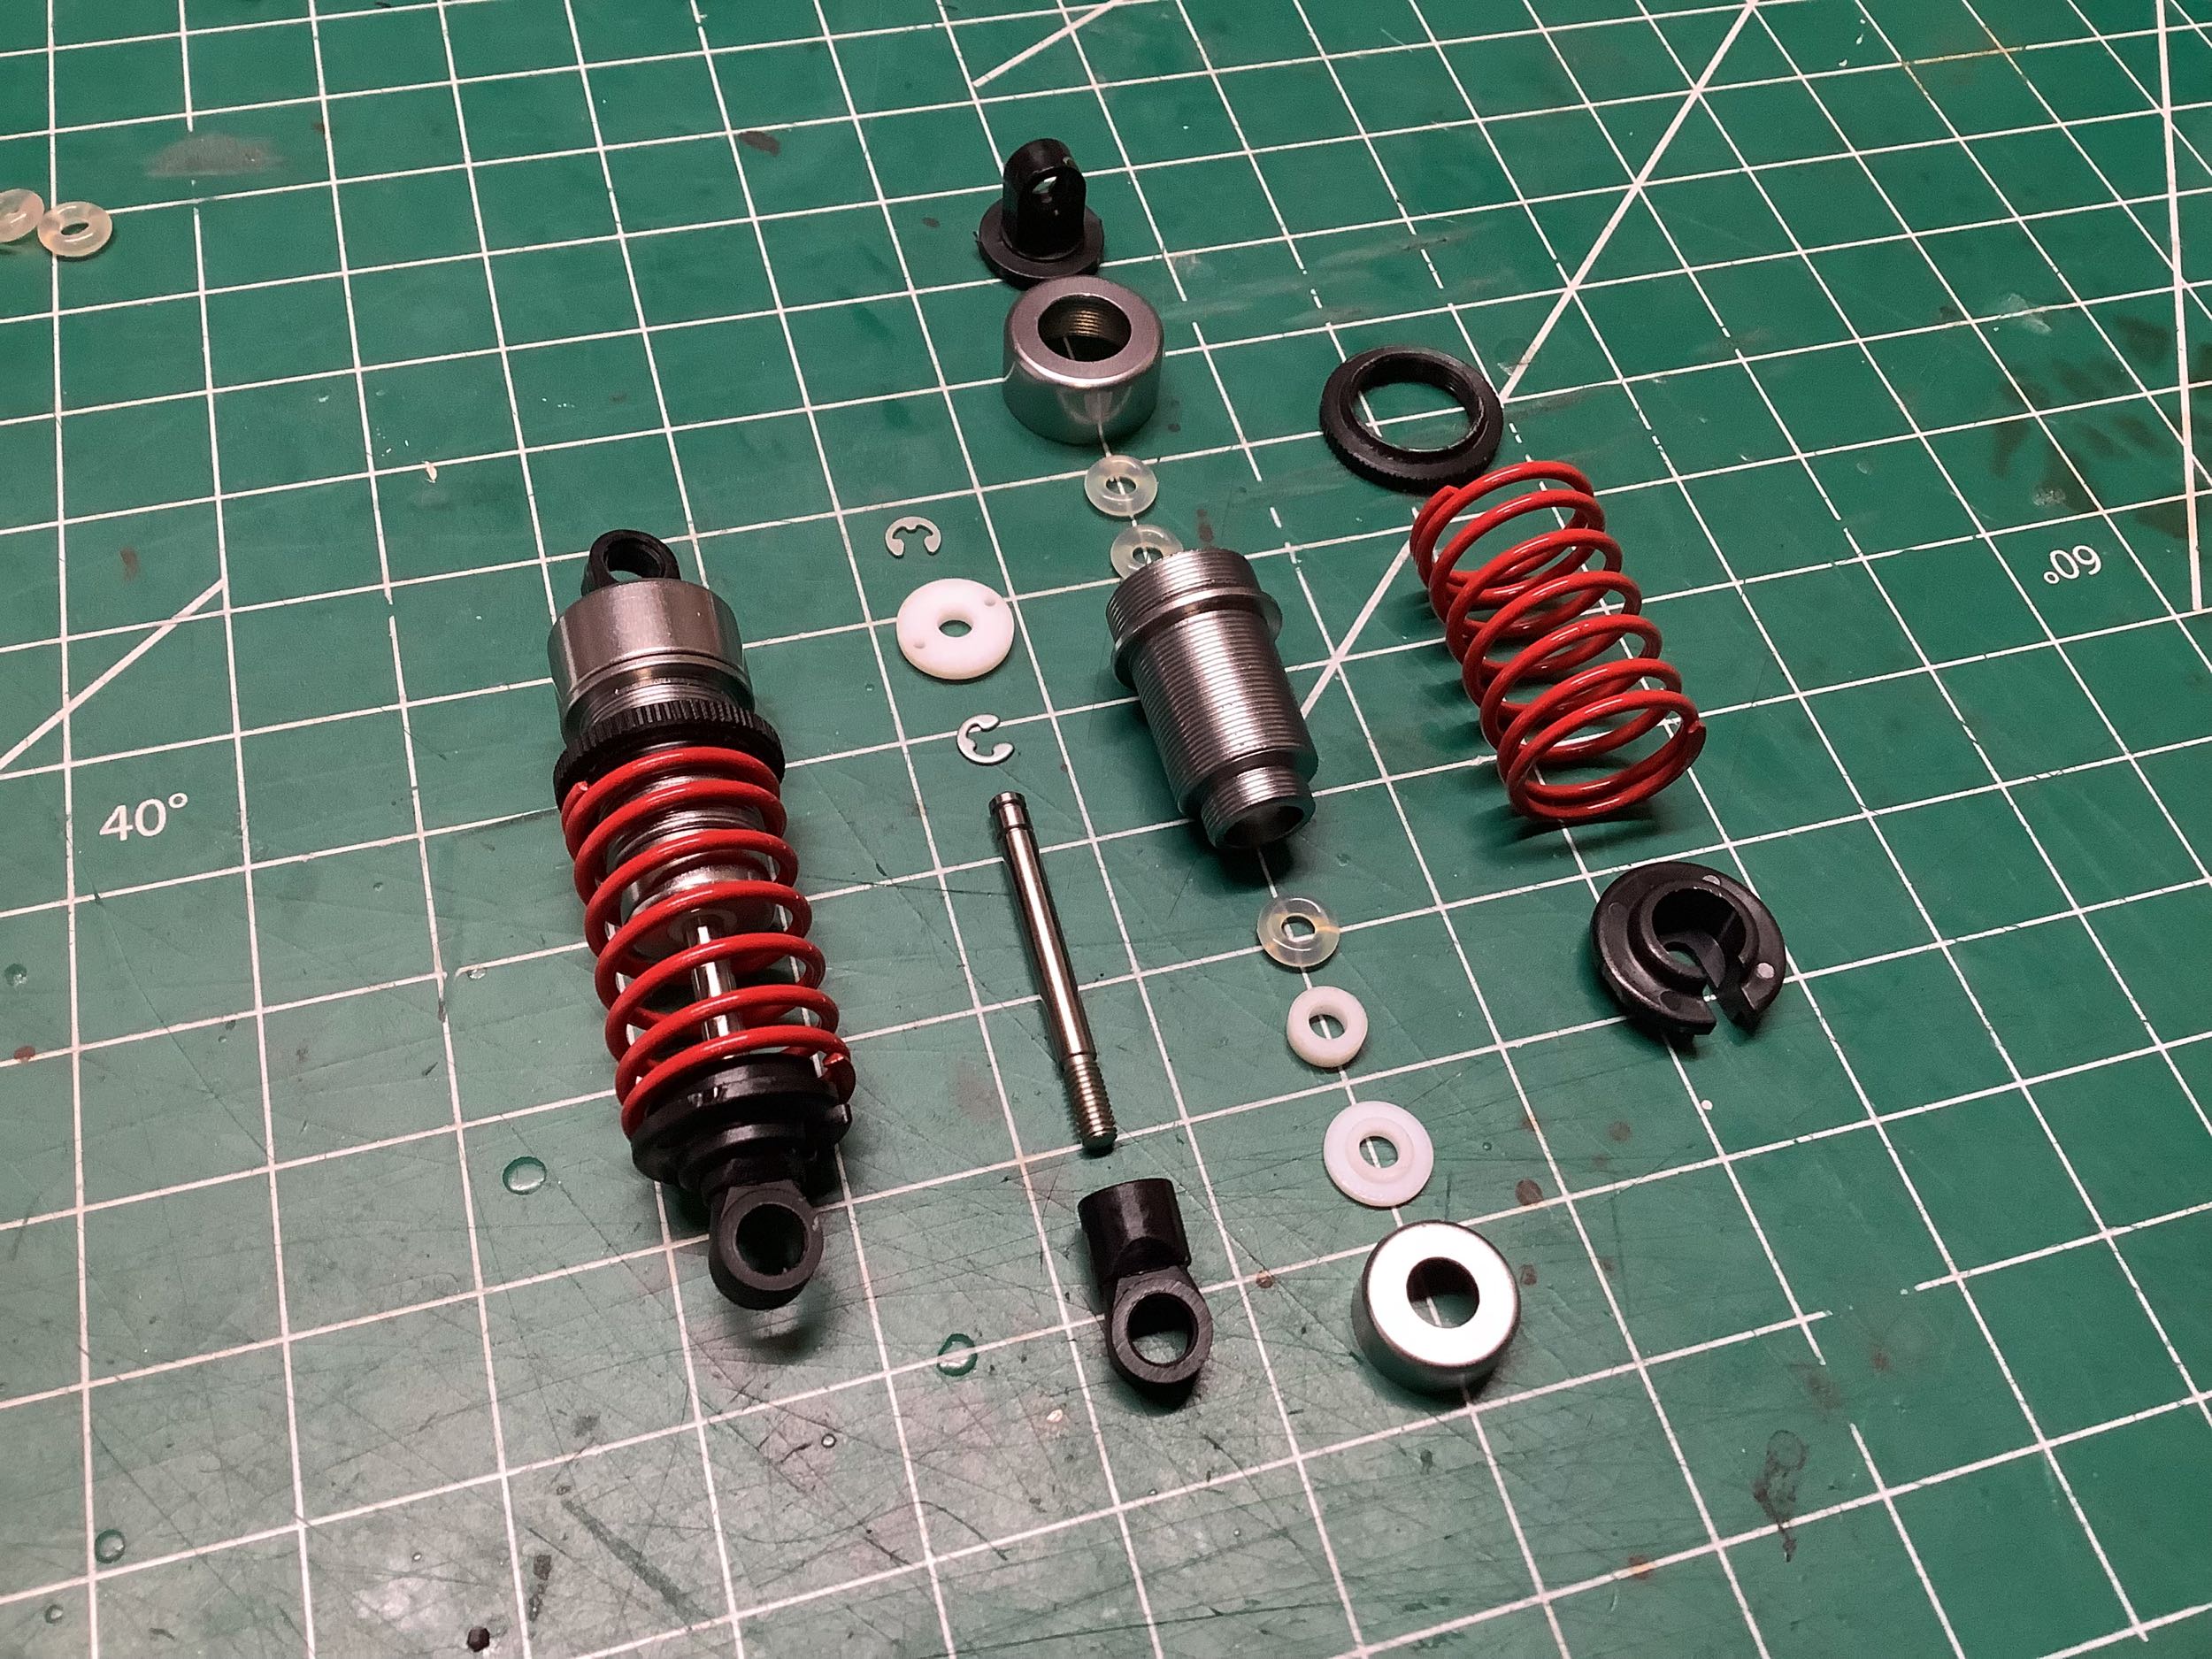
The TRF shocks have evolved compared to those from the Evo. Most
obviously, the springs are now painted. Less obviously, the
threaded shock collar is now a single piece. This makes it easier
to adjust since two nuts don't have to be jammed together, but less
likely to hold its position. The front and rear are identical
apart from their initial preload adjustments.
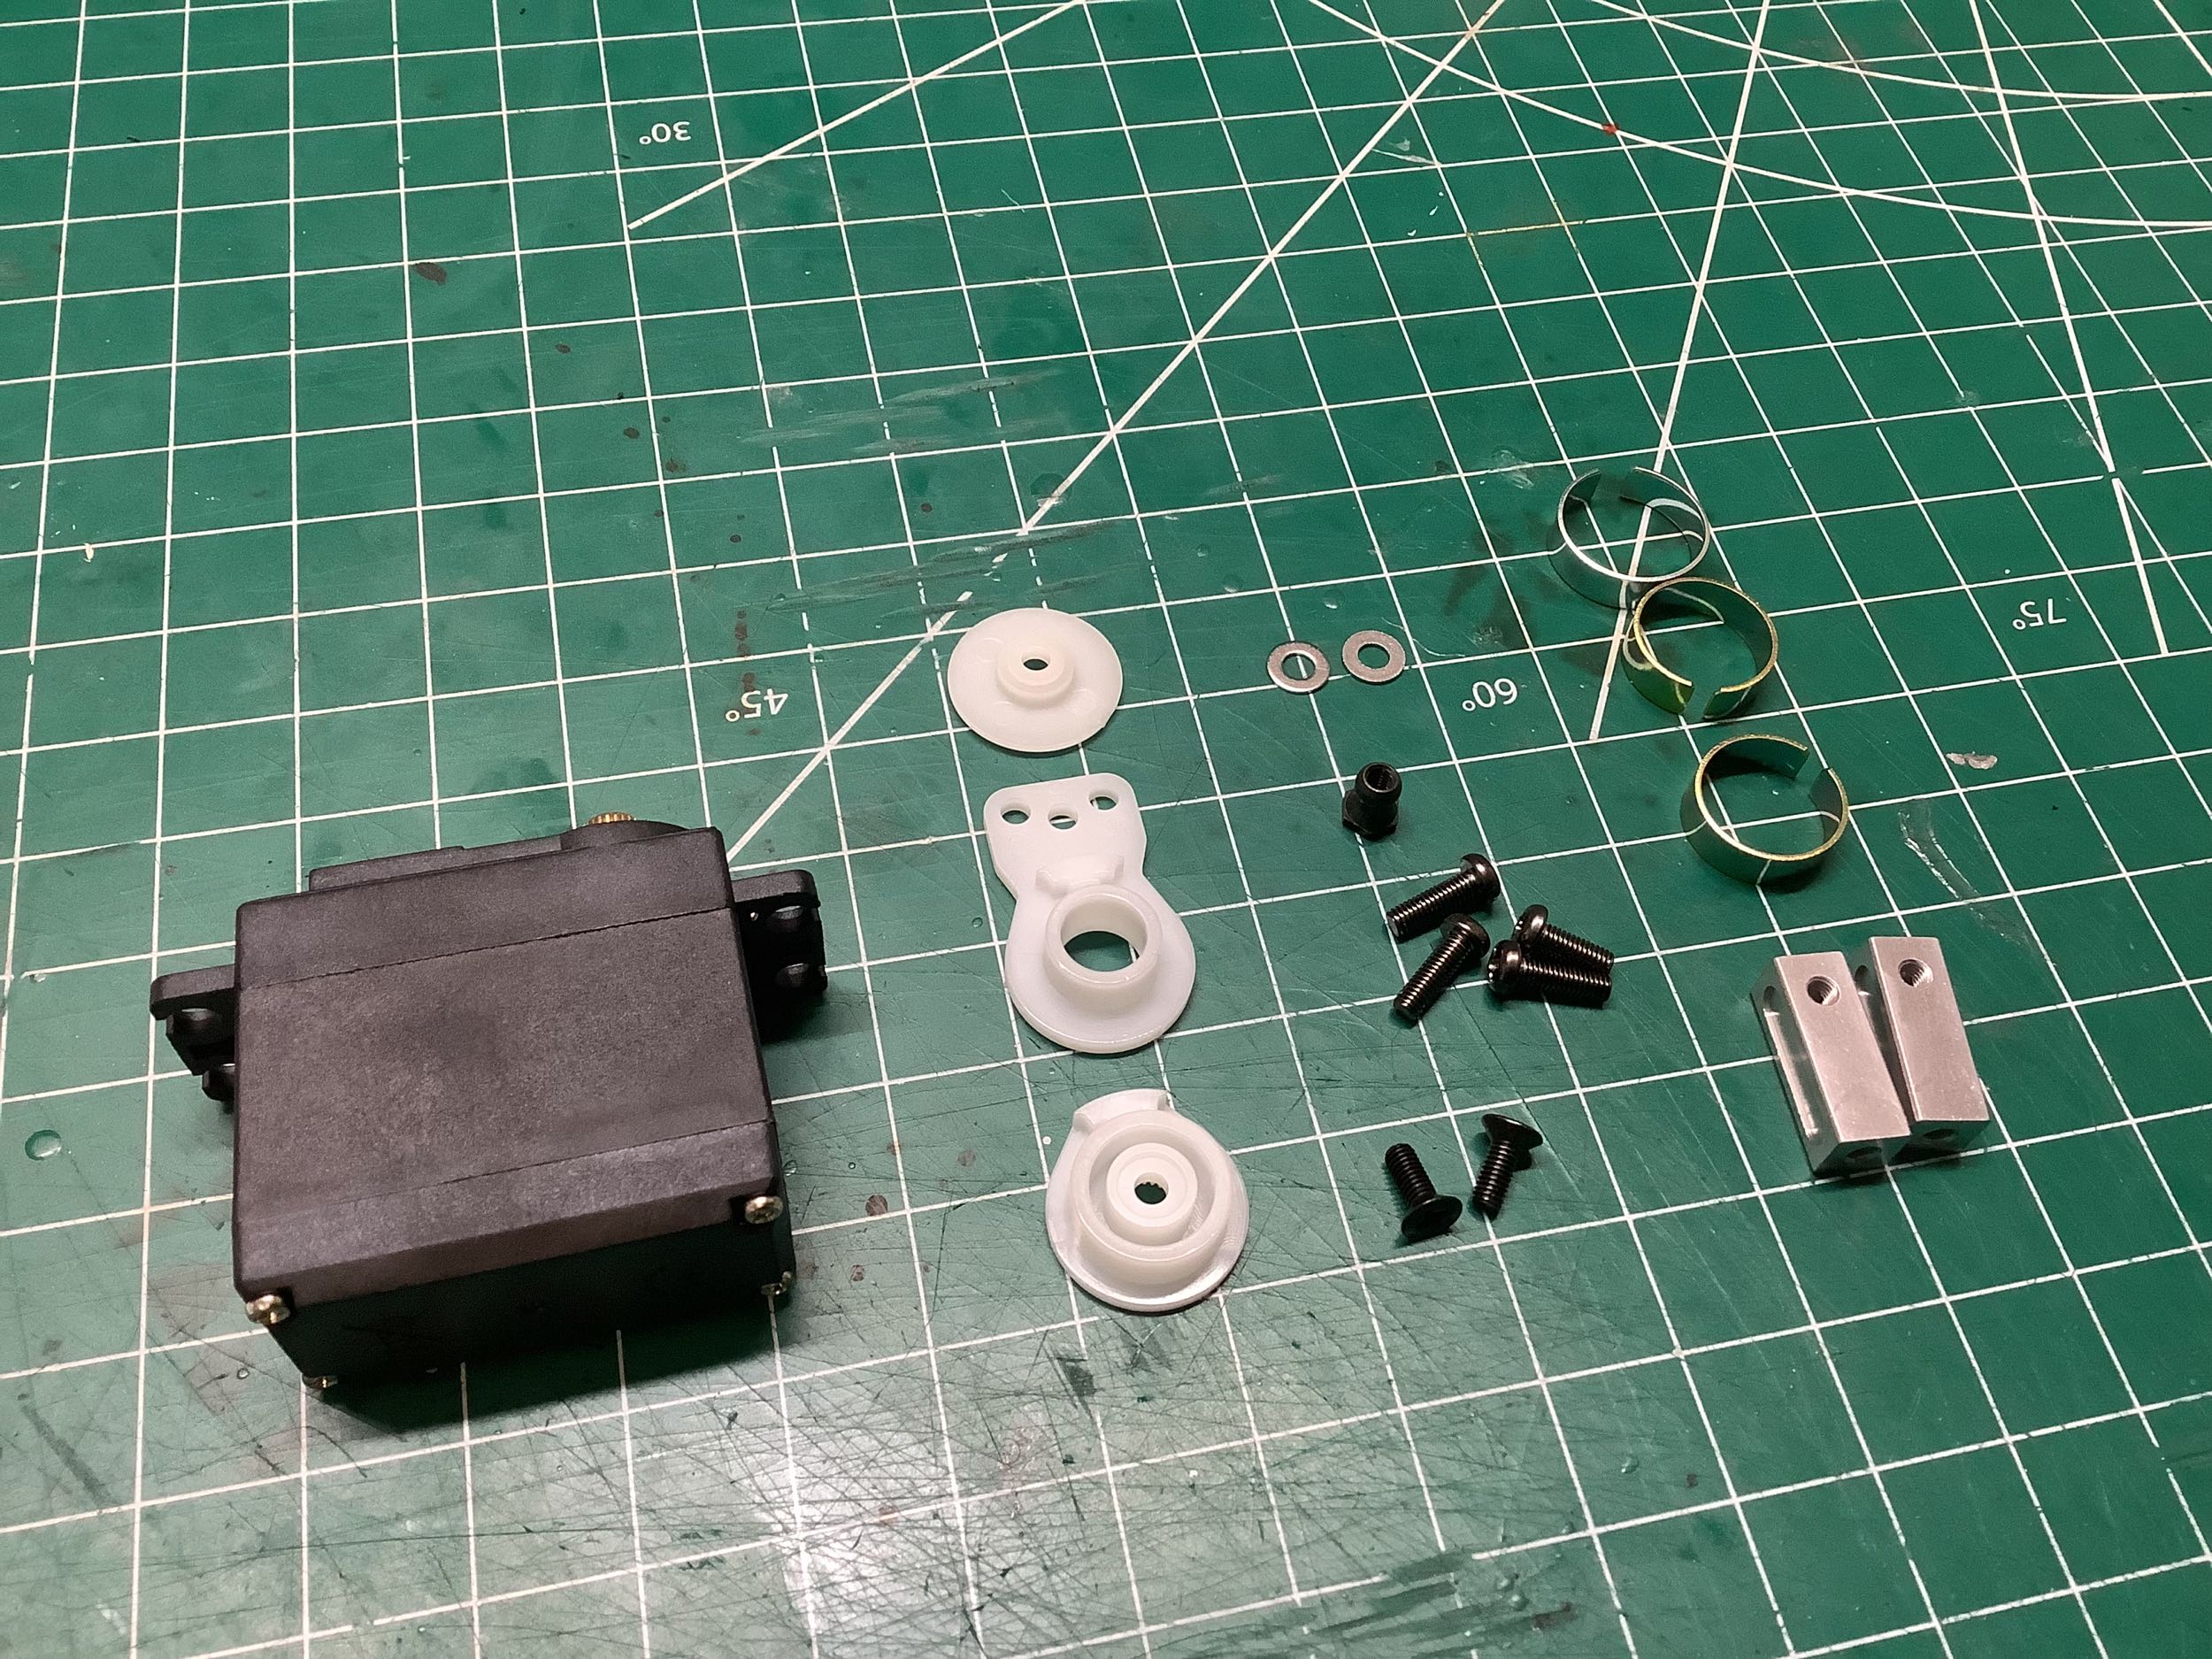
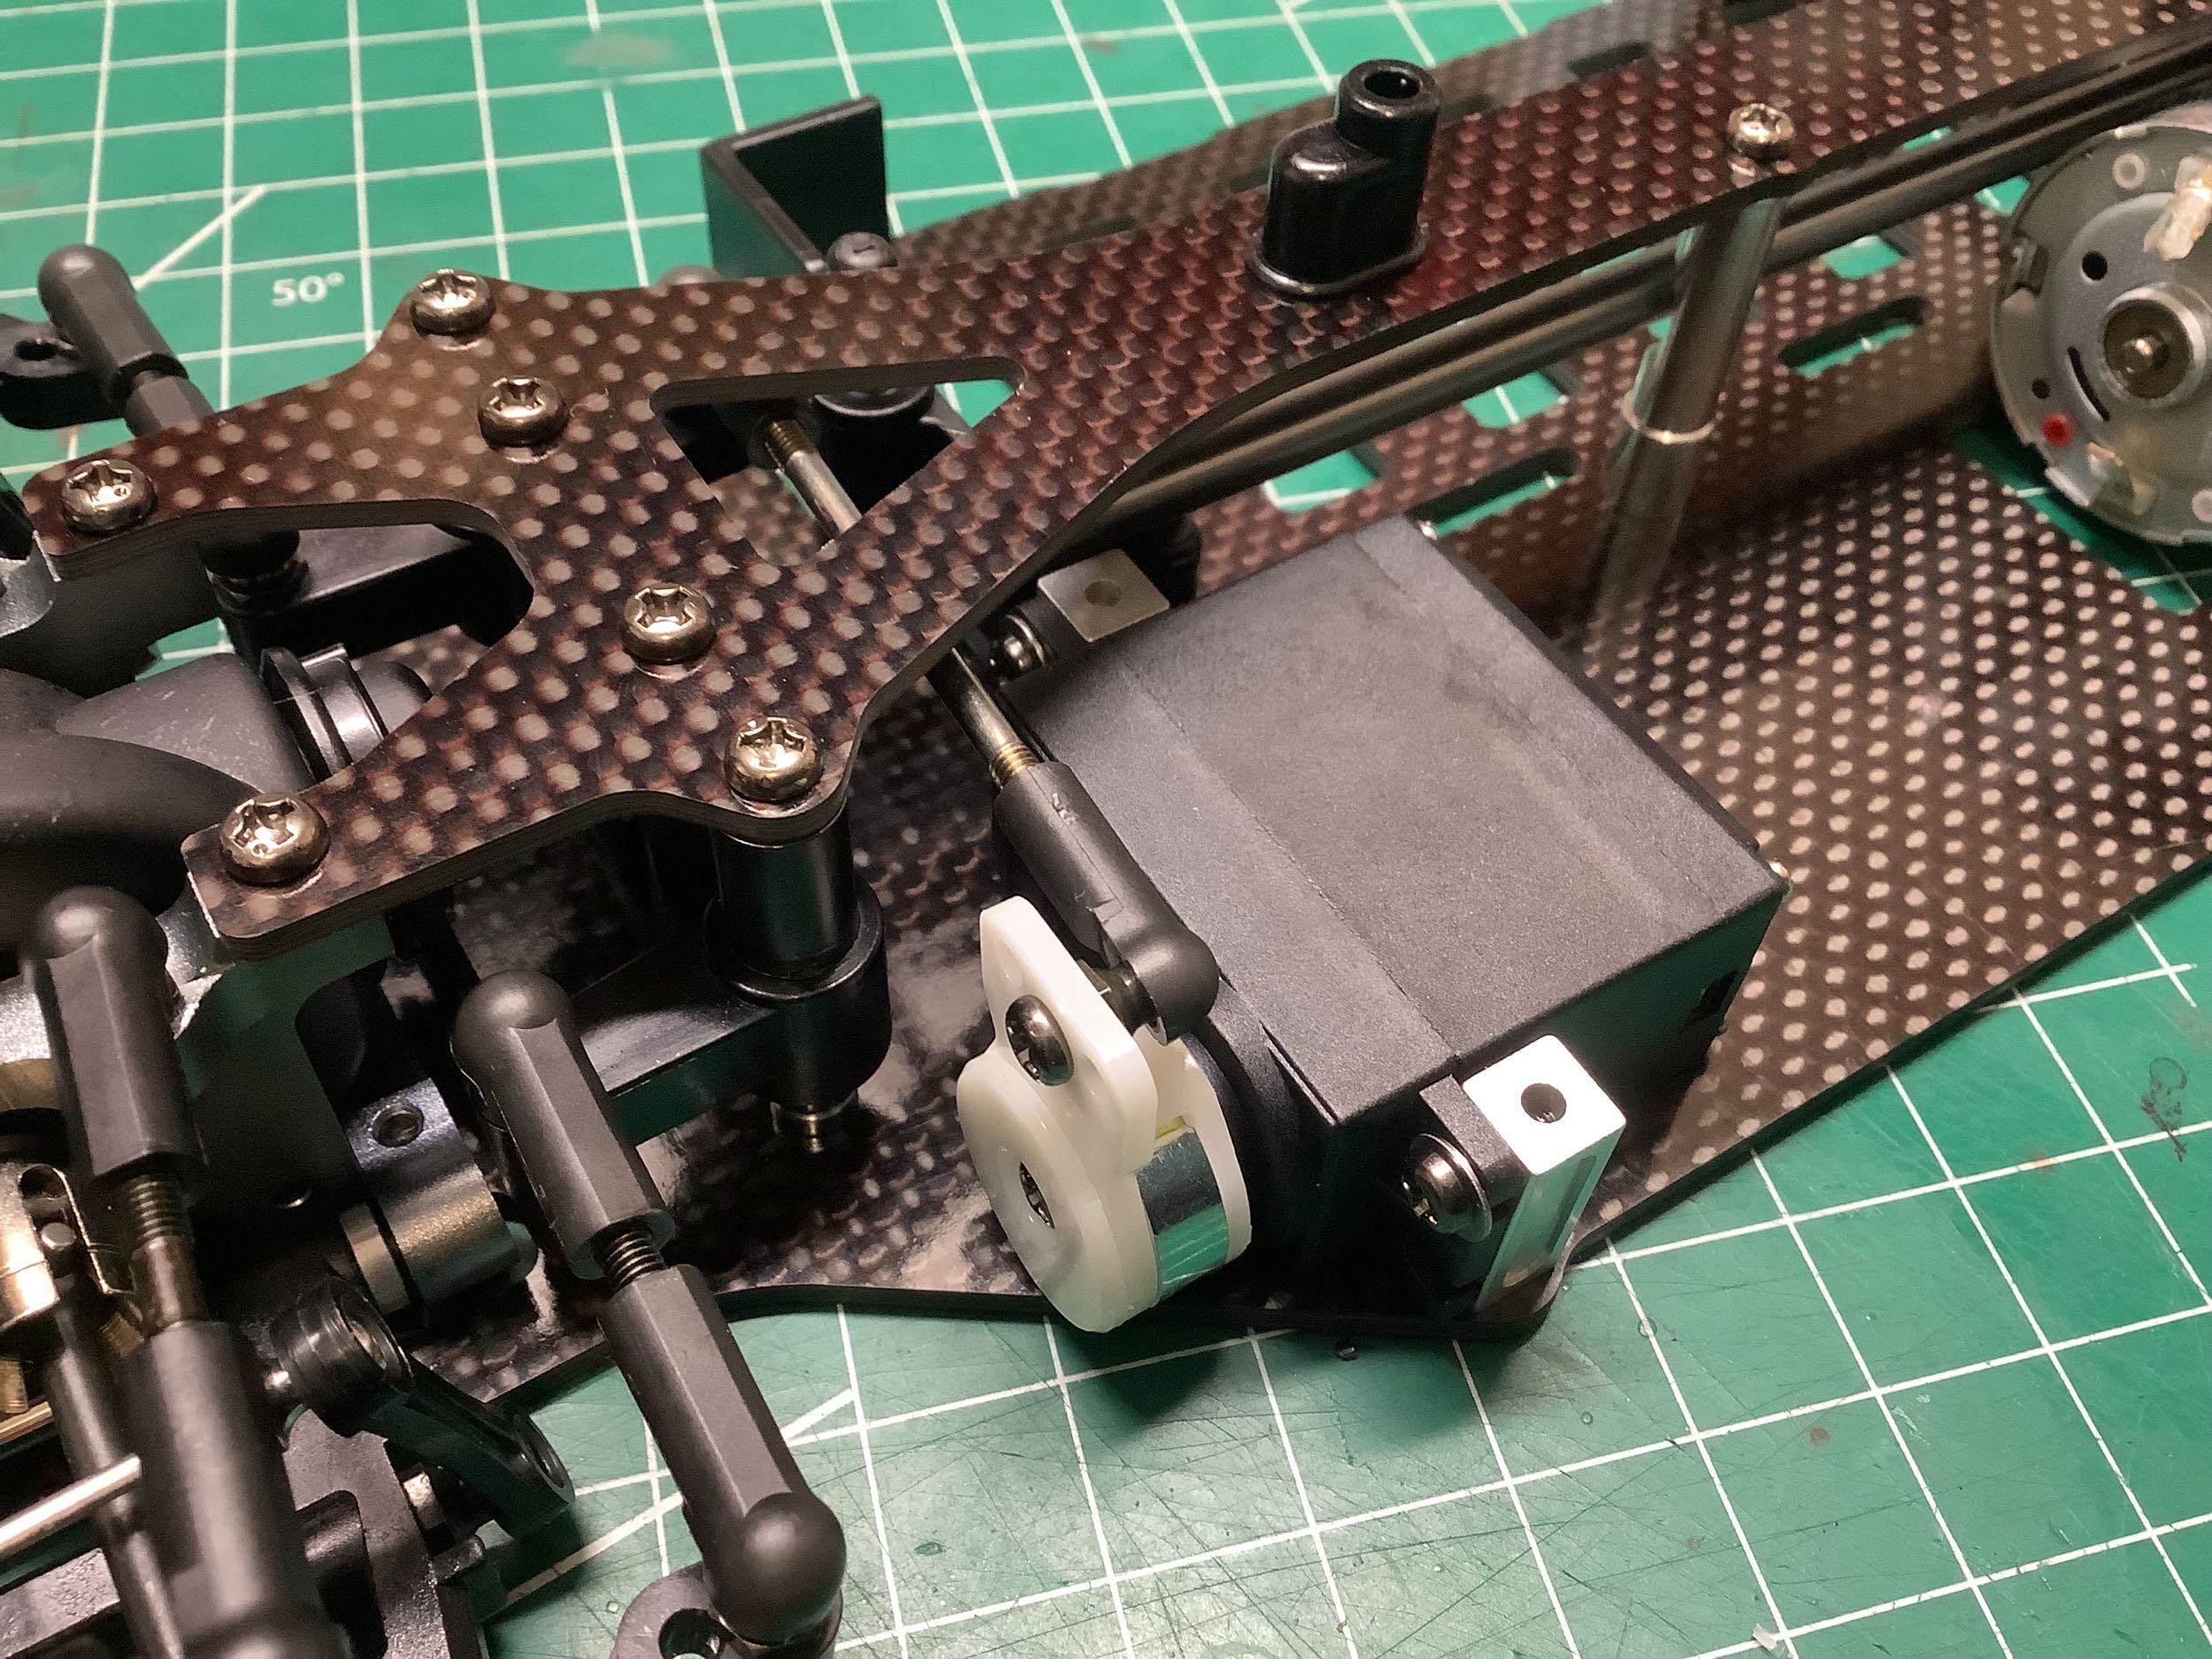
The servo installation happens exactly like the original Evo and uses a high torque servo saver and aluminum servo mounts.
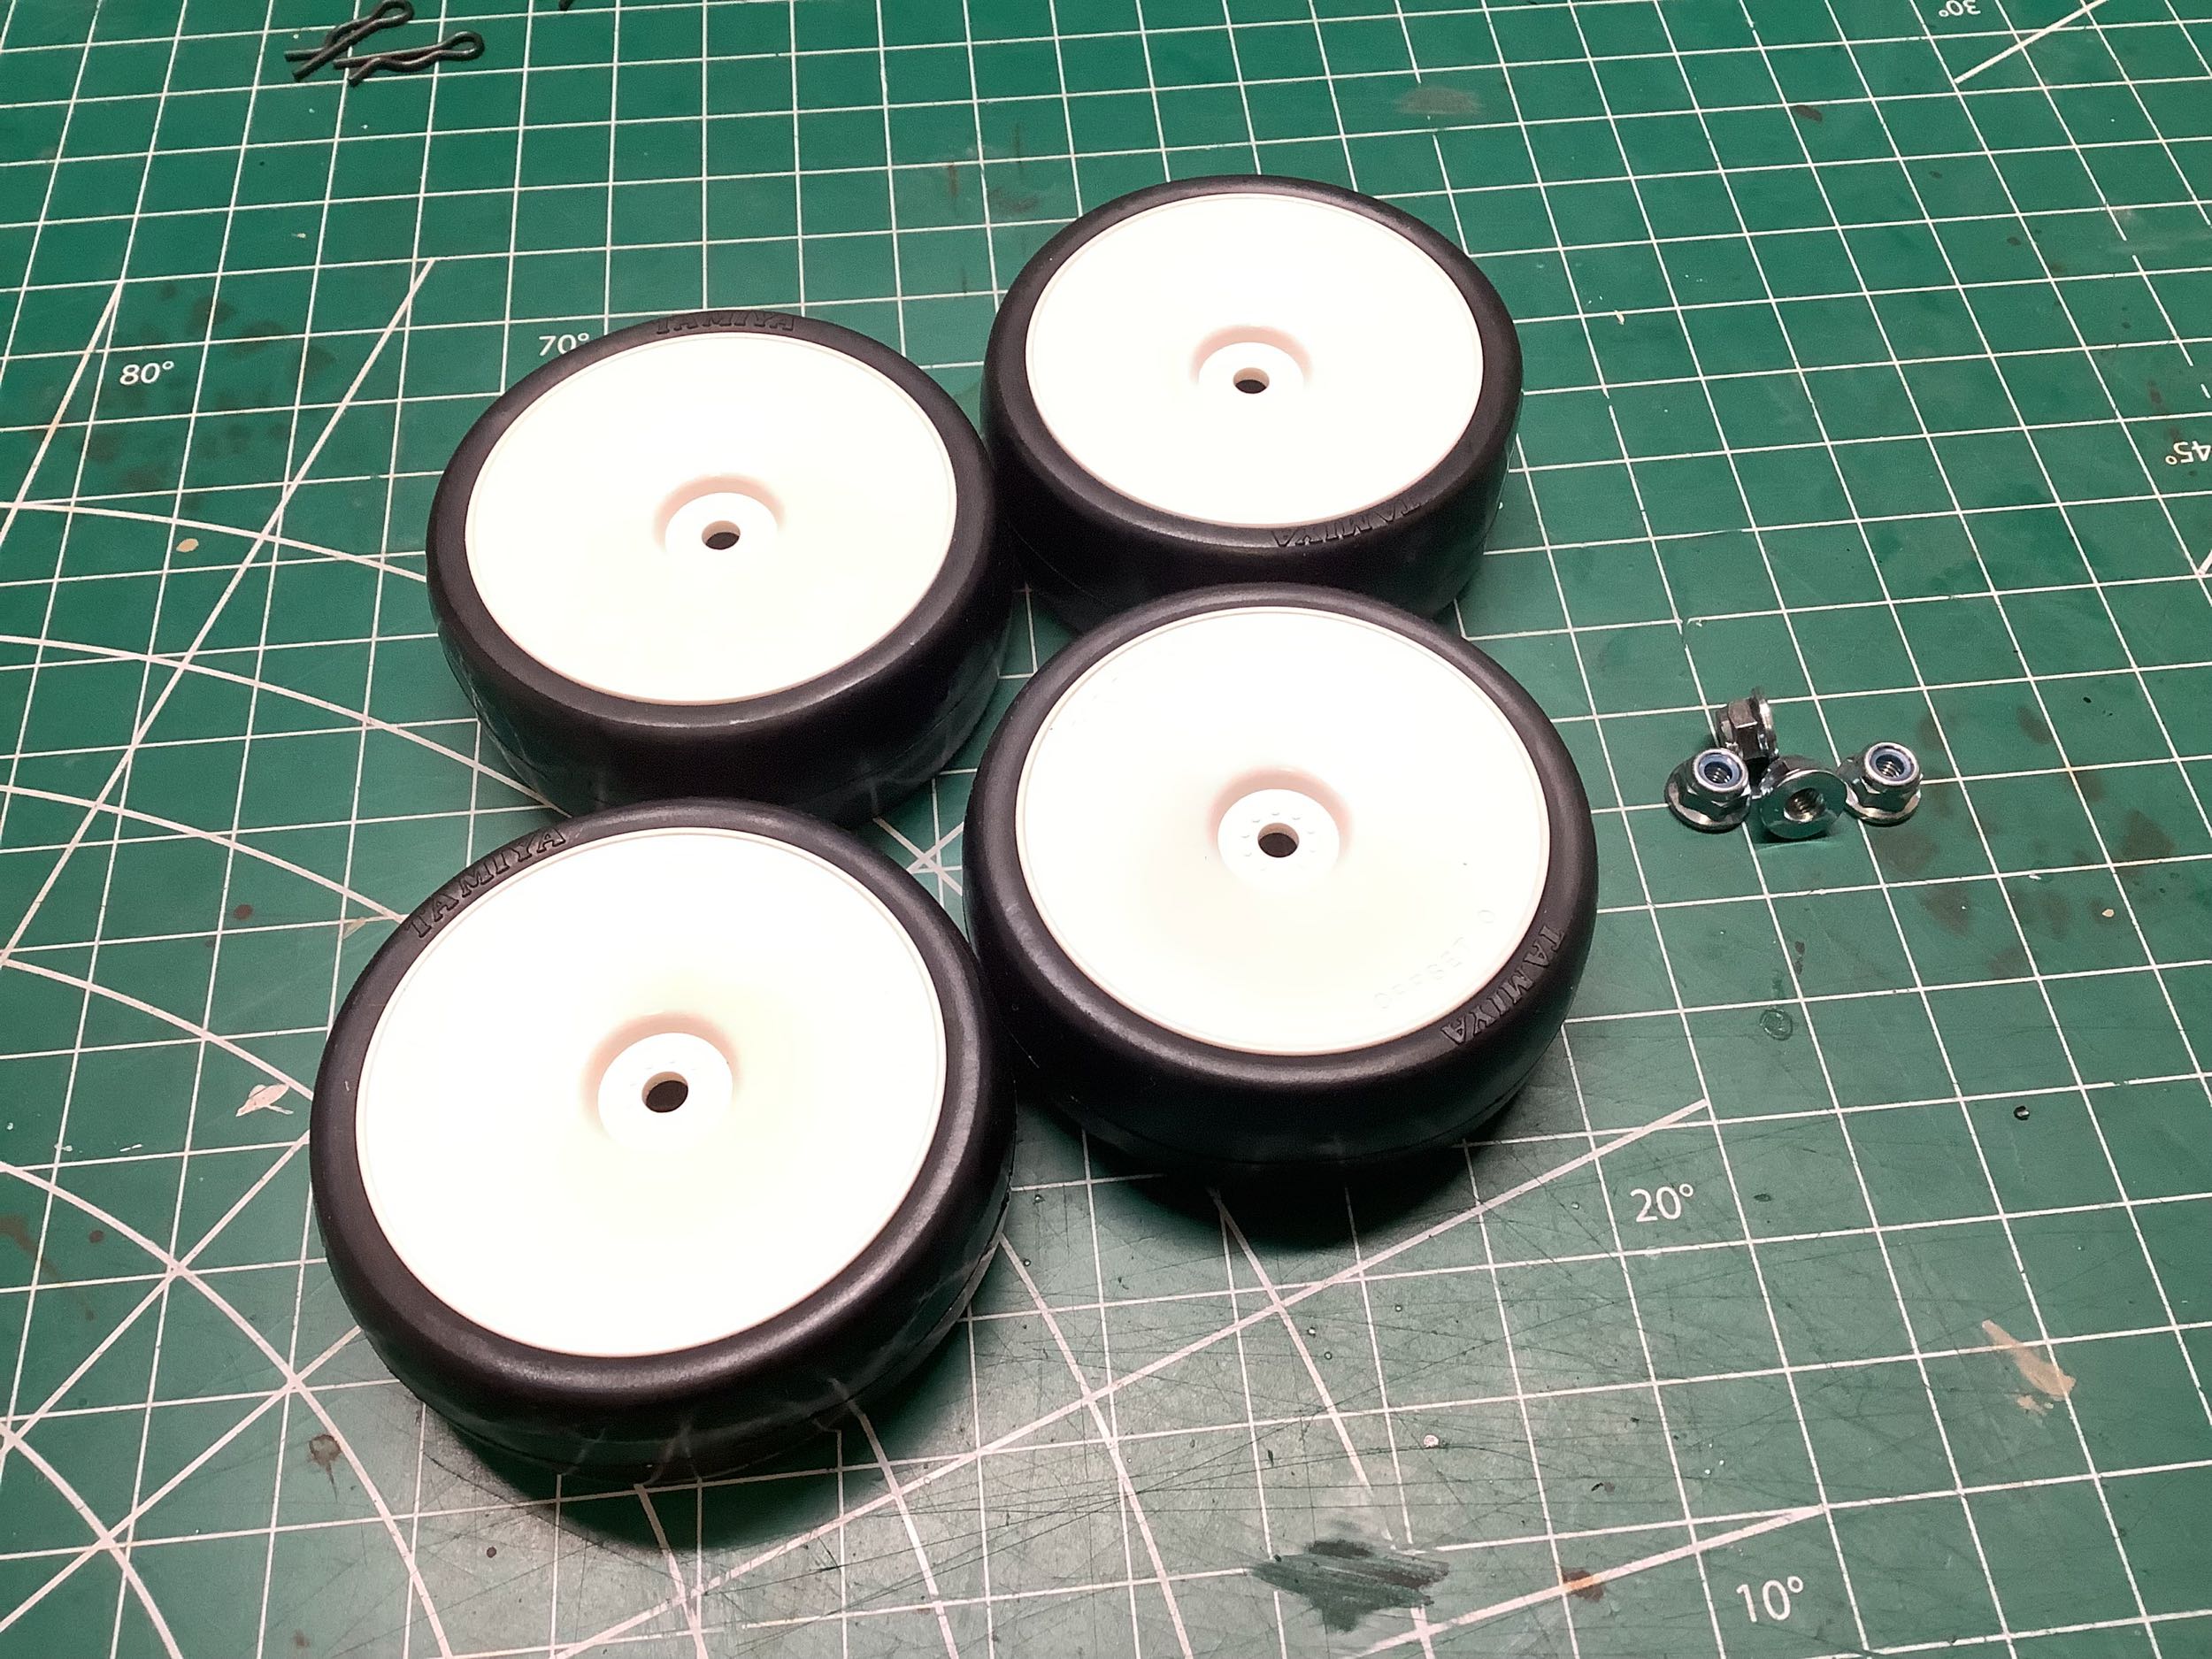
The Evo II has dish wheels instead of the 5 spoke wheels of the Evo, and
does not have the same super sticky tires. These are still nice
racing slicks though, and getting any tires at all with a chassis model
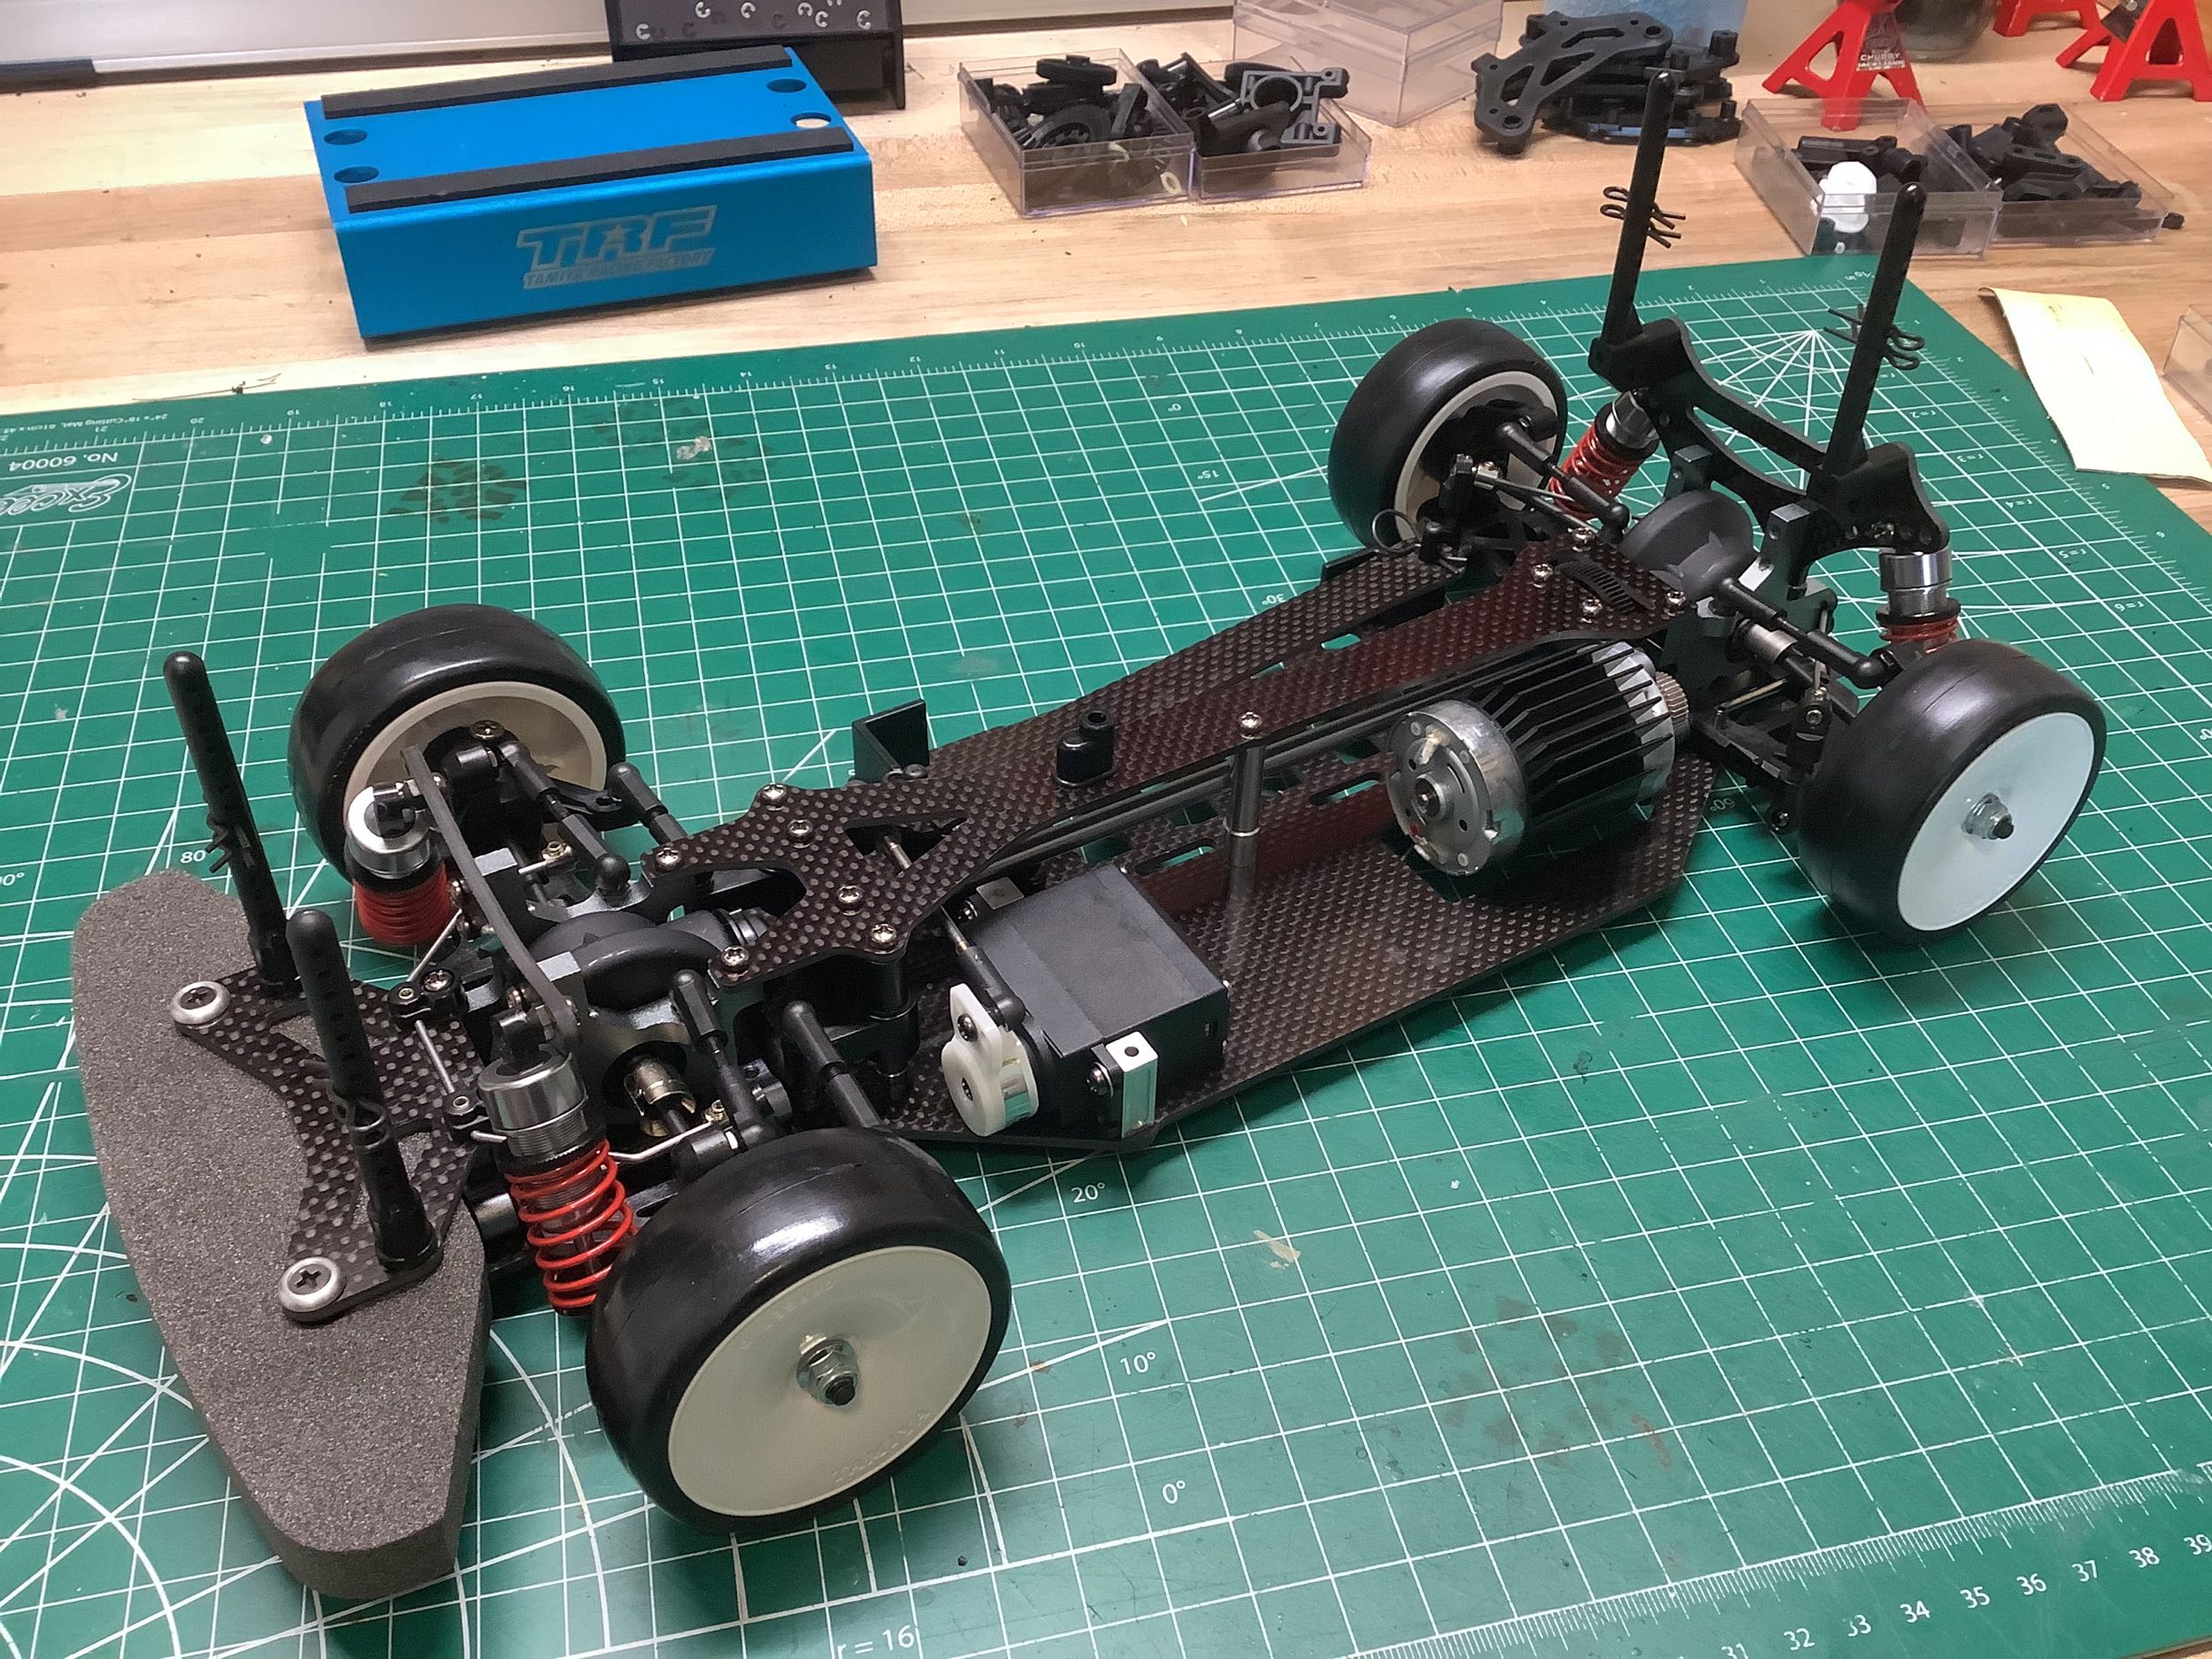
is a pretty good deal. The completed model is shown on the right.
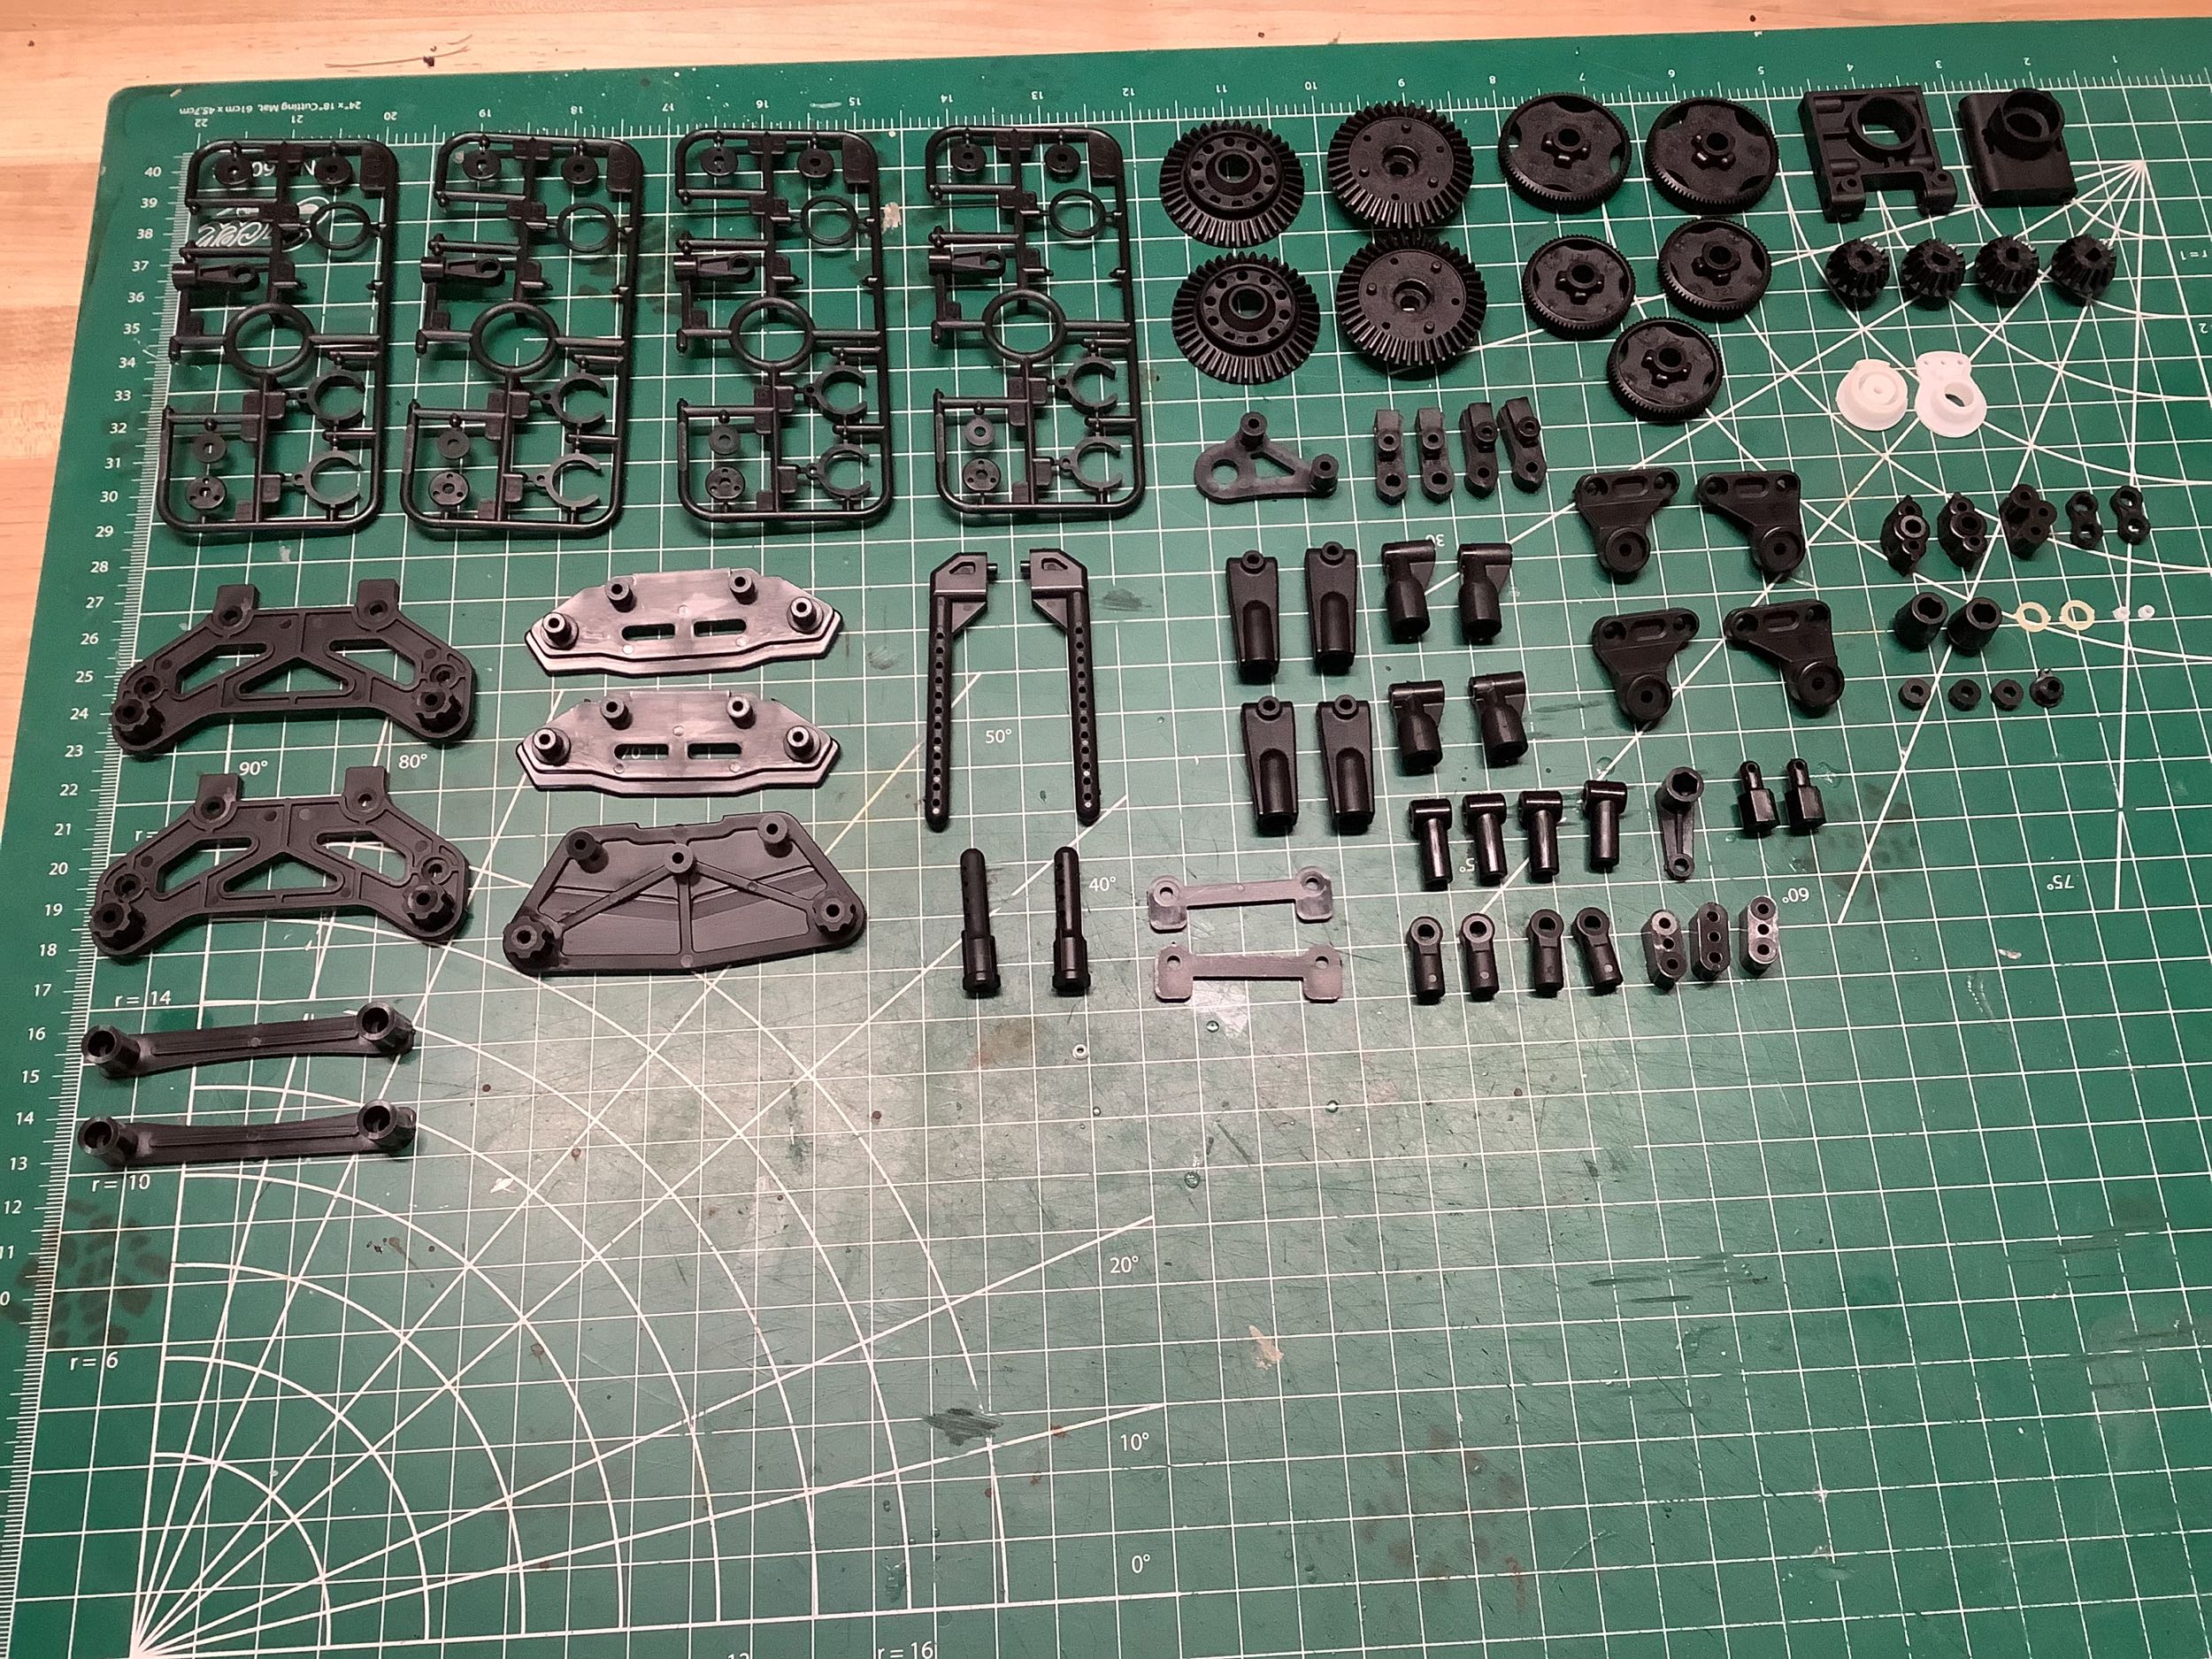
Like with the original Evo, this kit comes with lots of extra
parts. Some of them are useful like extra spur gears, differential
ring and pinion gears, and rod ends. Others are parts from the
sprues of previous models that are no longer used like bumper supports
and camber links that are useless here. I guess they are at least
more spare parts for the original Evo.
©2026 Eric Albrecht