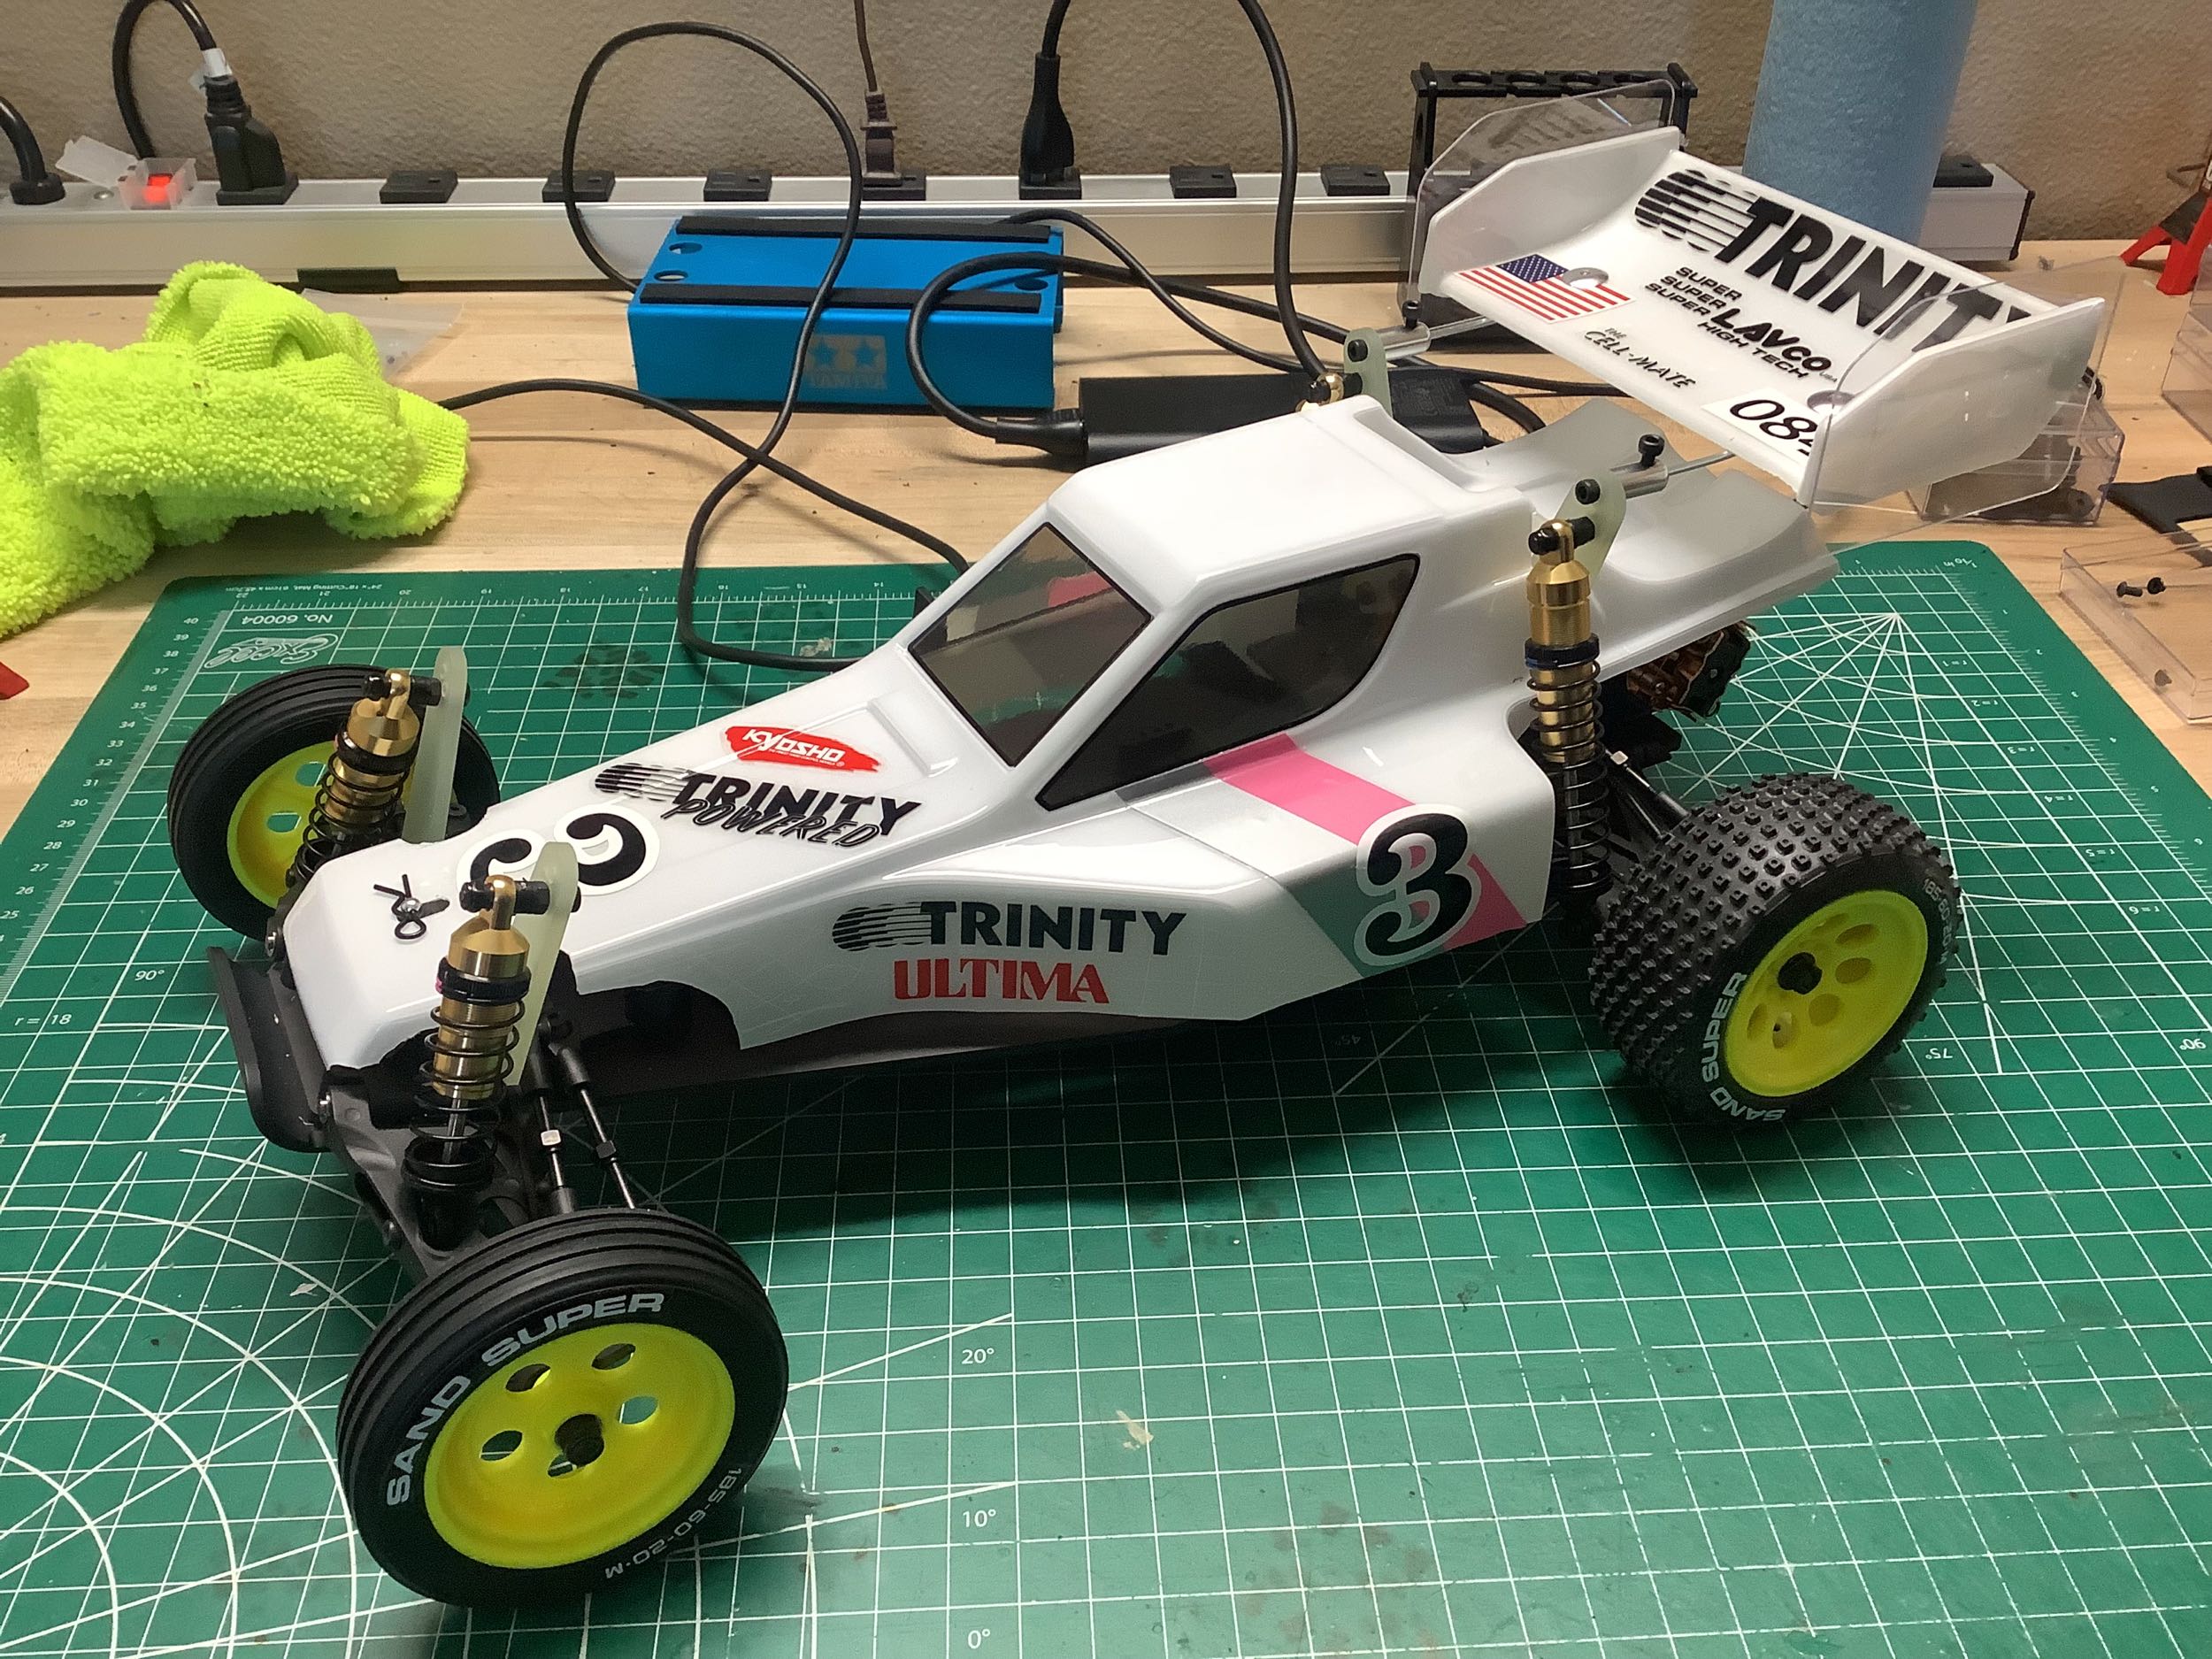
Kyosho Ultima JJ Replica Project
Page 1: Stock Assembly
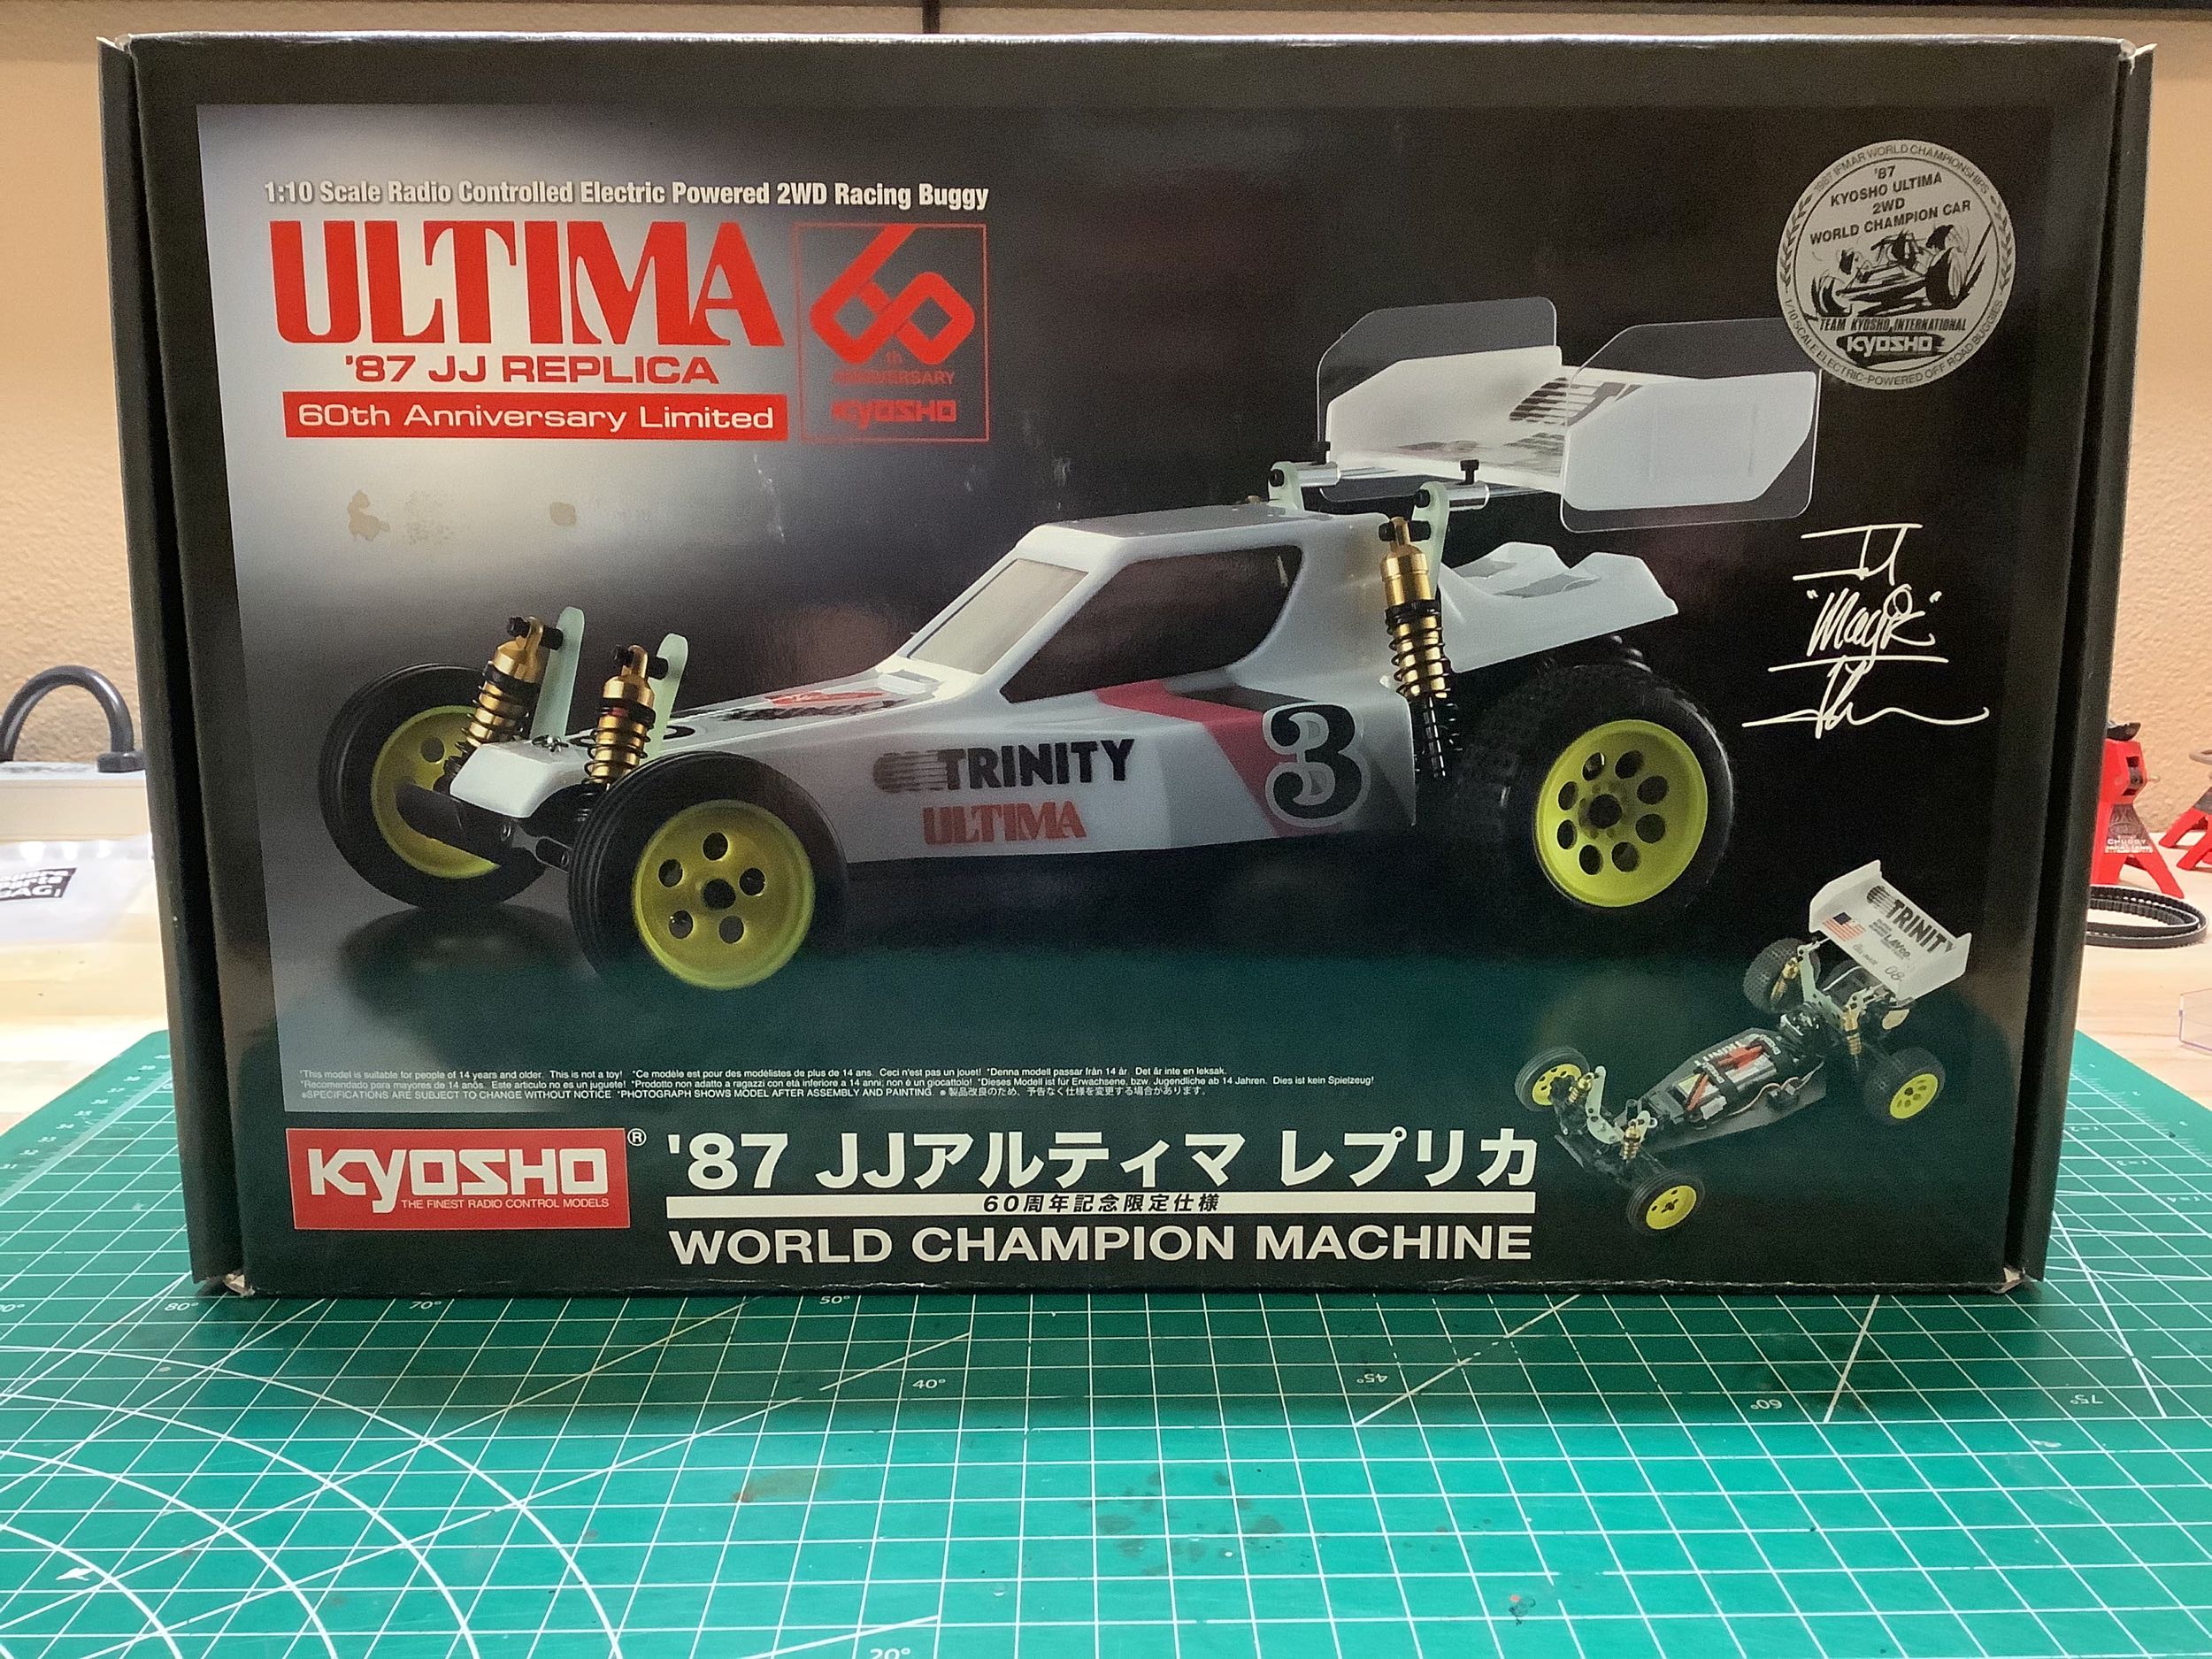
Kyosho's special edition models do not come in the standard retro boxes
with blister packs, instead they have "shoe boxes" with a carrying
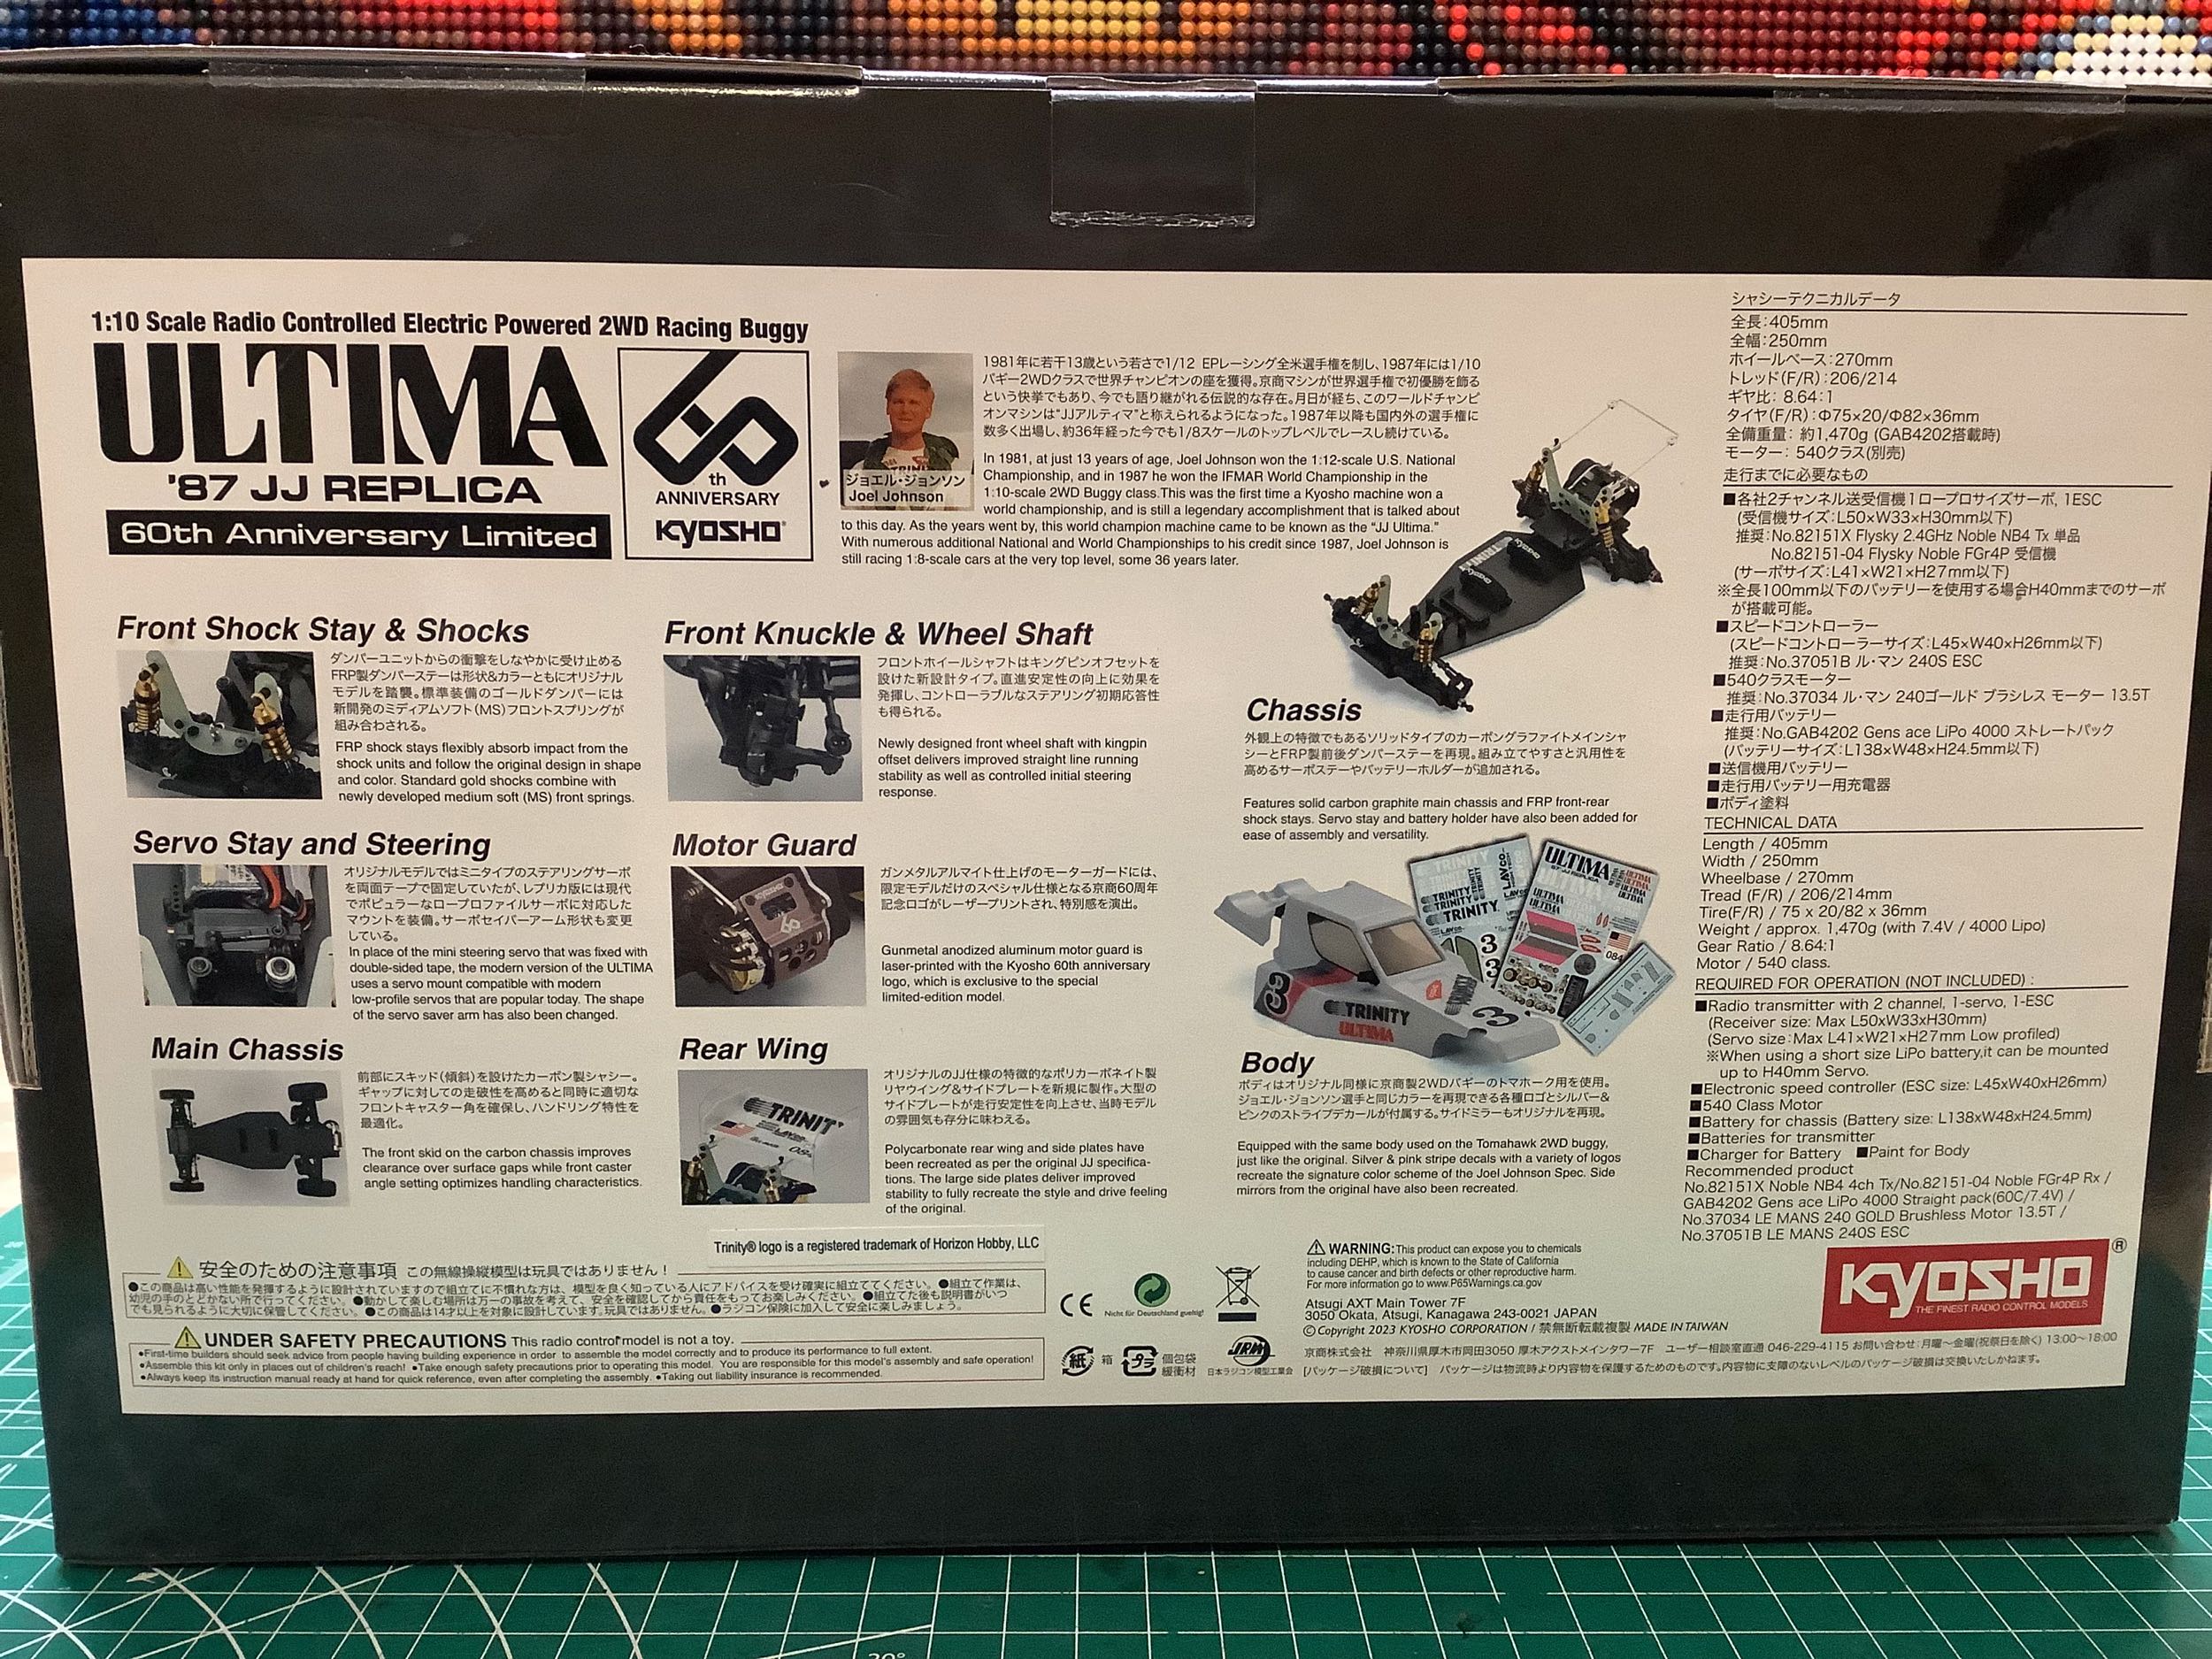
handle. The particular box comes with a significant section on the
back describing the special features of JJ's award winning model.
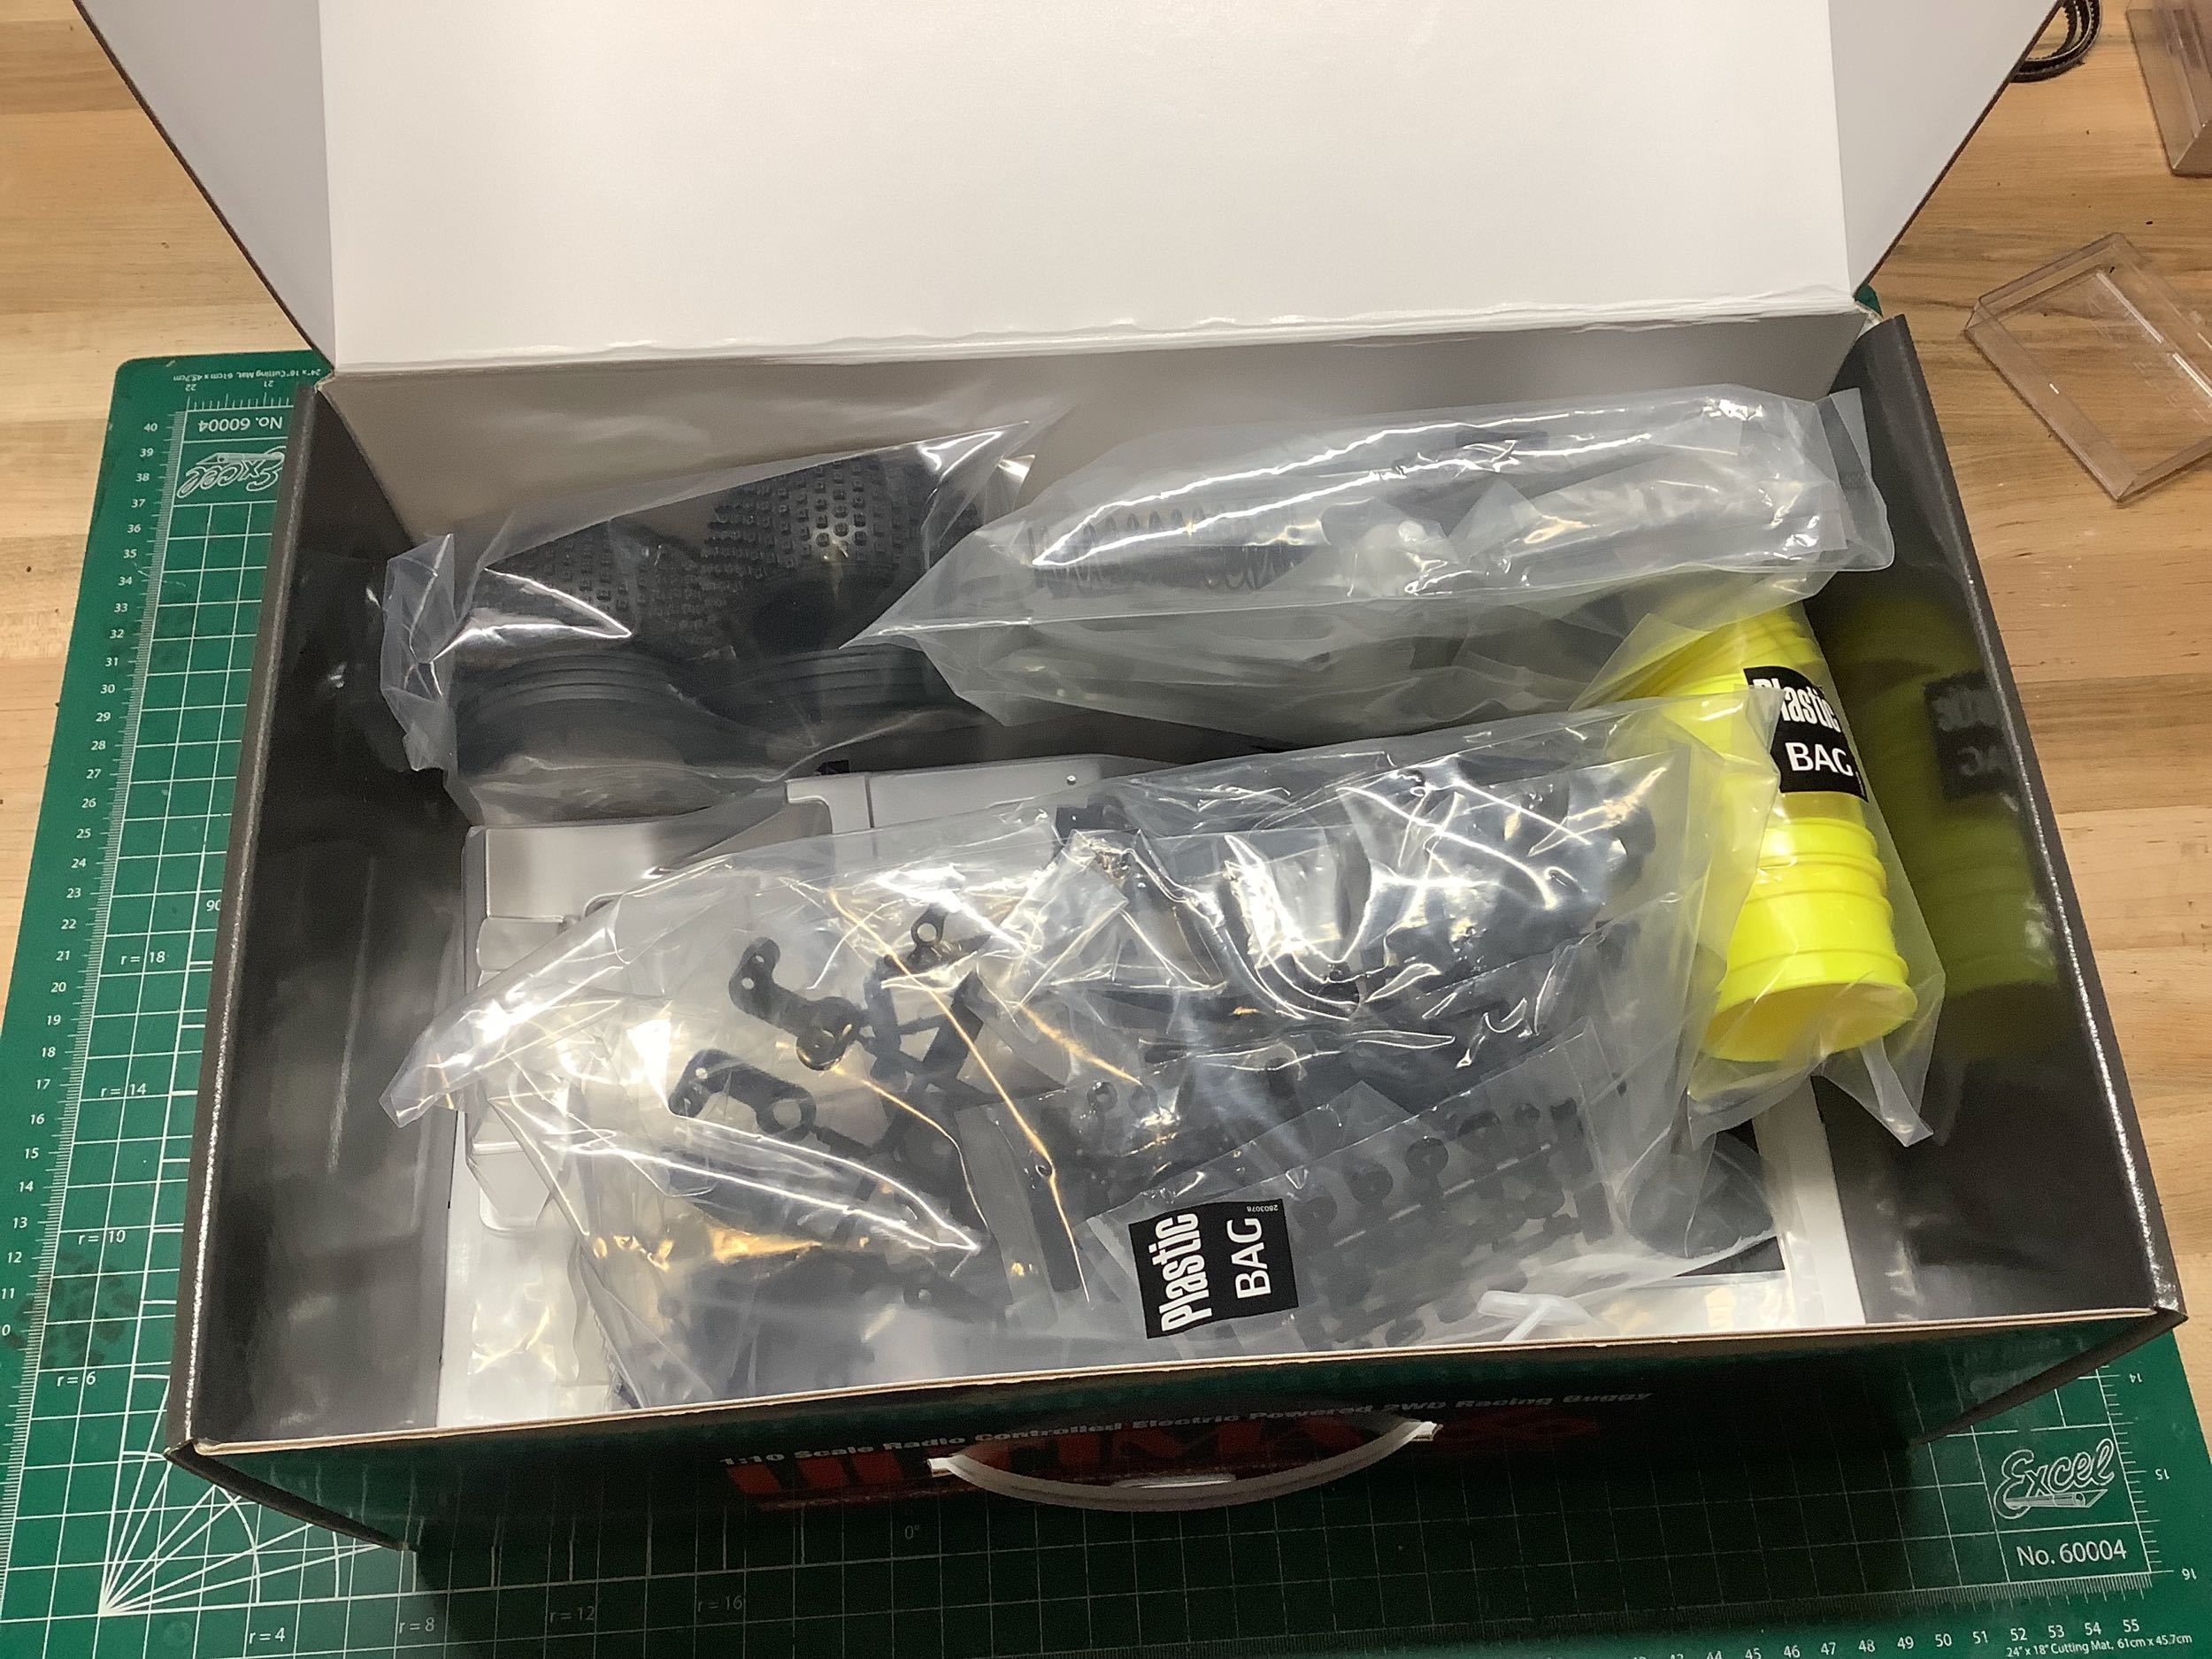
The inside of the box is just a bunch of bagged parts thrown in a
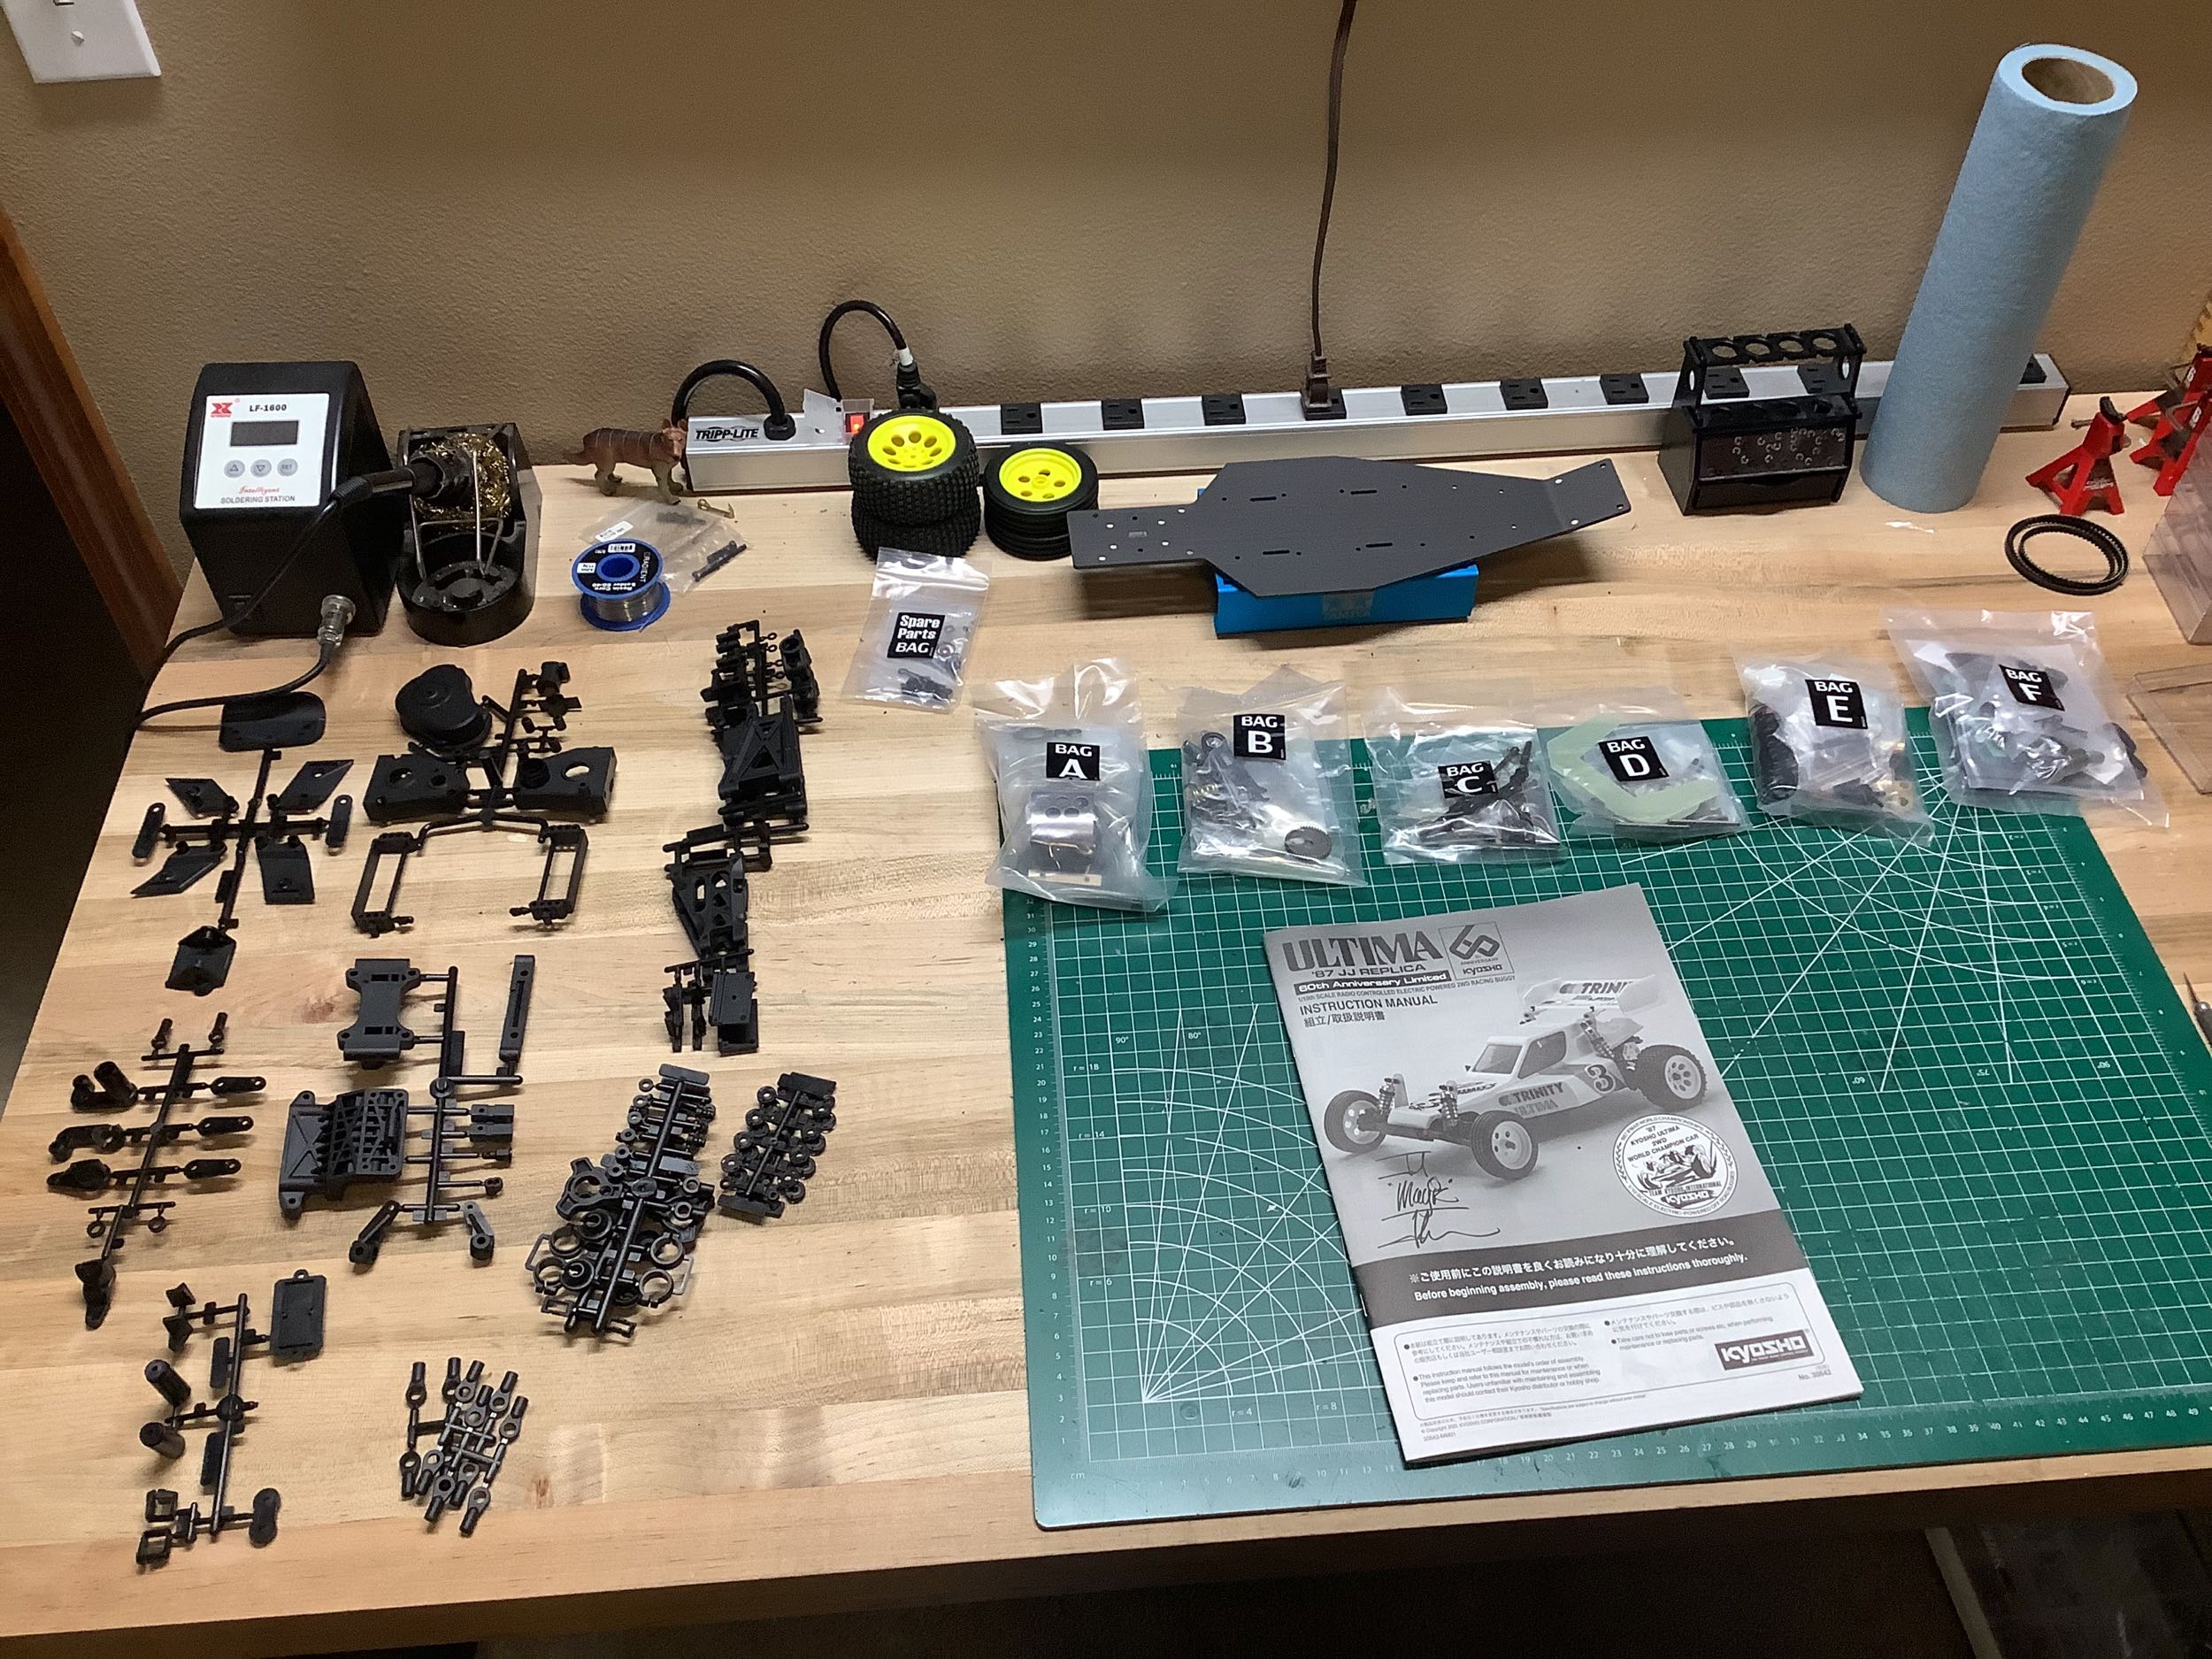
pile. There are no internal dividers. On the right I've
arranged all the parts to get ready for the build.
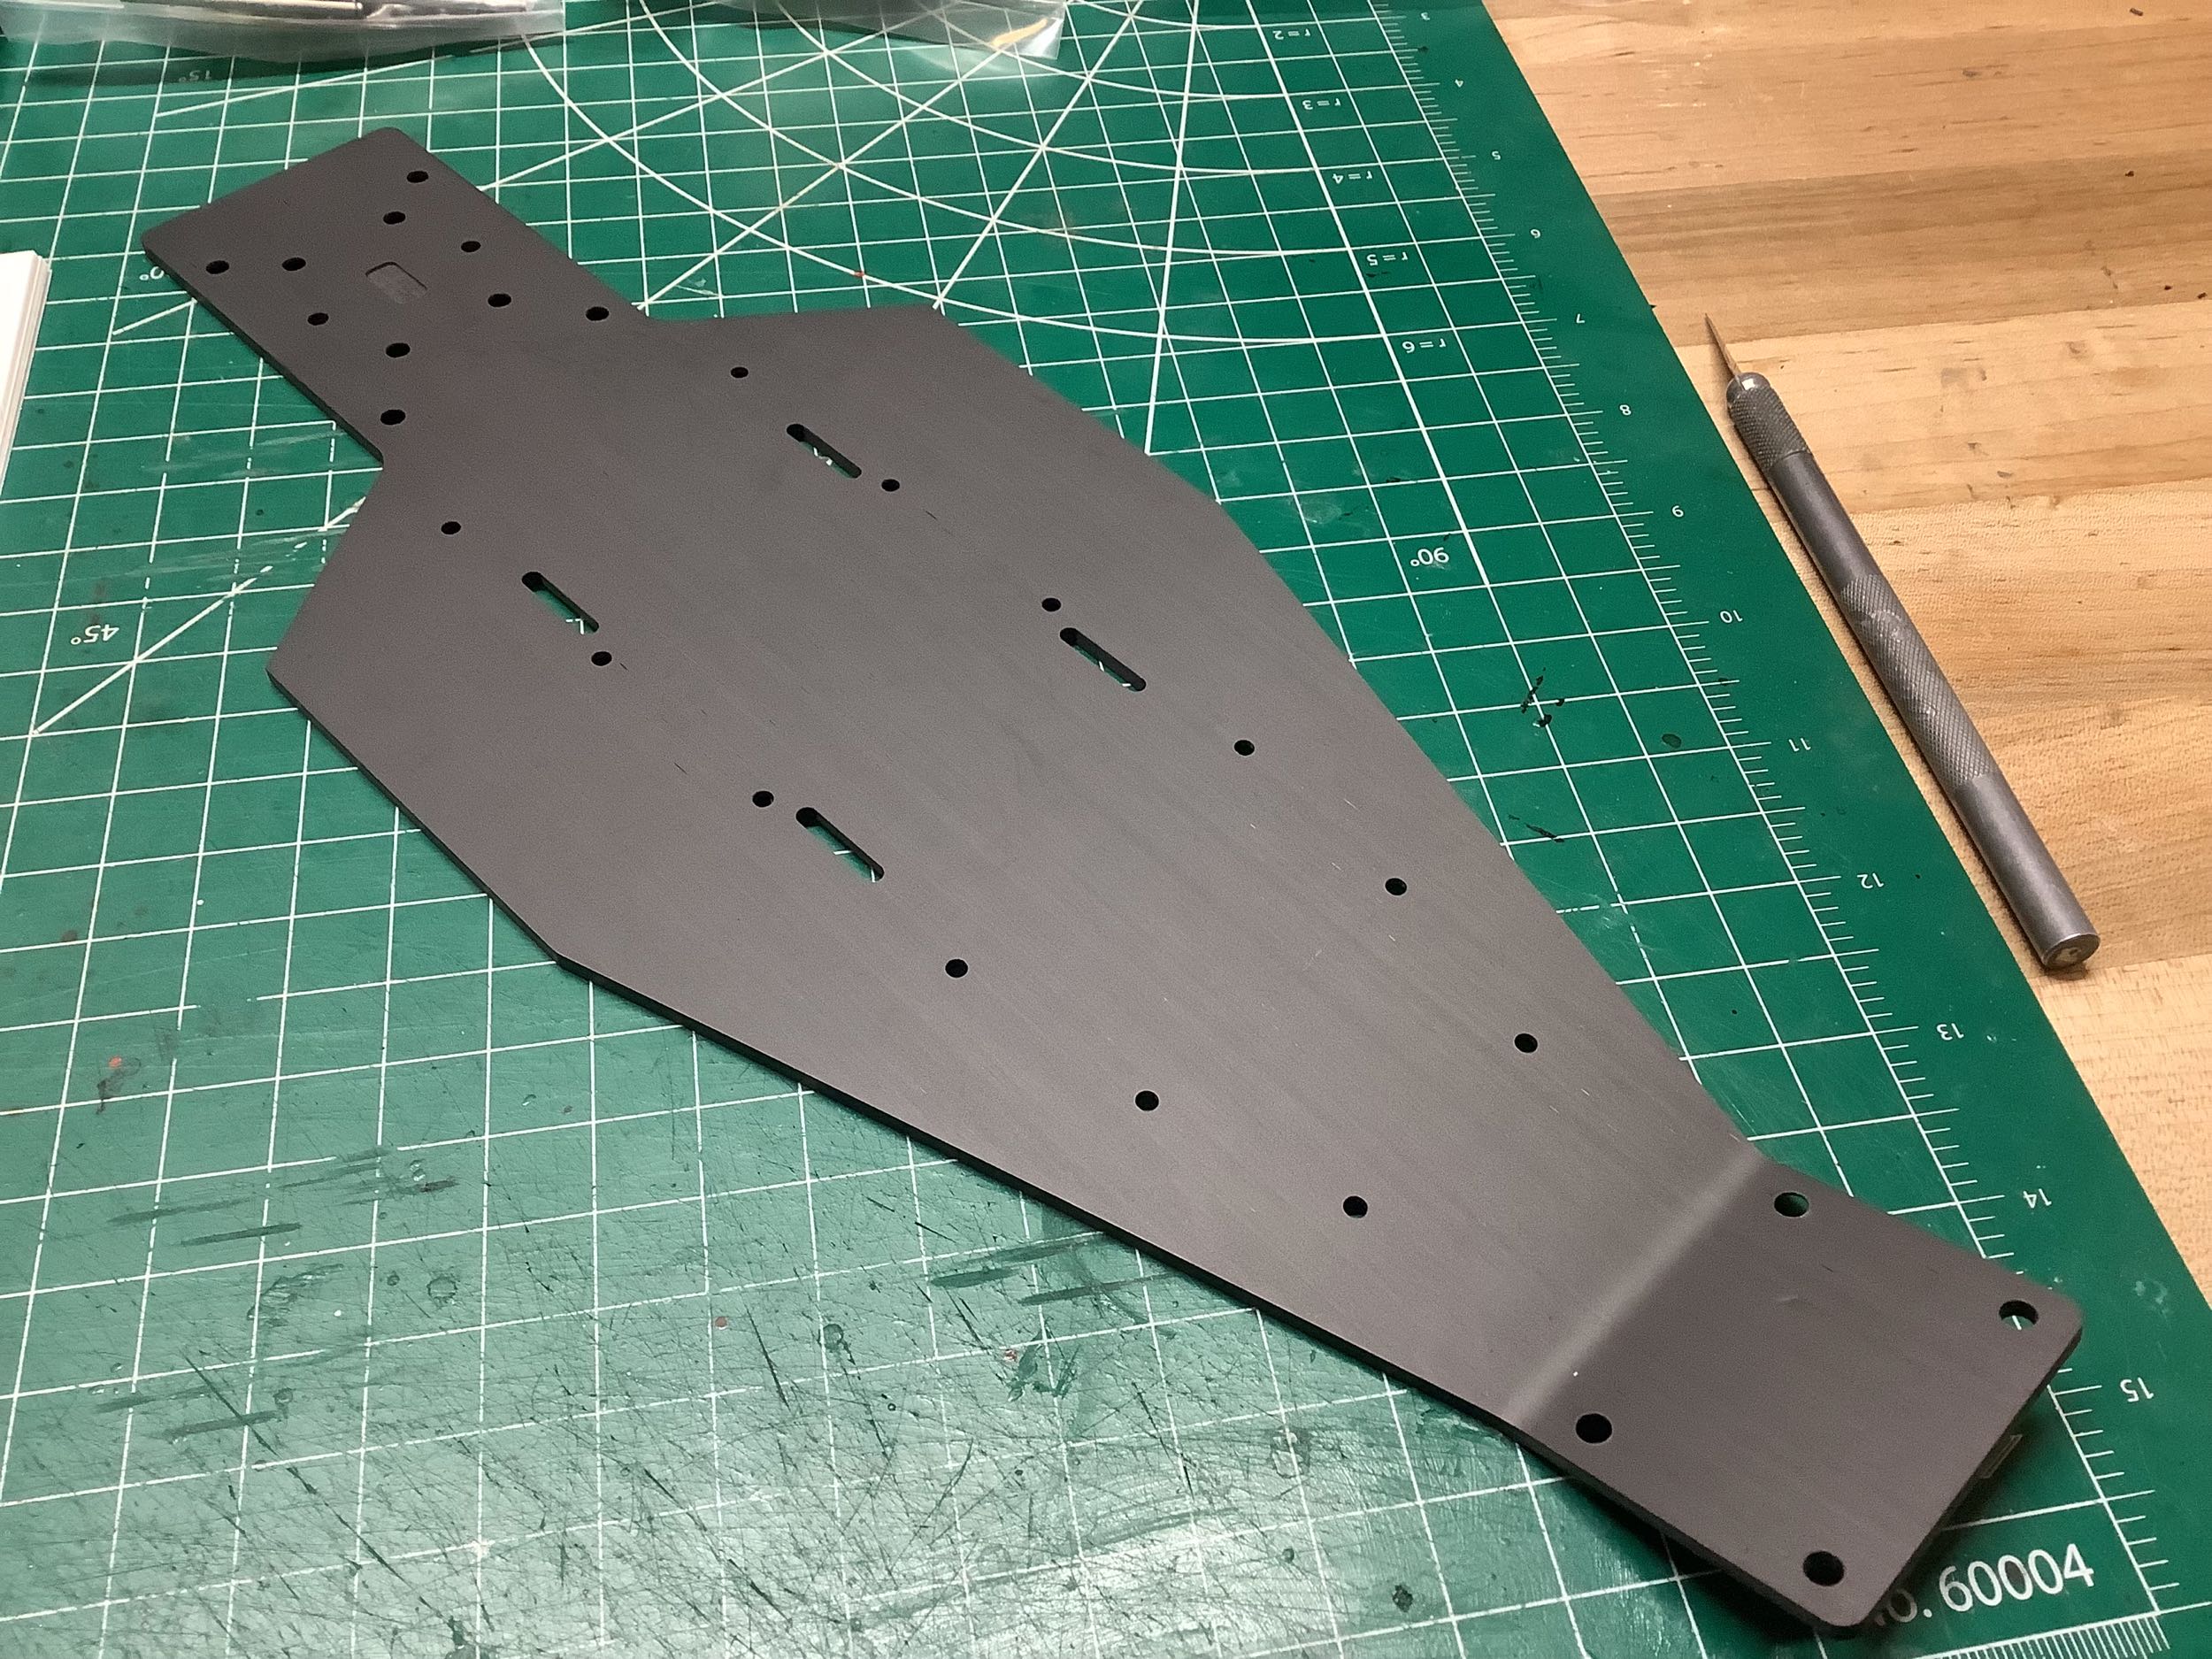
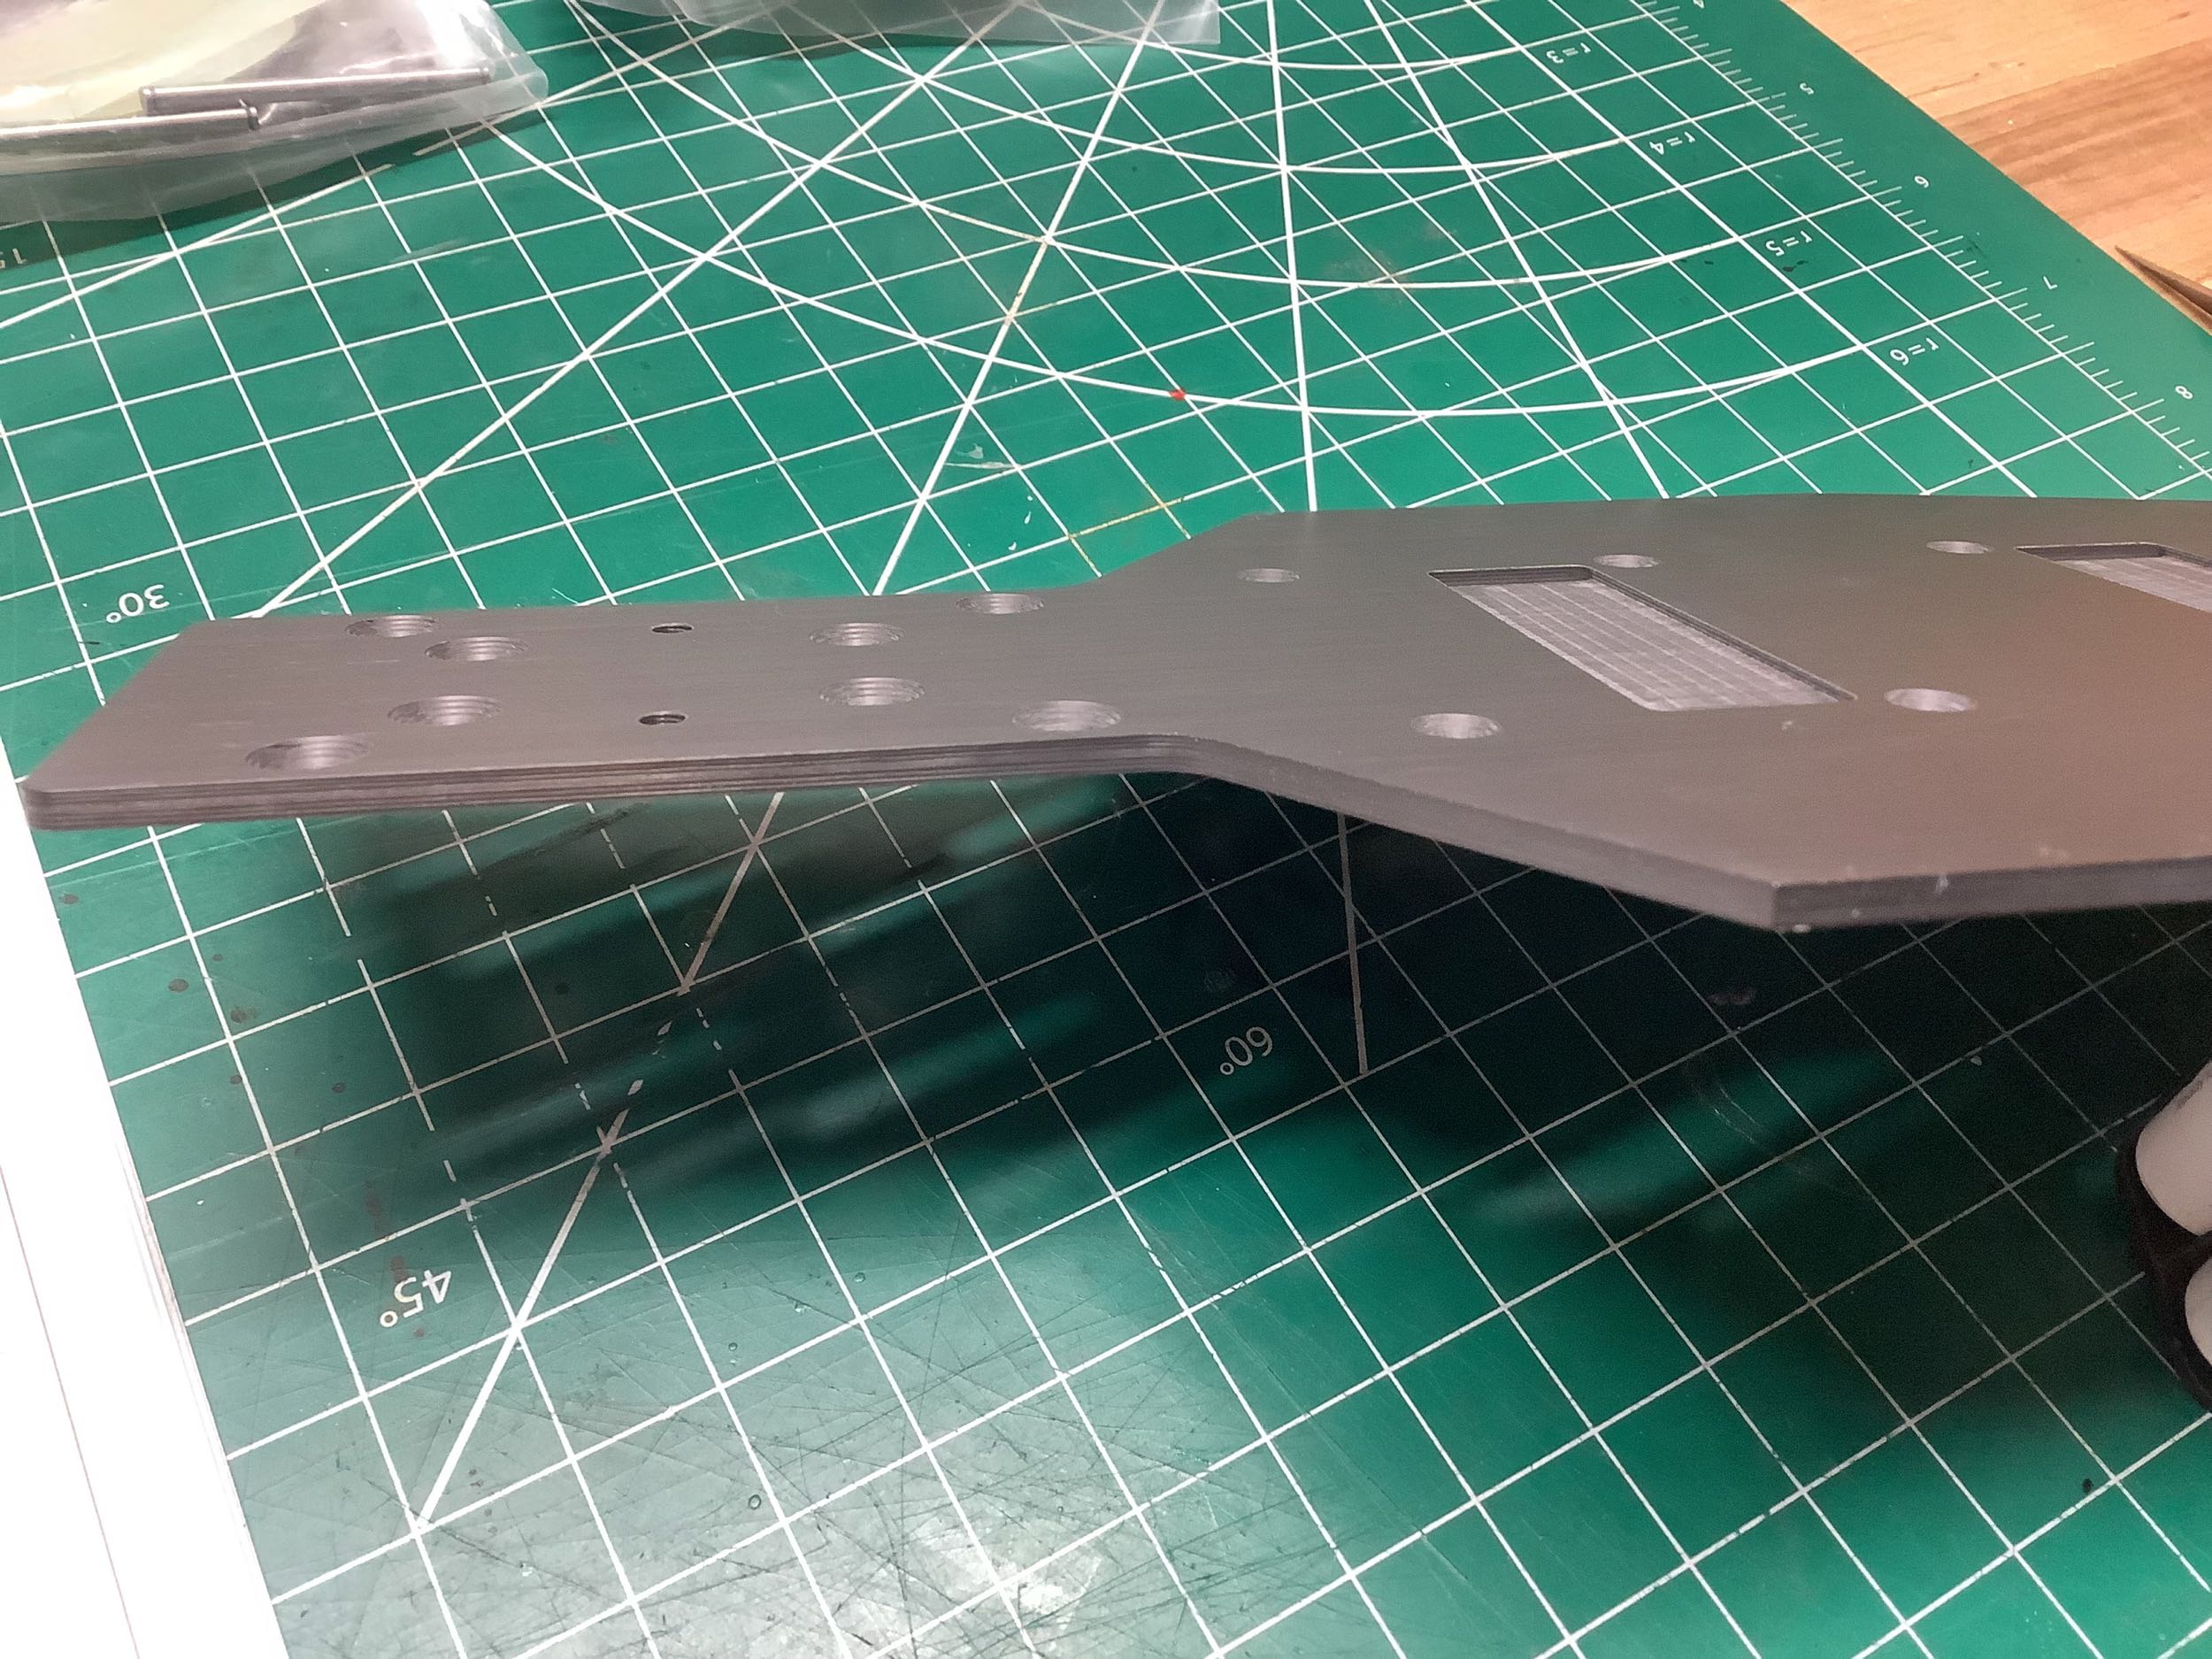
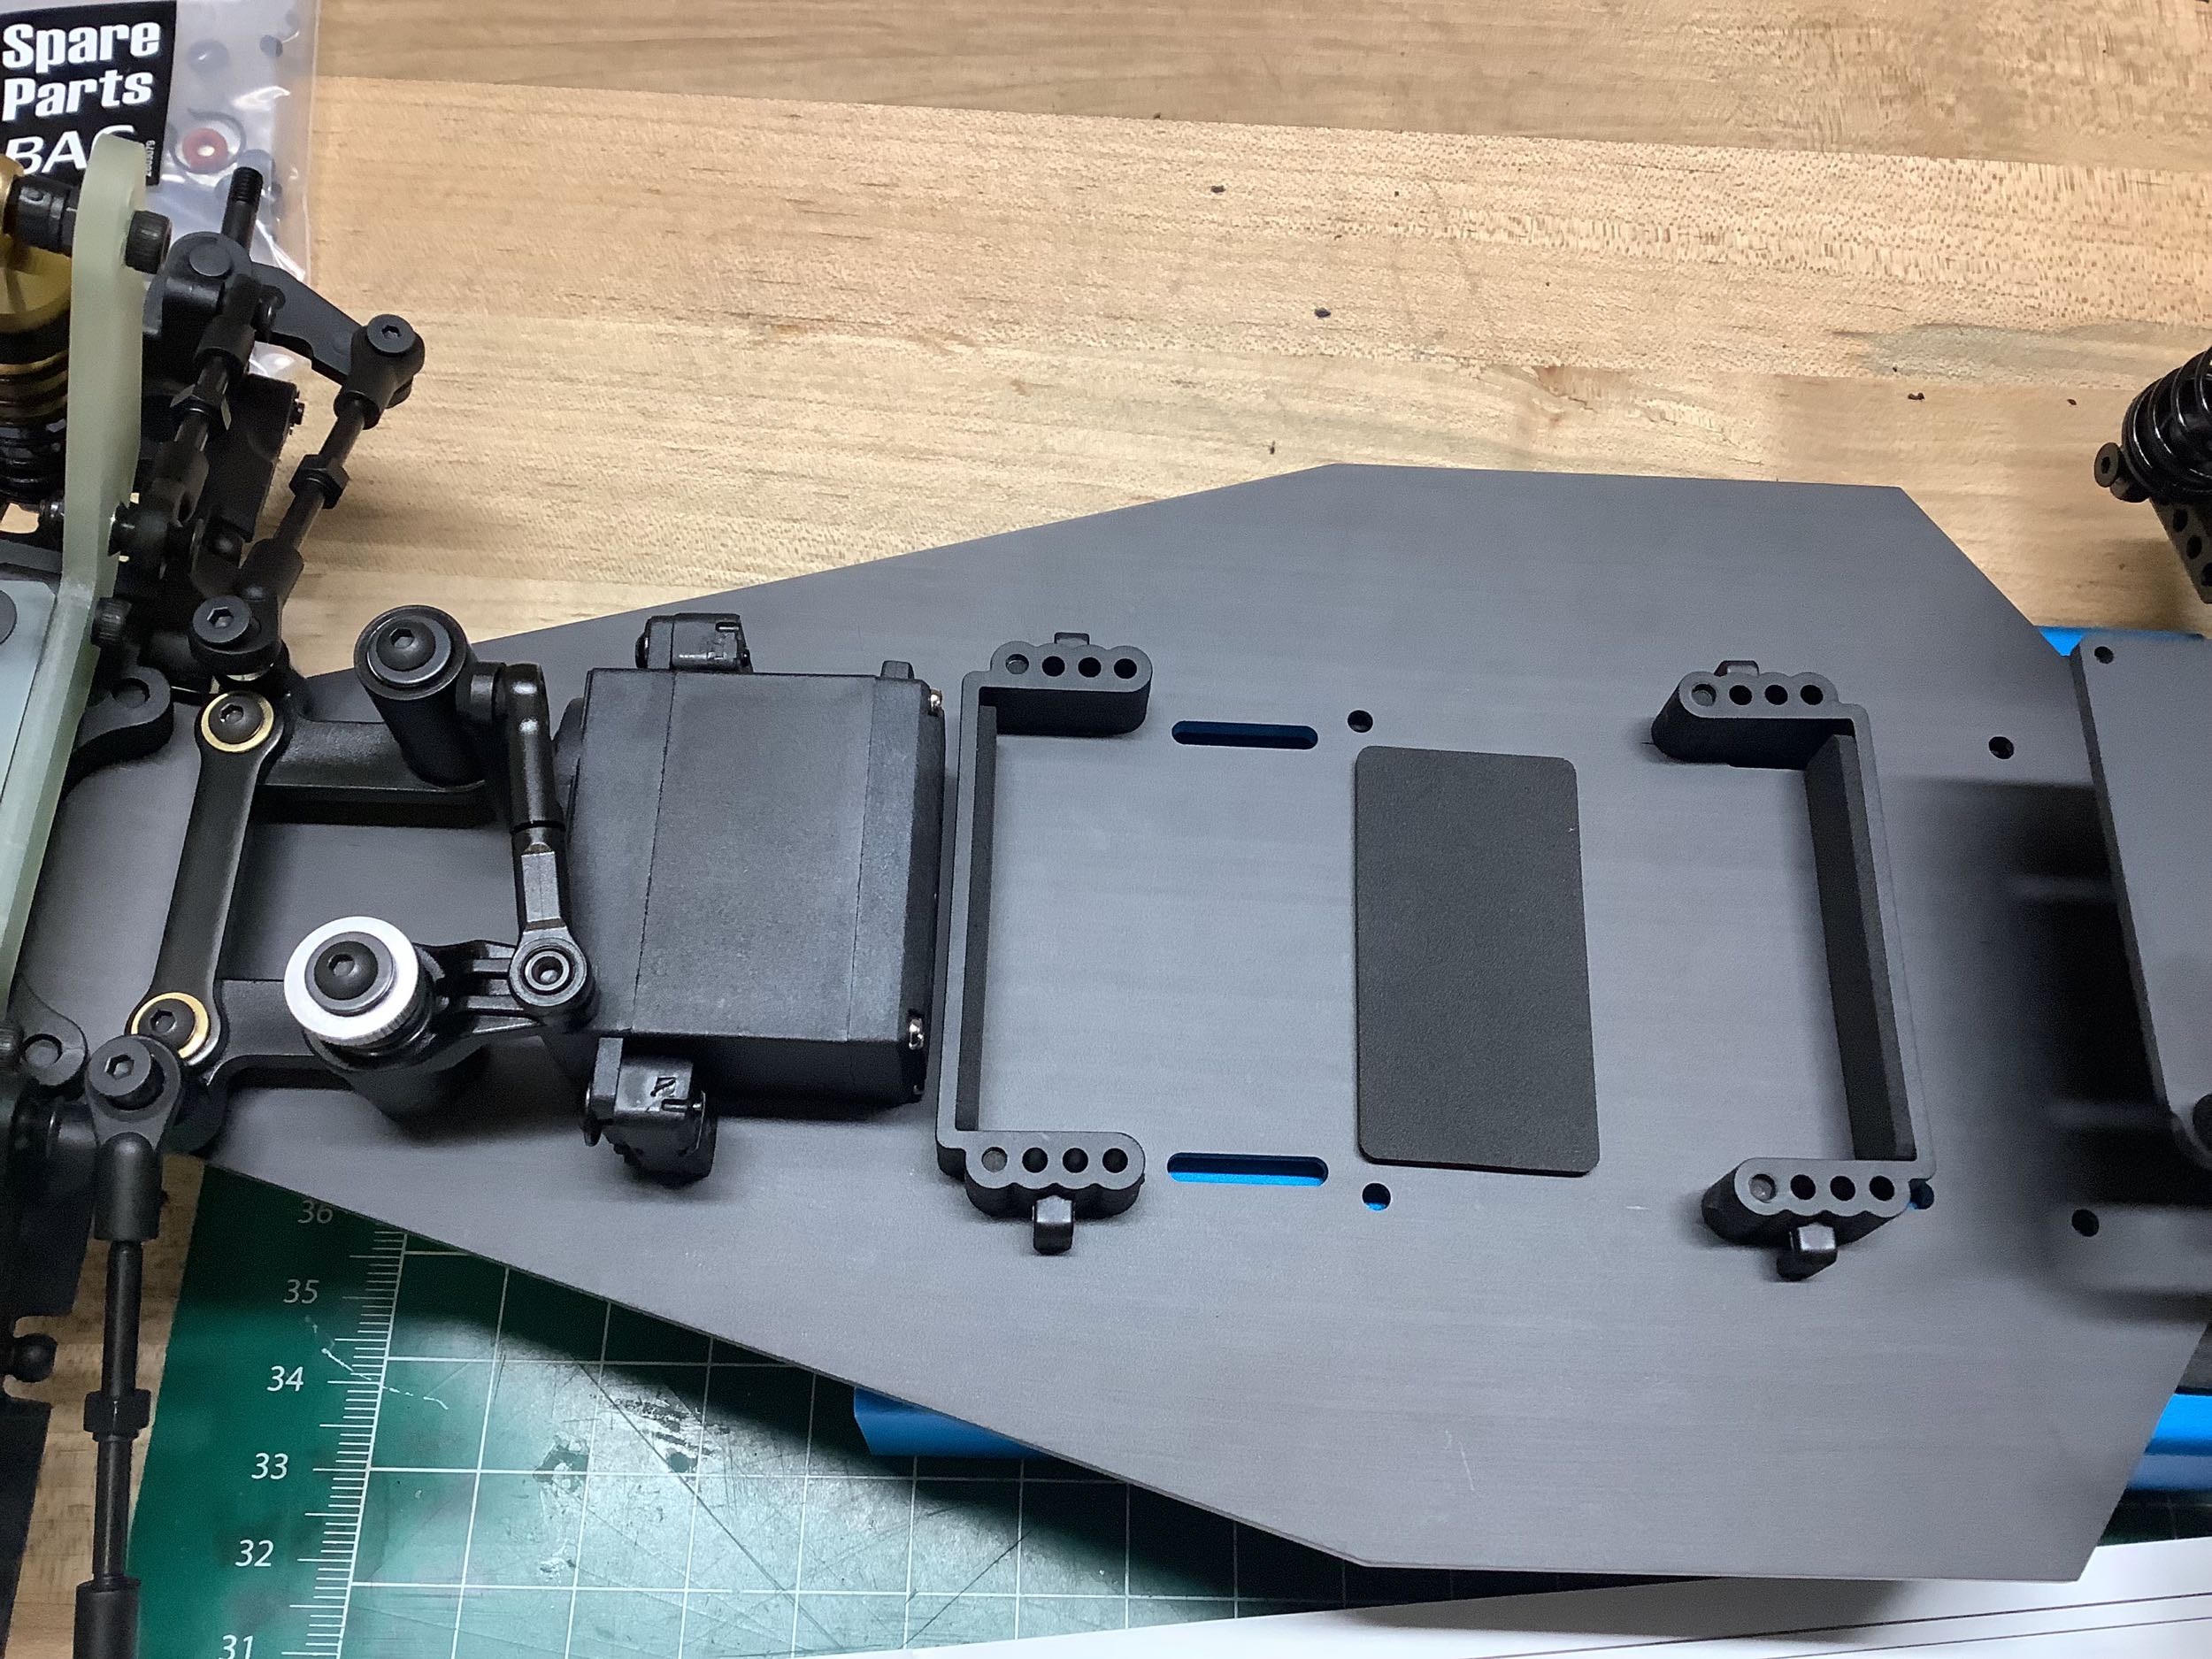
The most obvious new parts is the carbon plate which replaces the
previous formed aluminum chassis. This is unusual carbon plate
because it doesn't use woven cloth like we are used to seeing. It
seems to use unidirectional cloth. Viewing the chassis from the
side, you can see that there are indeed many layers, and based on the
visual variations noticeable in the countersinks, I presume that each
layer is arranged at a 90° angle to the last.
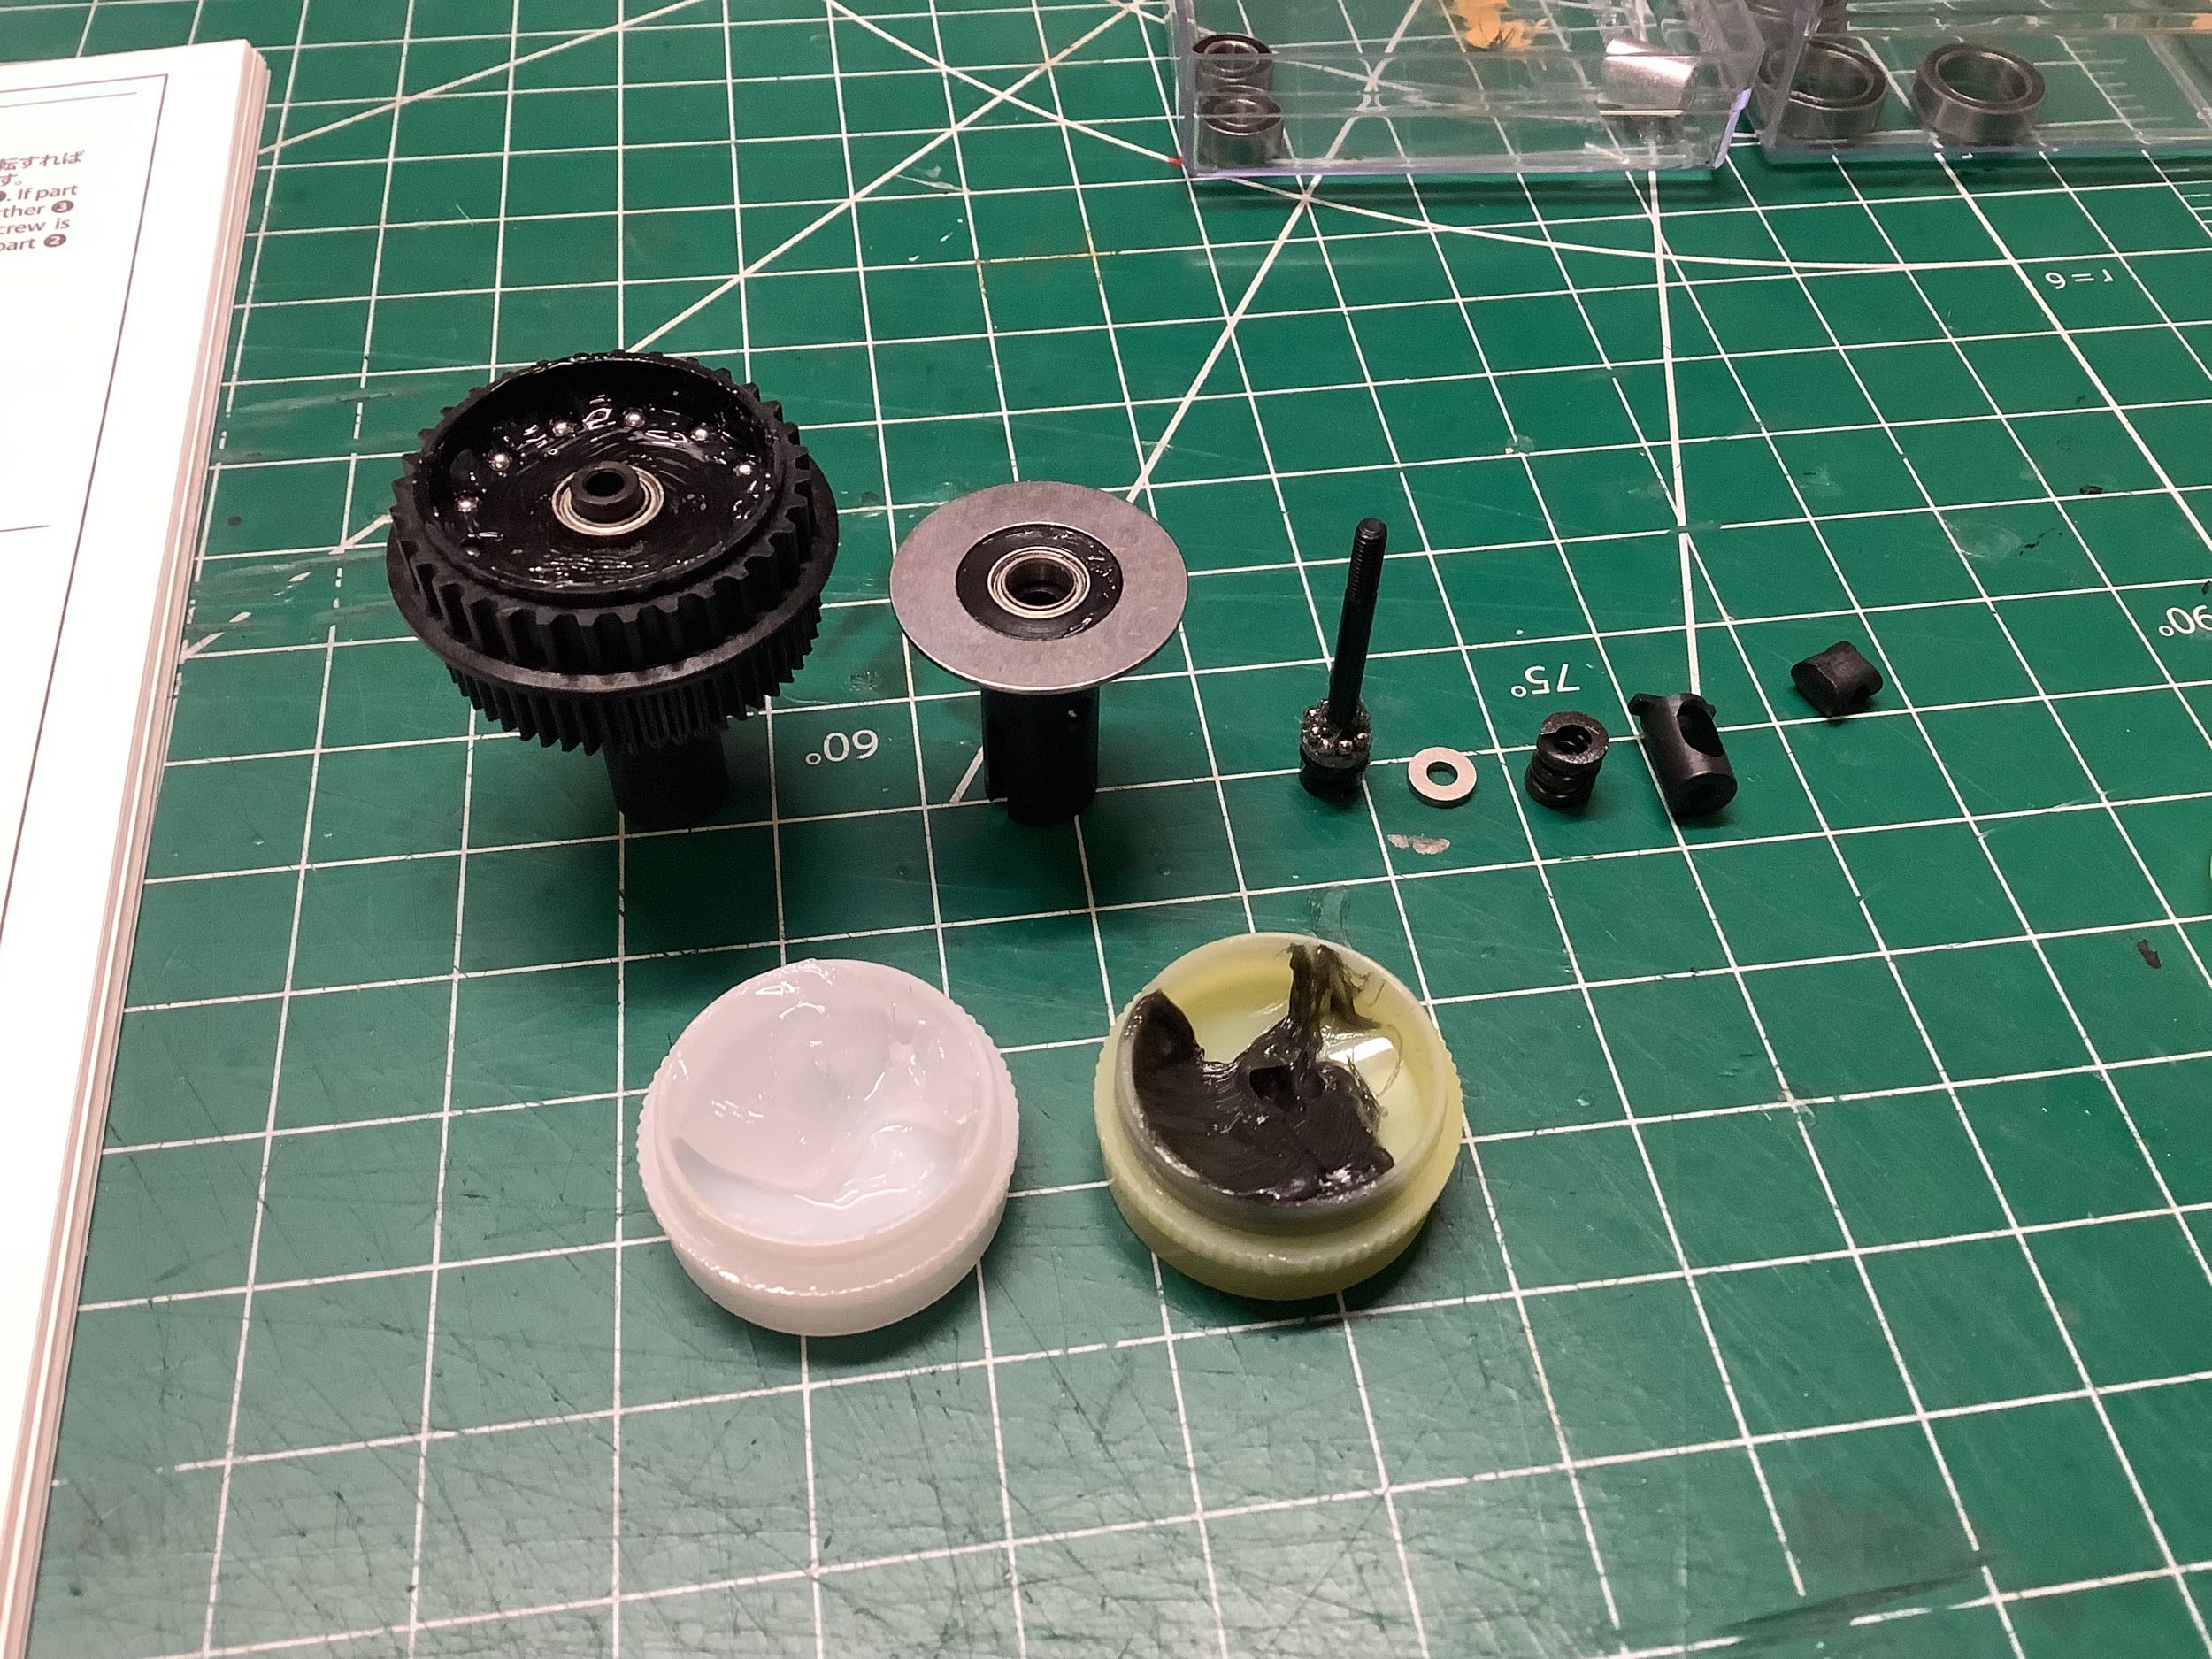
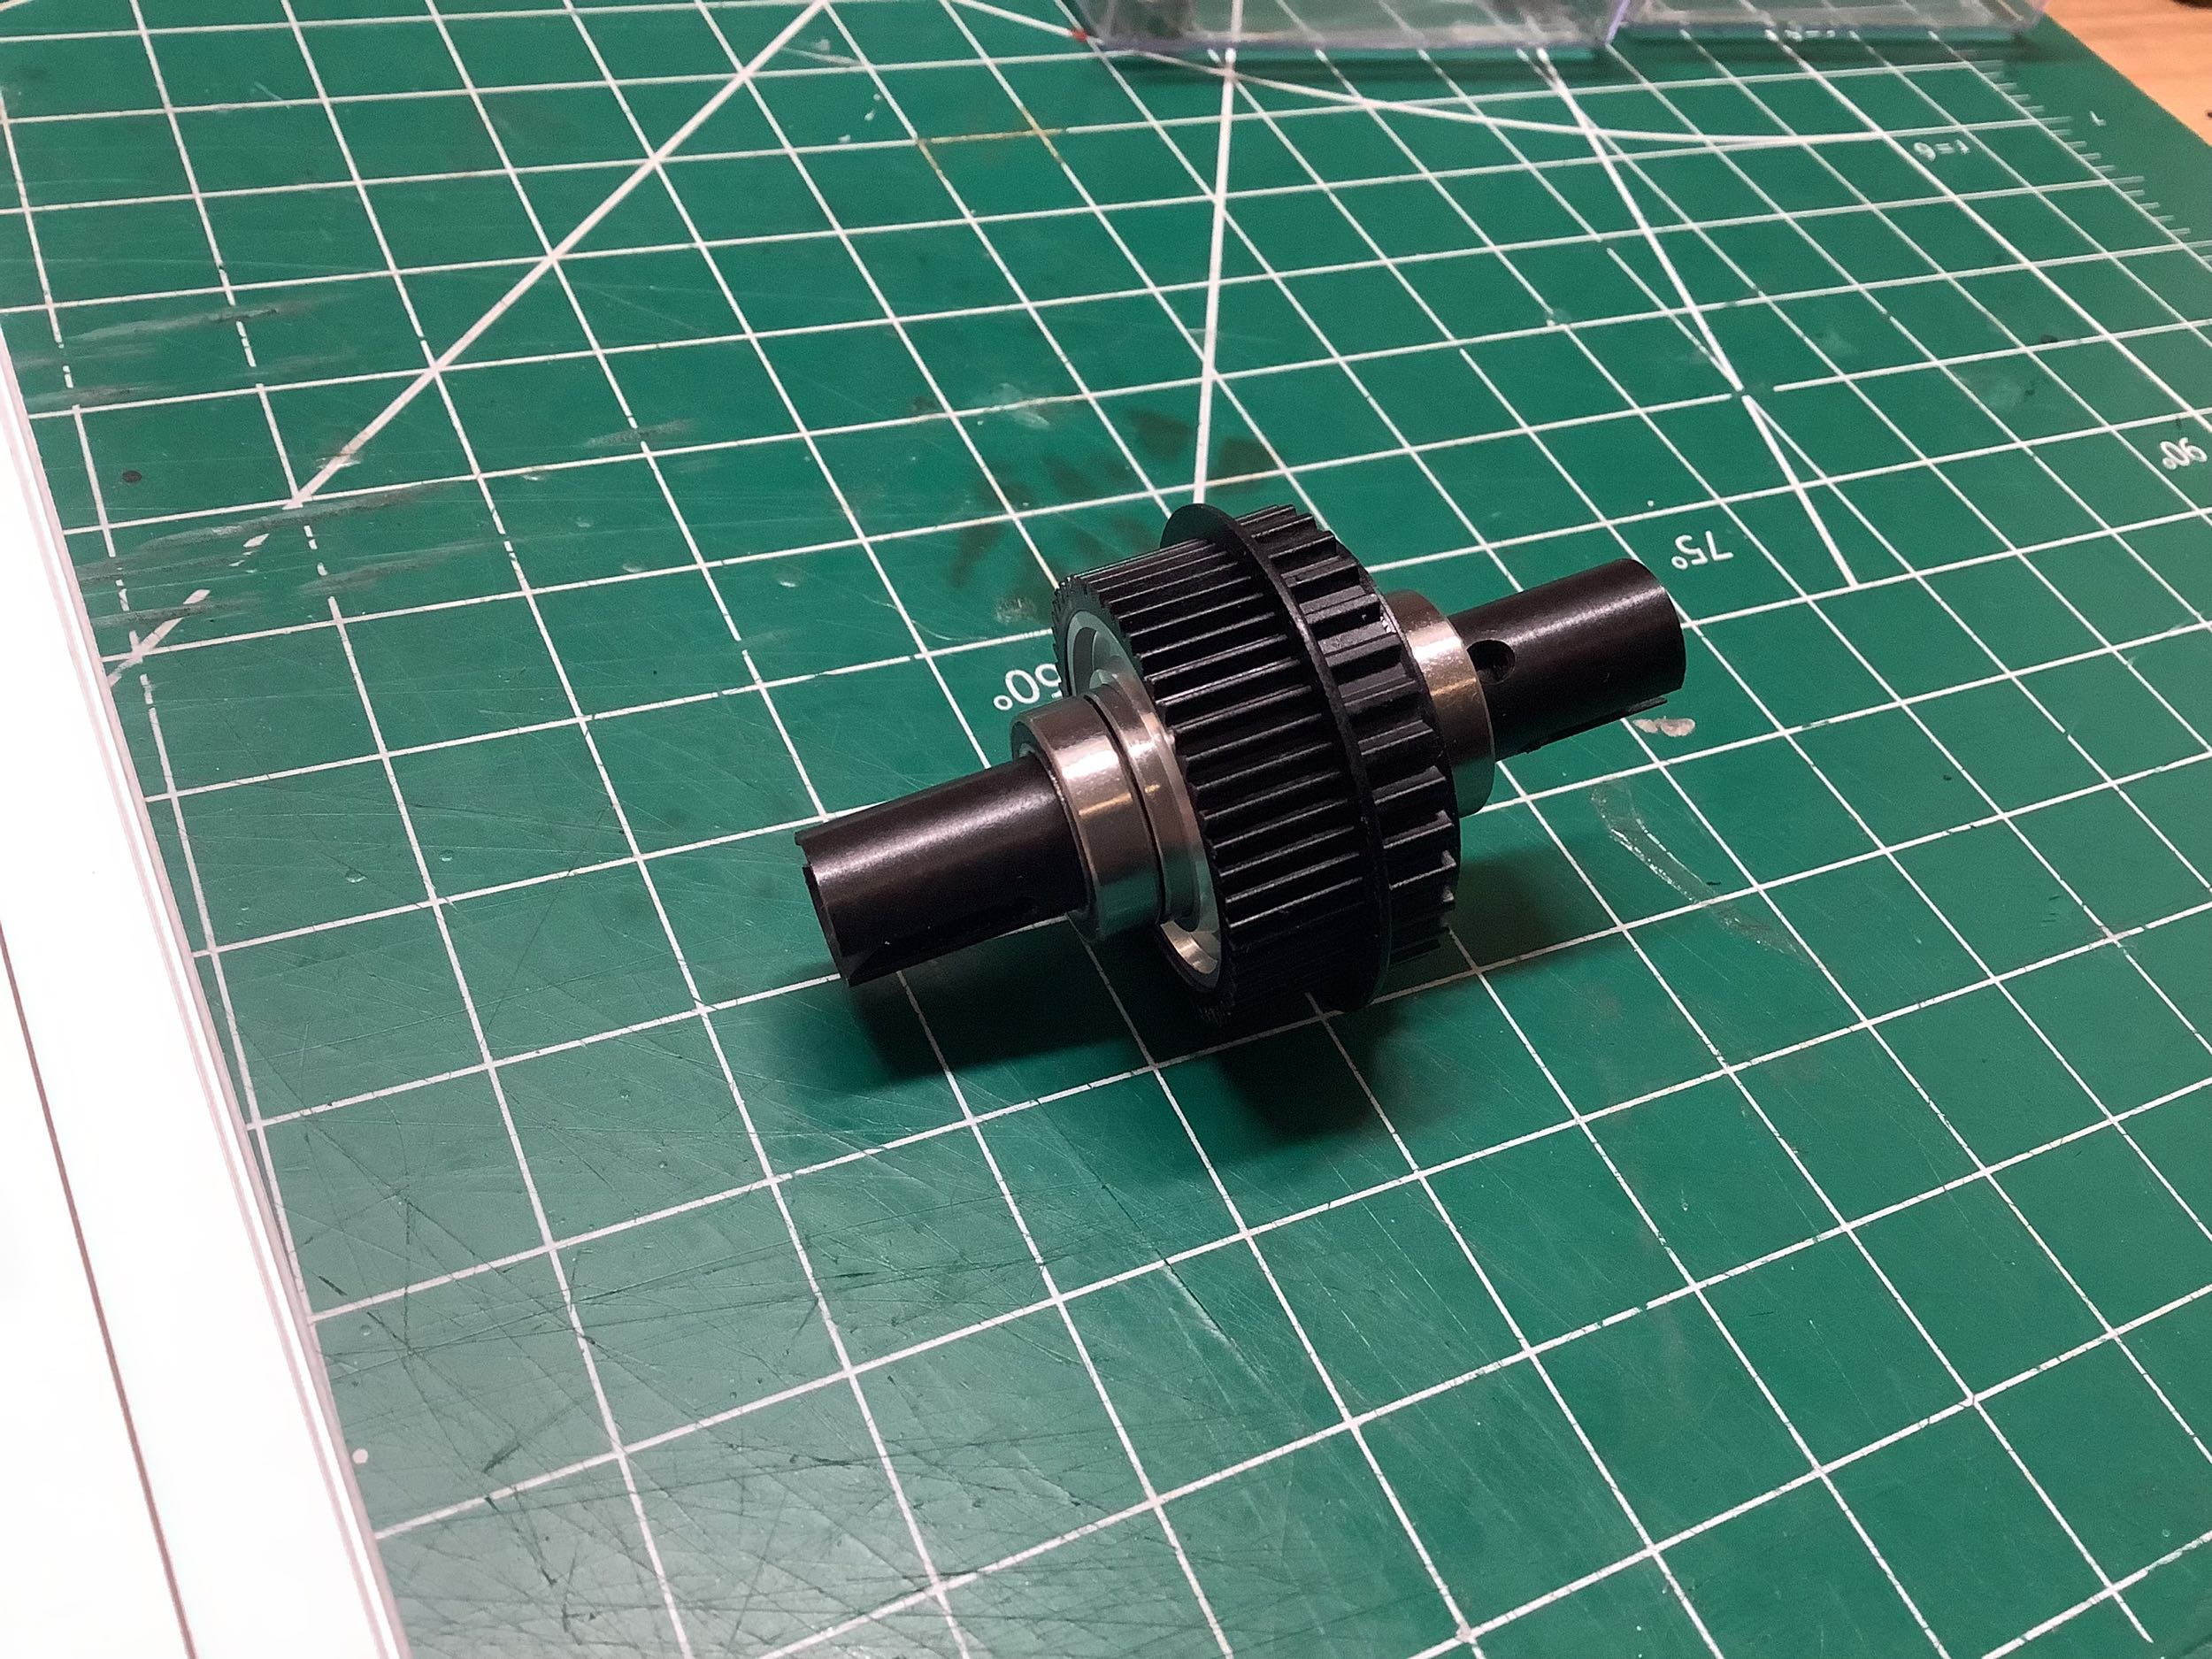
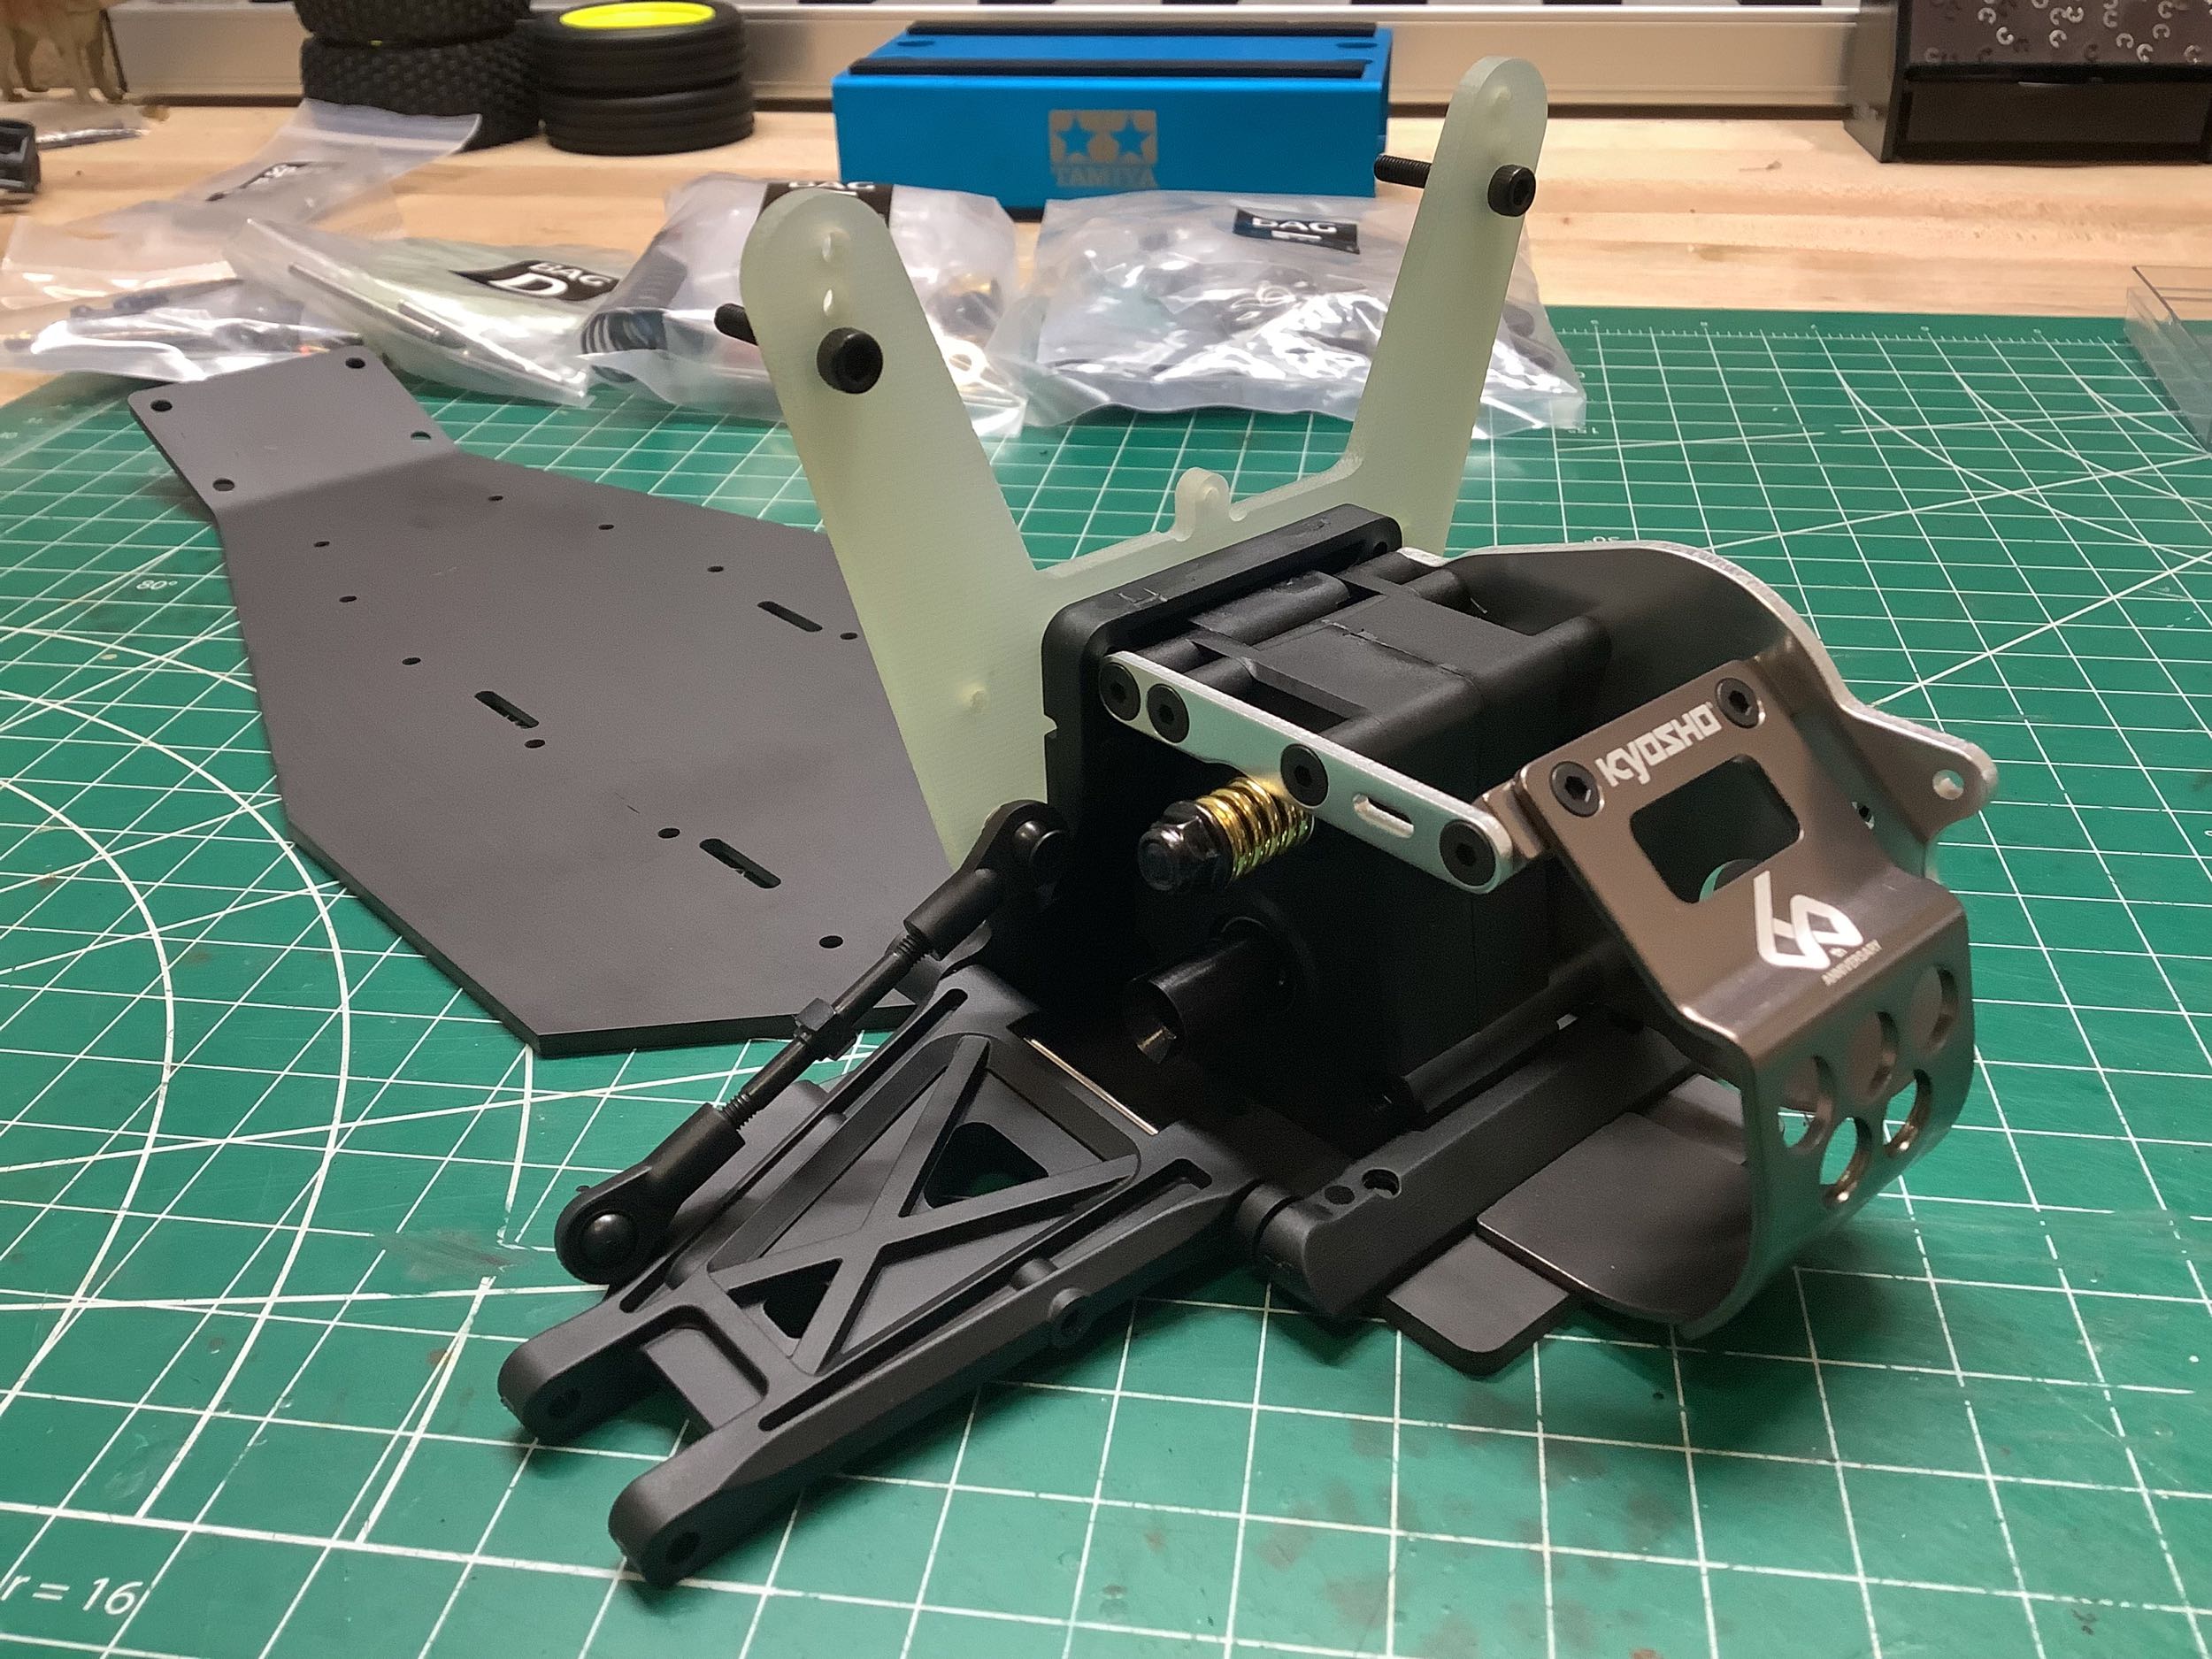
The JJ version uses the optional ball differential instead of the gear
differential of the regular Ultima. Note that this ball diff was
originally an option for the Optima which is why a pulley is integrated
into the ring gear.
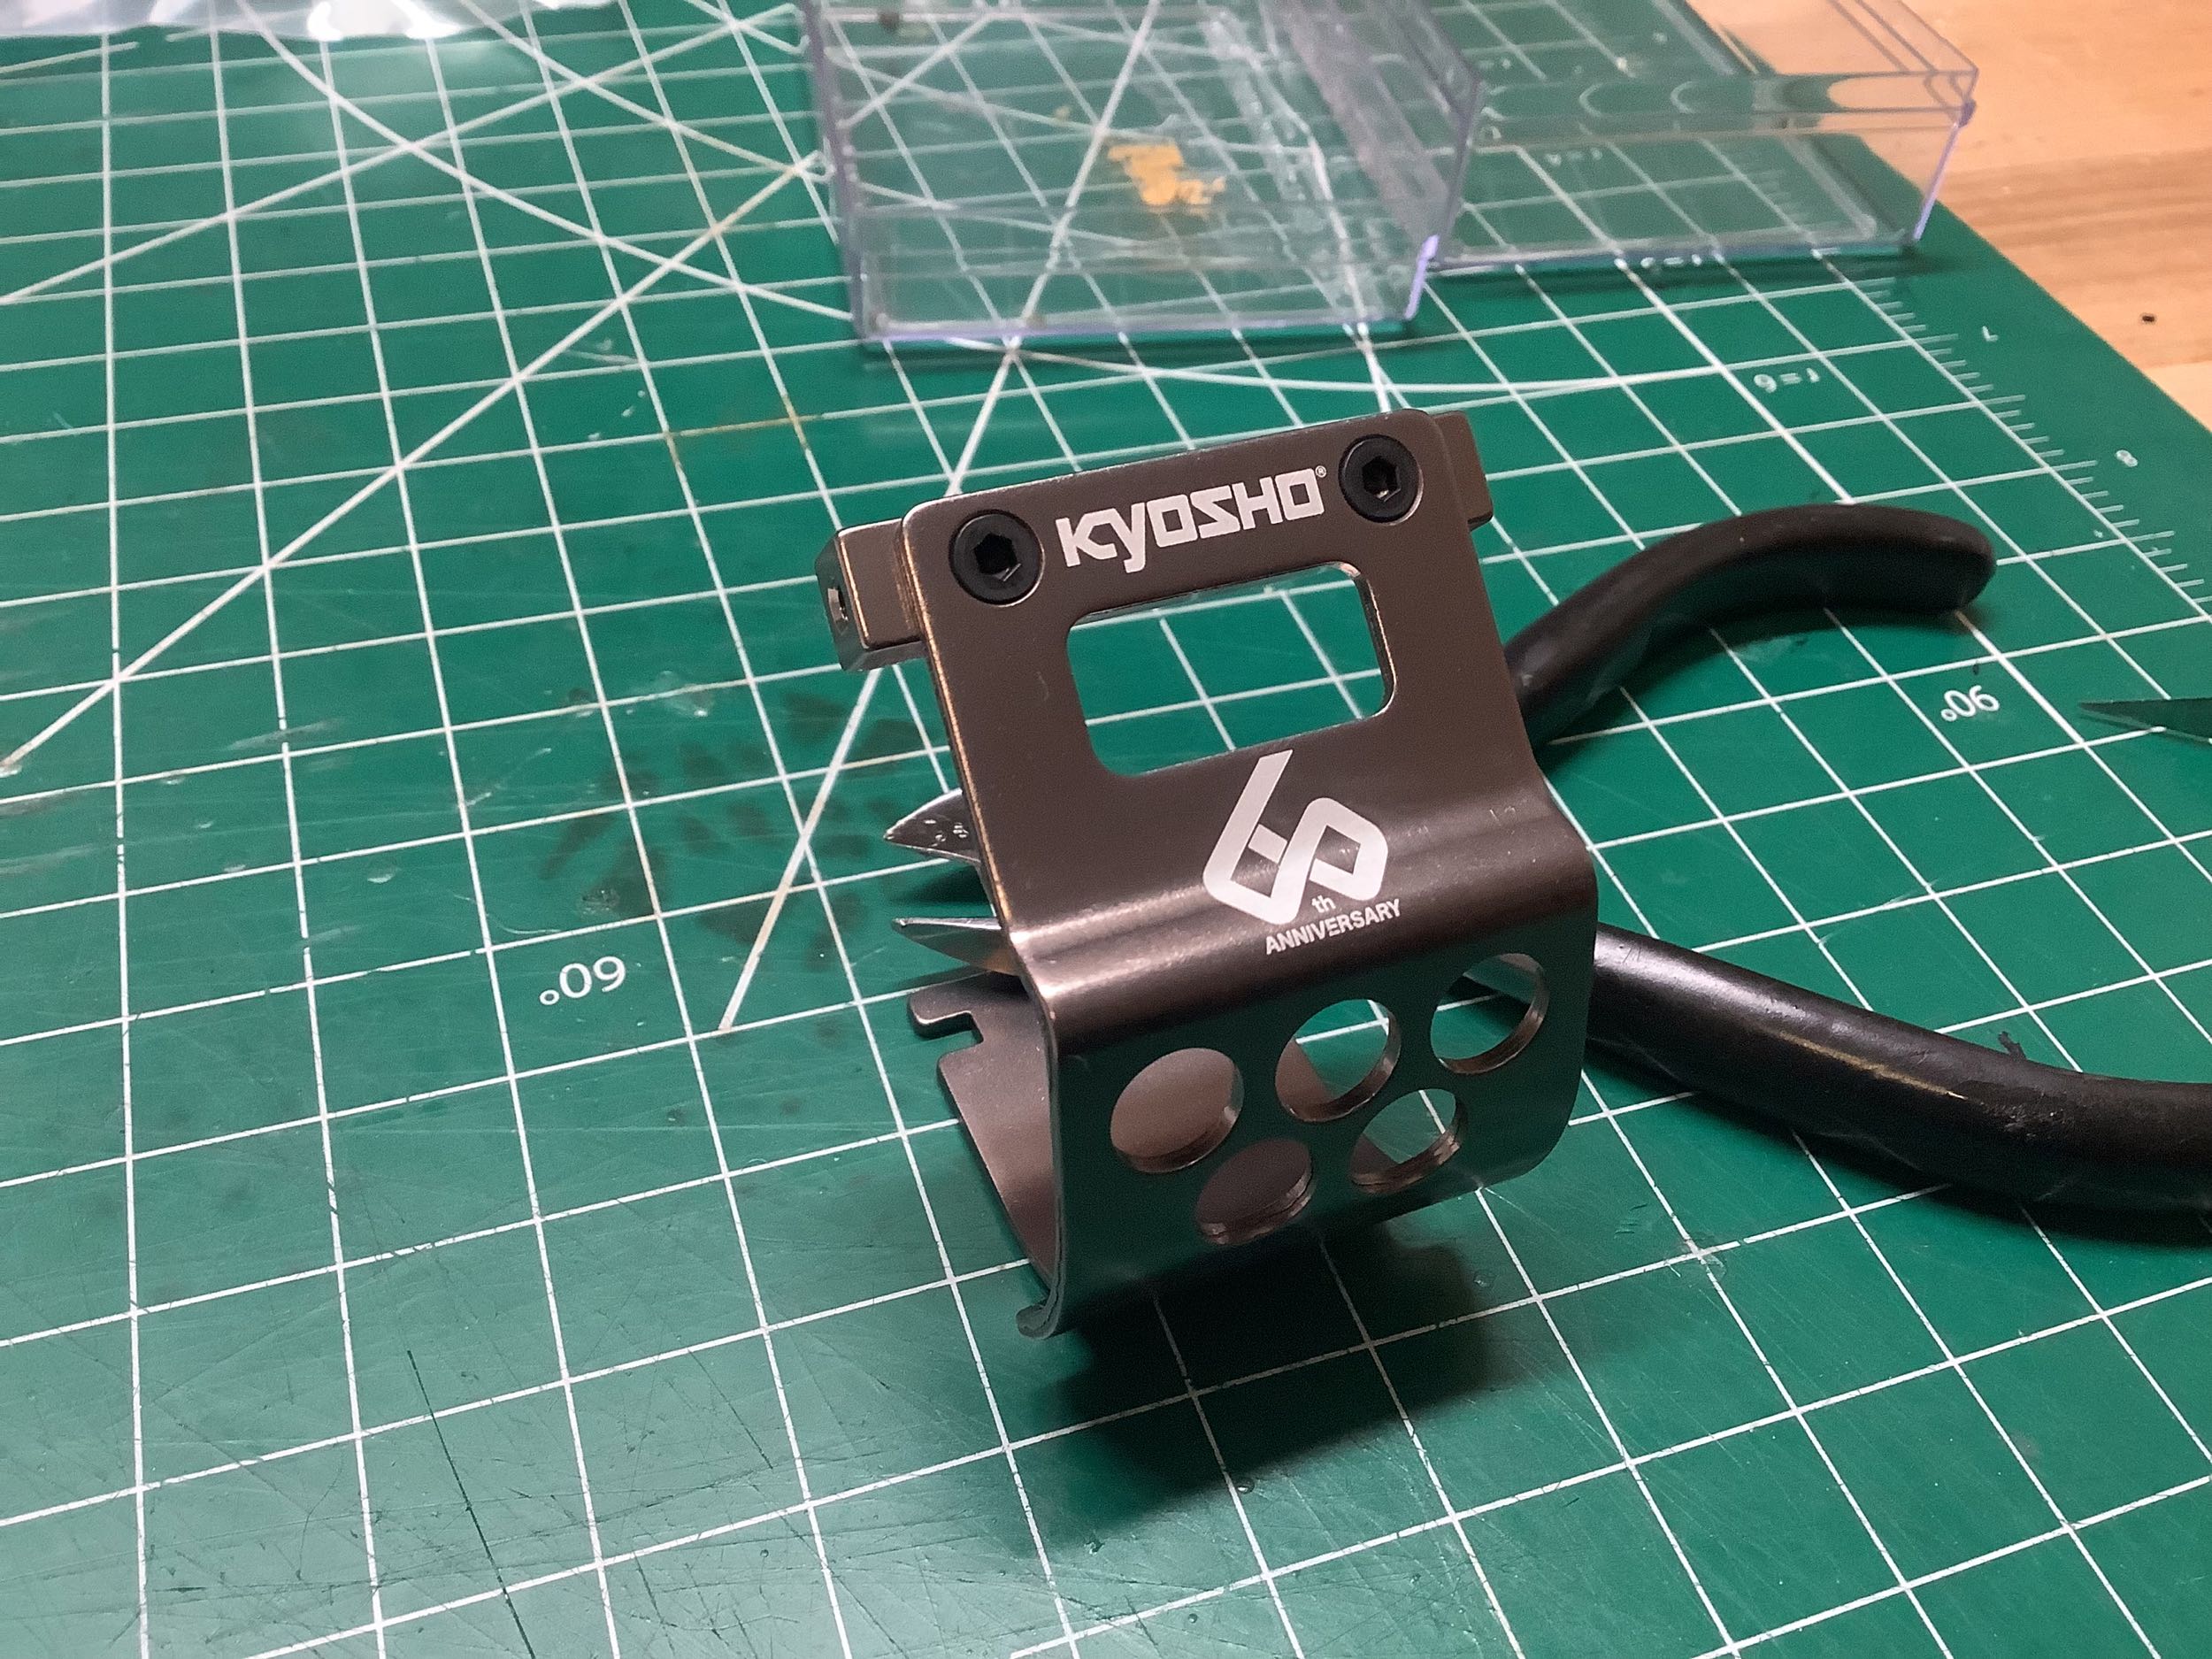
This nice gunmetal anodized rear chassis plate has the Kyosho 60th anniversary logo on it.
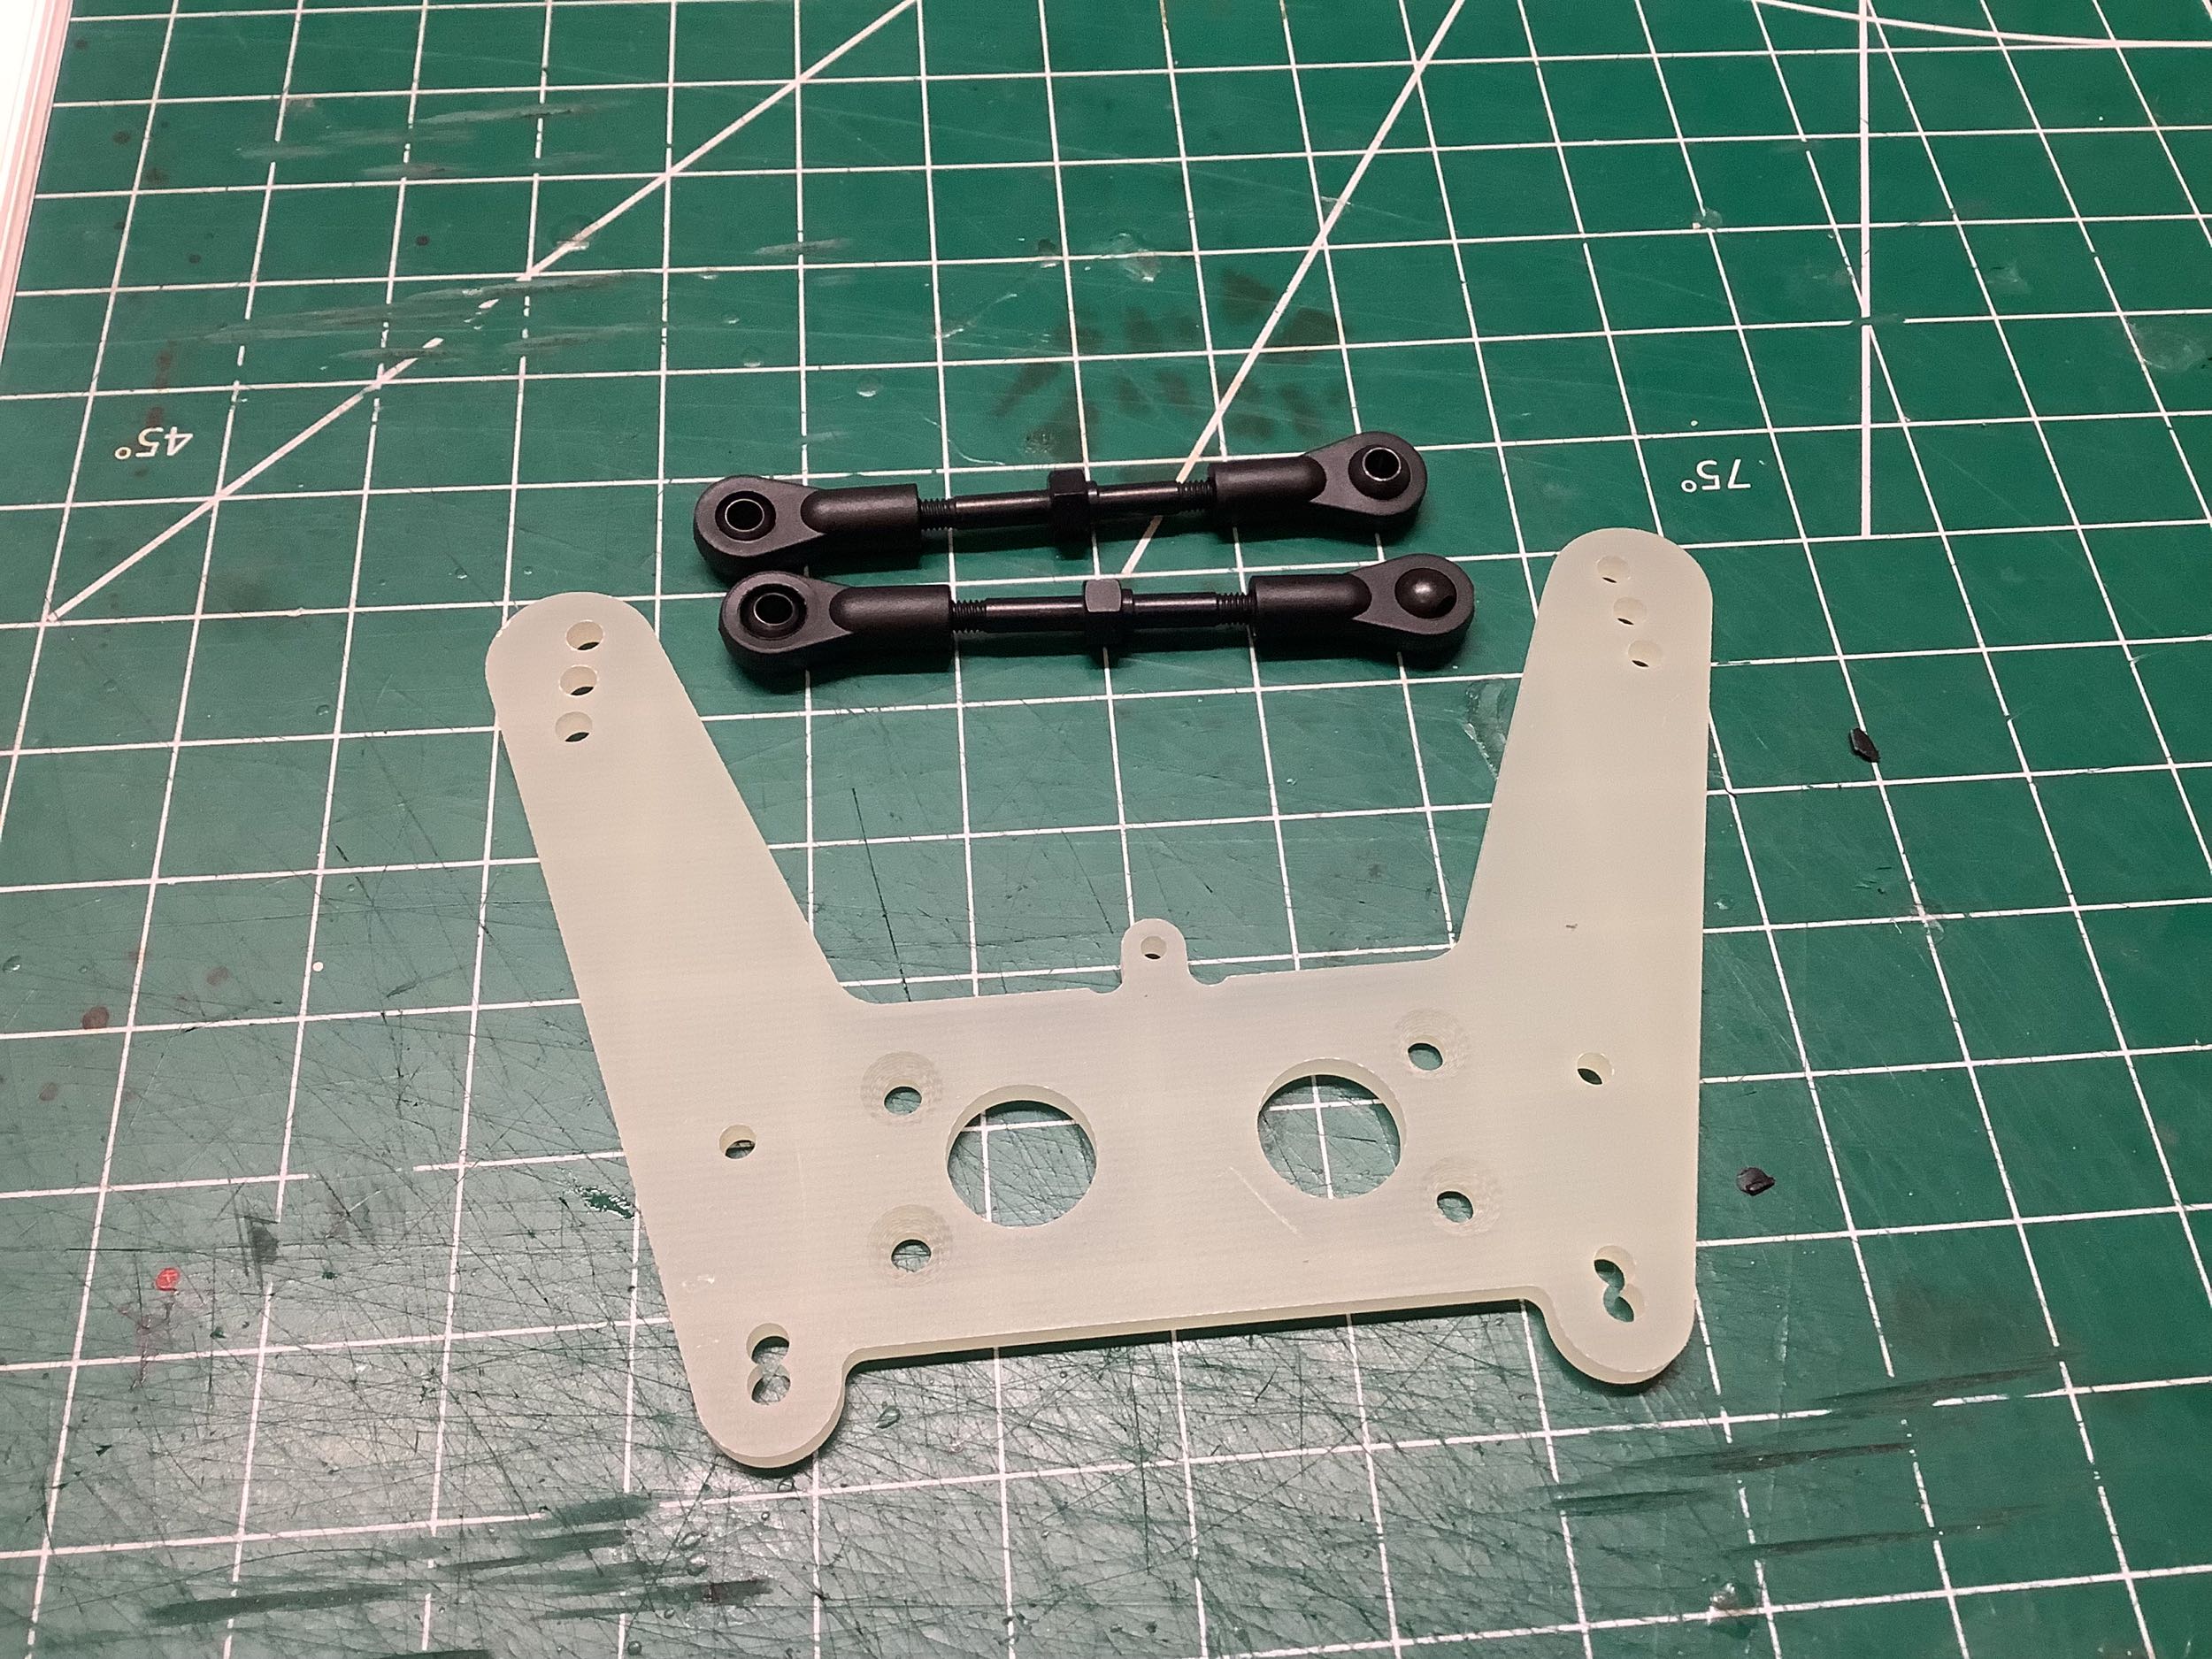
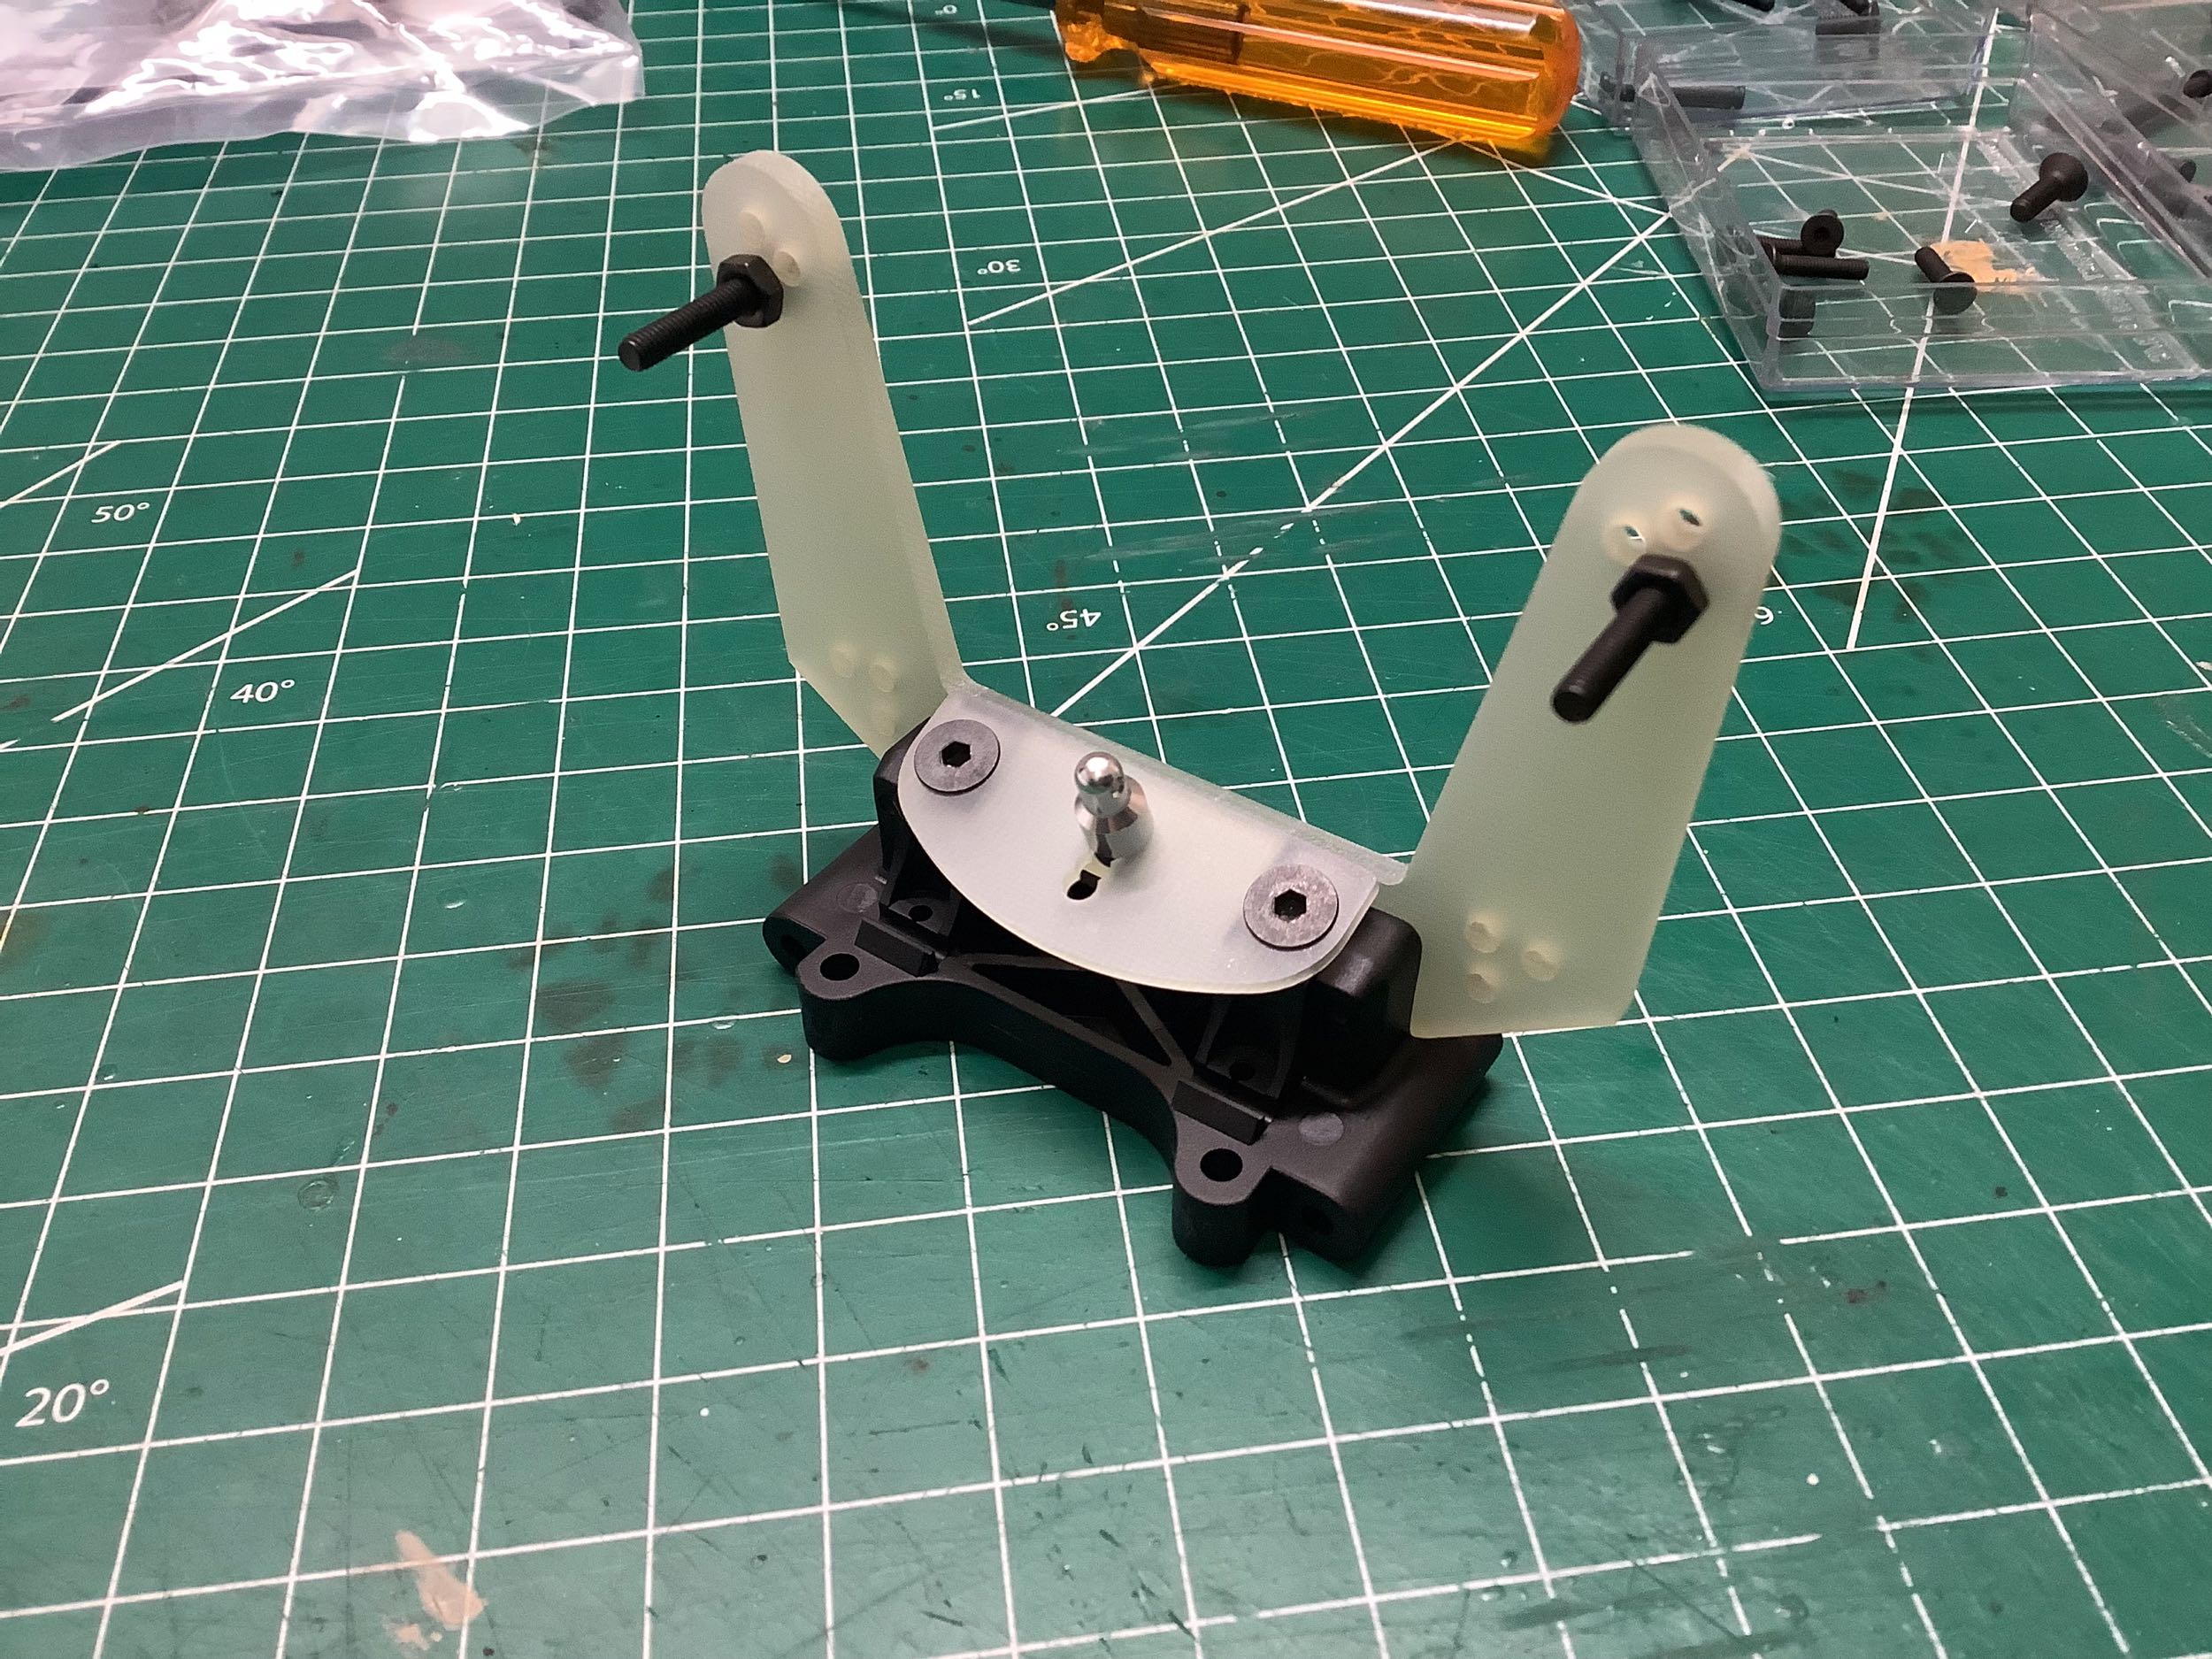
The JJ version uses FRP shock towers instead of plastic. The
threaded rod camber links have also been replaced with
turnbuckles. The suspension arms themselves are common to the
regular Ultima, but the spacers have been relocated for a slightly
longer wheelbase.
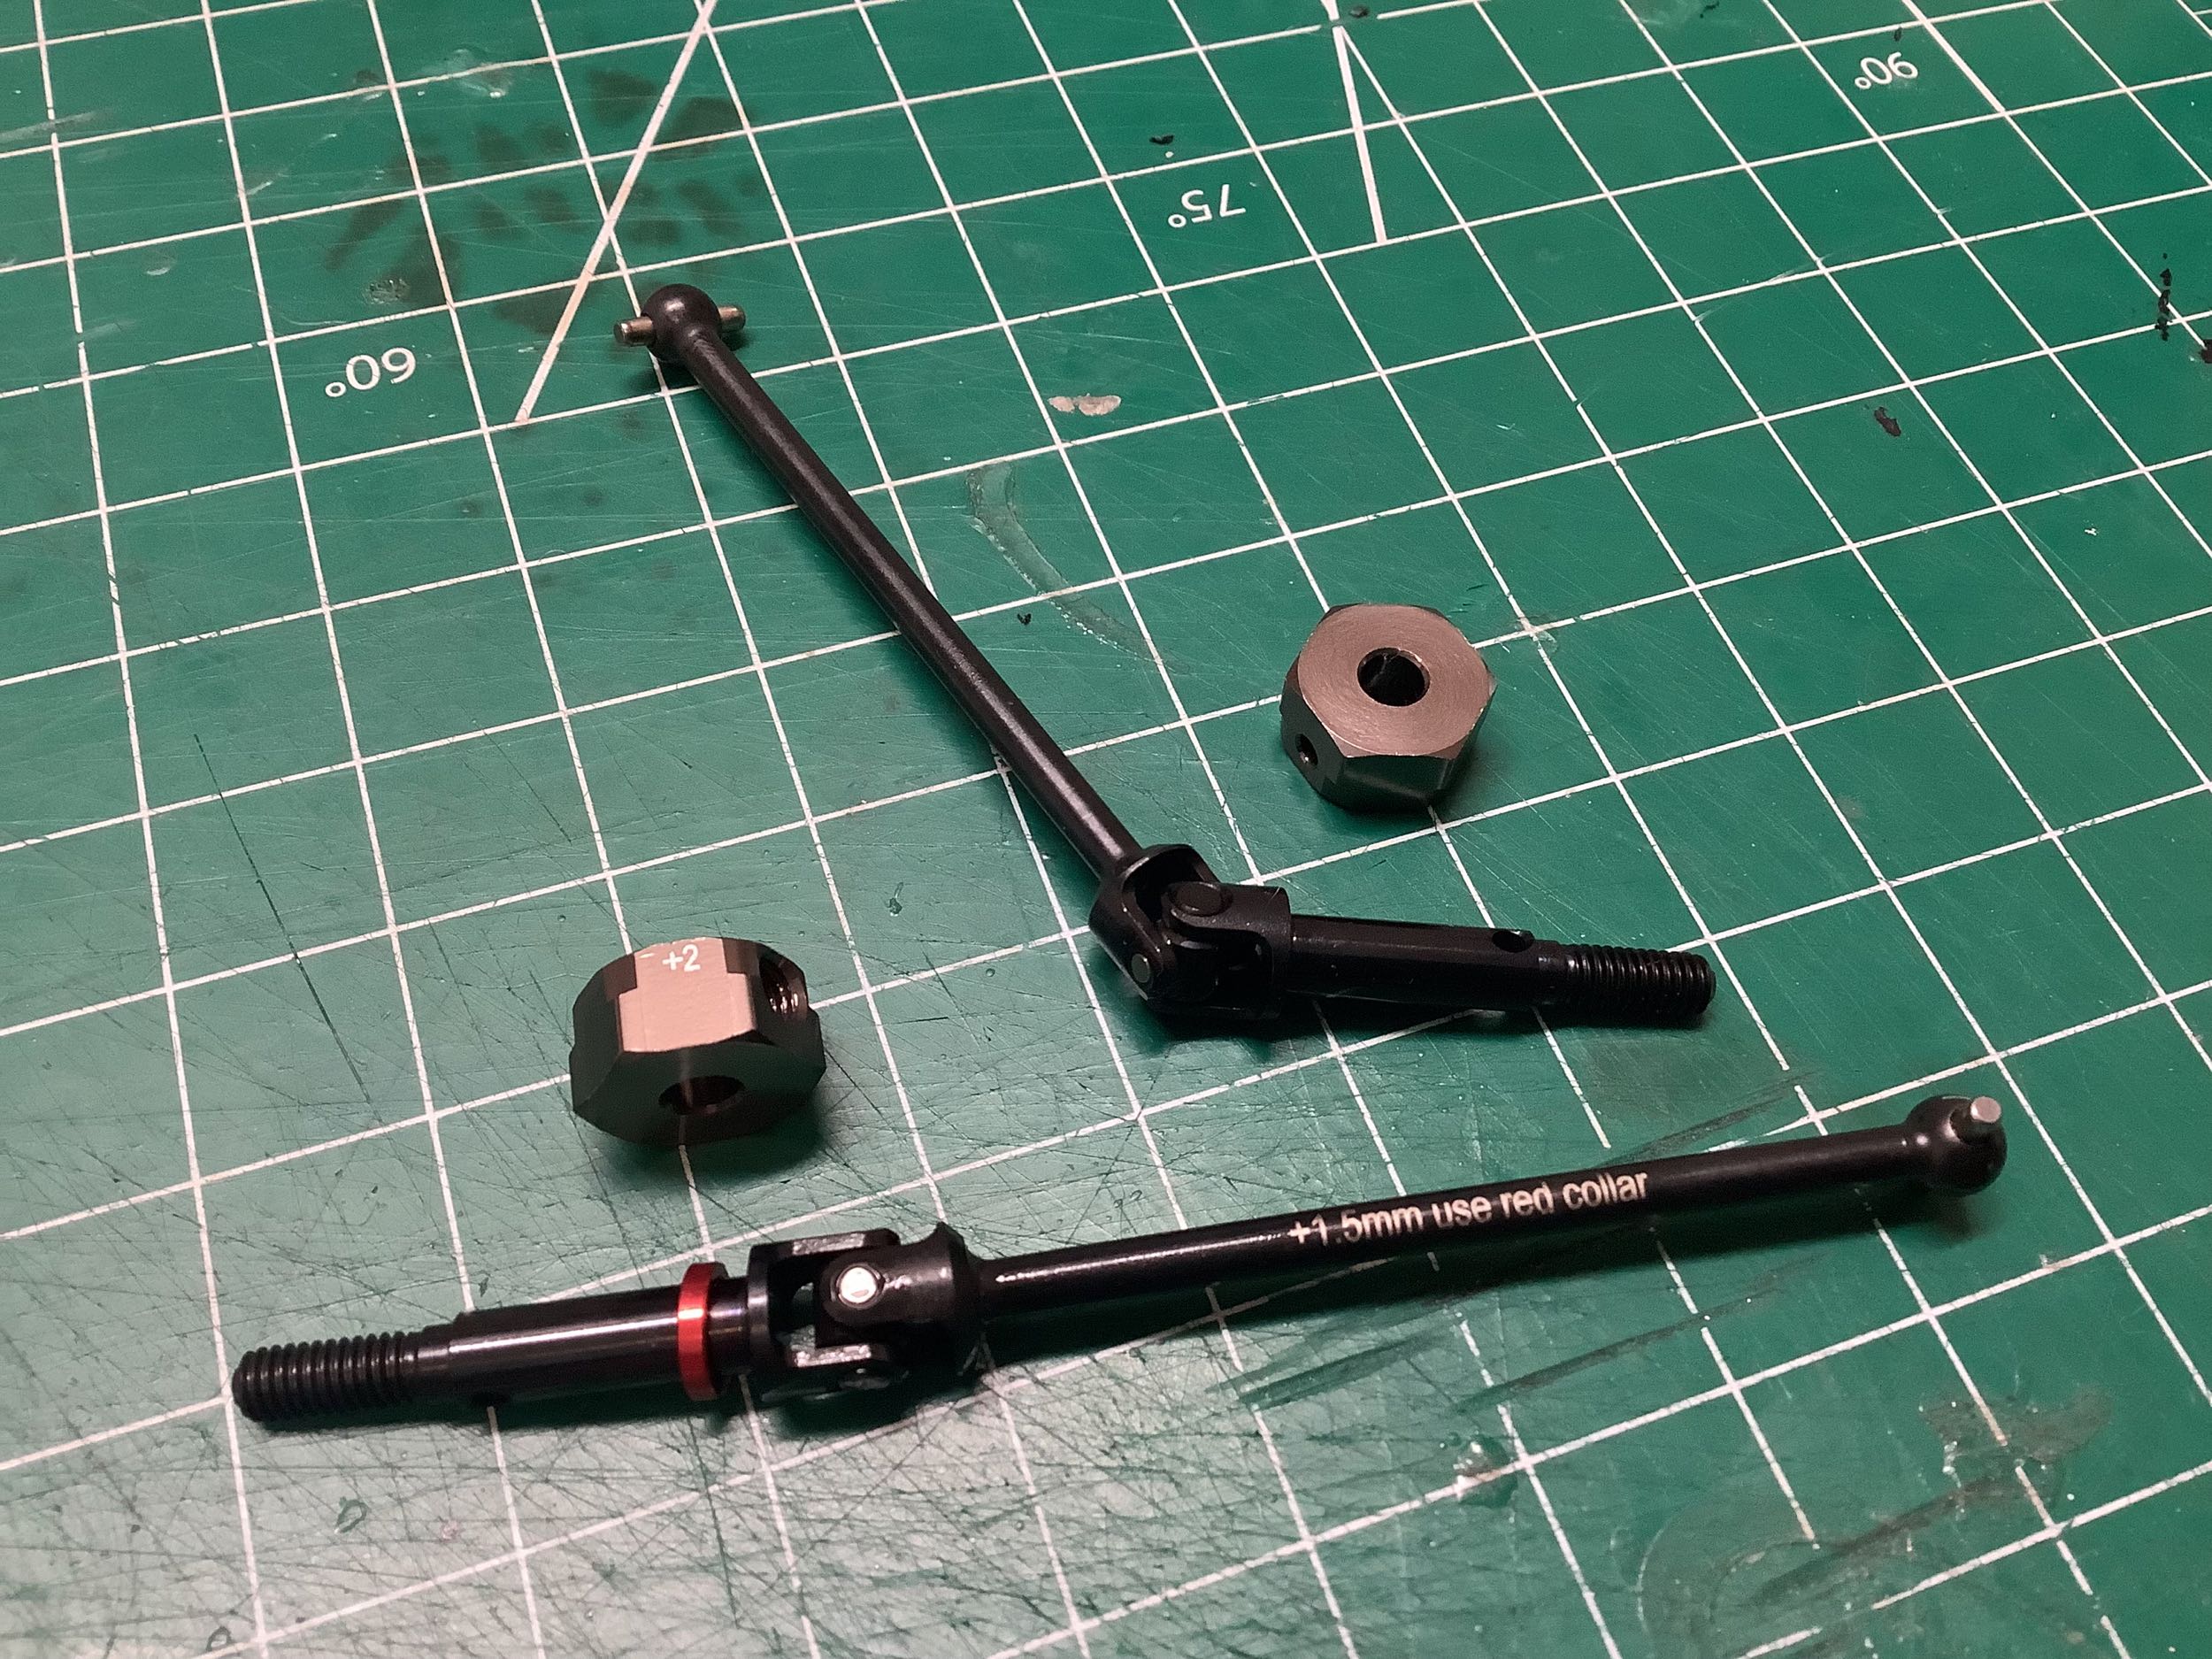
The standard dogbone axles from the Ultima have been replaced with
universals. The wheel hexes also have an additional 2mm offset for
a wider track.
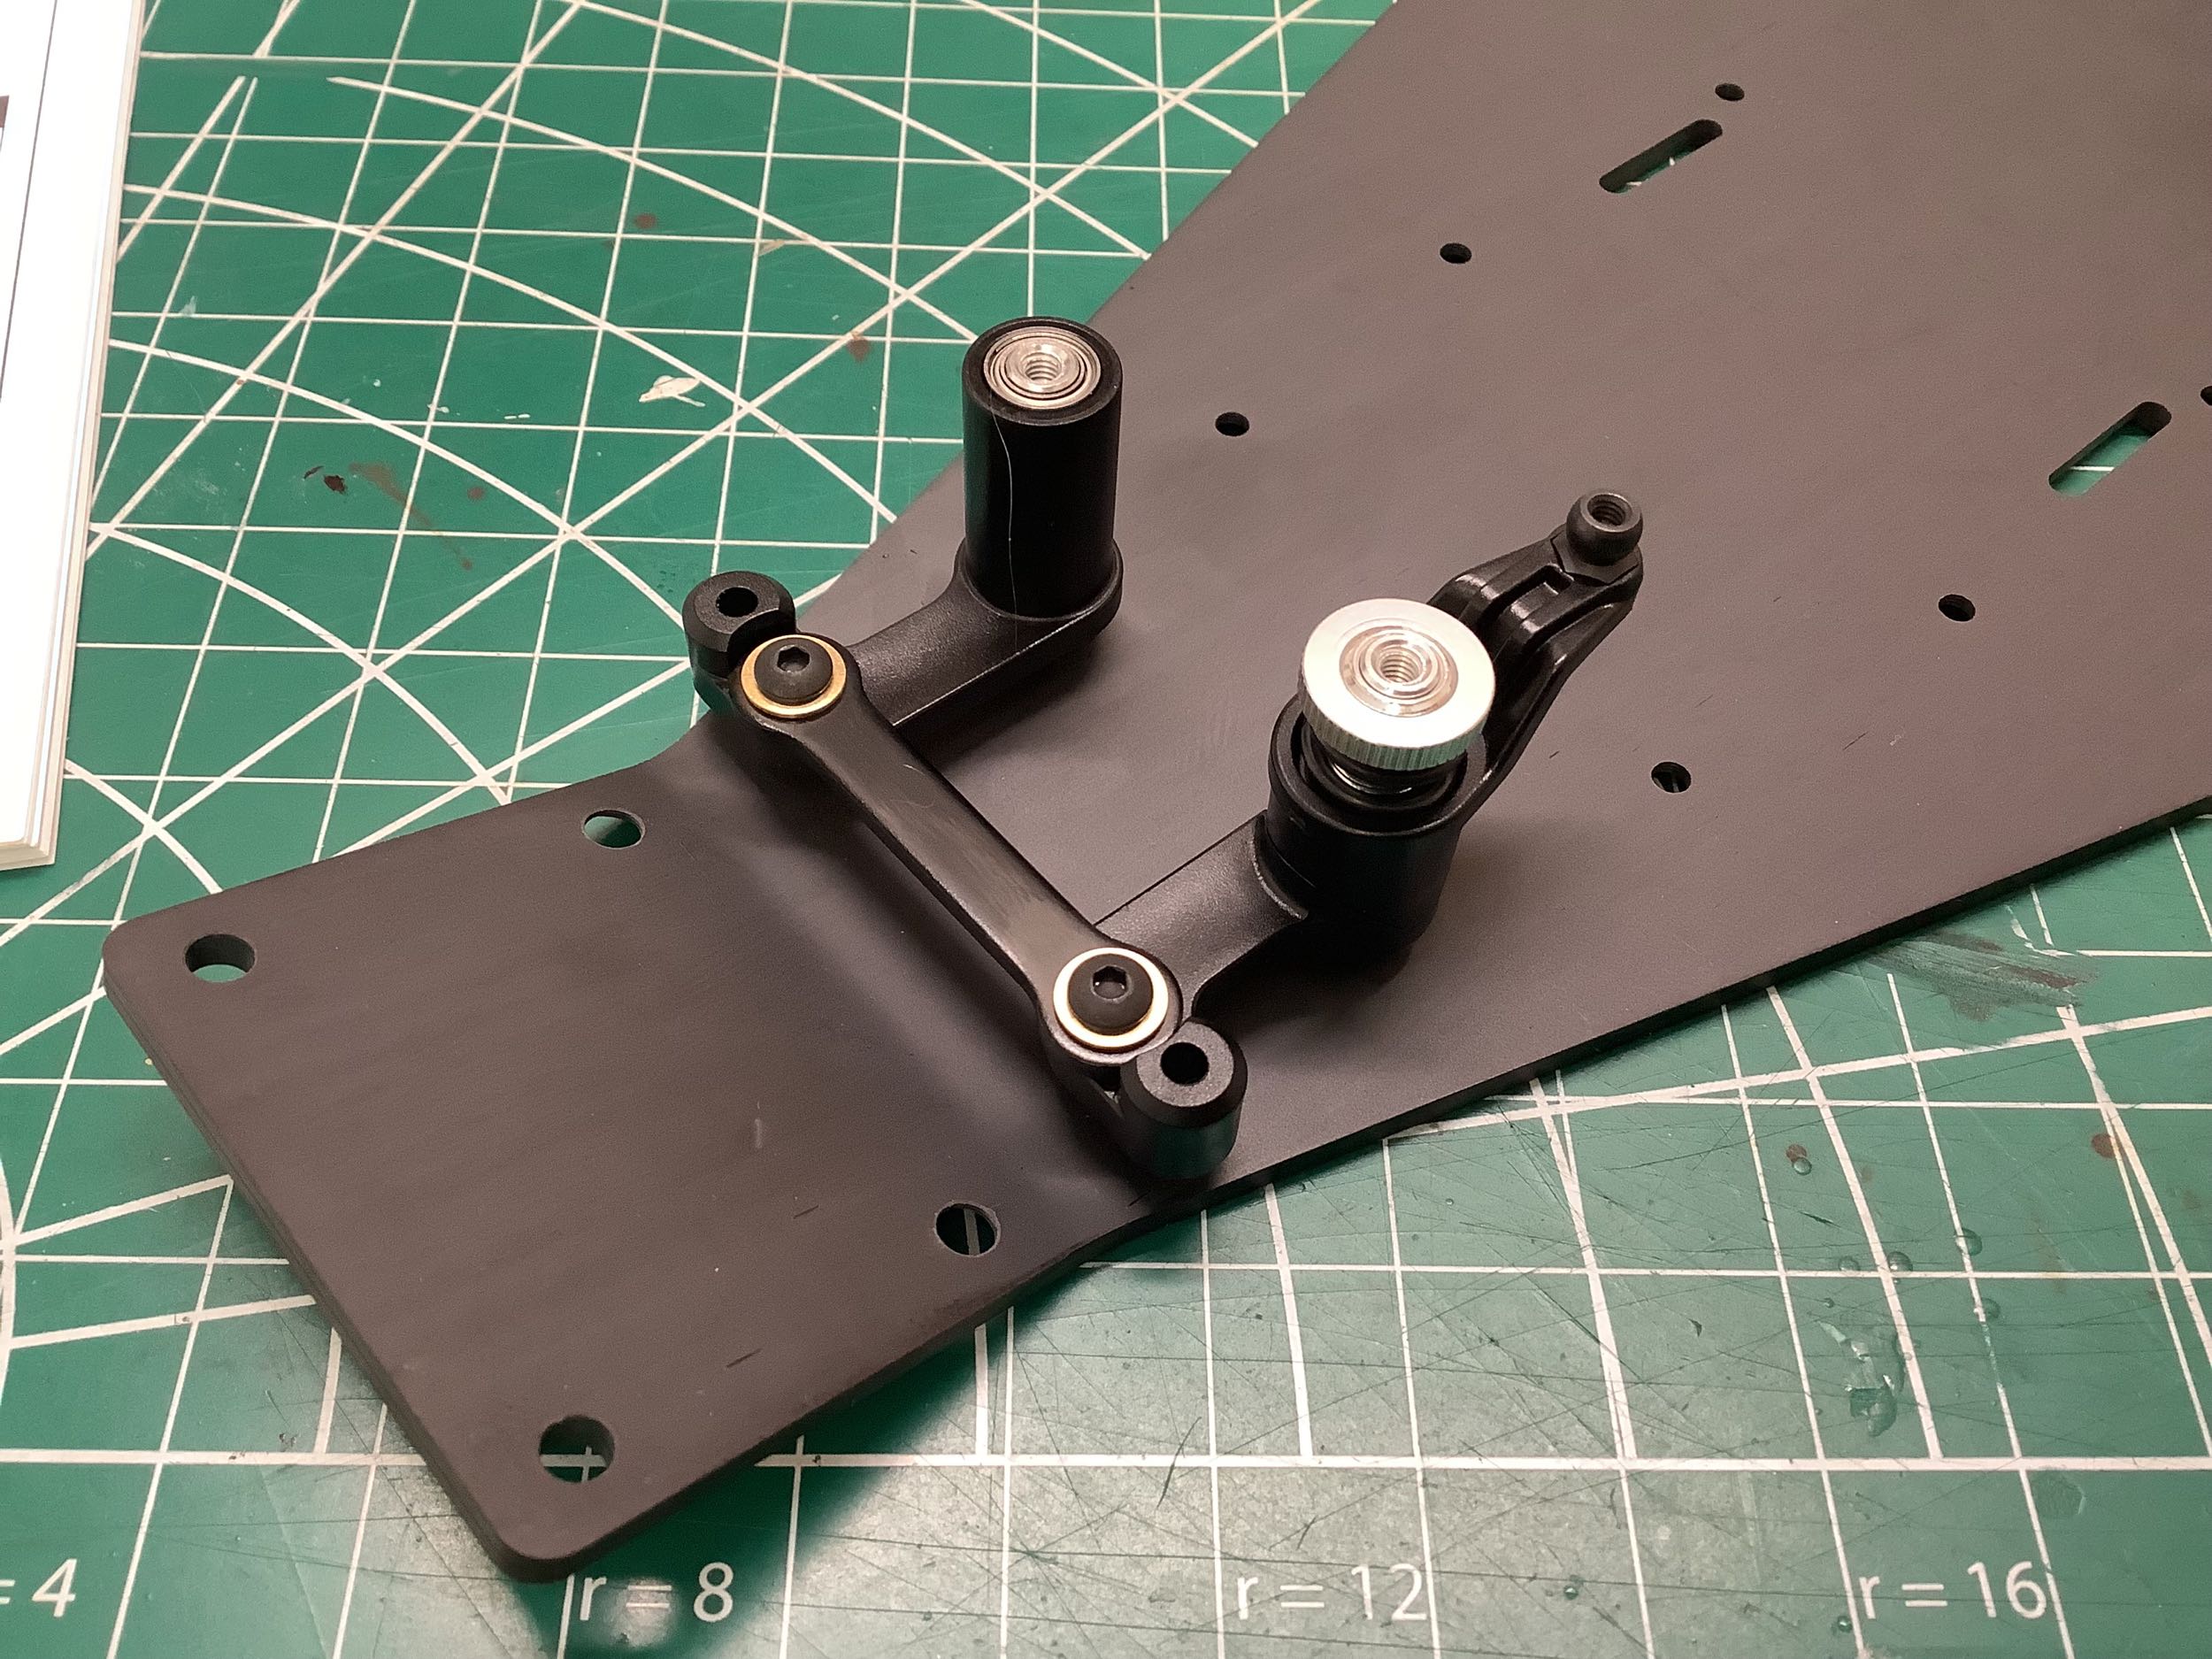
The servo saver has been re-oriented to allow a different servo
installation location. The front shock tower has also been
replaced along with a special plate for the front body mount.
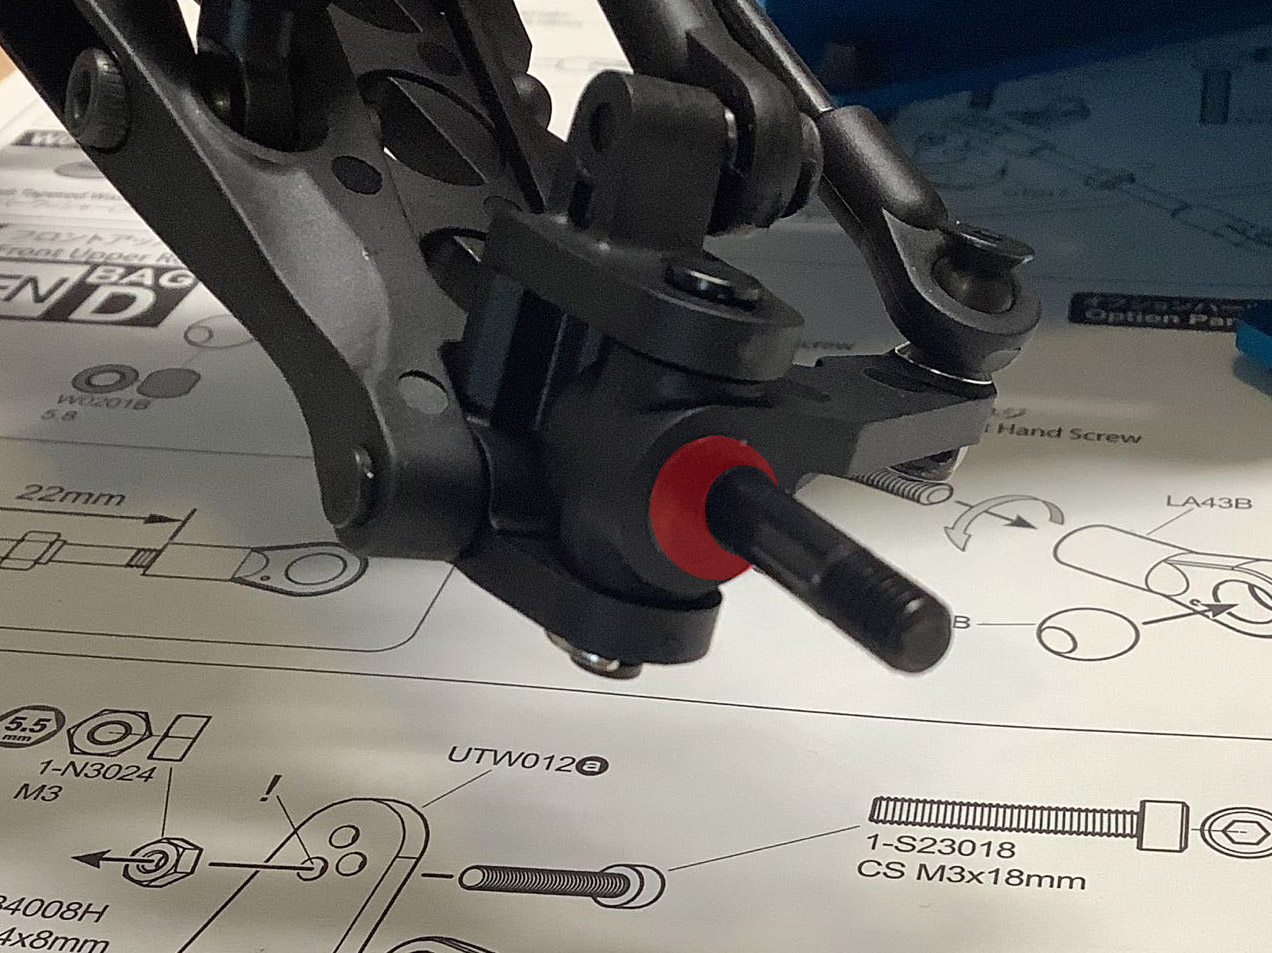
The front spindles have been replaced. The original axles were
inline with the kingpins, but are now offset to the rear as shown (highlighted in red).
This results in a bit of trail which increases stability at the cost of
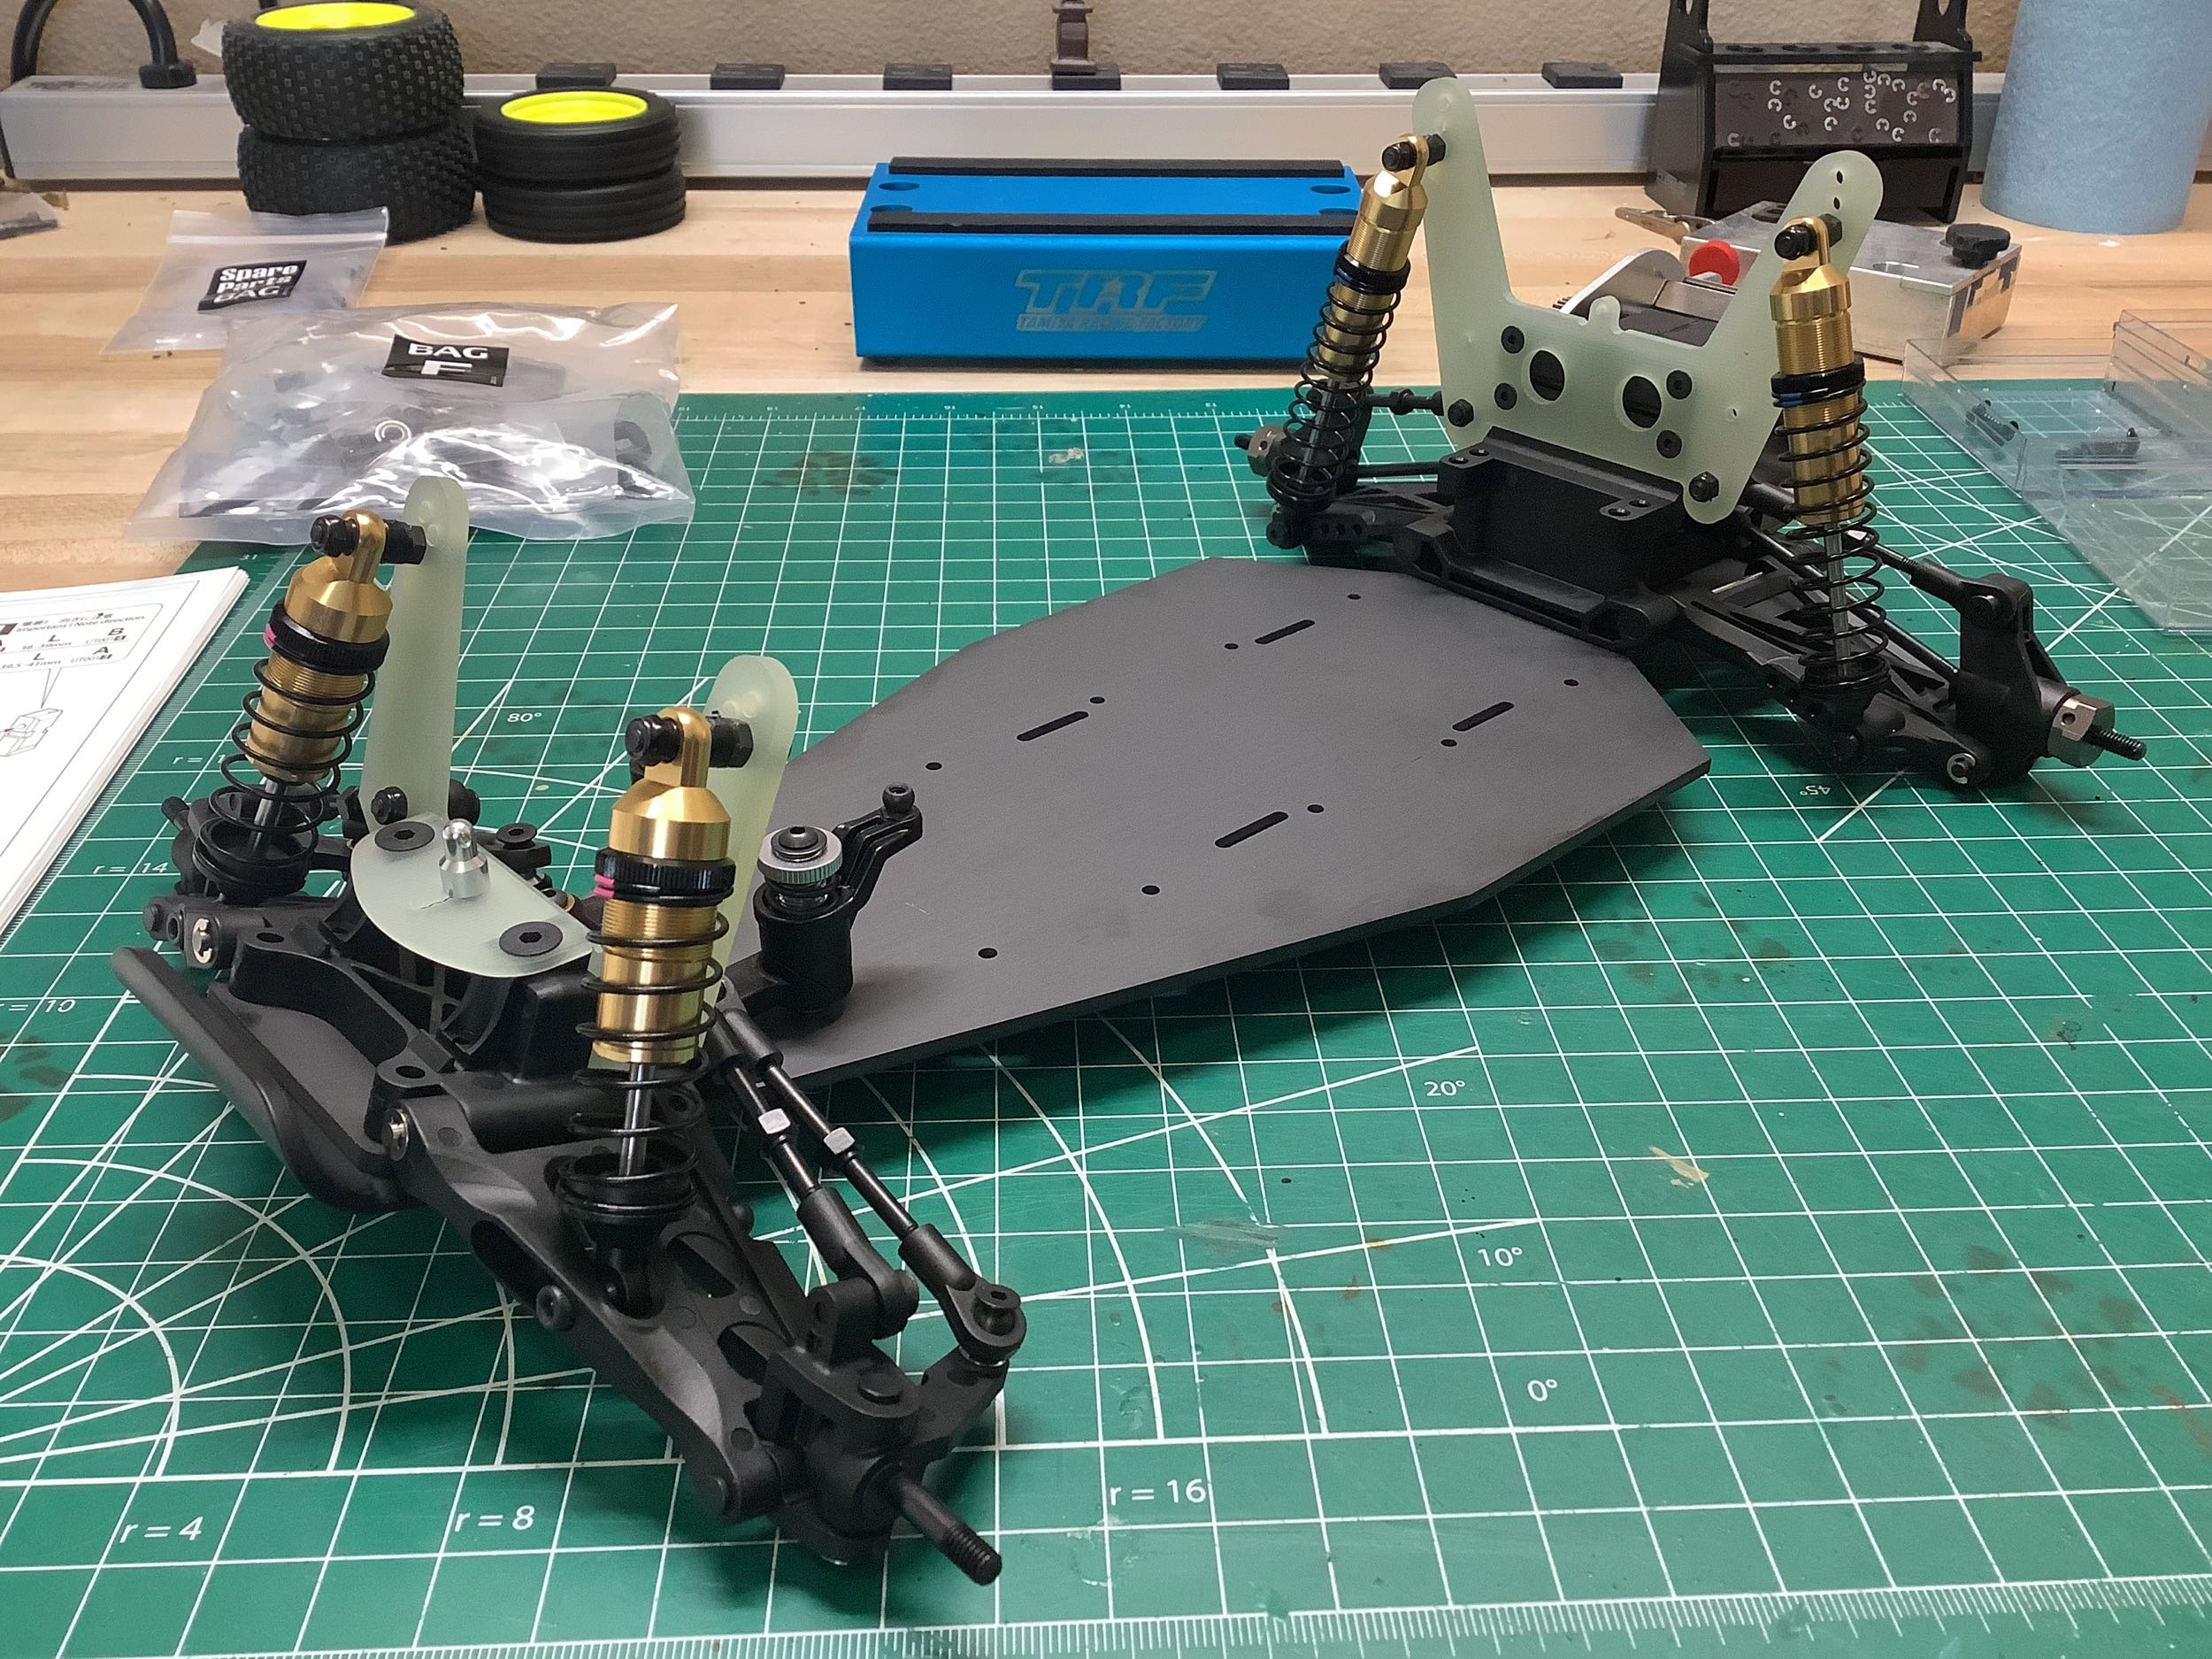
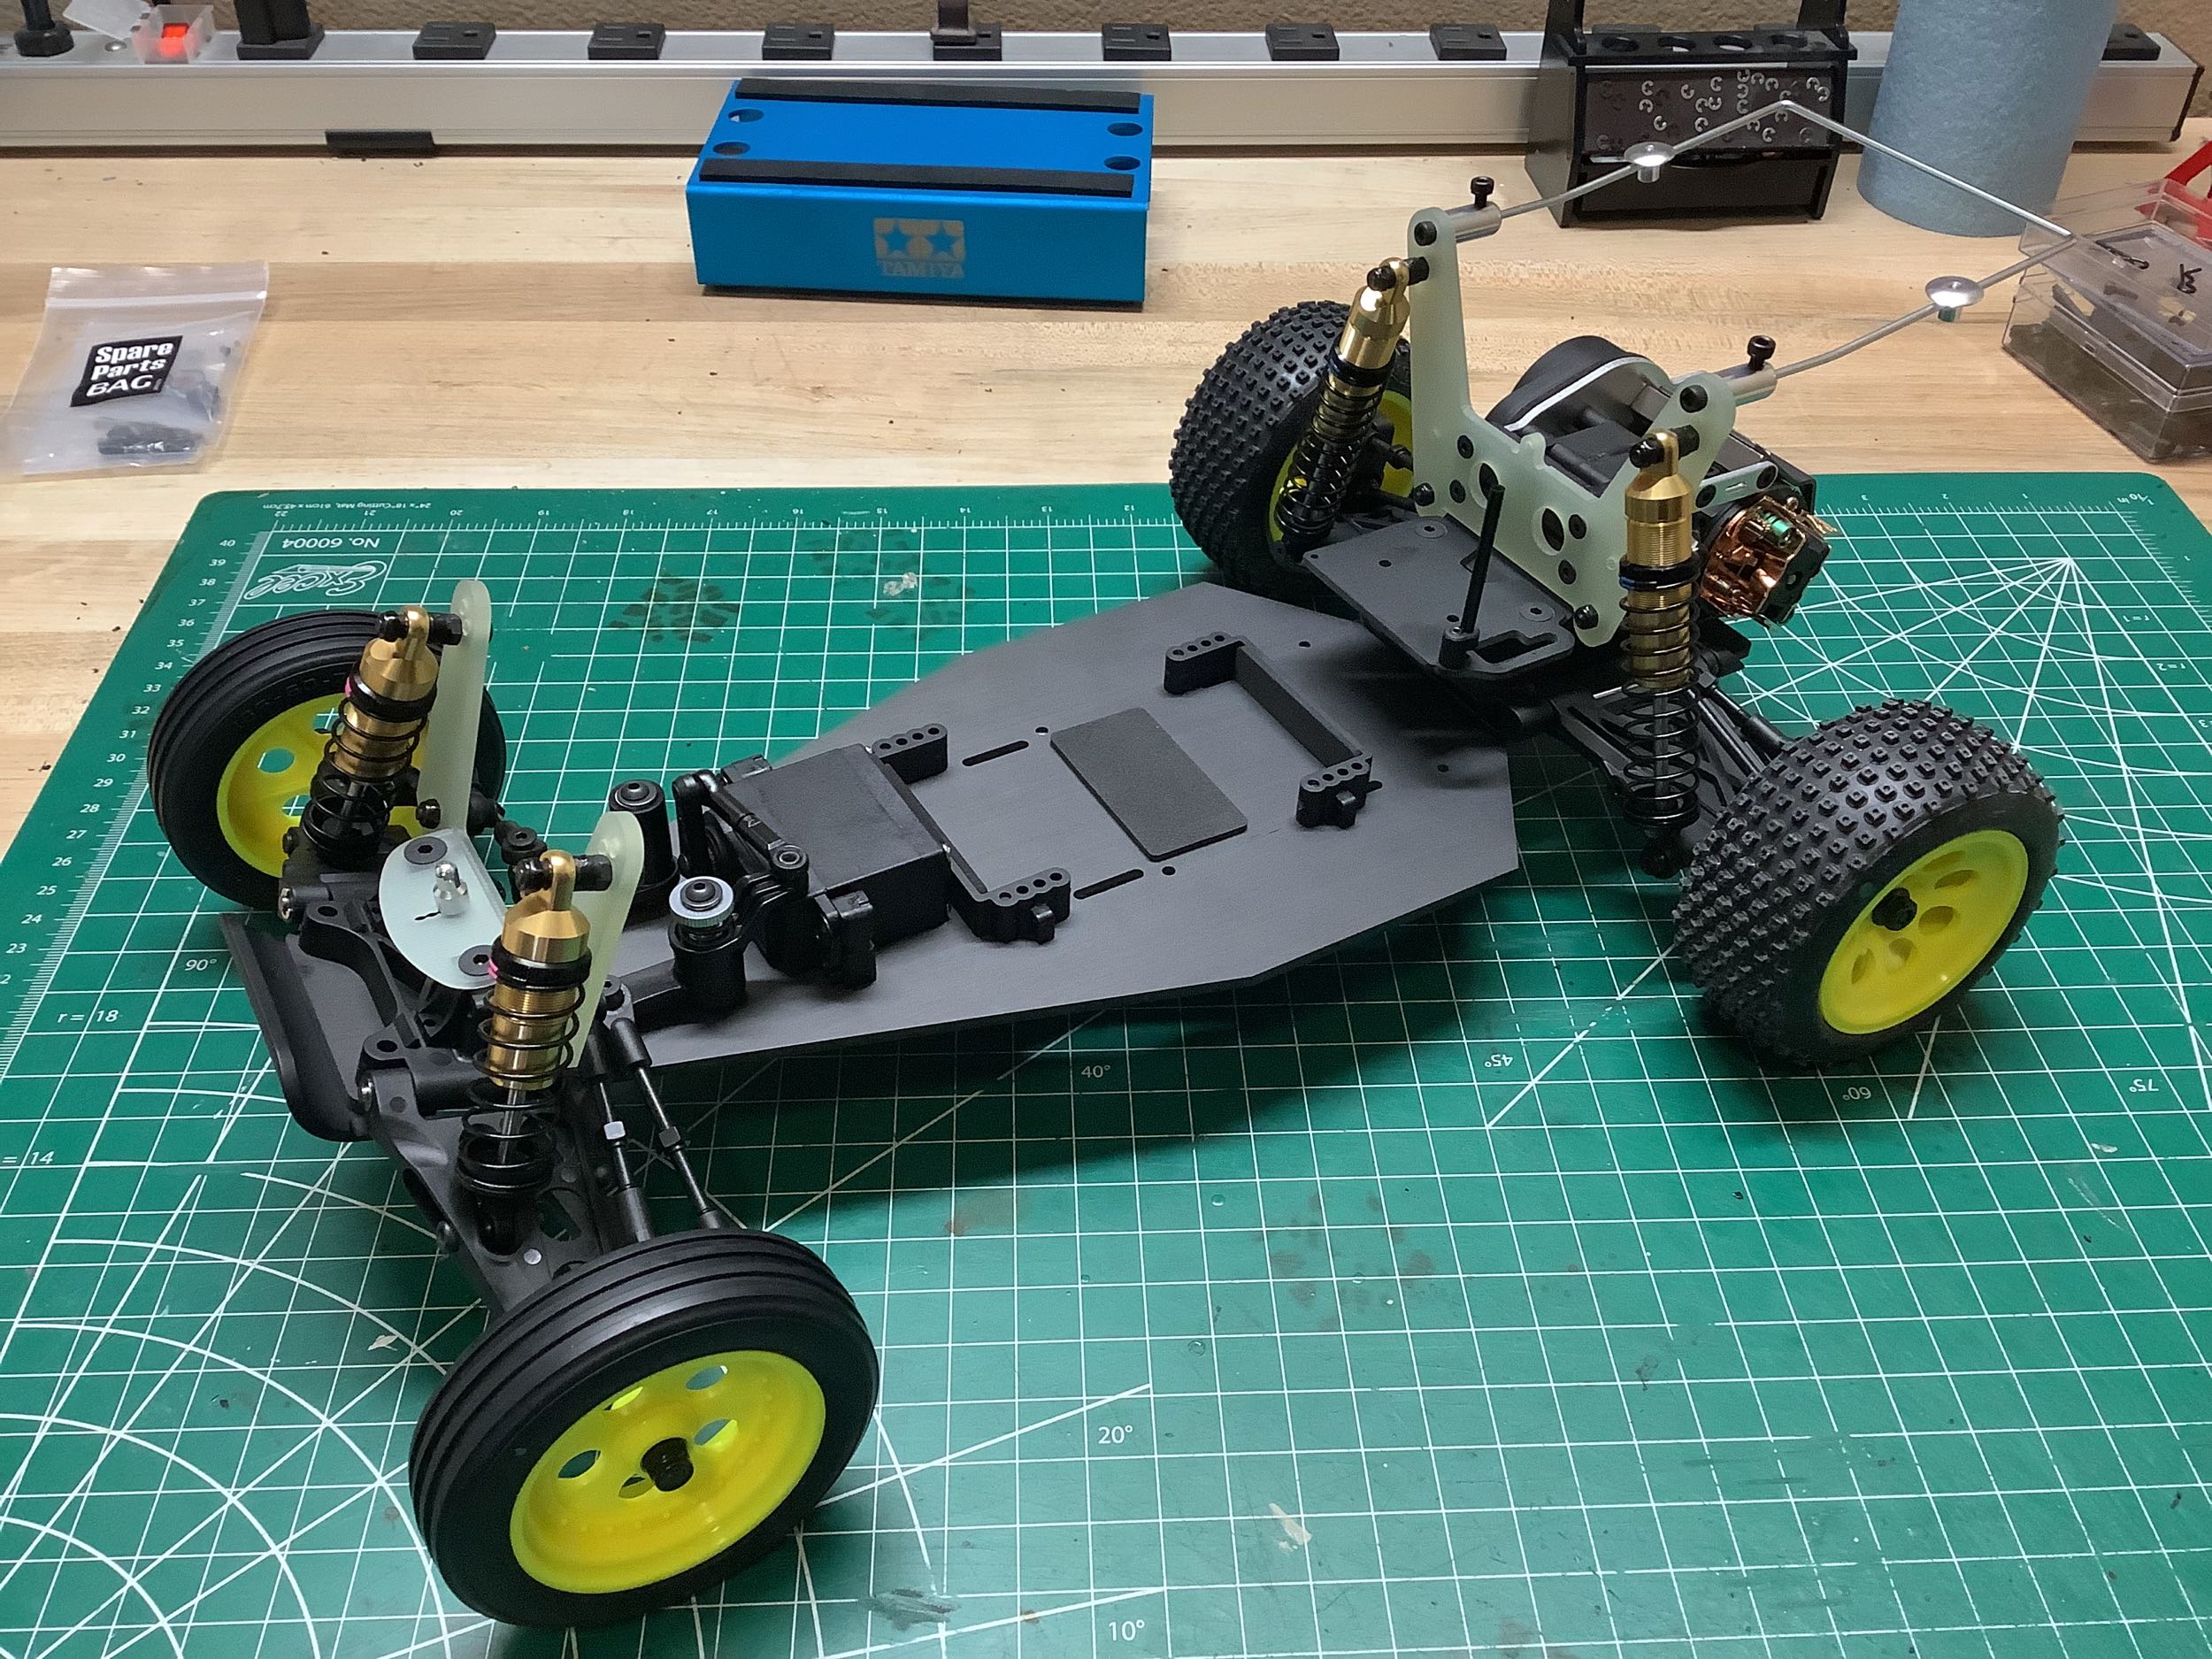
turning sharpness. The completed chassis is on the right.
Note that there is no upper chassis plate which makes this much more
flexible than the standard chassis or a traditional carbon conversion.
Several battery options are possible. I'm not driving this model
so I used a full size servo instead of the recommended low profile which
only leaves room for a shorty battery. Note the wire used for a wing
mount. Not sure how this is an improvement over the much stronger
original Ultima. The wheels have also been installed. The
rear include additional 1mm spacers. The tires are a softer
compound than those used in the regular Ultima.
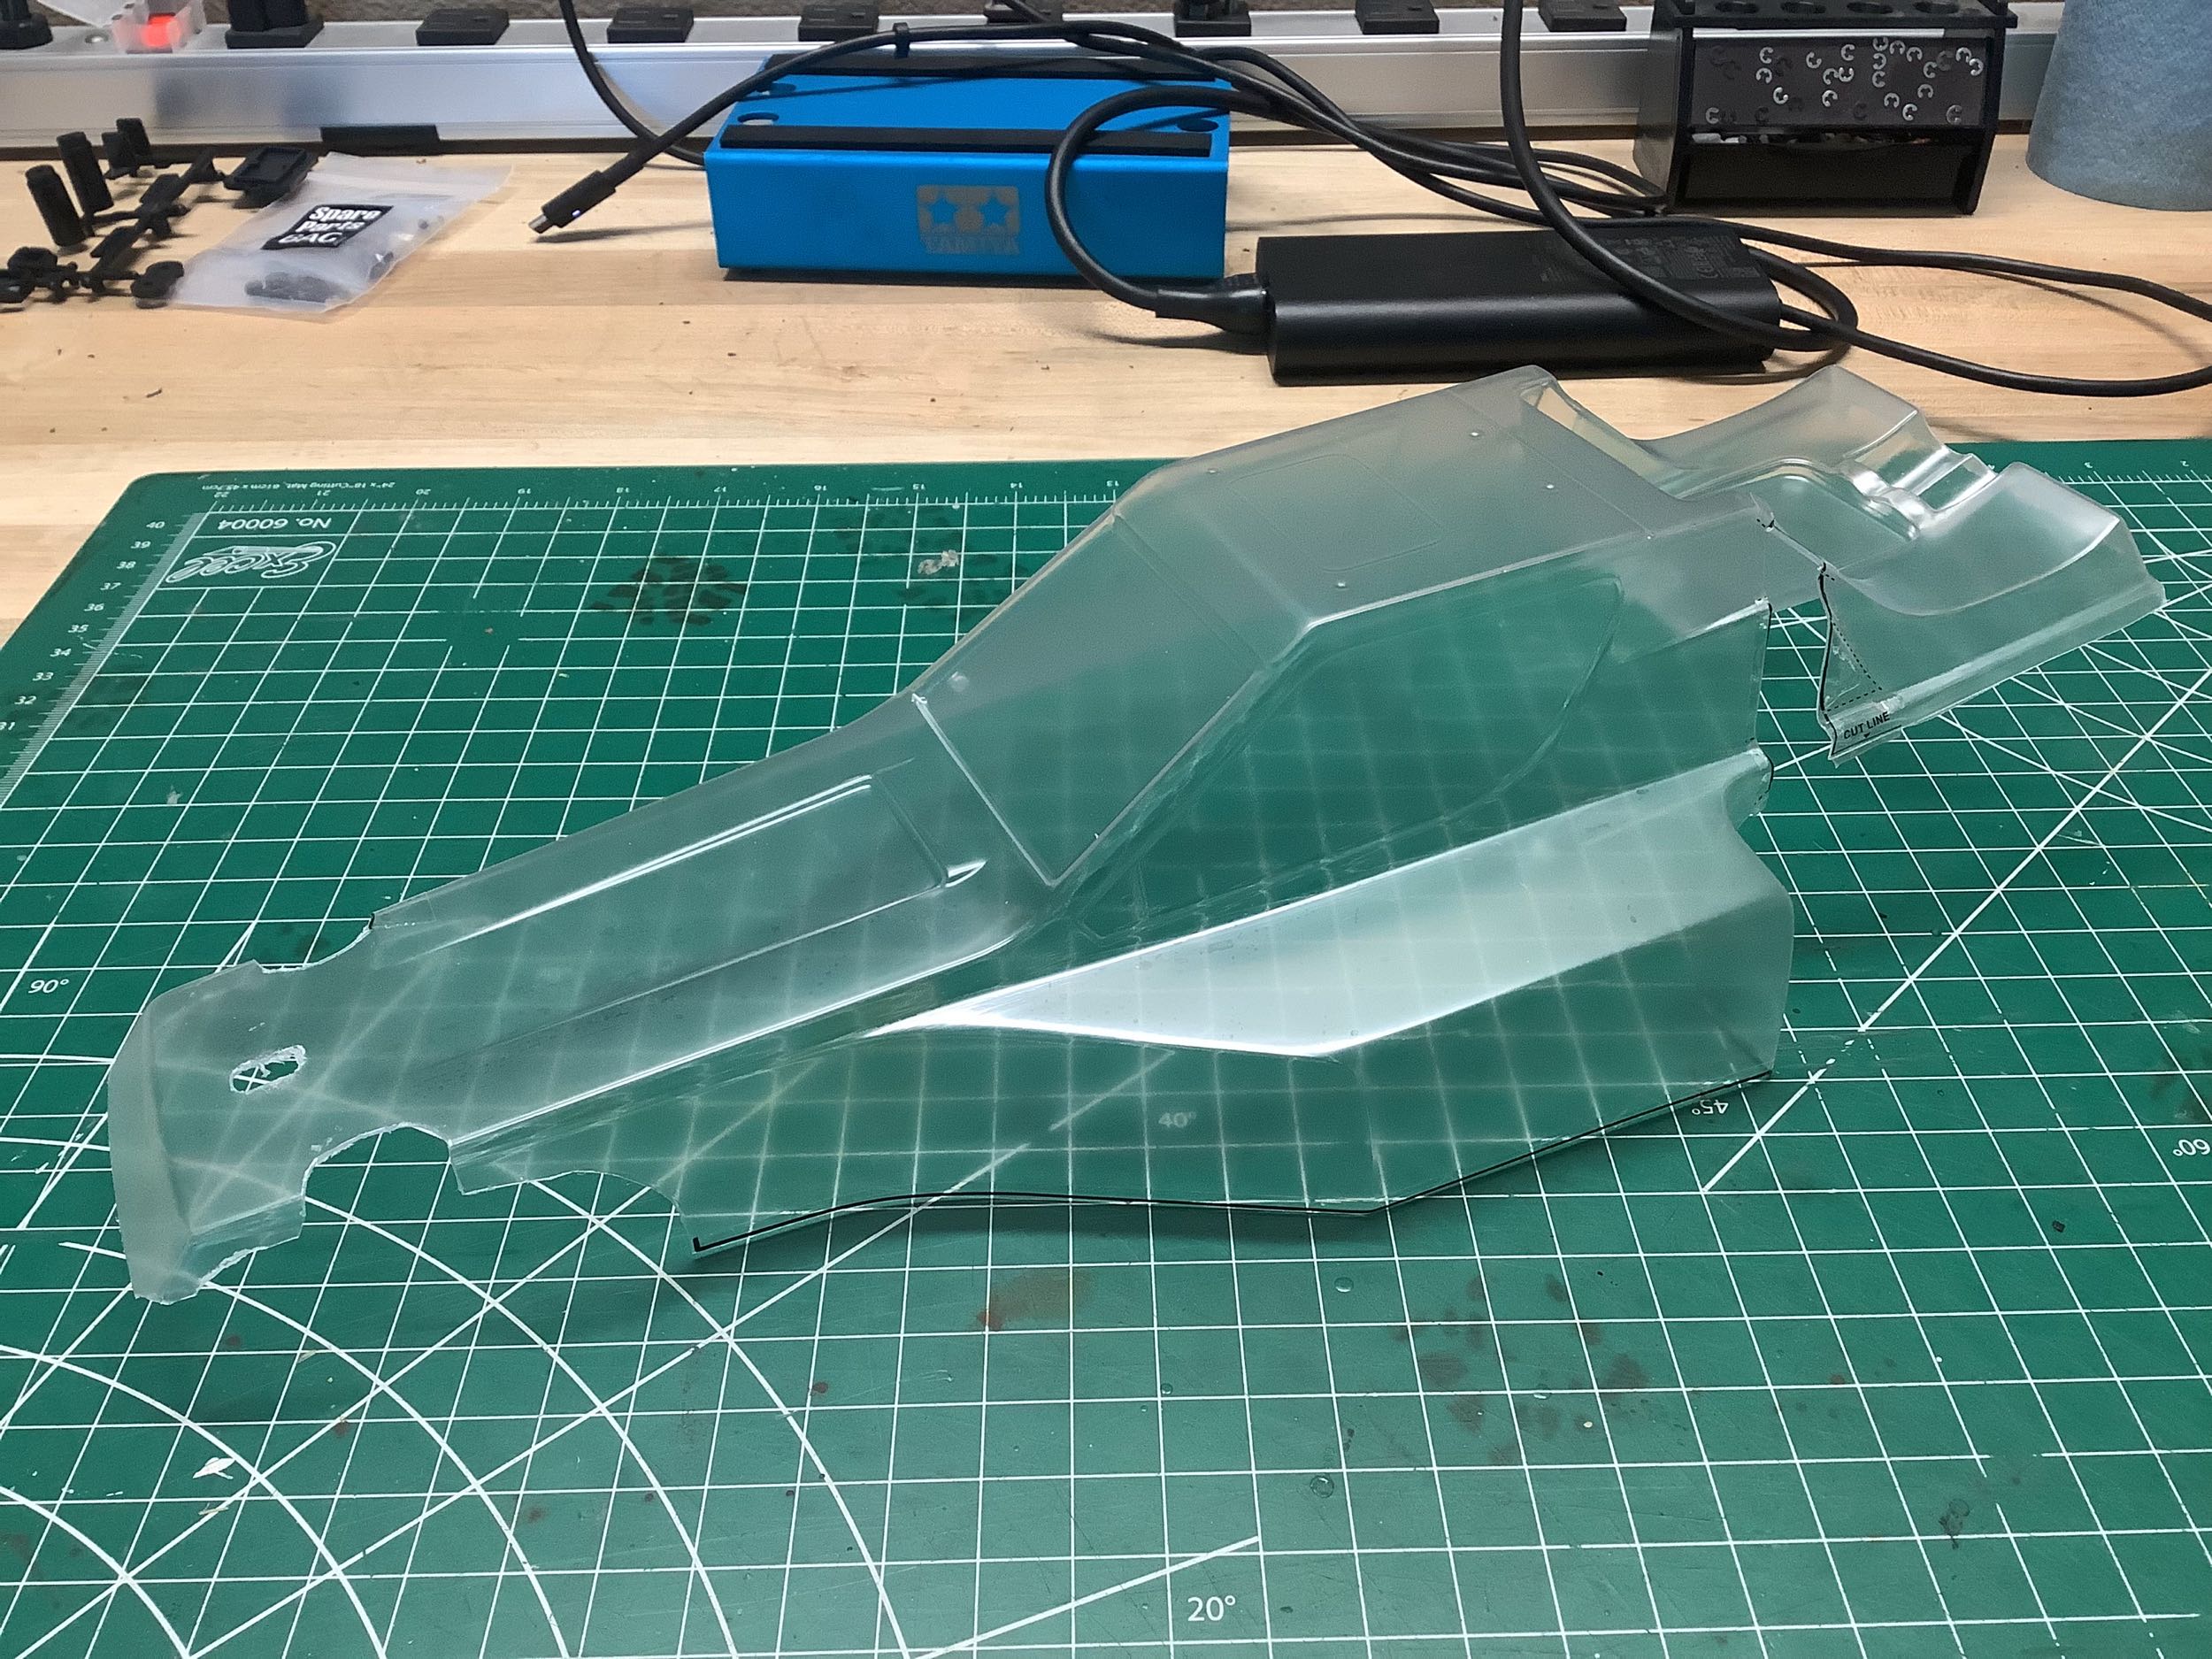
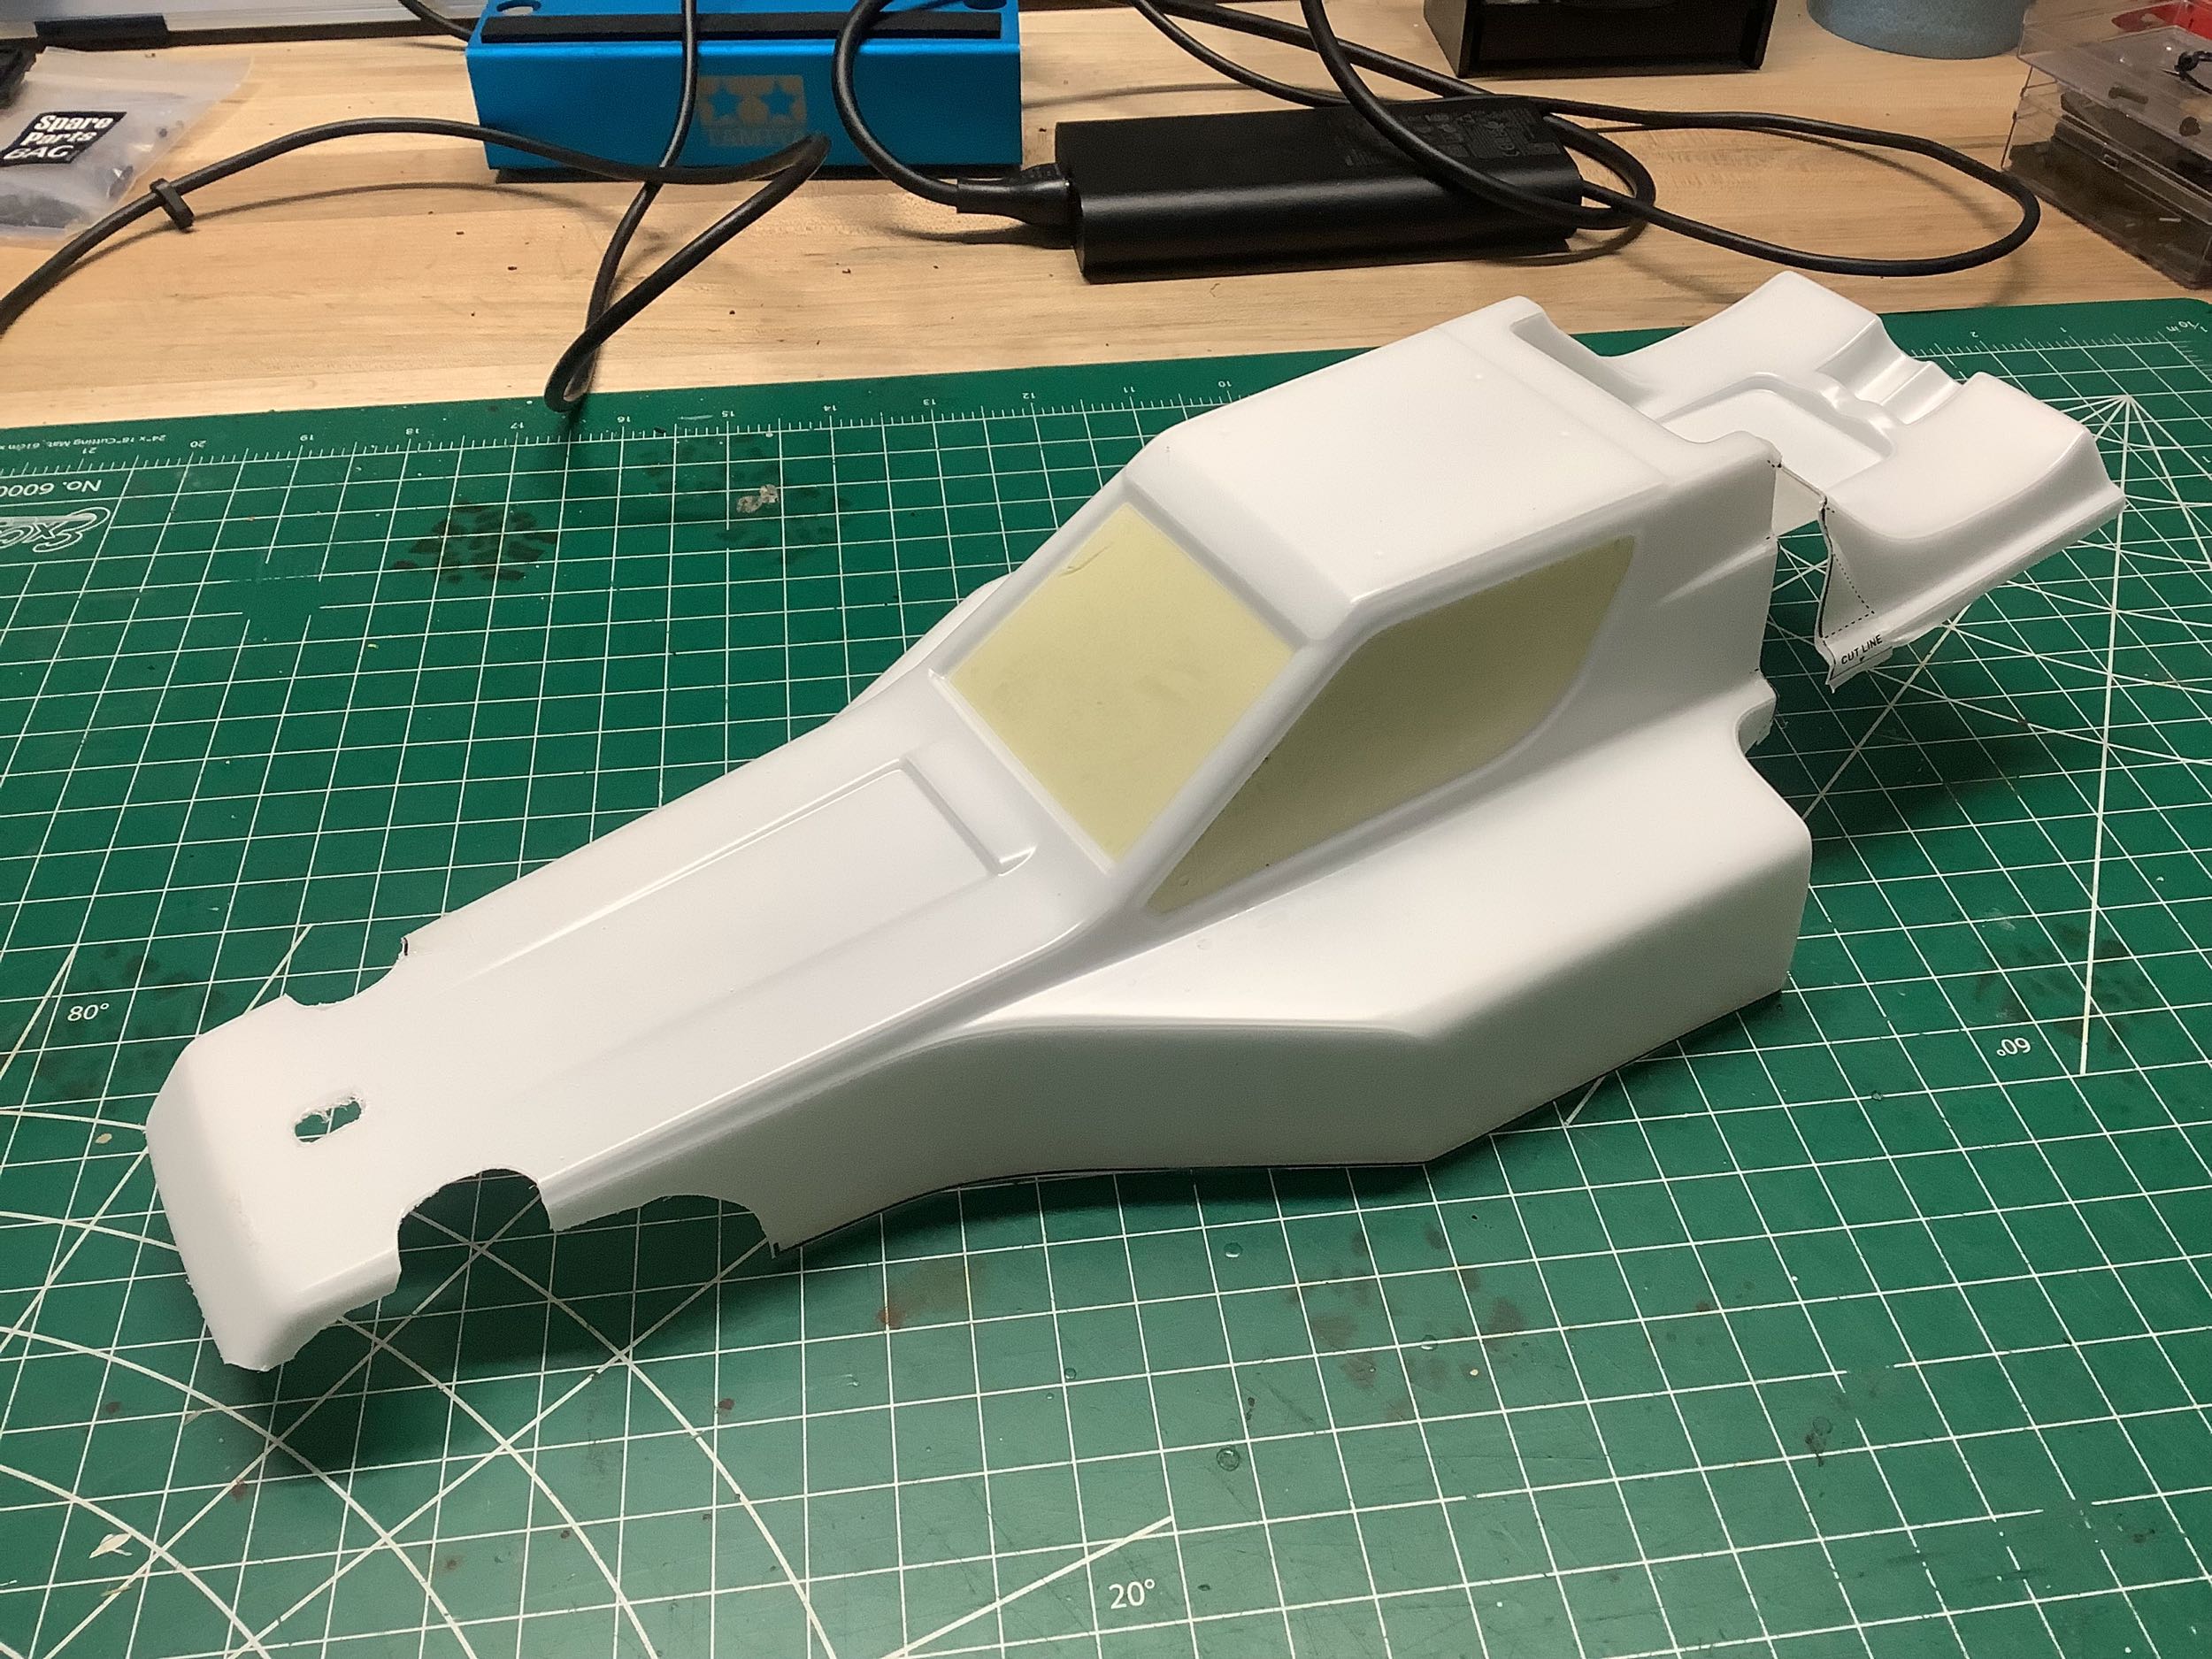
The Tomahawk body is much bigger than the Ultima body, but is not
trimmed in the same way as a Tomahawk. A lot of care needs to be
taken during trimming to get it right. The body includes a single
side mirror on the right which is apparently how JJ did it
originally. It was painted in boring plain white.
Yes, I know that I put the stickers on backwards and the pink stripe
should really be forward. The manual is greyscale so you can't
tell the right way to do it. I put the tires on backward so that I
could affix the white lettering stickers on the side, but then failed
to note that the stickers are not all the same since the back tires are
bigger. That means this photo is wrong and I had to fix them
later, and that means they are never going to adhere properly now.
©2026 Eric Albrecht