Kyosho Ultima Project
Page 1: Stock Assembly
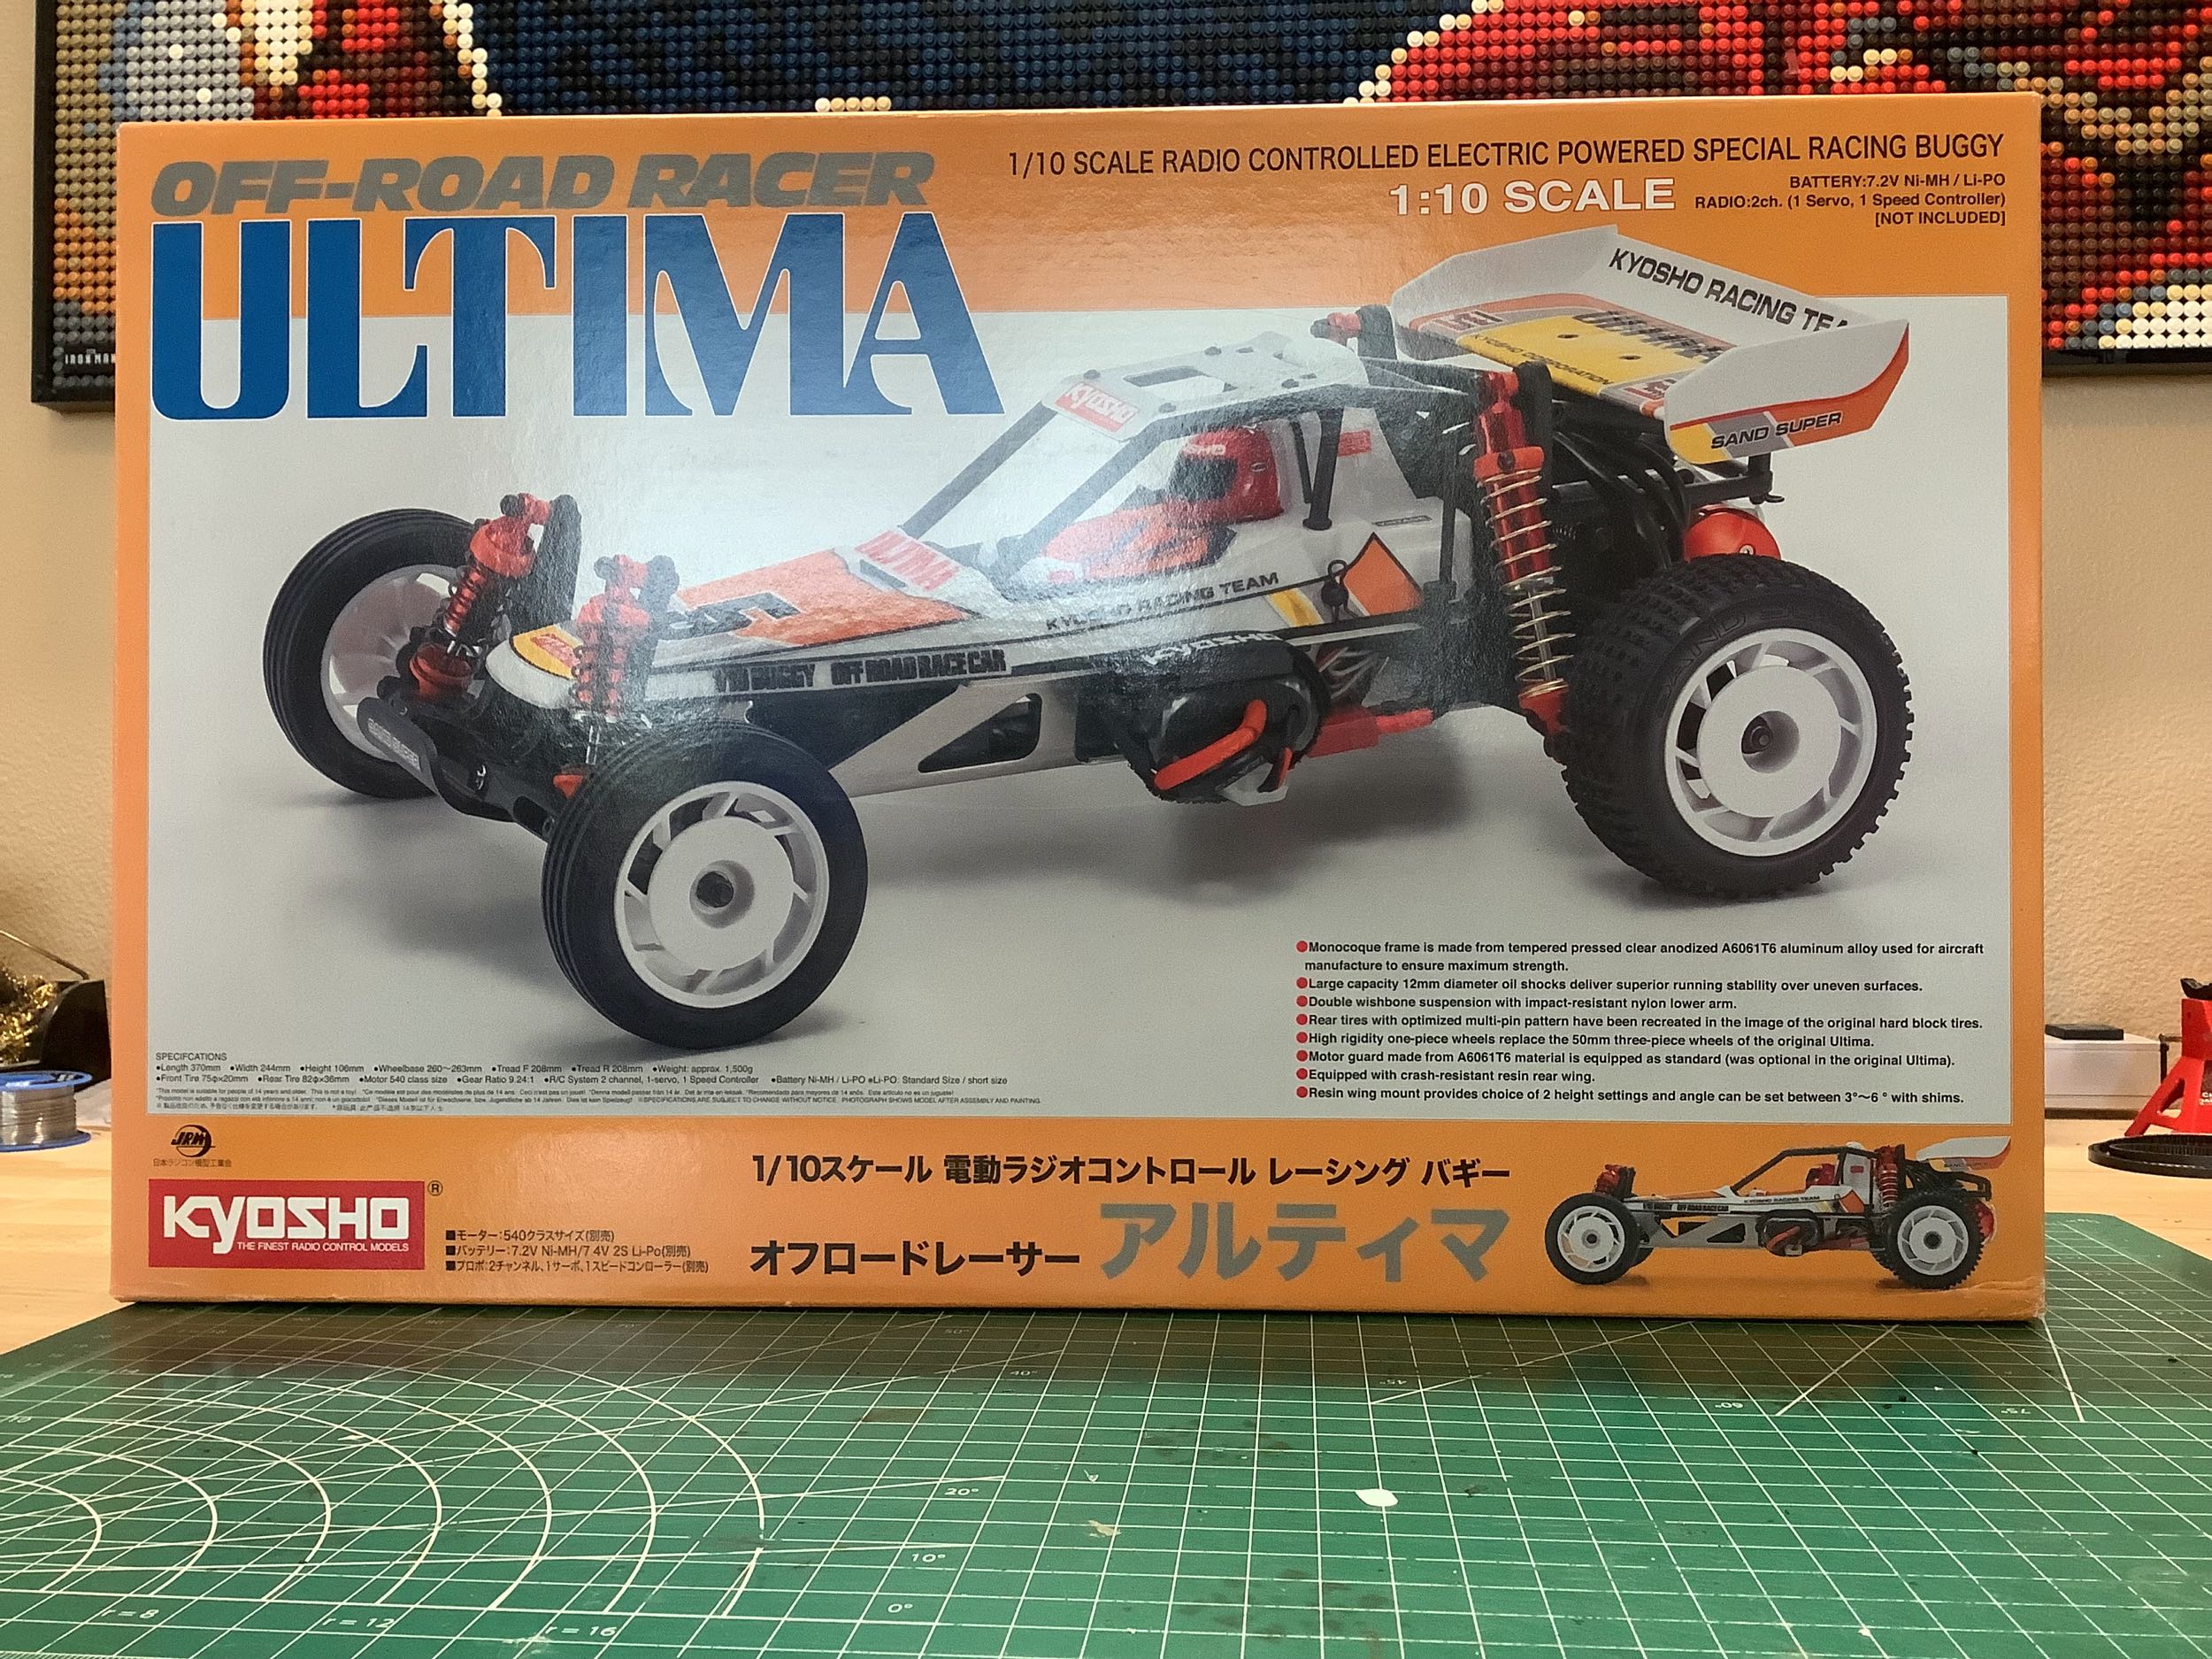
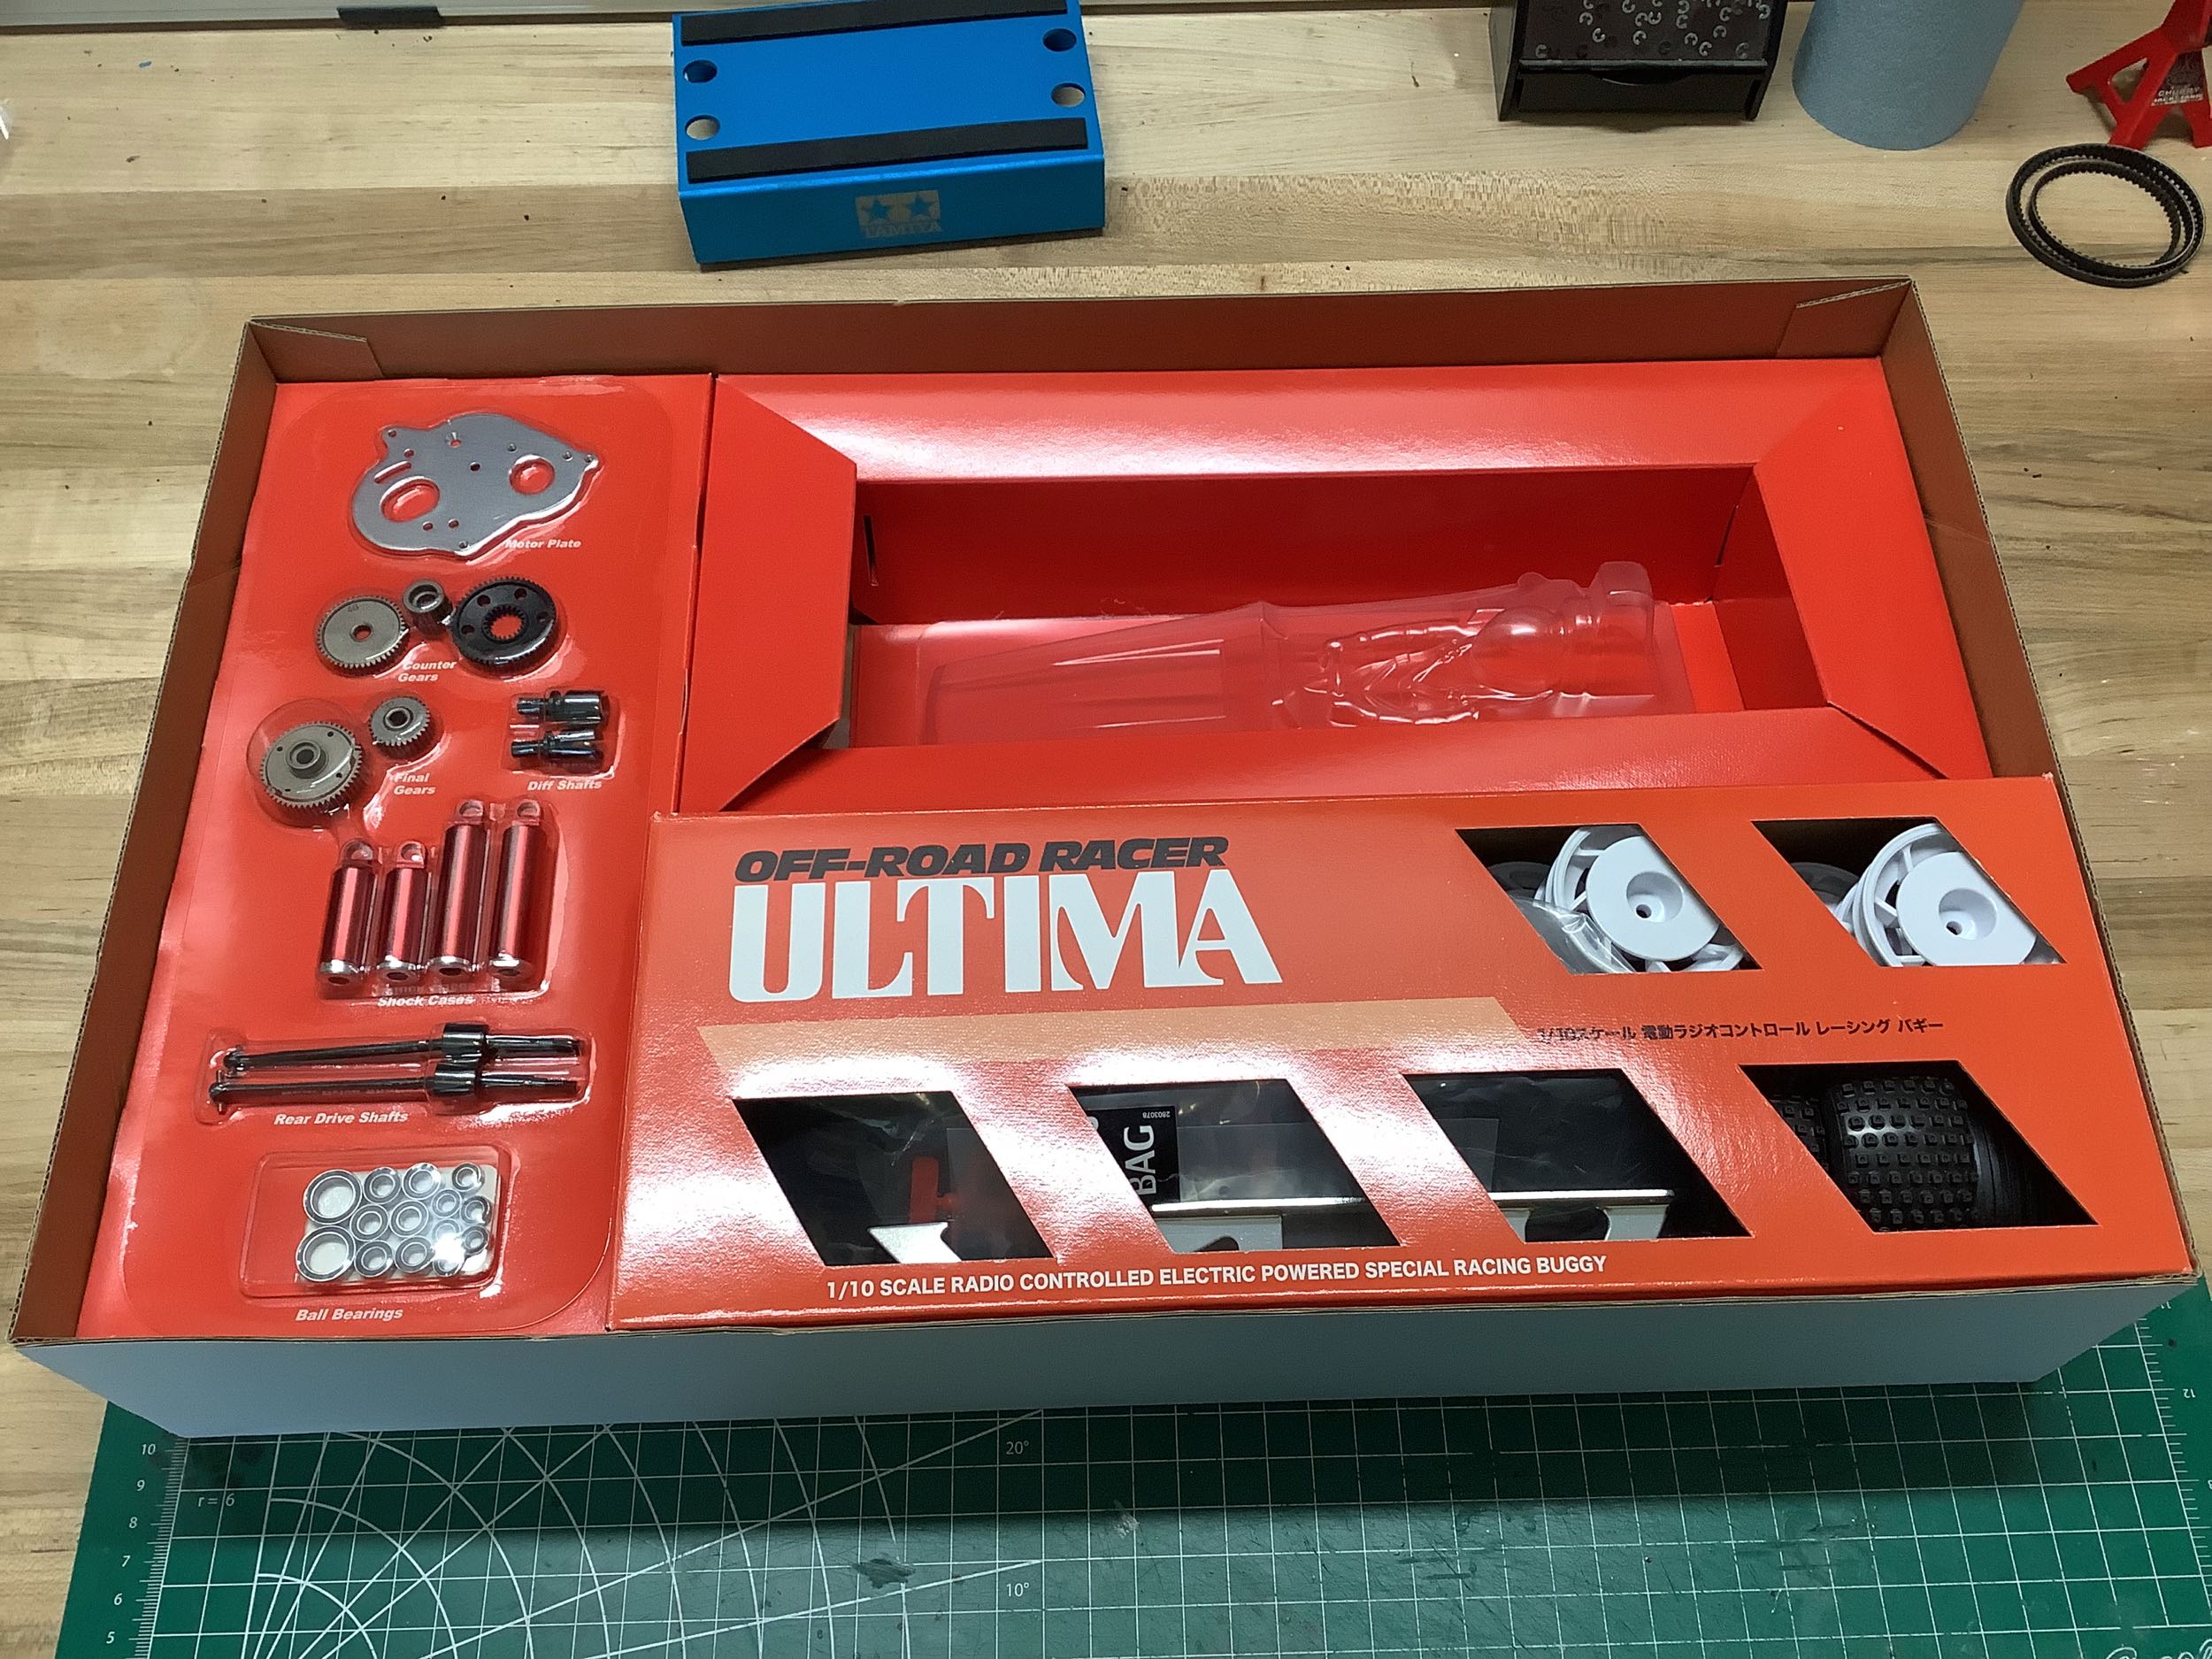
The Ultima comes in a nice retro box that uses minimal blister packing
on the inside, along with inner trays that highlight the body, the
wheels, and the chassis.
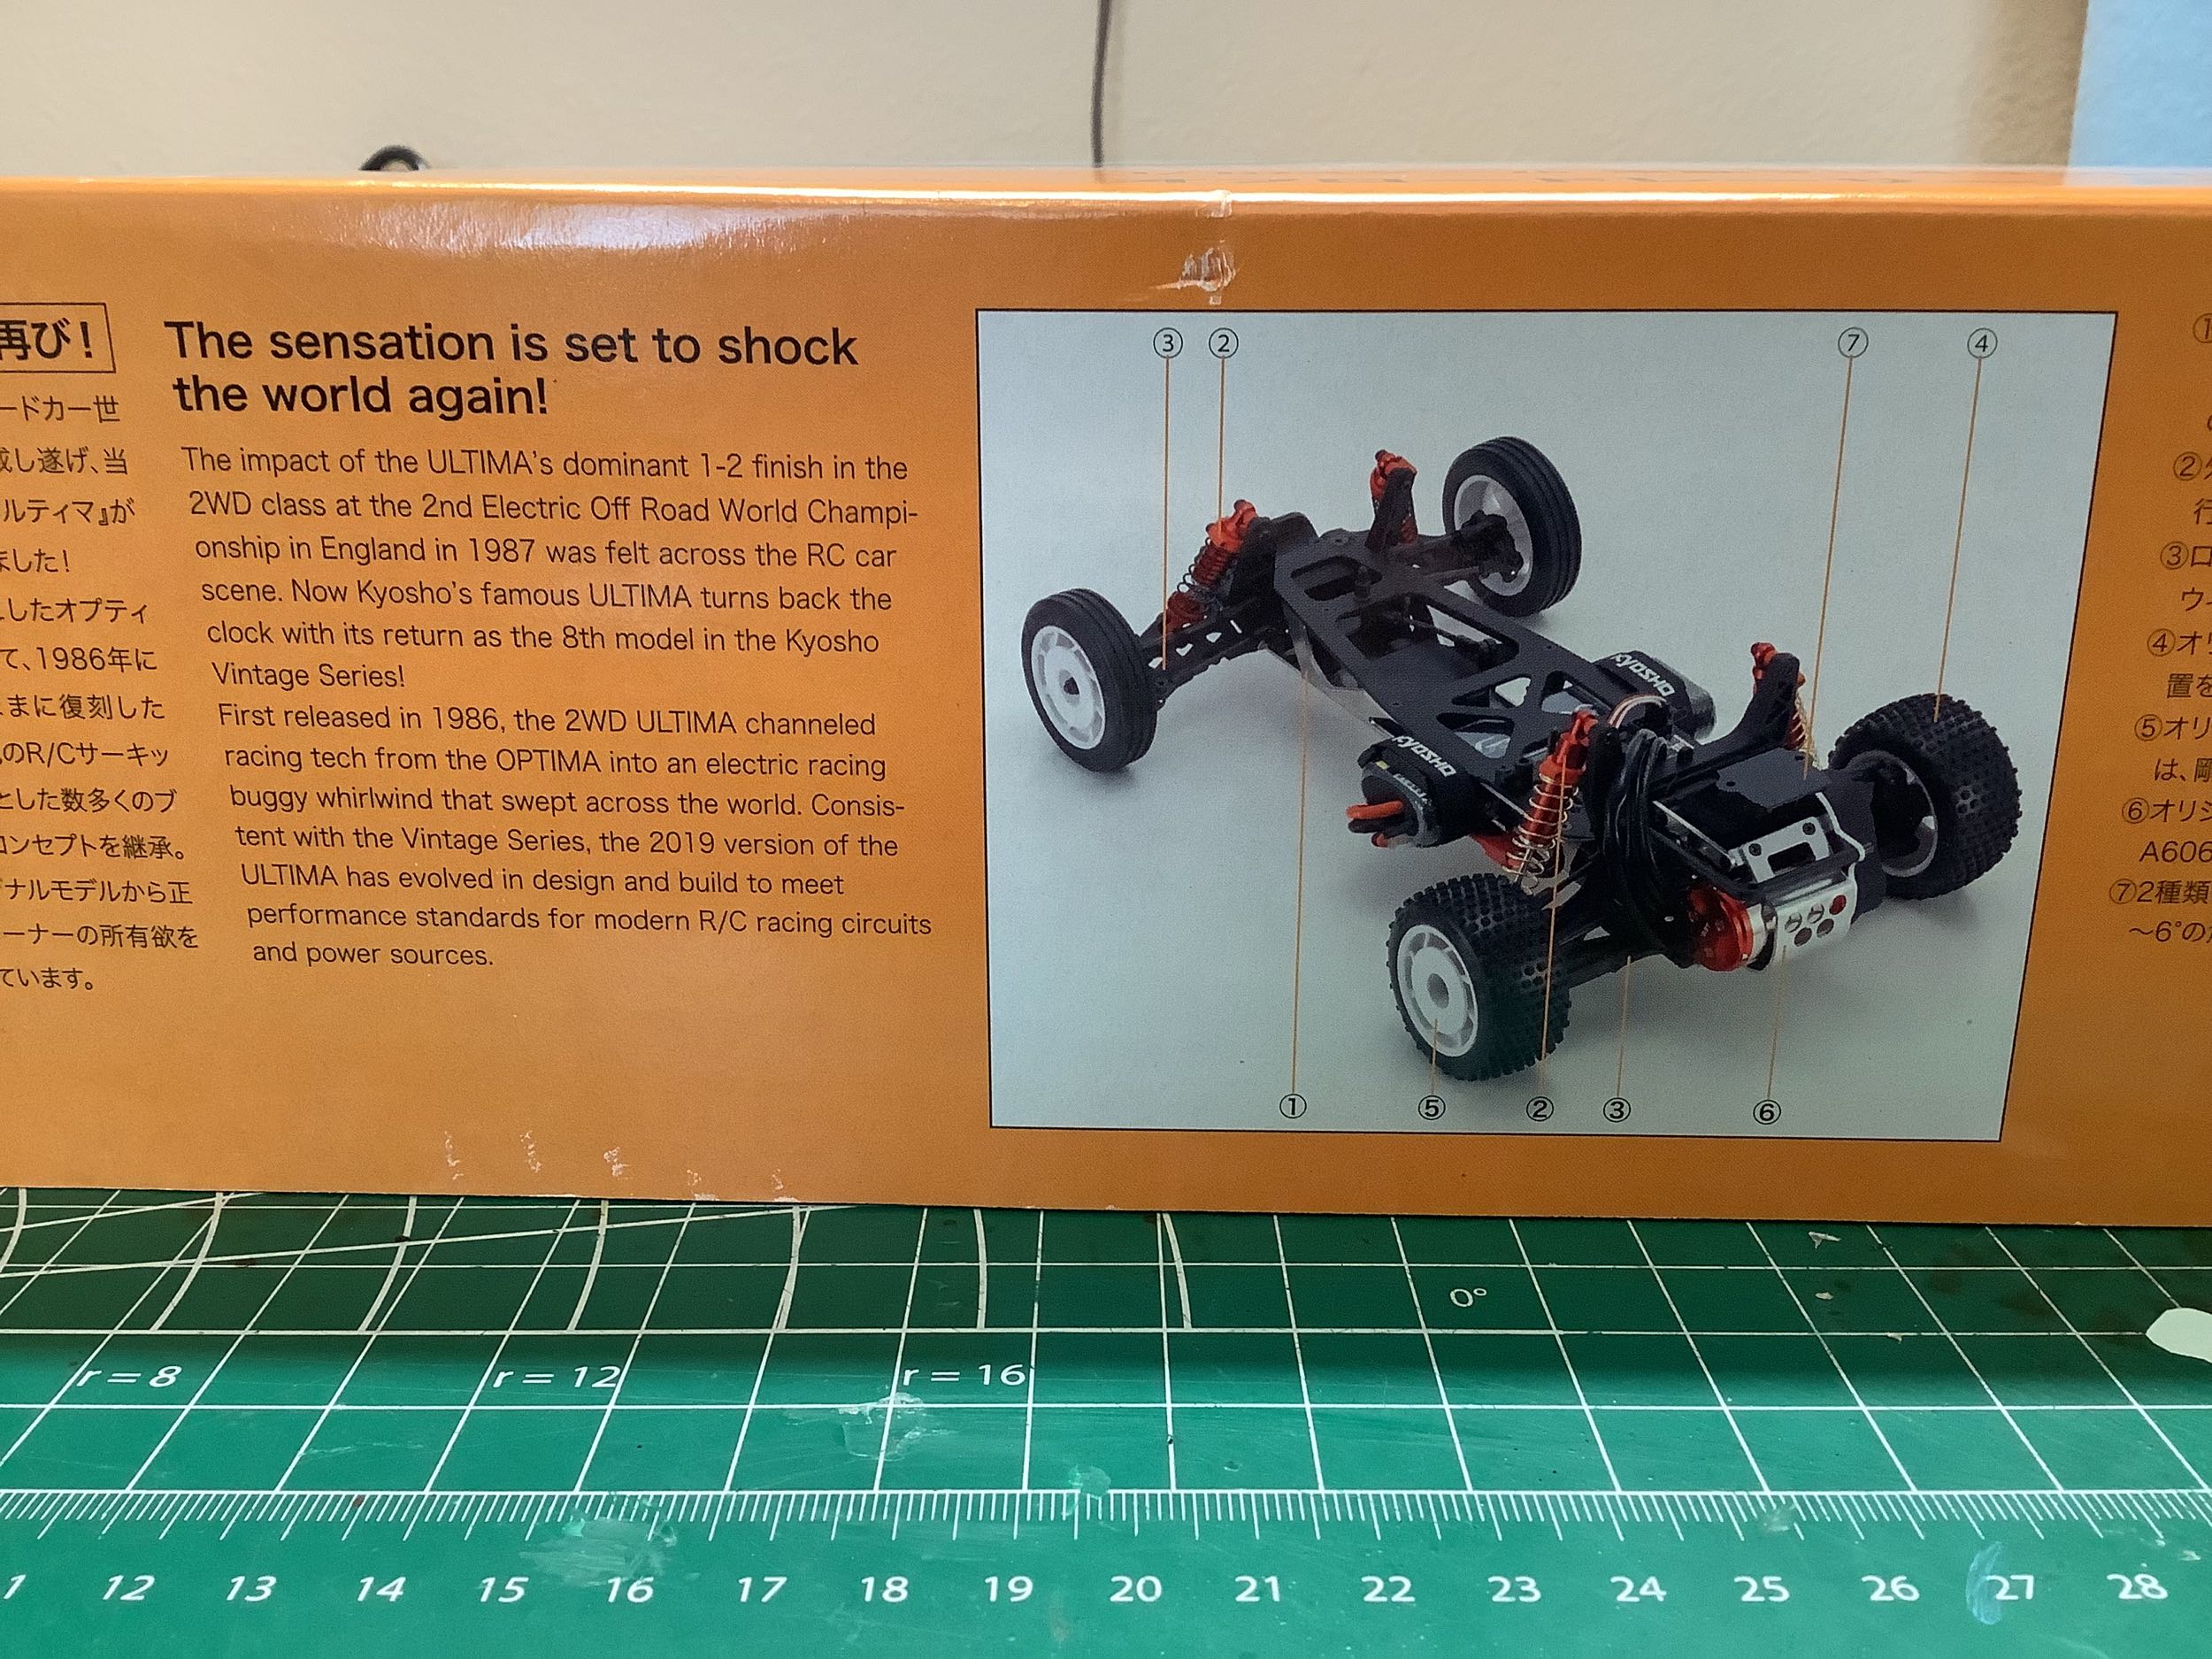
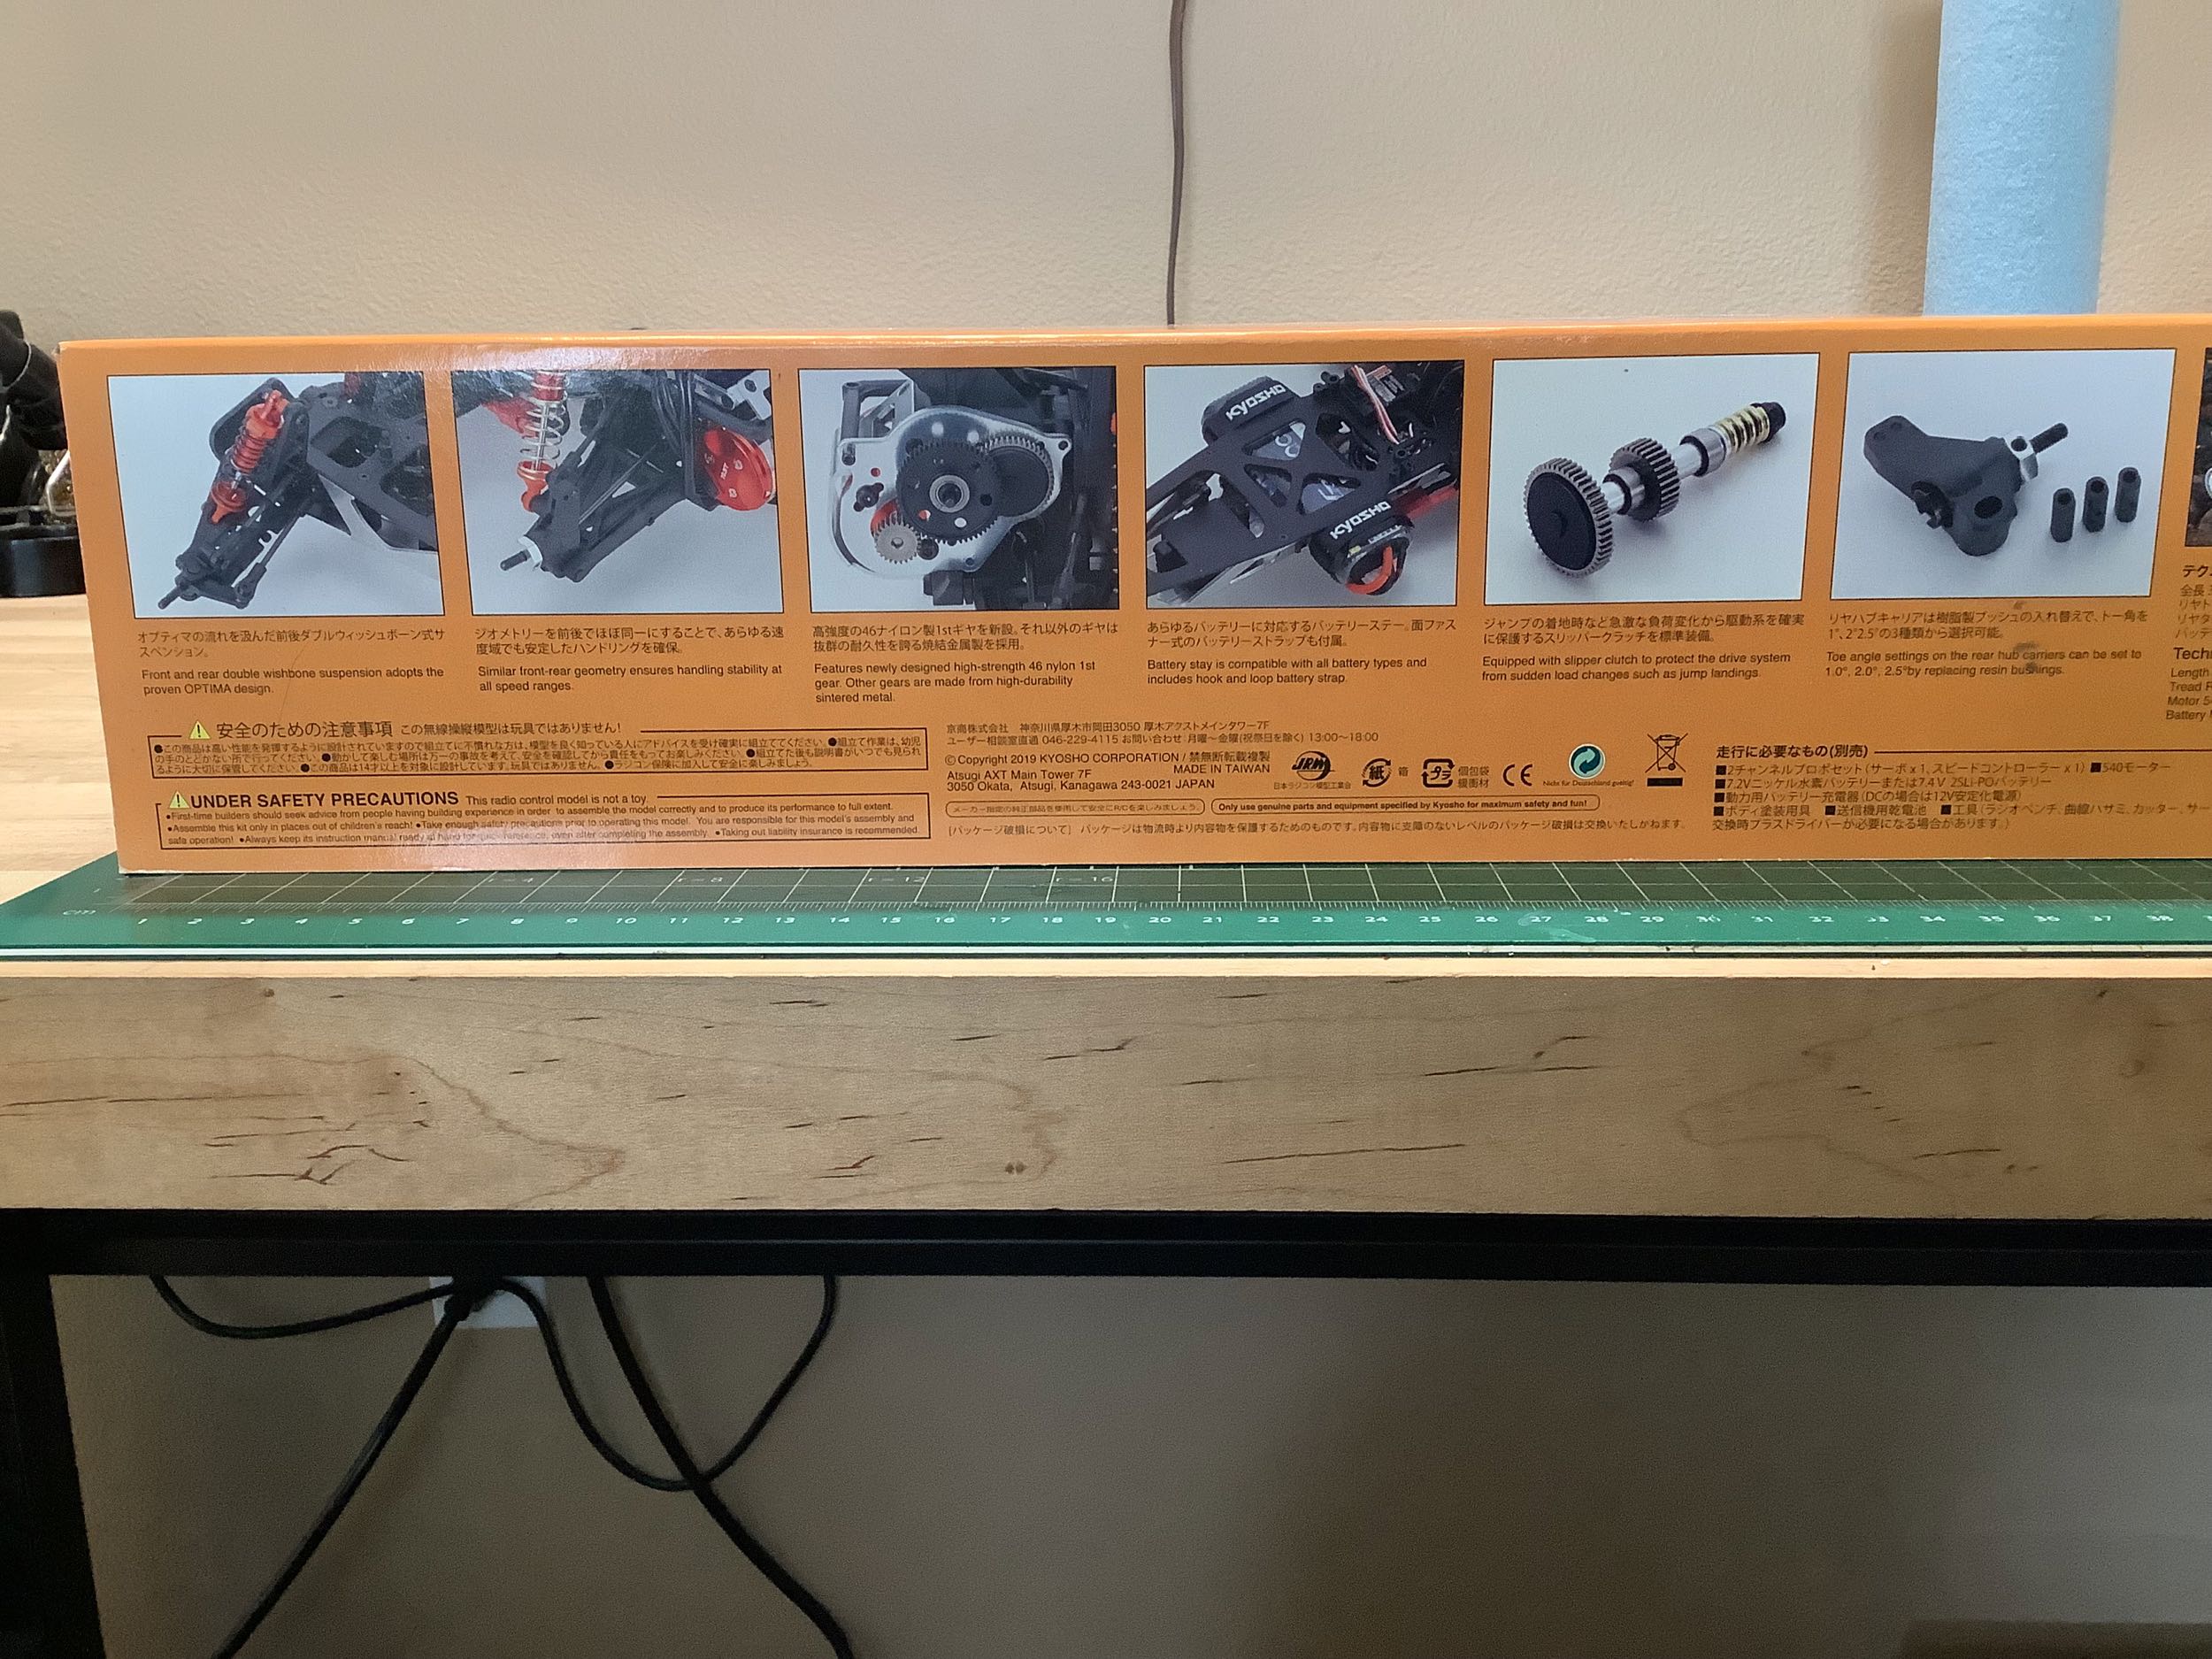
There is plenty of information on the sides and ends of the box talking
about the history of the model and highlighting some of the primary
features.
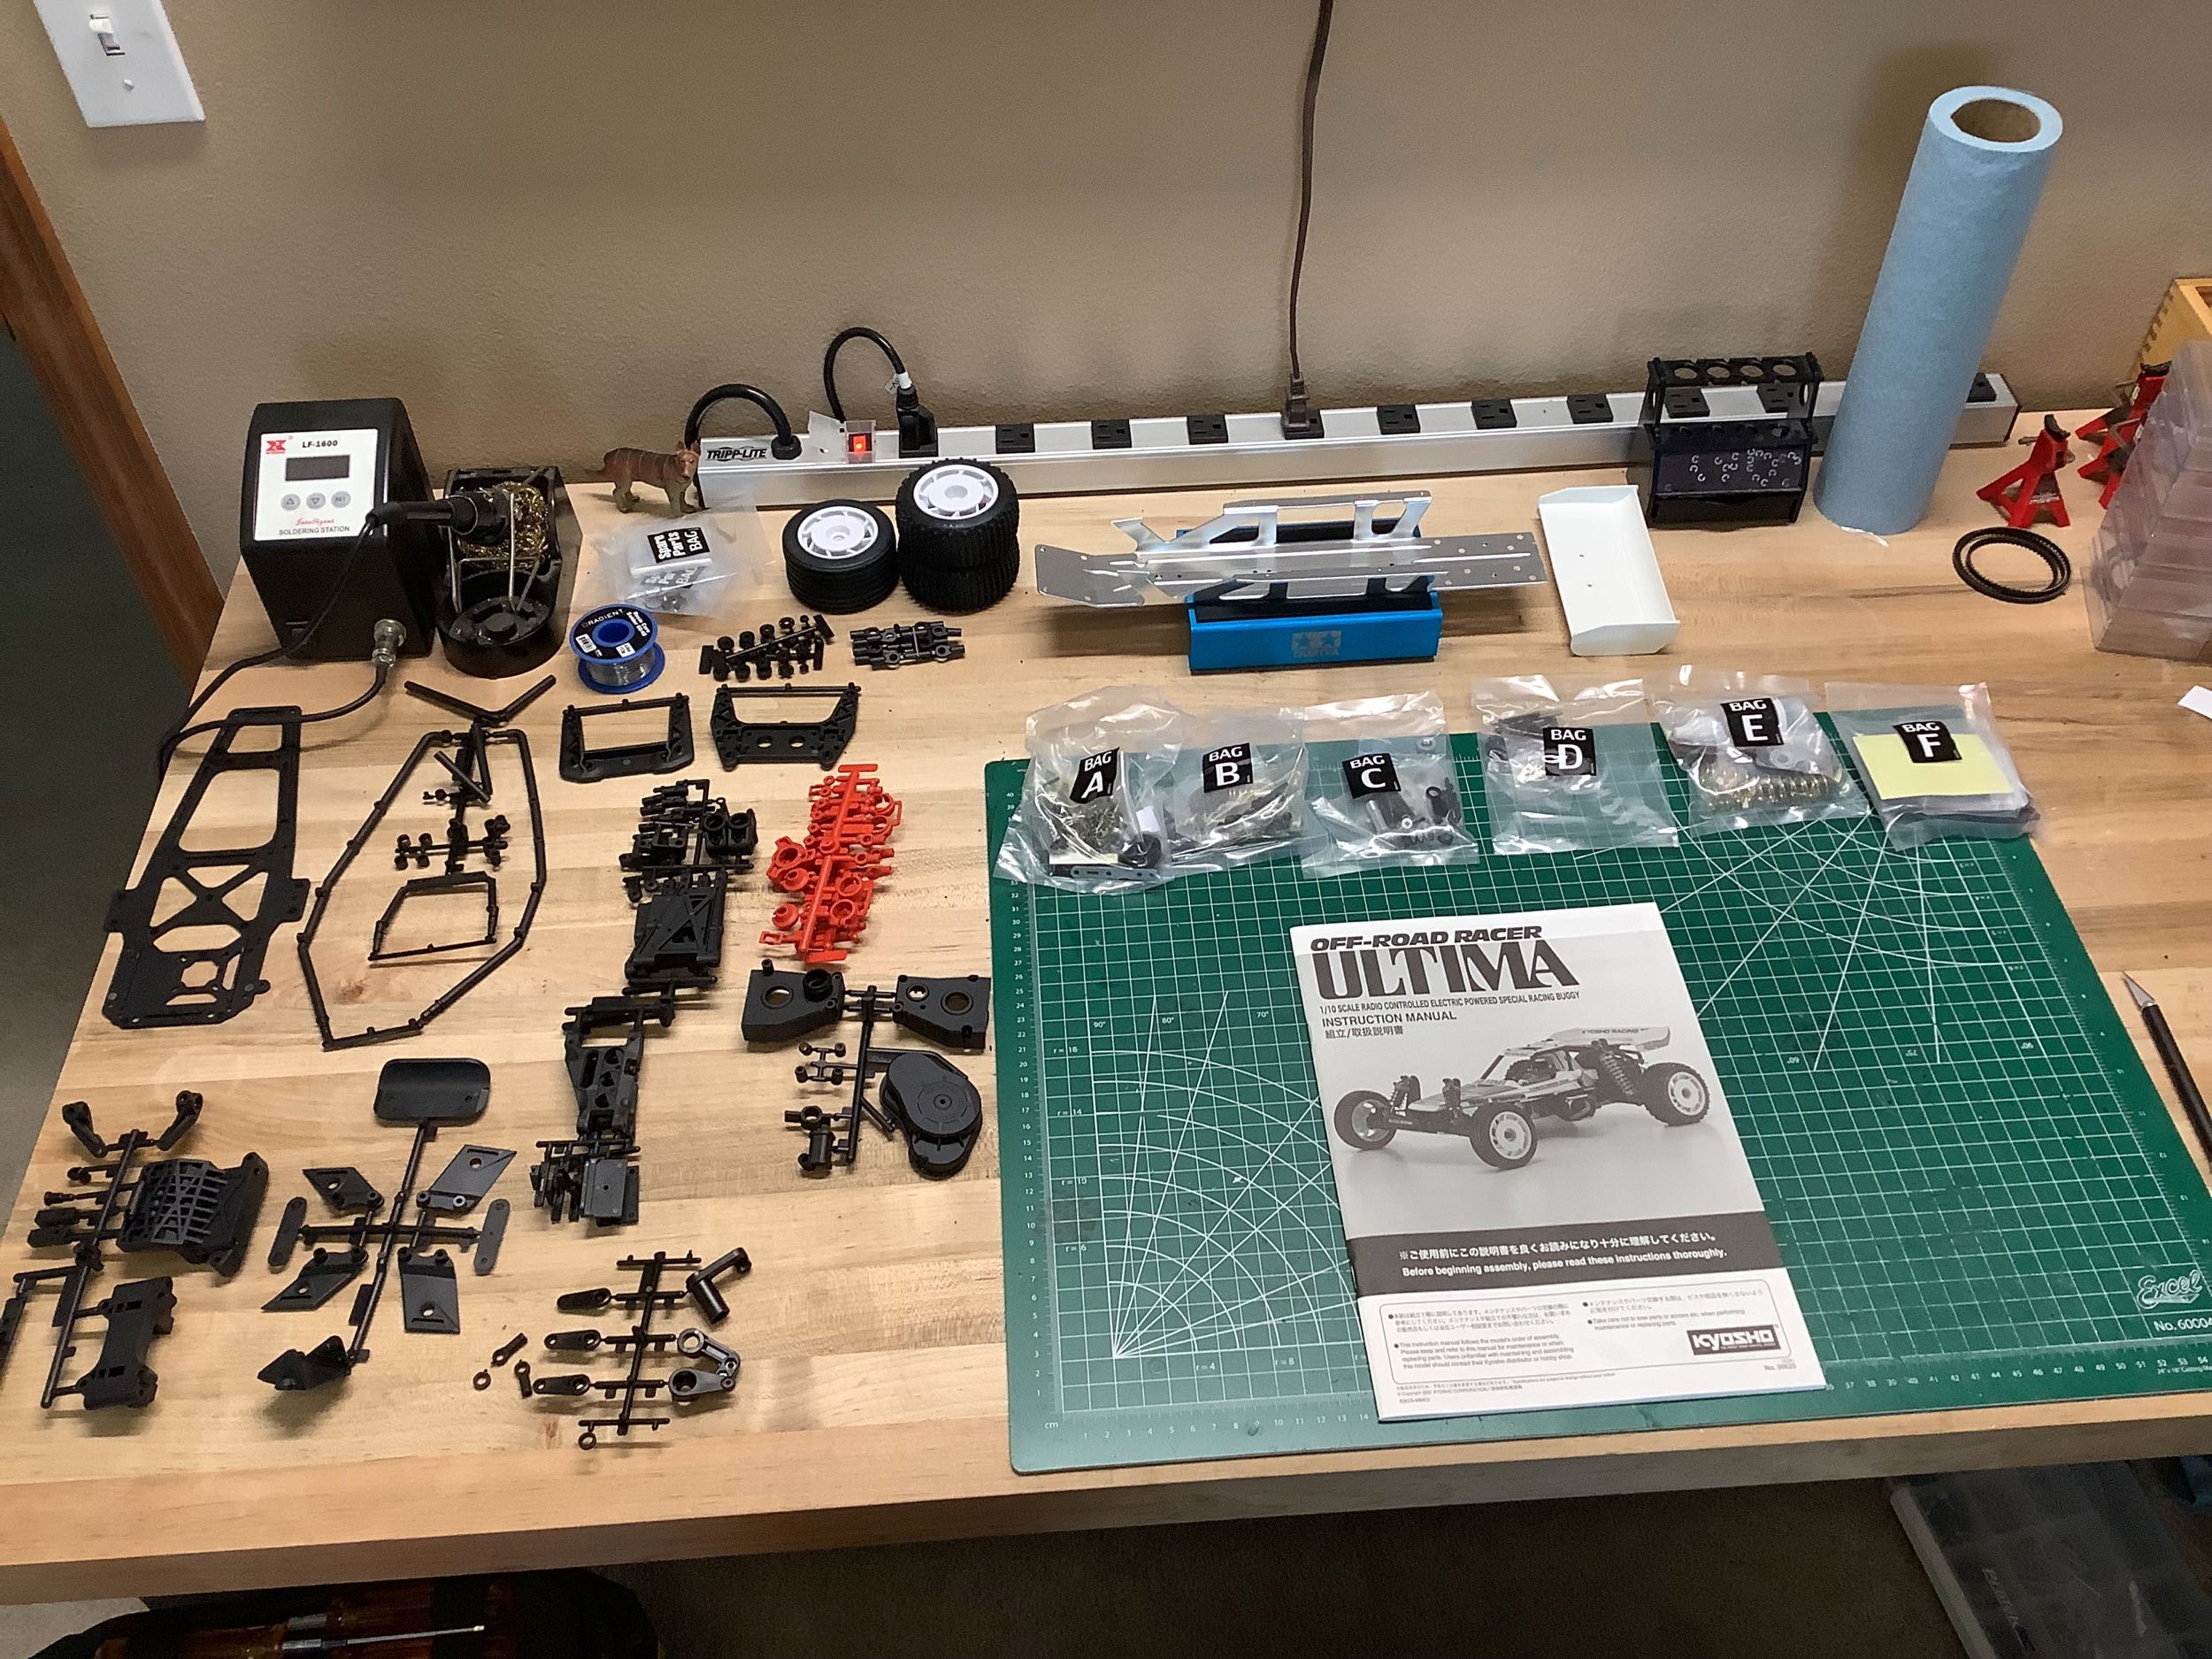
Here I've knolled out all the parts on my build table. There are
quite a few plastic parts as well as six sequentially labeled hardware
bags. Notable is the stamped and formed aluminum chassis plate.
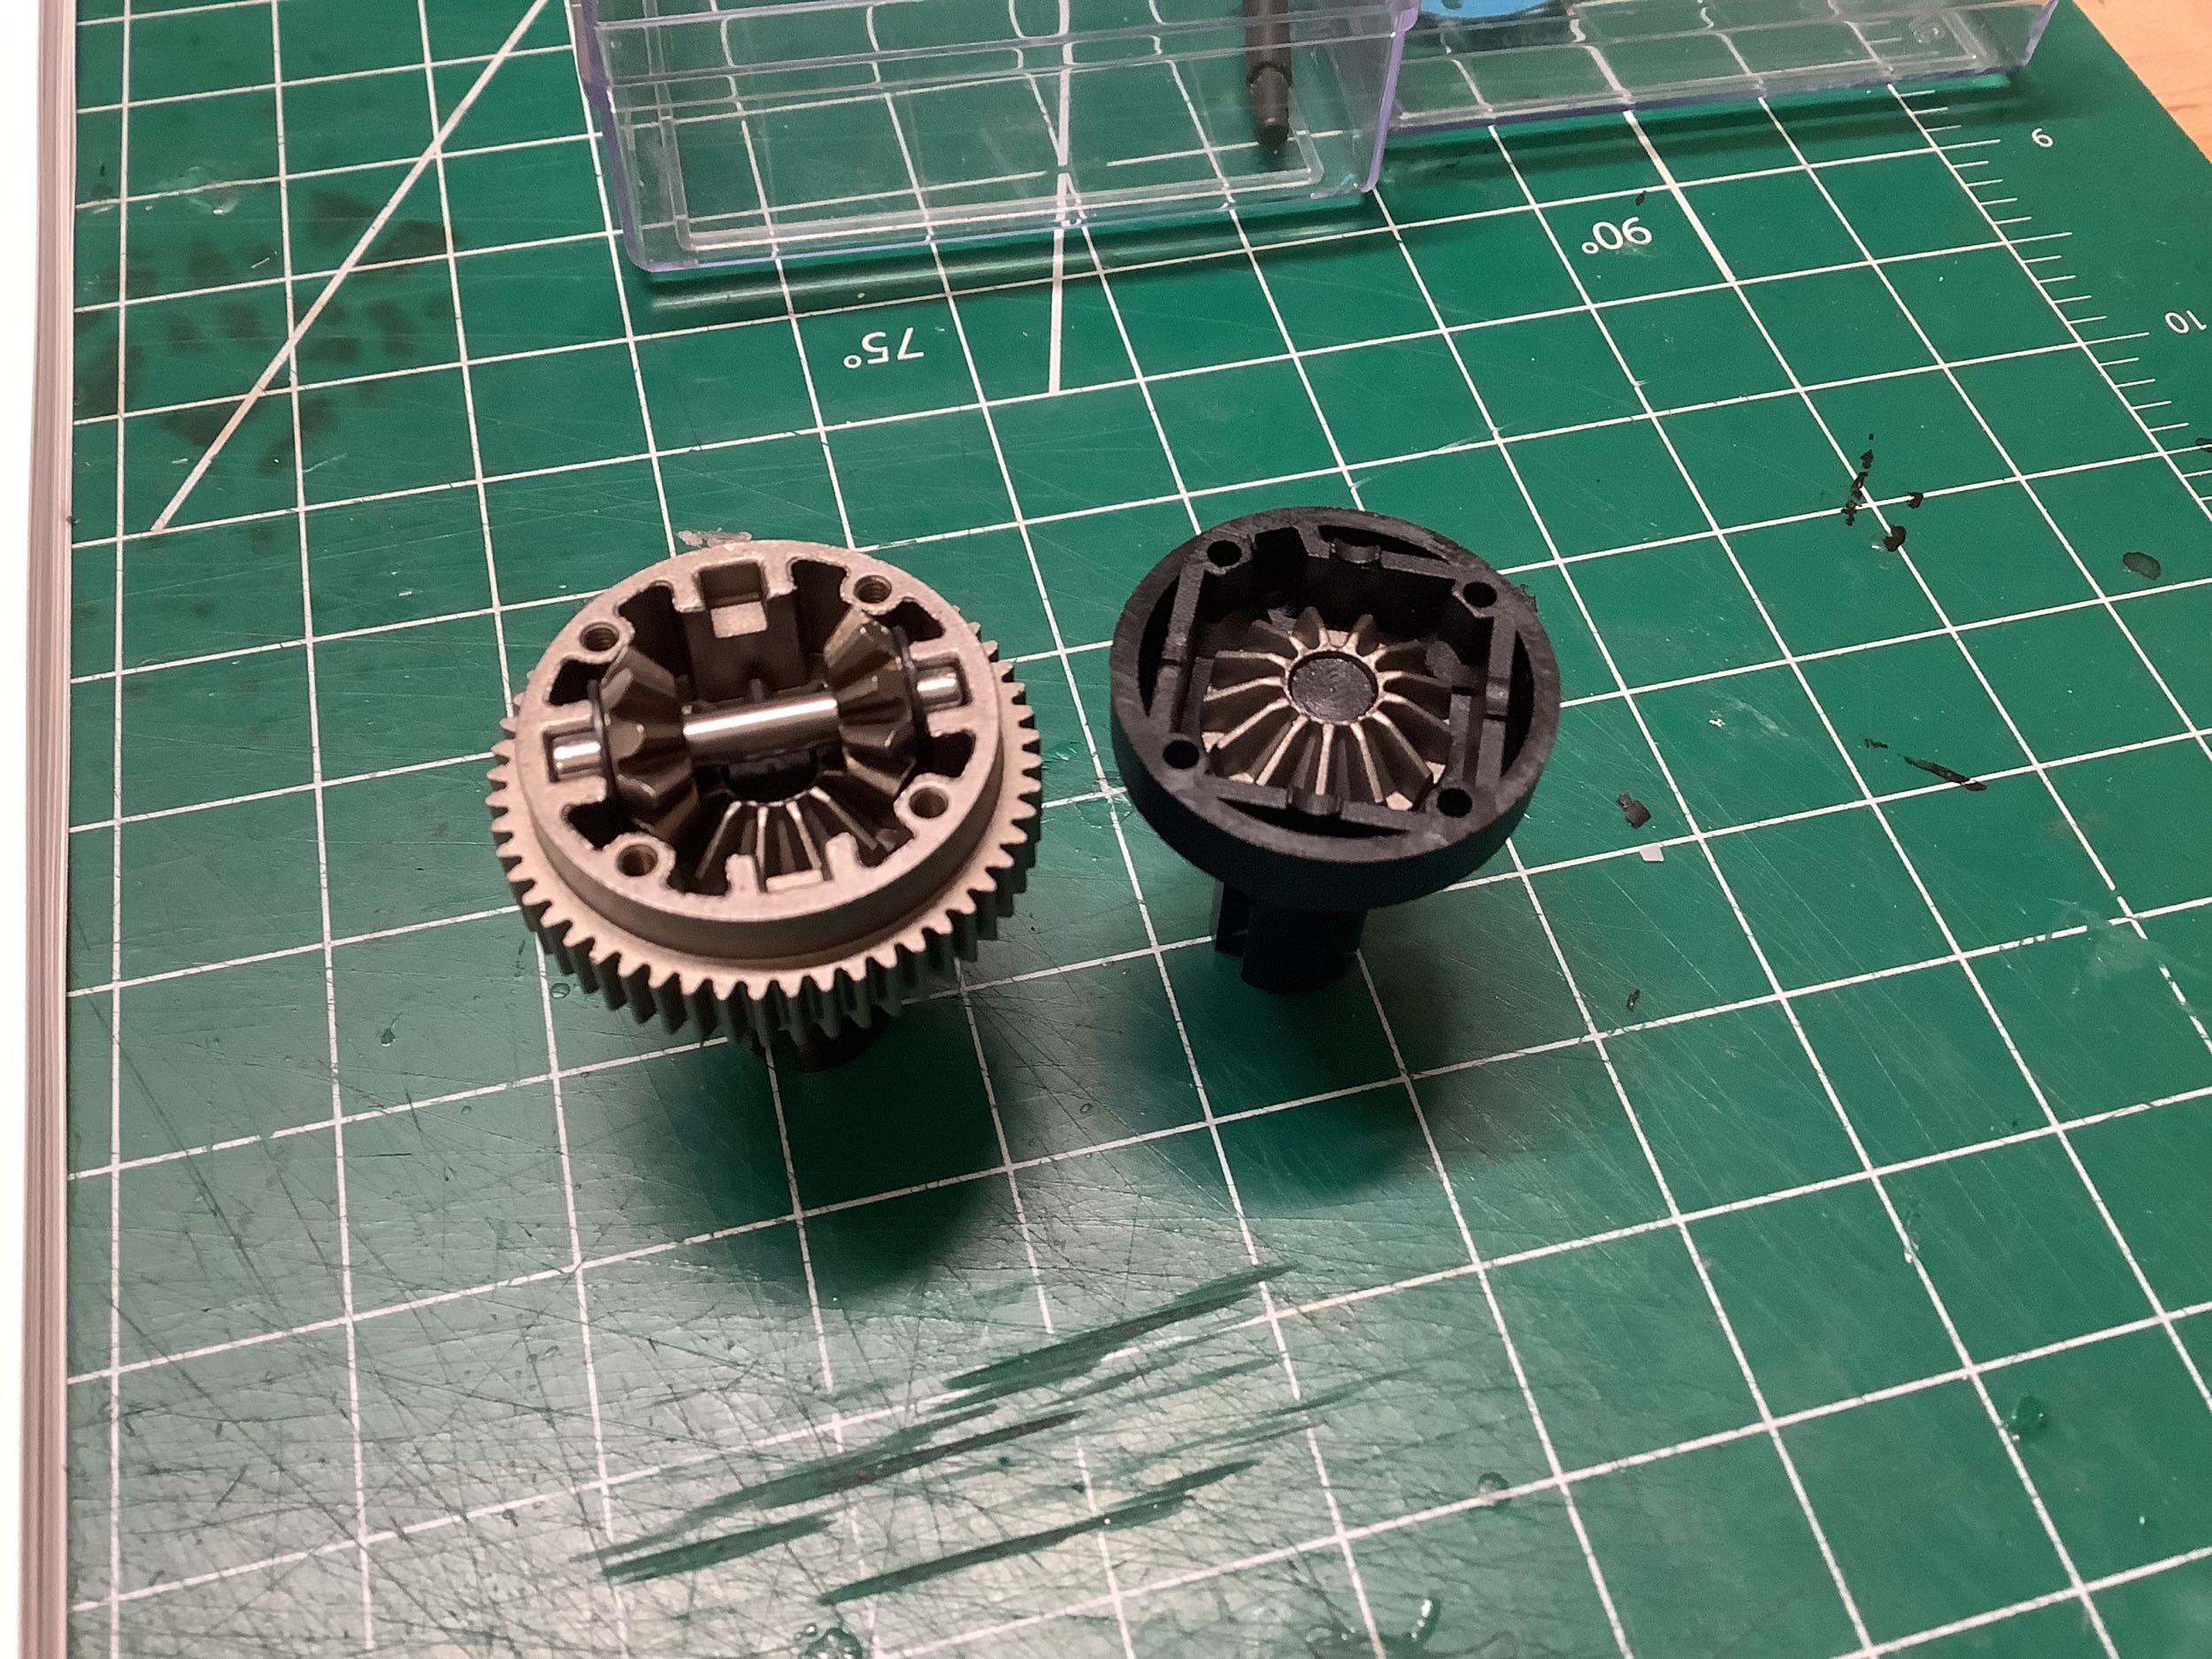
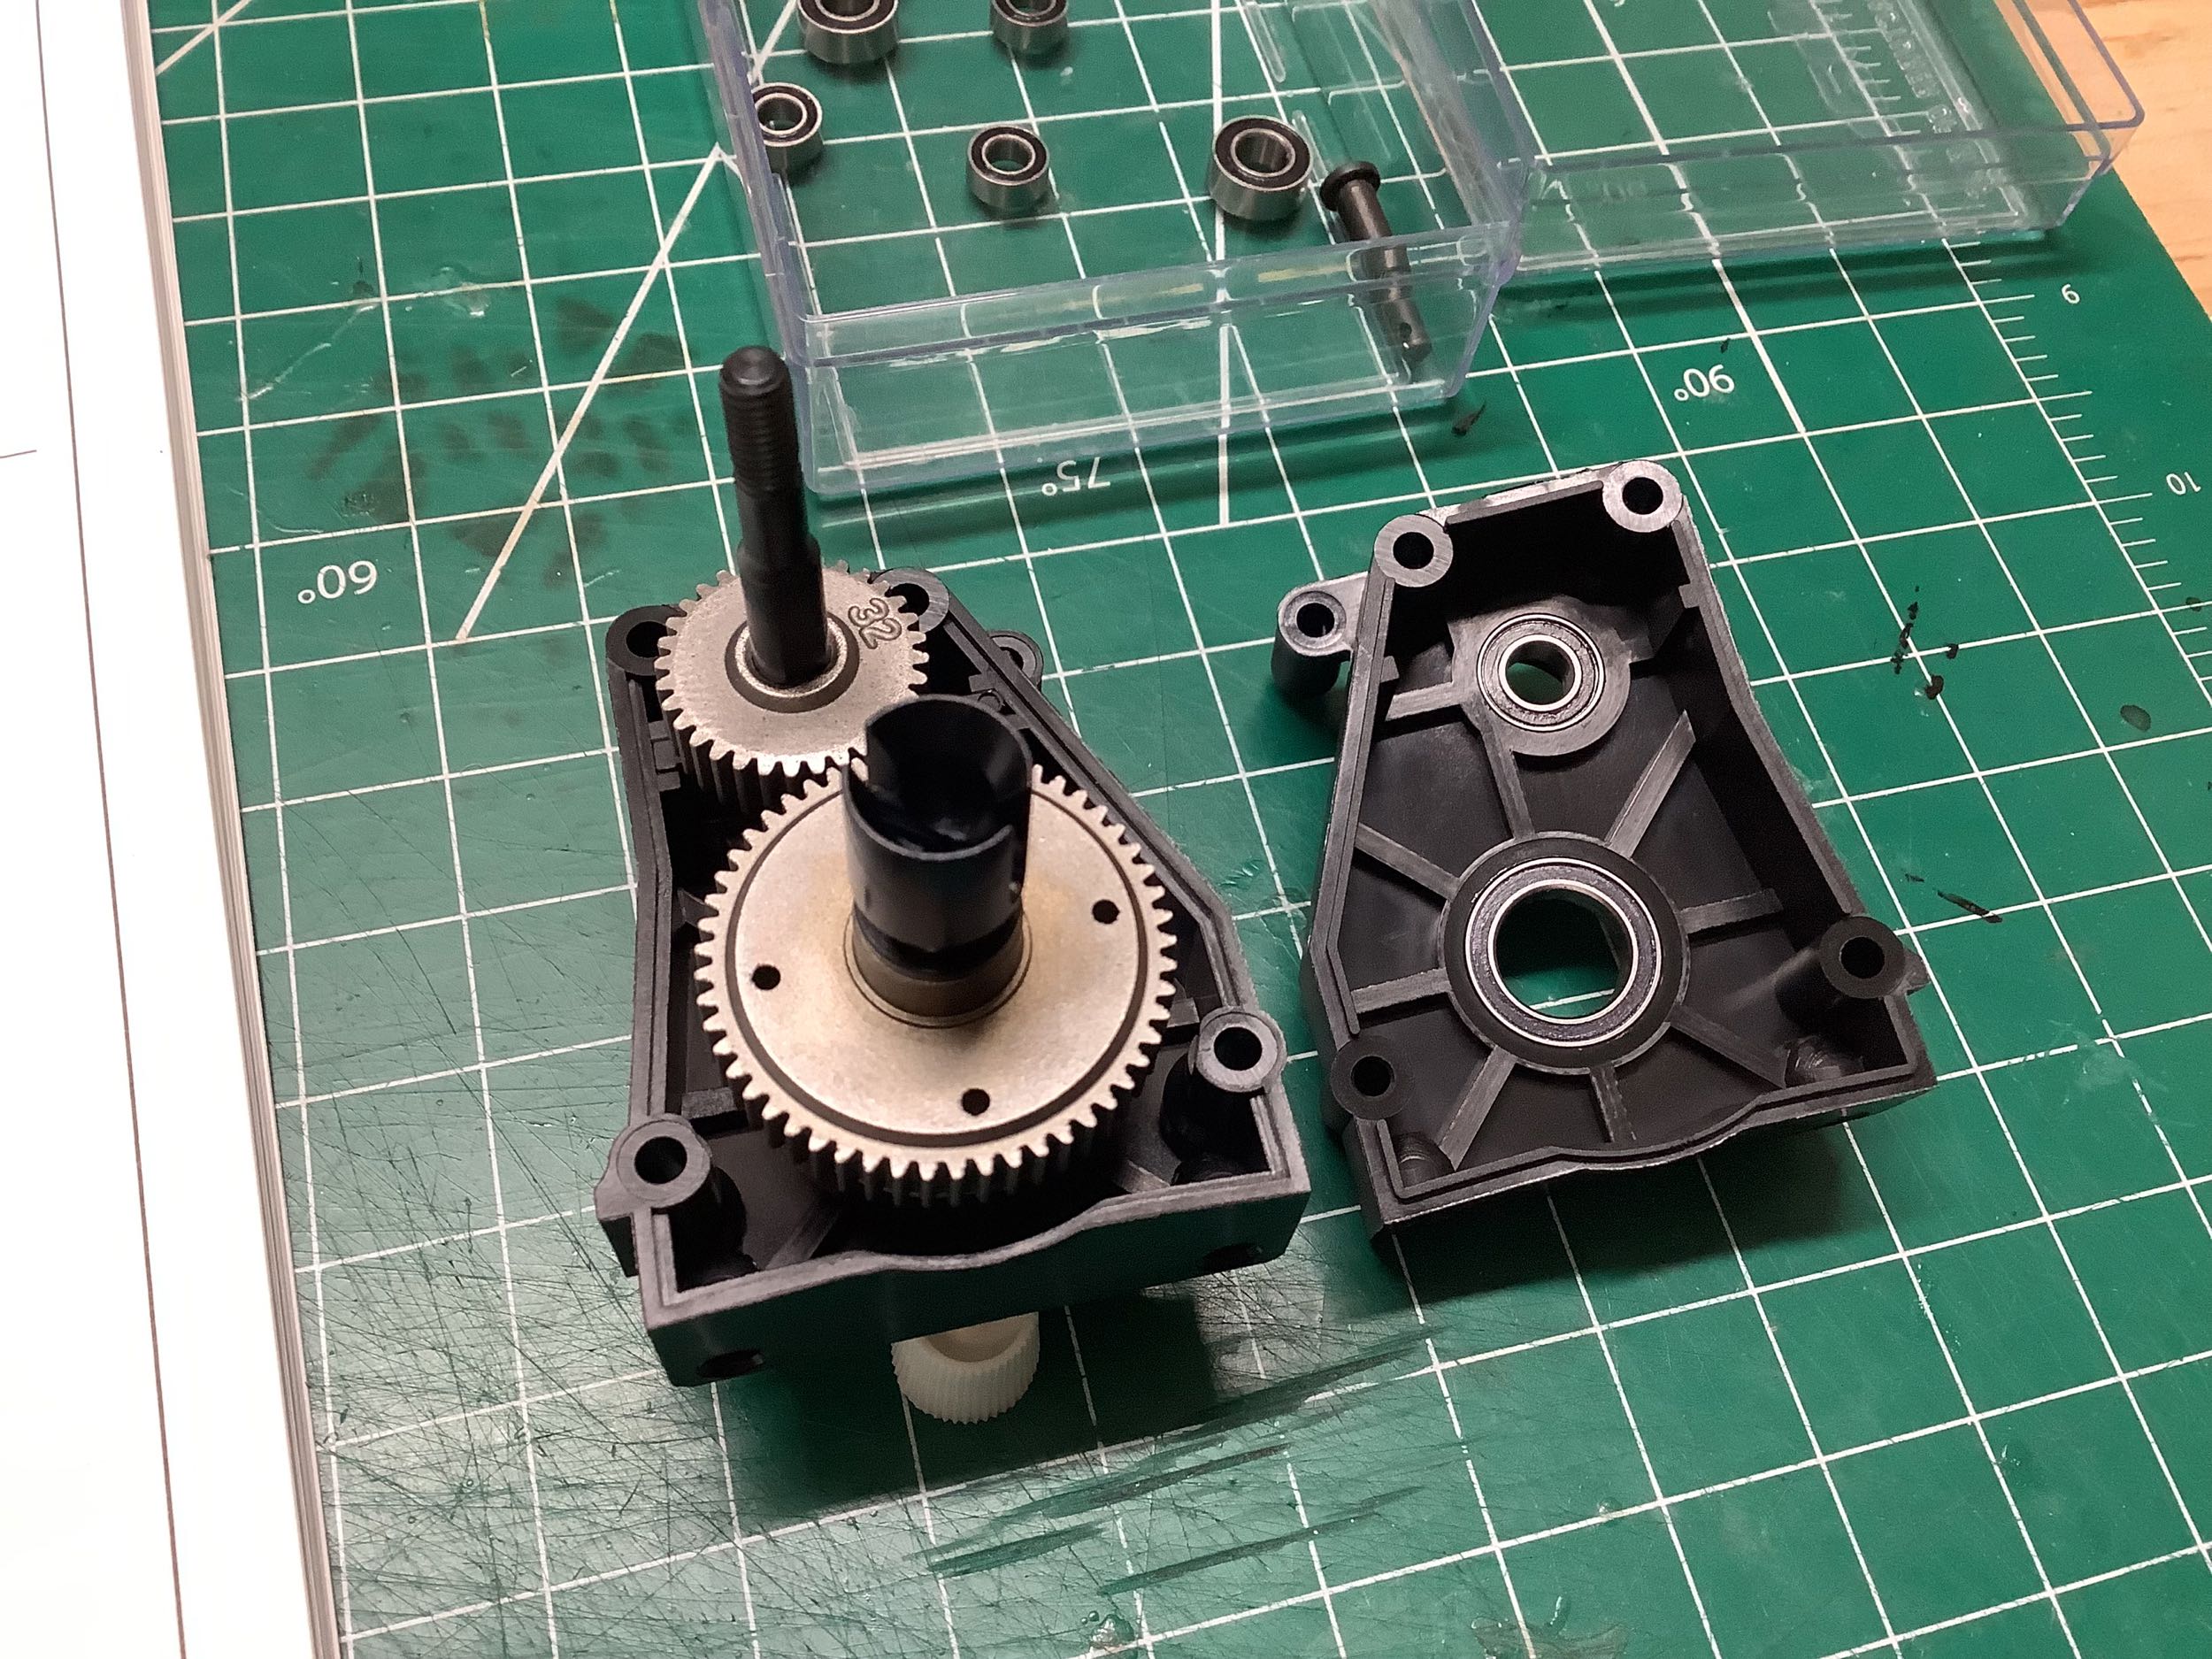
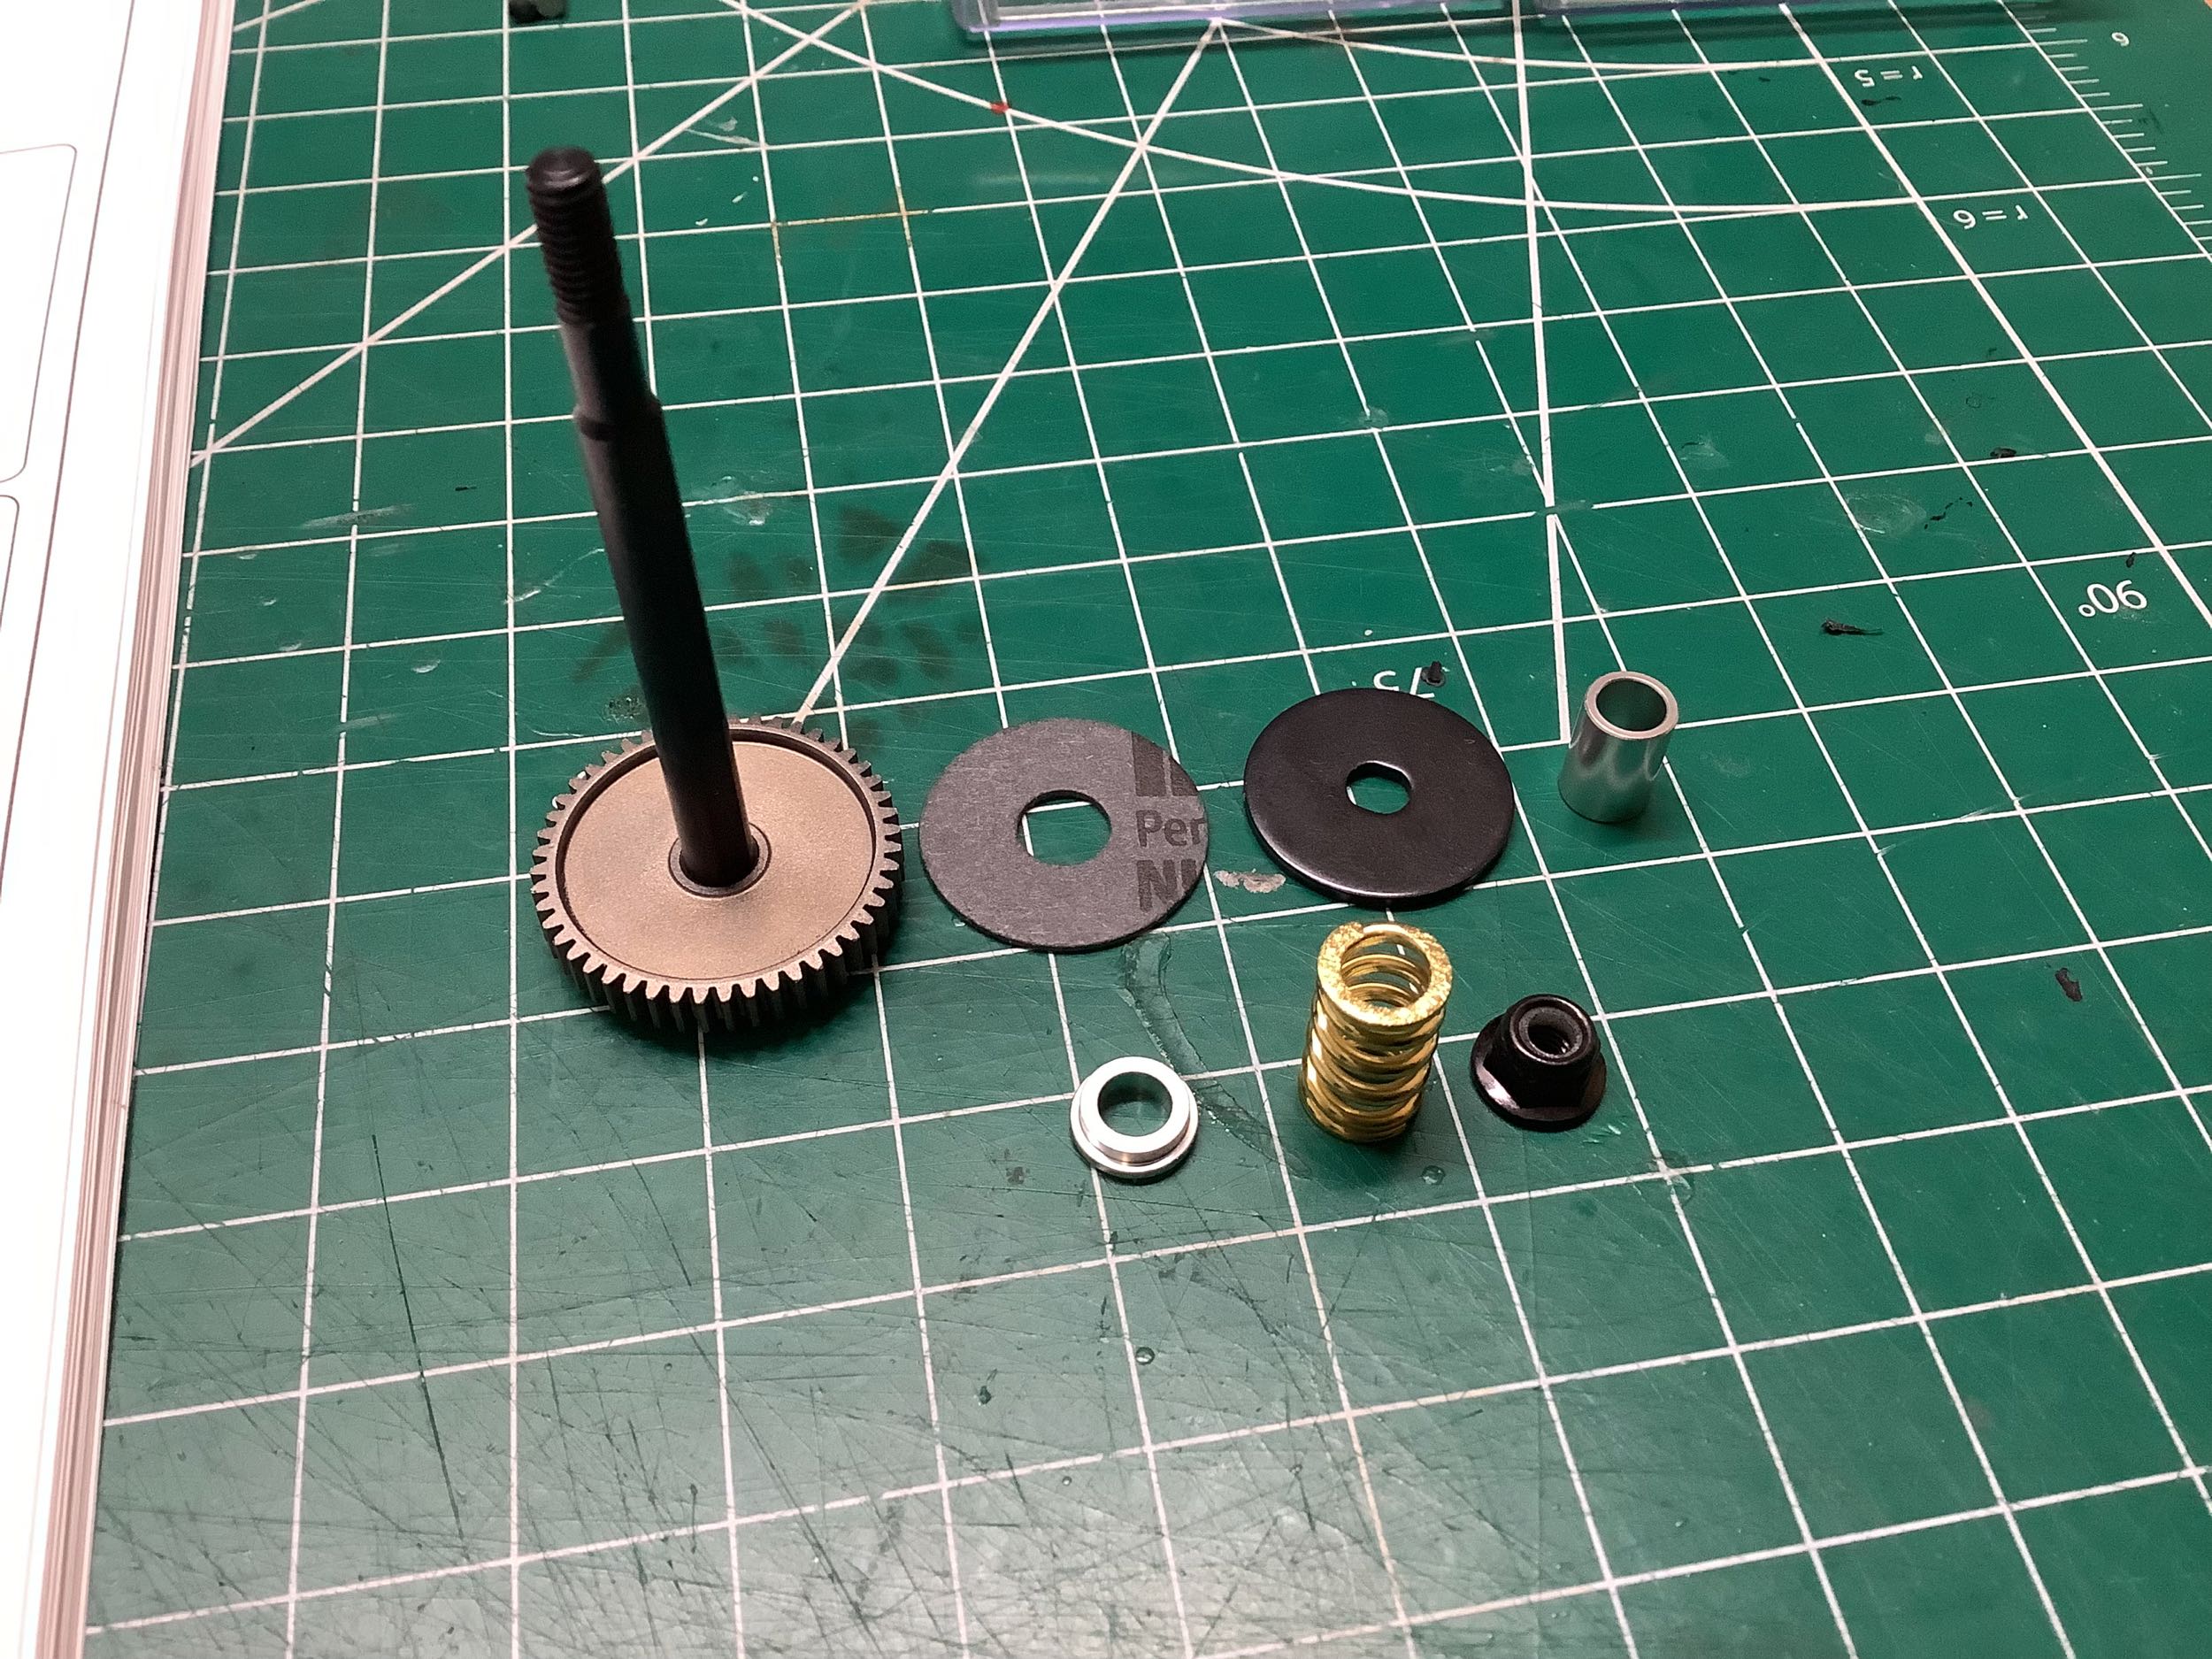
The gear differential is the same one that is used in the Optima, the
only difference being that the chain (or belt) sprocket is not
present. The other gearbox internal gears and housing are also the
same but without the opening for the chain.
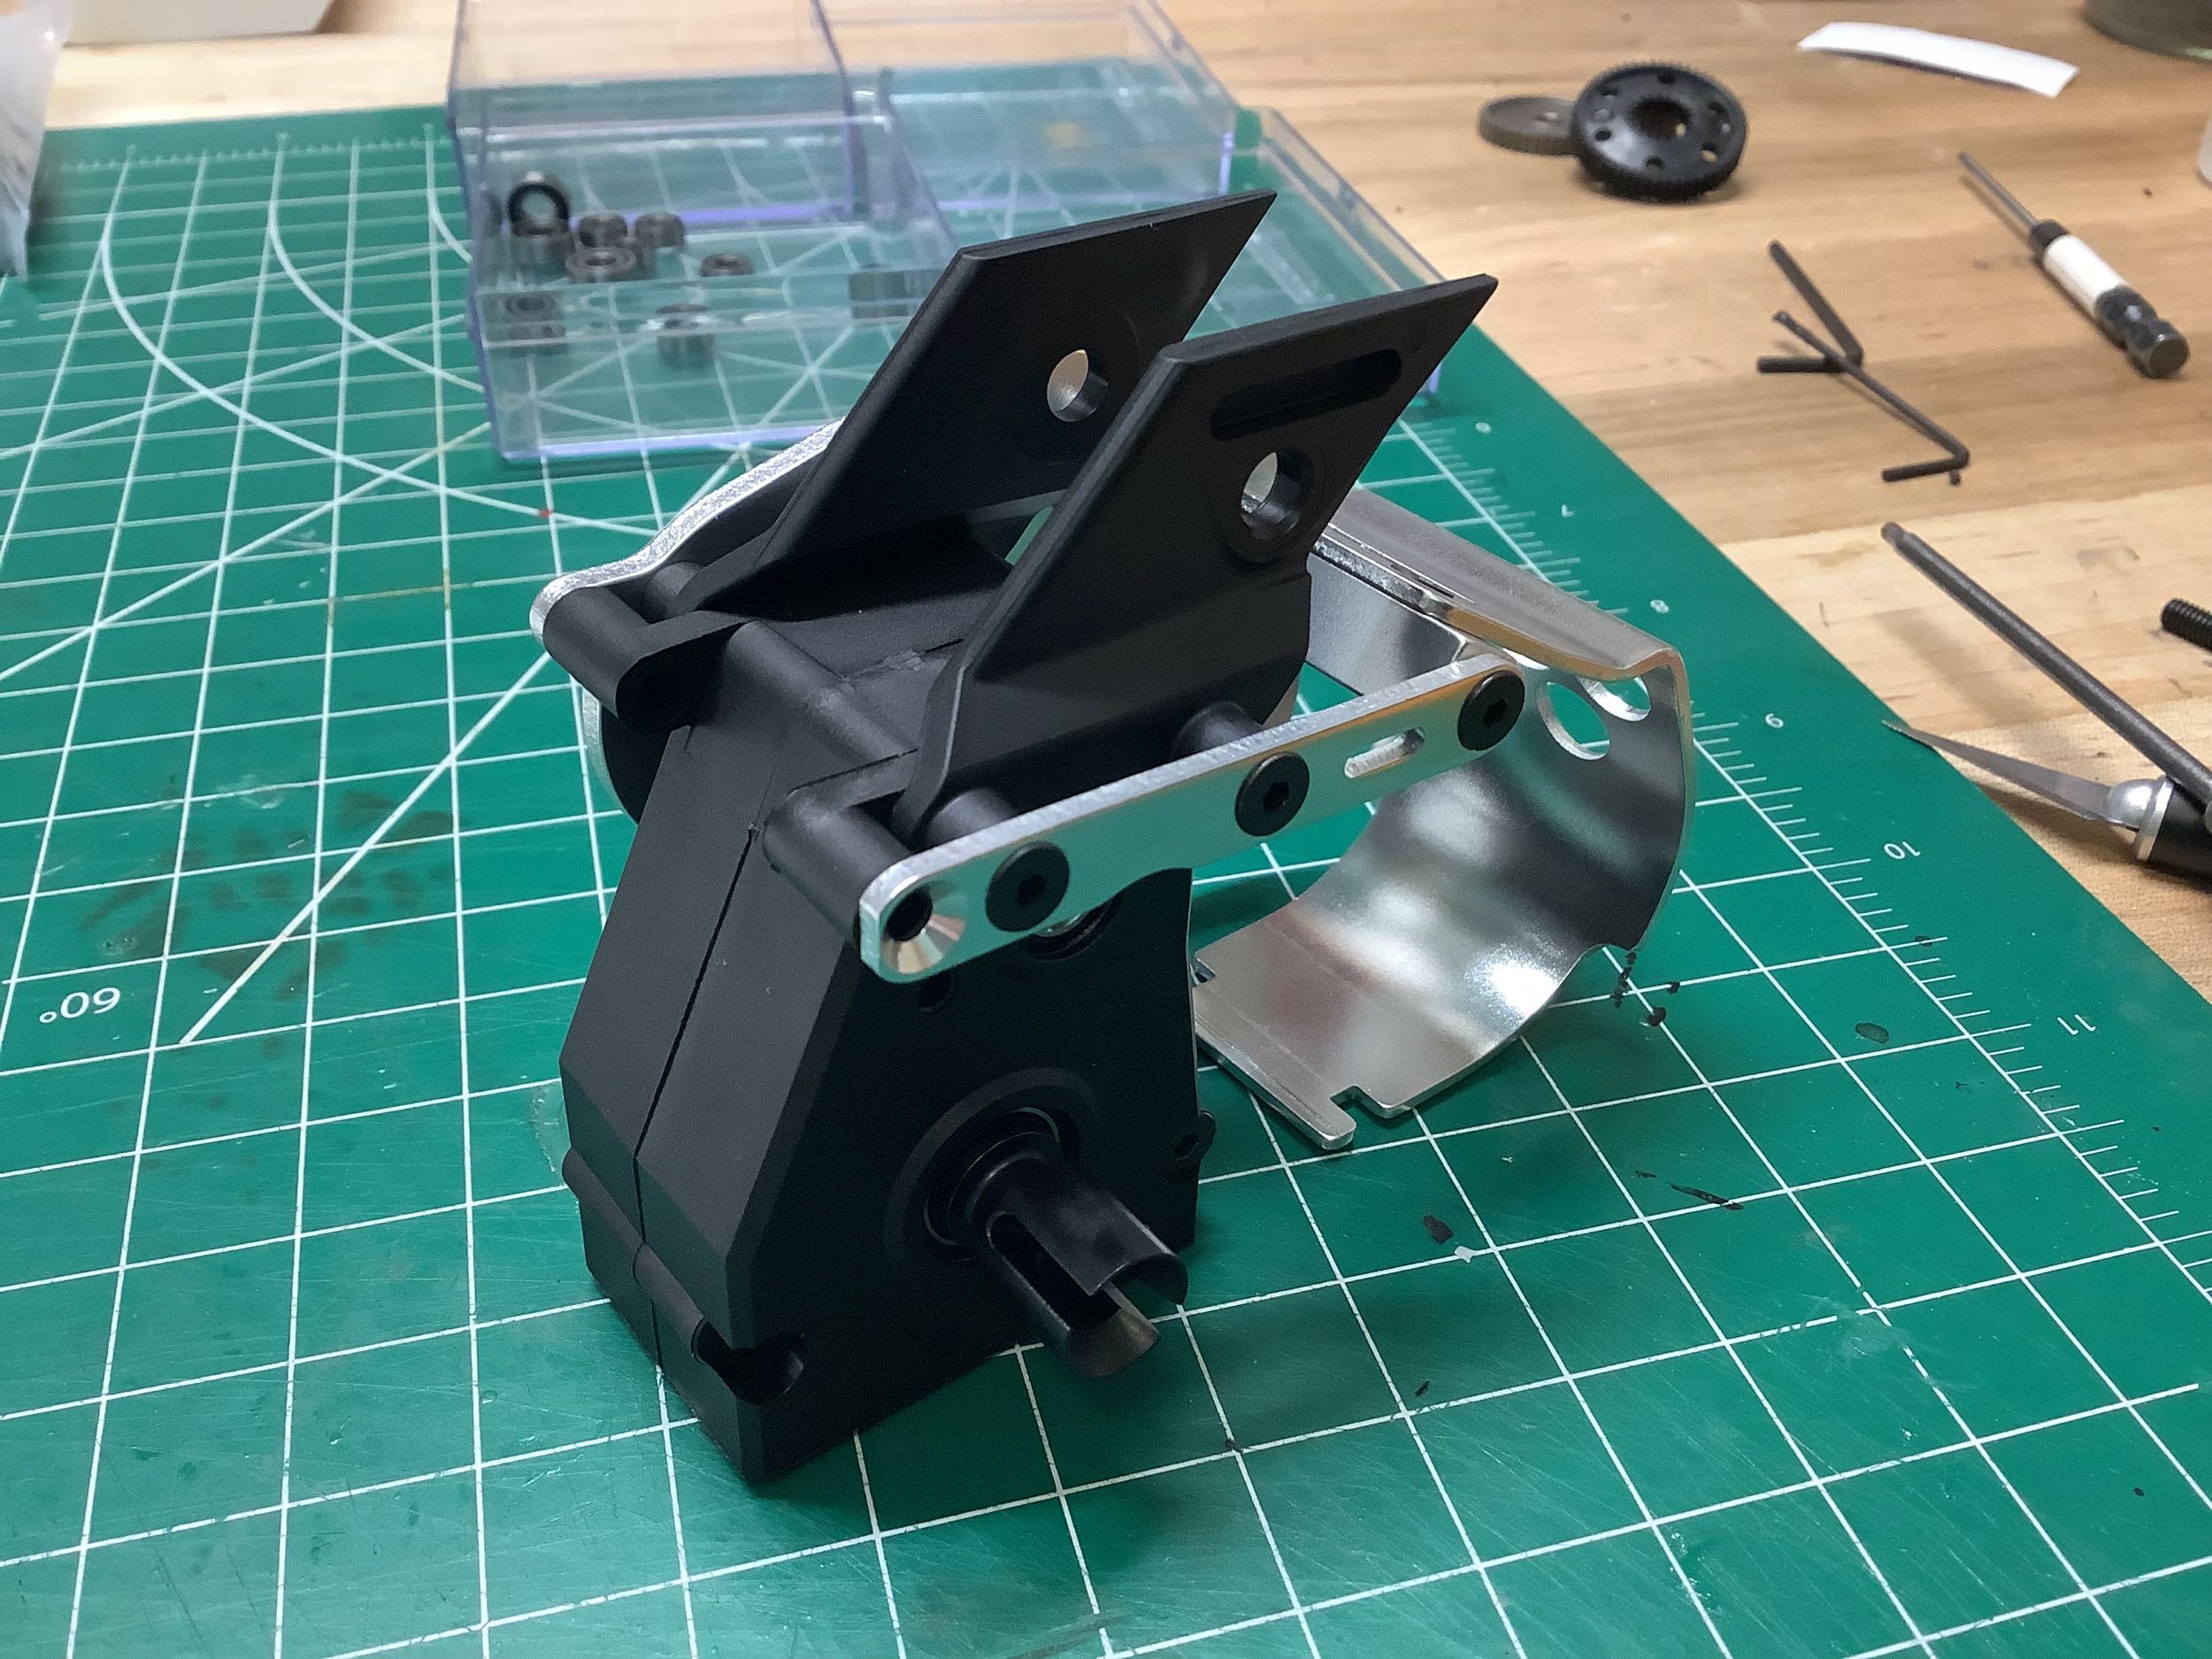
The continues to look familiar. The wing mounts are common to the
Javelin (which is really just an Optima), and the motor mount and
slipper clutch are also from the Optima.
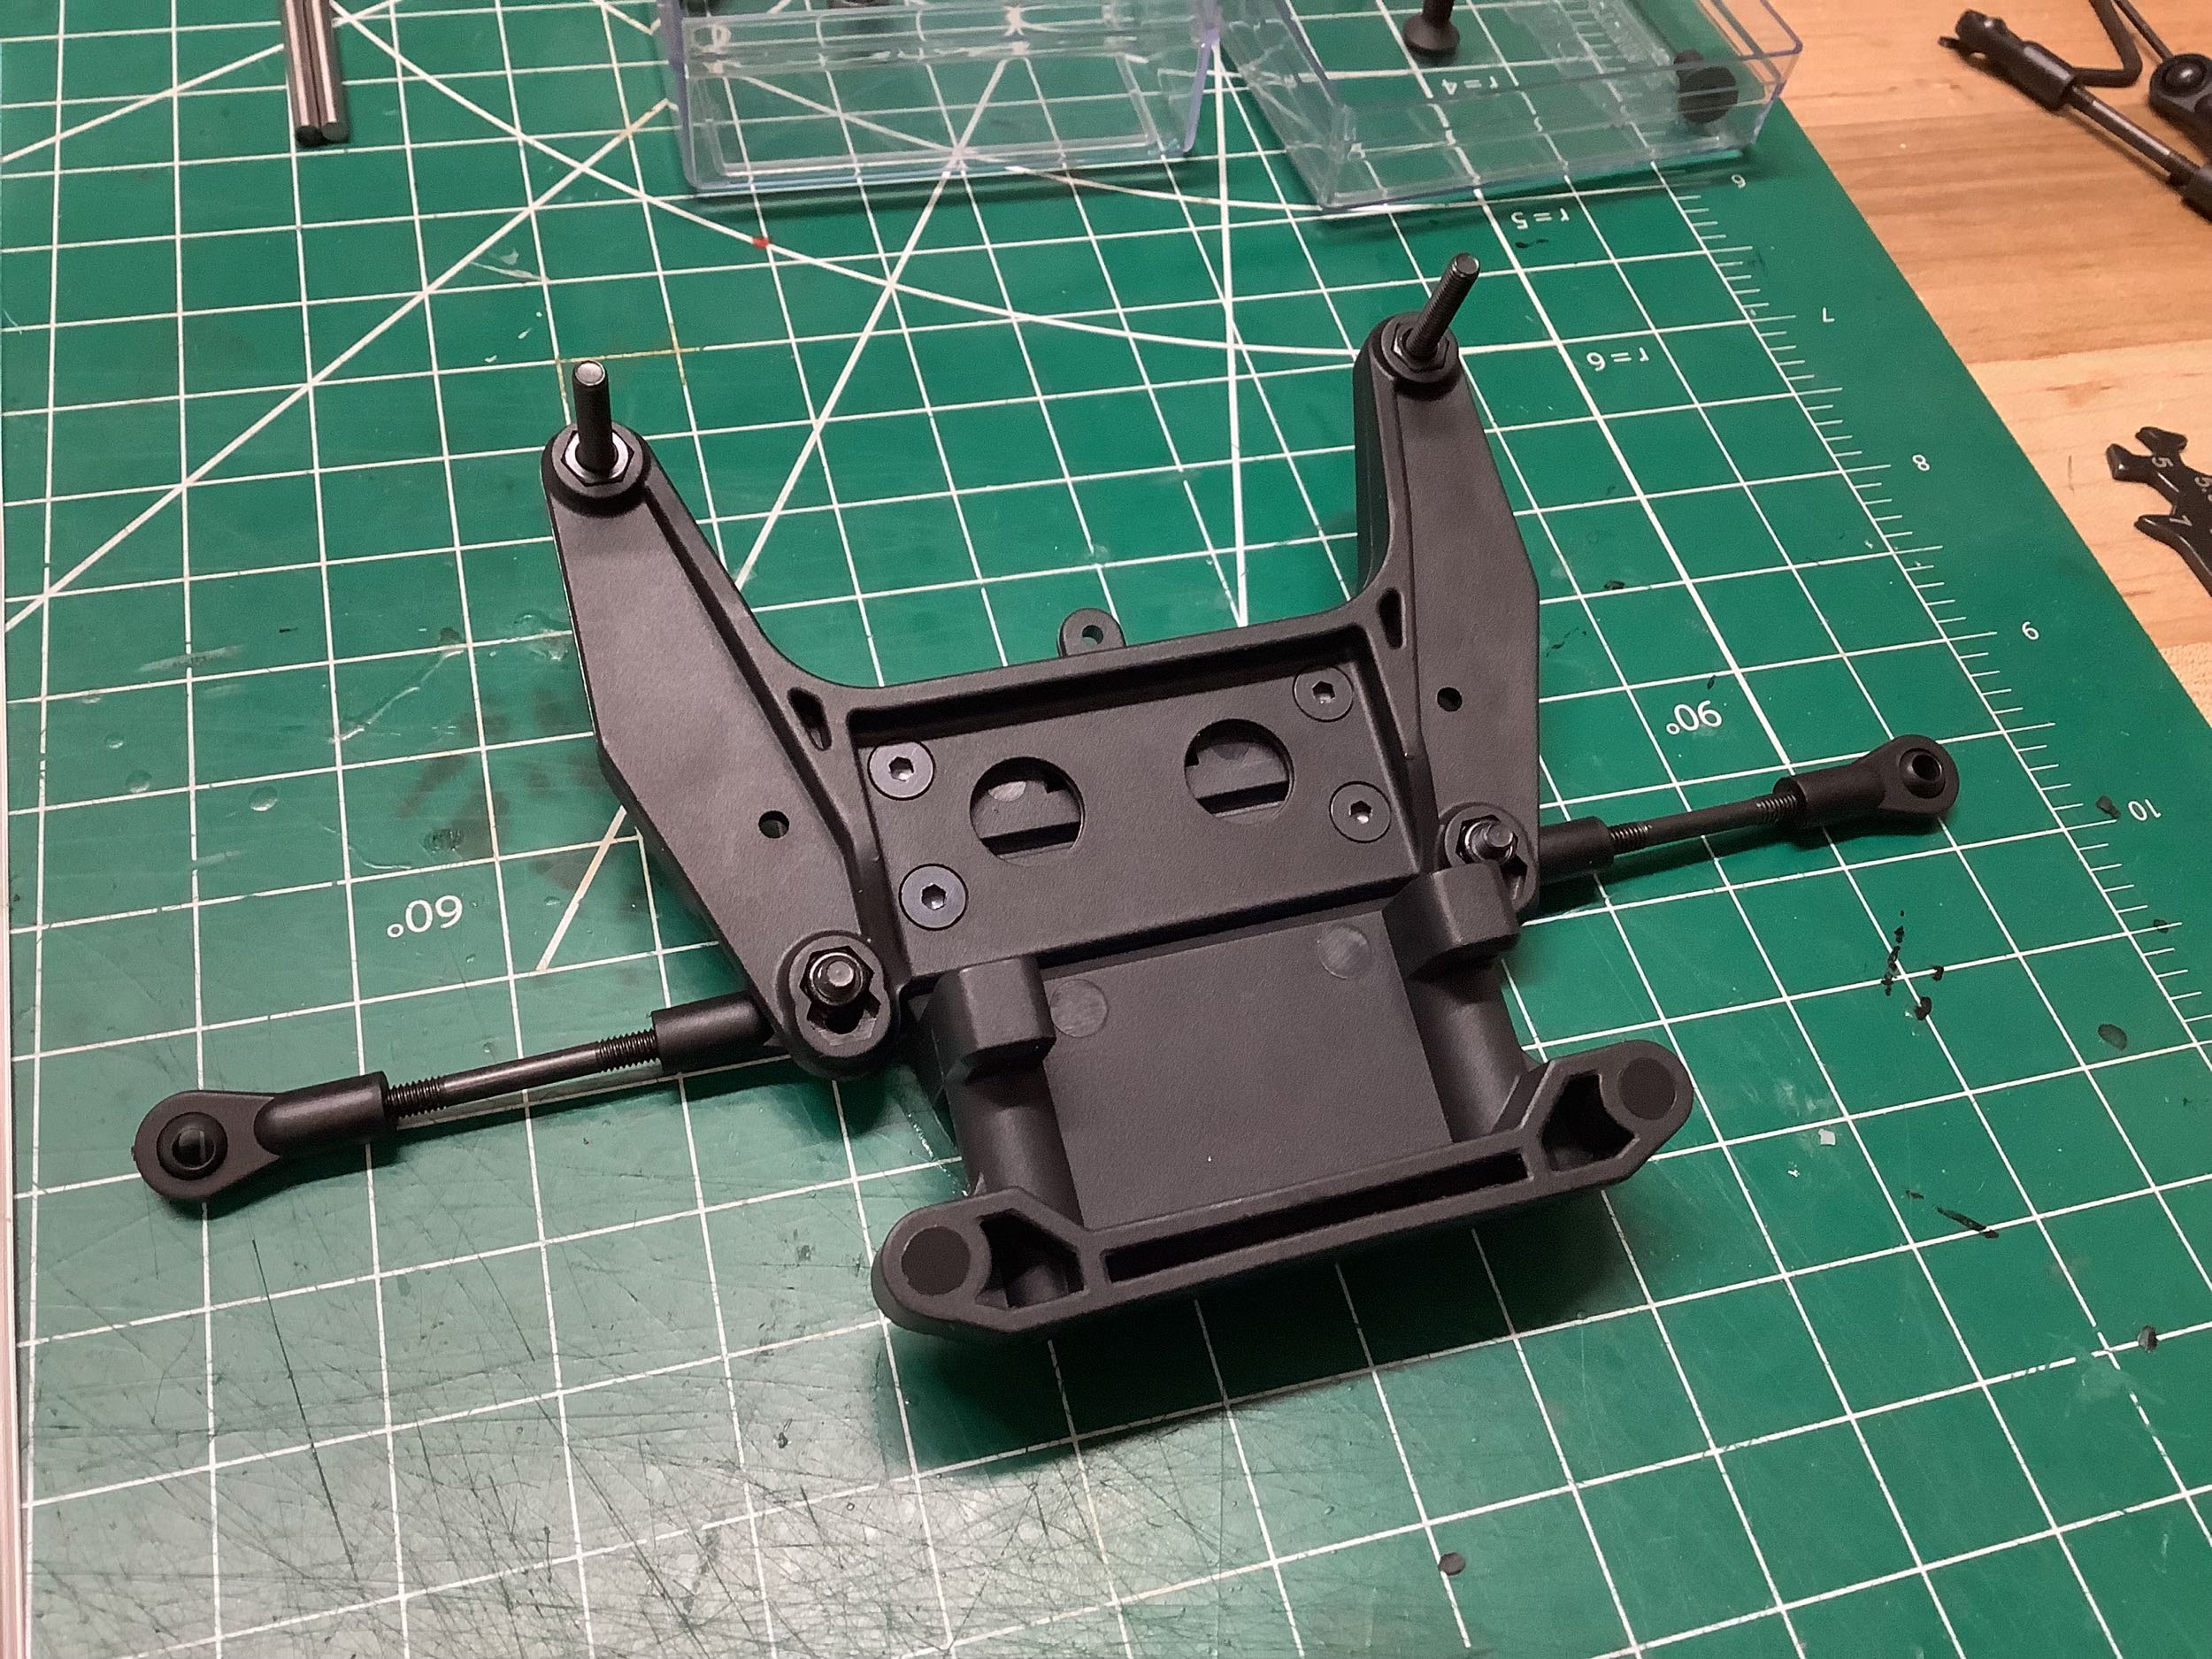
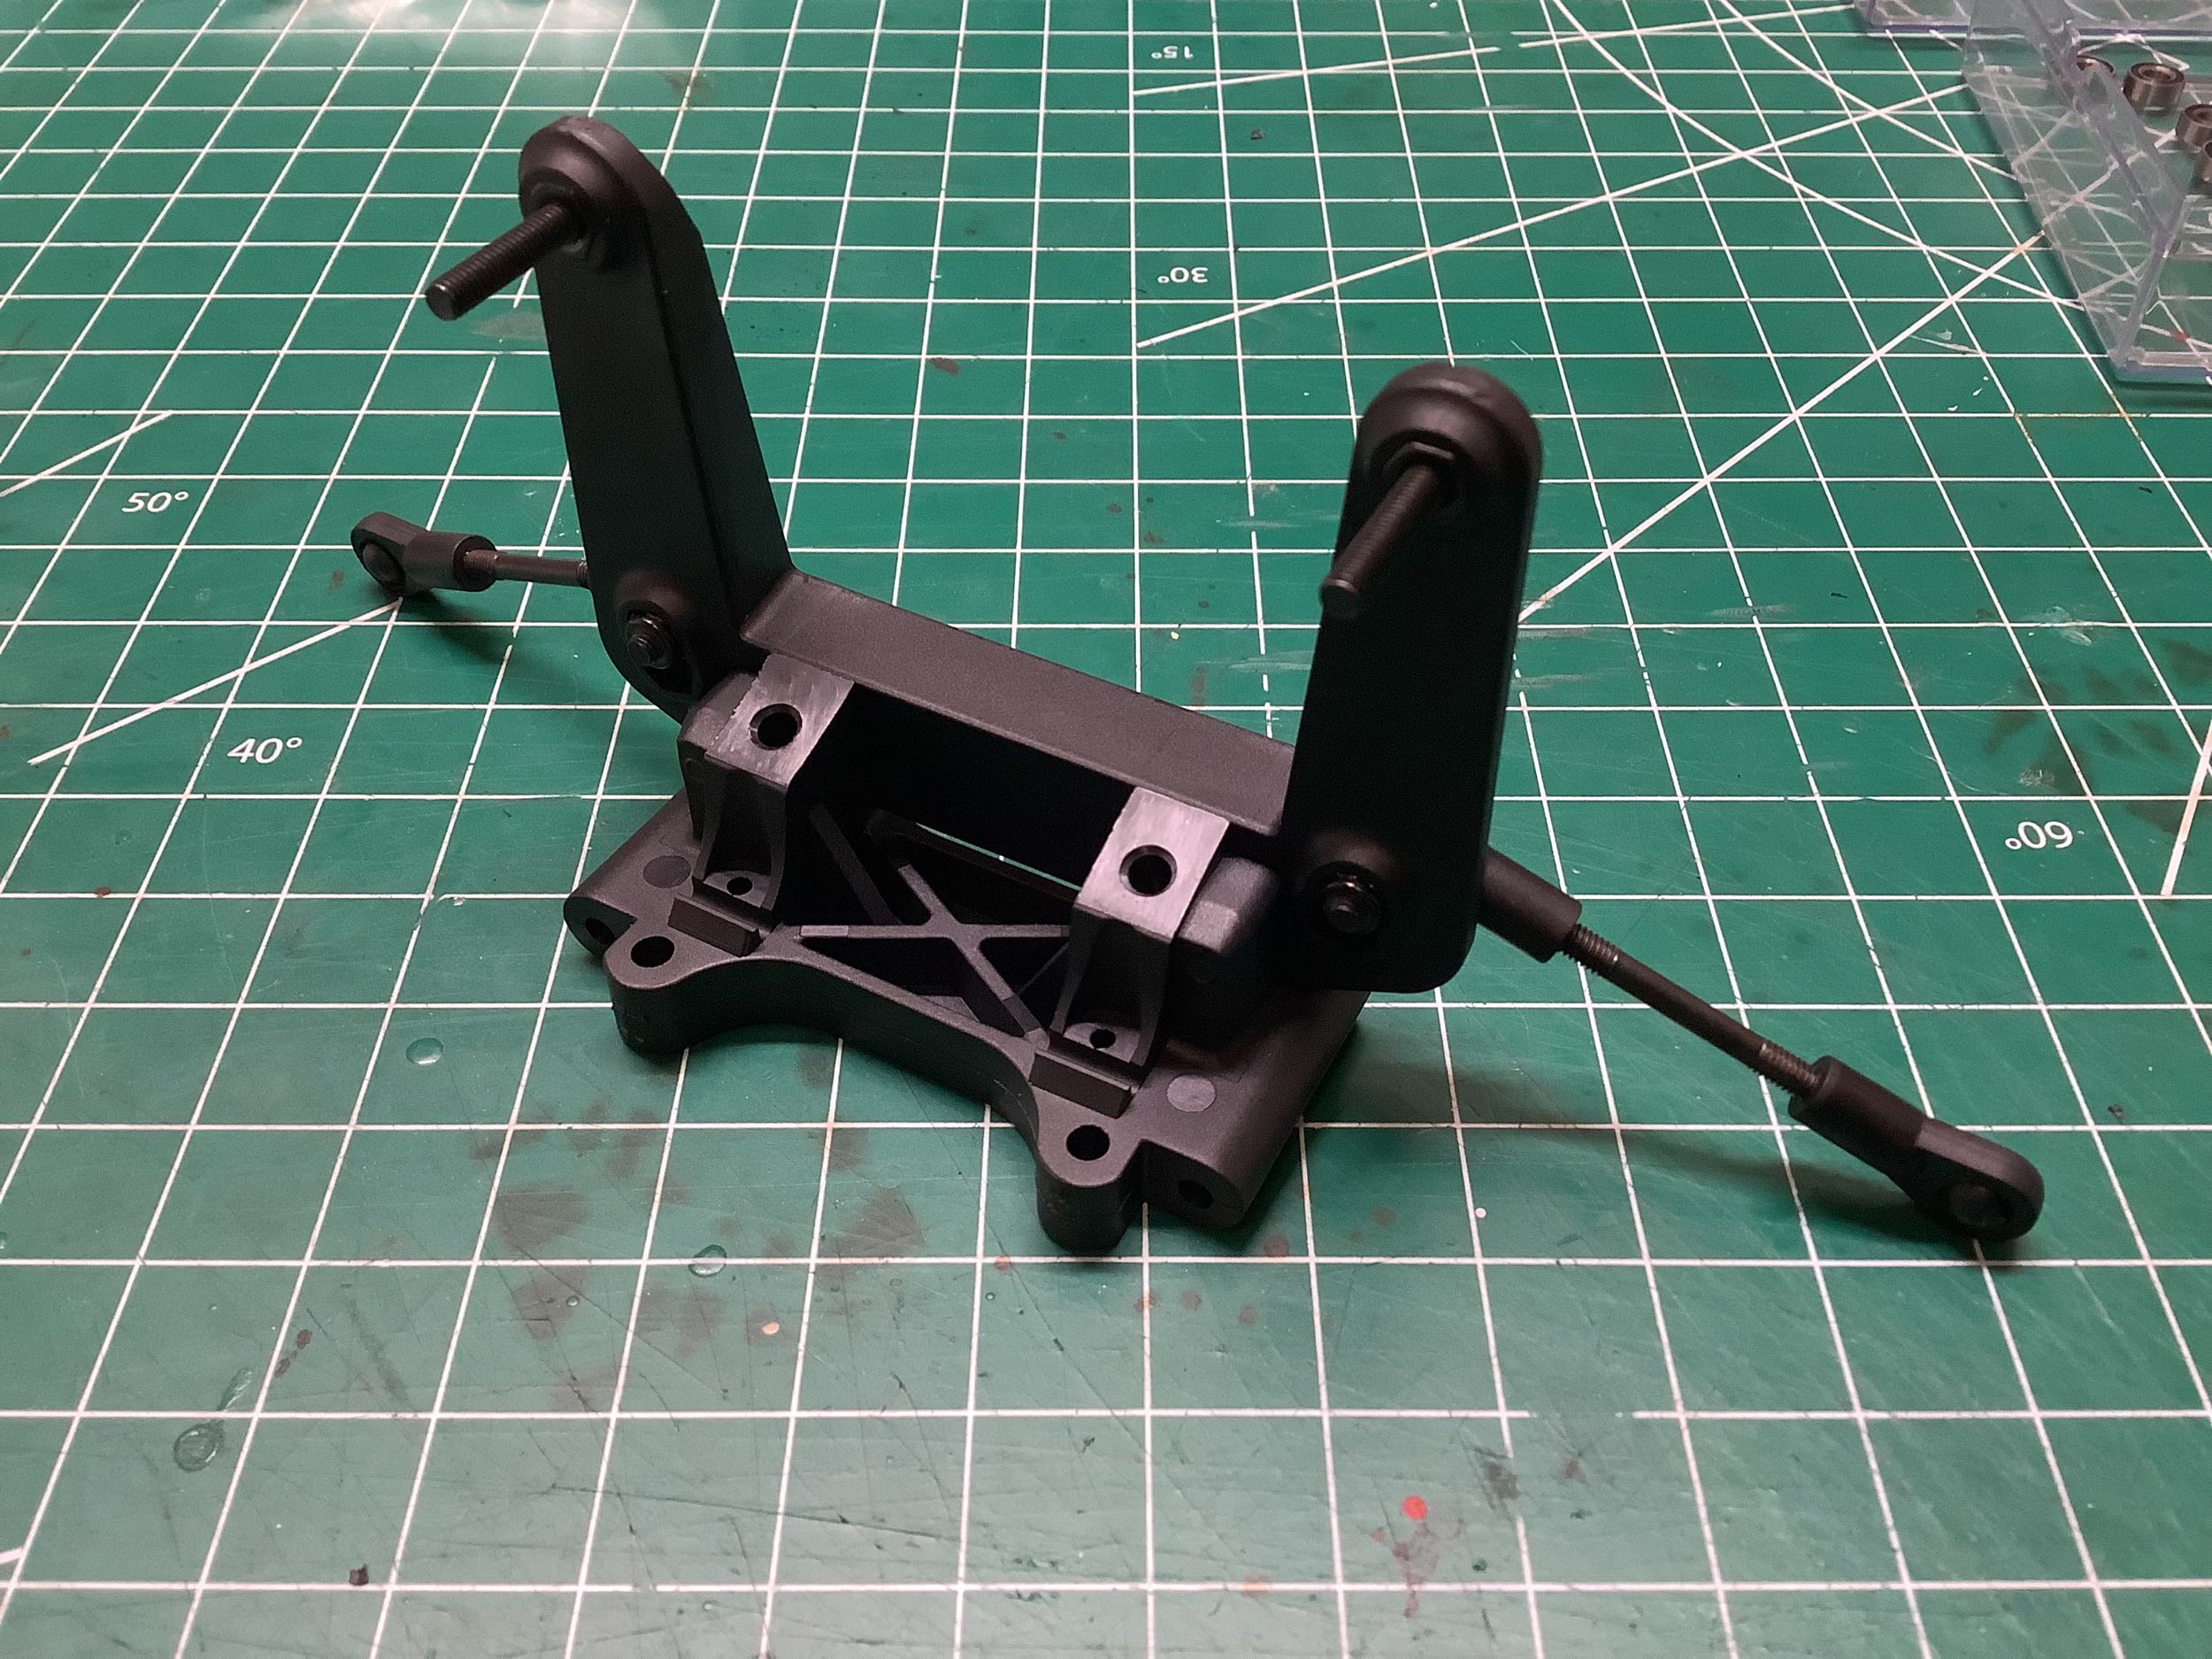
Here I'm assembling the rear shock tower and suspension mounts which are
all plastic. These are the first parts which differ considerably
from the Optima. The rear suspension arms are new for the Ultima,
but the uprights and camber links are from the Optima. The chassis
plate you can see first in the picture on the right is the defining
part of the Ultima.
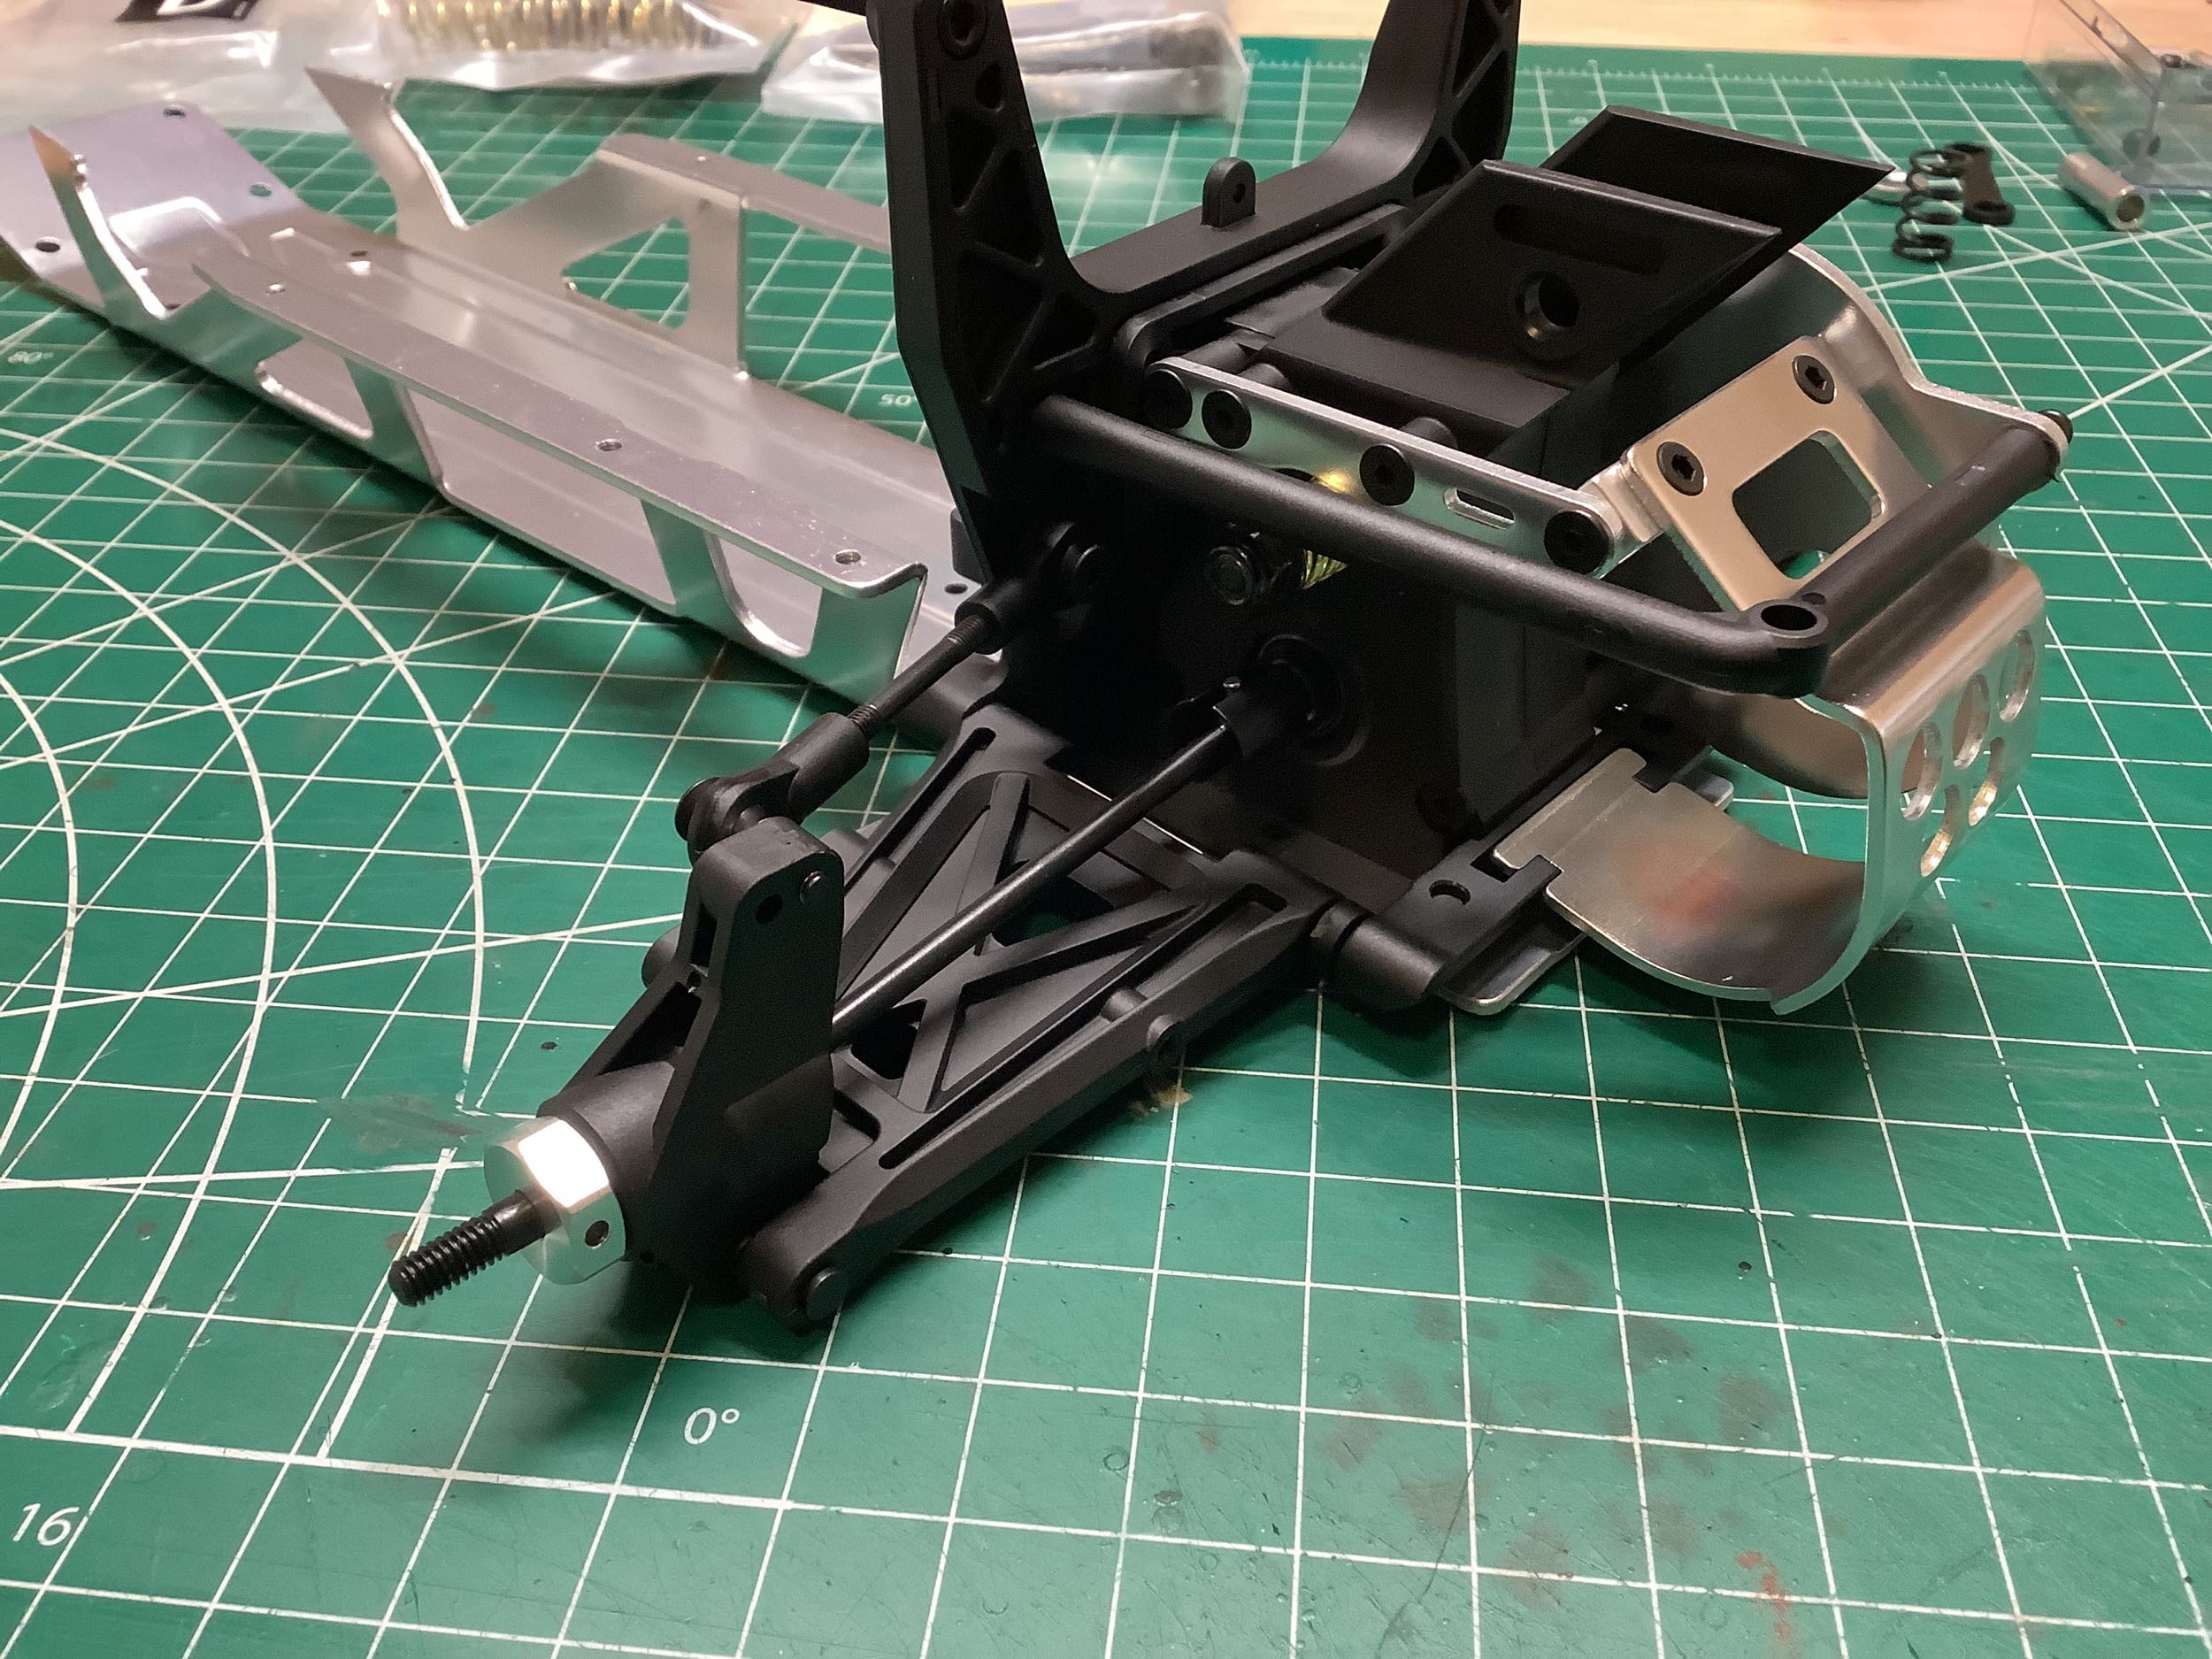
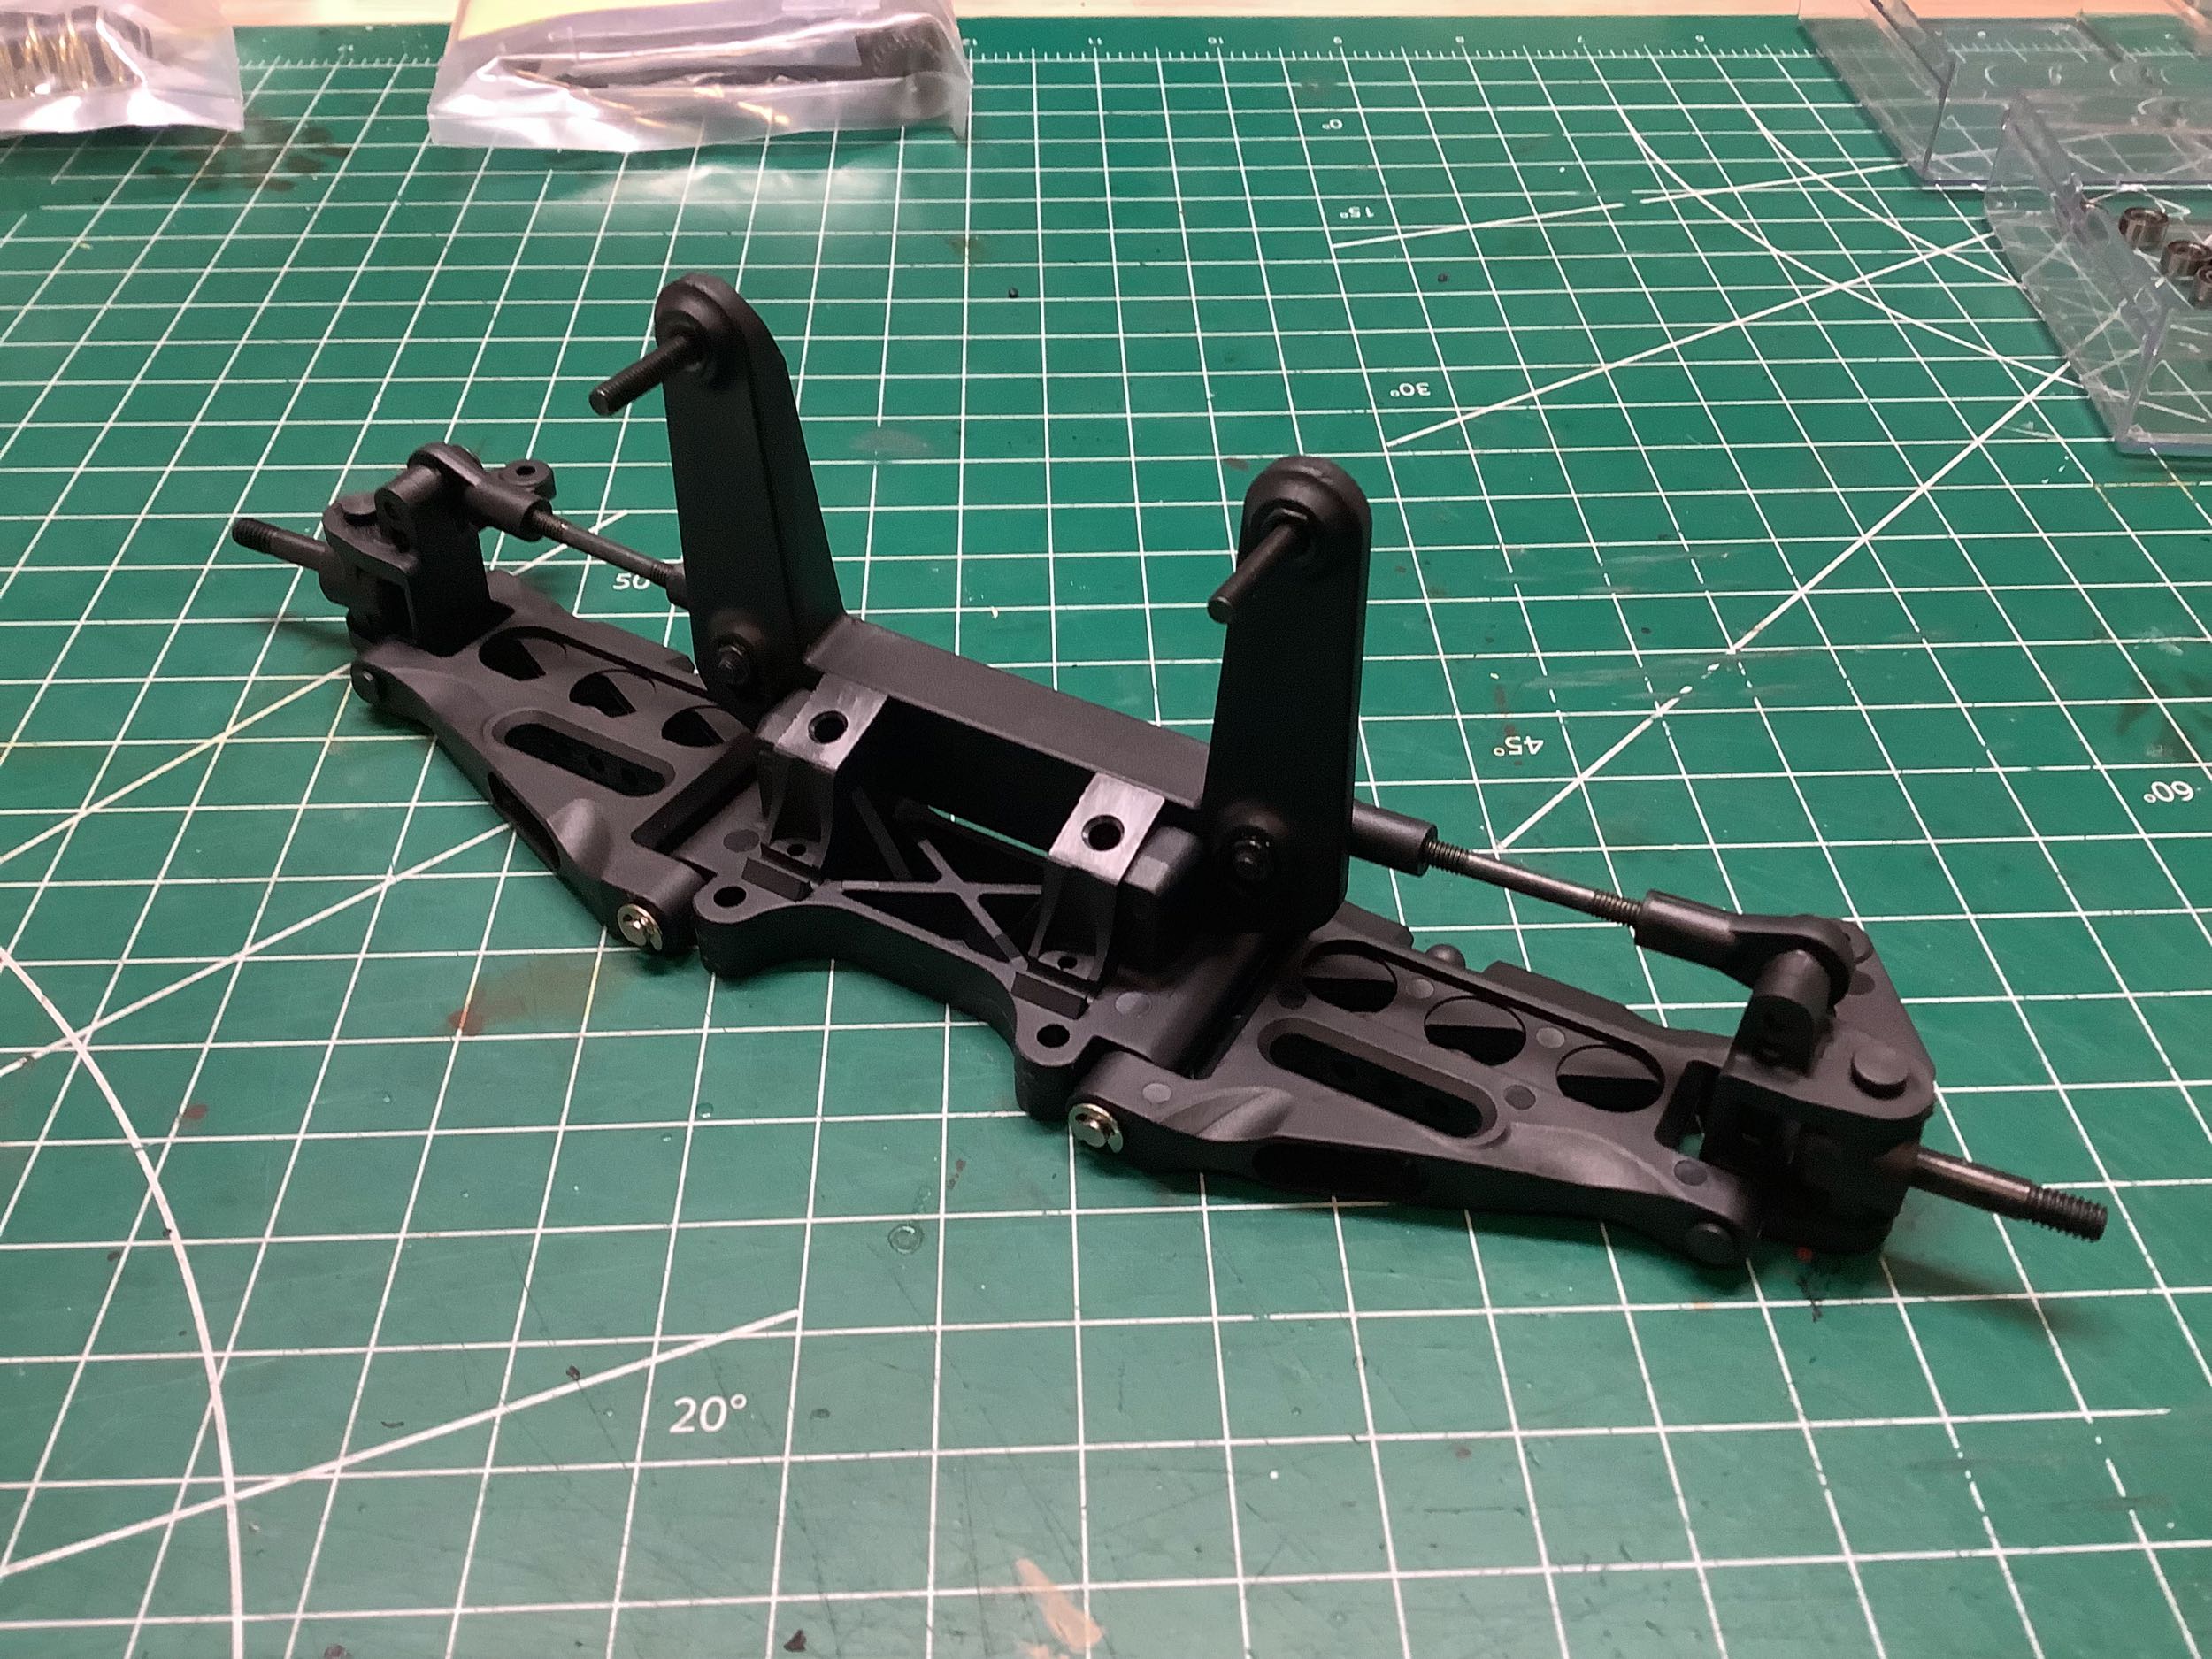
The front shock tower and bulkhead are also plastic, and they assemble
directly the front lower suspension arms resulting in a modular front
suspension assembly as shown.
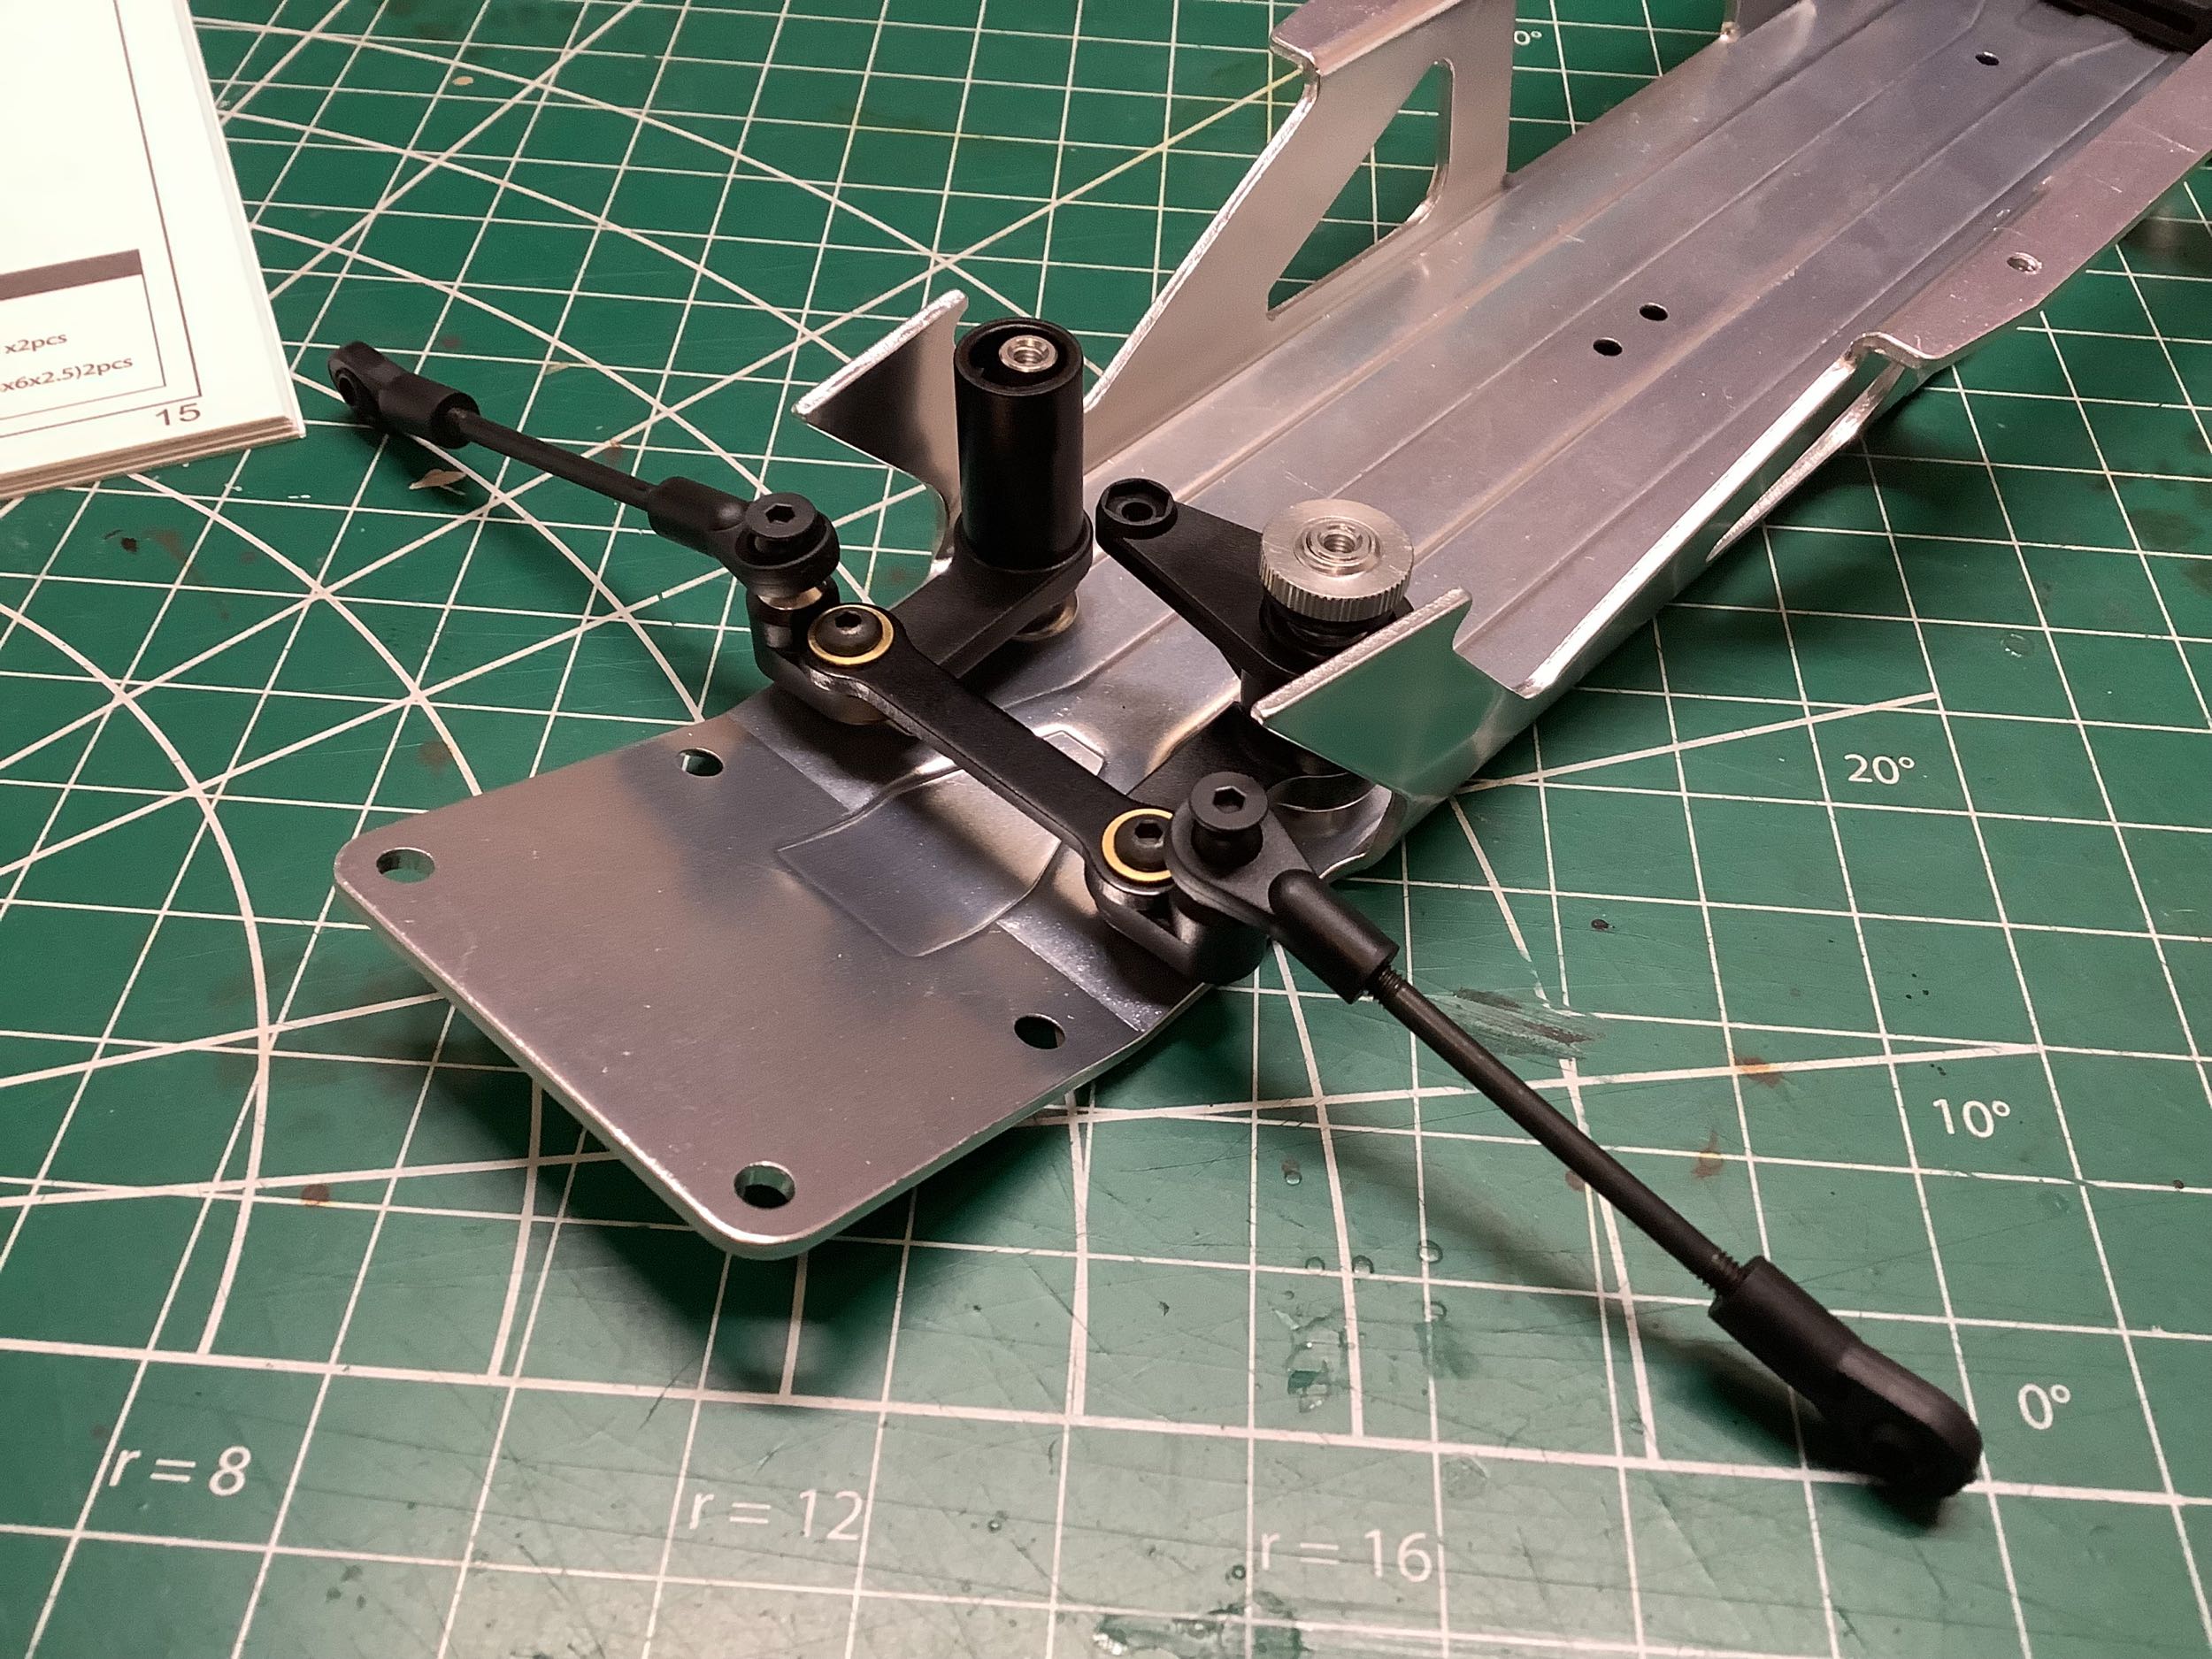
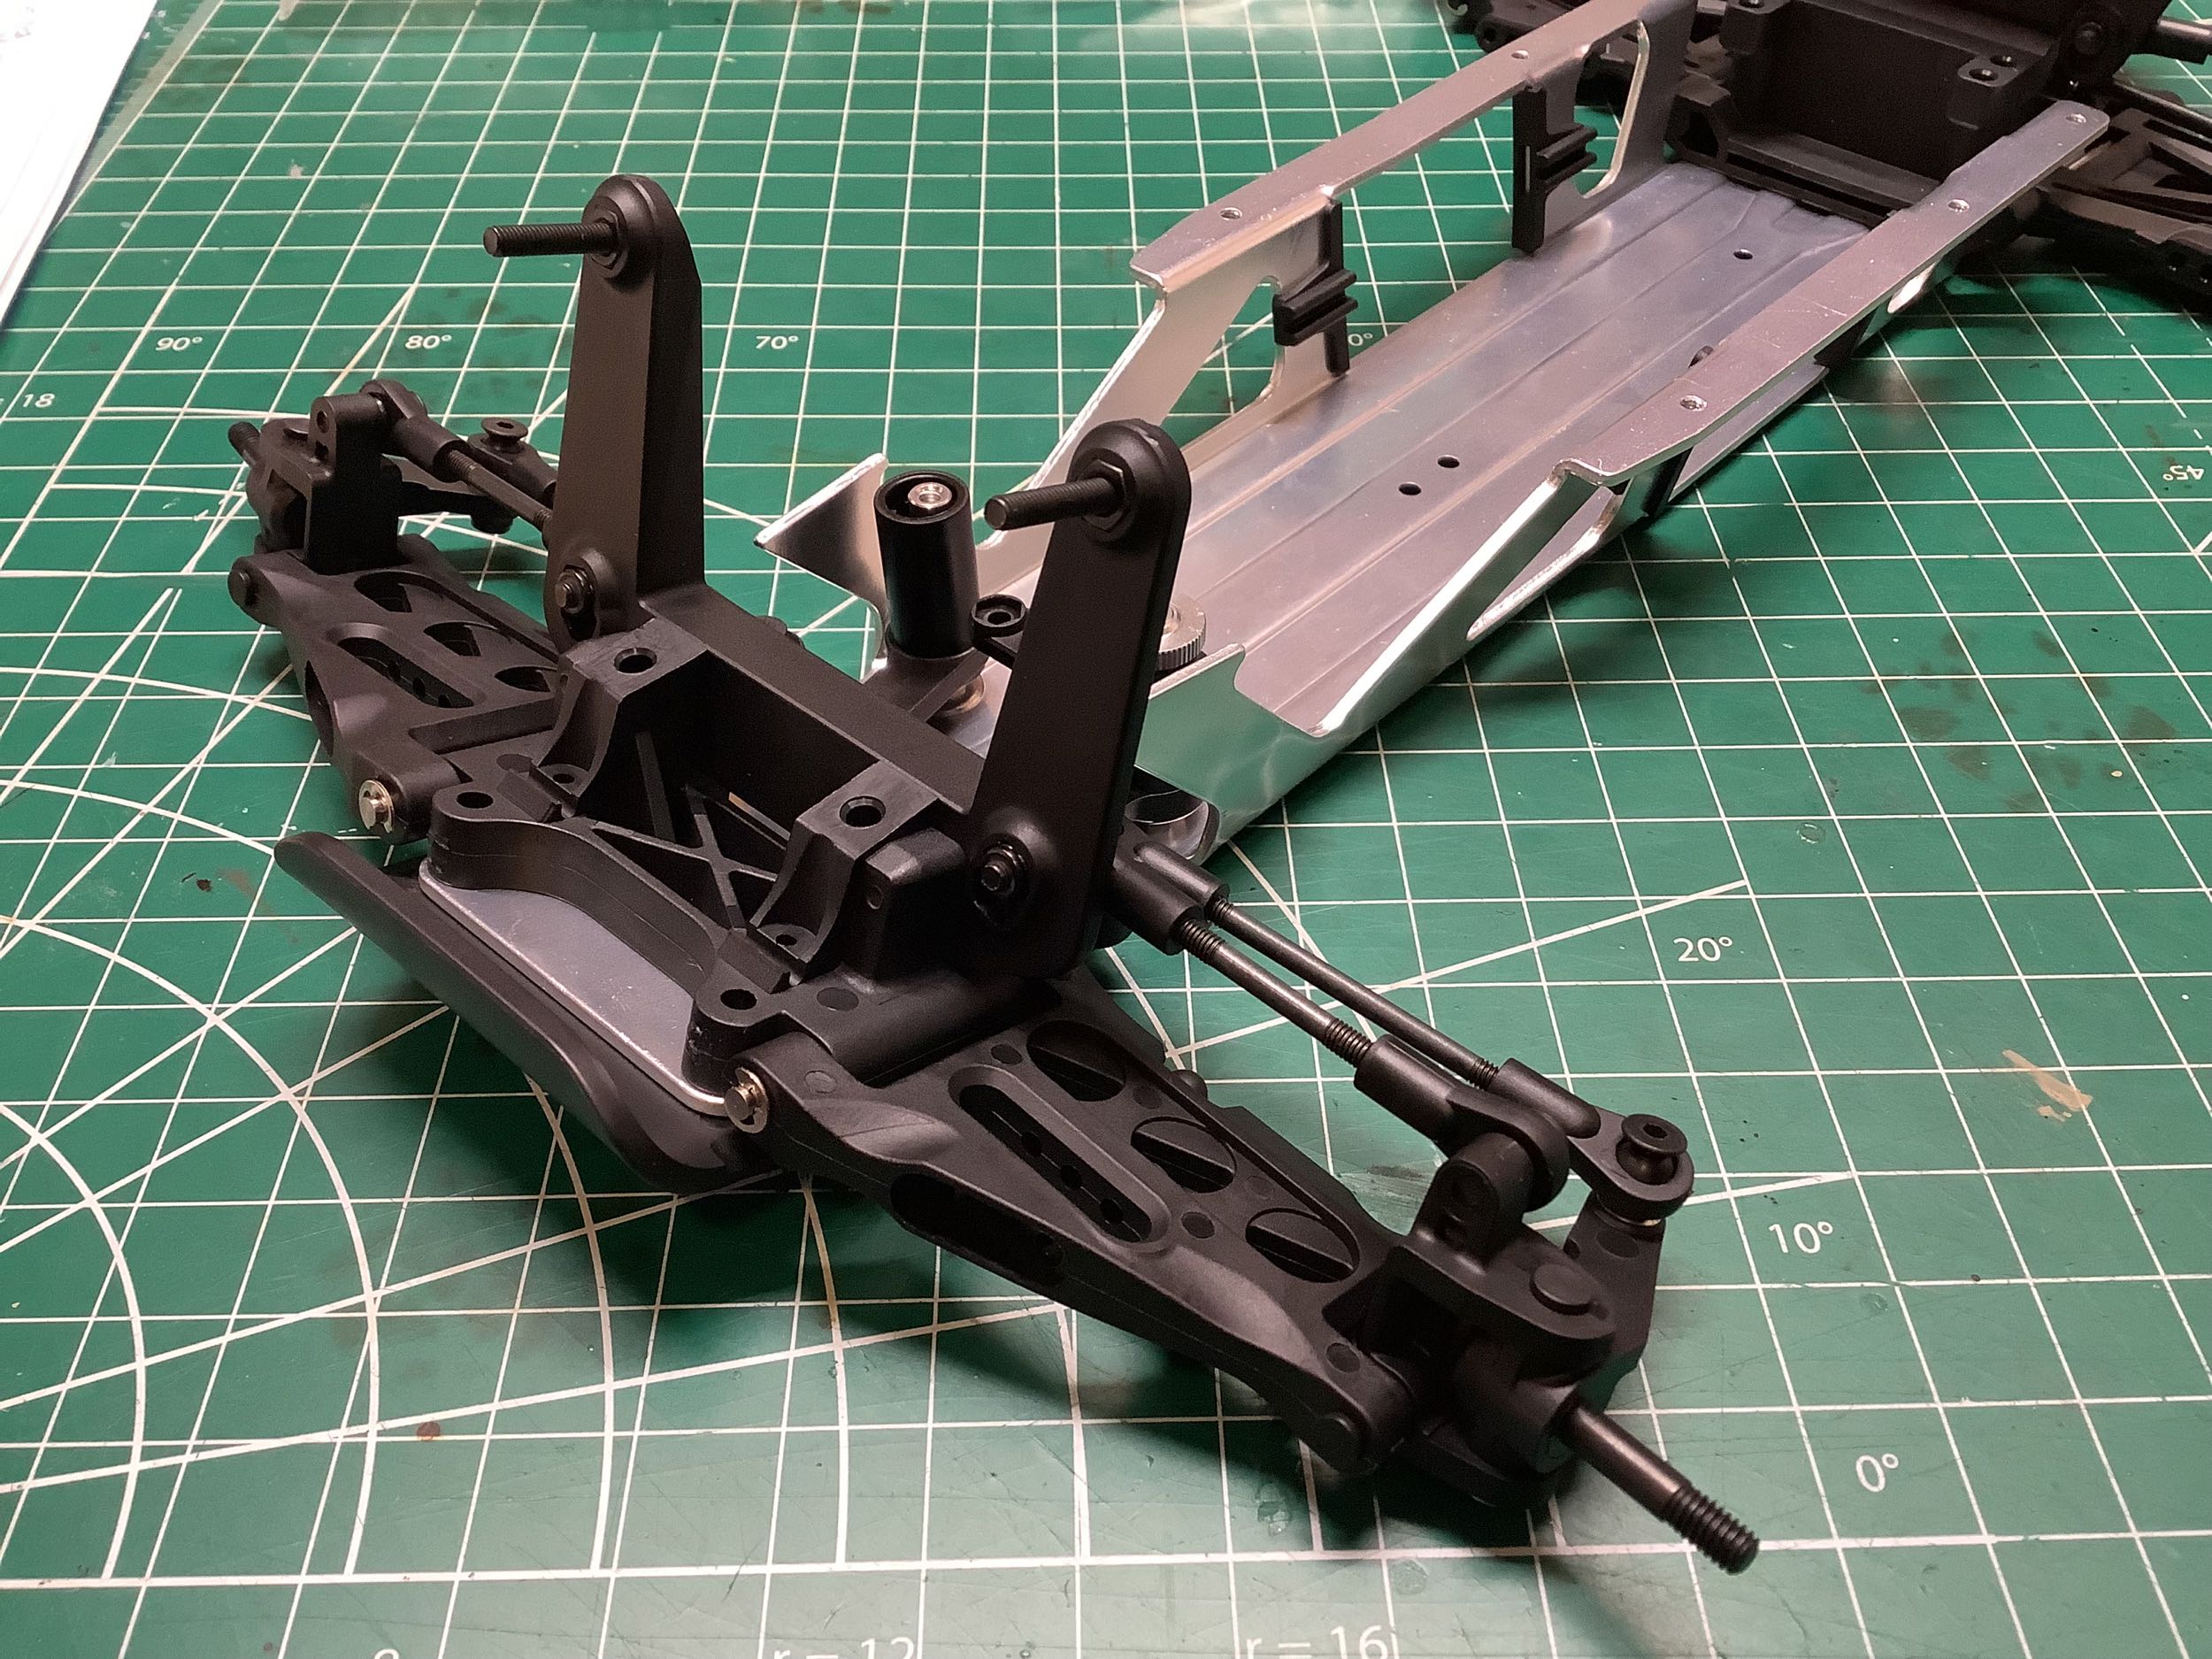
The steering uses a dual bellcrank system with a steel bridge and an
integral servo saver. Once the steering is installed, the front
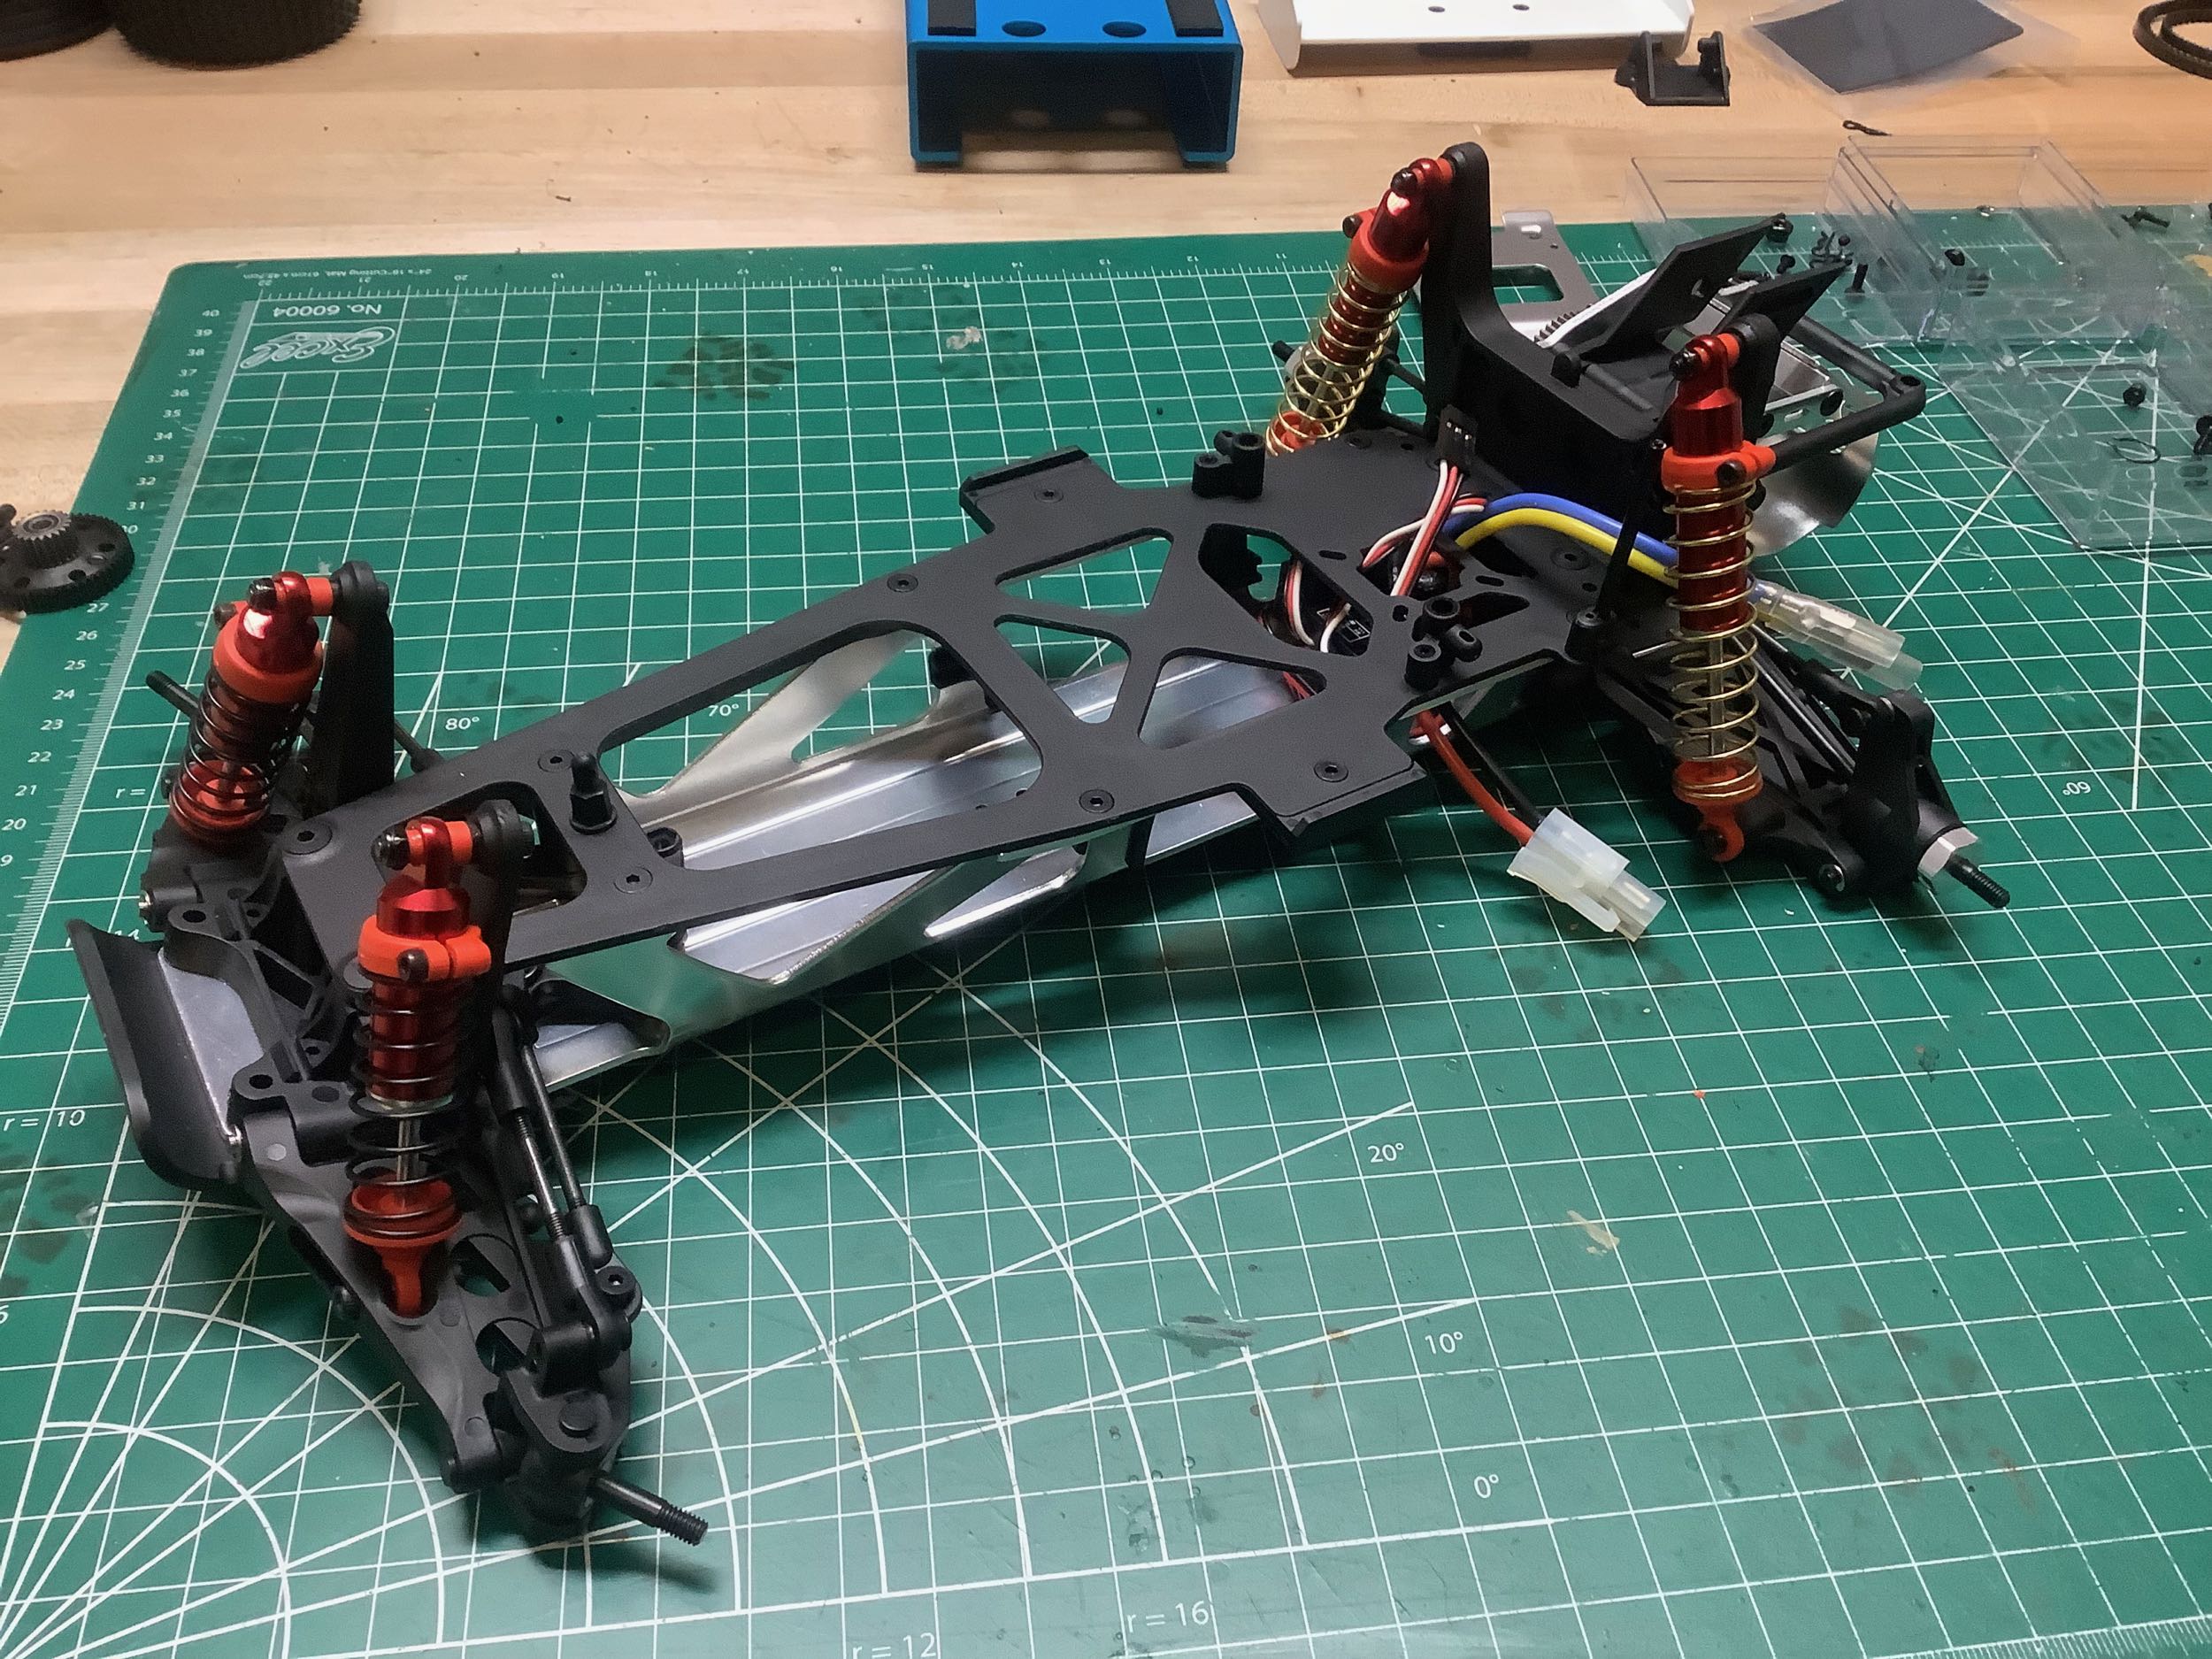
suspension can be added as well. Note the kick-up angle built into
the chassis.
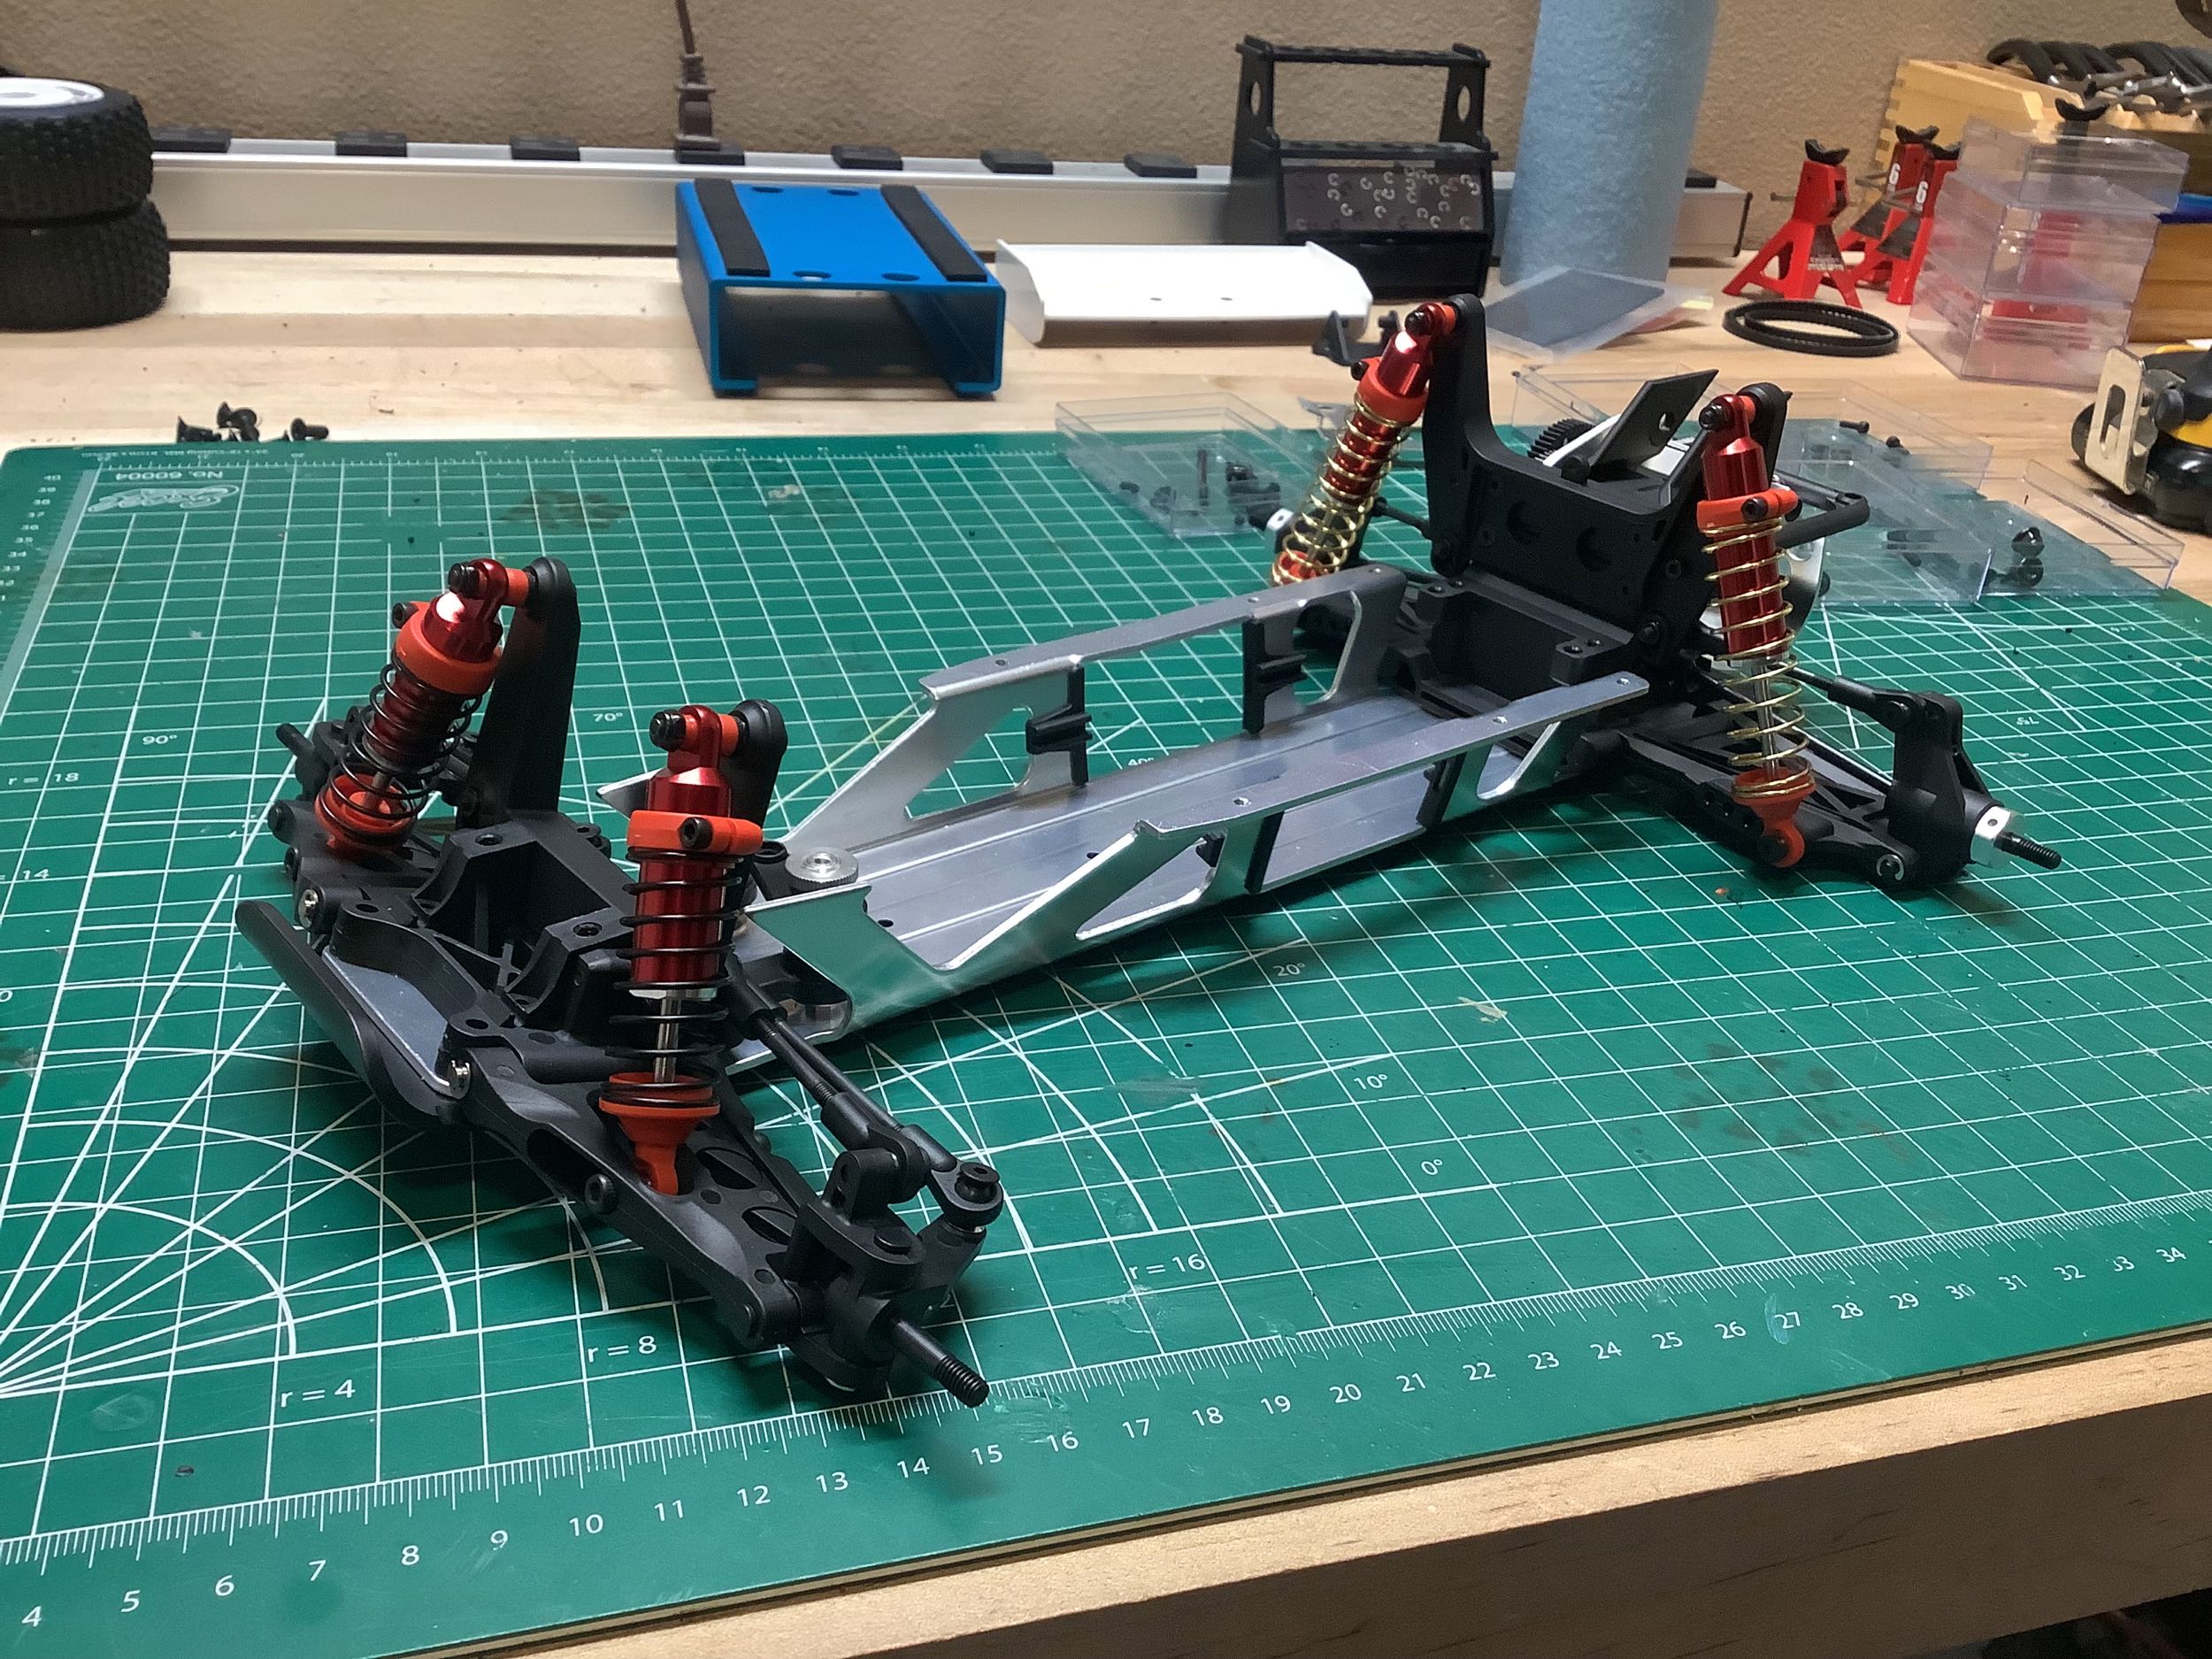
The next step is the shocks which I've installed here. The shocks
are identical to those from the original Optima and use the same red
anodizing.
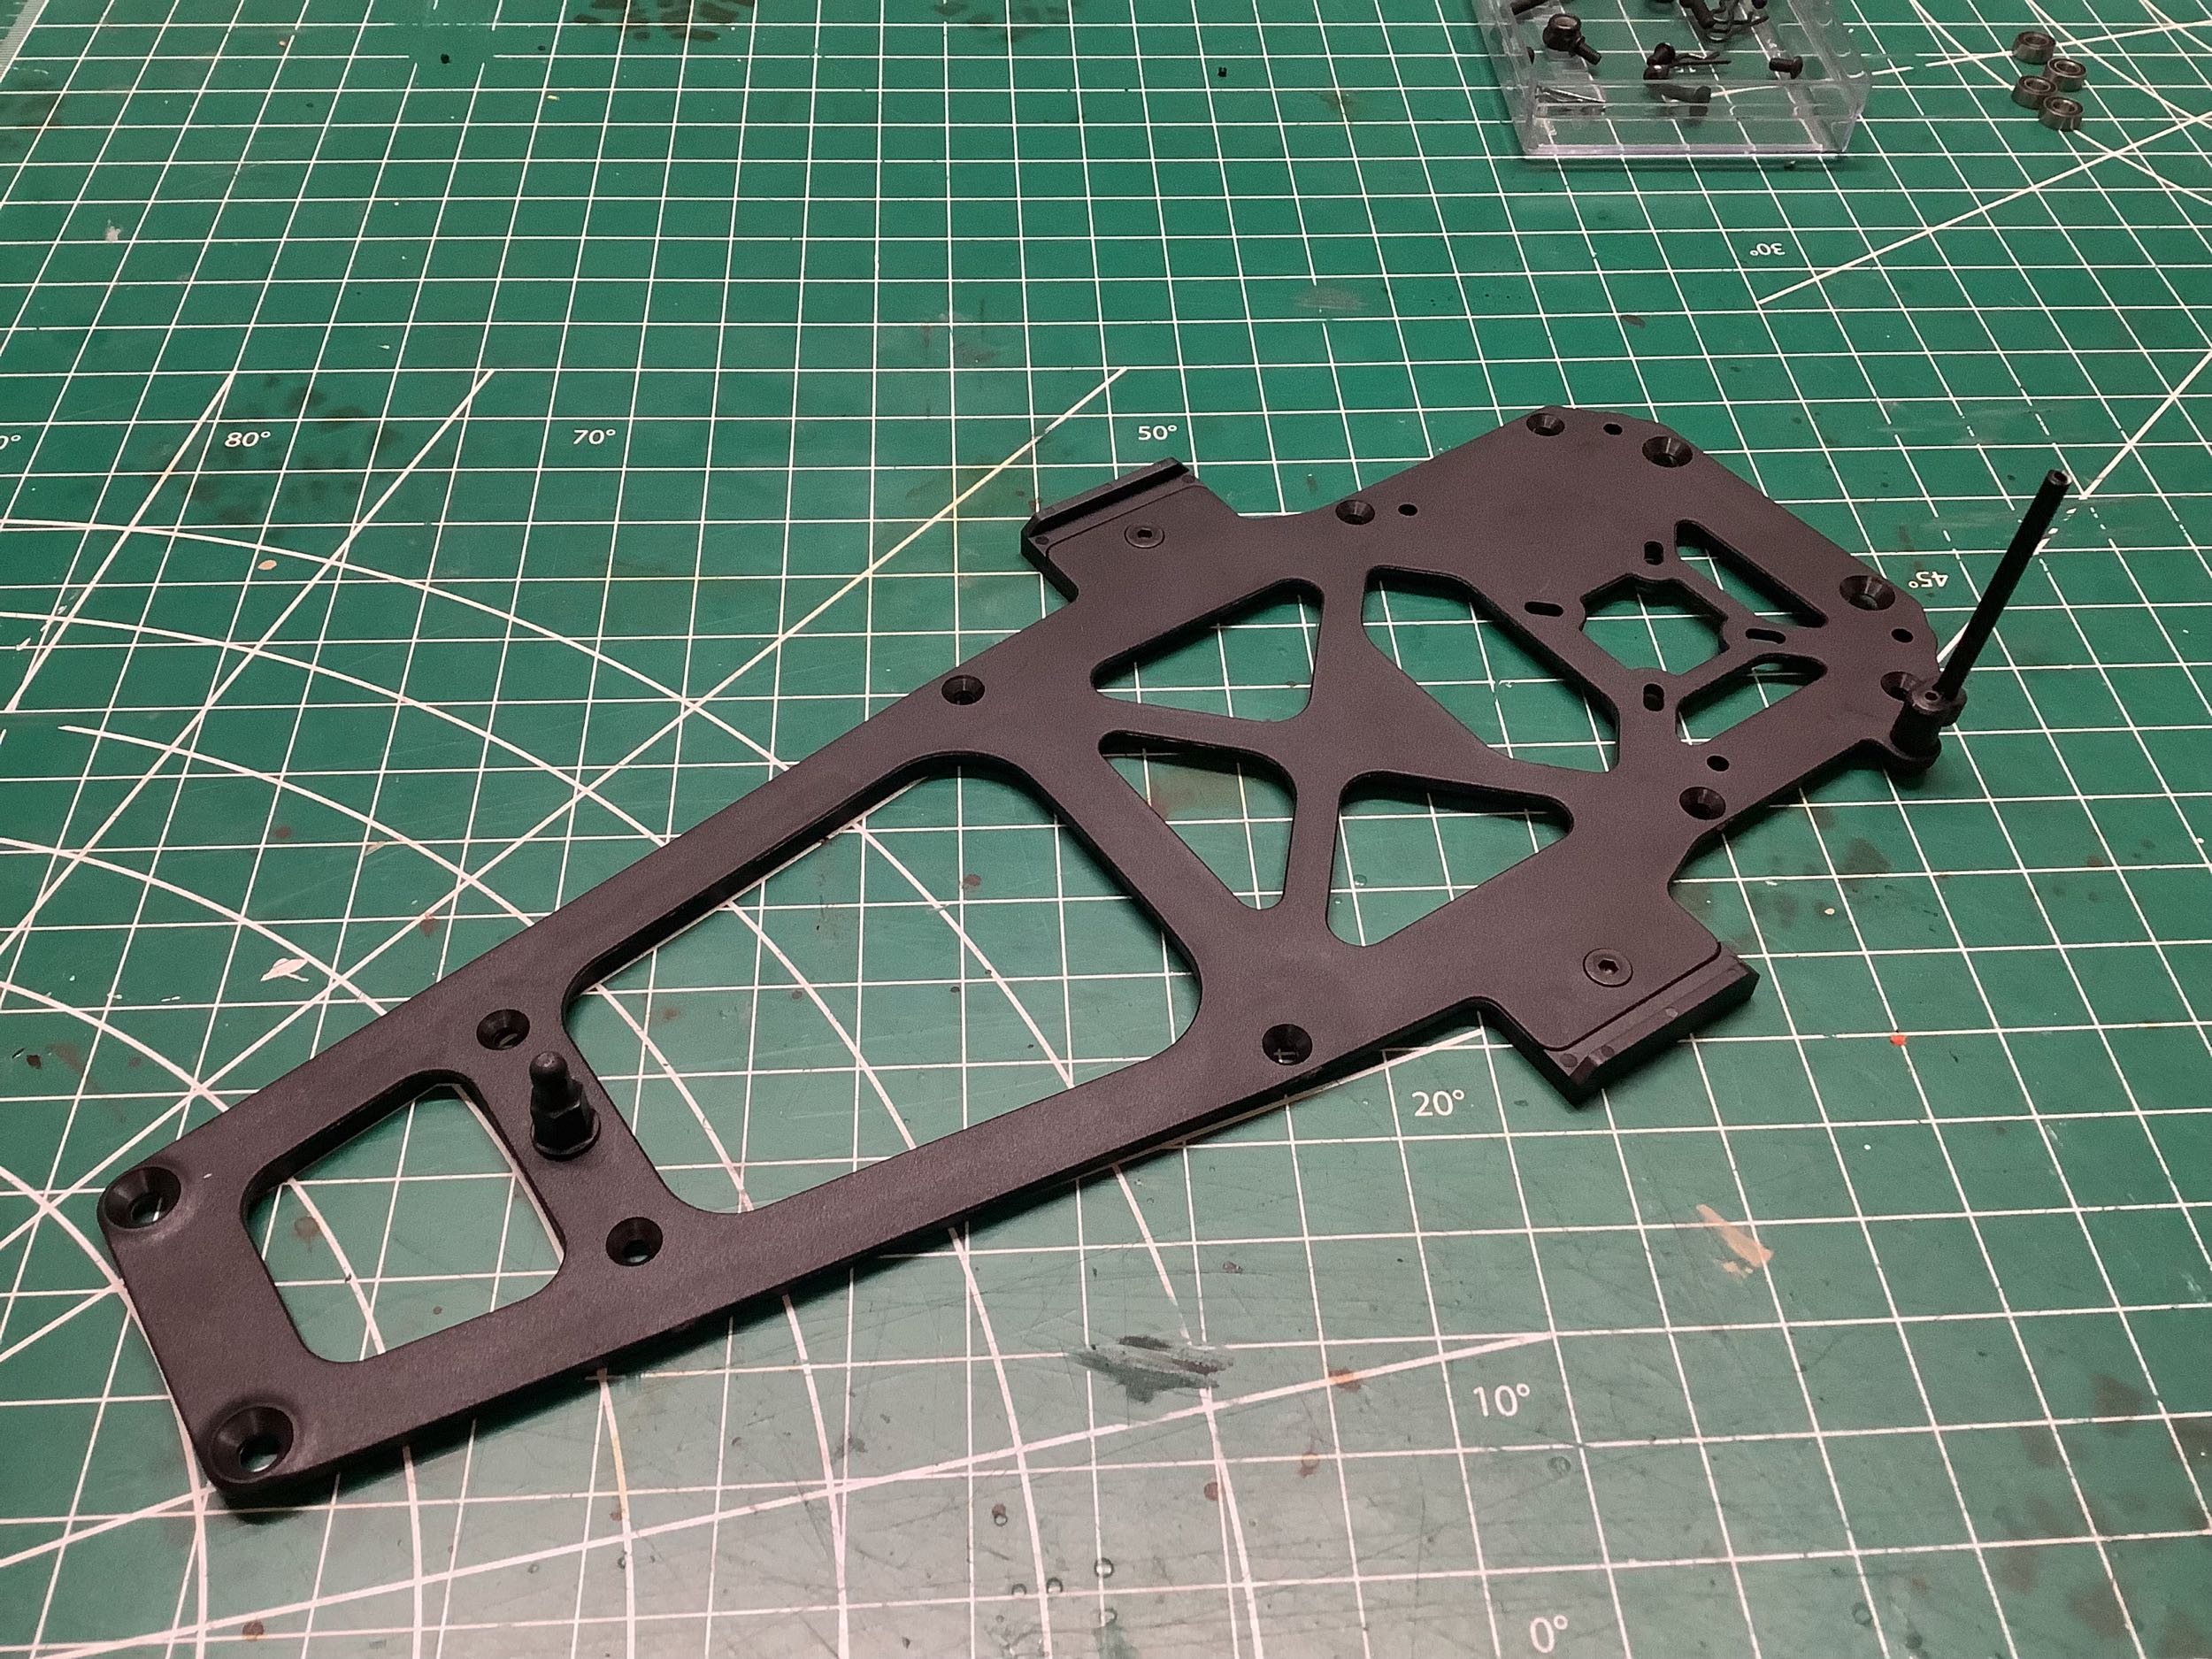
The upper deck is an FRP plate which greatly stiffens the chassis and
includes supports for Velcro straps which will retain the laterally
mounted battery. There are plastic guards that snap into the slots
in the chassis to protect the battery from being damaged by the metal
in a crash. This is particularly important if modern LiPo
batteries are used.
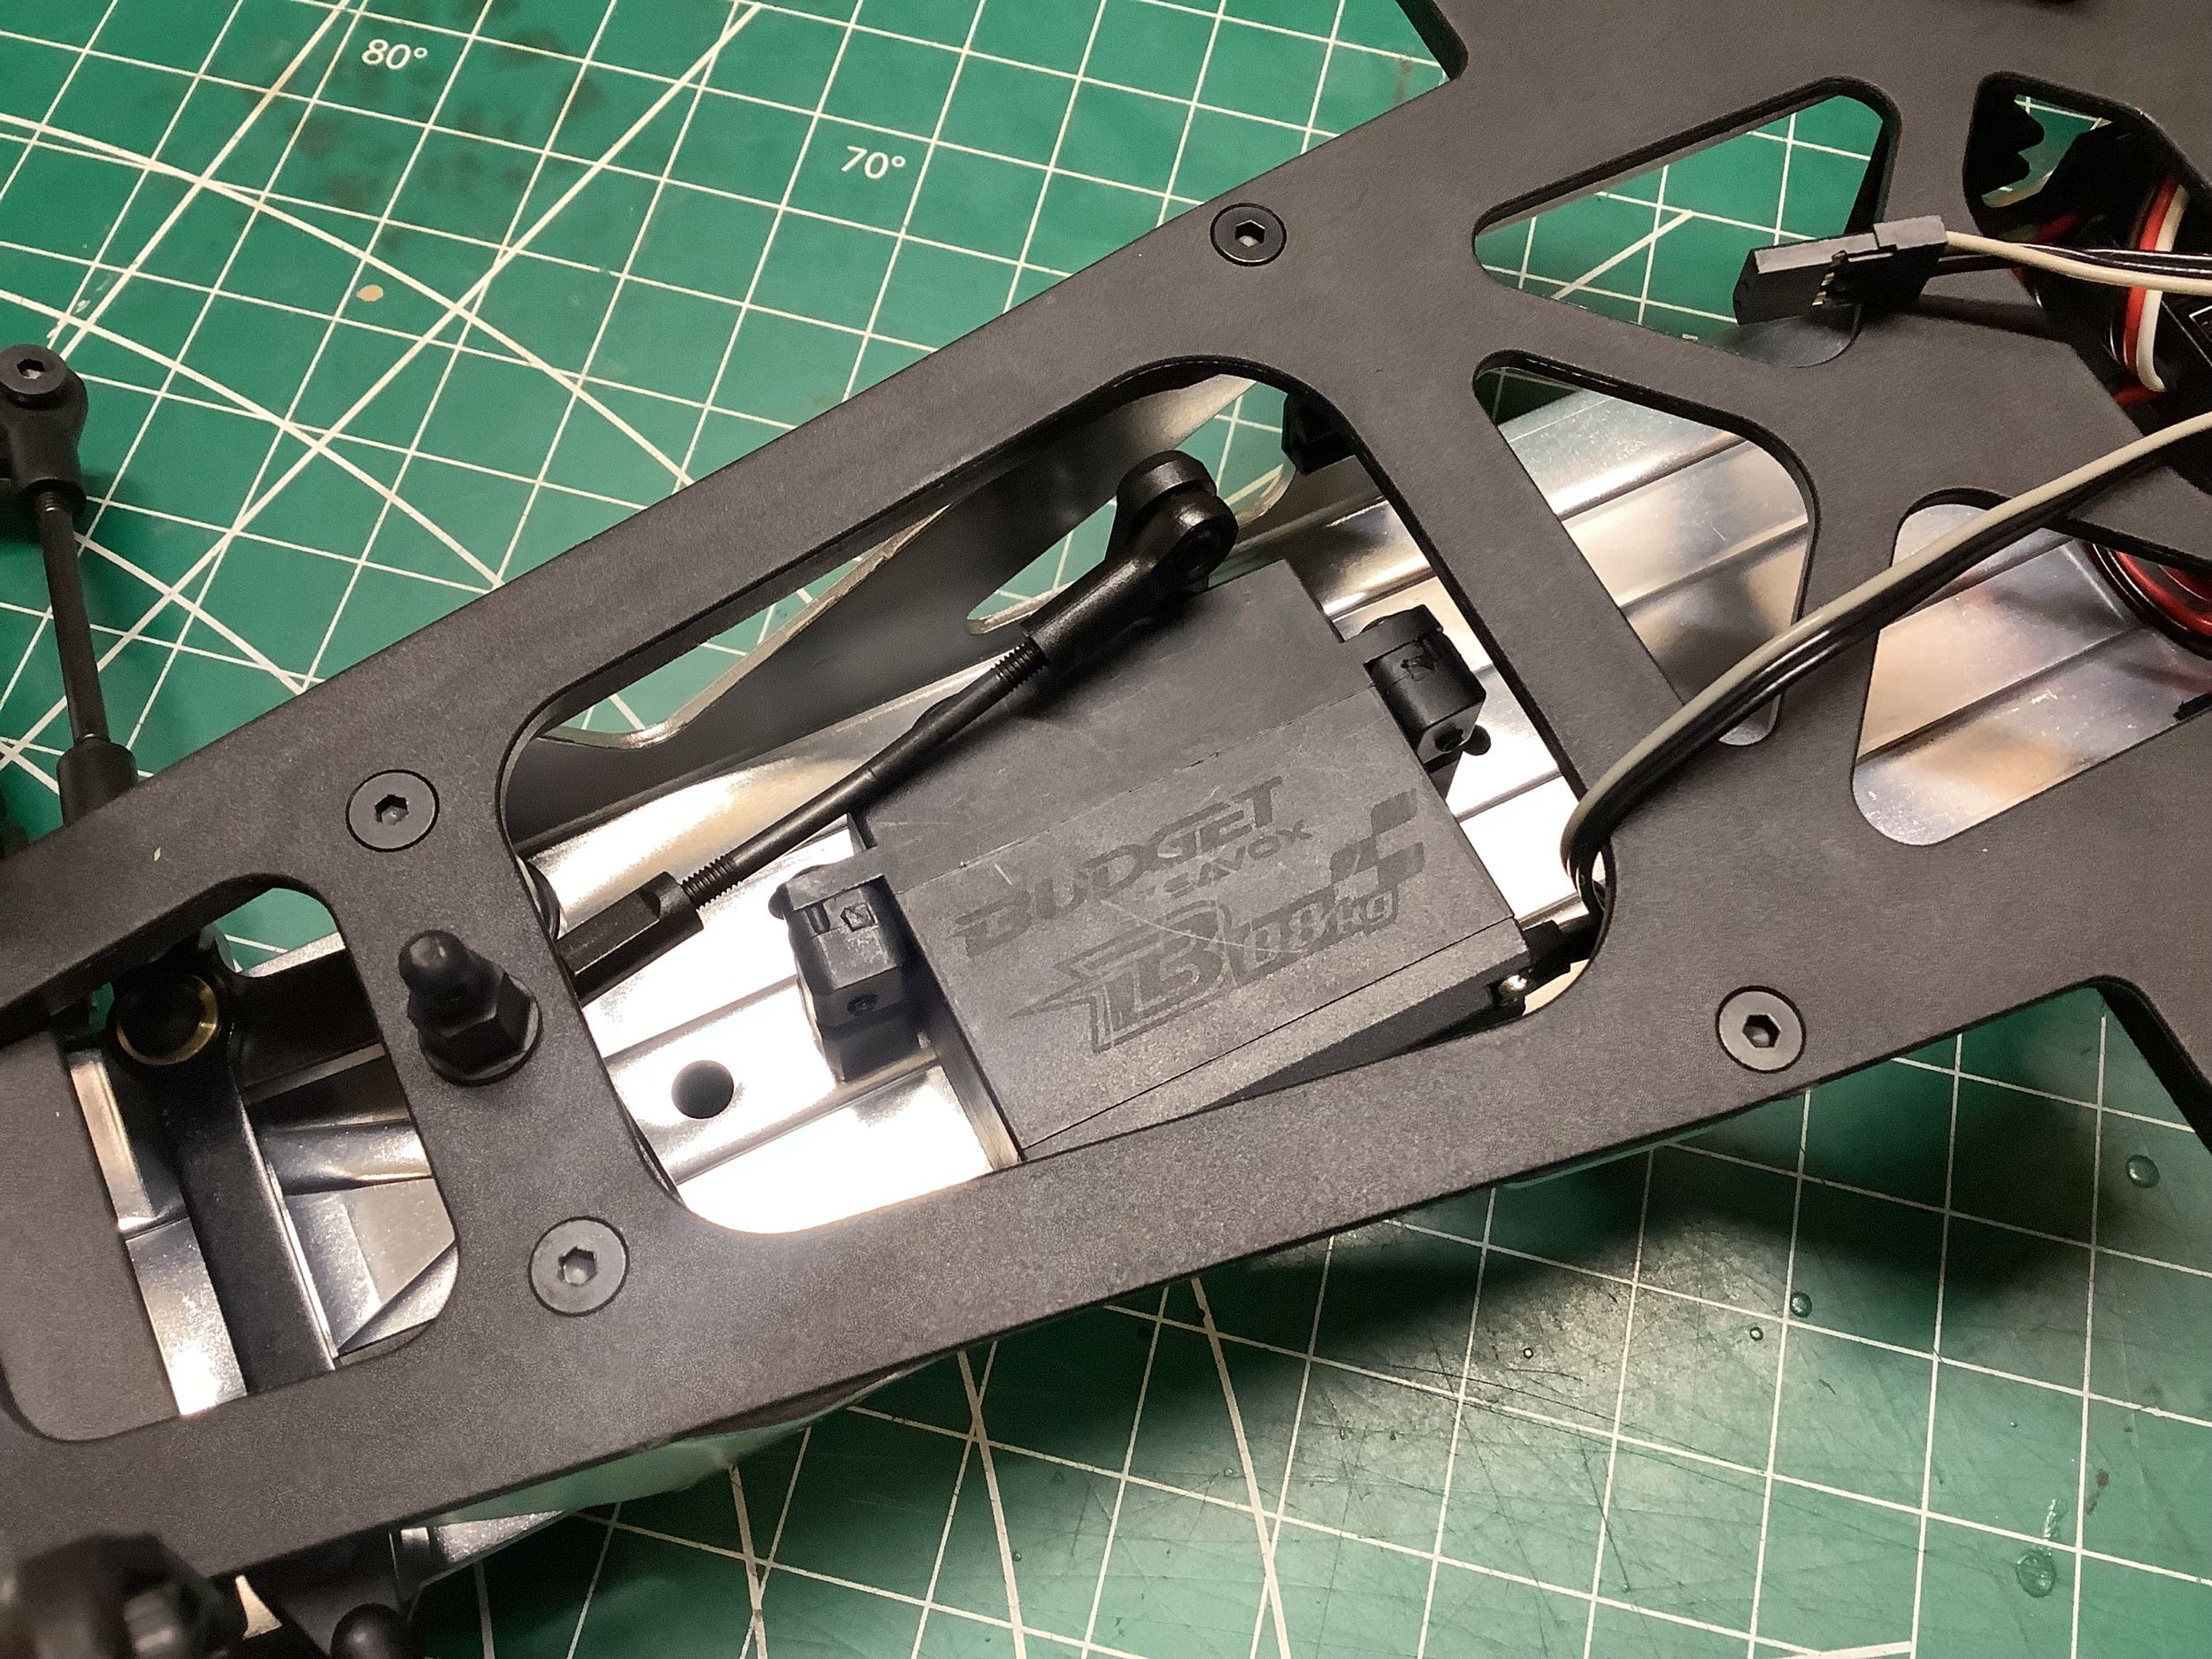
The steering servo attaches directly the chassis. The little hole
you see in front of the servo is a tool access point used to connect the
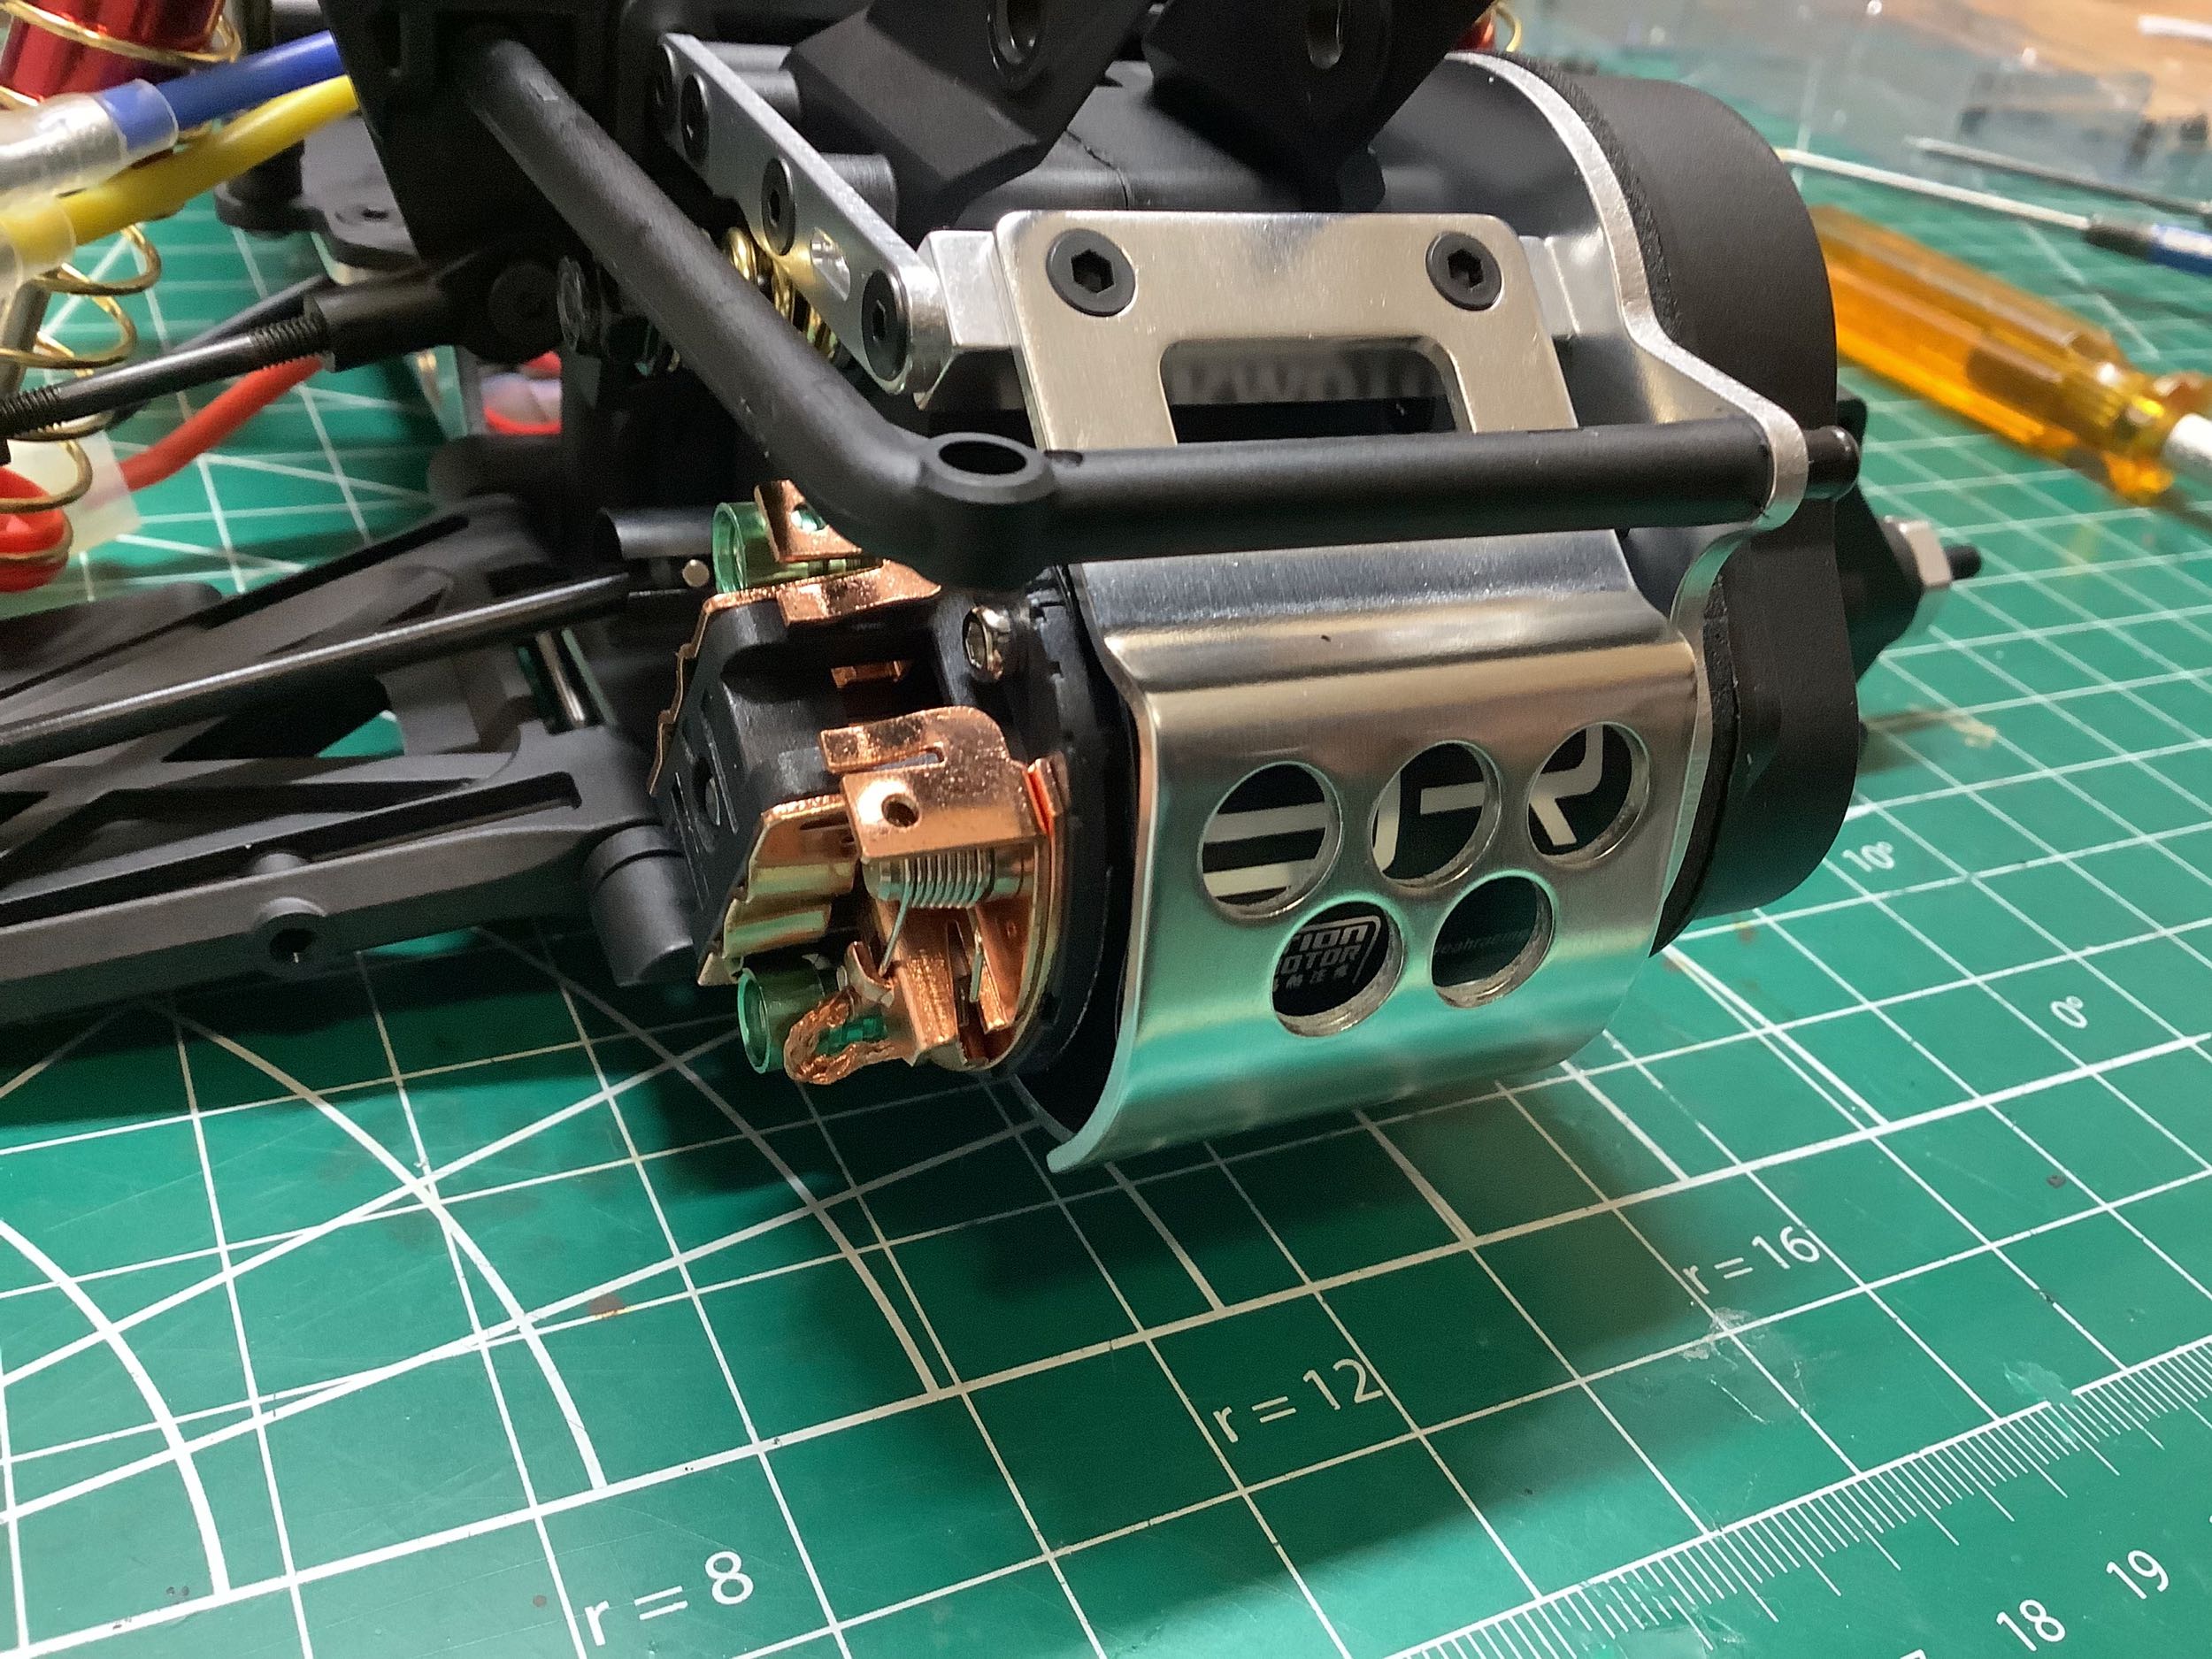
steering link to the crank. From the back, you can see the 23T
brushed motor that I've installed. The plastic guard around it
will integrate with the body roll cage later.
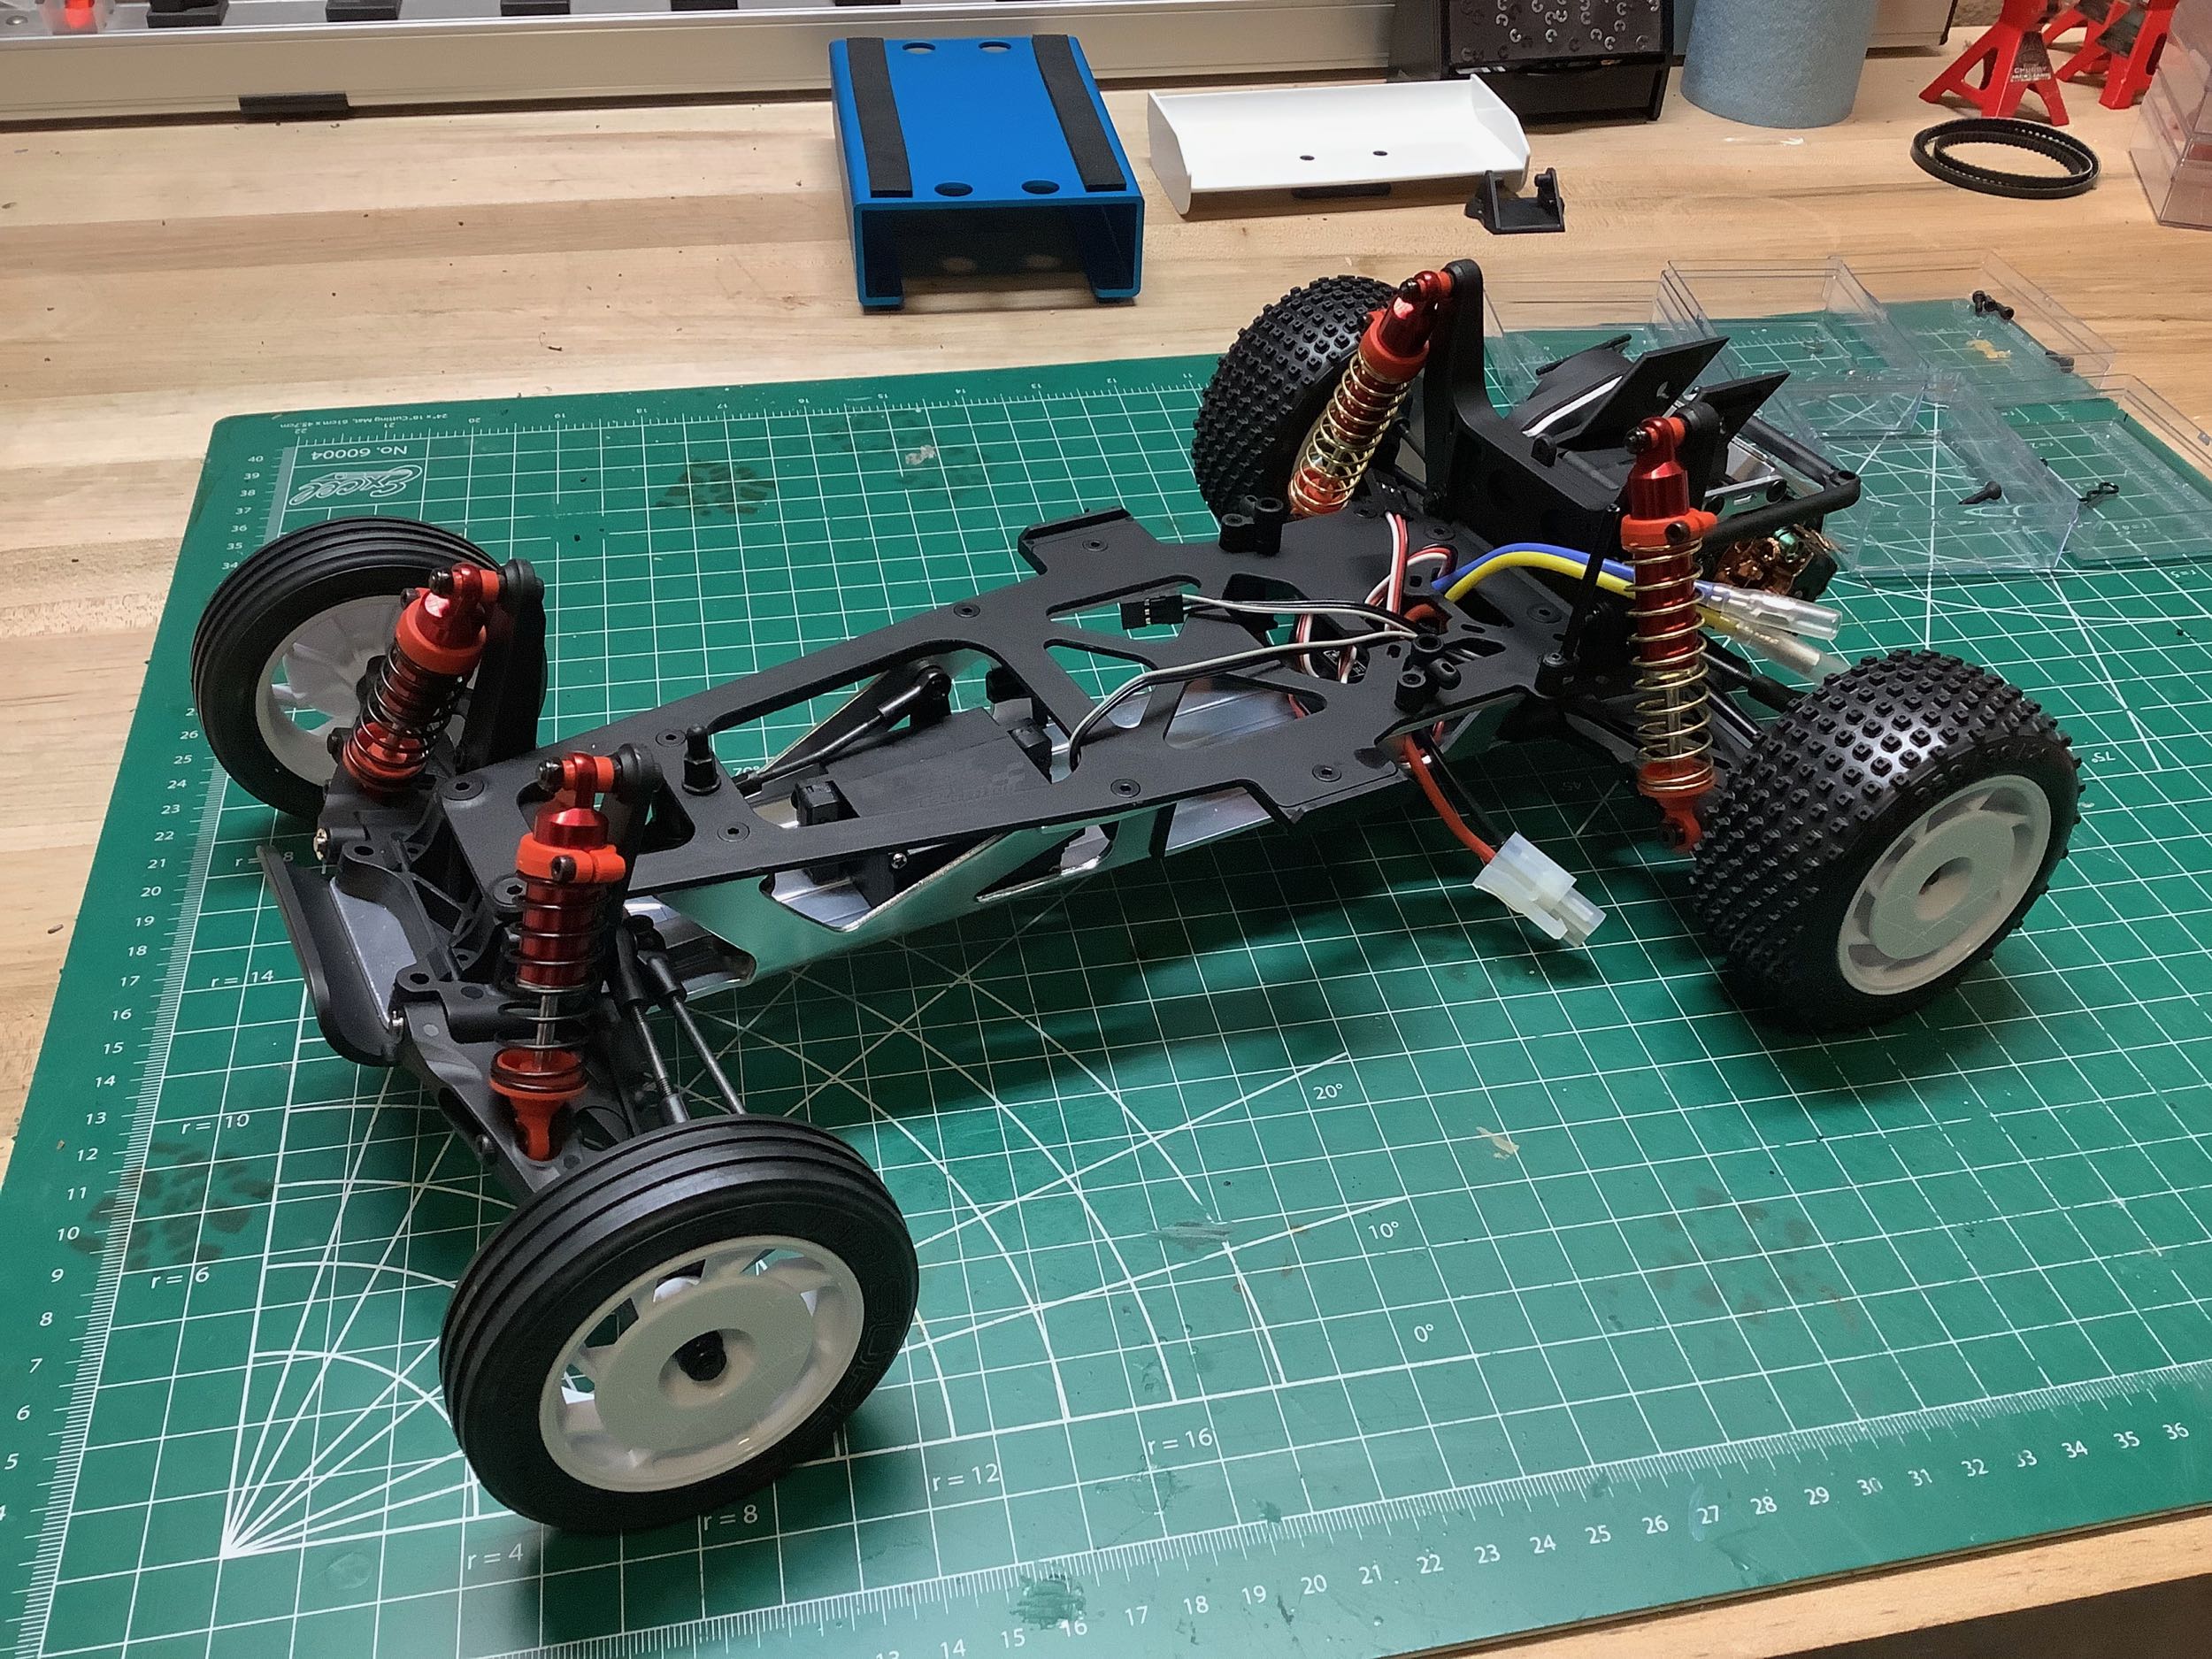
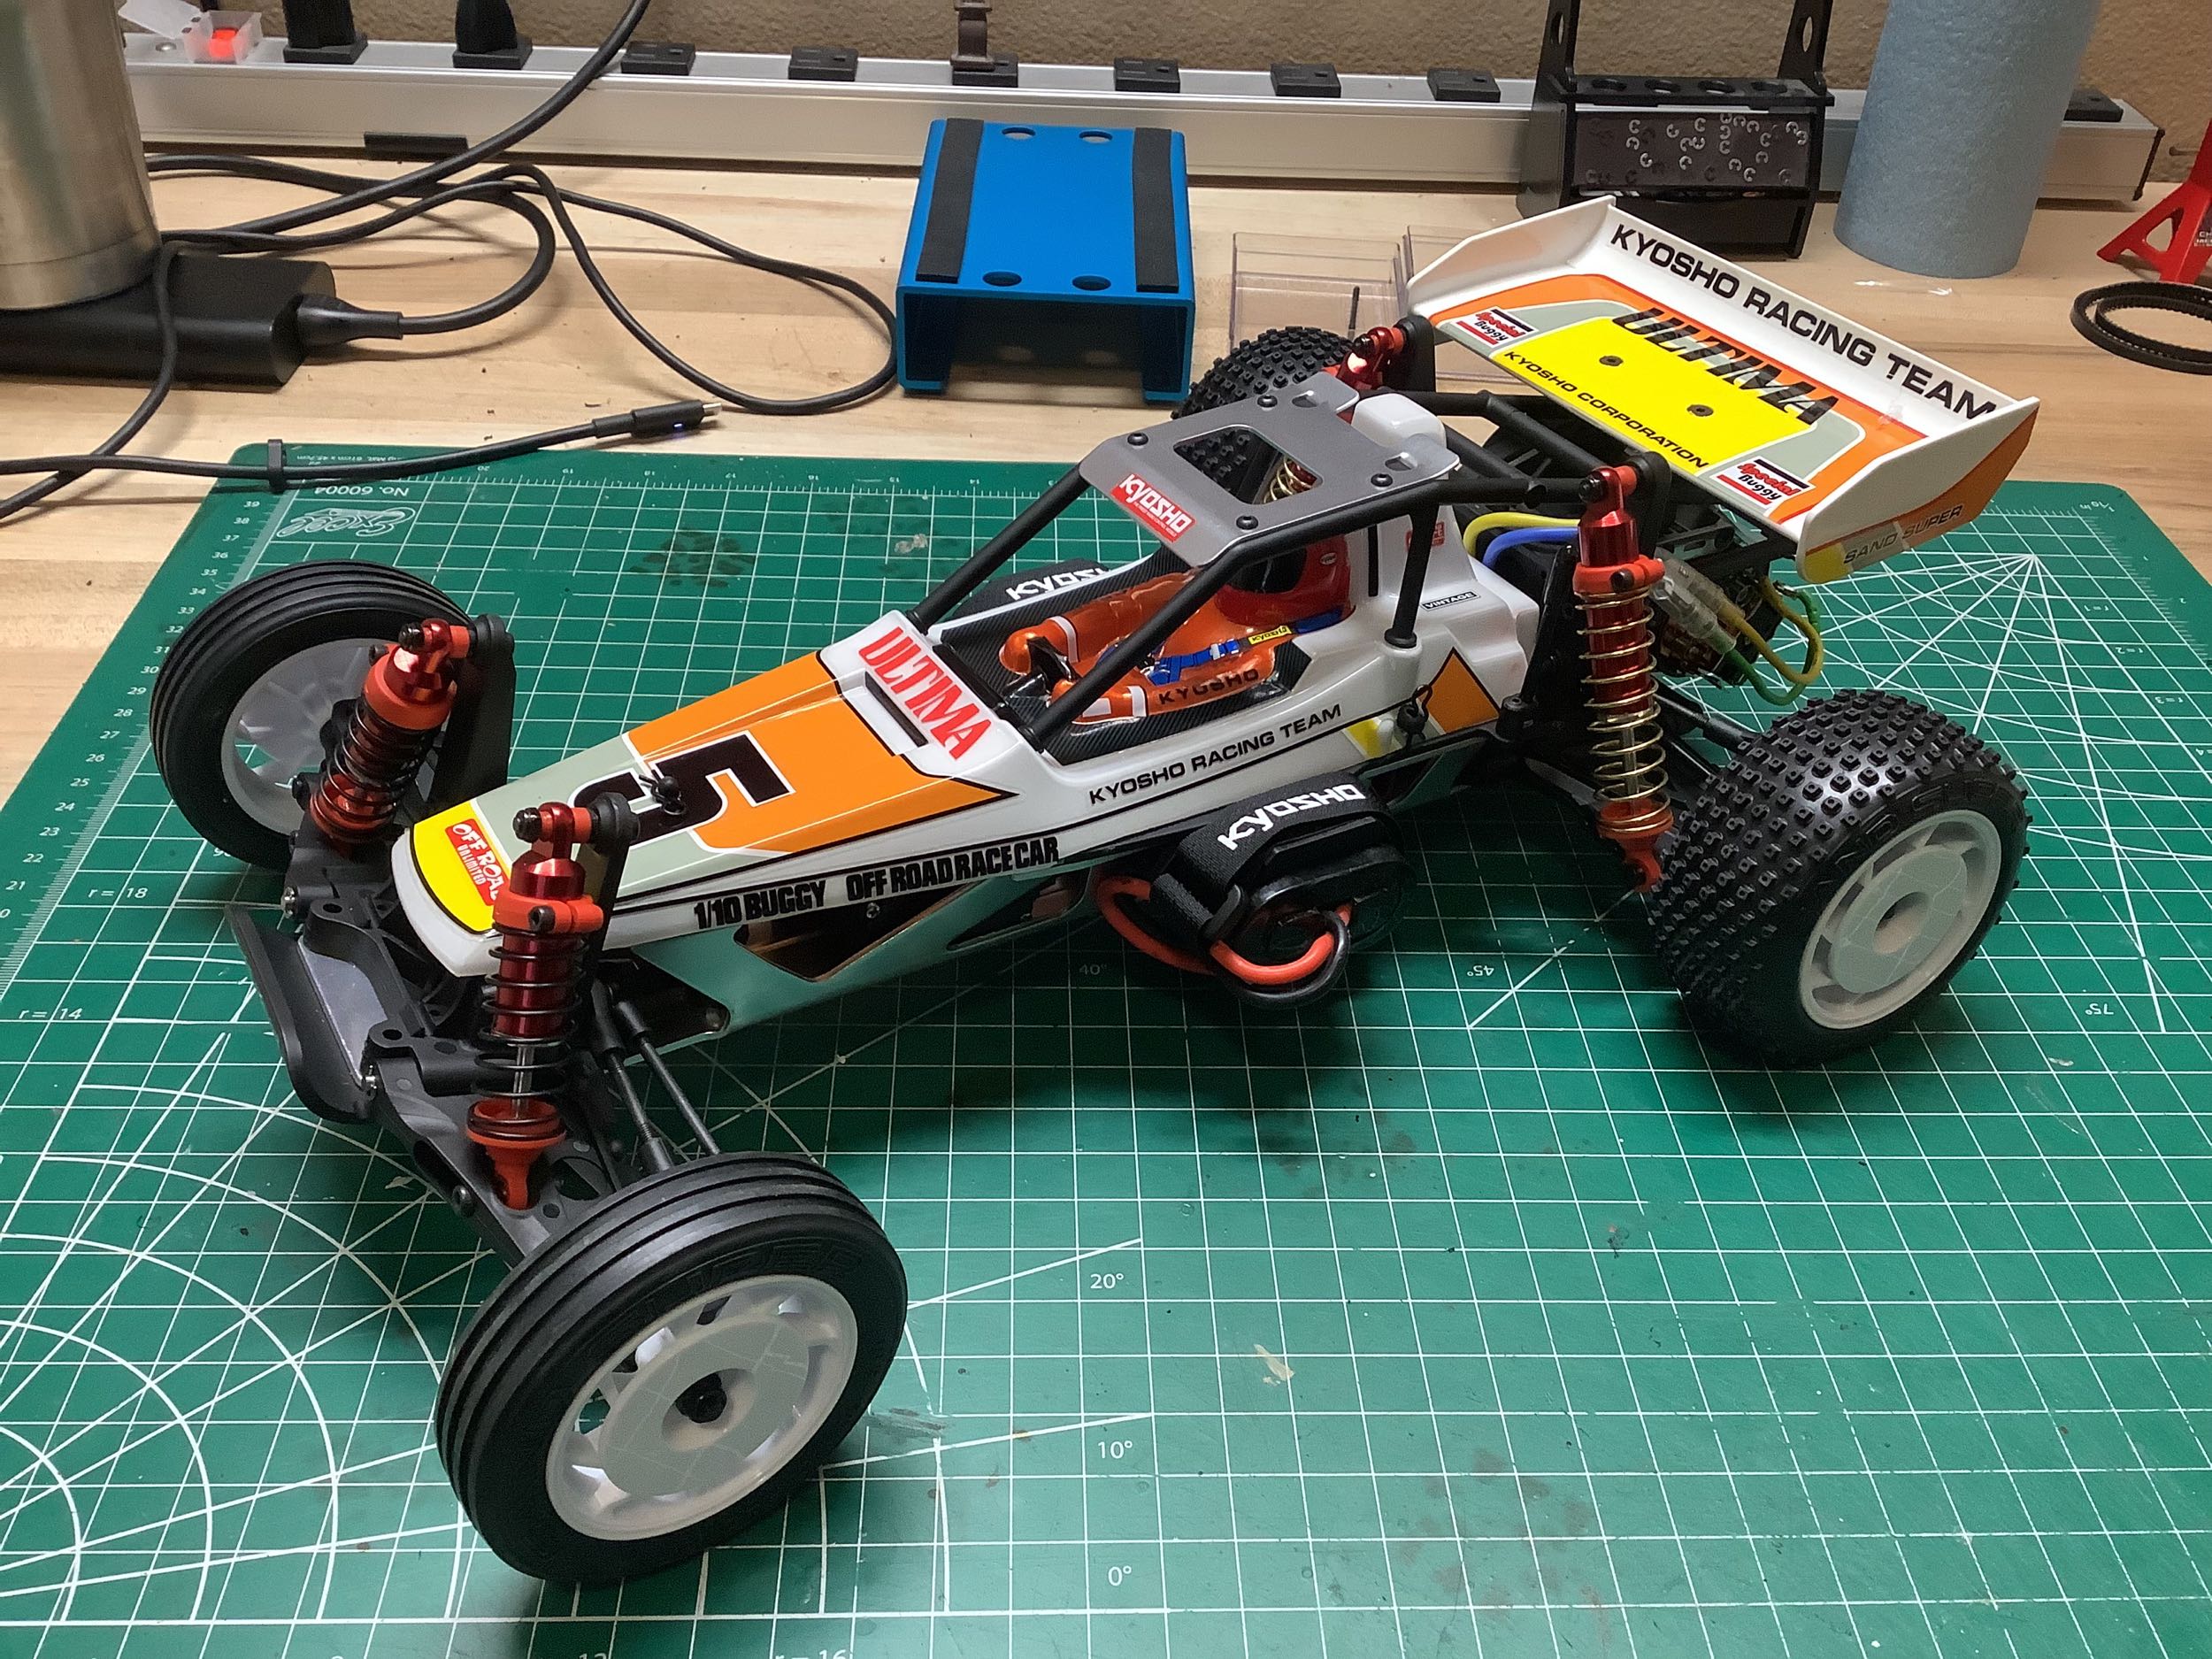
Once the wheels and tires are installed, the rolling chassis is
complete. The wheels are new for this model and have a directional
pattern which makes the left and right different. The front
wheels house the bearings directly (there is no hex), and the front
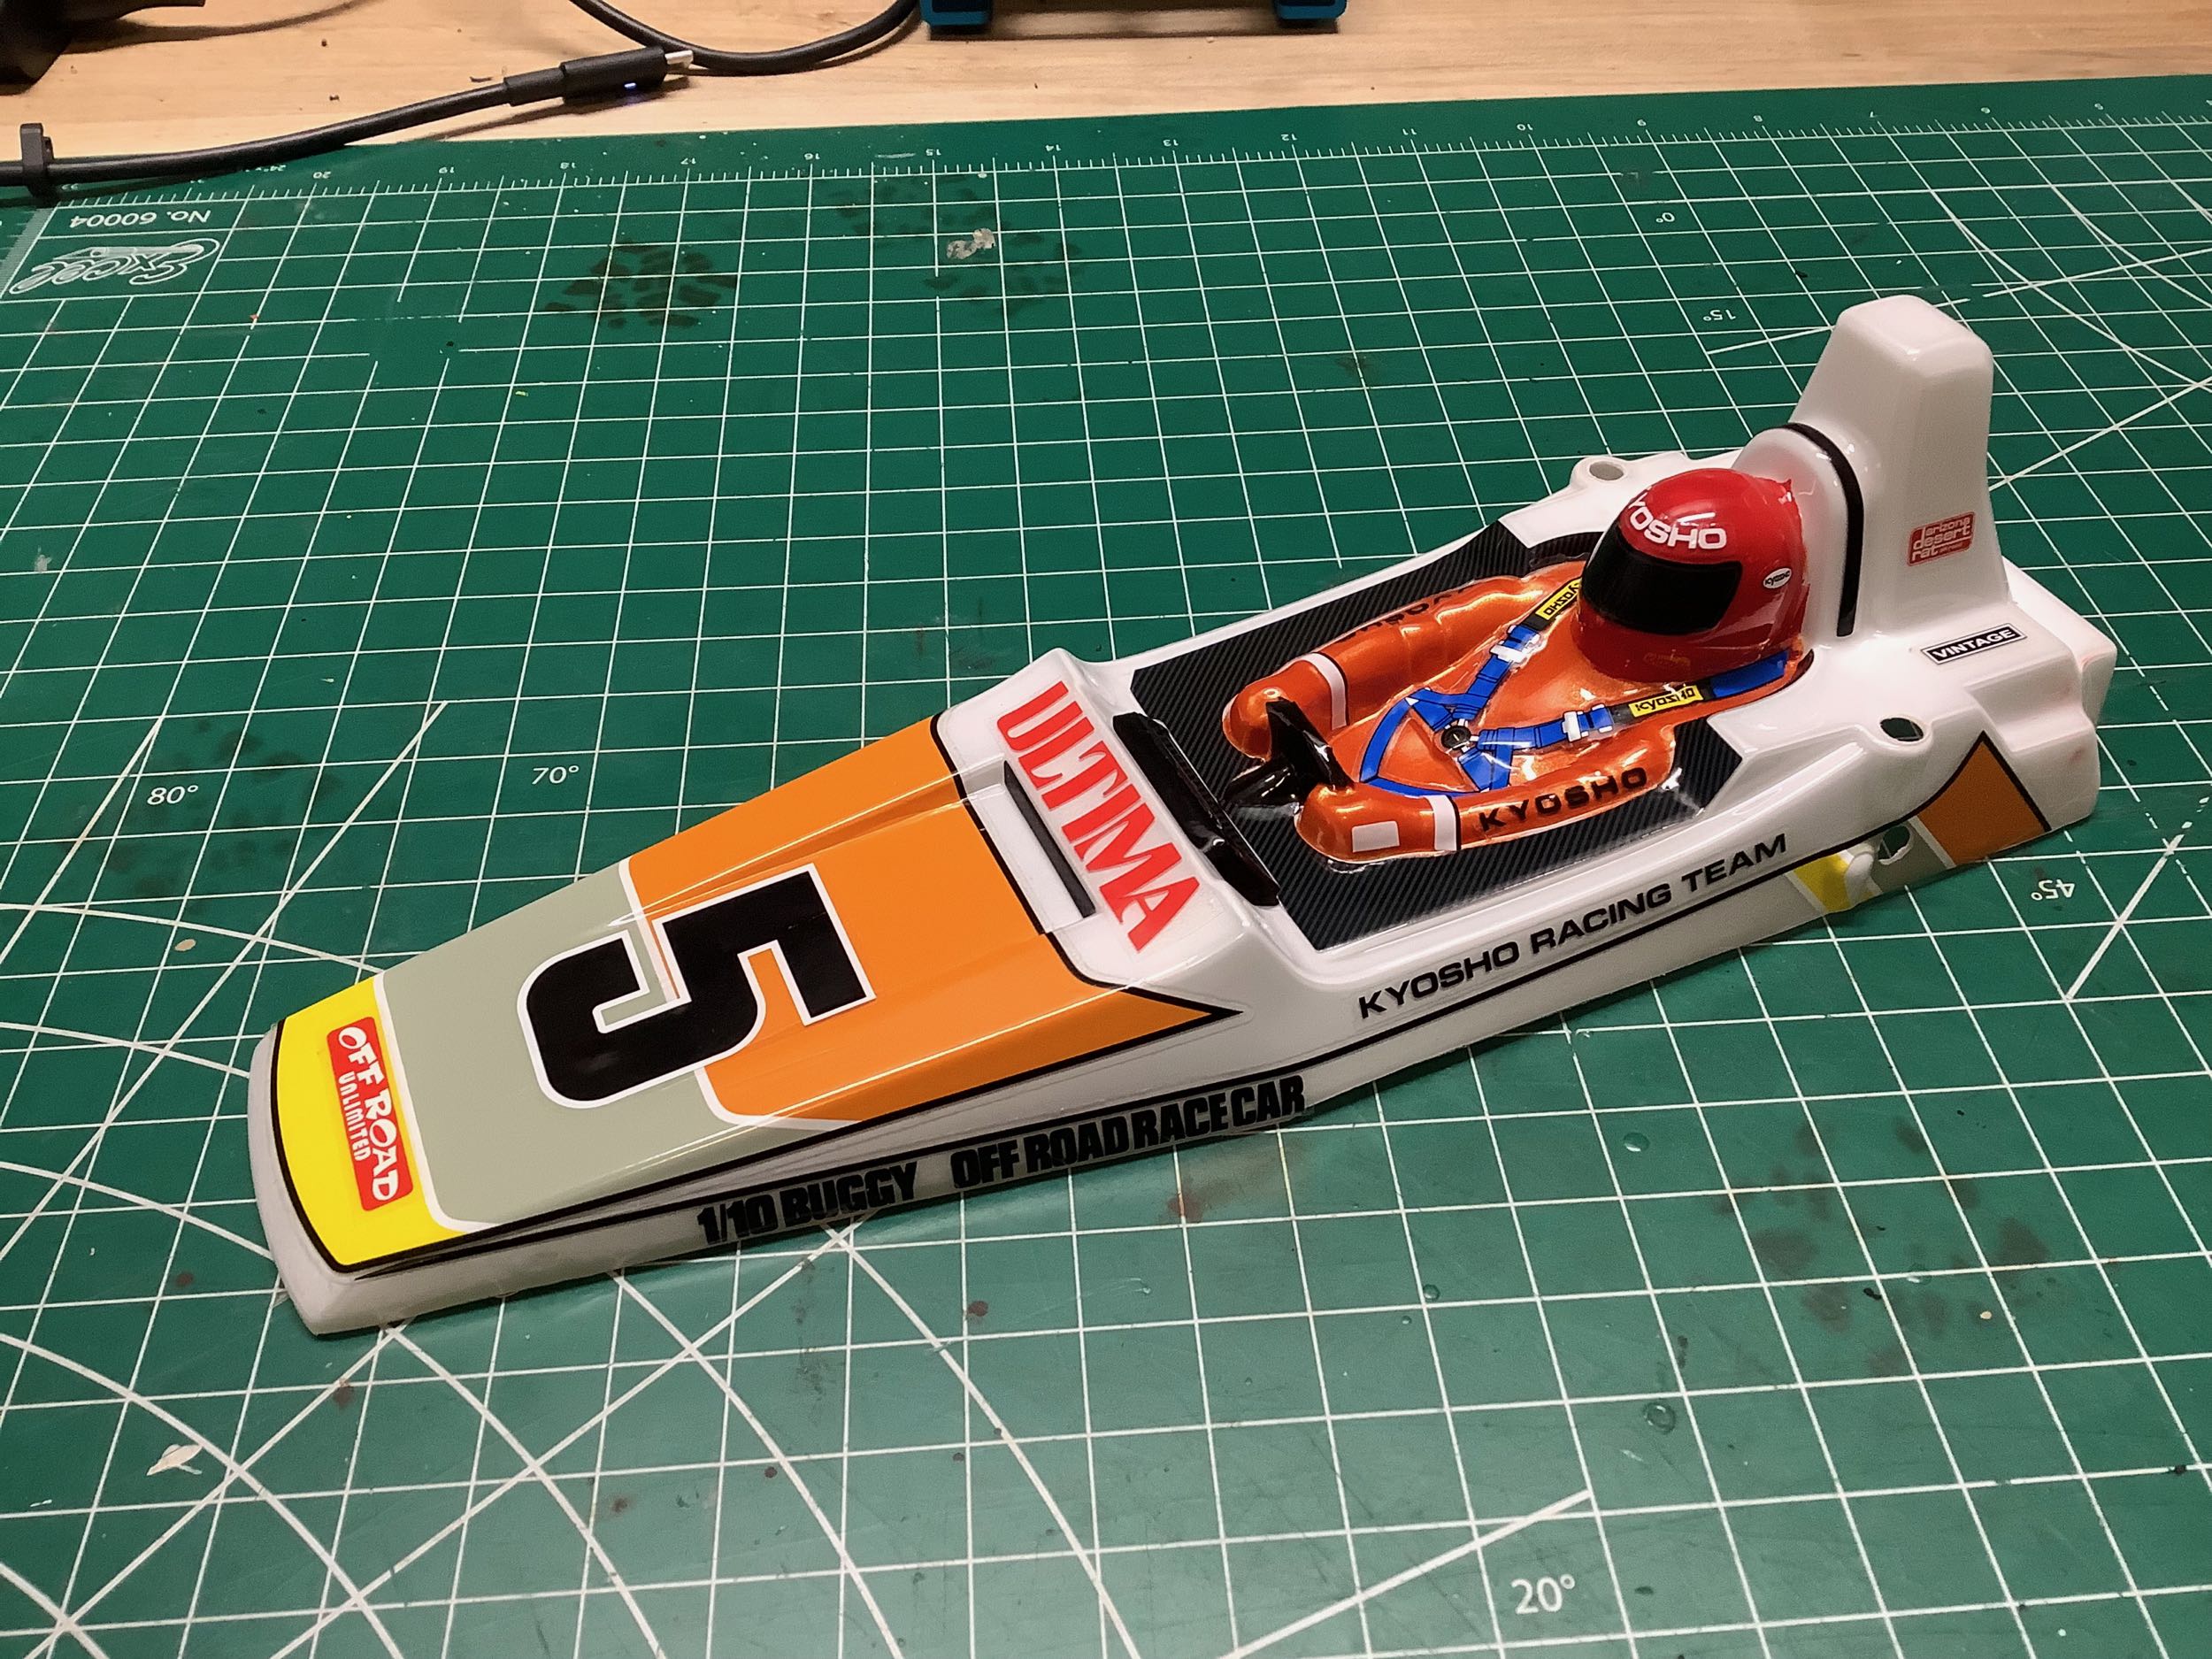
tires are ringed rather than knobby. The polycarbonate body is
very narrow and includes an integrated driver figure. Even the
helmet is built into the body. It is painted plain white and then
decorated with stickers, but the driver helmet and suit need to be
masked and painted.
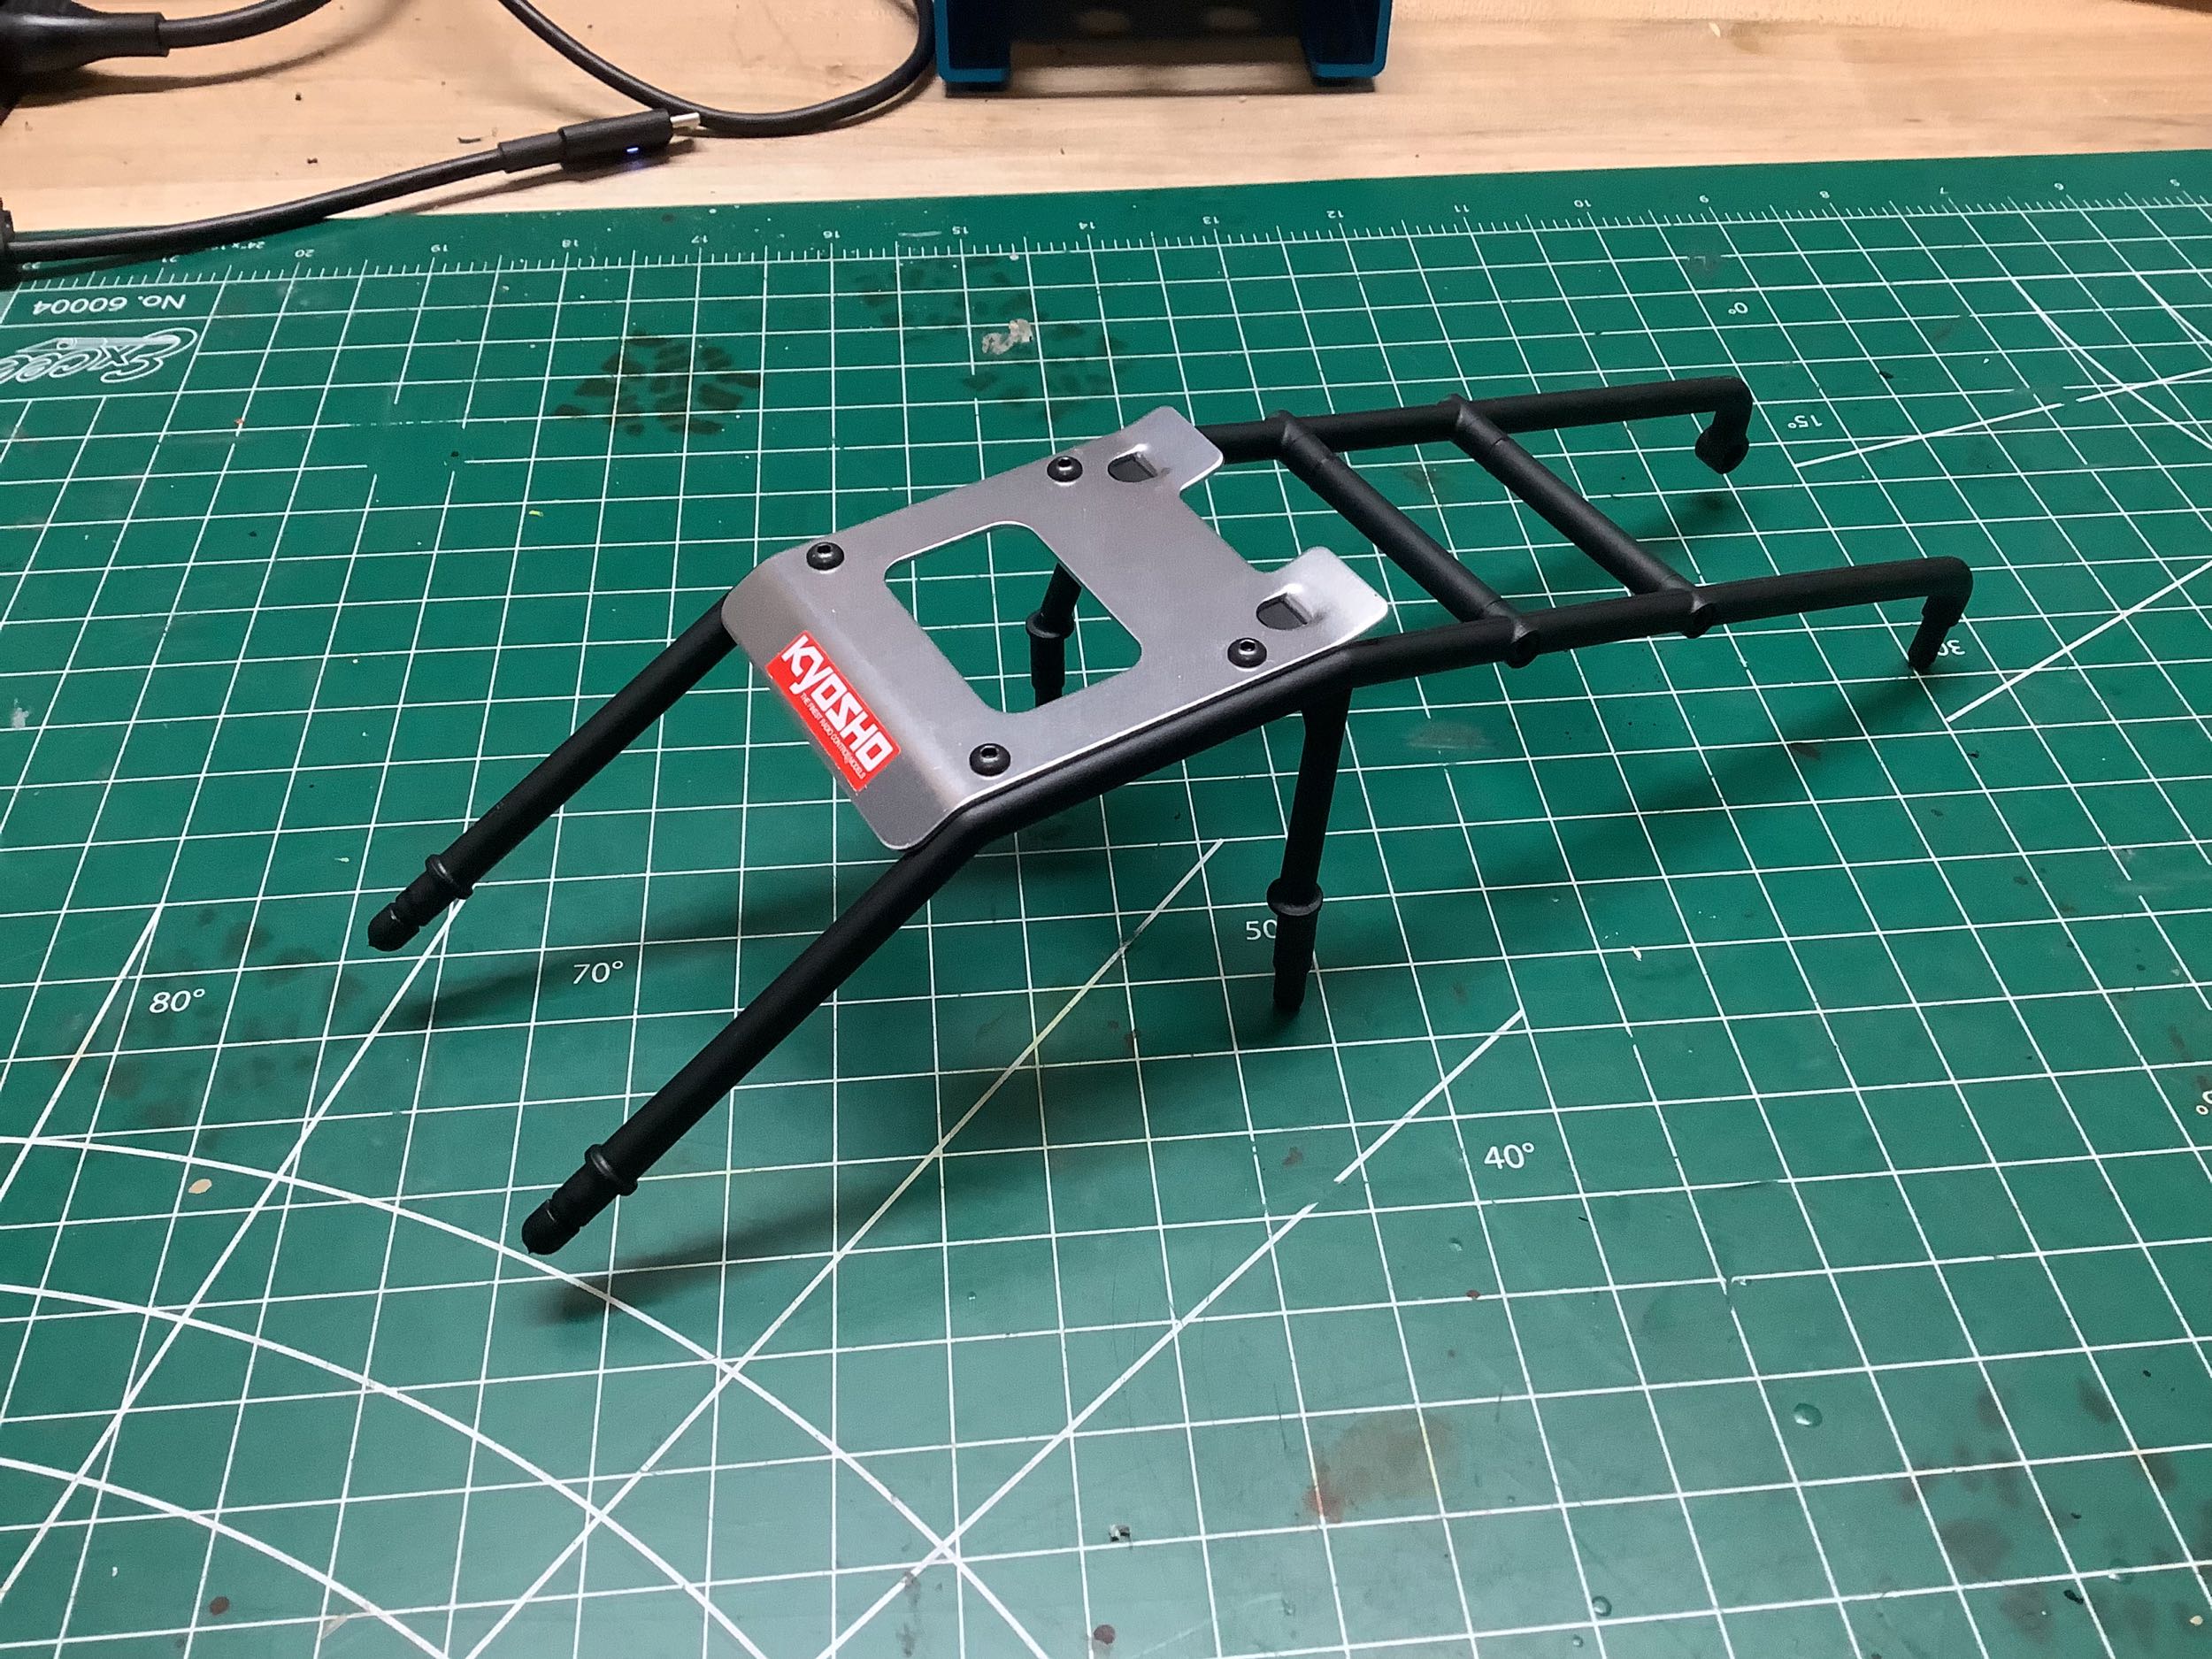
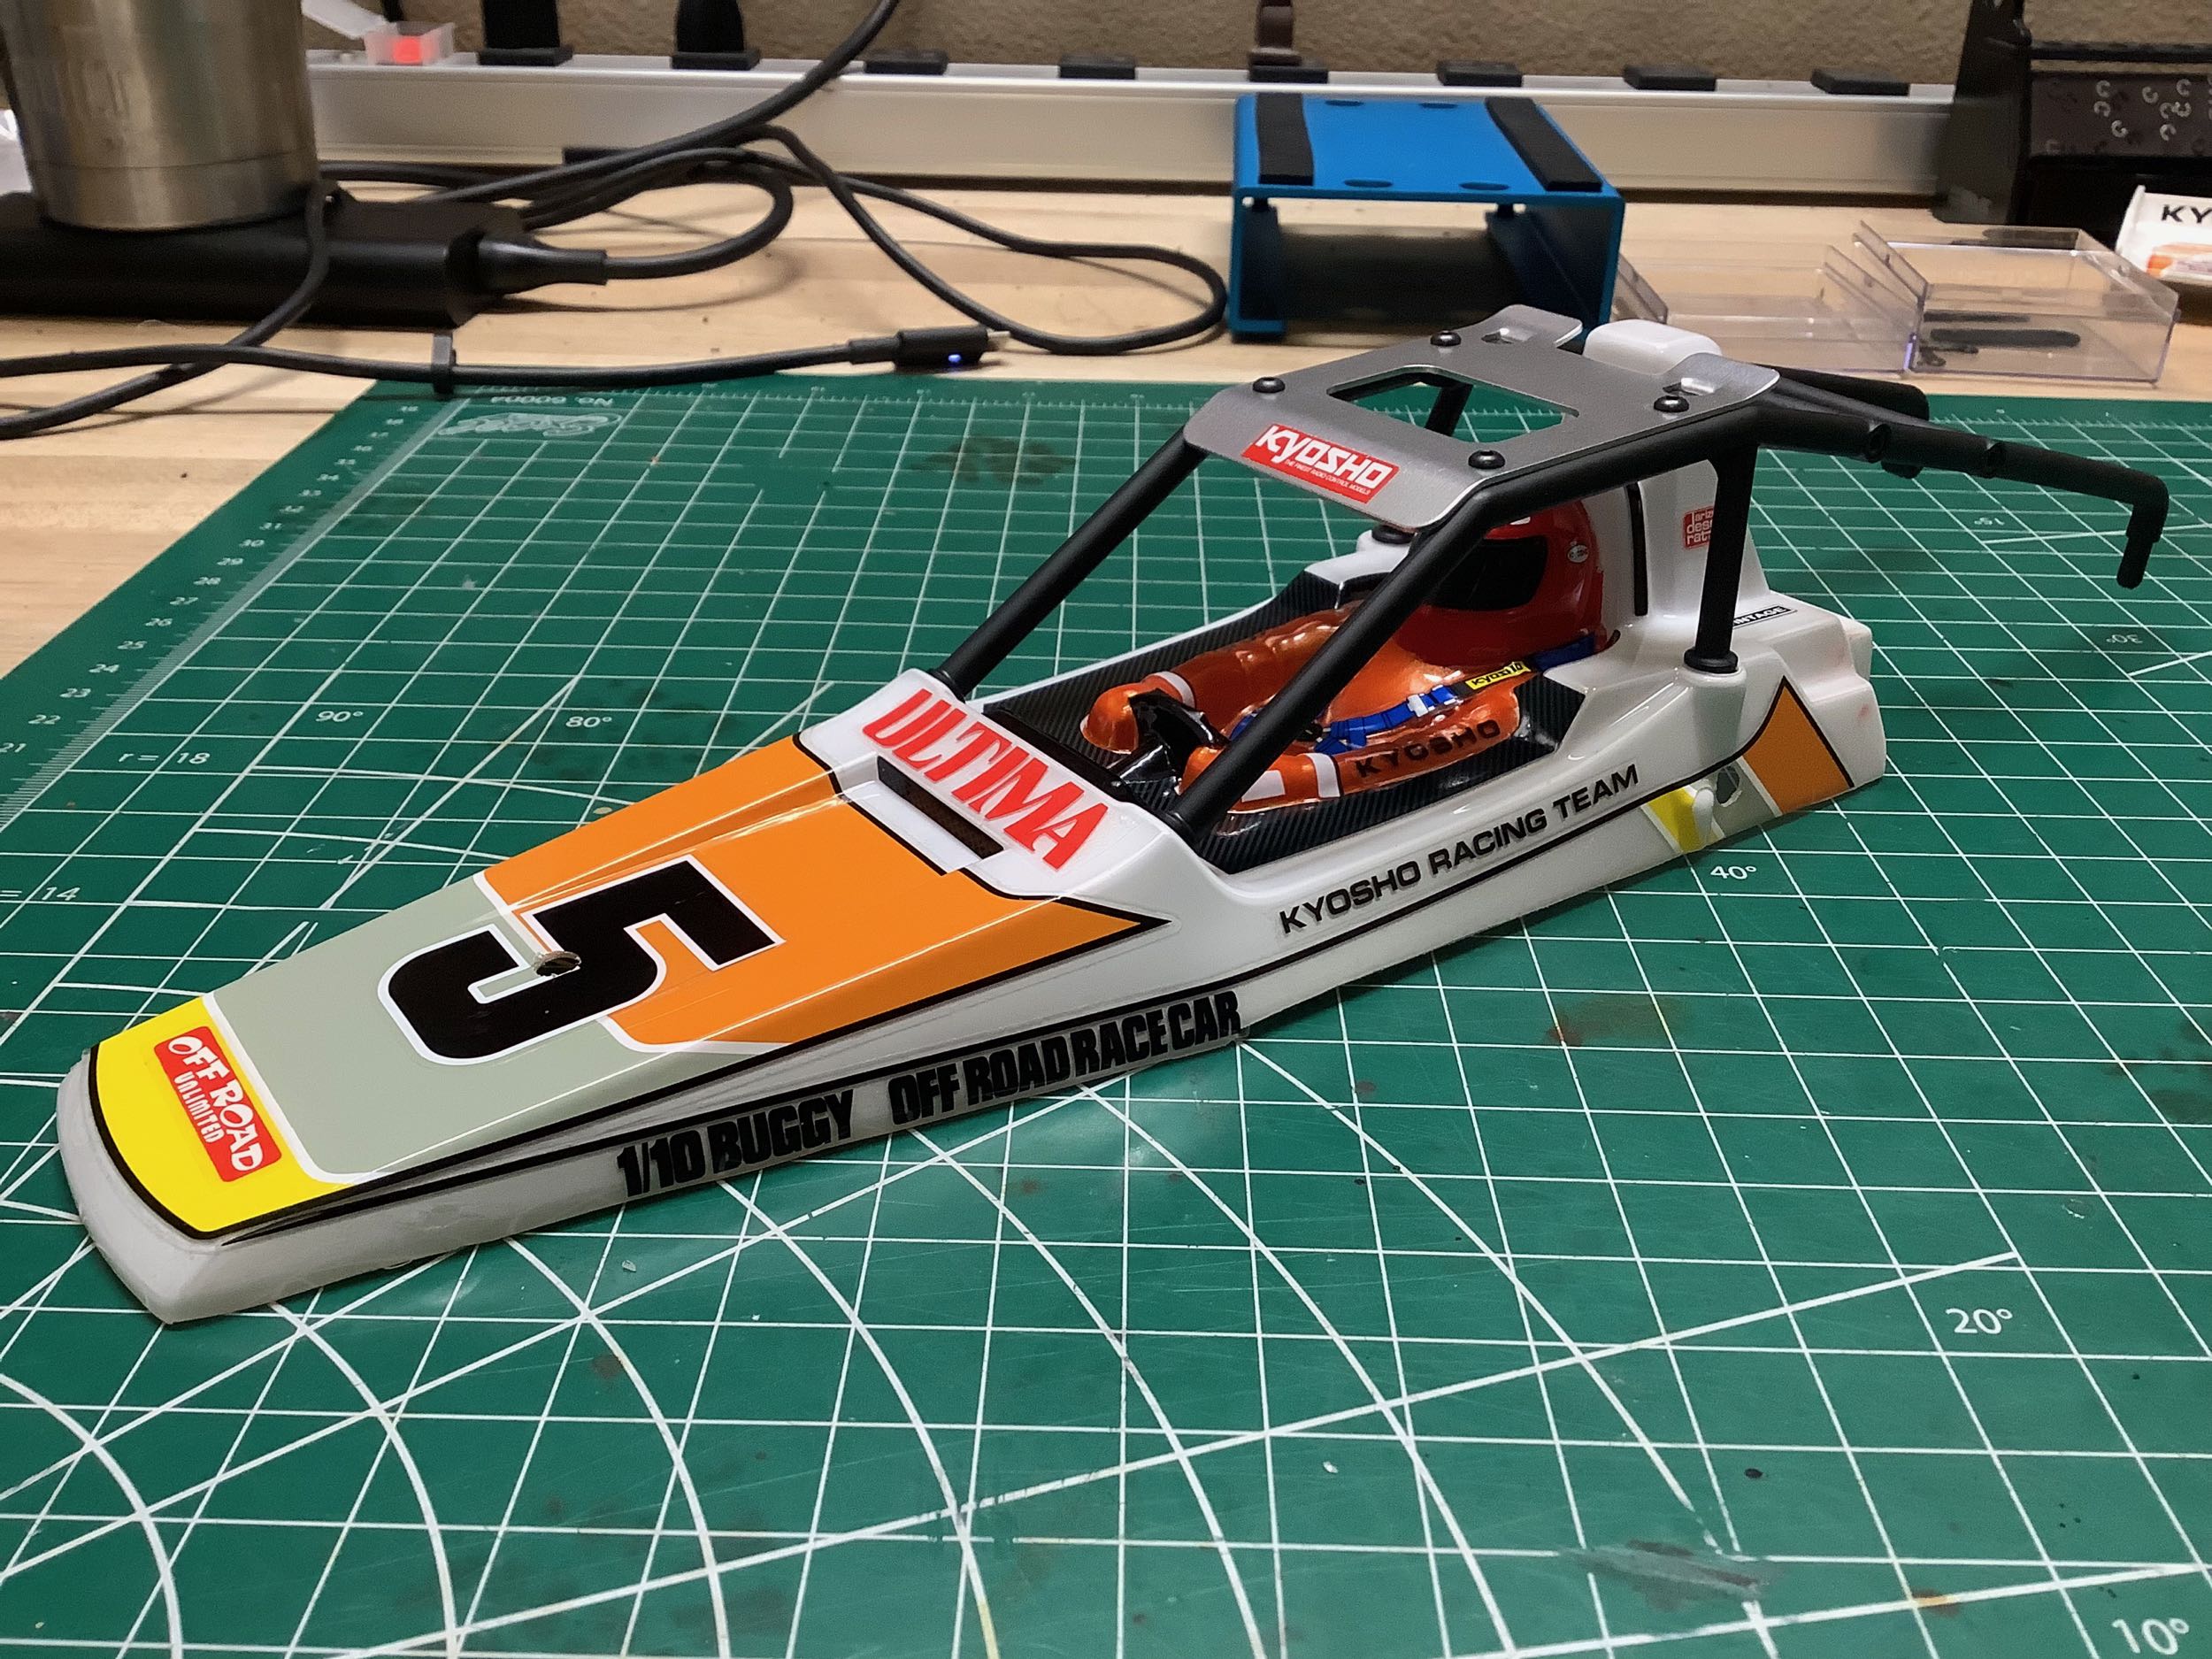
The multi-part roll cage adds a lot of strength and has a metal
roof. The right hand picture shows it installed onto the body.
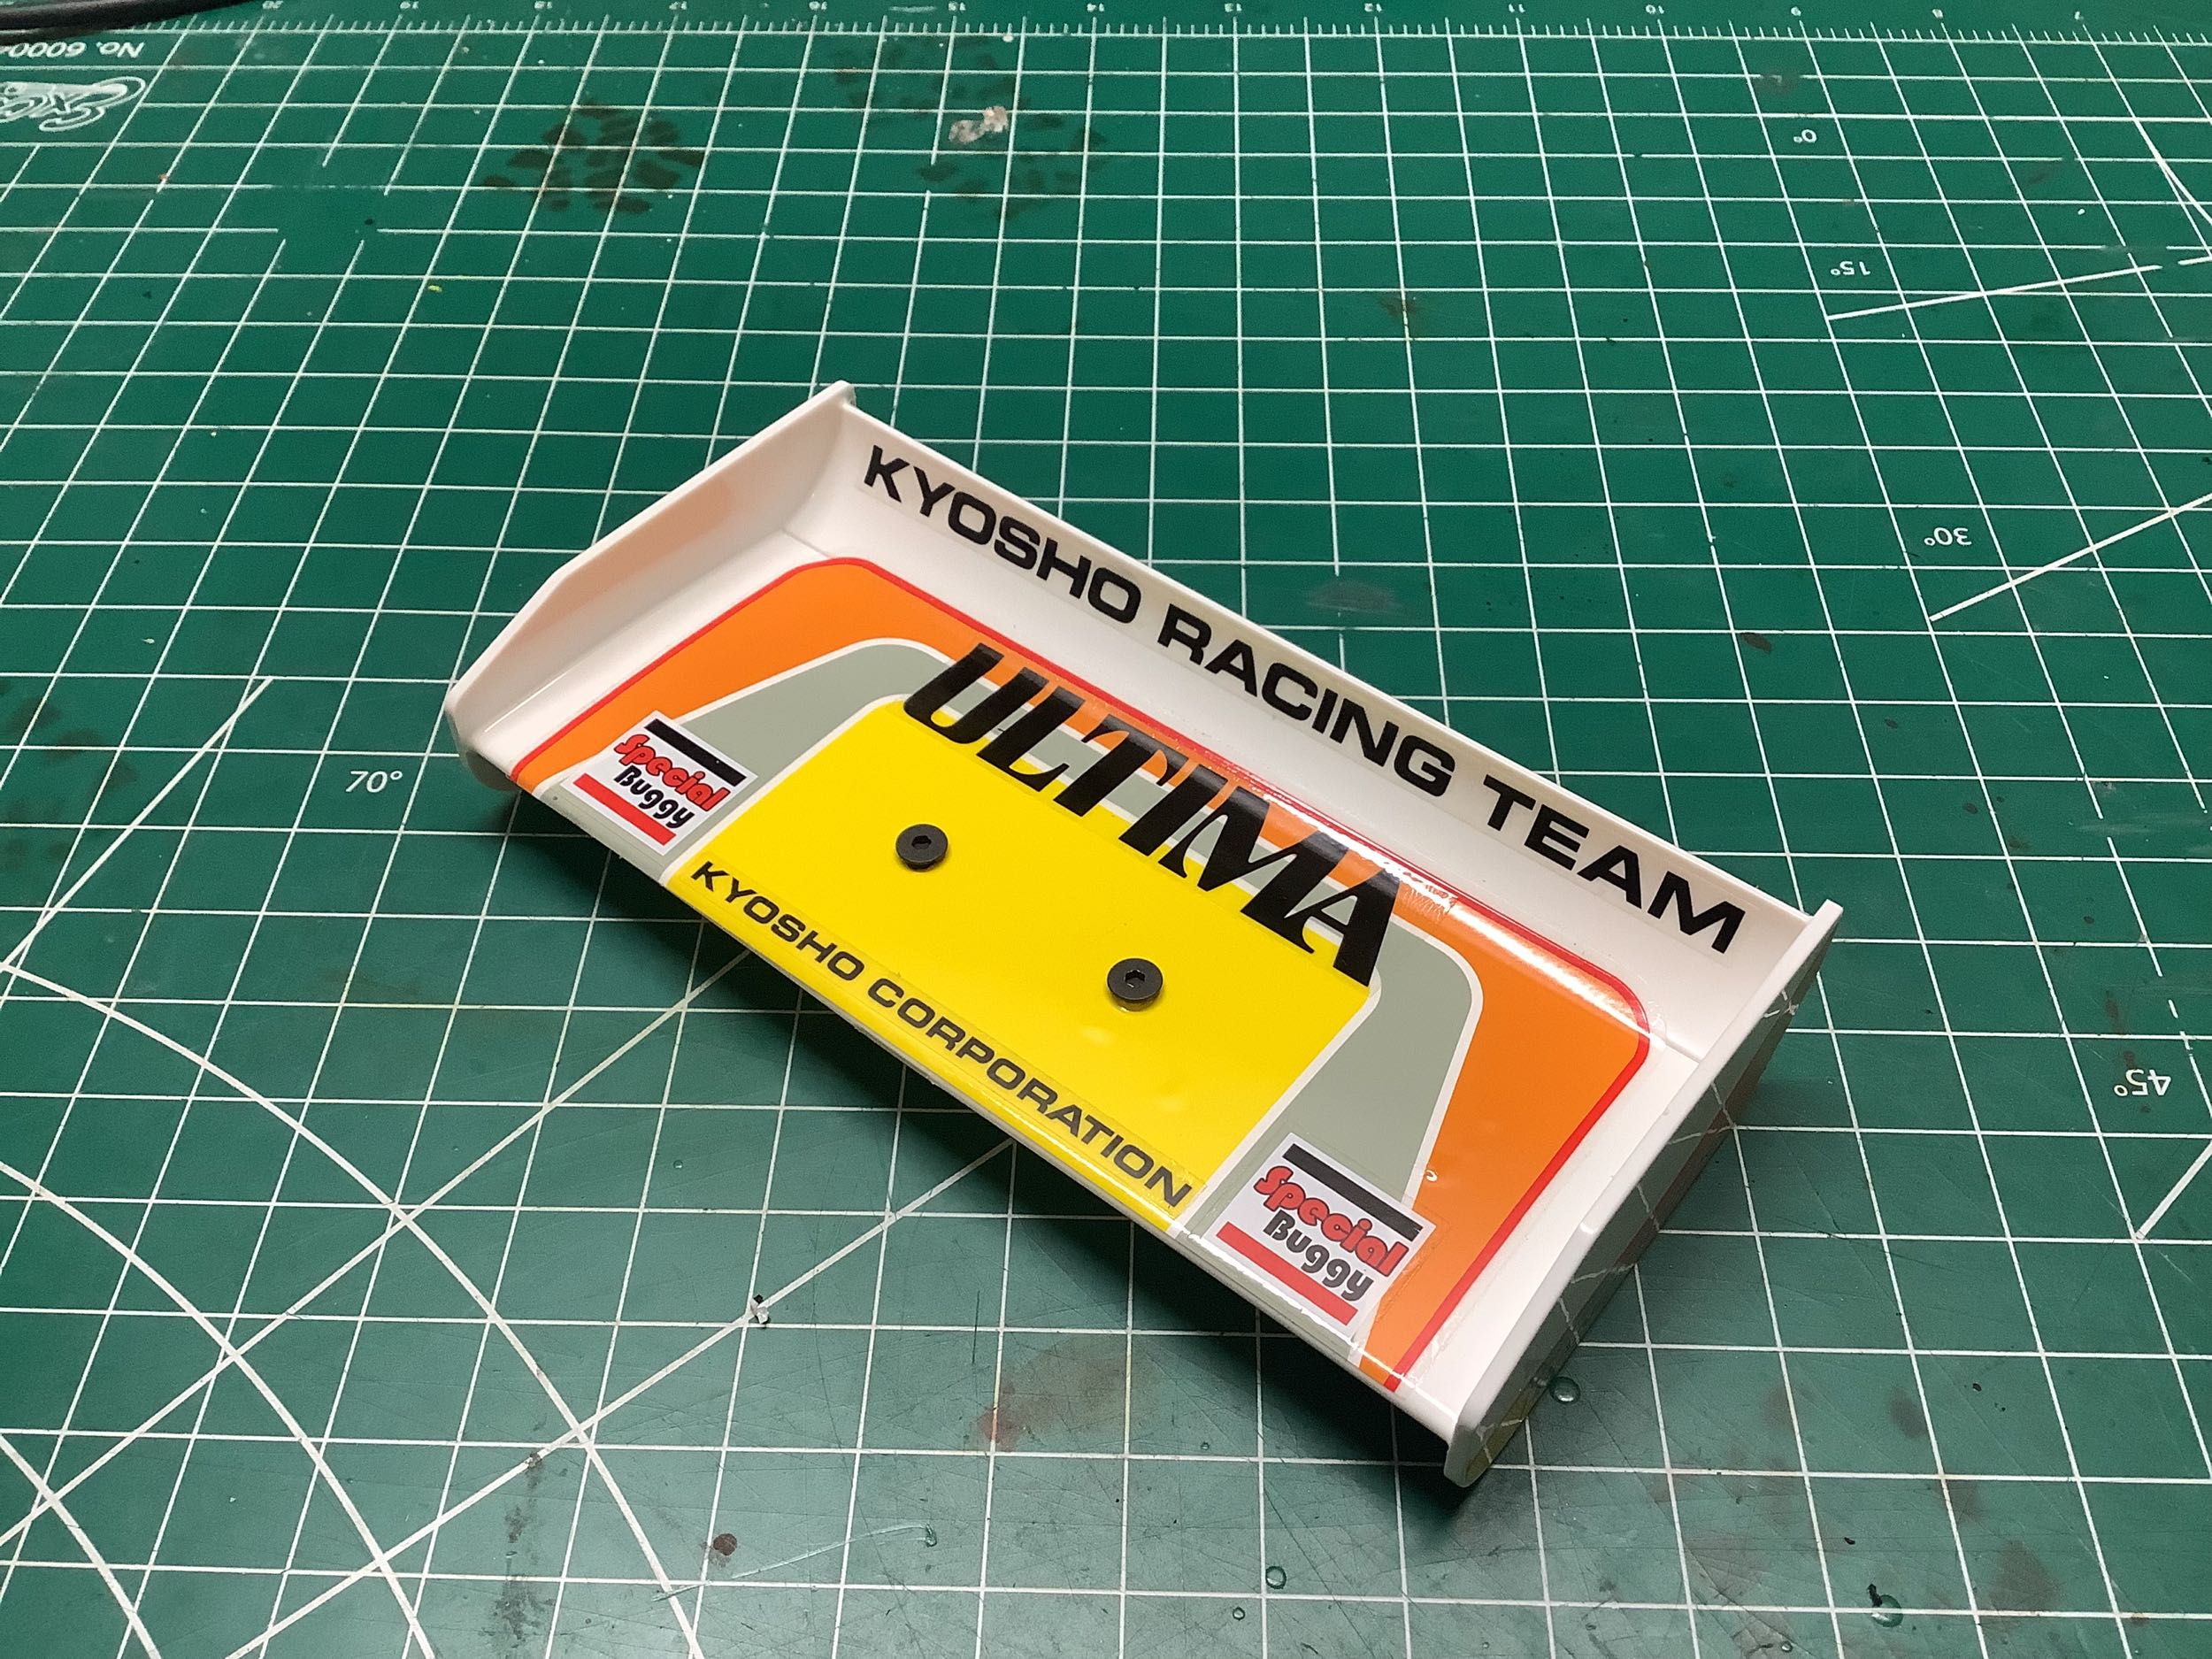
The wing is hard molded and includes a couple of optional 3° wedge
blocks to adjust the angle. That's it! Ultima complete.
©2026 Eric Albrecht