TW-715 Project
Page 5: Building the Interior
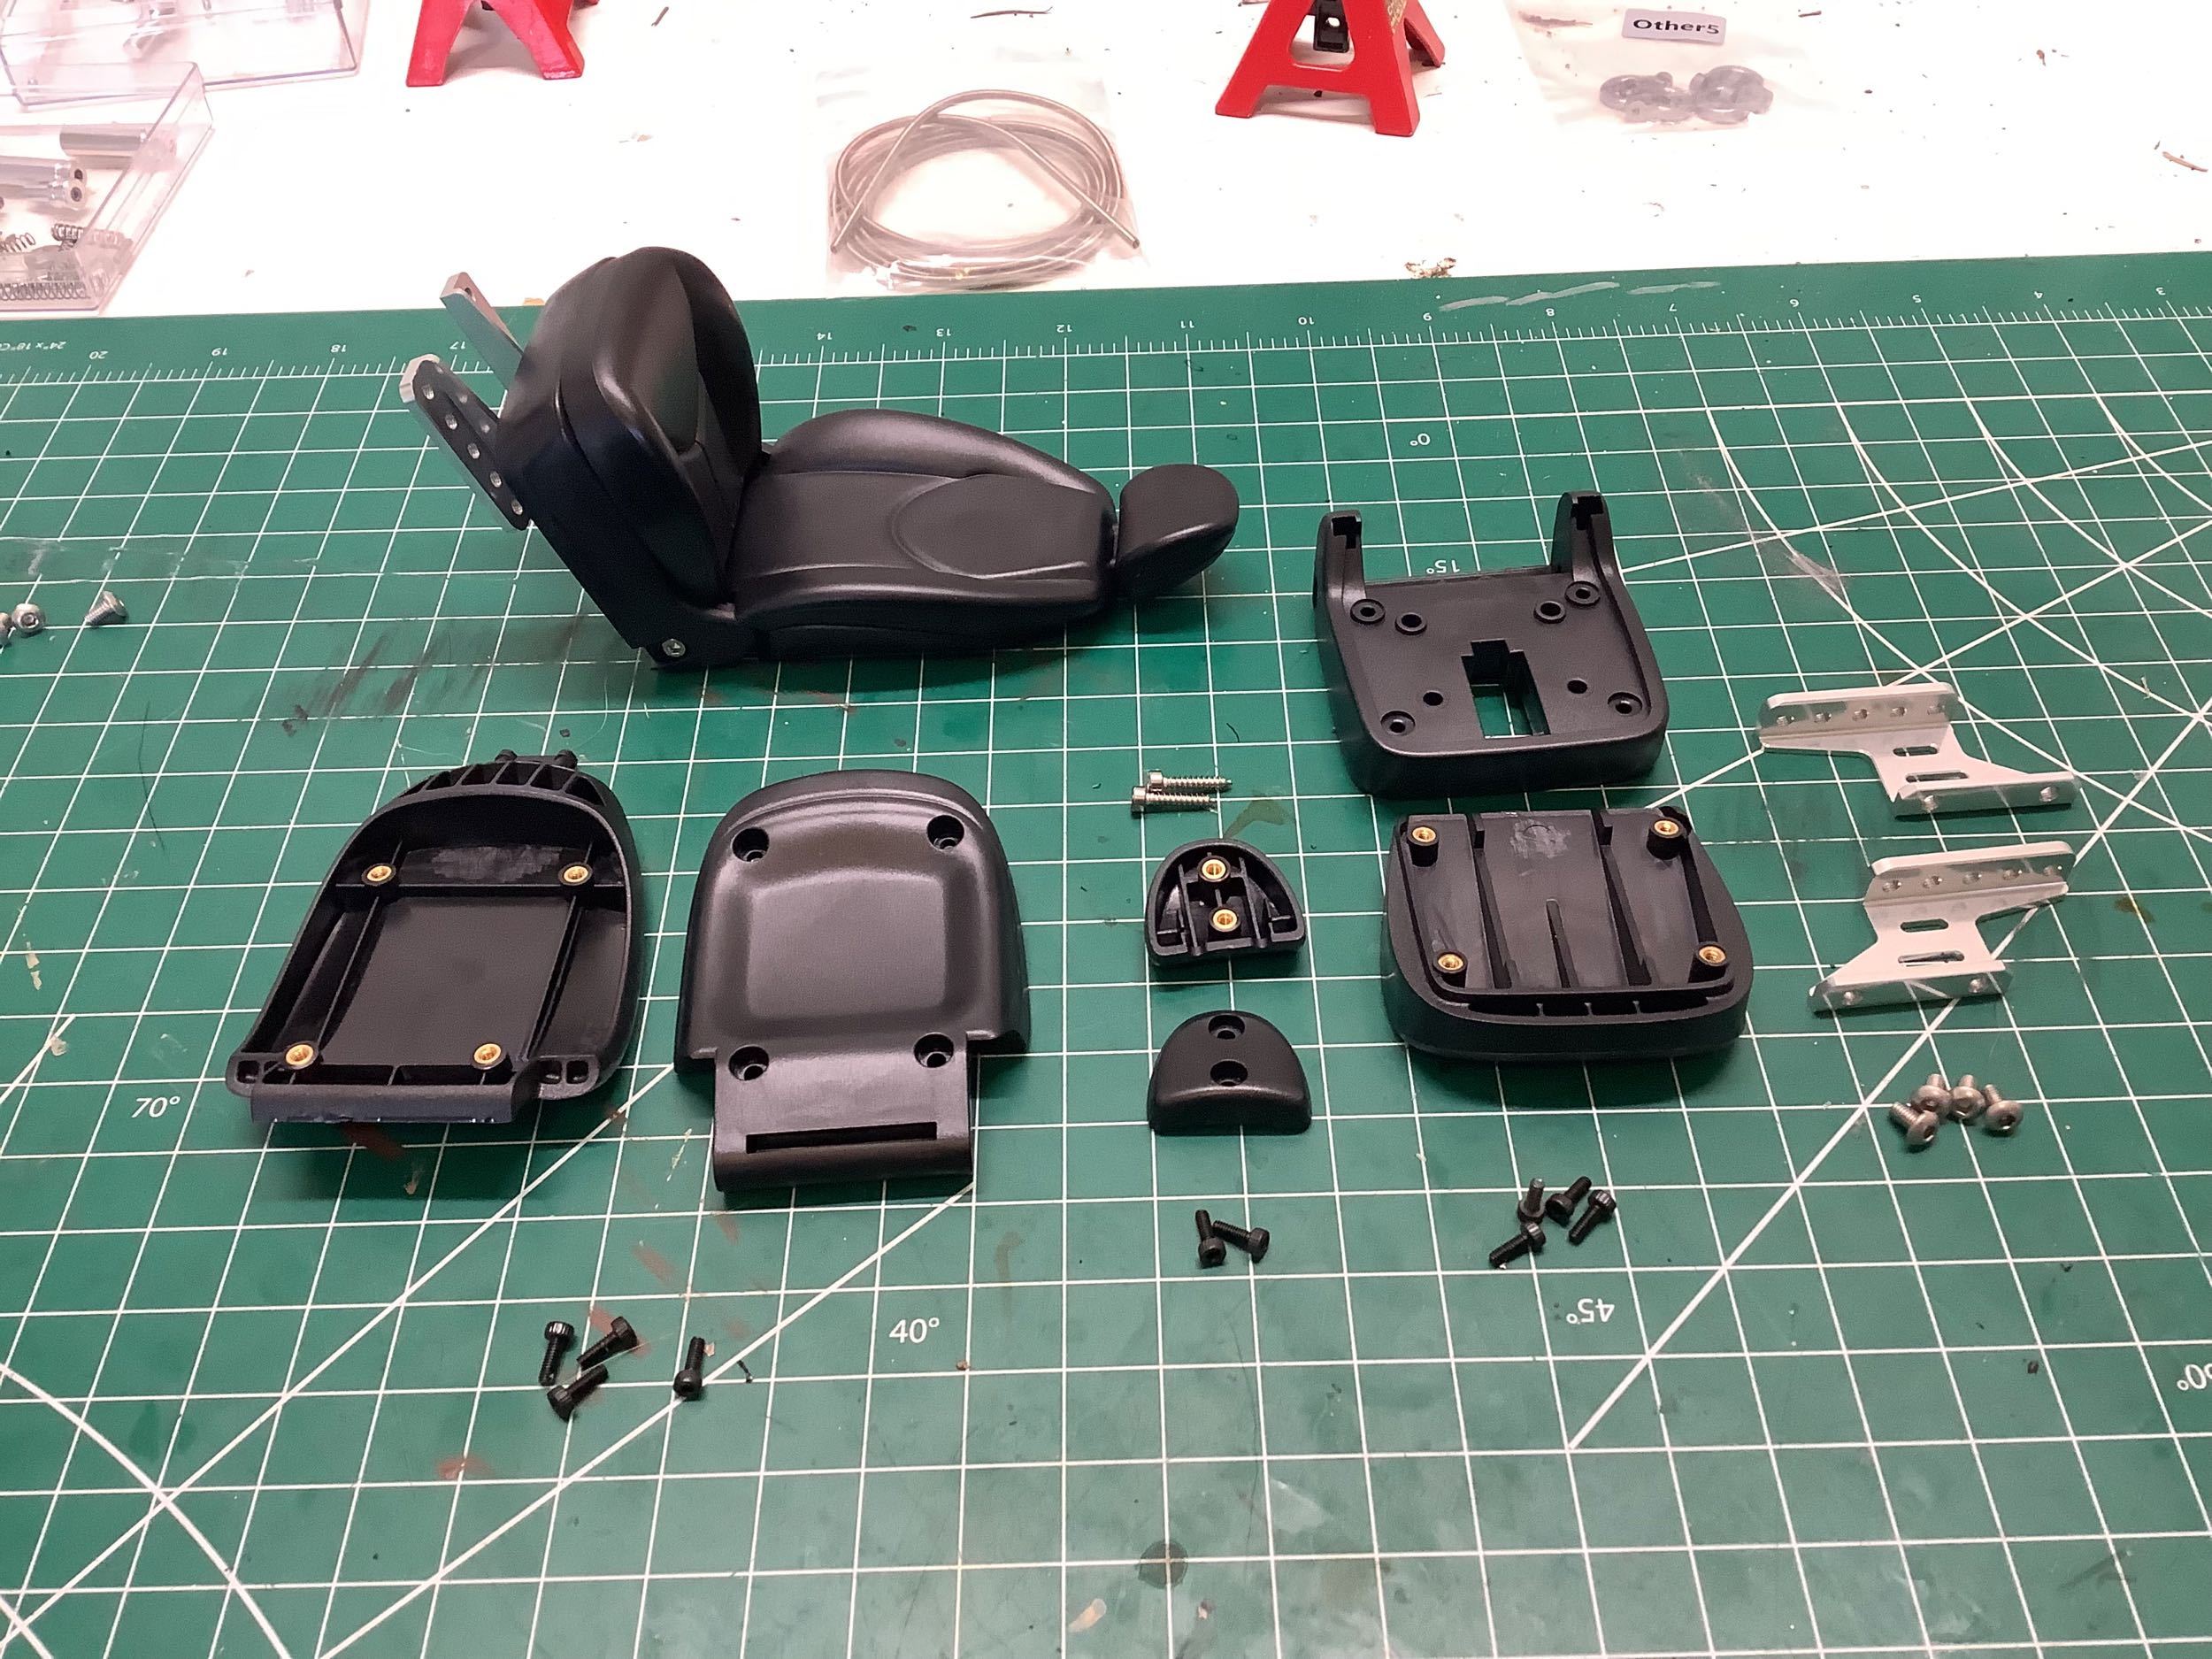
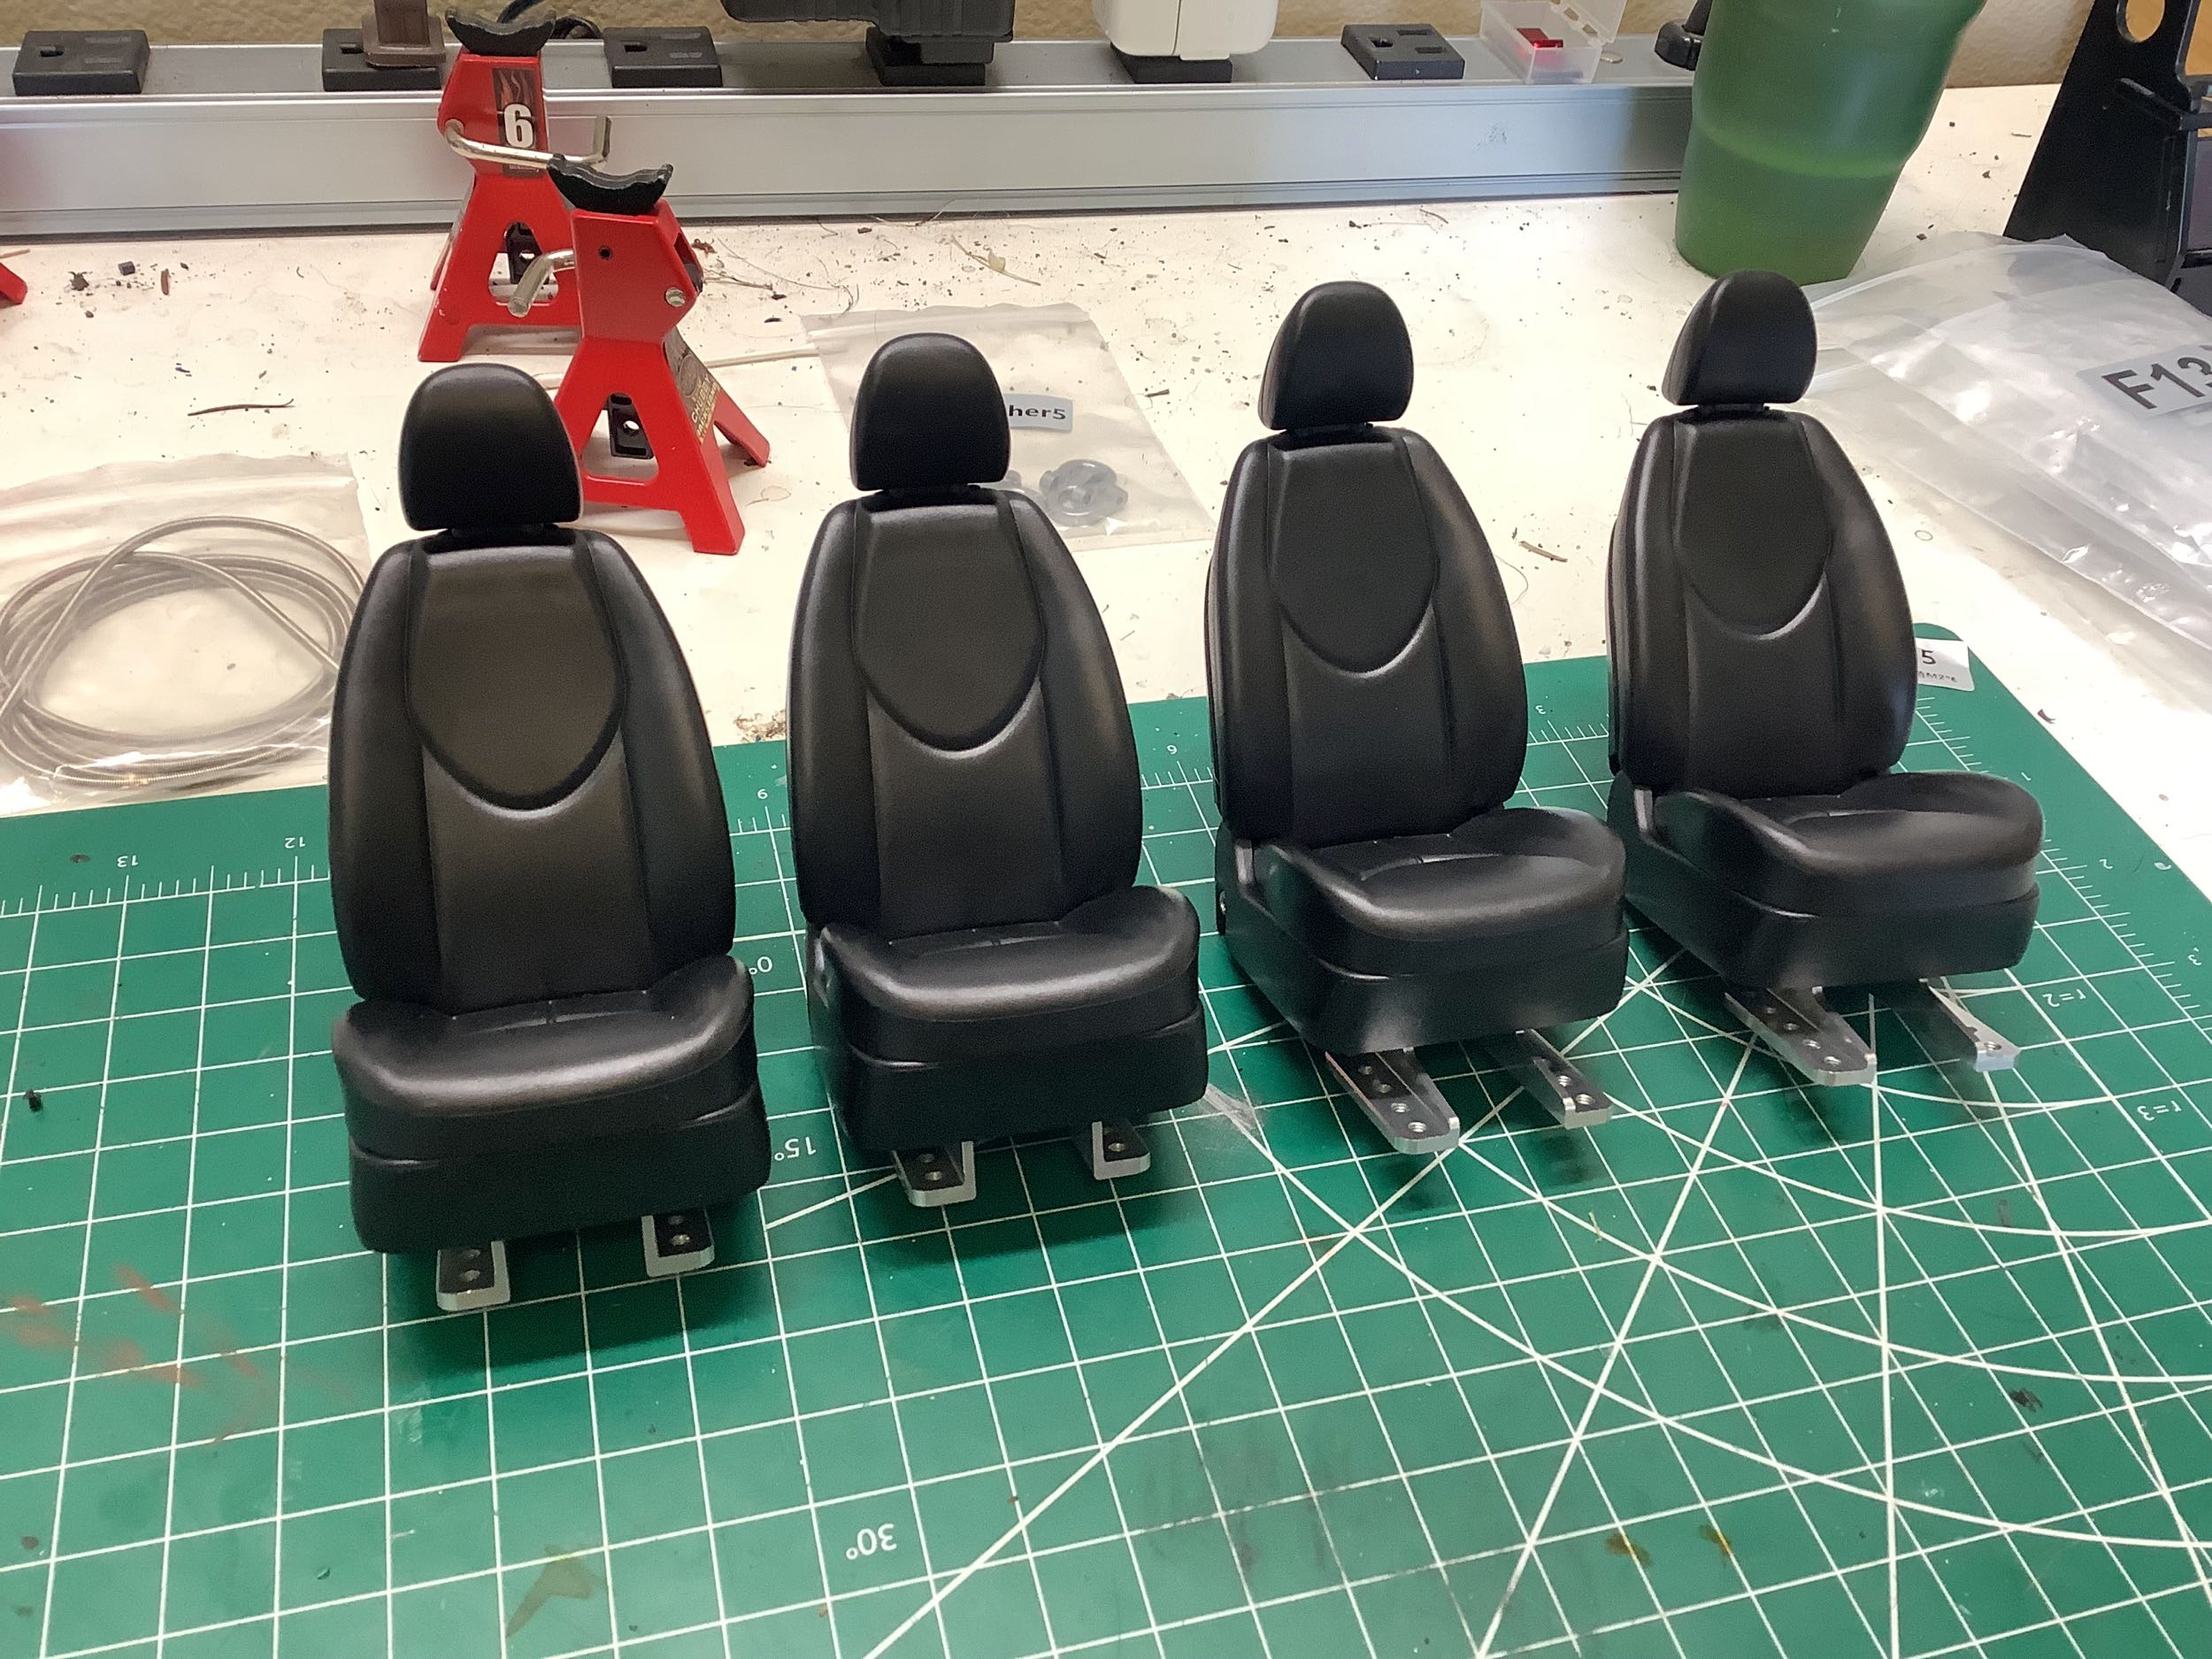
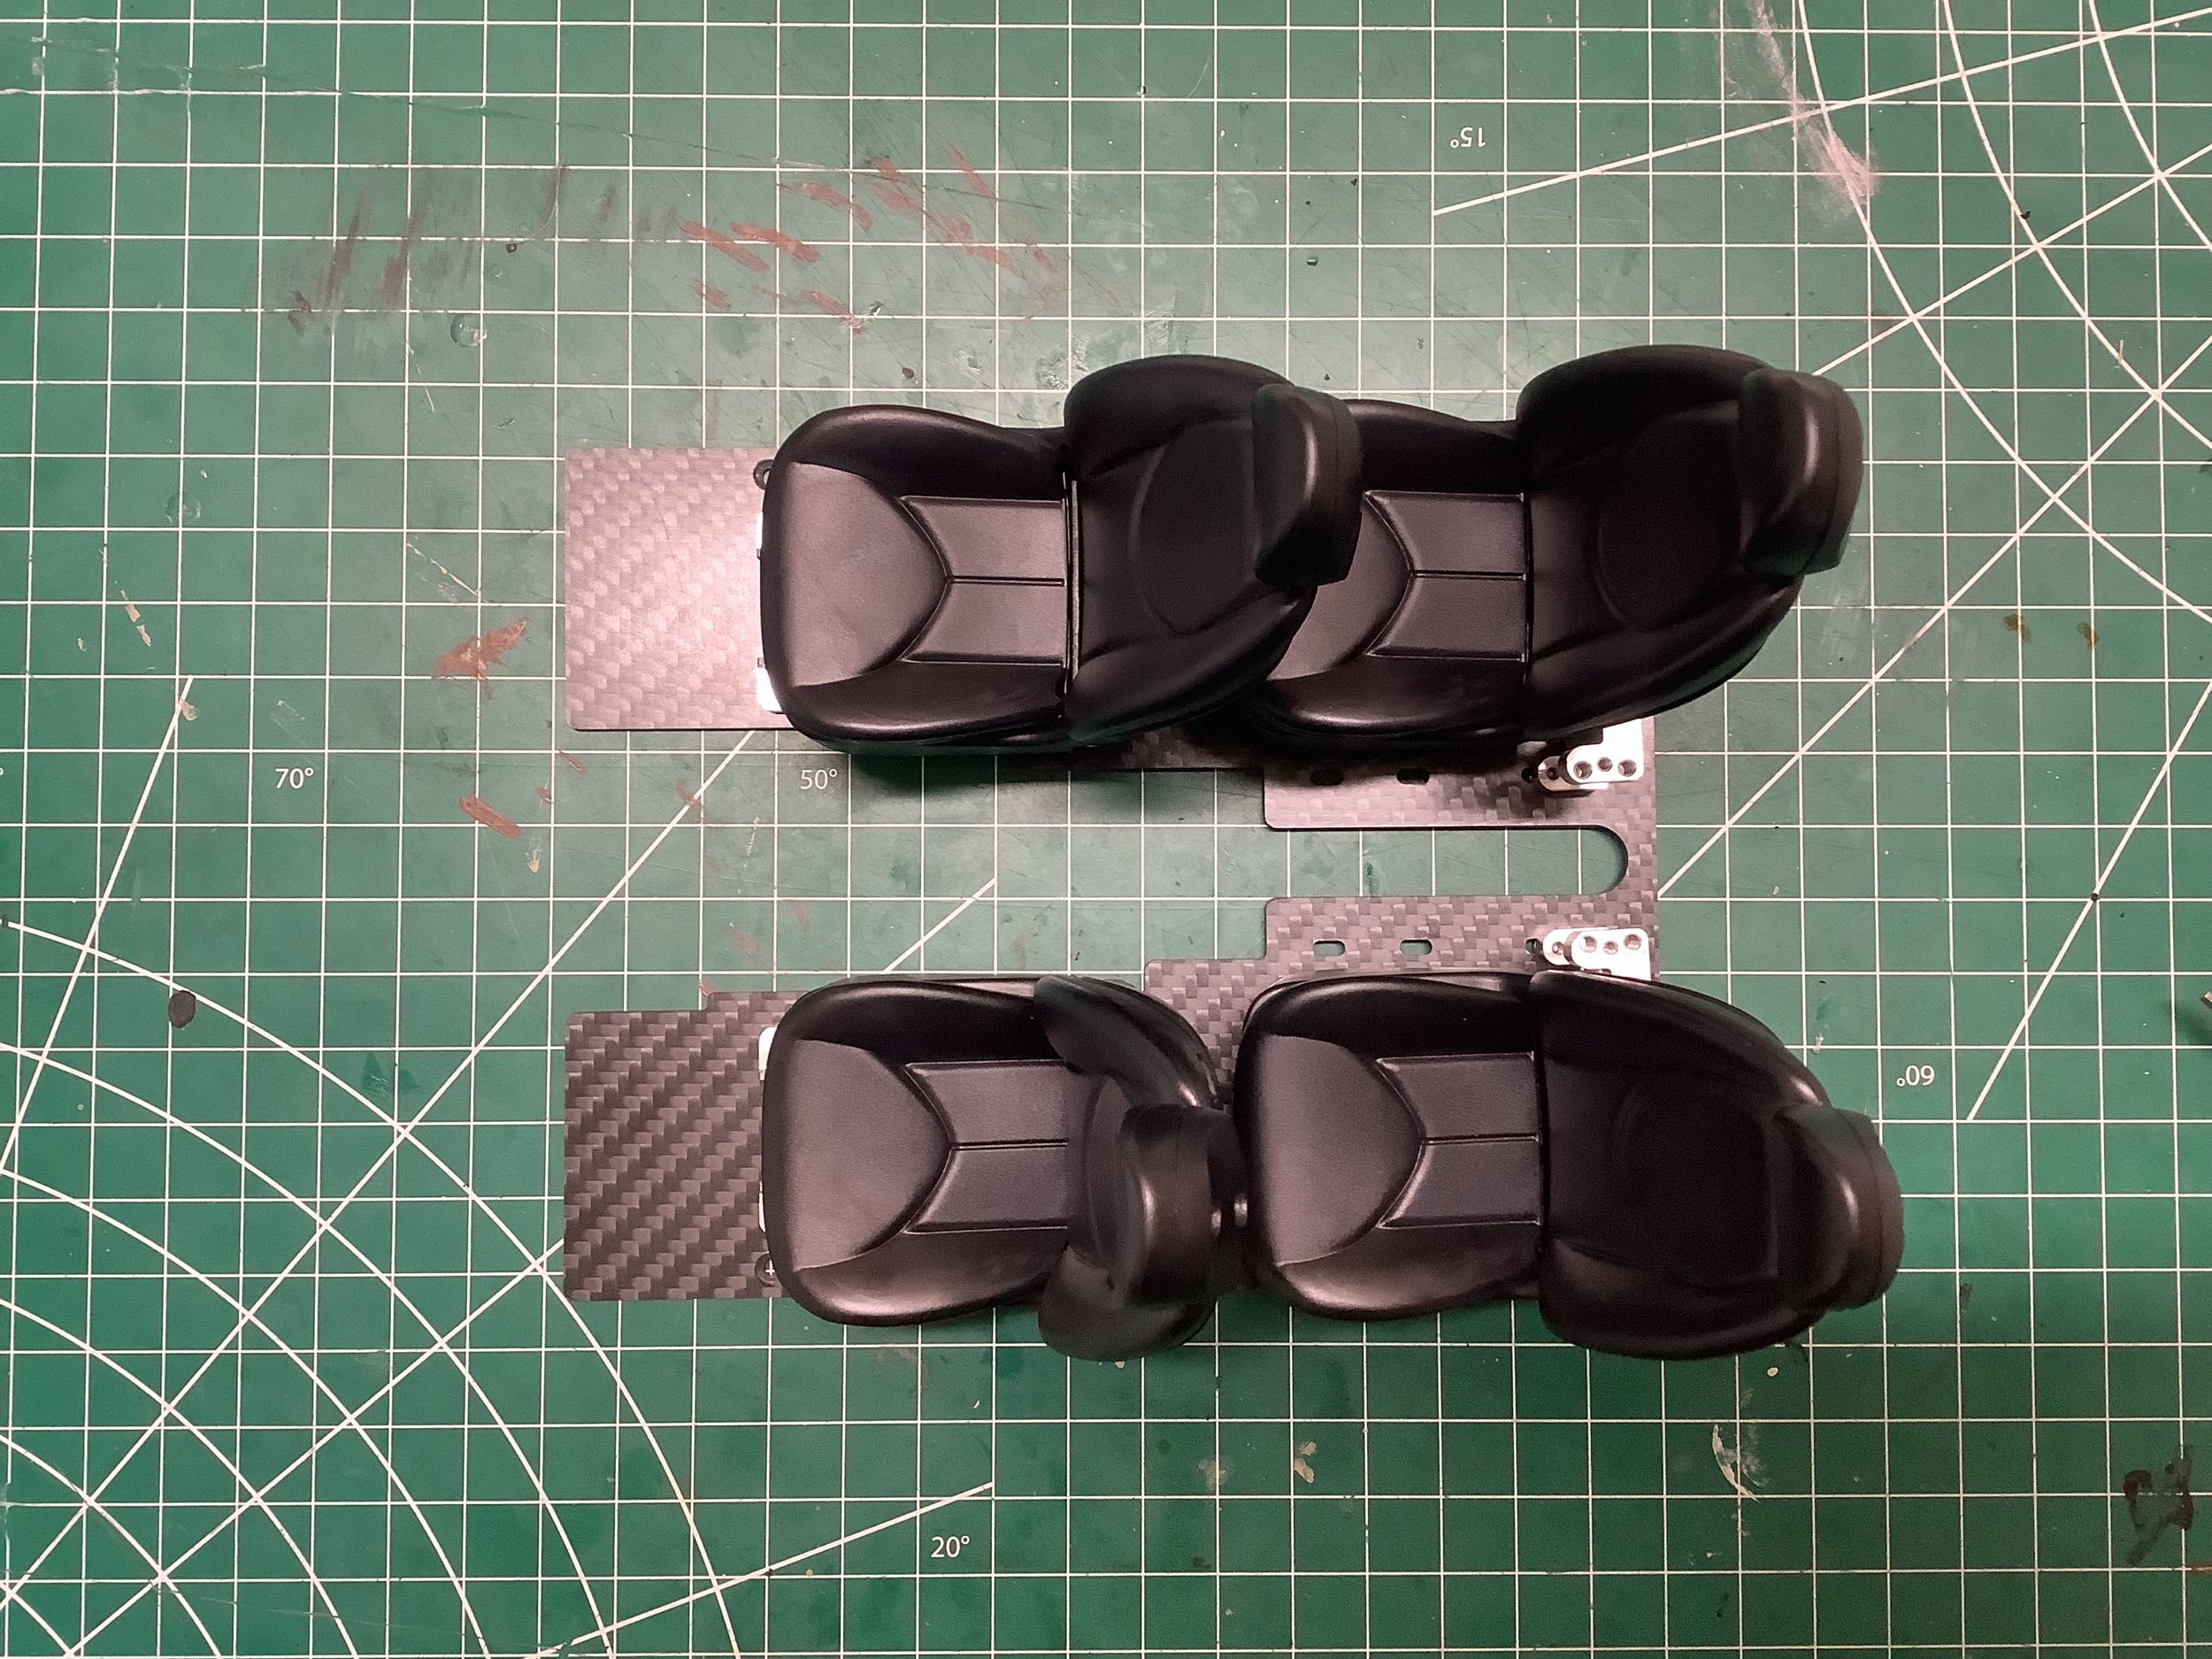
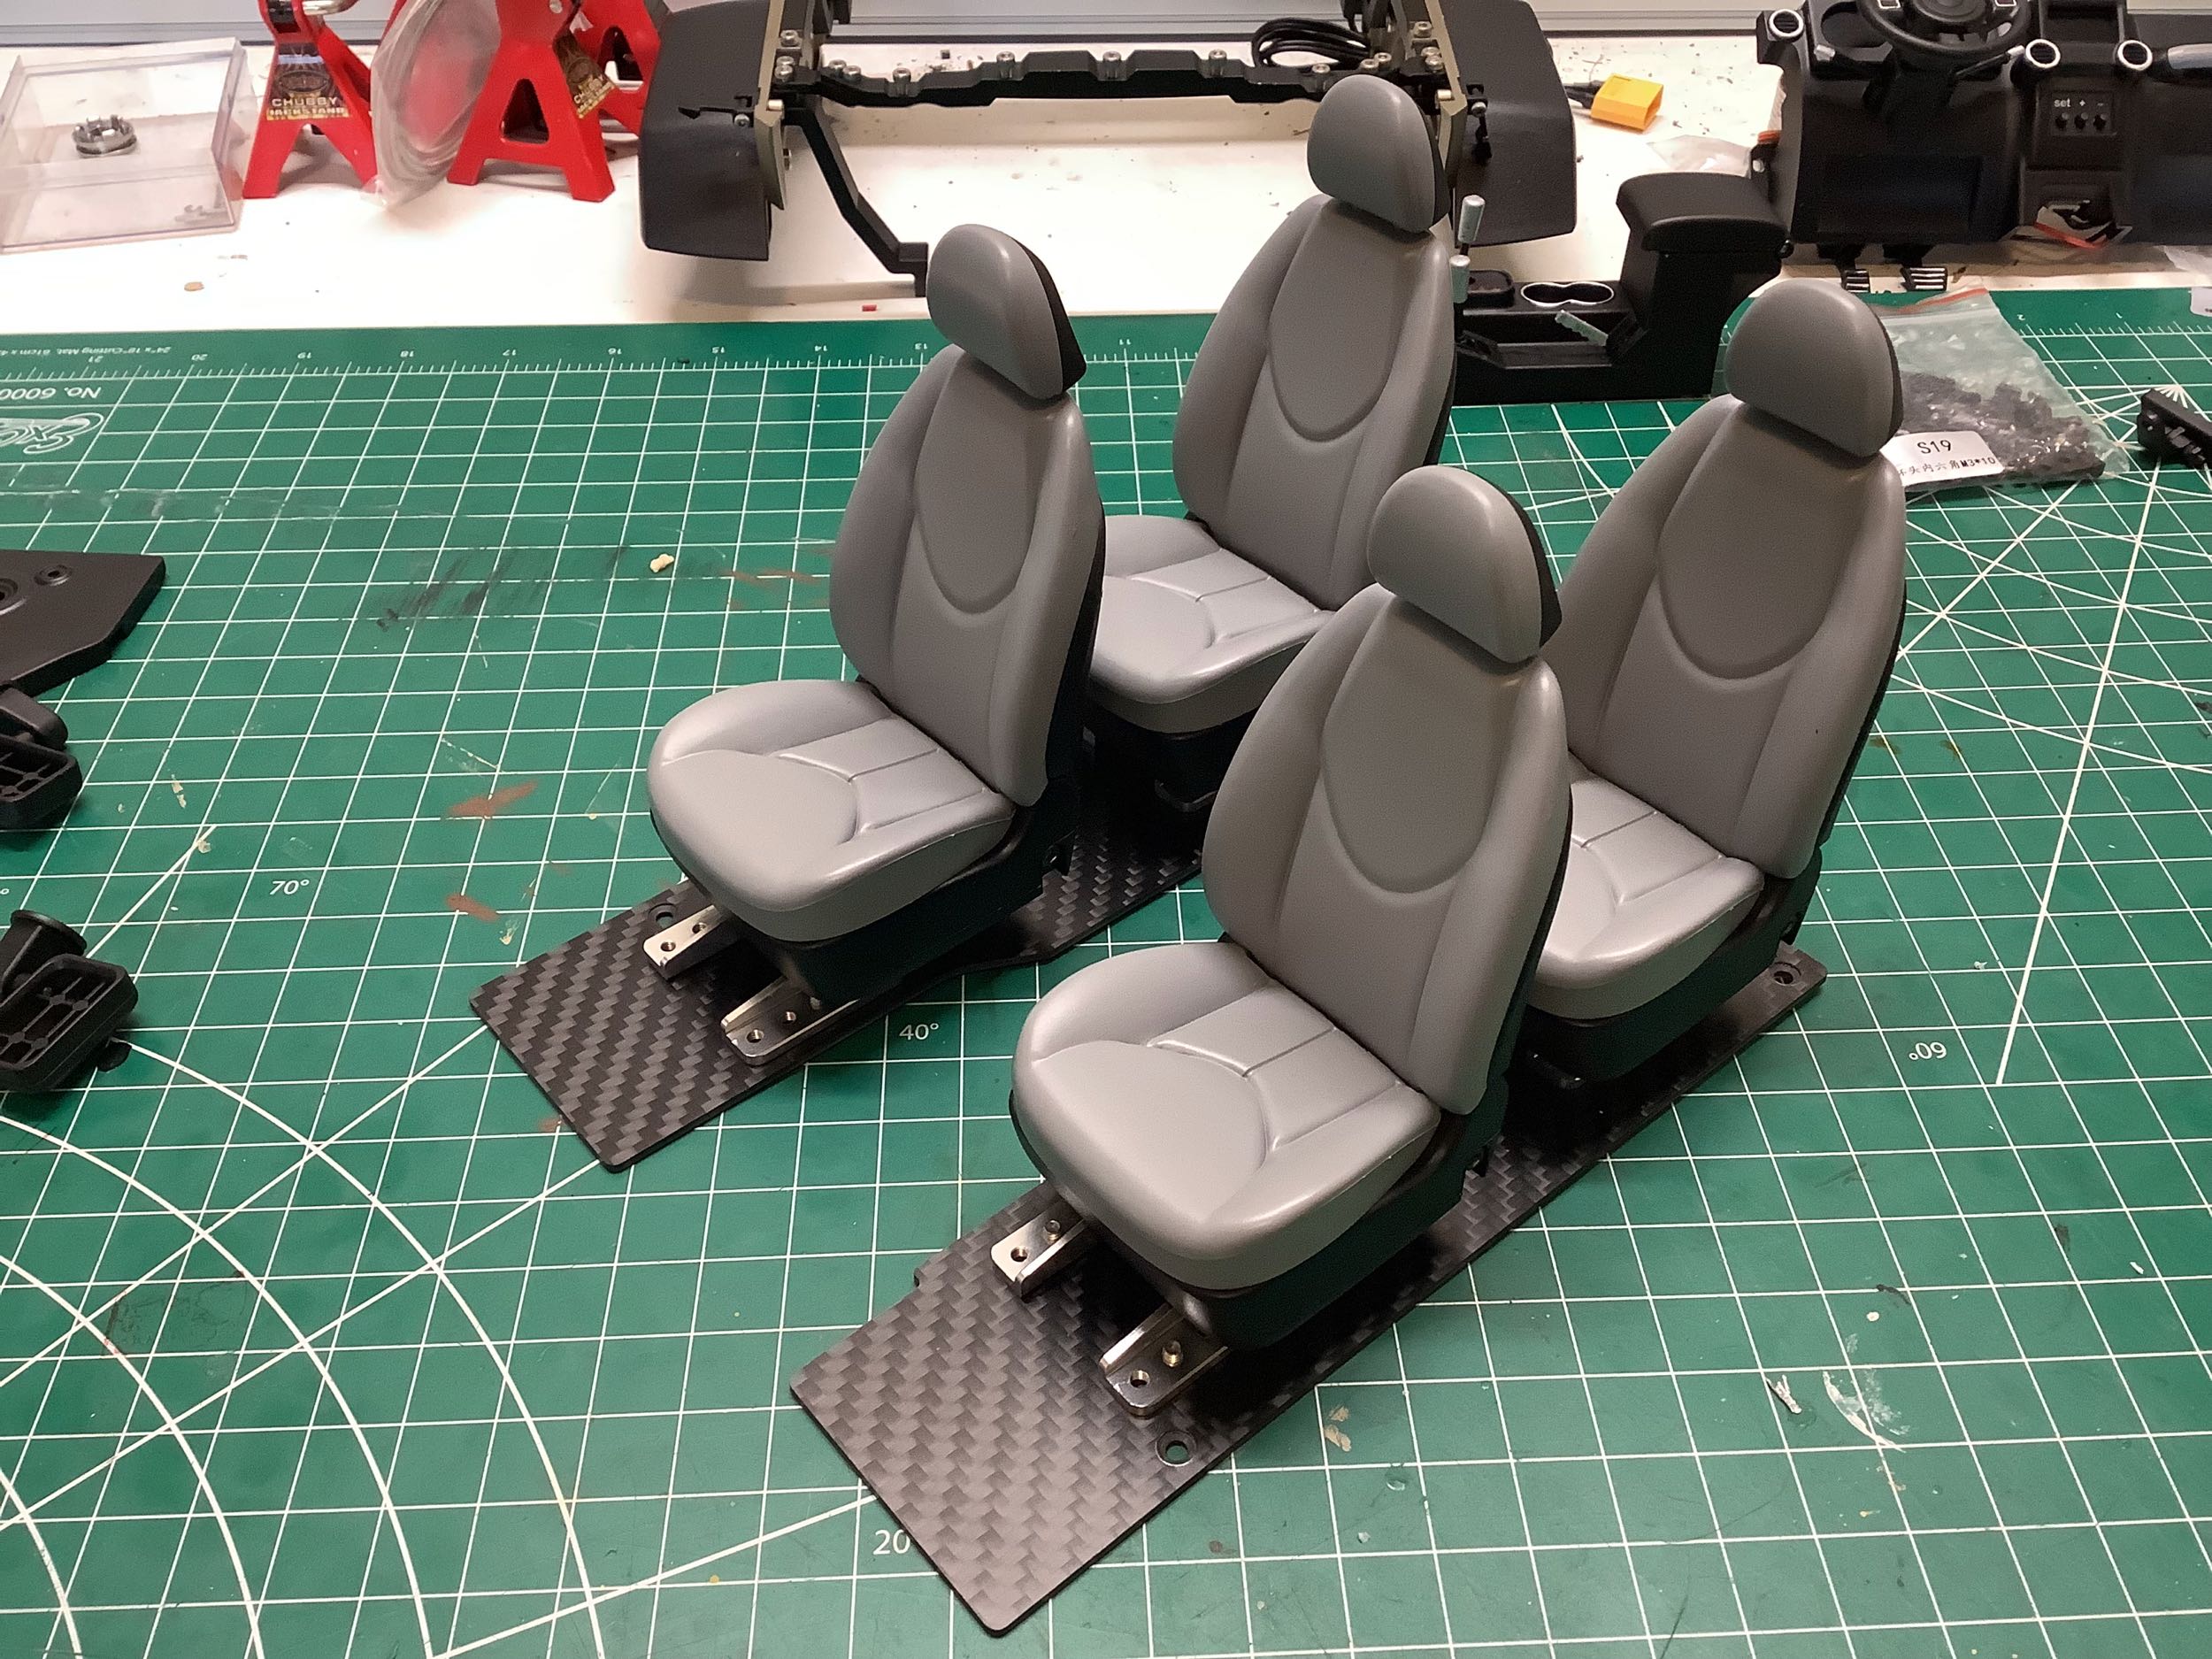
This model has a fully detailed, full depth interior. All four
bucket seats are the same, but the front and rear seats have different
mounting brackets as you can see on the right. The seat parts are
plastic, but a close look at the picture on the left will show you that
there are brass threaded inserts in the seat back, base, and head rest
to allow for strong screw connections. The mounting brackets are
machined aluminum (like almost everything else on this model). The
interior is really the only section to make use of plastic.
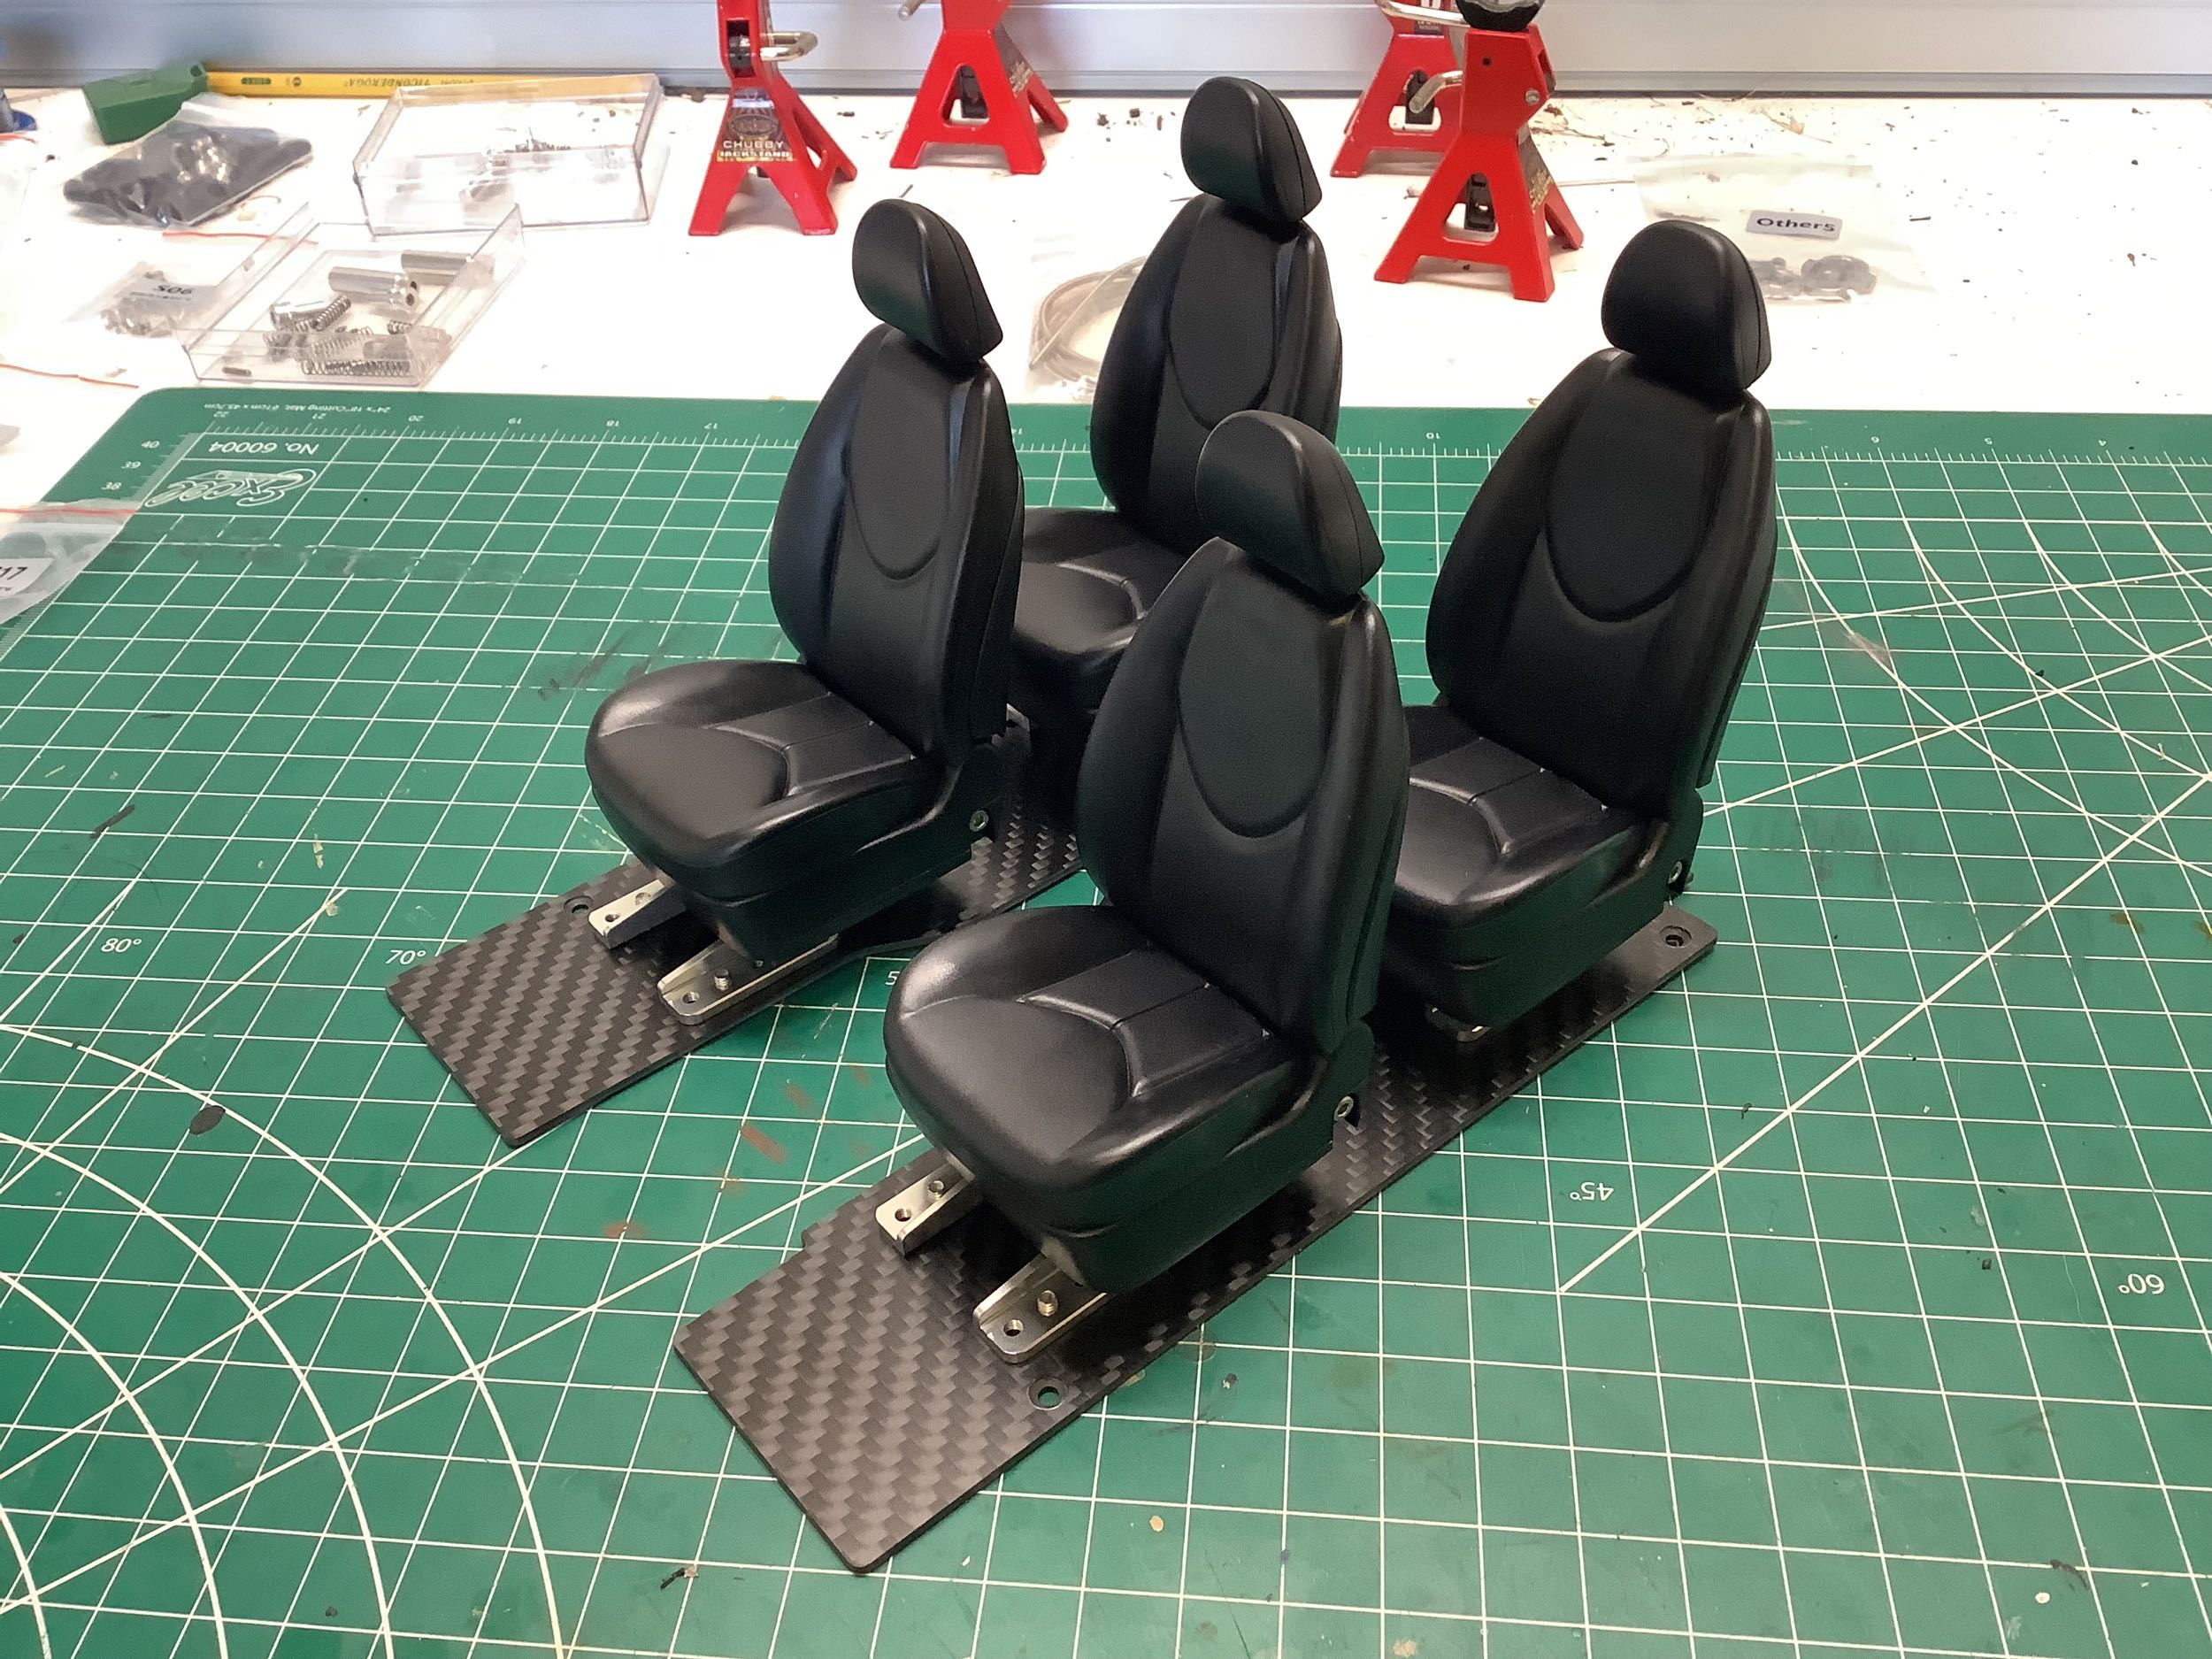
There is really no reason that the floor needs to be made from carbon fiber
sheet other than the fact that it is cool, which it is. The
aluminum brackets you see behind the rear seats are for a micro servo to
control the transfer case. I didn't have the servo yet so this
section is still empty for now.
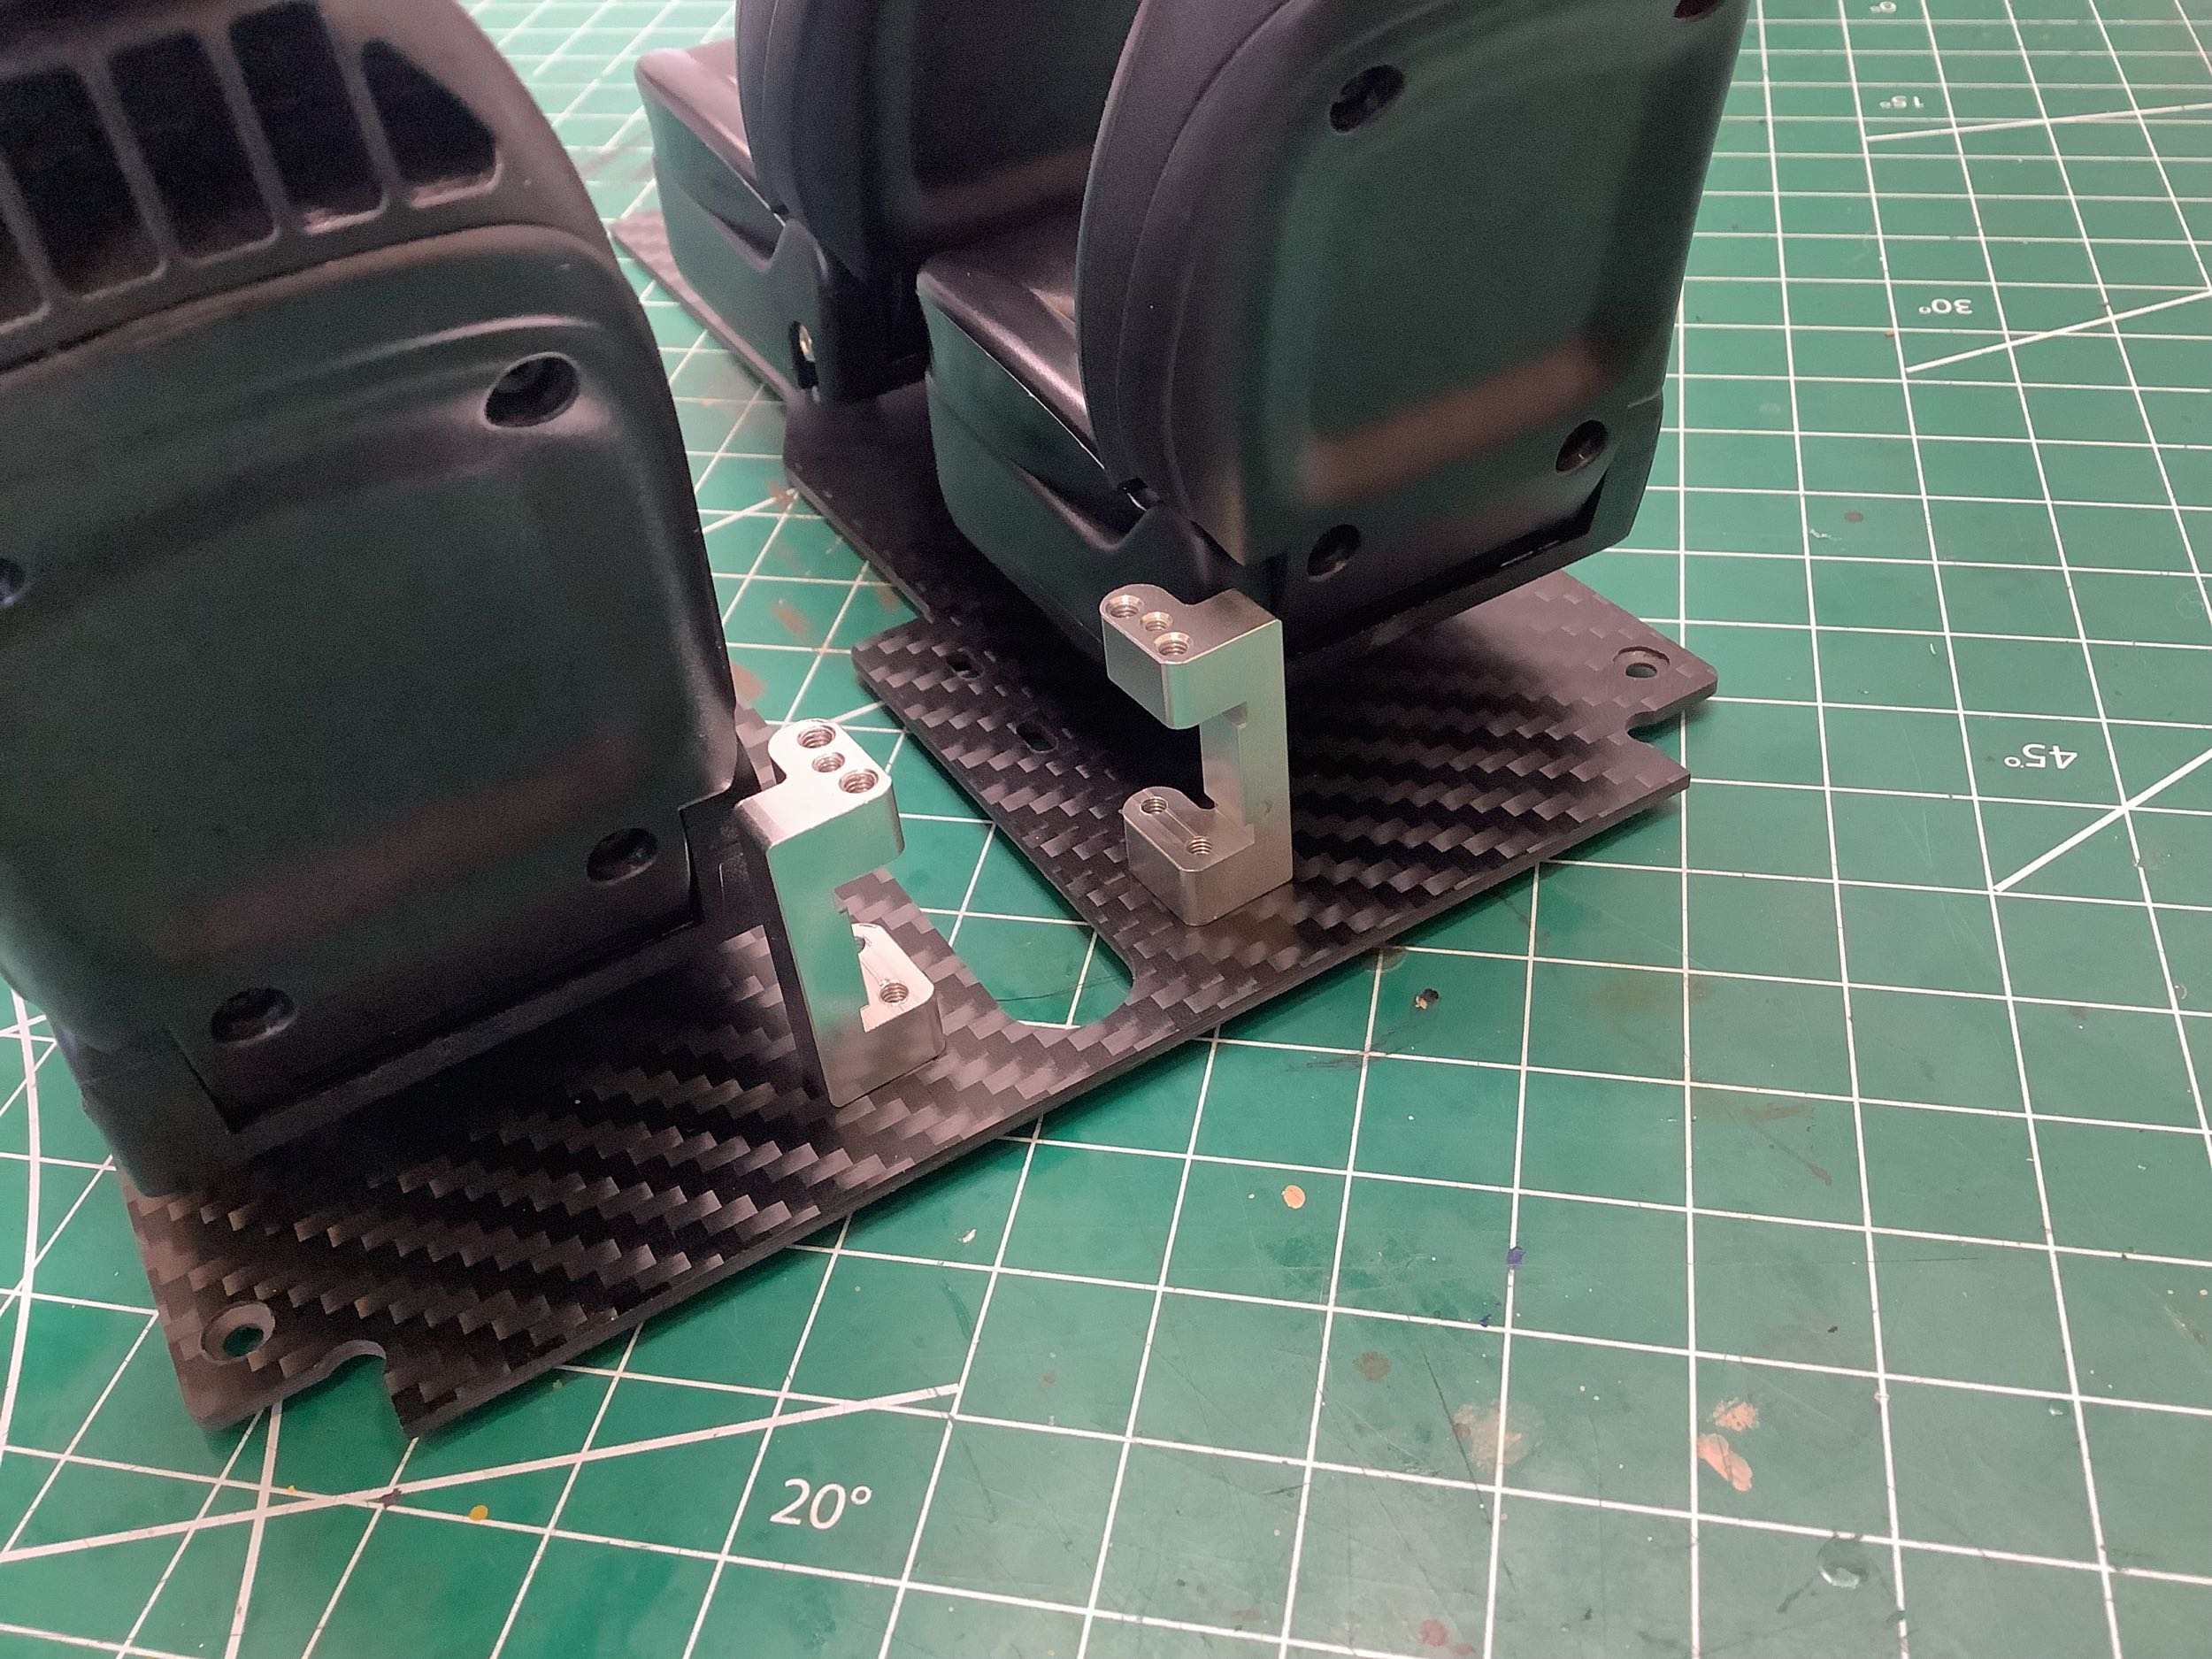
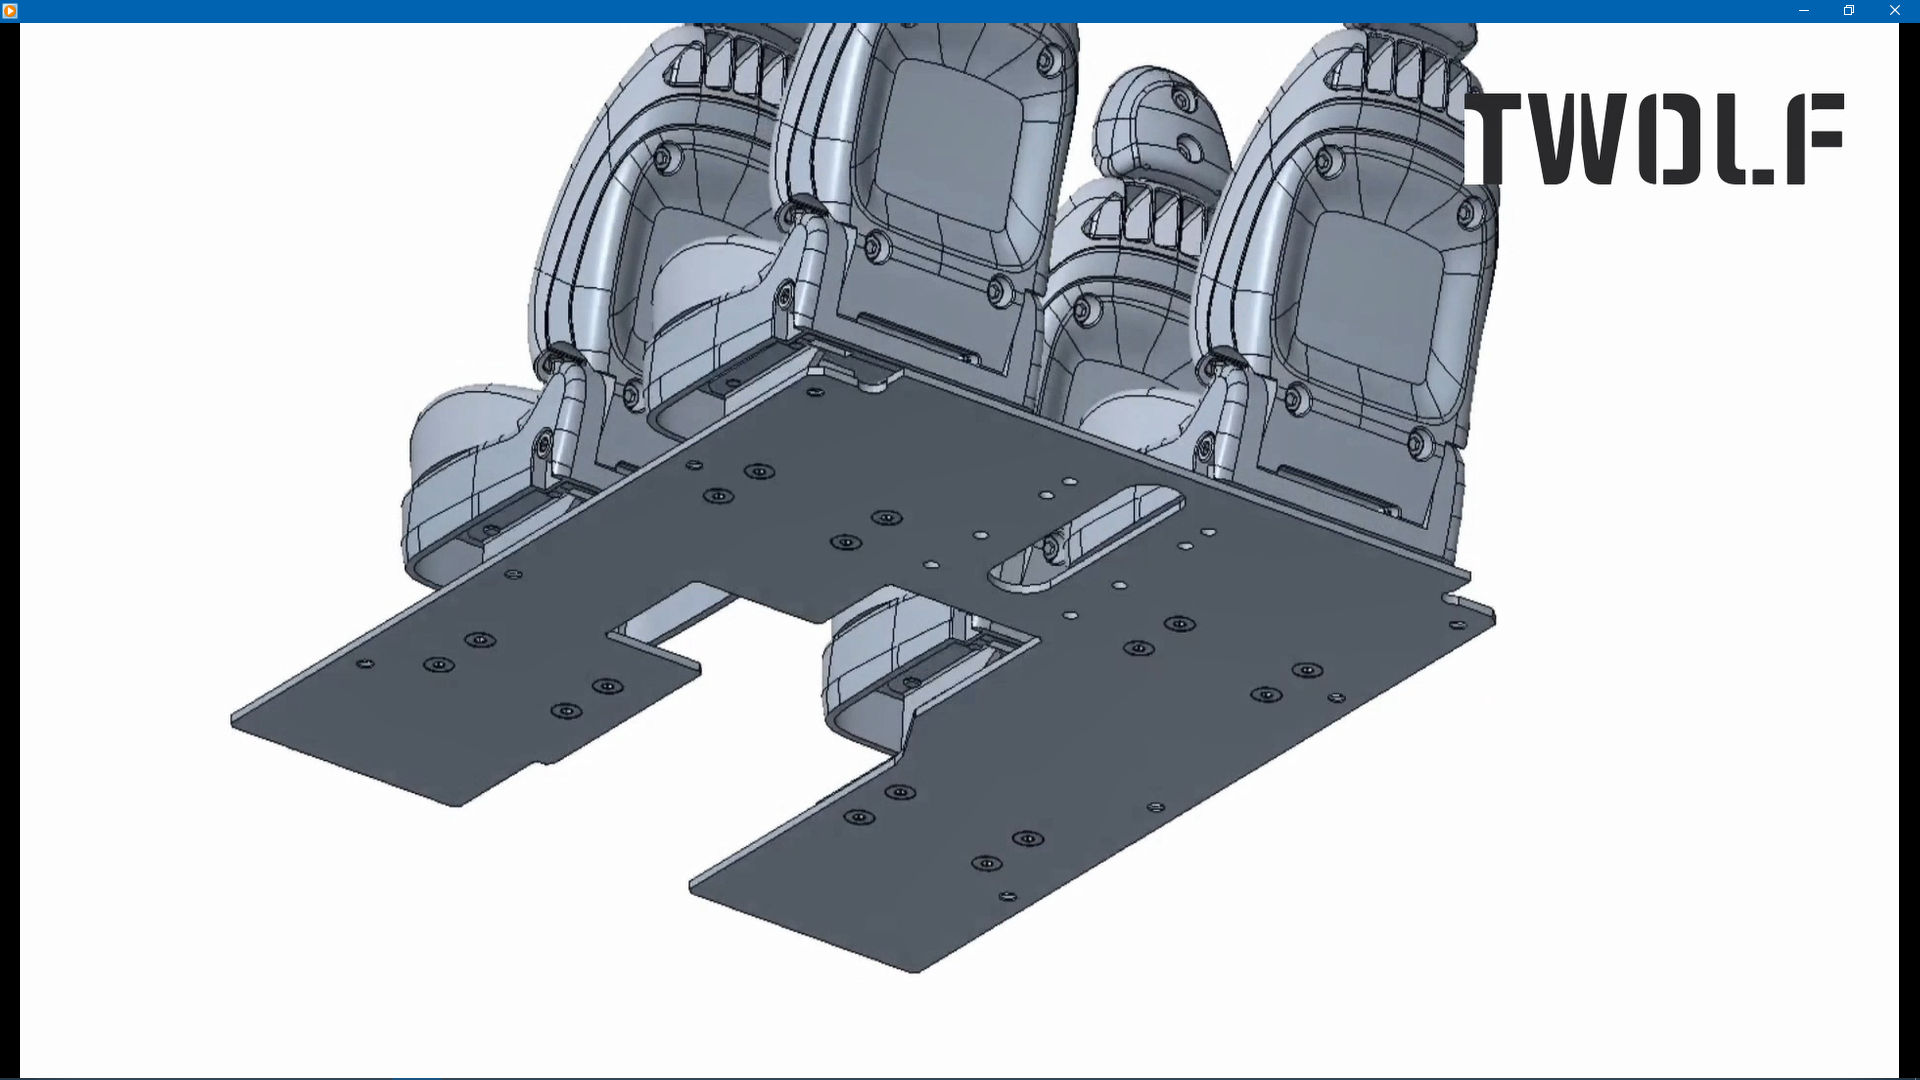
There is an important difference between the instructions and the real
model here. From the screen capture of the instruction video on
the left you can see that the floor should have two connections between
the right and left sides with a slot between them. The overhead
view on the right shows that the real part only has a single connection
in the back. This makes it easier to install the rear drive shaft
later because it needed to pass through that slot, but it also makes the
floor much less strong. You have to be very careful
lifting the assembly at this point because it could break from the
weight of the seats. Once installed on the chassis it seems
reasonably strong though. Another difference you can't see in this
photo is that the rear seat attachment holes are slotted on the real
part rather than countersunk. All four seats have some front to
rear adjustability by using alternate or slotted holes.
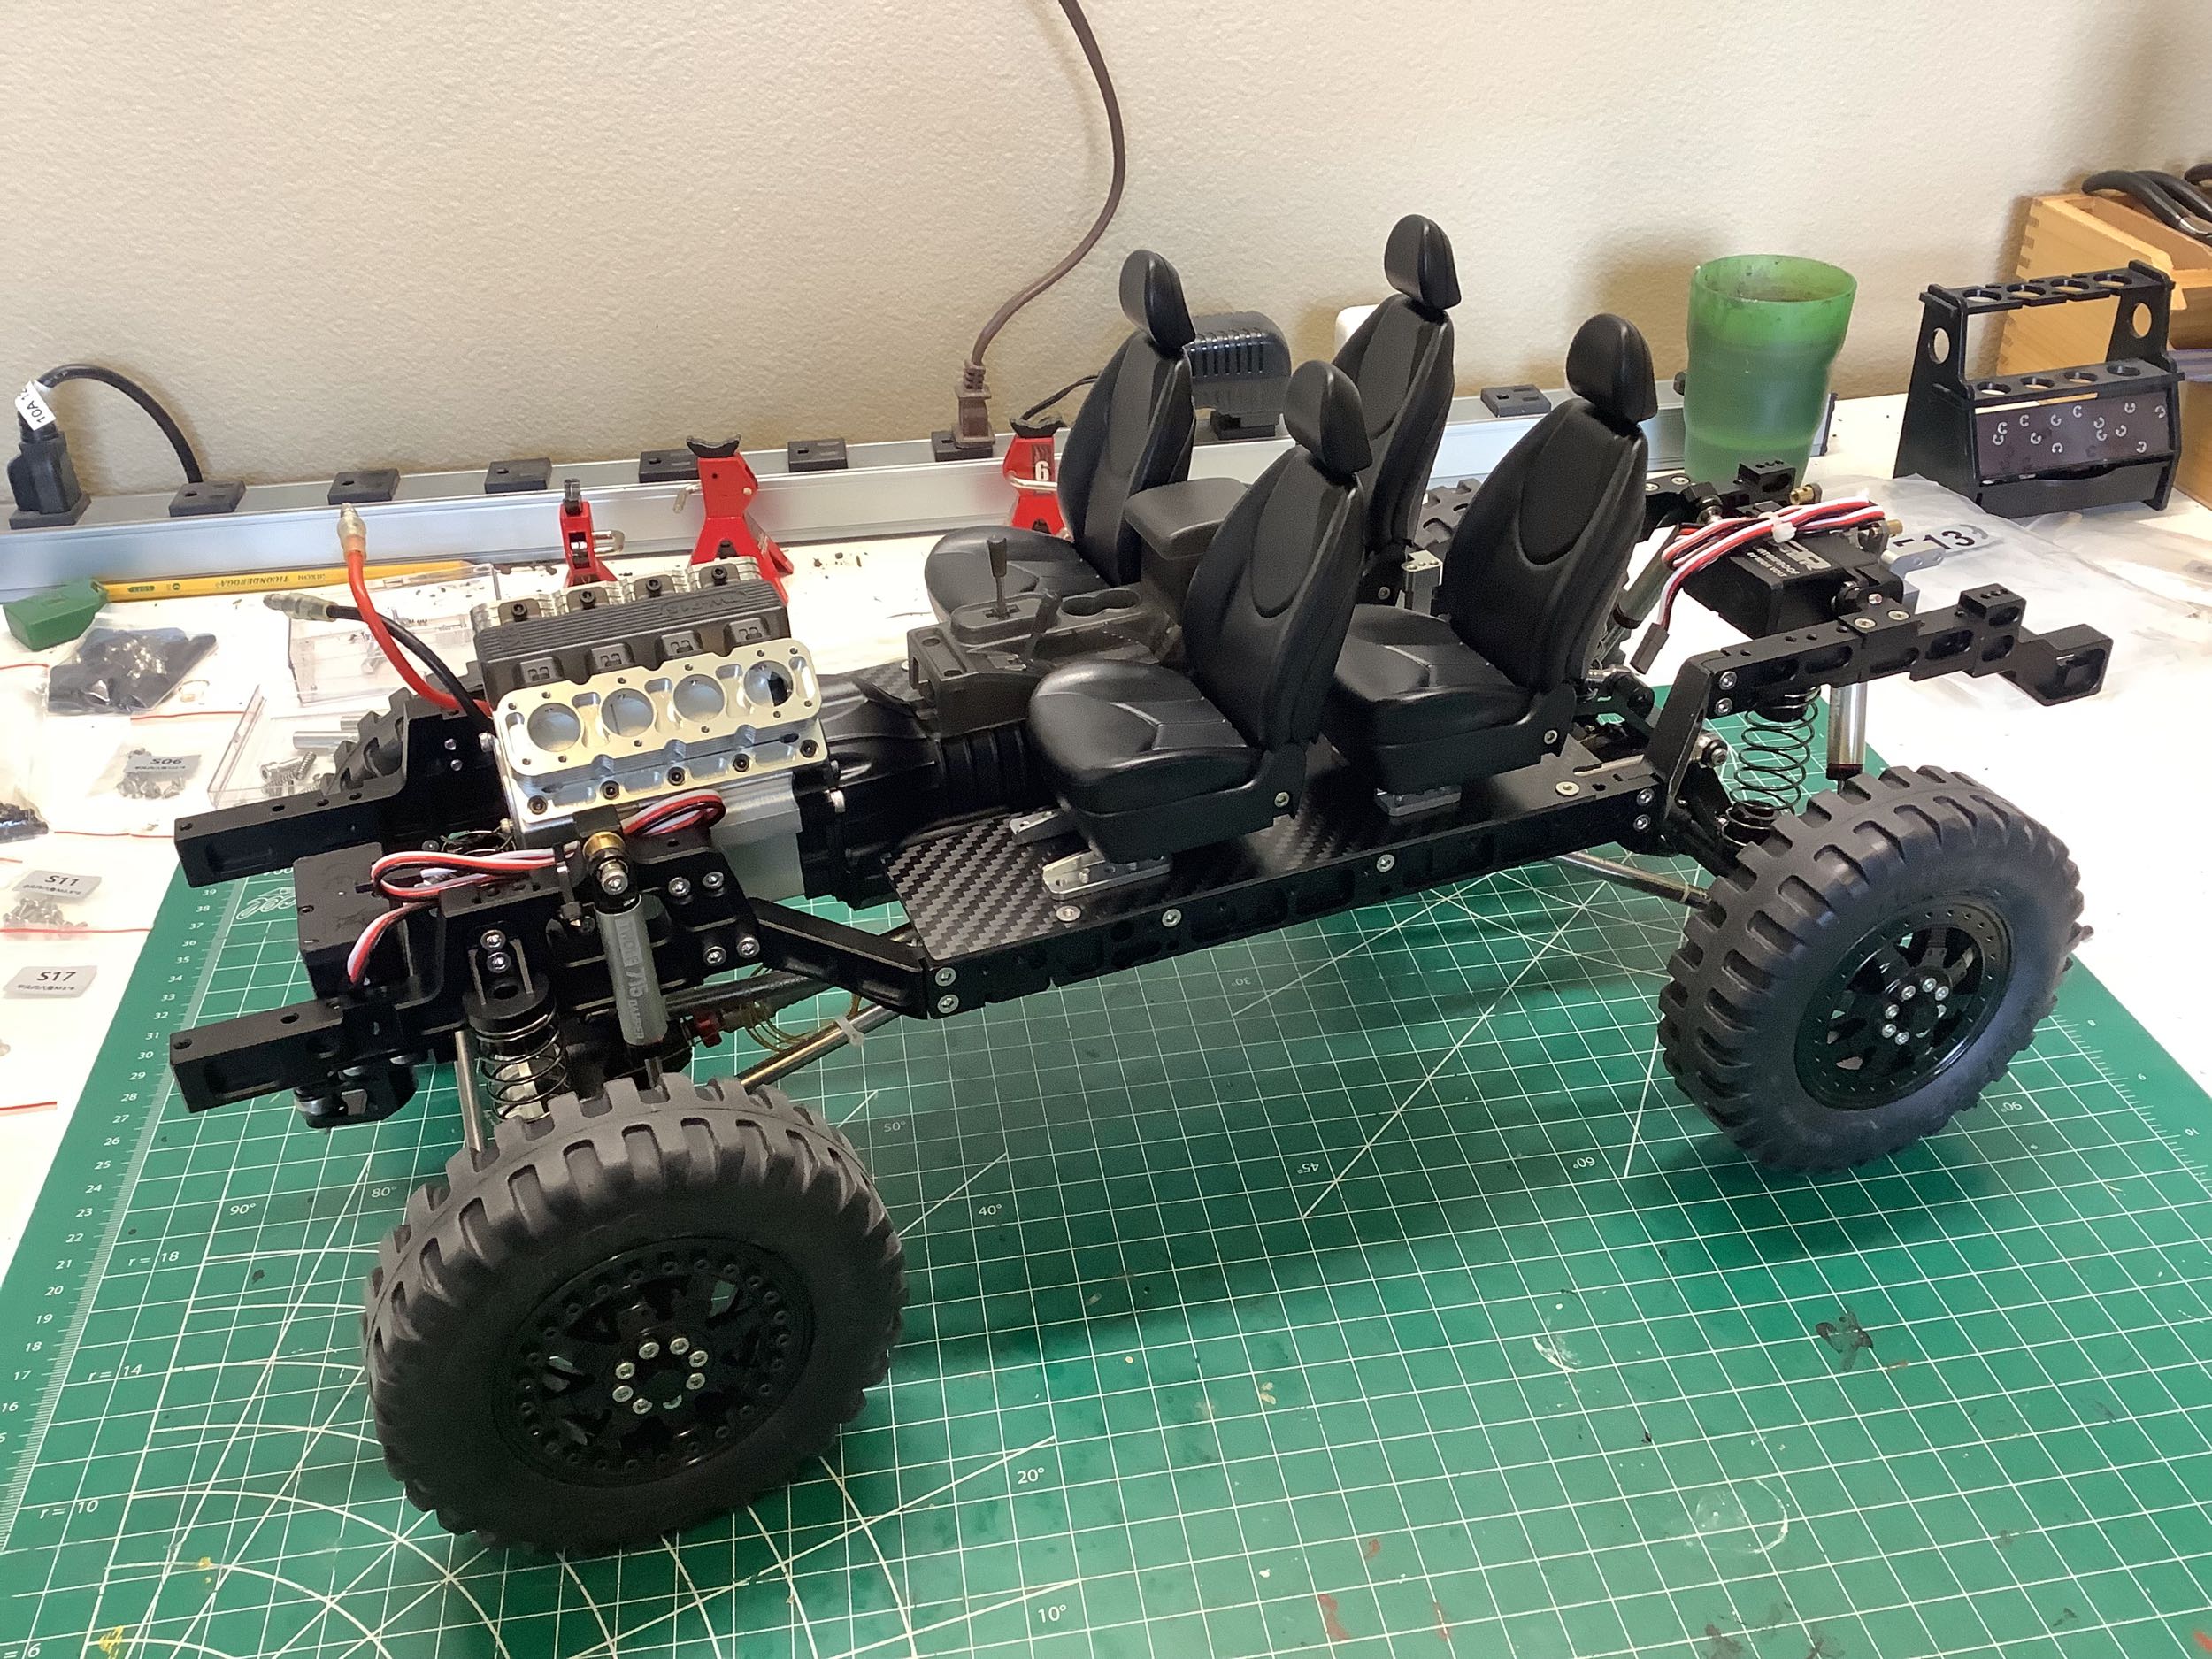
Here is the seat and floor assembly installed onto the rolling
chassis. I think it would be super fun to drive around a real
chassis built to this condition. Note the center console between
the front seats which is part of the engine and transmission
assembly. That's the only other plastic part so far.
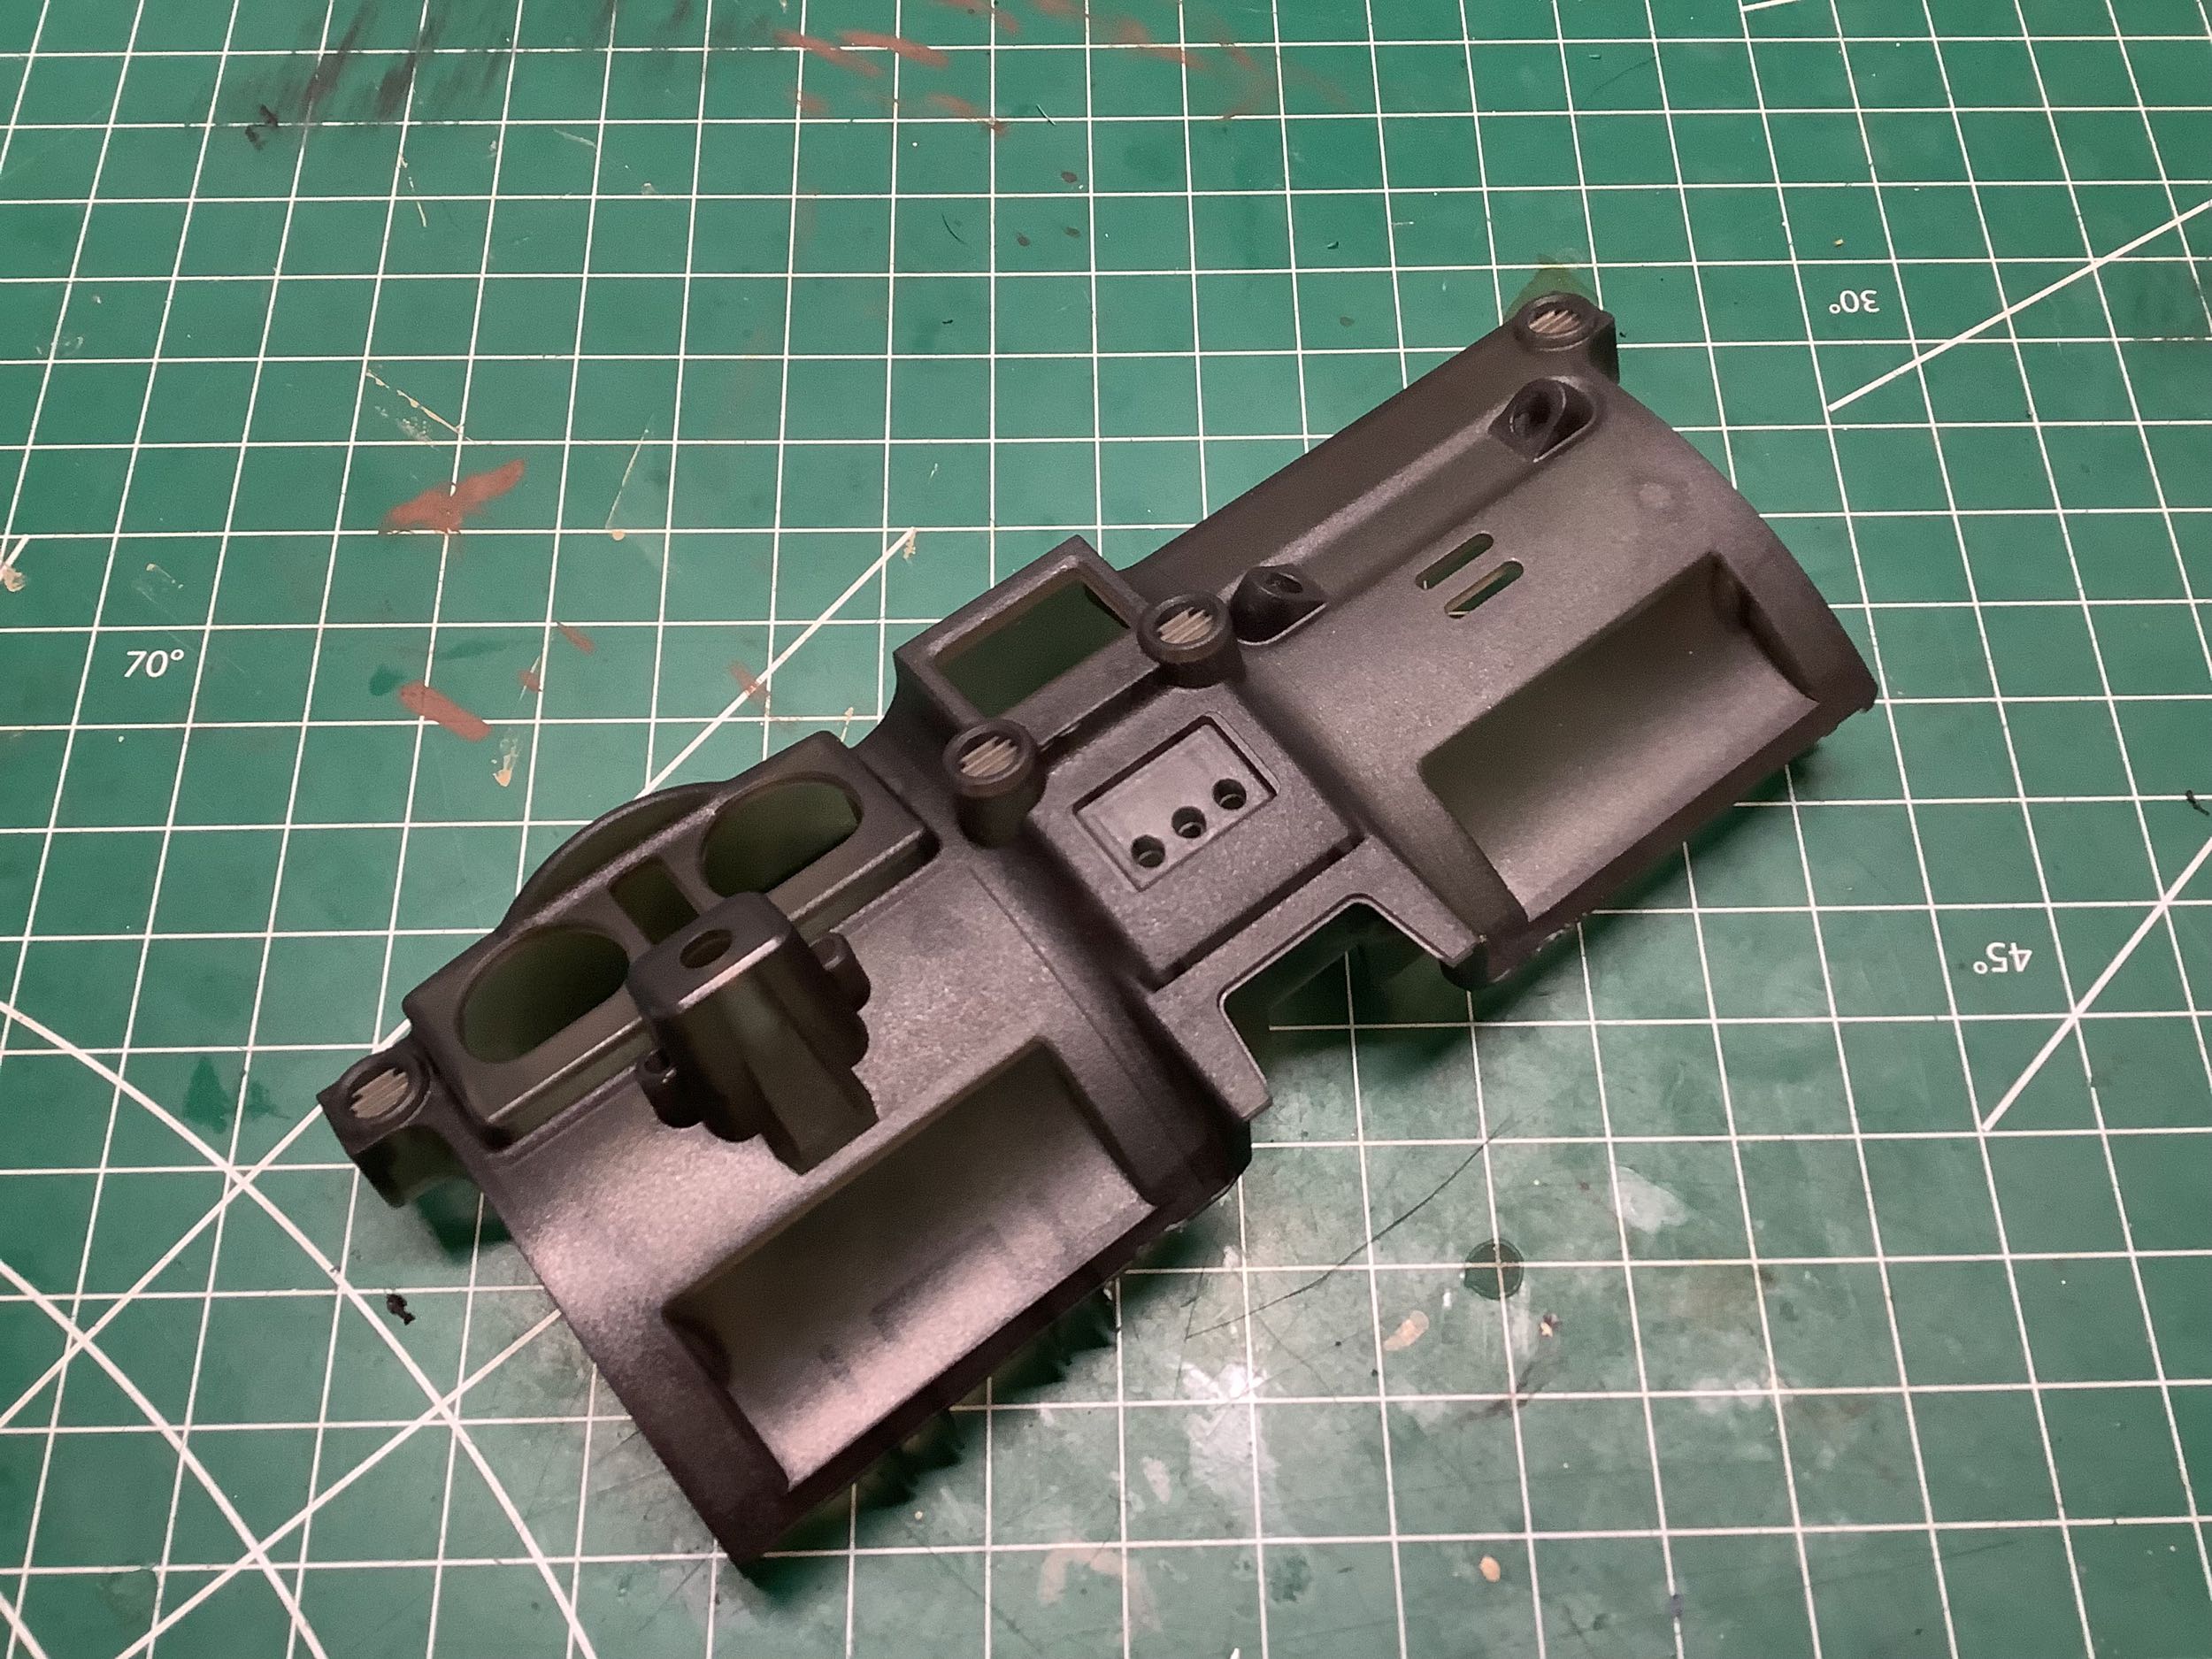
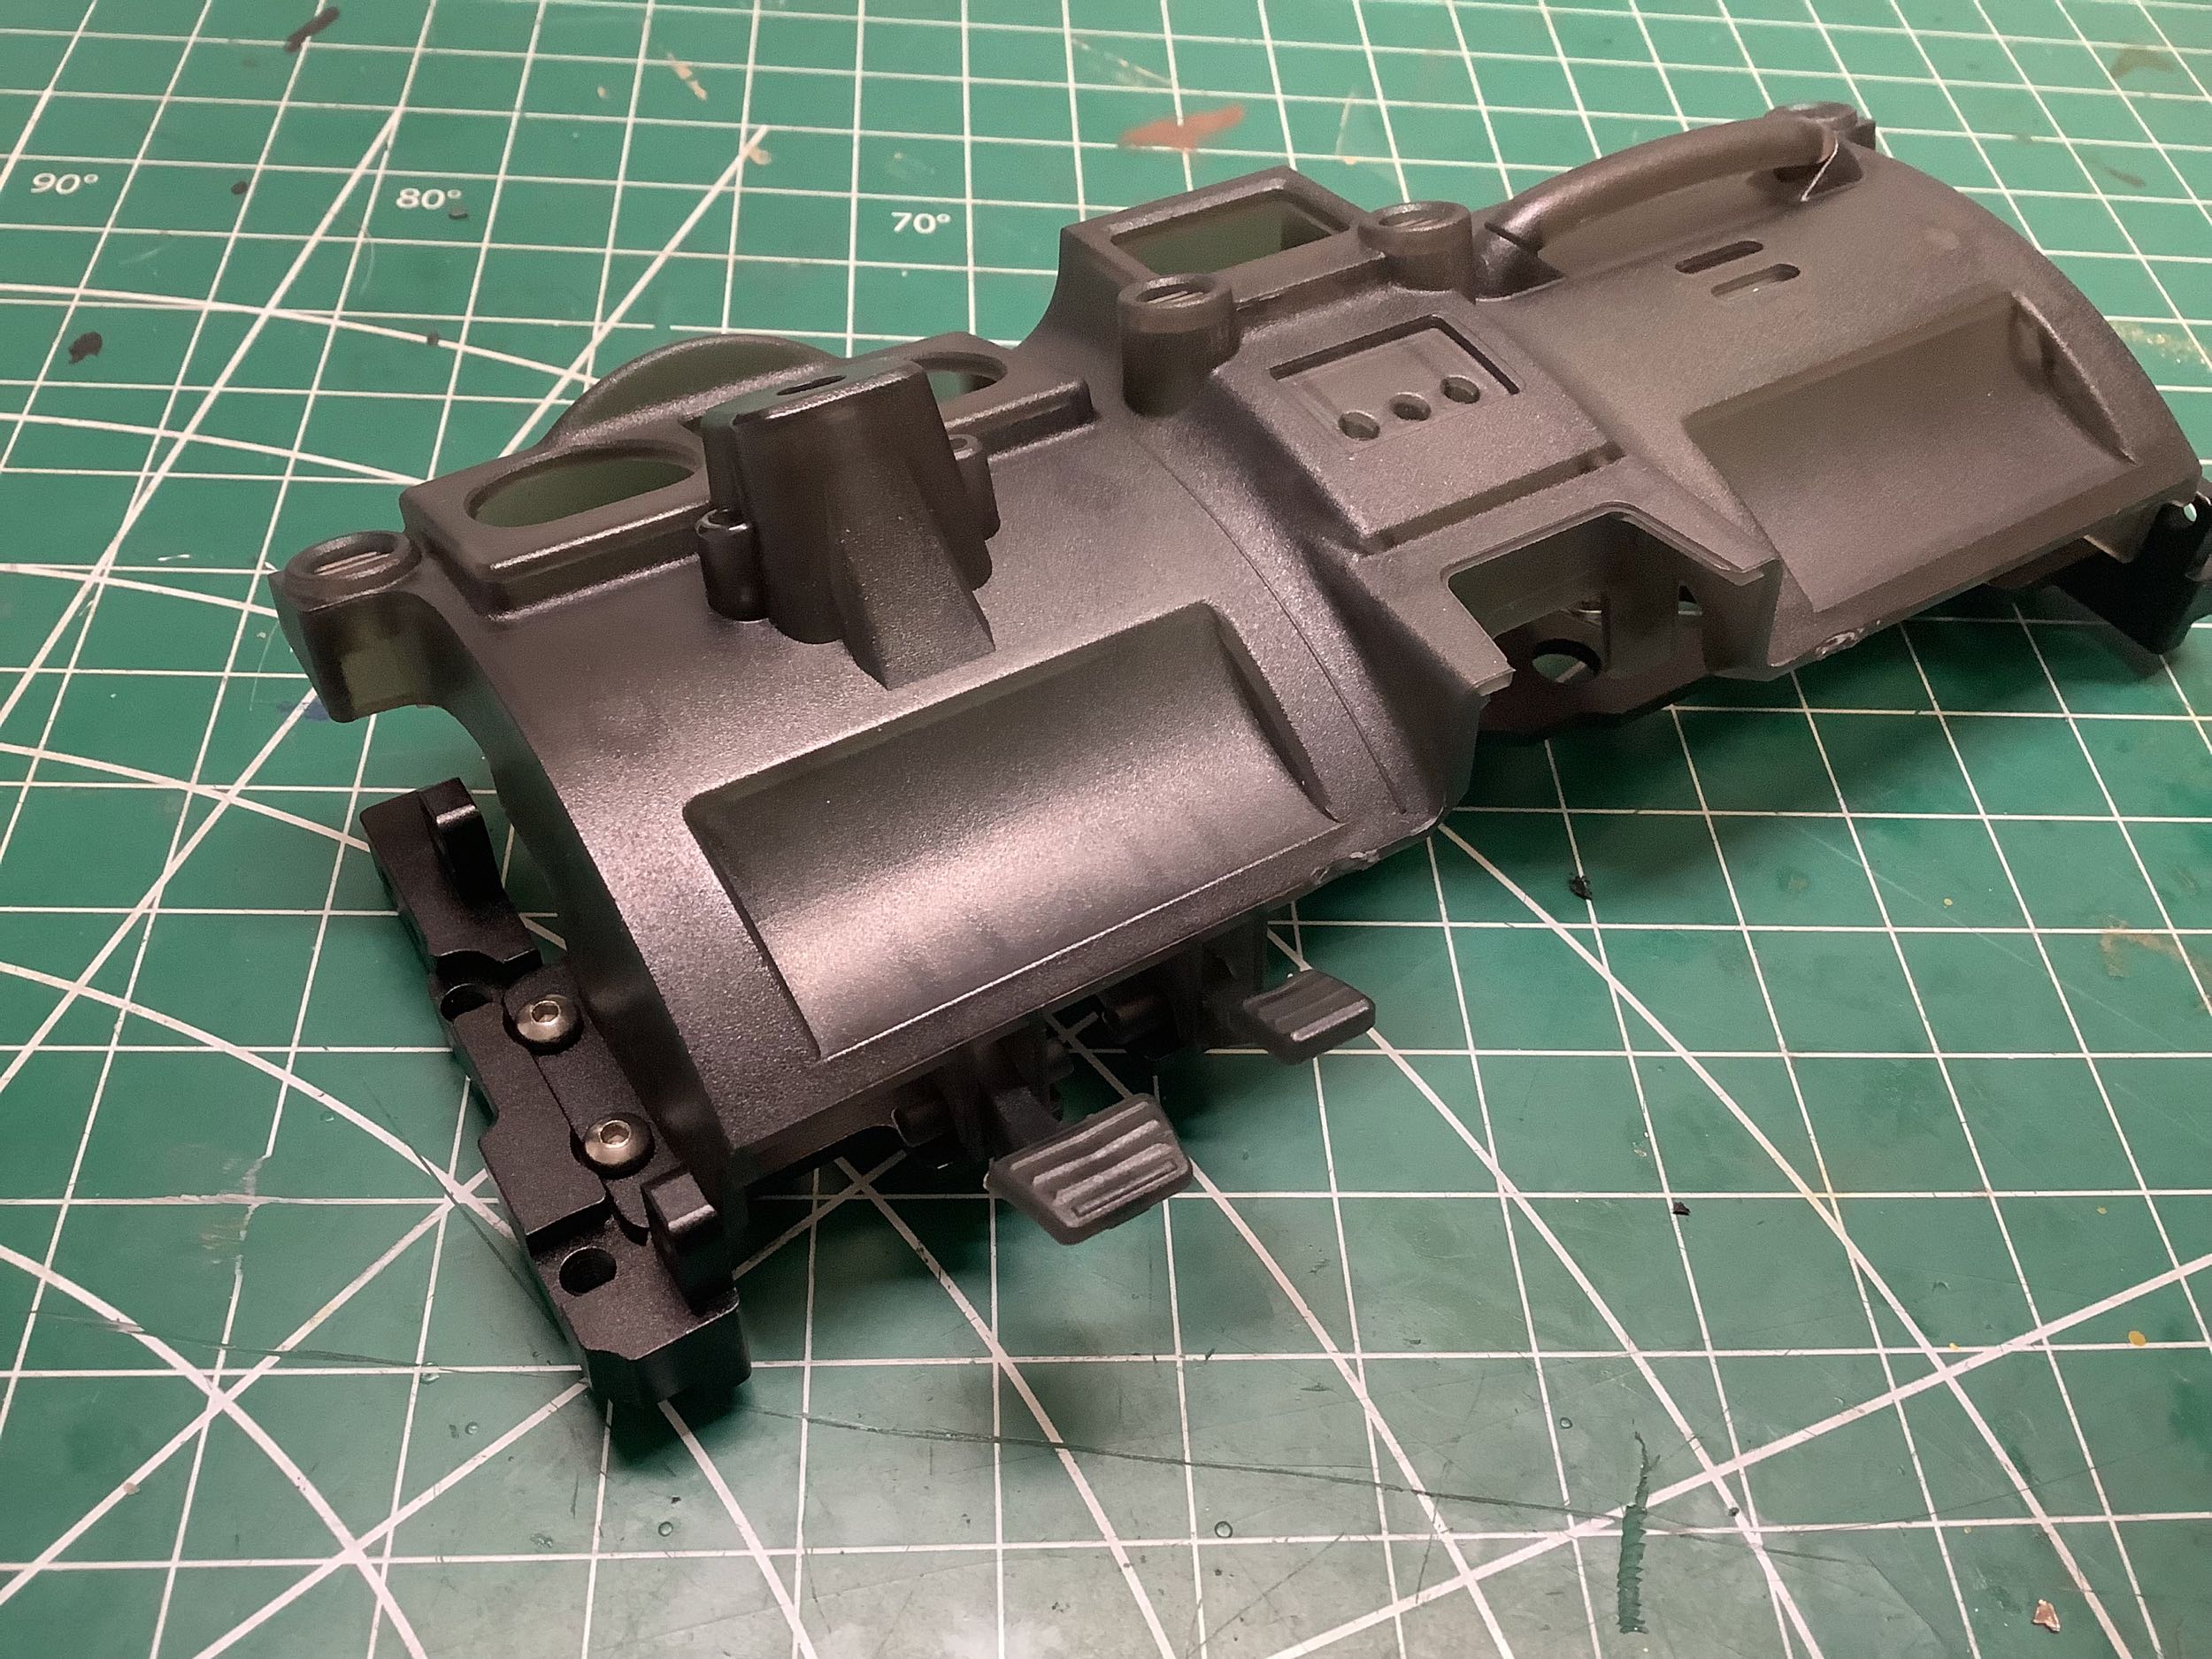
Let's get to work on the dash. On the left is the monolithic part
which makes up the majority of the dash. It includes details for
the A/C vents, steering column, instrument cluster, and center
controls. On the right I've added a passenger handle, brake and
accelerator pedals, and an aluminum mounting bracket.
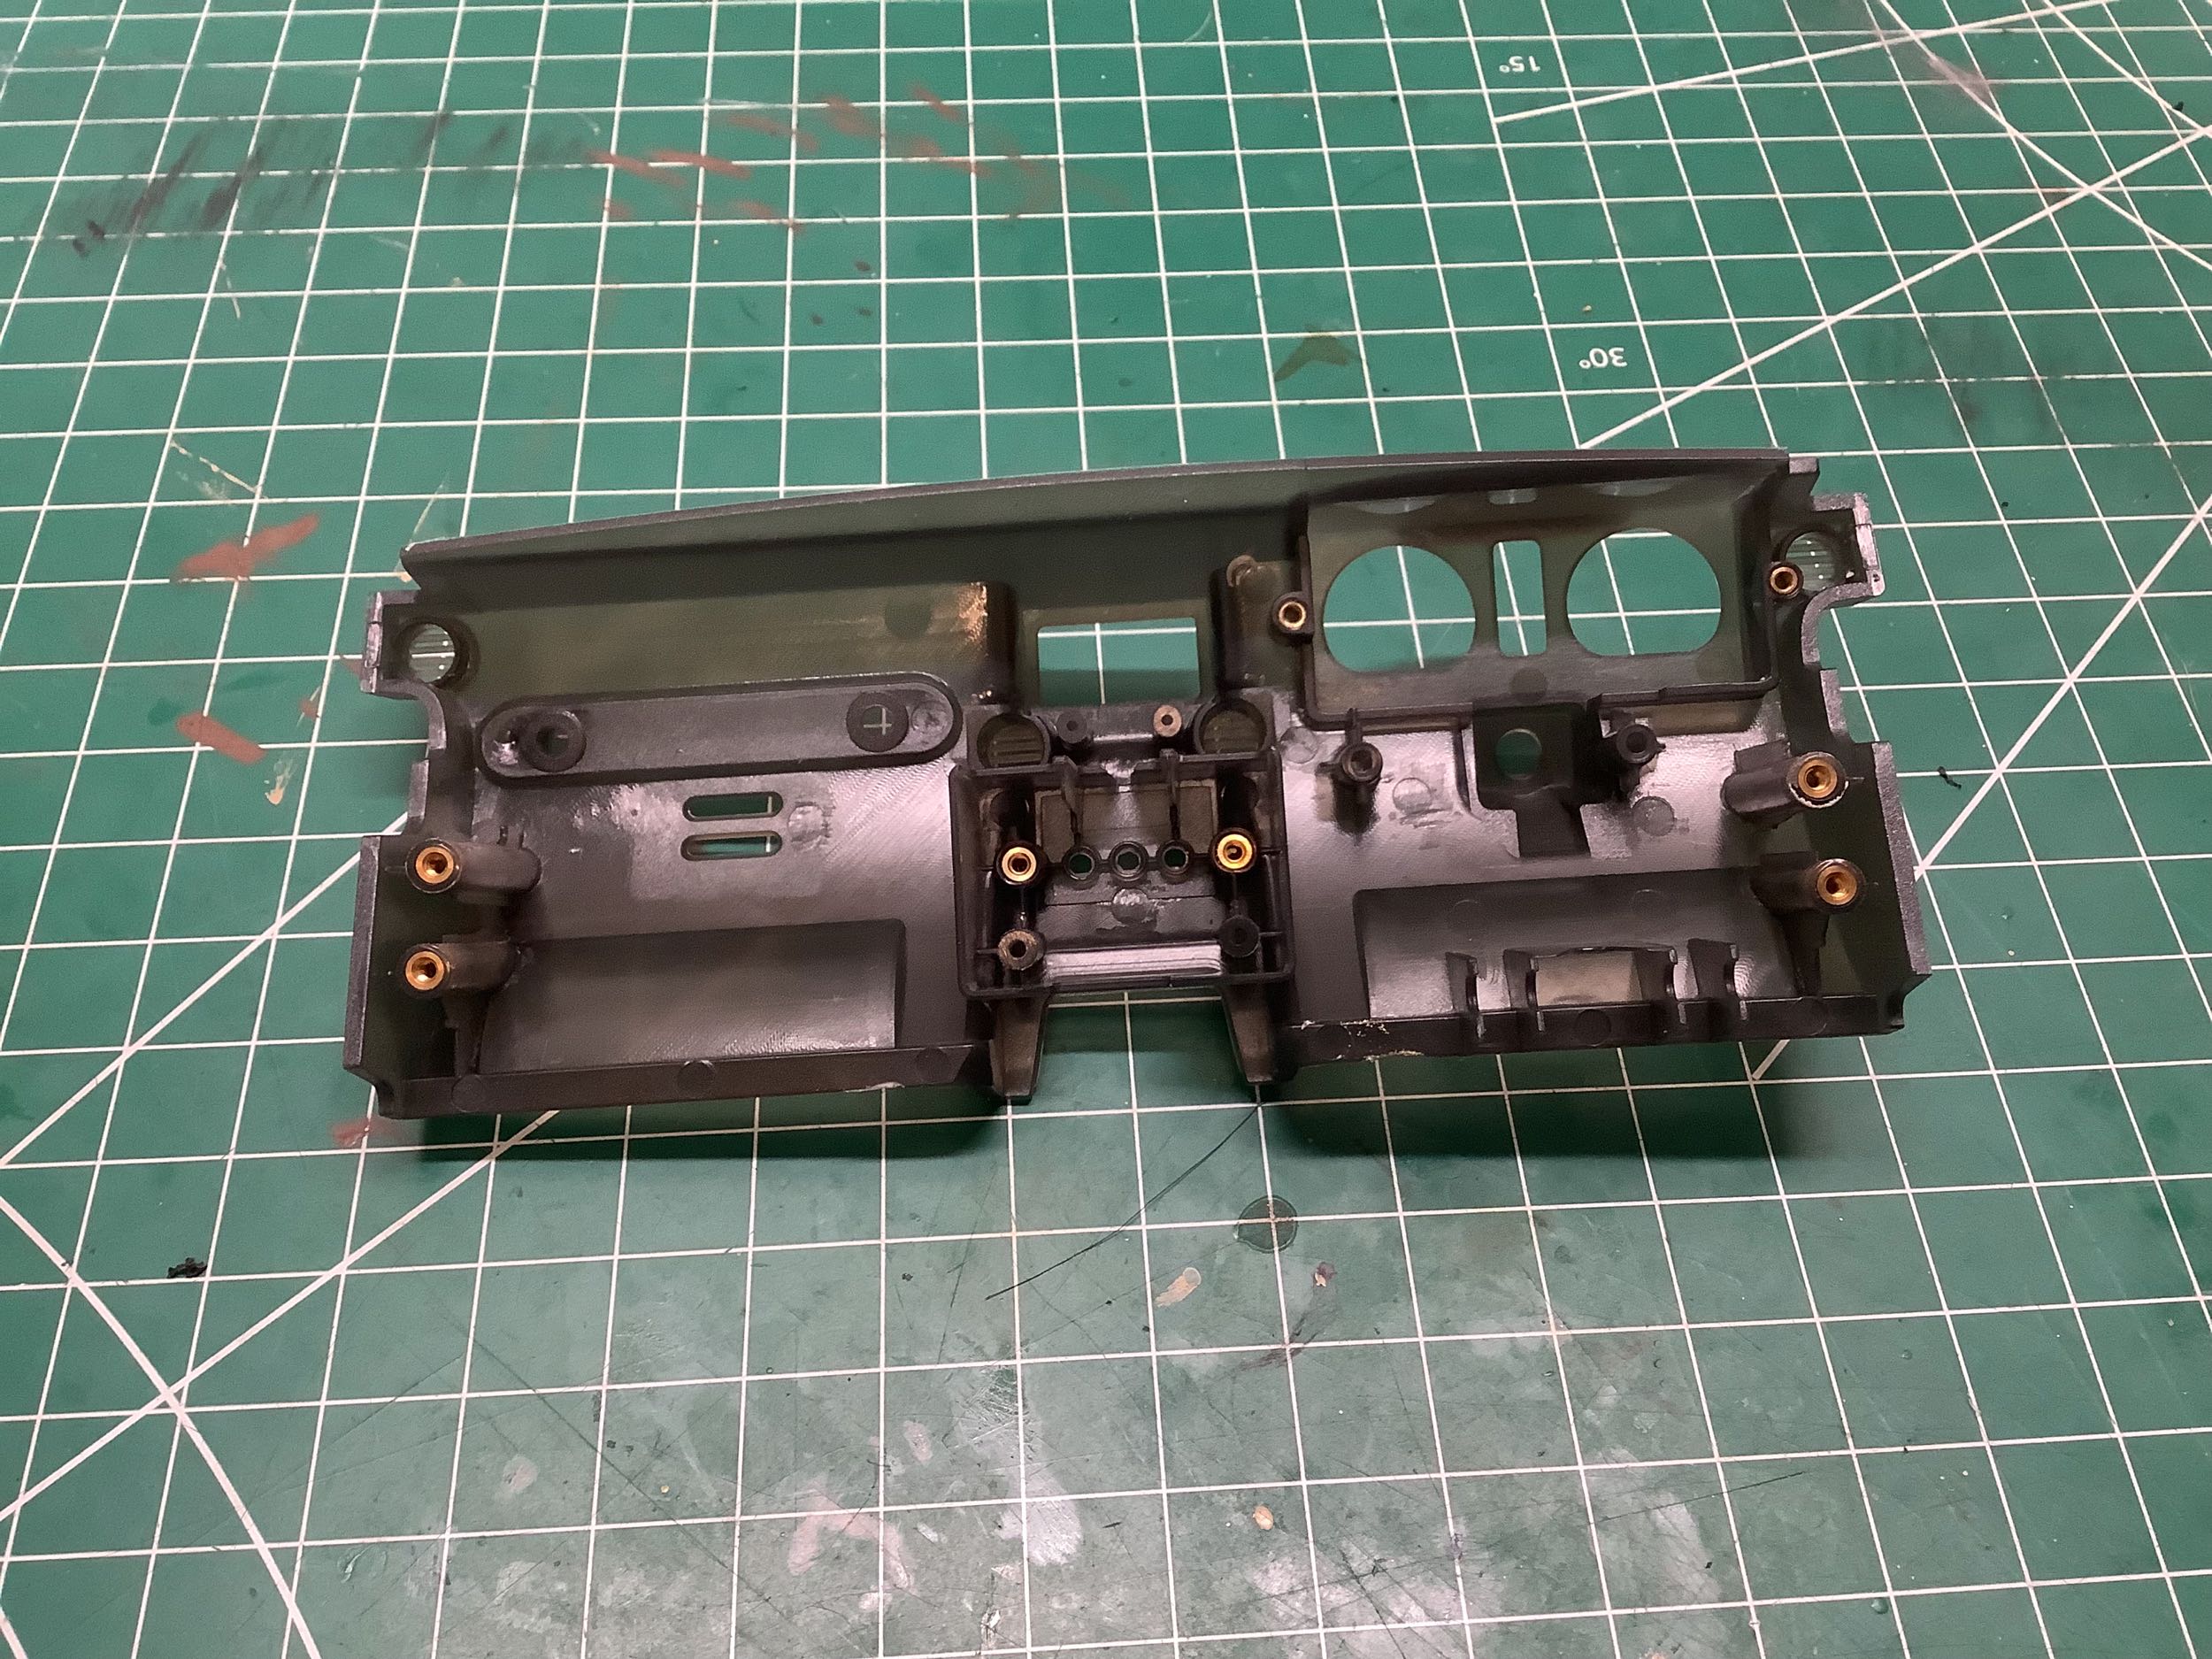
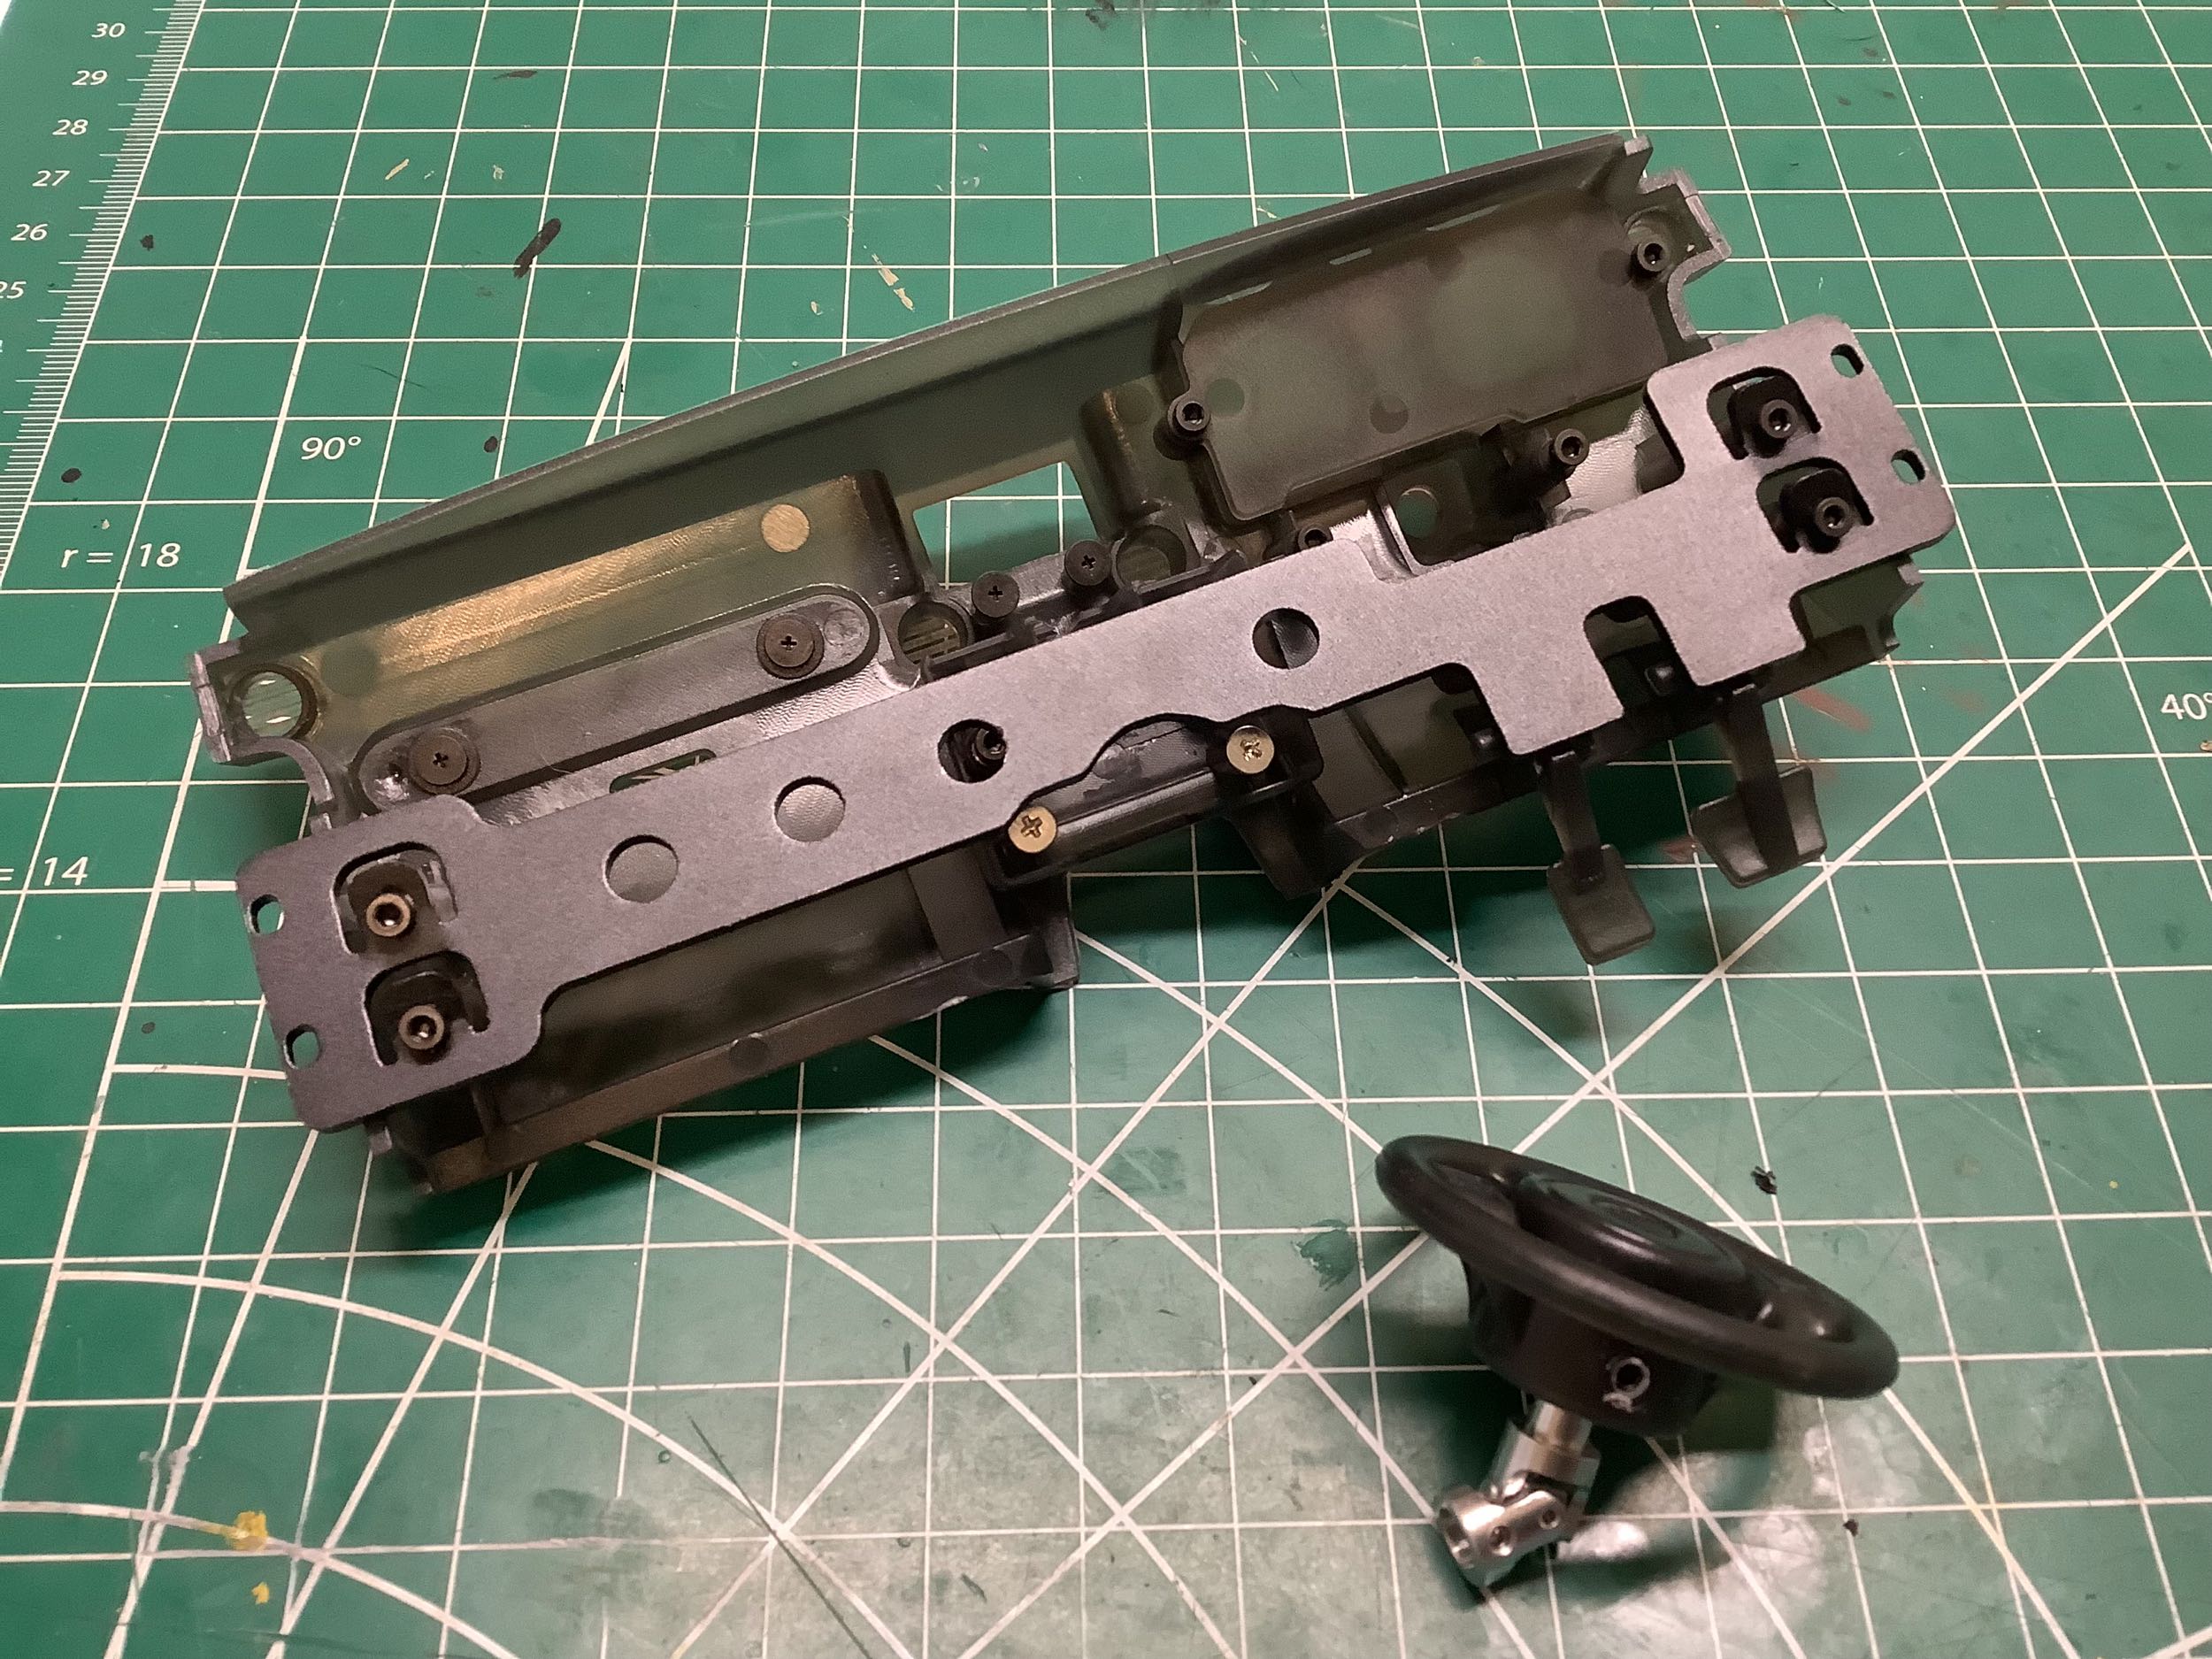
From the back you can see that, like the seats, there are brass threaded
inserts all over this part. These are mostly for attaching
electronic displays which I haven't installed yet. On the right
you can see the mounting bracket and the steering wheel. The wheel
has an attached universal joint because it will be connected to a micro
servo and turn with the steering channel.
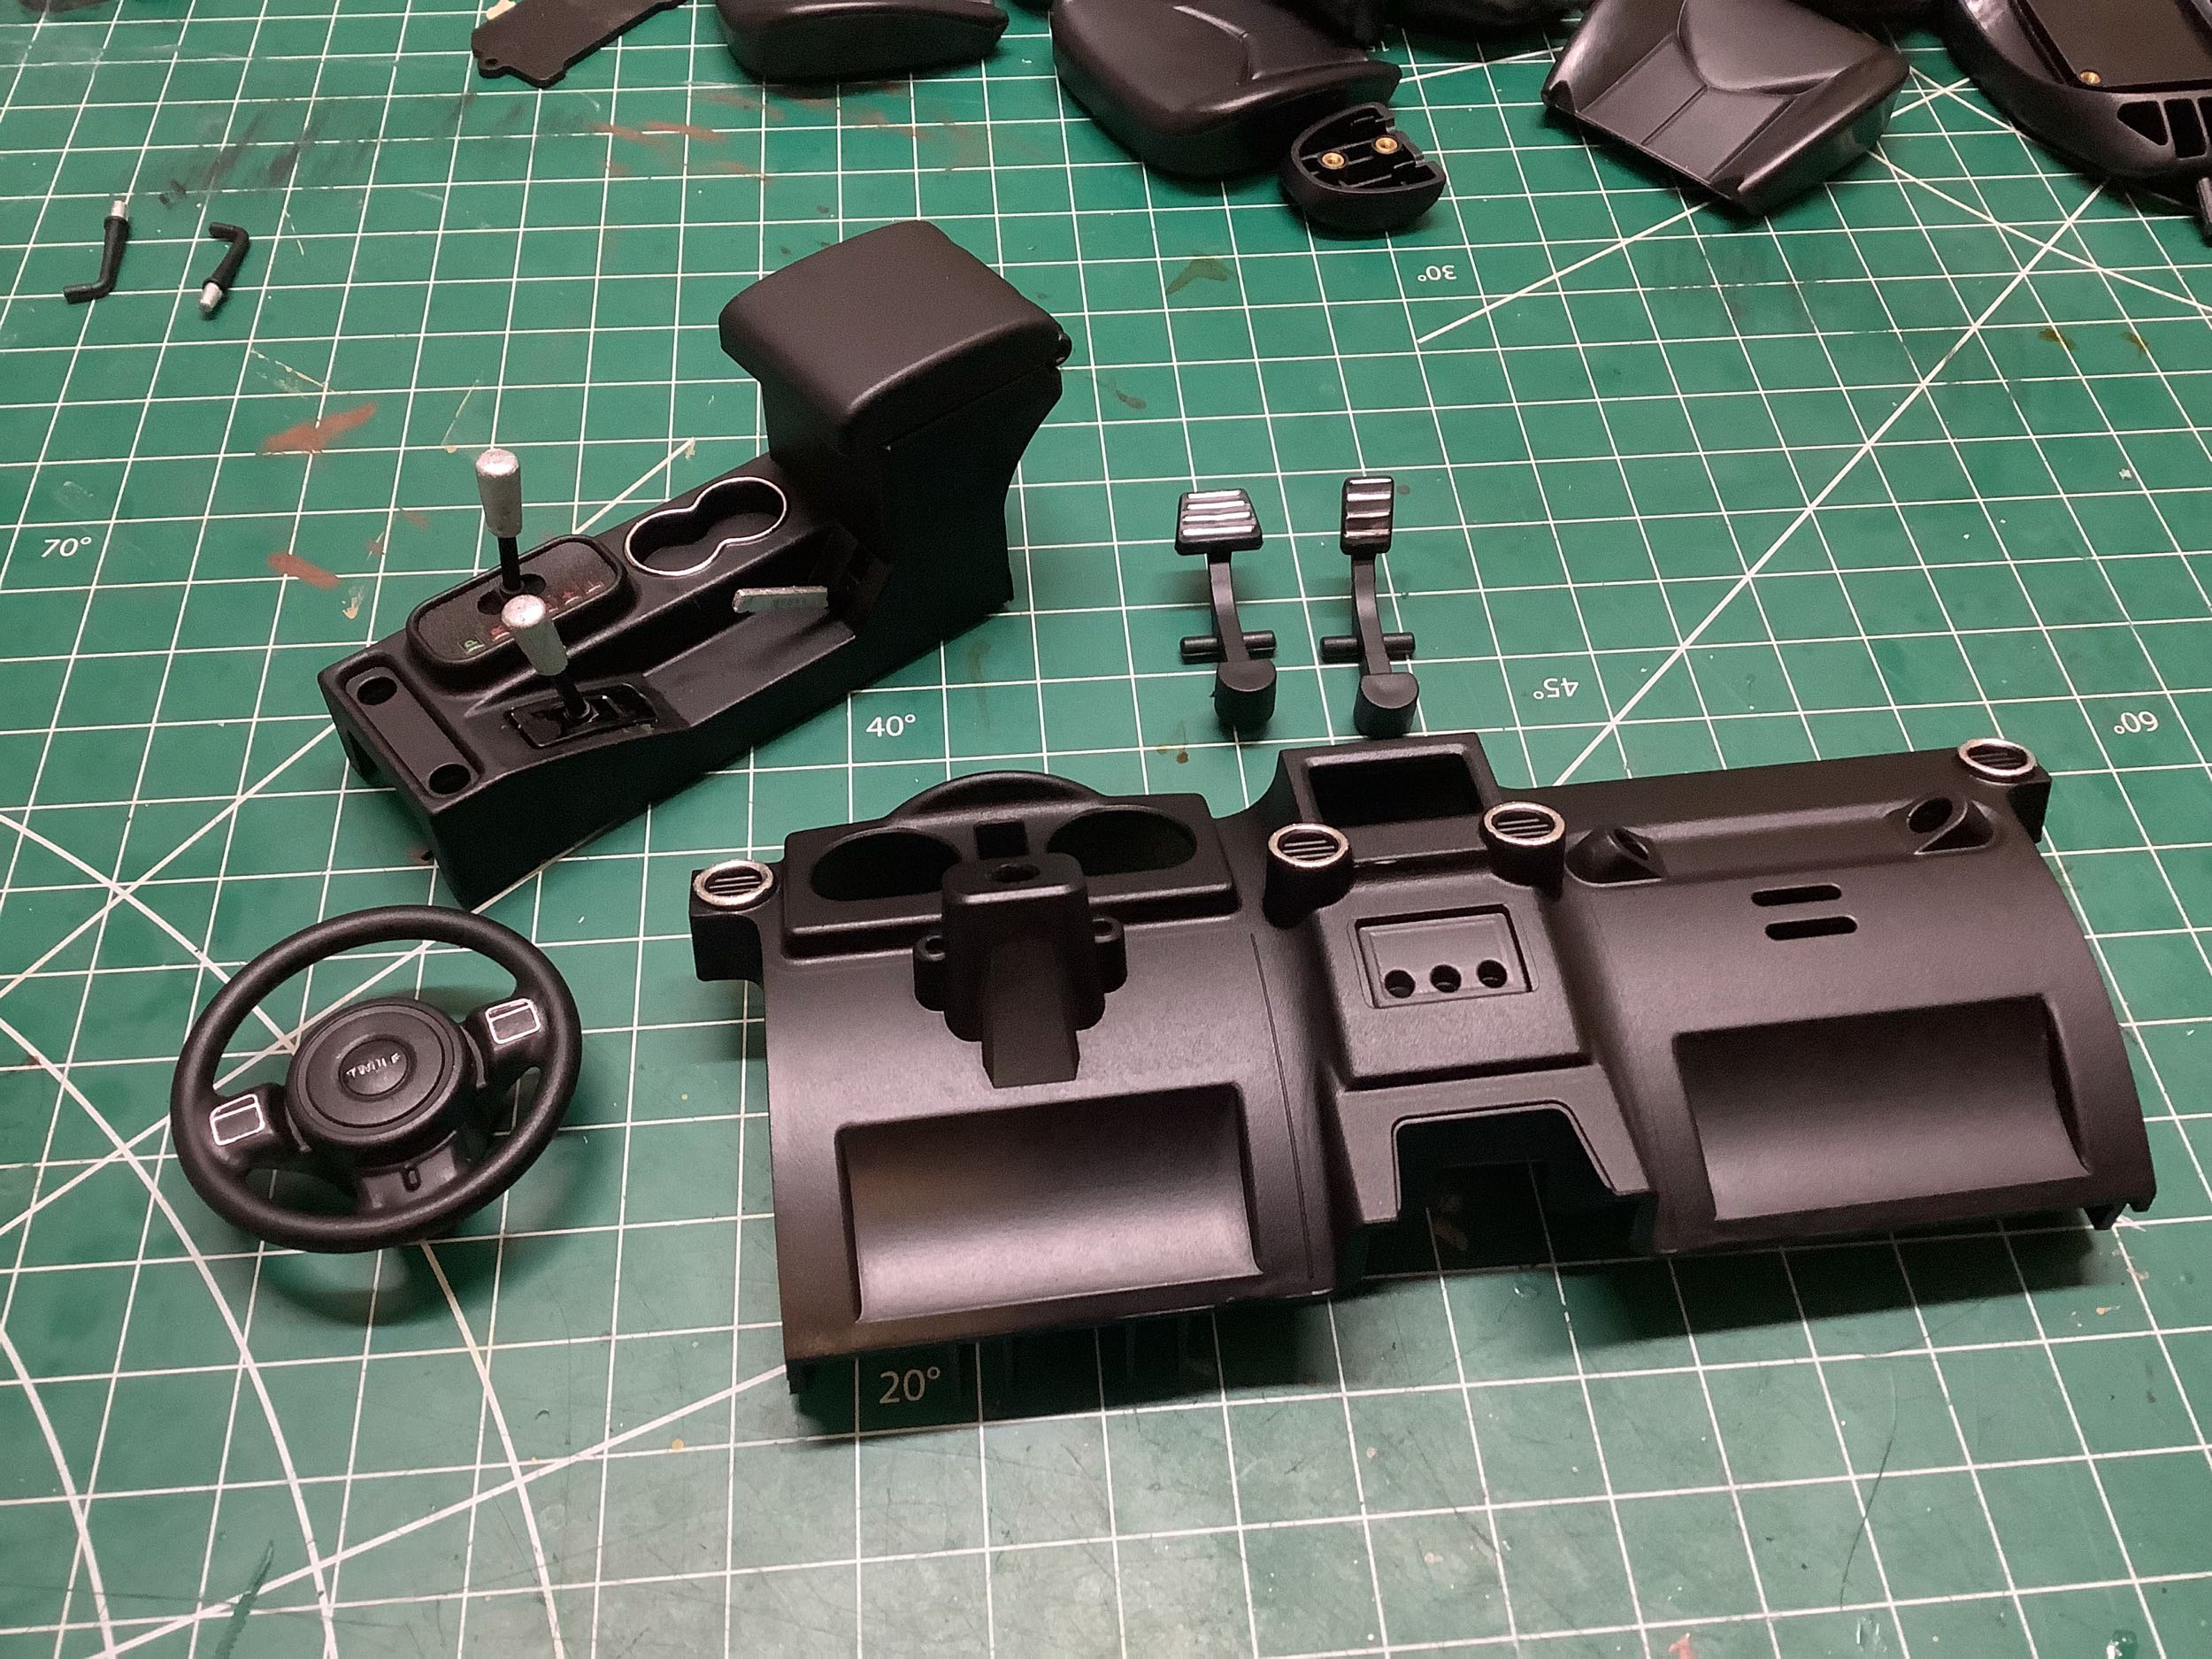
Time to start the painting. On the right you can see that I've
painted the dash and the center console in semi-gloss black and then
highlighted the details with a chrome paint pen. The text on the
steering wheel was particularly difficult. I had to go back and
touch up the dash quite a few times because the light from the
instrument panels bleeds through in several places which looks
bad. I ended up painting in several coats from both the back and
the front until it was totally opaque to light. Looks great
now. I didn't want a plain black interior even though the real
truck uses one because it hides most of the detail at this scale.
Most colors would clash with the exterior color so I settled on a light
gray highlight color which I used on the seats and portions of the door
cards. I think it looks pretty good.
©2022 Eric Albrecht