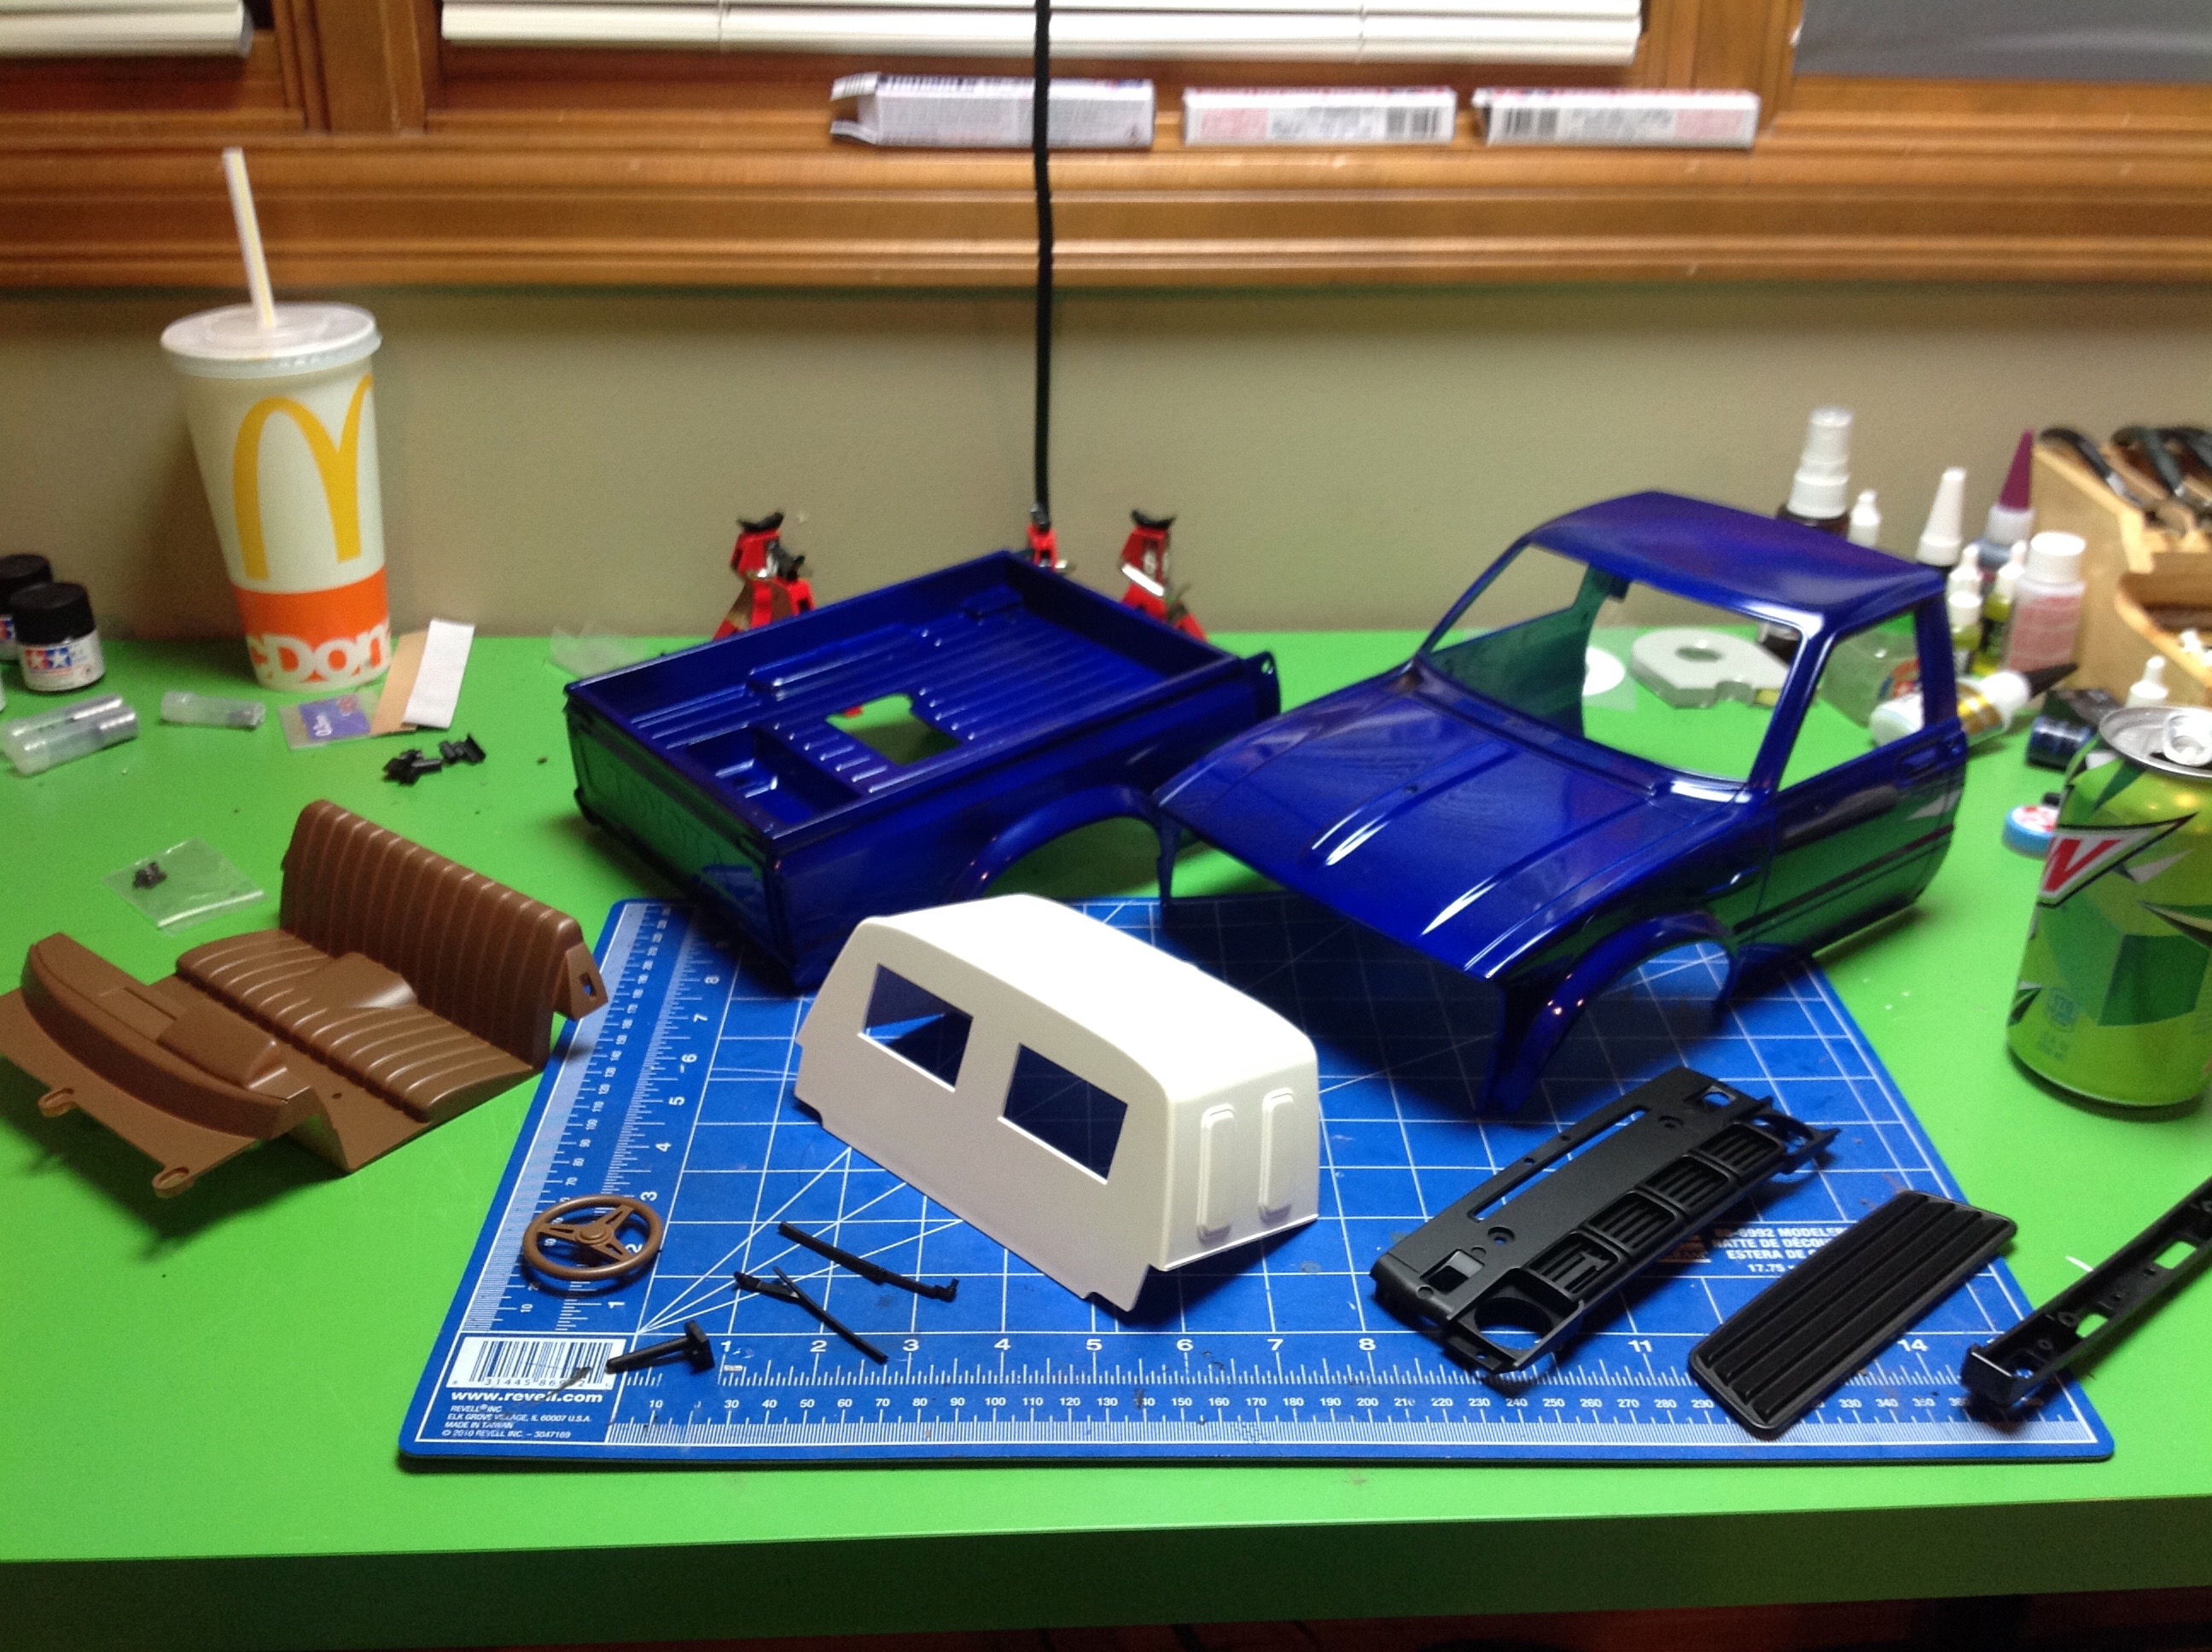
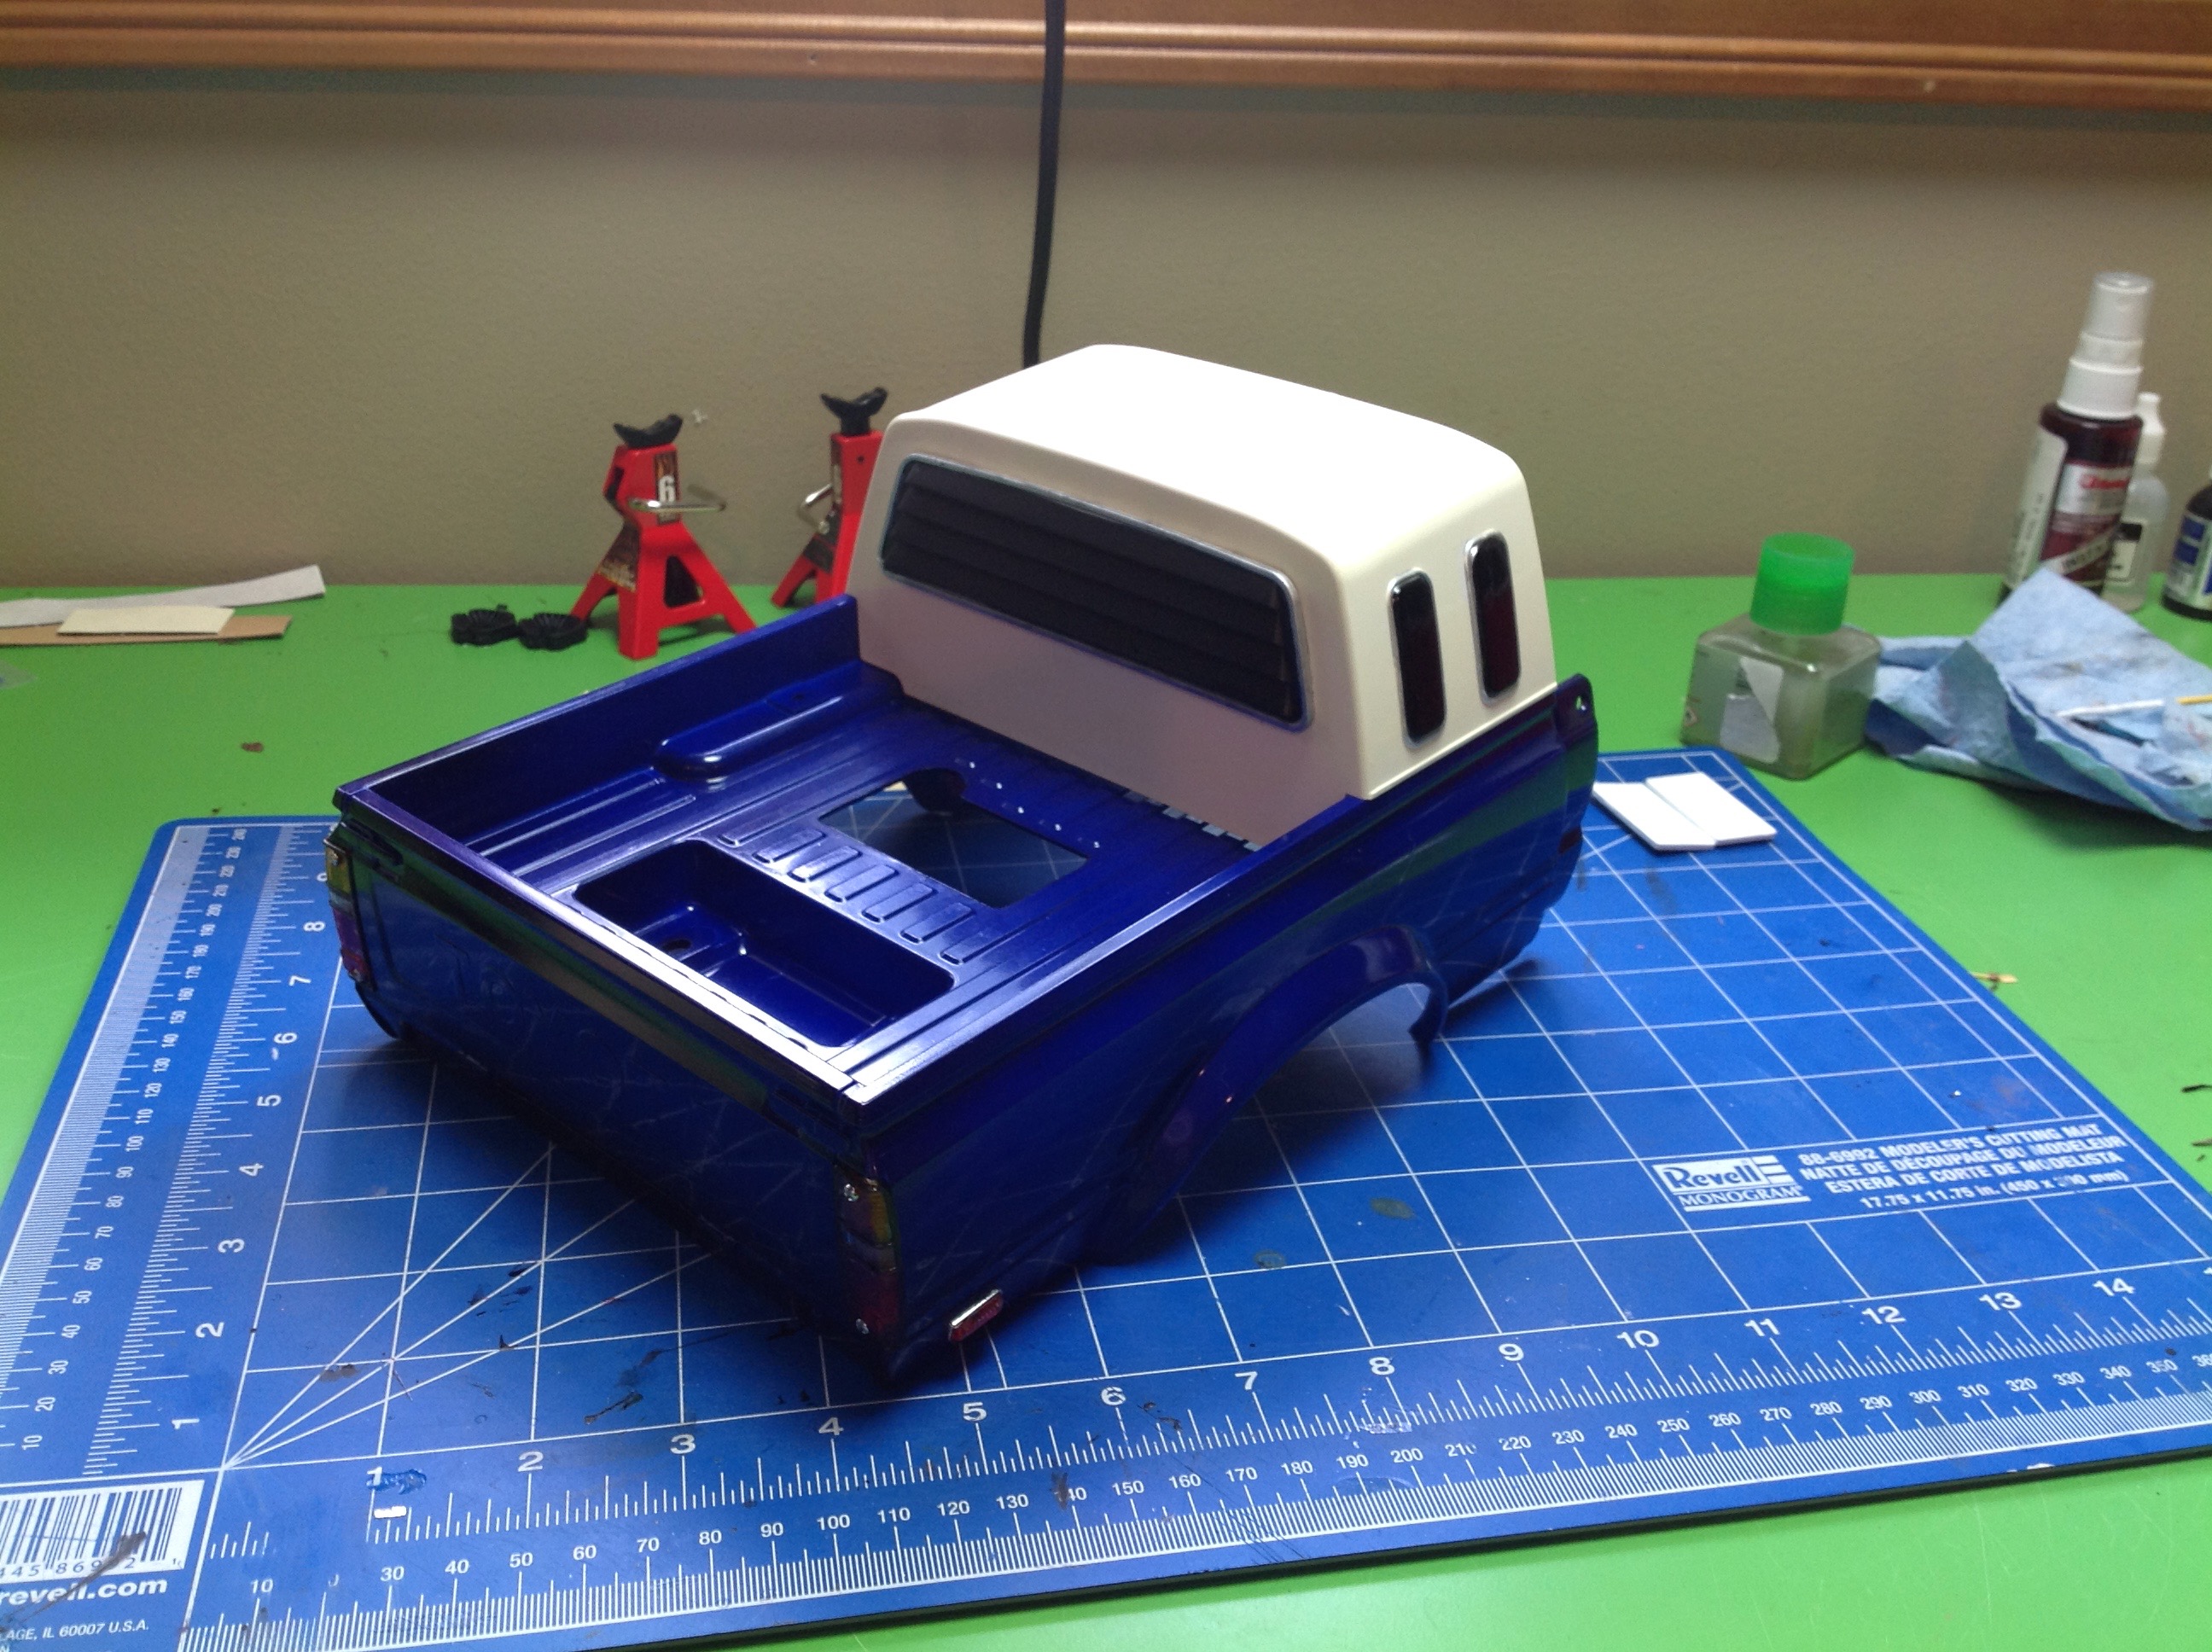
The body consists of two primary pieces: the cabin and the bed.
But there are also several other large parts including the sleeper, the
seats, and the grille. All the main parts come molded in white so
everything needed to be painted. The instructions call for TS-15
Blue, but I used TS-53 Deep Metallic Blue instead. The sleeper is
TS-7 Racing White, and the interior is TS-1 Red Brown. All
of the black bits are TS-29 Semi Gloss Black. At this point
everything has just been sprayed.
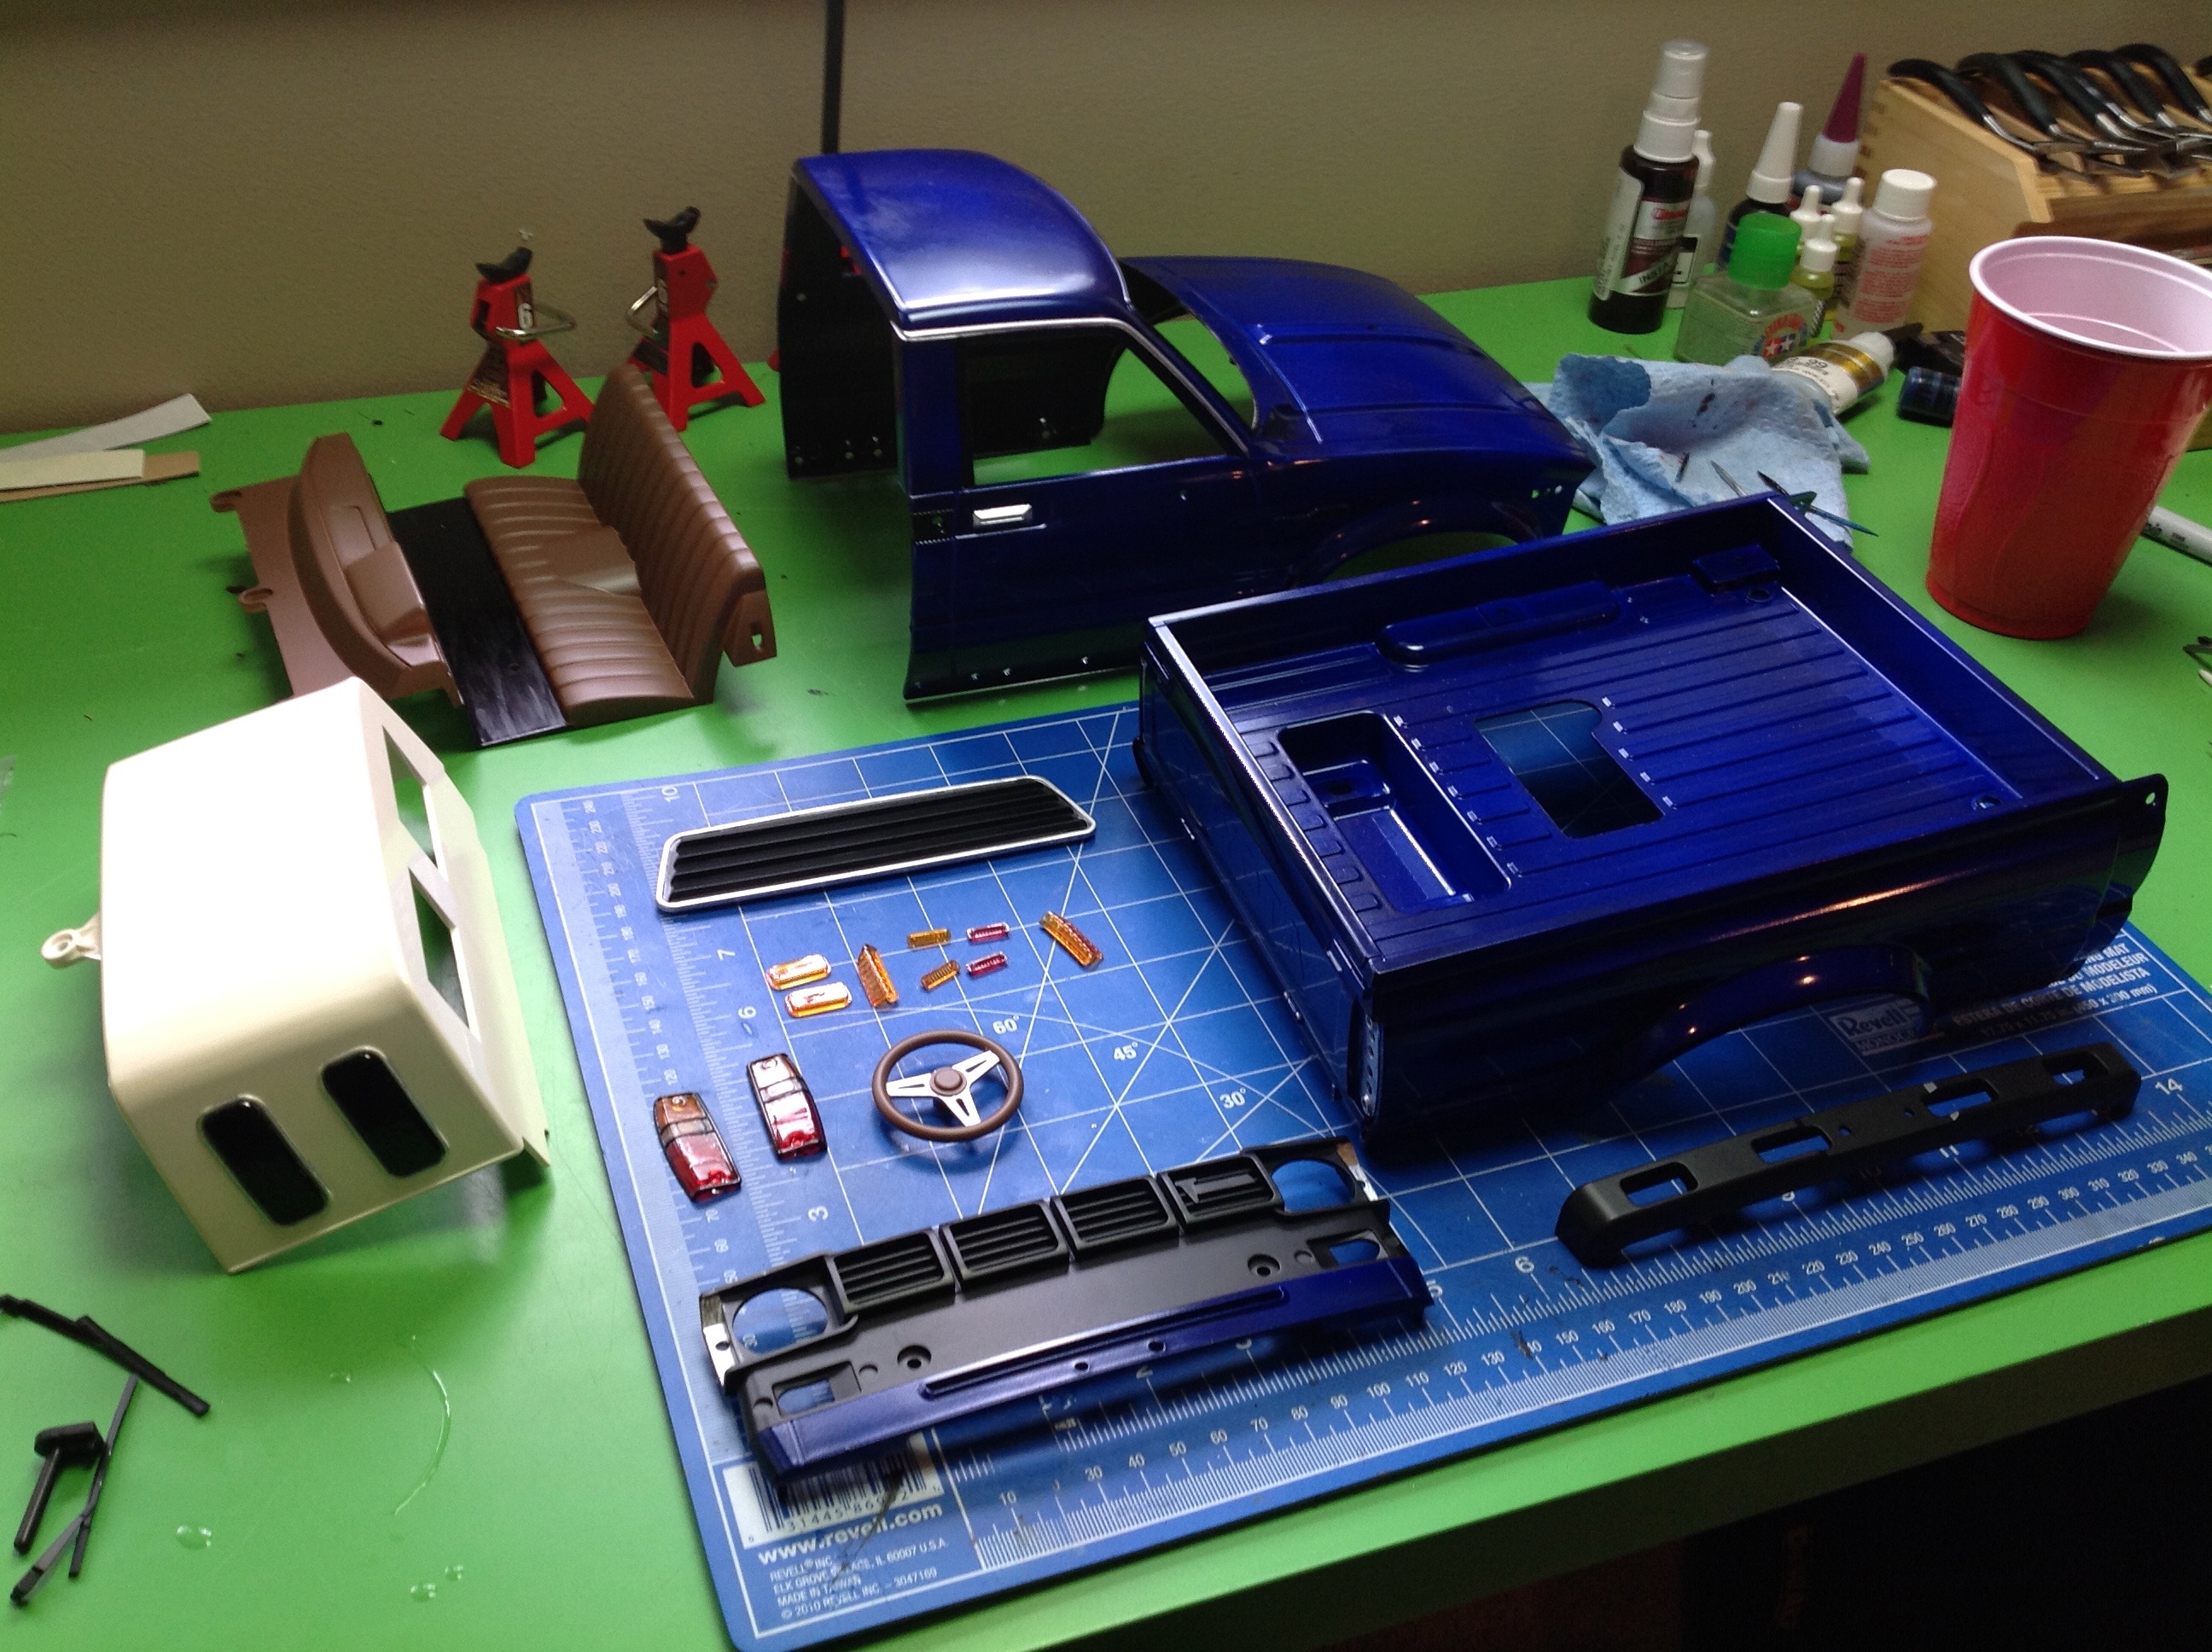
Time for some more detail painting. The sleeper needs black
windows and the interior needs a black floor. Silver trim is
needed around all the windows, behind the marker lights, and on the door
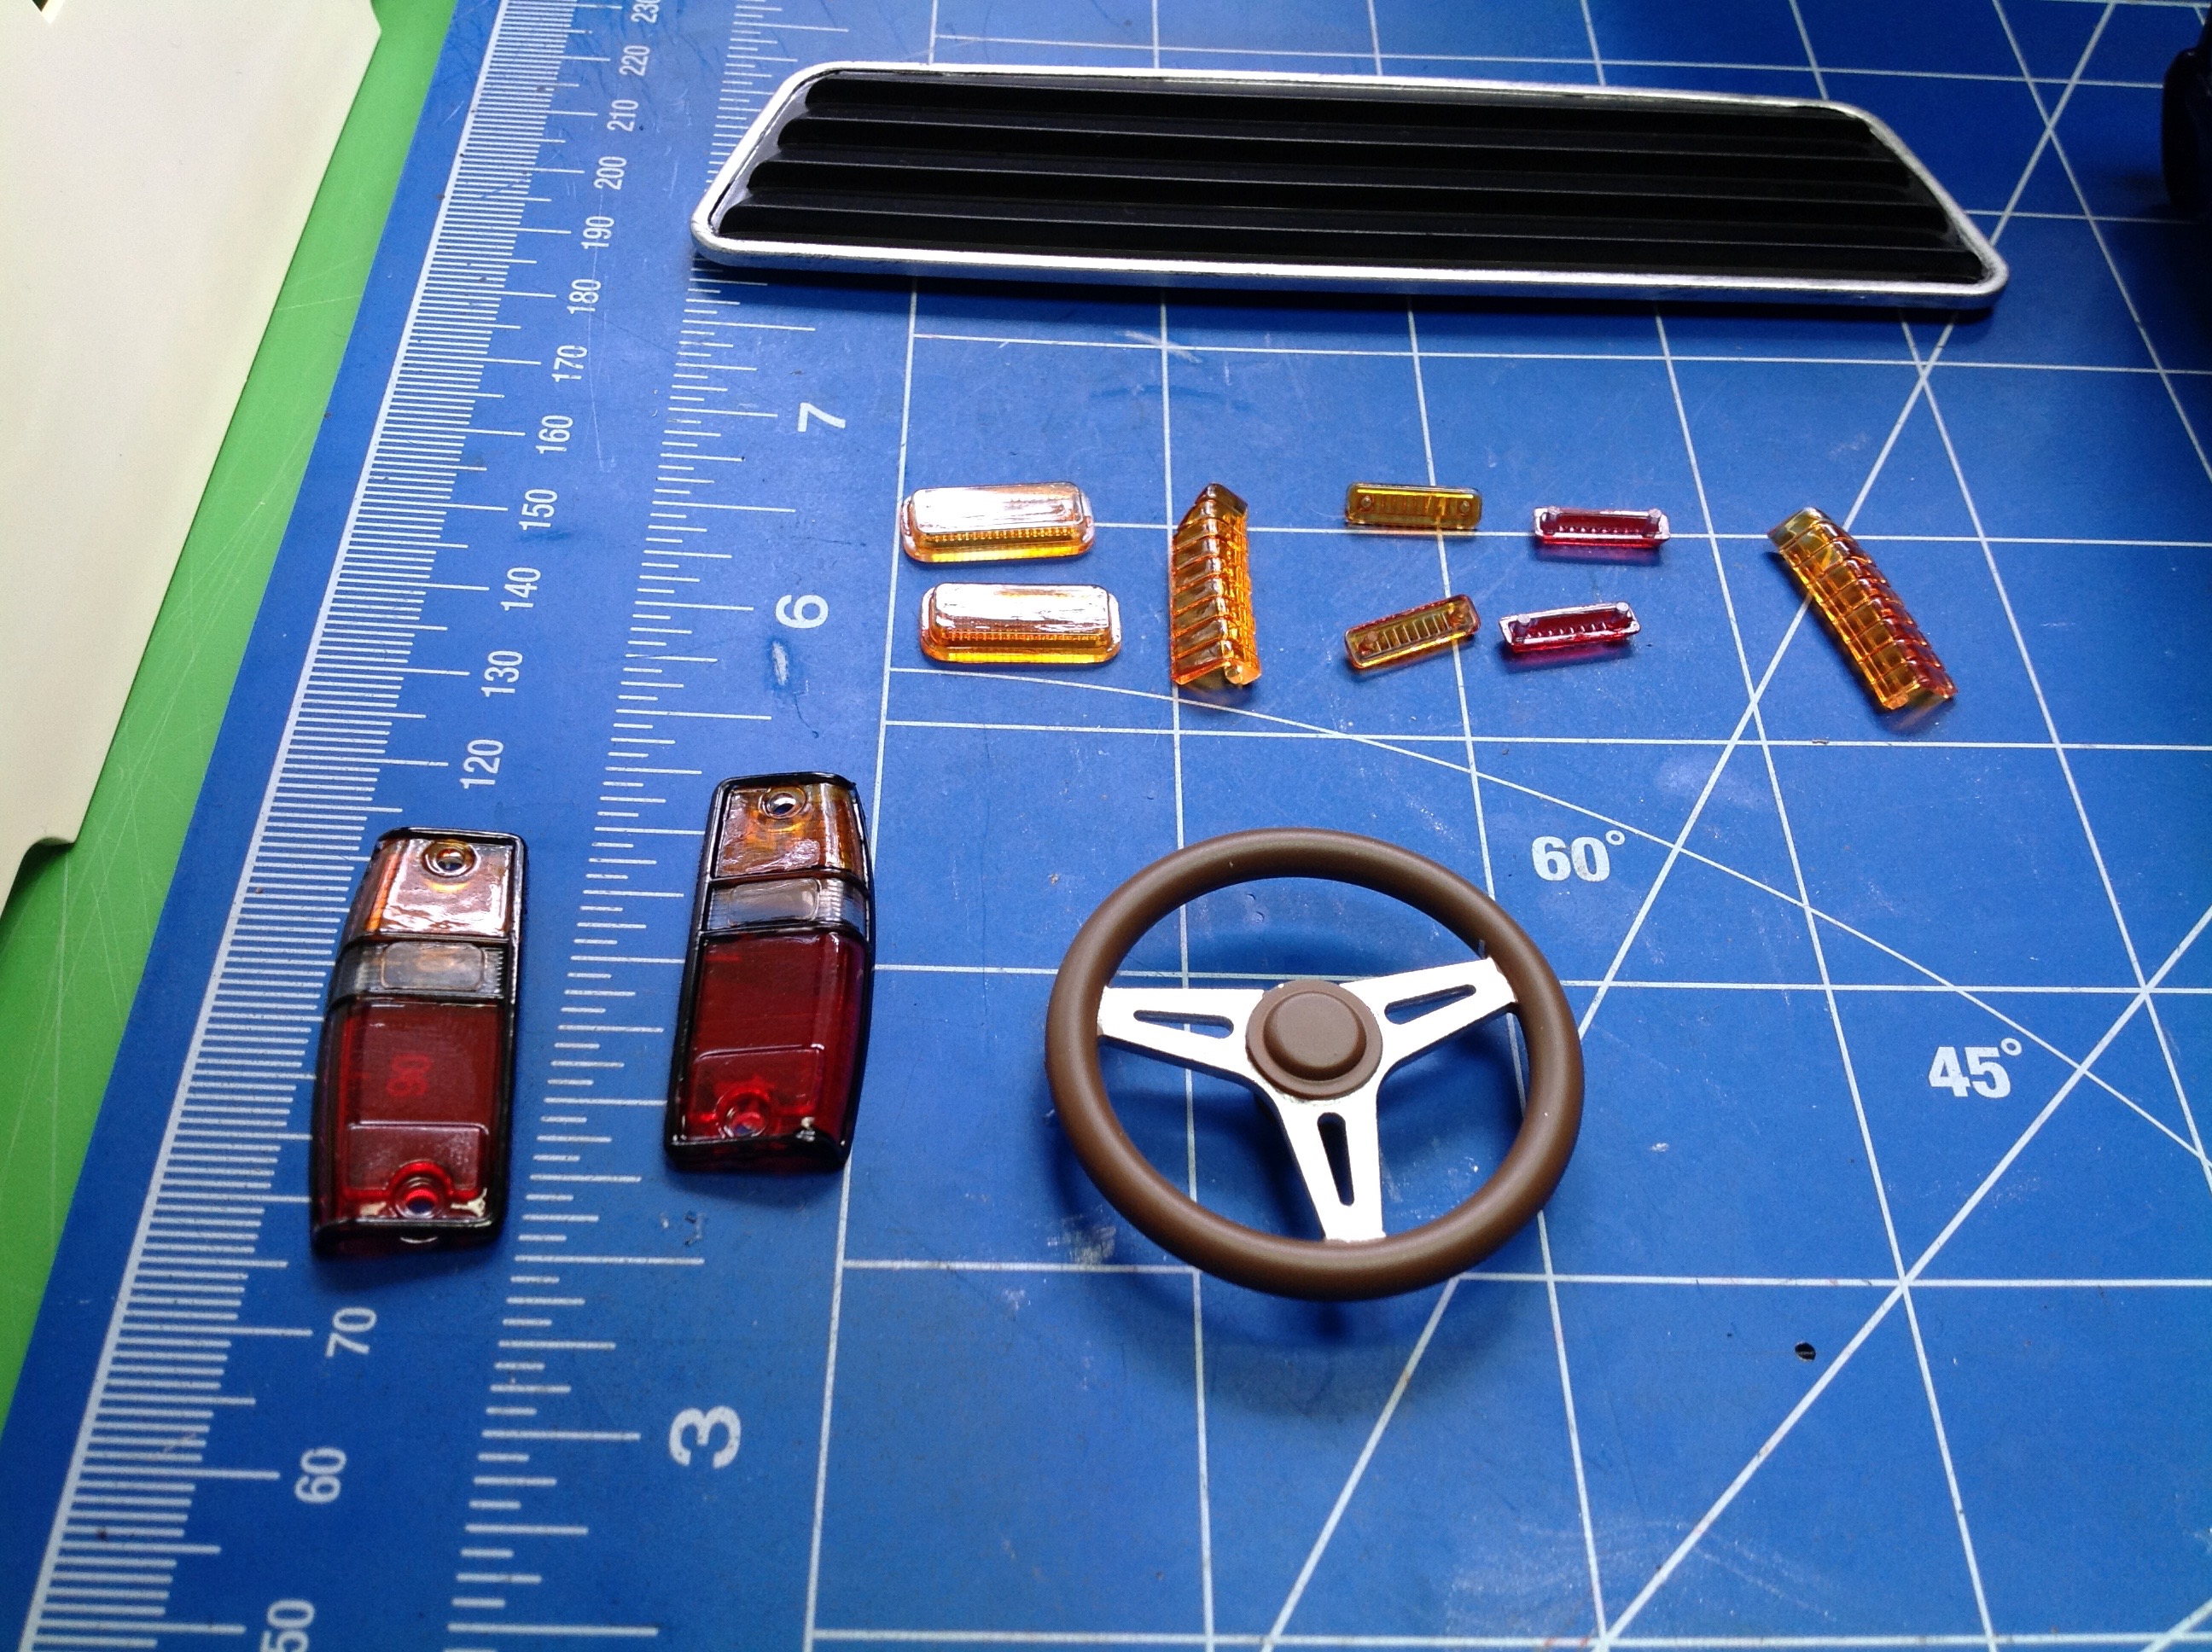
handles. All of the lenses came in transparent clear, so trans
red and trans orange were needed to tint them. You can see the
fine detail work that was needed on the tail light lenses in
particular. All of this was done with a fine brush. When I
was done with the detail work, I also painted the entirety of the inside
of the body black. Since some of the underside may be visible
when the body is mounted, I wanted it to blend into the chassis.
It worked well, but took a whole bottle of black paint. I did it
with a brush because I couldn't think of a good way to mask it for
spraying.
Step 43 installs a bunch of detailed lighting bits on the body including
the front and rear side markers and the tail light lenses. The
tail lights are screwed on from the outside, and the markers are screwed
from the inside. I was glad to have mechanical connections and
not to have to use much glue here which can screw up the paint.
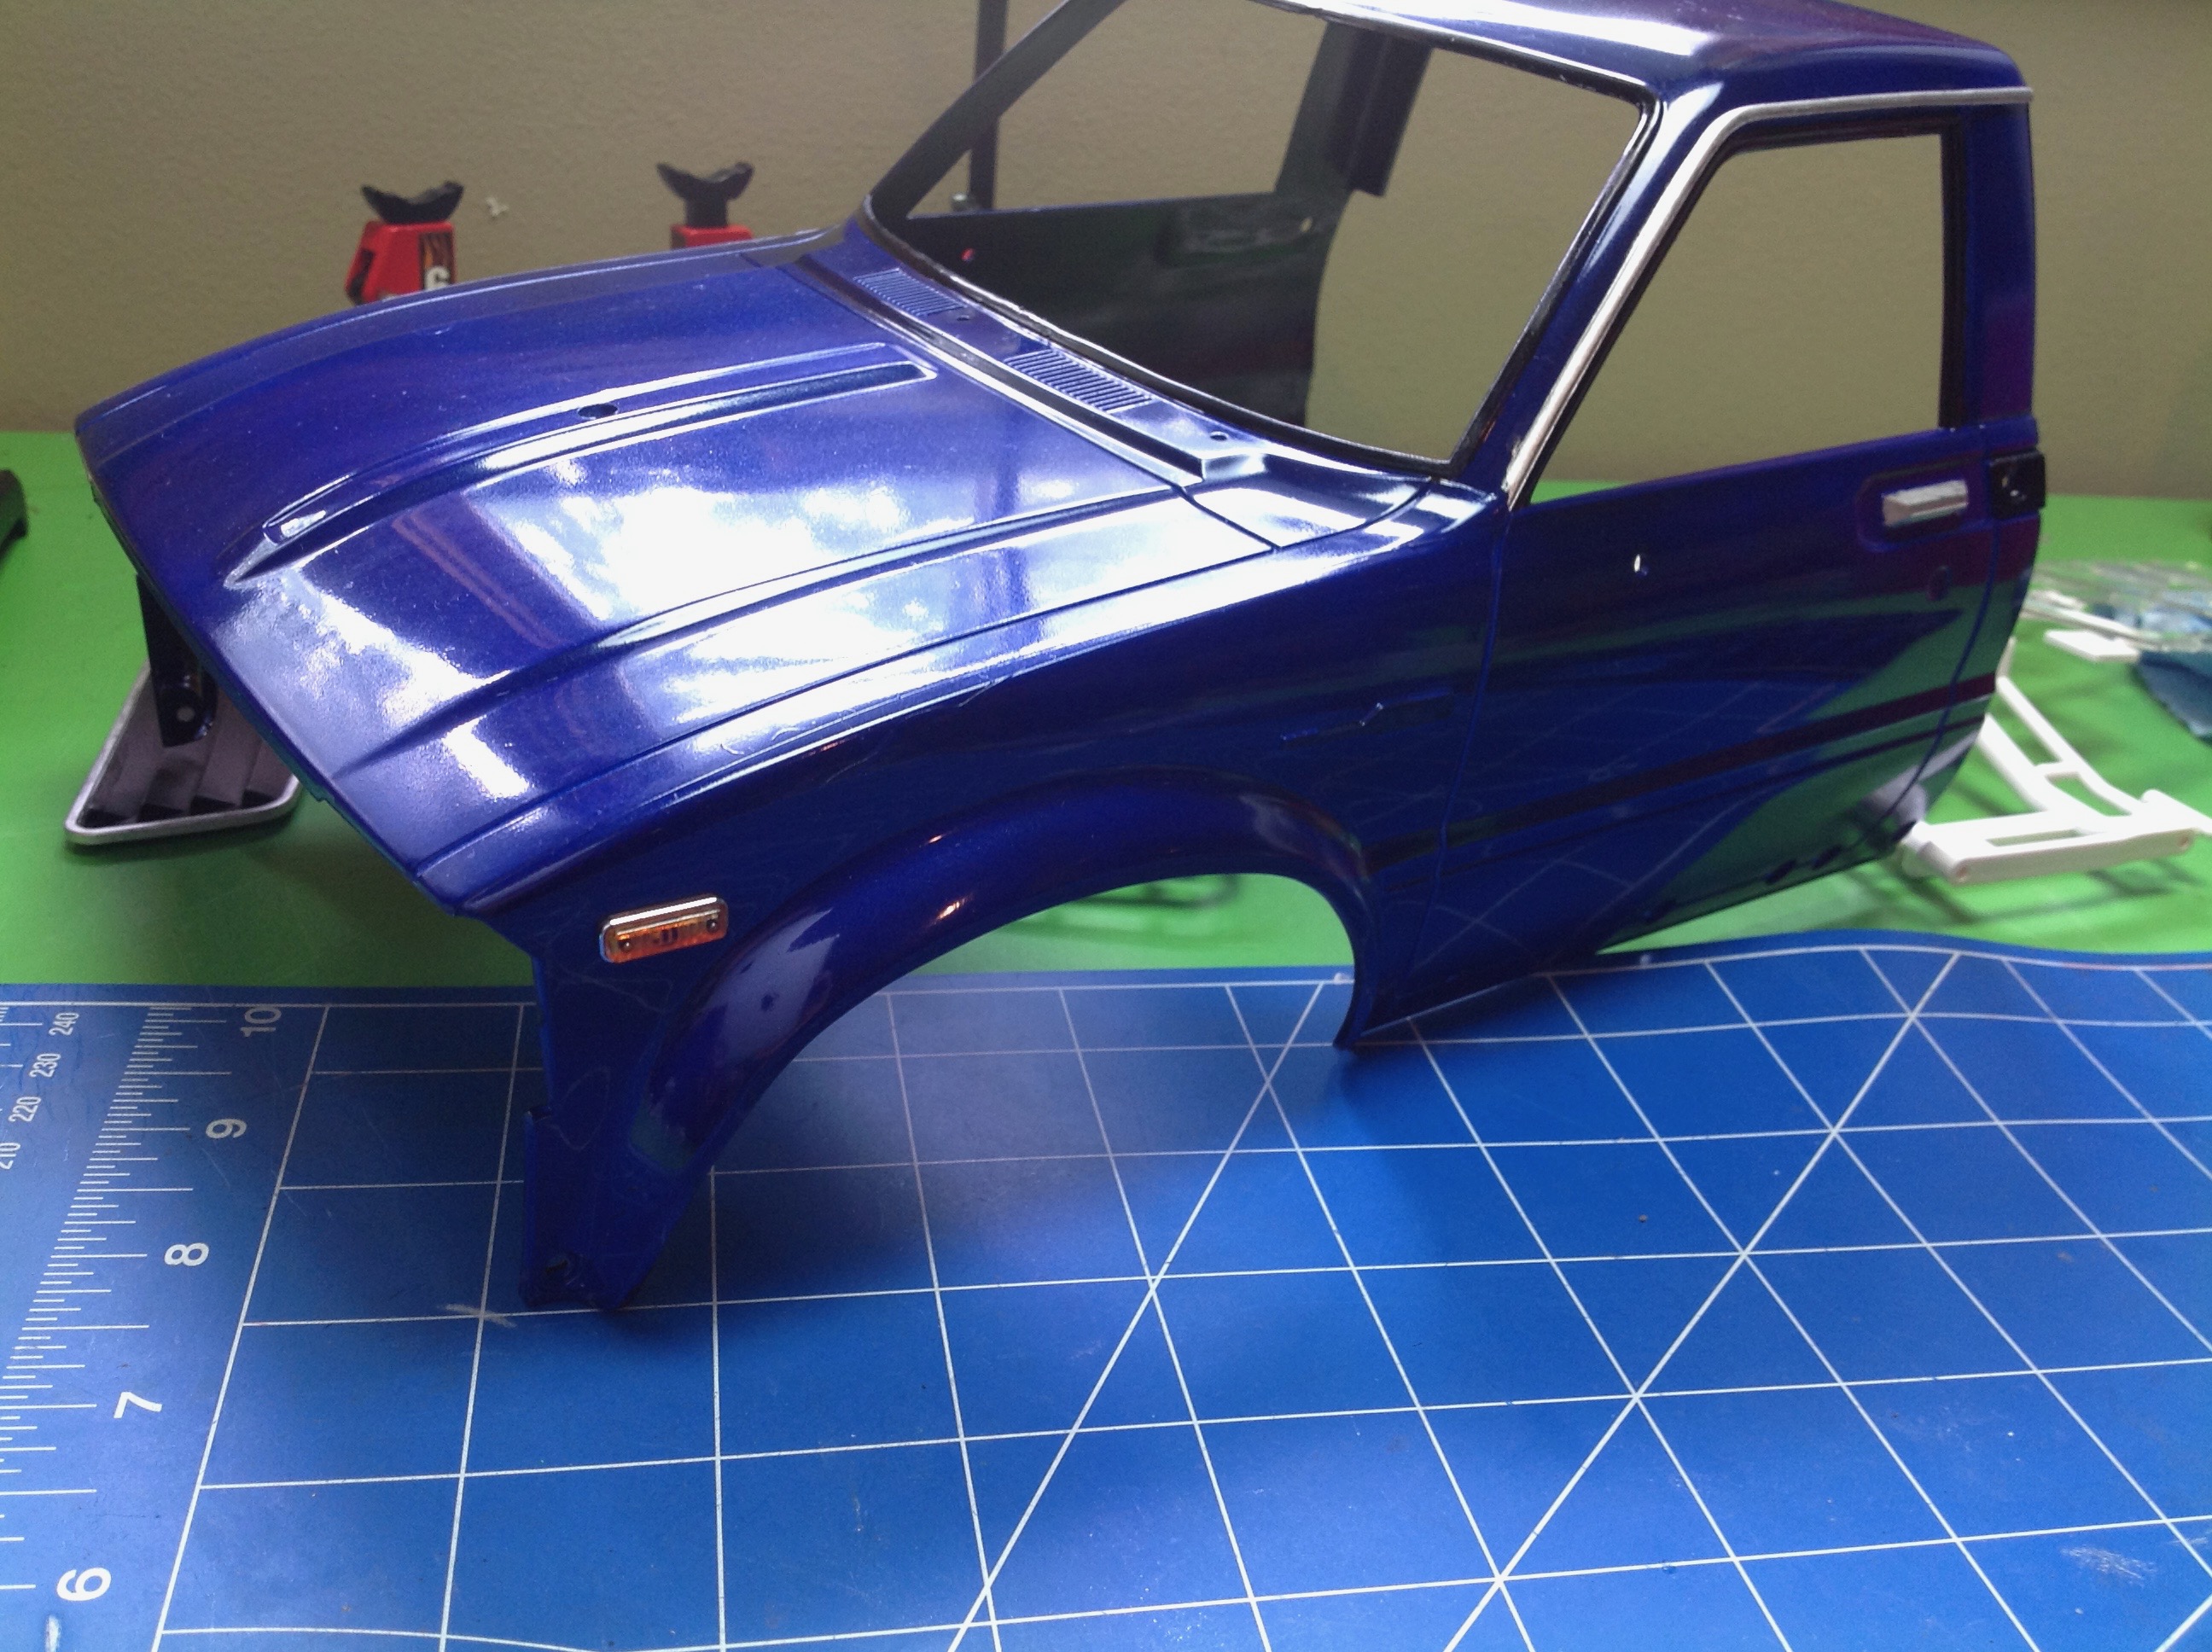
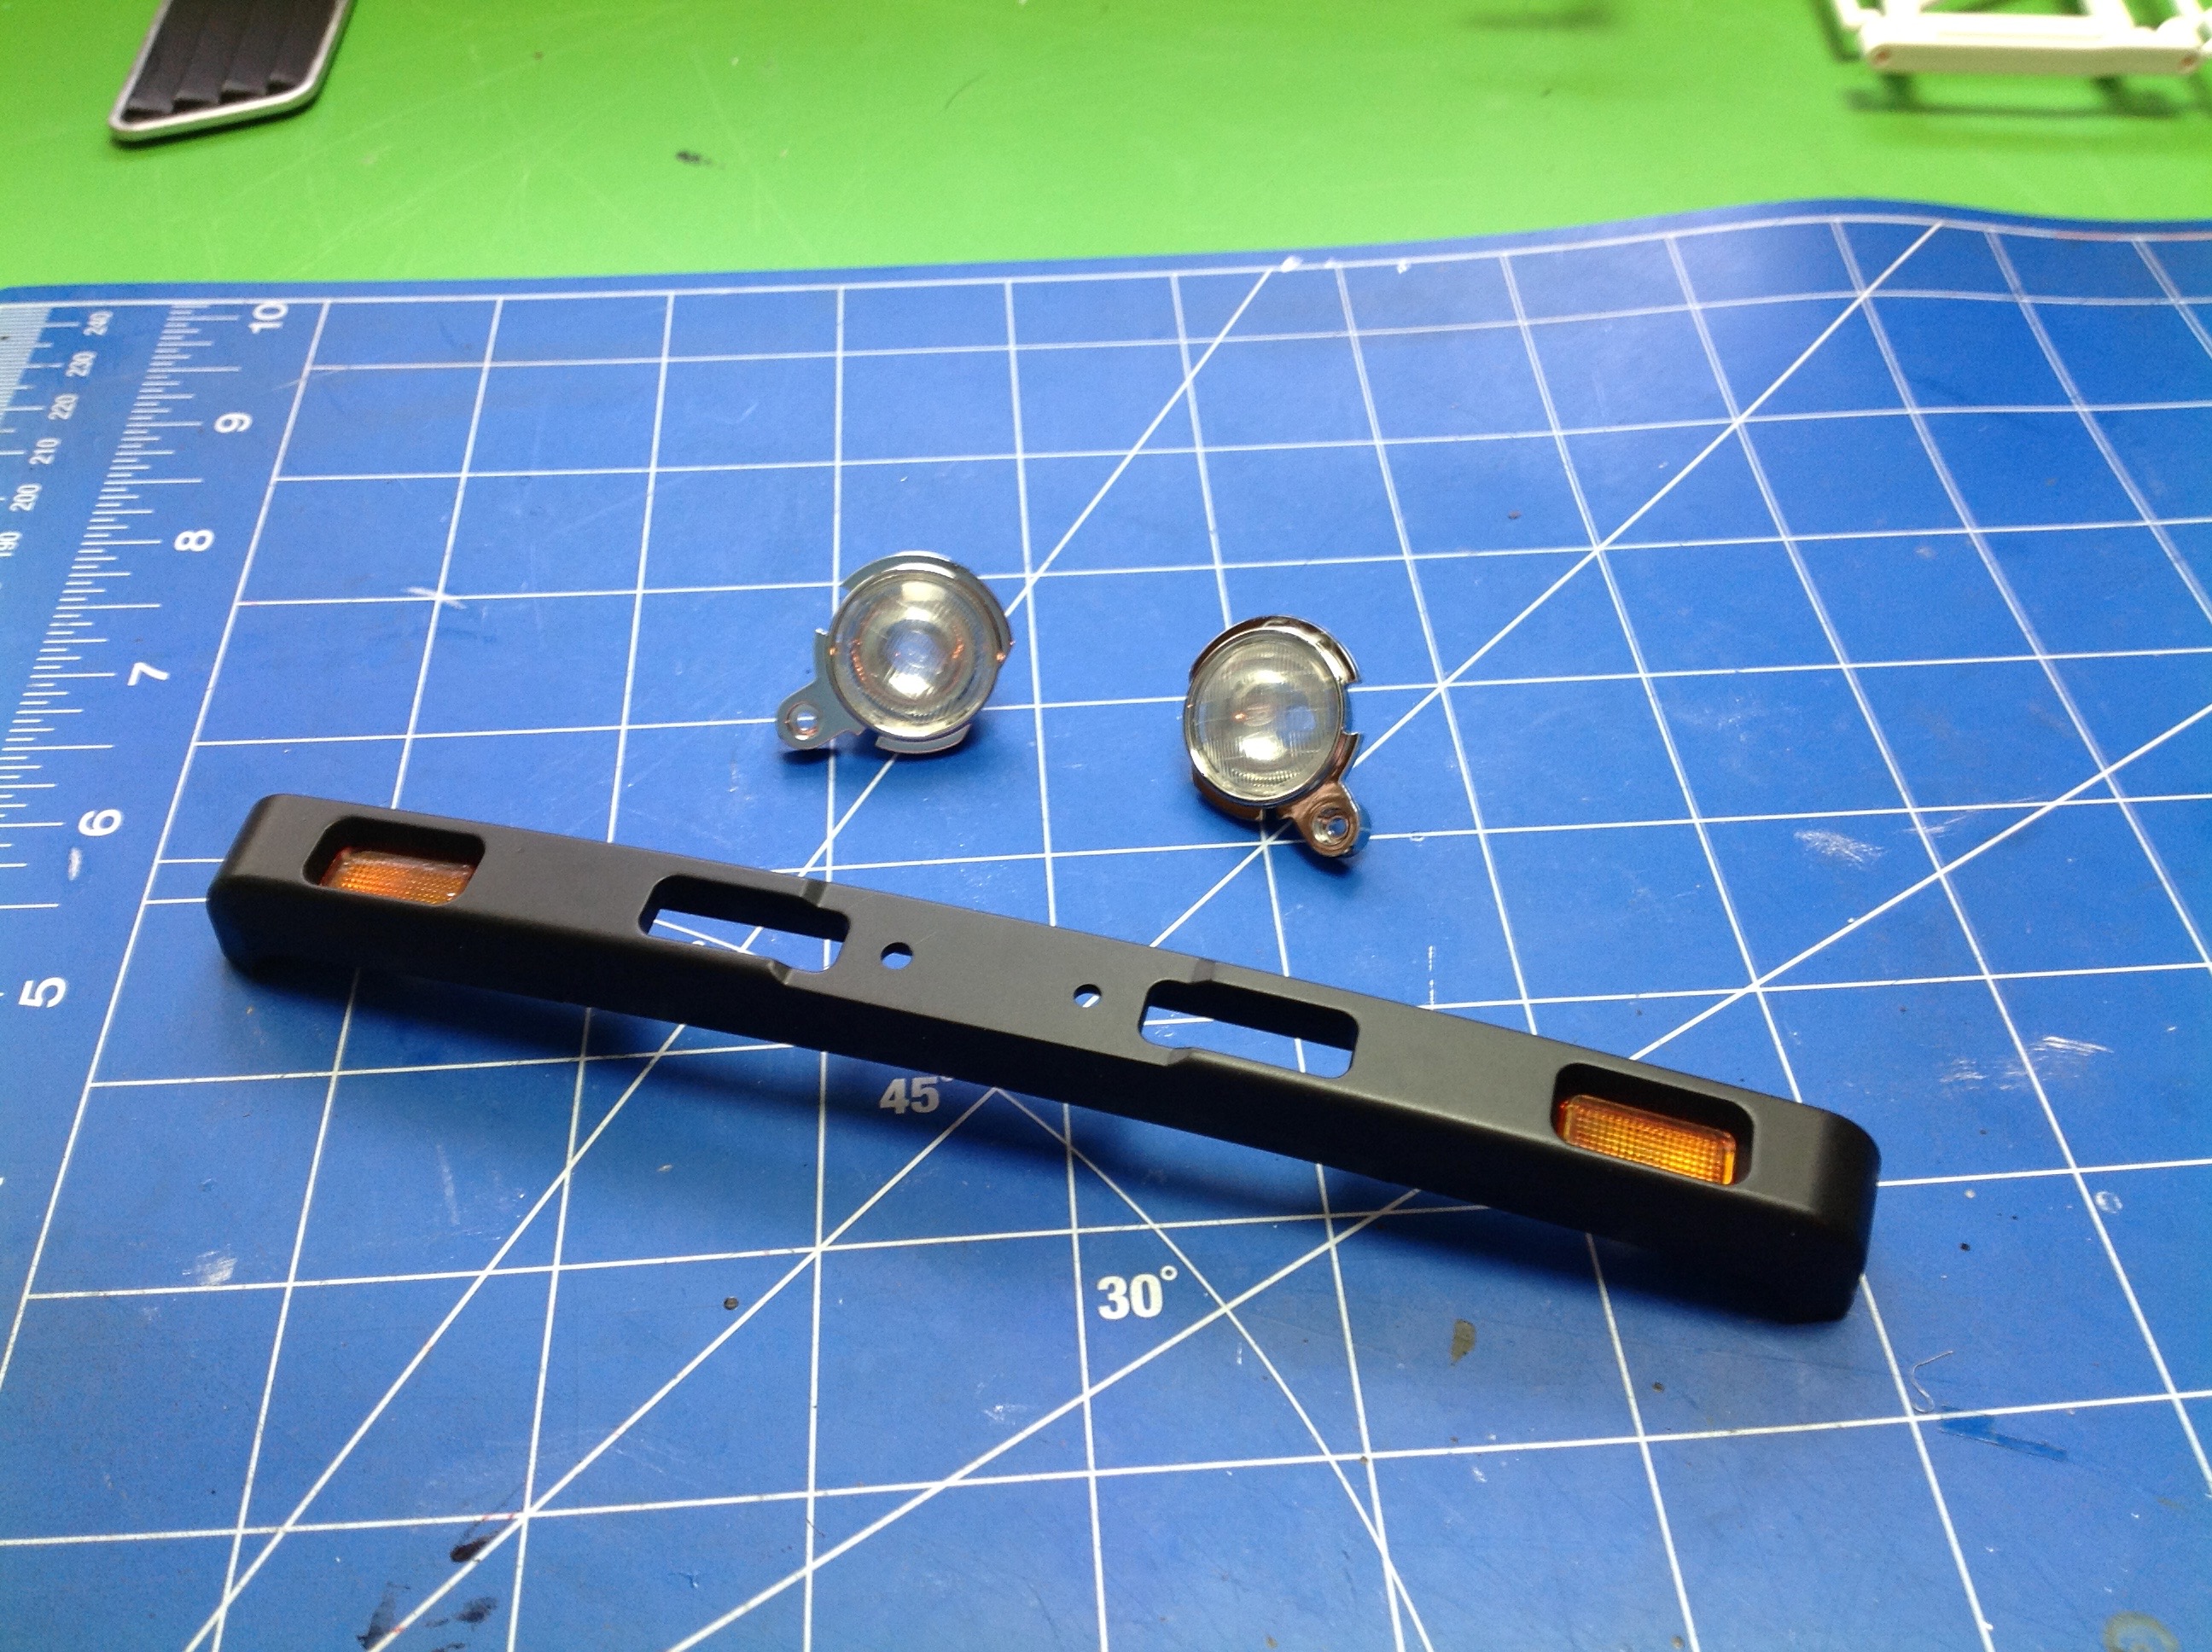
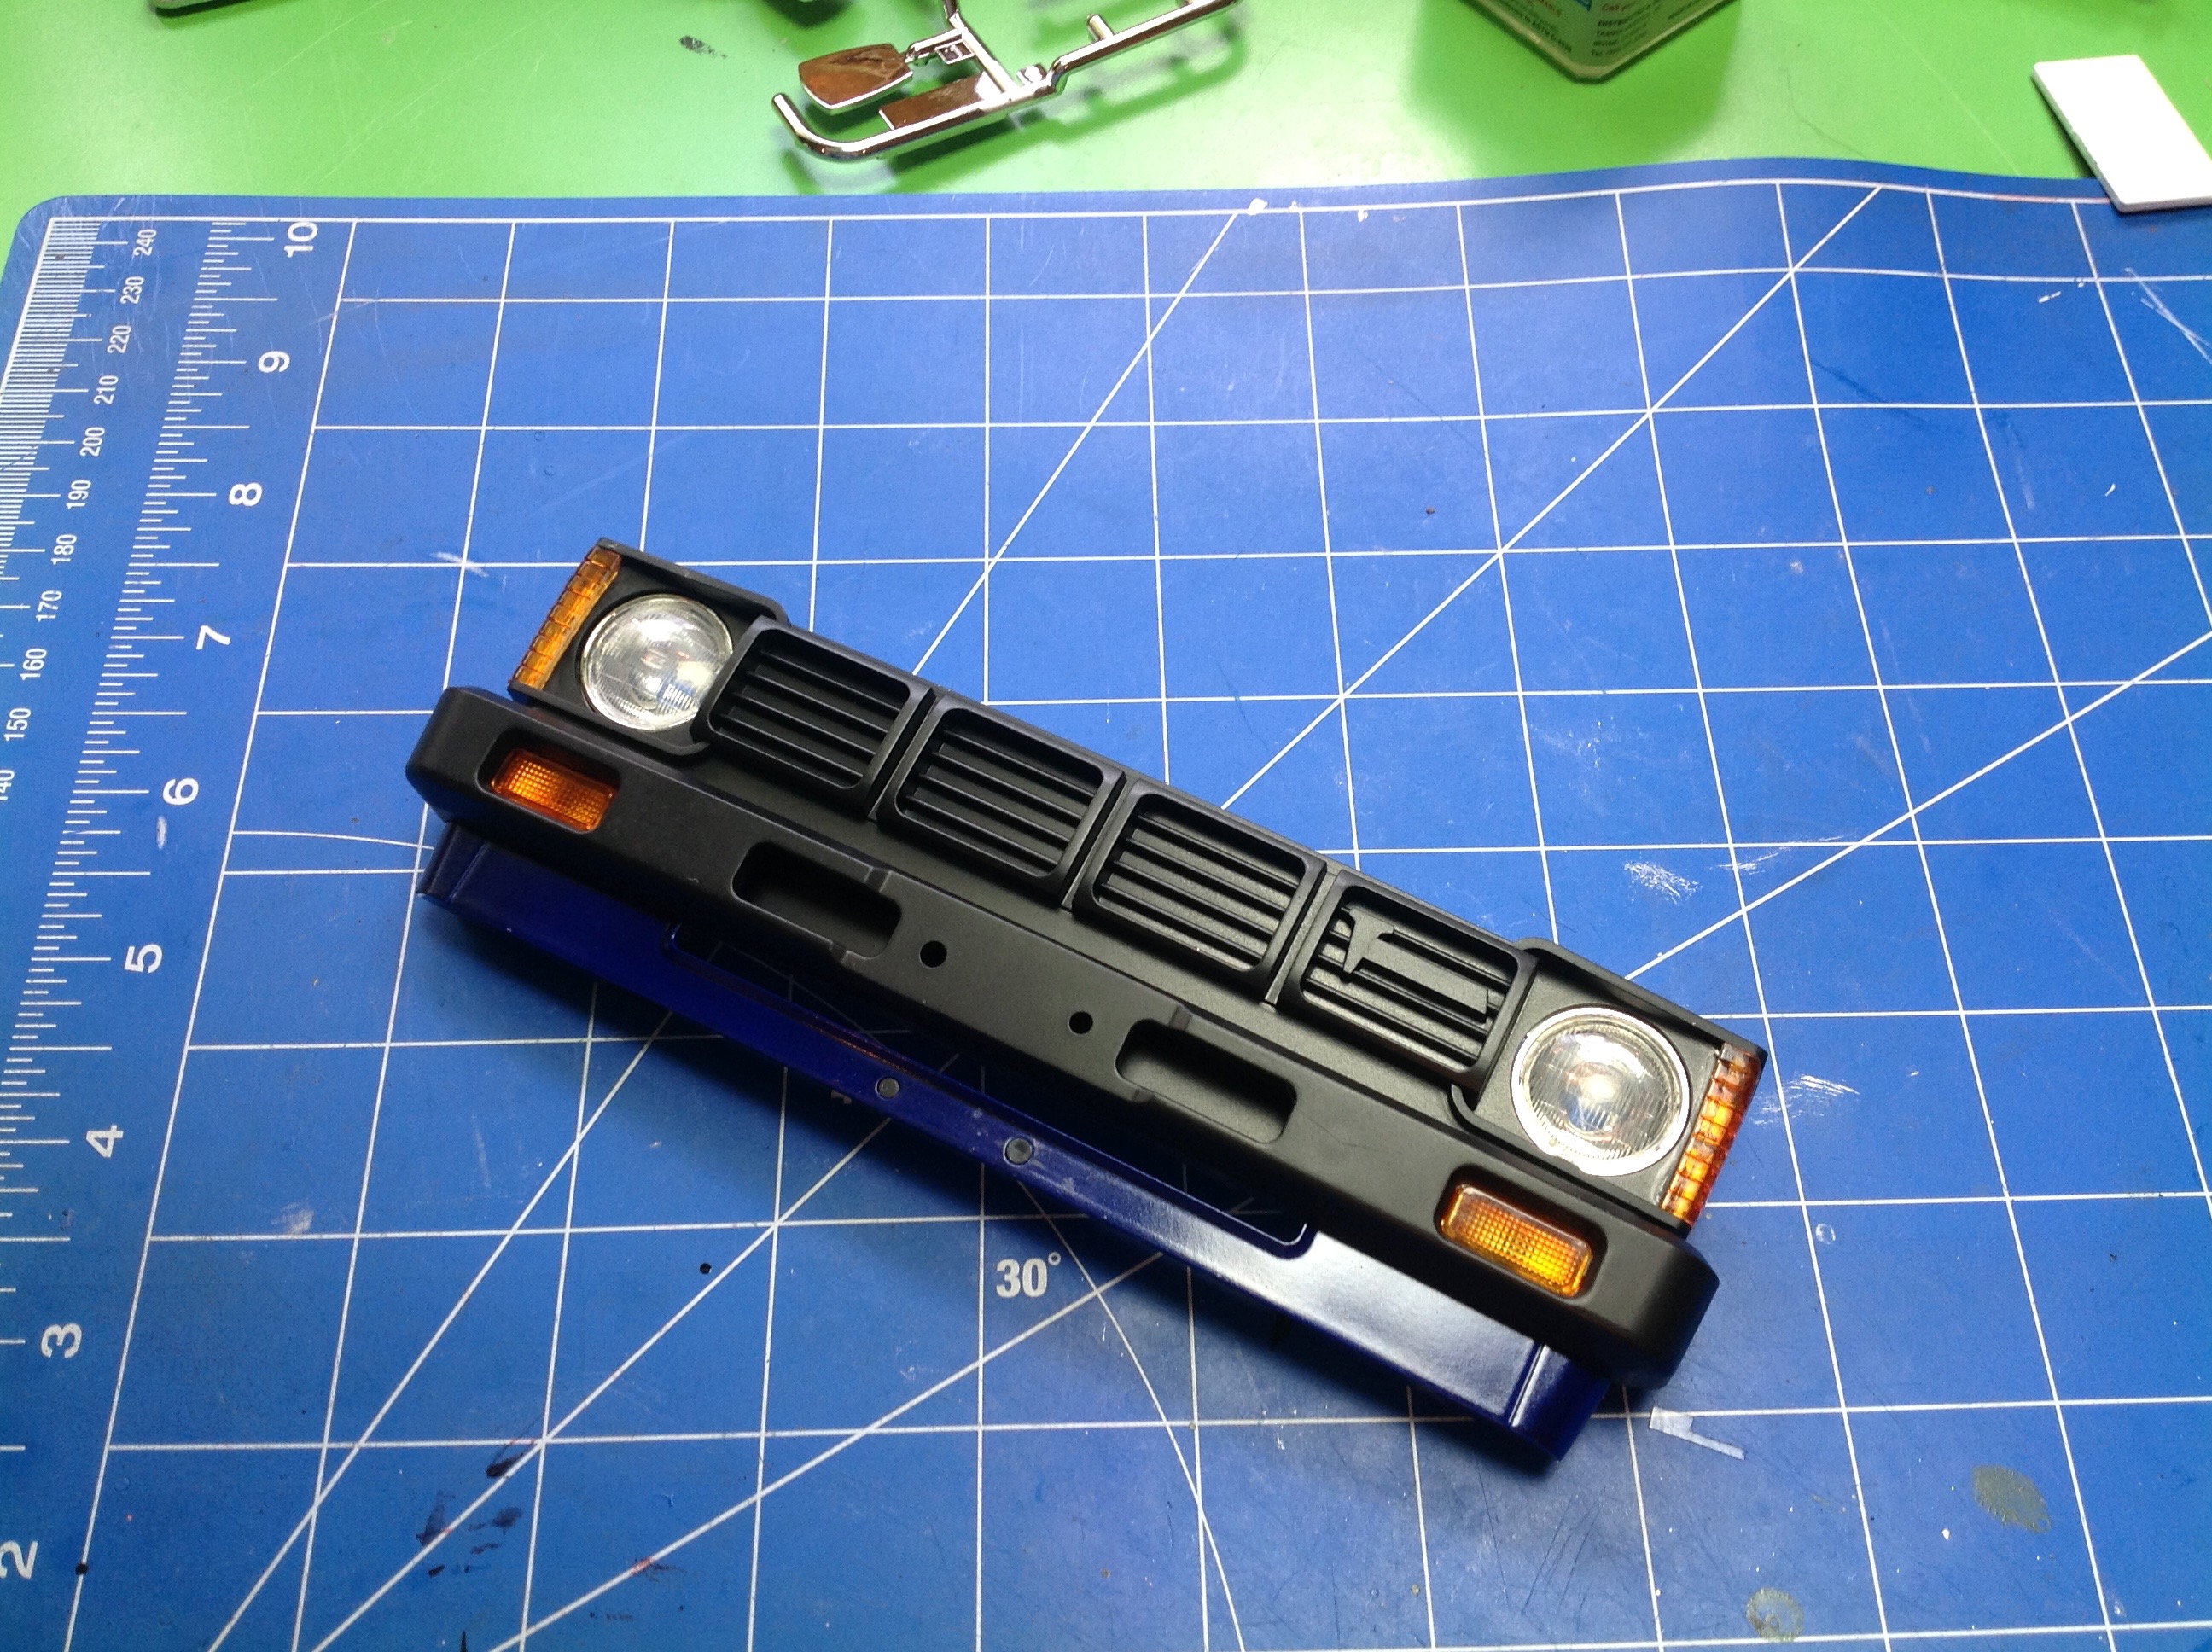
Steps 44 and 45 build the headlight buckets, the grille, and the
front bumper. I painted the turn signal lenses orange before I
realized they were actually supposed to be clear, but I actually like
the way it looks.
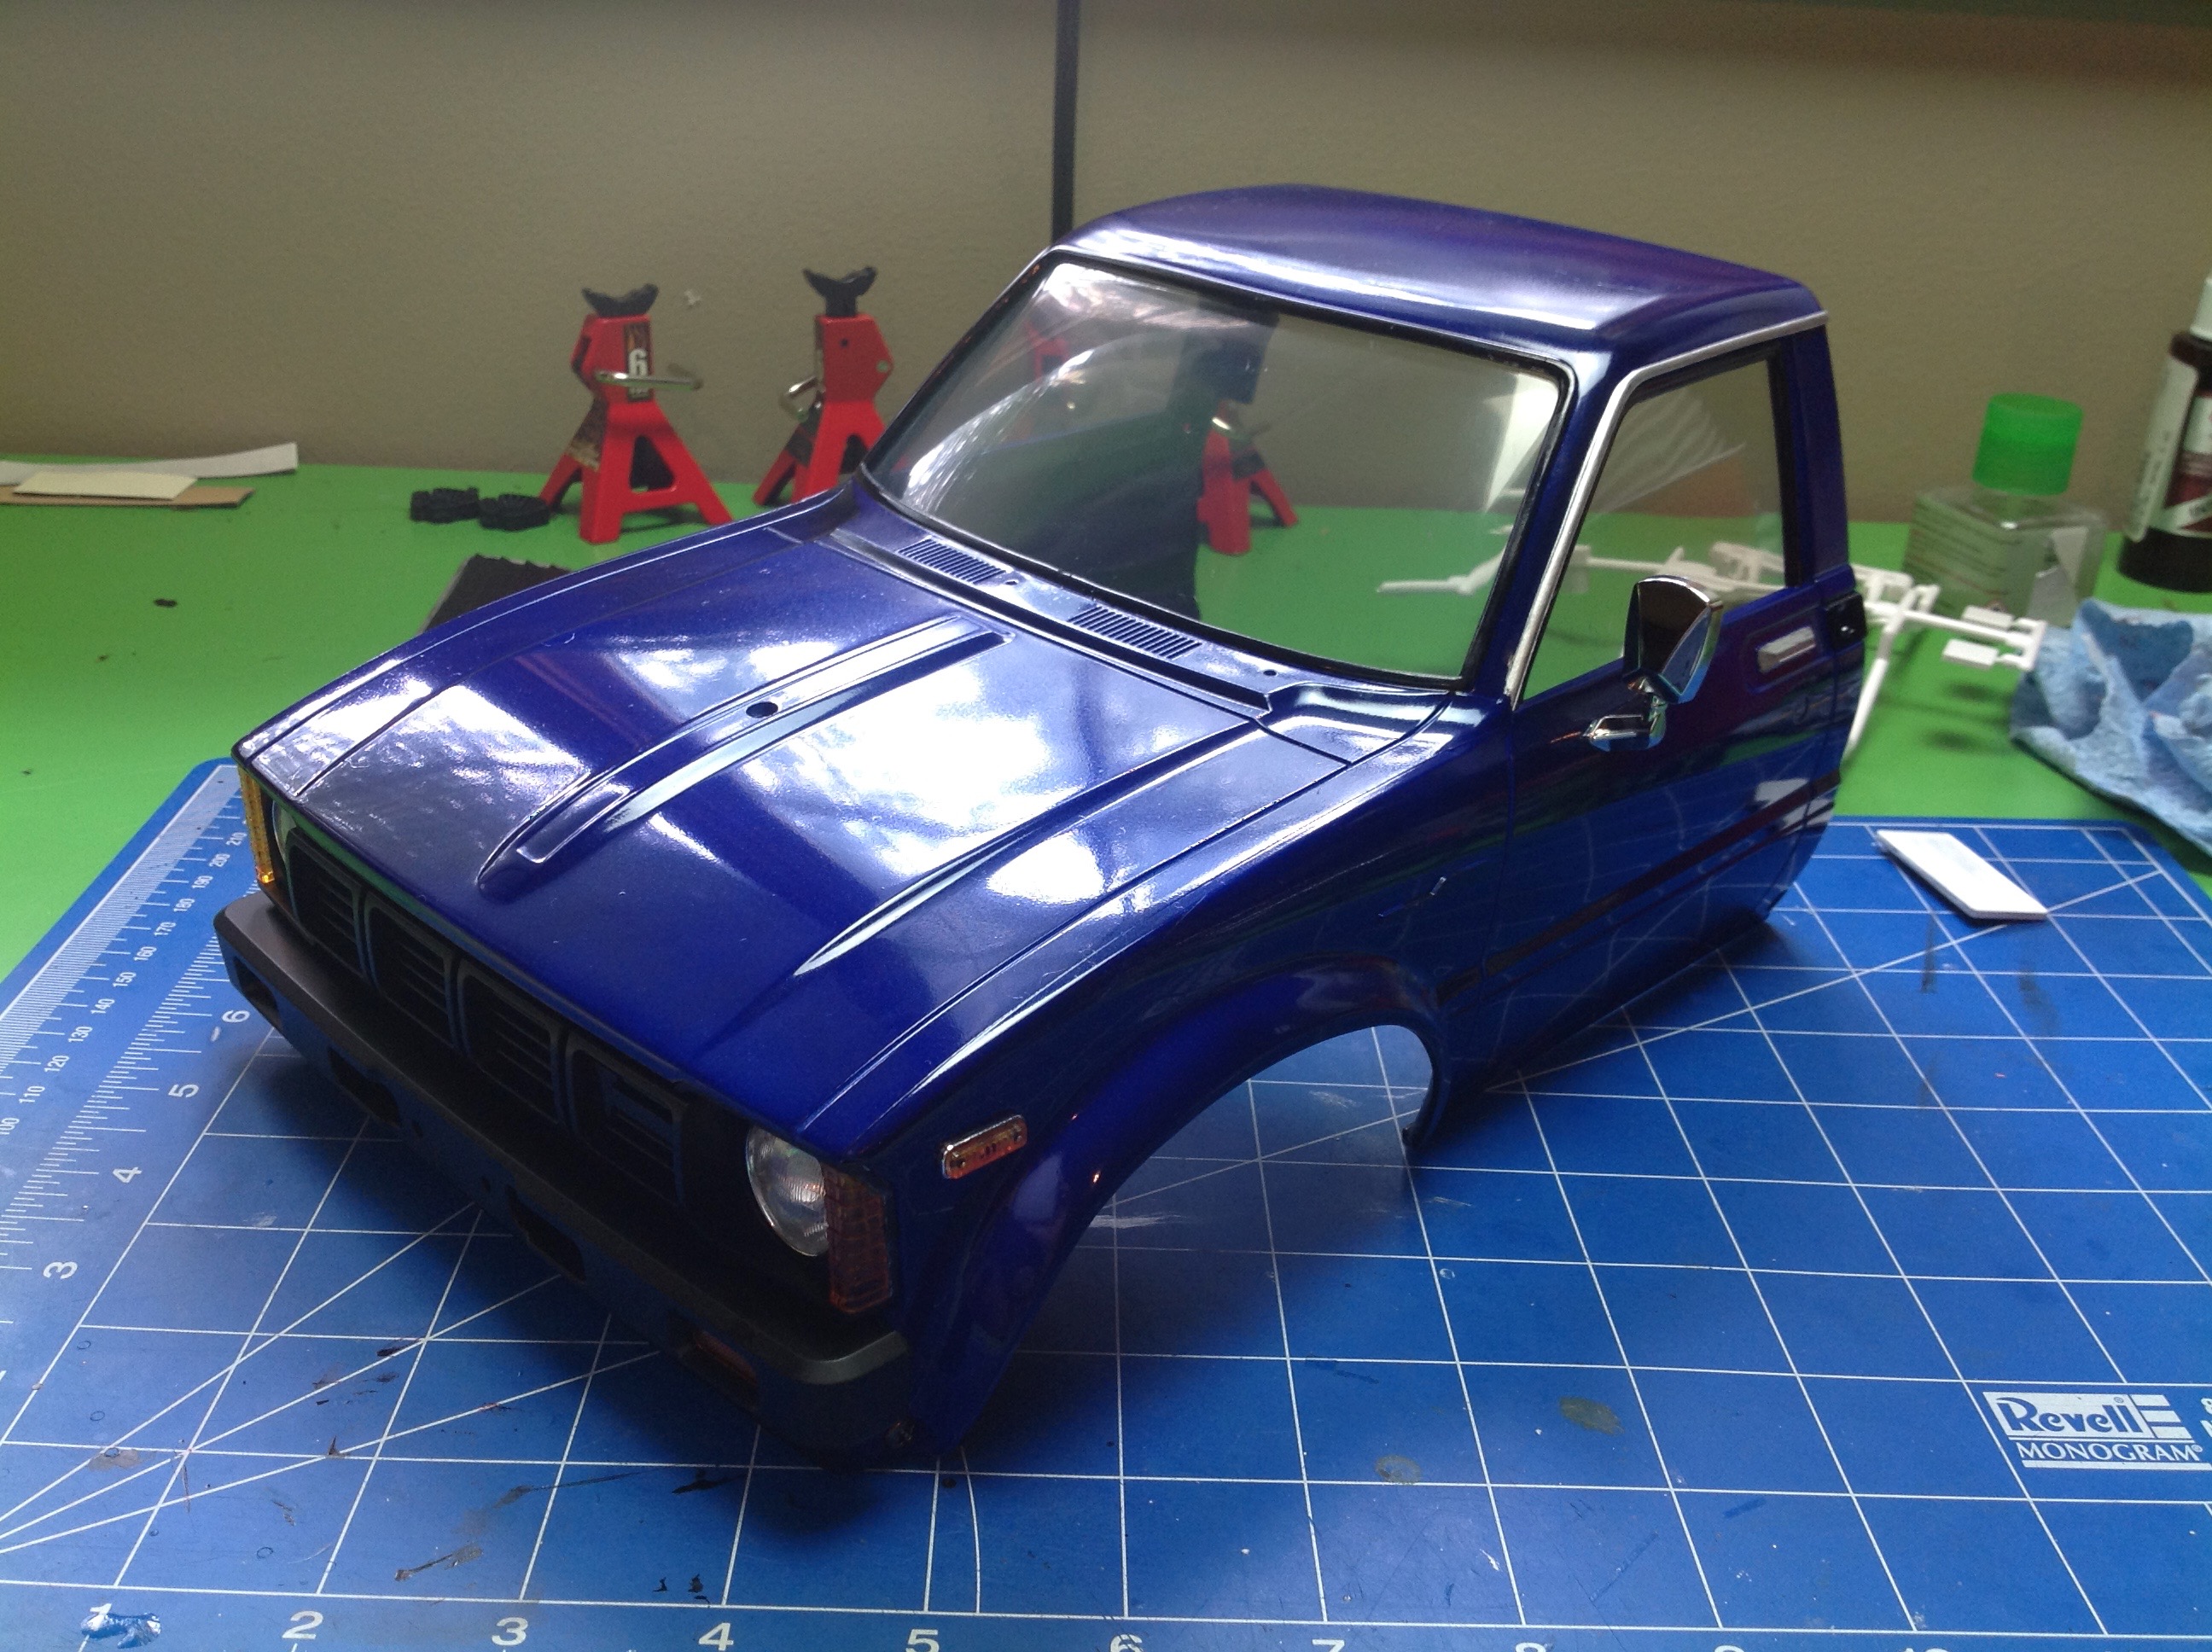
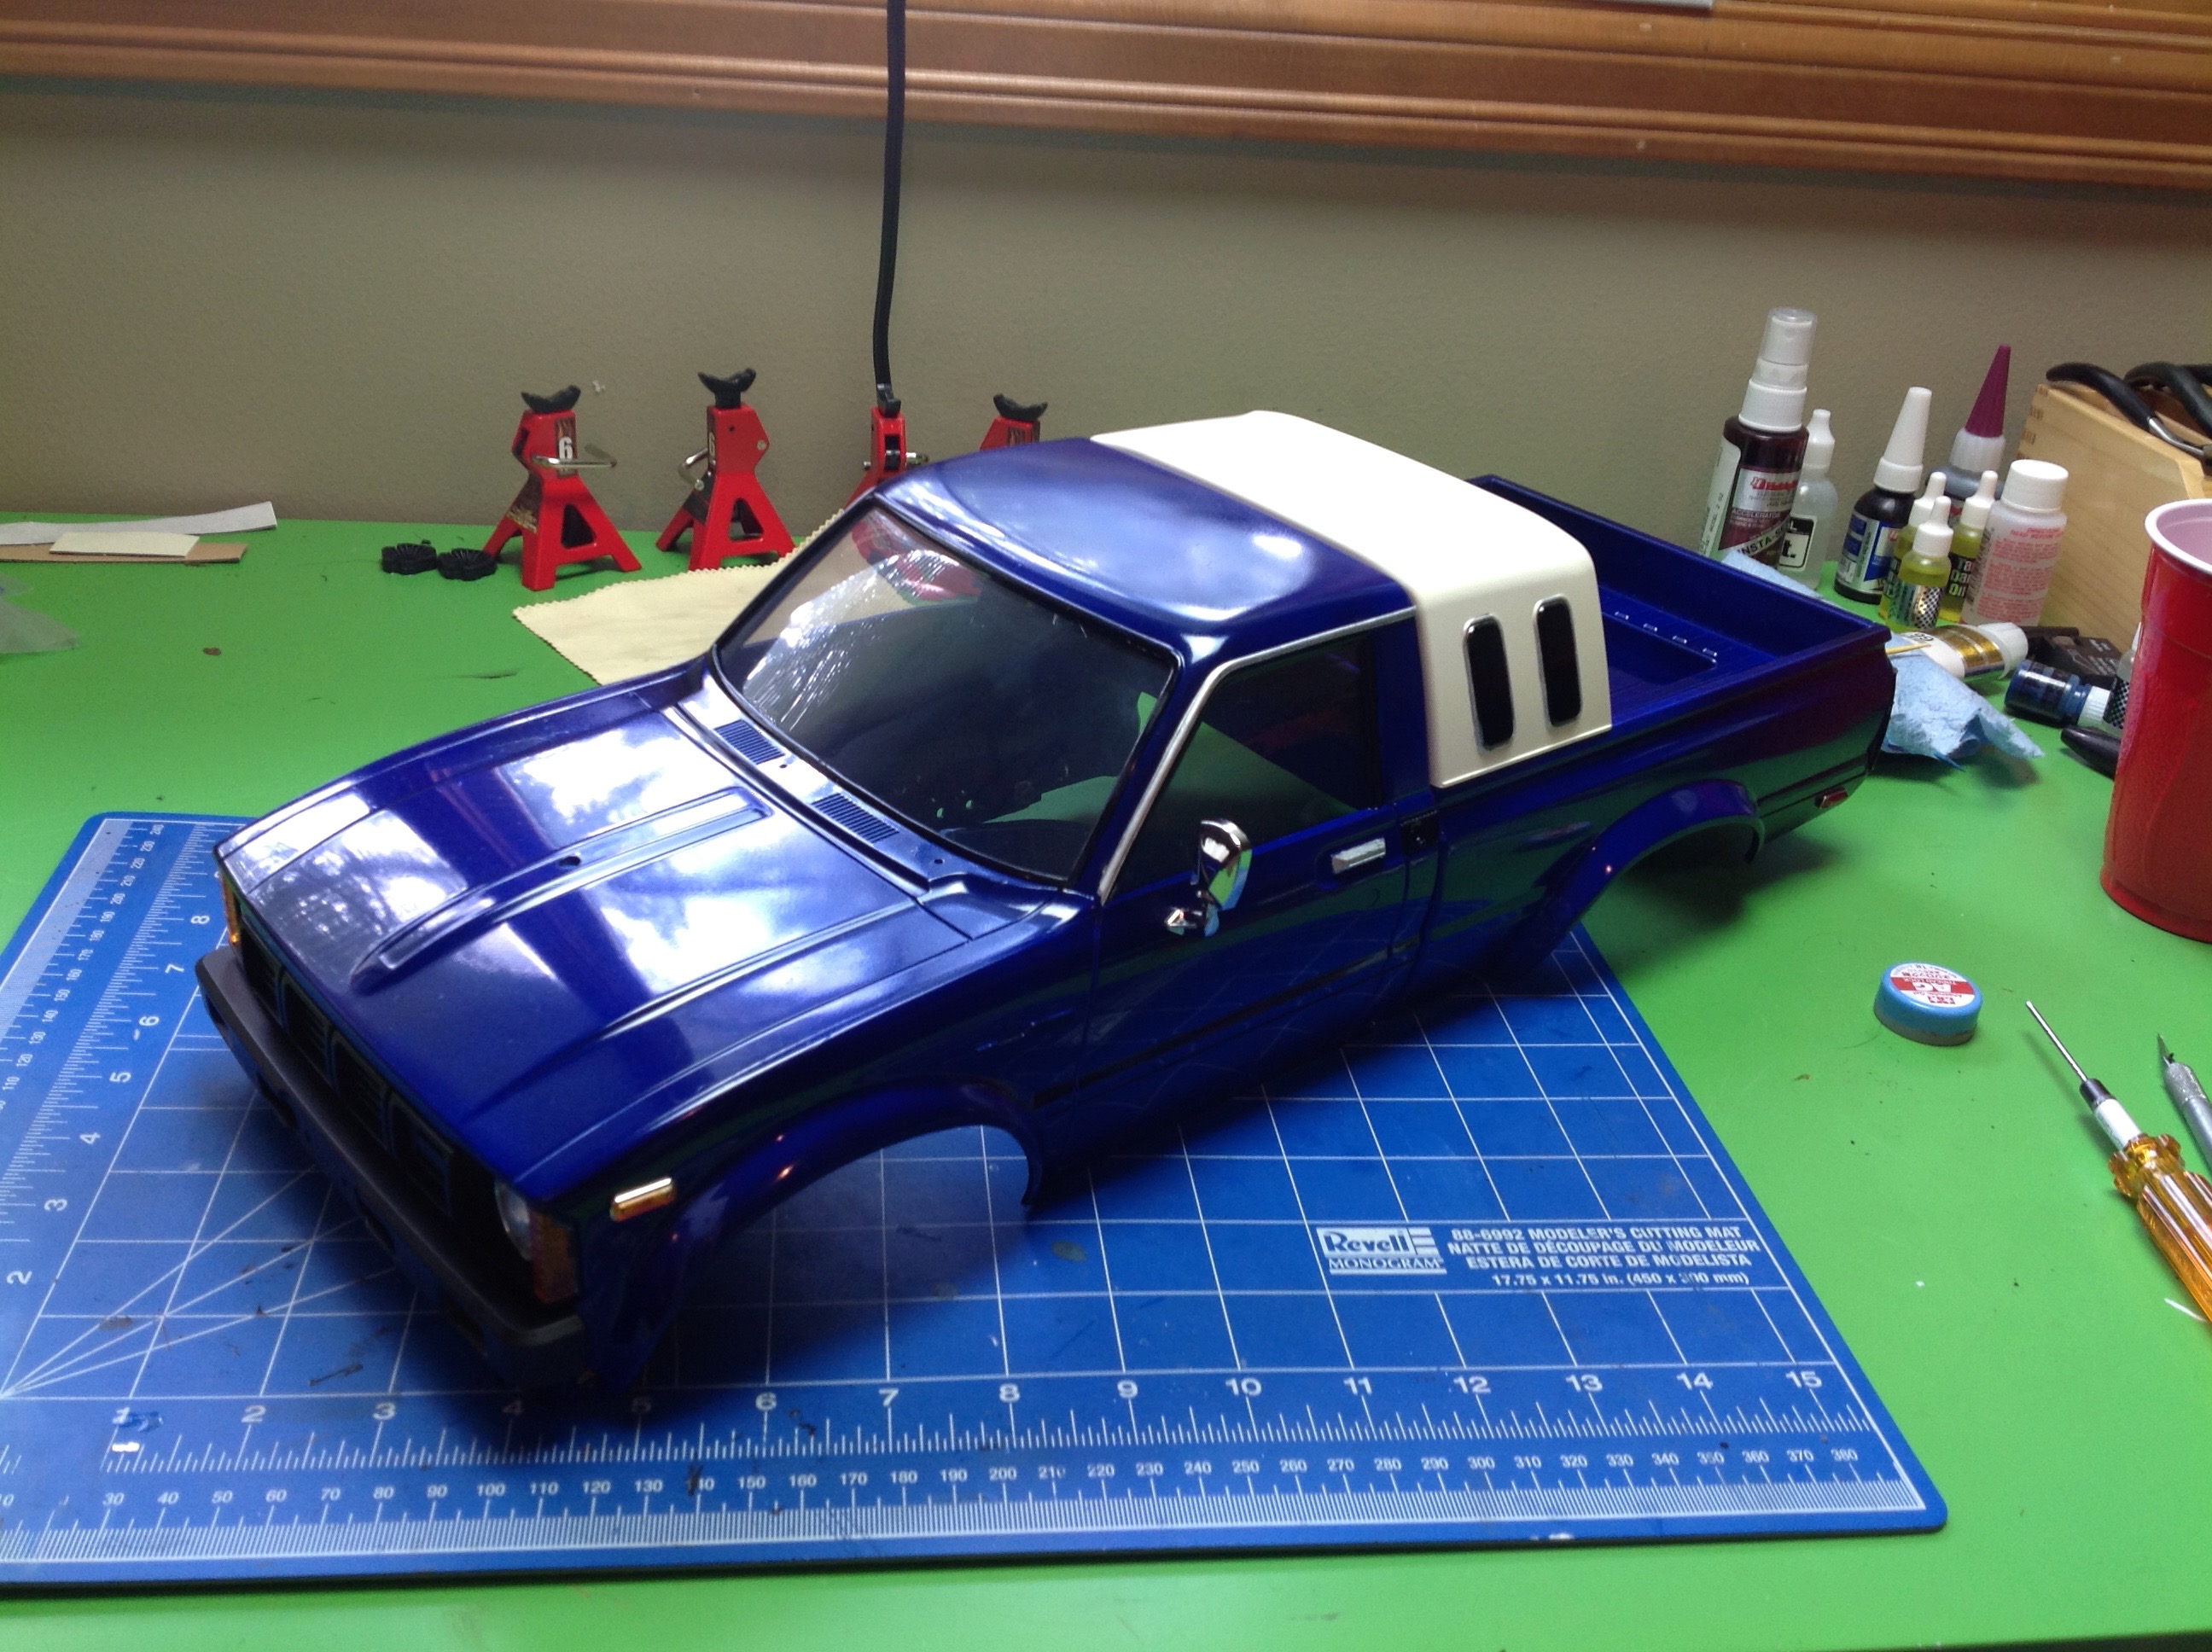
Now the front grille can be installed on the cab and this is really
starting to look like a truck. The side mirror is also
installed. The kits comes with a passenger side mirror as well,
but the instructions say not to install it for some reason.
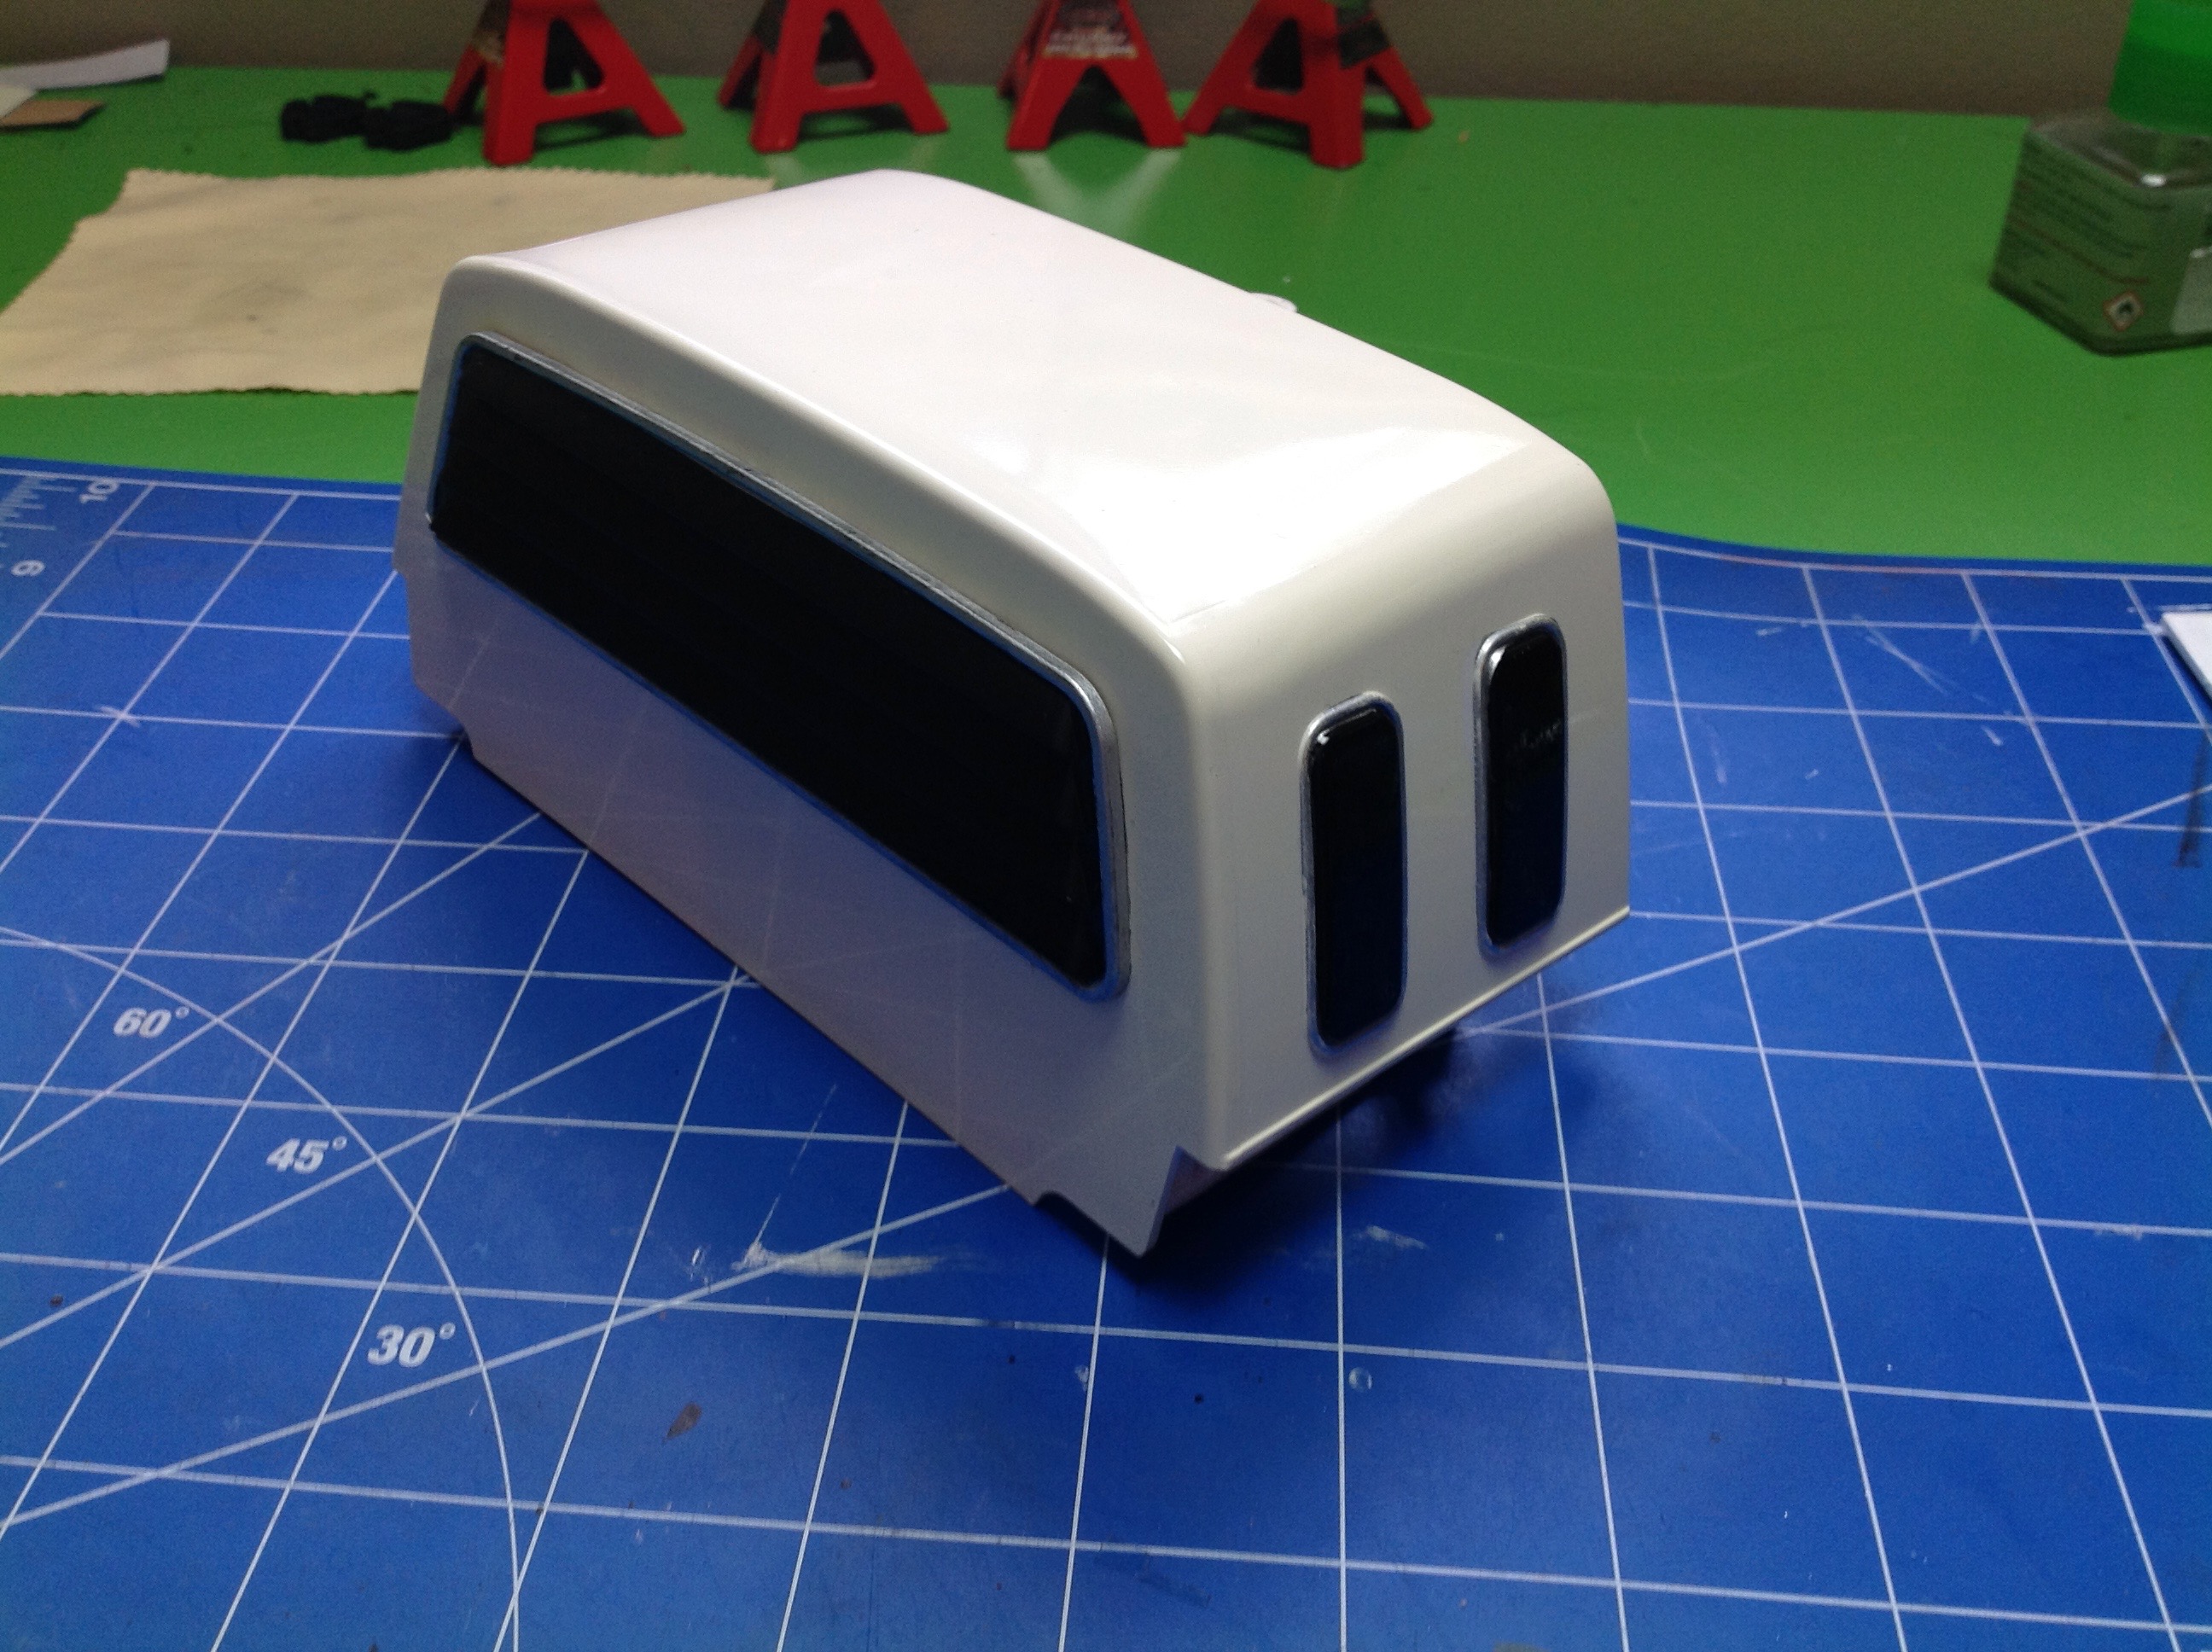
The sleeper is just two parts, the main body and the rear louvers.
This part is supposed to be glued on but it doesn't stick very well to
the paint. Once the sleeper is screwed to the bed, the back of the
body is complete. The opening you see is for the power switch,
and the tub area in the rear is for the body pins.
Step 48 attaches the front and rear body halves together with only two
screws. They will be further reinforced when the interior is
installed.
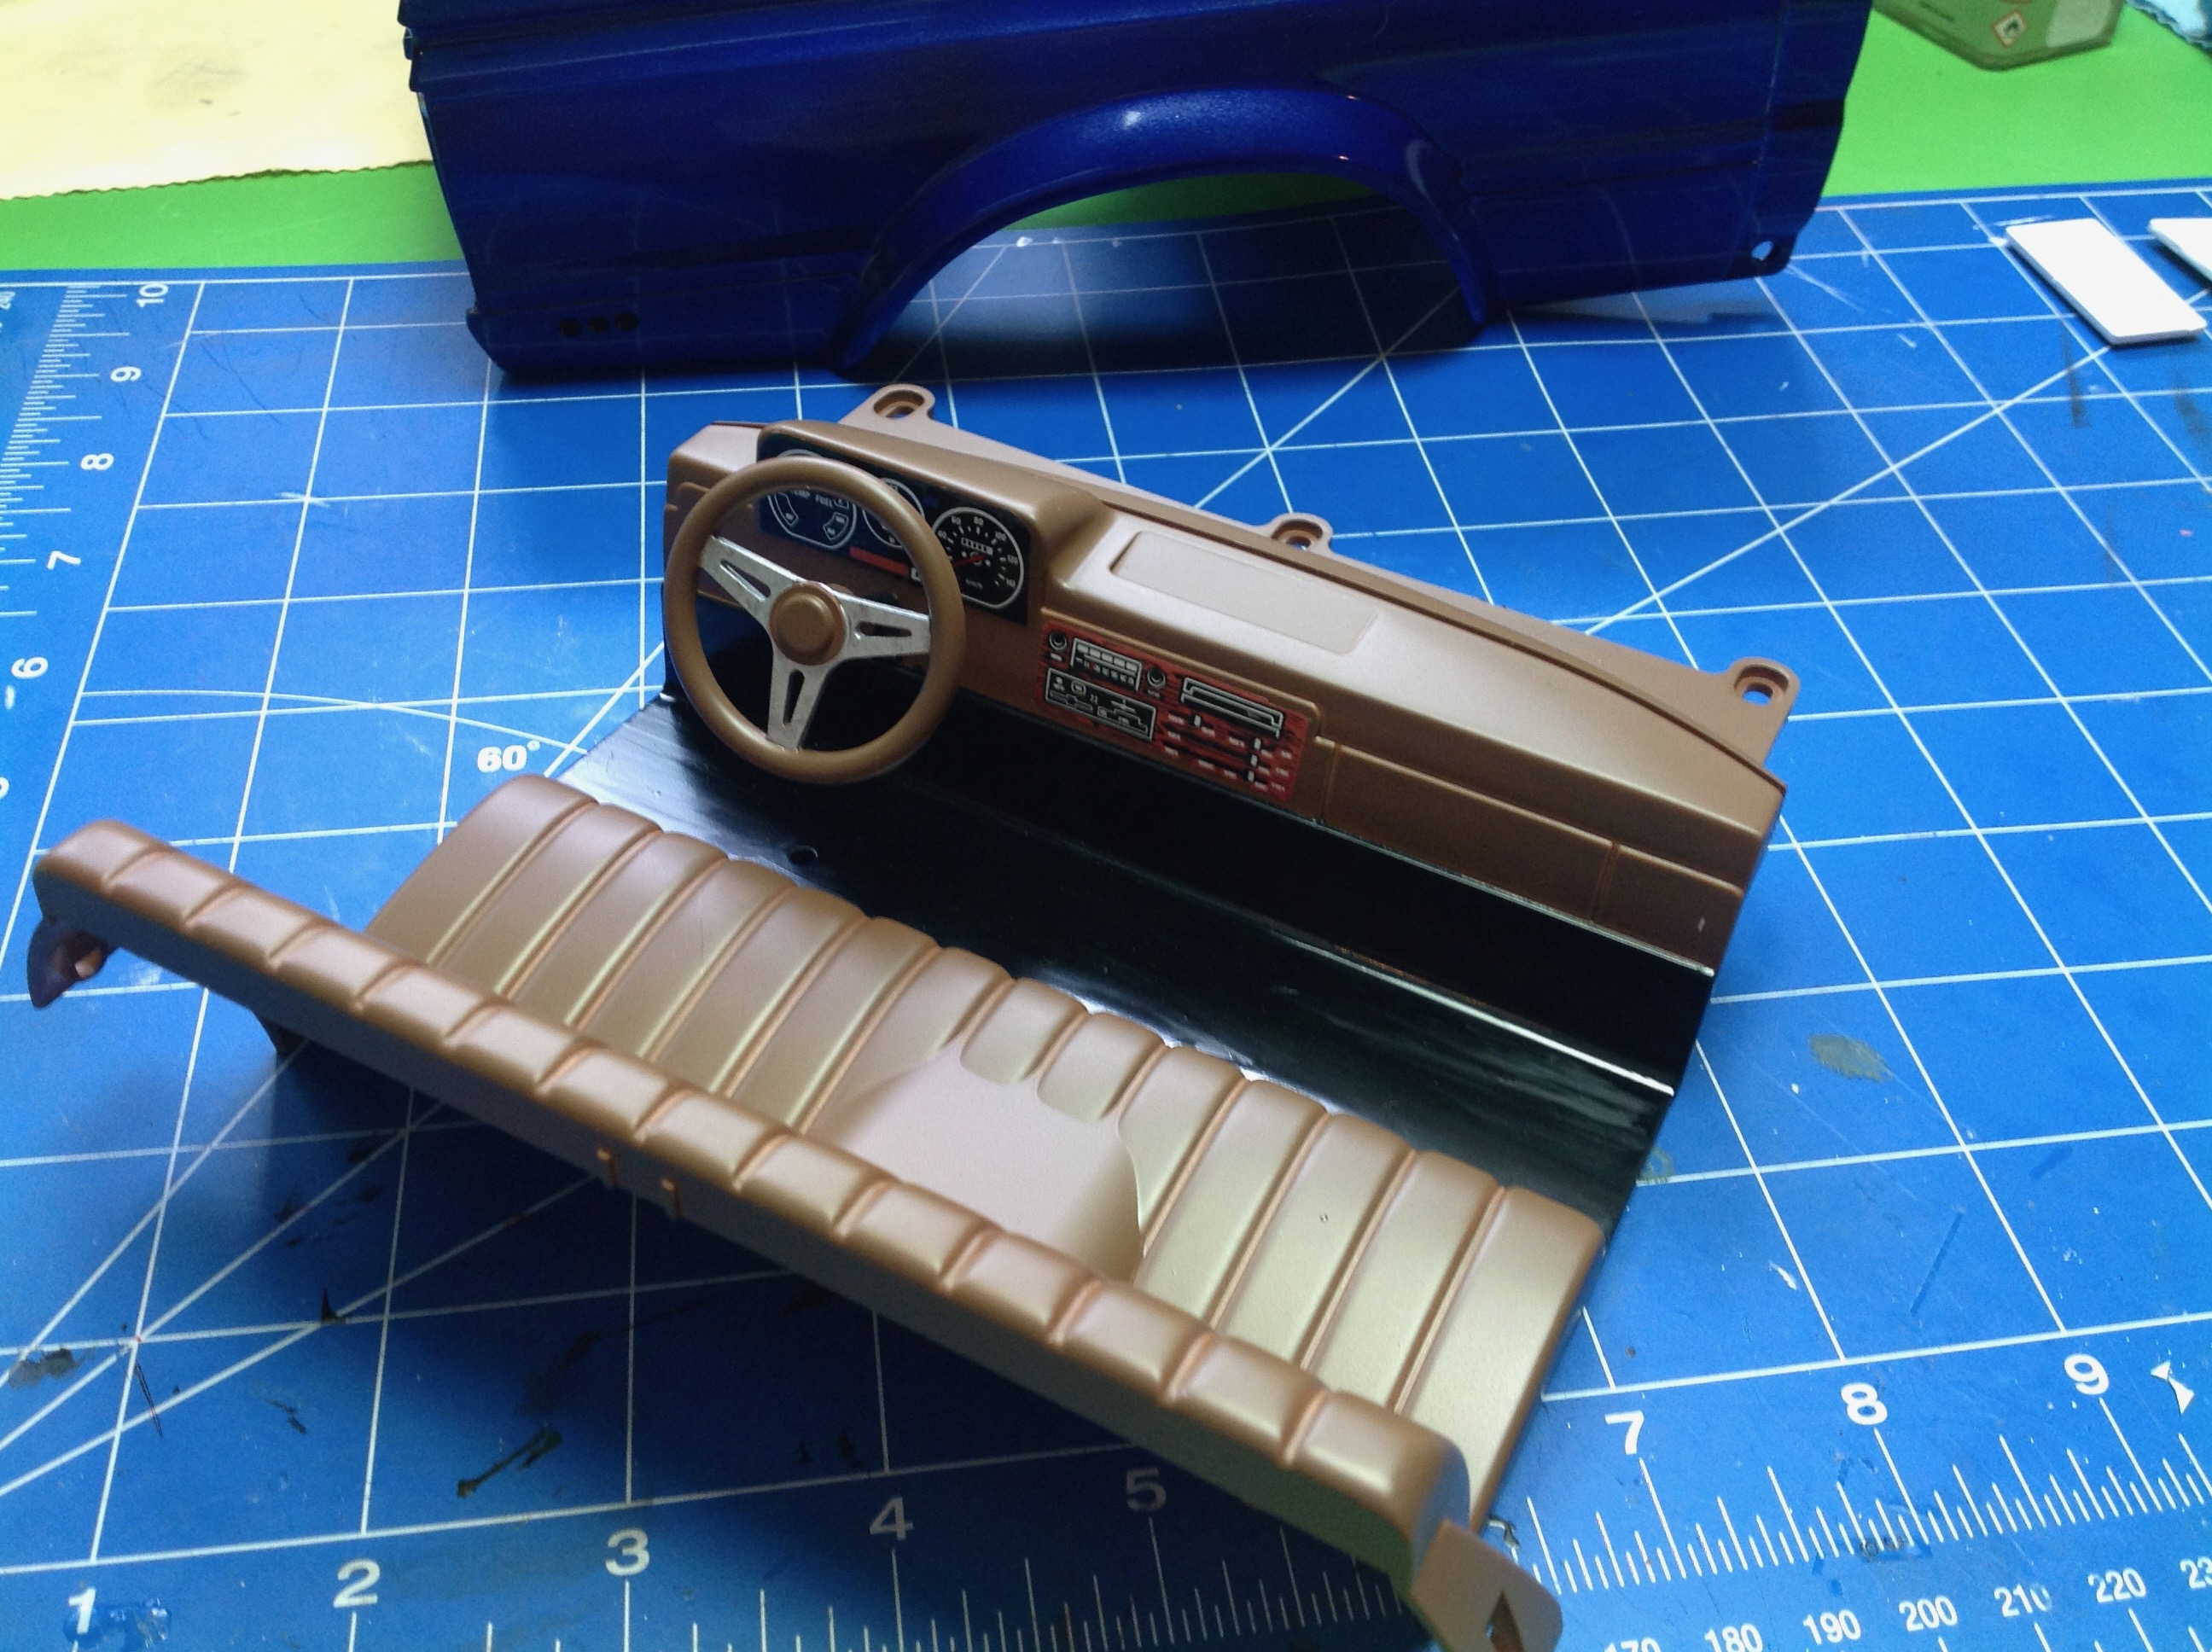
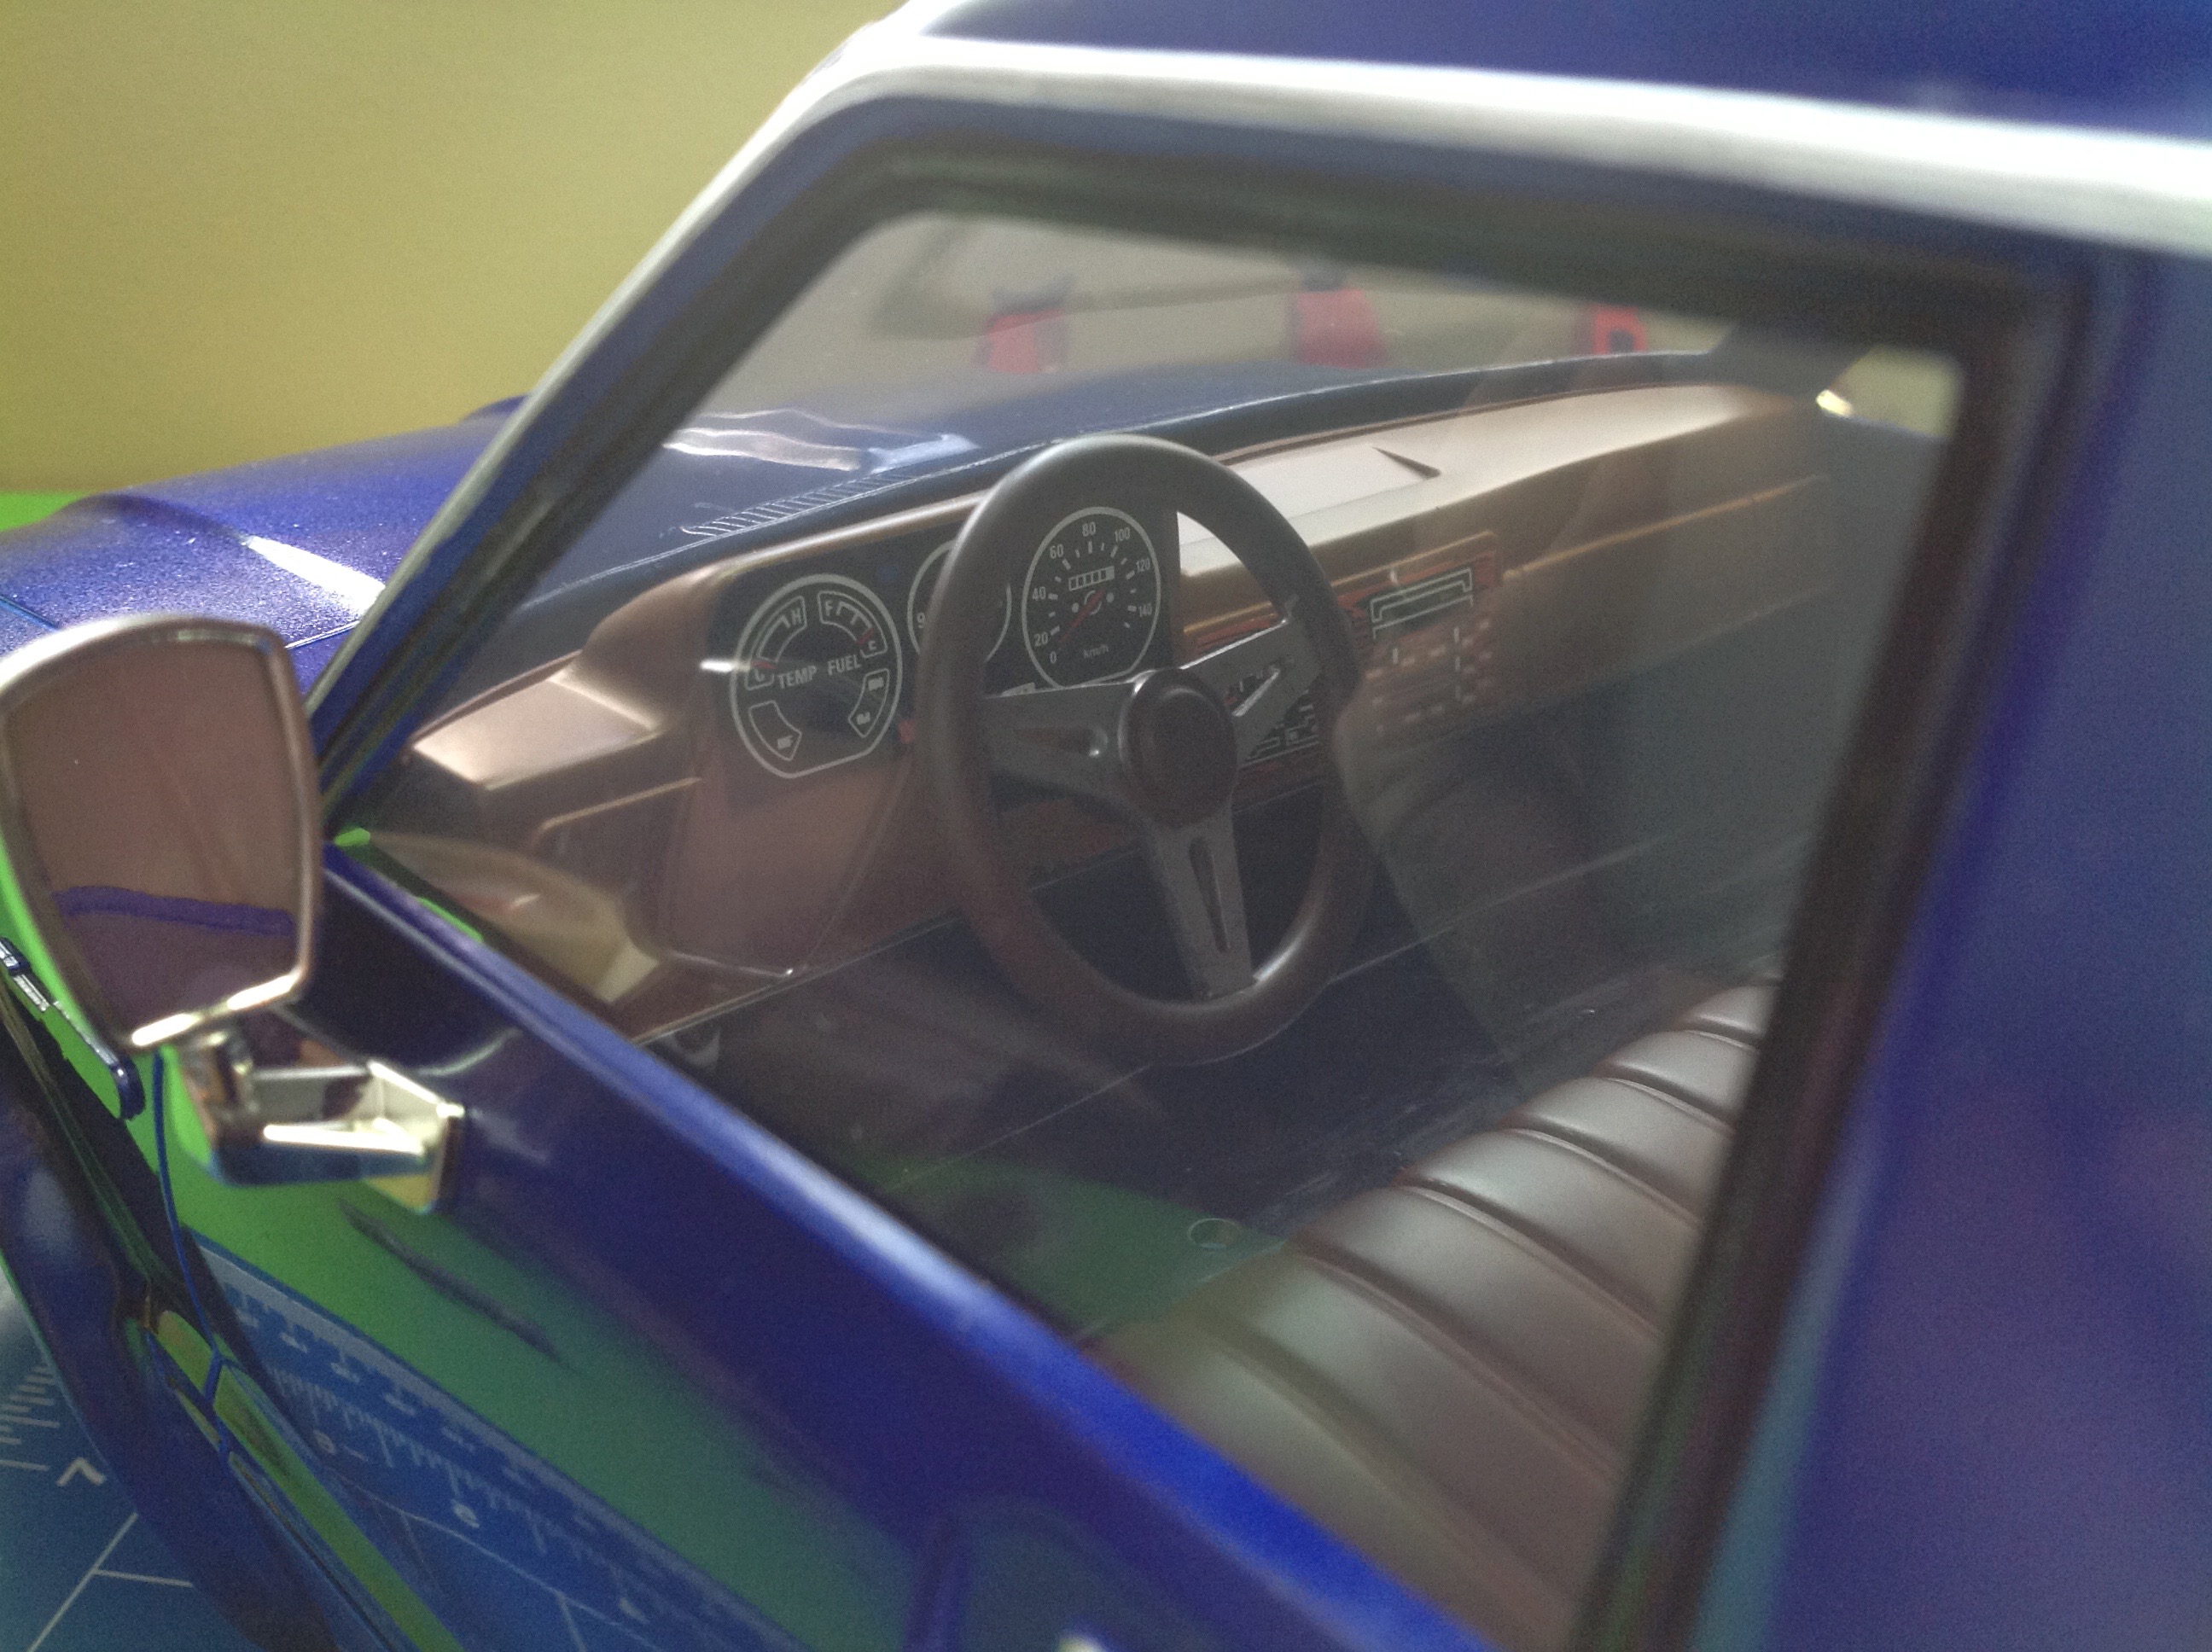
The interior is only a couple of parts, but still
looks really good. Most of the detail comes from stickers on the
dash for the instrument panel and controls. The seats are nicely
detailed and the steering wheel looks great. Installation of the
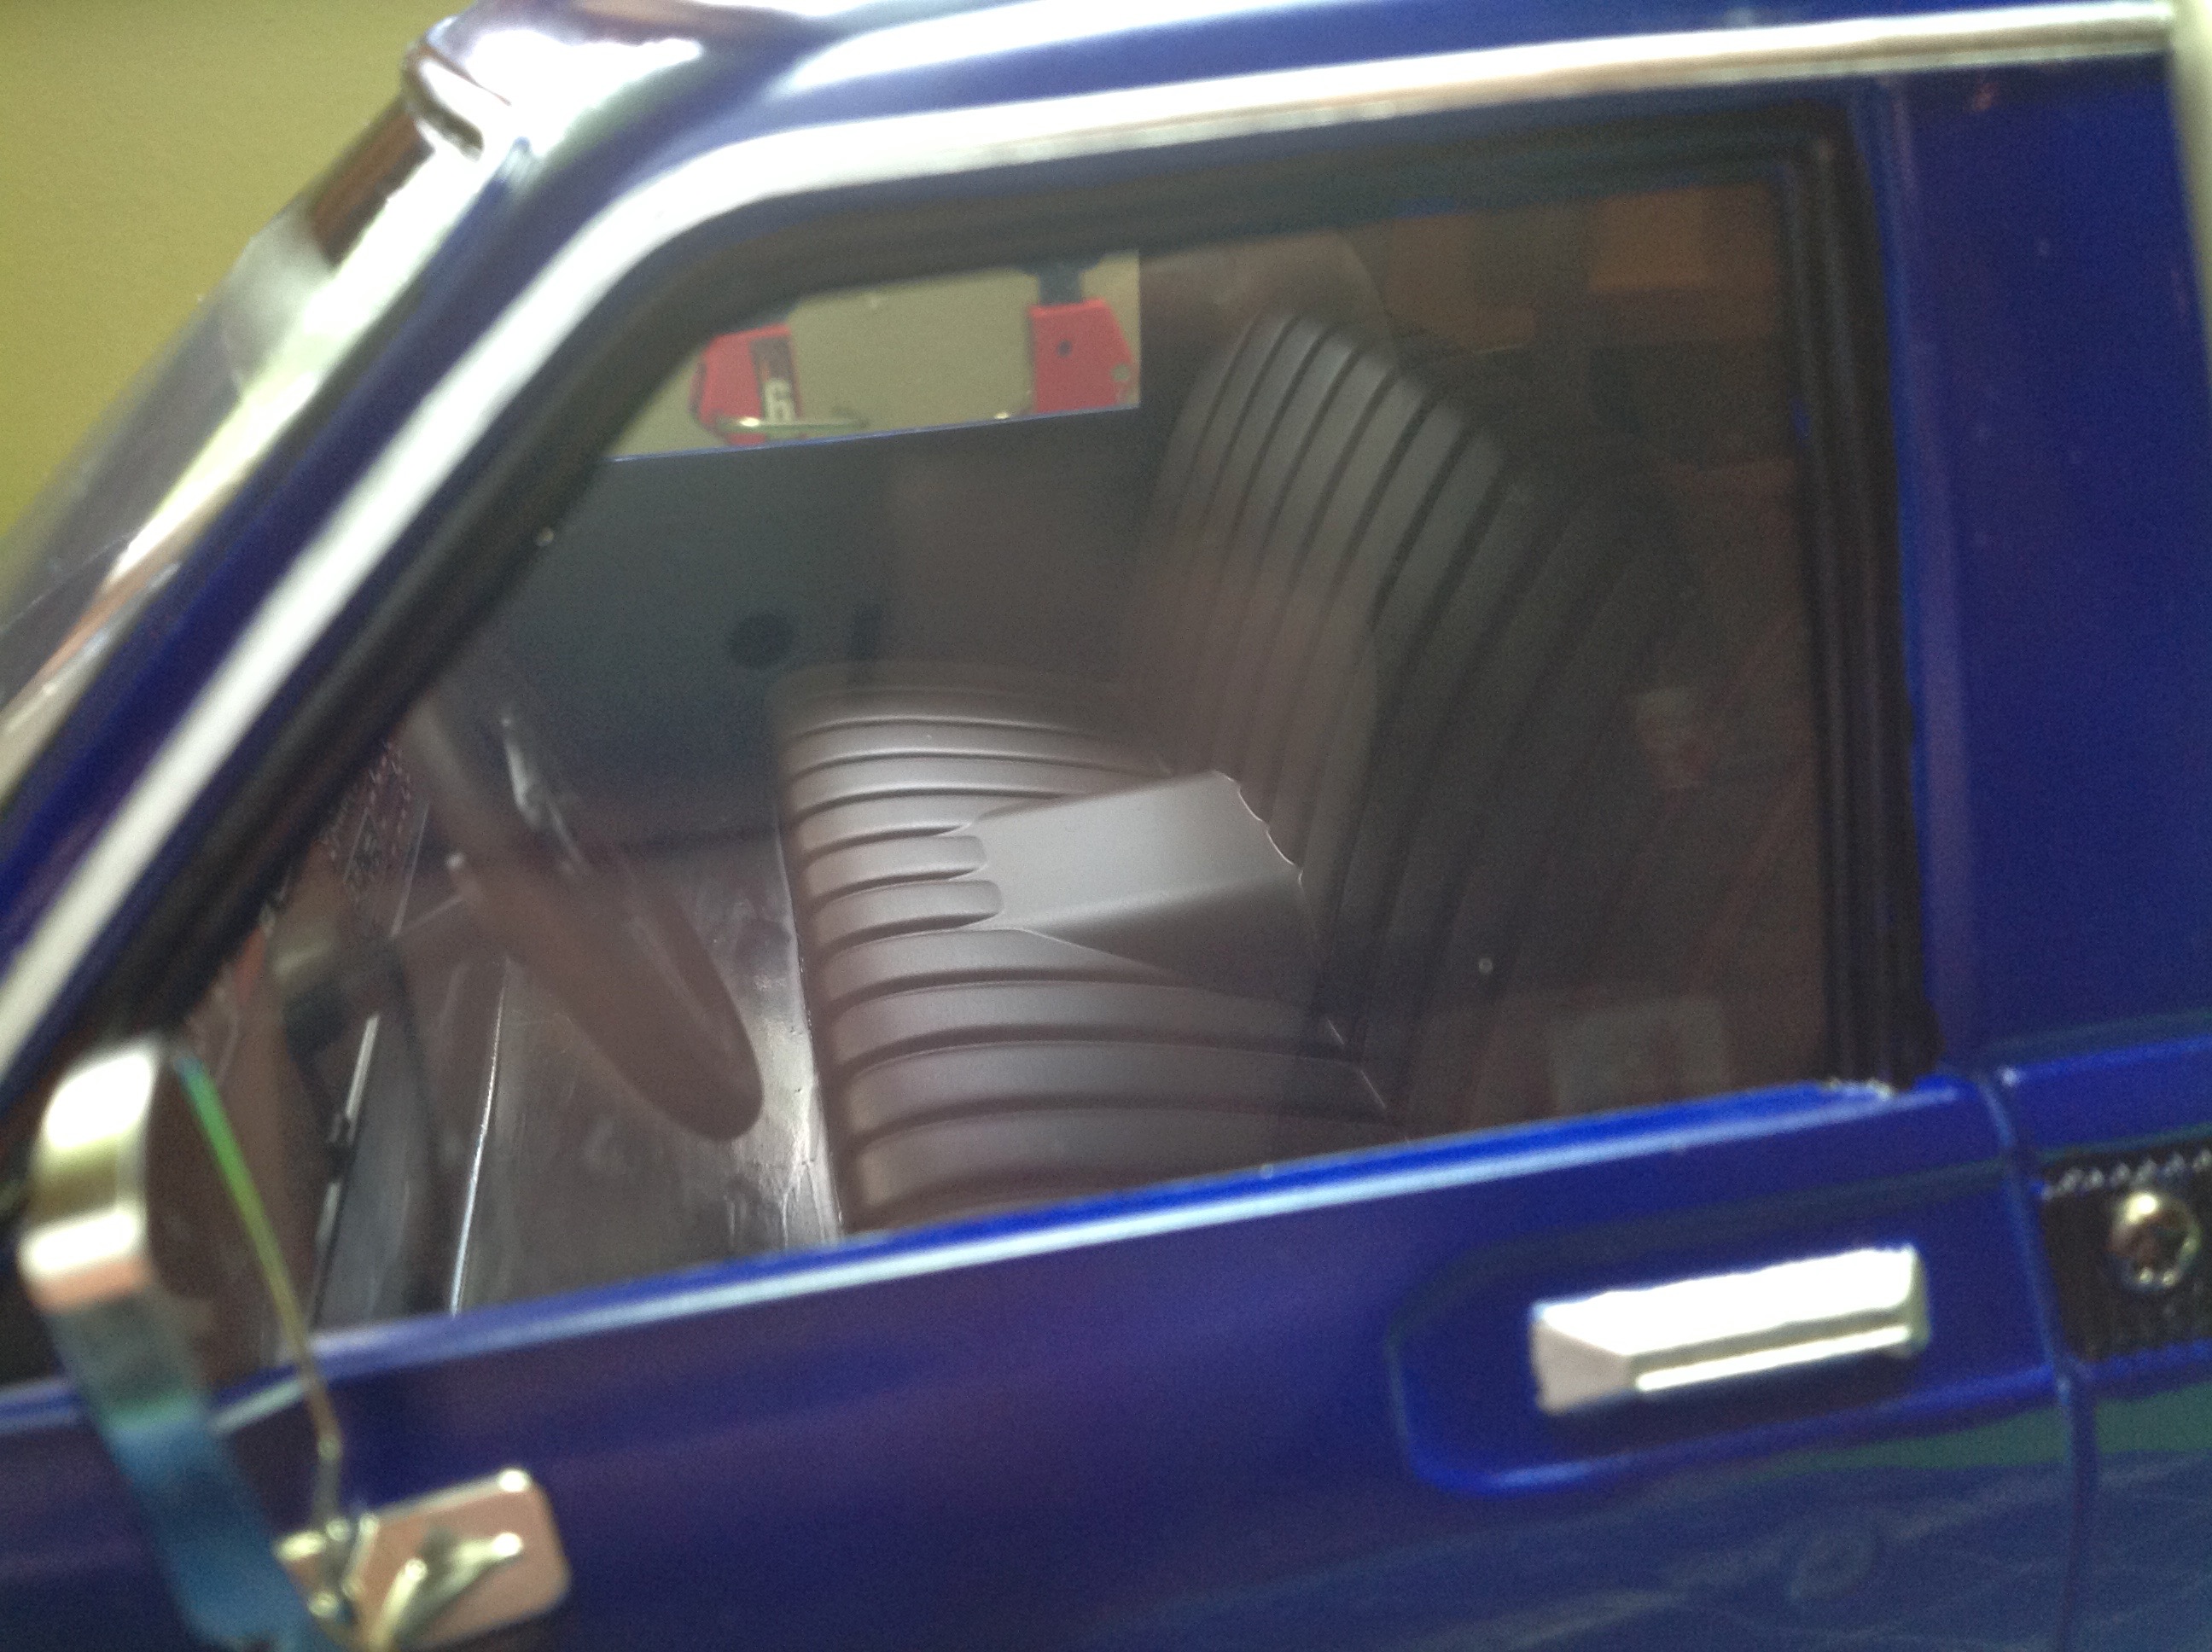
interior does much to add rigidity to the body as well.
The interior is clearly visible through the large, clear windows. Sadly, the doors do not open.
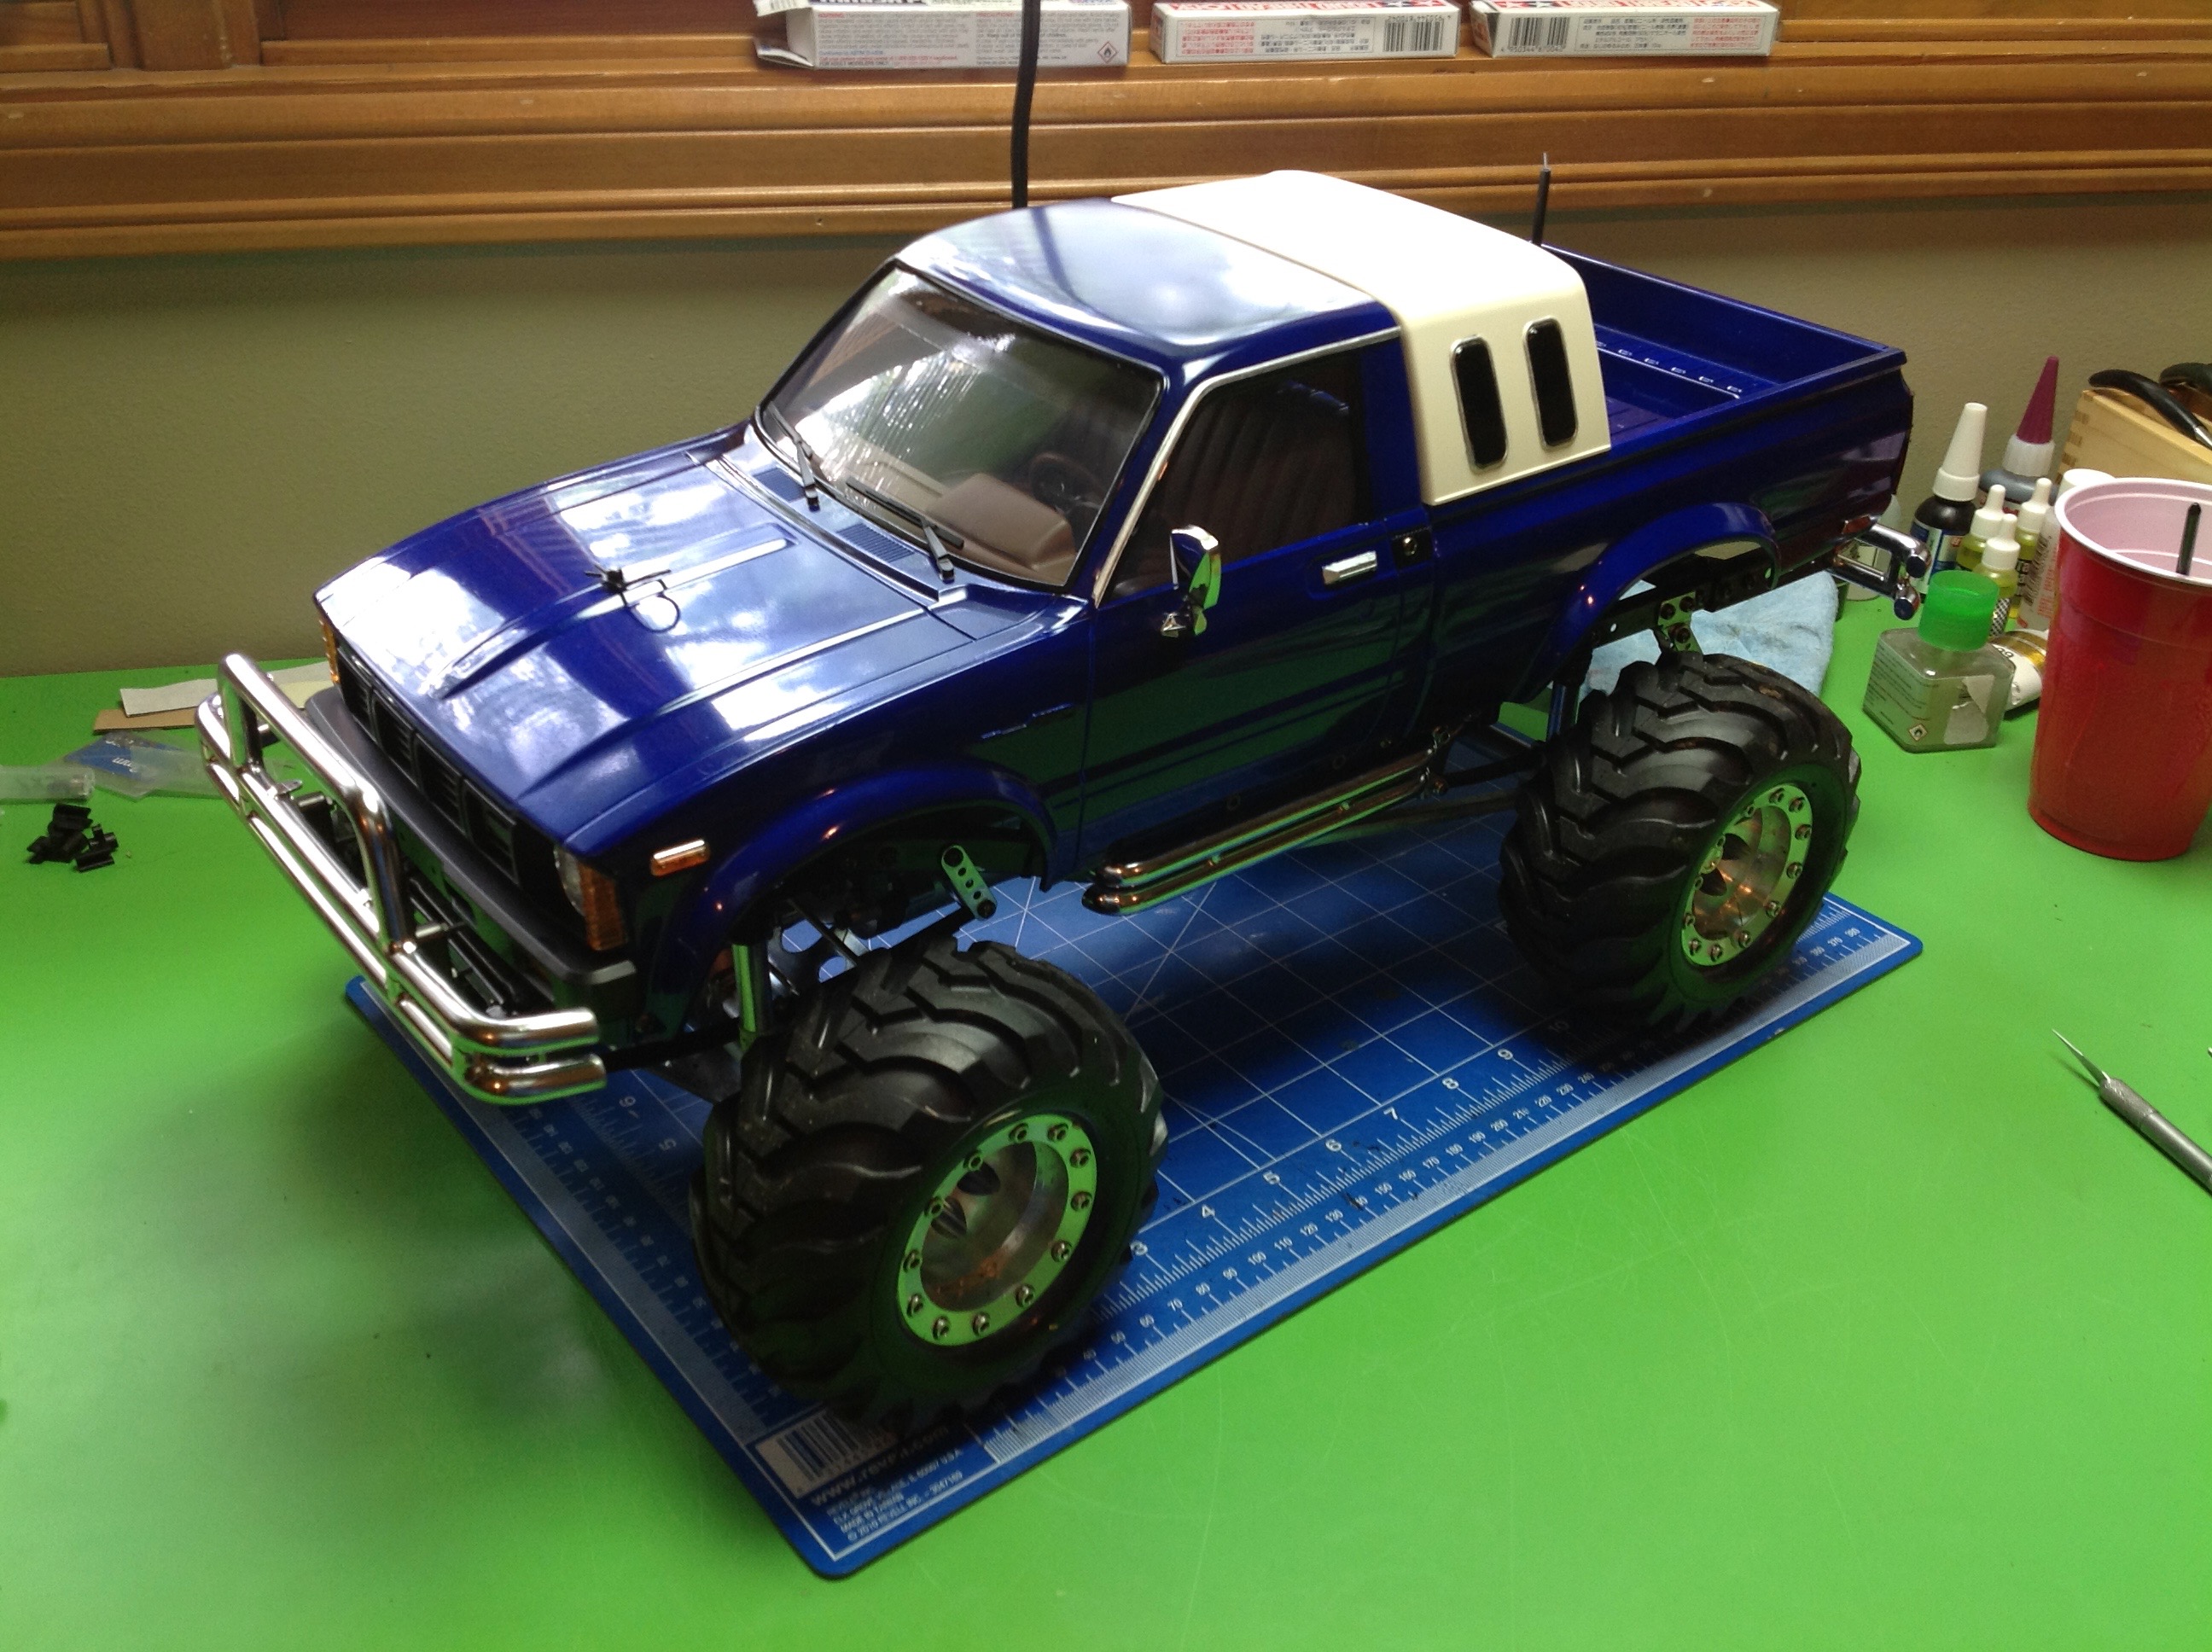
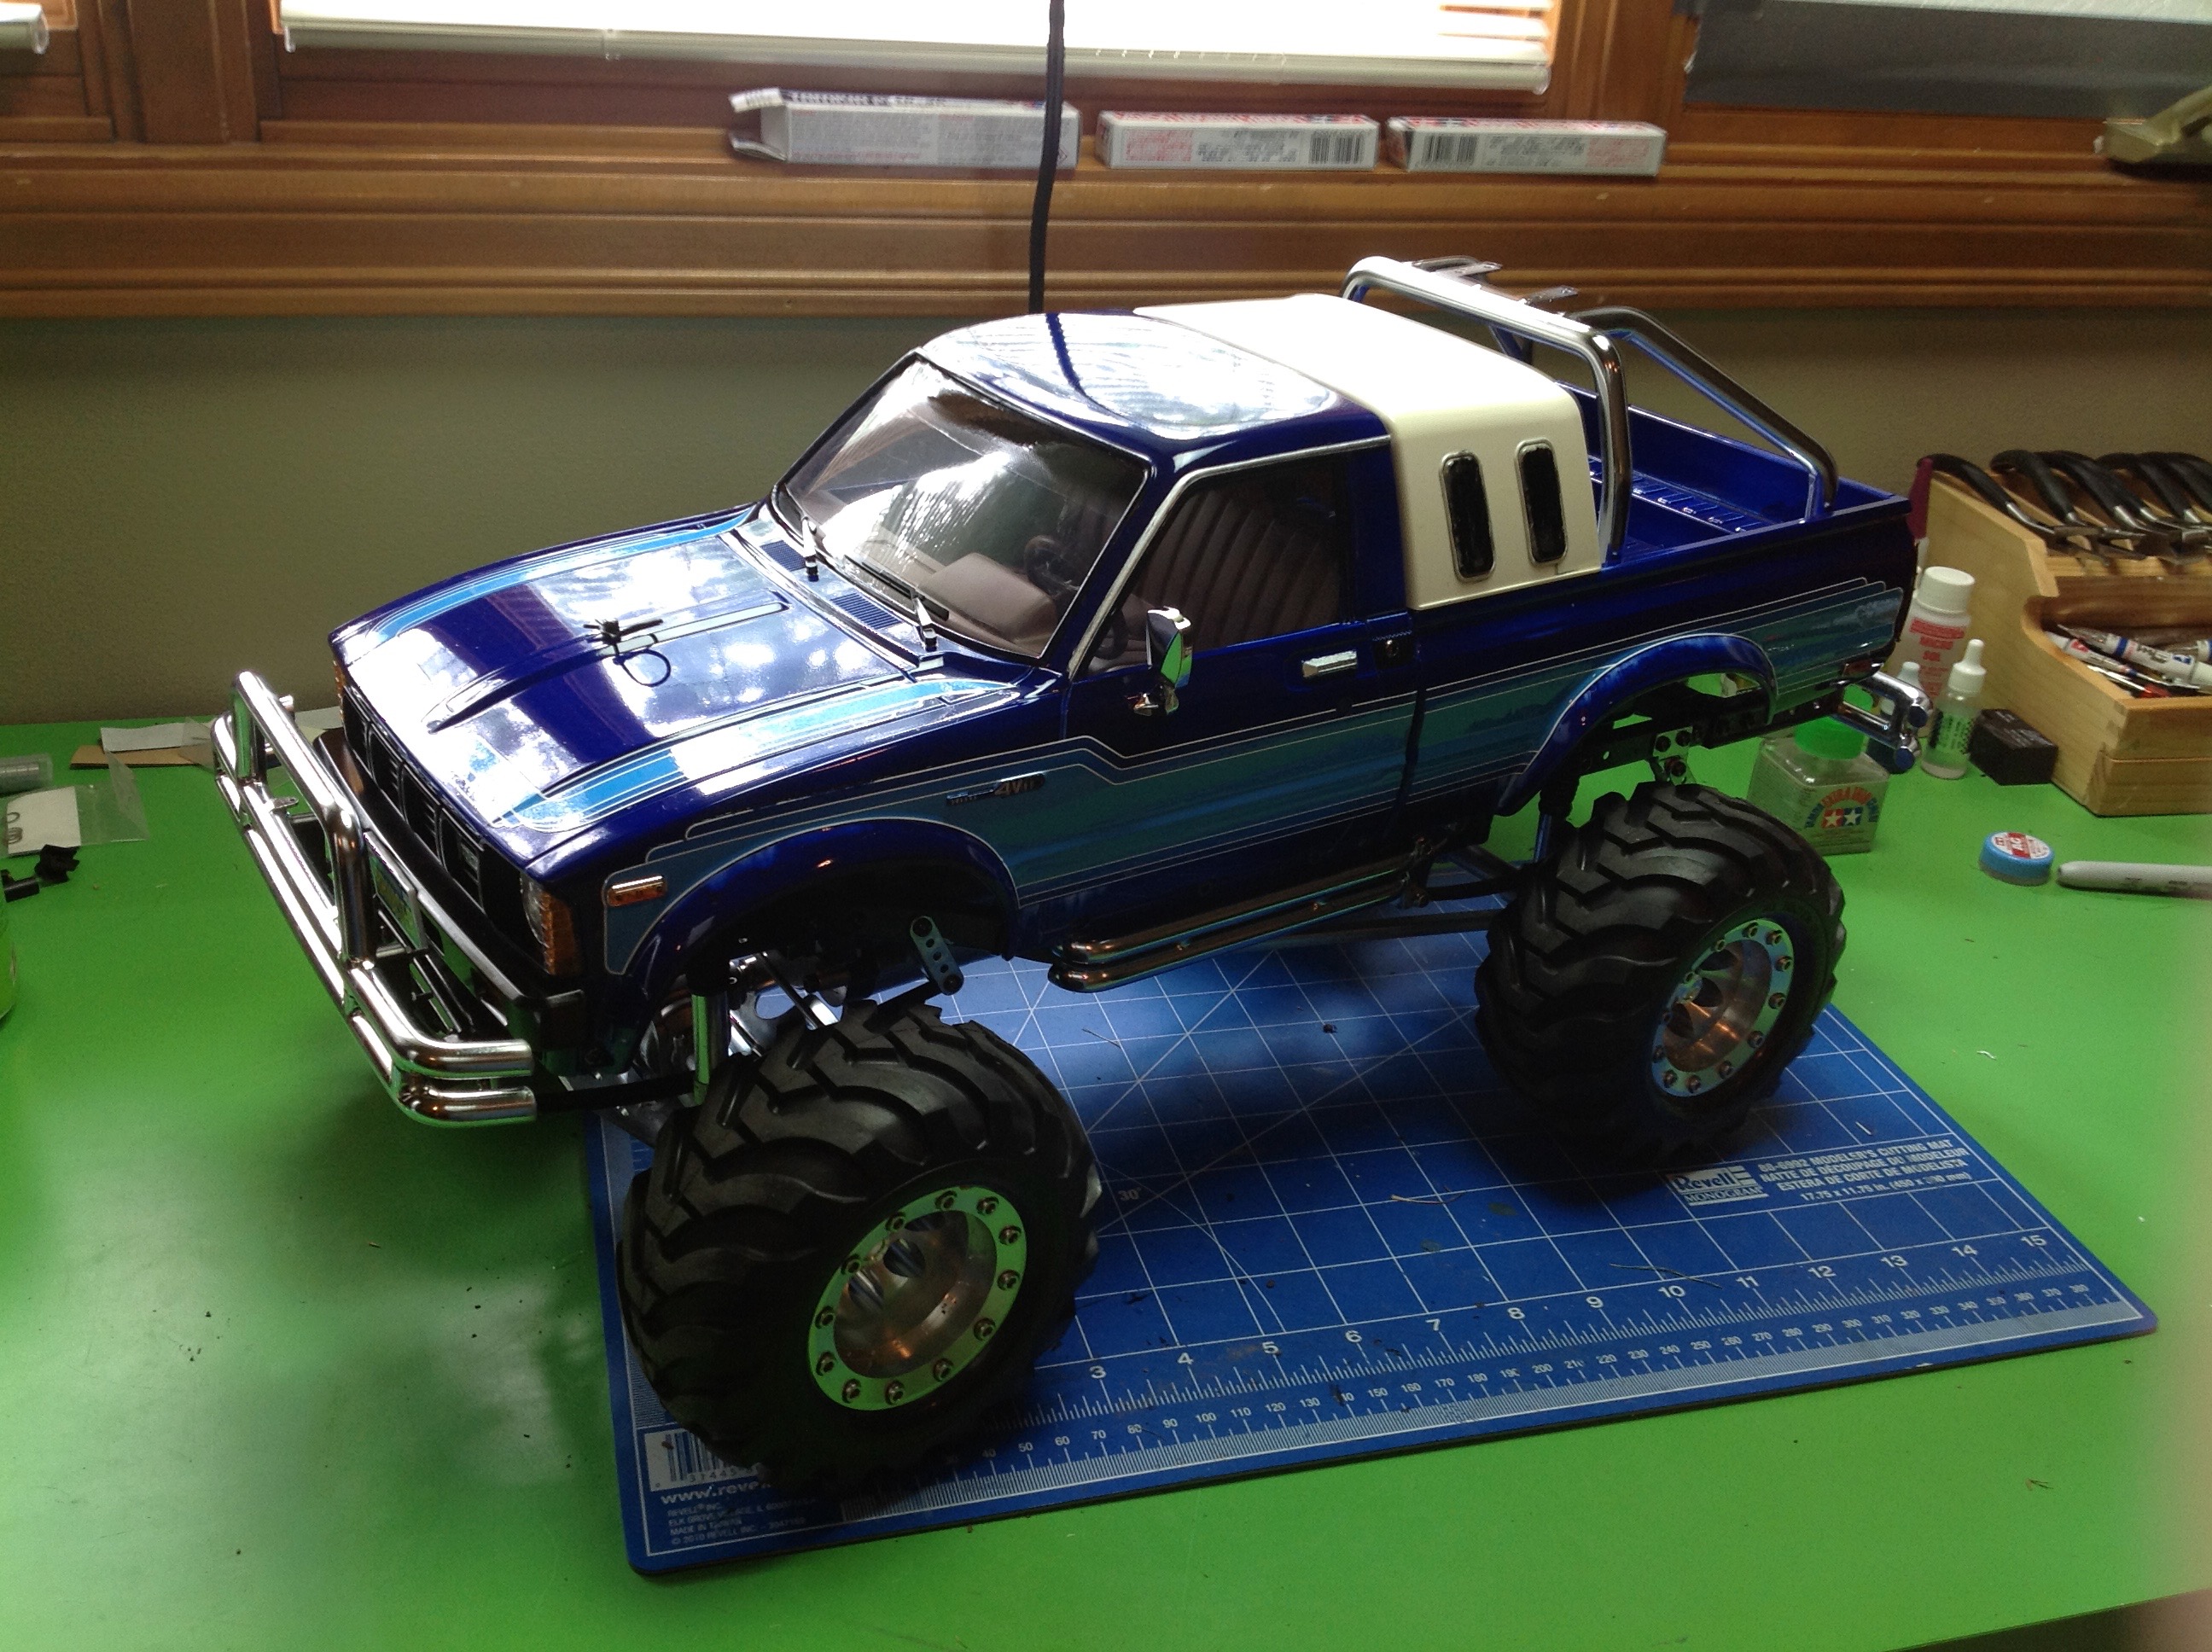
The left hand image shows the completed truck before
the stickers were installed. This model comes with a lot of
stickers and many of them have that classic '80's Tamiya charm. I
wanted this to really look like a scale truck though, so I chose to only
install the striping and not all the other graphics. The large
stickers are quite a challenge to install because they have to wrap
around details like the marker lights and therefore need to be aligned
perfectly. There are also some really nice, intricate metal
transfer decals for the logo. After the stickers were on I wanted a
nice glossy clear coat. I wasn't happy with the level of gloss in
Tamiya clear, so I bought a Model Master oil based lacquer. This
produced a beautiful deep clear, but is also reacted chemically with the
paint and caused some runs on the wheel arches and on the windows of the sleeper. I have decided
they are artistic character patches. Both of these images also
show many of the upgrades which I'll be discussing on the next page.