King Hauler Project
Tamiya King Hauler Project
Page 4: Finishing the chassis
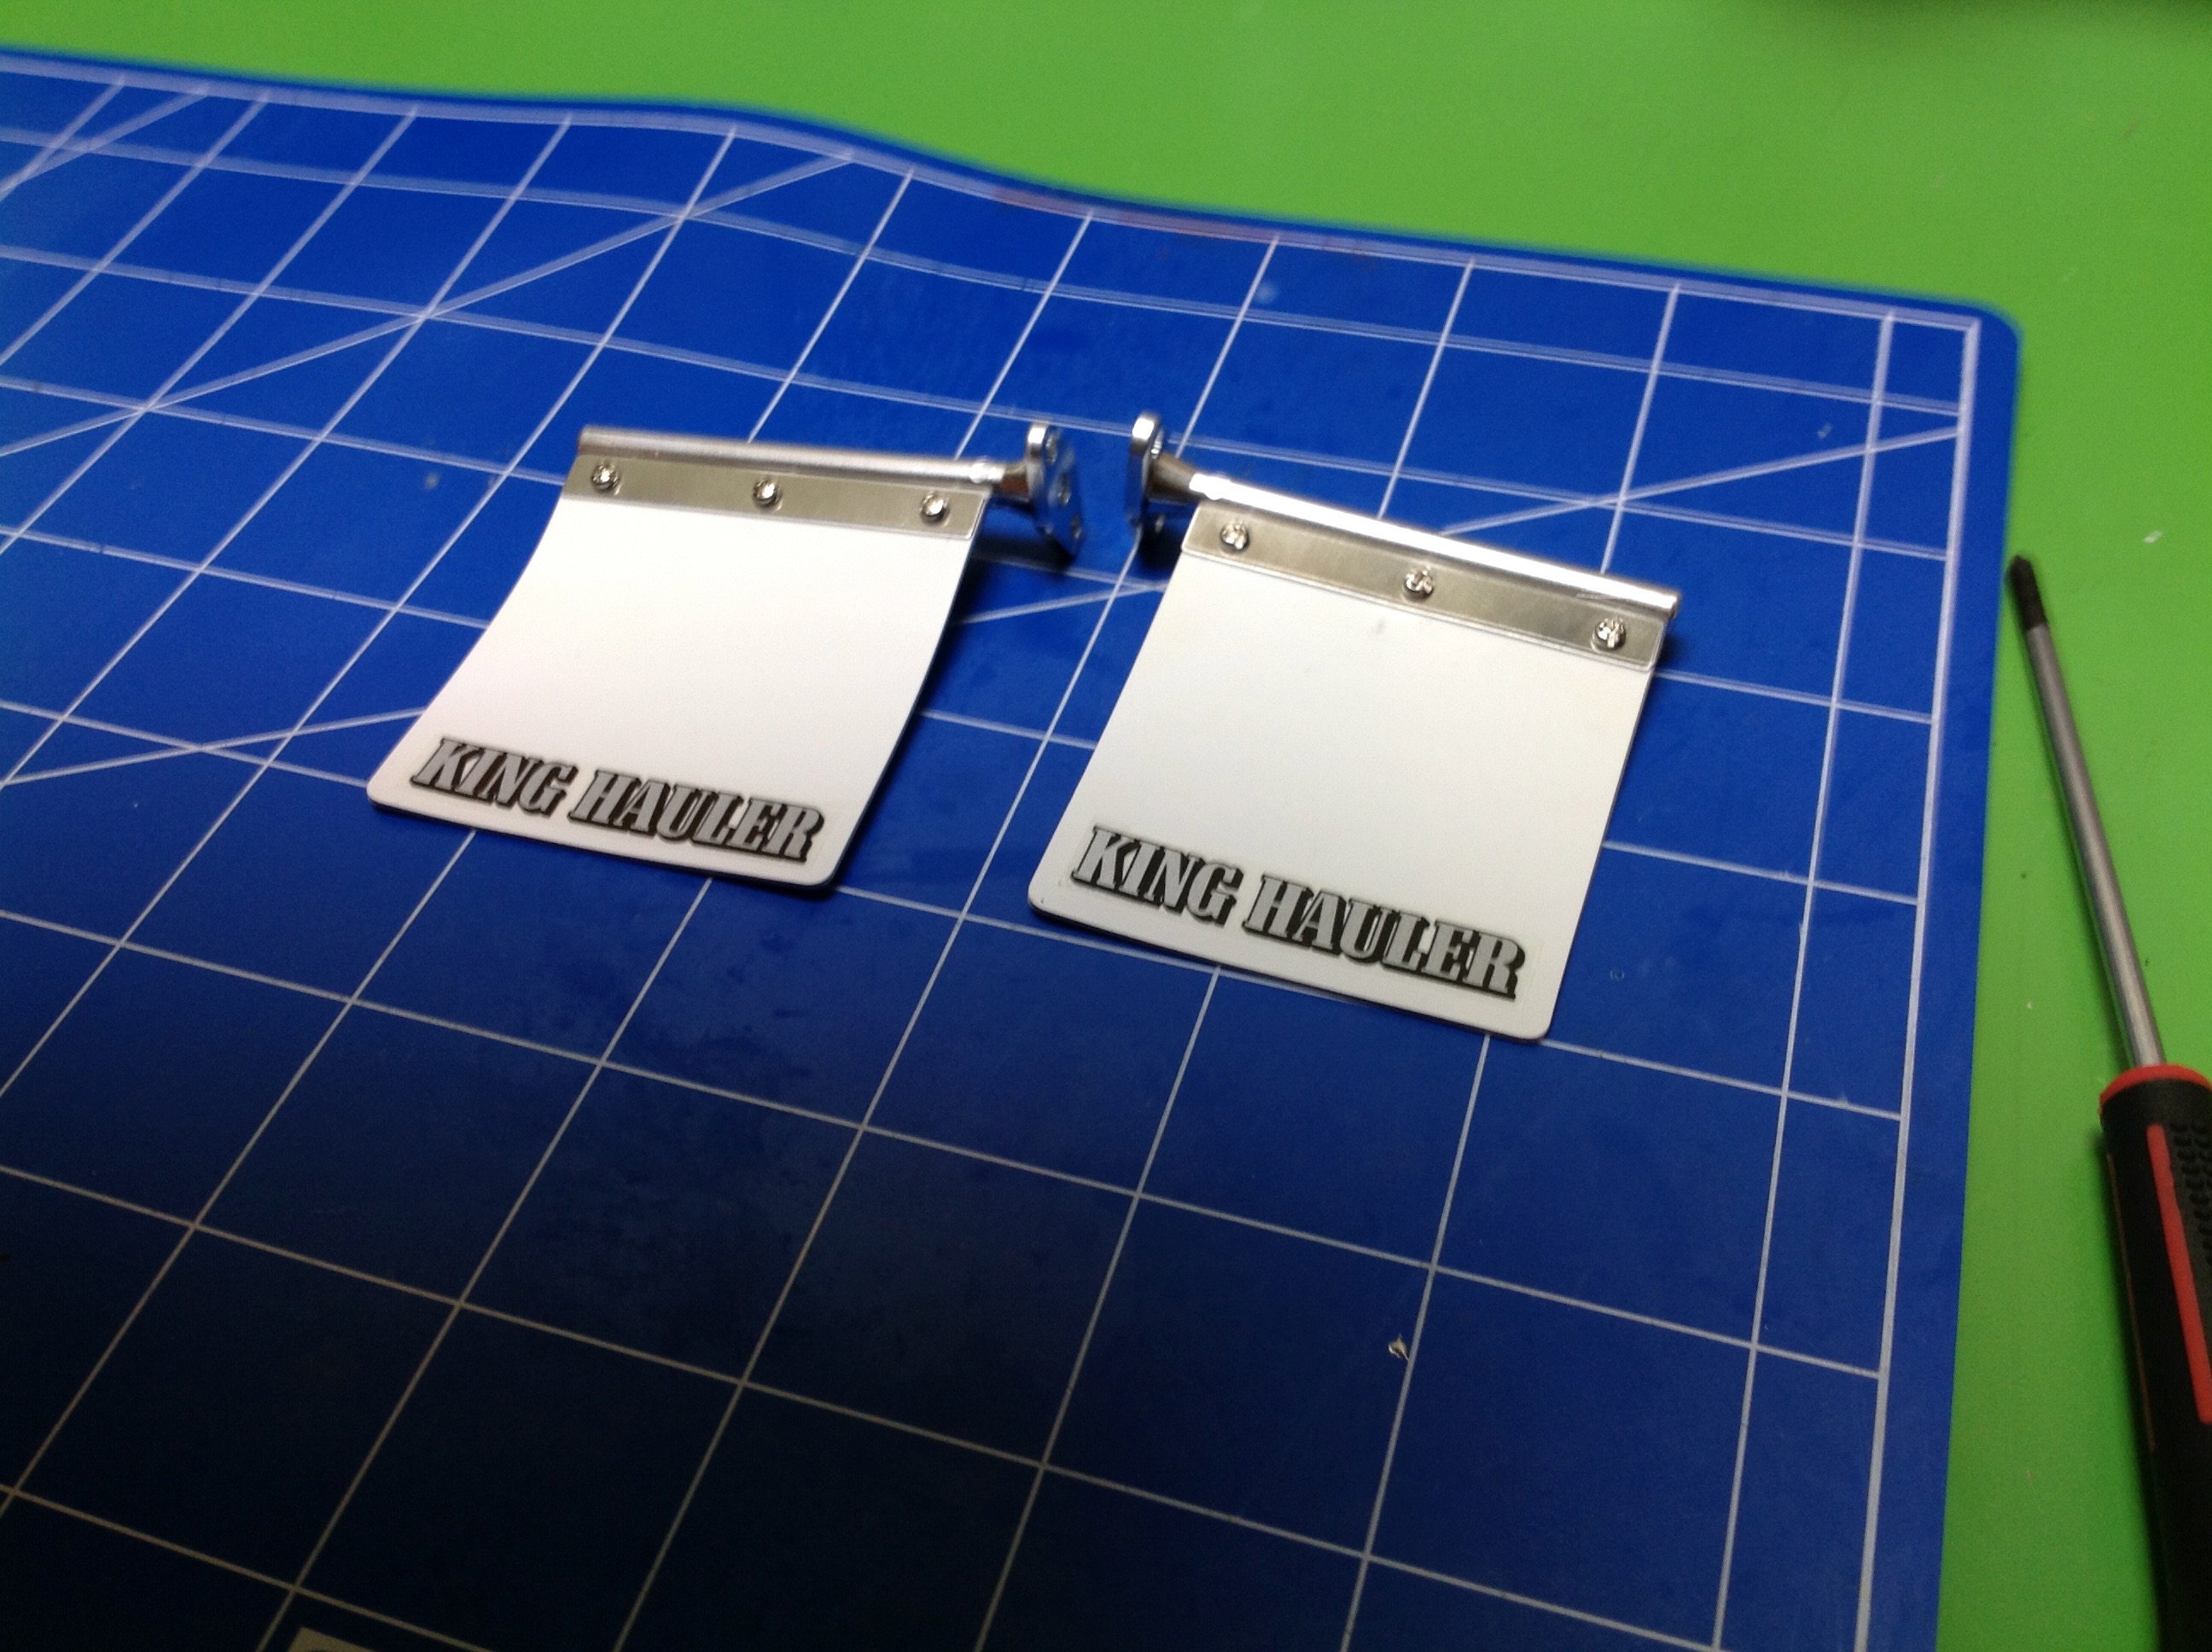
Step 28 builds the mud flaps which are actual sheets of rubber. The text is a sticker.
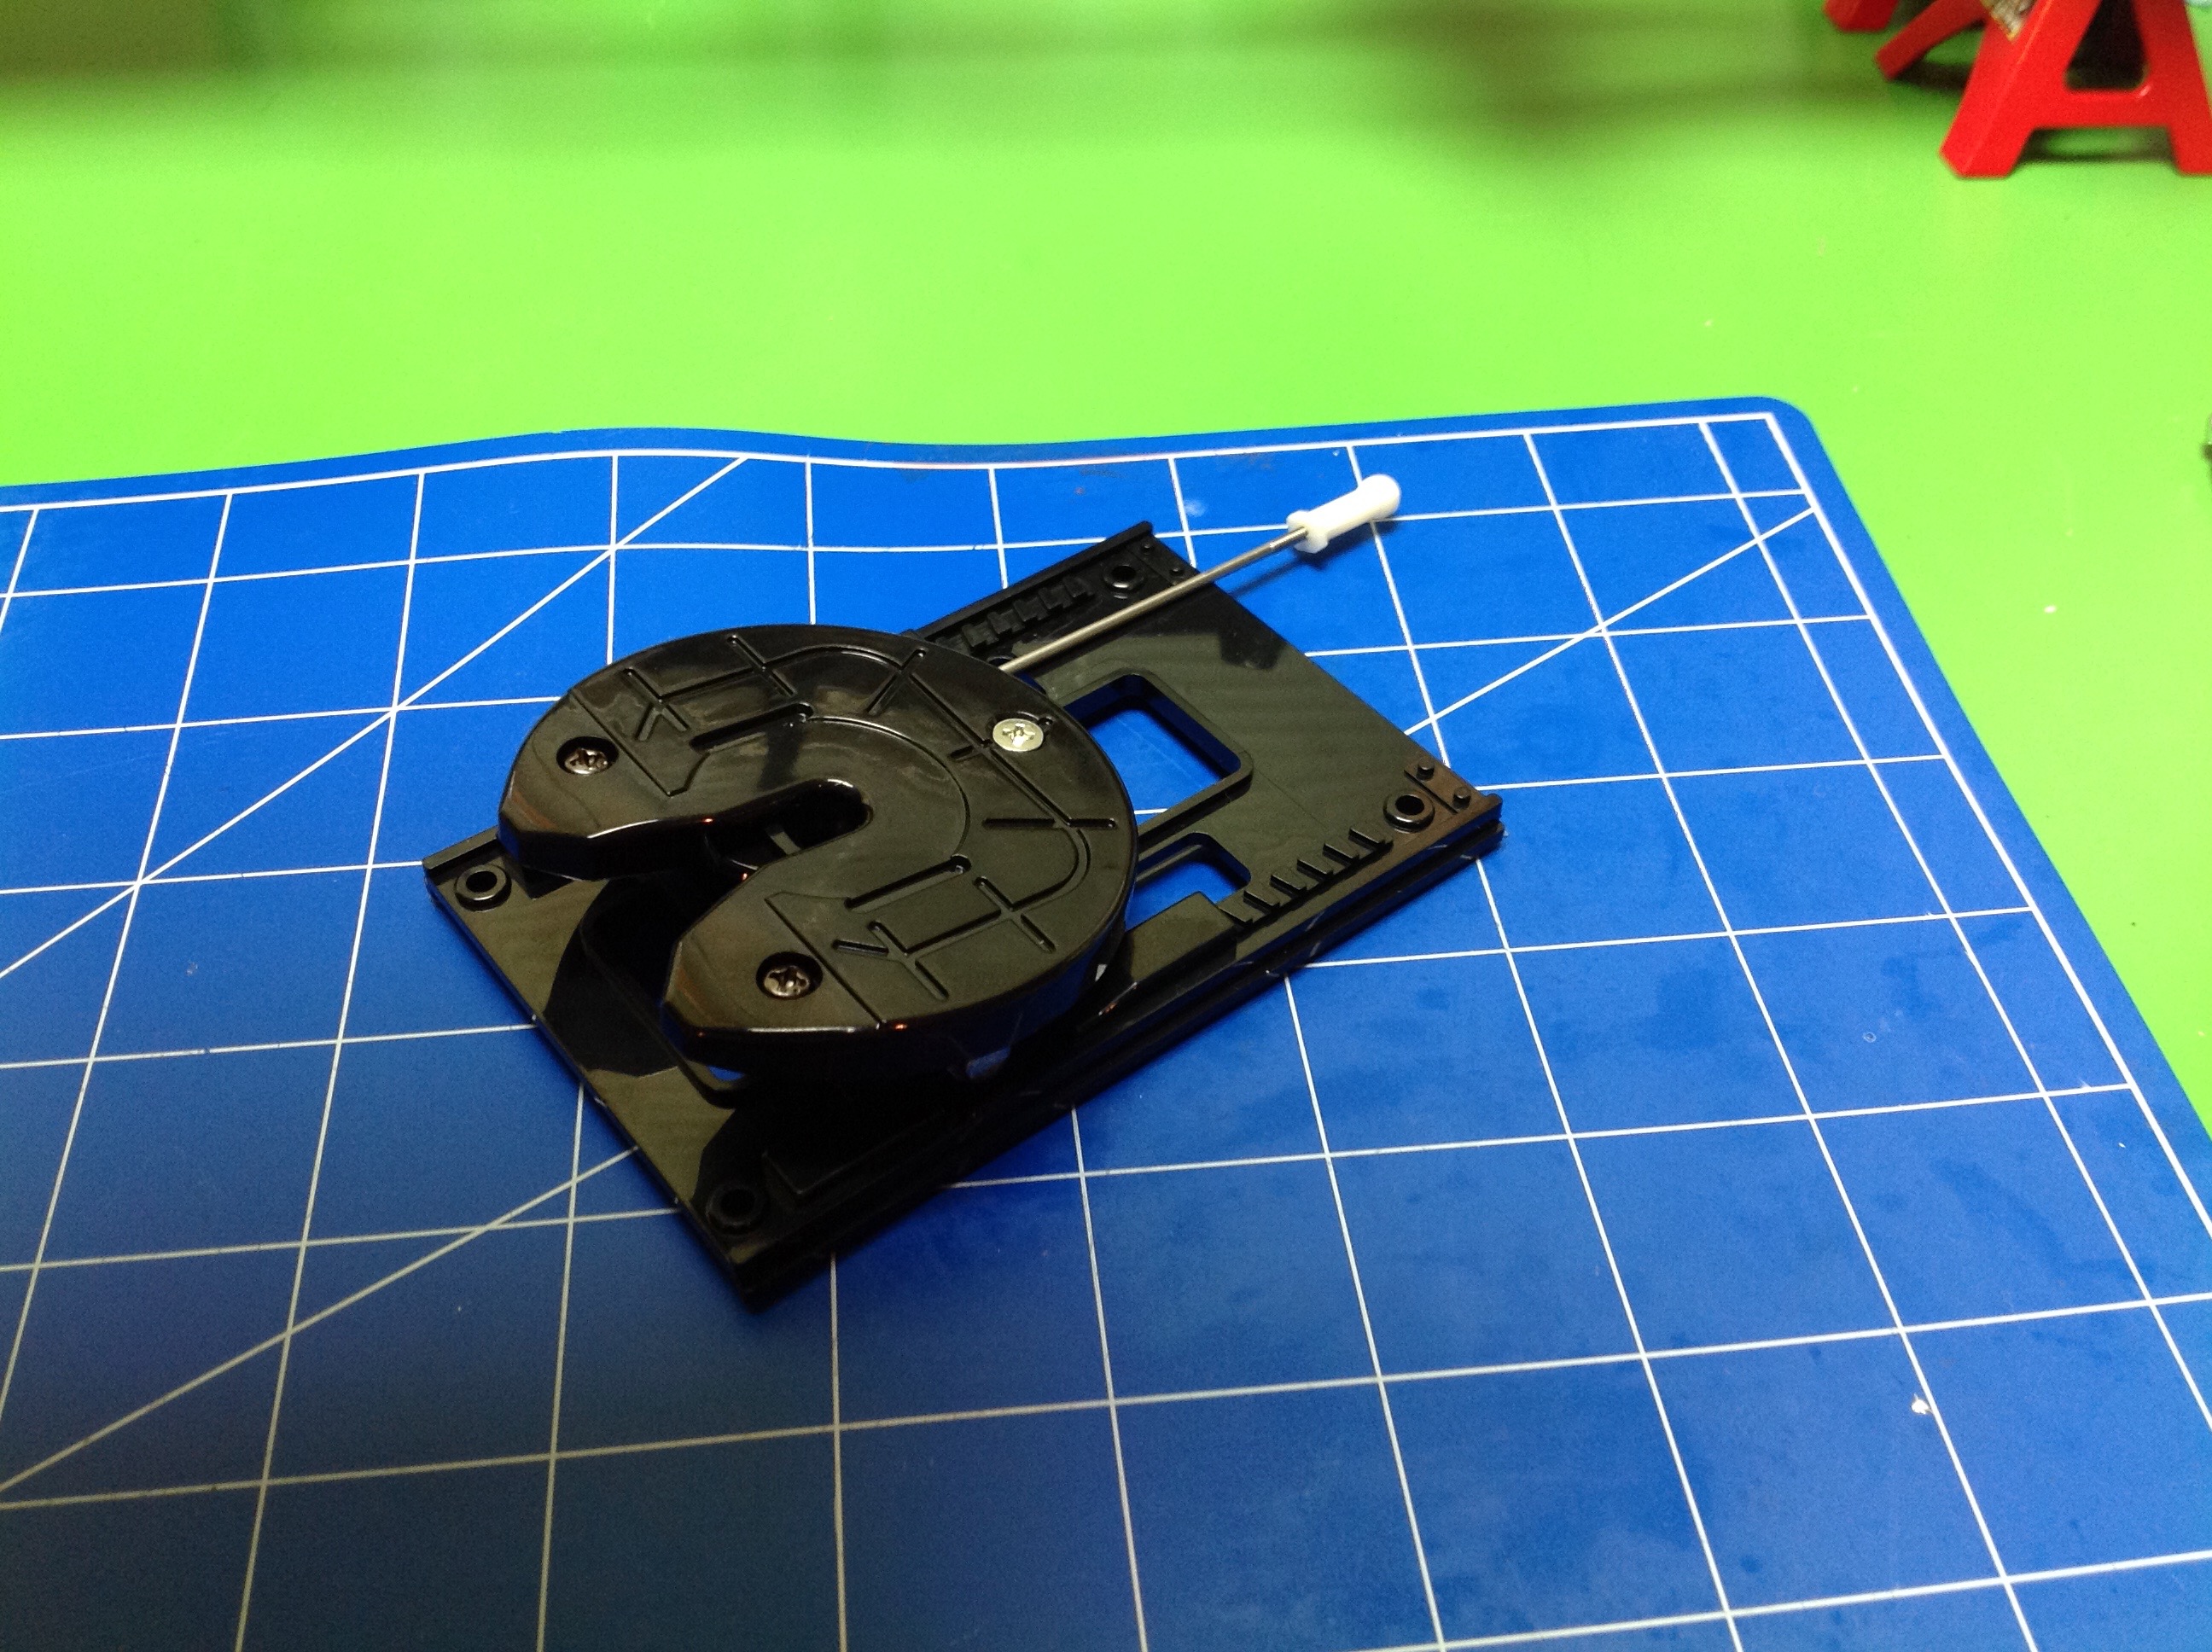
Step 29 builds the 5th wheel coupler plate. There is a hook inside
to lock onto the trailer pin The tie rod is connected to a spring
loaded lever which can be used to release the trailer remotely, but
manually.
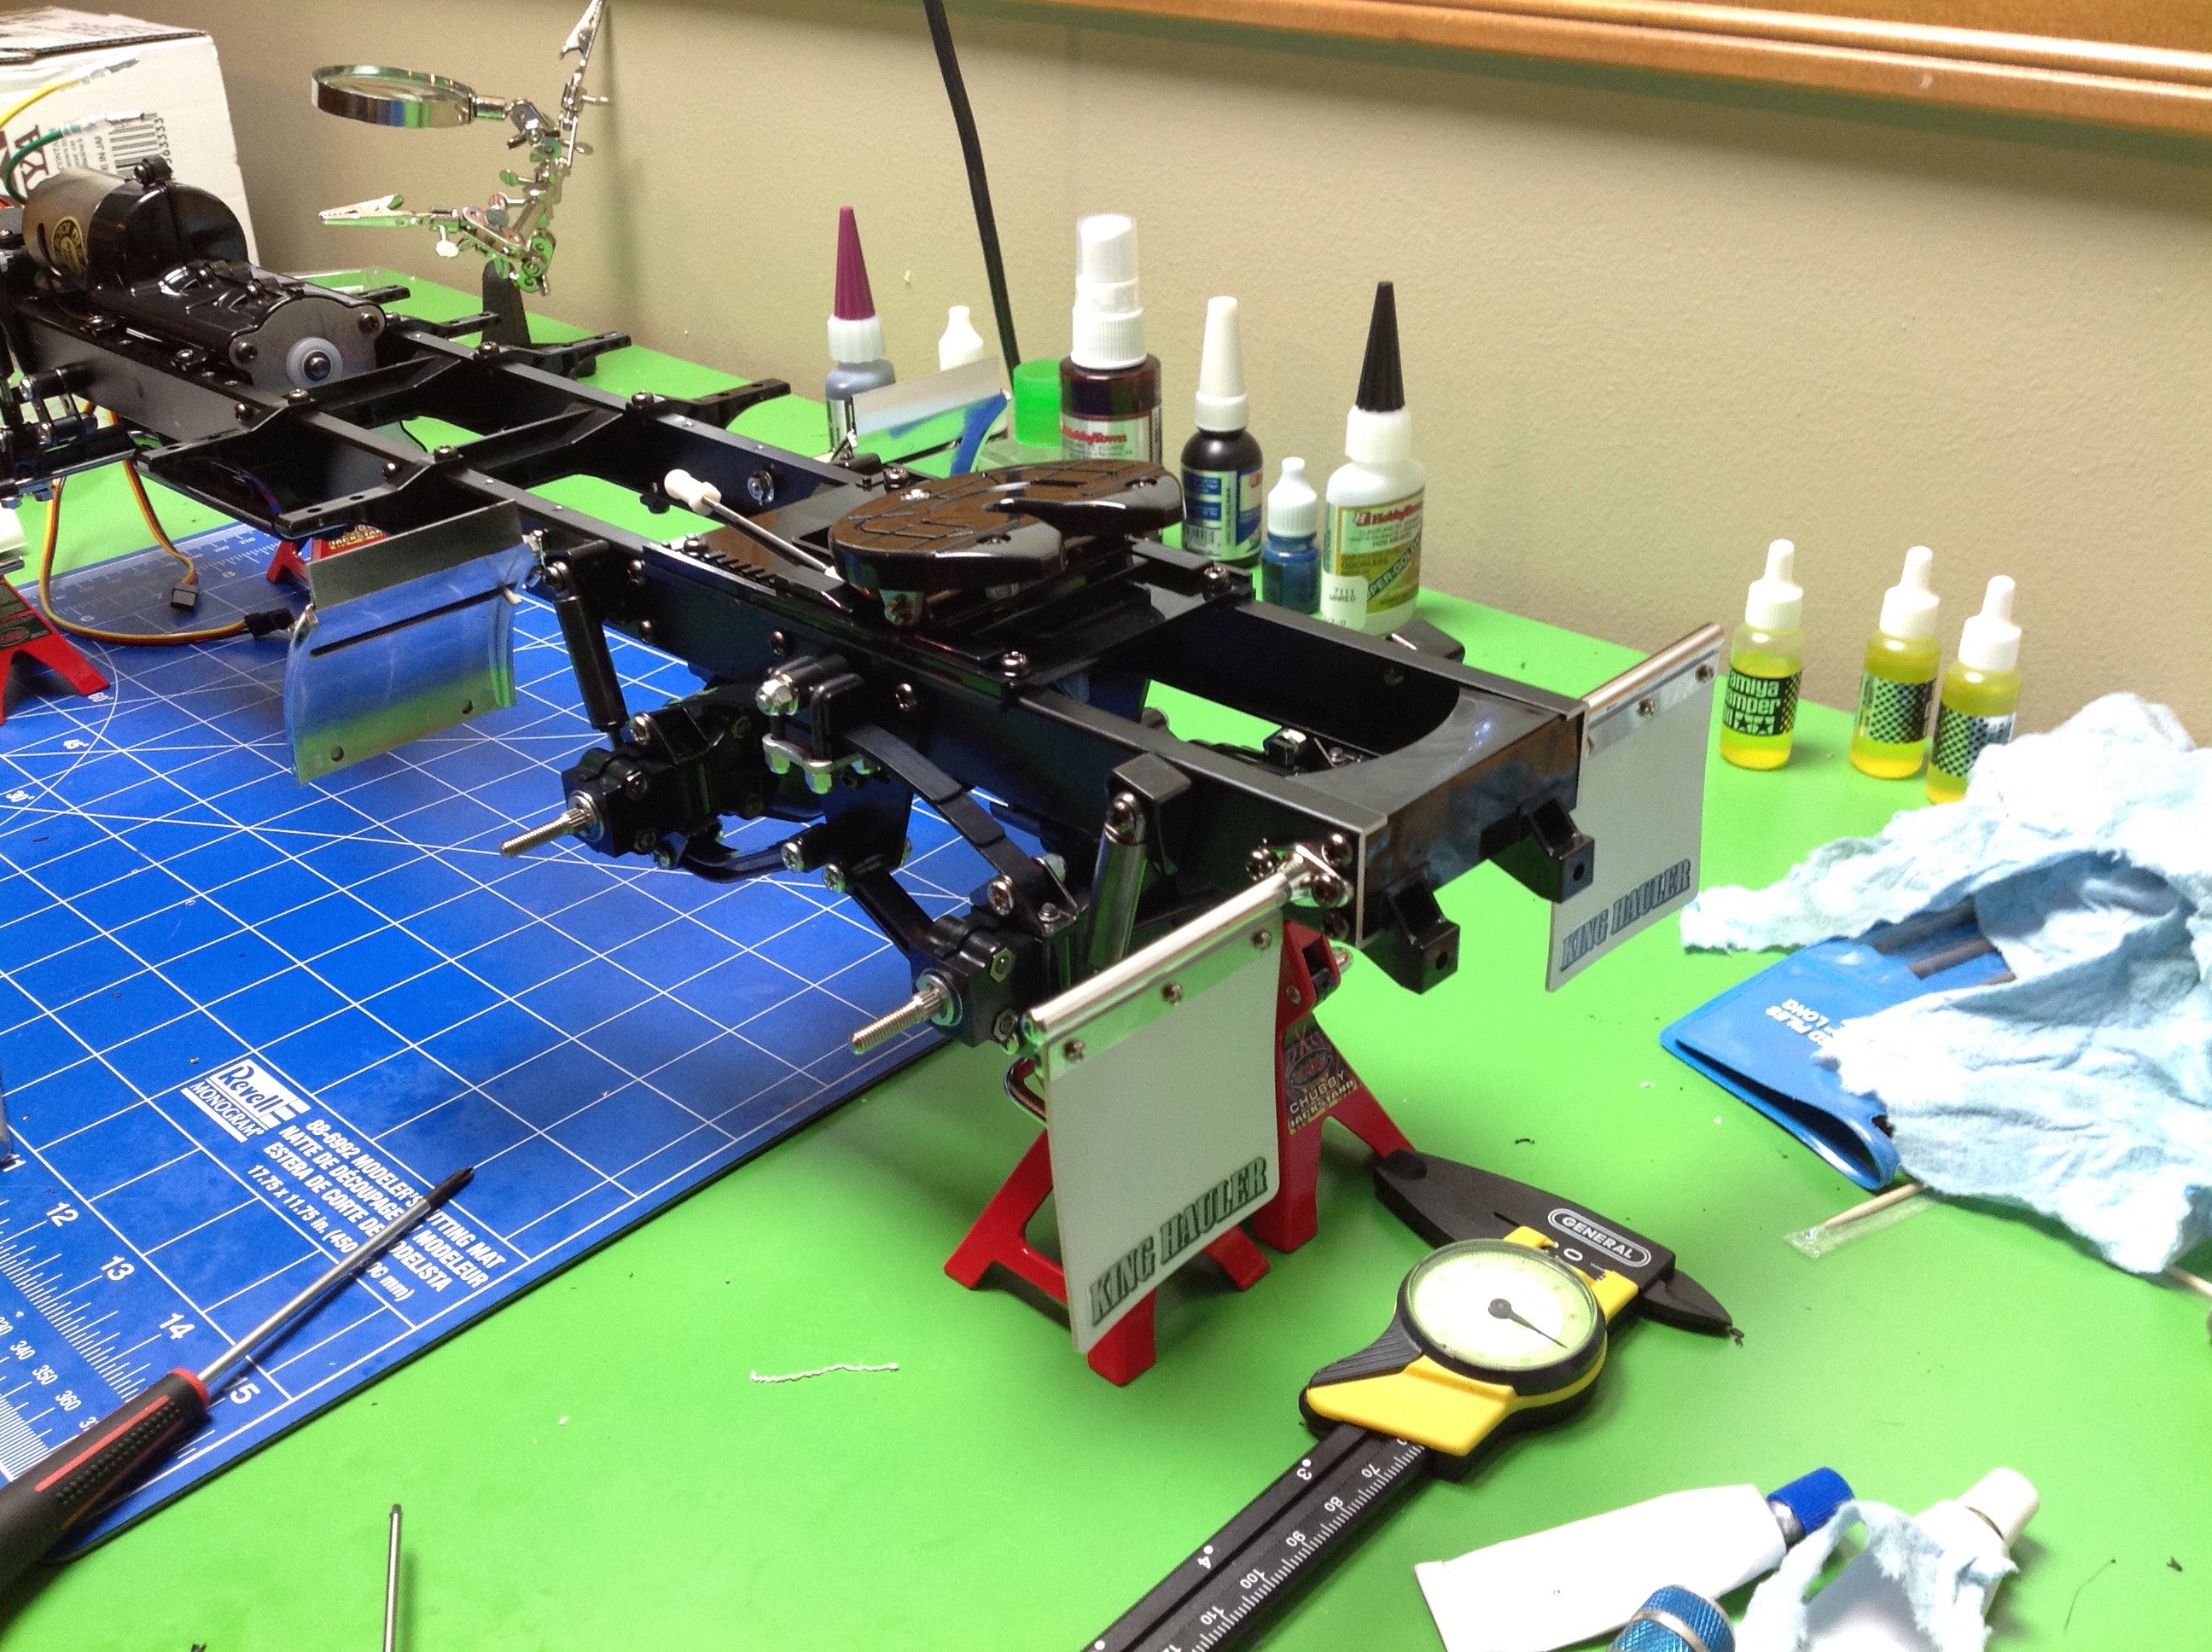
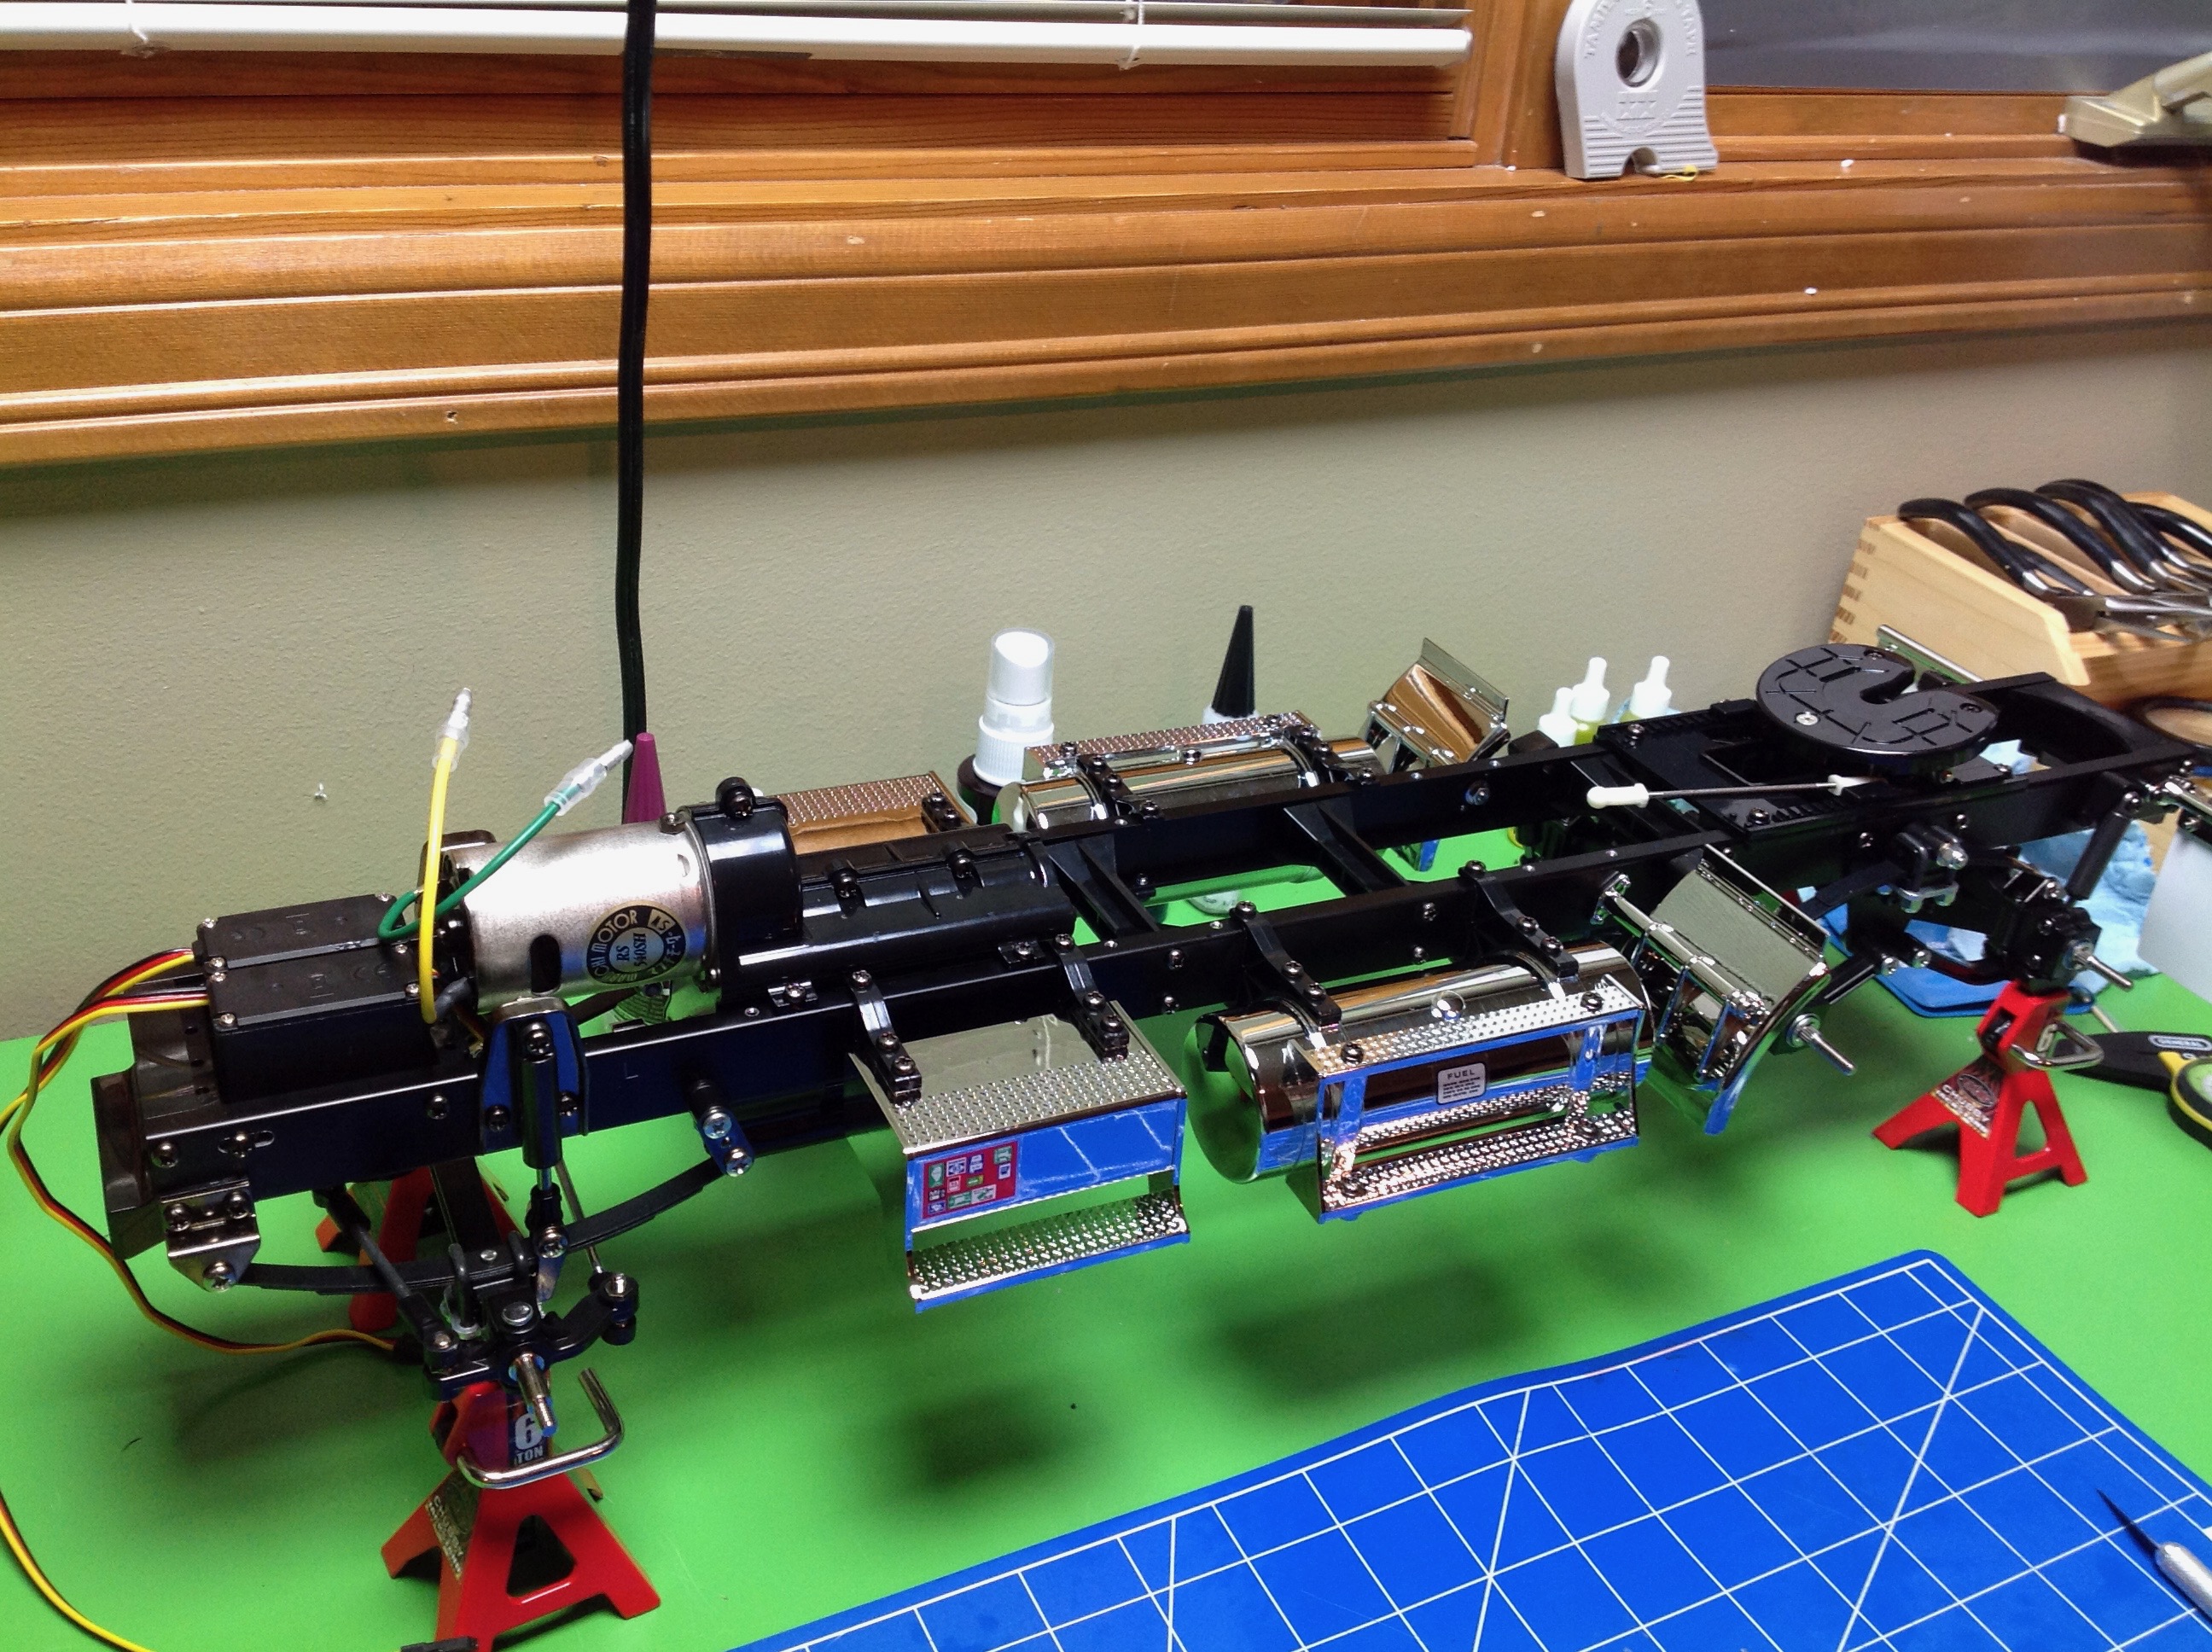
Step 30 installs the coupler, the mud flaps, and the fenders onto the chassis.
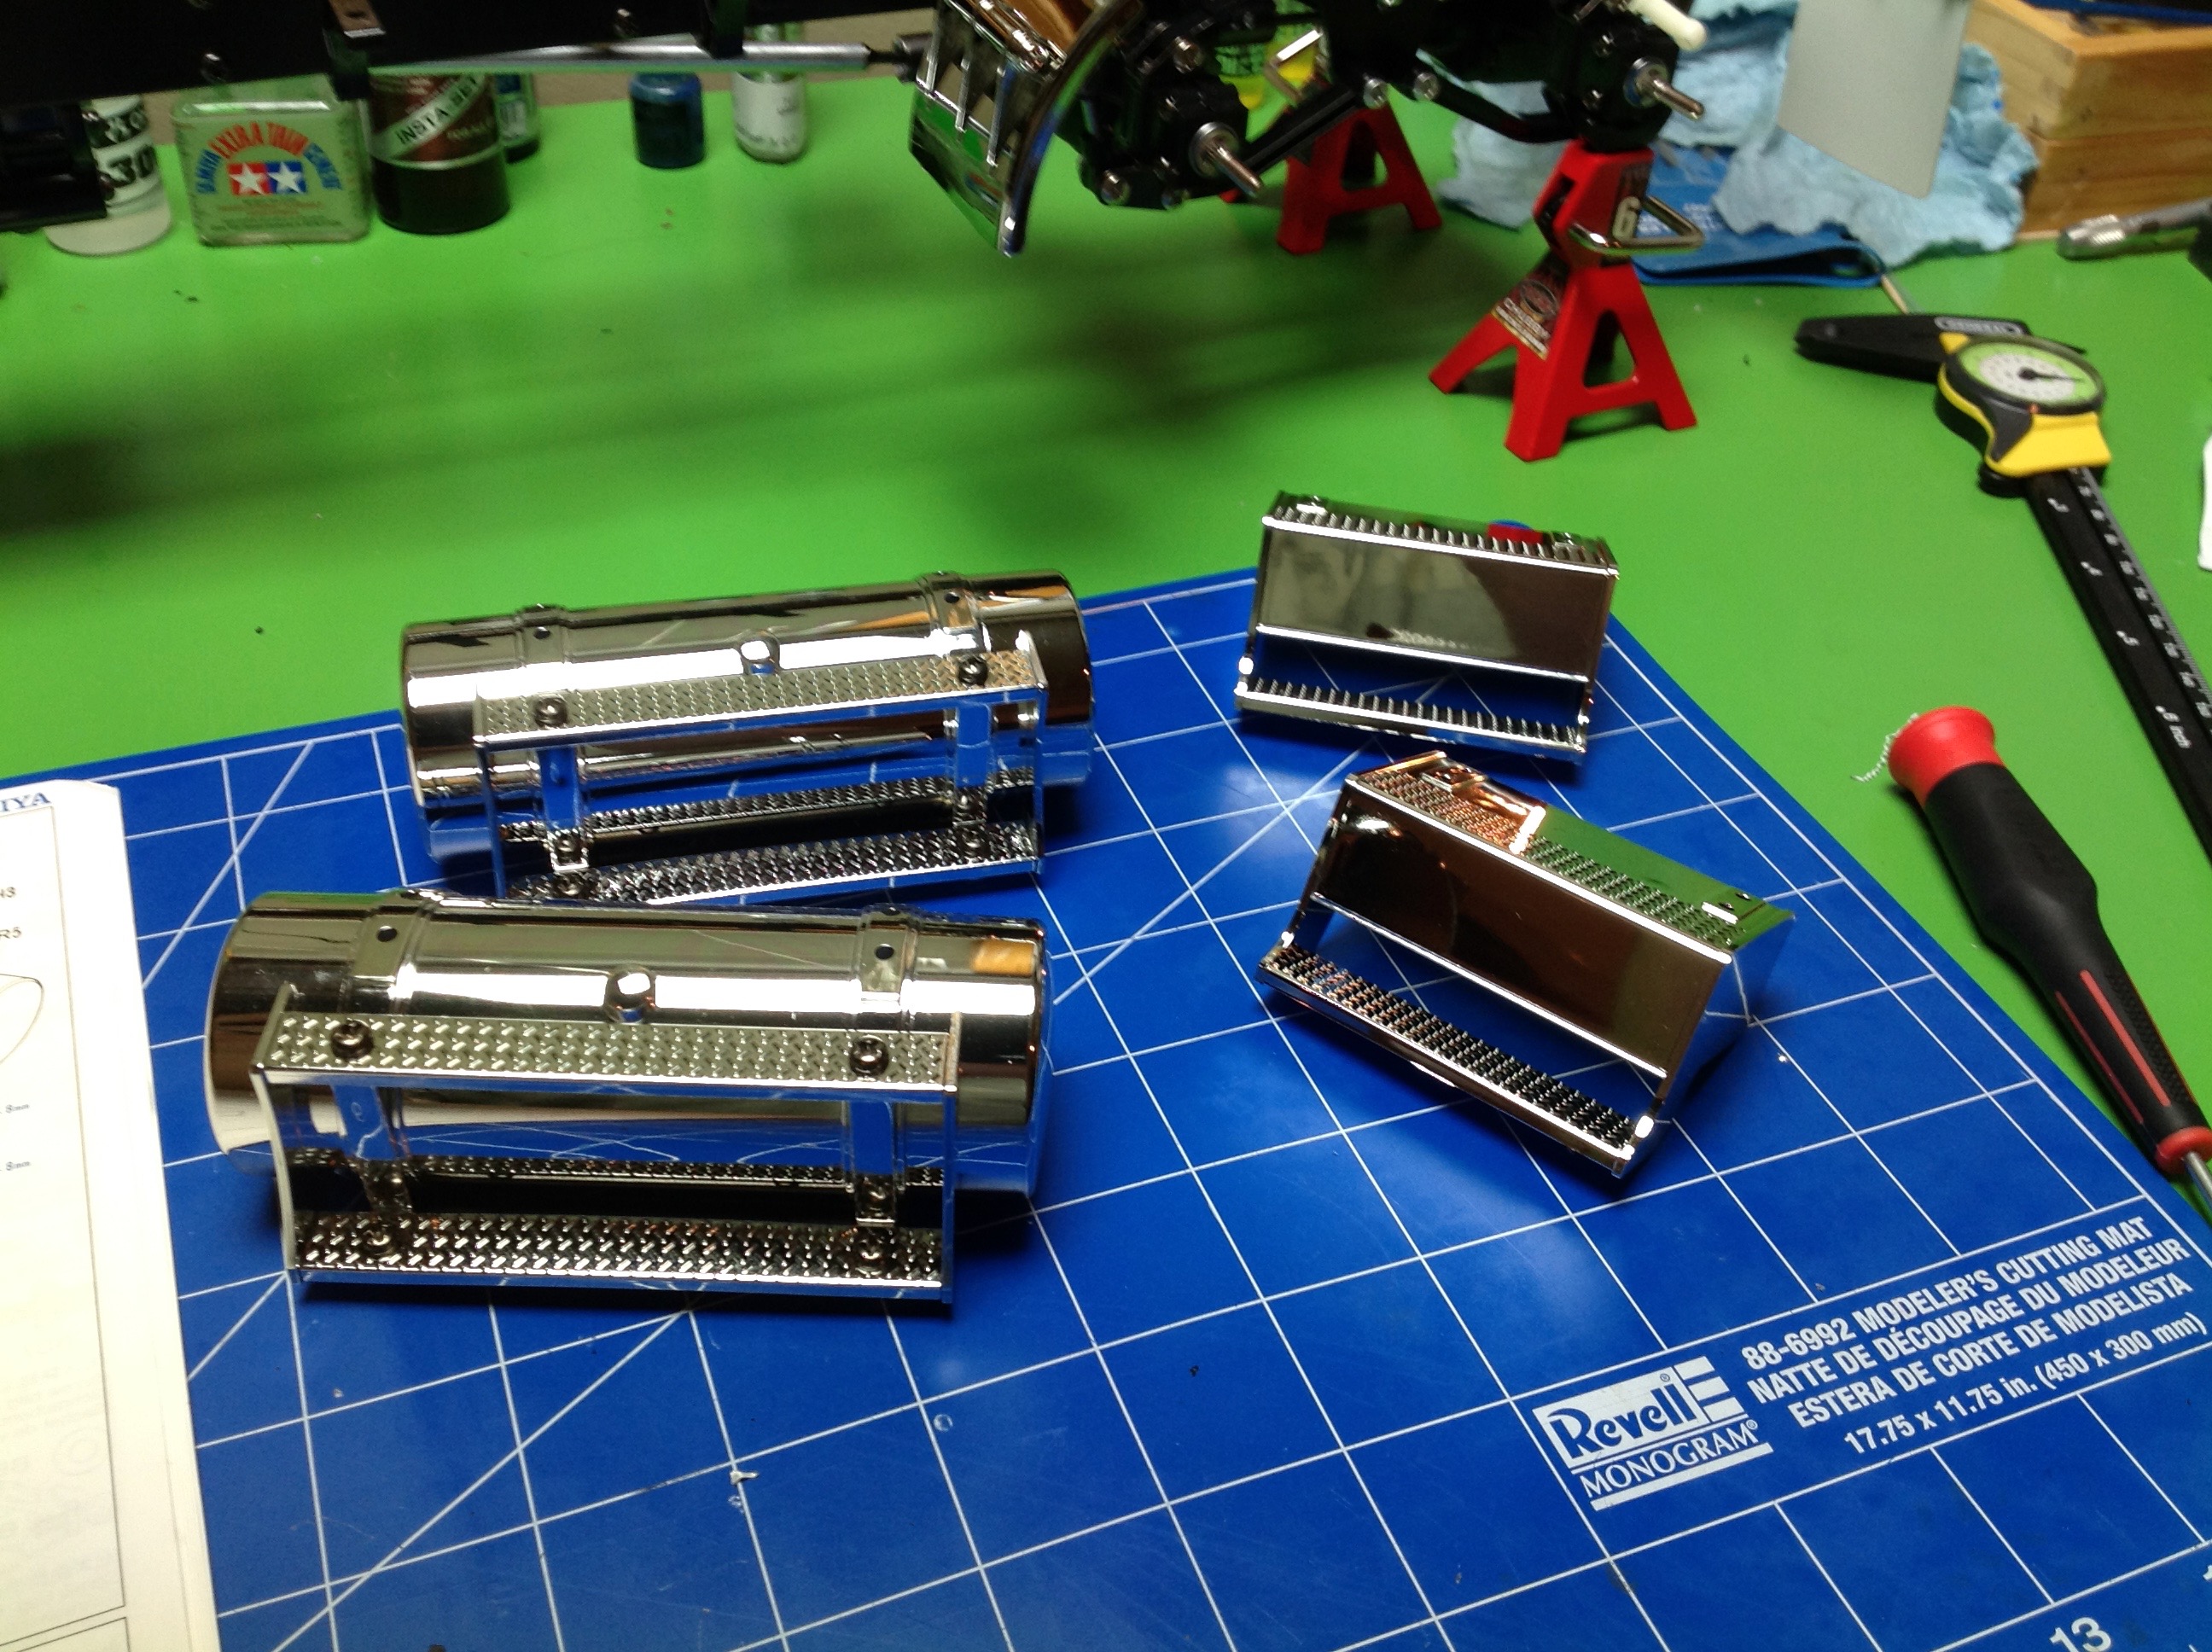
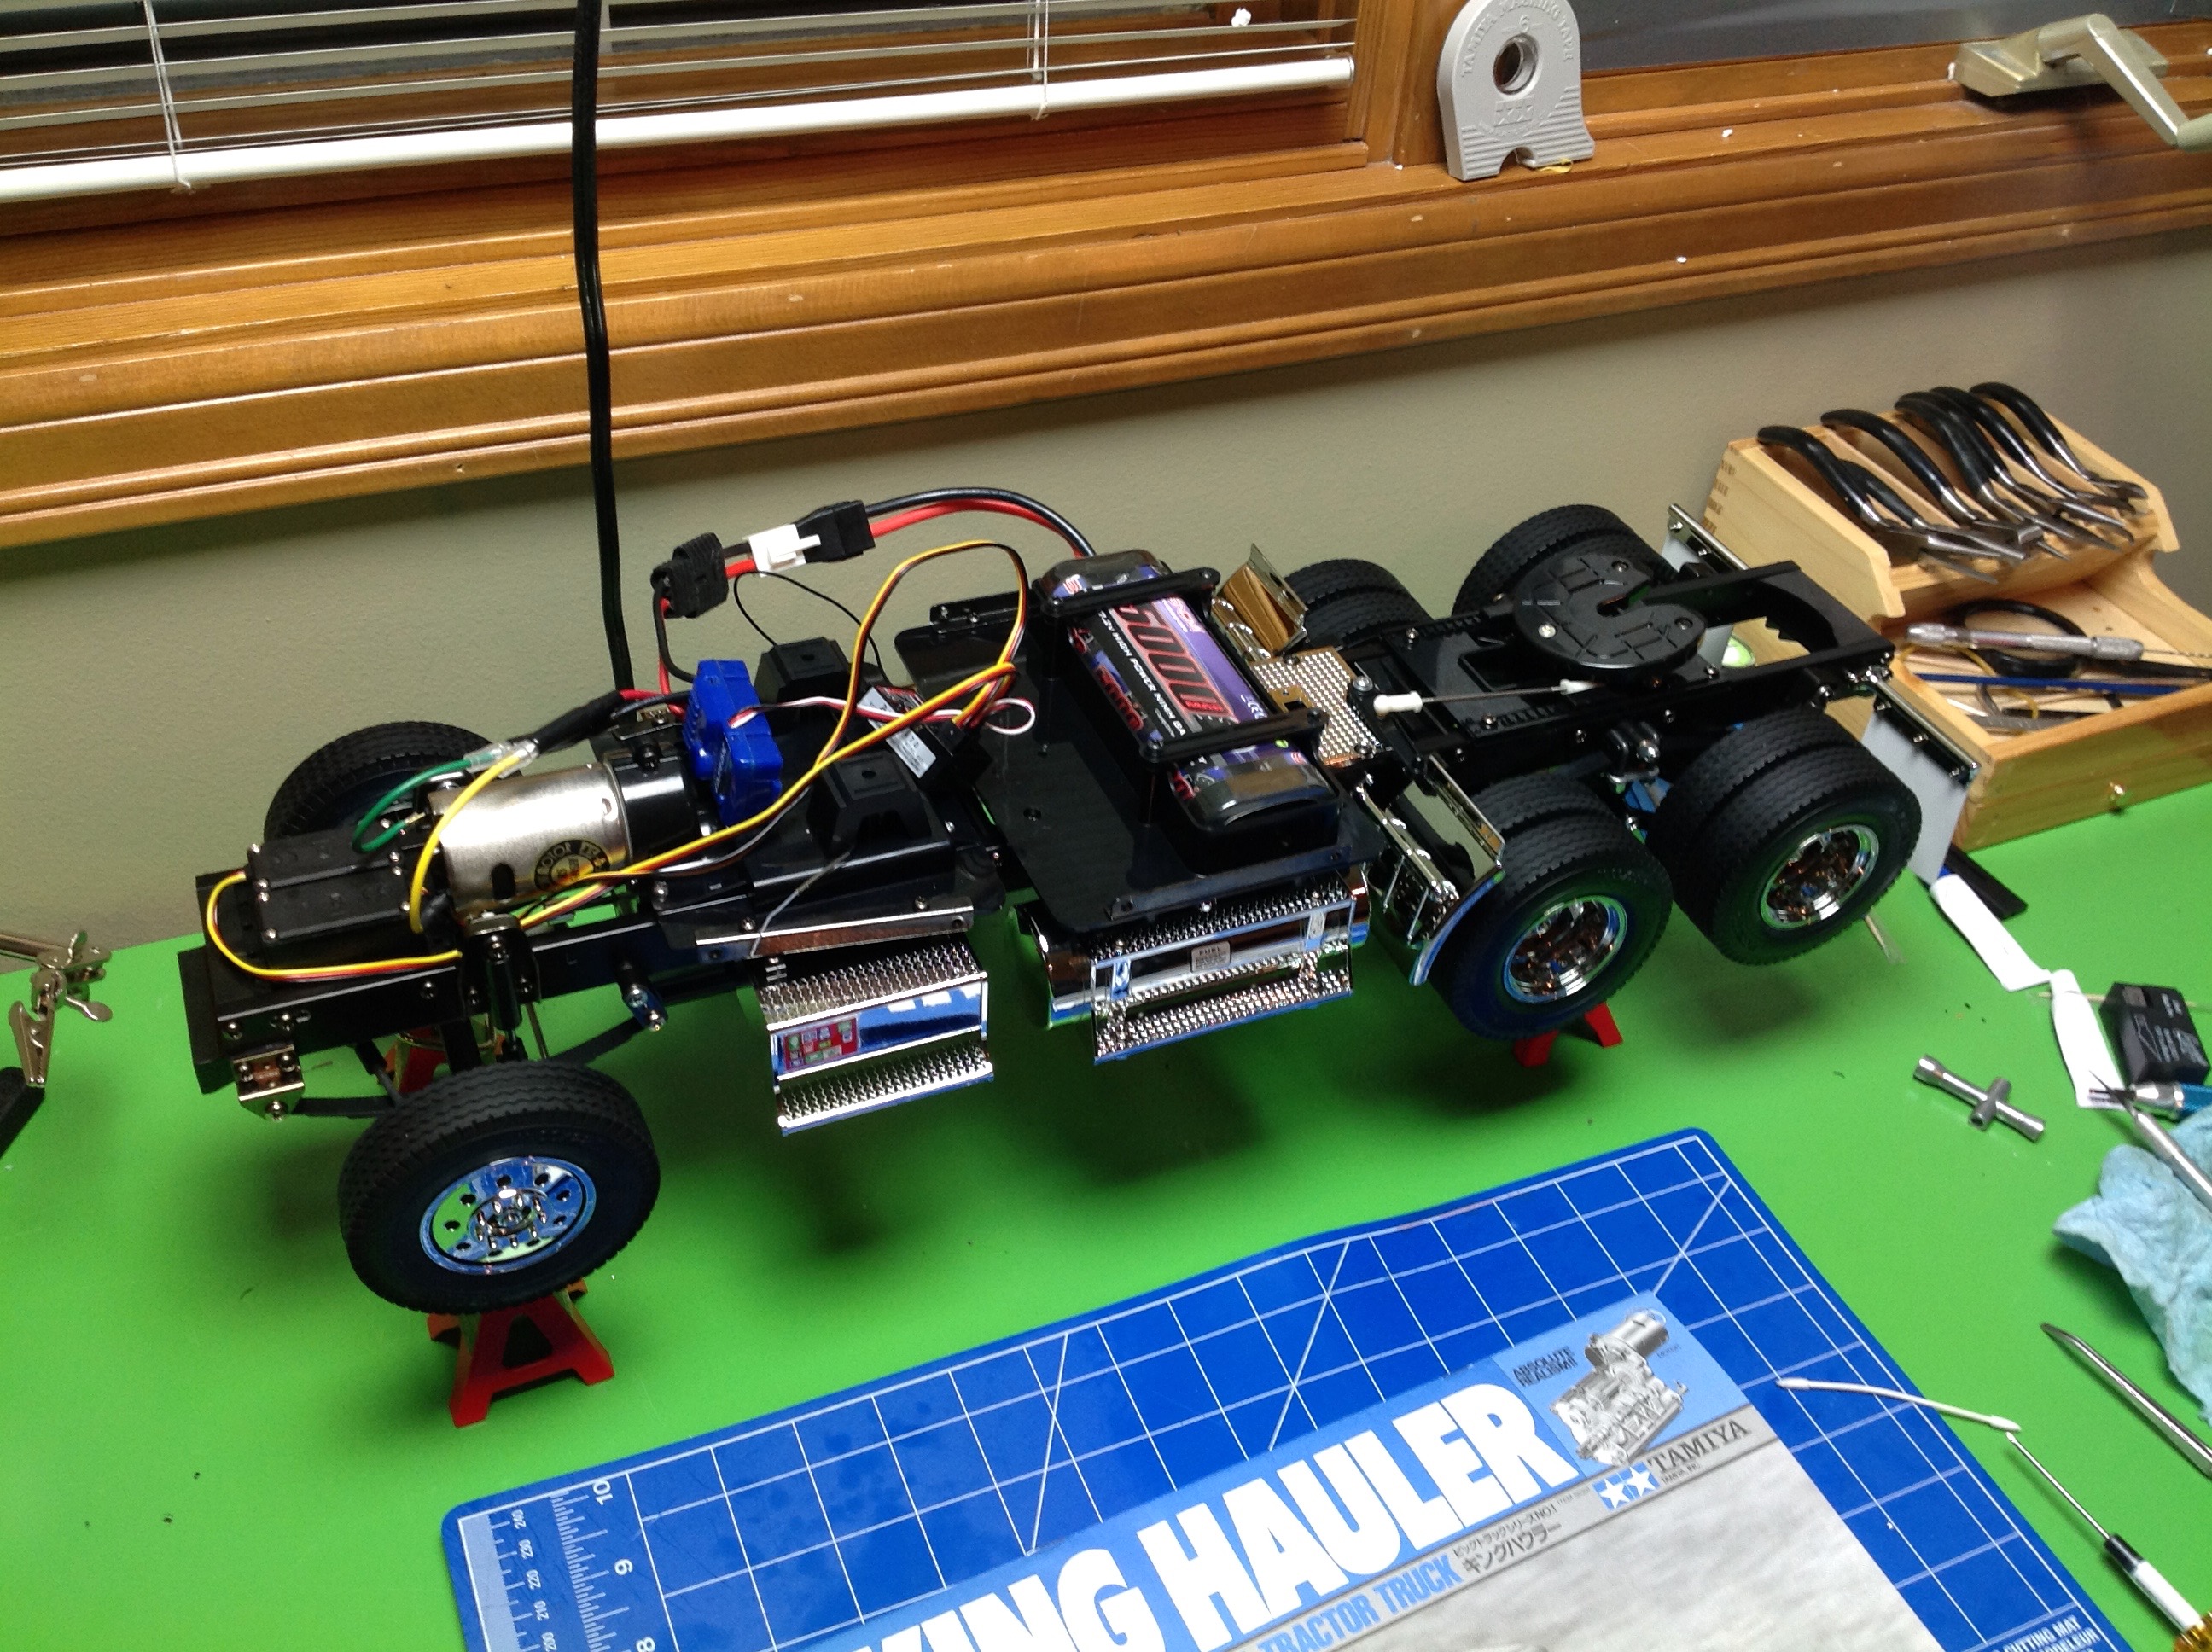
Step 31 builds the plated fuel tanks and battery boxes. Note that
this is where the batteries would go in the real truck, but in the scale
model they are empty. The battery will be in the sleeper.
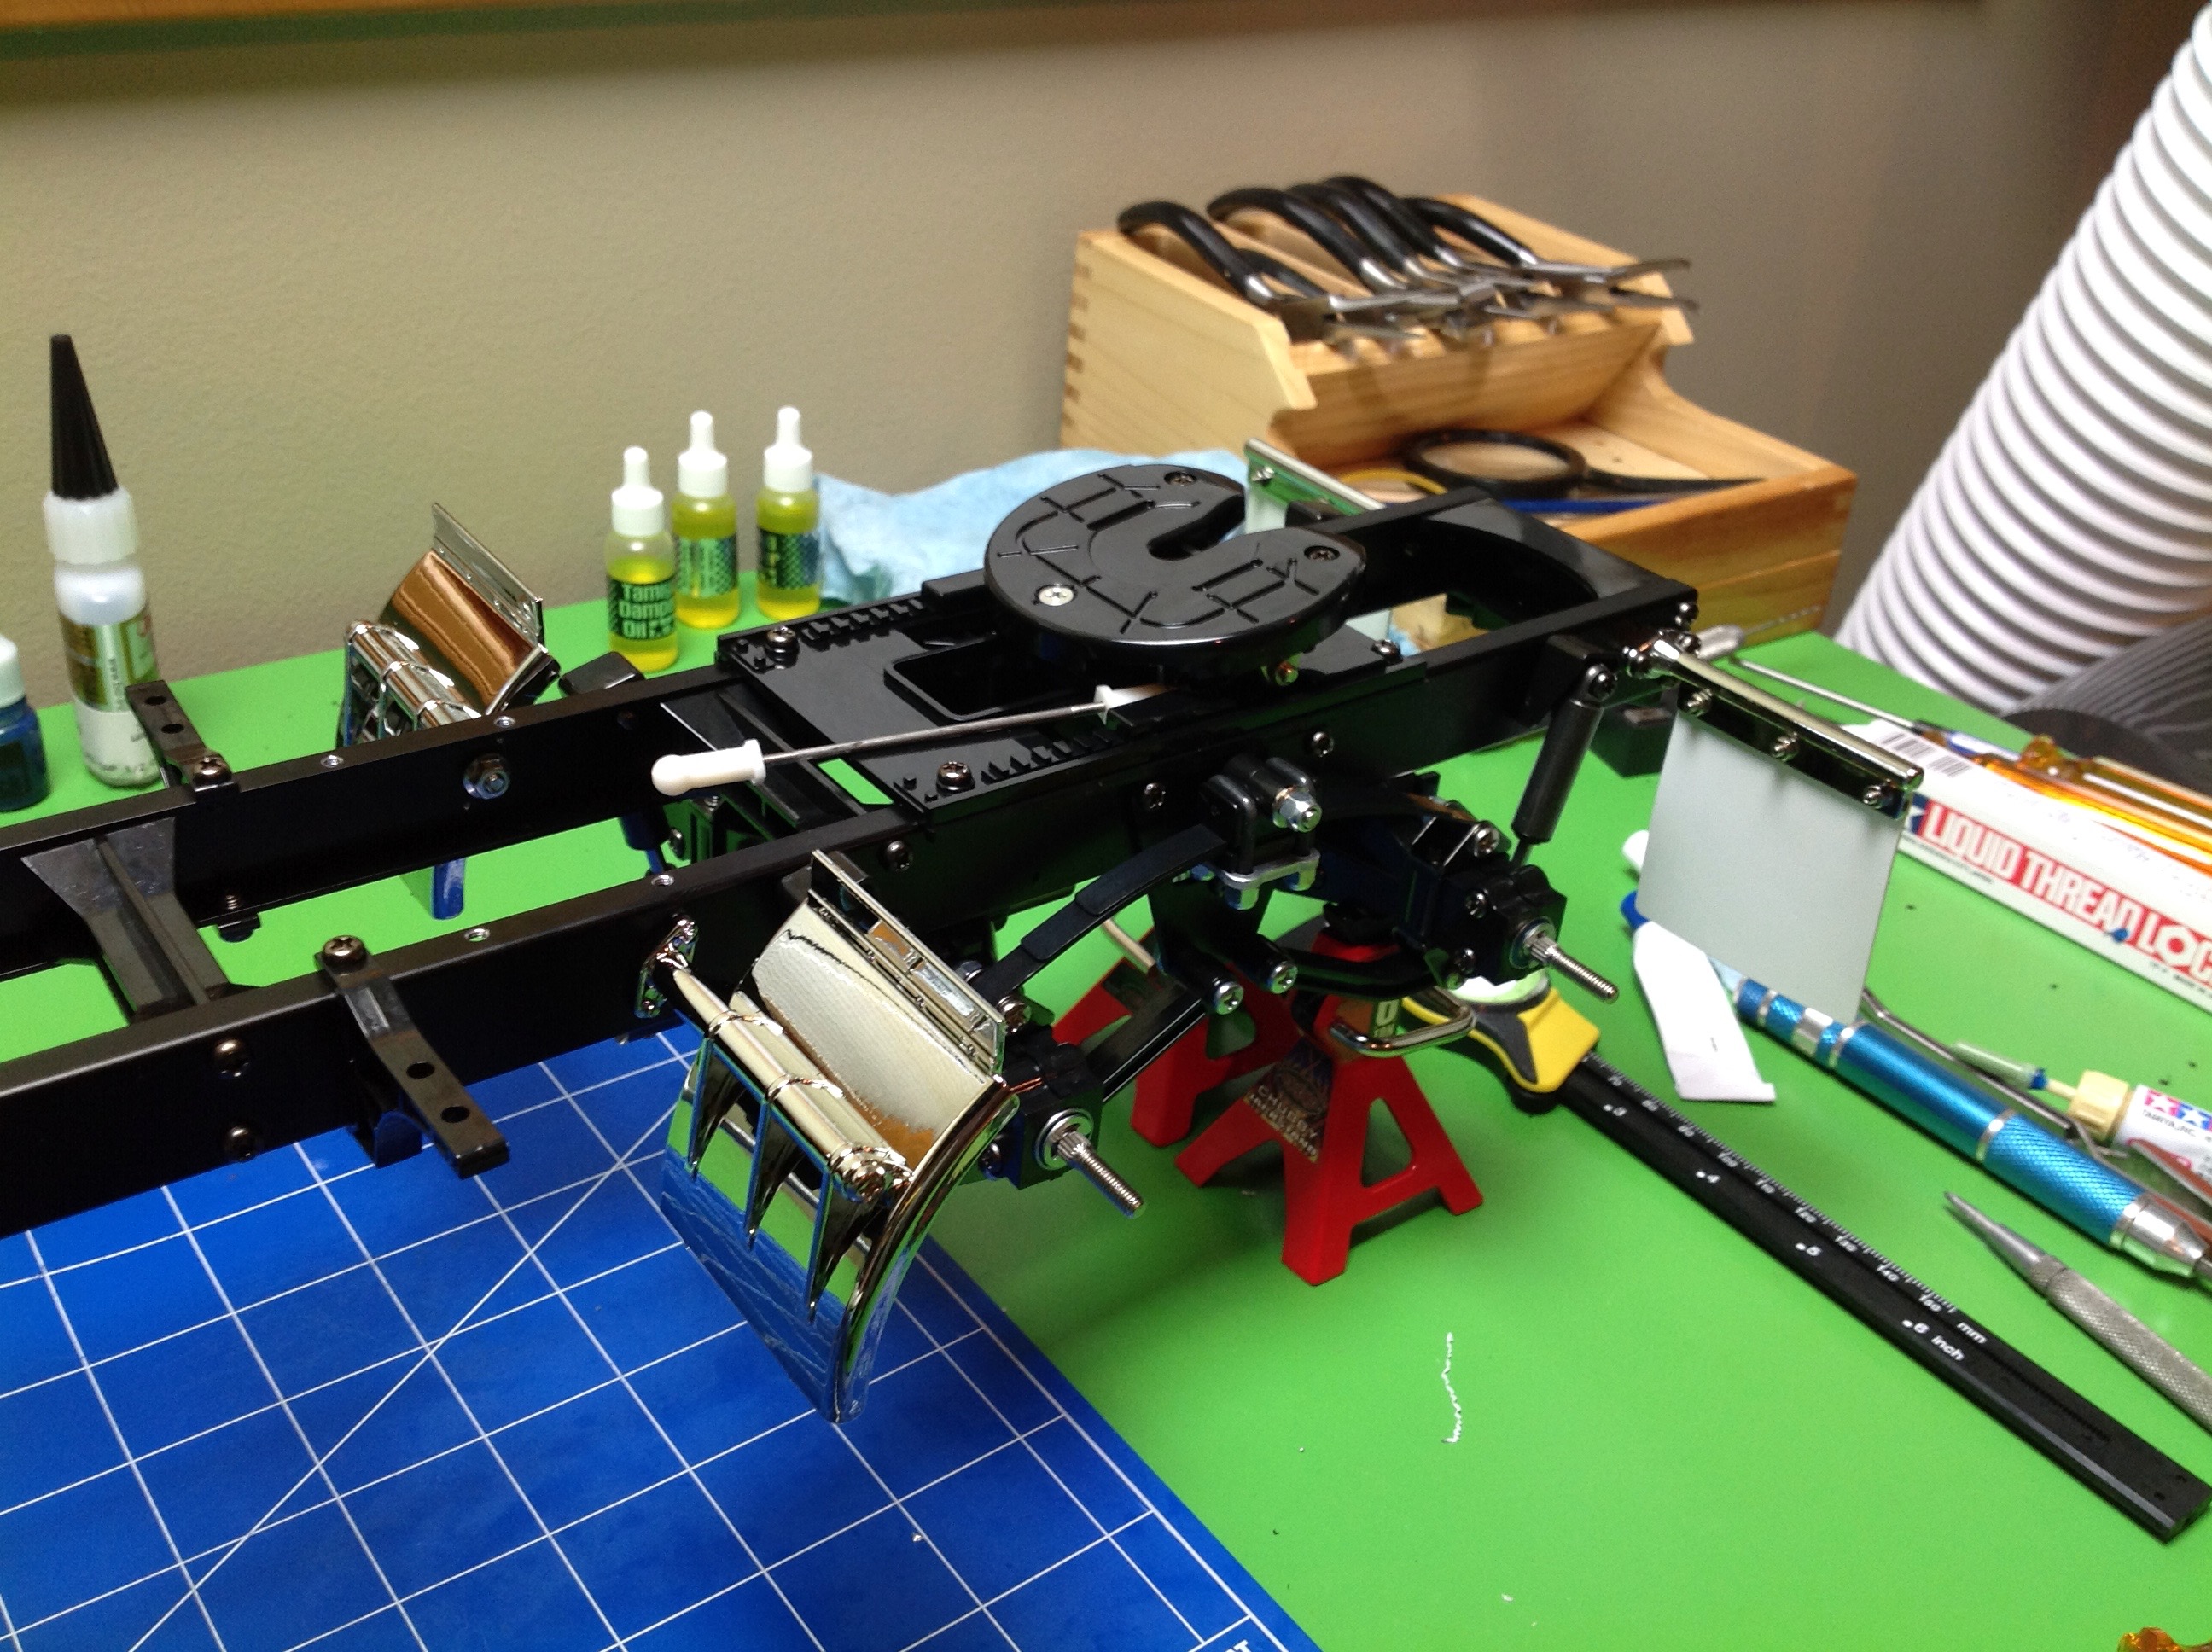
Step 32 installs all these chrome boxes onto the chassis. This is a
good time to point out how good the chrome looks. These parts are
plastic, not metal, but they have all the luster of real chrome.
I'm not sure what the process is, but we can be pretty sure it is not
real chromium. In any case, it looks great and attracts
fingerprints like crazy. The parts needs to be polished with a
soft, lint free cloth to look their best. Since all these bits are
screwed to the frame, they are pretty sturdy. This is important
since you will inevitably put some load on them when lifting the truck.
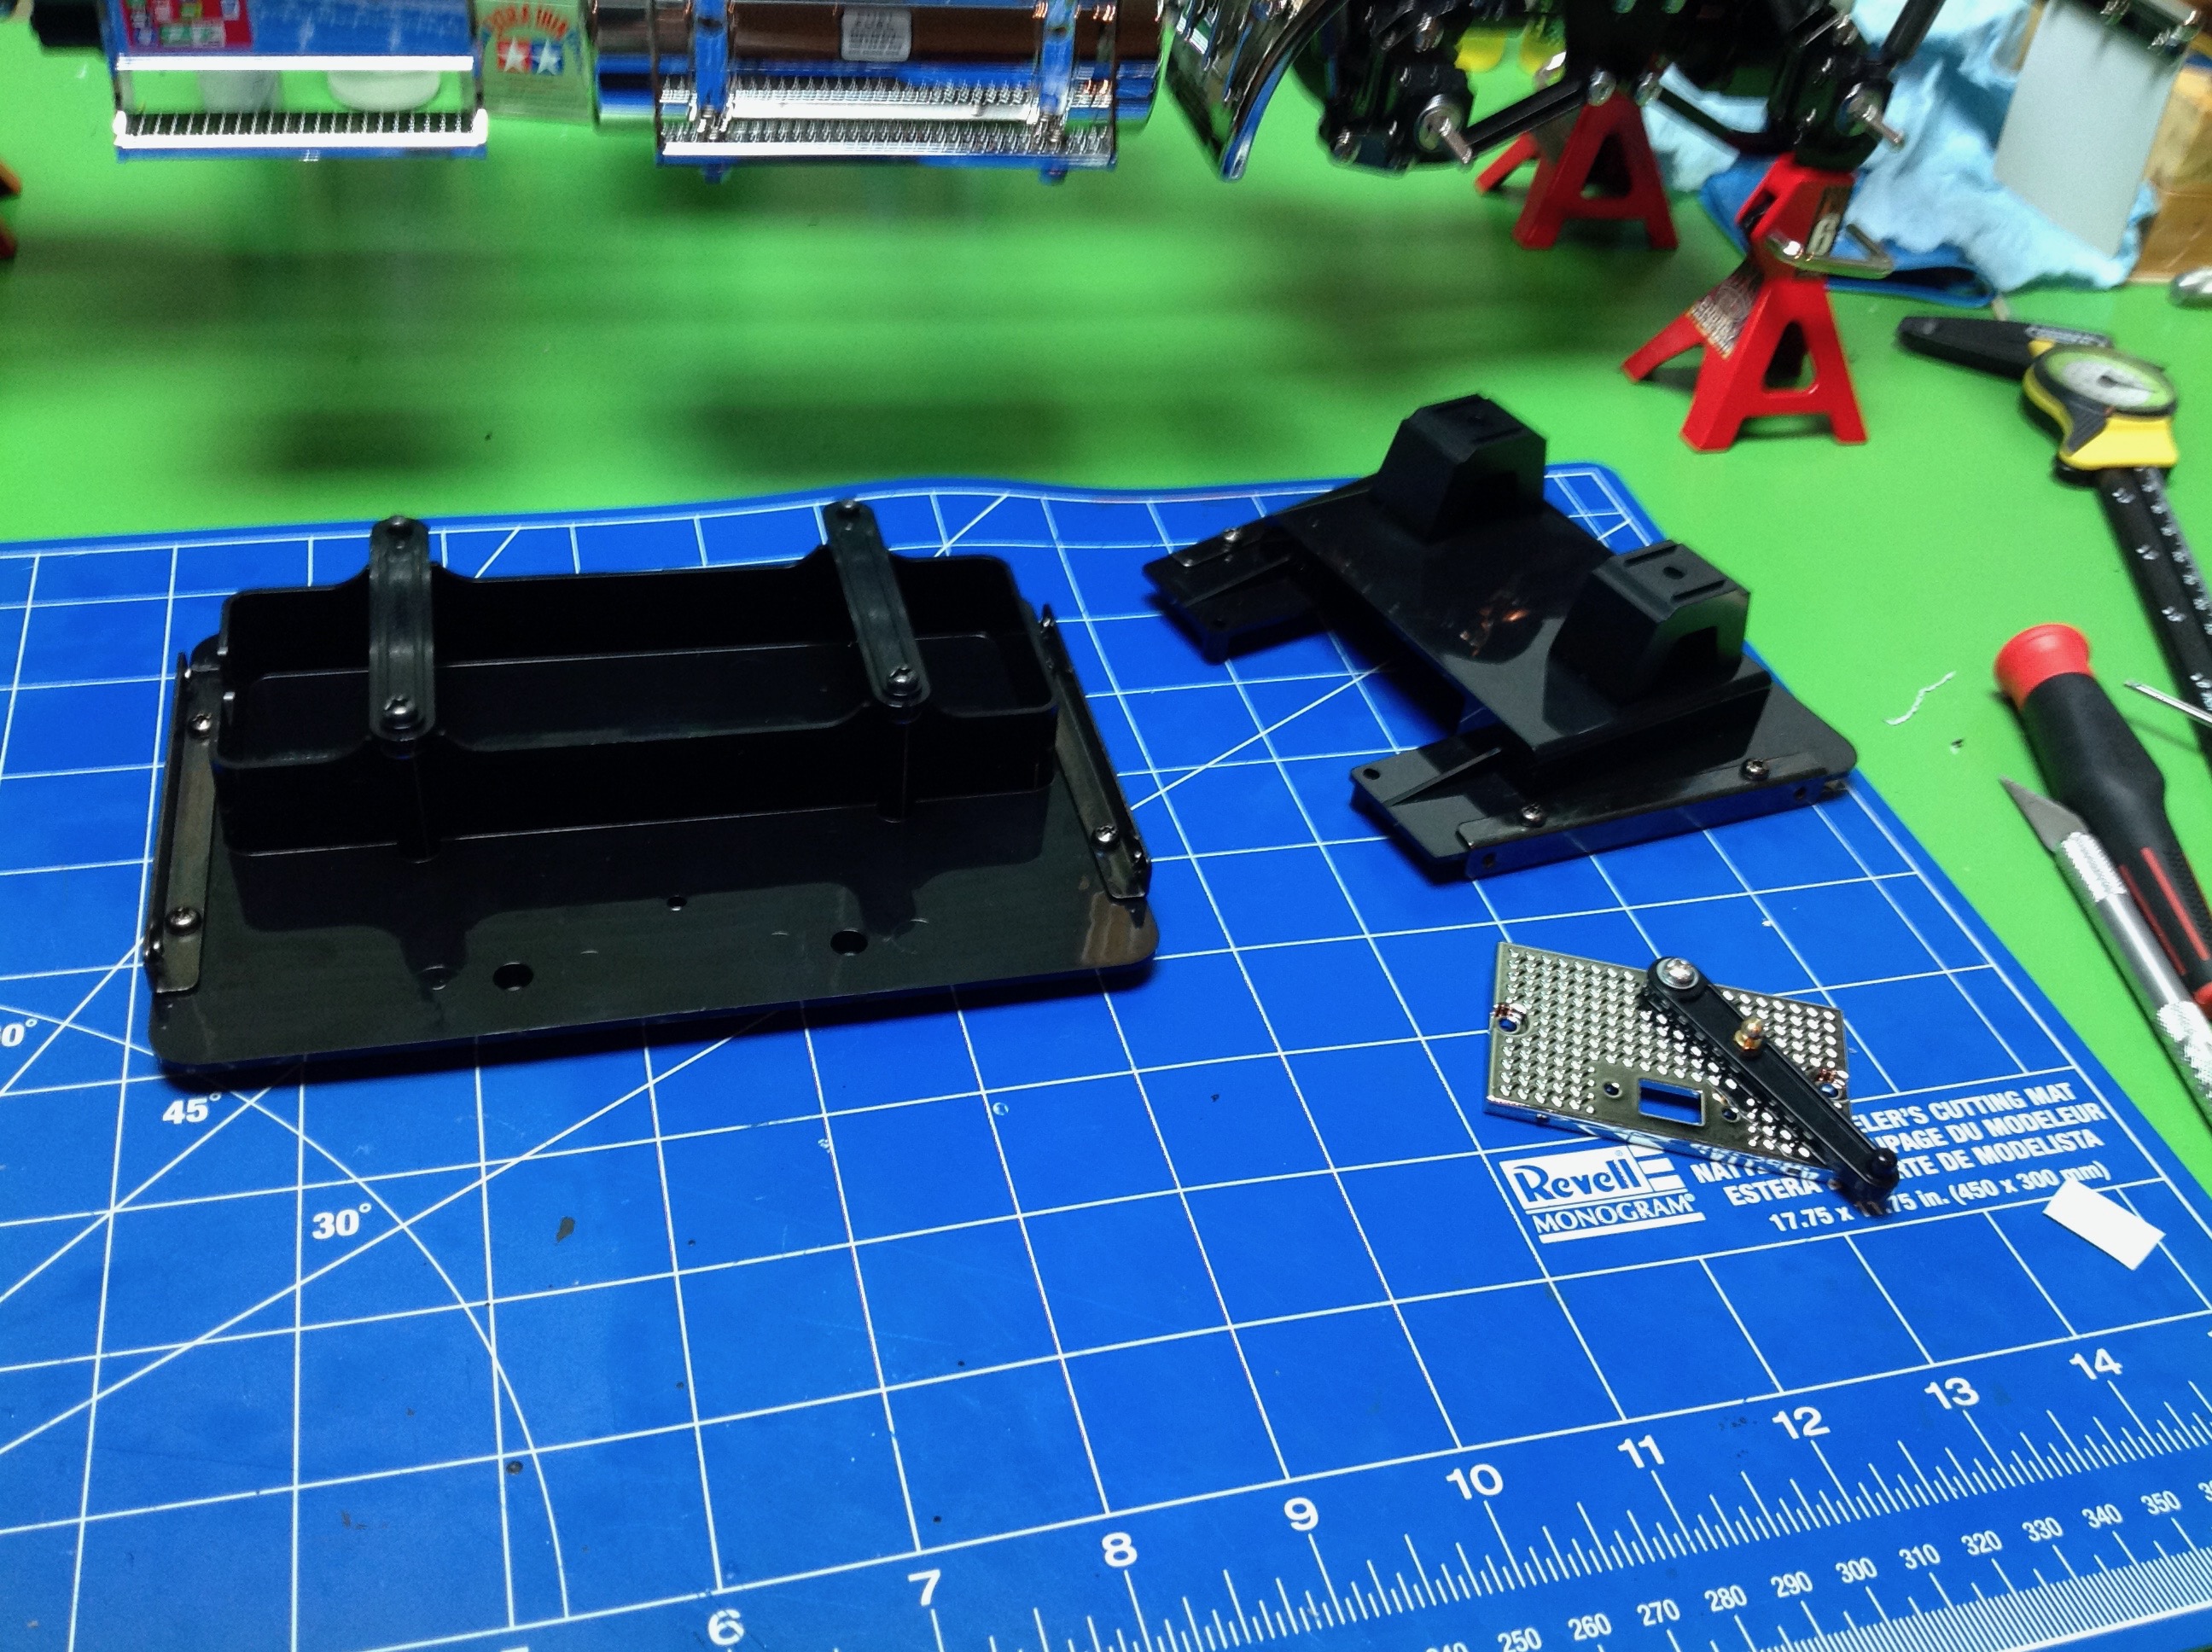
Step 33 prepares the battery tray, the seat pedestals, and the coupler
switch. They don't look like much outside of the truck.
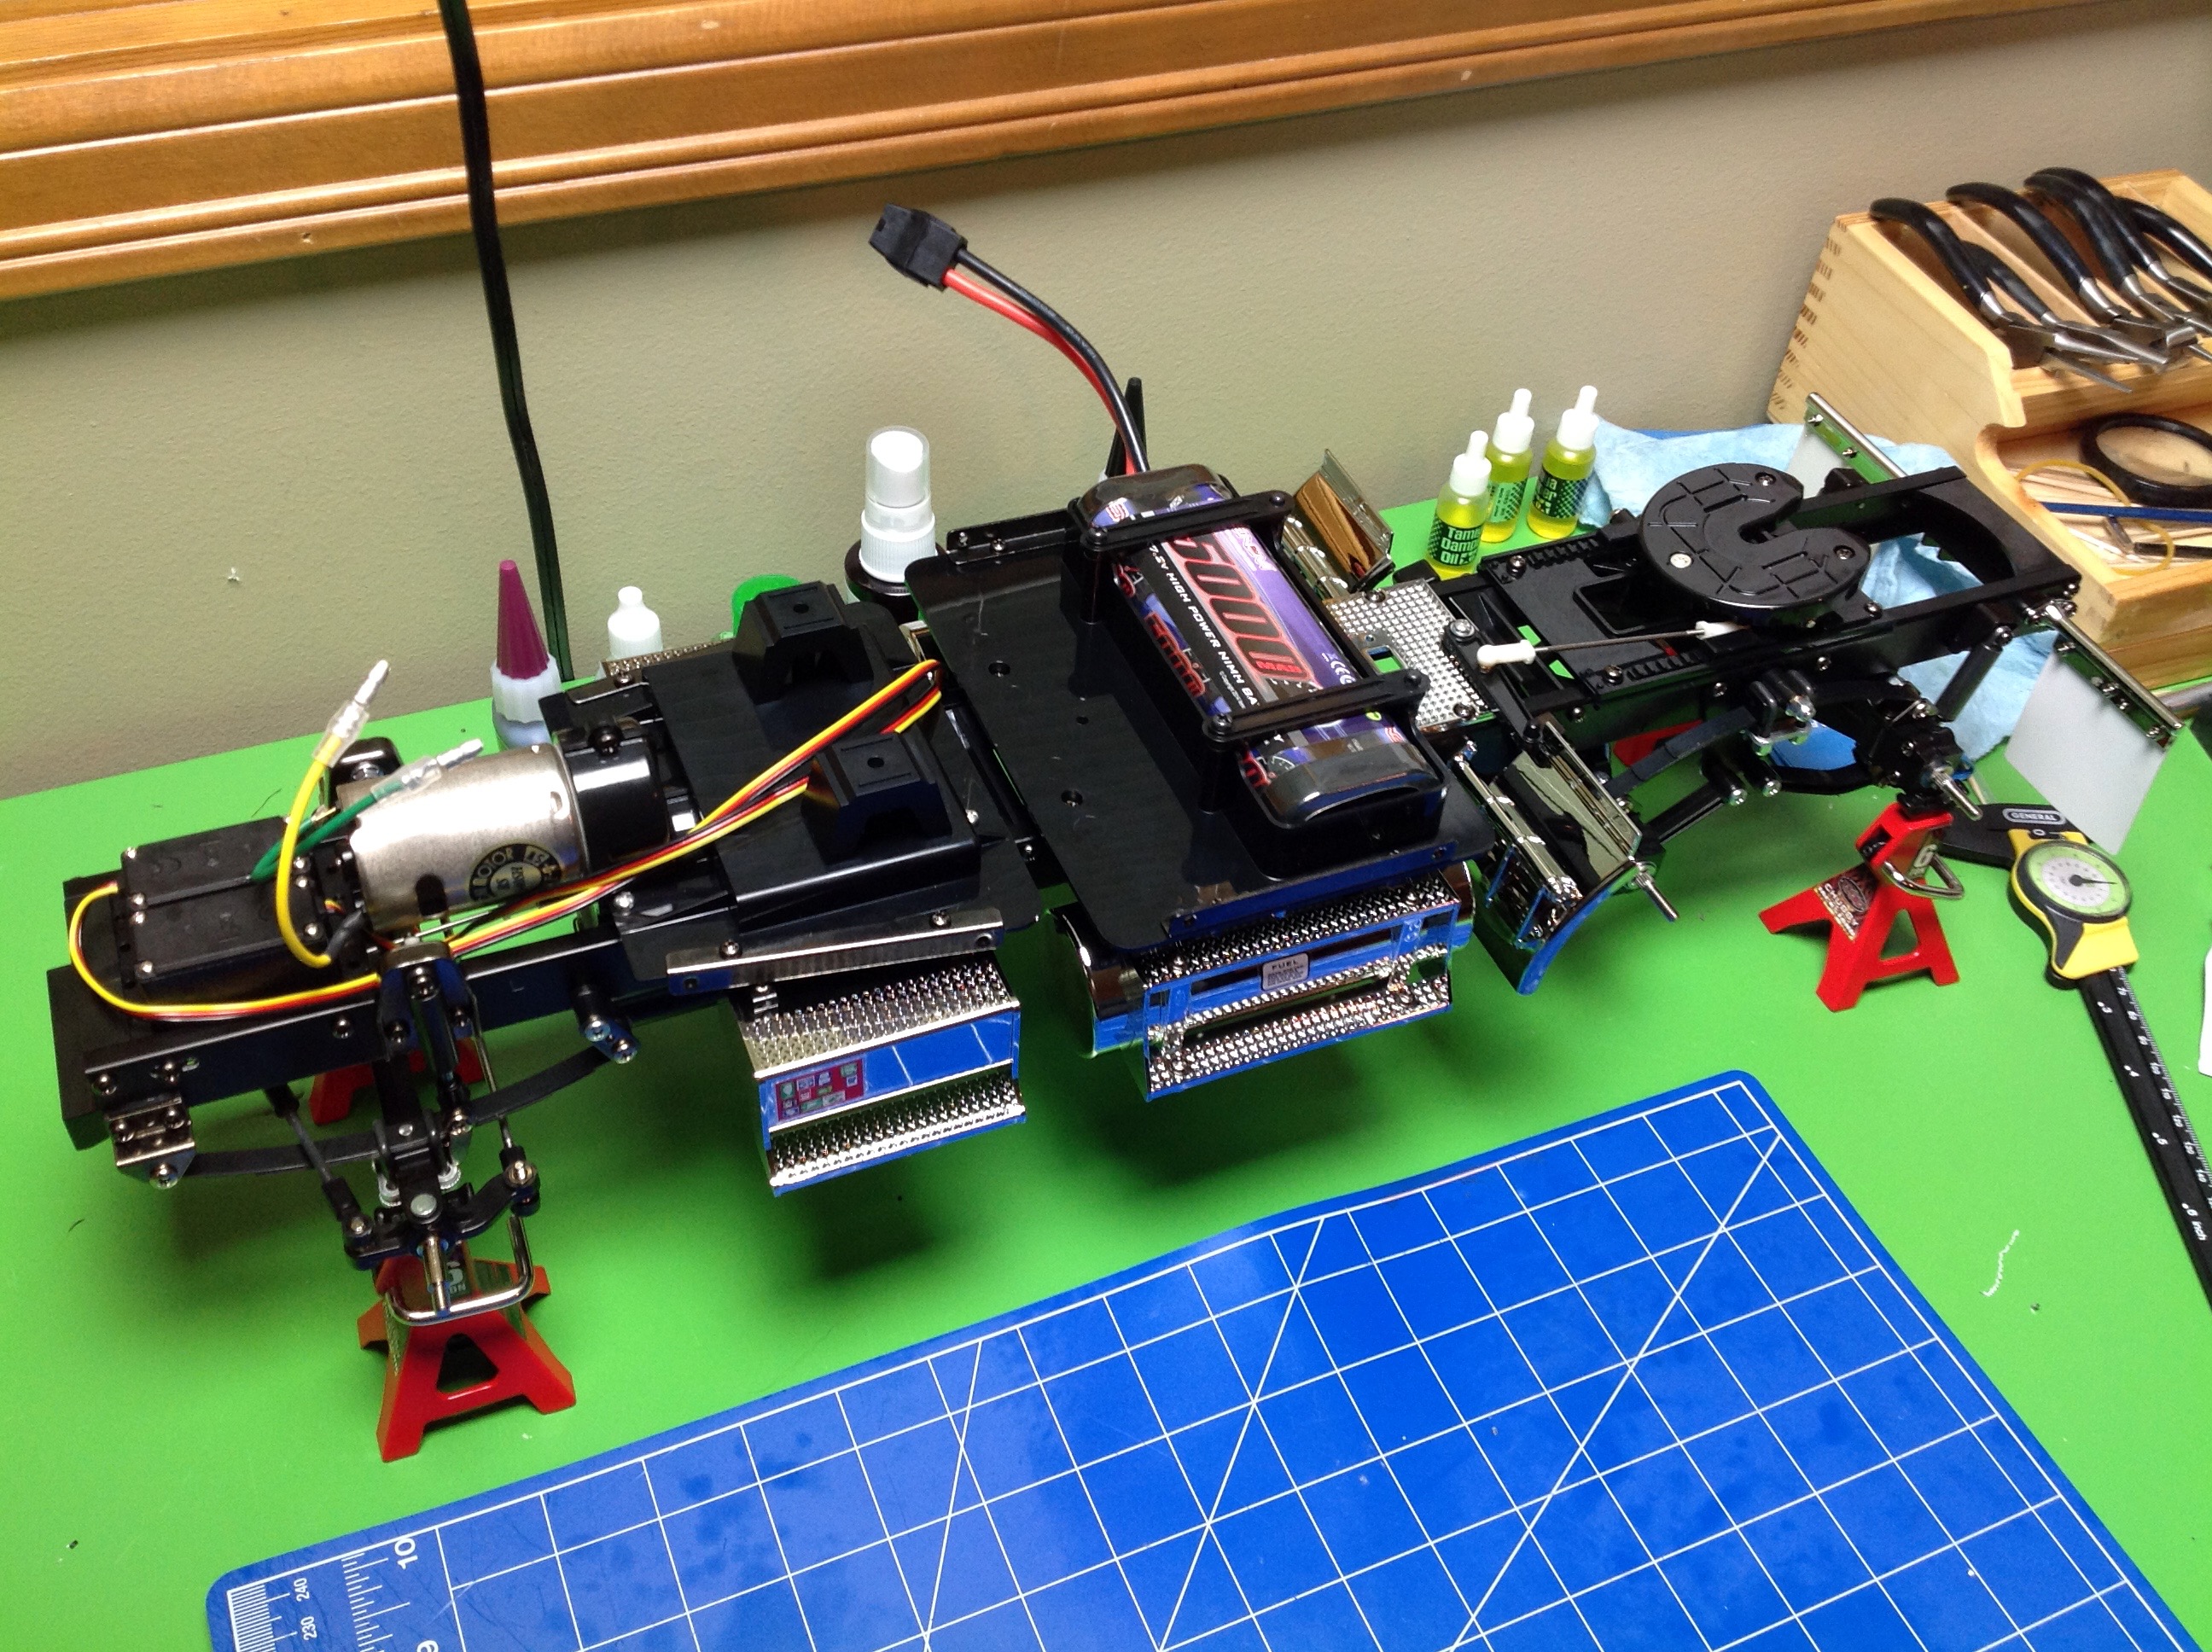
Step 34 installs the assemblies from Step 33. This does a good job
of closing up the openings in the frame as well as stiffening the whole
thing torsionally. There is a massive amount of empty space when this is built per the original instructions with no MFC.
Steps 35-38 install the electronics, hook everything up, and set the
trims and linkages. In this image, I am using a temporary speed
controller stolen from another R/C just to test everything. Step
39 puts the wheels on the tires and they are installed in Step 41.
The wheels look really good even though they are plastic. The
tires are a pretty hard rubber with no foam insert. Per Step 39
you are supposed to glue the tires to the wheels. I am not very
good at this and I felt that the model would probably not have enough
power to spin the tires in the wheels anyway. As a compromise, I
glued only the side of the tire facing inward toward the frame.
This way my bad gluing would not be visible. It seems to have
worked out fine as I have had no trouble with the tires.
©2017 Eric Albrecht