Tamiya King Hauler Project
Page 5: Installing the Multi-Function Controller
My intention had been to build the whole truck stock and only install
upgrades after I was done. However it occurred to me that I had no
speed controller because I had intended to install the Multi-Function
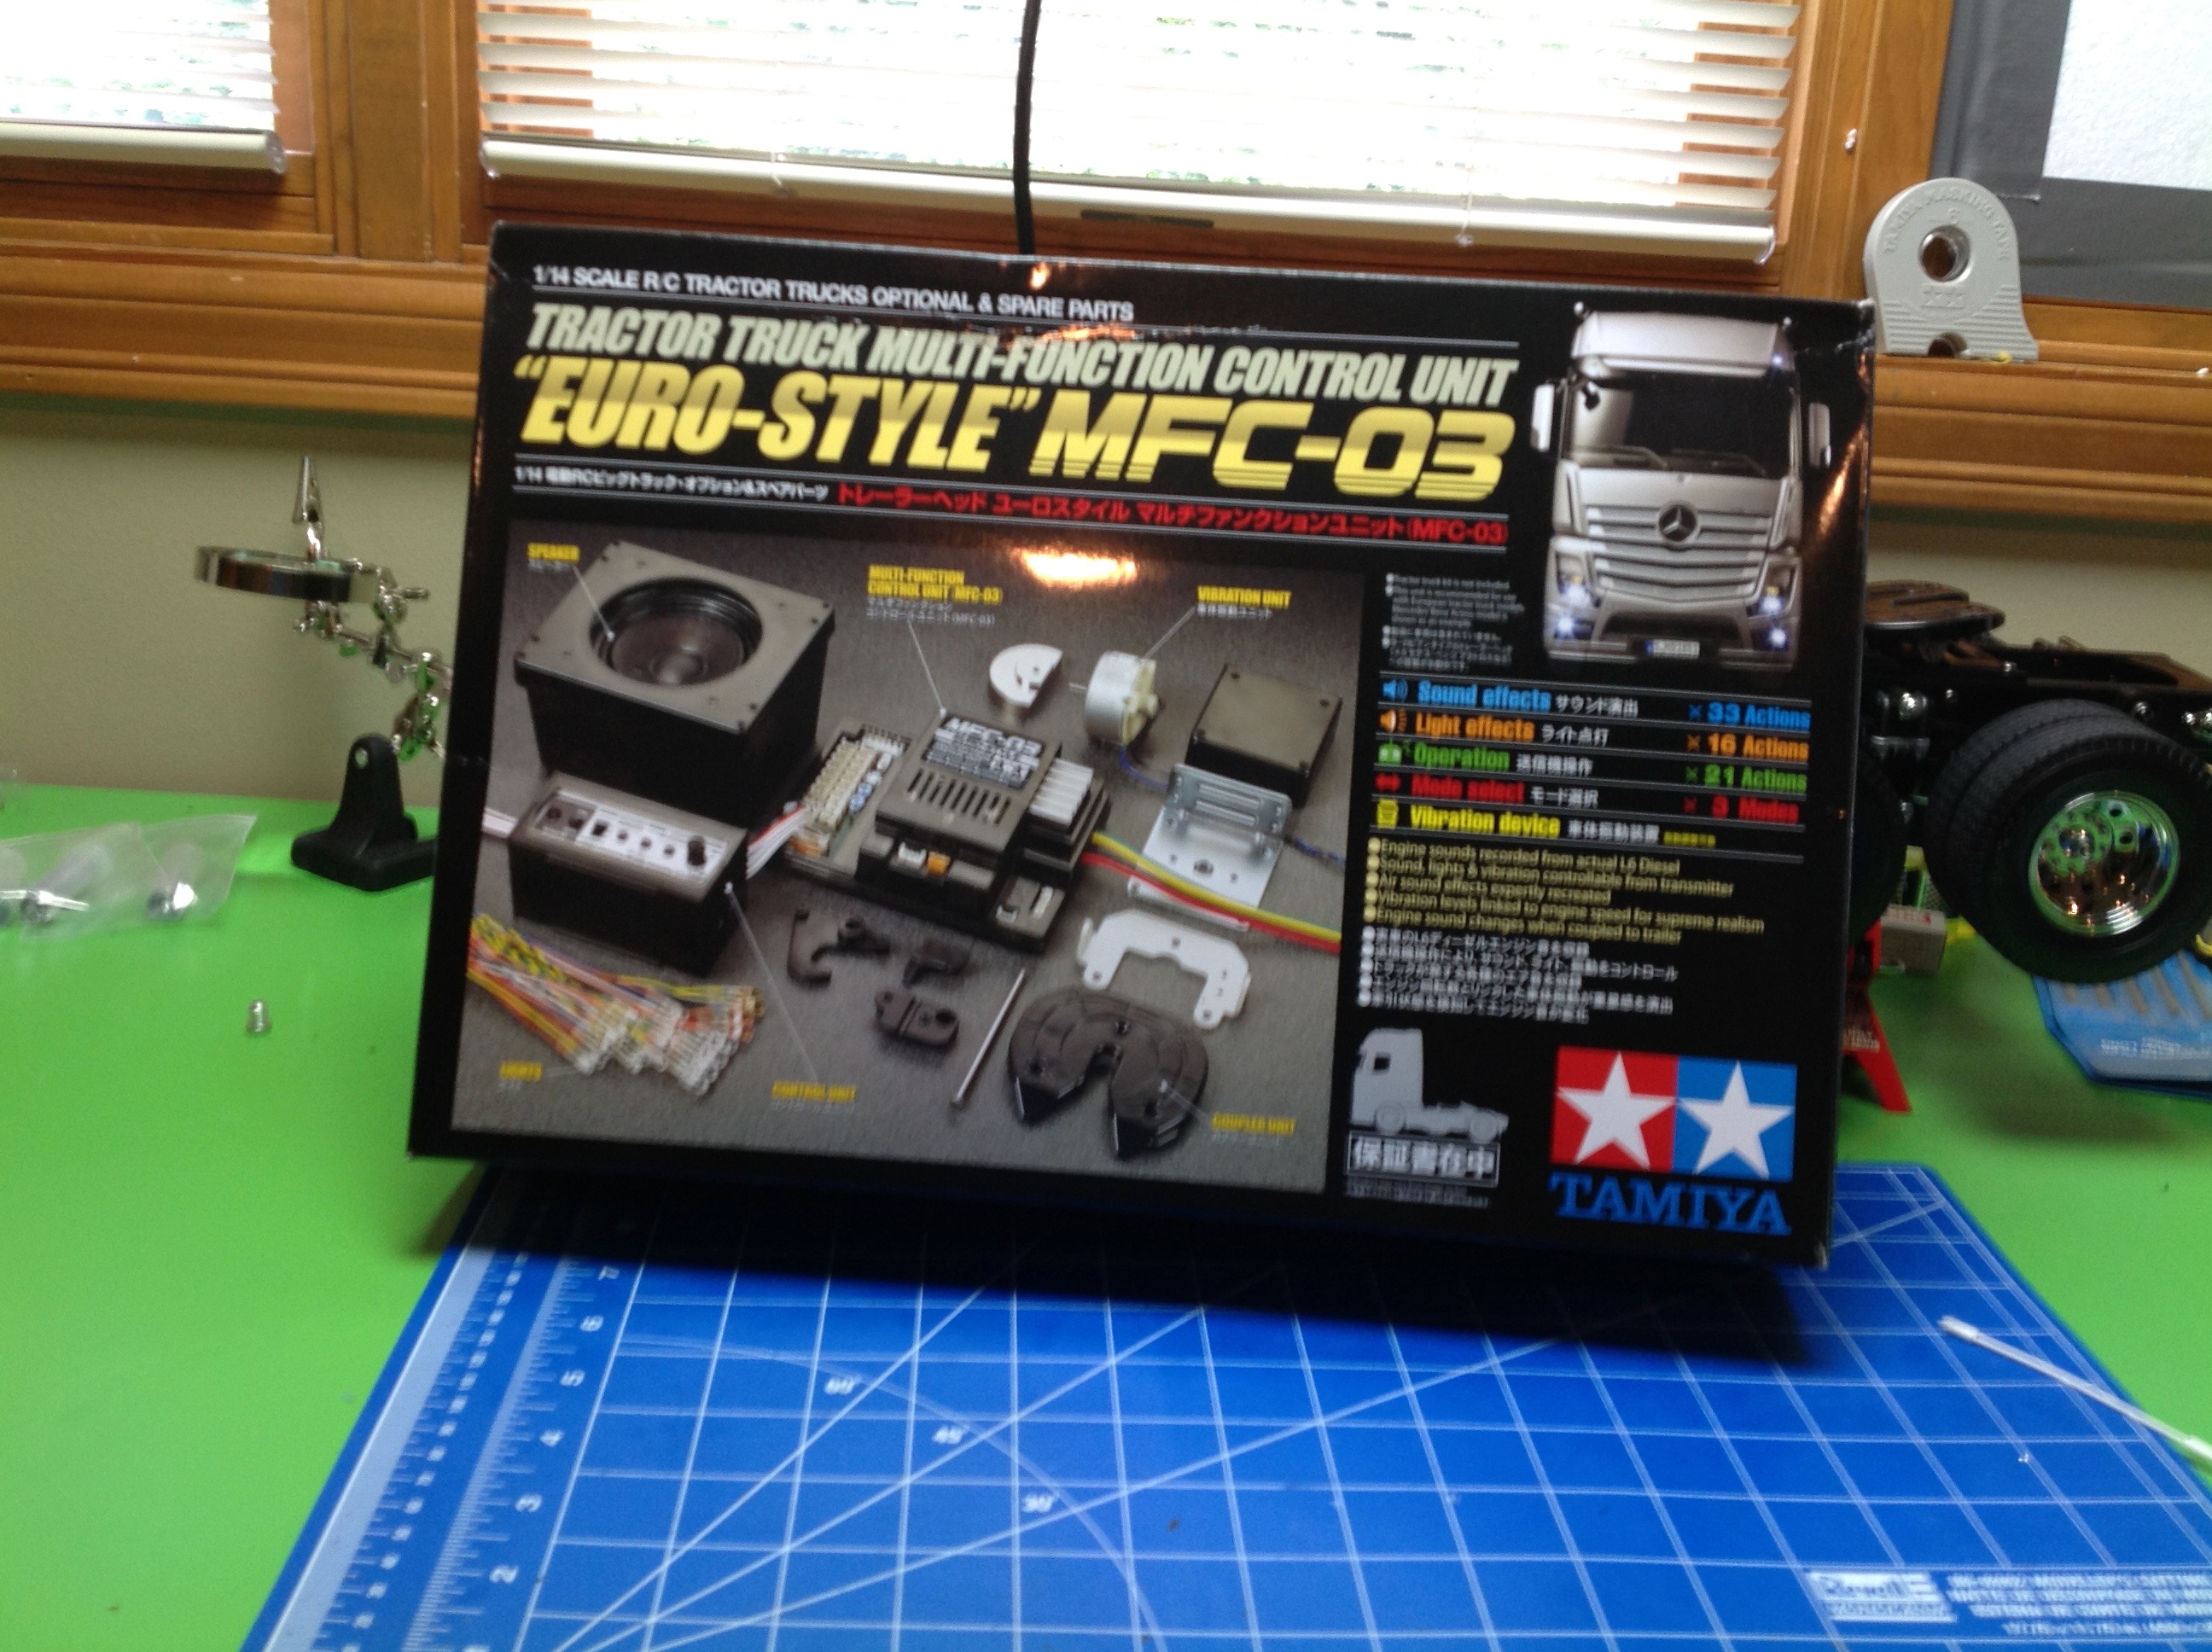
Controller in this model. So what is the MFC? It is a
combination speed controller, lighting controller, and sound
system. This is an expensive option, costing as much as the whole
truck and therefore doubling the price. I didn't really know what
to expect, but I had to give it a try. This system is much
easier to install now during the initial build than later.
Inside the box you'll find quite a pile of parts. There is the
controller, 21 LED lights, a speaker, a vibration unit motor, some
switches, and a bunch of plastic parts which make it possible to install
this kit in any of the Tamiya 1/14 scale trucks, even an old truck like this which existed before the MFC.
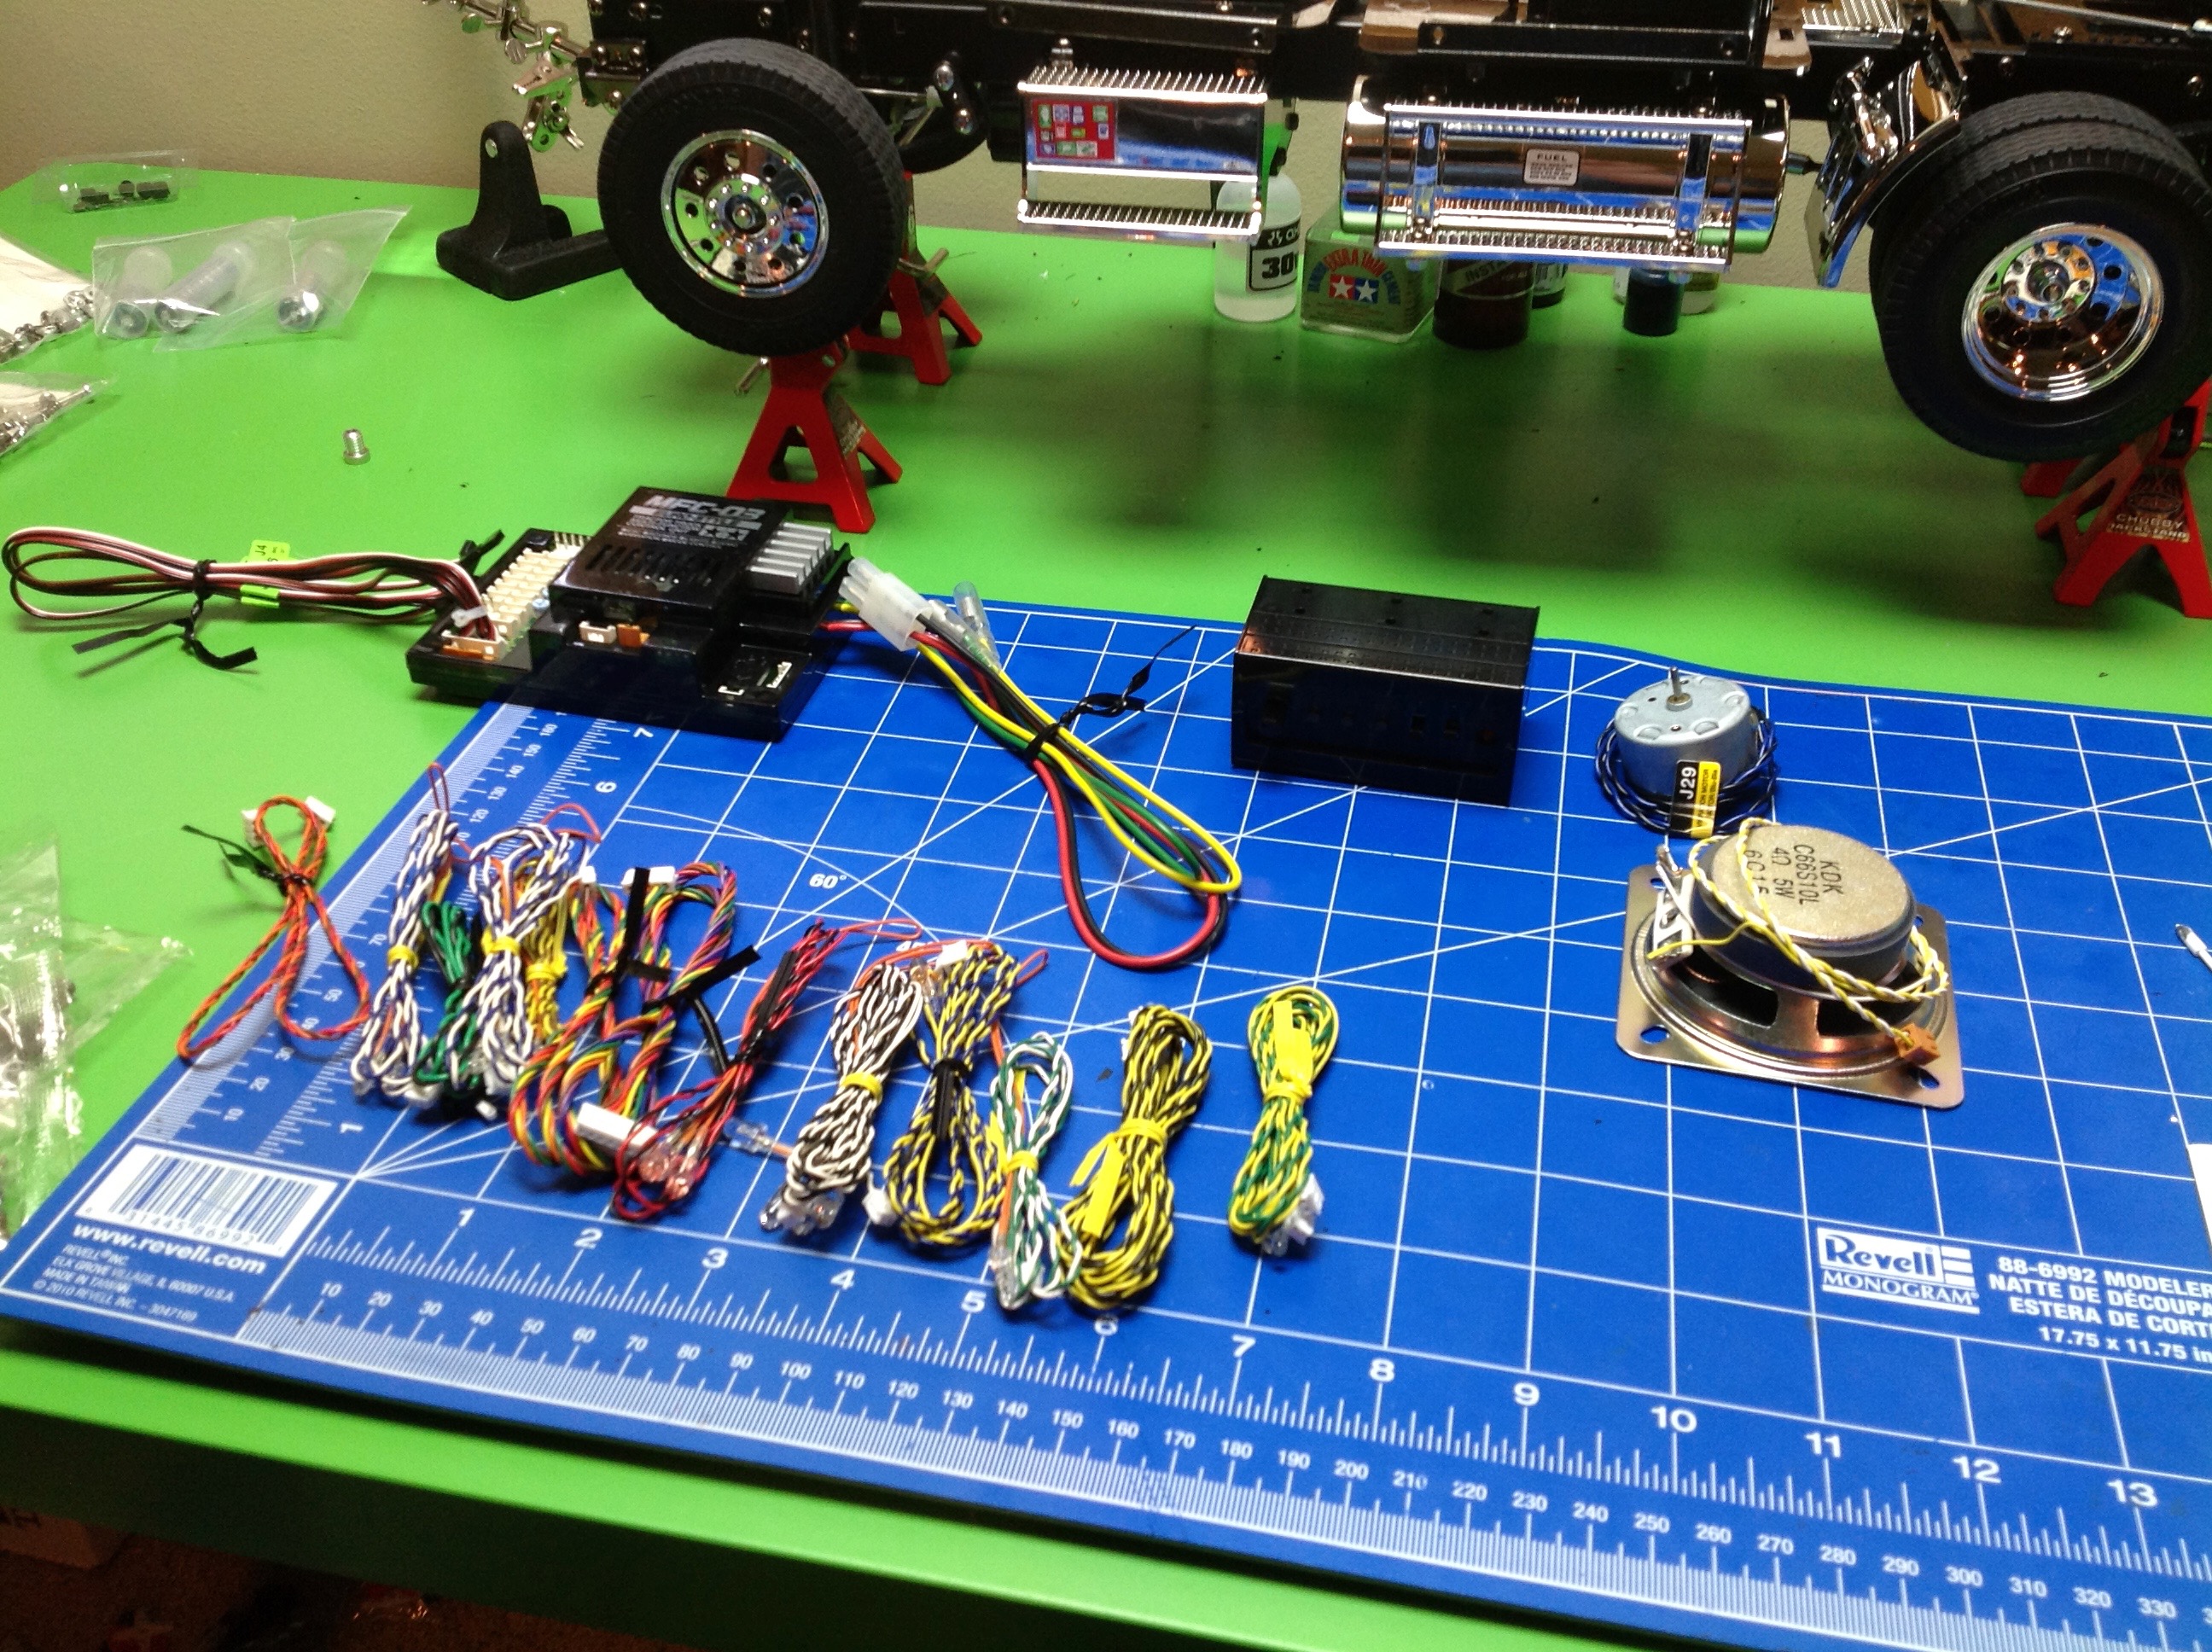
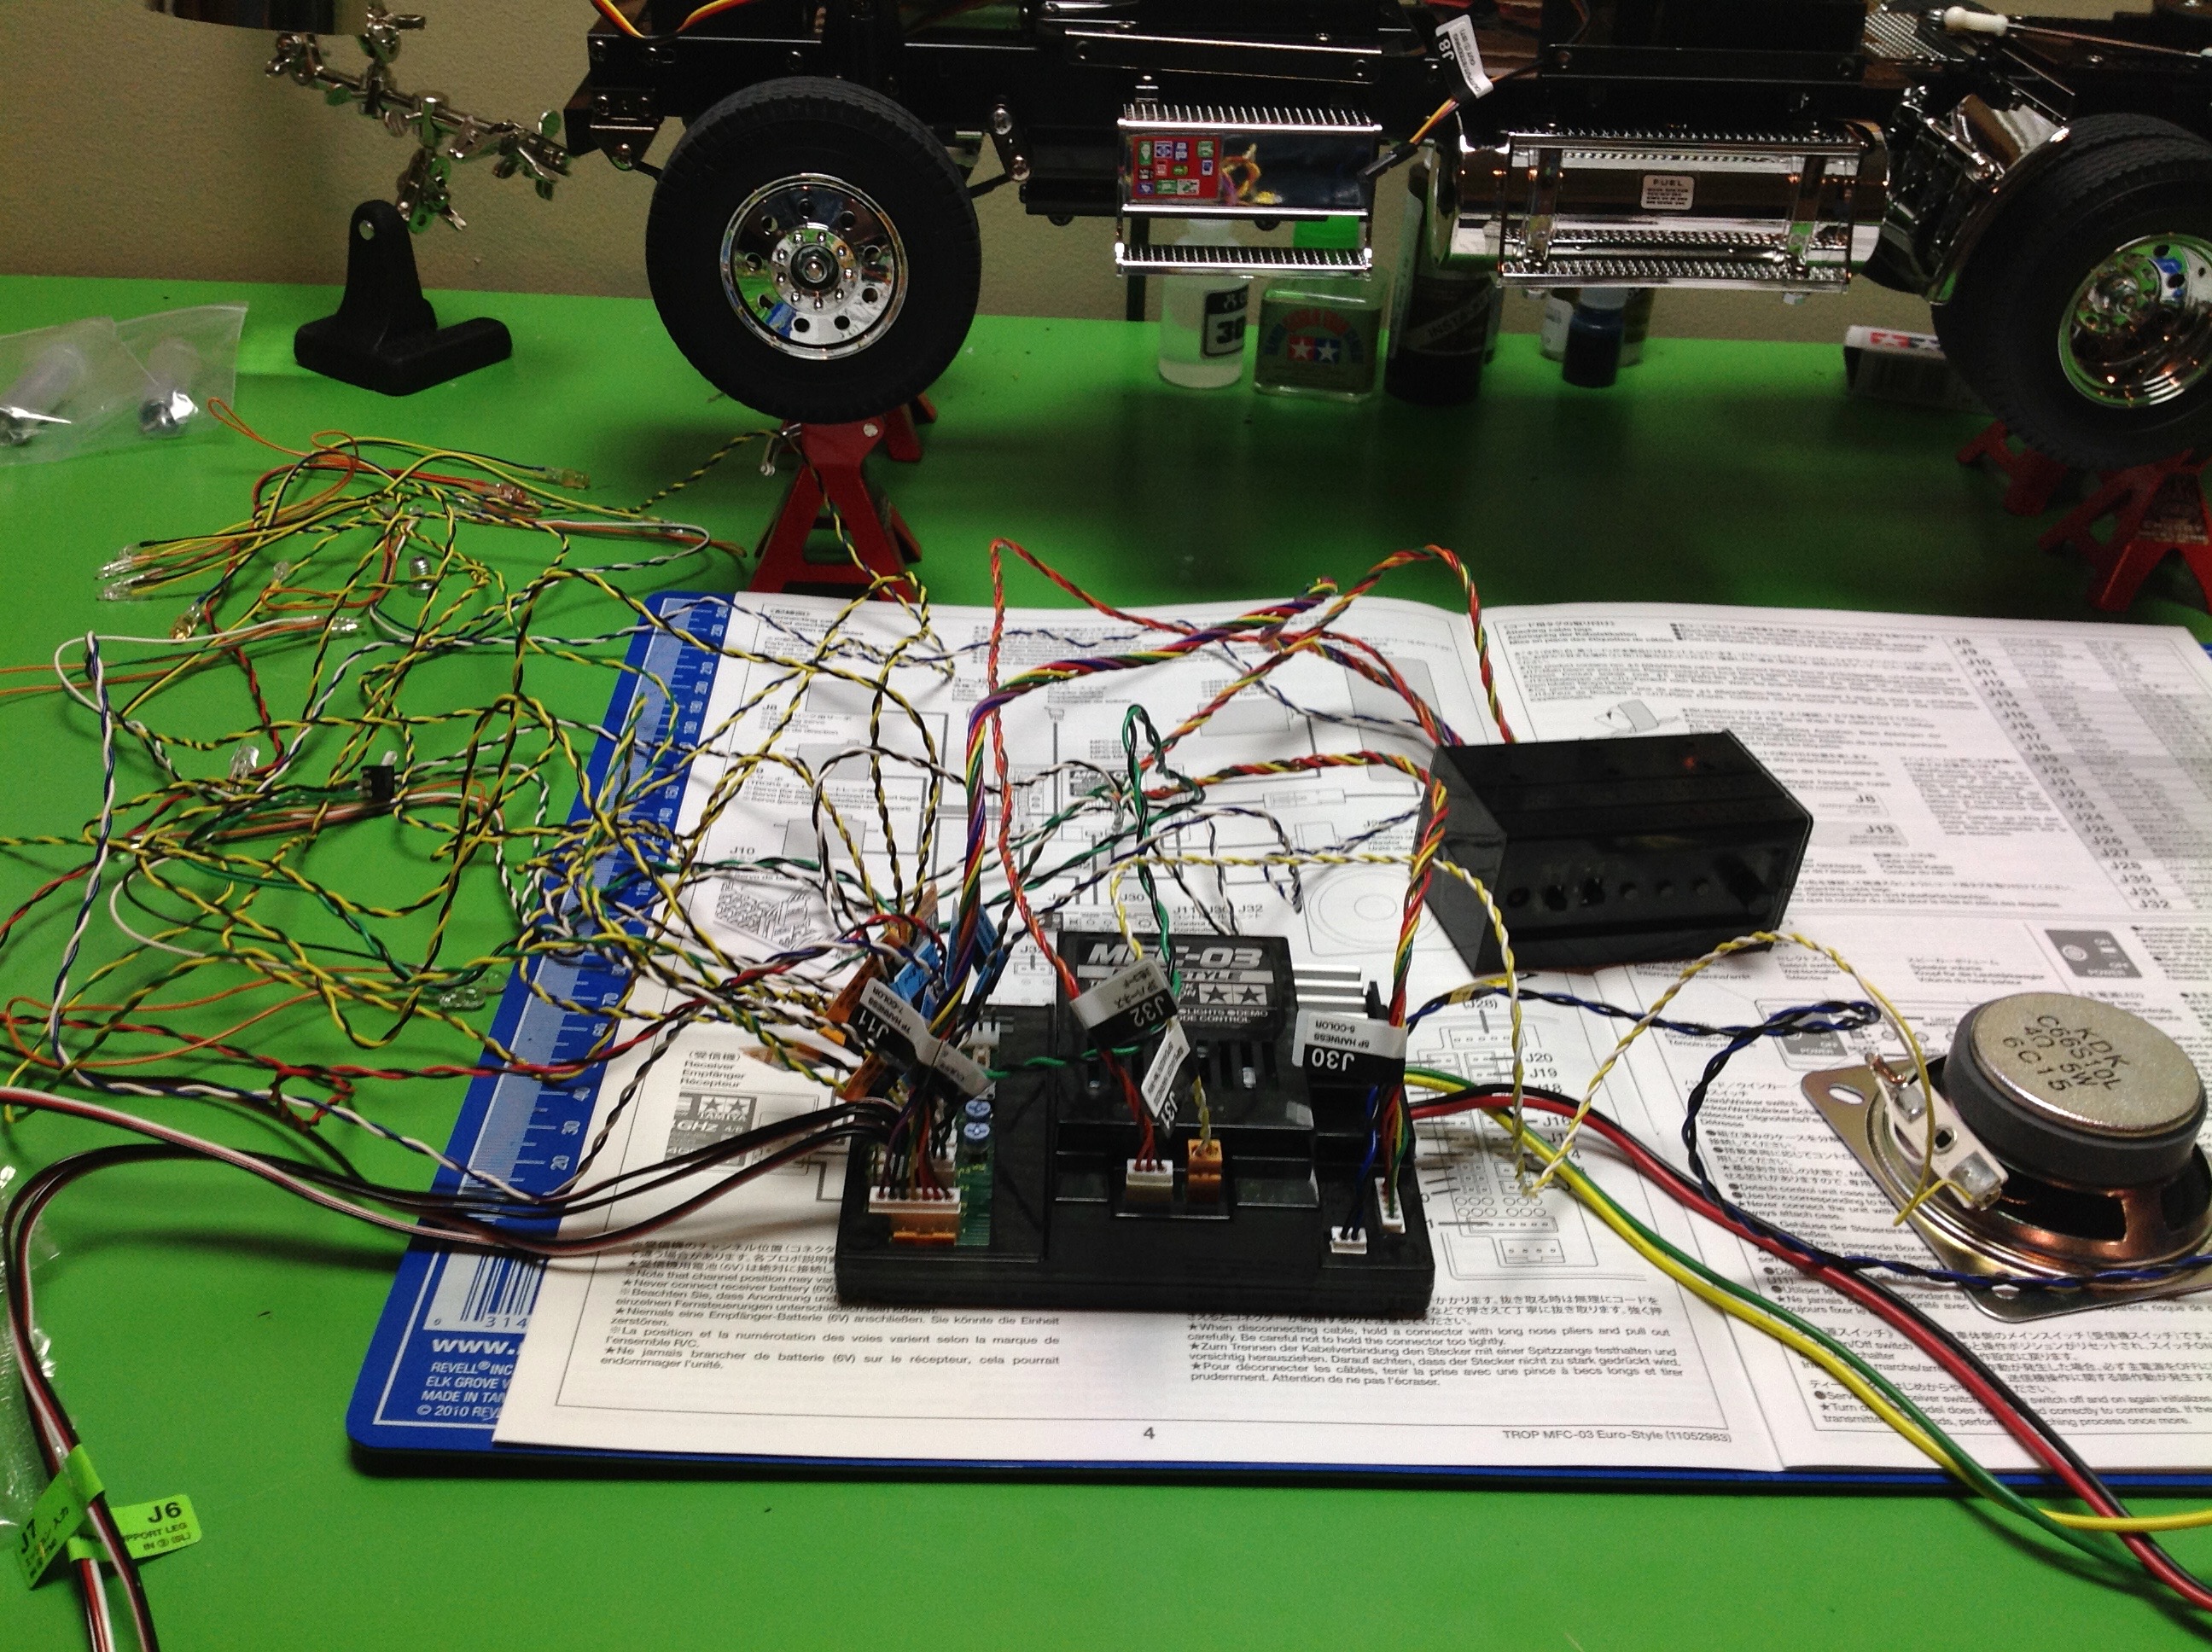
After labeling all the wires with the included tags, I just had to hook
everything up on the table and try it out. At the left nothing is
connected. The wires you see coming from the control unit for the
motor, the power, and the receiver are hard wired to the unit. On
the right only the
lights are connected. You can see white, amber, and some red
hidden in the back. There are 15 connections for lights labeled
J13-J27. Many of the light harnesses contain 2 LED lights, but
some such as the blinkers or shift markers contain only 1. If
every slot is filled there would be 23 lights.
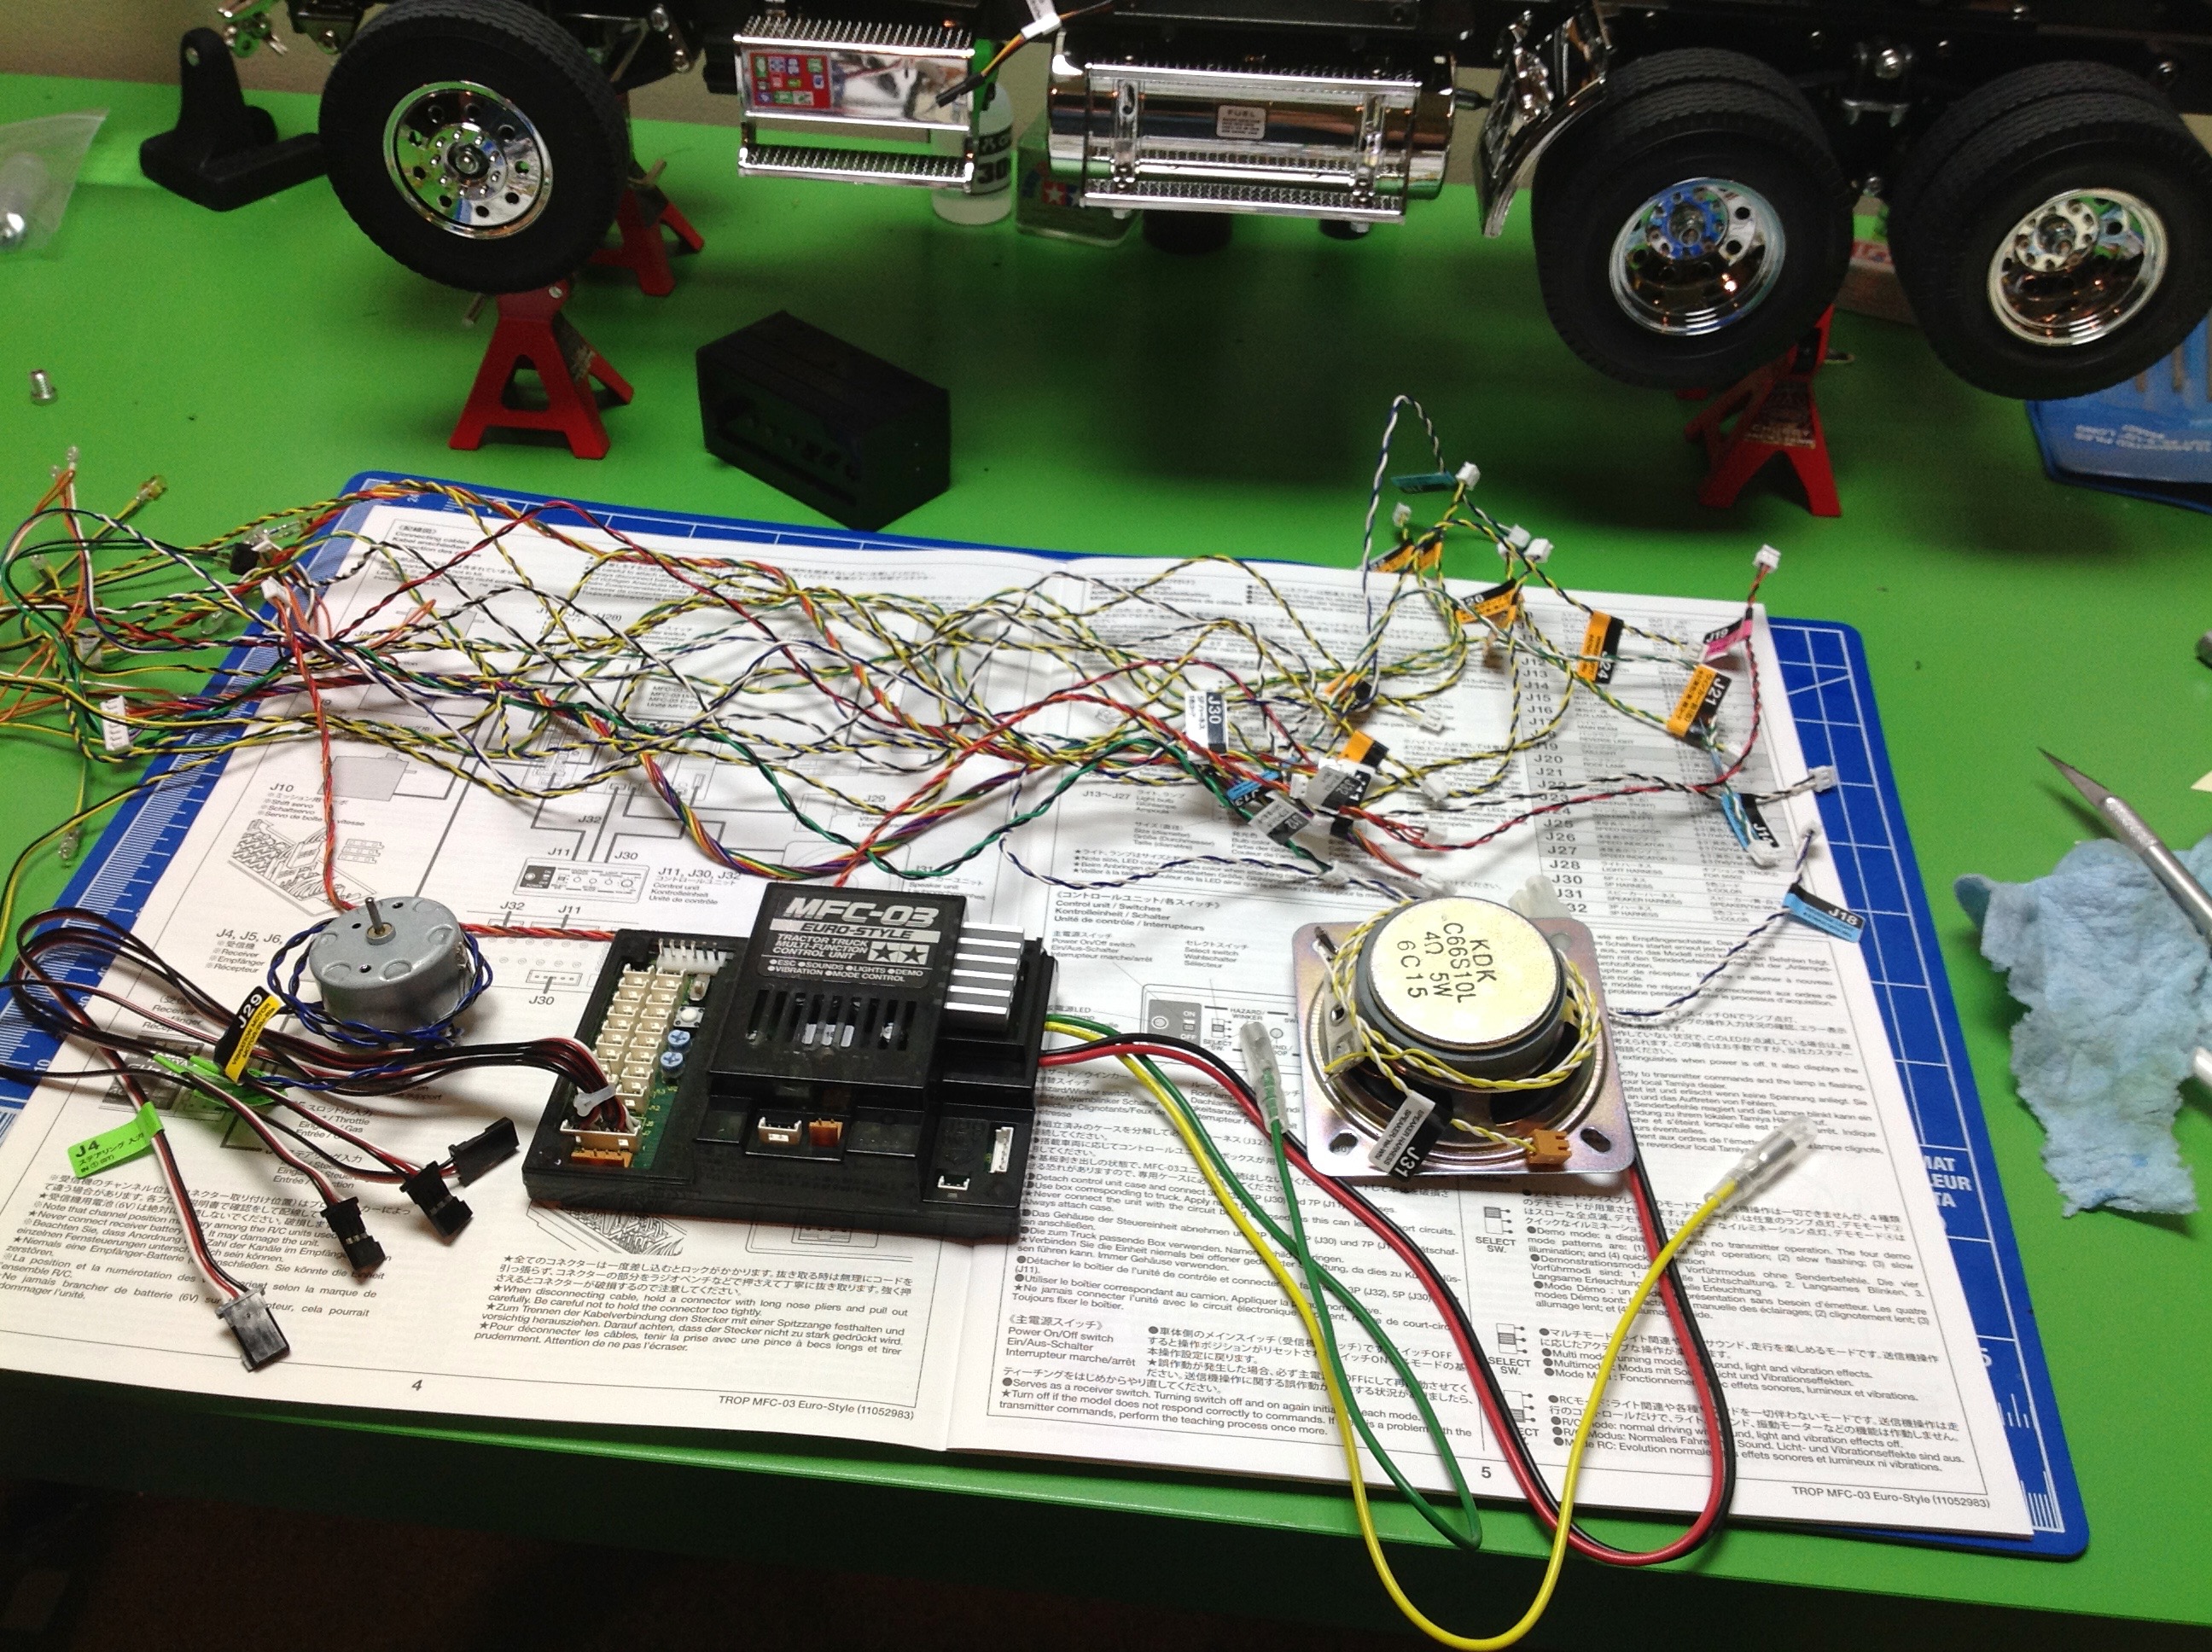
Now everything is connected. The MFC controller needs to be
connected in series between the radio and the servos so that it can
react to transmitter input. You need to study the provided complex
wiring diagram pretty closely to get everything right, but all the
important bits have unique connectors so you can't really screw them
up. After you've connected the lighting, there are no too many
connections left. There are 3 harnesses (a 3-wire, a 5-wire, and a
7-wire) that go to the control box which has switches to turn
everything on and off and adjust settings. There is one connection
for the speaker and another for the vibration motor. Finally,
there is one for the remote switch which will sense when a trailer is
connected. There is also an empty slot which can be used if you
connect trailer lights later.
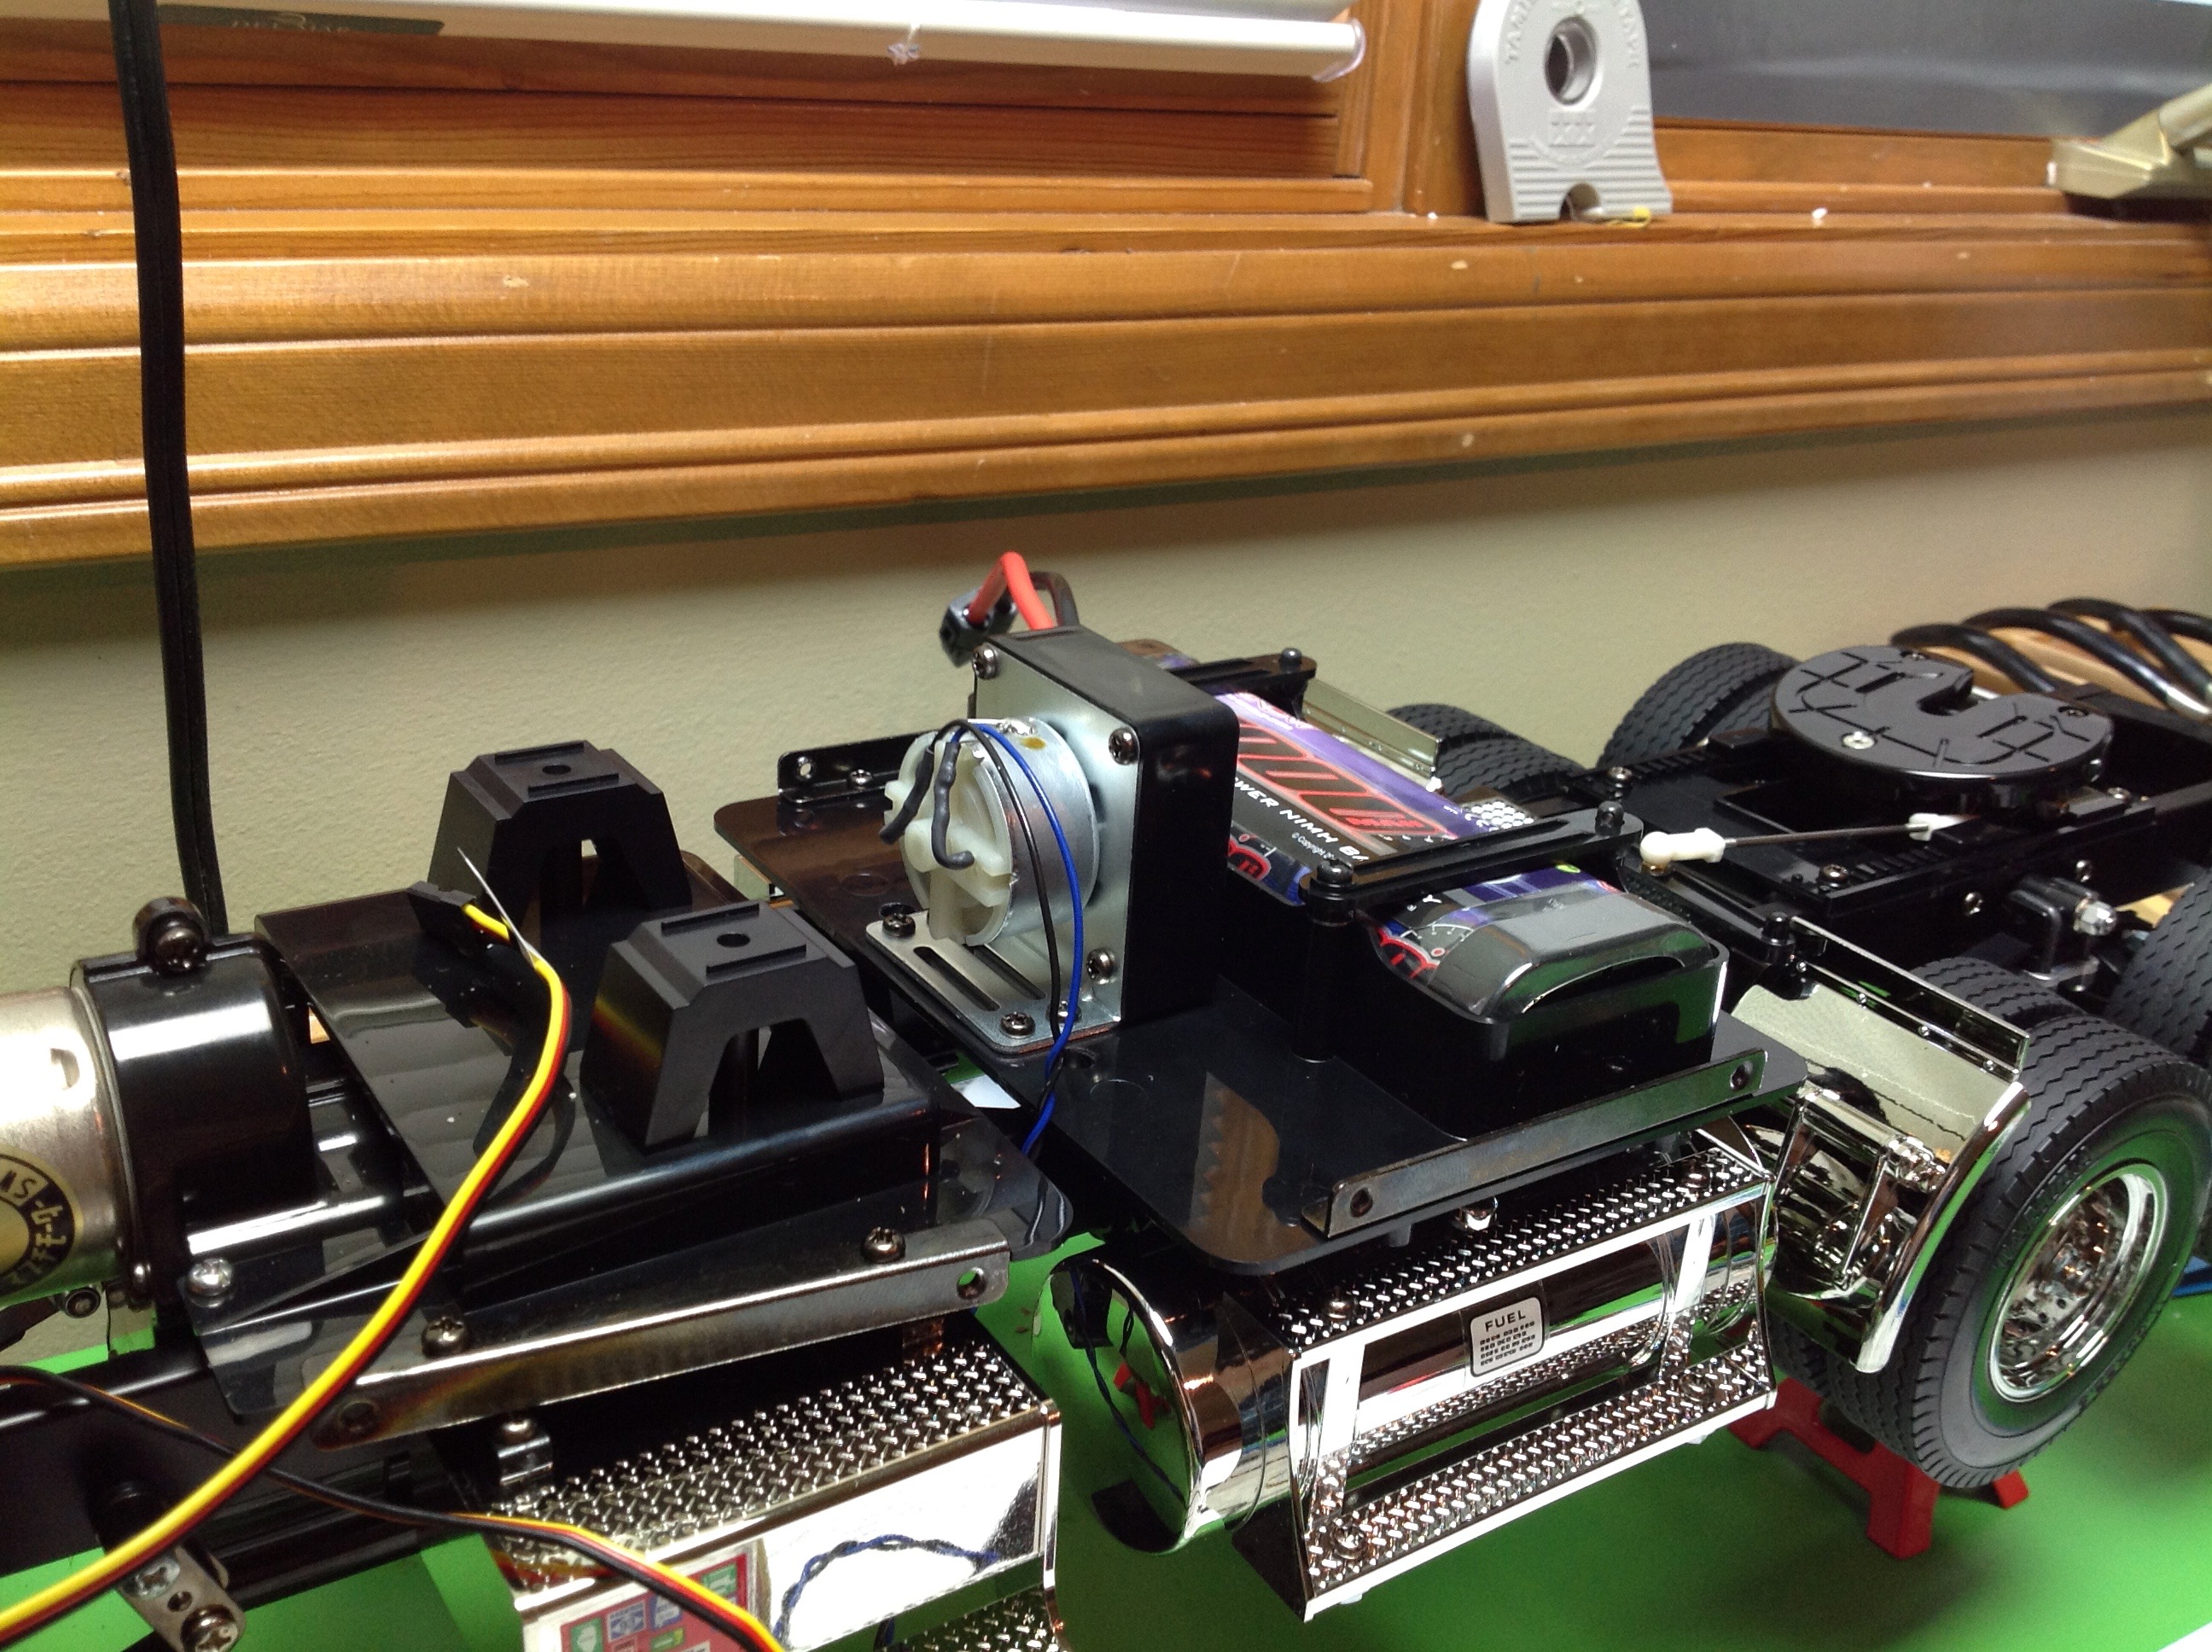
Here I've installed the vibration motor. This is a little electric
motor connected to an offset mass. It is most noticeable right
when you start the "engine" because the whole trucks shakes. It
also runs continuously as long as the model is on and it's speed is
proportional to throttle position. The vibration it produces is
significant and hard to miss. You can adjust the relative speed of the
motor with a little switch on the controller. This is important if
you have anything that might be resonating and causing a problem.
It goes without saying the vibration motor needs to be mounted solidly
in a strong location.
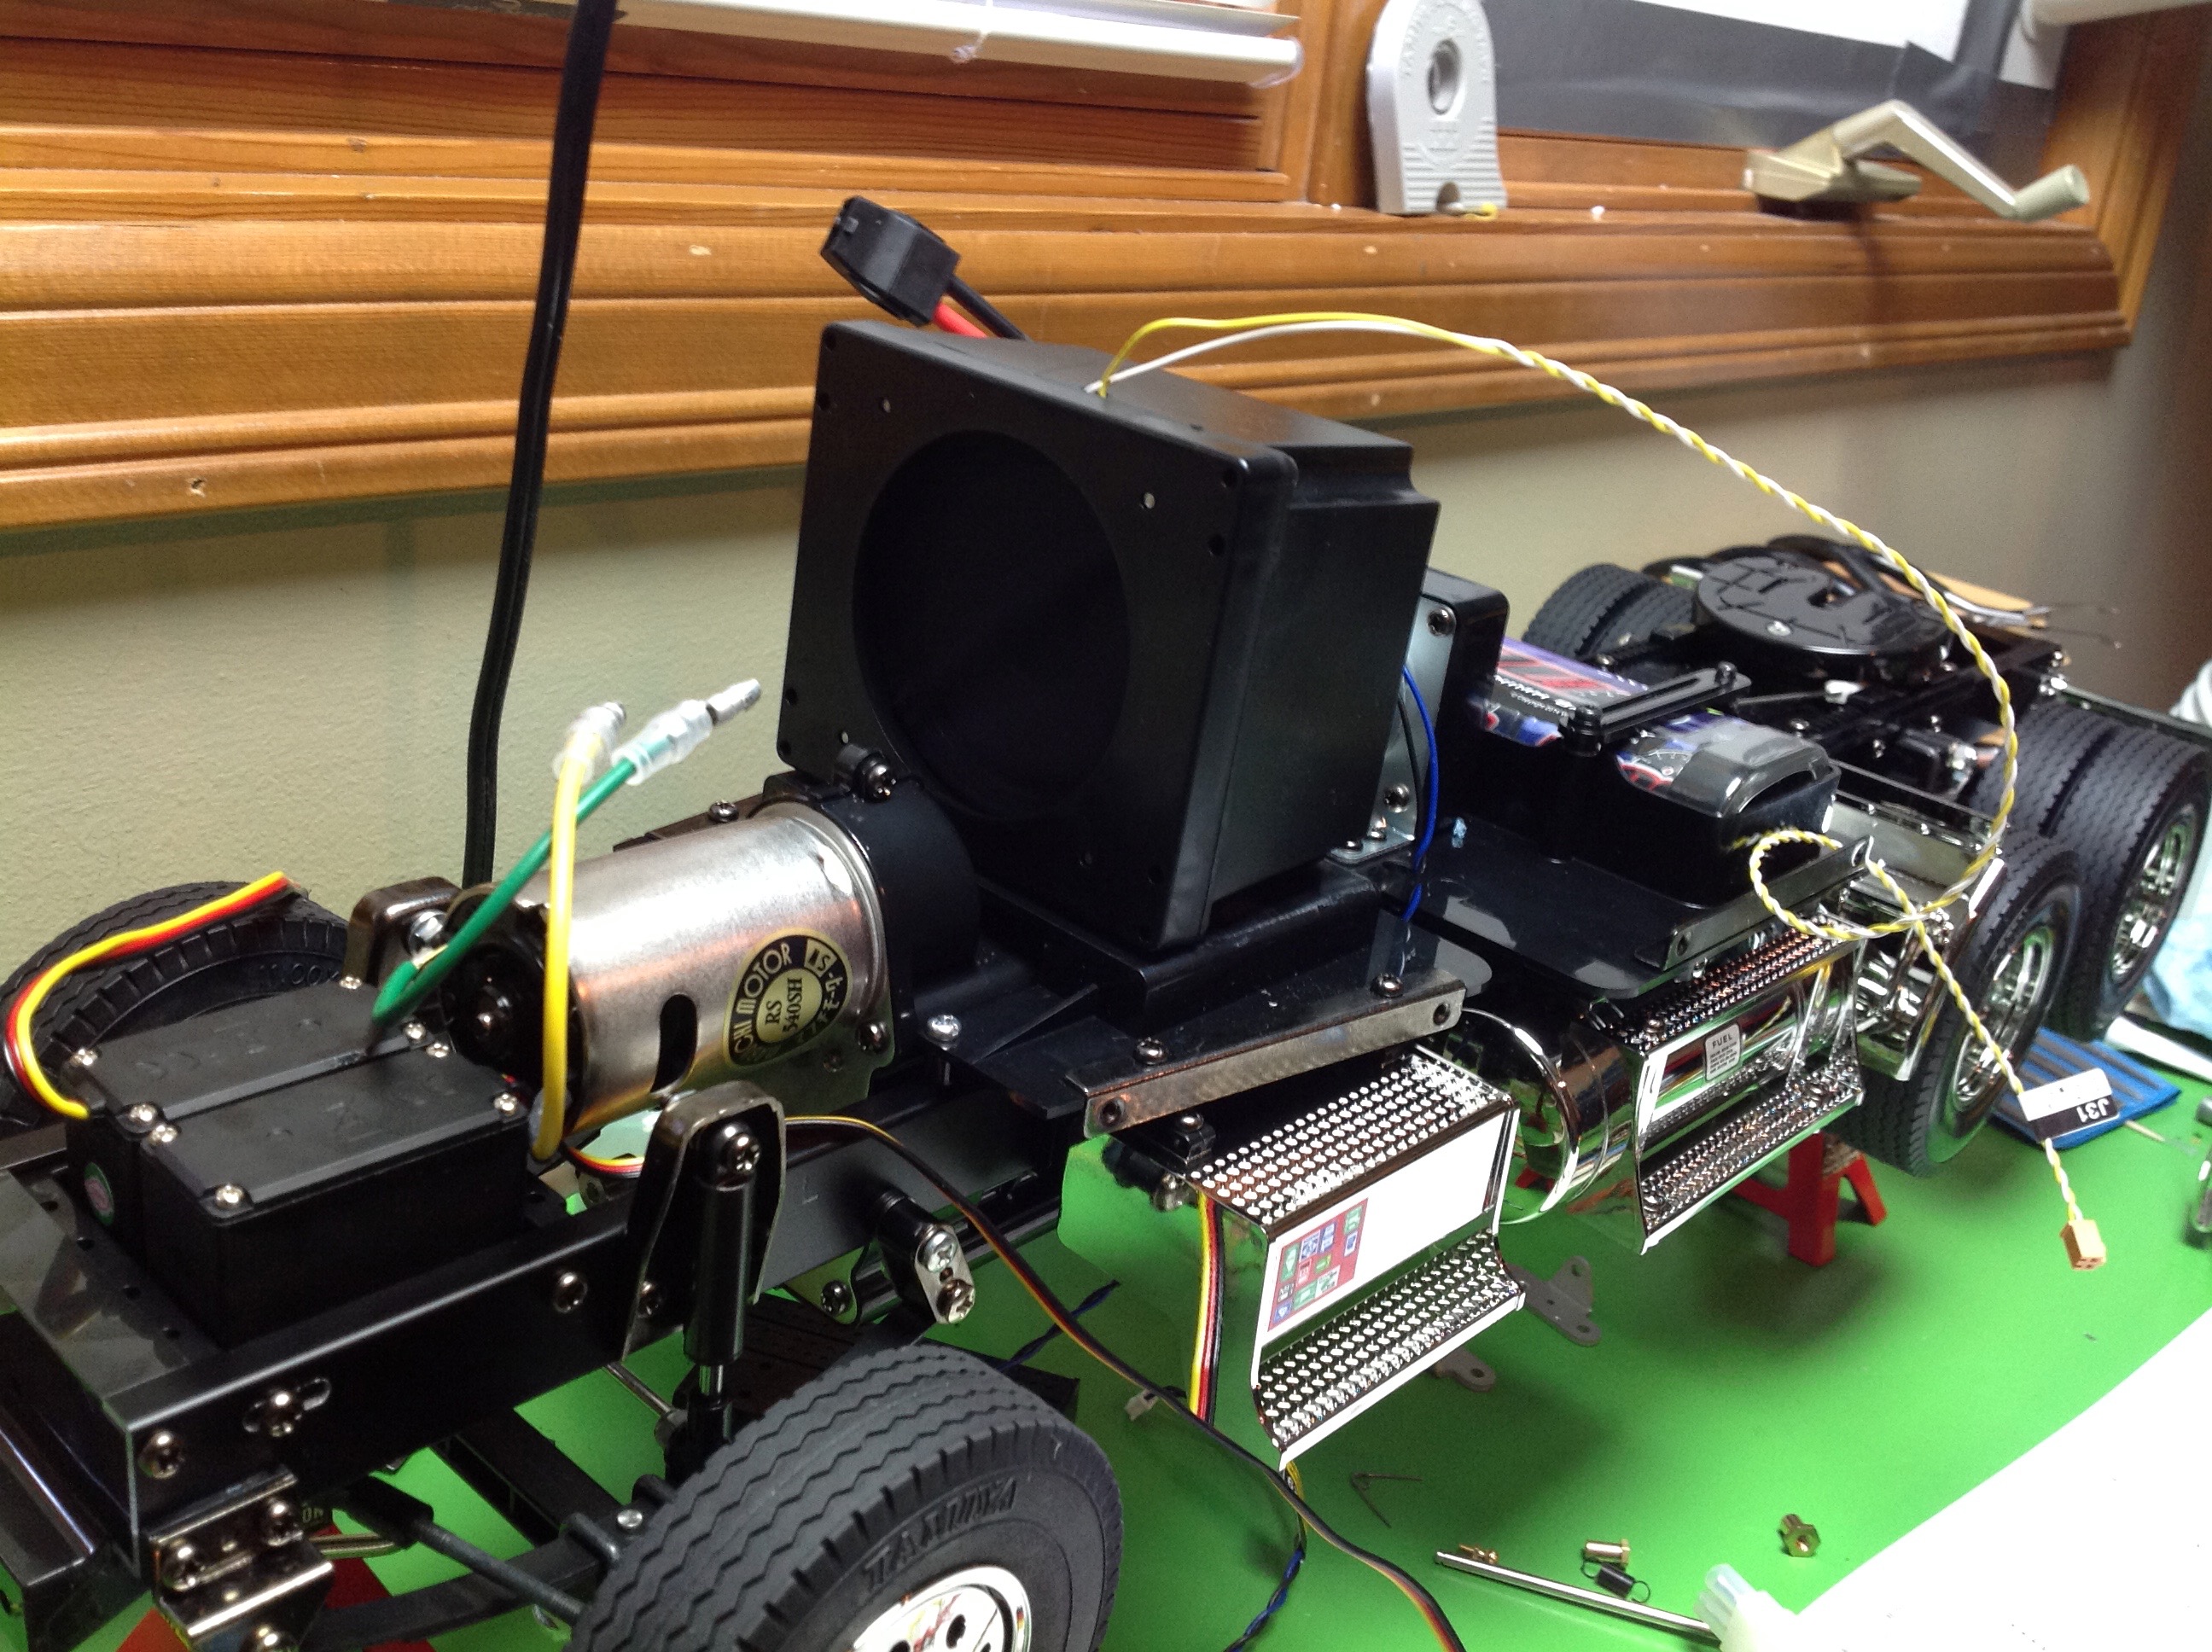
Here is the speaker box. This is a sizable speaker and it gets
much louder when enclosed in the box. The speaker goes inside the
cabin so you can't use the seats, pedestals, dash, or steering wheel
when using the MFC. In order not to see the MFC and all the wires
when the model is finished, the instructions recommend painting the
windows with "smoke" which is a dark translucent color. I followed
this advice and it worked very well. You can control the volume
of the speaker from the control box. The speaker is loud enough to
be heard far down the road and to drown out the sound of the electric
motor.
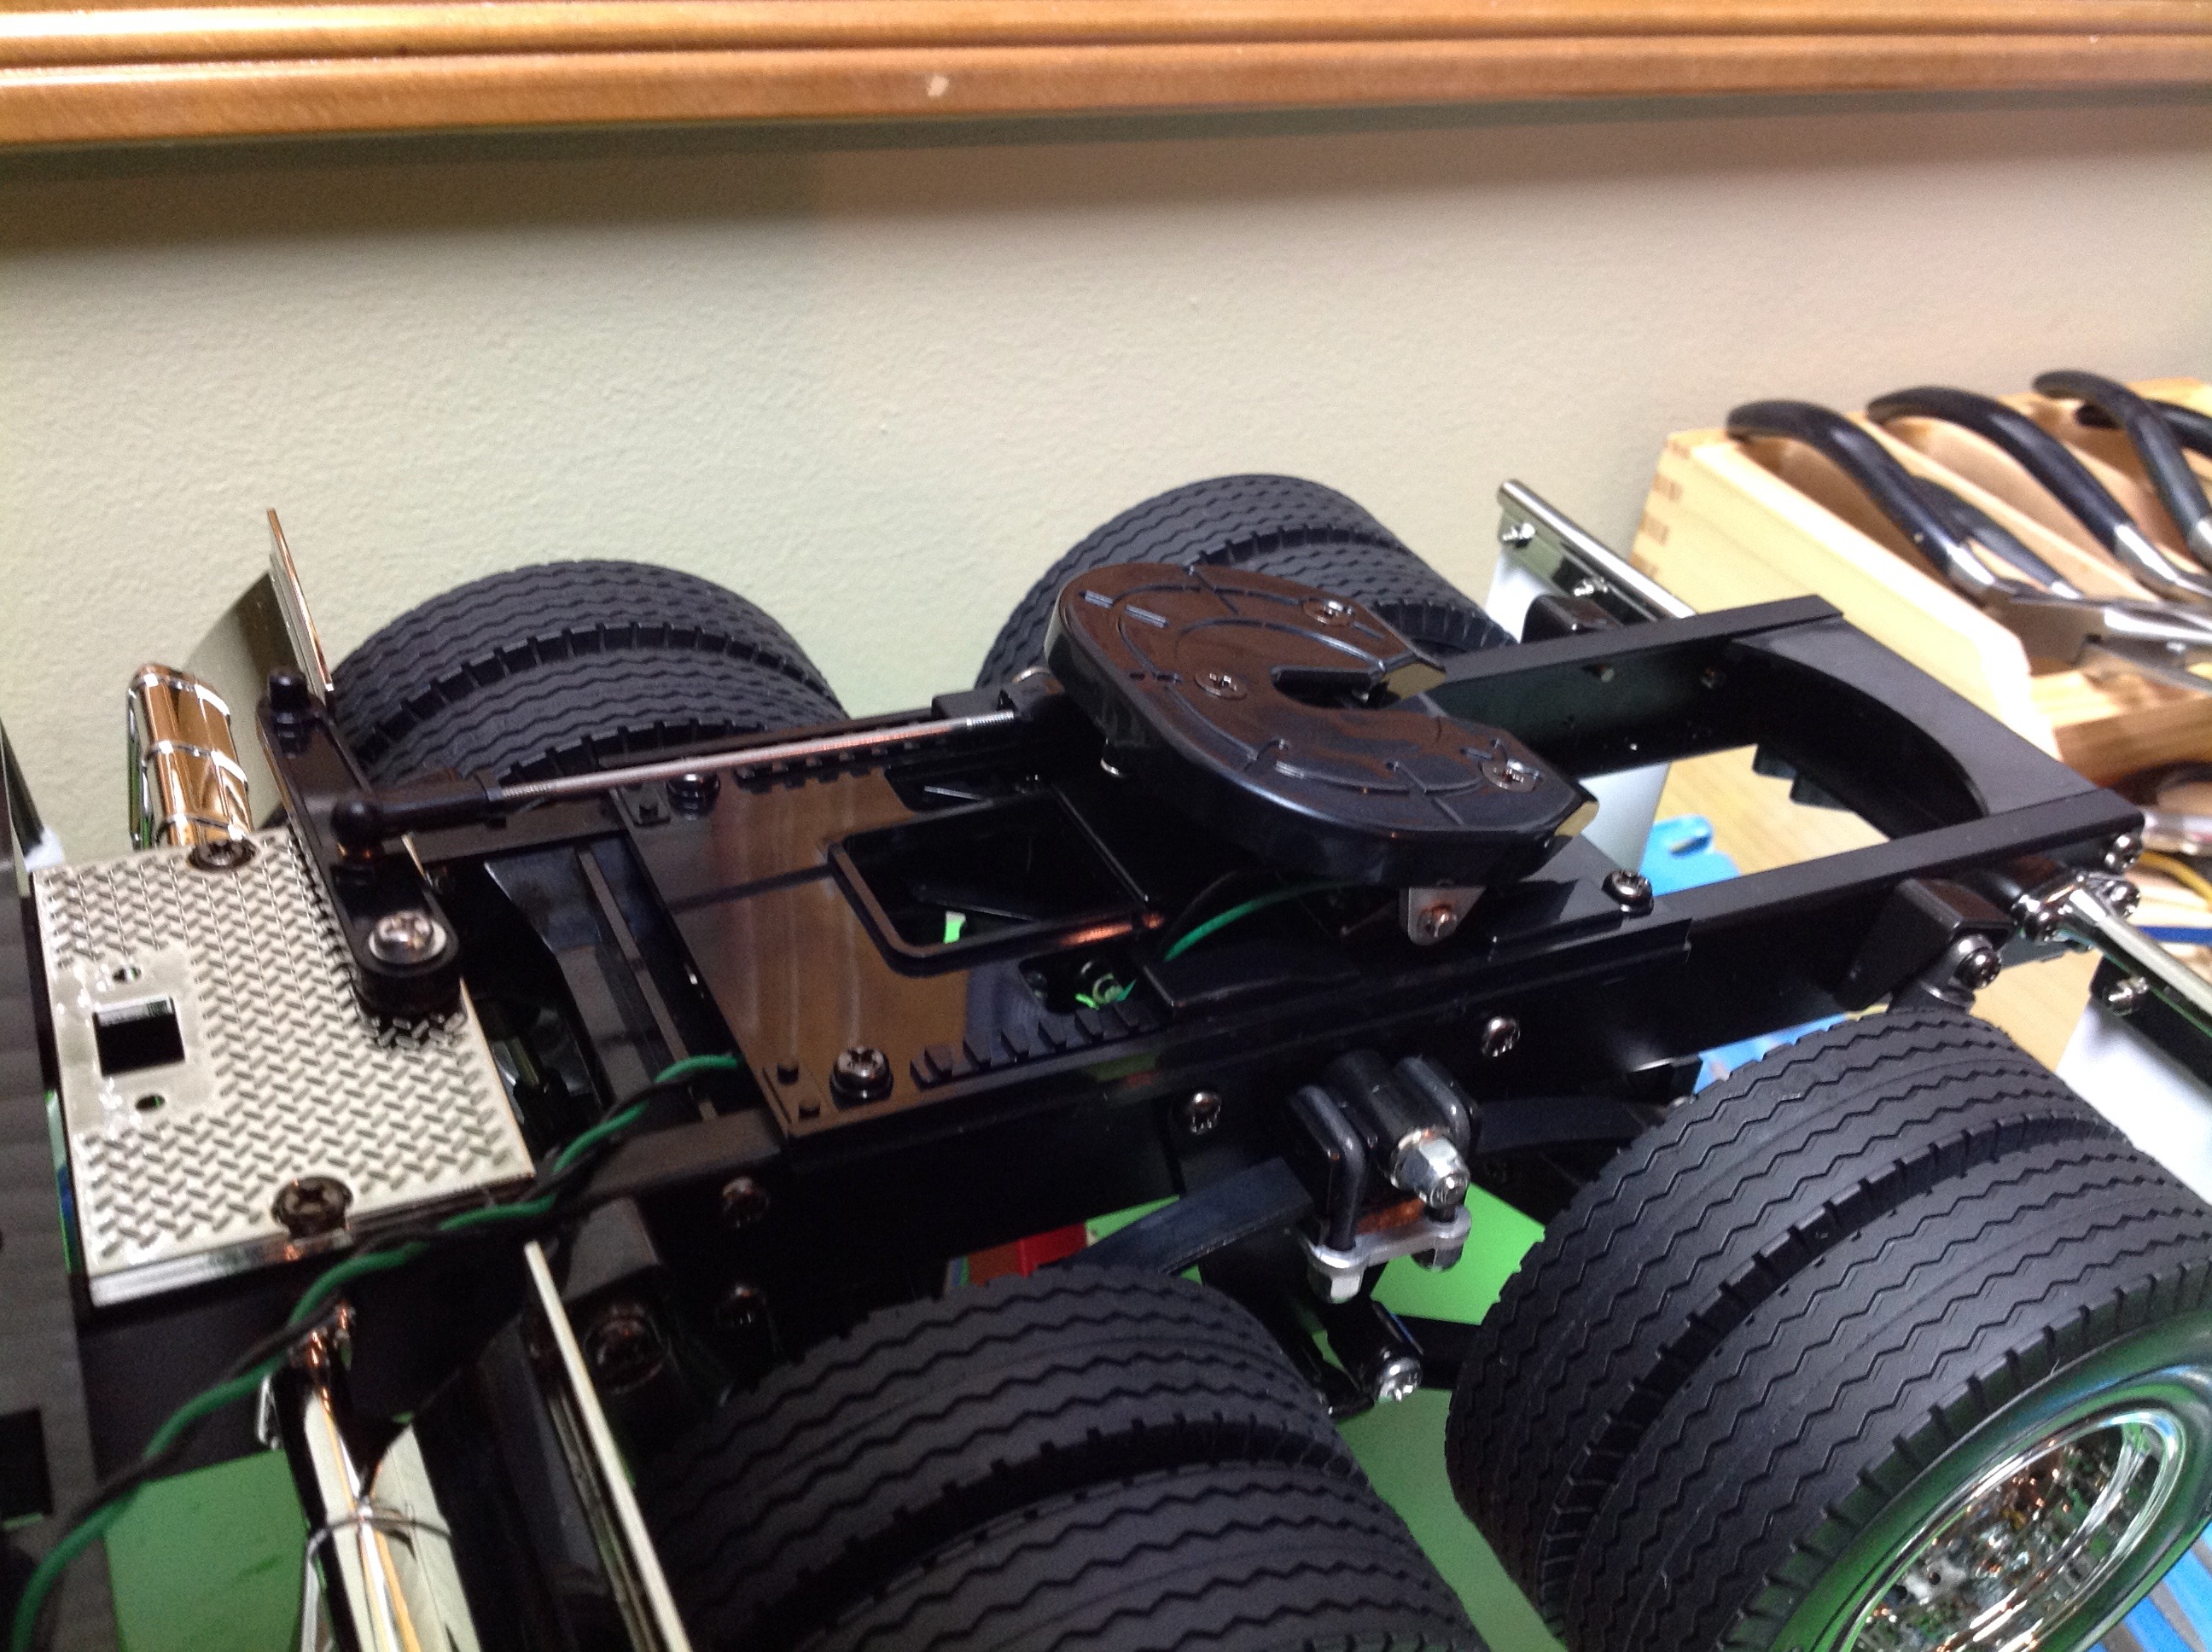
A micro-switch has been installed in the coupler. This allows the
MFC to know when a trailer is attached. It makes a "clunk" sound
as you hook up, and then the sound of the engine pitches down when
towing to reflect the higher strain on the truck.
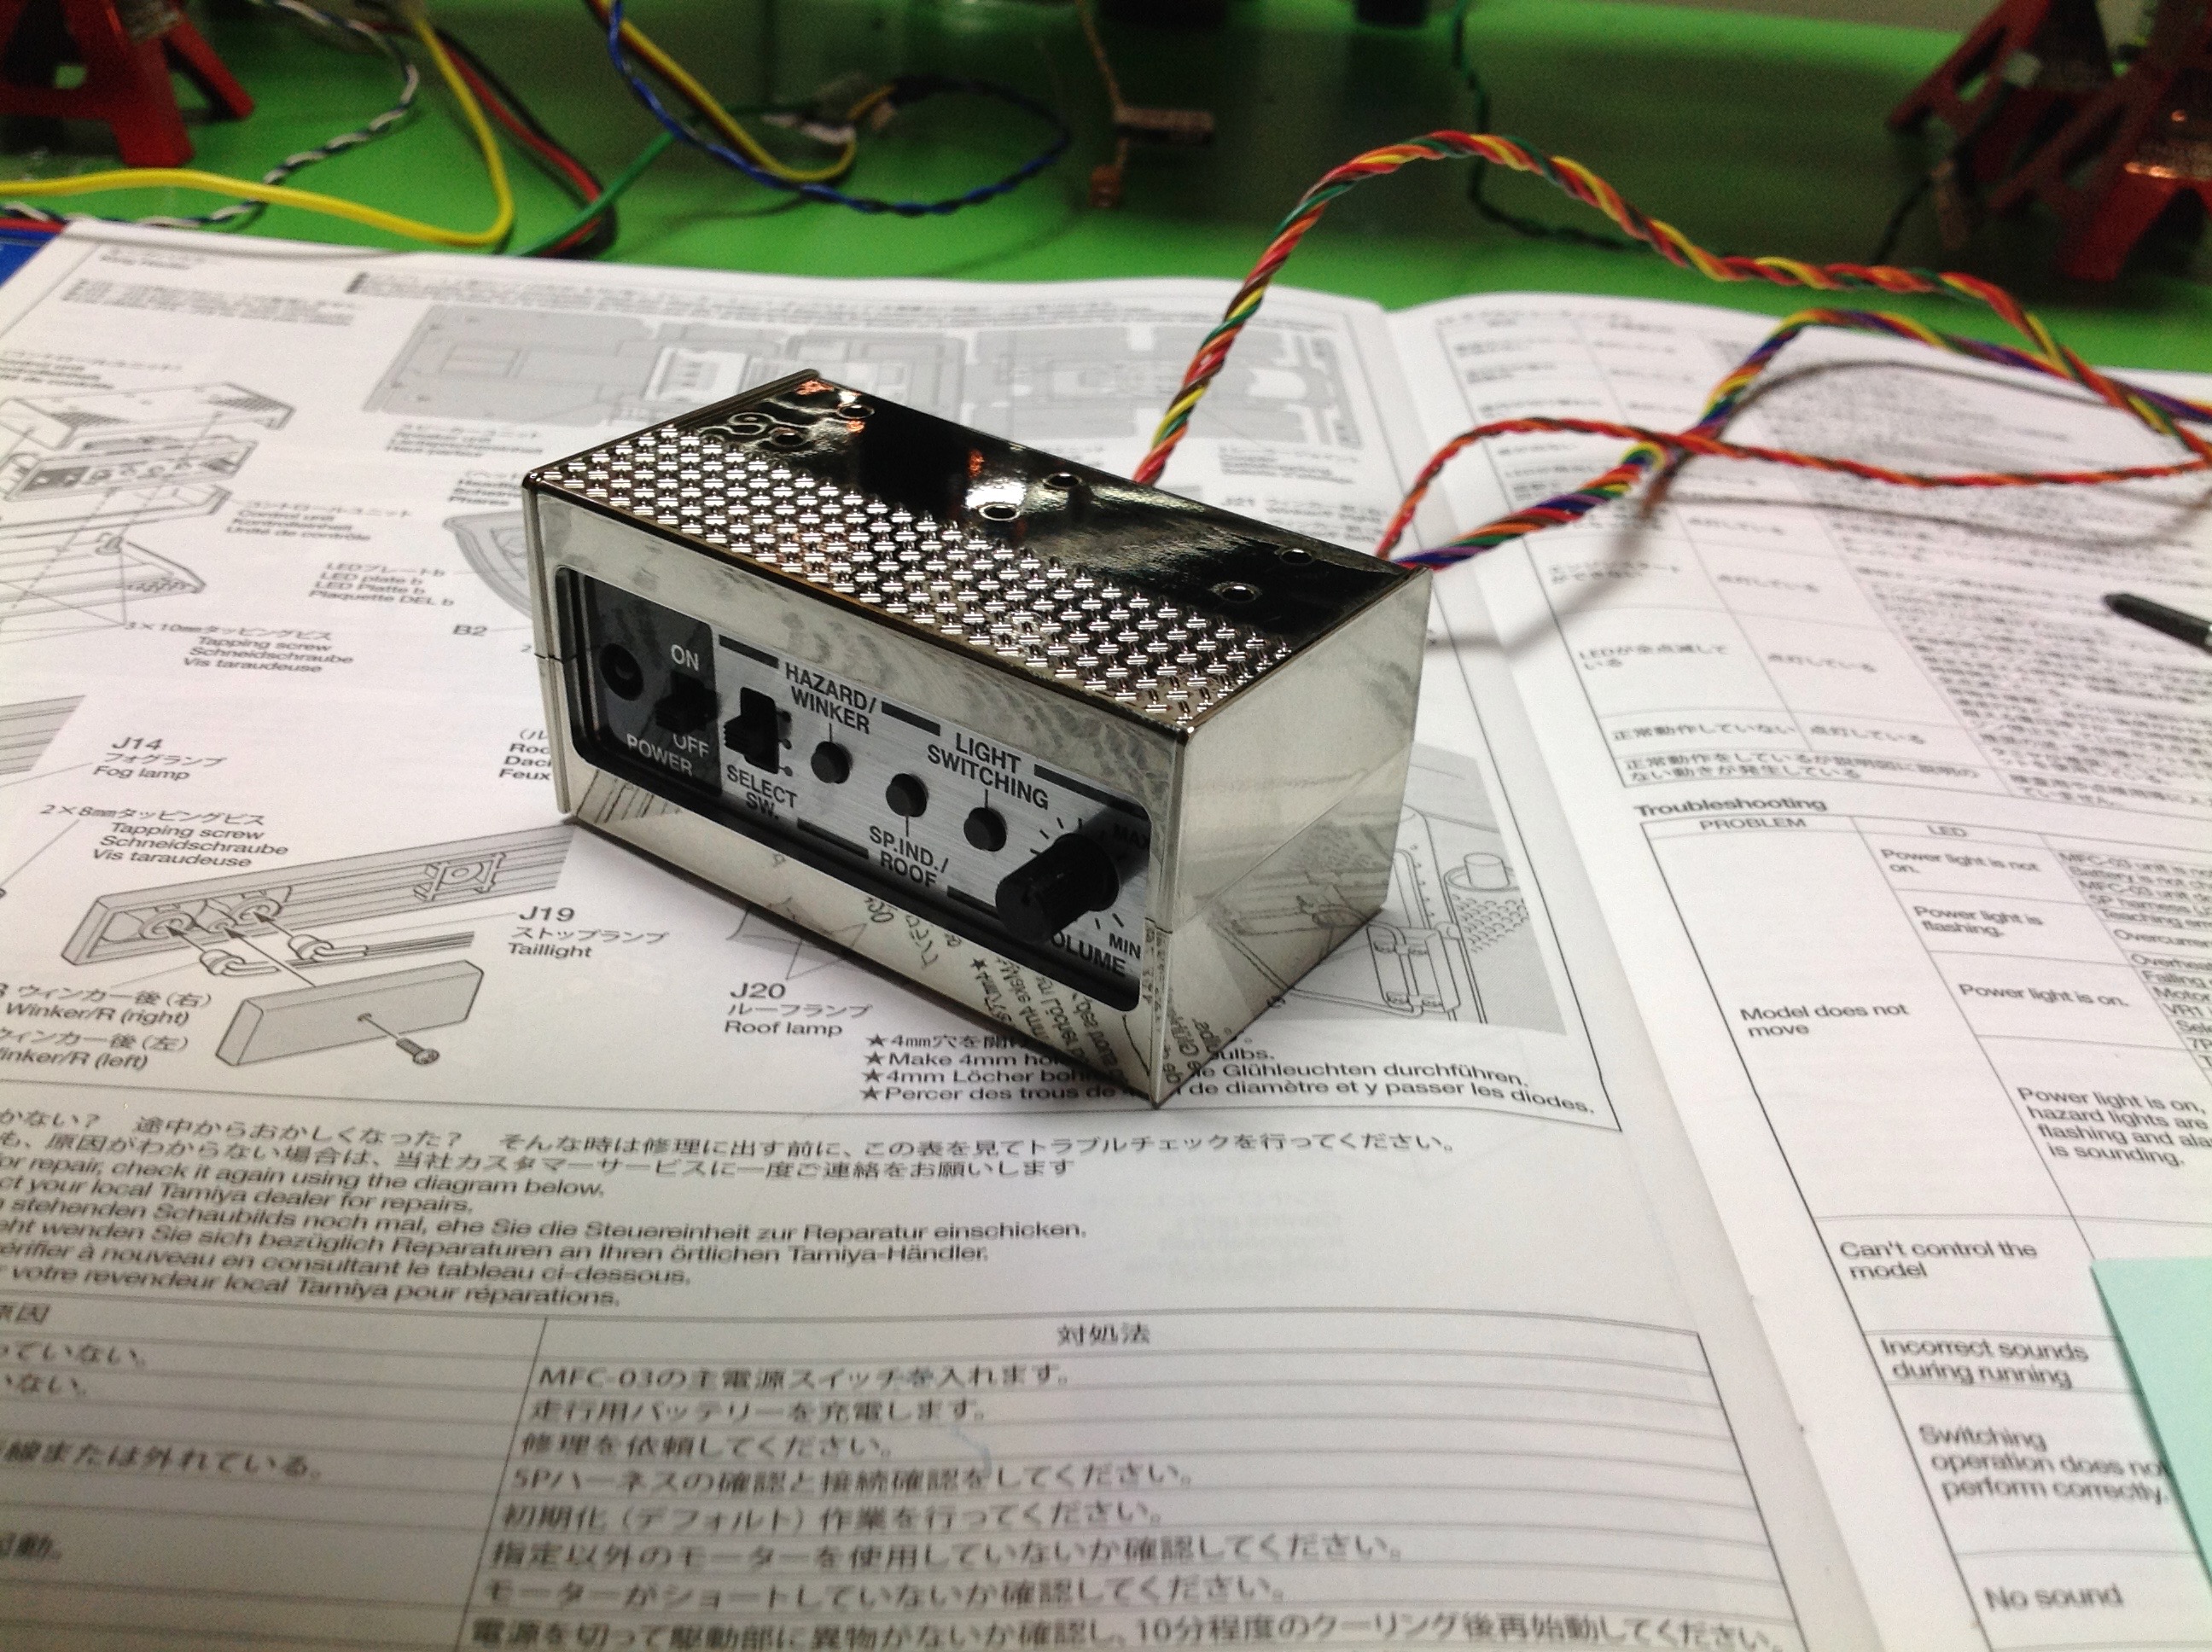
The is the control box which takes the place of one of the battery boxes
under the driver's door. I was a bit surprised to see that there
are three separate wire harnesses connecting this controller to the MFC;
it seems like they could have all been combined into one. From
the control box you can switch on the system, switch between modes,
control the lights, and set the volume. The 3 modes are:
- Standard: In this mode every part of the system is active
and you can control just about everything from the transmitter including
lights and sounds.
- Simple: In this mode the controller acts as a normal speed
controller so you can drive and steer the truck but there are no light
or sound functions.
- Demo: In demo mode the motors are disabled but the system
runs through different light demonstrations to show what the model is
capable of. This is a great way to show someone what the truck can
do.
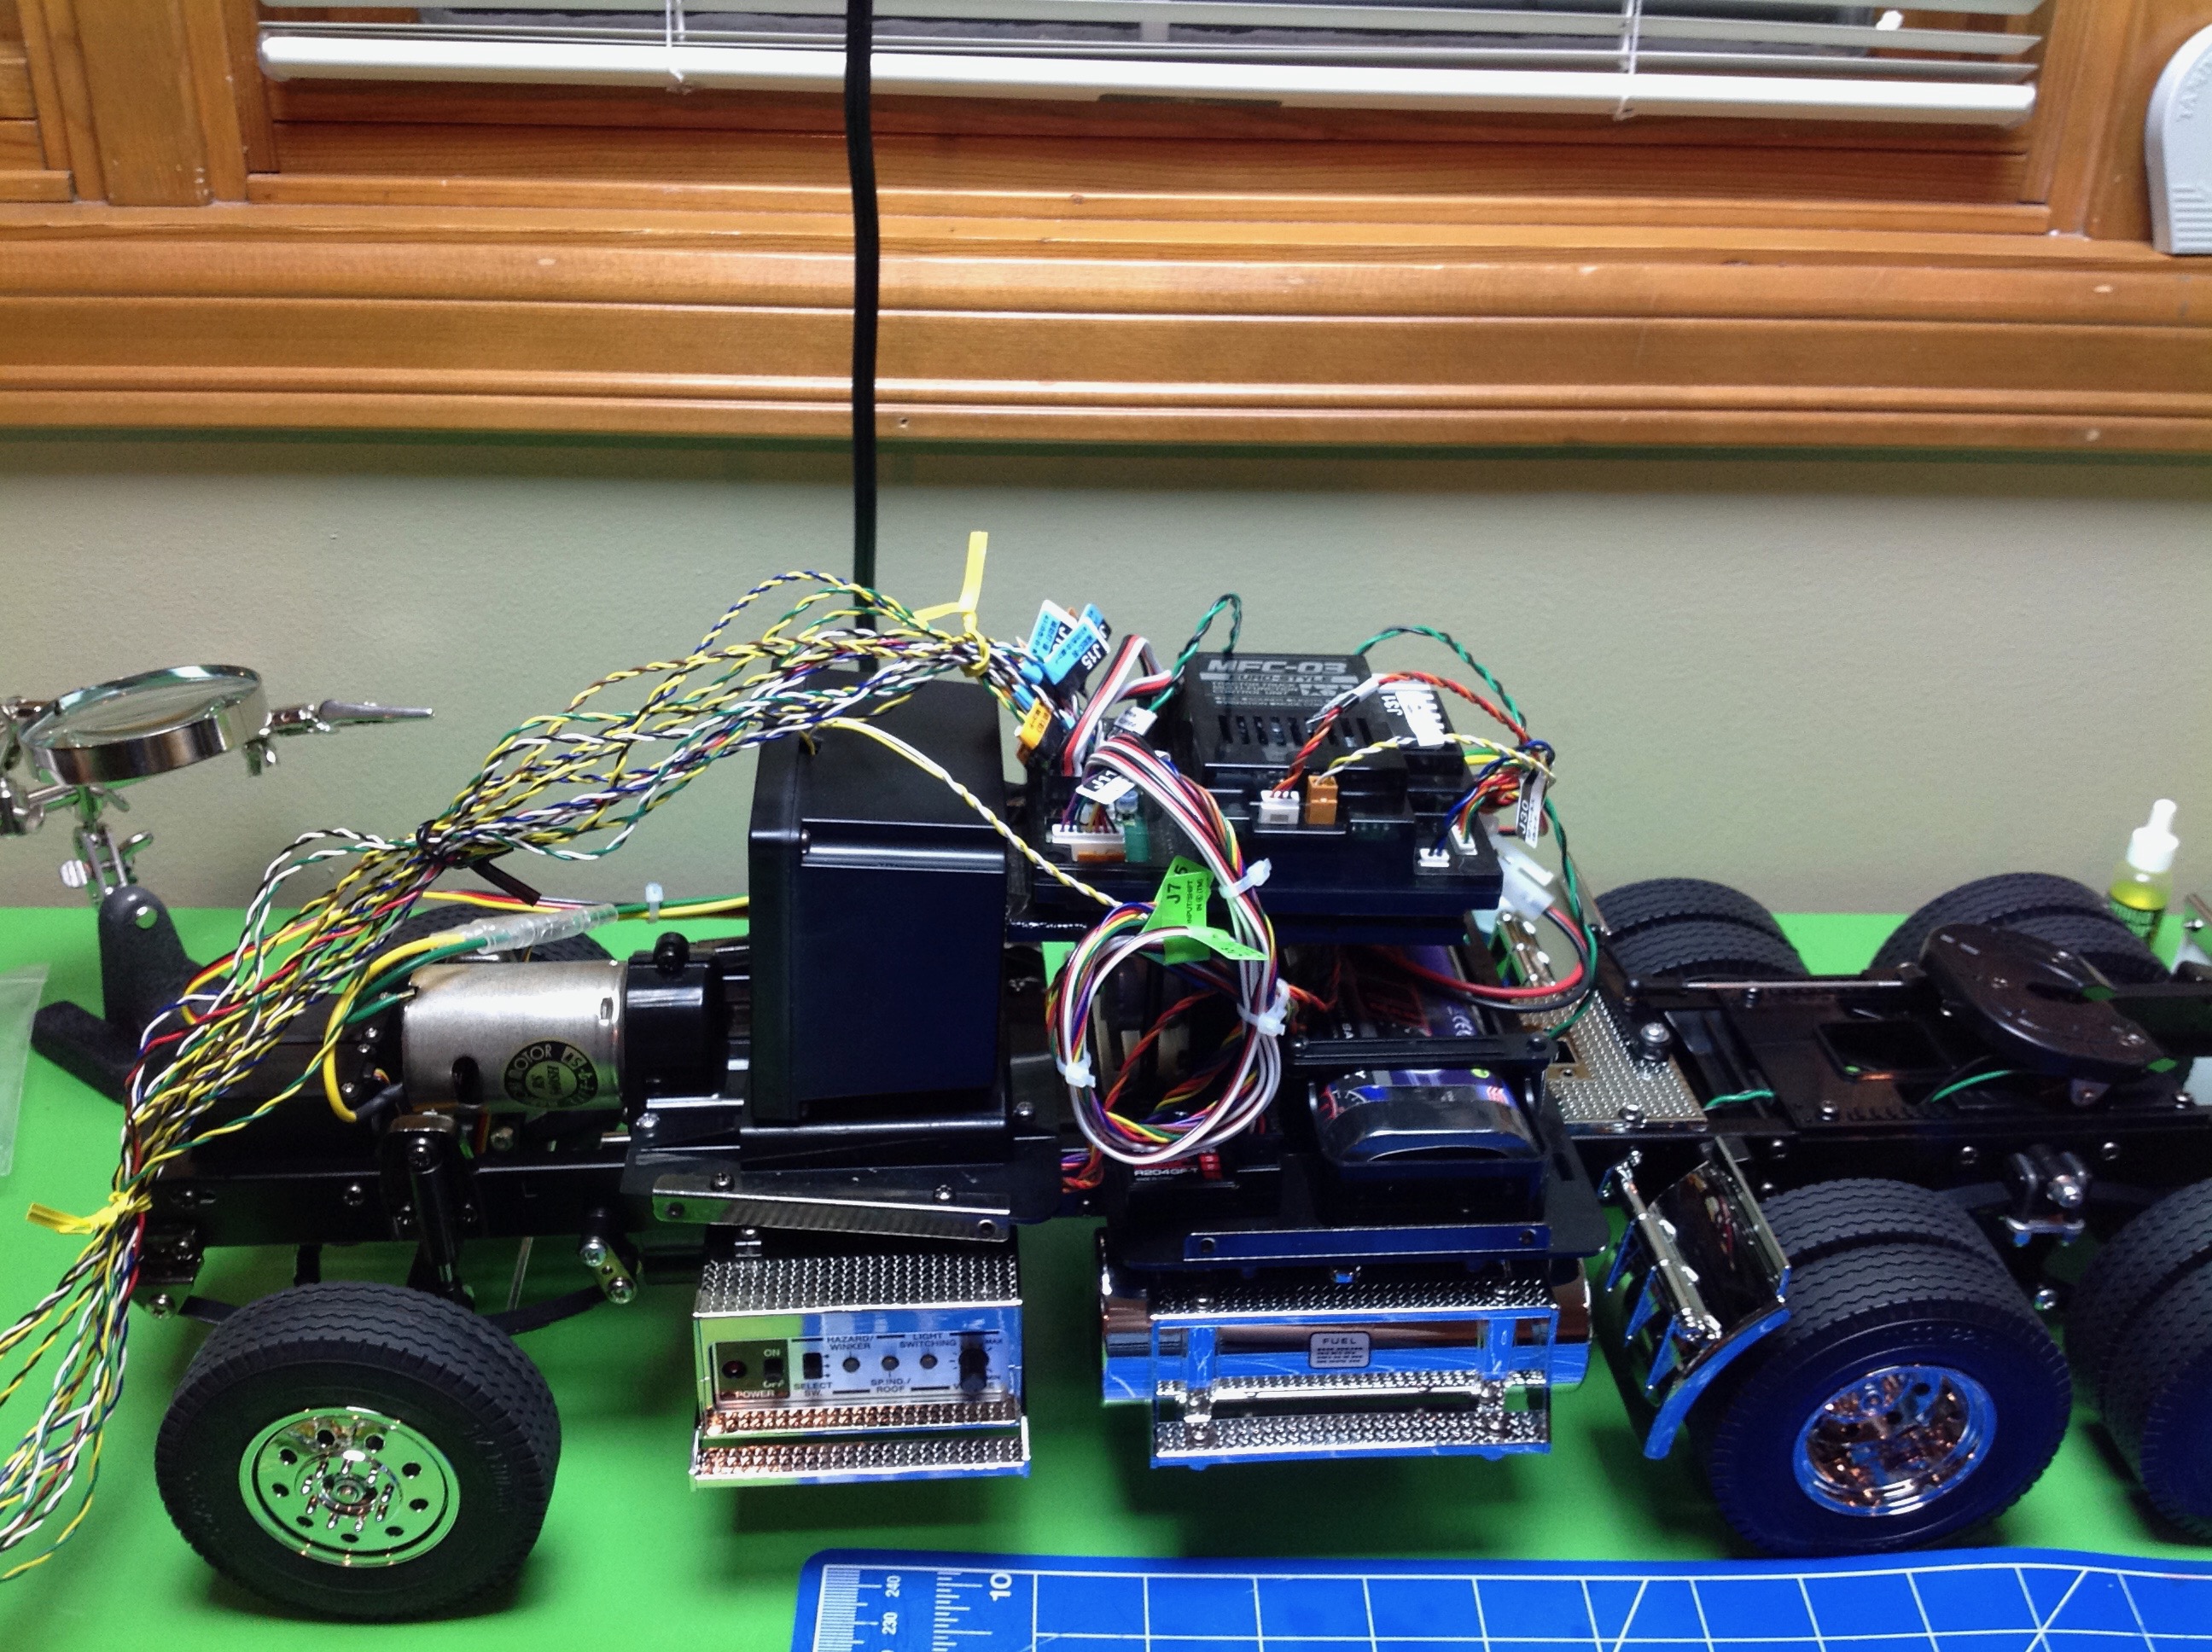
Now I've installed the MFC in the truck. There was a pretty big
problem here. The MFC has instructions for how to install the unit
in various truck models, and it says to see the truck instructions for
more specific details. For the King Hauler, there is just an
overhead view but it doesn't say how to install anything. The
vibration motor obviously needs to be screwed to the deck, and the
speaker gets connected with Velcro, but from above all you see is that
the controller goes on top of the battery and there are no further
details in the truck manual. I checked the Grand Hauler manual
which is a very similar truck and it showed how to install a mounting
platform above the battery. However, the King Hauler does not come
with the parts for this mounting platform. I had to make my own
platform by making some supports from chunks of sprue and using a
surplus coupler plate as a platform. After an hour of work and a
lot of CA I got something that works OK. I am surprised that
Tamiya missed this though because they generally think everything out
very thoroughly.
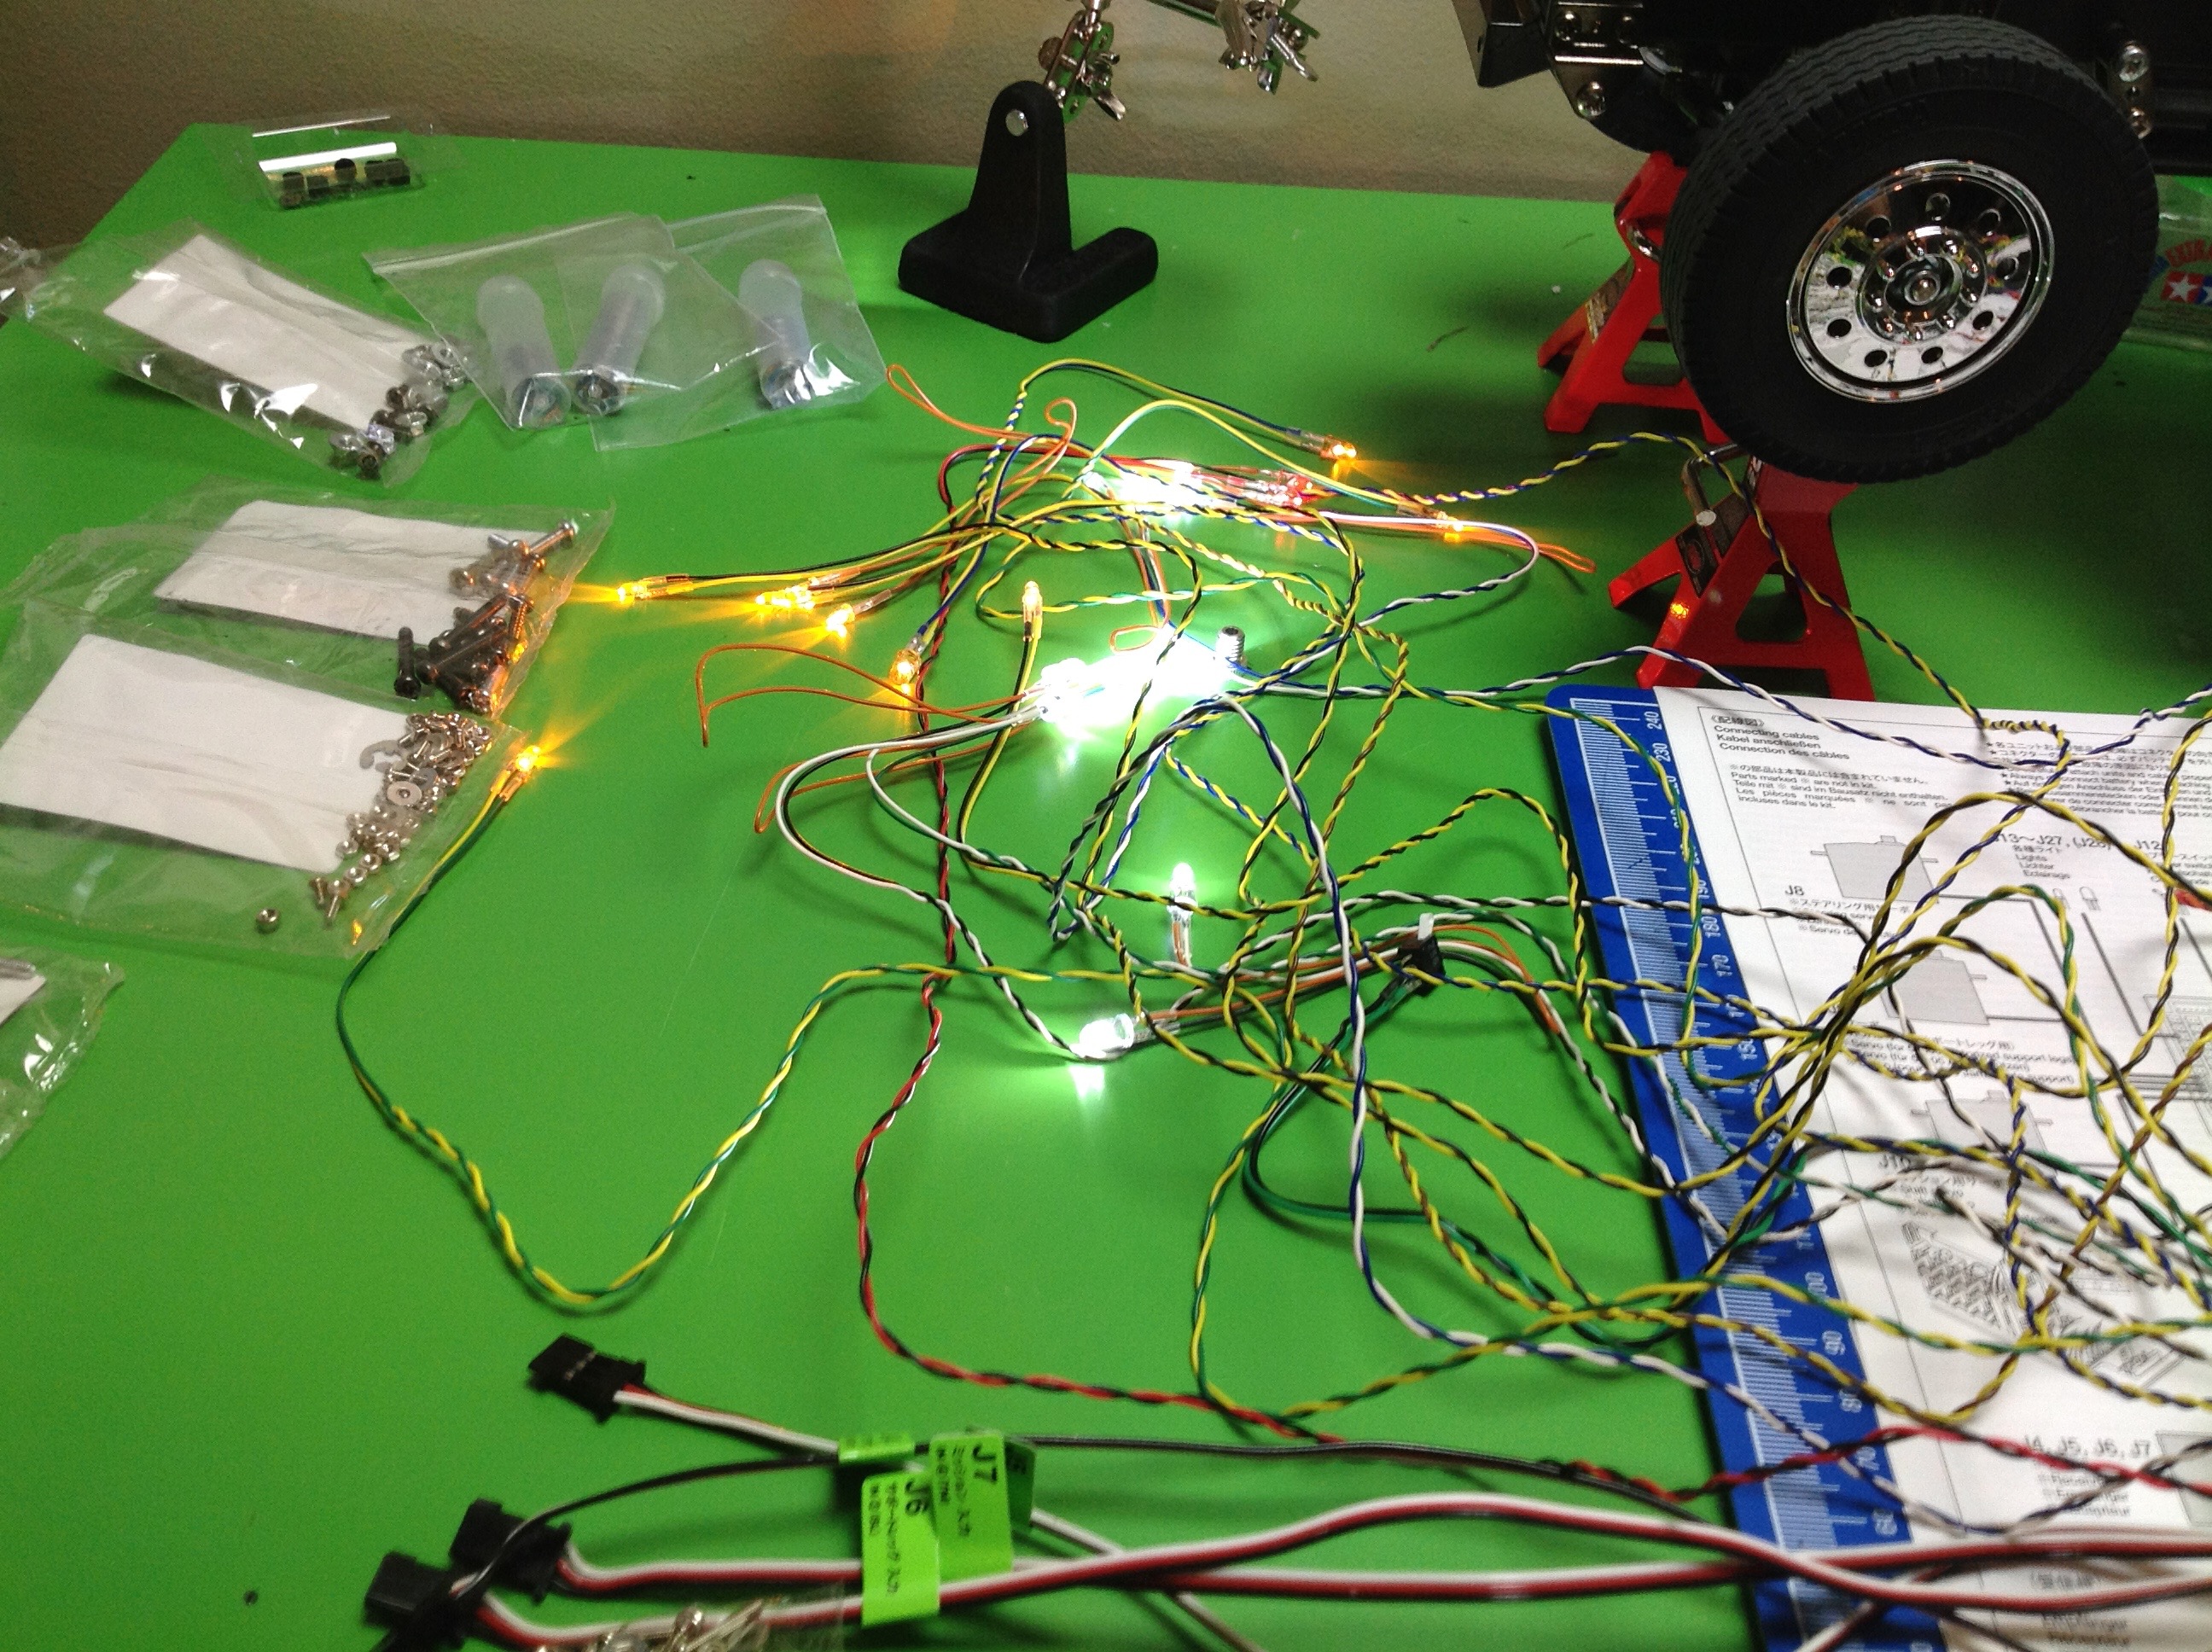
As you can see, there are a LOT of wires here. Most of them are
for lights. Only 6 of the 21 lights attach to the chassis, the
rest all connect to the body and therefore have to be connected only
when the body is attached which is far from easy.
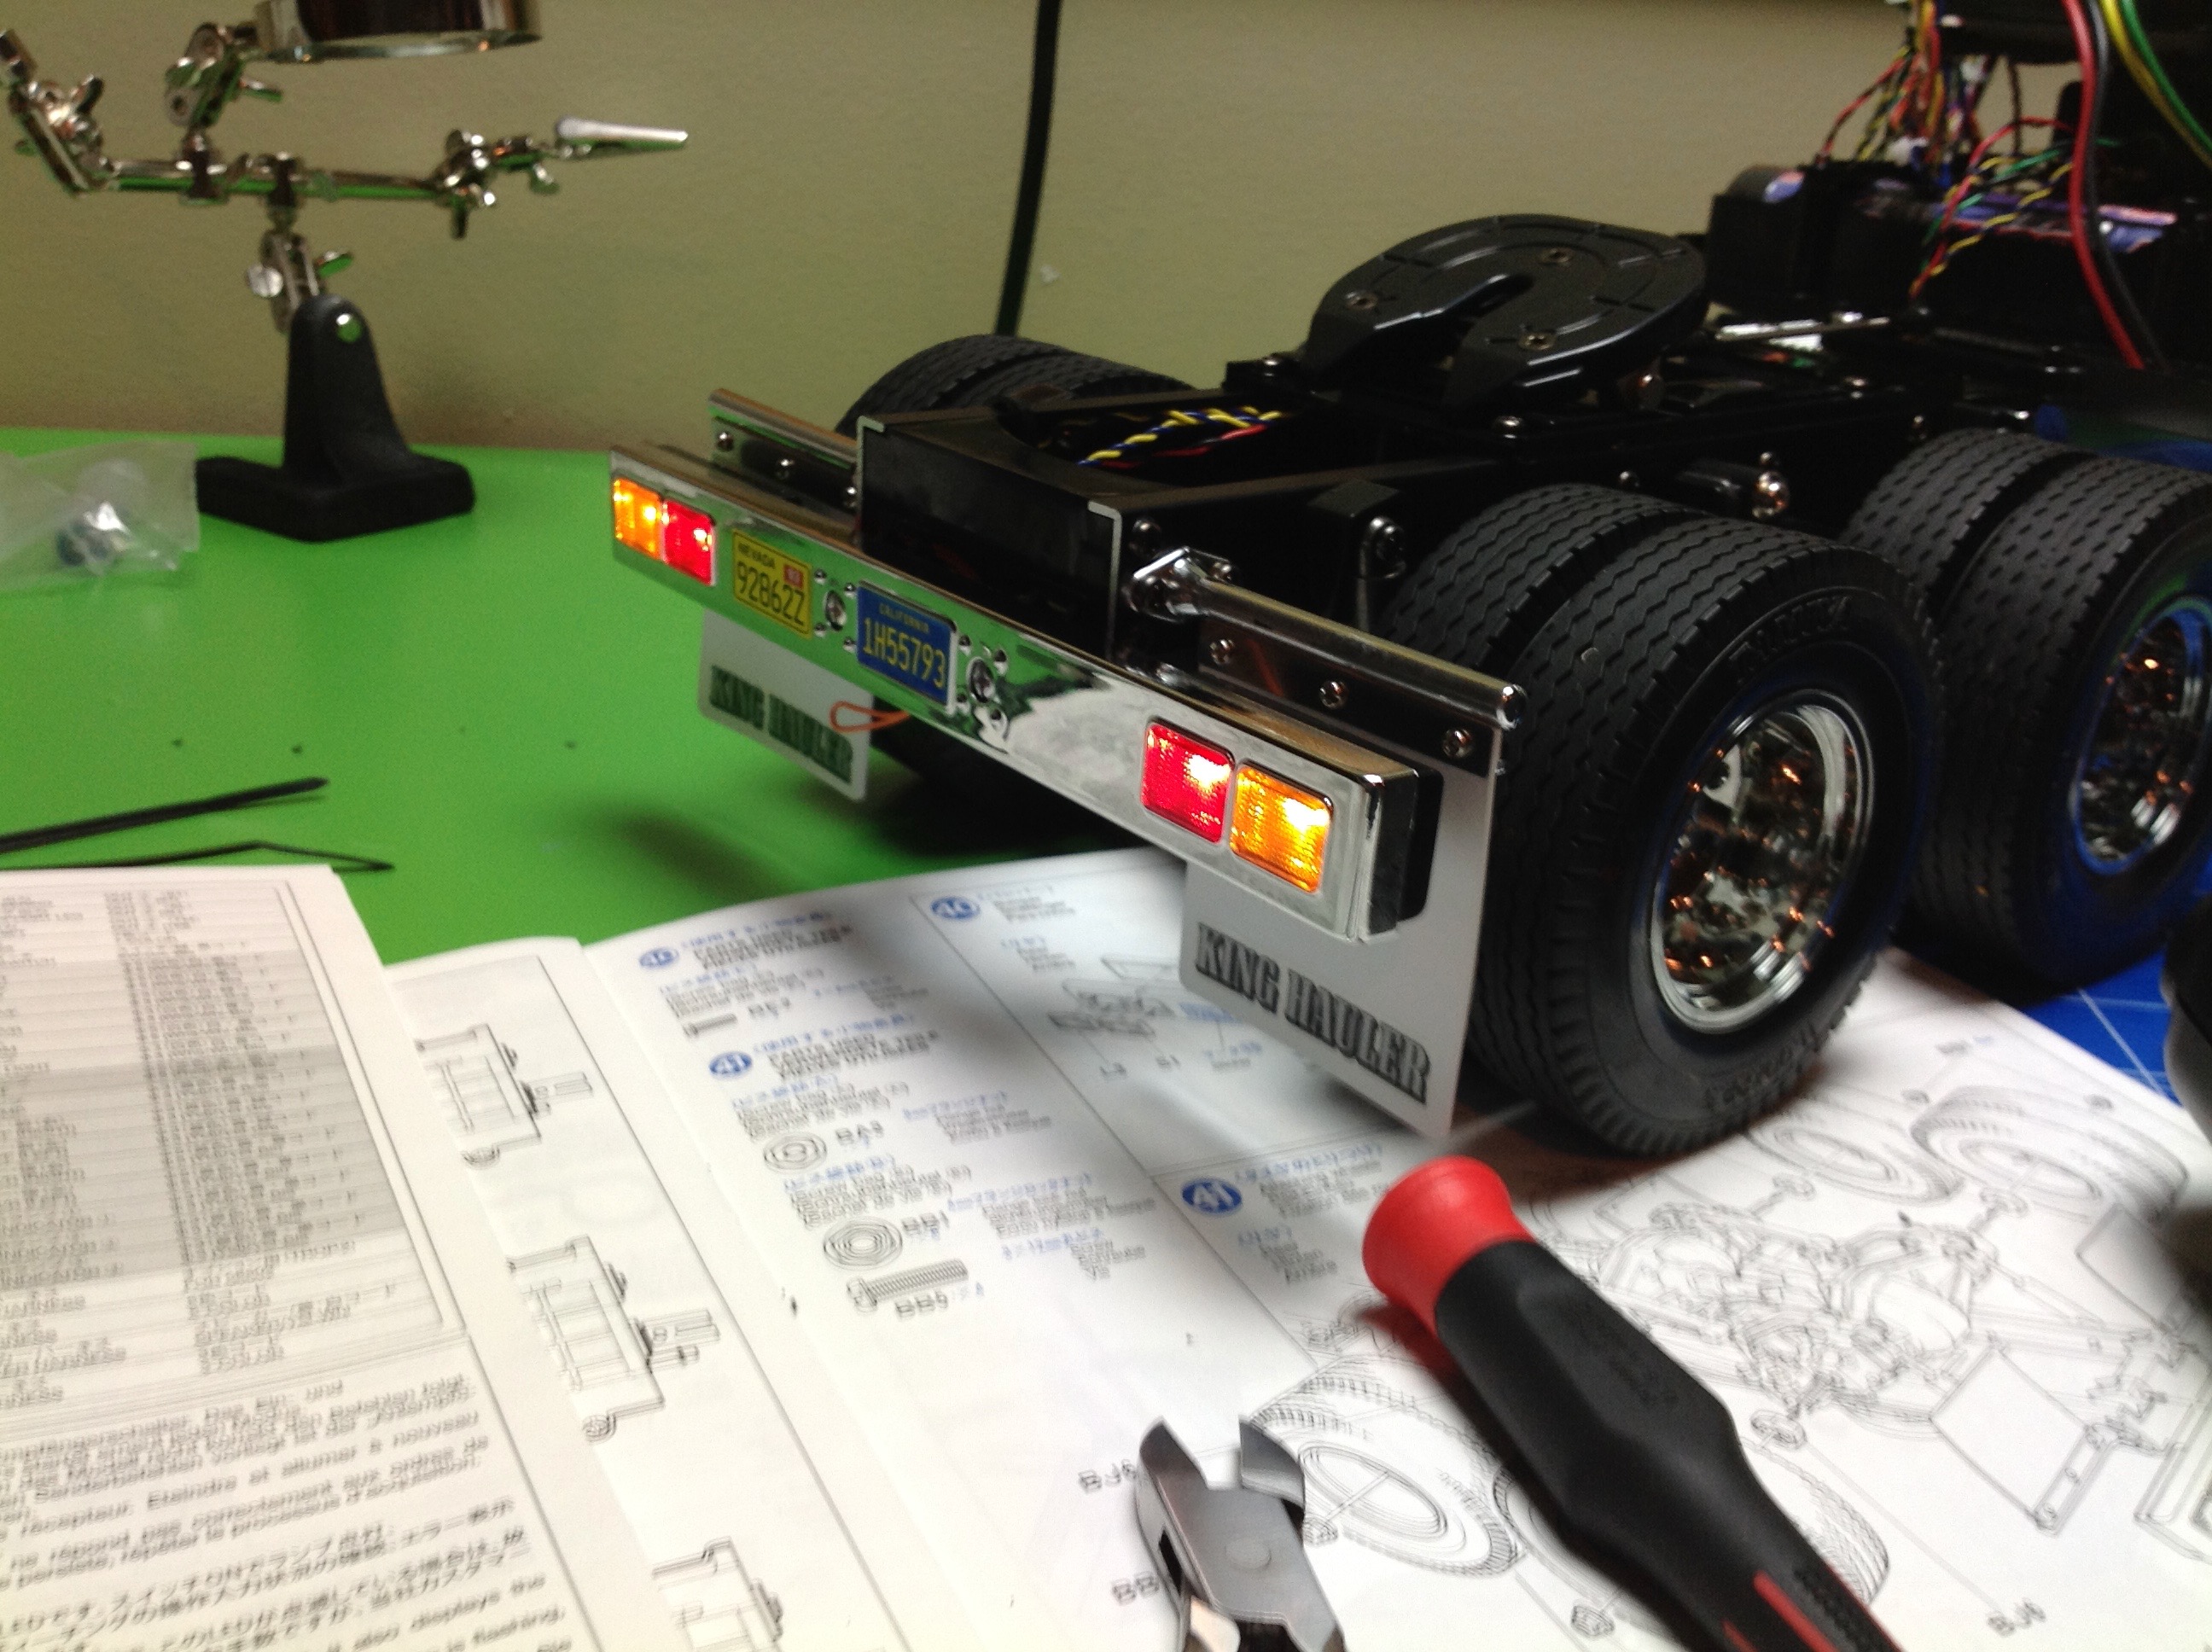
Step 40 installs the front and rear bumpers. I went ahead and
installed the LEDs at the same time. Here you can see the tail
lights and turn signals. The tail lights get brighter when
braking.
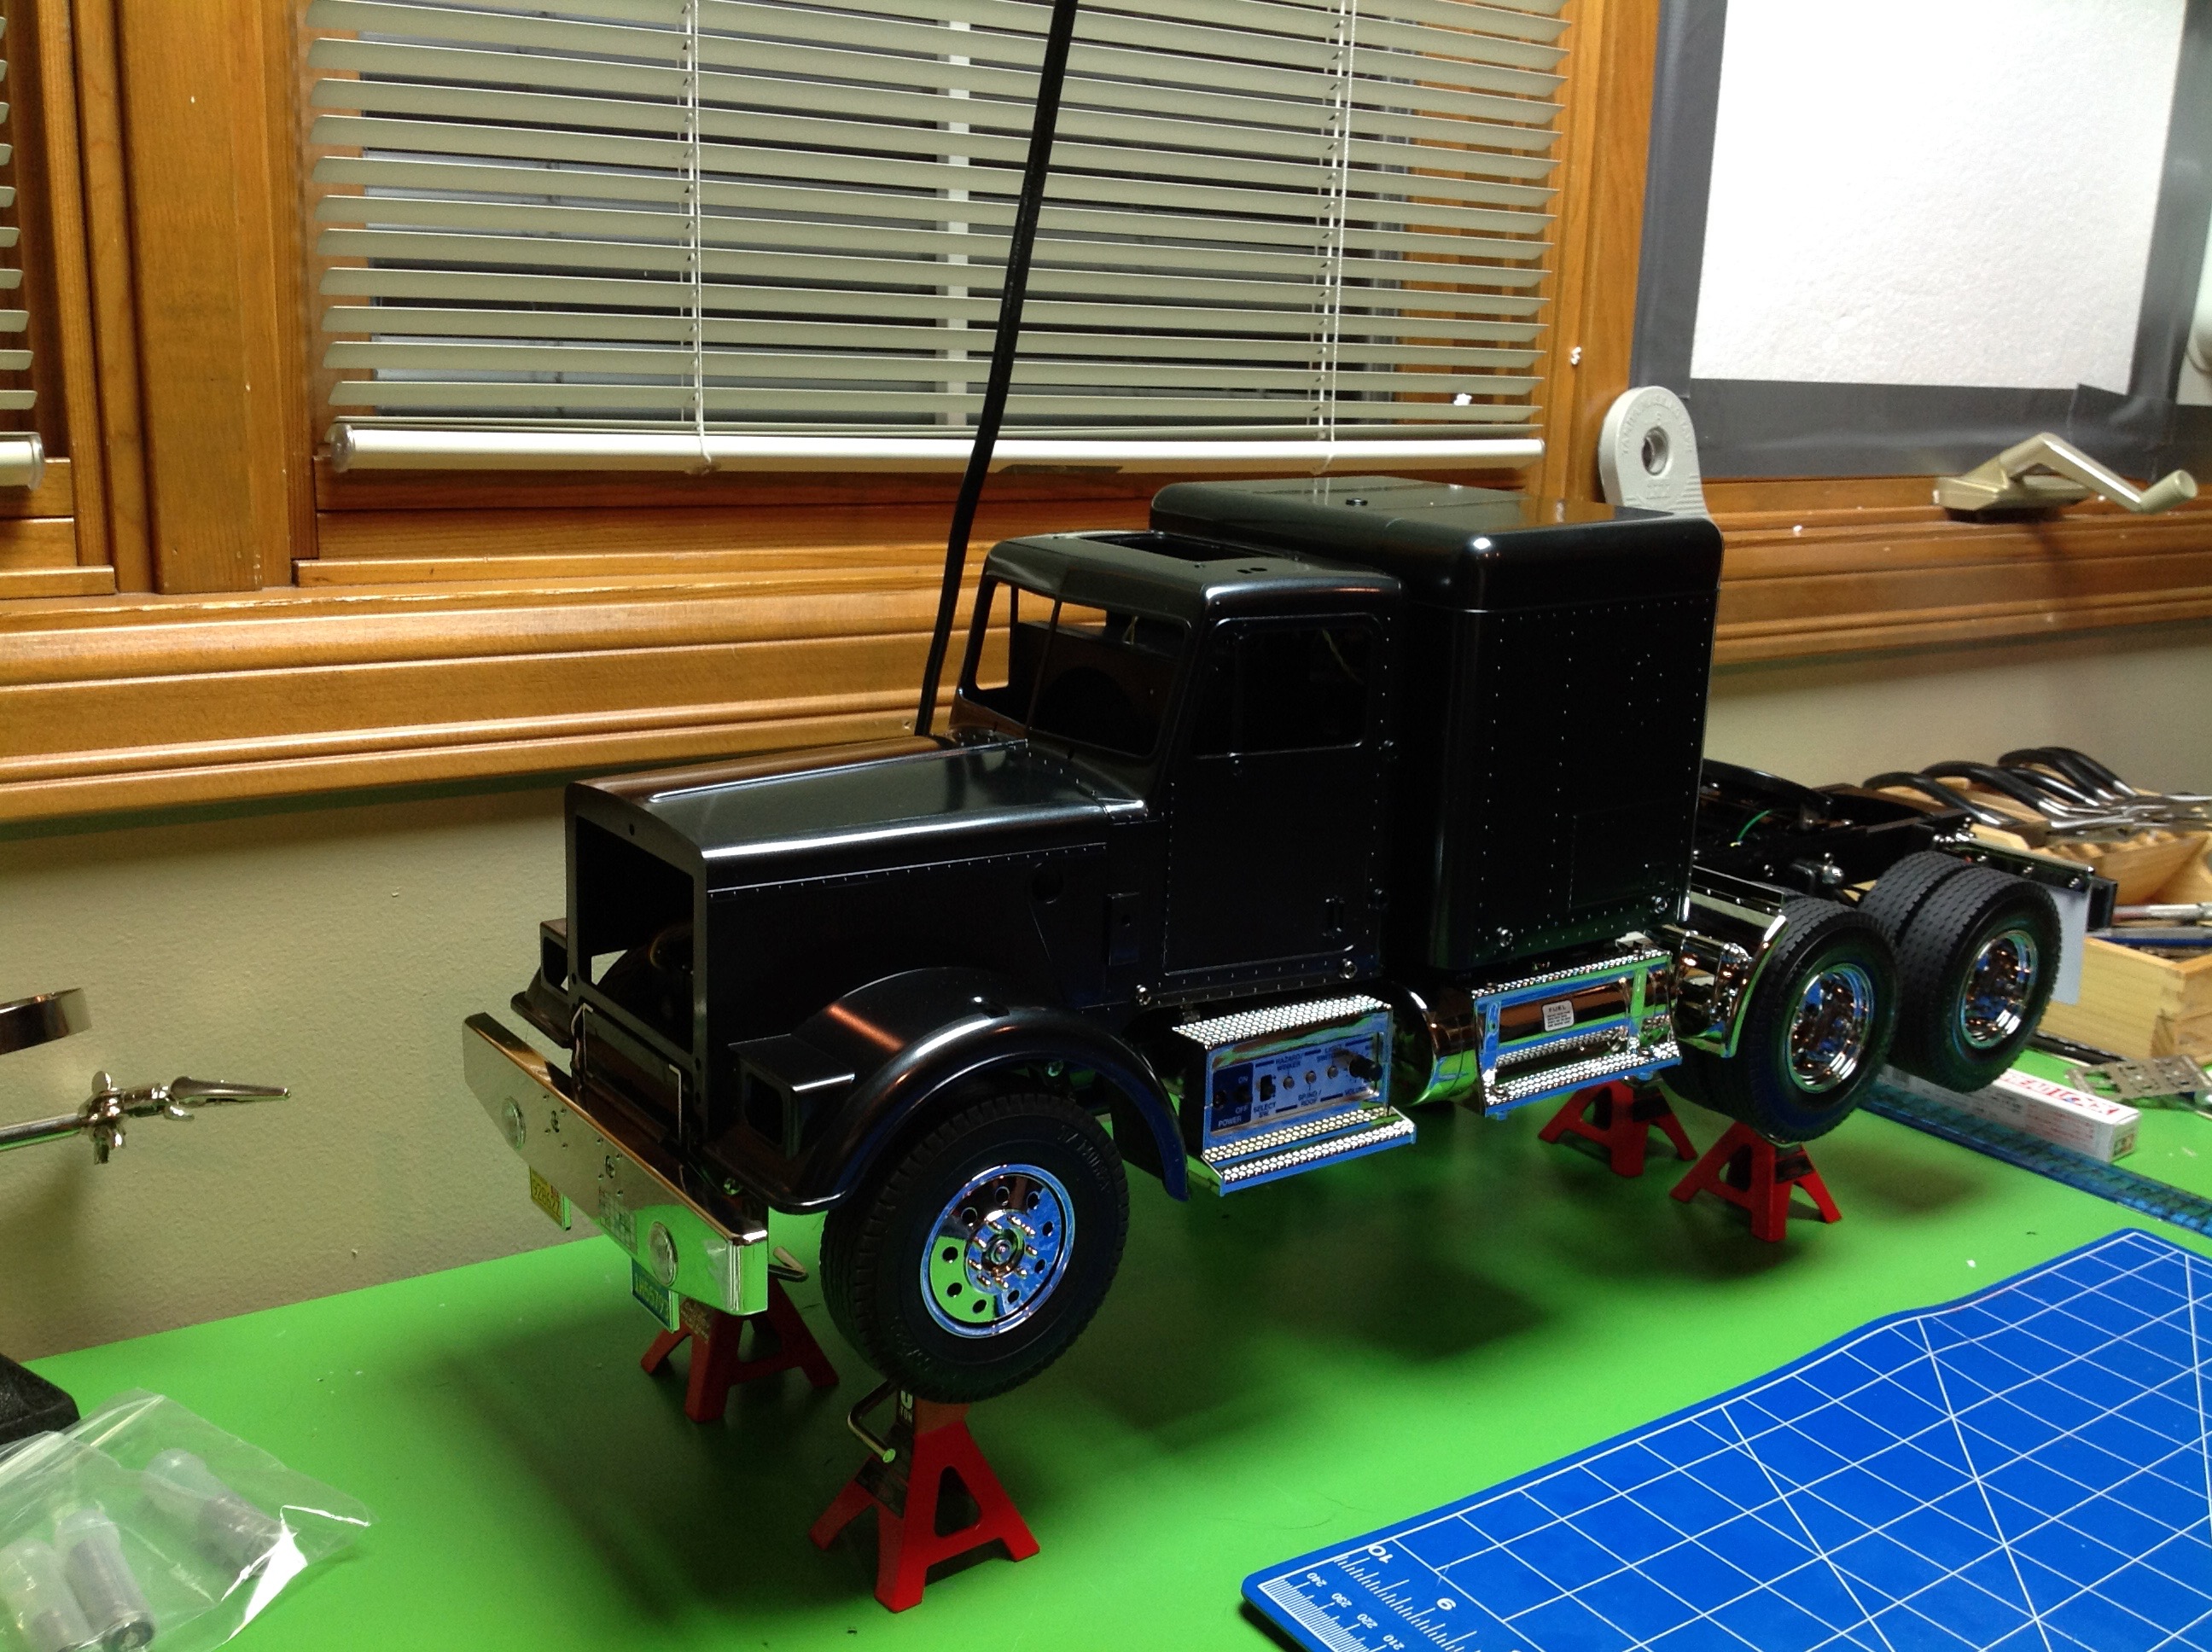
Although it is not time to install the body yet, I couldn't help but dry
fit it onto the chassis to see how it looks. It is still pretty
dark and featureless without the stickers and trim. Of course, the
room is also pretty dark because I do most of my building between 9:00
p.m. and 1:00 a.m.
I went back later and swapped out the MFC-03 "Euro-Style" for the MFC-01
which has a better sound for this kind of truck. I also replaced
the front white LEDs with a variety that looks more like old halogen
lights.
©2017 Eric Albrecht