RC4WD Trail Finder 2 Project
Page 1: Stock Assembly
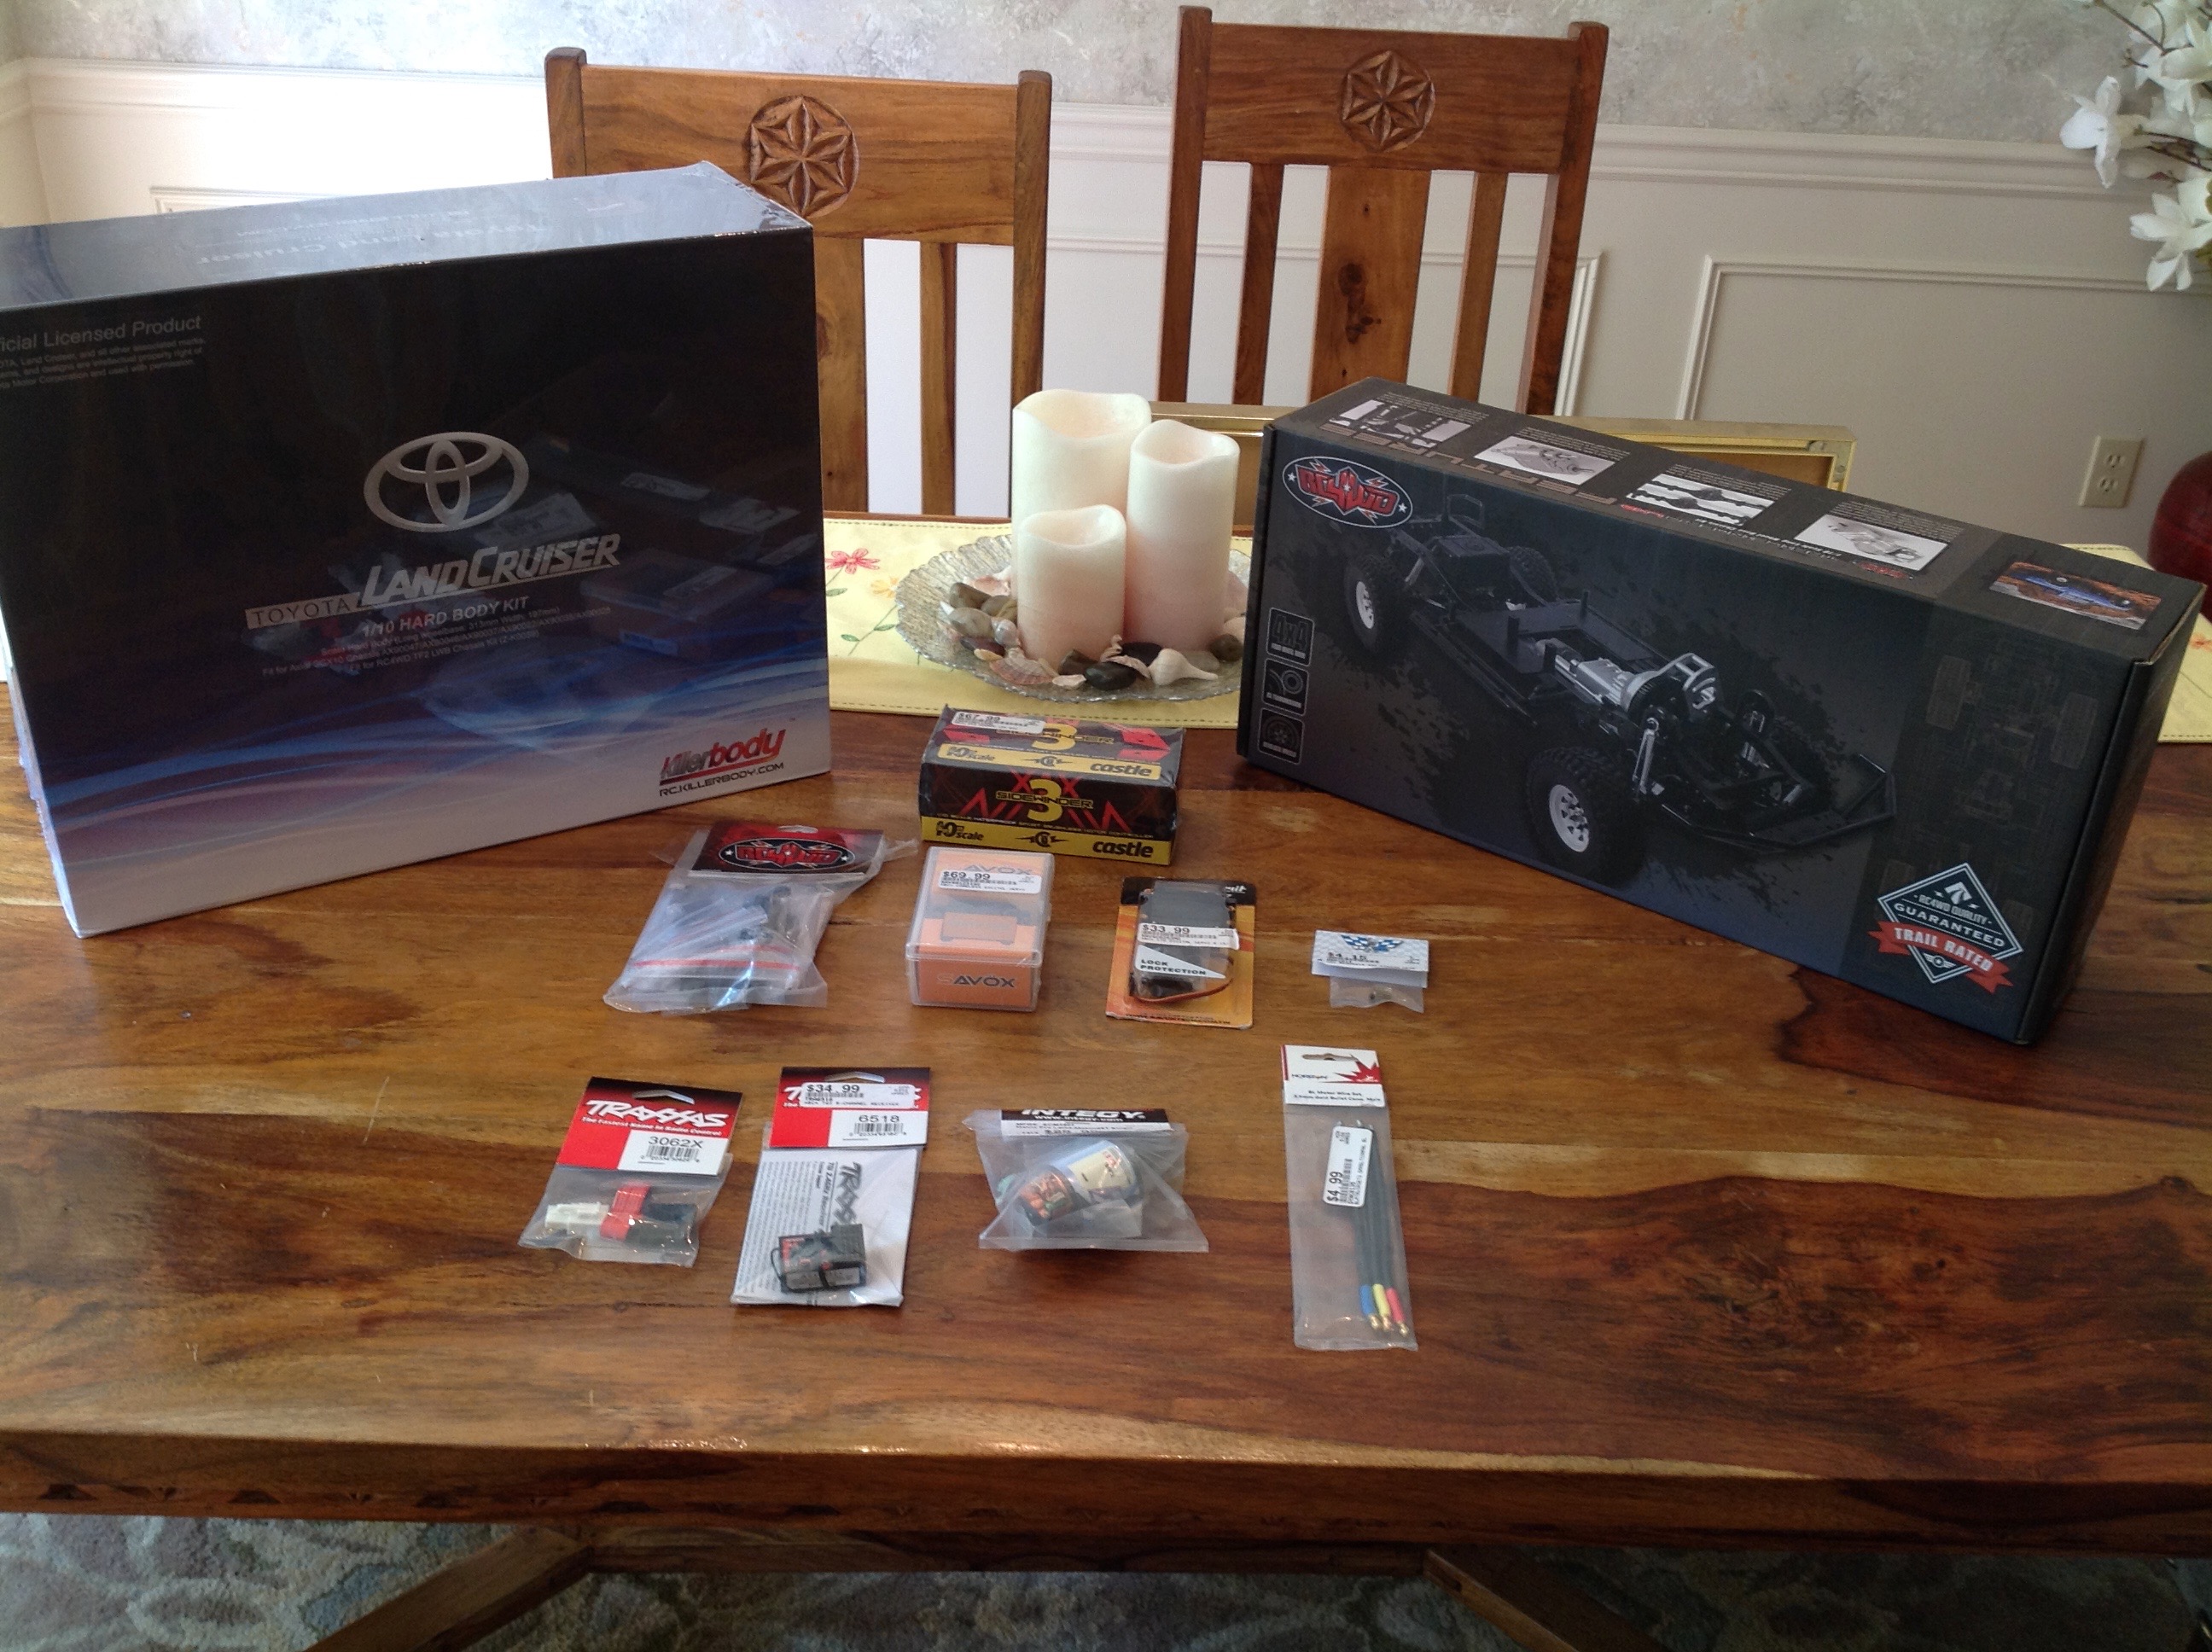
As my very first kit build I approached this model
slowly and methodically, but I failed to document it properly resulting
in a minimal number of photos. We'll start with the boxes. The box
for the hard body is considerably larger than the box for the chassis,
but that's not too surprising given that the chassis is all in tiny
pieces. The smaller bags out front are the various electronic bits
that I was aware I needed so far. Of course there were some
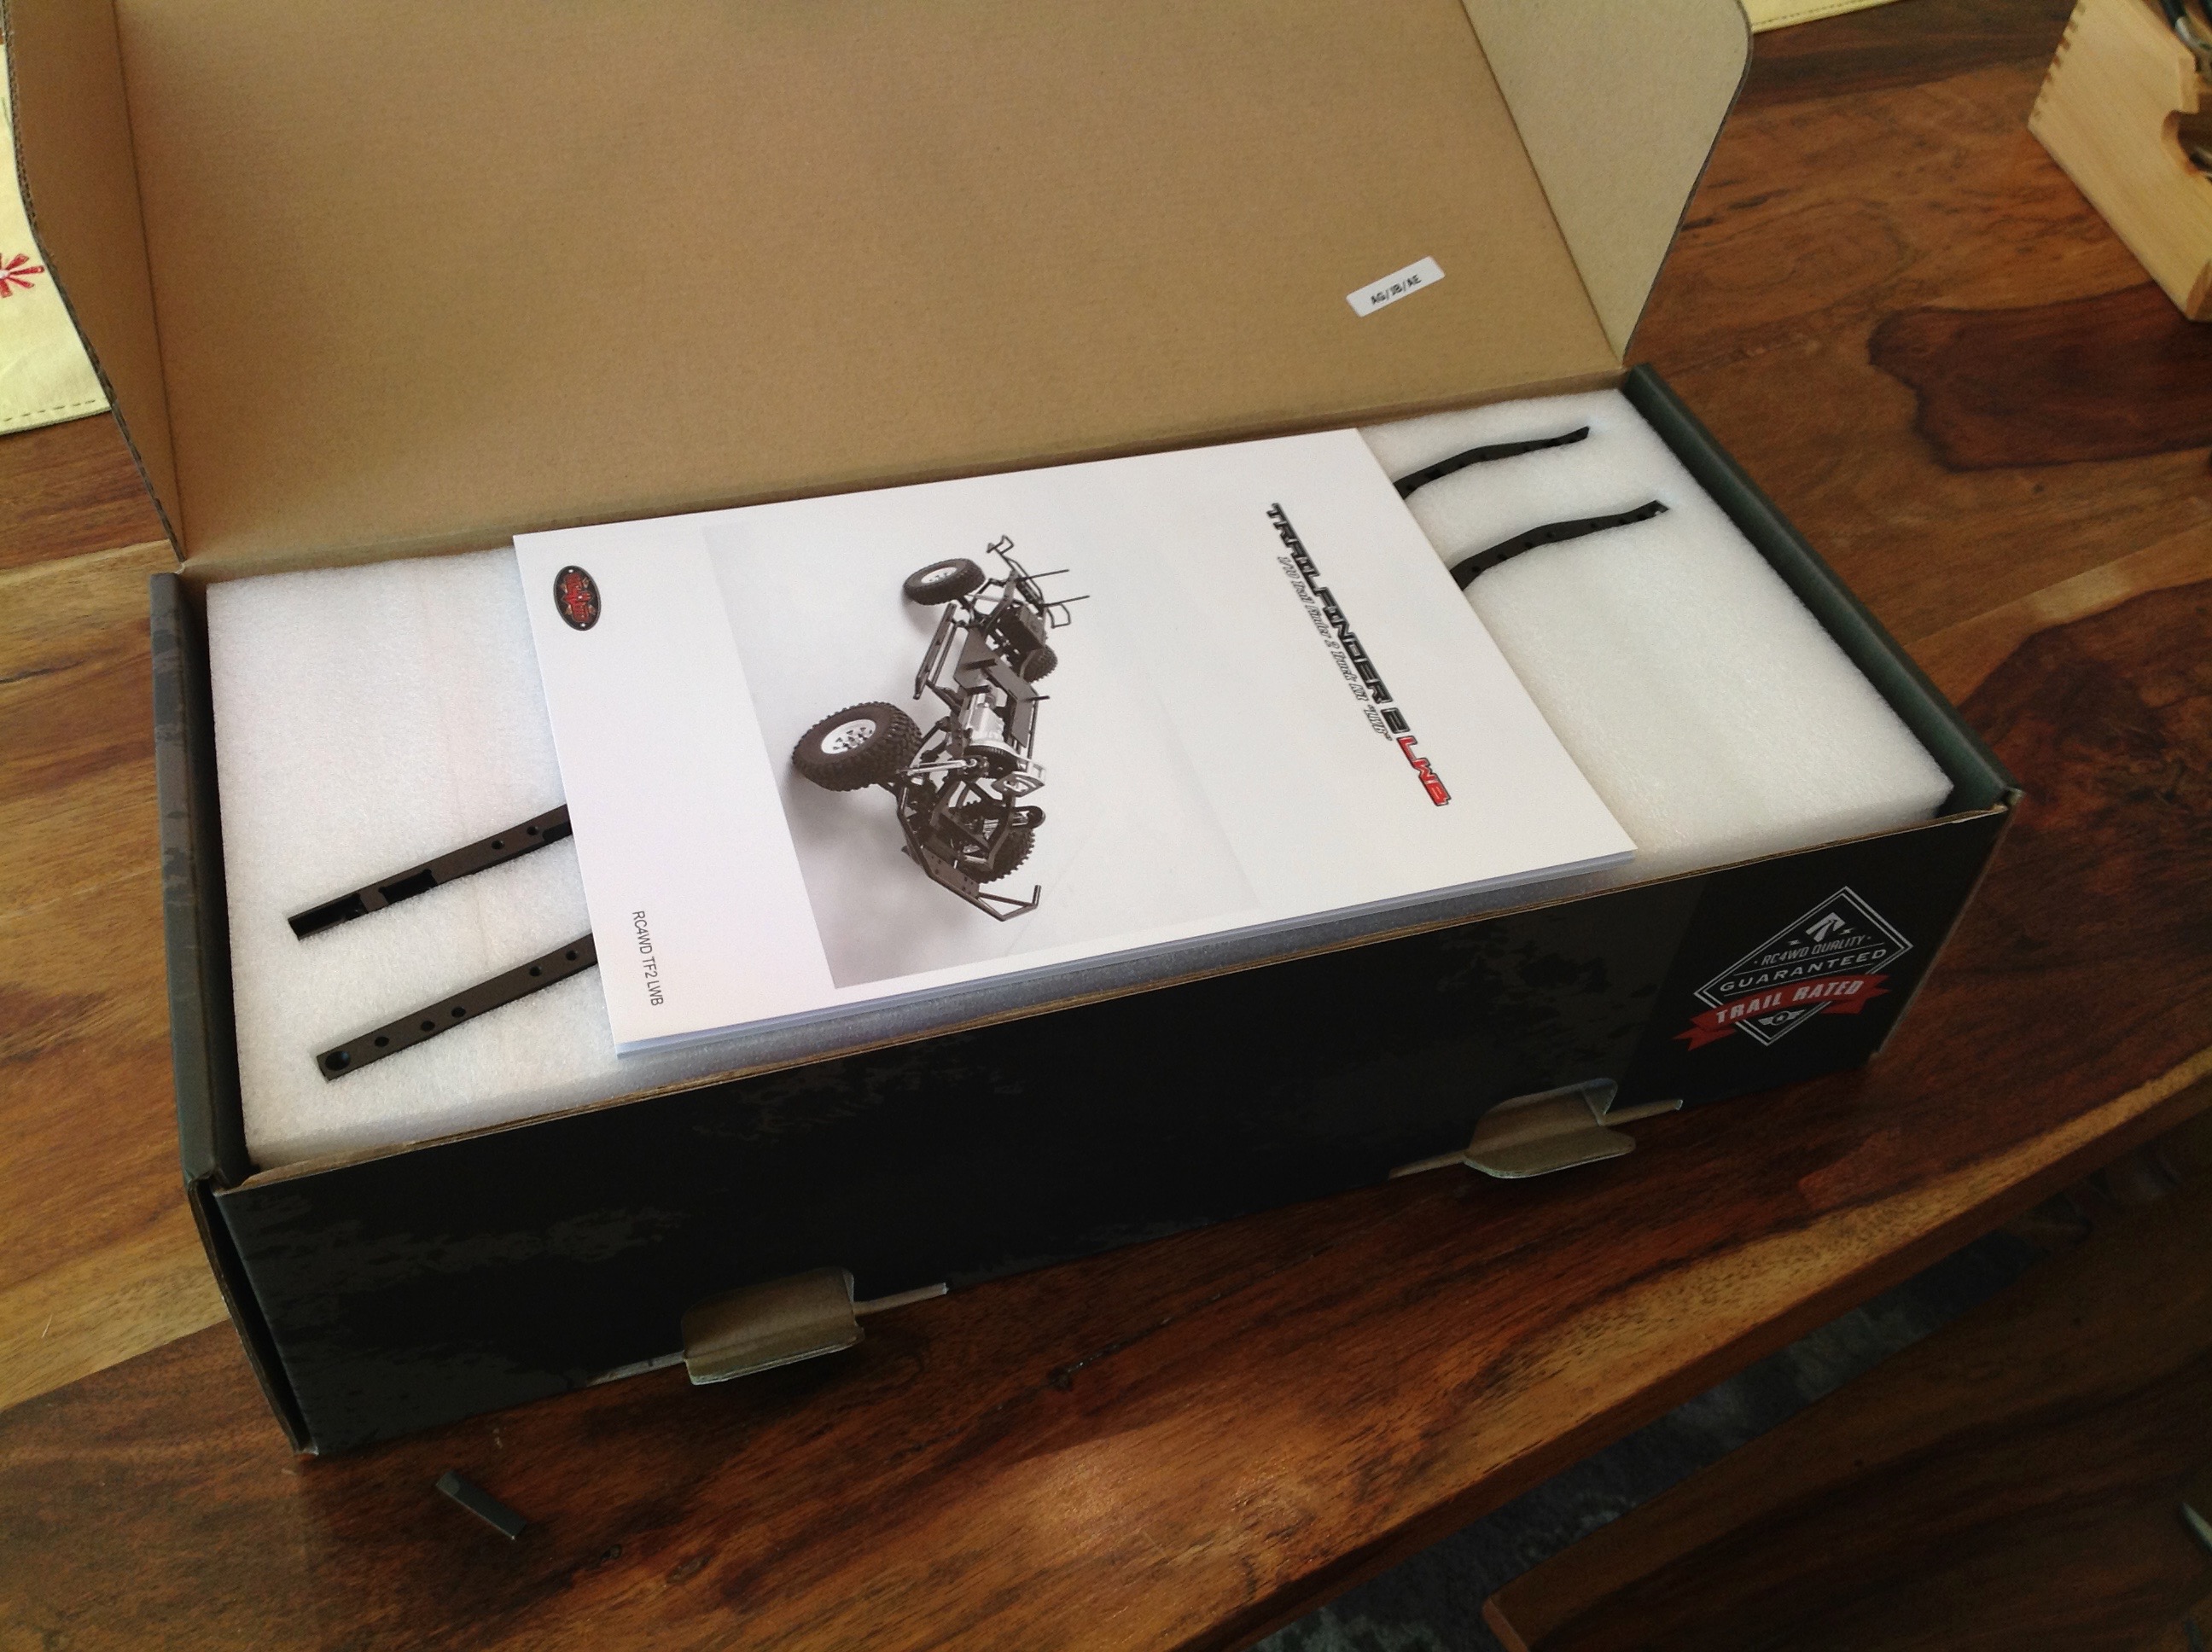
omissions since I didn't know what I was doing. The right hand
image shows the inside of the box revealing the very high quality
instructions.
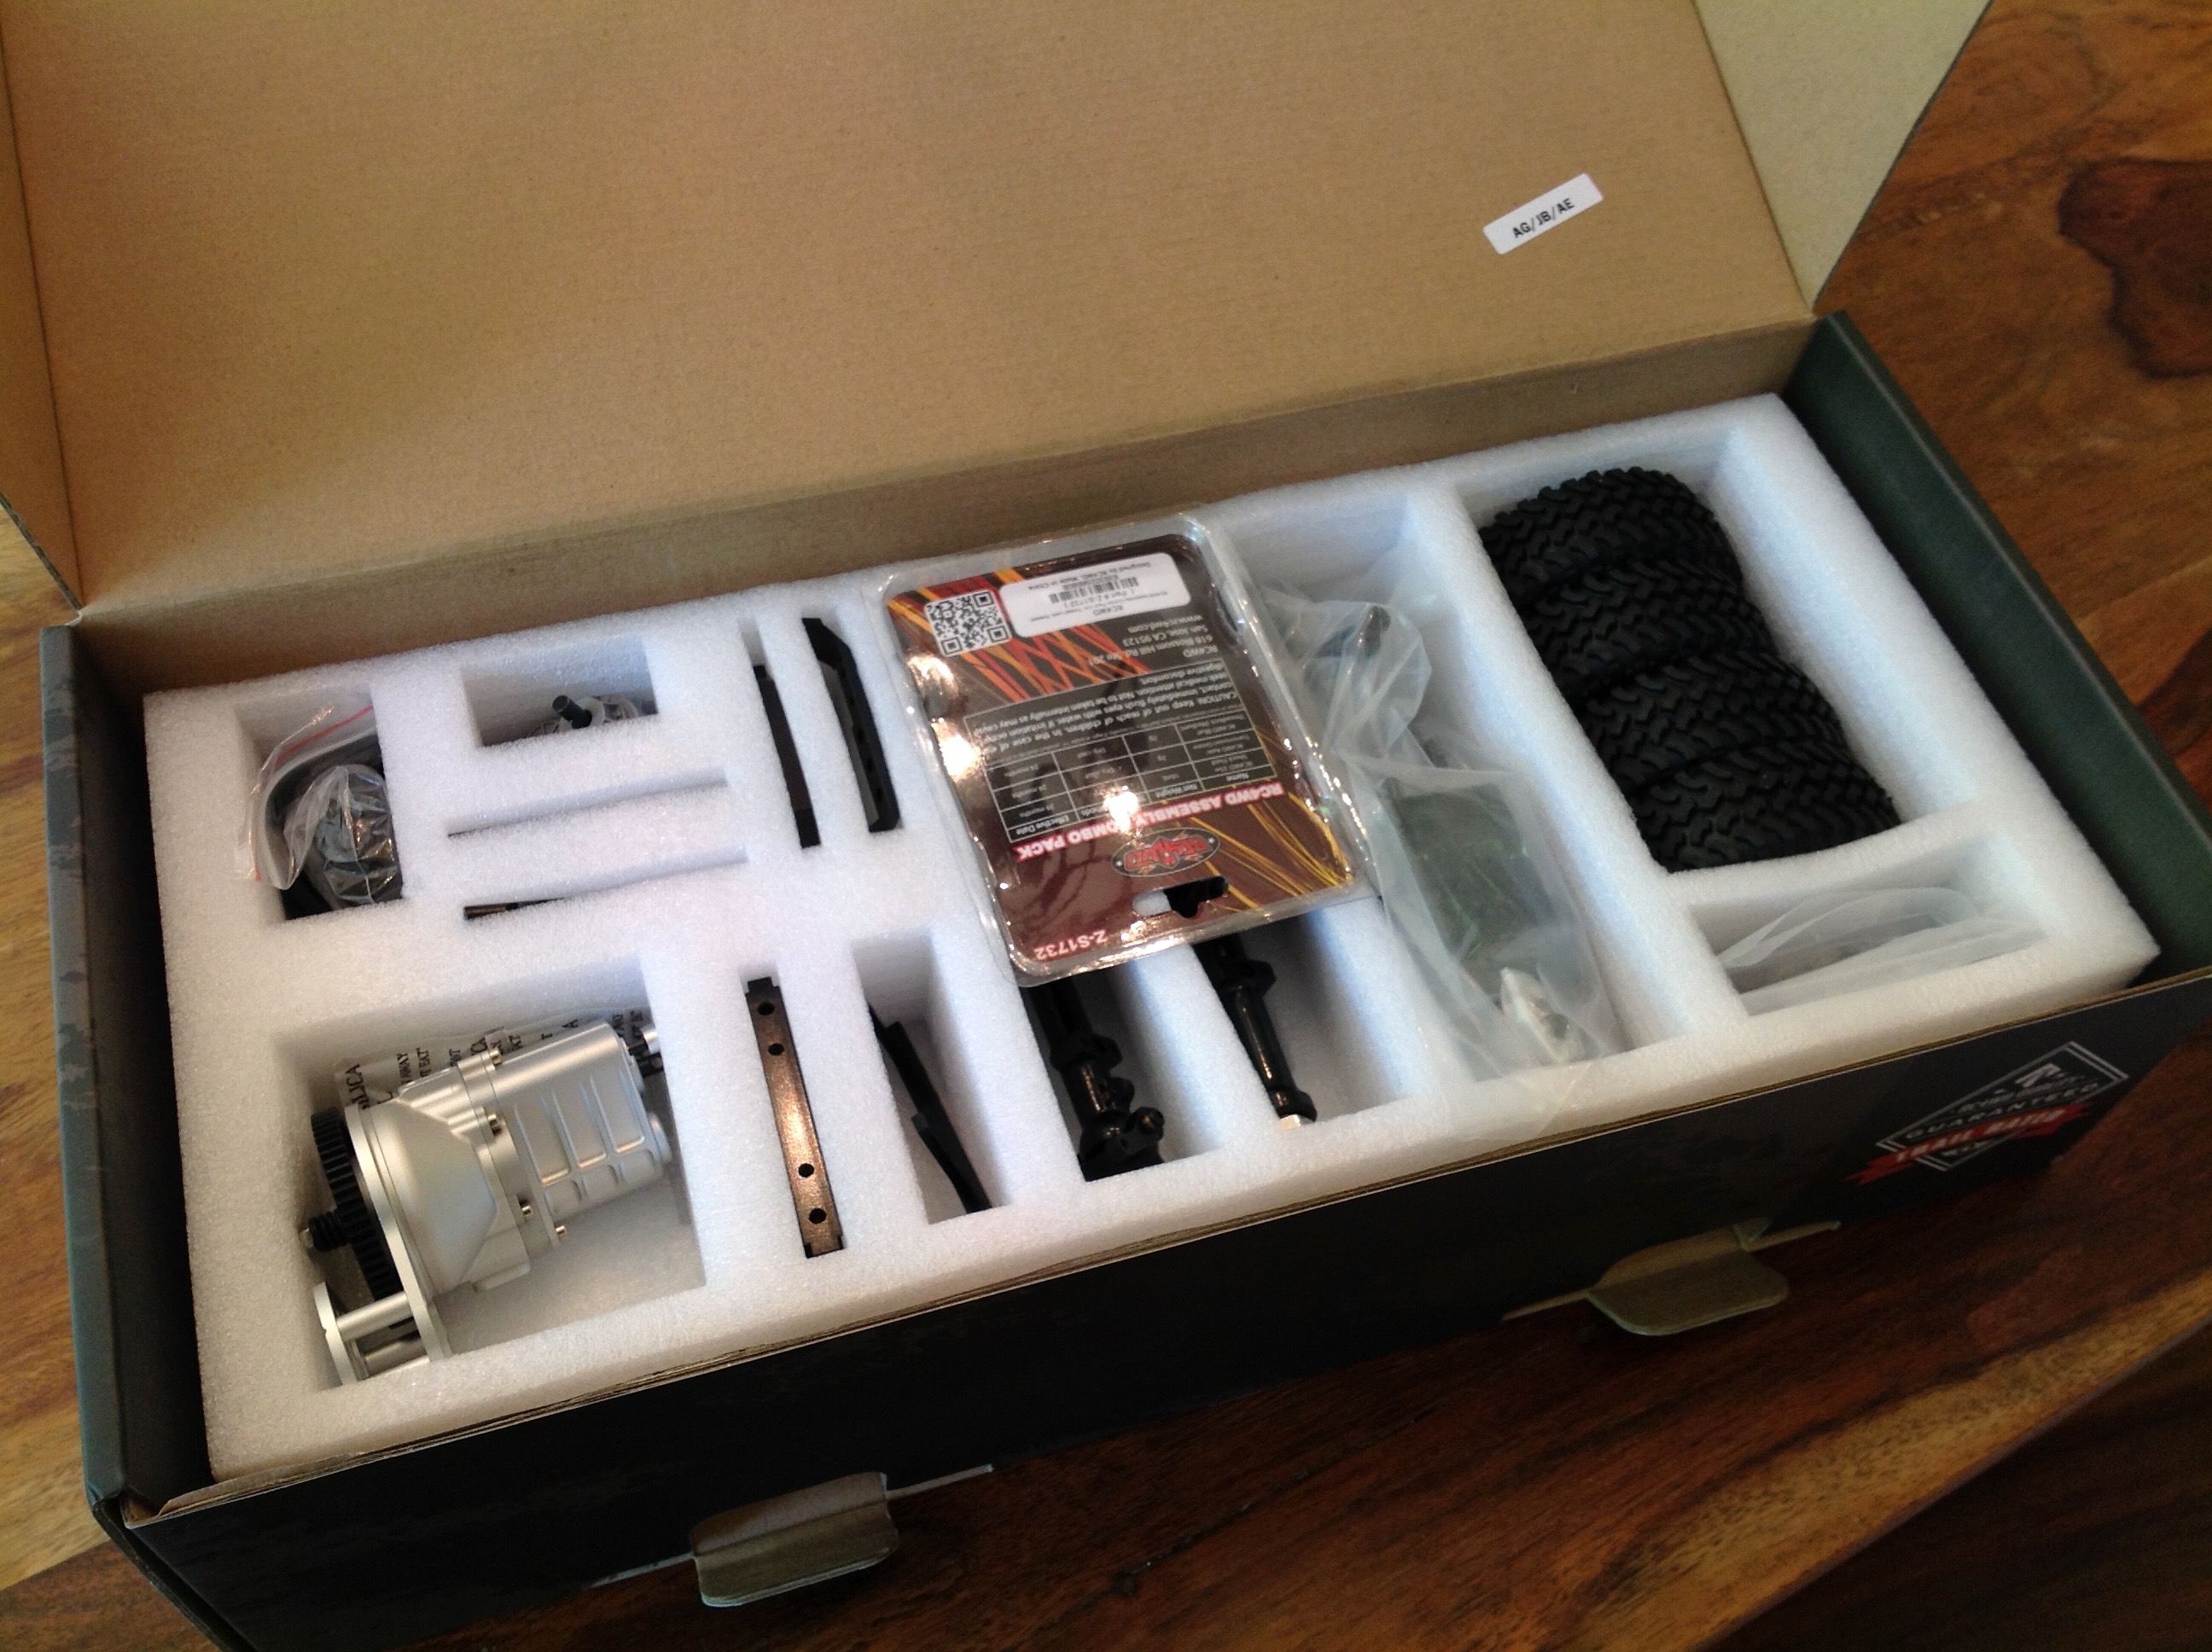
Let's dive further into the box. Under the instructions are the
chassis rails. I was really excited by all the metal in this kit,
and these rails were my first exposure. I know this was going to
be good. Under those were lots of other parts as shown in the
right hand image. The kits even included some grease, some shock
oil, and some thread lock.
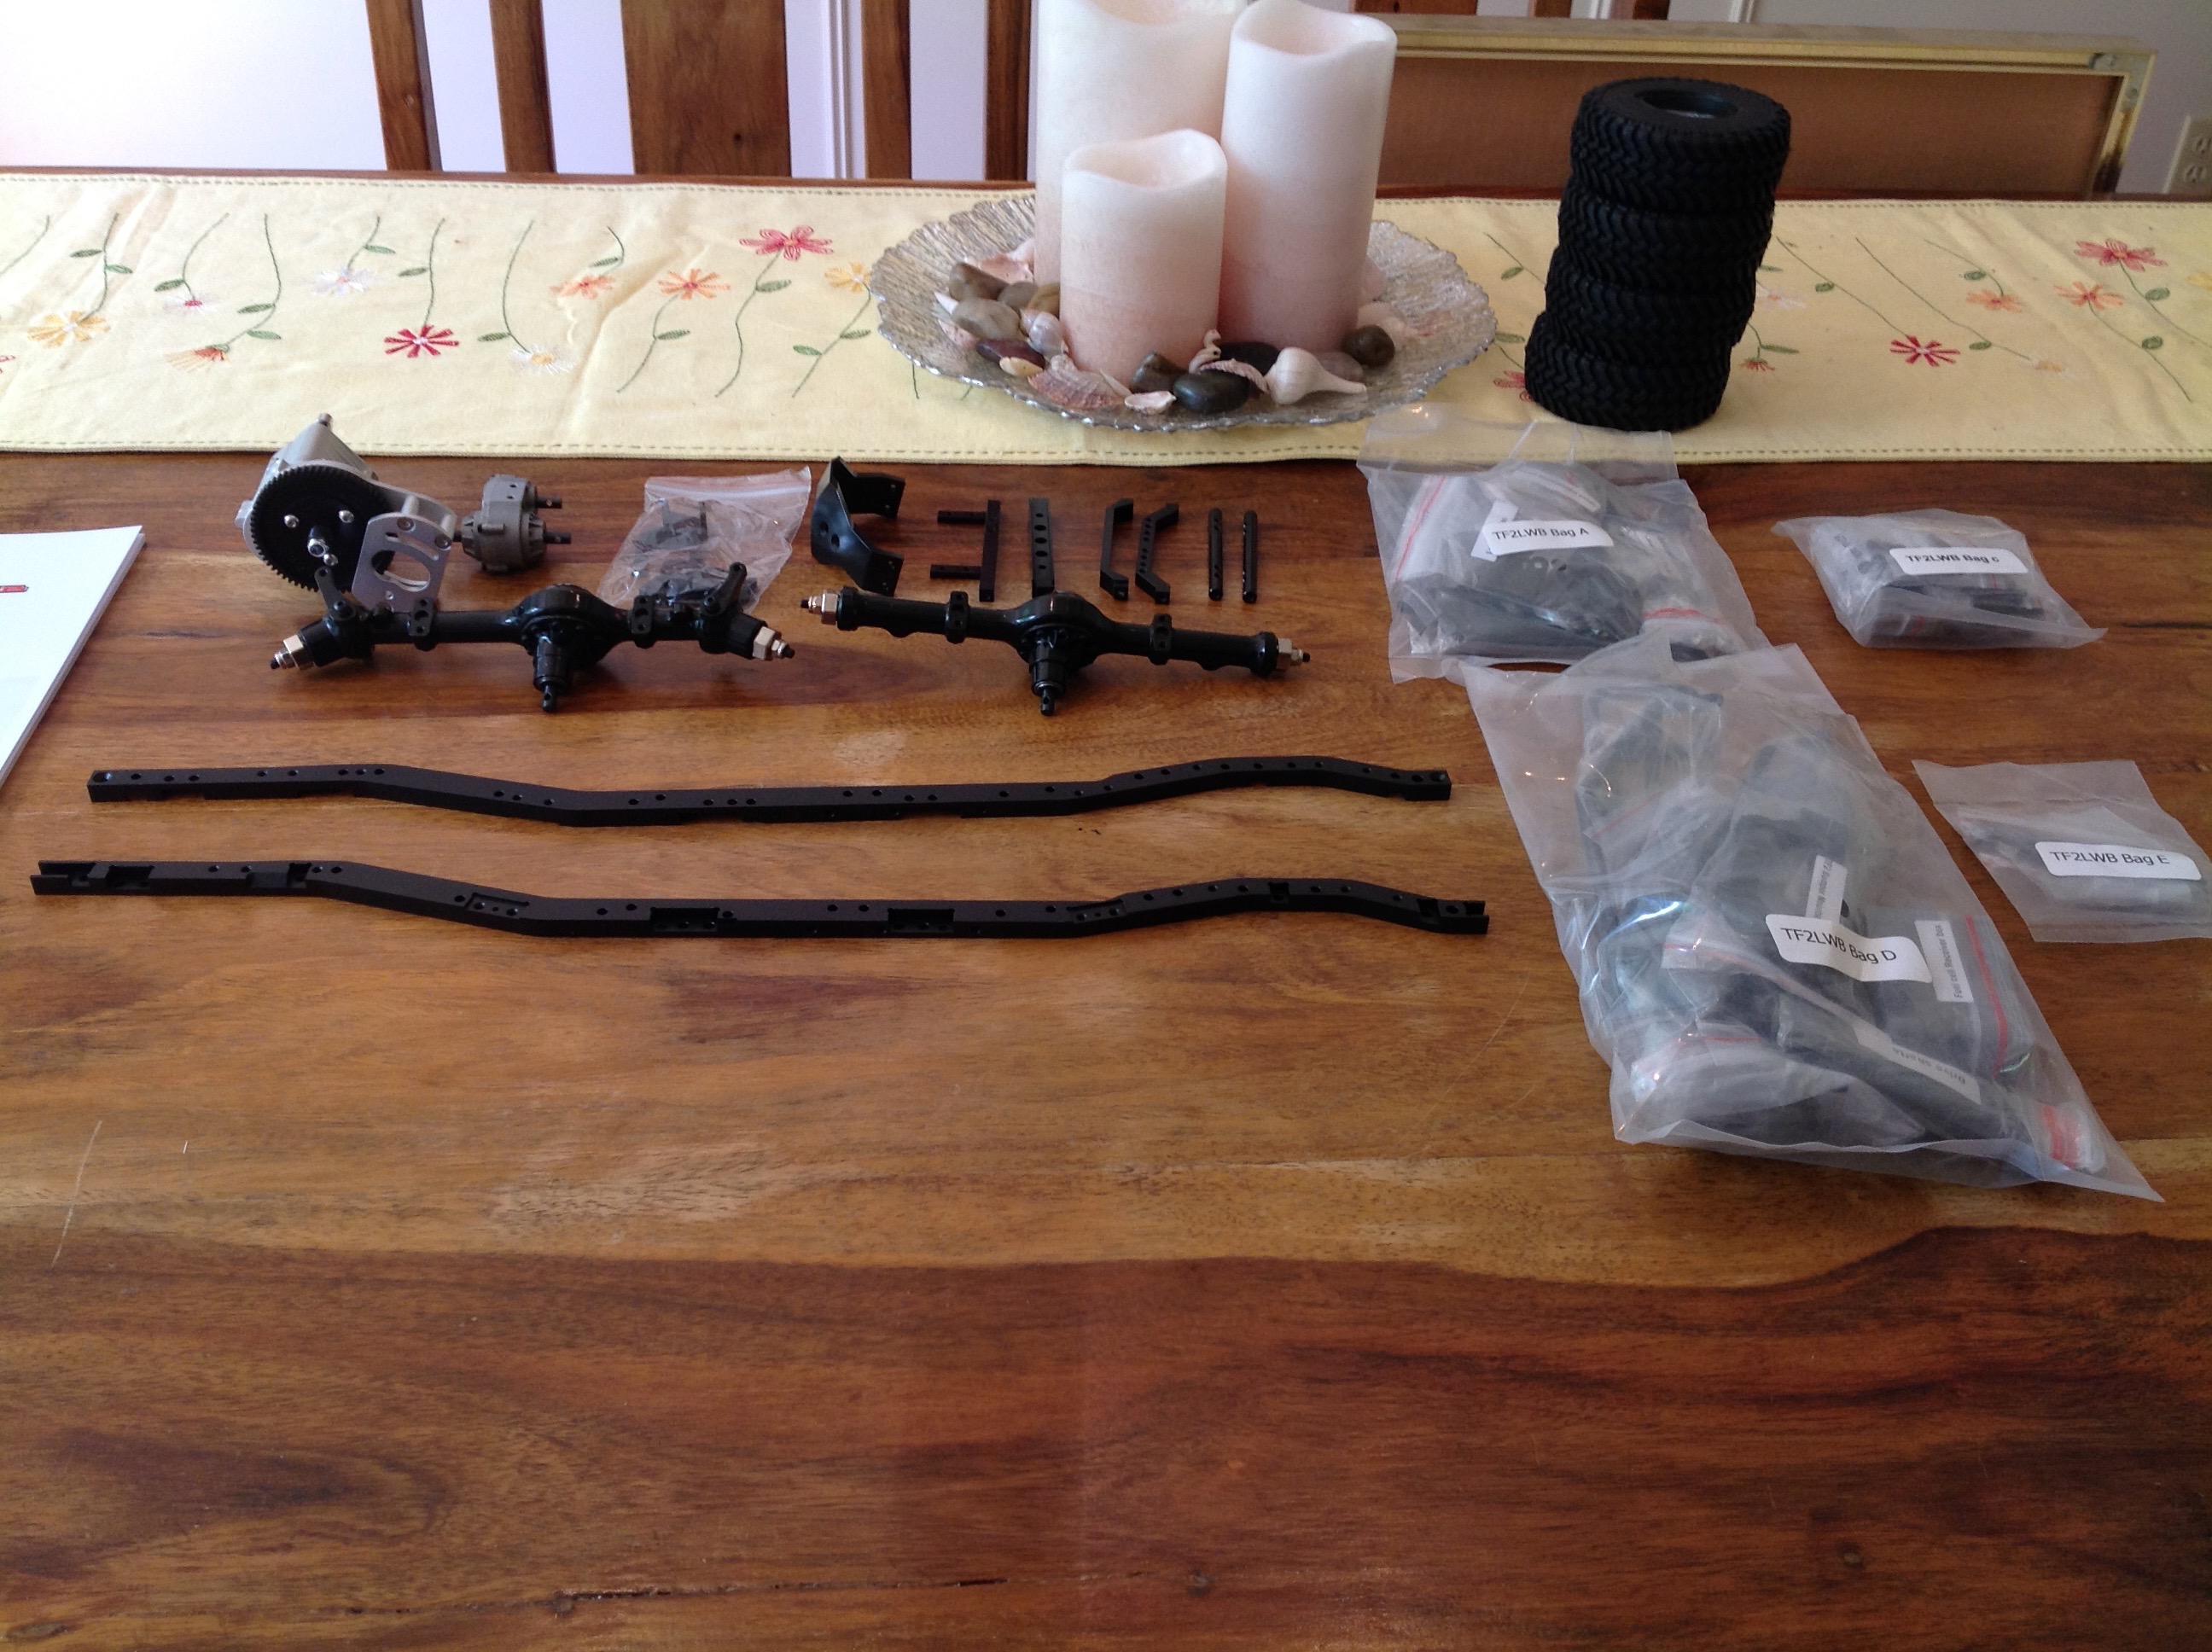
No builiding yet, I'm still exploring the contents of the box (which
accounts for the majority of the photos). With the main items
unpacked you can see the axles and transmission along with a bunch of
bagged hardware. The right hand image zooms in closer.
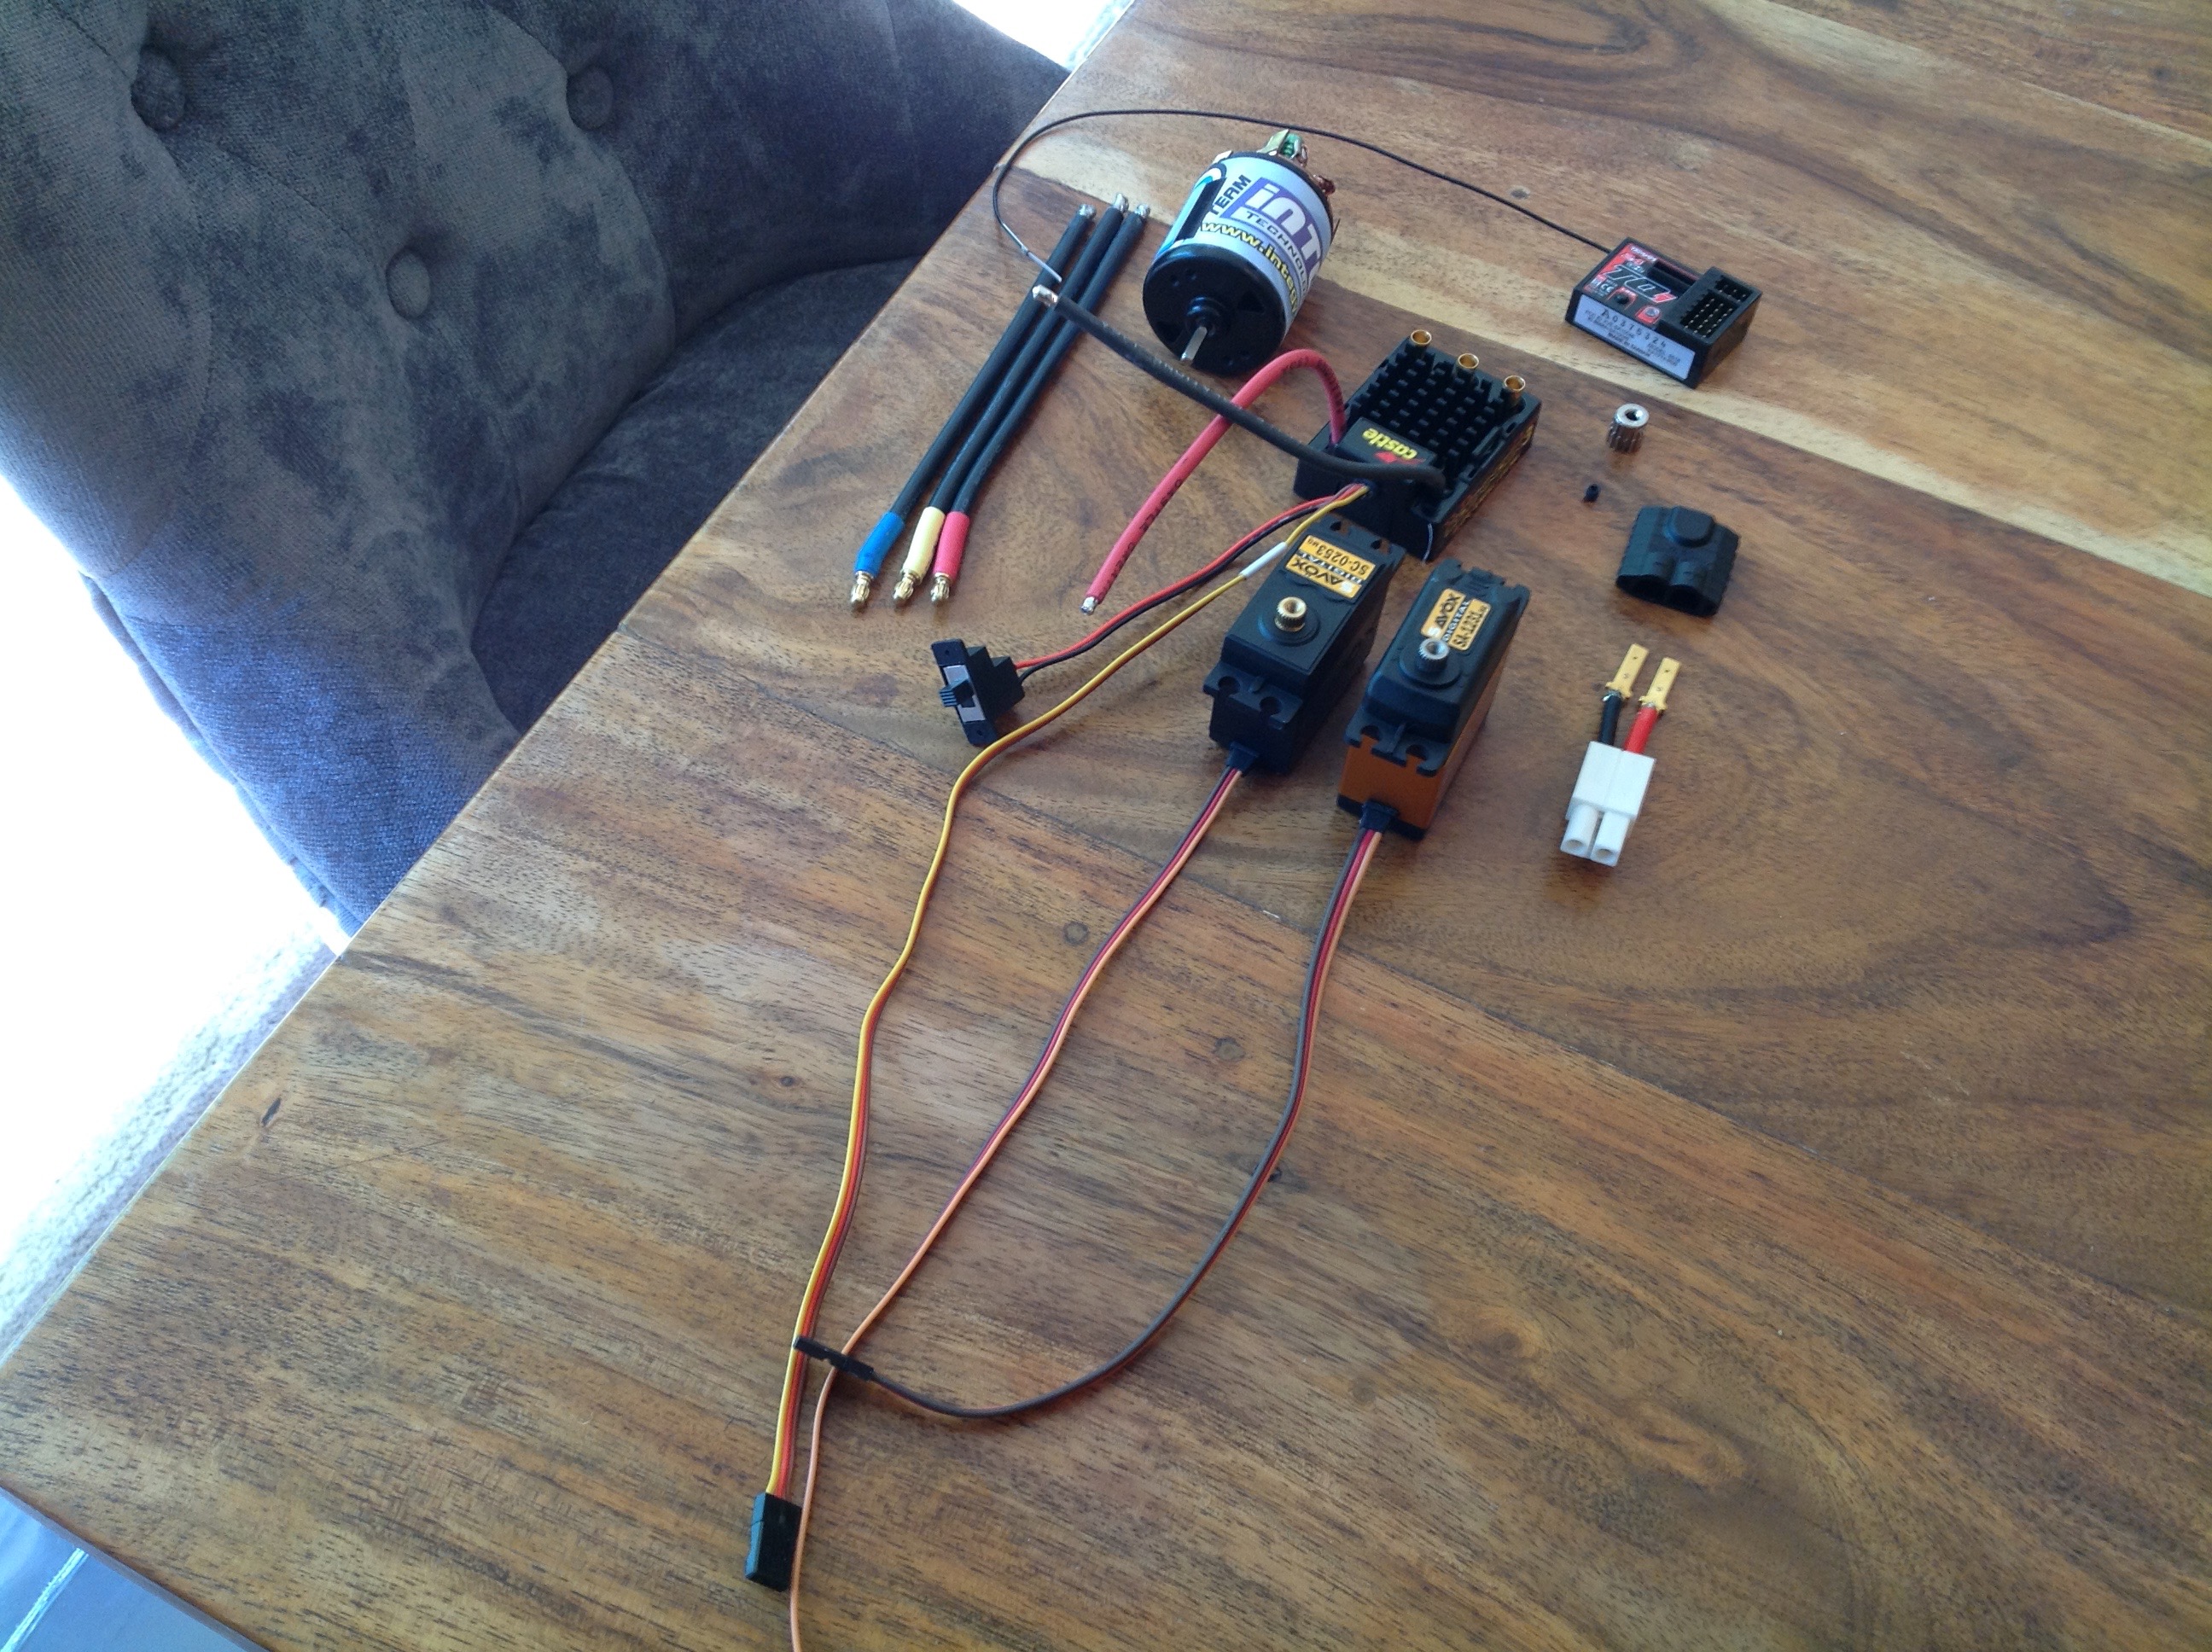
Here are the electronics unpacked. We have a high torque Savox
servo for steering, a lower torque variety for shifting, a Sidewinder 3
ESC, a 35-turn motor, and an old Traxxas receiver I had lying
around. I would eventually change this to Spektrum to use my
computer radio. My biggest electronics problem was due to the
height of the ESC and the bullet connectors which stick out the
top. Because the truck bed sits snug down against the chassis
rails, there is very little room for electronics. I had to drill
some holes in the bullet connectors so I could run the wires out the
side instead of the top.
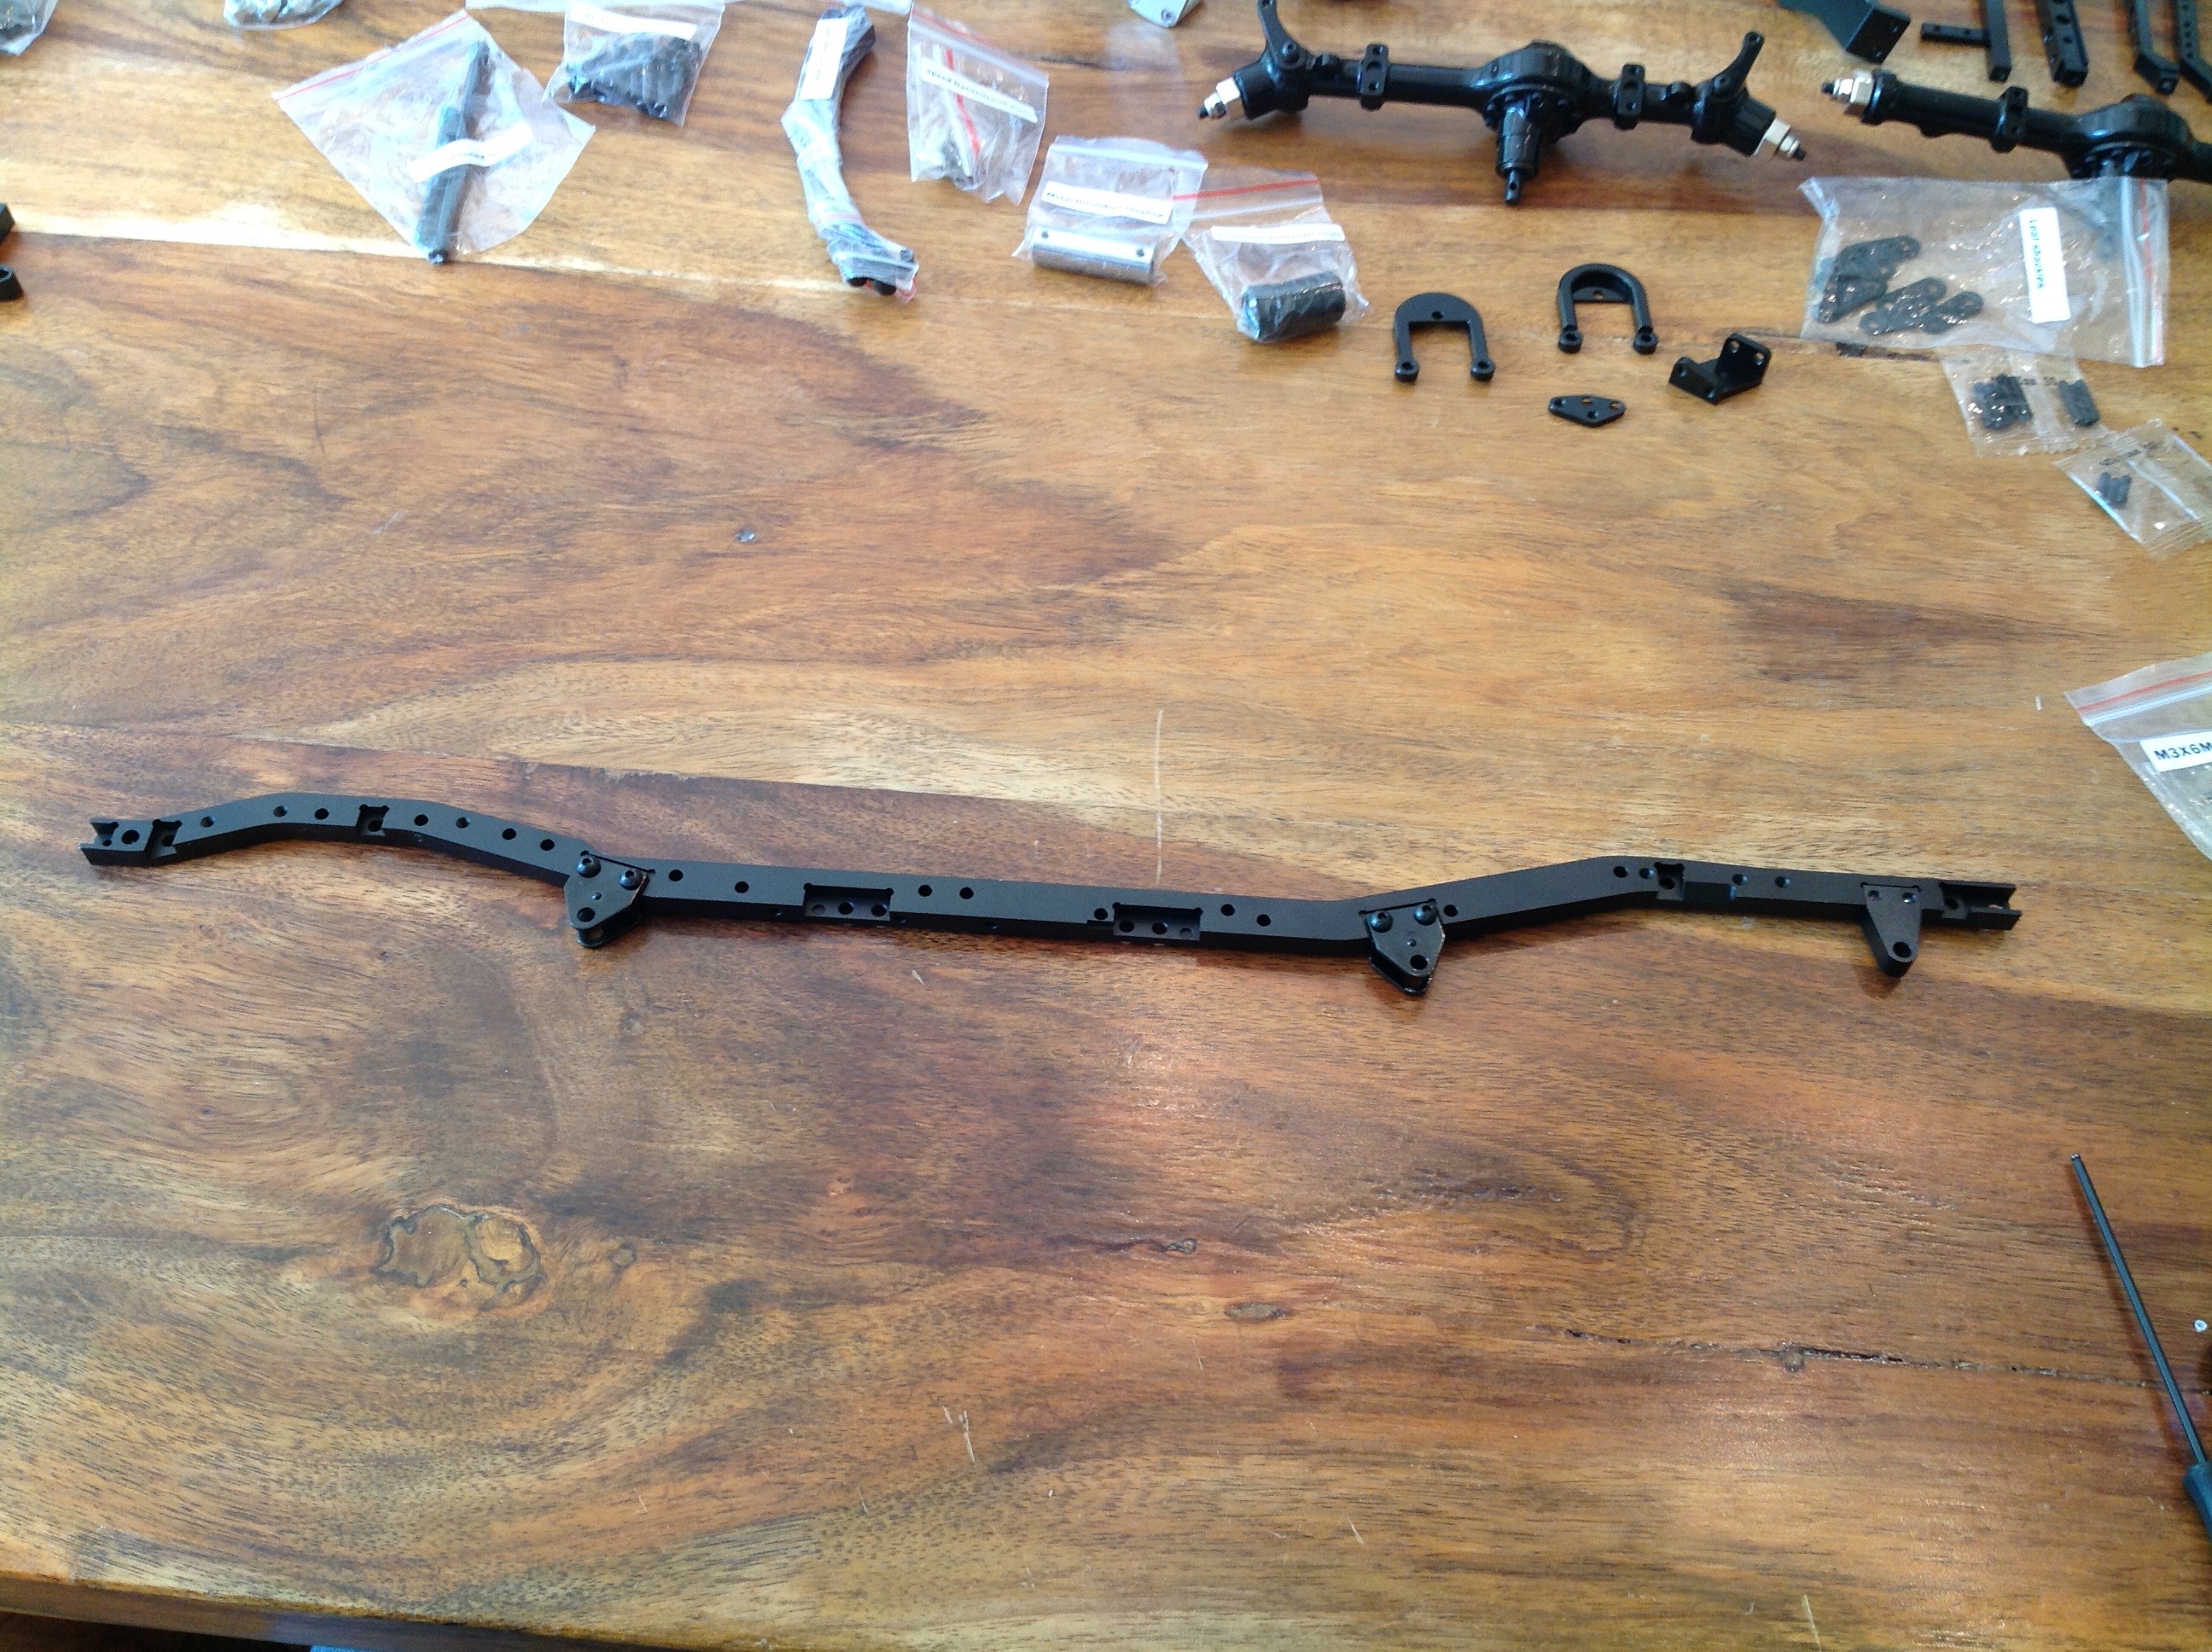
Finally time to start building. Assembly starts with attaching the
leaf spring mounts and hangers to the frame rails. Once you have
both rails done and remember to keep them mirrored, then you install the
cross members to complete the ladder frame. It is only the work
of a few minutes to get to this point.
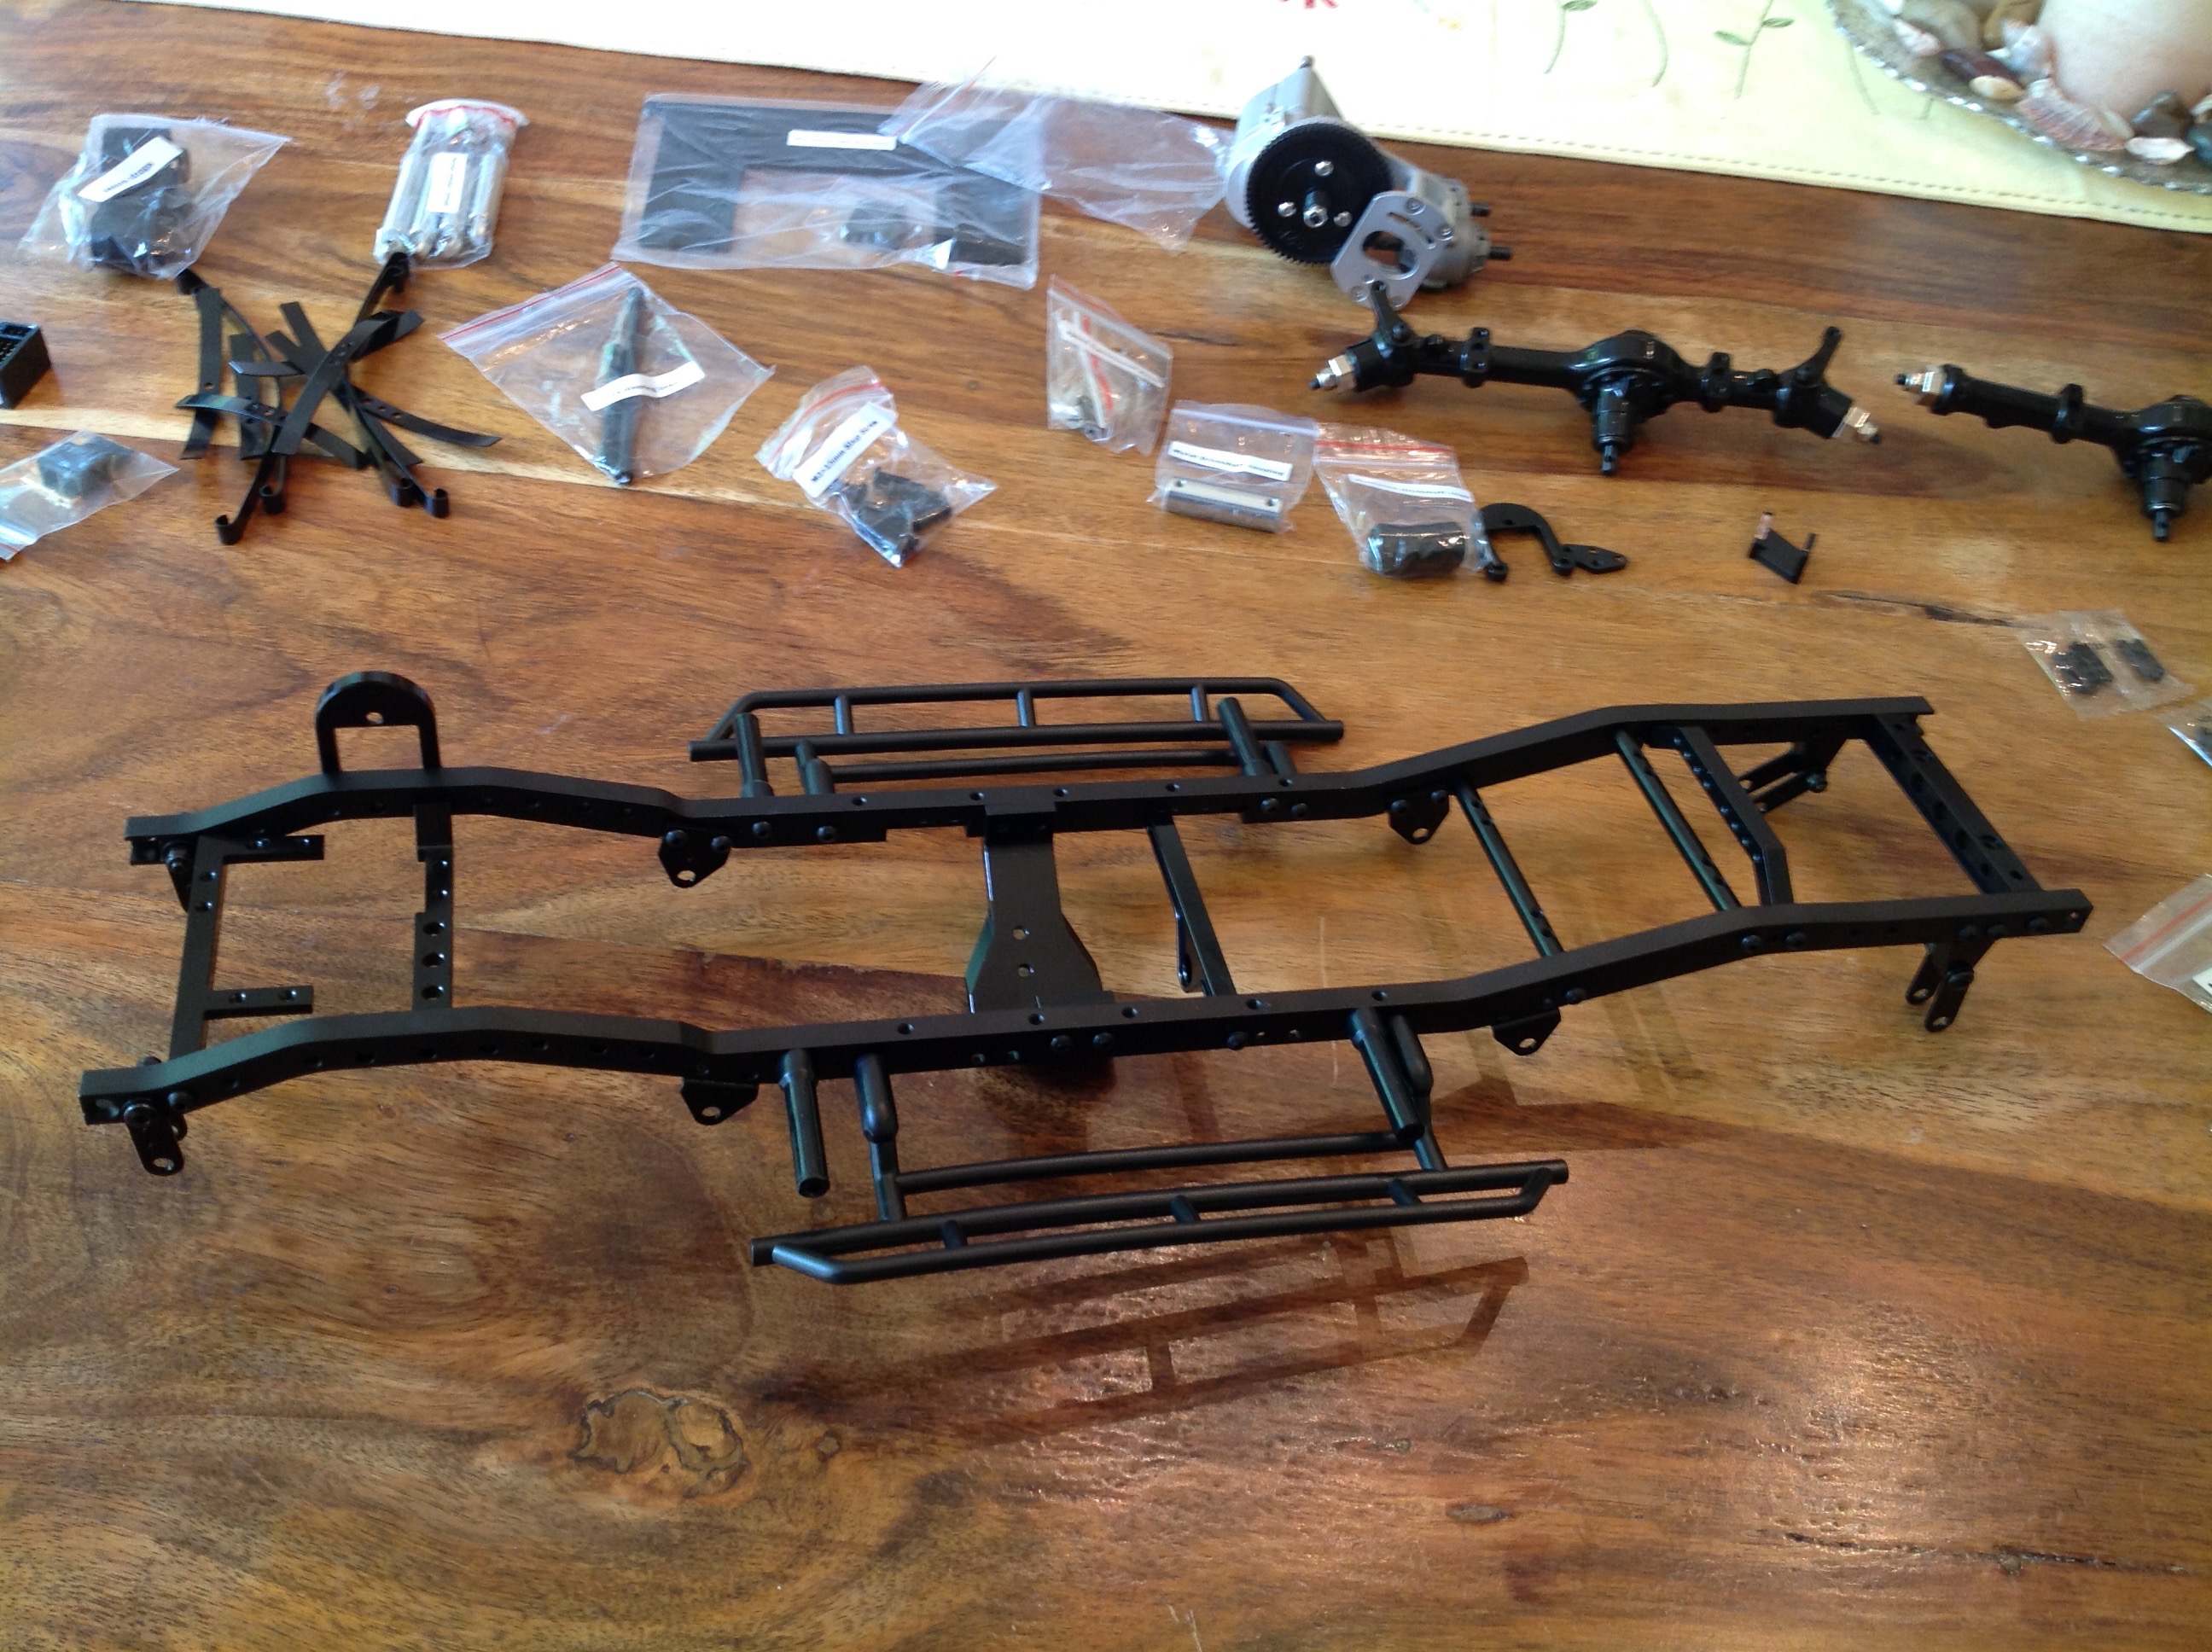
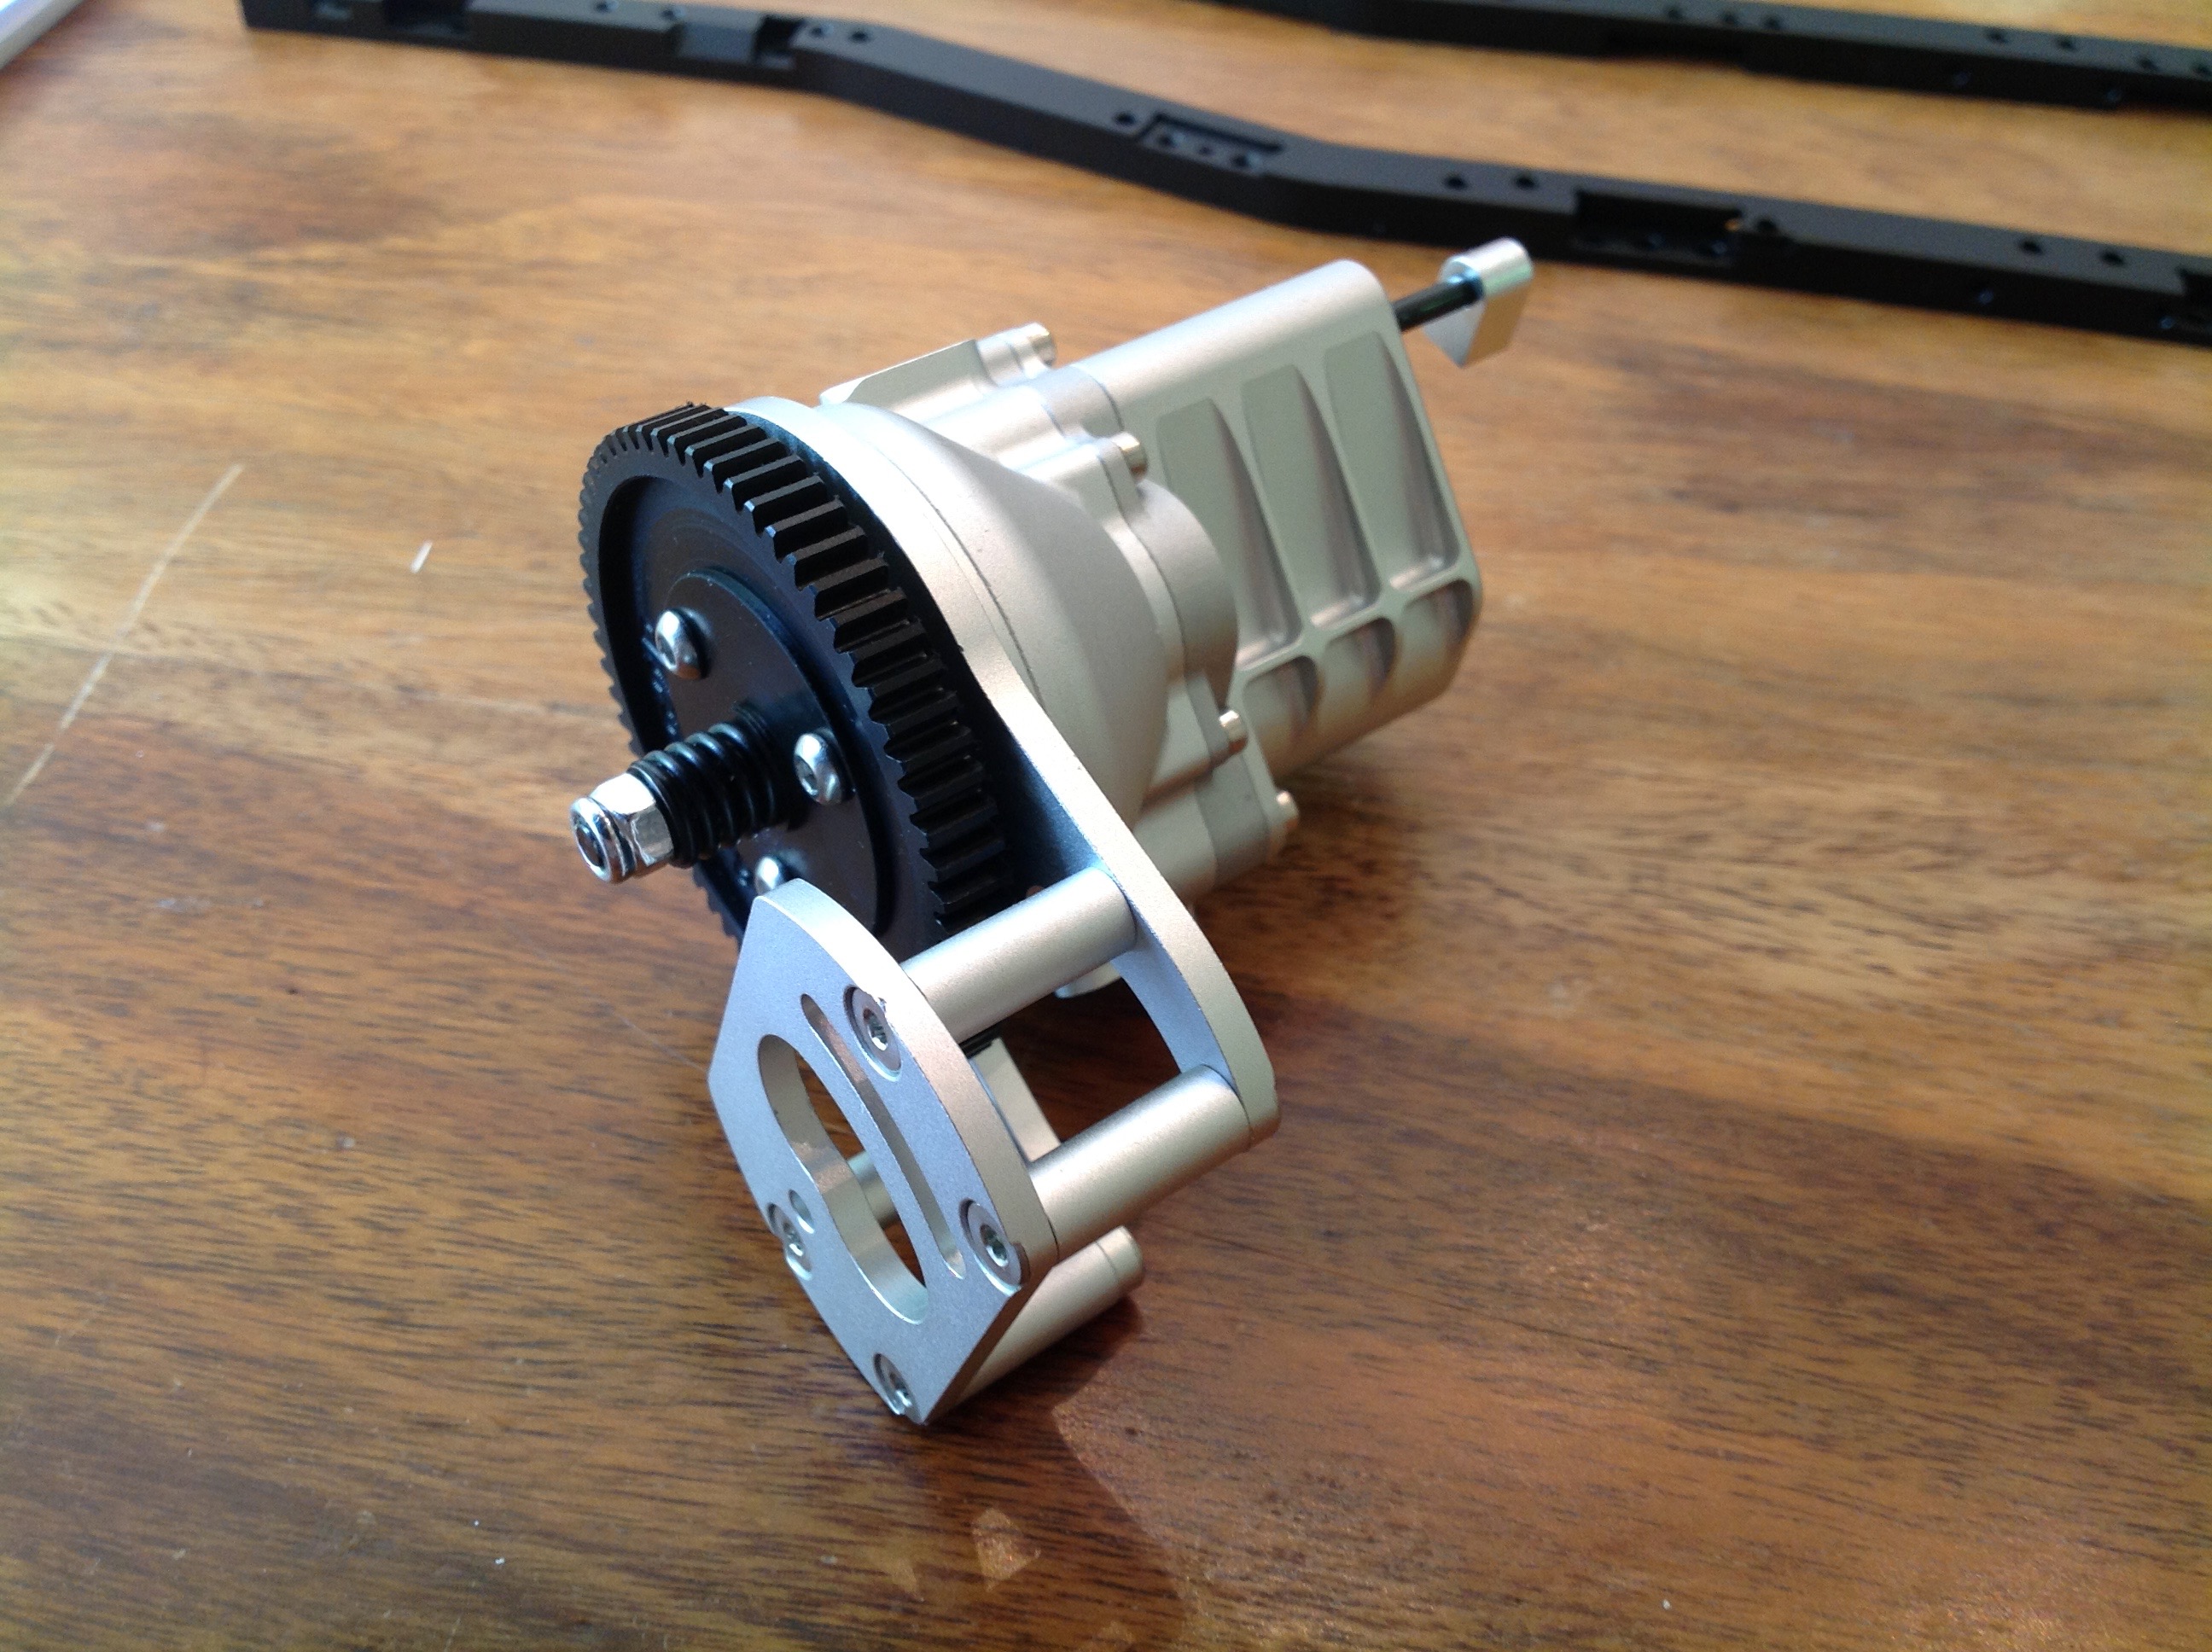
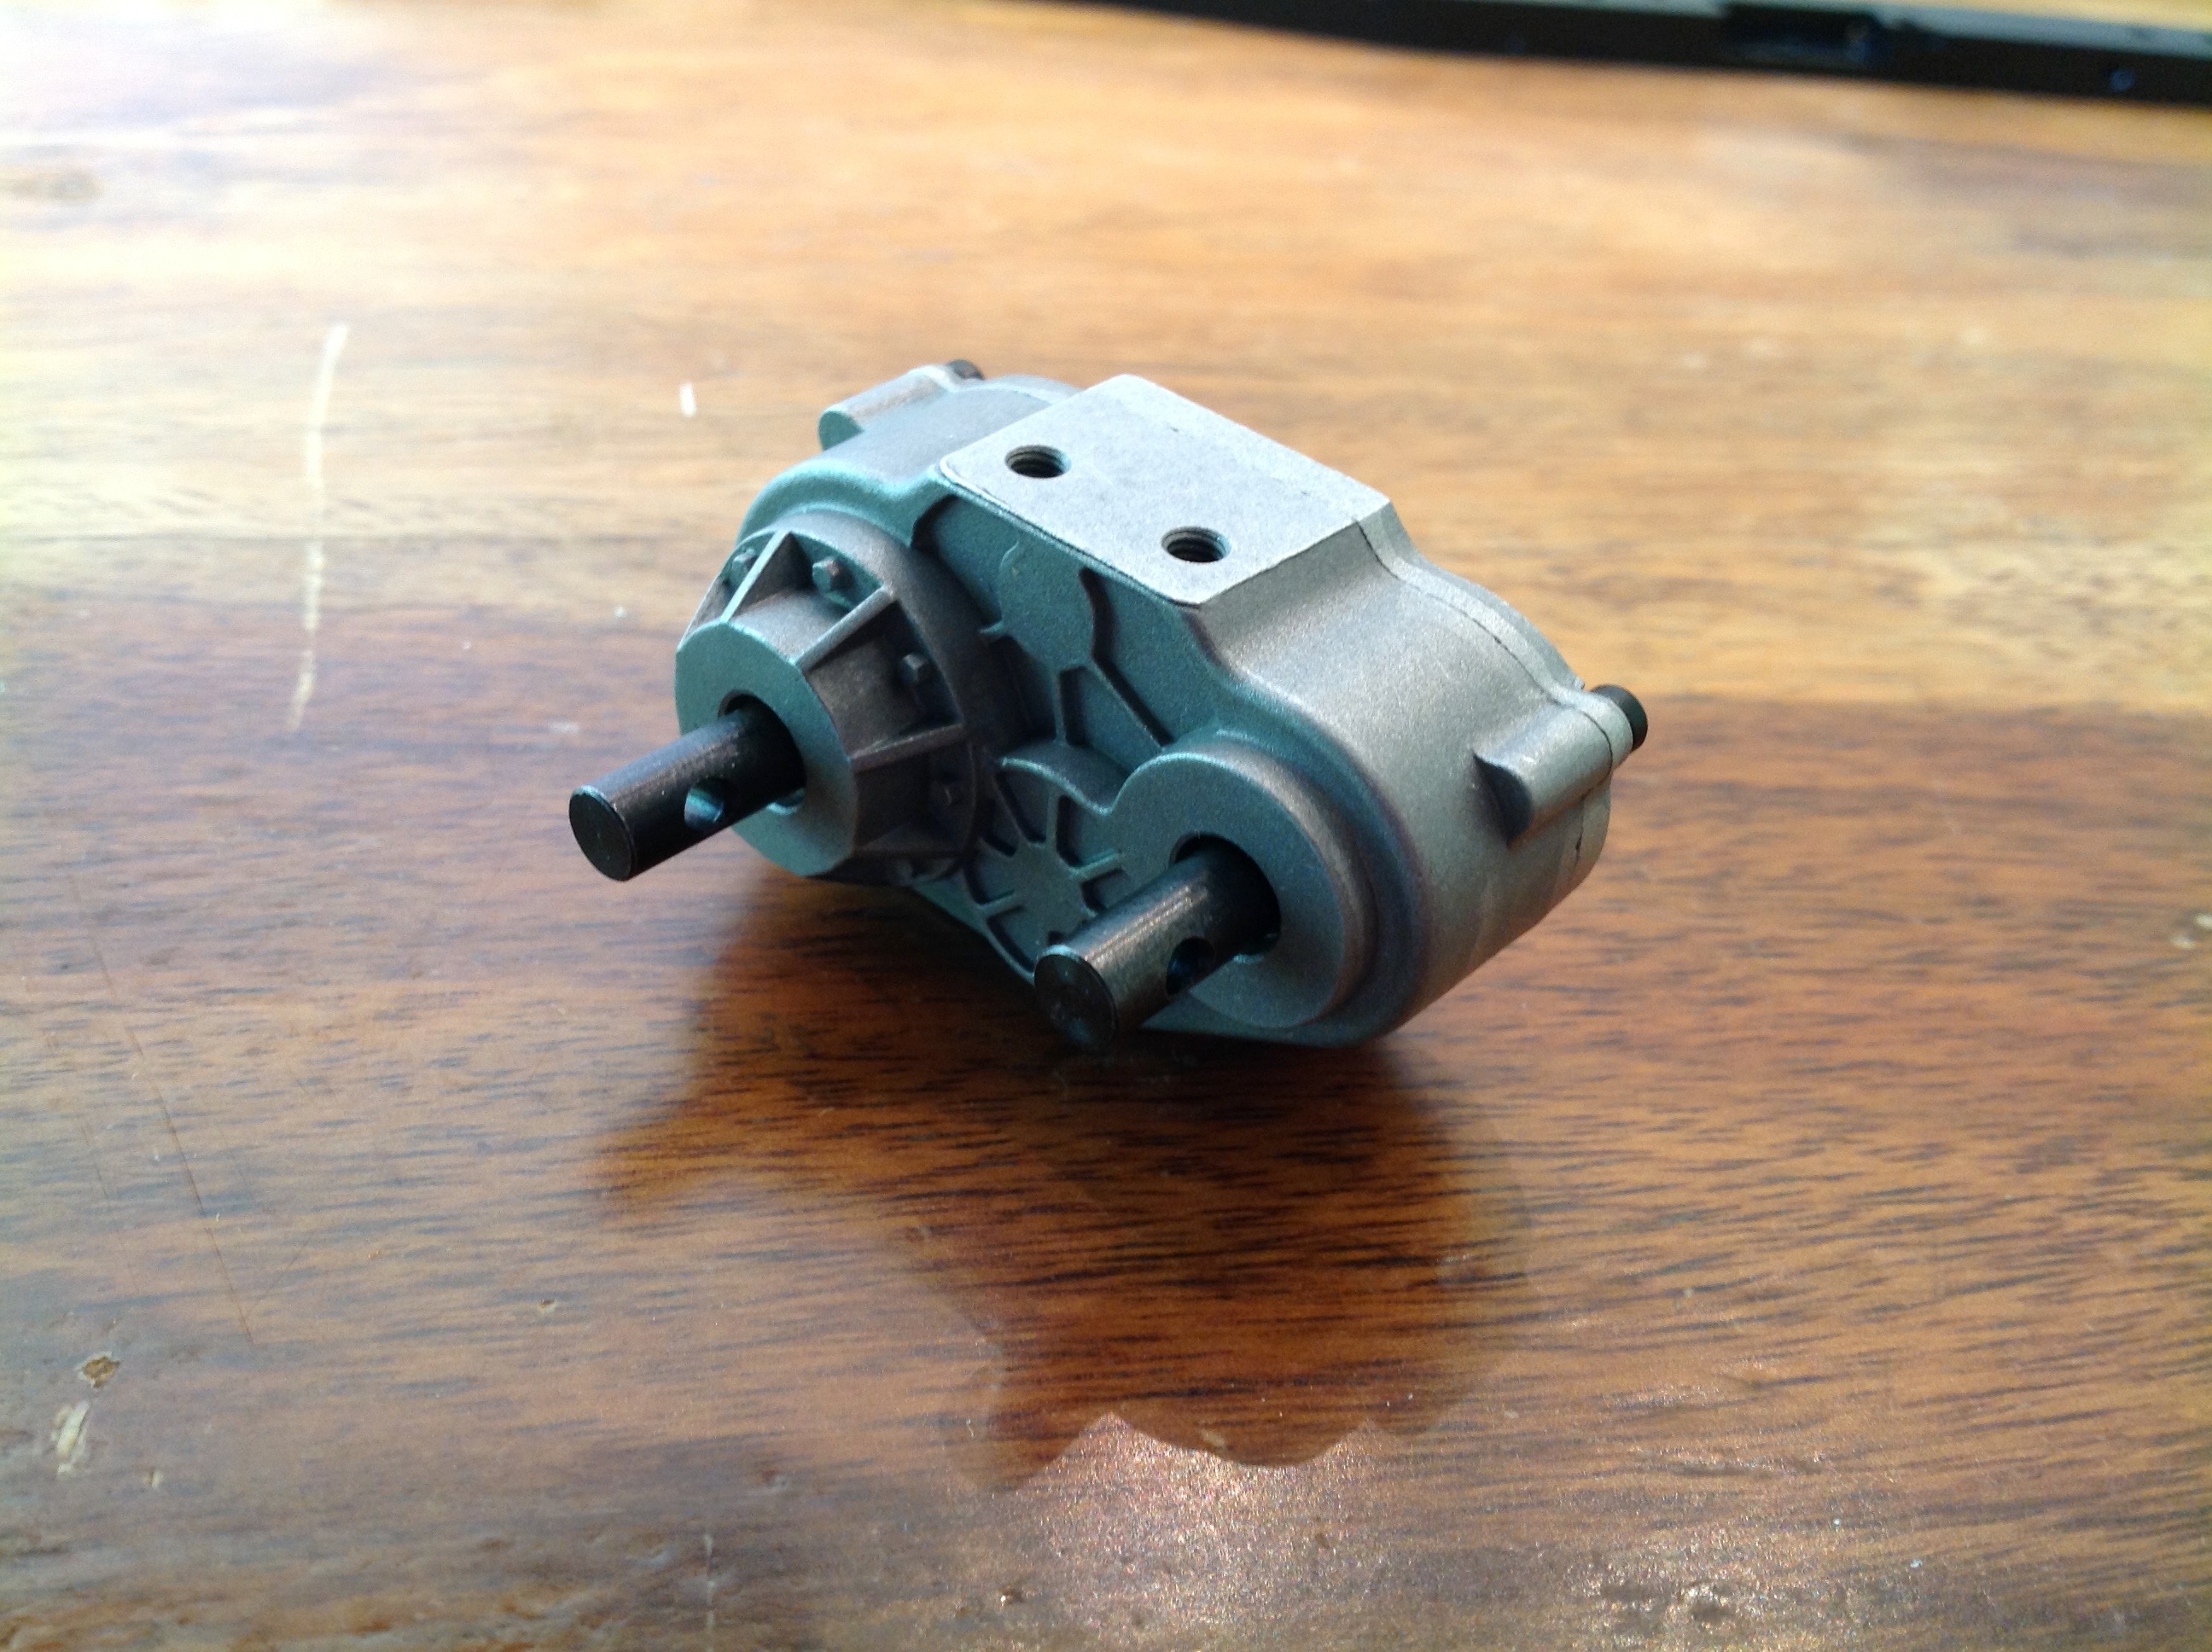
The transmission and transfer case come pre-built. As a newb, I
was kind of happy about this but now I would much rather have built them
myself. I did crack open the transfer case to look inside. Lovely
aluminum housings on the outside and steel gears on the inside.
Setting the end points for the 2-speed tansmission without a computer
radio was tricky. I had to get a servo horn of just the right
length and then adjust the link to just the right length but I got it to
work.
I skipped forward a few steps with the photos here. The stock
plastic bumpers will not be used with the LC70 body, but I
installed them to get an idea how they looked anyway. You can see
the shock hoops and the small scale shocks which have internal
springs. The leaf springs are also installed. You can
install up to 3 leaves at each corner depending on how stiff you want
the suspension to be. I installed all 3 mostly for looks, but
later as they broke in and I added more weight it turned out to be
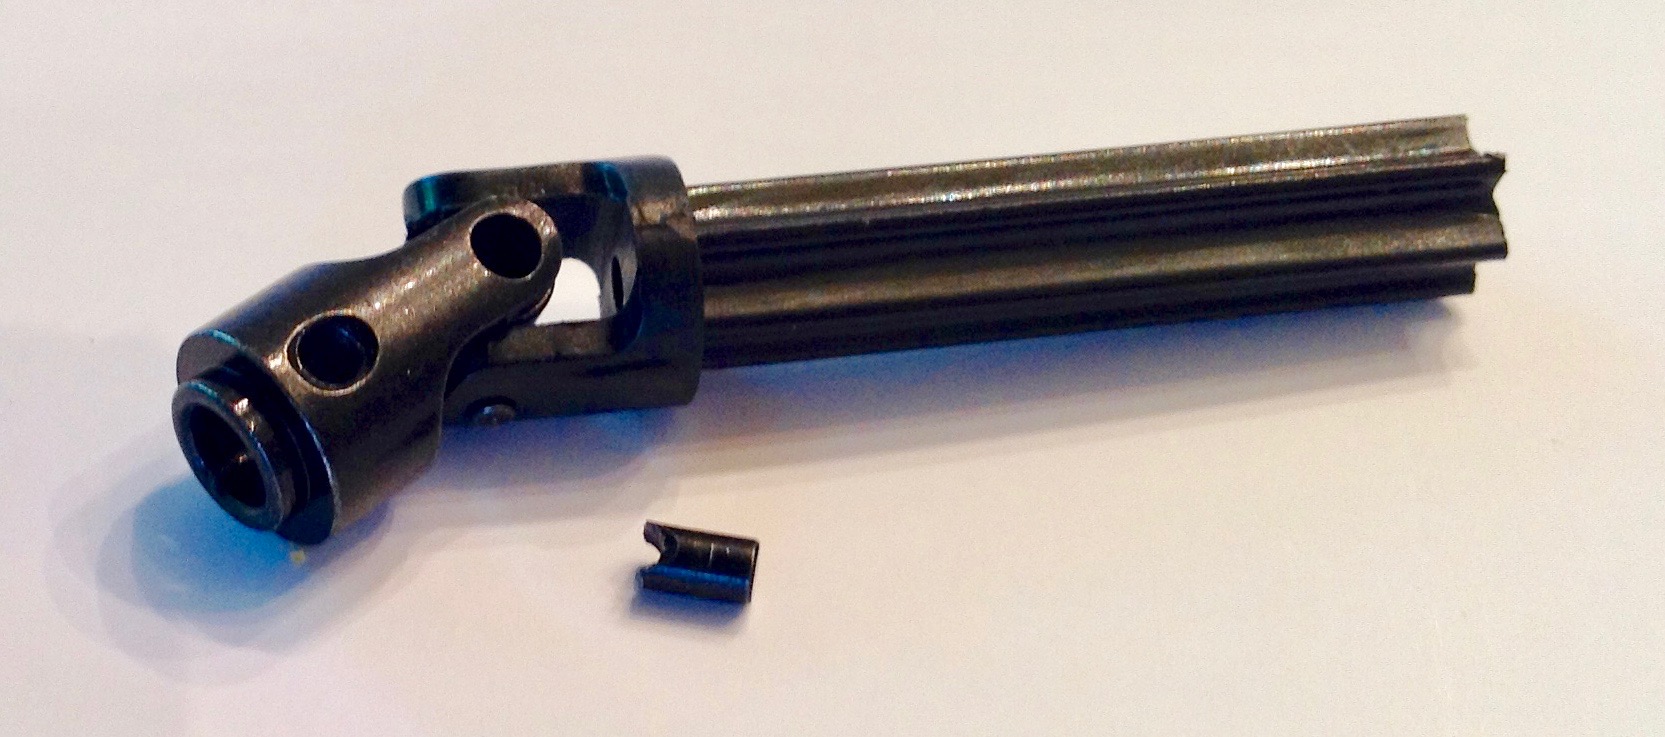
perfect anyway. I had one quality problem as you can see on the
right. One of the driveshafts had a broken cross pin, rendering it
useless. RC4WD sent me a new one, but while I waited I repaired
this one with some JB Weld which lasted me almost a year or driving.
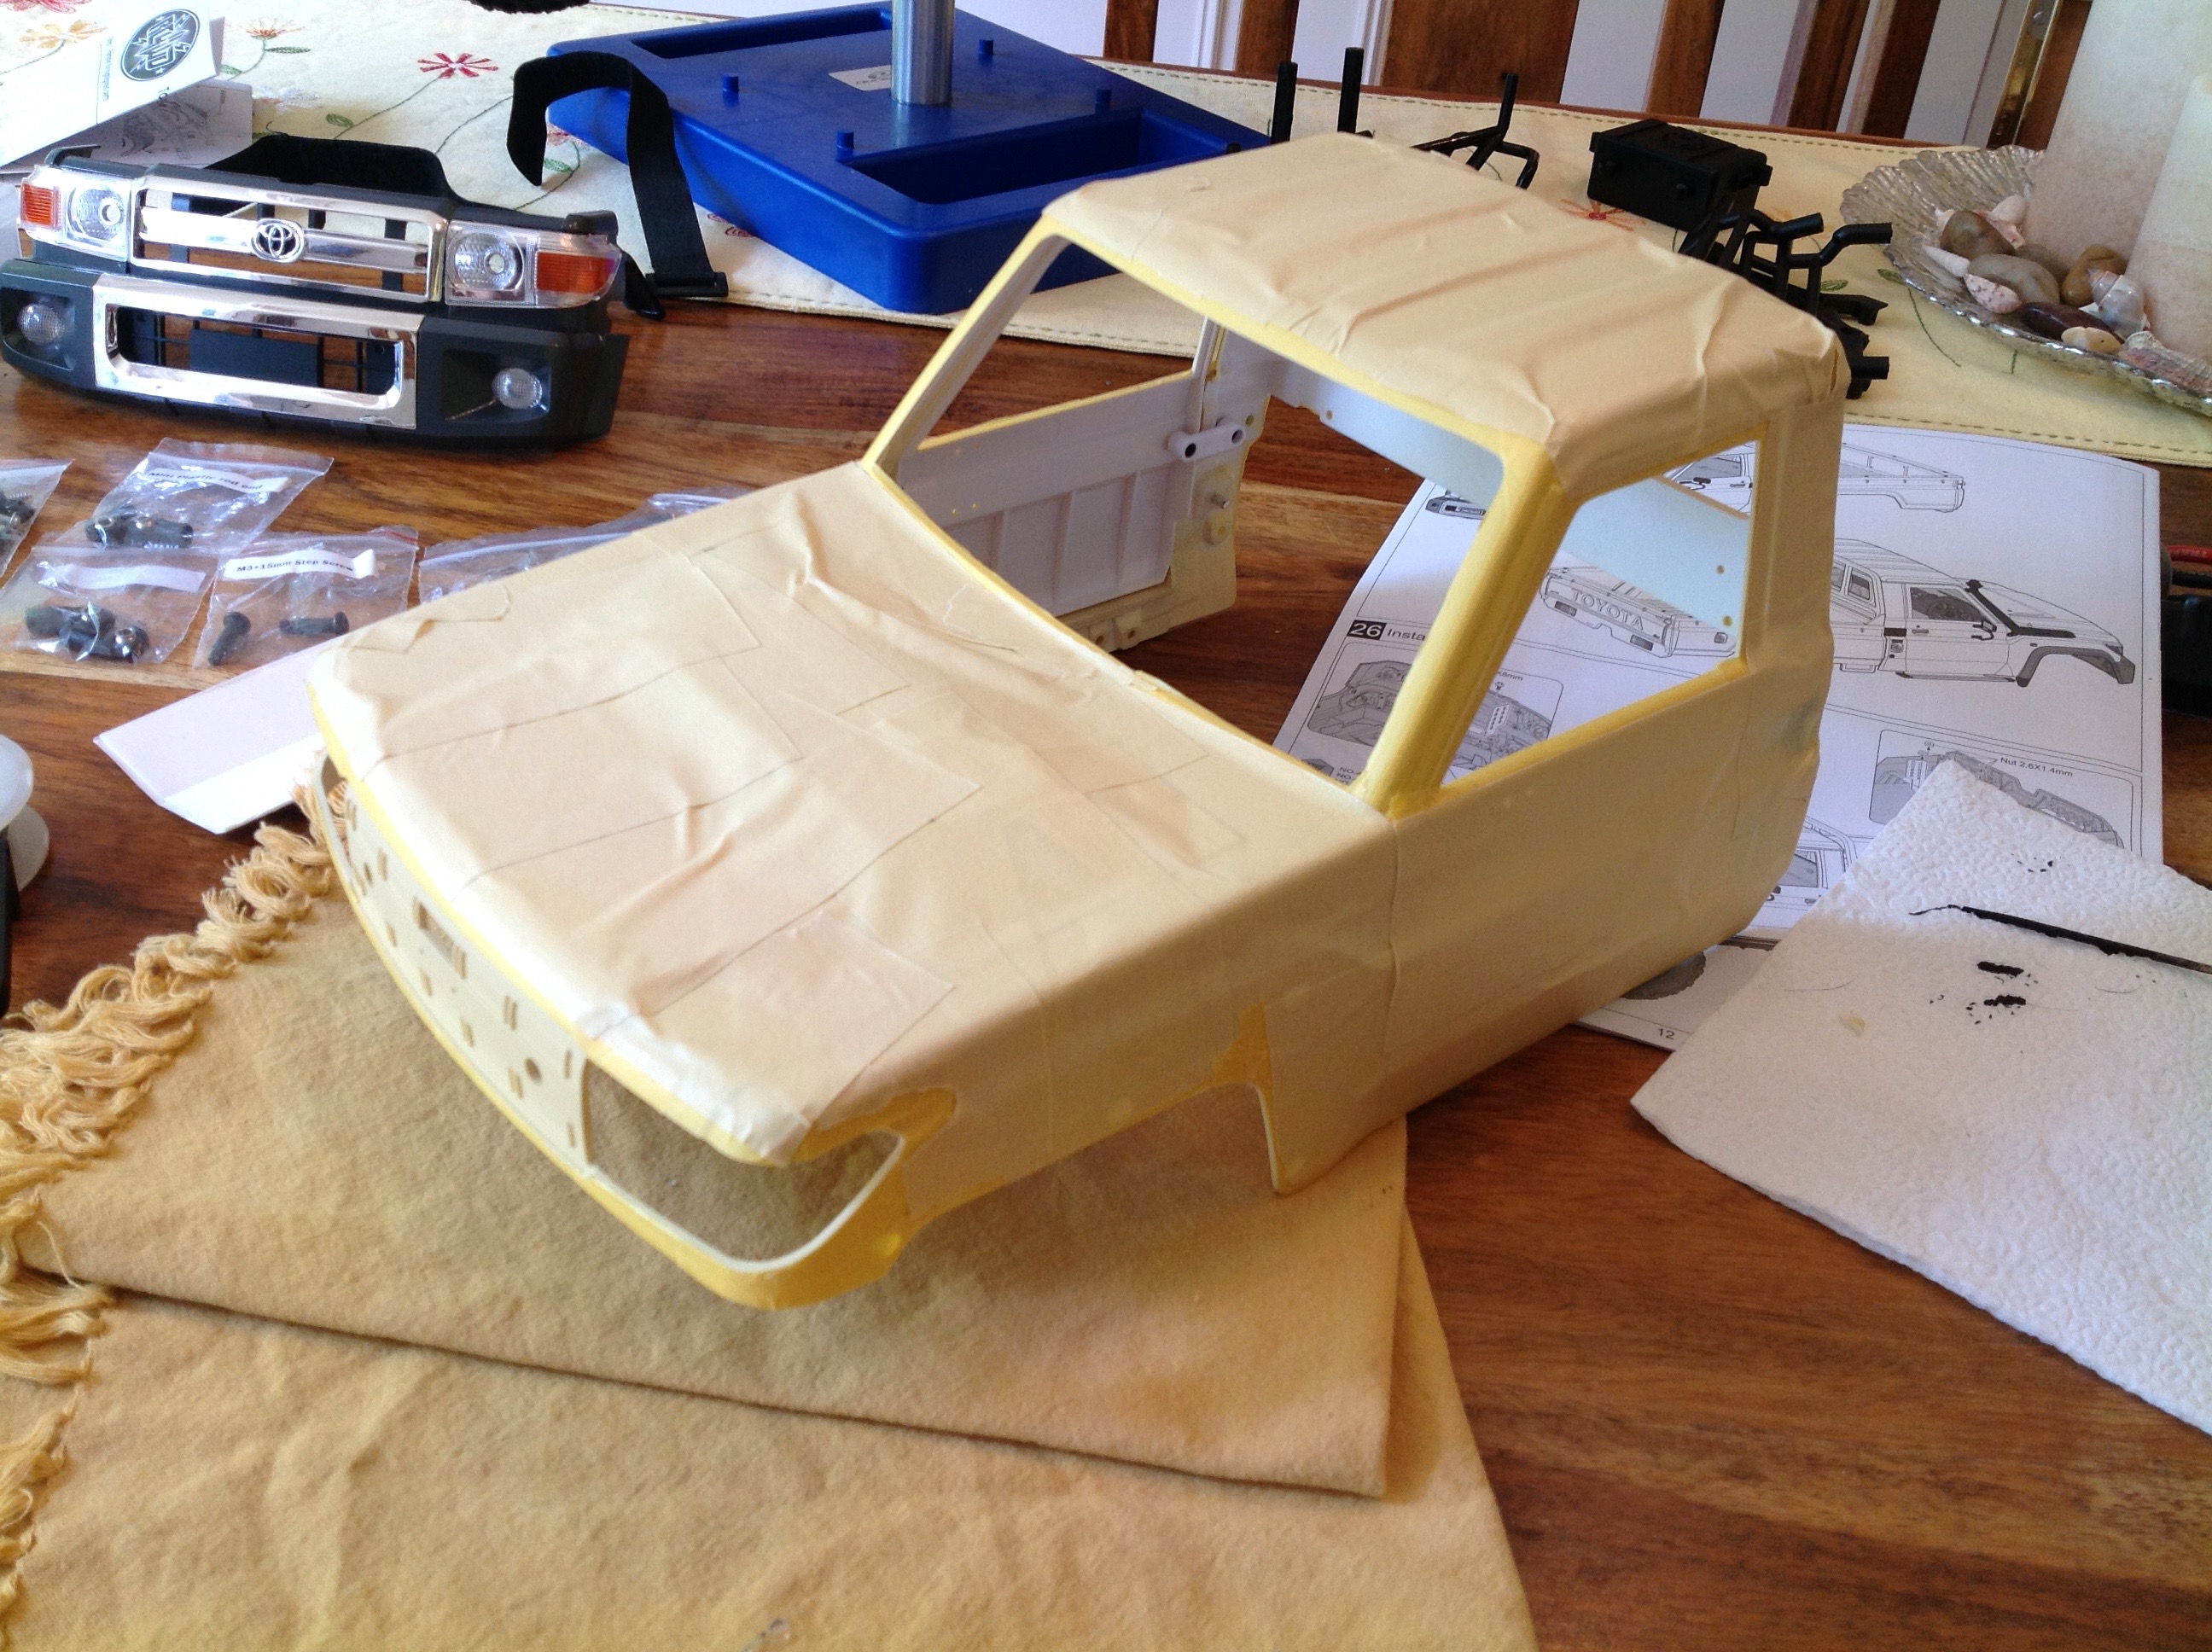
Time to start work on the body. This is essentially a complete
plastic model kit which takes at least as much assembly work as the
chassis. In the upper corner of the left hand image you can see
the grill and front bumper. The rest of the image shows the
masking I did for the black areas. After painting the black I
sprayed the rest of the body in a desert tan. Then I hand painted
the interior flat black.
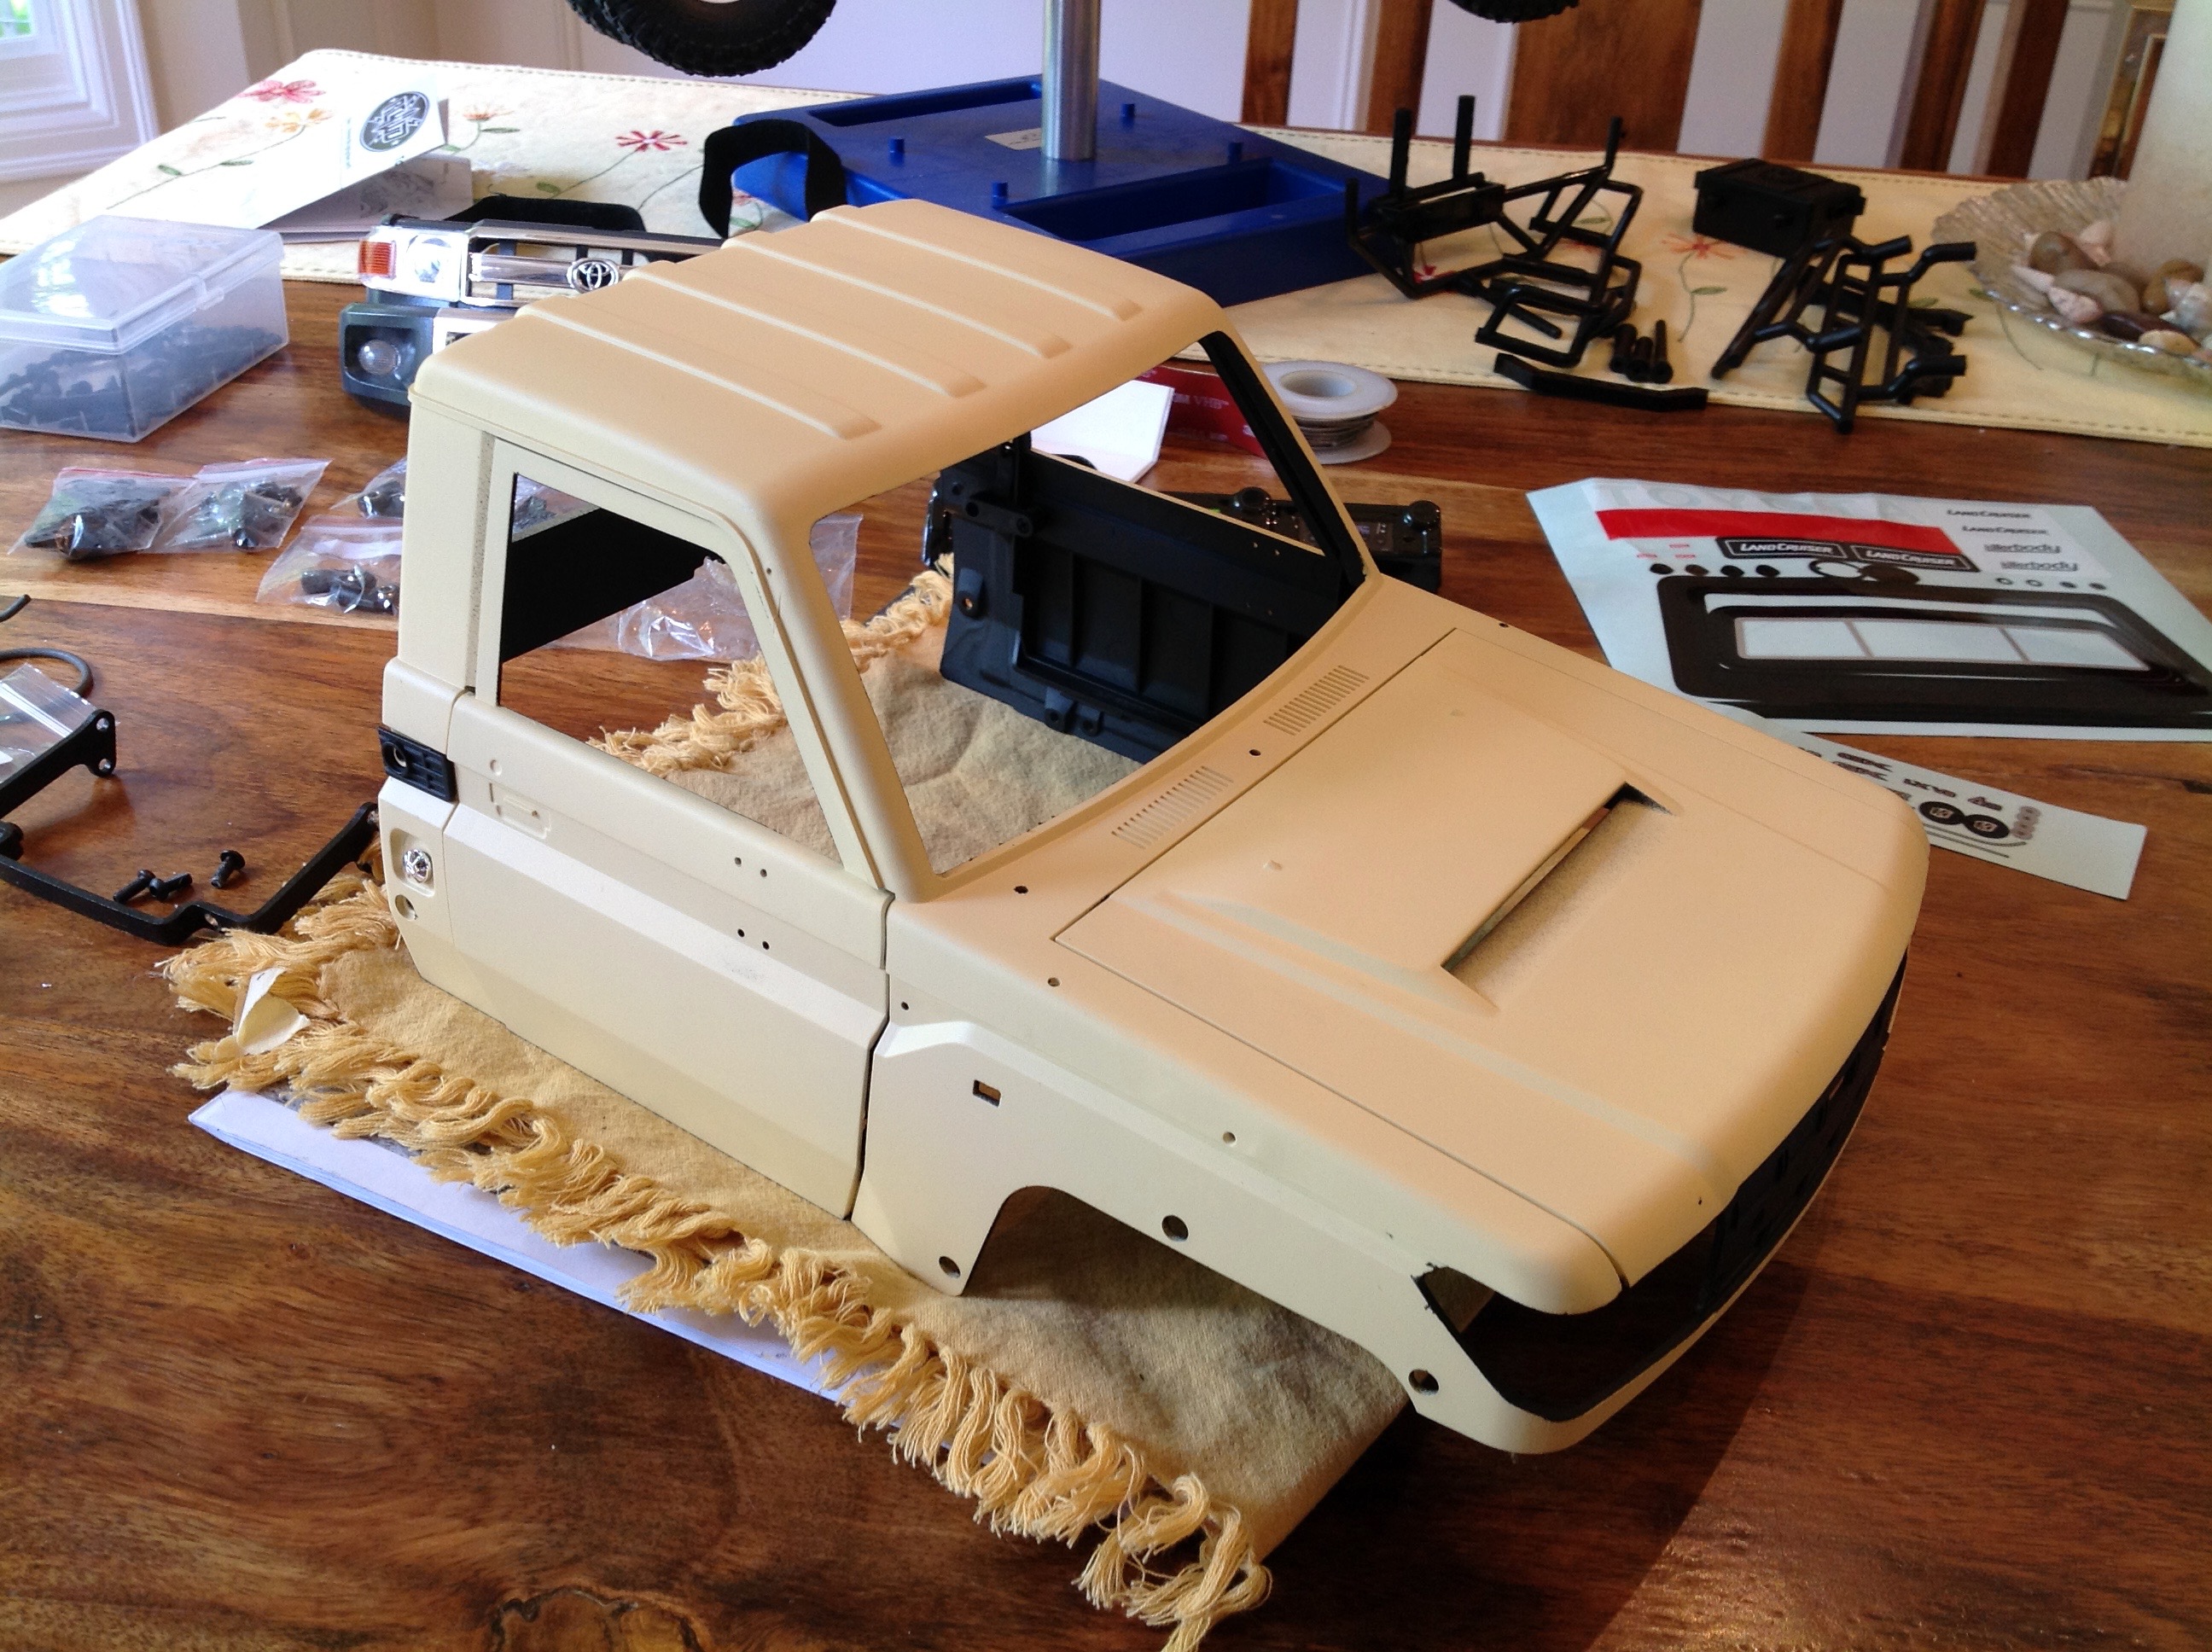
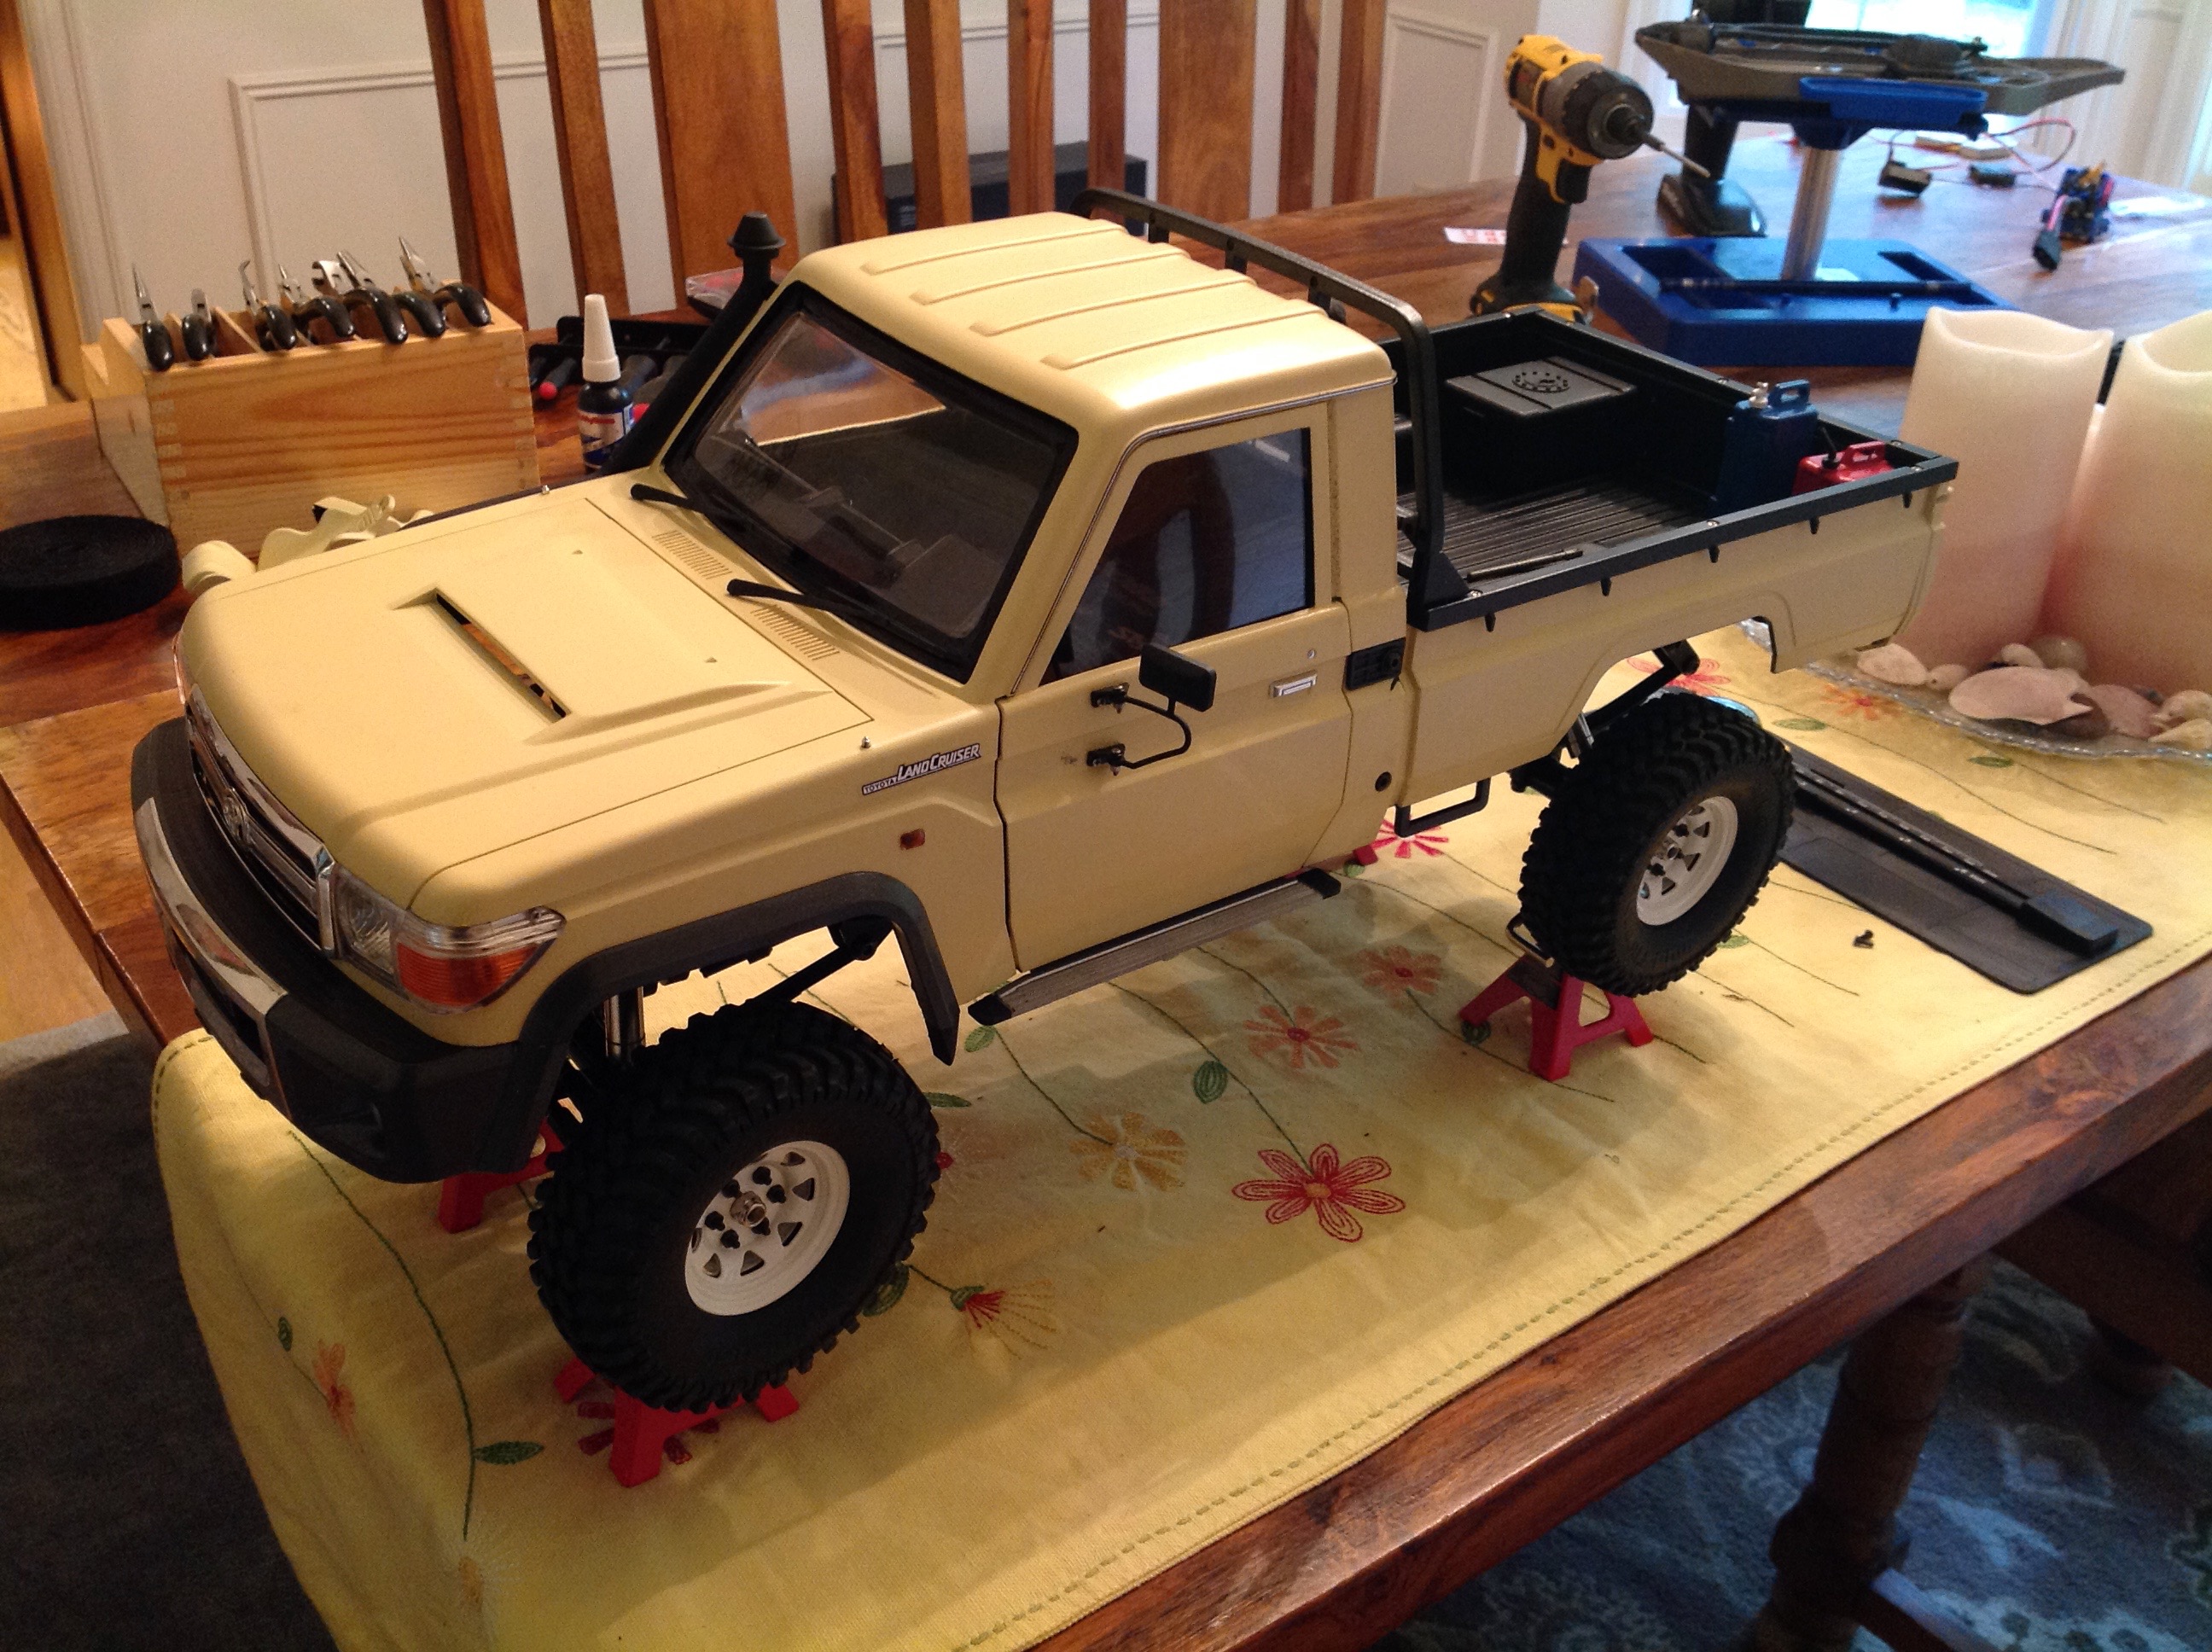
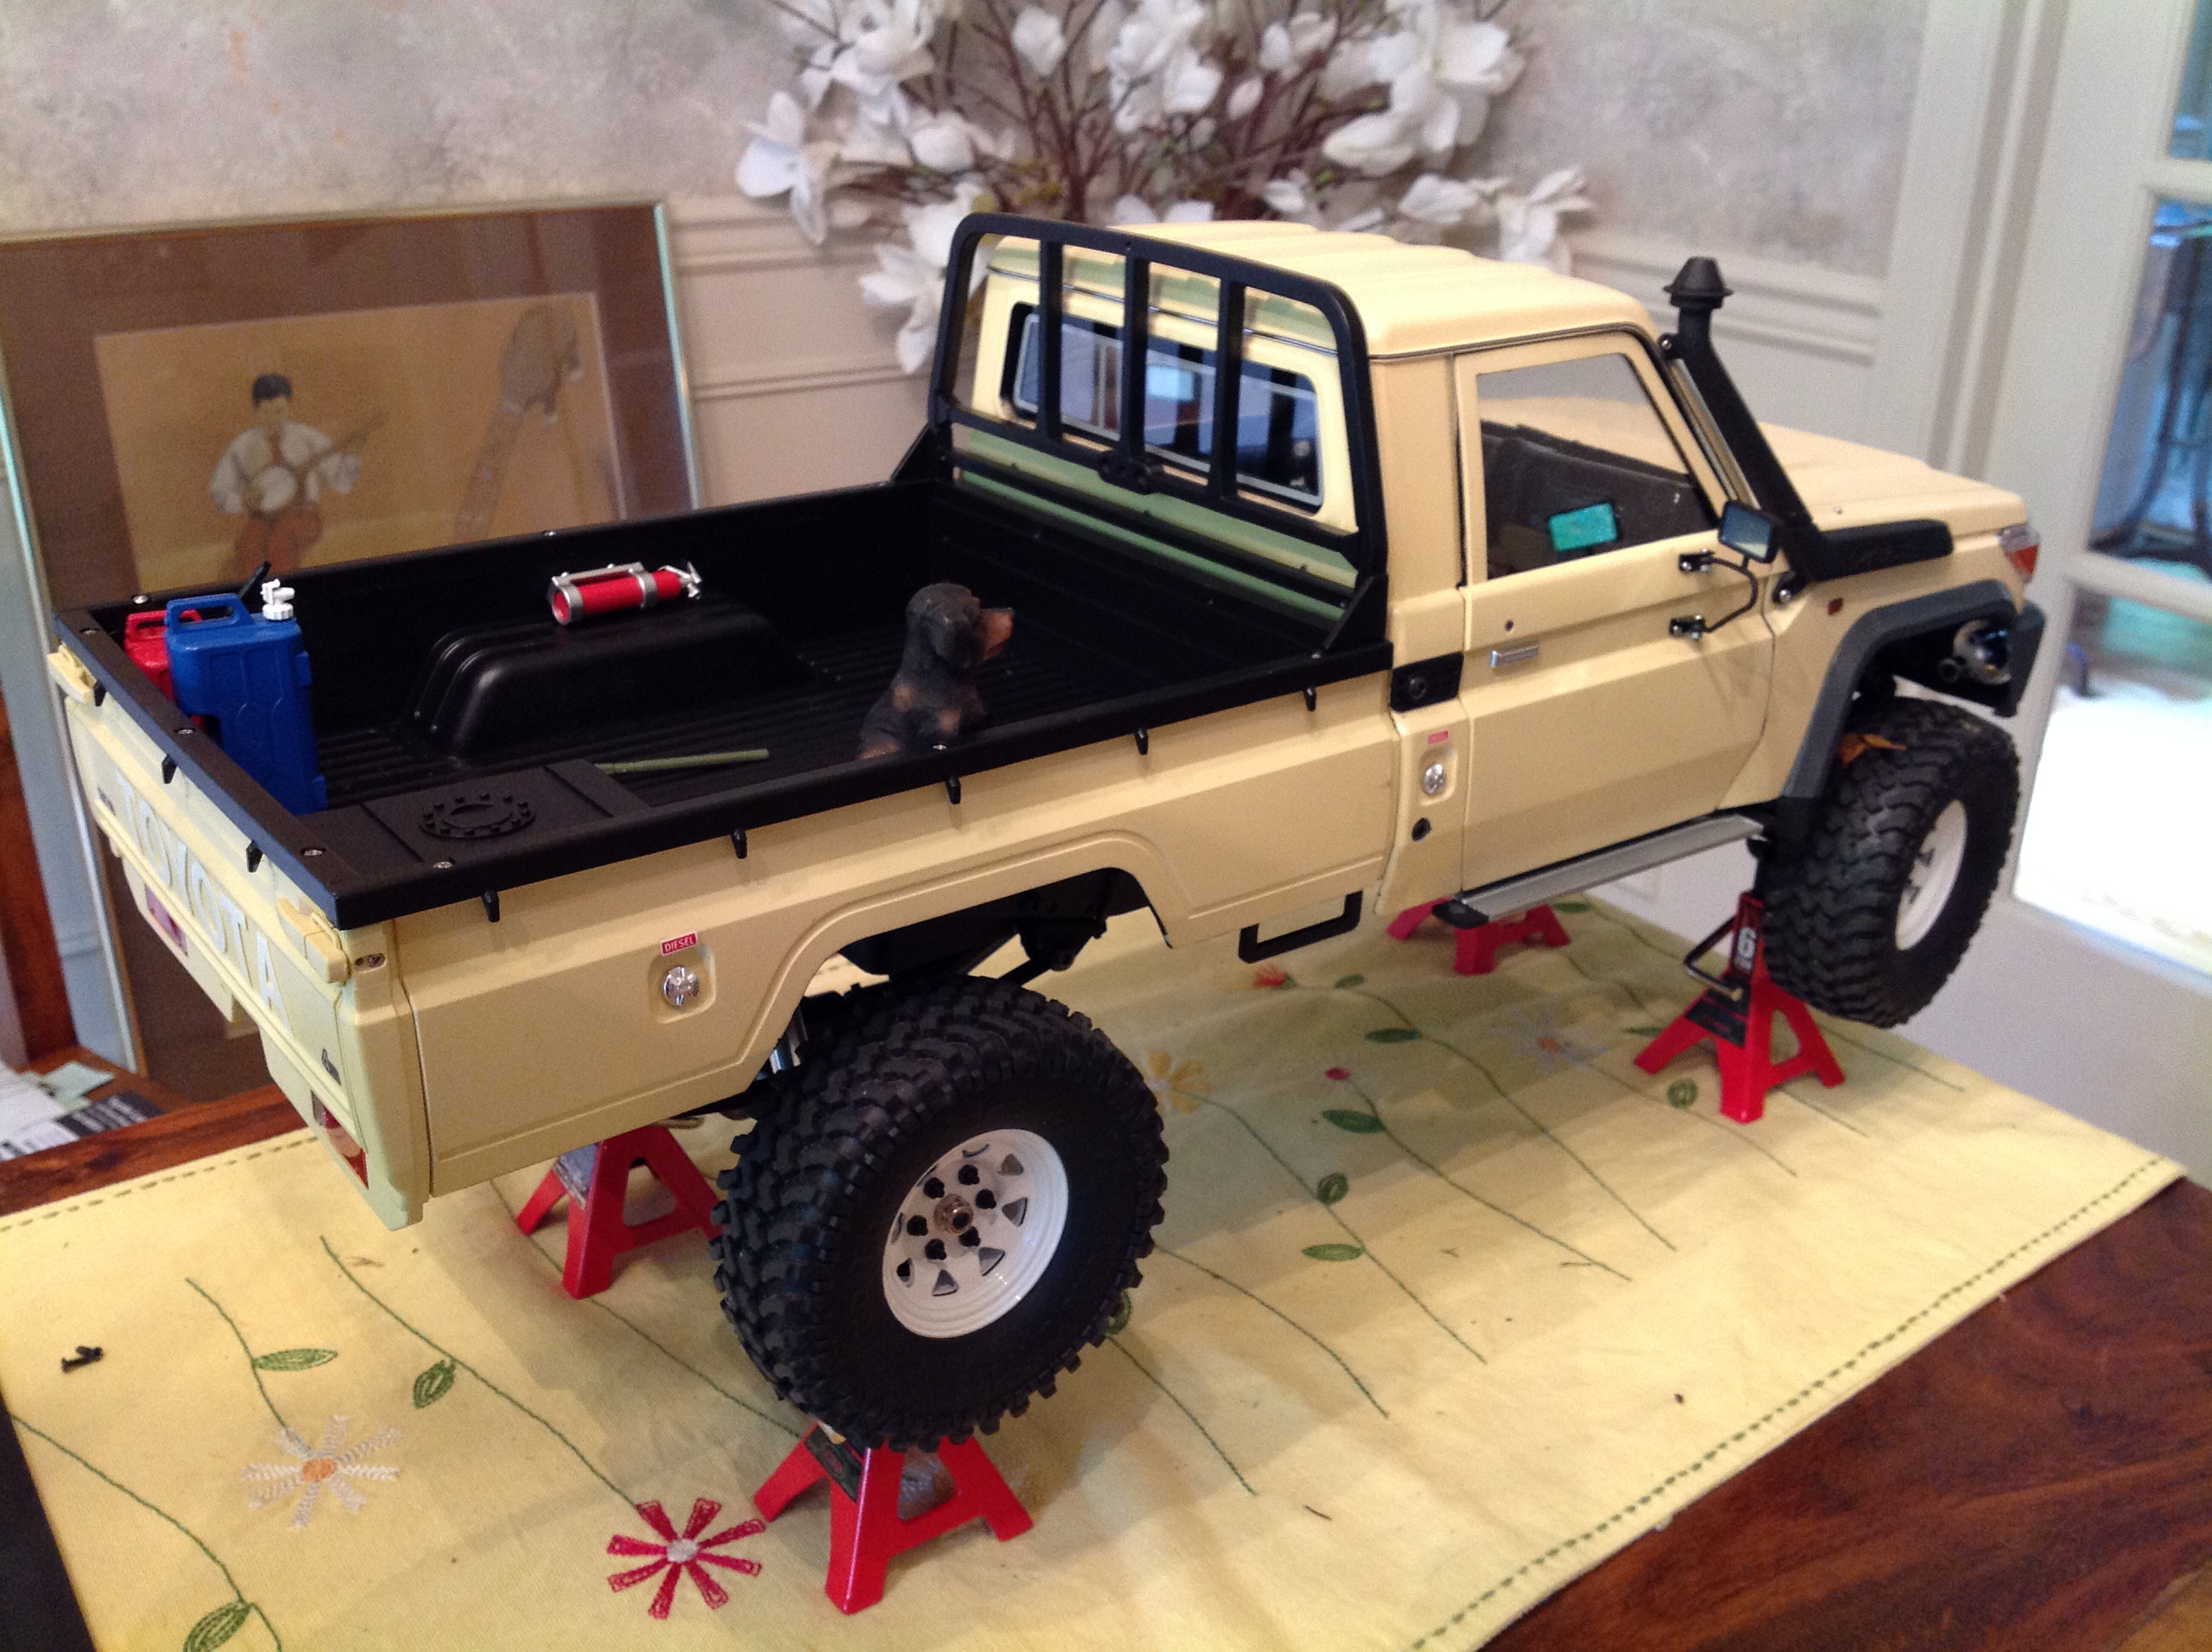
And now we skip to the end. I used a dark gray for the front
bumper and the fender flares. I painted the bed in flat black to
make it stand out. The beadlock wheels were a new challenge for me
and I was surprised at just how long it took me to put them
together. I really like the steel construction and how real they
look. At this point I've already installed a couple of scale
accessories, but I would later take this to a crazy level. There a
lot of little details on the body. Some are big and obvious like
the snorkel or mirrors, but others are small like the door handles, side
marker lights, or antenna nubs. Zoom in for a better look.
©2018 Eric Albrecht