RC4WD Trail Finder 2 Project
Page 2: Upgrades!
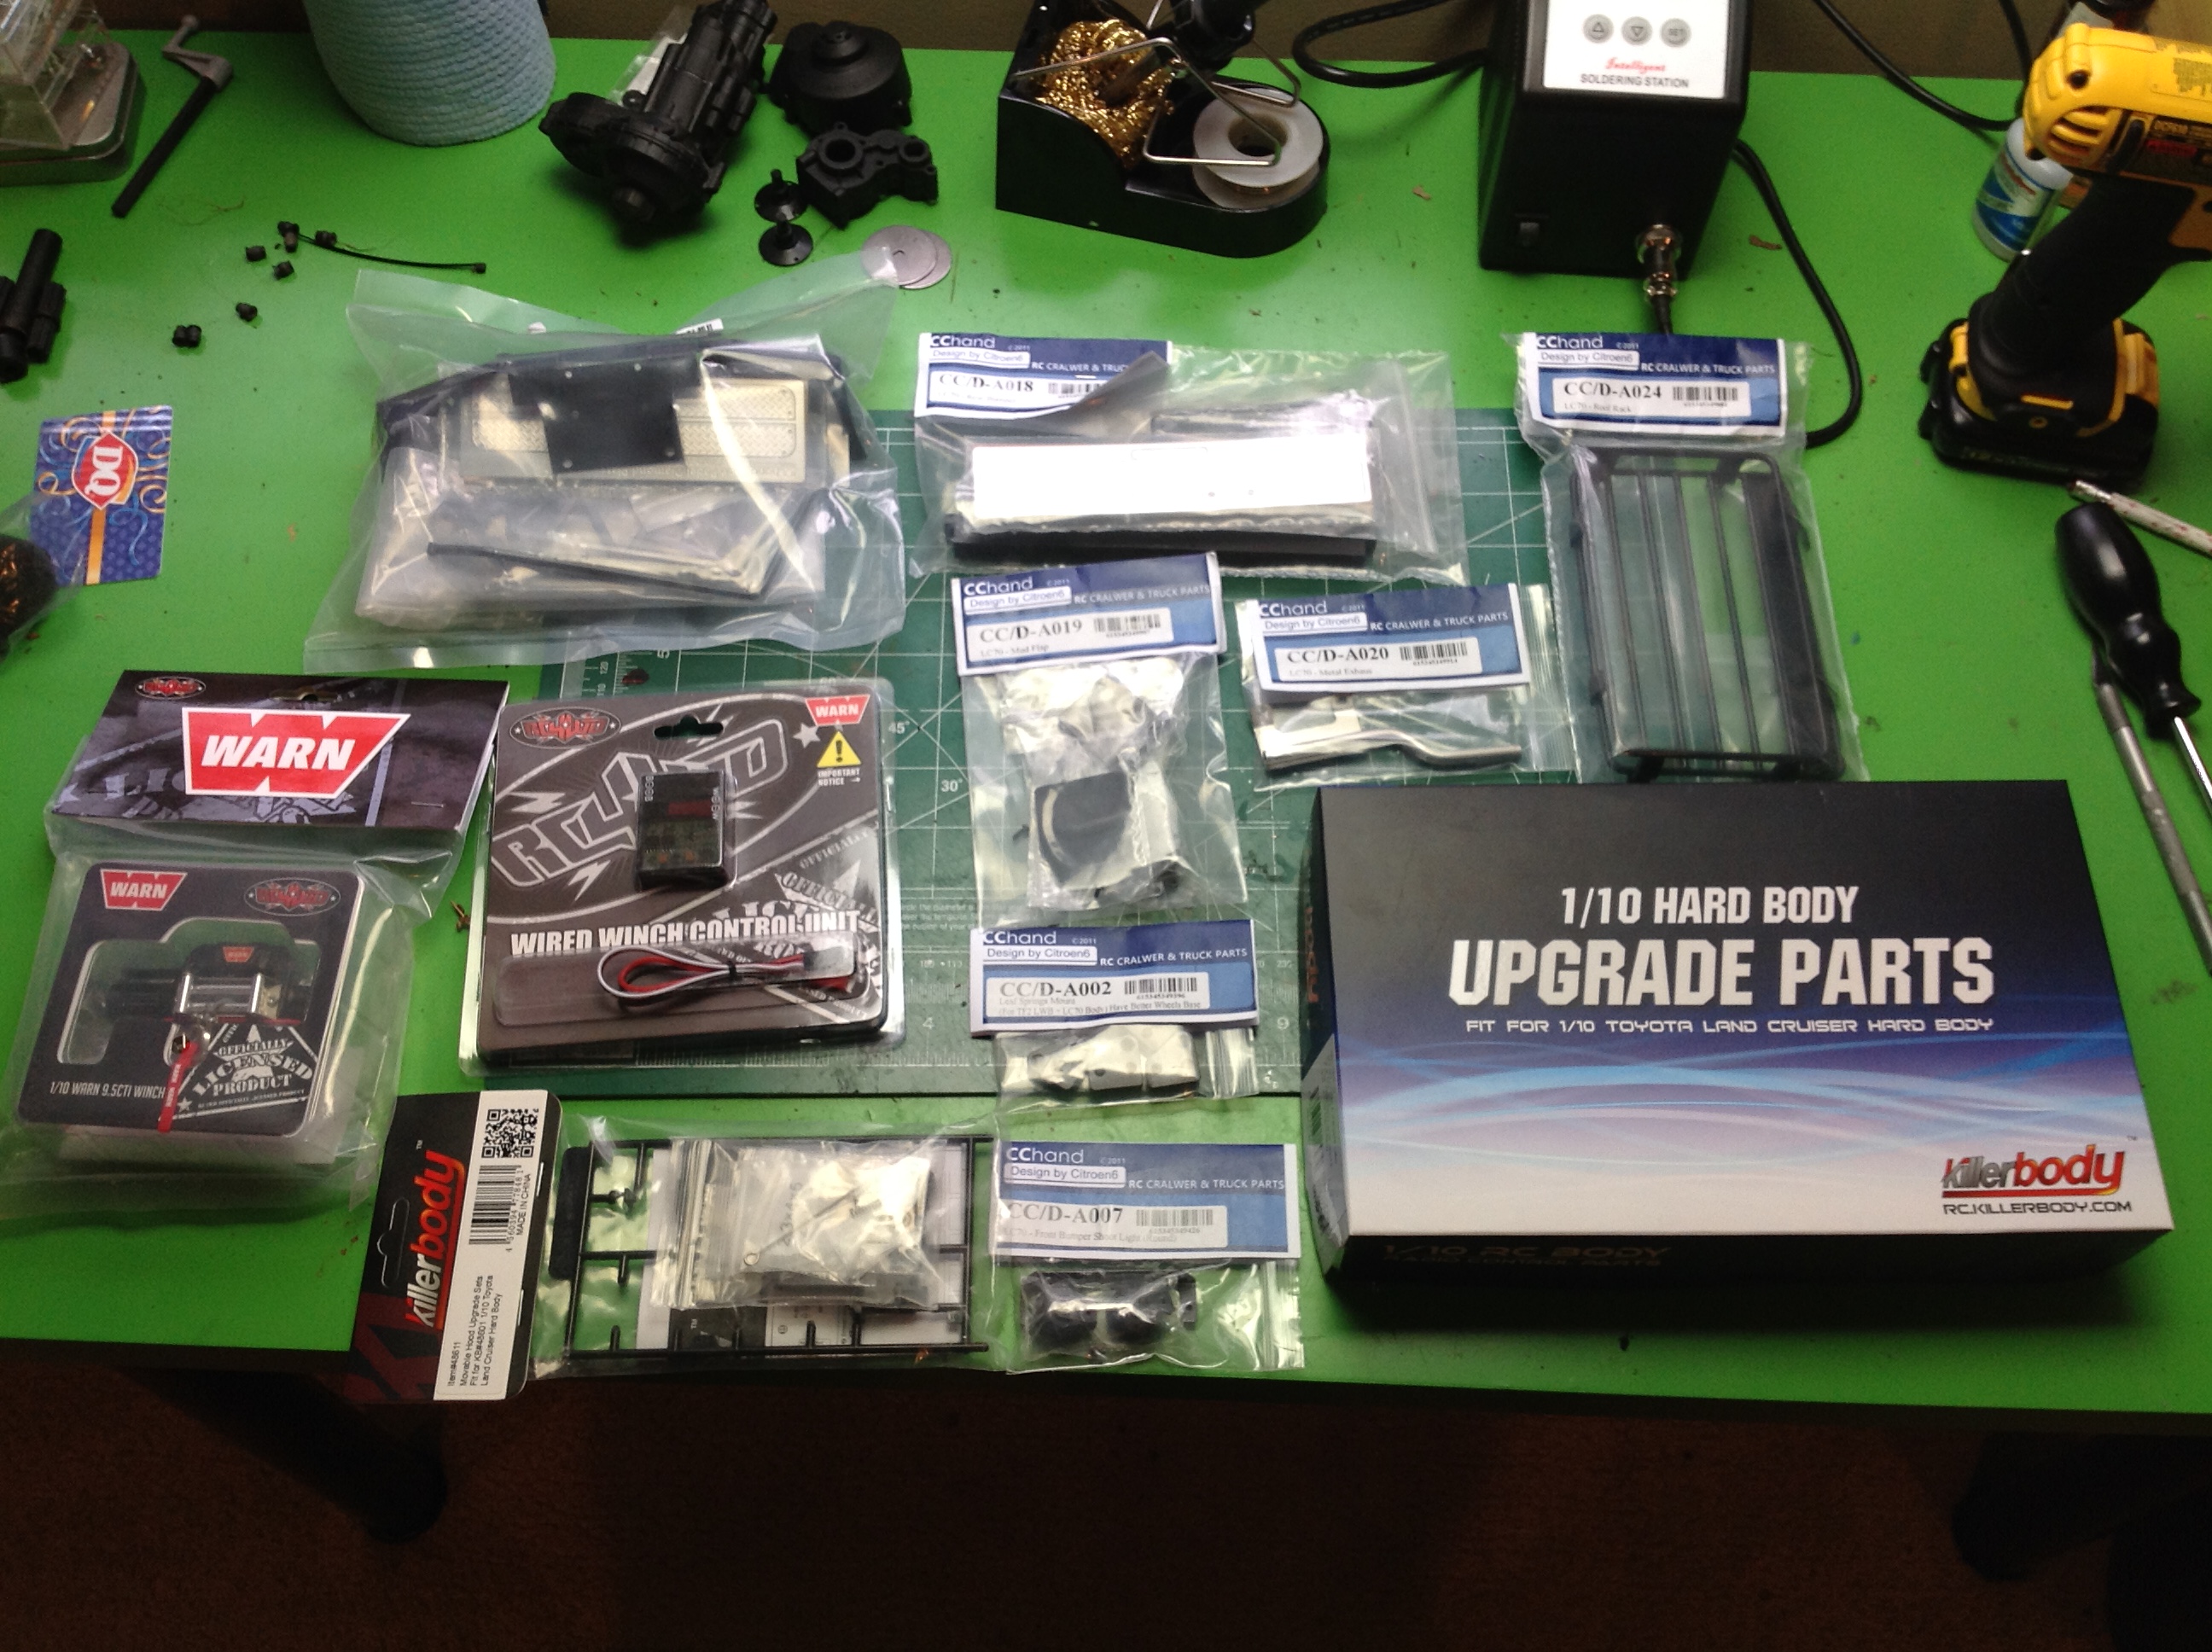
I drove this thing around for almost a year without upgrading anything,
but a few things came together to make the time right. First,
Killer Body released a couple of kits to convert the model to have
opening doors and hood. At around the same time, CChand came out
with some really nice scale bumpers and sliders. It took a while
to collect everything, but I ended up with the pile above which
will involve a whole lot of work to install.
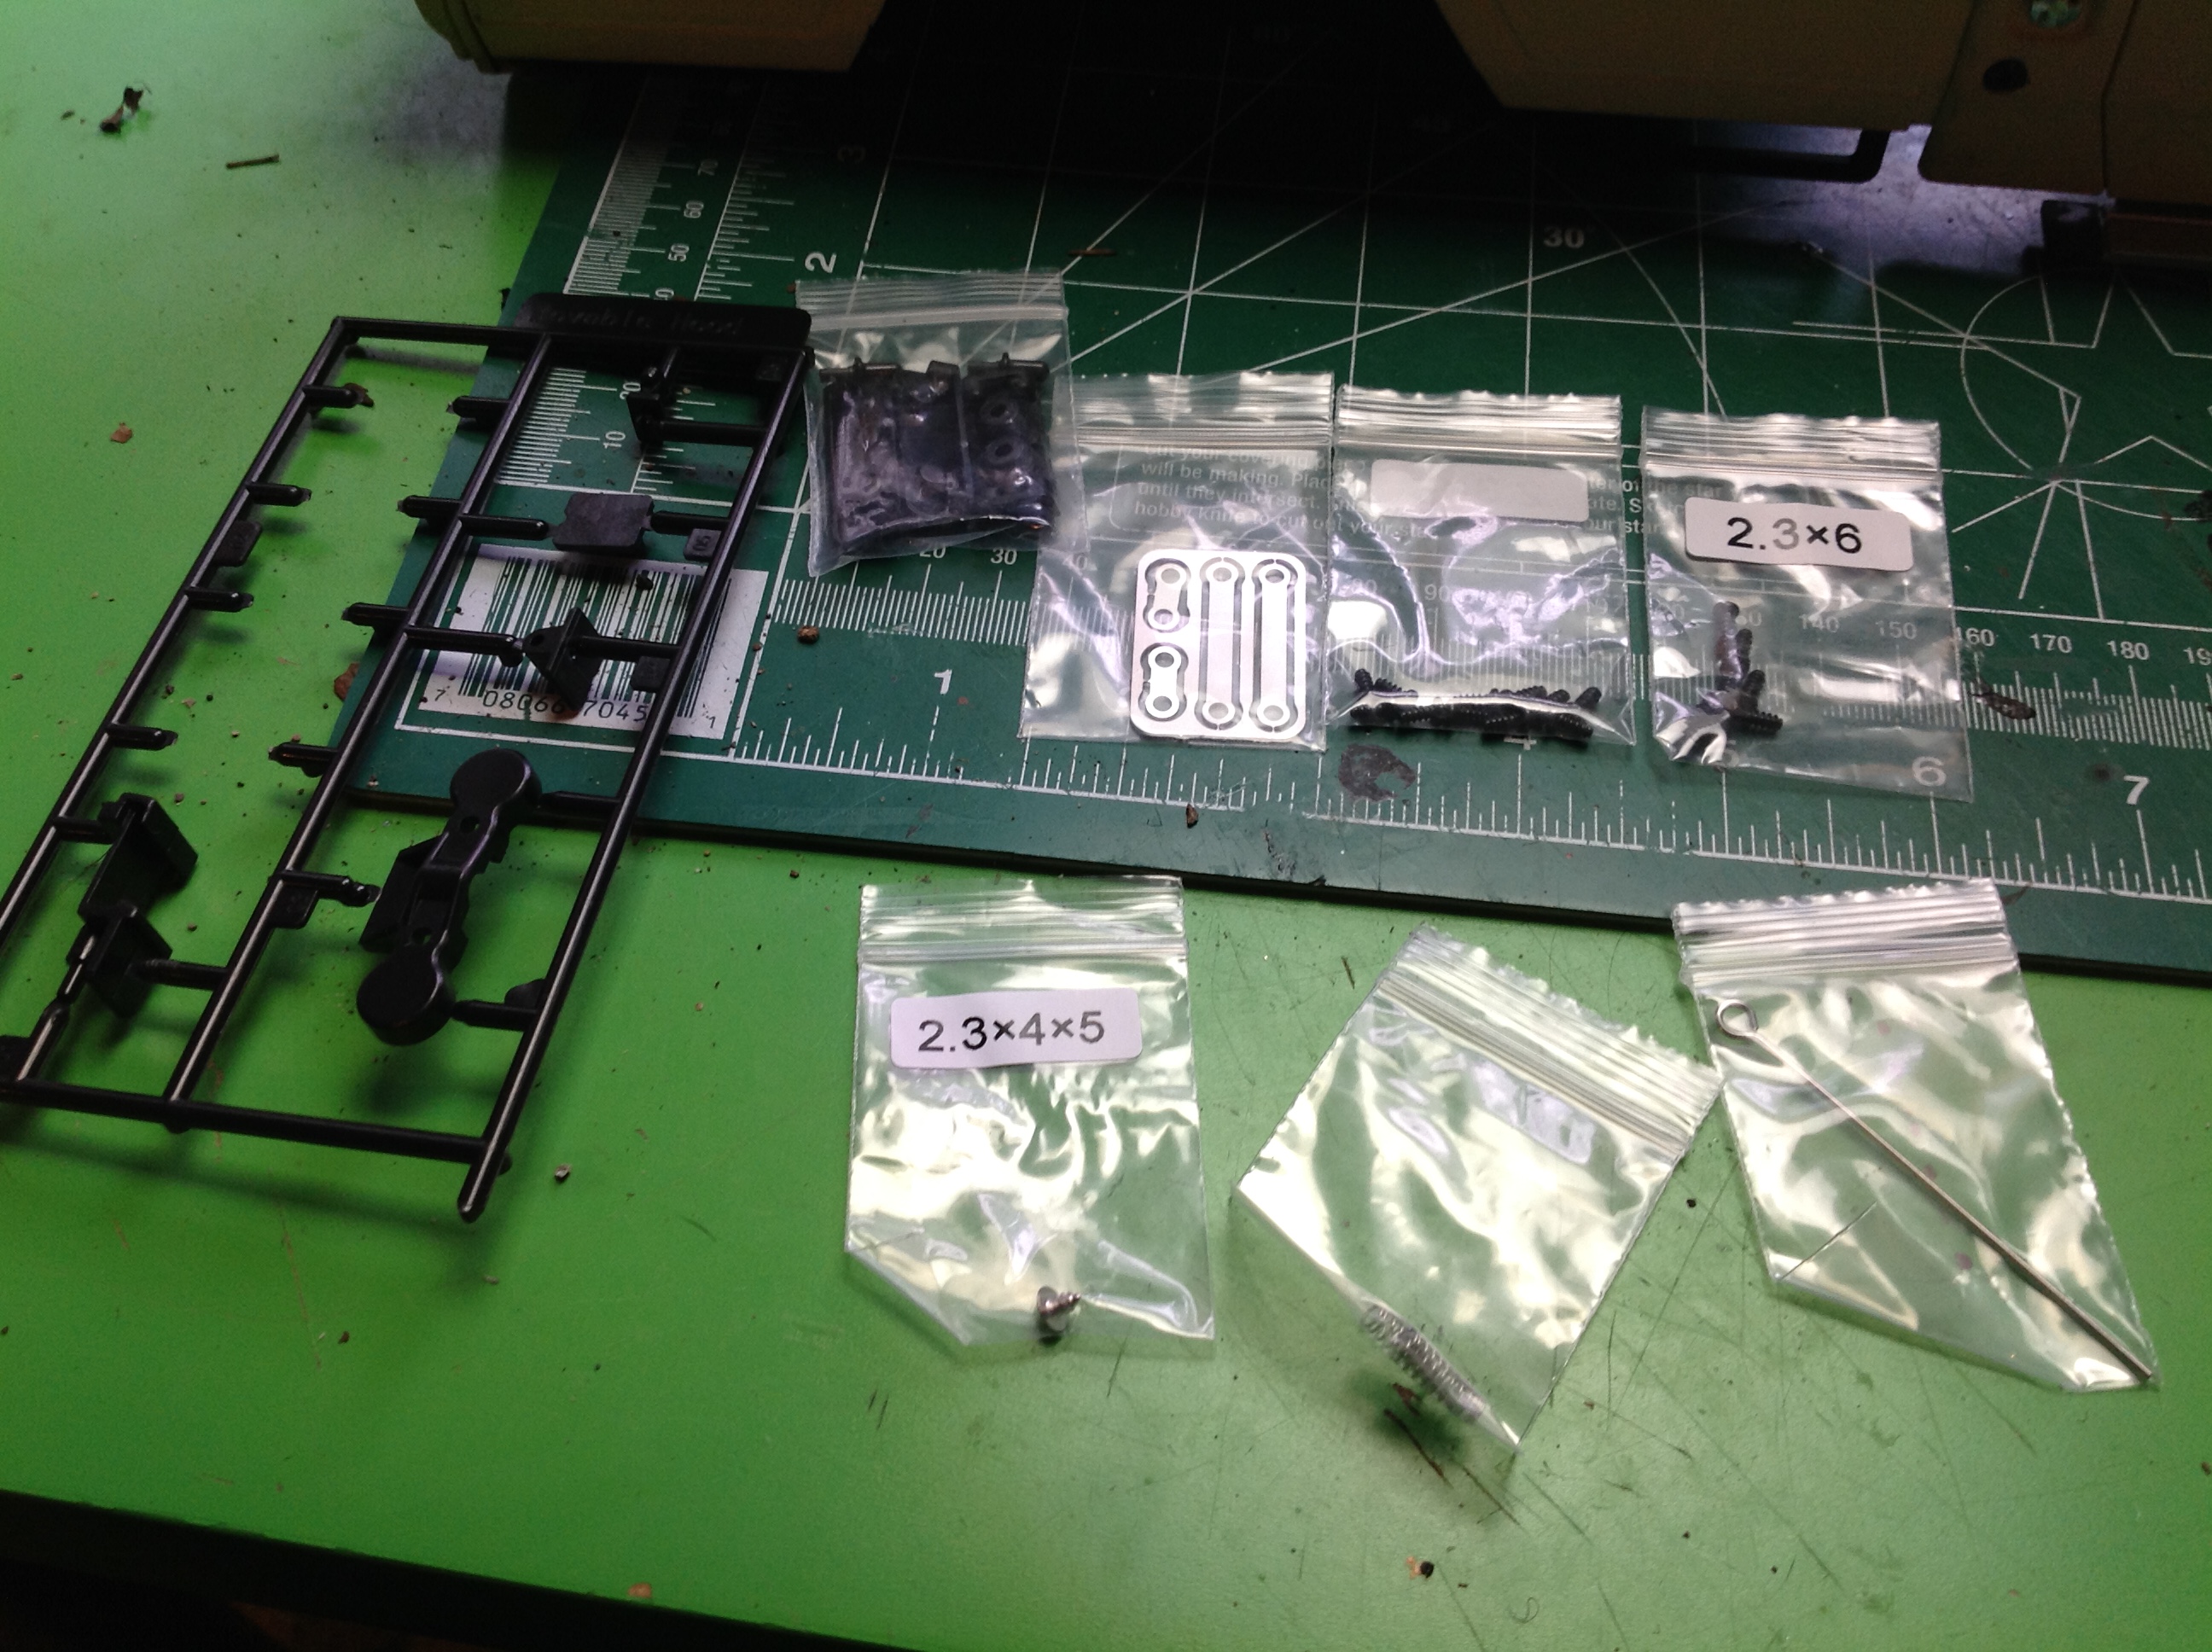
Let's start with that opening hood. The original body kit came
with the hood as a separate part, but the assembly has you just bolt it
down. This upgrade kit adds some nice metal hinges as well as a
spring loaded latch system that pops it open when you press the release
behind the grille.
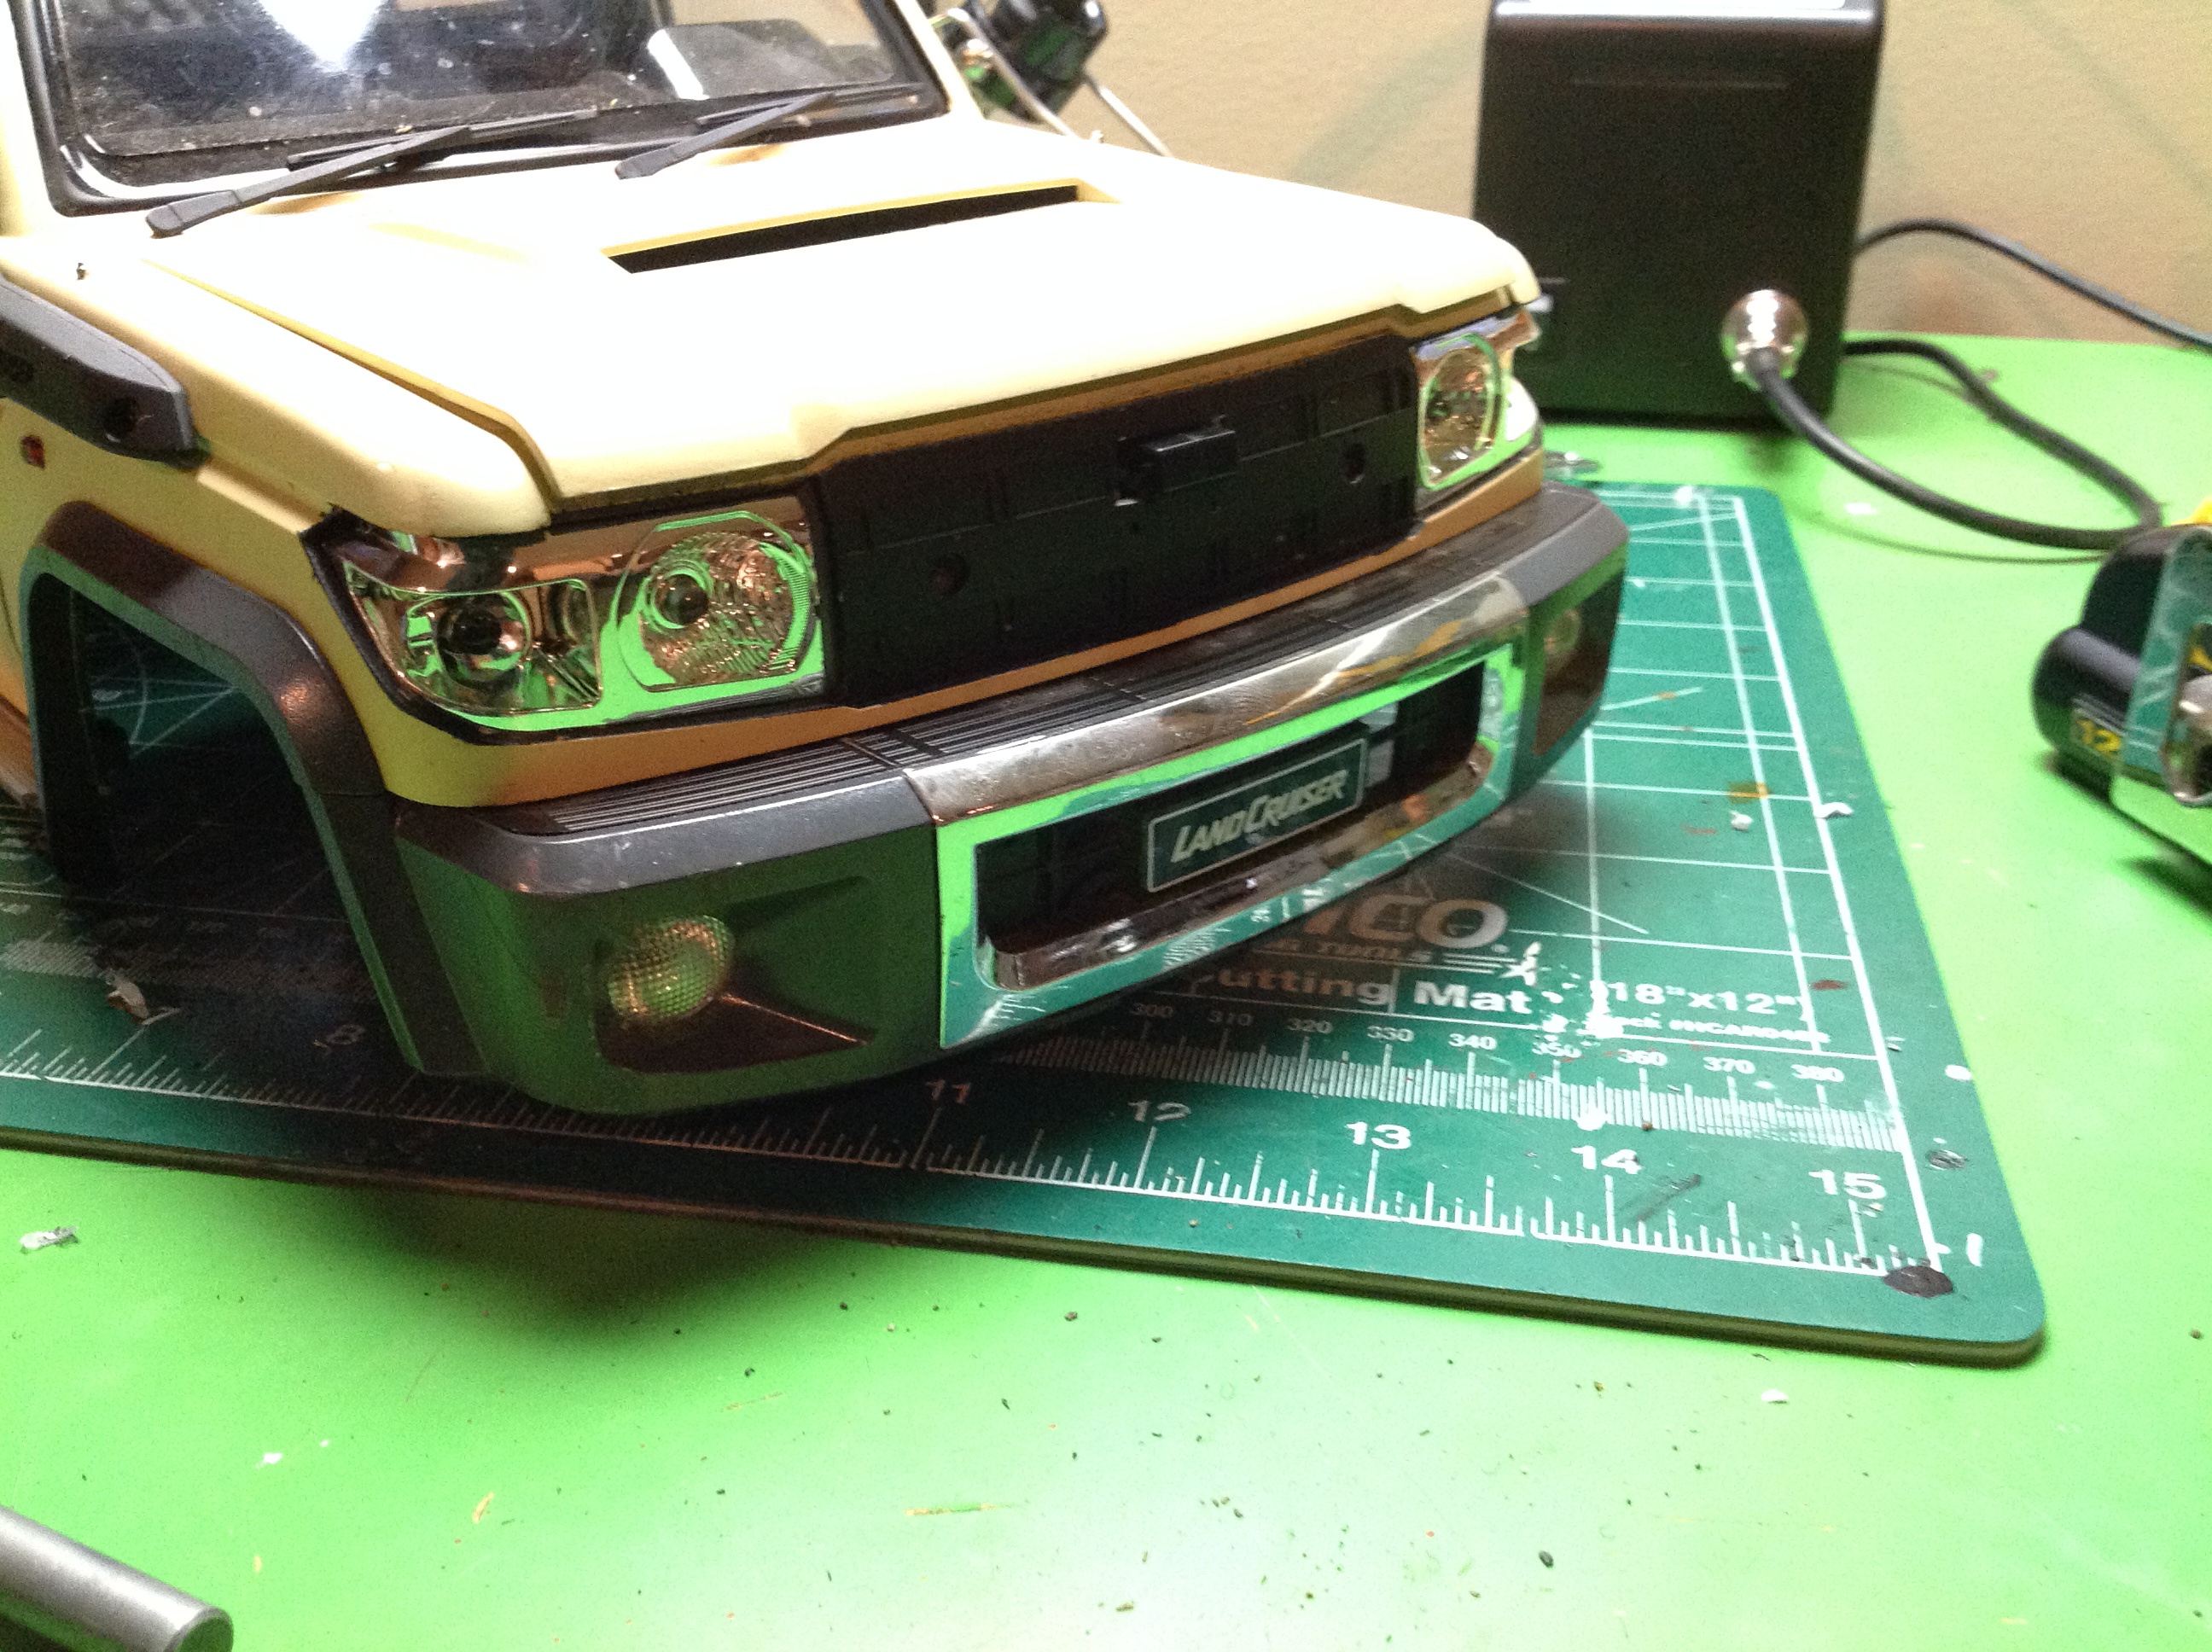
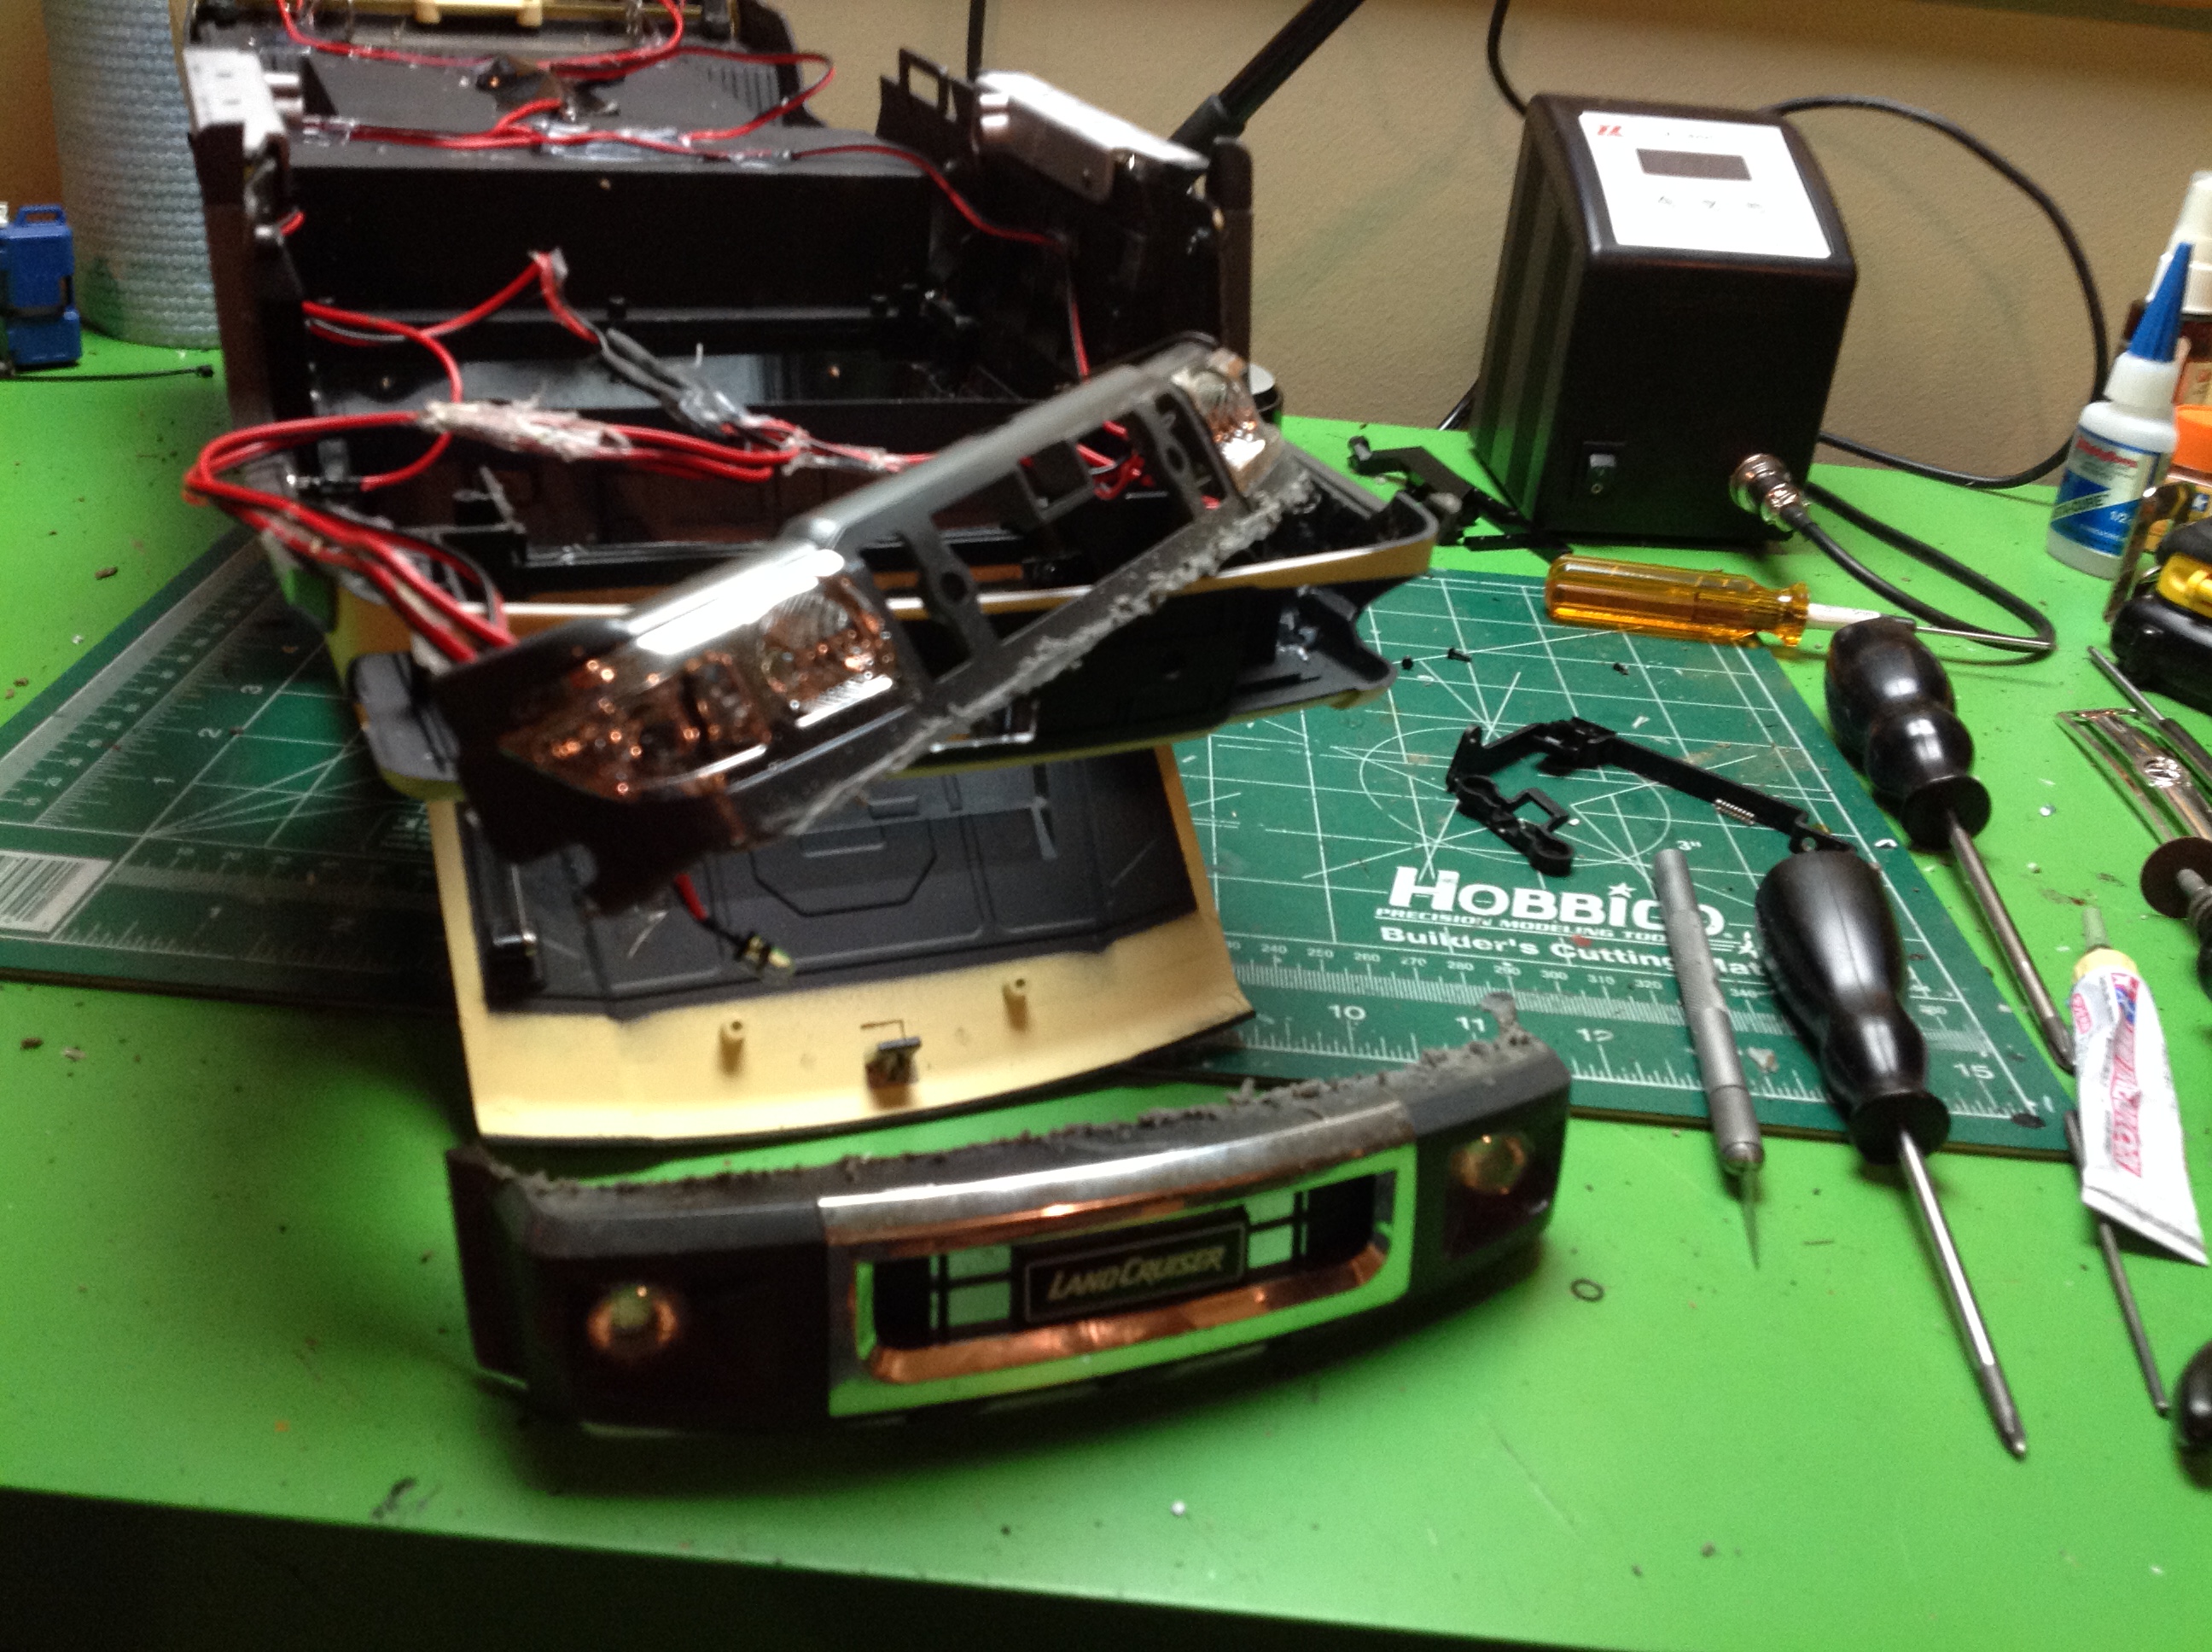
My next project was the front bumper which turned into a multi-day
effort. The existing front of the truck is all one support part
which includes the bumper, grille, and headlight bezels. I had to
cut away the lower bumper with a Dremel which was sad because it is so
nice. It will find a home on display in my build area. The
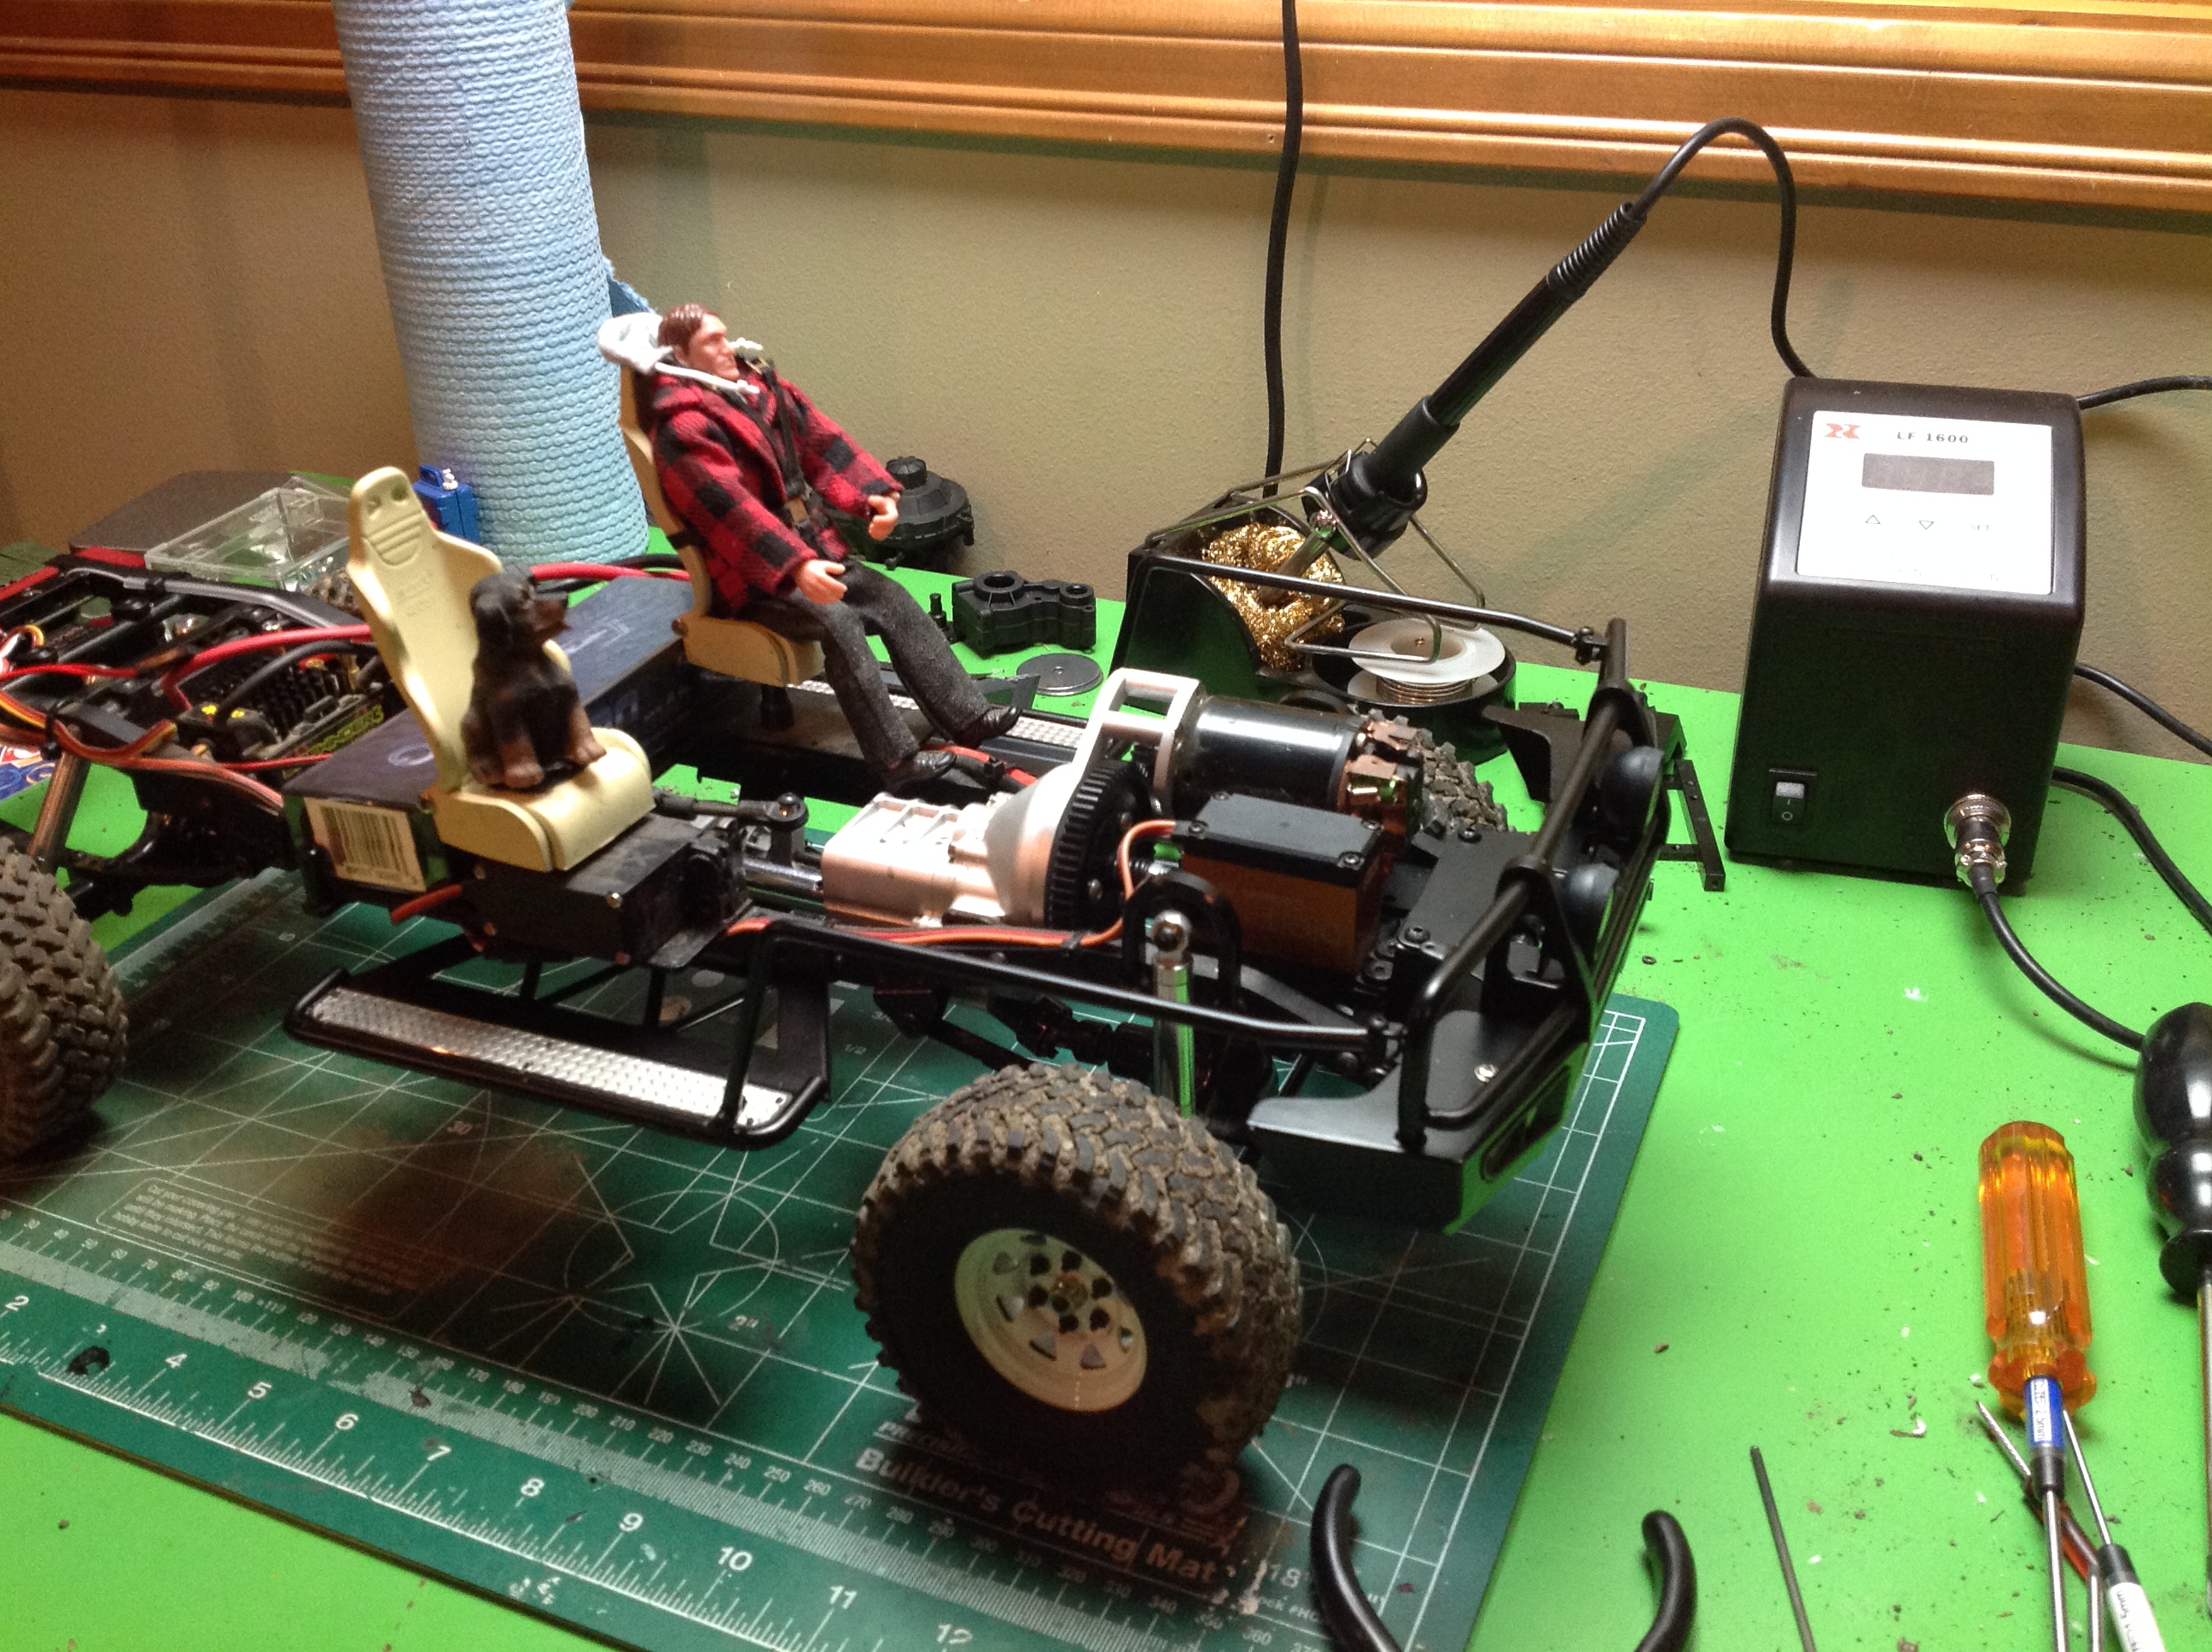
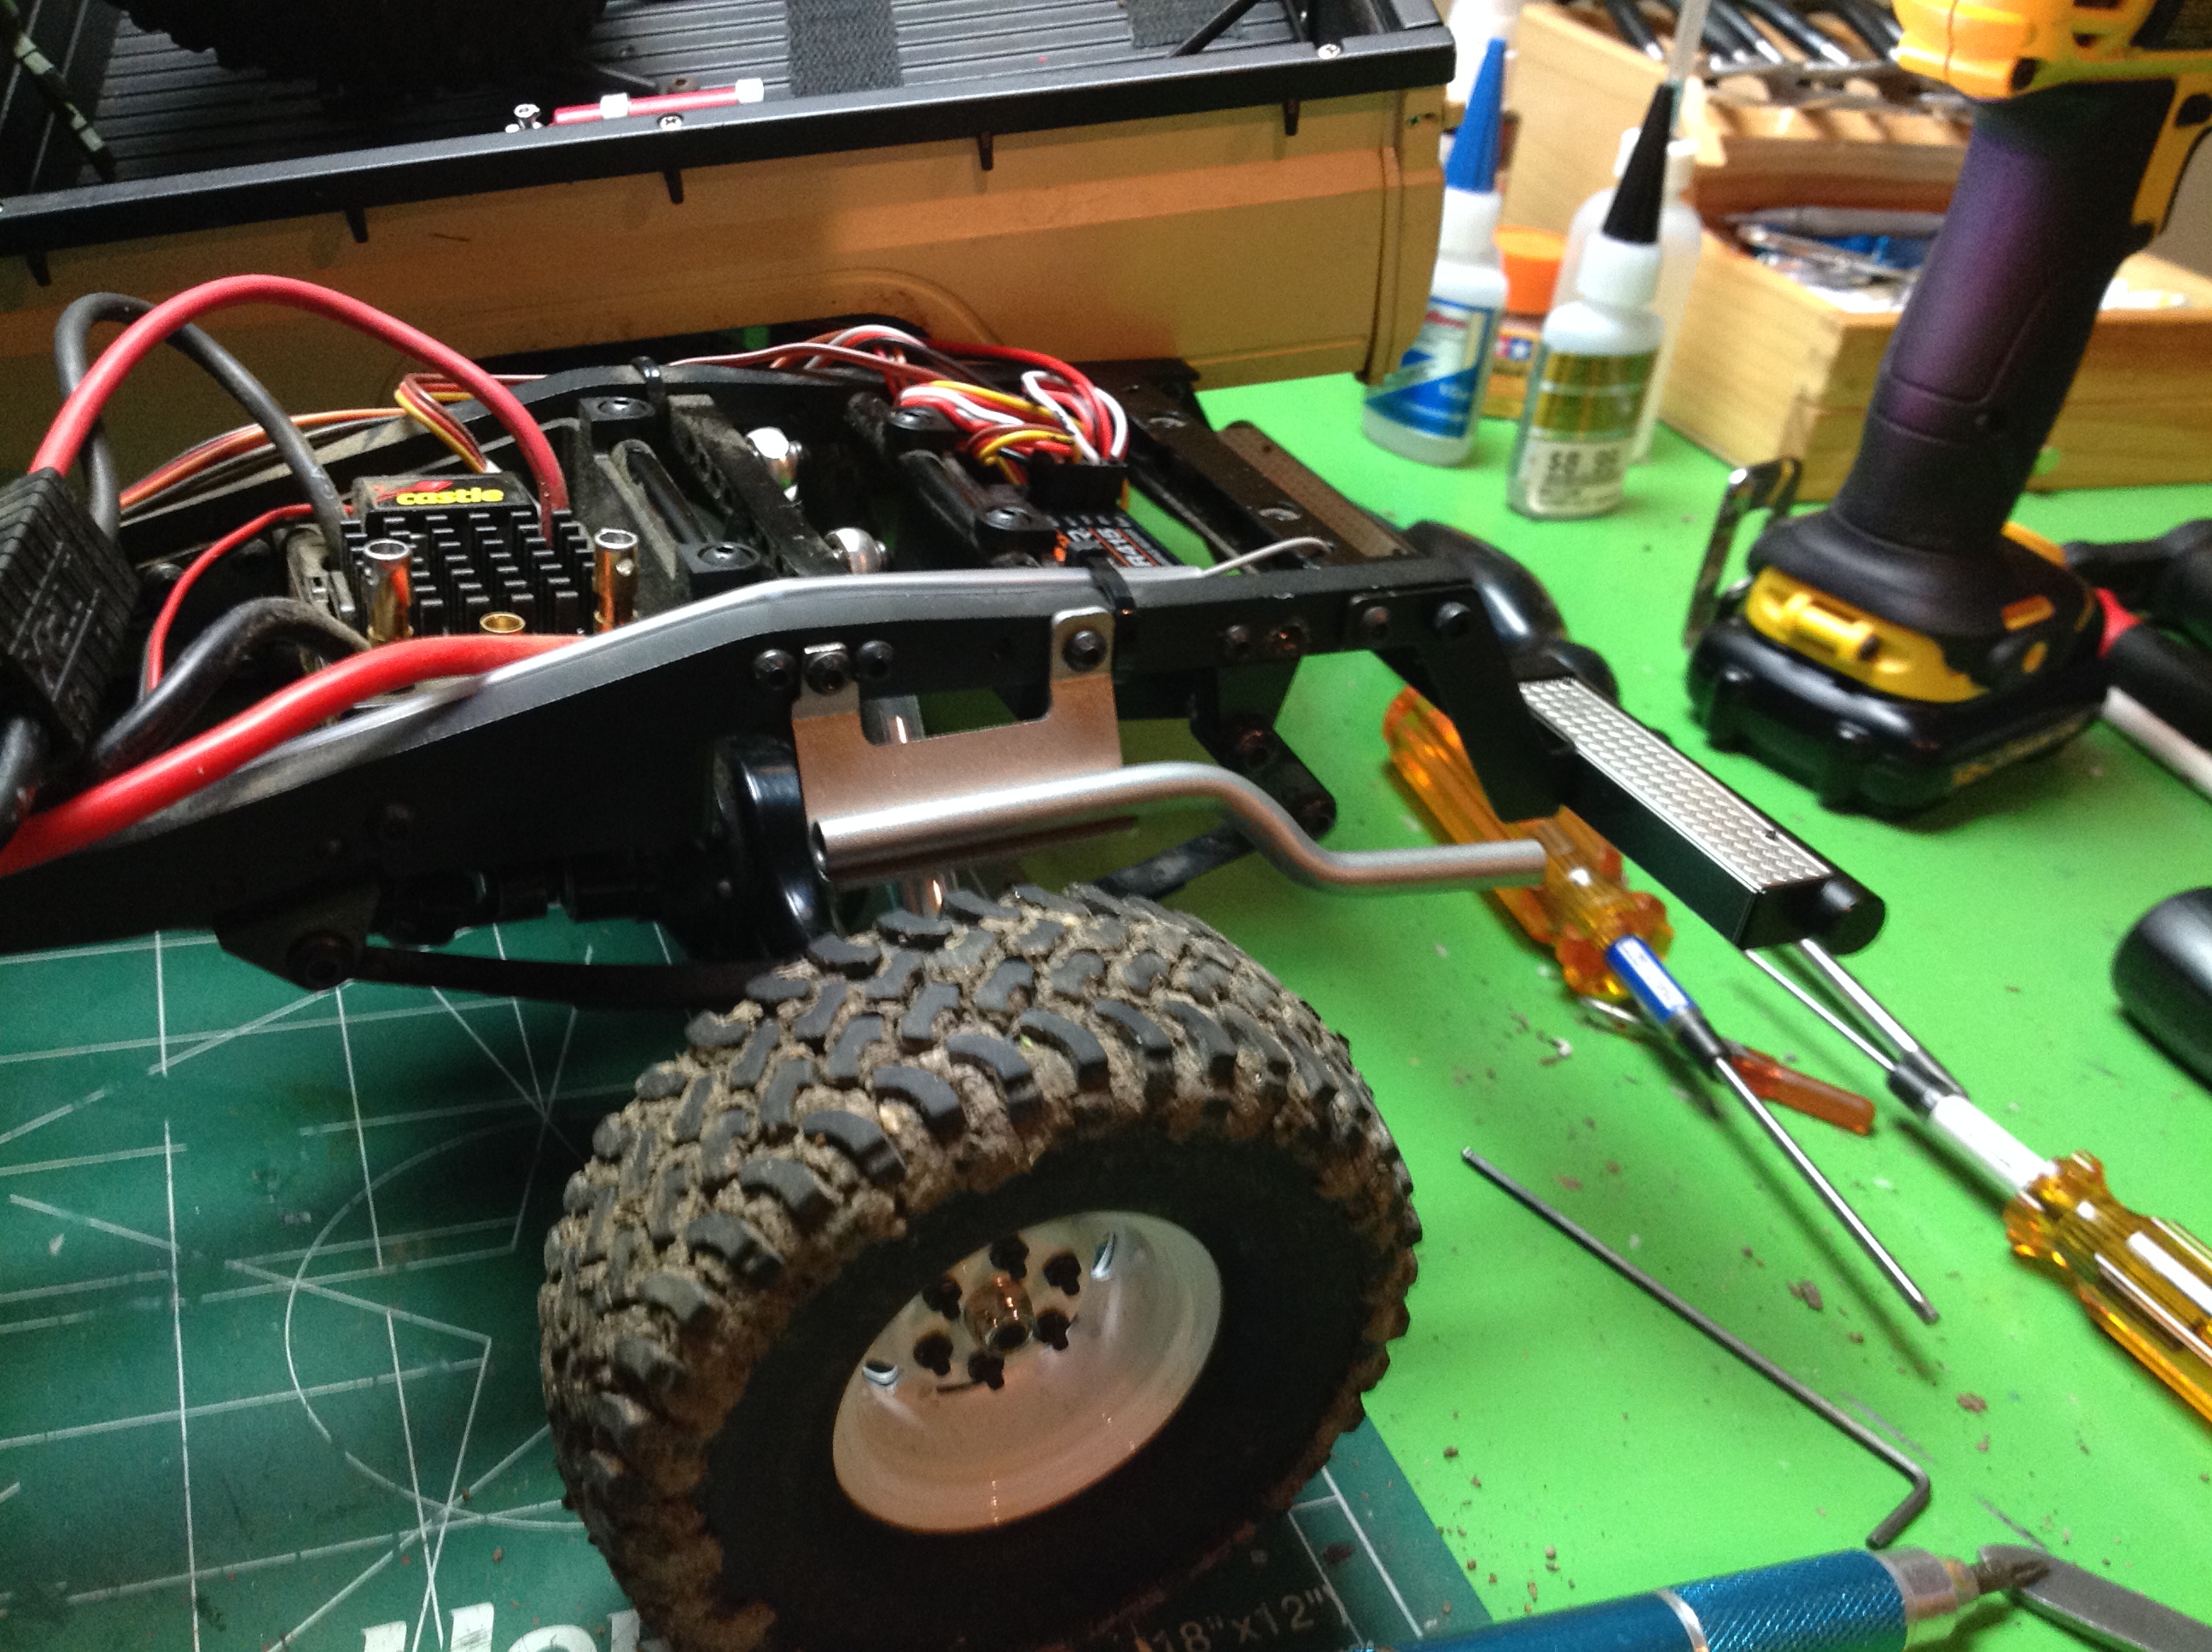
right image shows the lower bumper removed. You can also see
"Mike", my driver which I had previously added and his faithful dog who
is sitting atop the shifting servo. The use of the 2-speed
transmission requires the servo which then makes a proper scale interior
impossible.
My next issue was that the existing lighting system had been installed
with gallons of Shoe Goo. Once I decided to make the hood open I
needed to cut it all away, and during the process I damaged some wires
to the extend that I ended up replacing the whole system. I also
needed to cut the front body mount in half to span the new hood latch,
and then reroute the wires to be invisible with the hood open. The
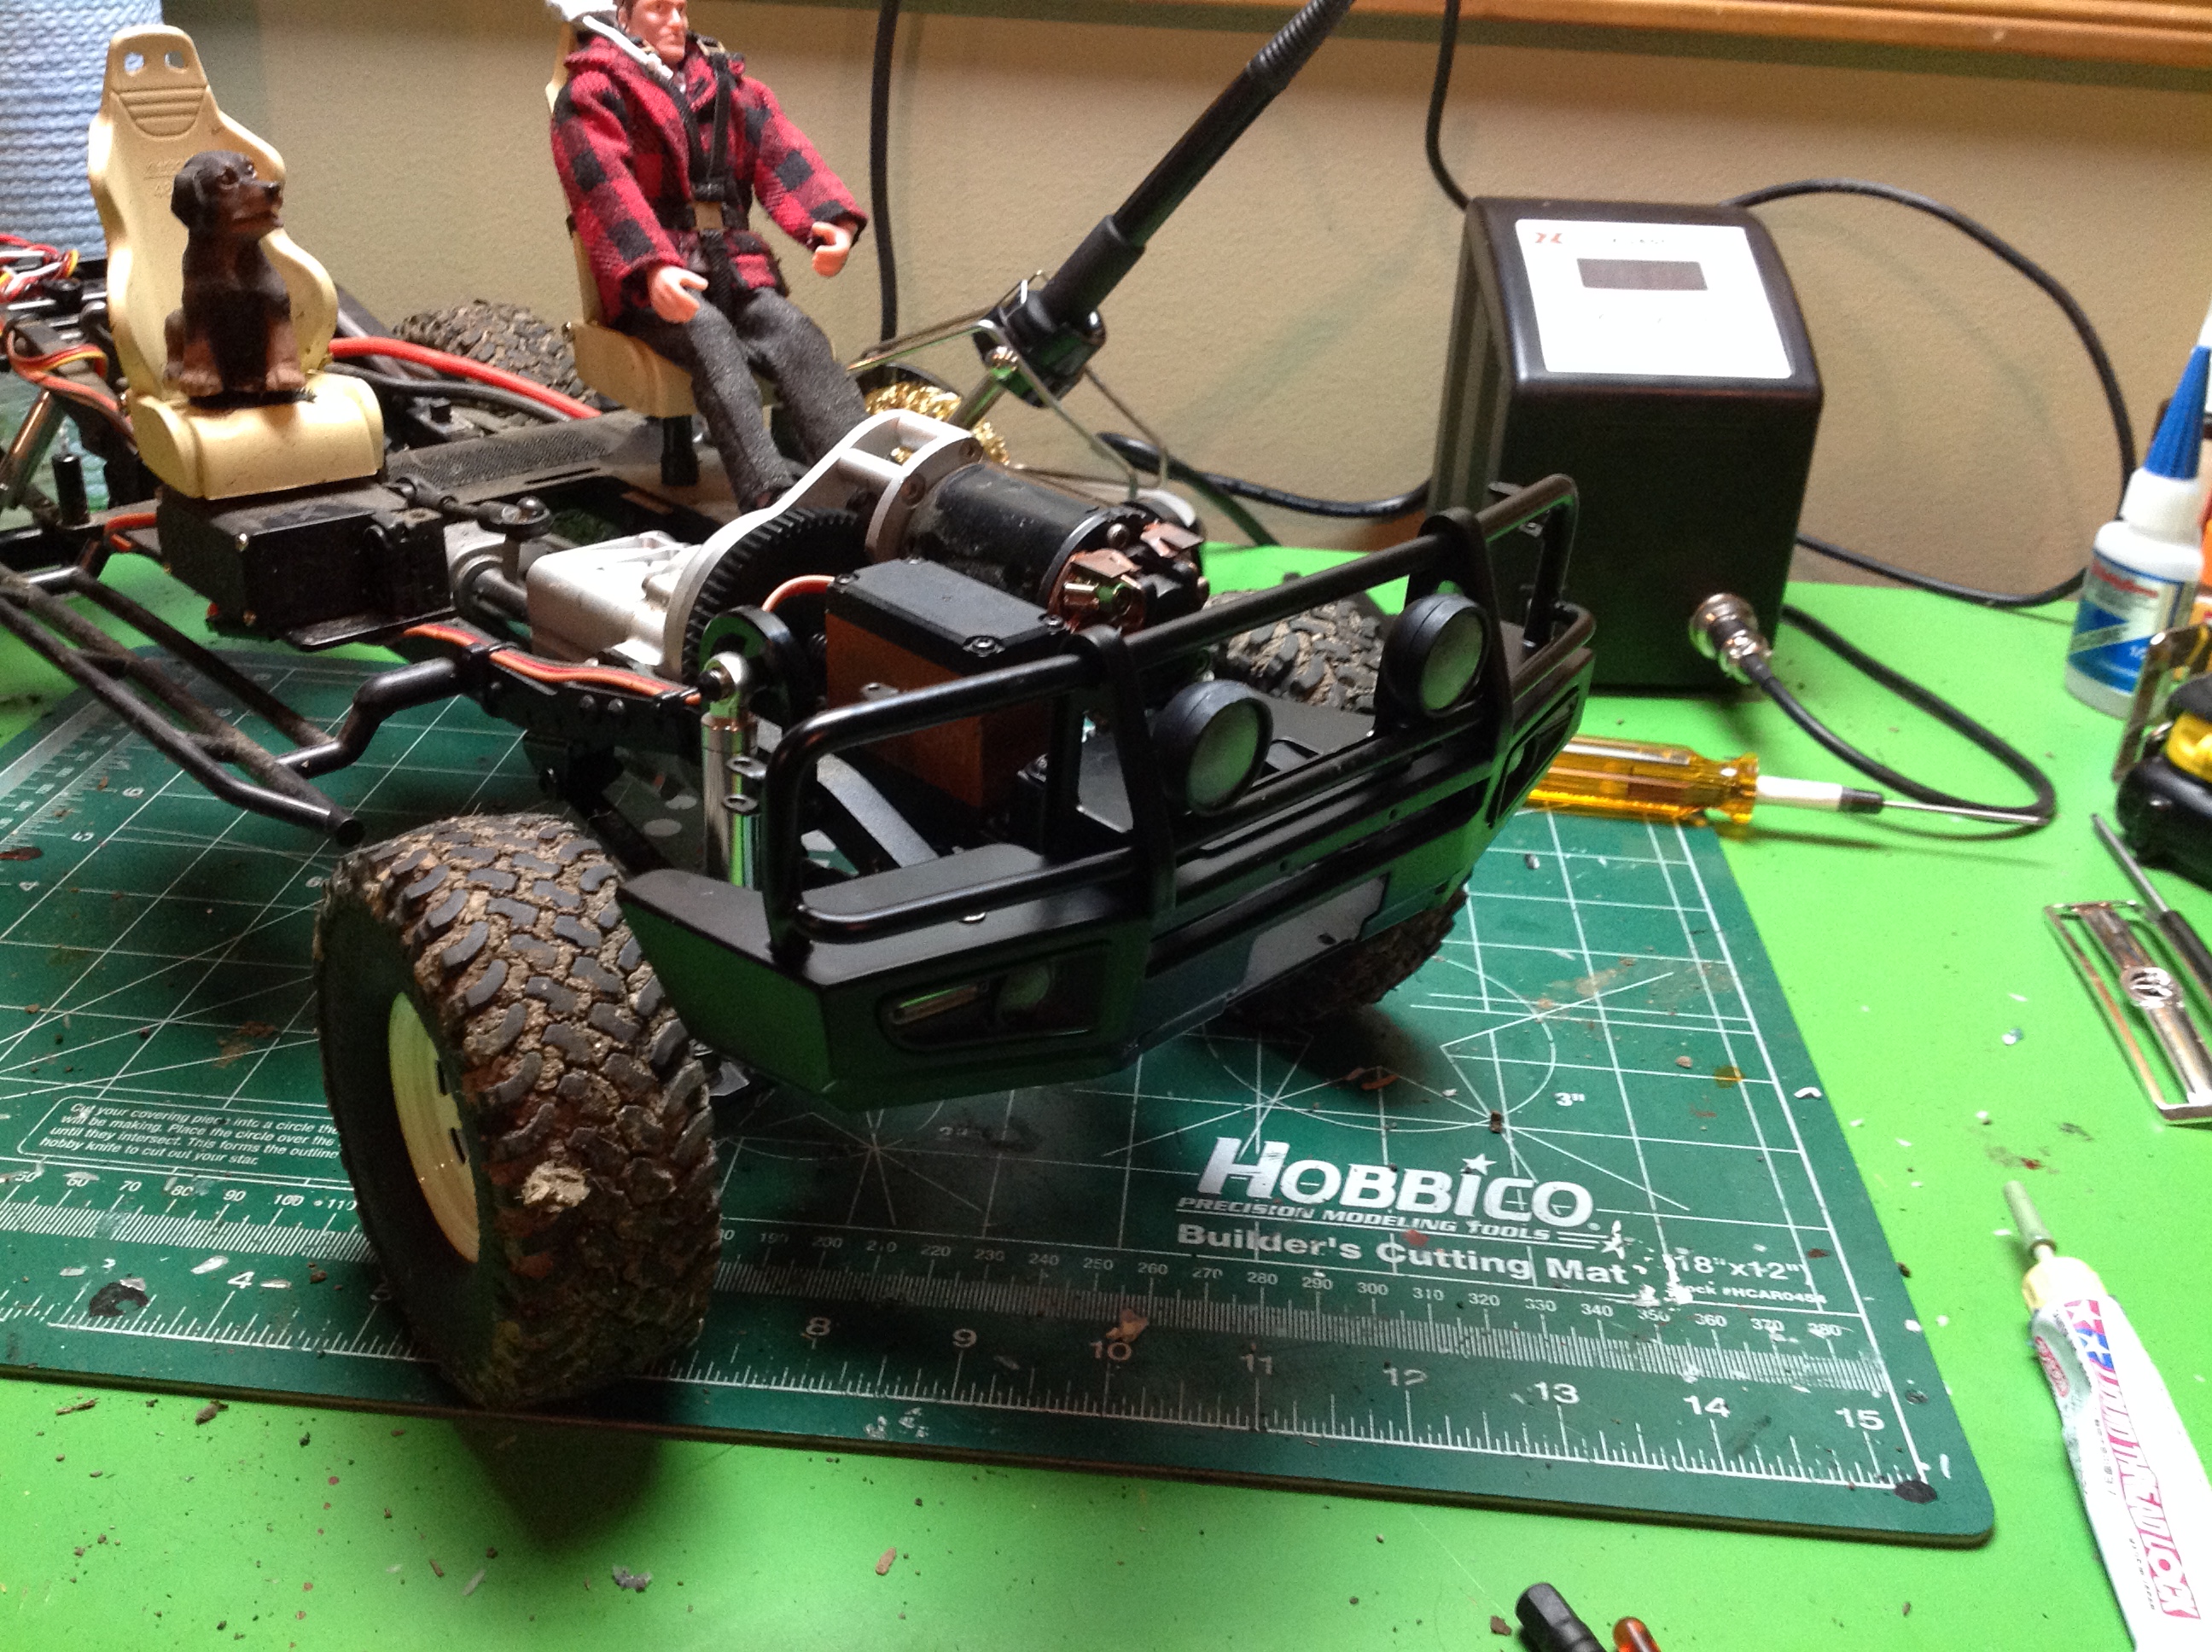
right image shows the bumper mounted directly to the chassis.
This went relatively smoothly except for the fact that it came with no
instructions and some of the assembly was not so obvious. I got
there by careful study of the pictures on the RC4WD web site.
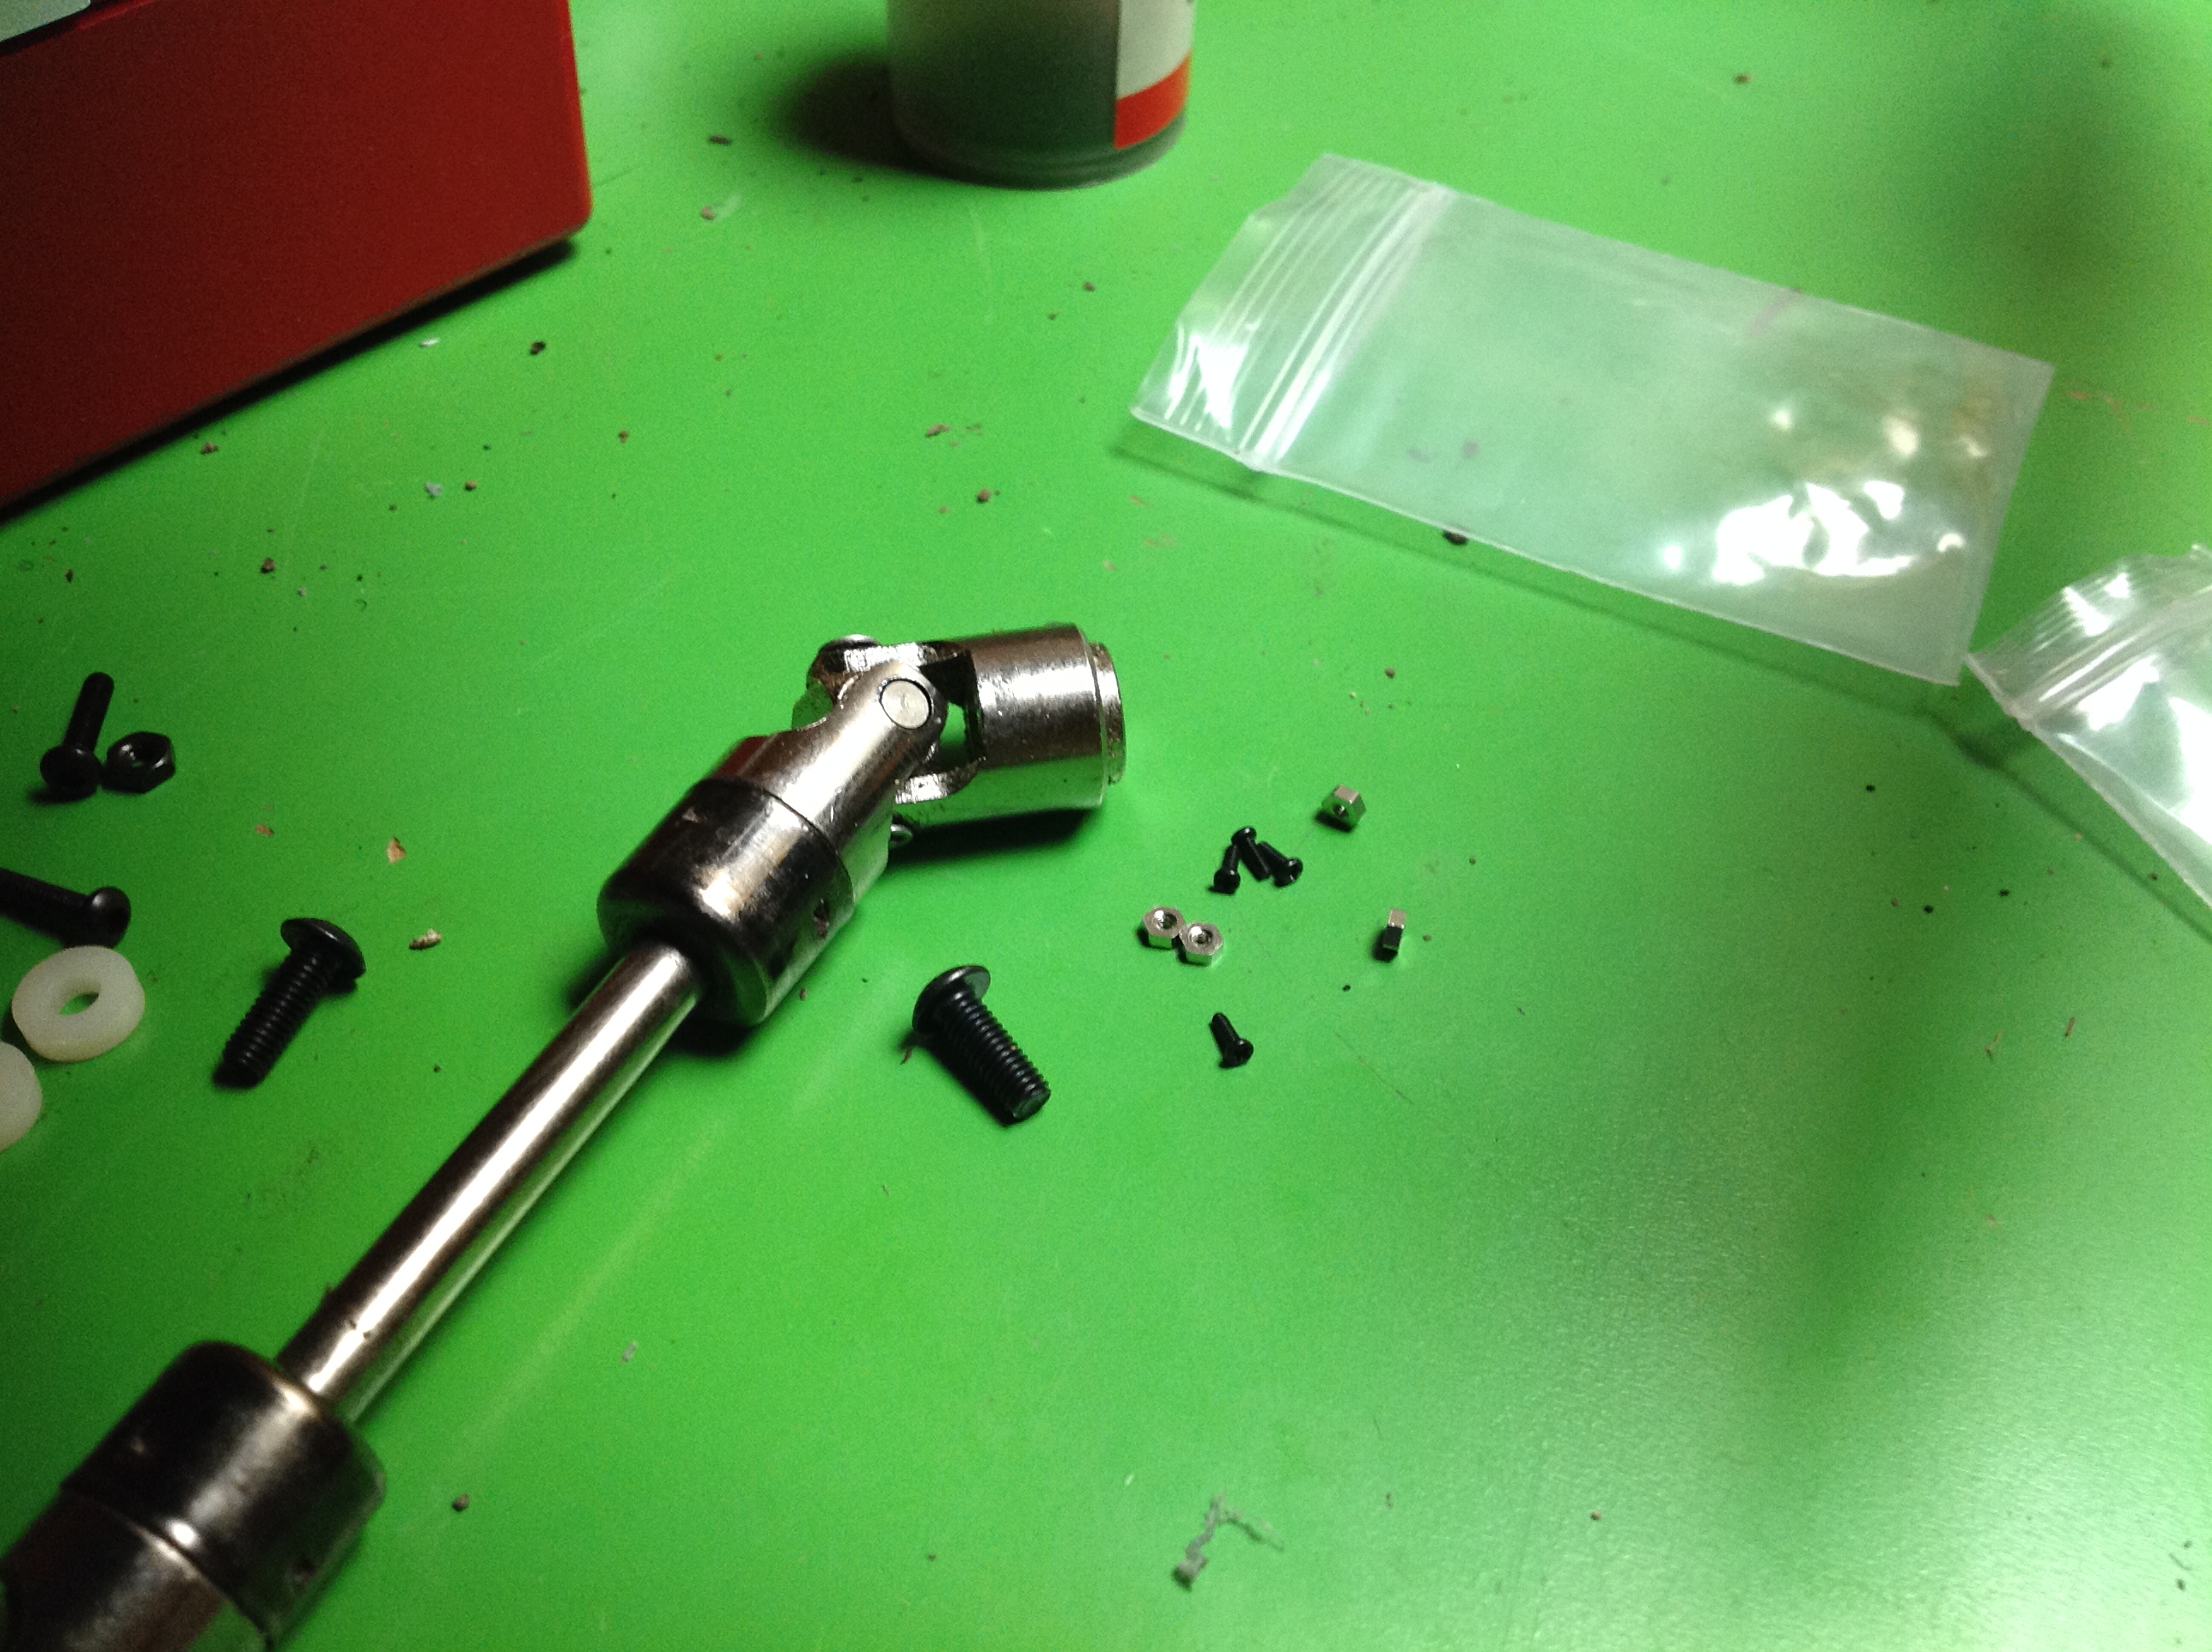
The back bumper was super easy by comparison because there was no
mystery about how to install it. On the other hand, installation
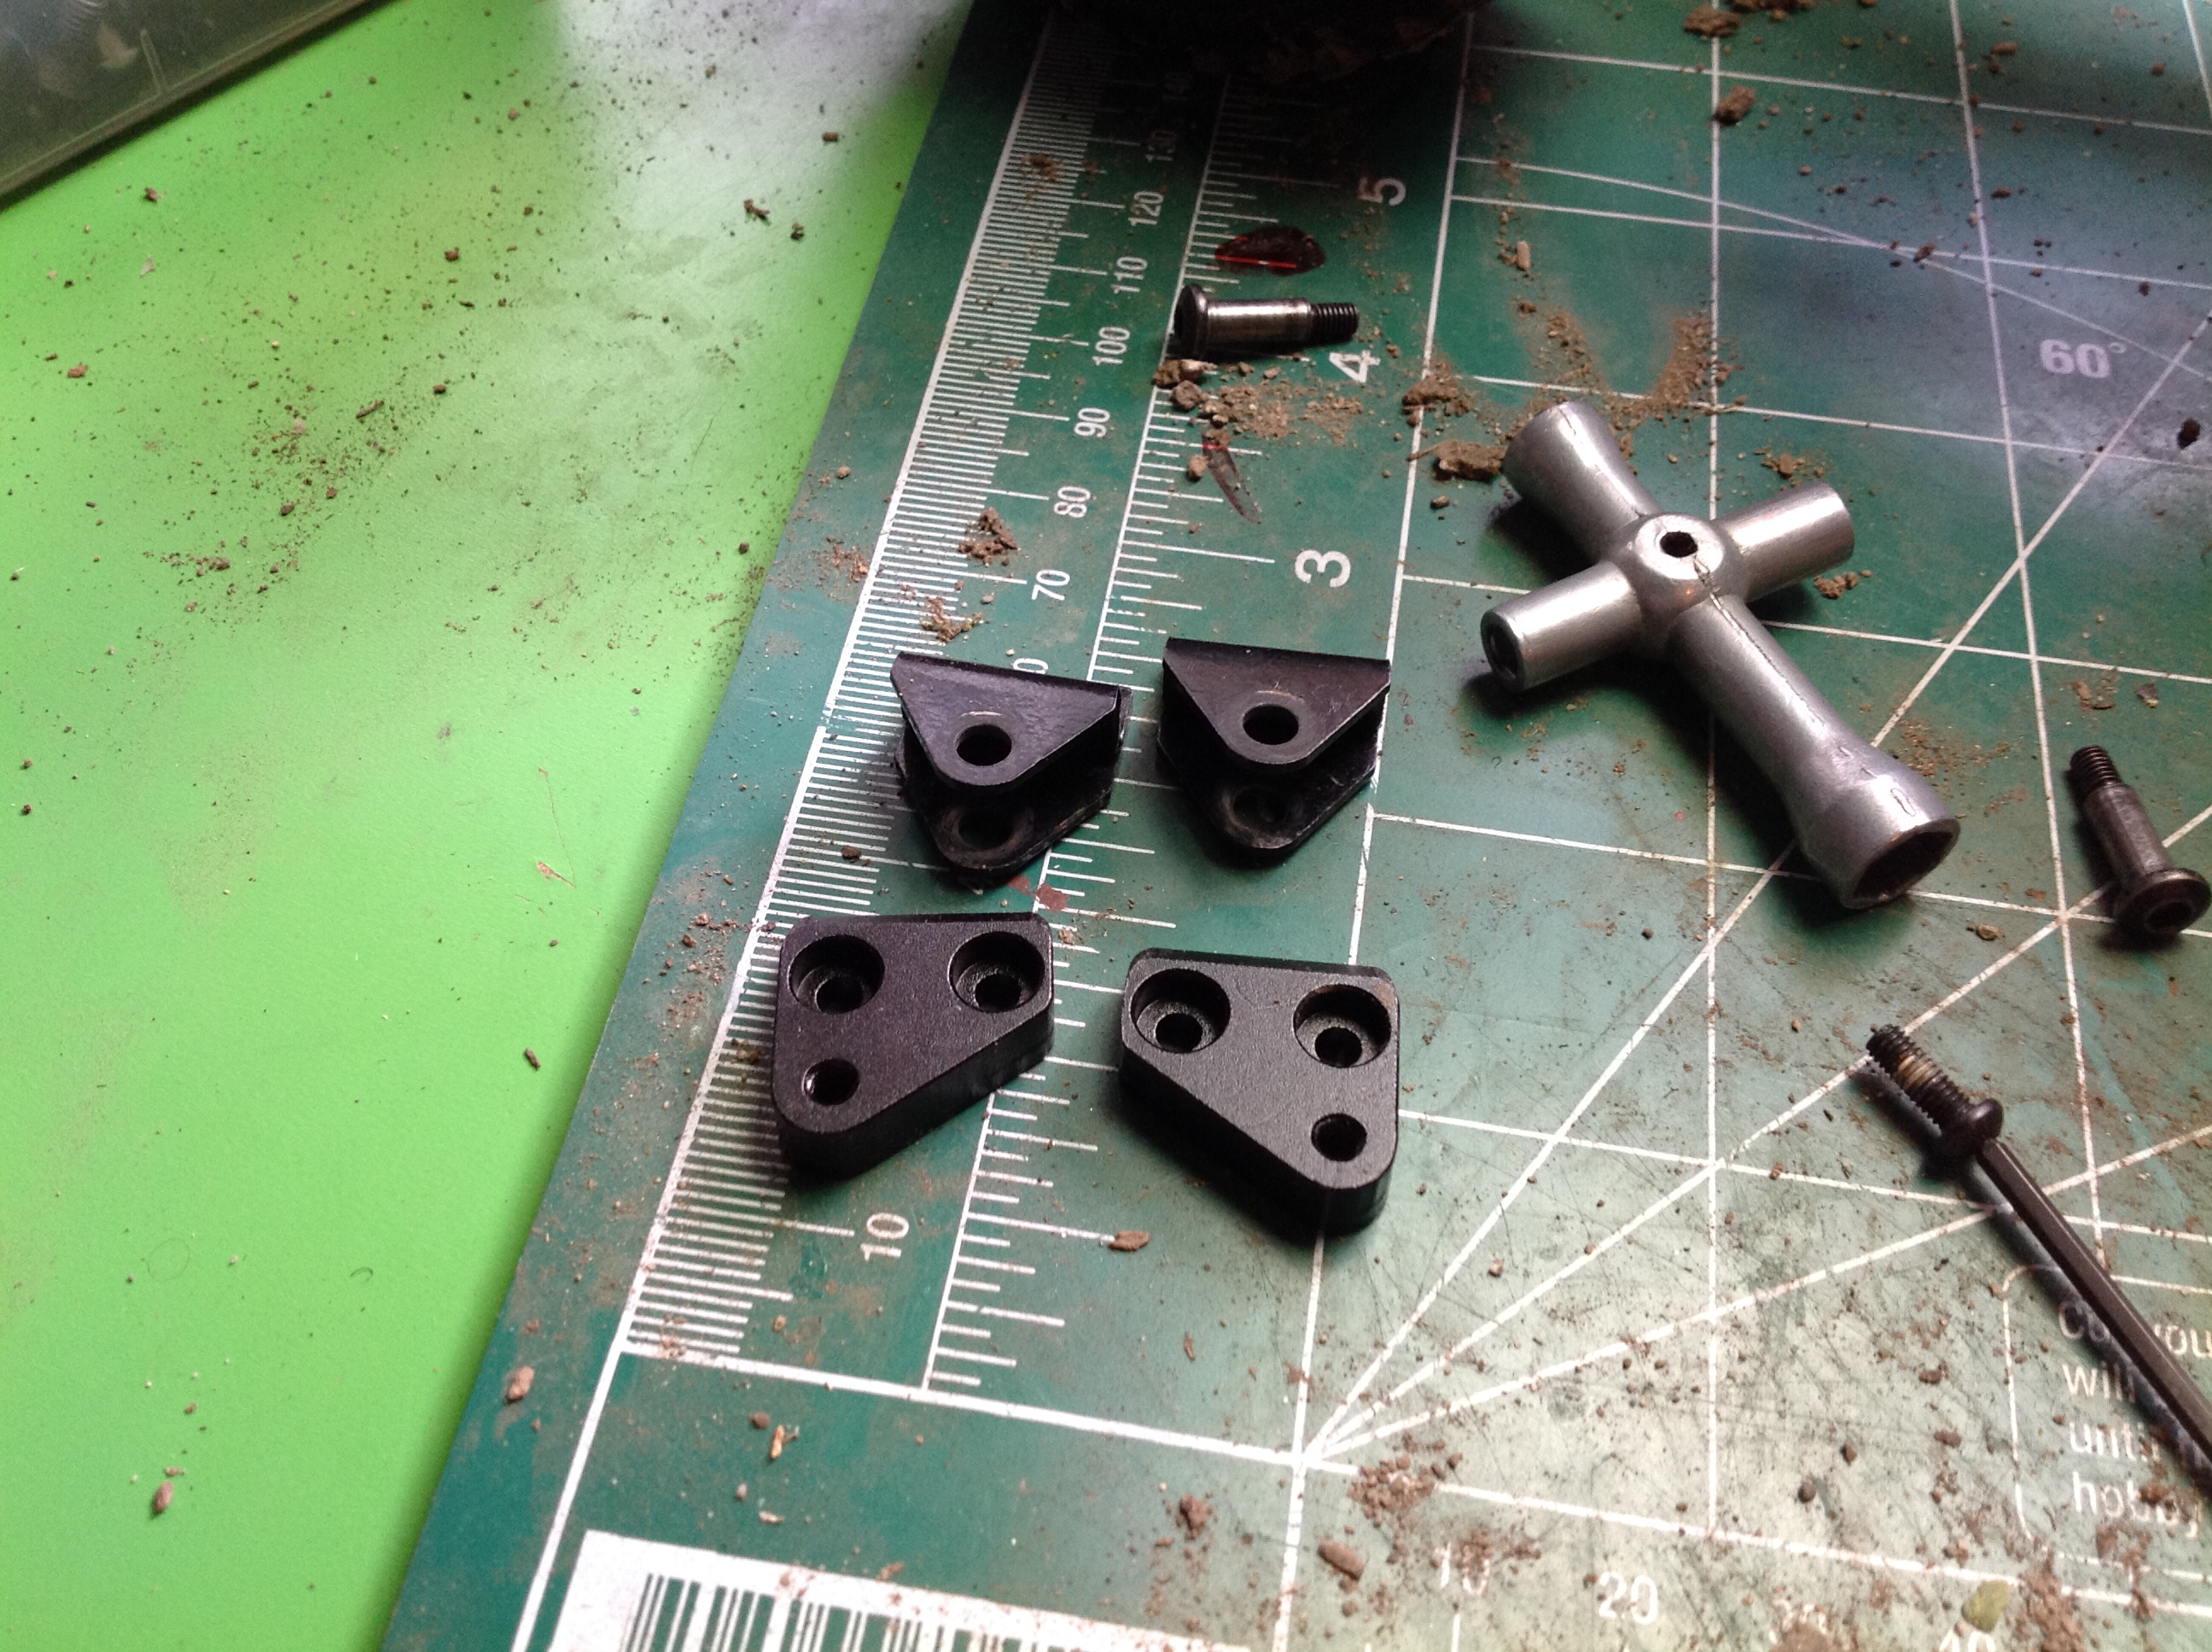
of the metal etched panels required the use of some truly tiny screws
pictured next to a drive shaft for scale.
A front and back bumper isn't enough. Why not also add some side
sliders? These also come from CChand and match perfectly.
There is also a kit which adds side rails to connect the front bumper to
the sliders. All of this is part of the chassis, not the body as
shown on the right. At this point the chassis has become very
heavy since virtually everything in it is metal.
What do you suppose these bits are for? The top parts are the
stock leaf hangers and the bottom parts are the new versions which move
the endpoint 6mm. The idea is to make the wheelbase fit the body
better.
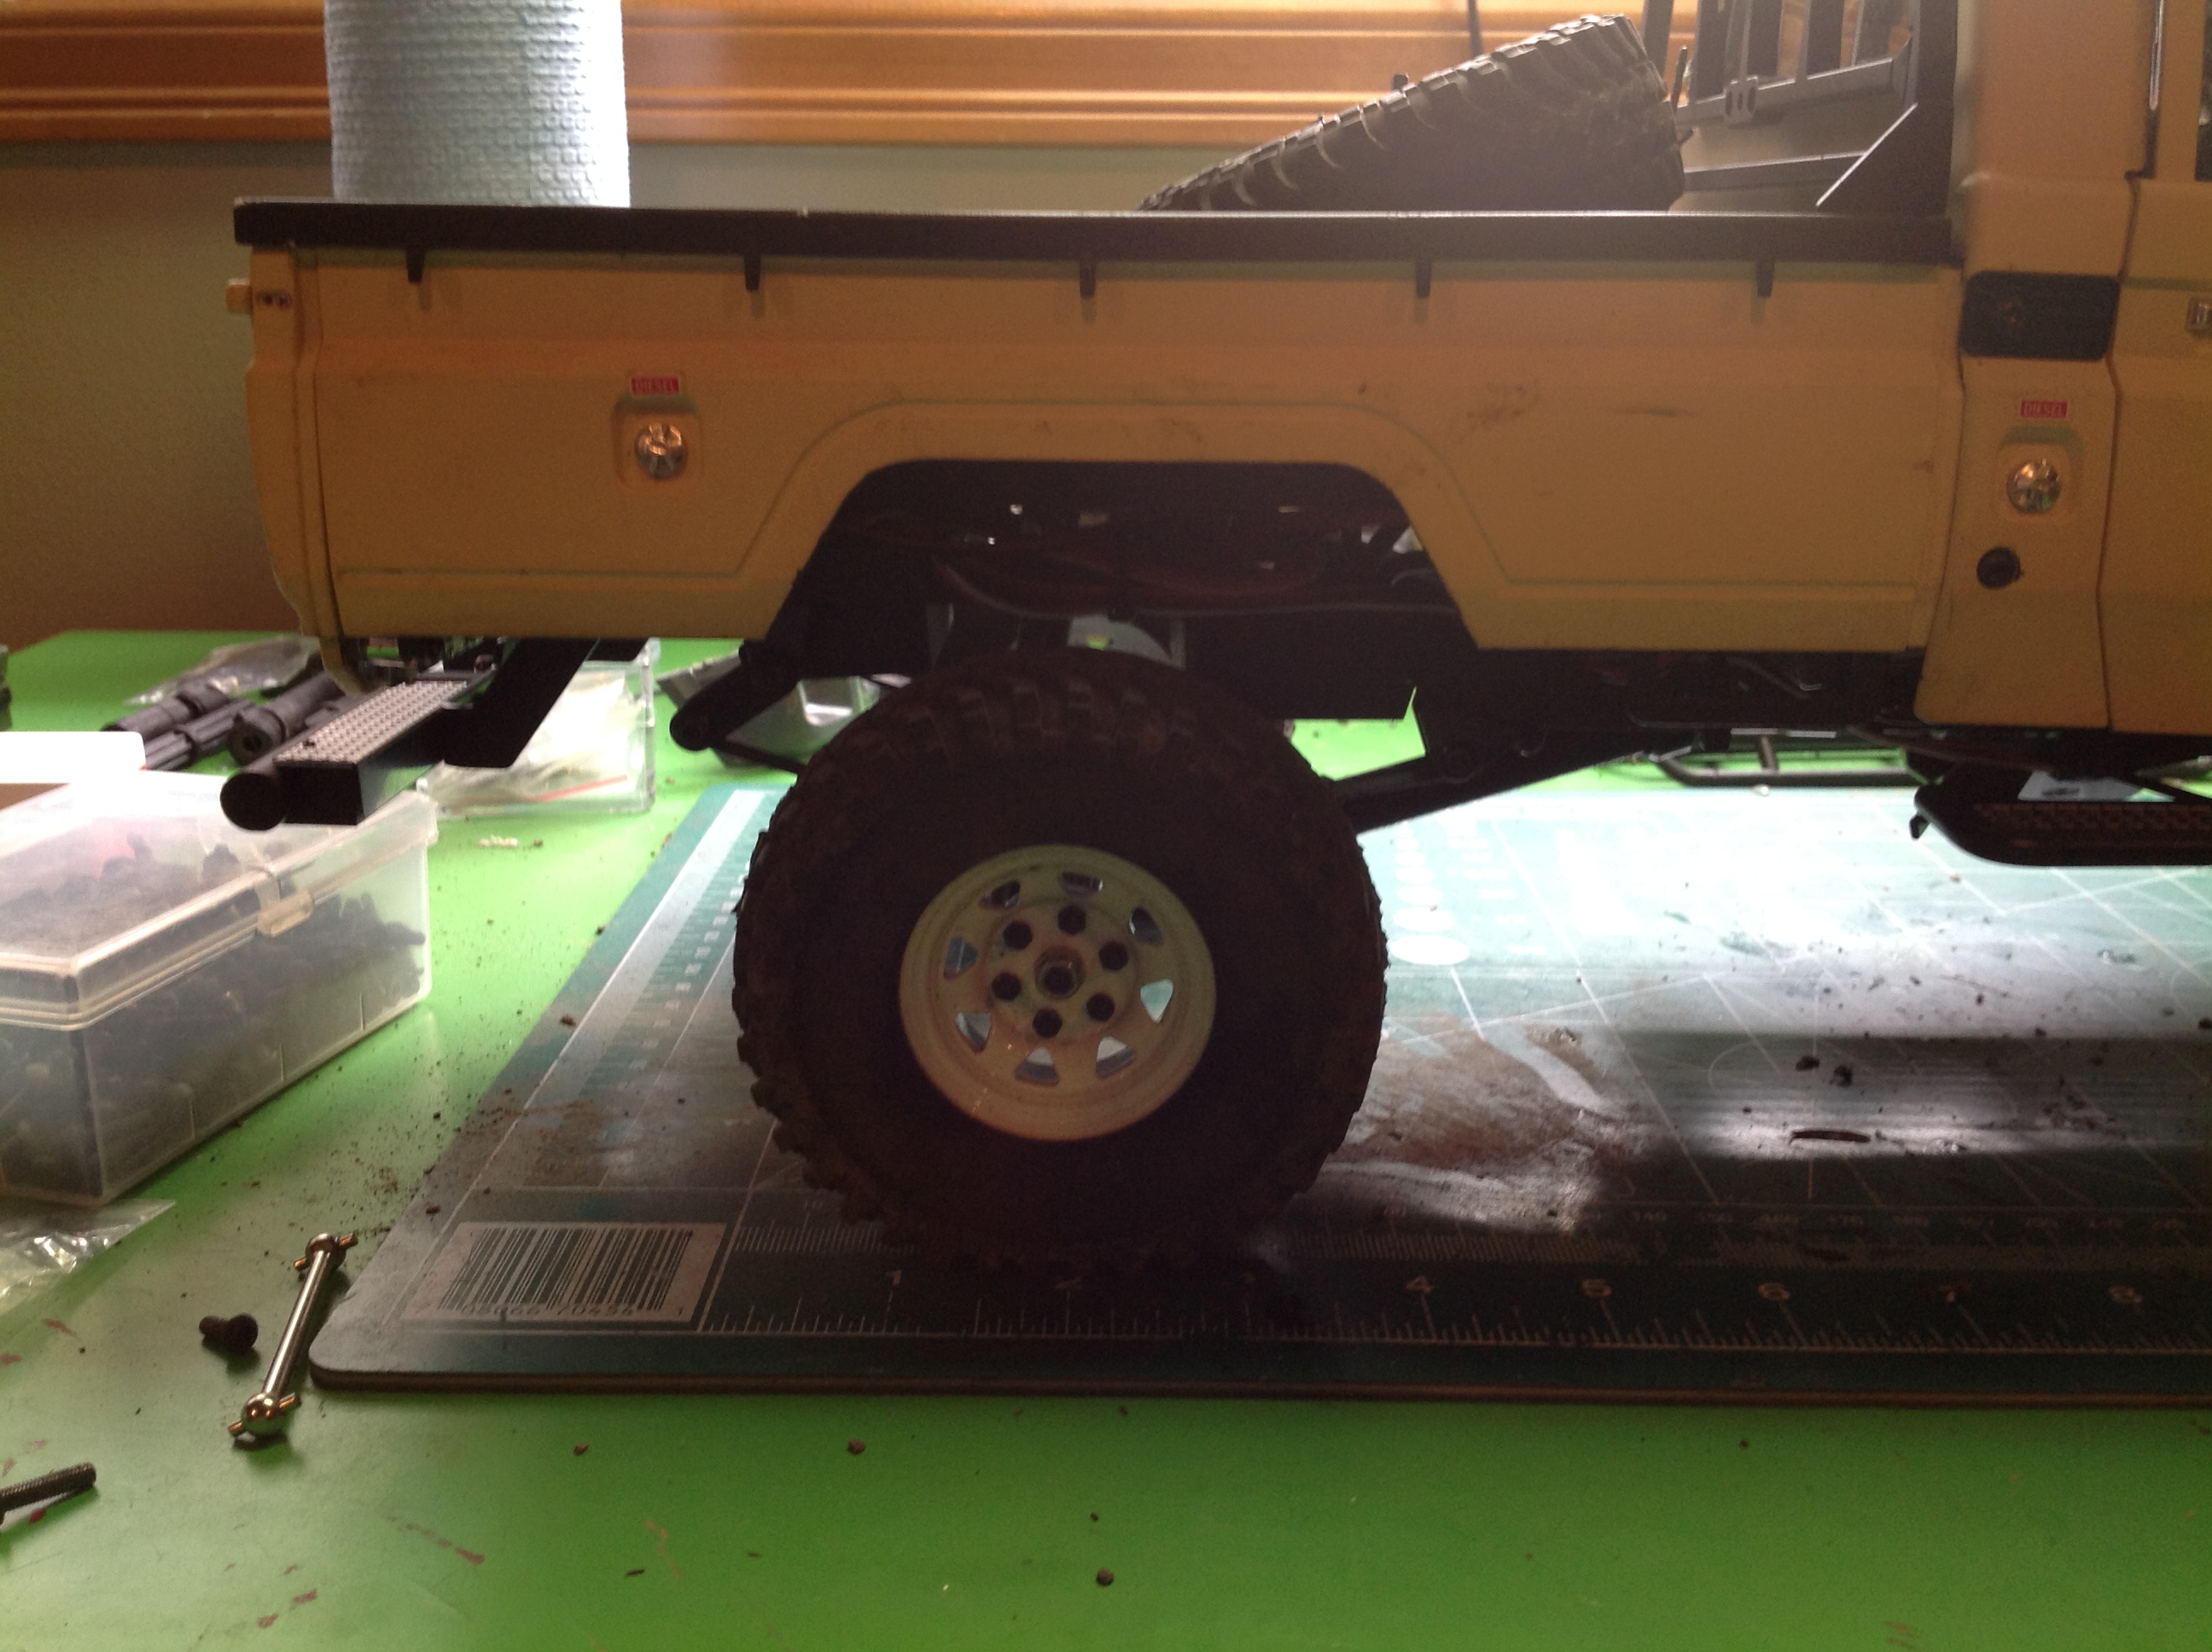
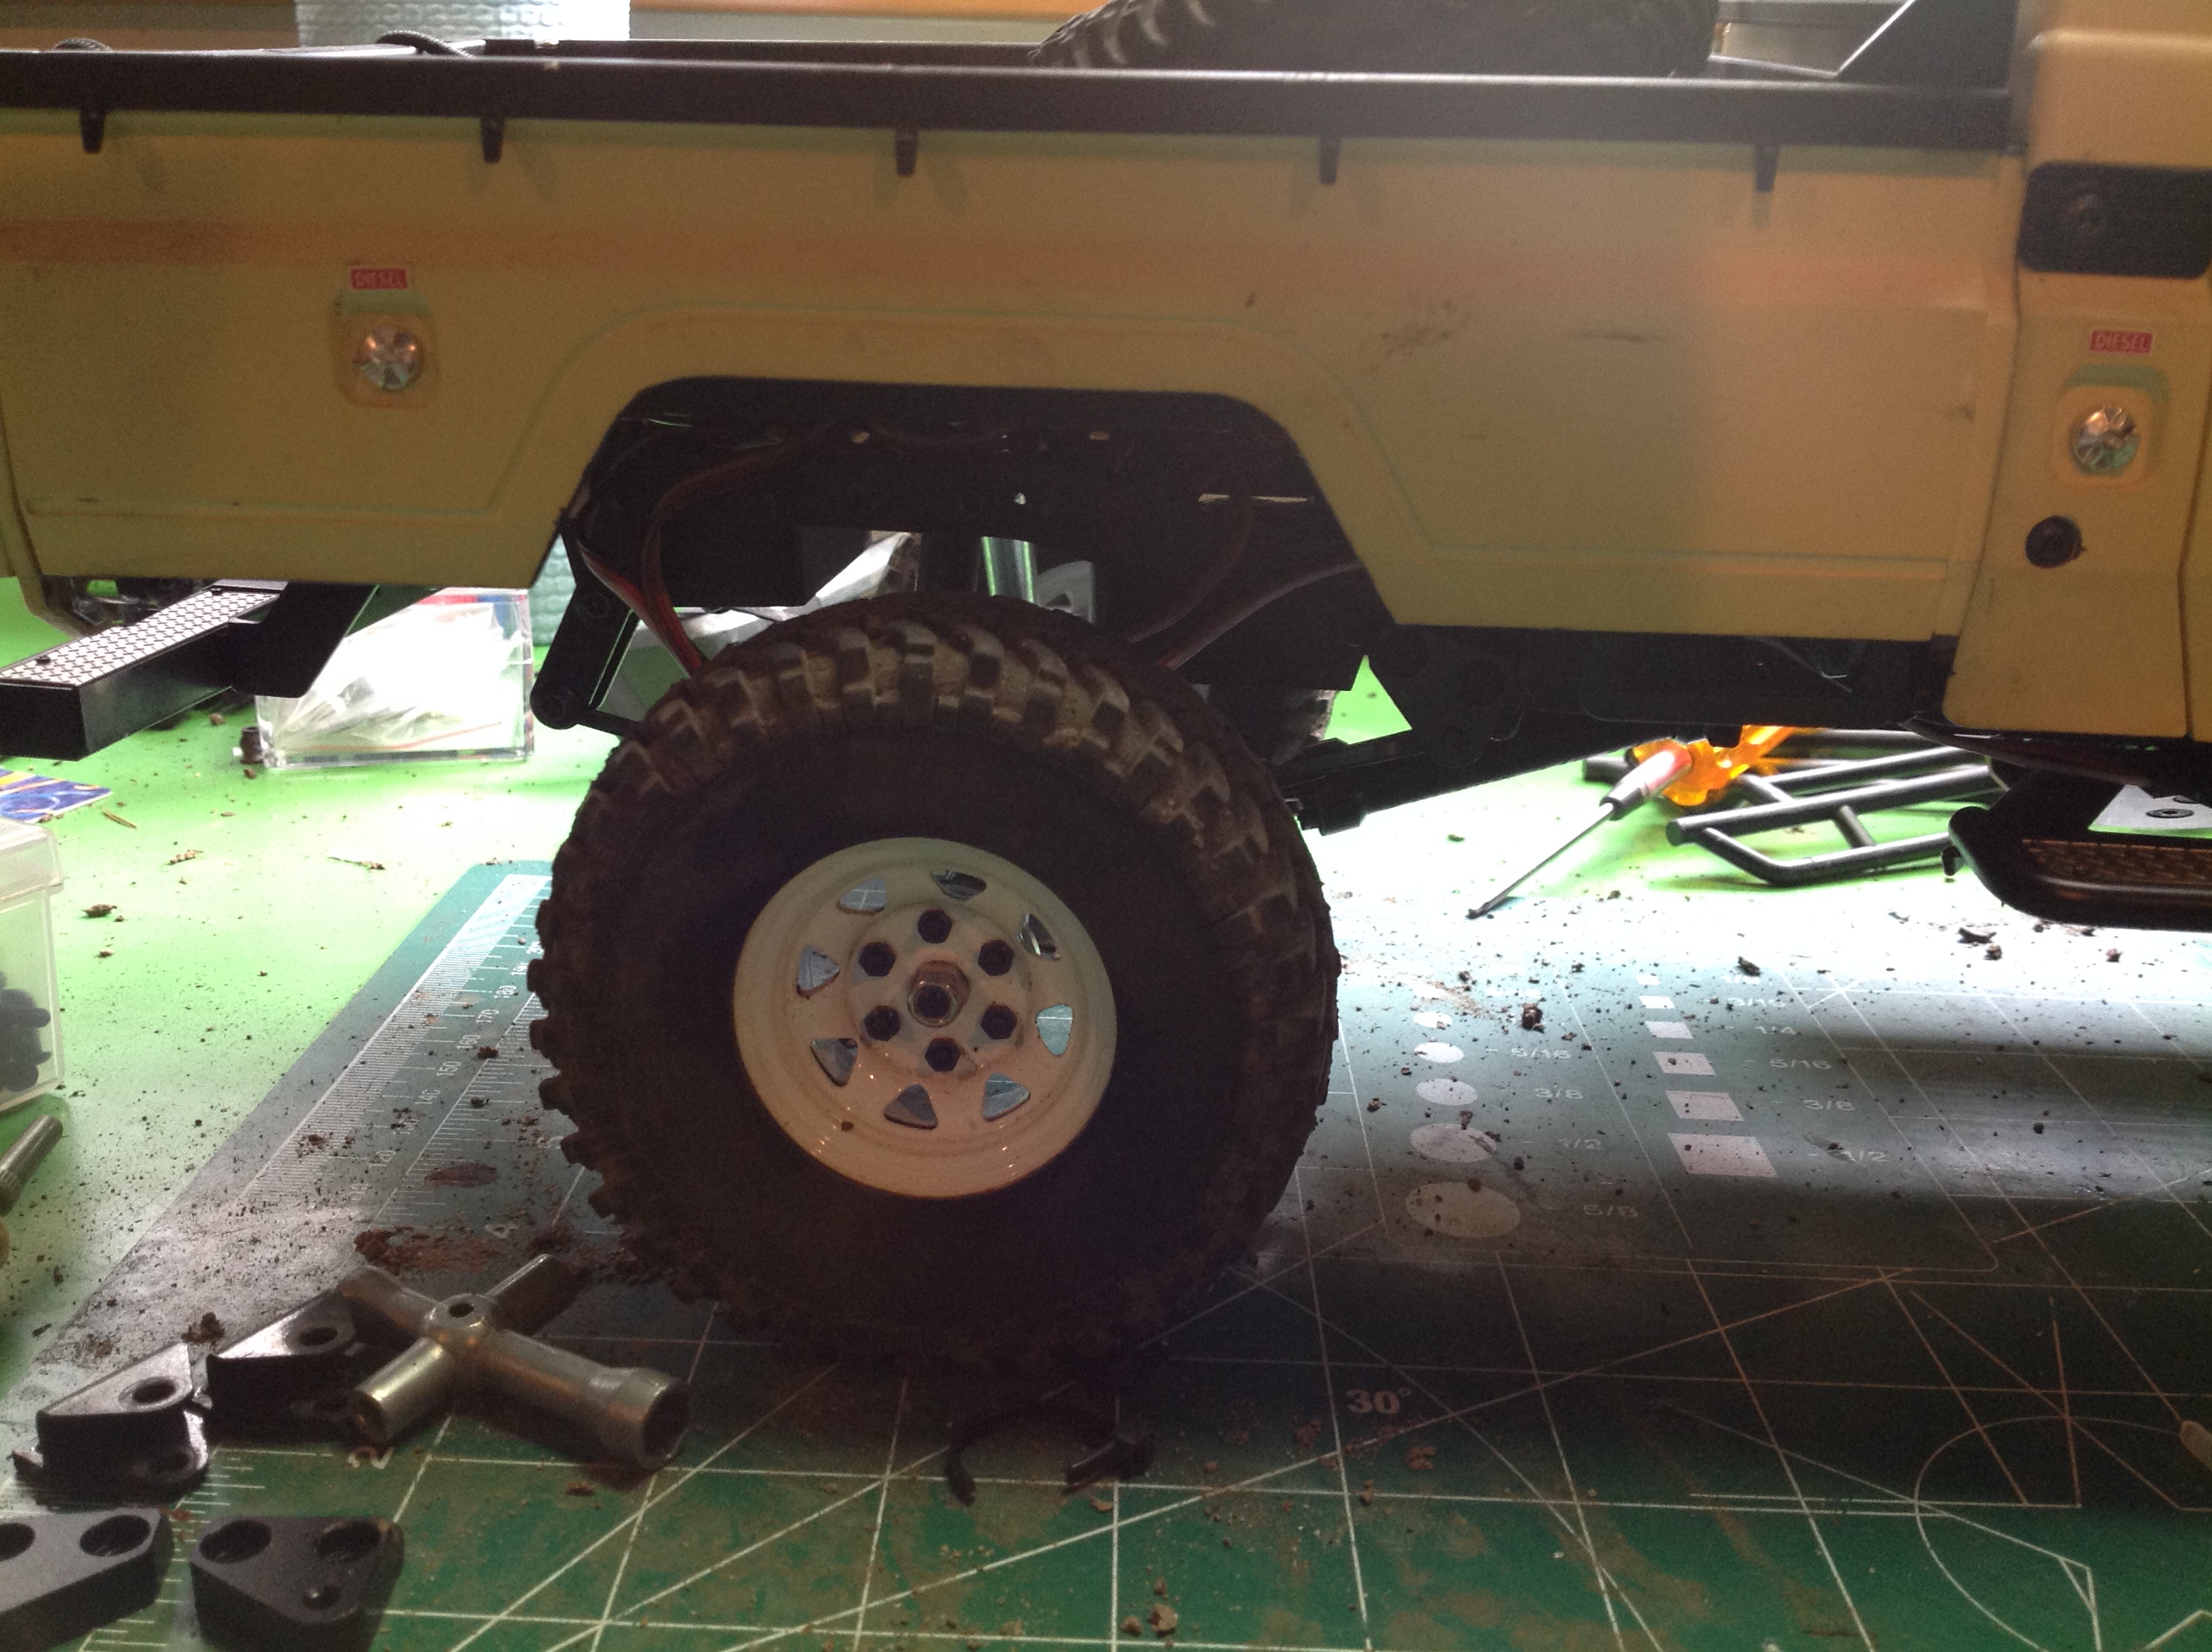
These images show the rear wheel location before and after the
update. The new version on the right is much better centered under
the wheel well.
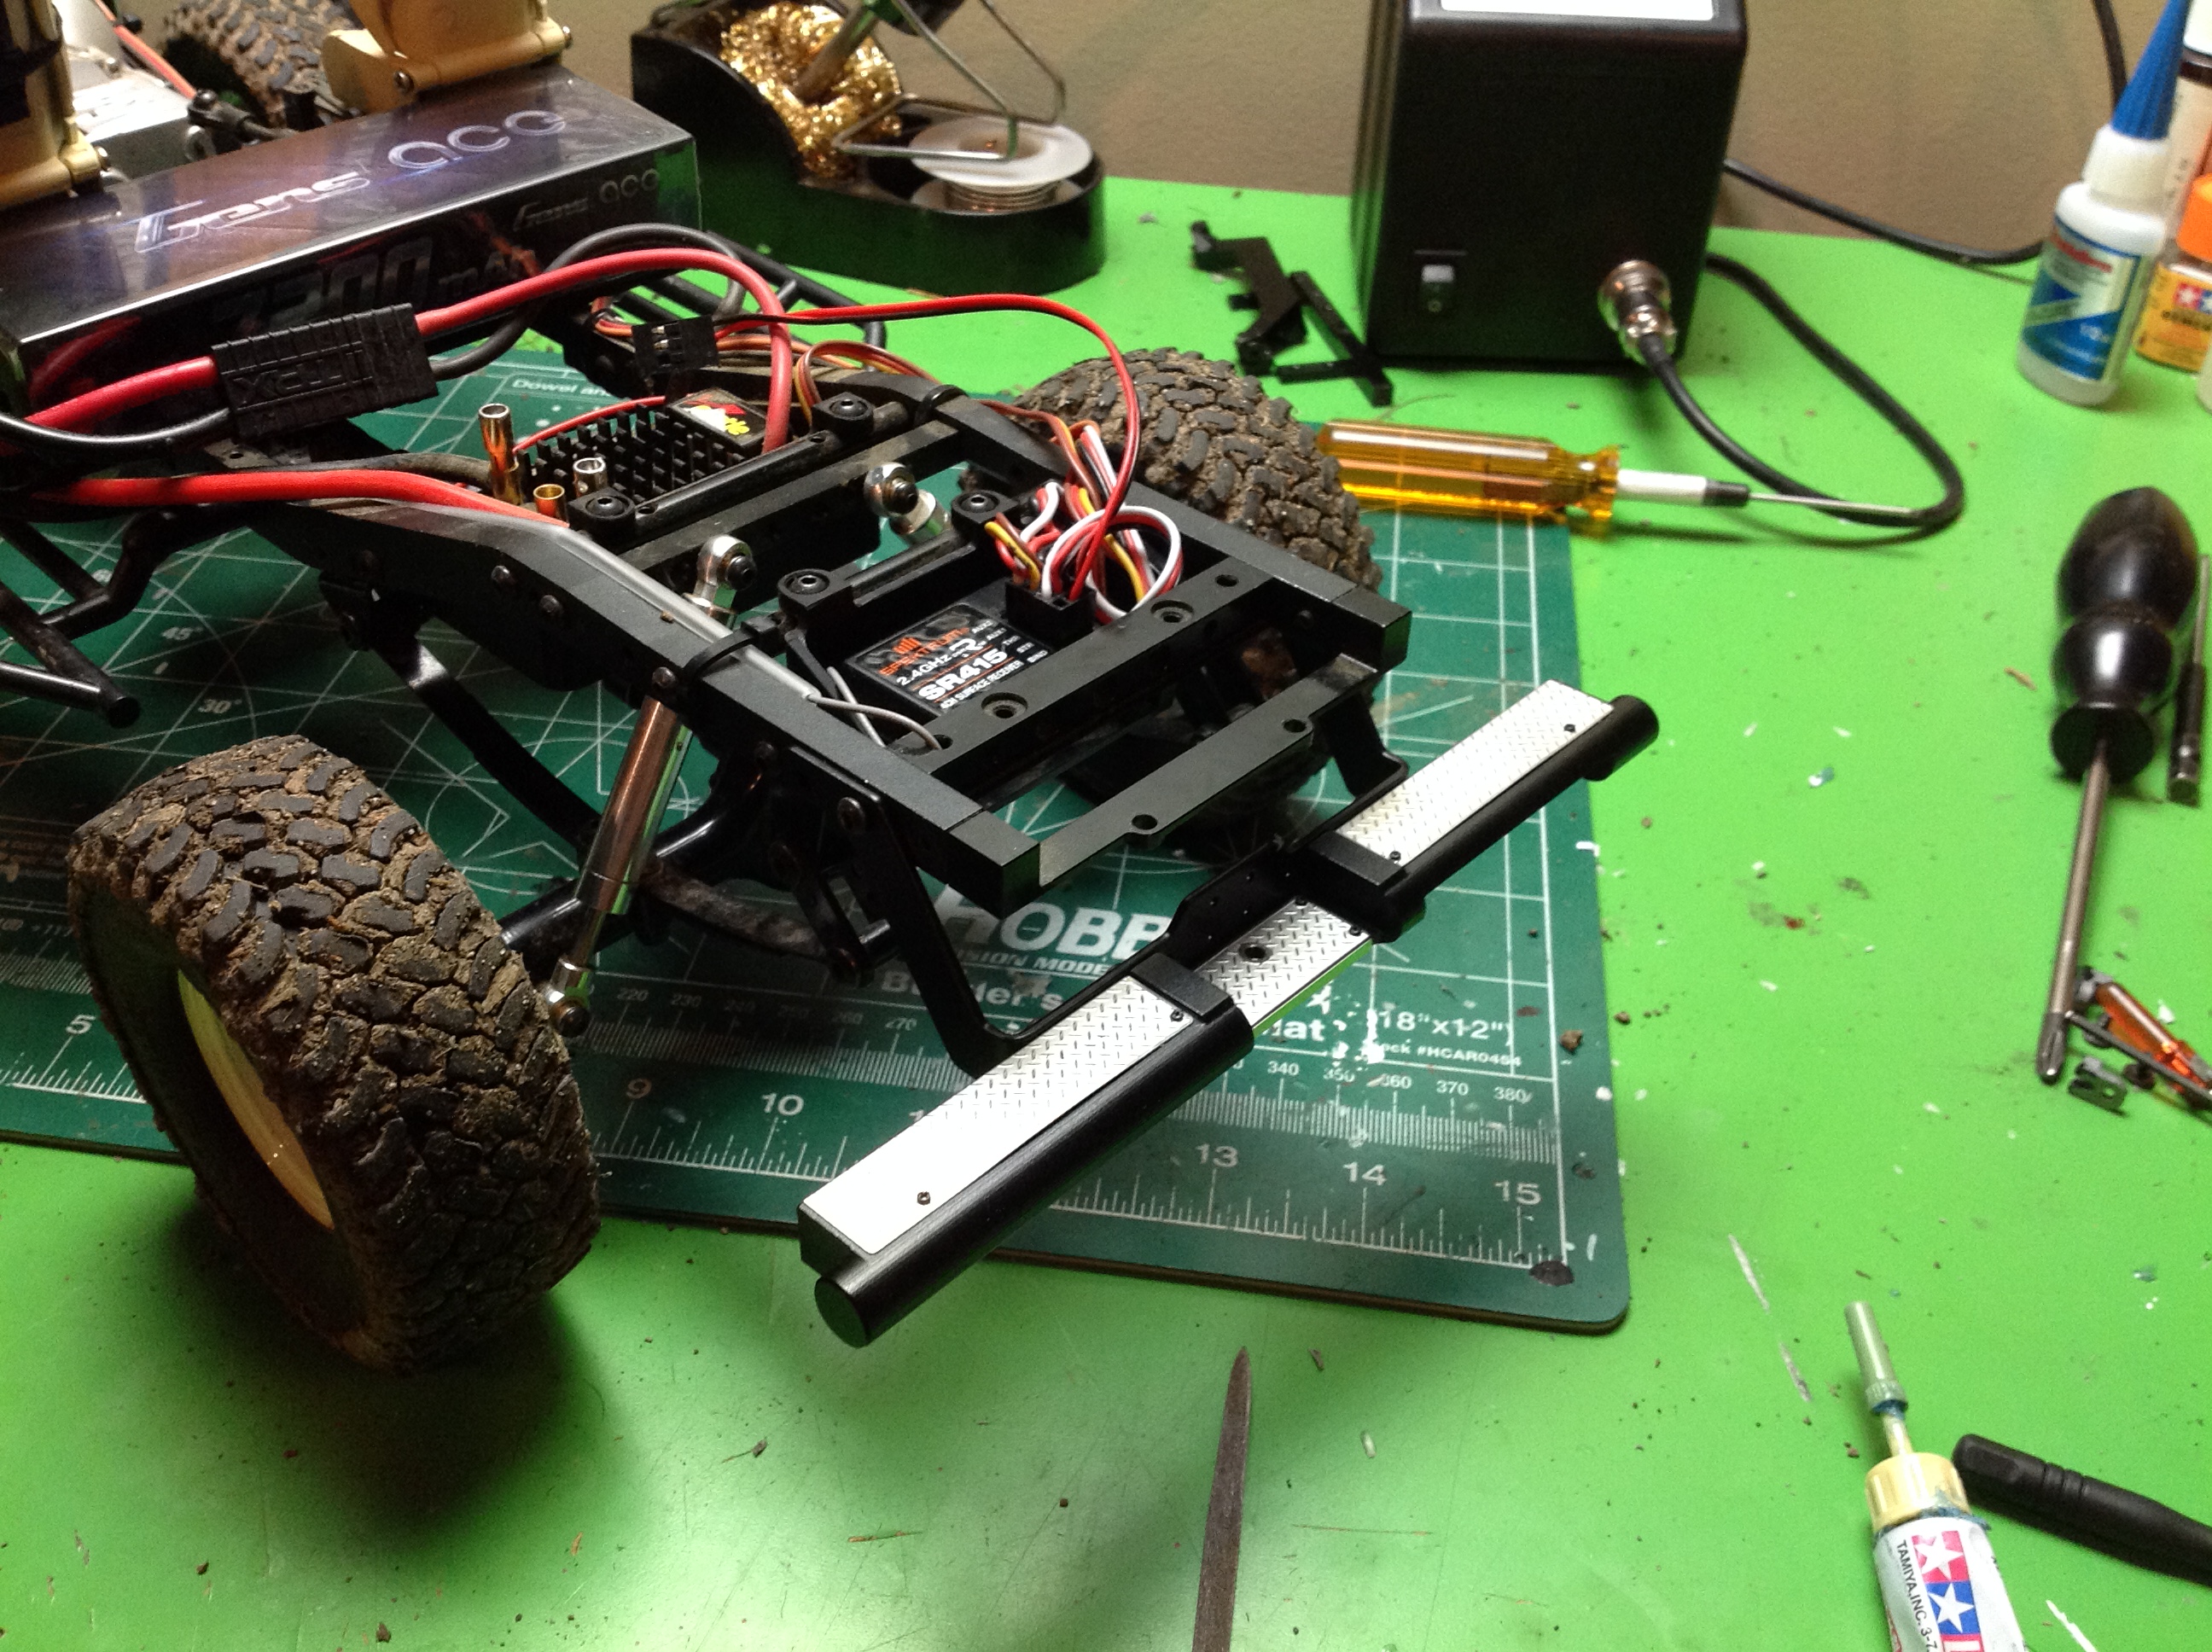
One problem I've had from the beginning is getting the body to mount to
the chassis properly. The parts that came with the kit didn't
leave enough clearance for my ESC, and there was no room for the
receiver box. You can see my receiver mounted all the way in the
back. Since removing the body is so much trouble, I decided to
entomb a battery inside the truck and charge it without removing
it. That allowed me to move the receiver forward and servo tape it
directly to the battery which left me way more room in the back for a
proper body mount. This image was taken before I made those
changes, but you can see the new exhaust system clamped to the rails.
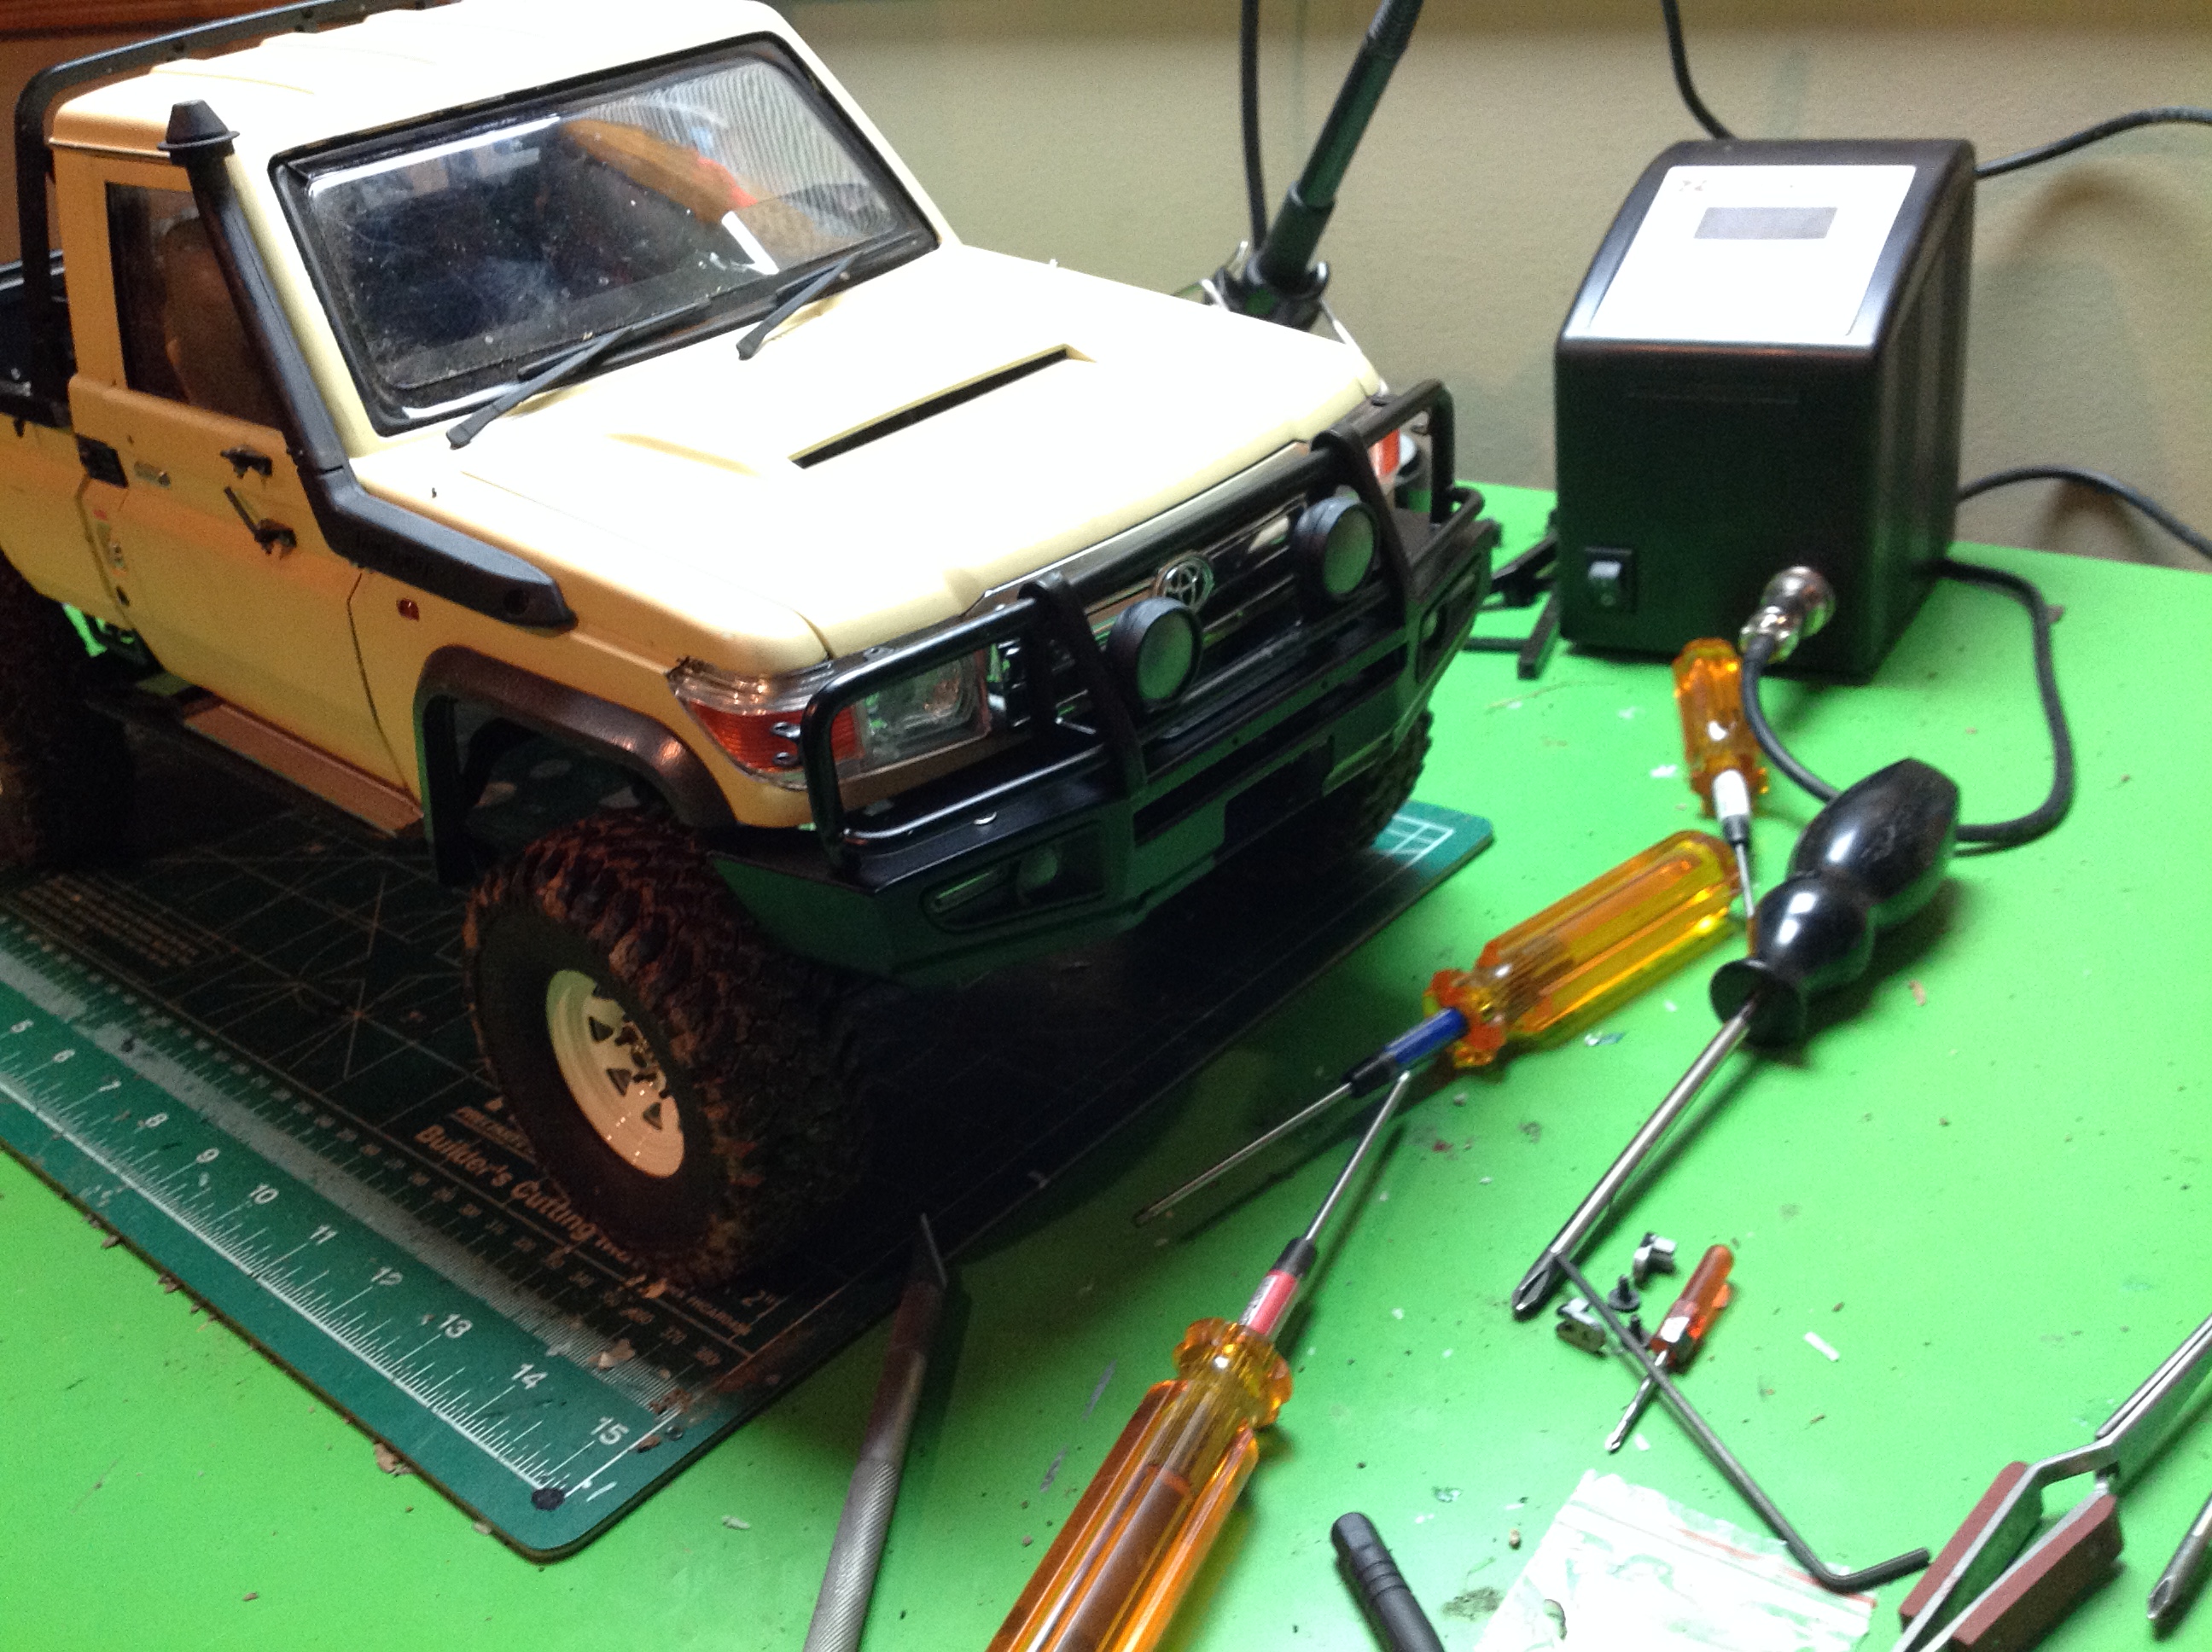
Now I'm finally test fitting the body. The front end worked quite
nicely with the body mounts I already had installed, but you can see
that the back is too high above the bumper. This also means that
the whole body is at an angle which was really obvious when looking at
the wedge shaped gap between the body and the sliders. I was
hoping a new set of body mounts would fix the issue. They correctly
lowered the rear and made it look great, but they raised the front so
that the headlights no longer aligned with the bumper. This was a
big surprise given that the bumper is also from CChand and they are
designed to go together. I ended up with a hybrid system using my old front mount and the new rear mount.
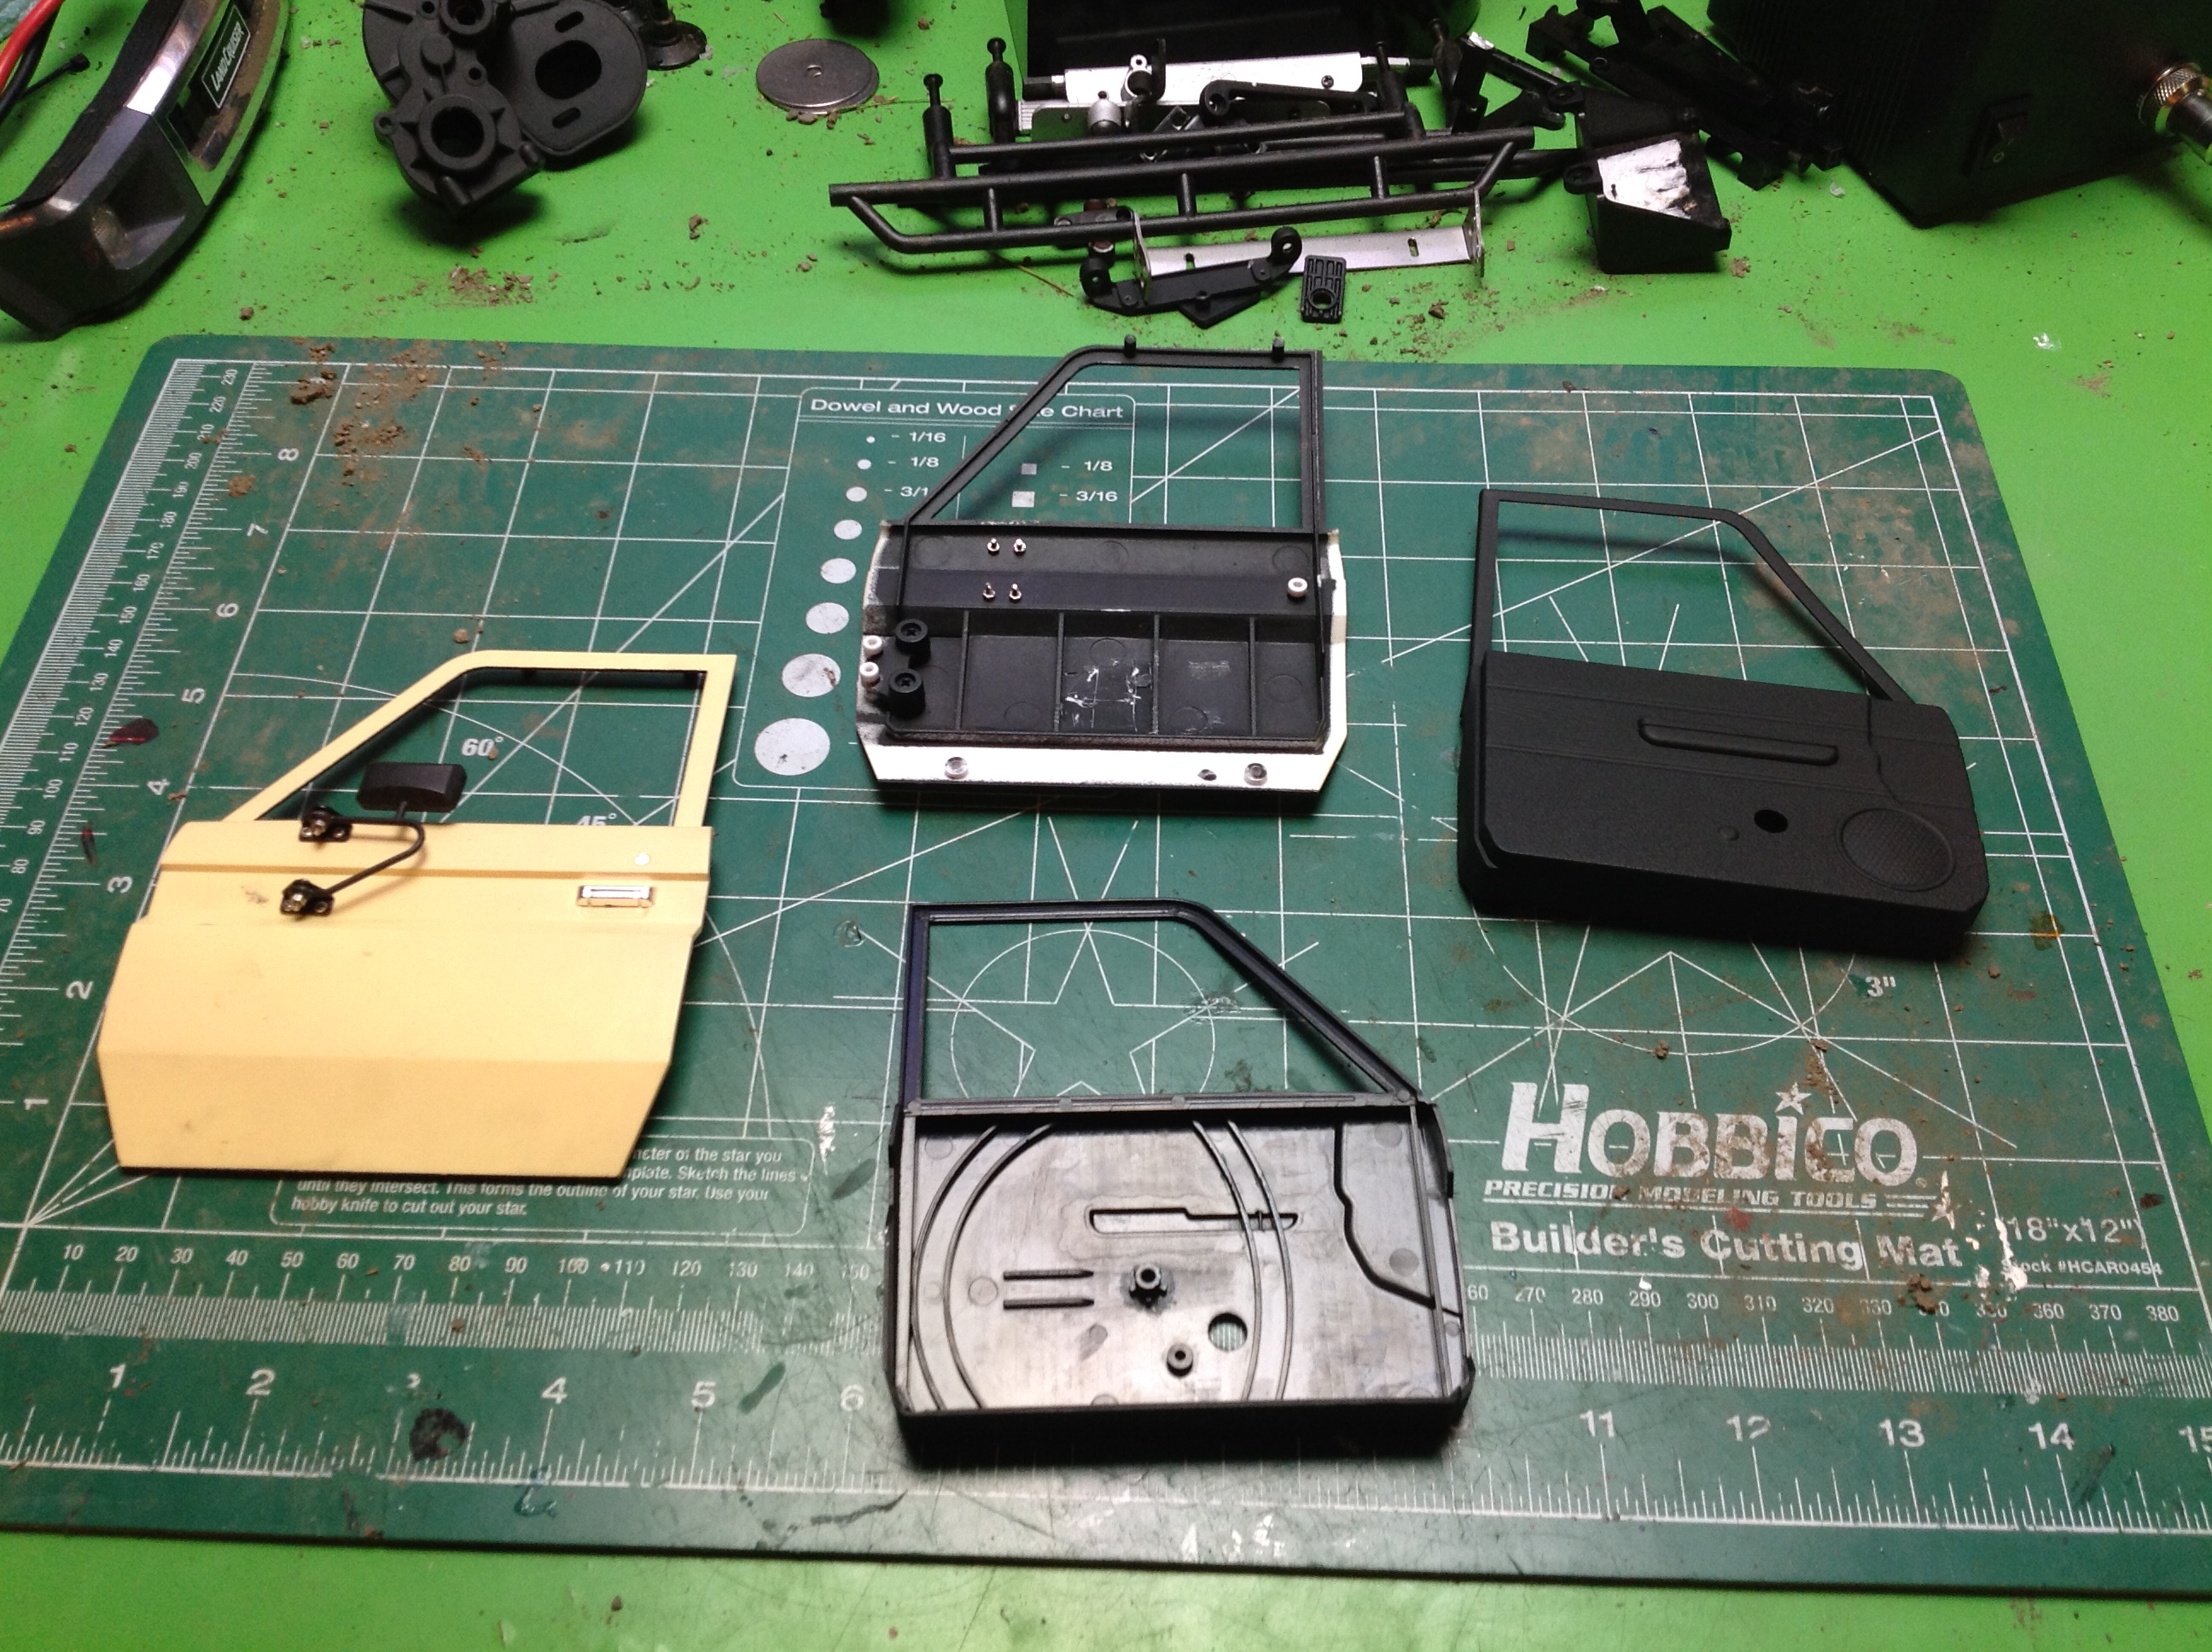
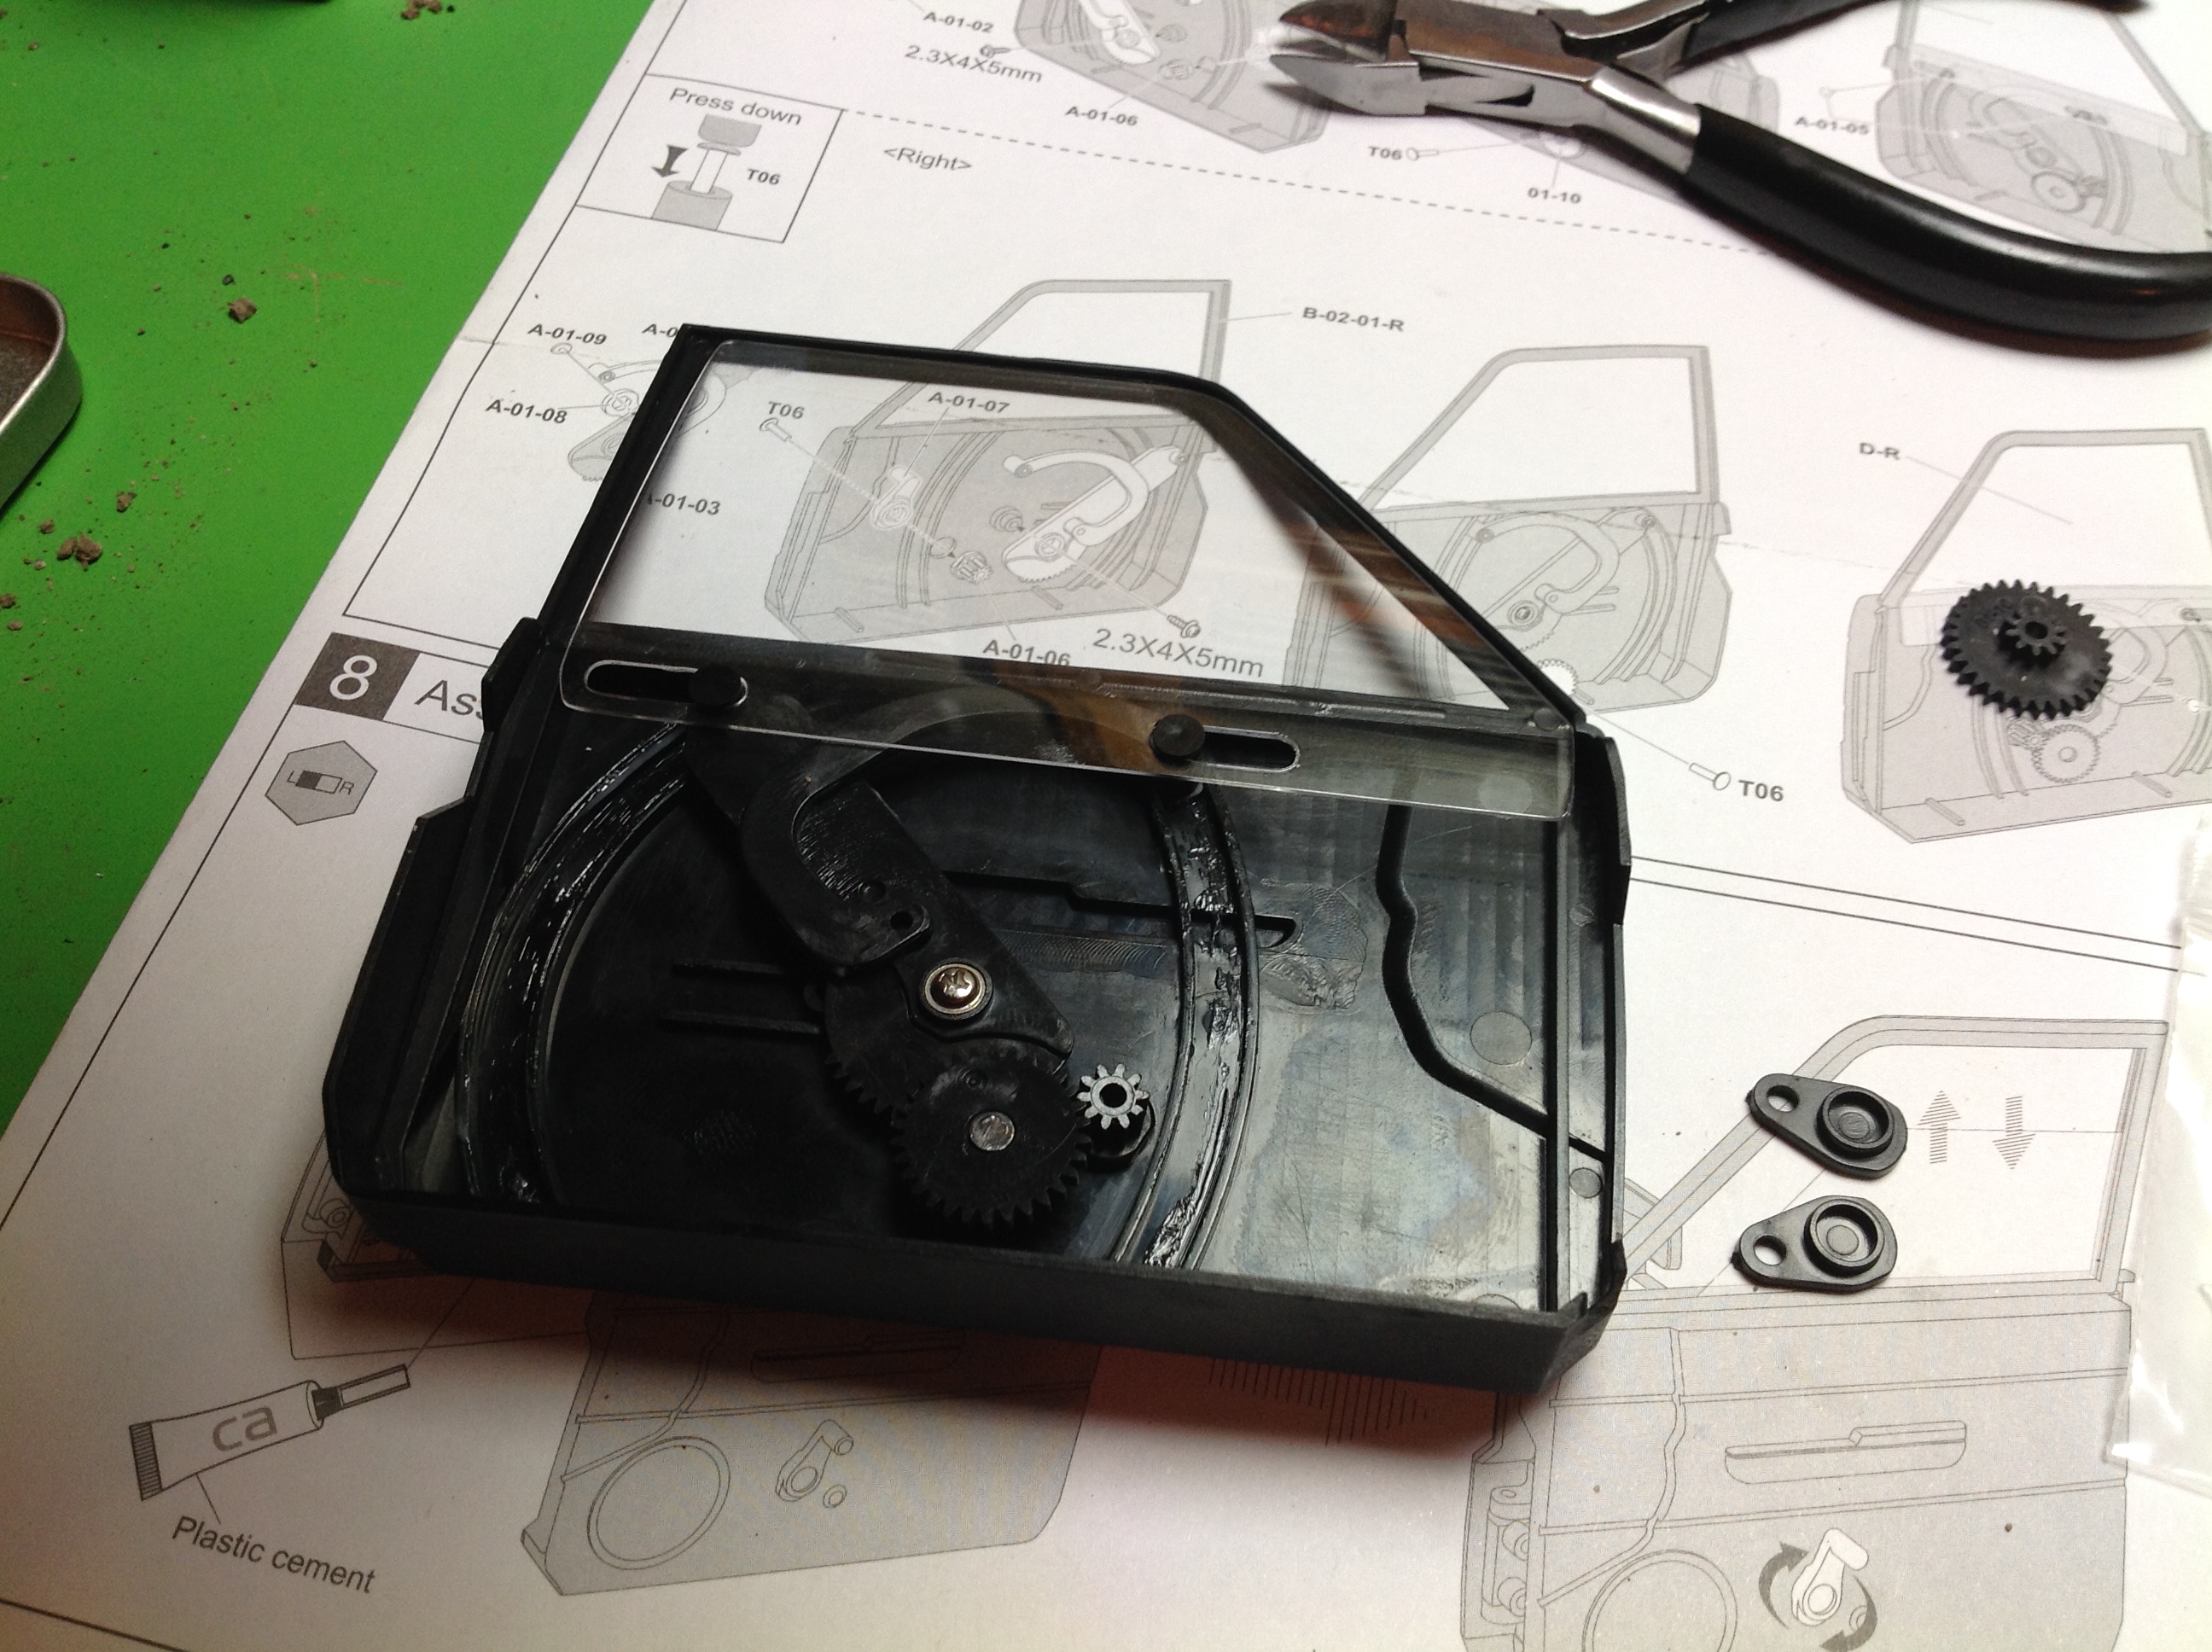
The biggest single upgrade was the opening door upgrade kit. This
not only makes the doors open, it installs real crank windows that
really work. The left hand image shows the original doors along
with the new interior panels. The right hand image shows the
scissors mechanism for lifting the window and keeping it level.
This all gets locked away once the door panels are glued on, so it needs
to be right.
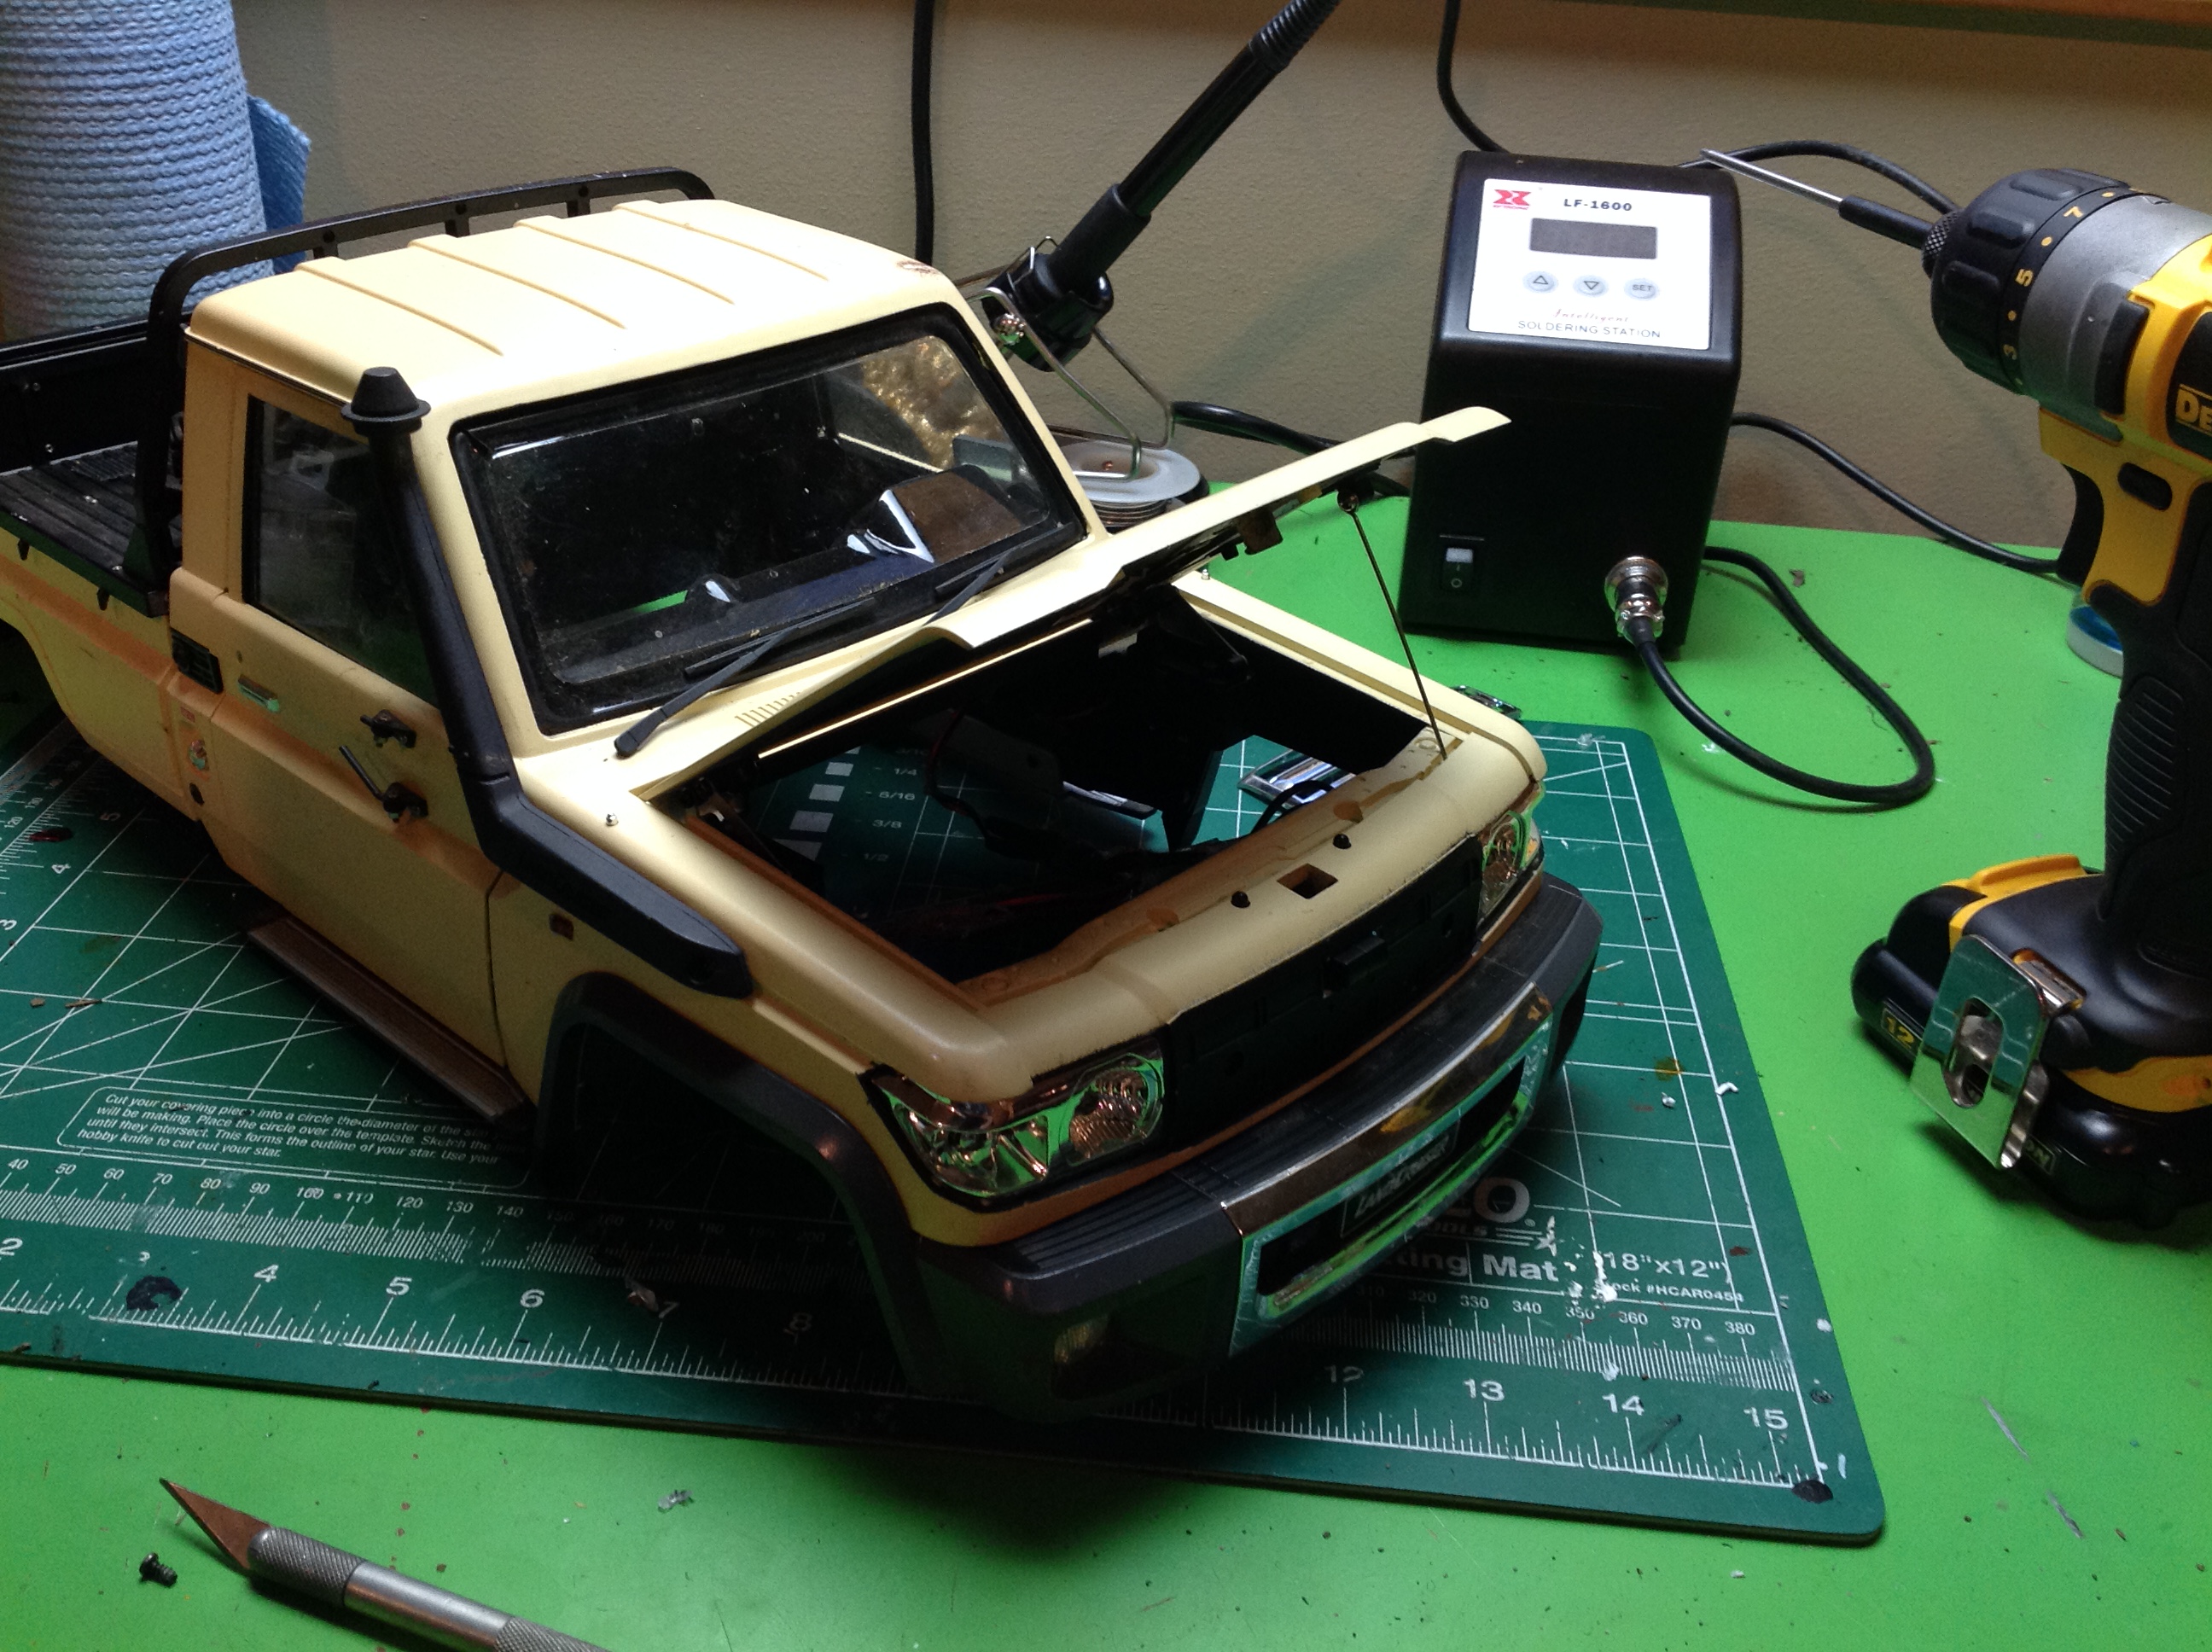
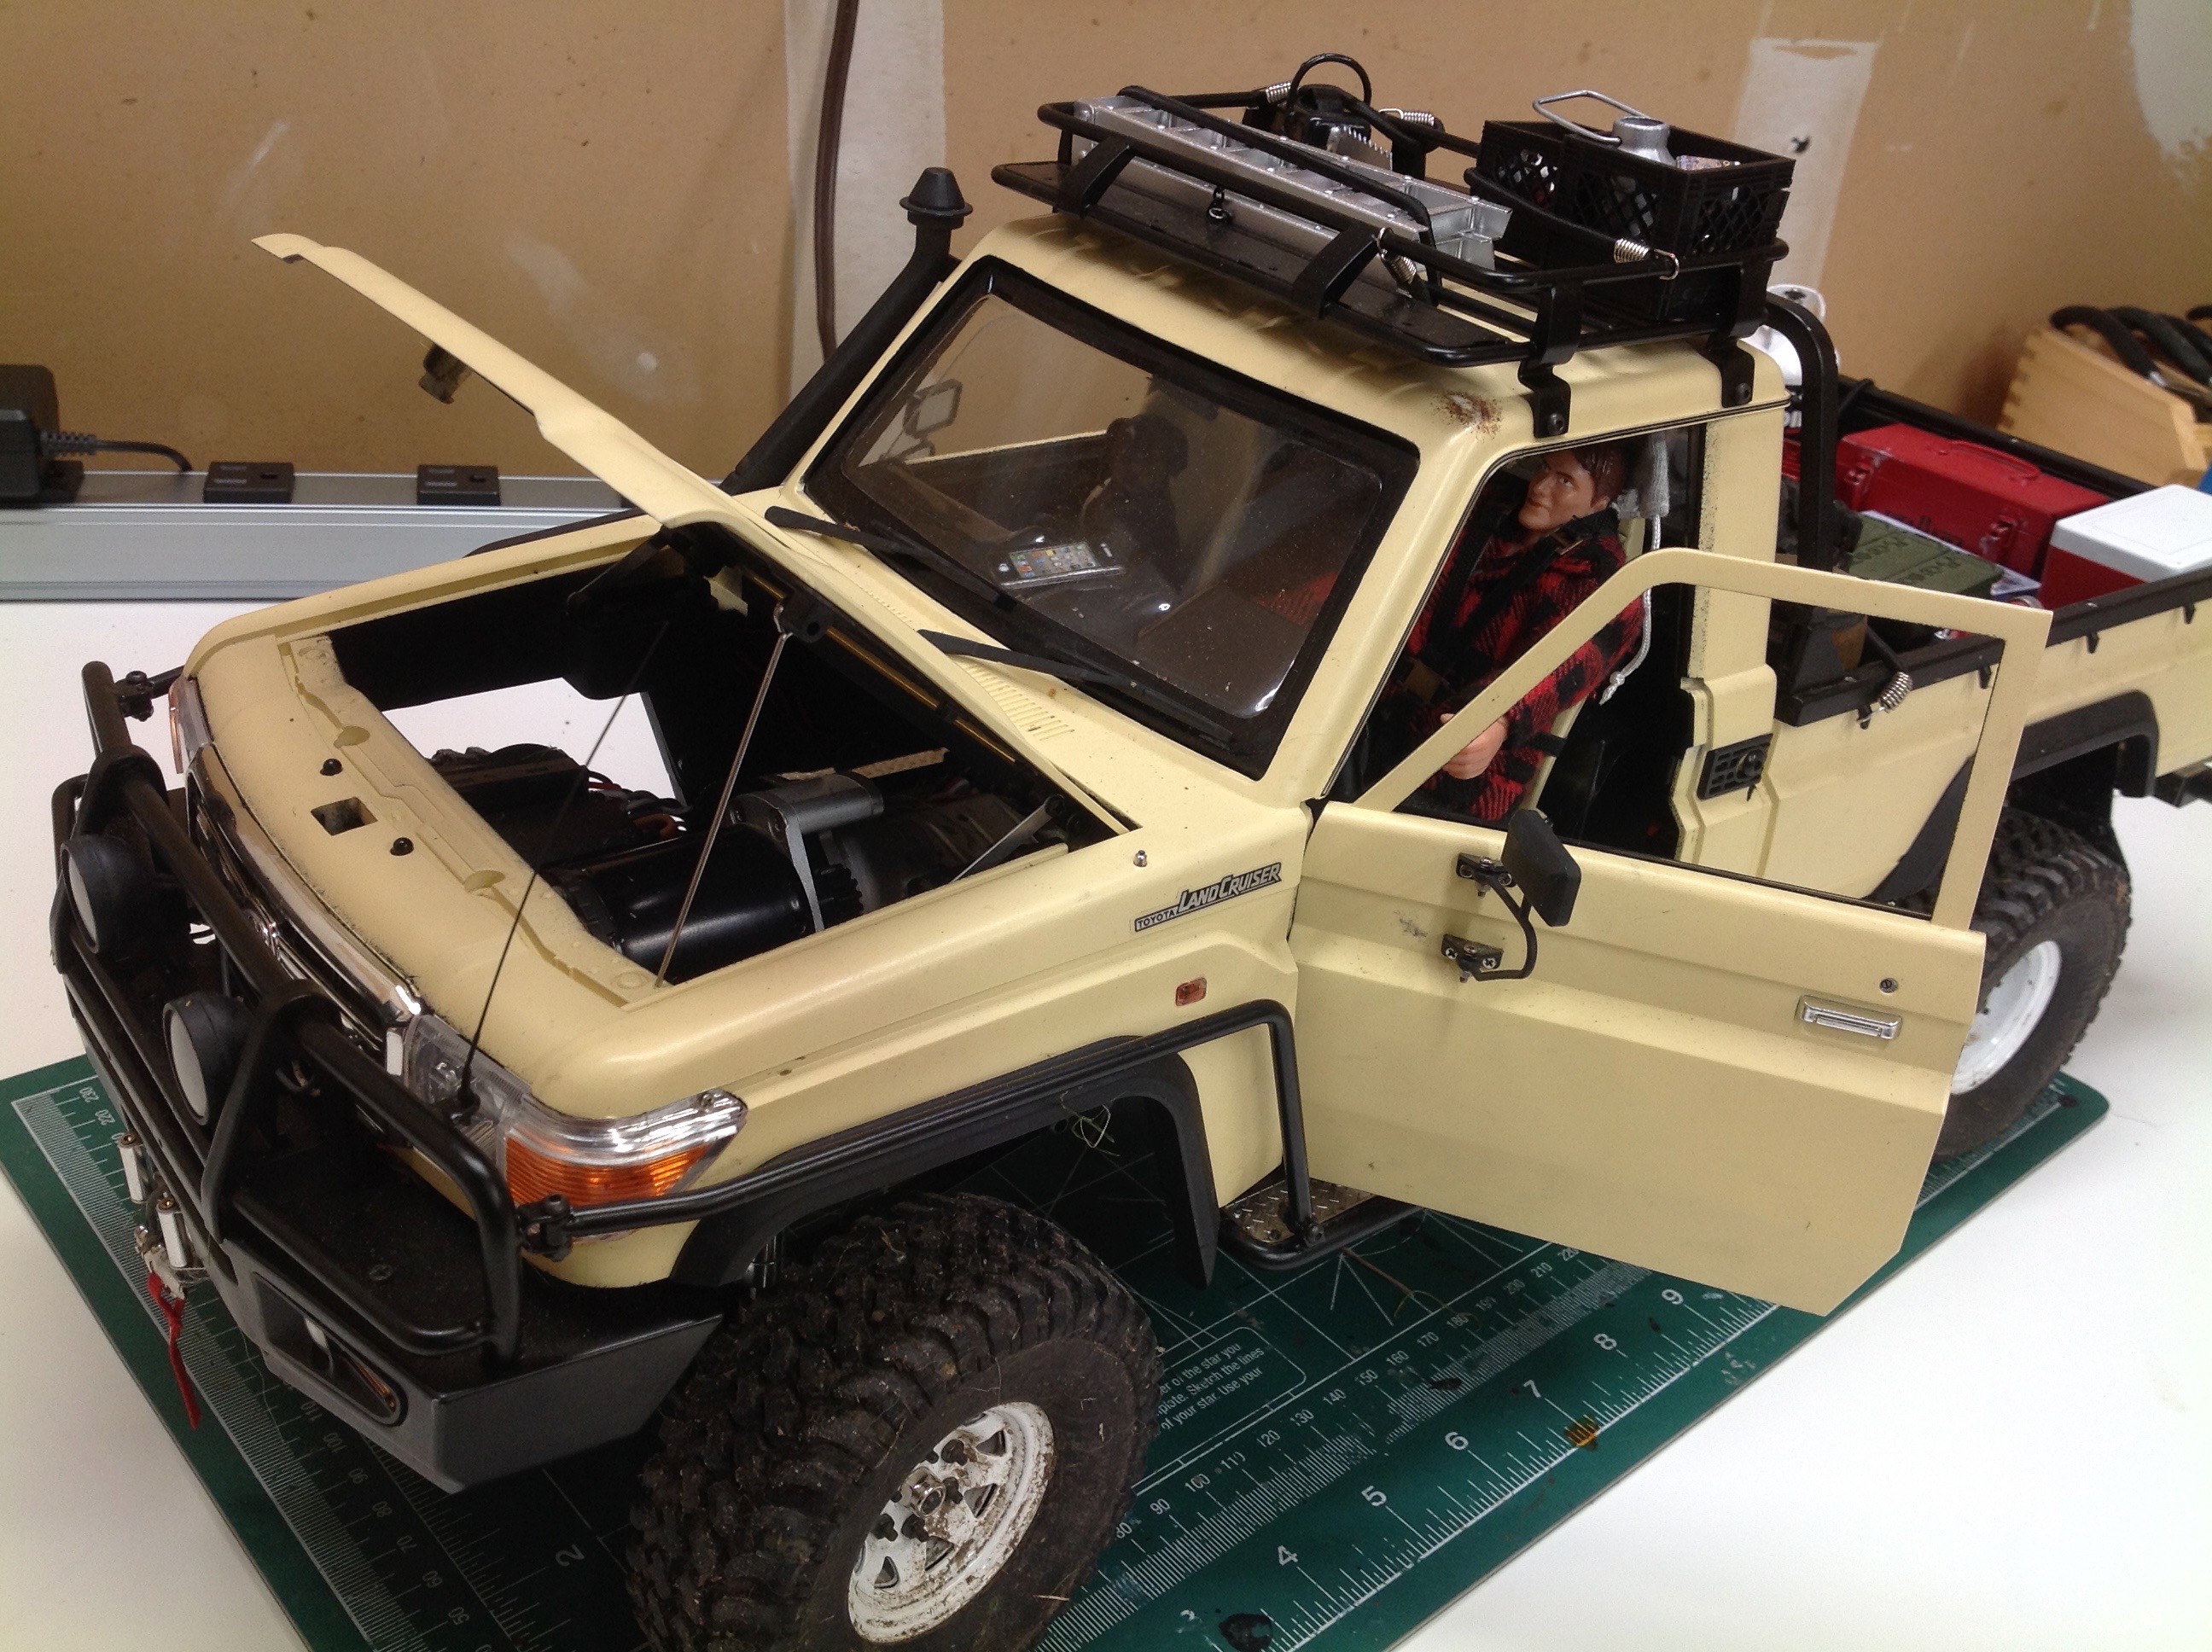
This shows the completed opening hood and doors. I don't have a
scale engine under the hood so opening it is nothing spectacular, but it
is nice to have the option.
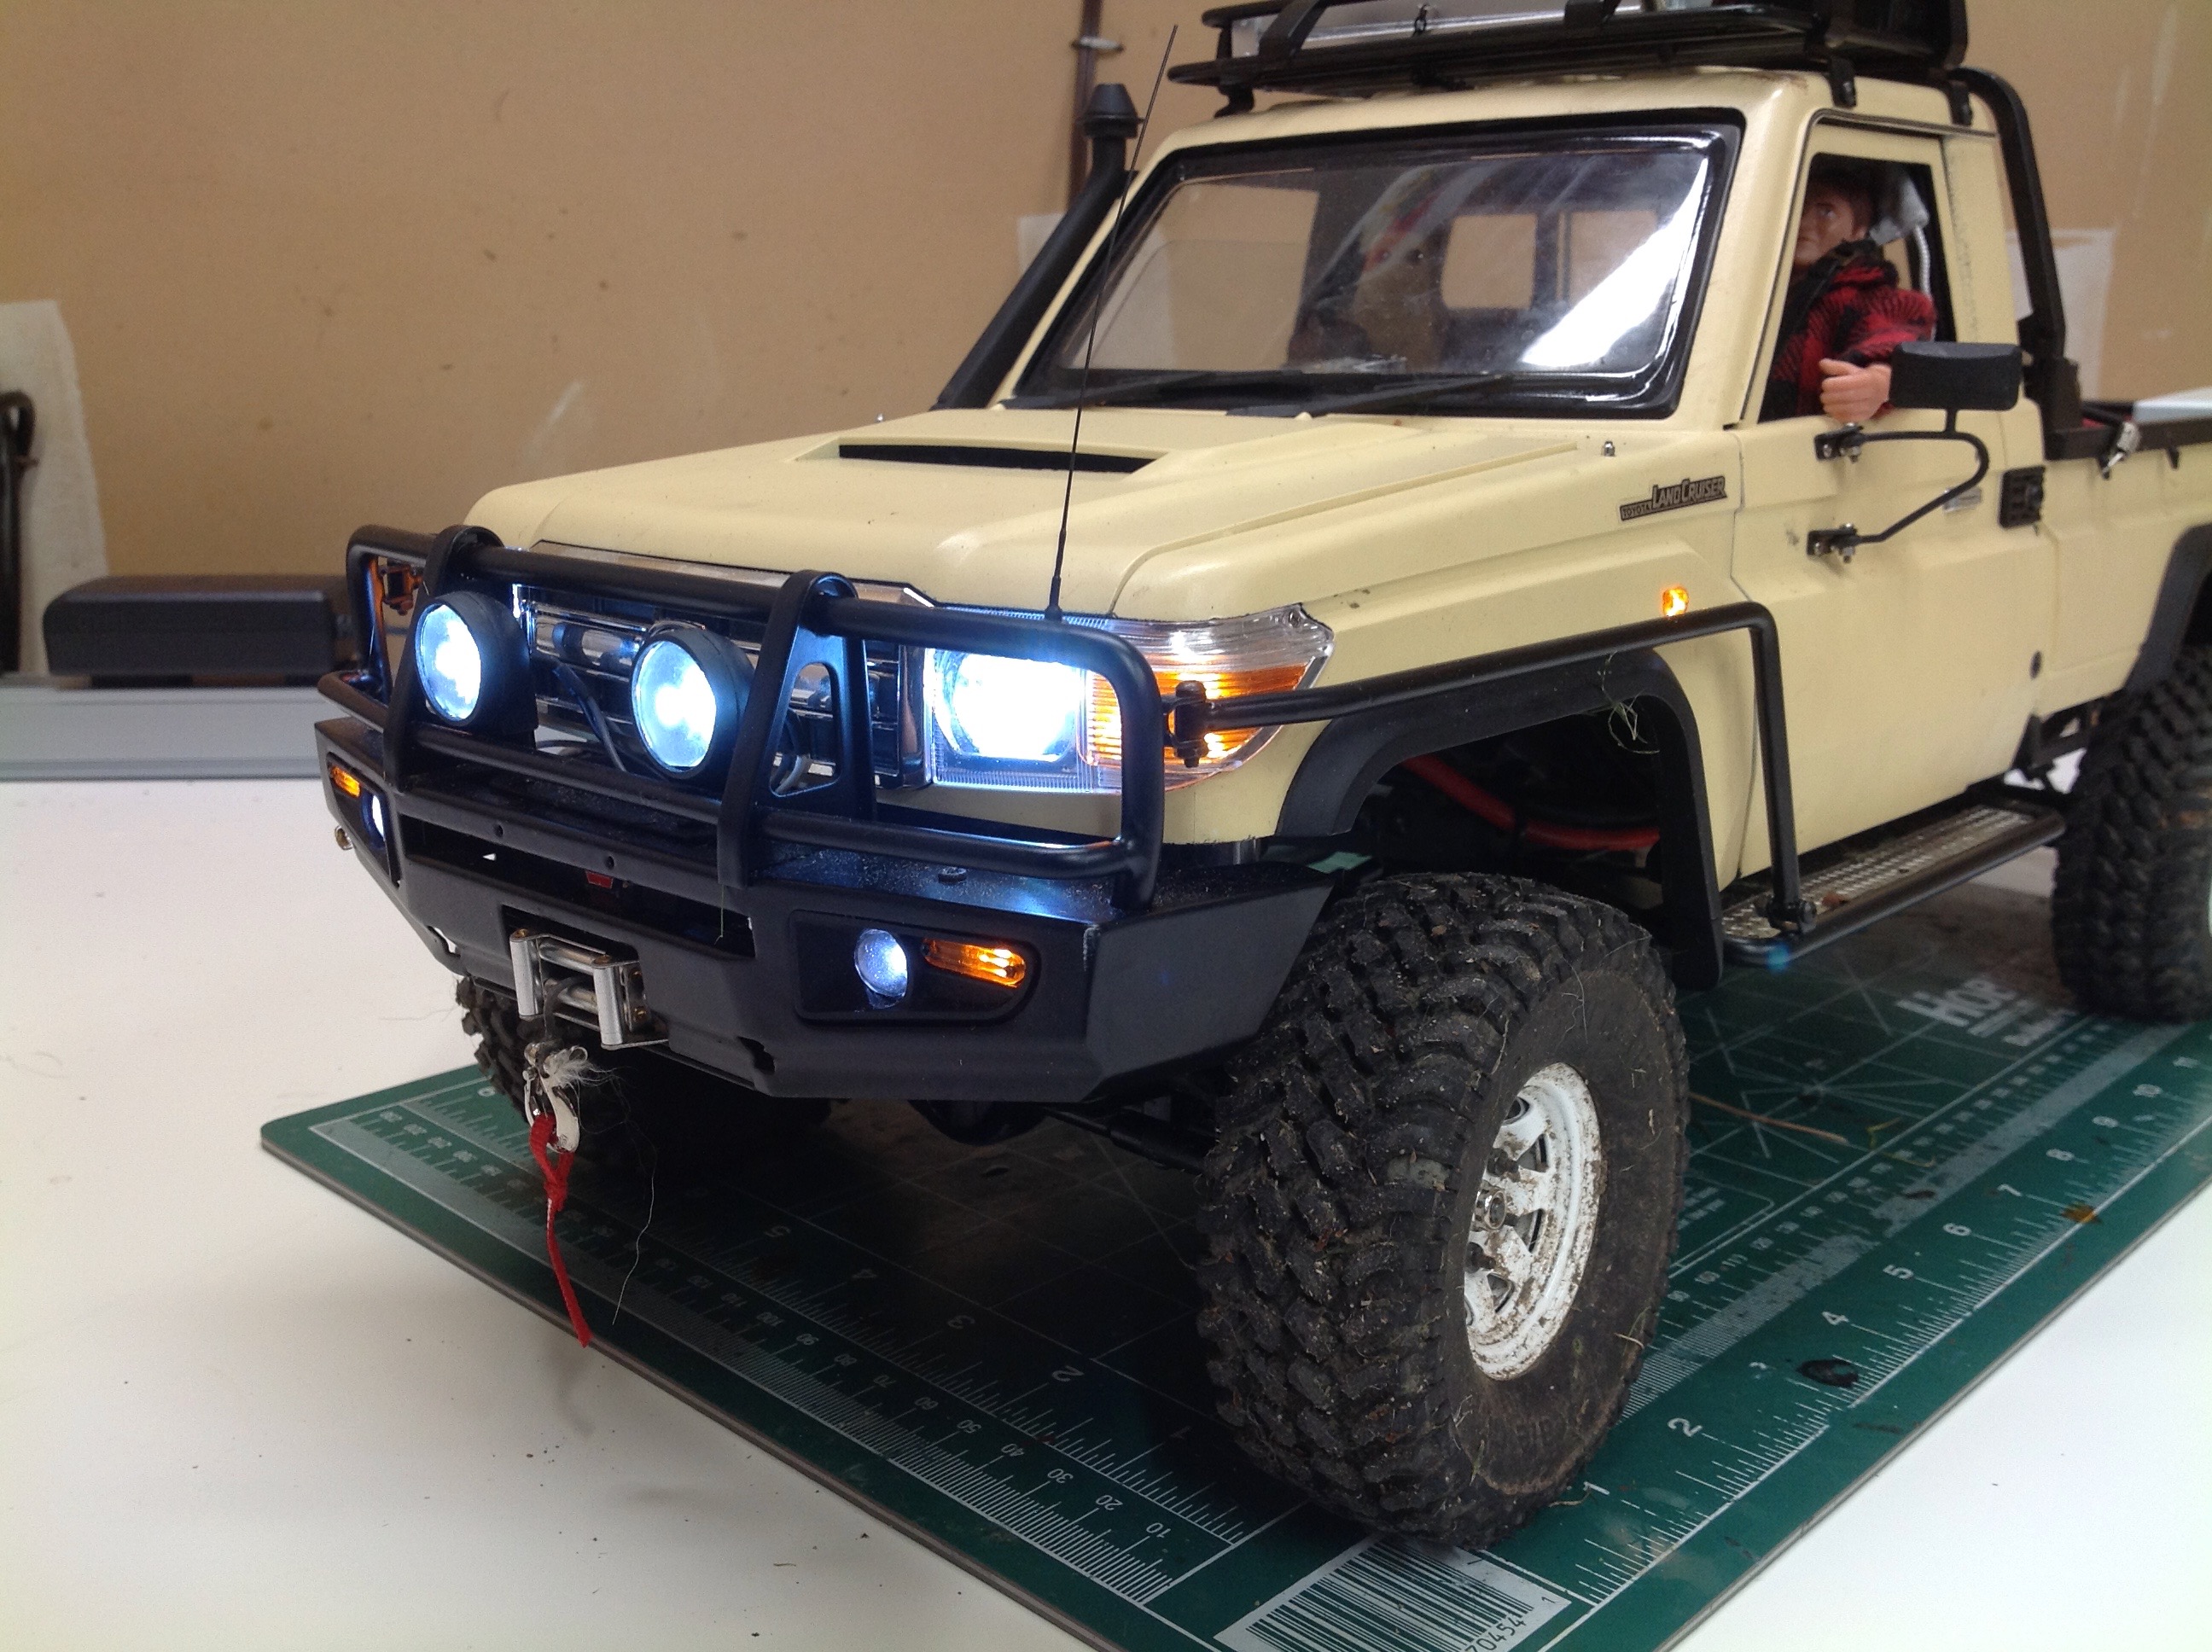
The wiring for the original lights had been bonded so thoroughly to the
body that I destroyed it trying to remove it which meant I had to start
the lights from scratch. I started with the same RC4WD basic light
set that I had before, but it didn't match exactly. It had two
5mm white lights for the original bumper, but now I needed 3mm white and
orange as well as the spot lights. Since the bumper is attached
to the chassis and not the body, these lights needed to be wired
directly to the battery so I could still remove the body. I wanted
to use some Tamiya LEDs, but they require 6V and the ESC only puts out
5V. I ended up adding an external BEC just for the bumper
lights. Overkill, but it looks great.
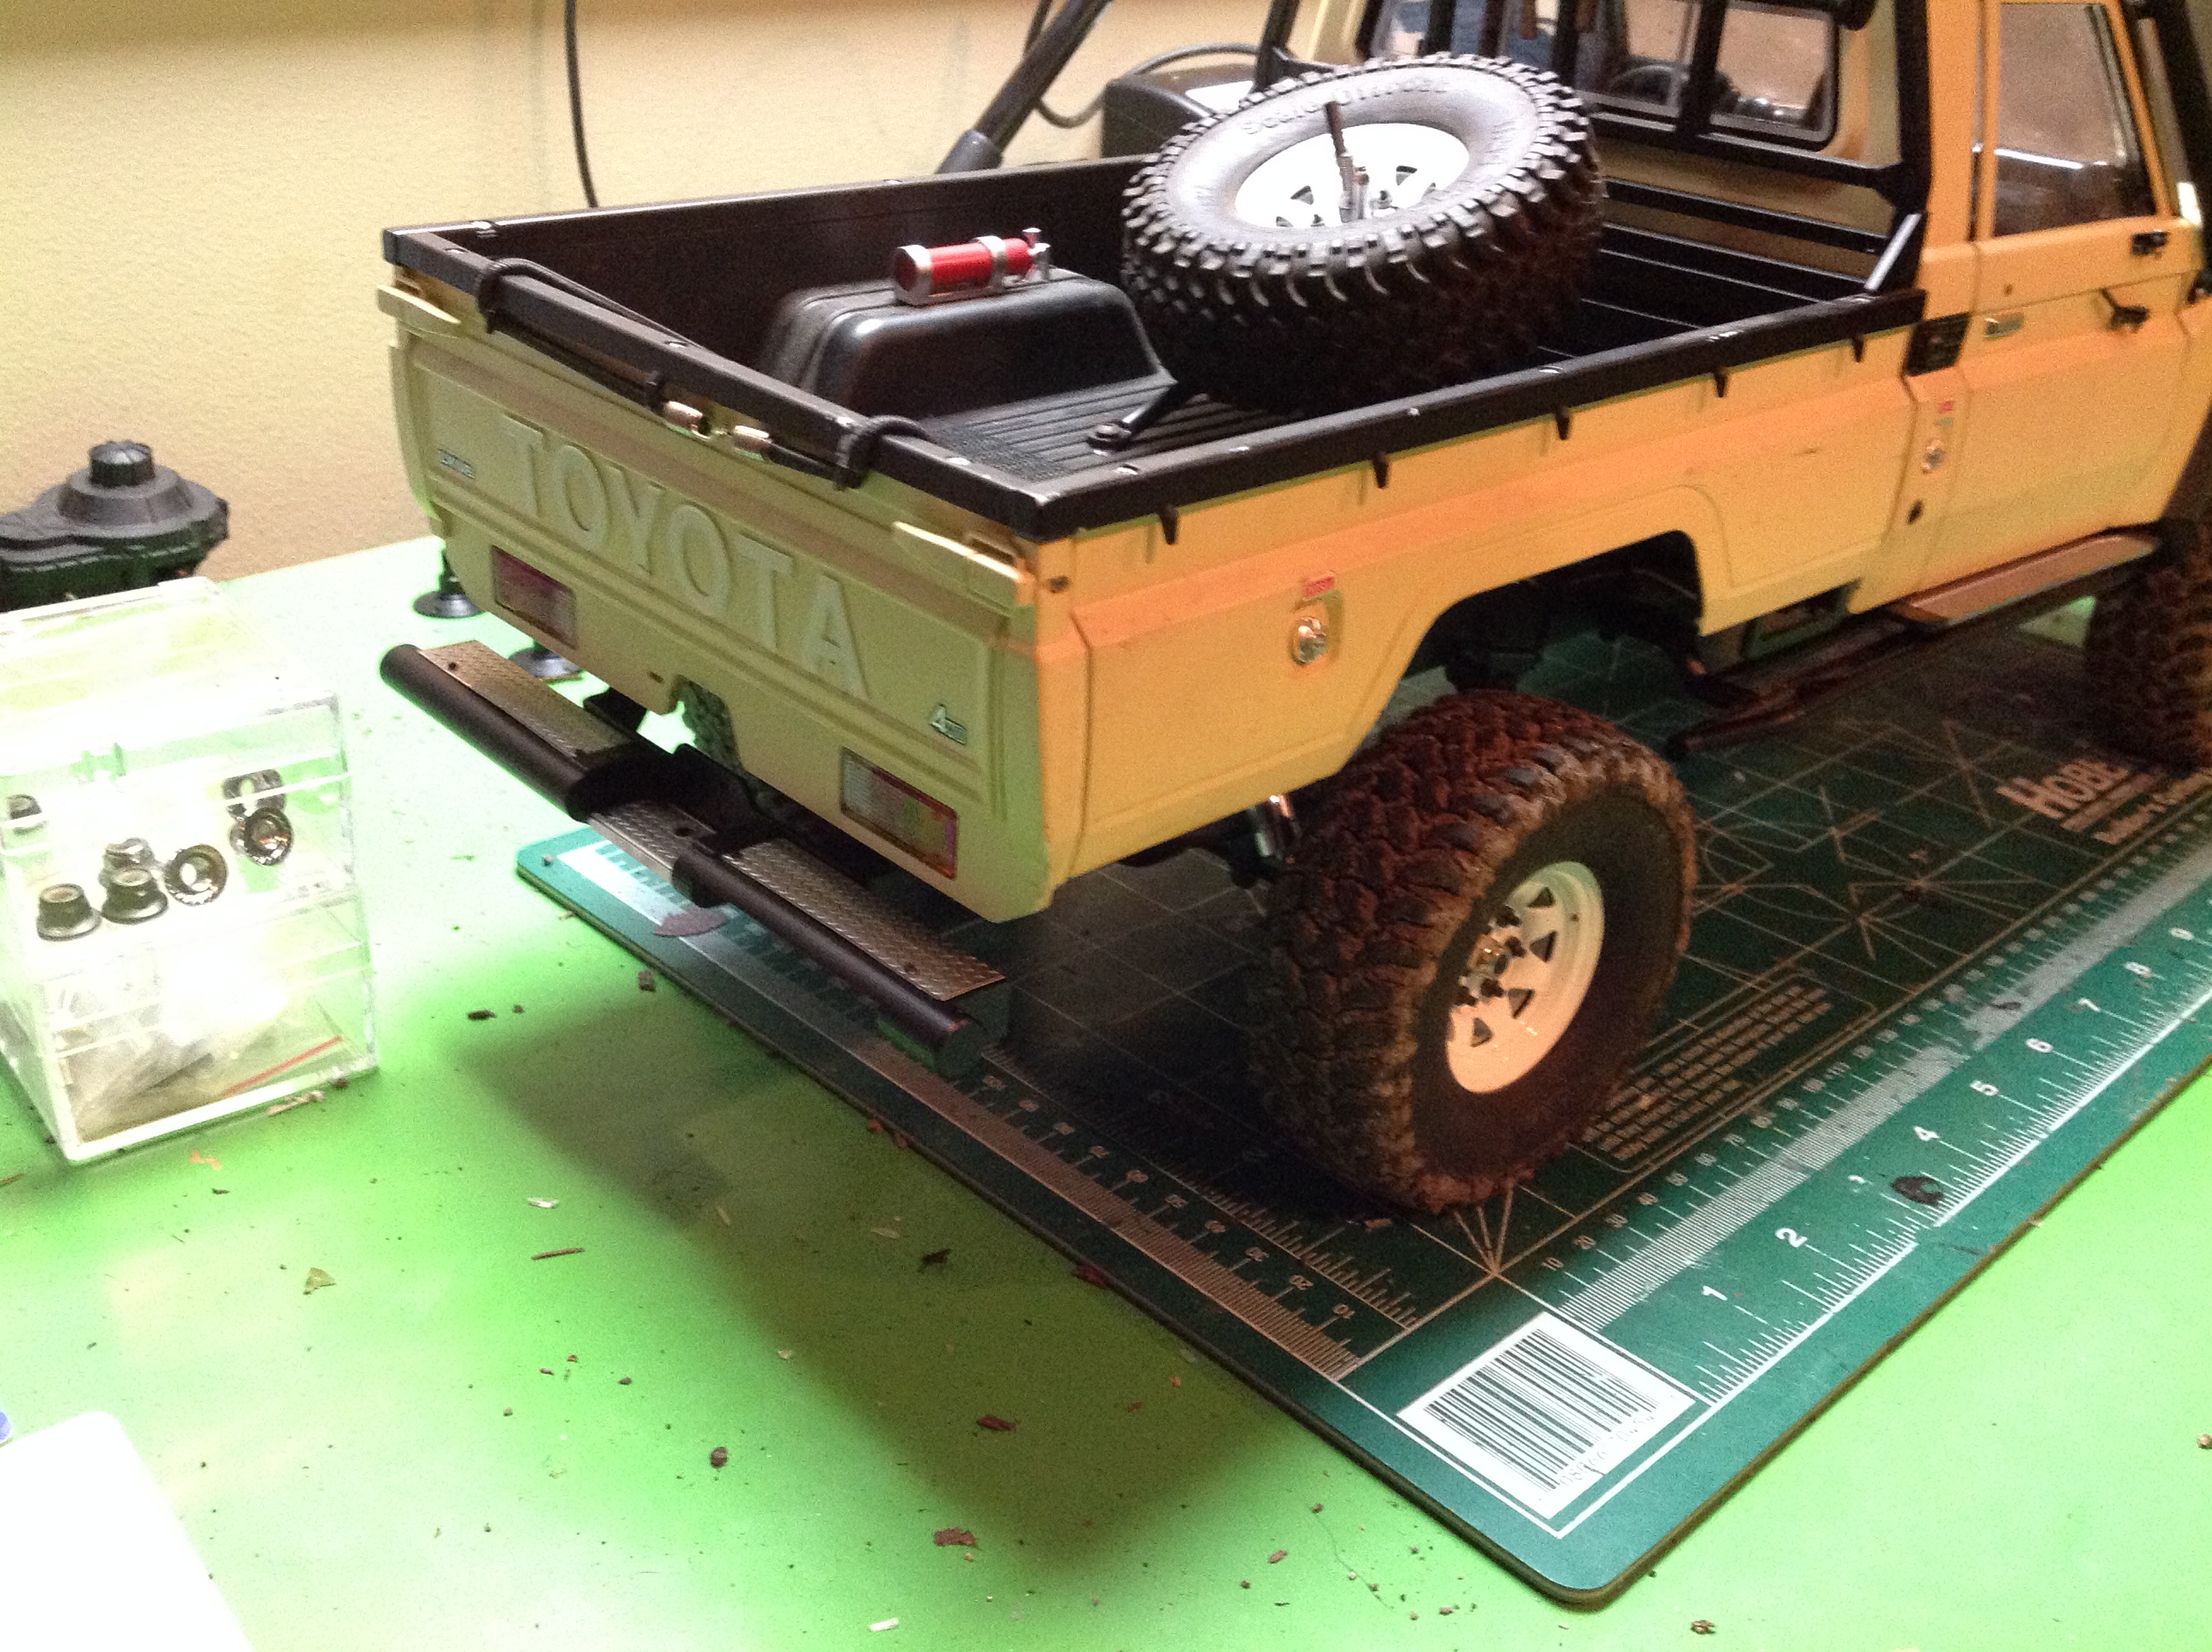
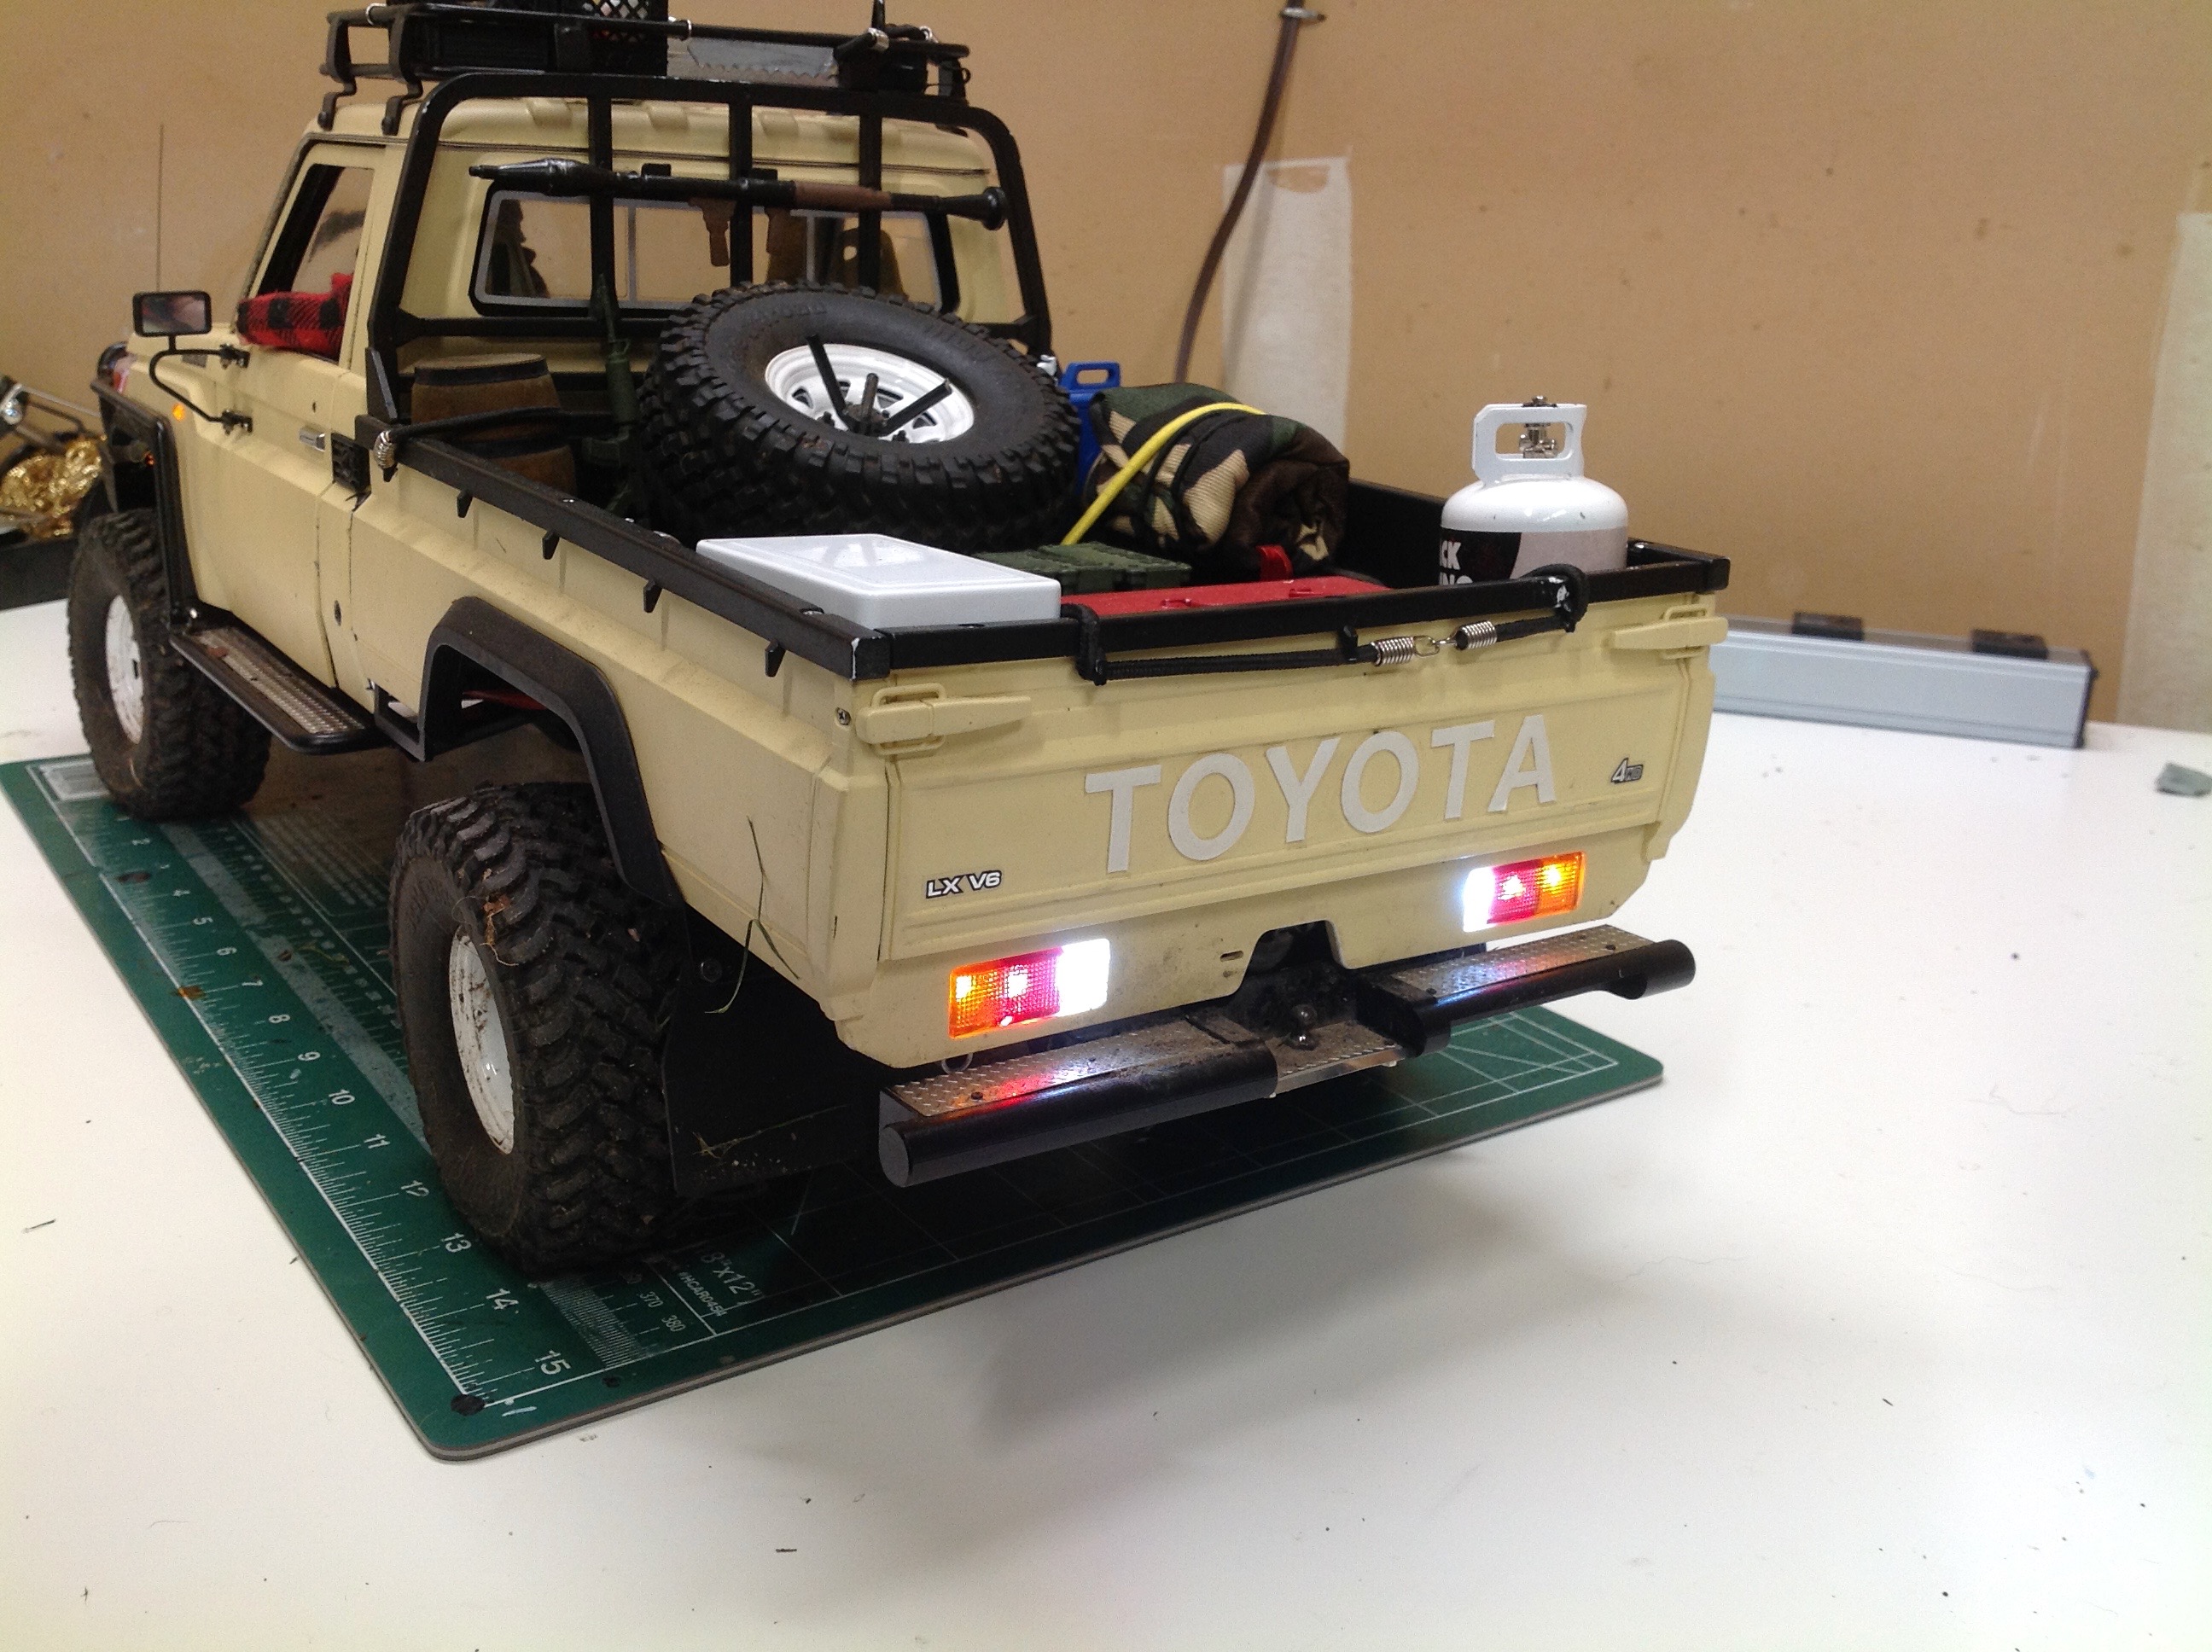
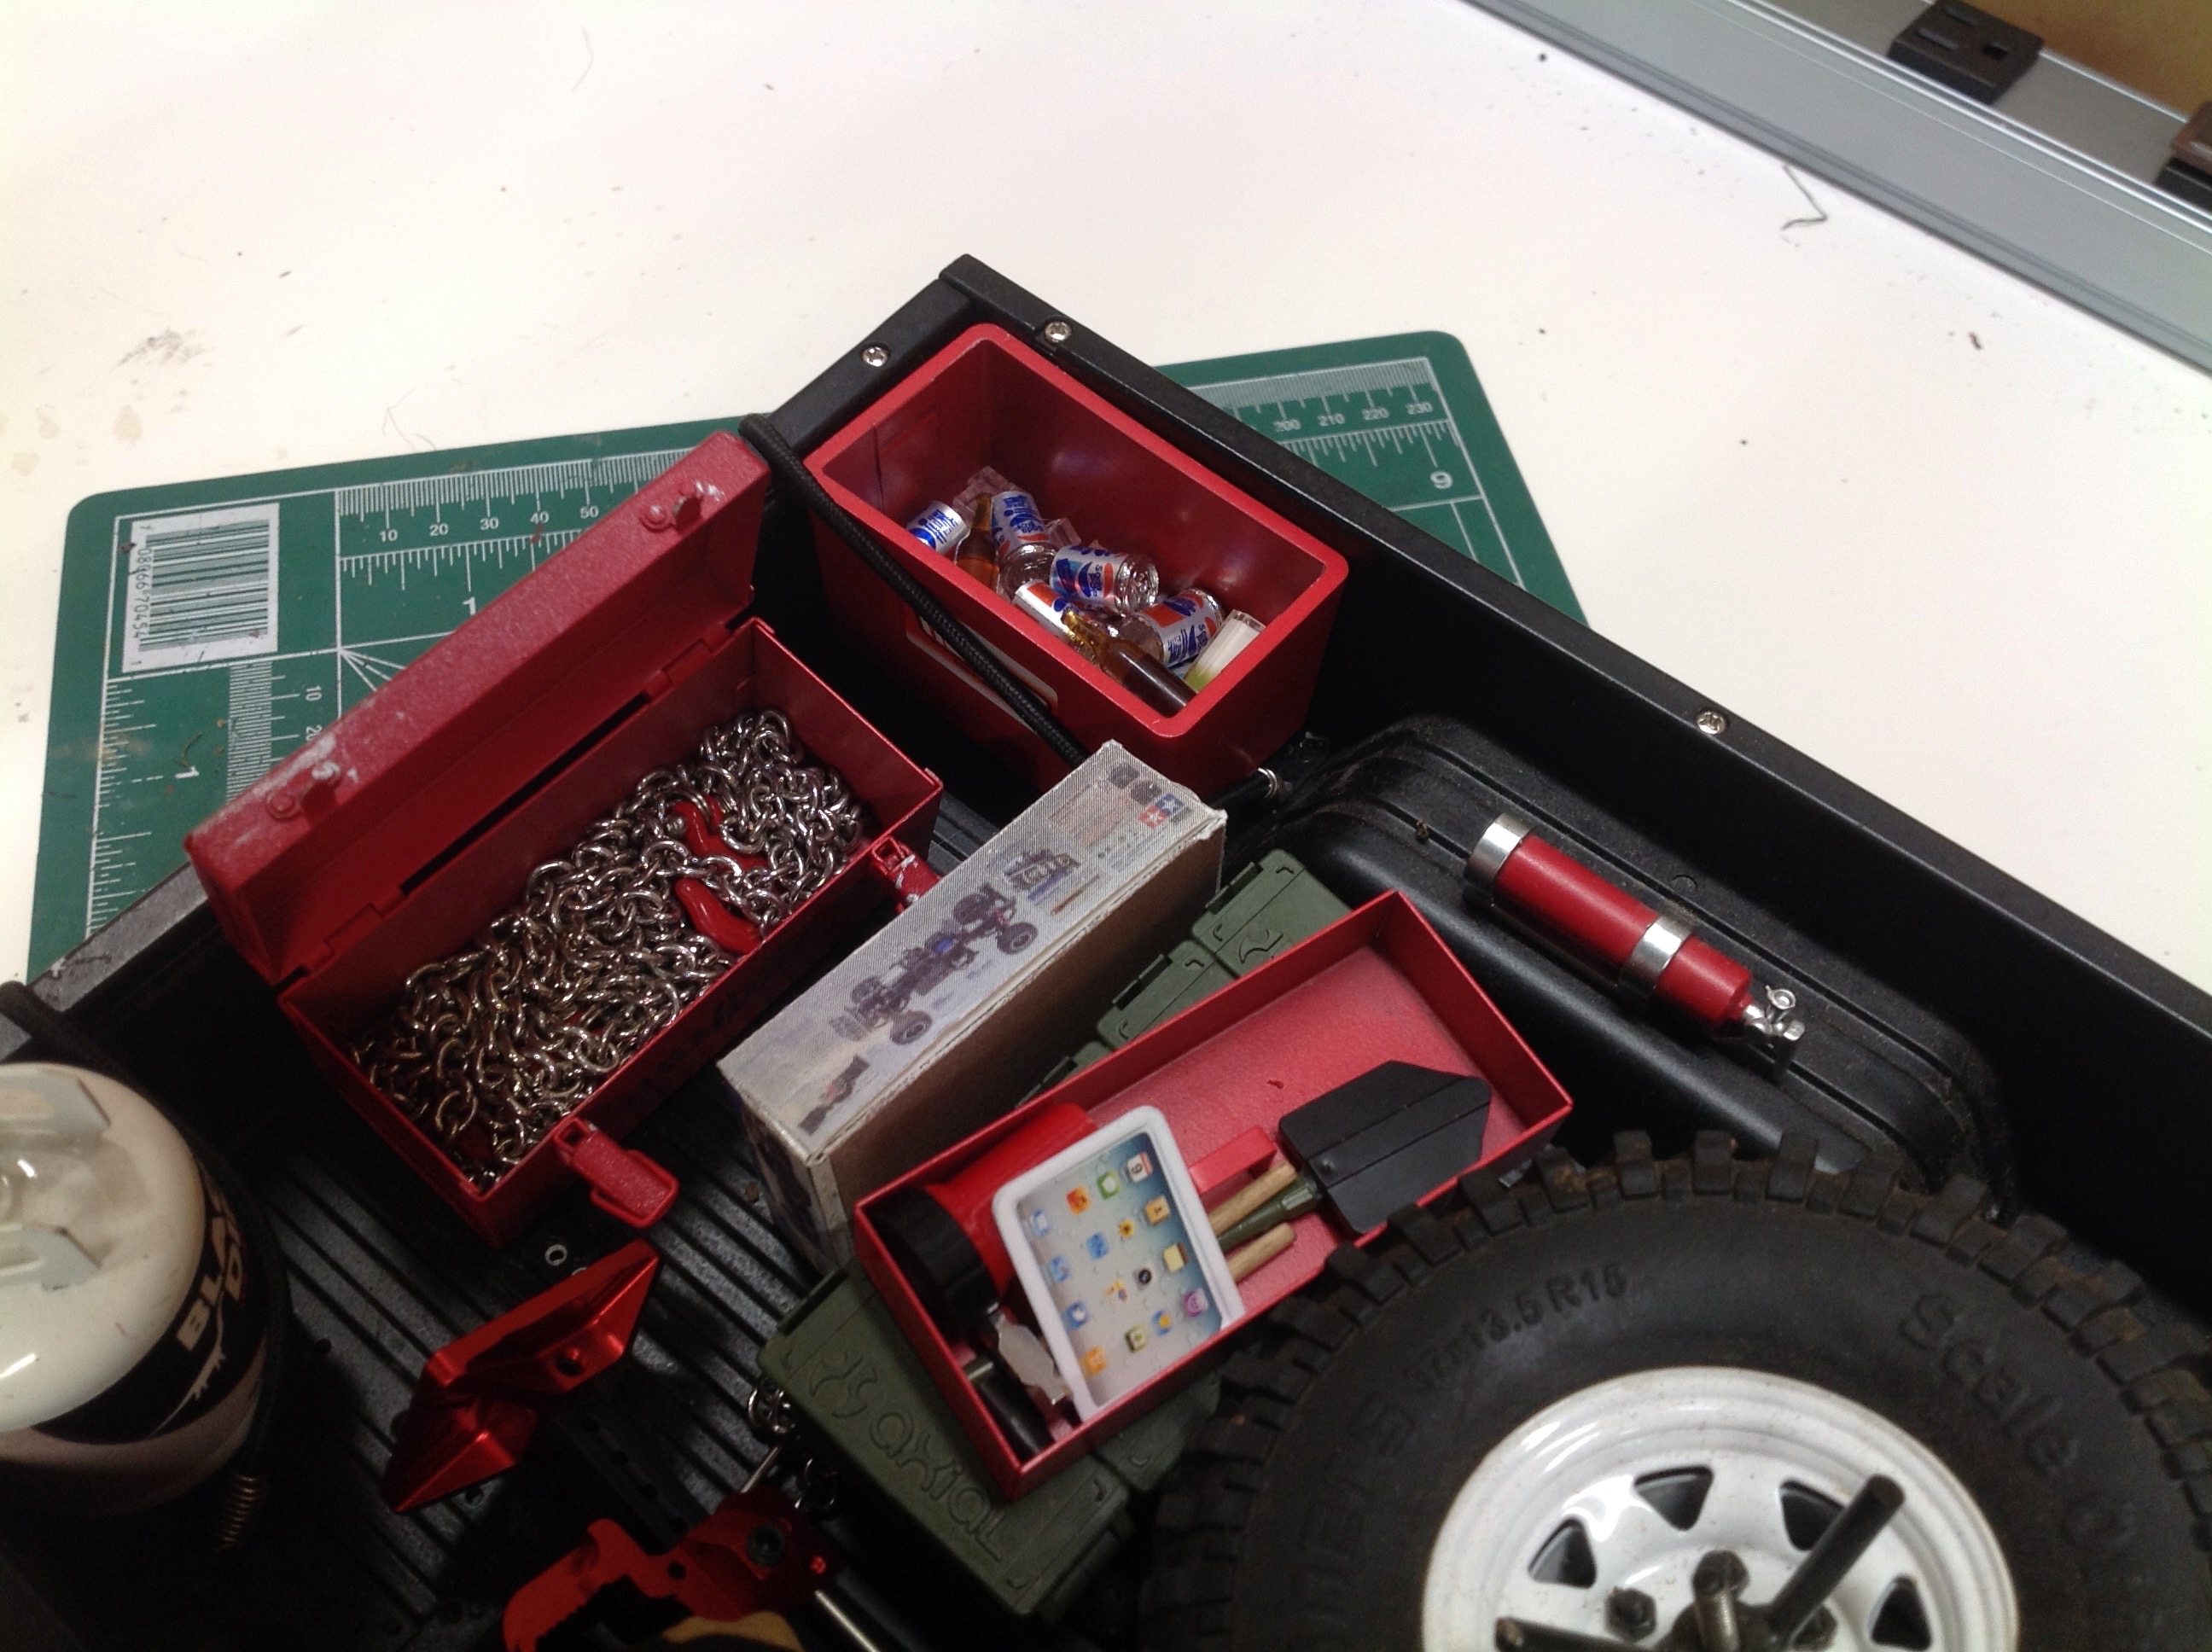
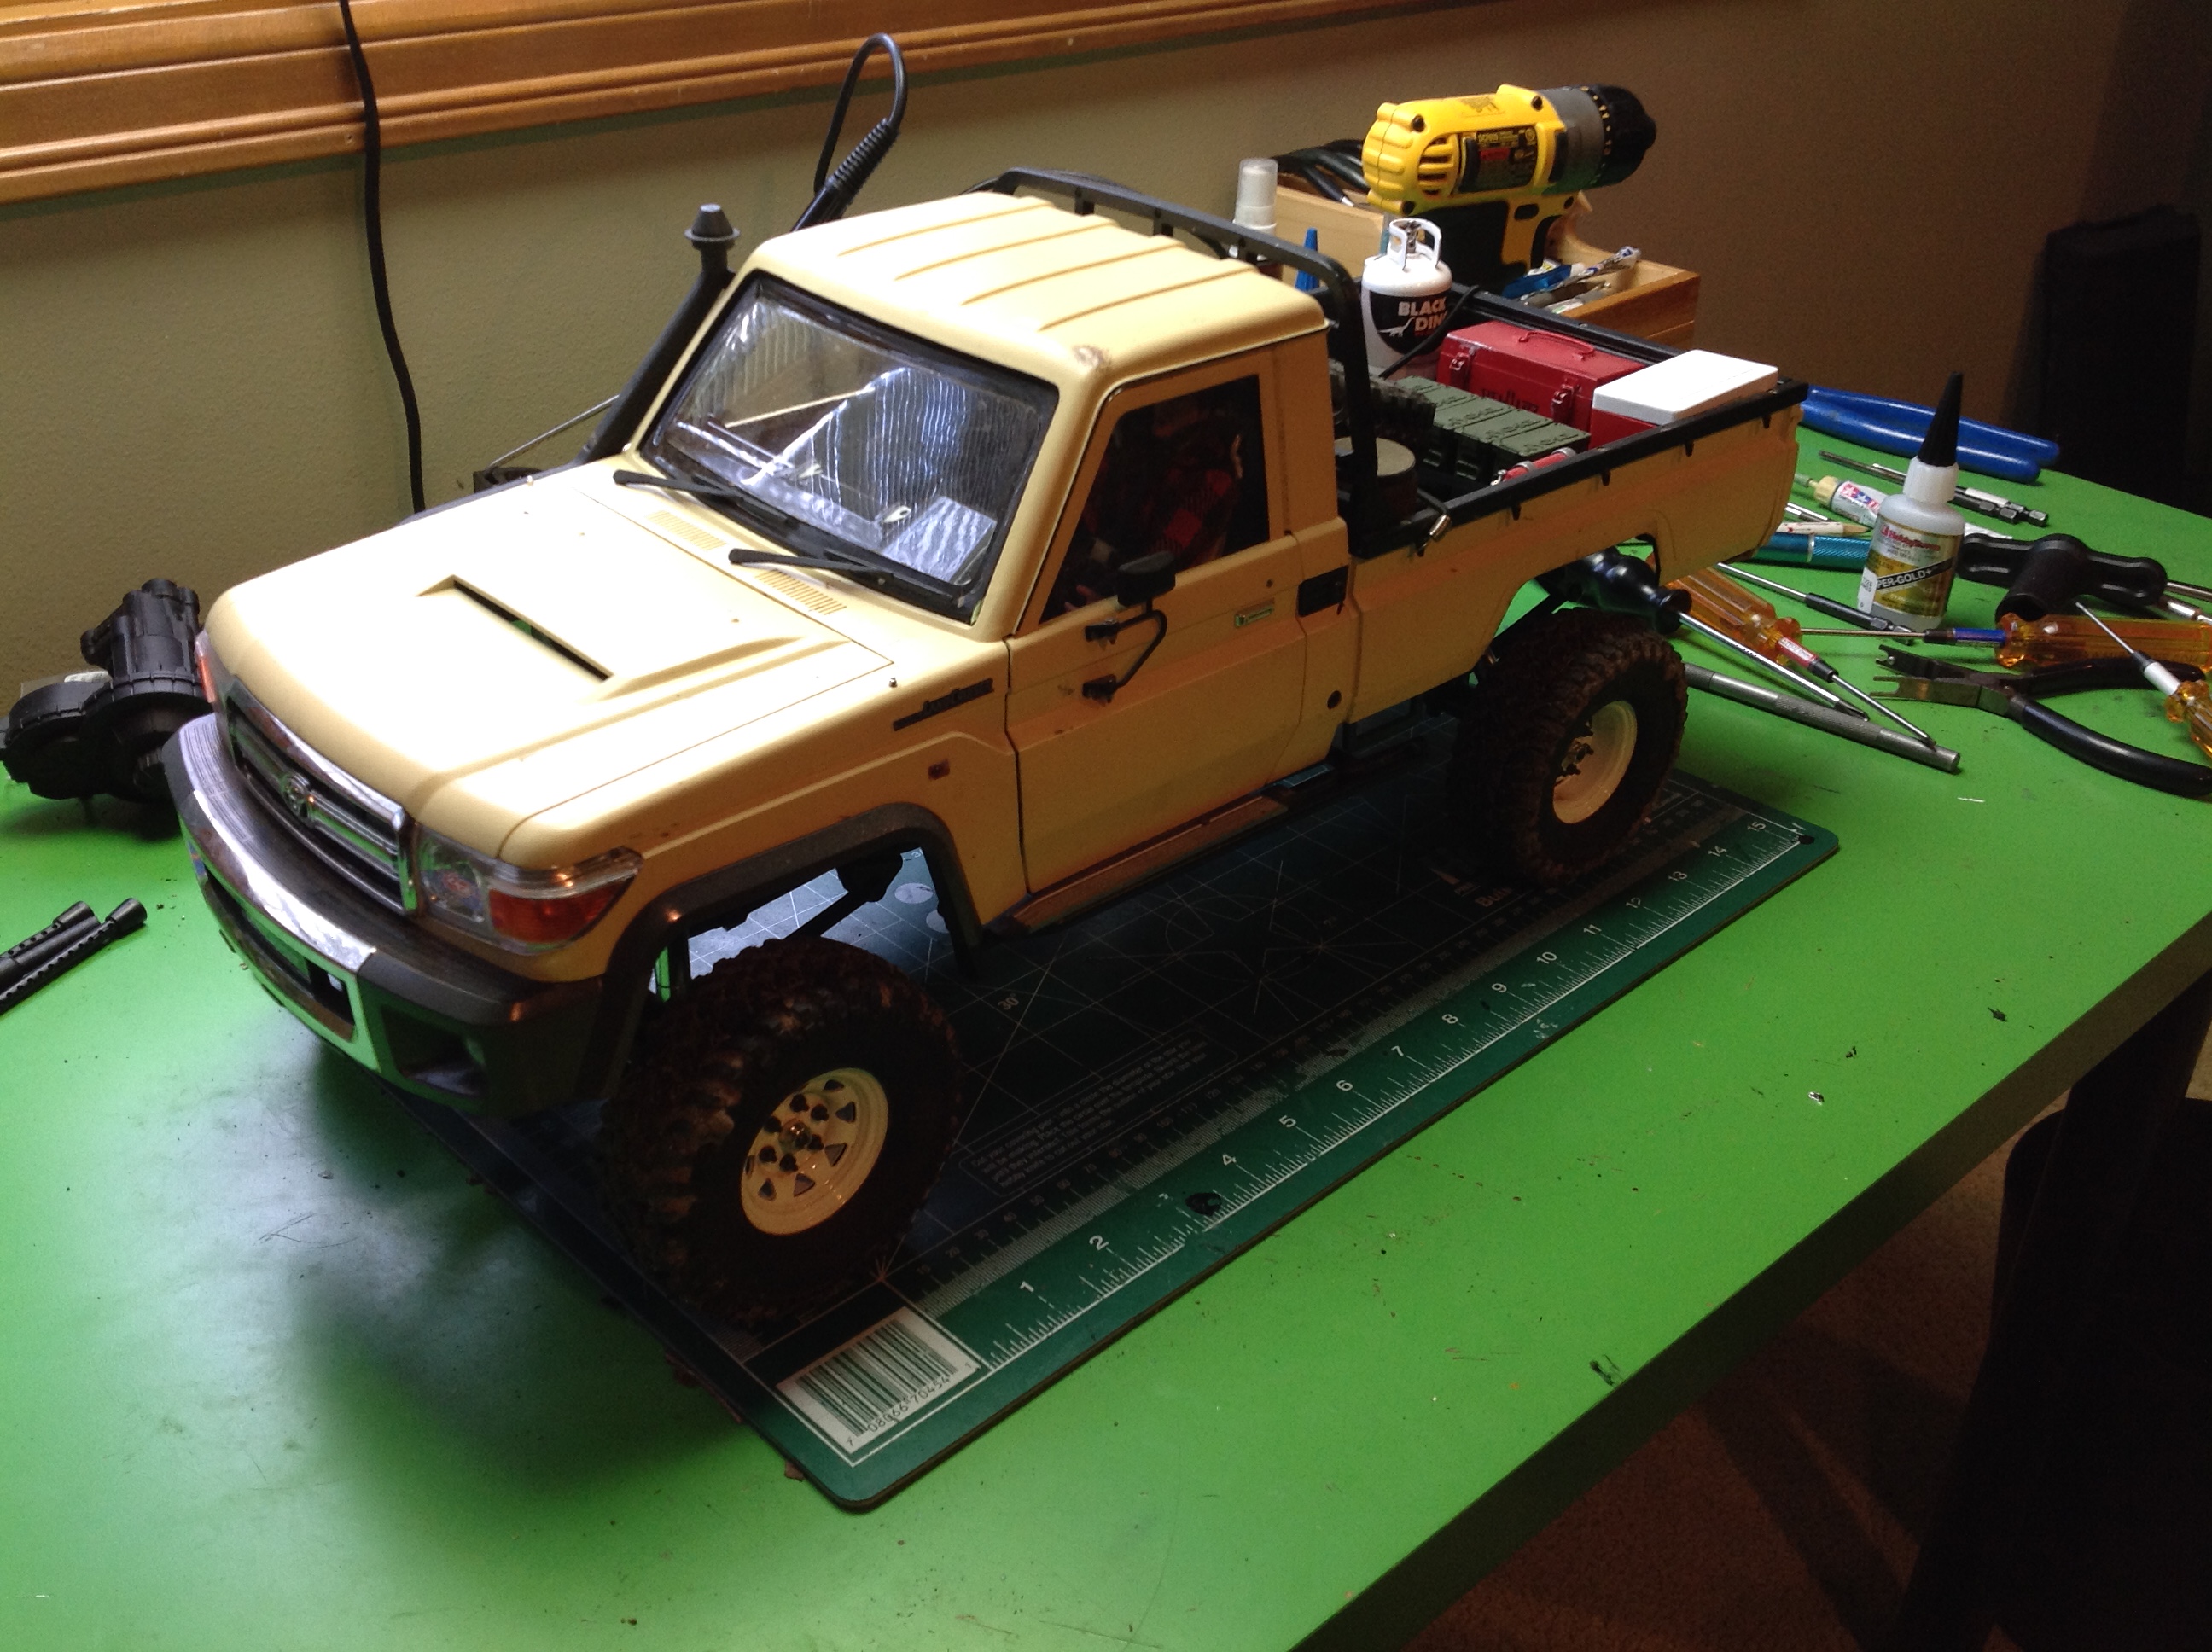
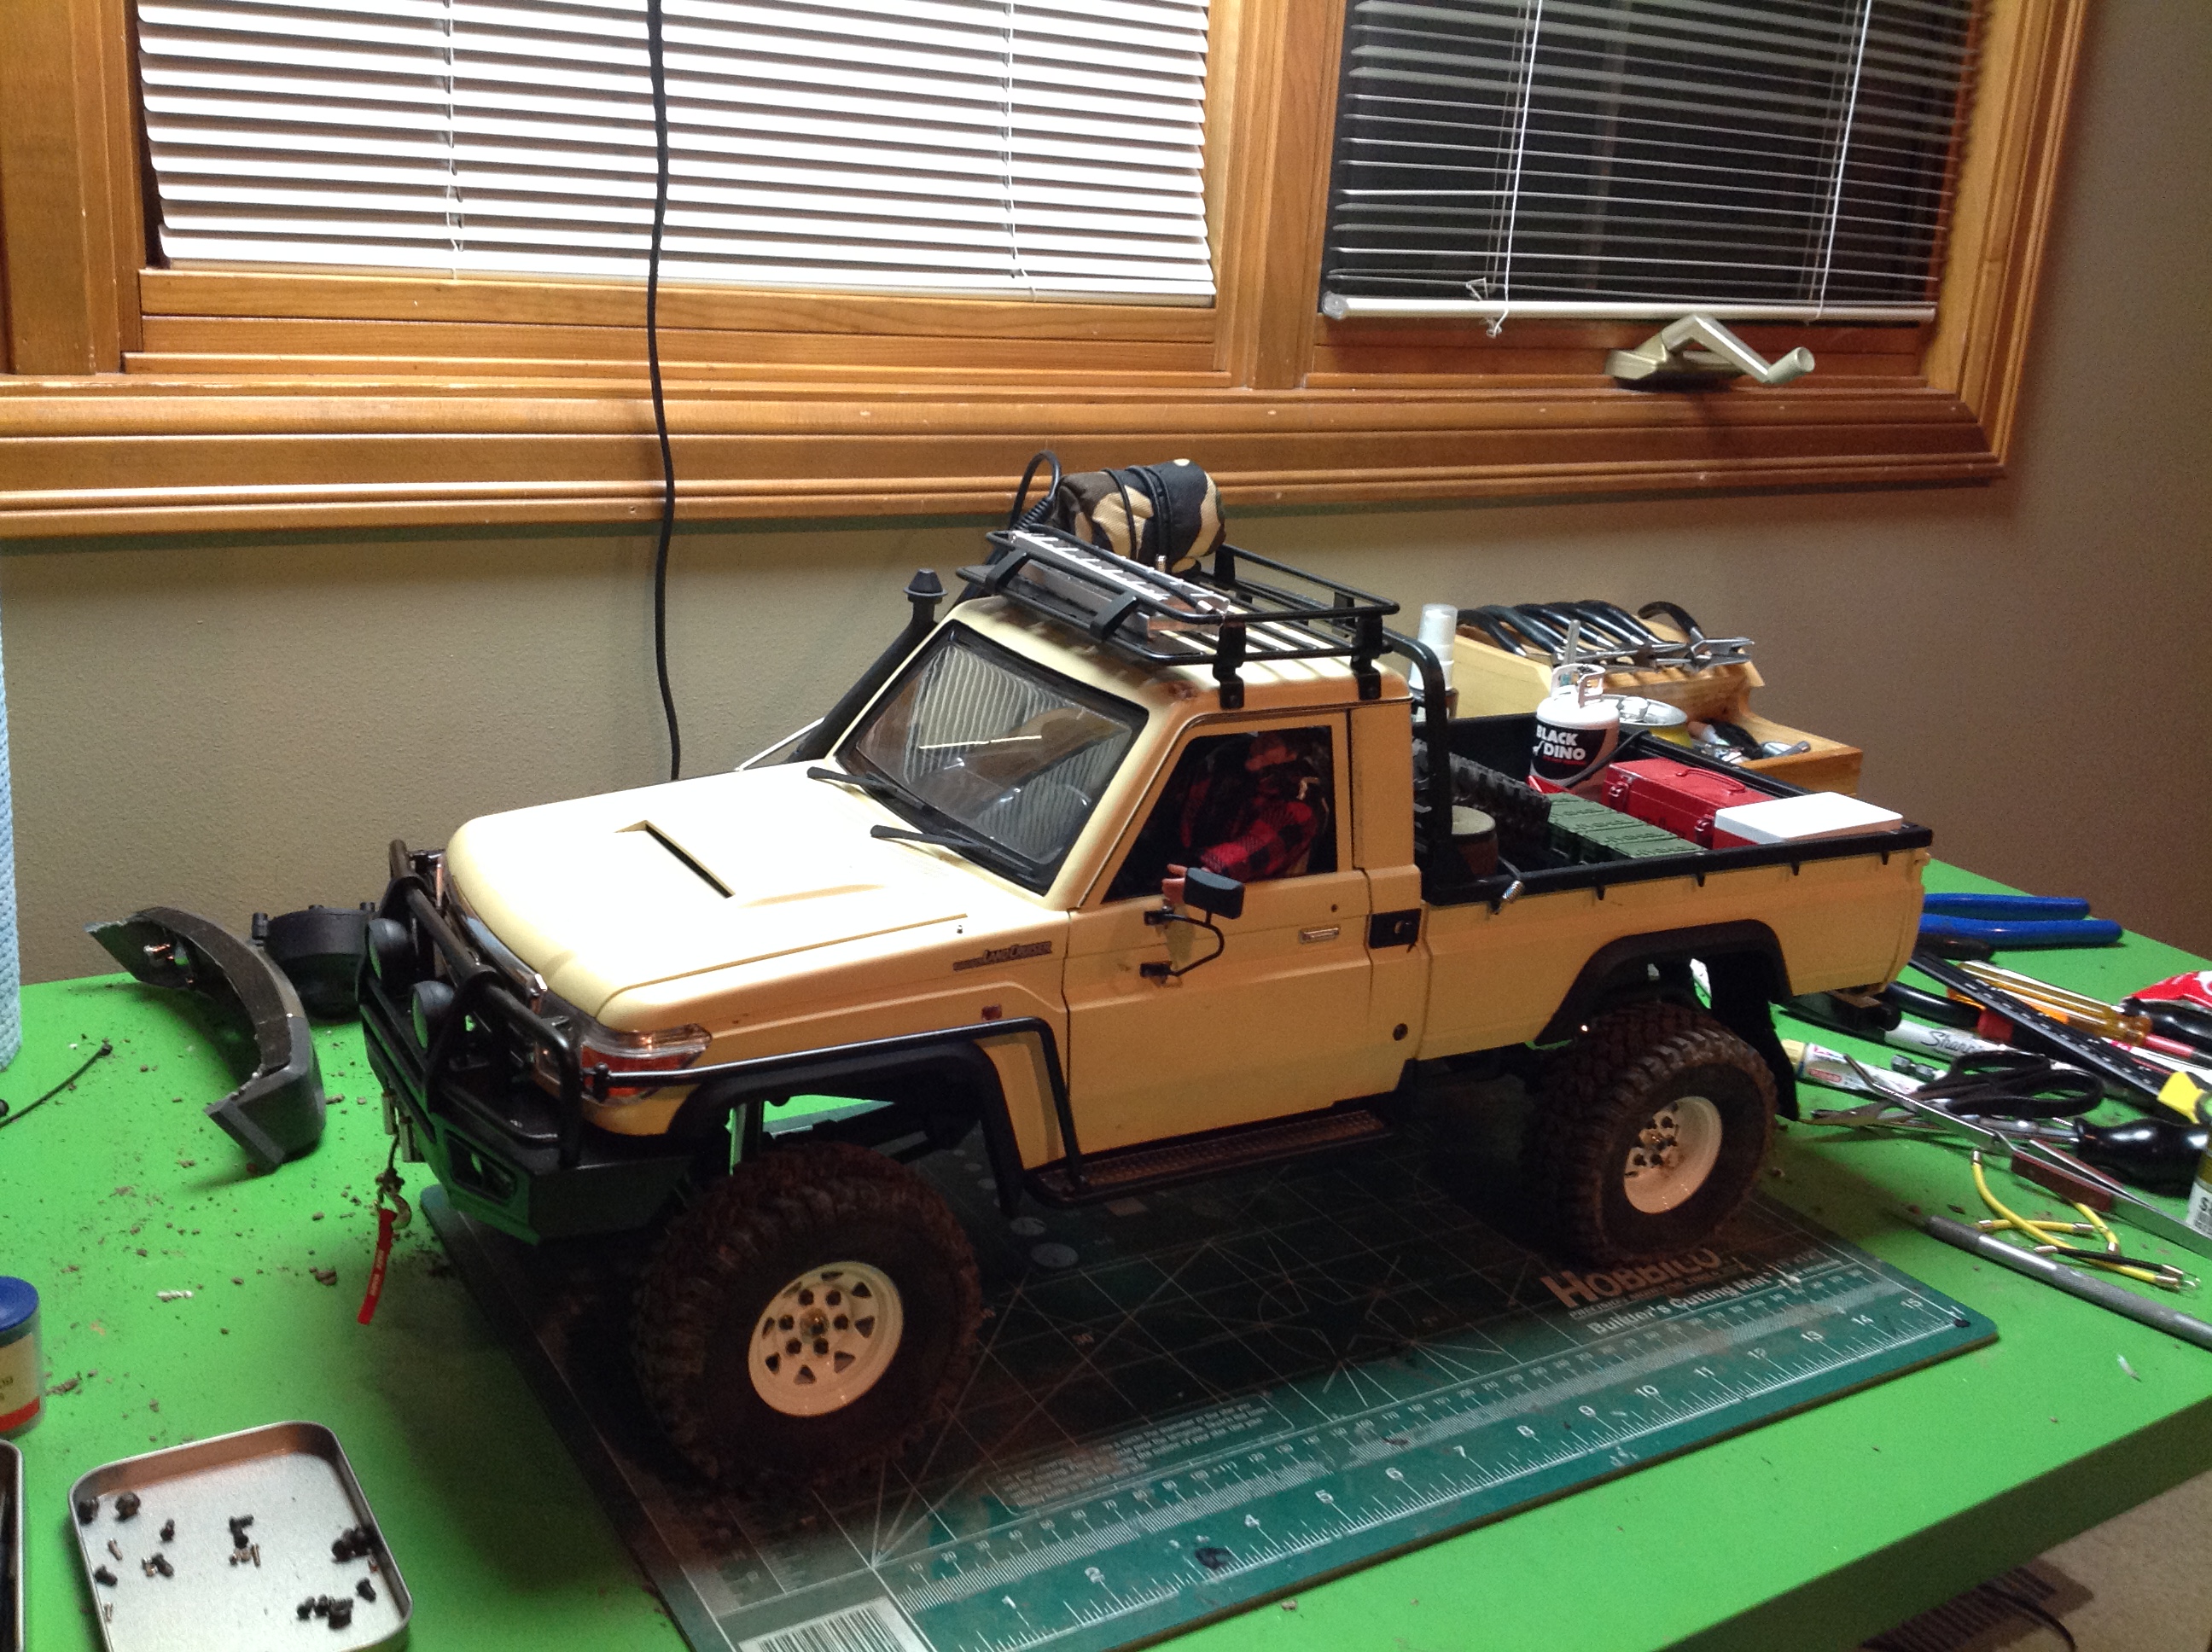
I already had lots of scale accessories in the back, but I needed some
more for the roof rack and I also wanted to fill out the bed. I
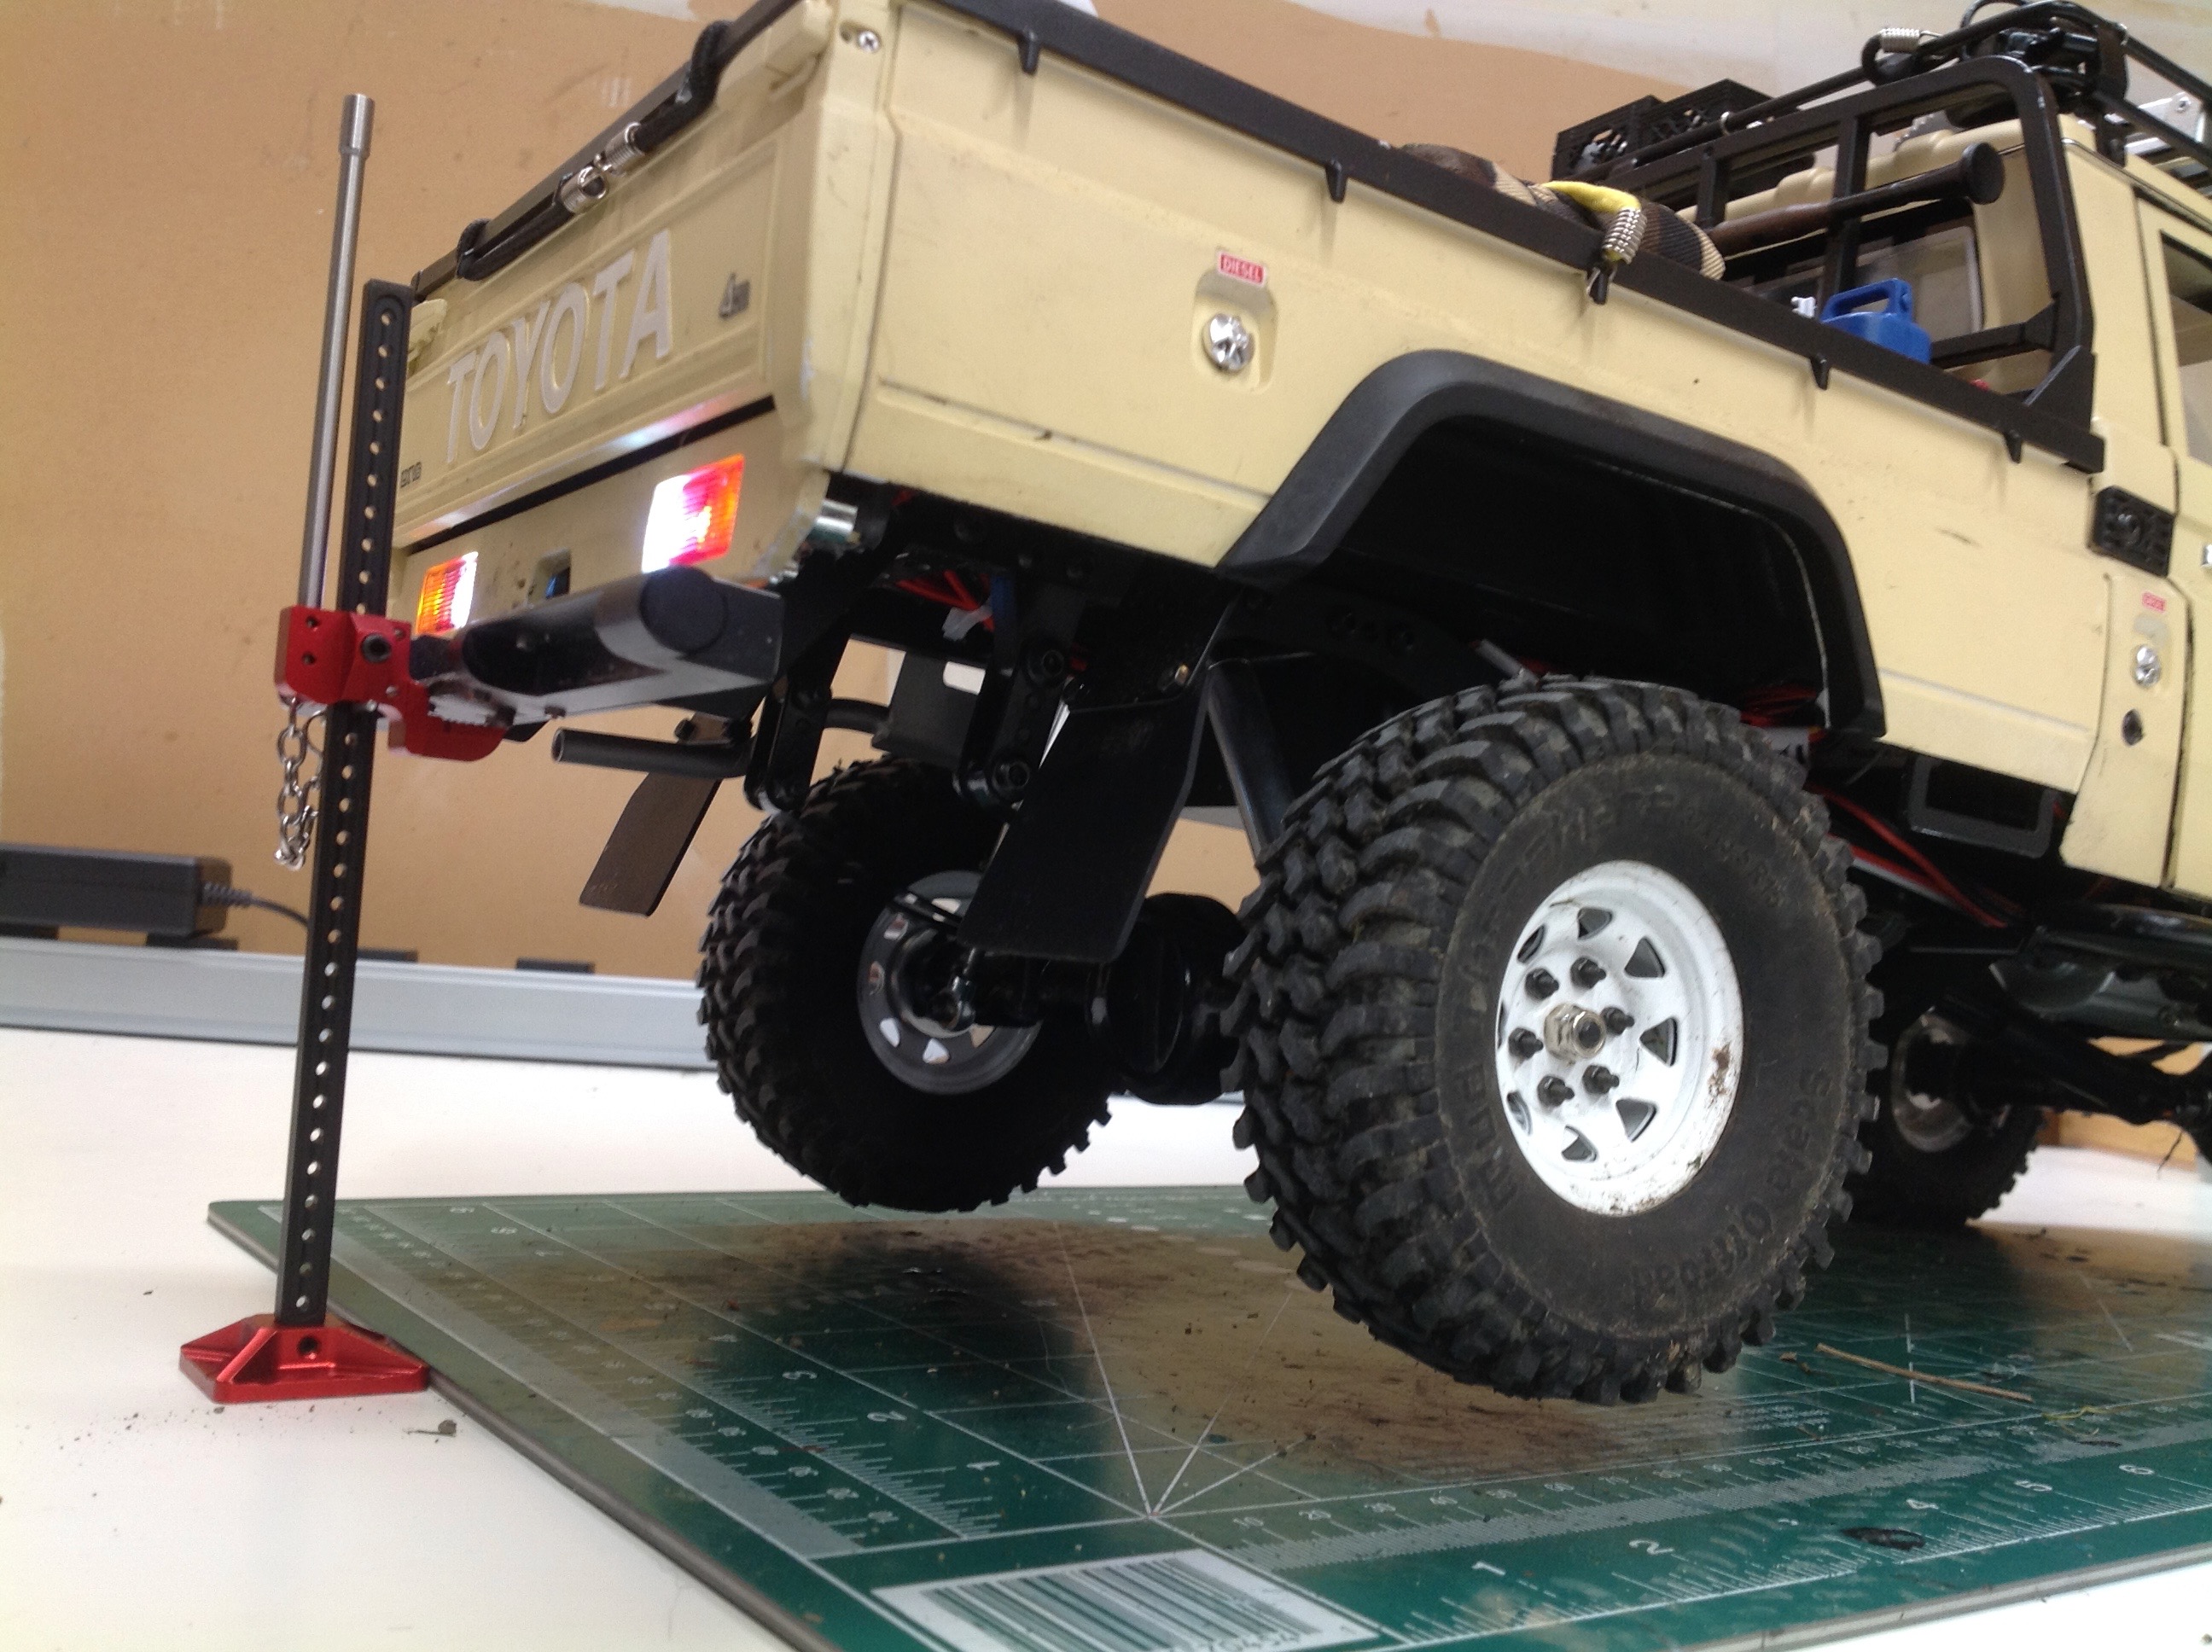
added a bumper jack and a bunch of other supplies.
These pictures show the truck before and after the upgrades. The
opening doors and hood are not so obvious when closed, but the new bumpers,
rear fender flares, and roof rack really stand out. I also snuck a
winch into that front bumper when you weren't looking which finally
gave me an excuse to change over to a Spektrum receiver with 4 channels.
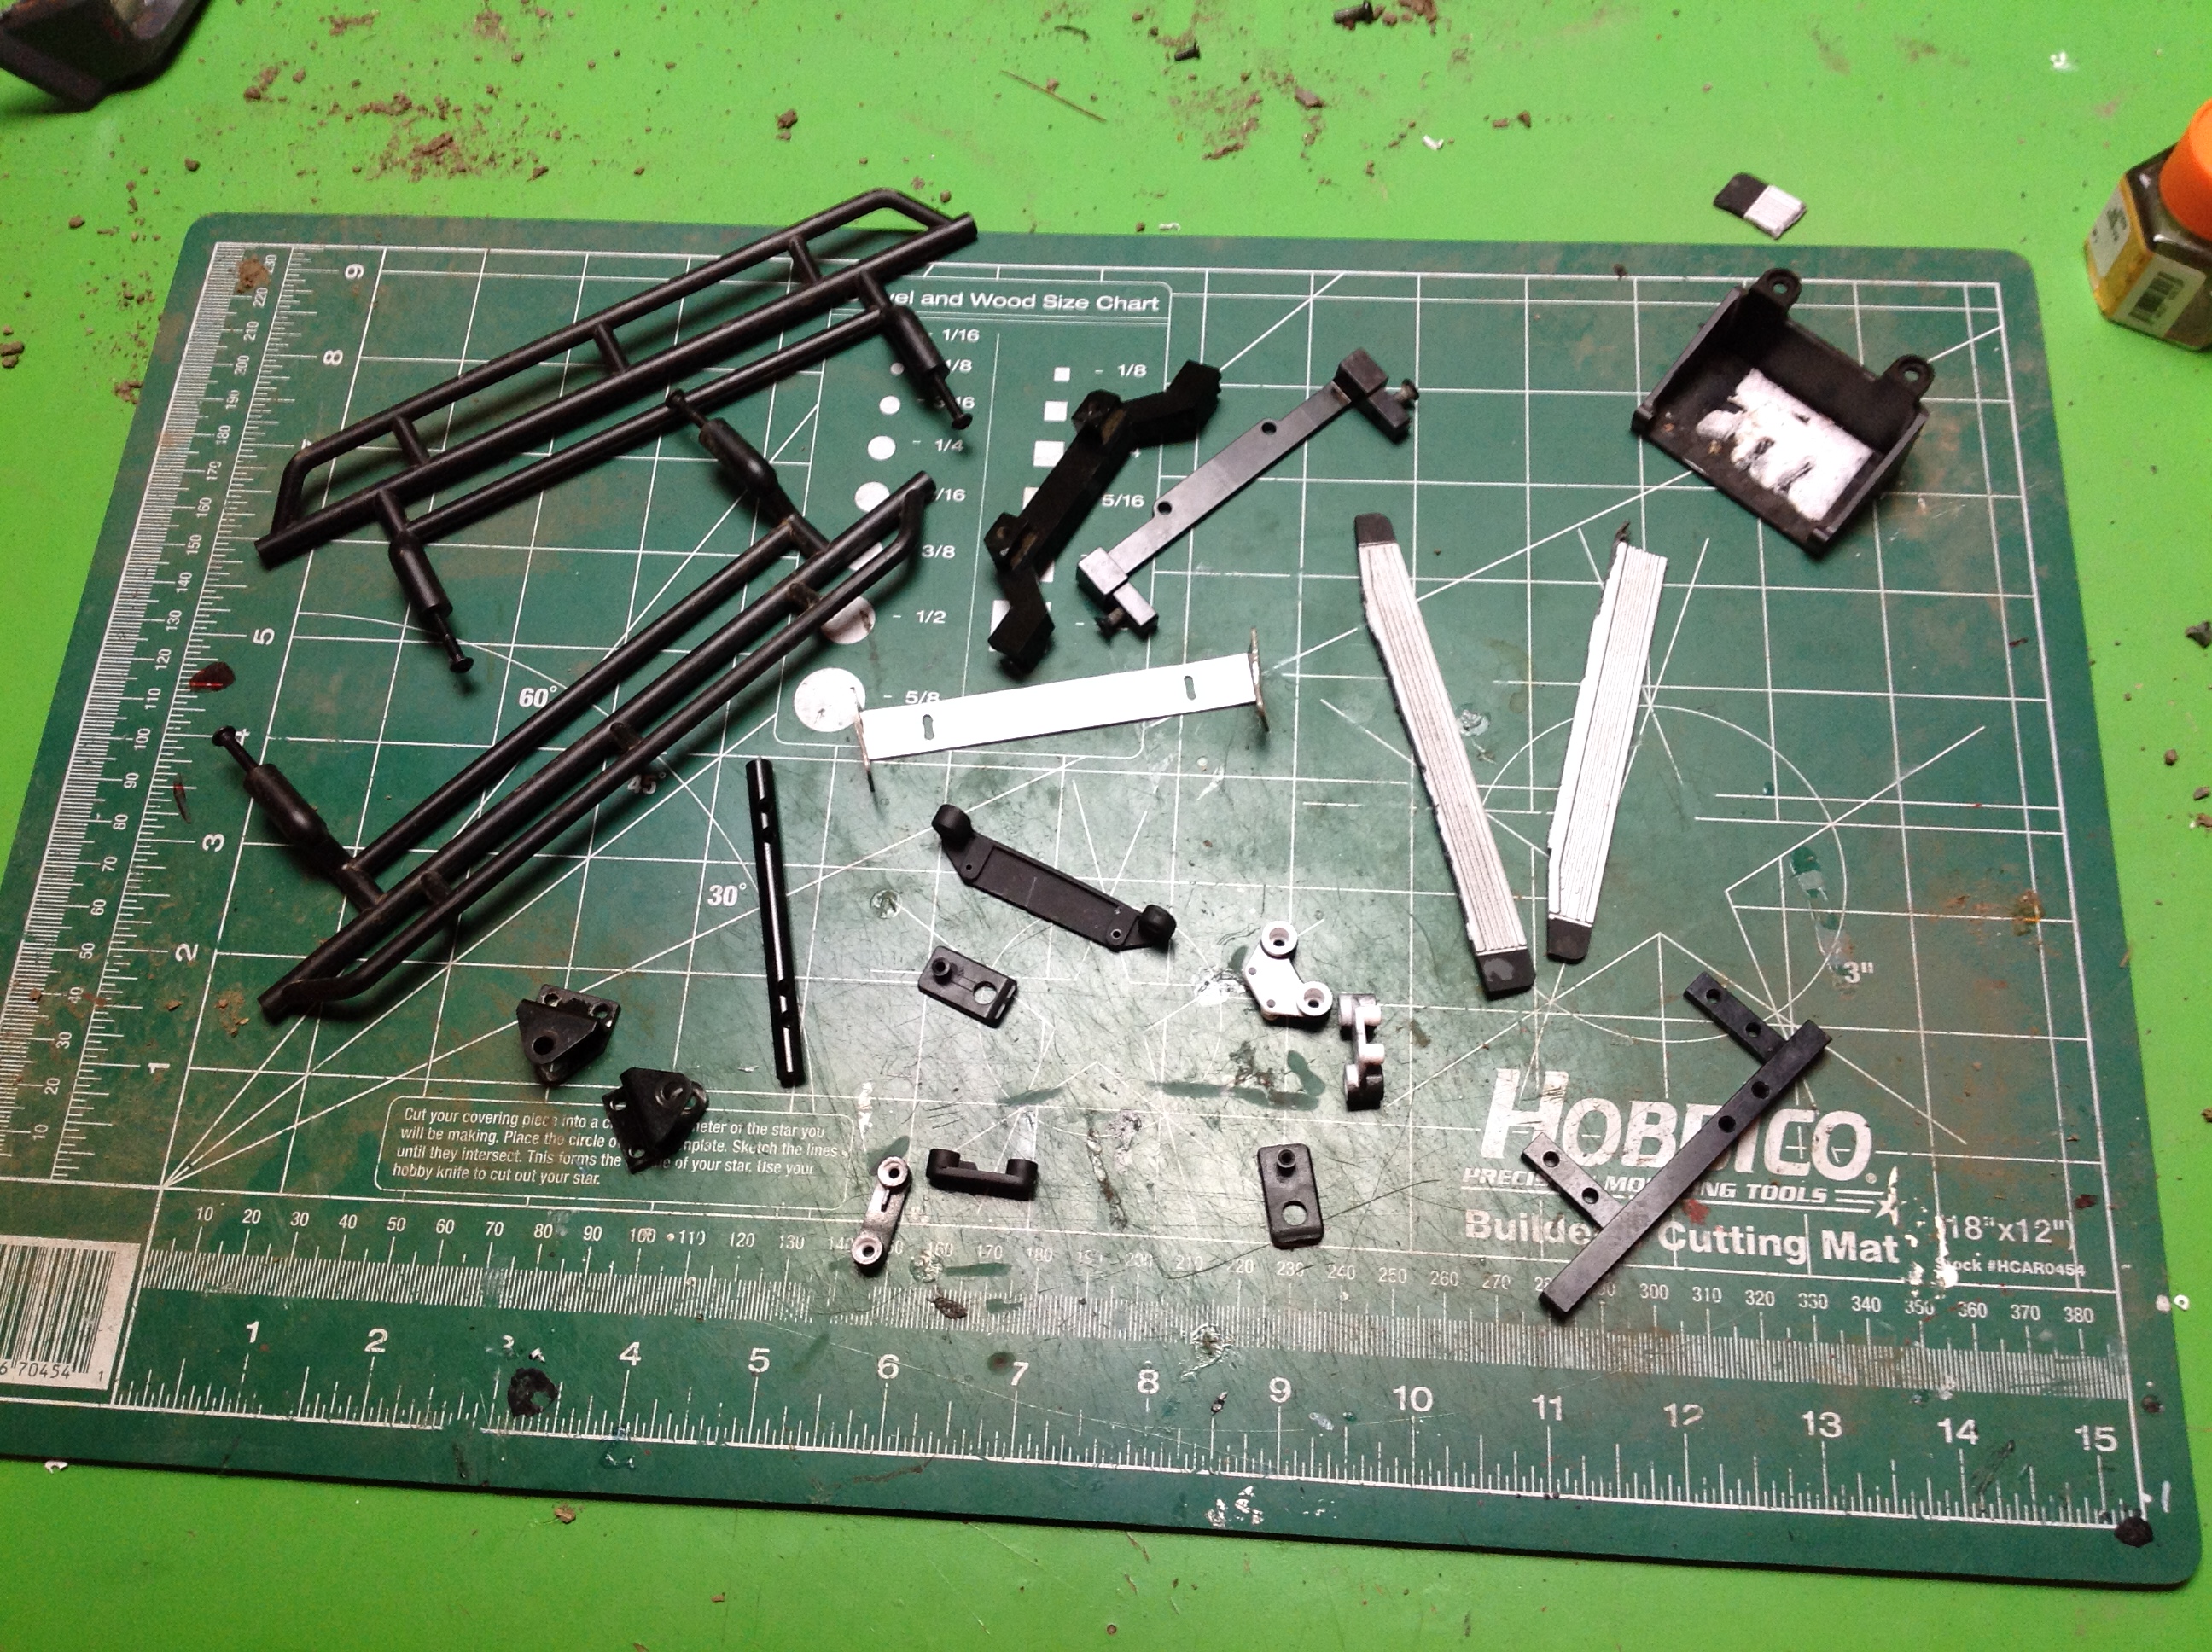
Here is the pile of parts which was ultimately removed from the model
including running boards, sliders, cross members, and other brackets.
©2018 Eric Albrecht