Tamiya TRF201 Project
Page 2: Converting to XR
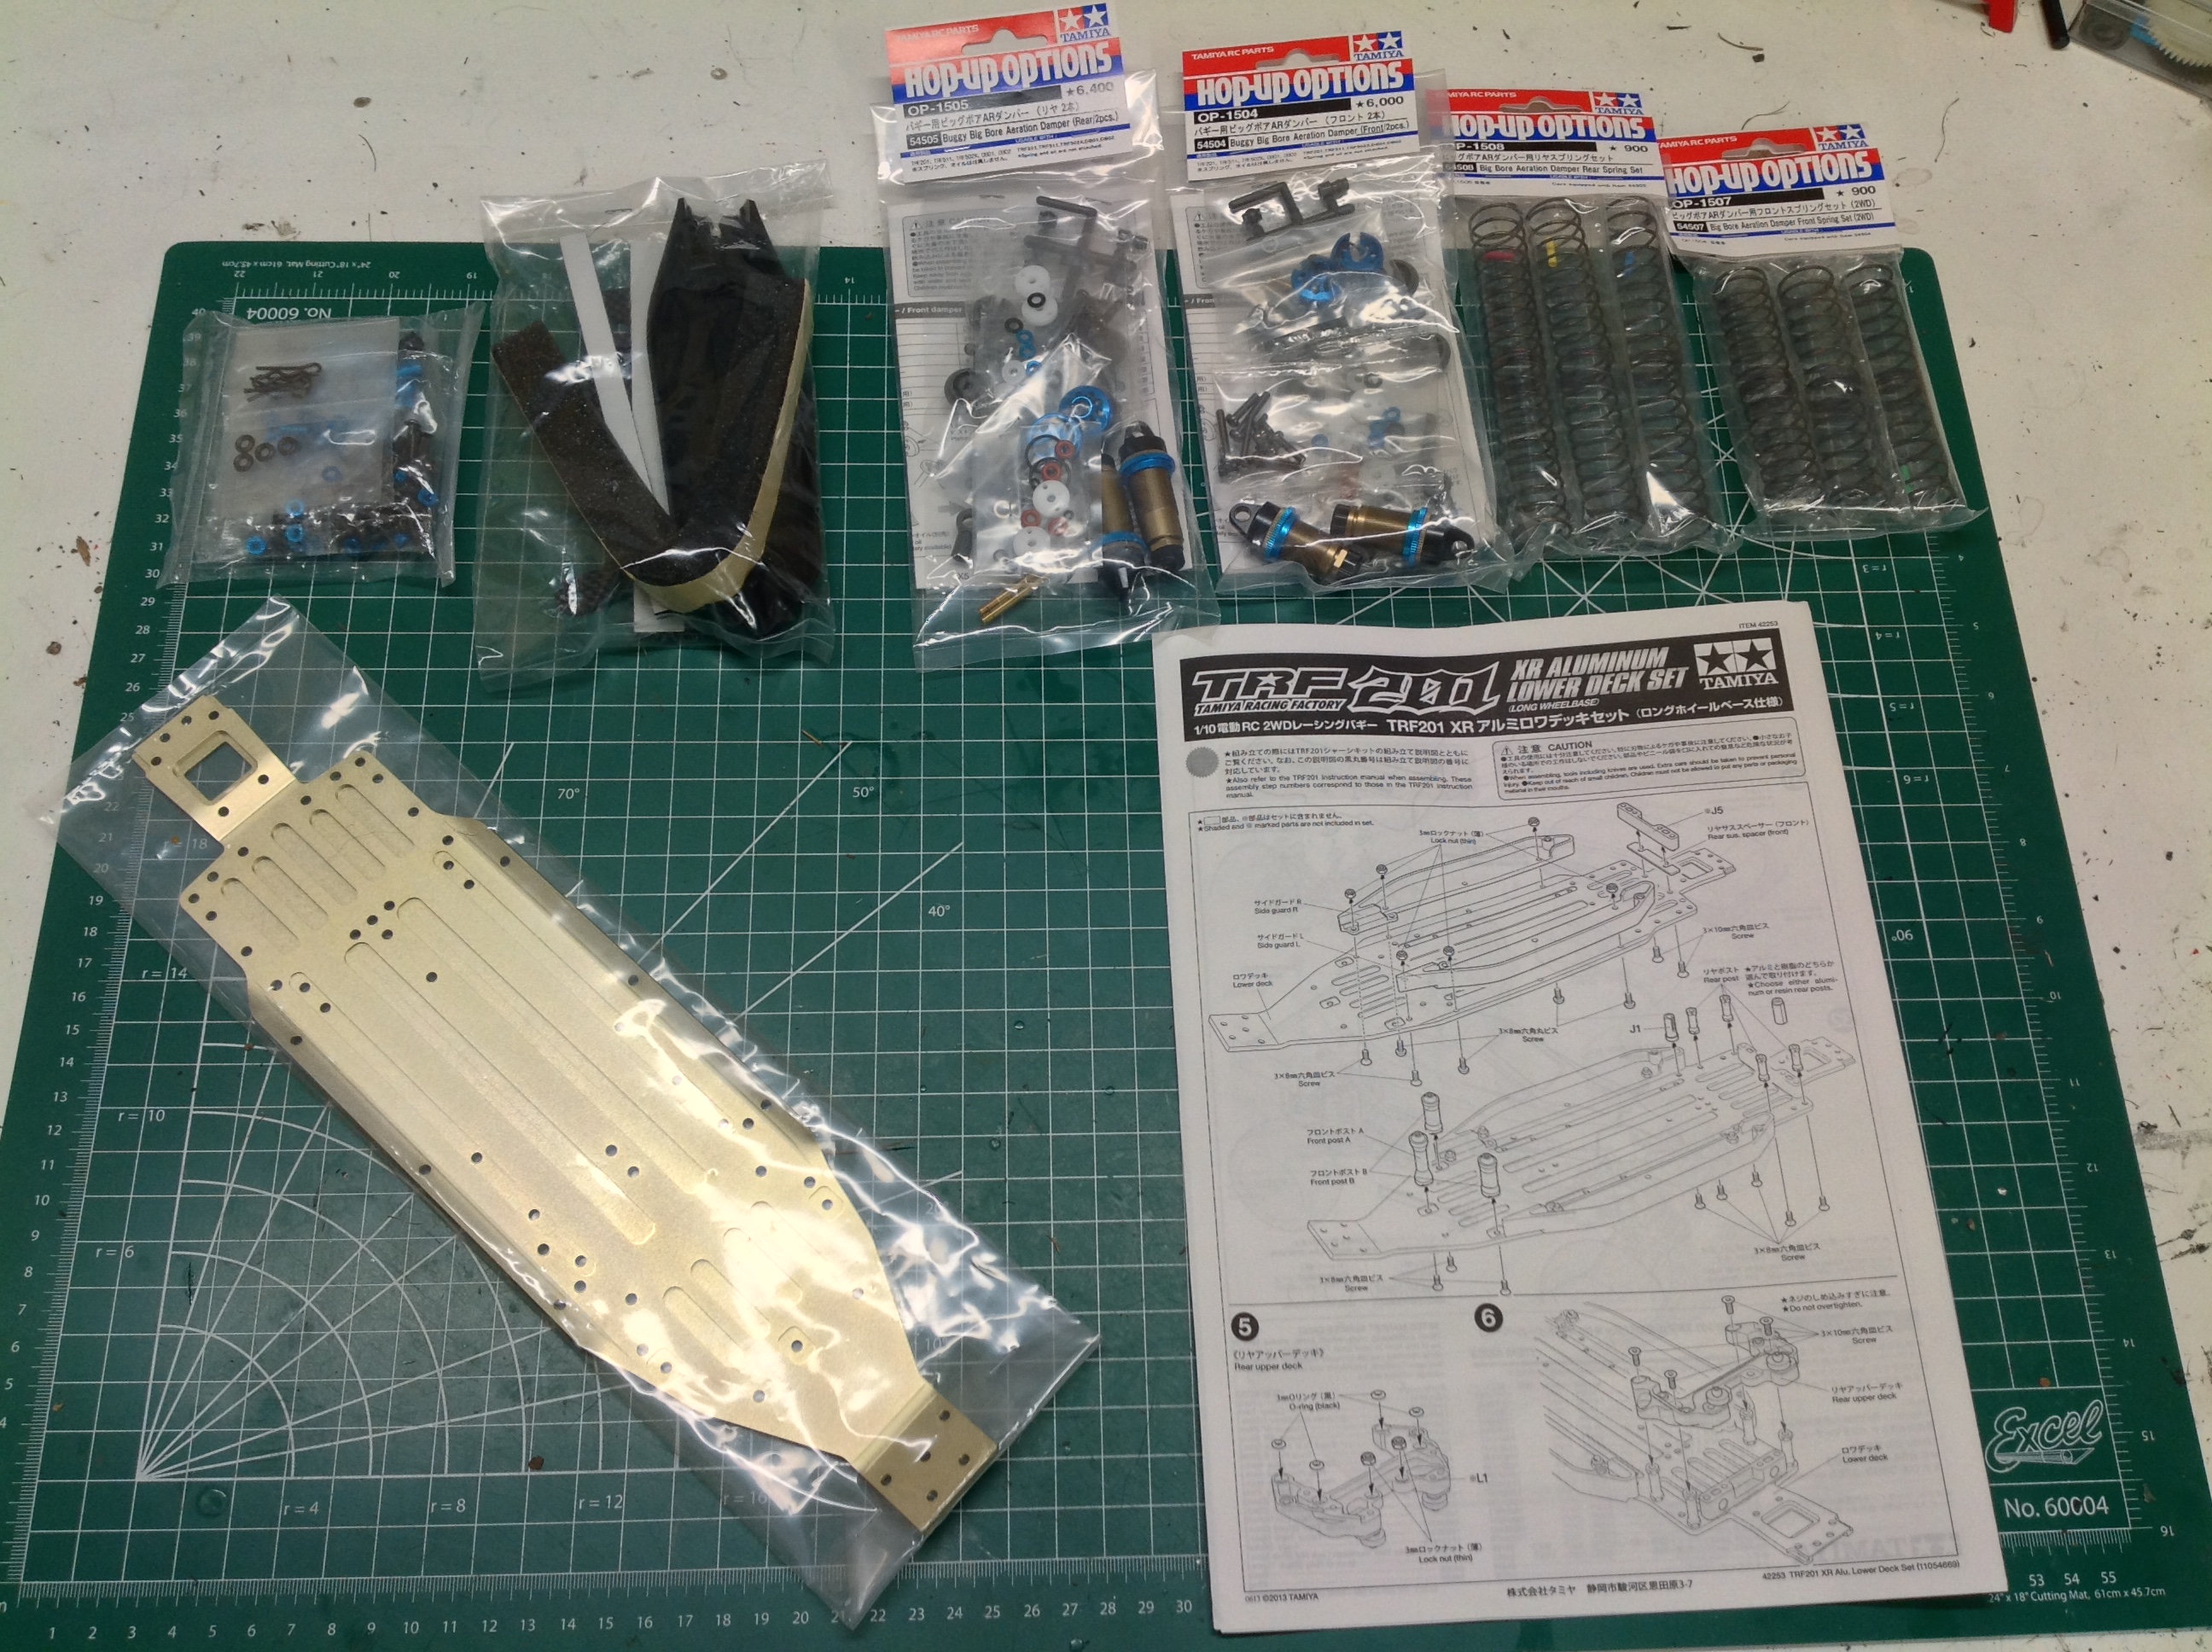
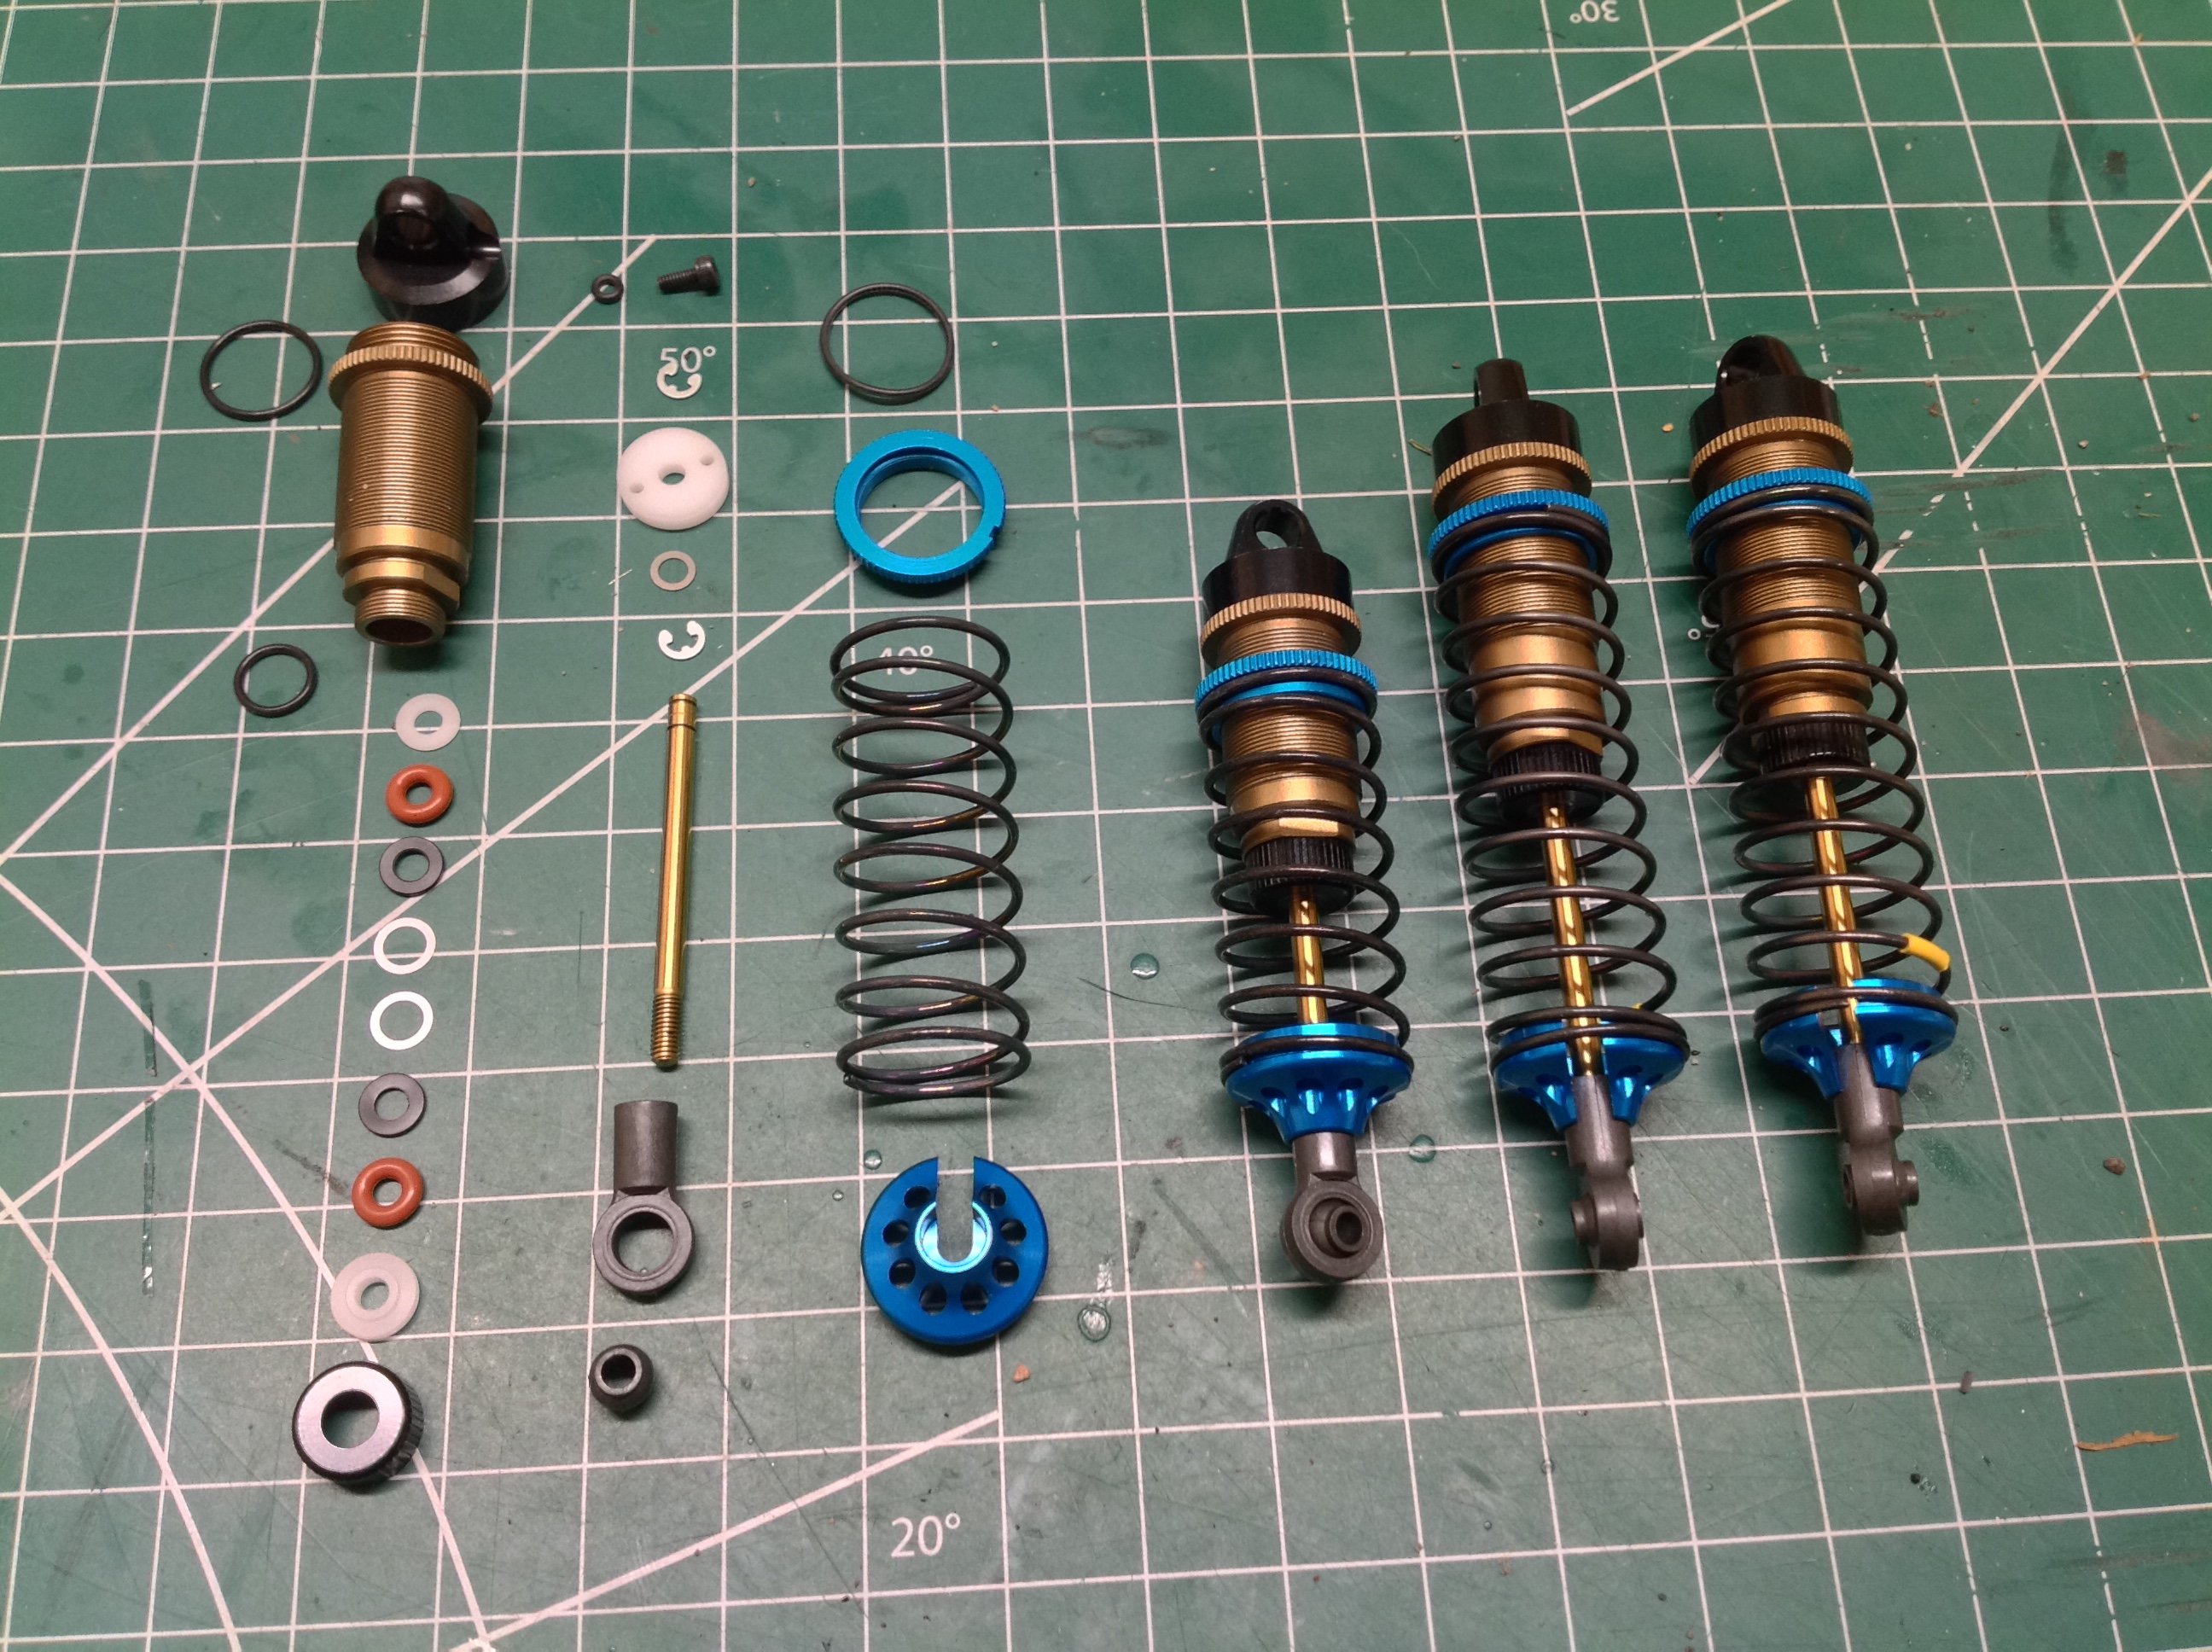
Here are the rest of the parts that came in the box with my TRF201XR
kit. These include the parts to convert to the XR extended chassis
and also a full set of big bore shocks. You can see the XR
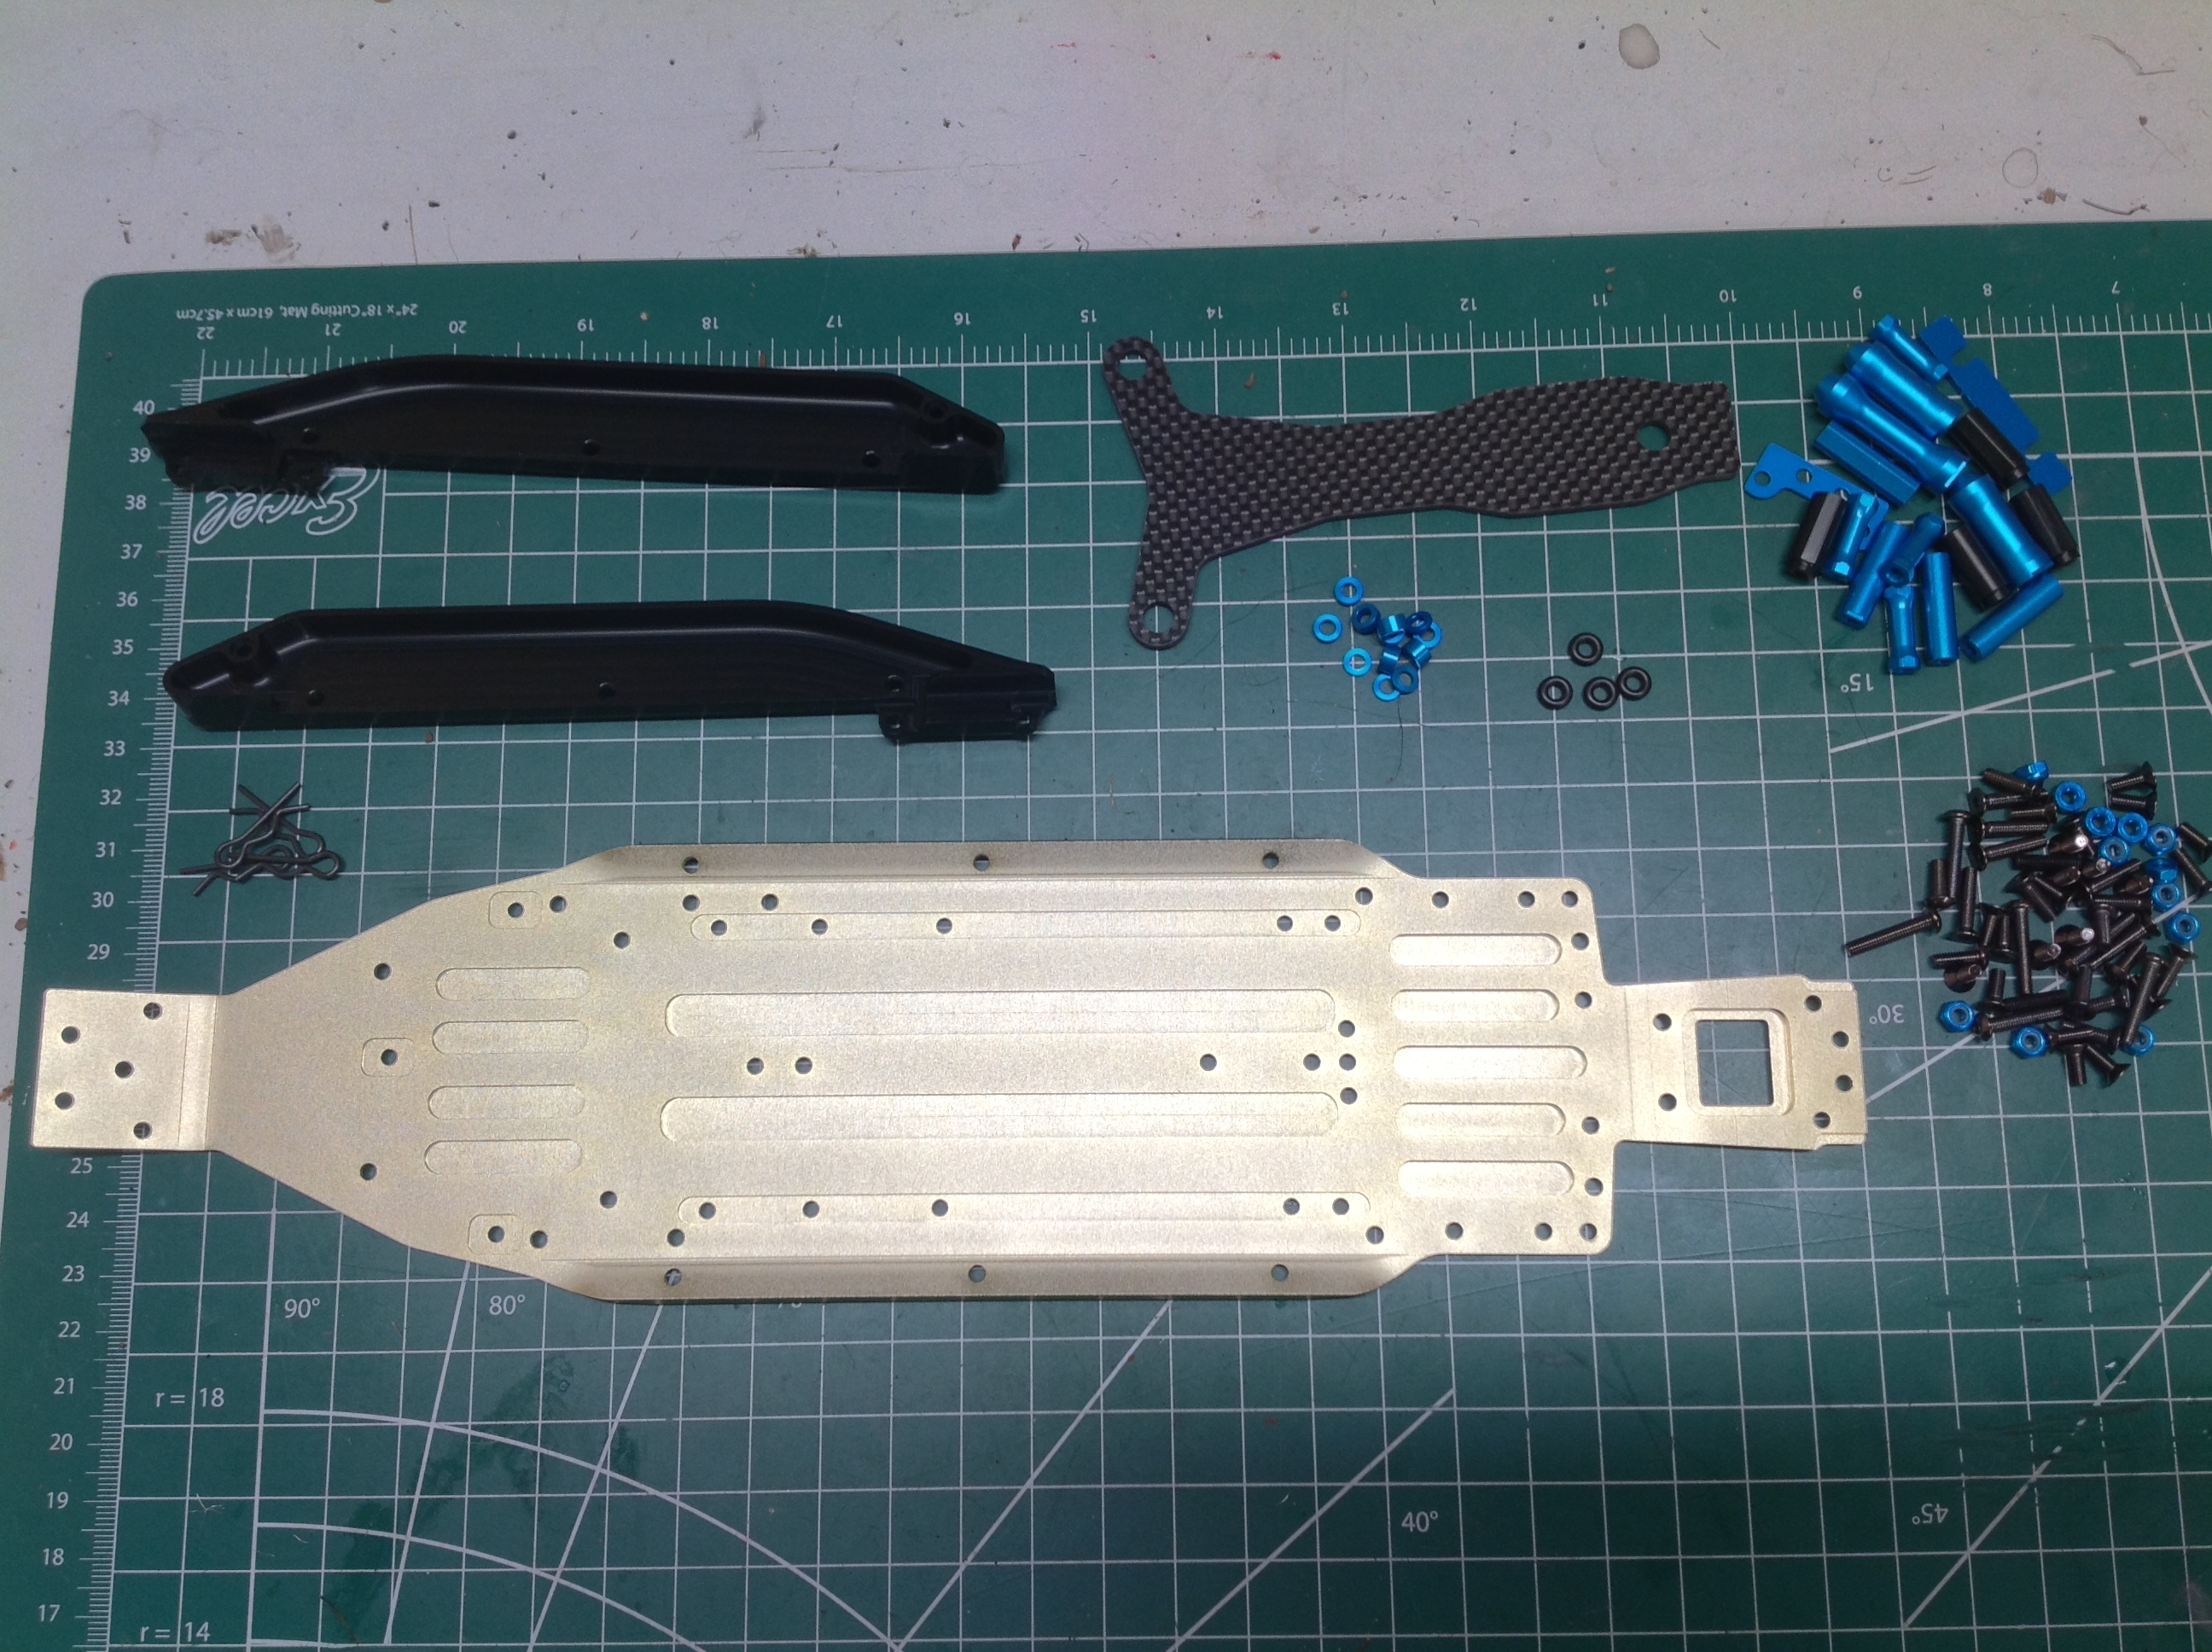
conversion parts on the right. The most obvious bit is the new
aluminum chassis plate, but there are also a pair of side stiffeners, a
carbon battery cover plate, and a bunch of hardware. The primary
purpose of this XR conversion is to increase the wheelbase to improve
stability.
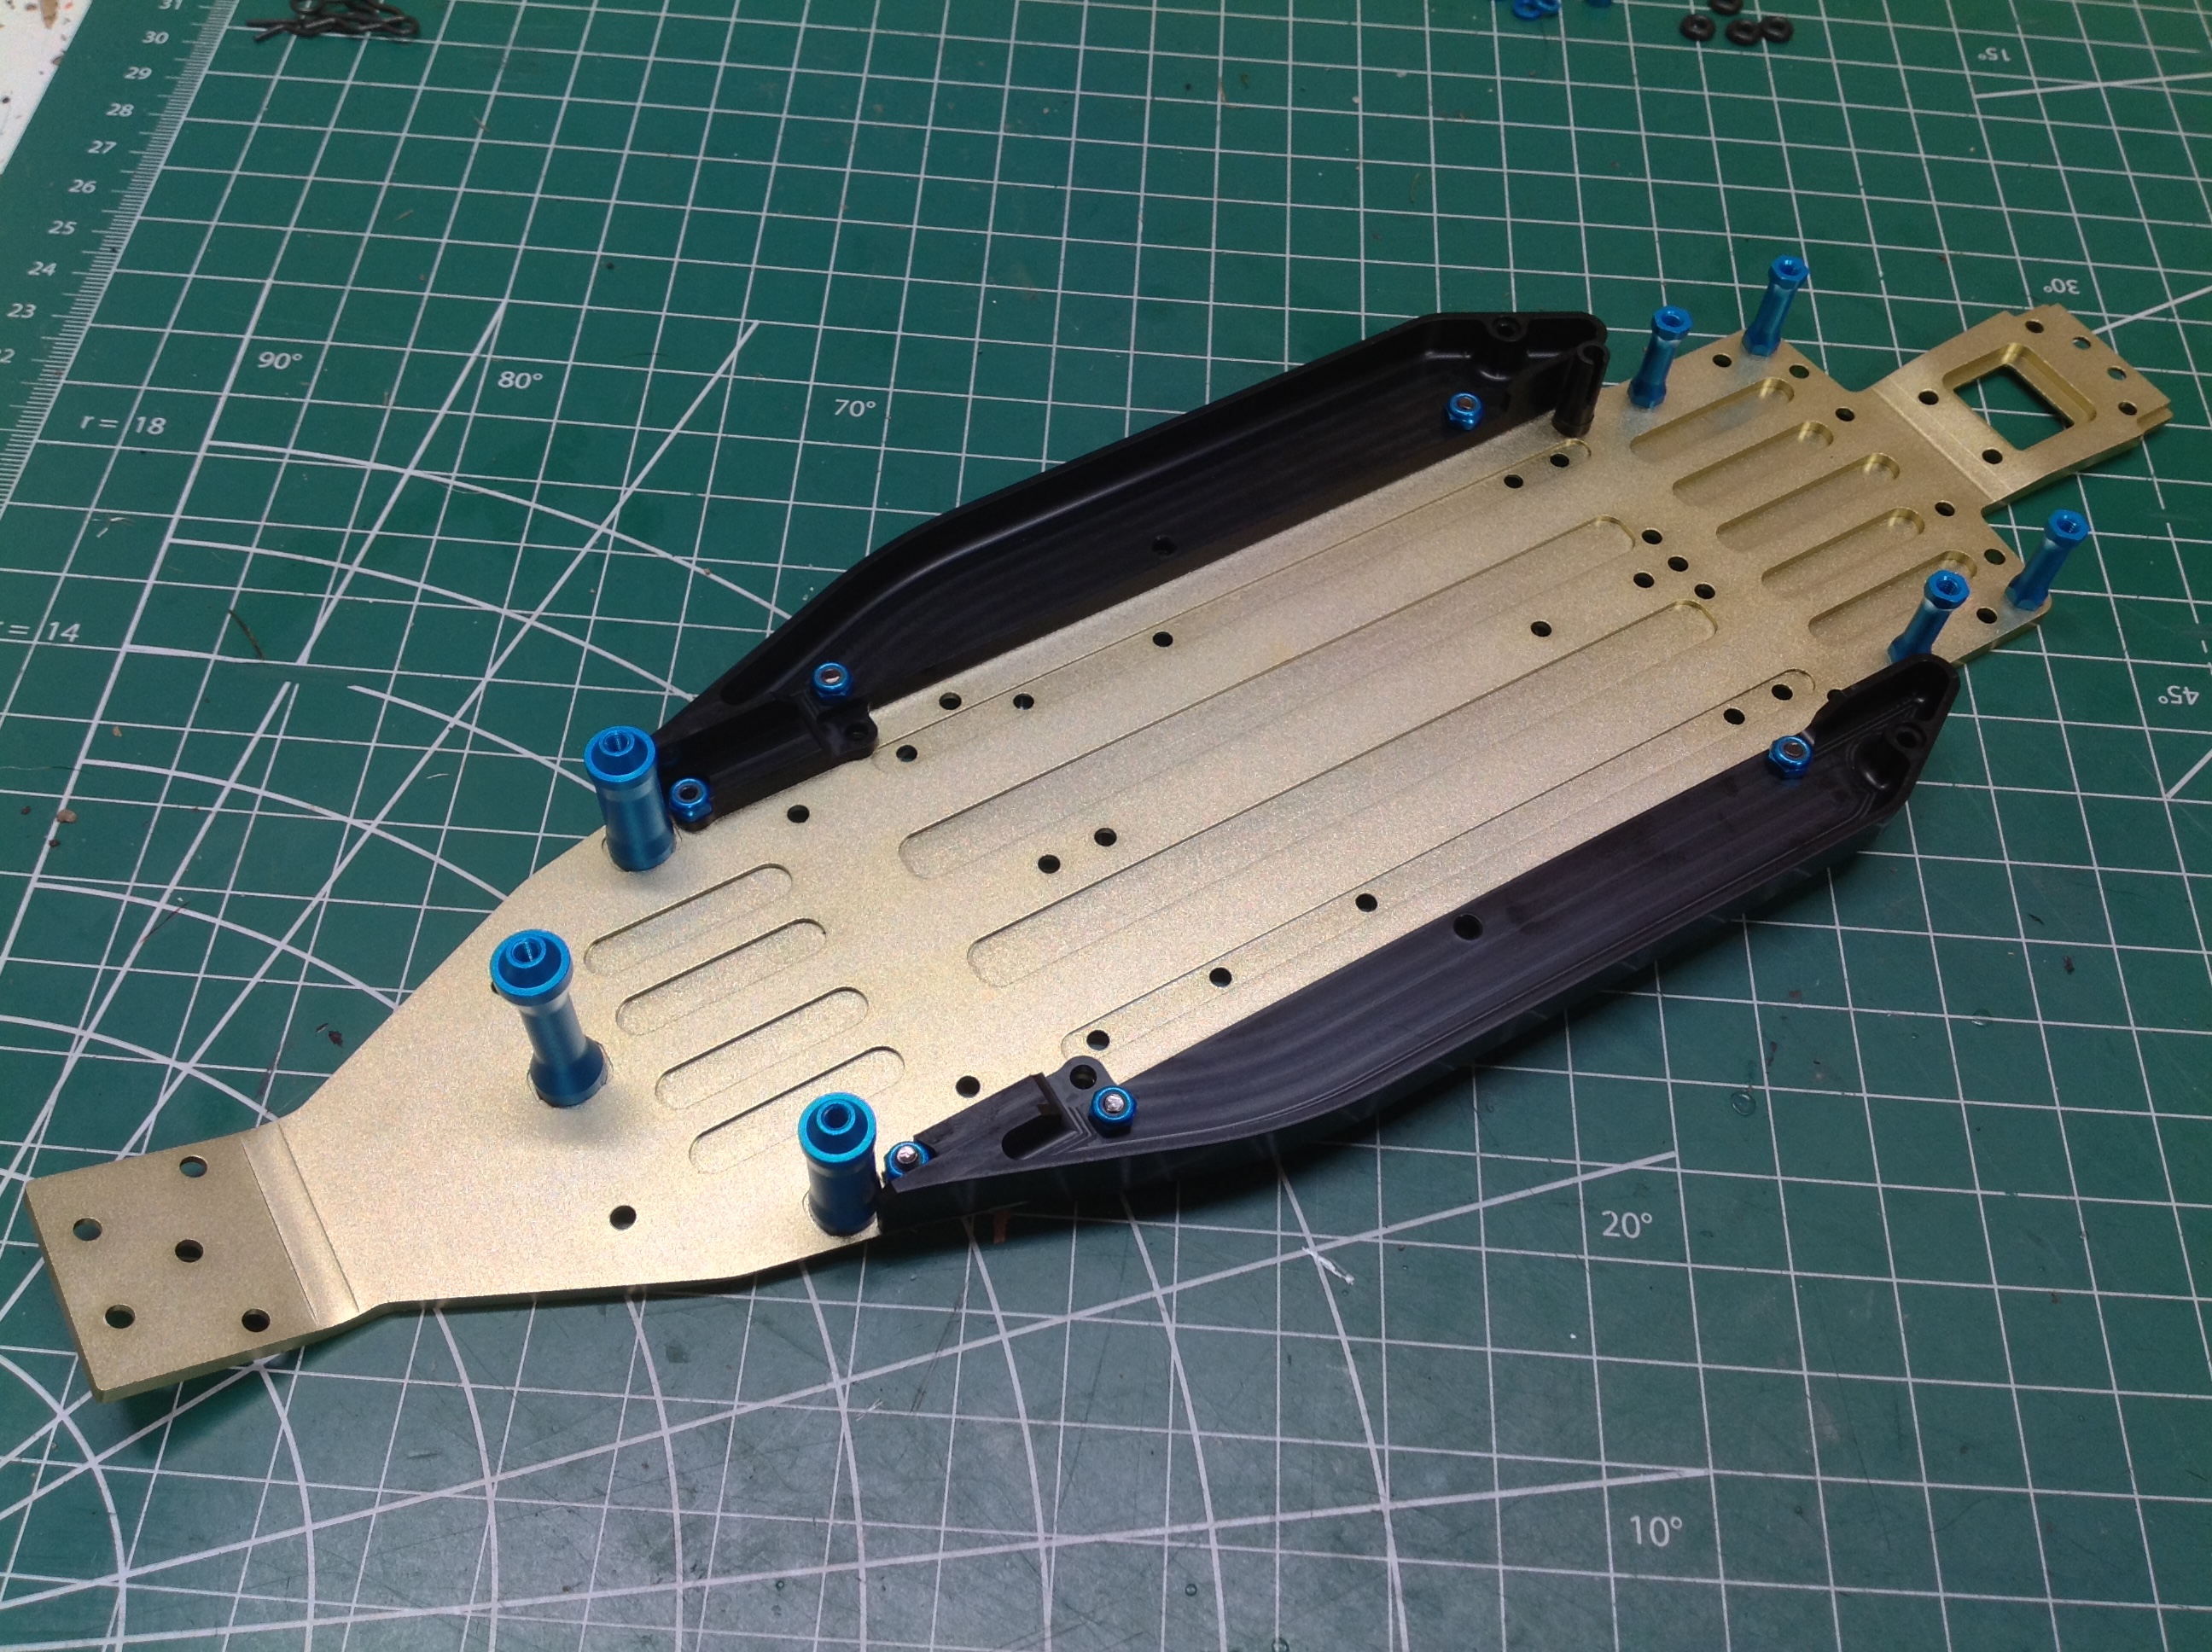
It only takes one step to assemble the parts that came with the upgrade
kit and the result in seen on the left. You can see all the
standoff posts in blue anodized aluminum which have been added to the
front and rear. From here on, it is just a matter of moving over
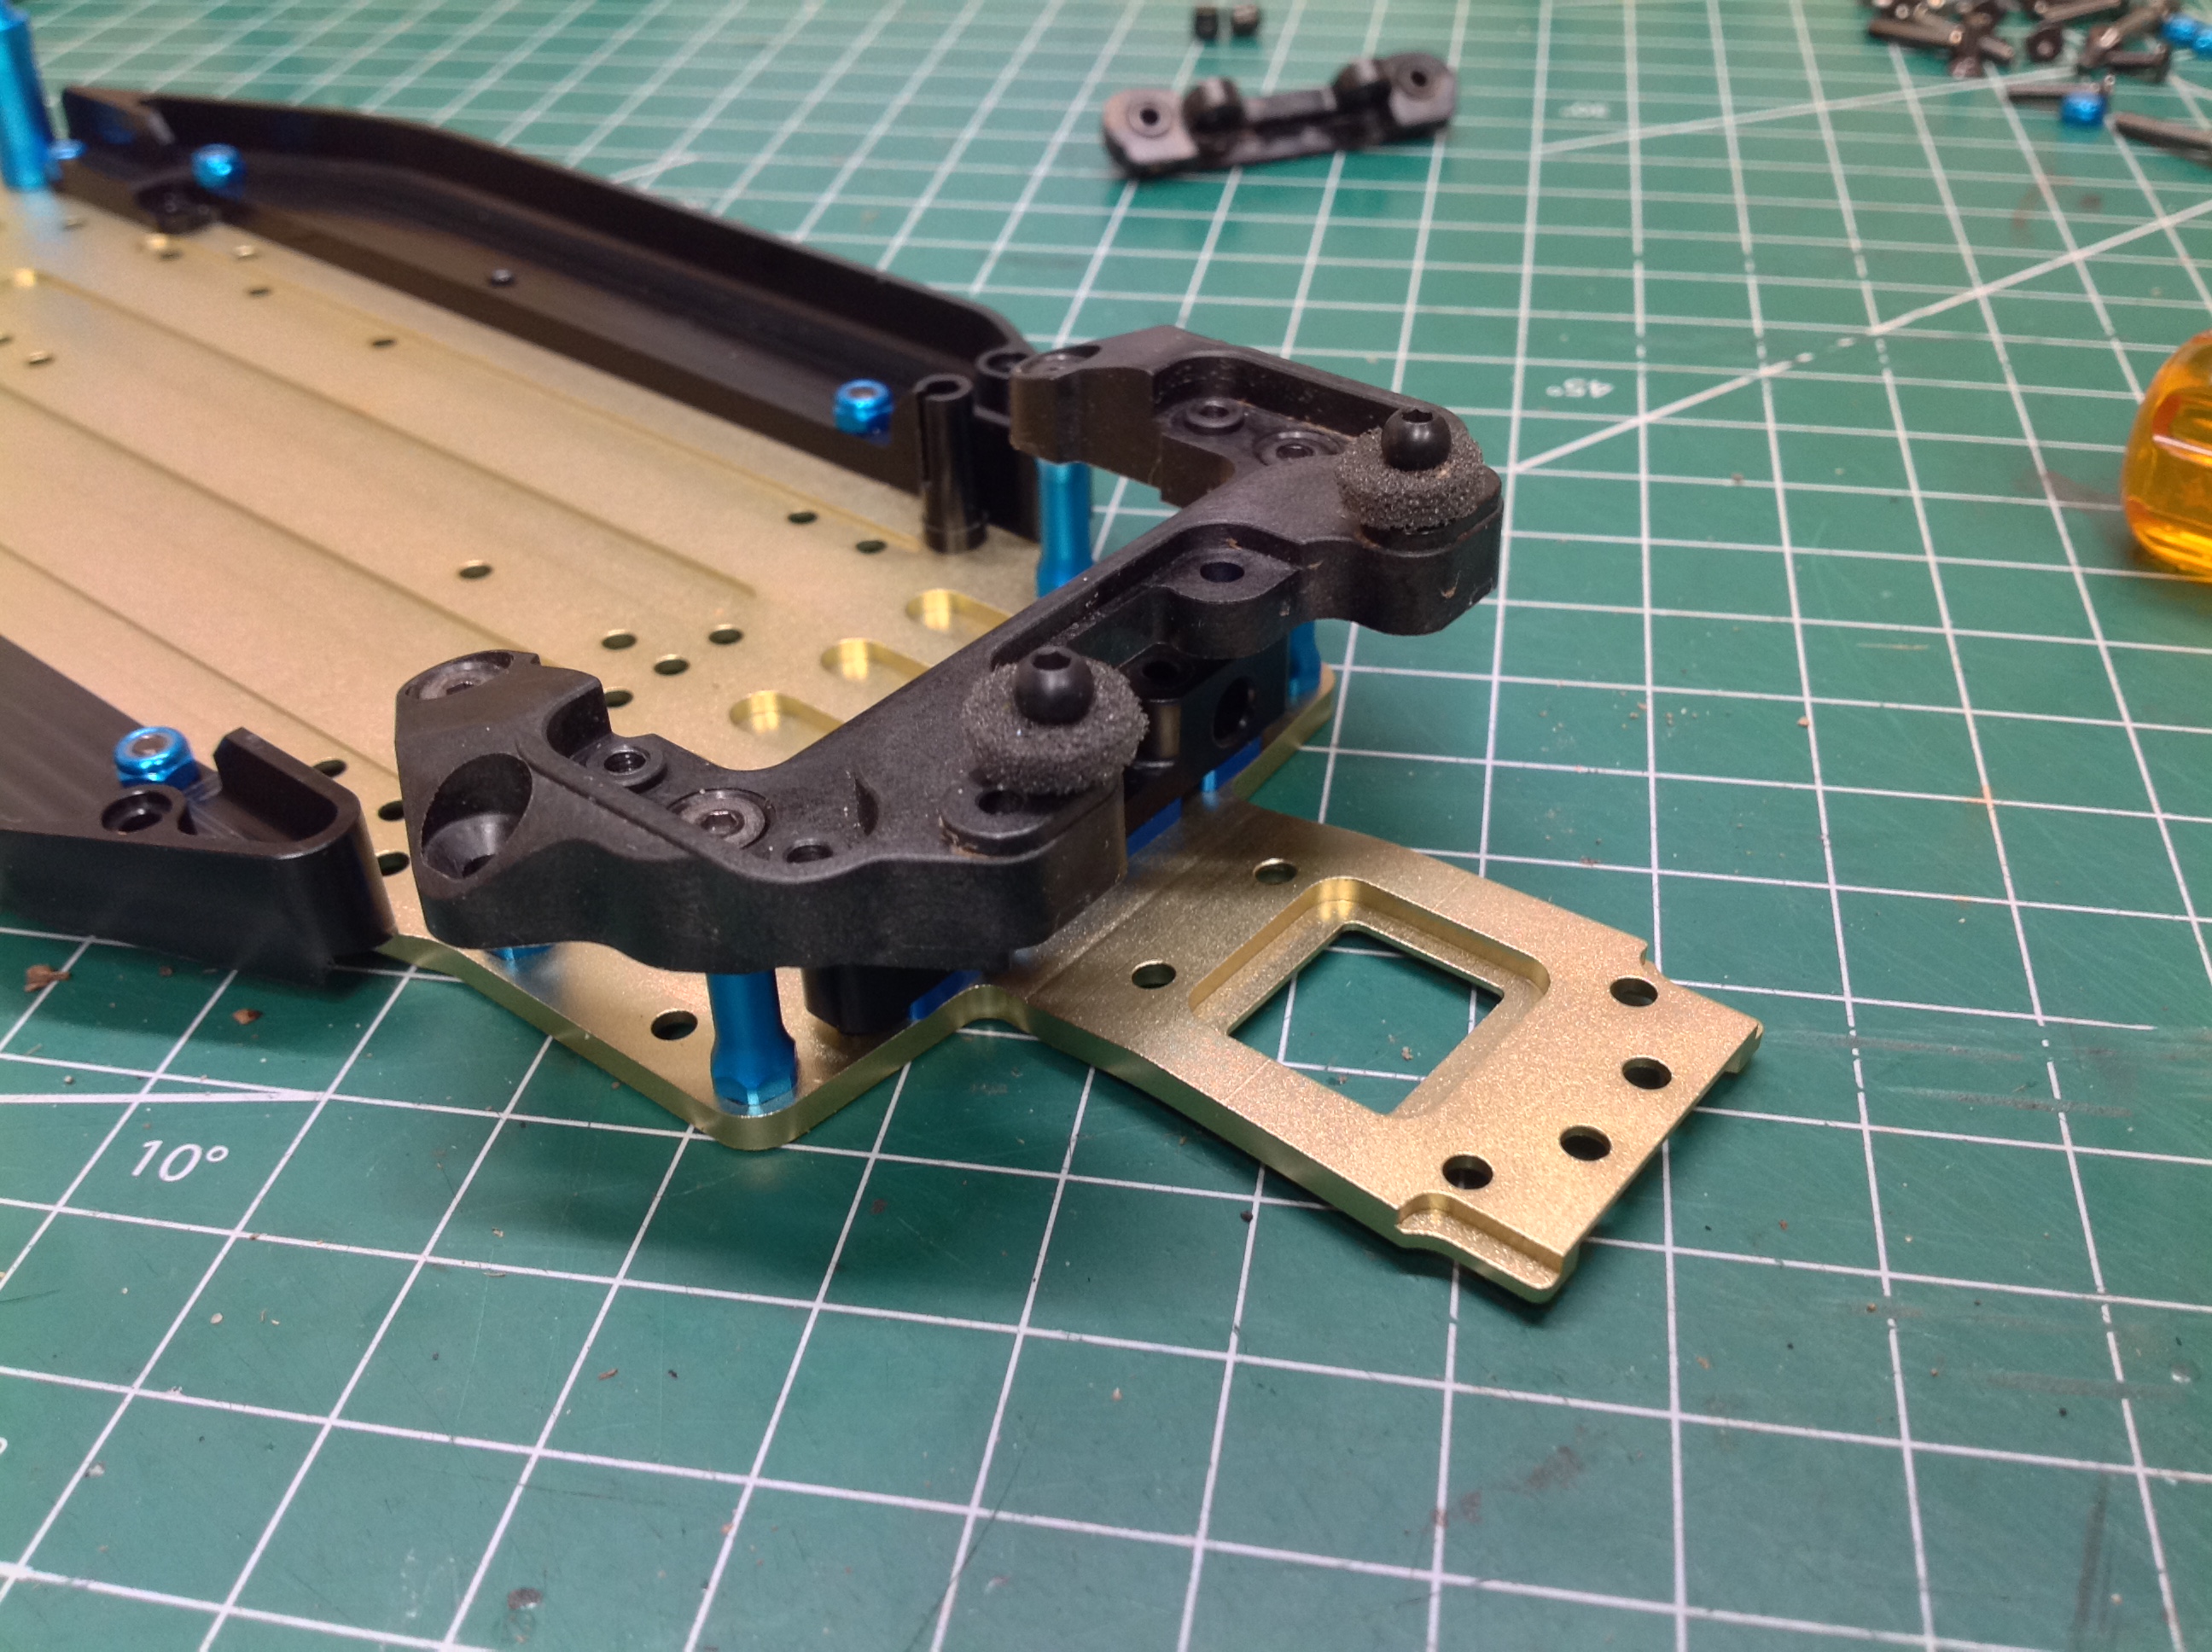
the parts from the original chassis. On the right you can see that
I've added the rear upper deck. It looks a bit odd just floating
above the plate on posts like that.
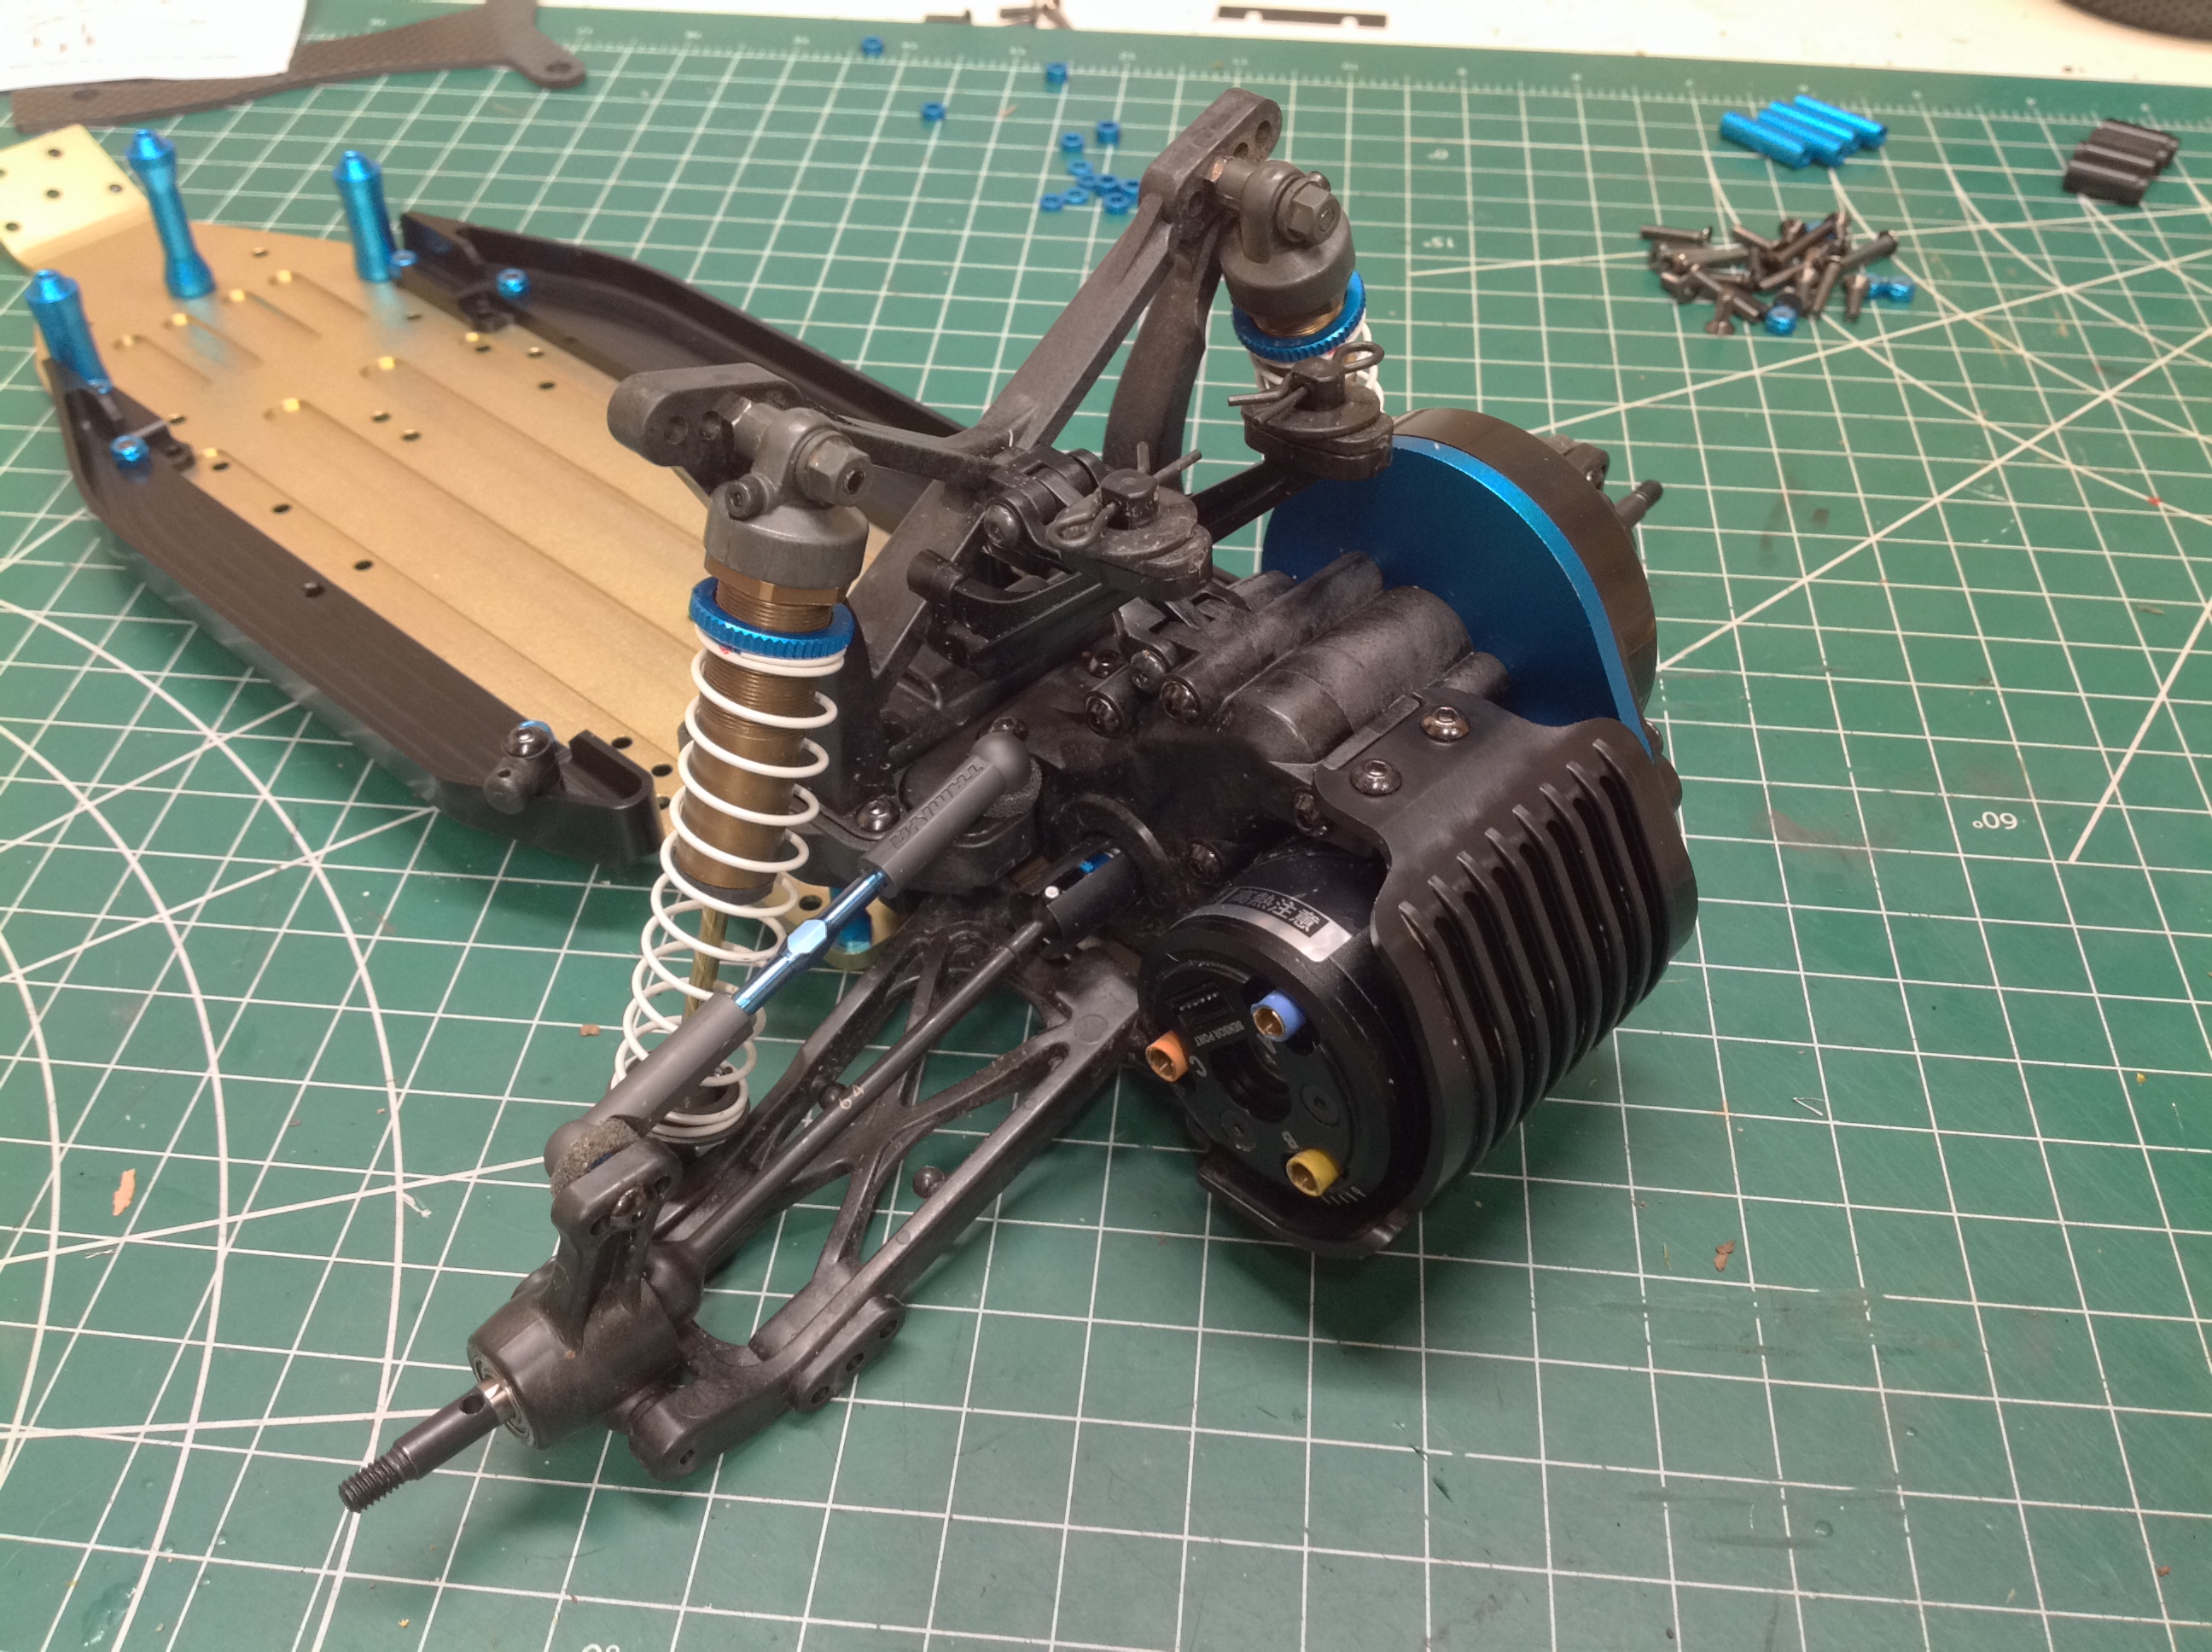
Now the whole rear gearbox and suspension can be moved as shown on the
left. The same thing happens for the front suspension as shown on
the right. This pretty much completes the conversion.
Everything is the same except for the chassis length and material.
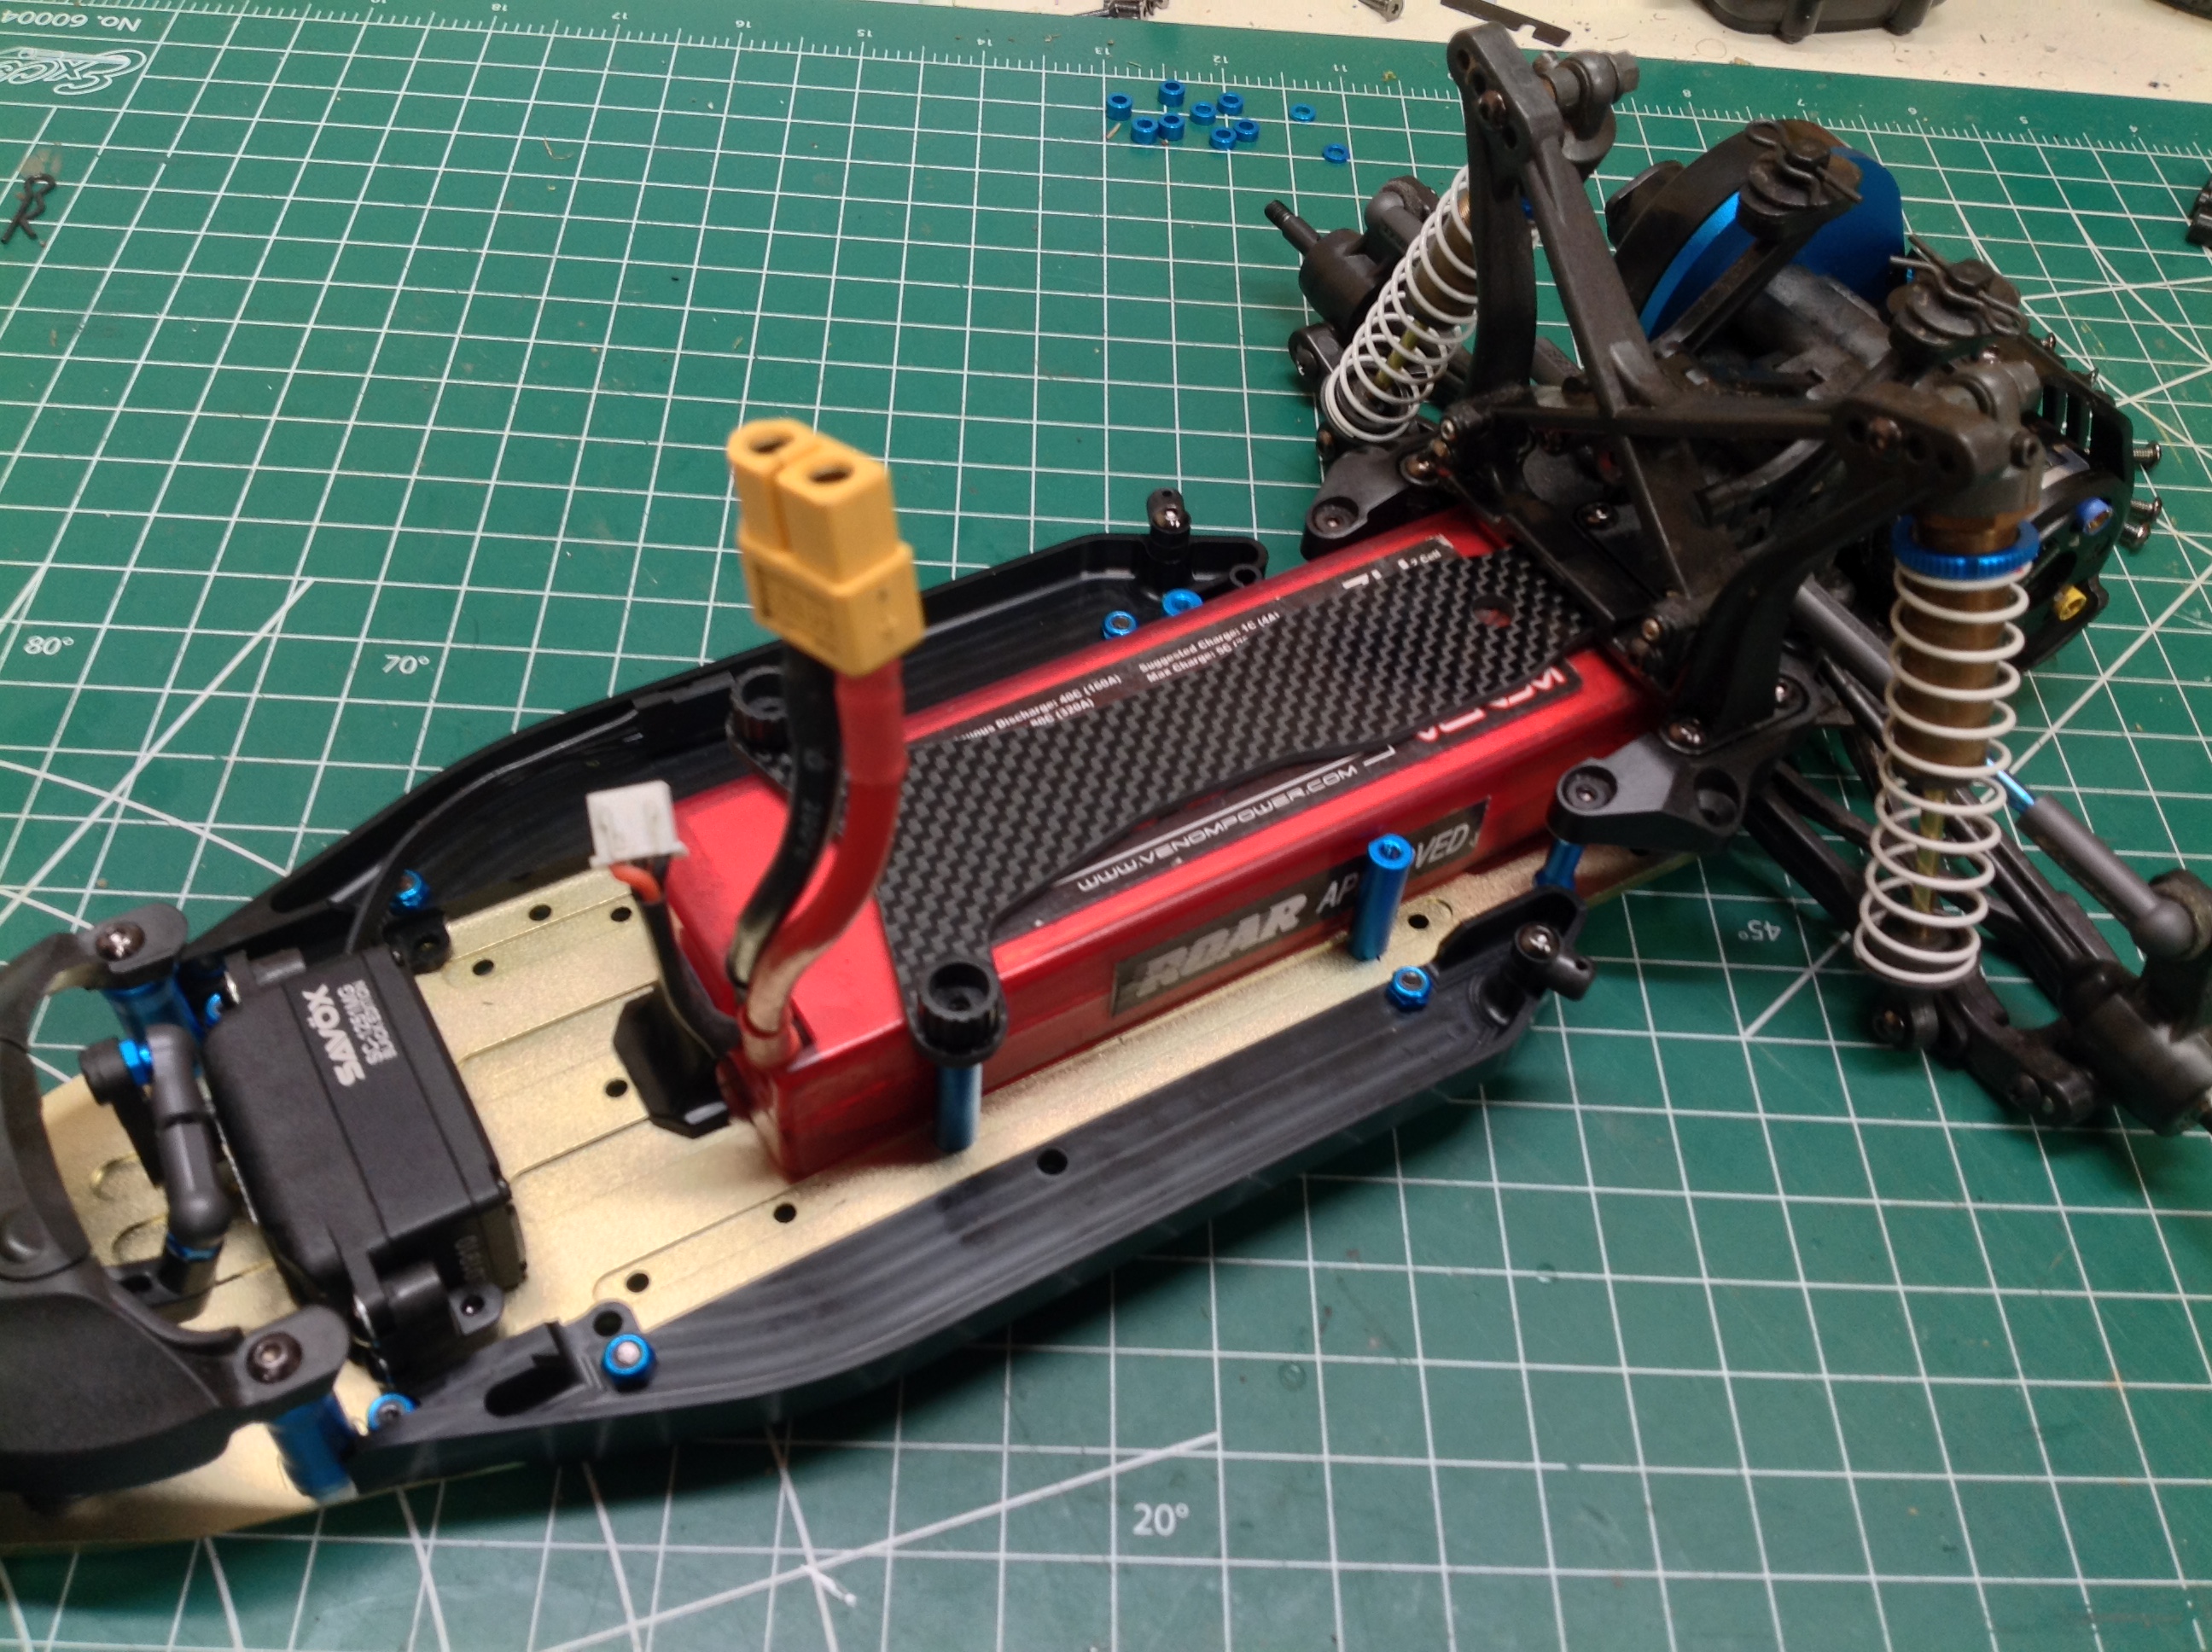
Here you can see the carbon battery plate. This longer chassis has
more room and easily fits a hard racing pack. The blue posts can
be moved around to allow installation of different sized
batteries. I used a low profile servo which allowed me to put the
receiver between the battery and the servo. The kit came with a
pile of blue spacers to use for different thickness batteries, but I
decided to use them to replace the spacers on the hubs just because it
looks cool and adds some visual contrast.
Time to build the "big bore" shocks. In case you are wondering,
these have a 12mm bore instead of 10mm. That doesn't sound like a
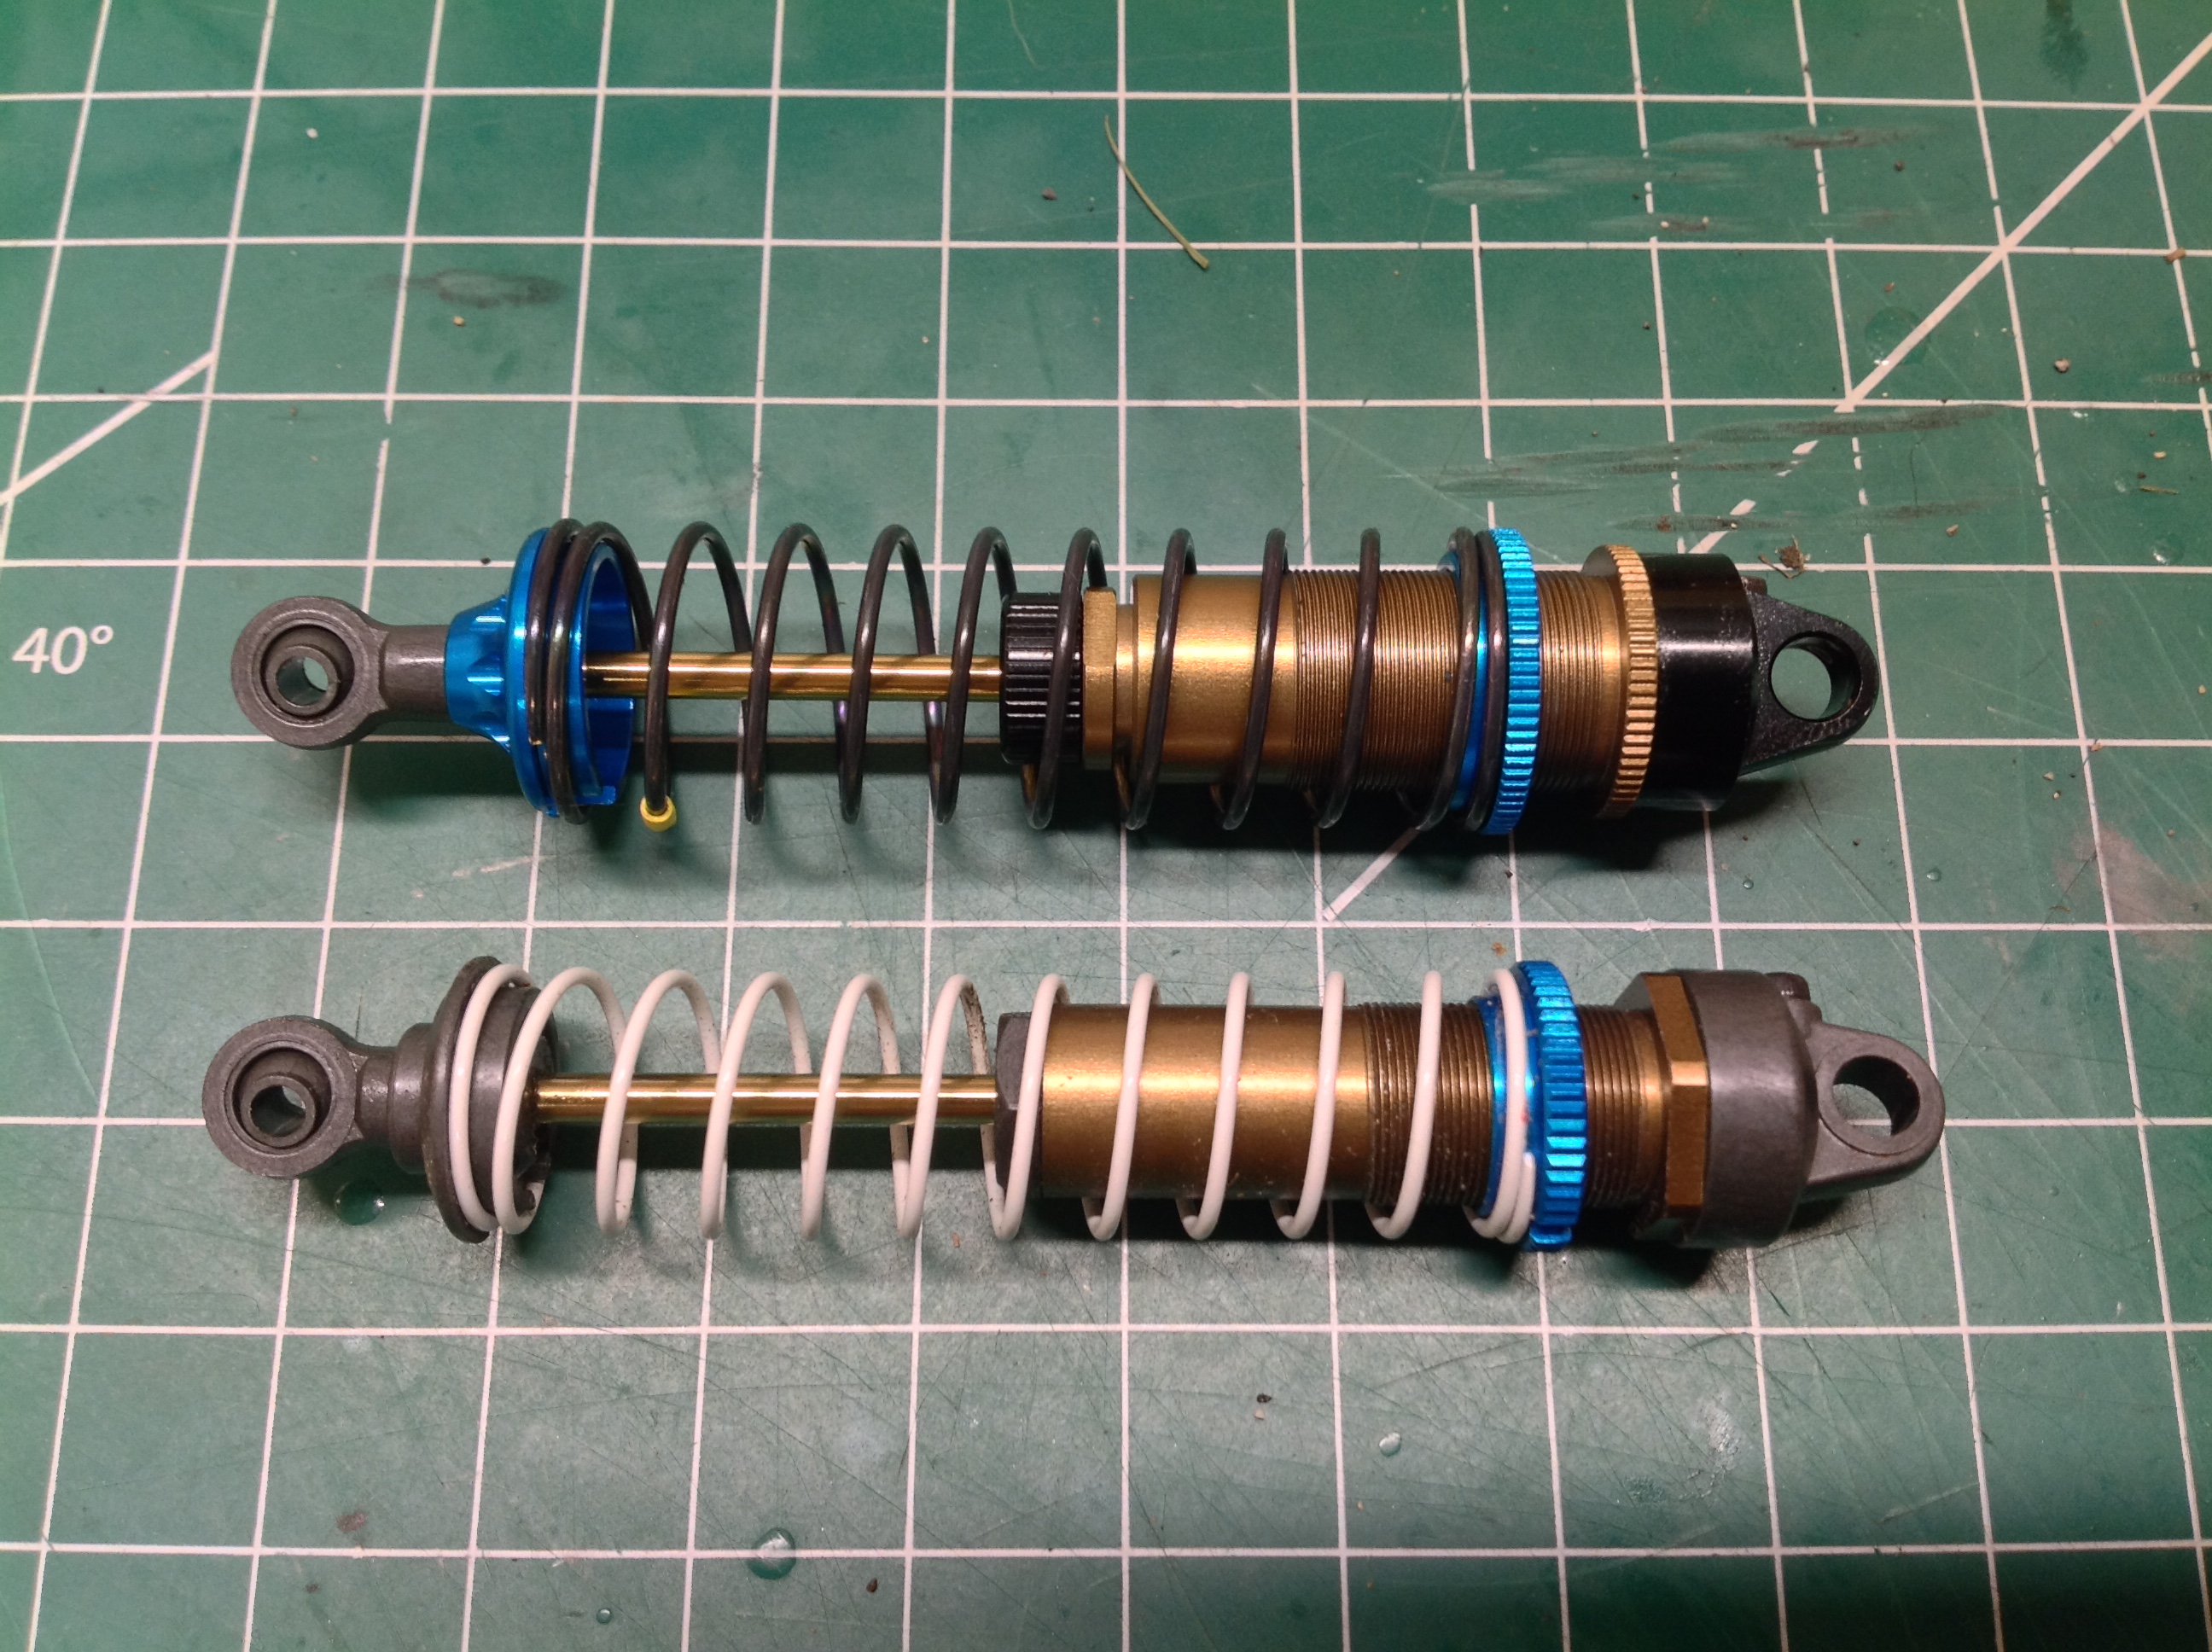
lot, but it results in 44% more volume. The old and new shock
types are compared on the right. These shocks build exactly like
the smaller set, but you may notice that they now include aluminum
spring perches as well. These are really nice shocks.
Included with the kit were a full set of front and rear springs with
three different rates to choose from. Not knowing any better, I
chose the middle stiffness.
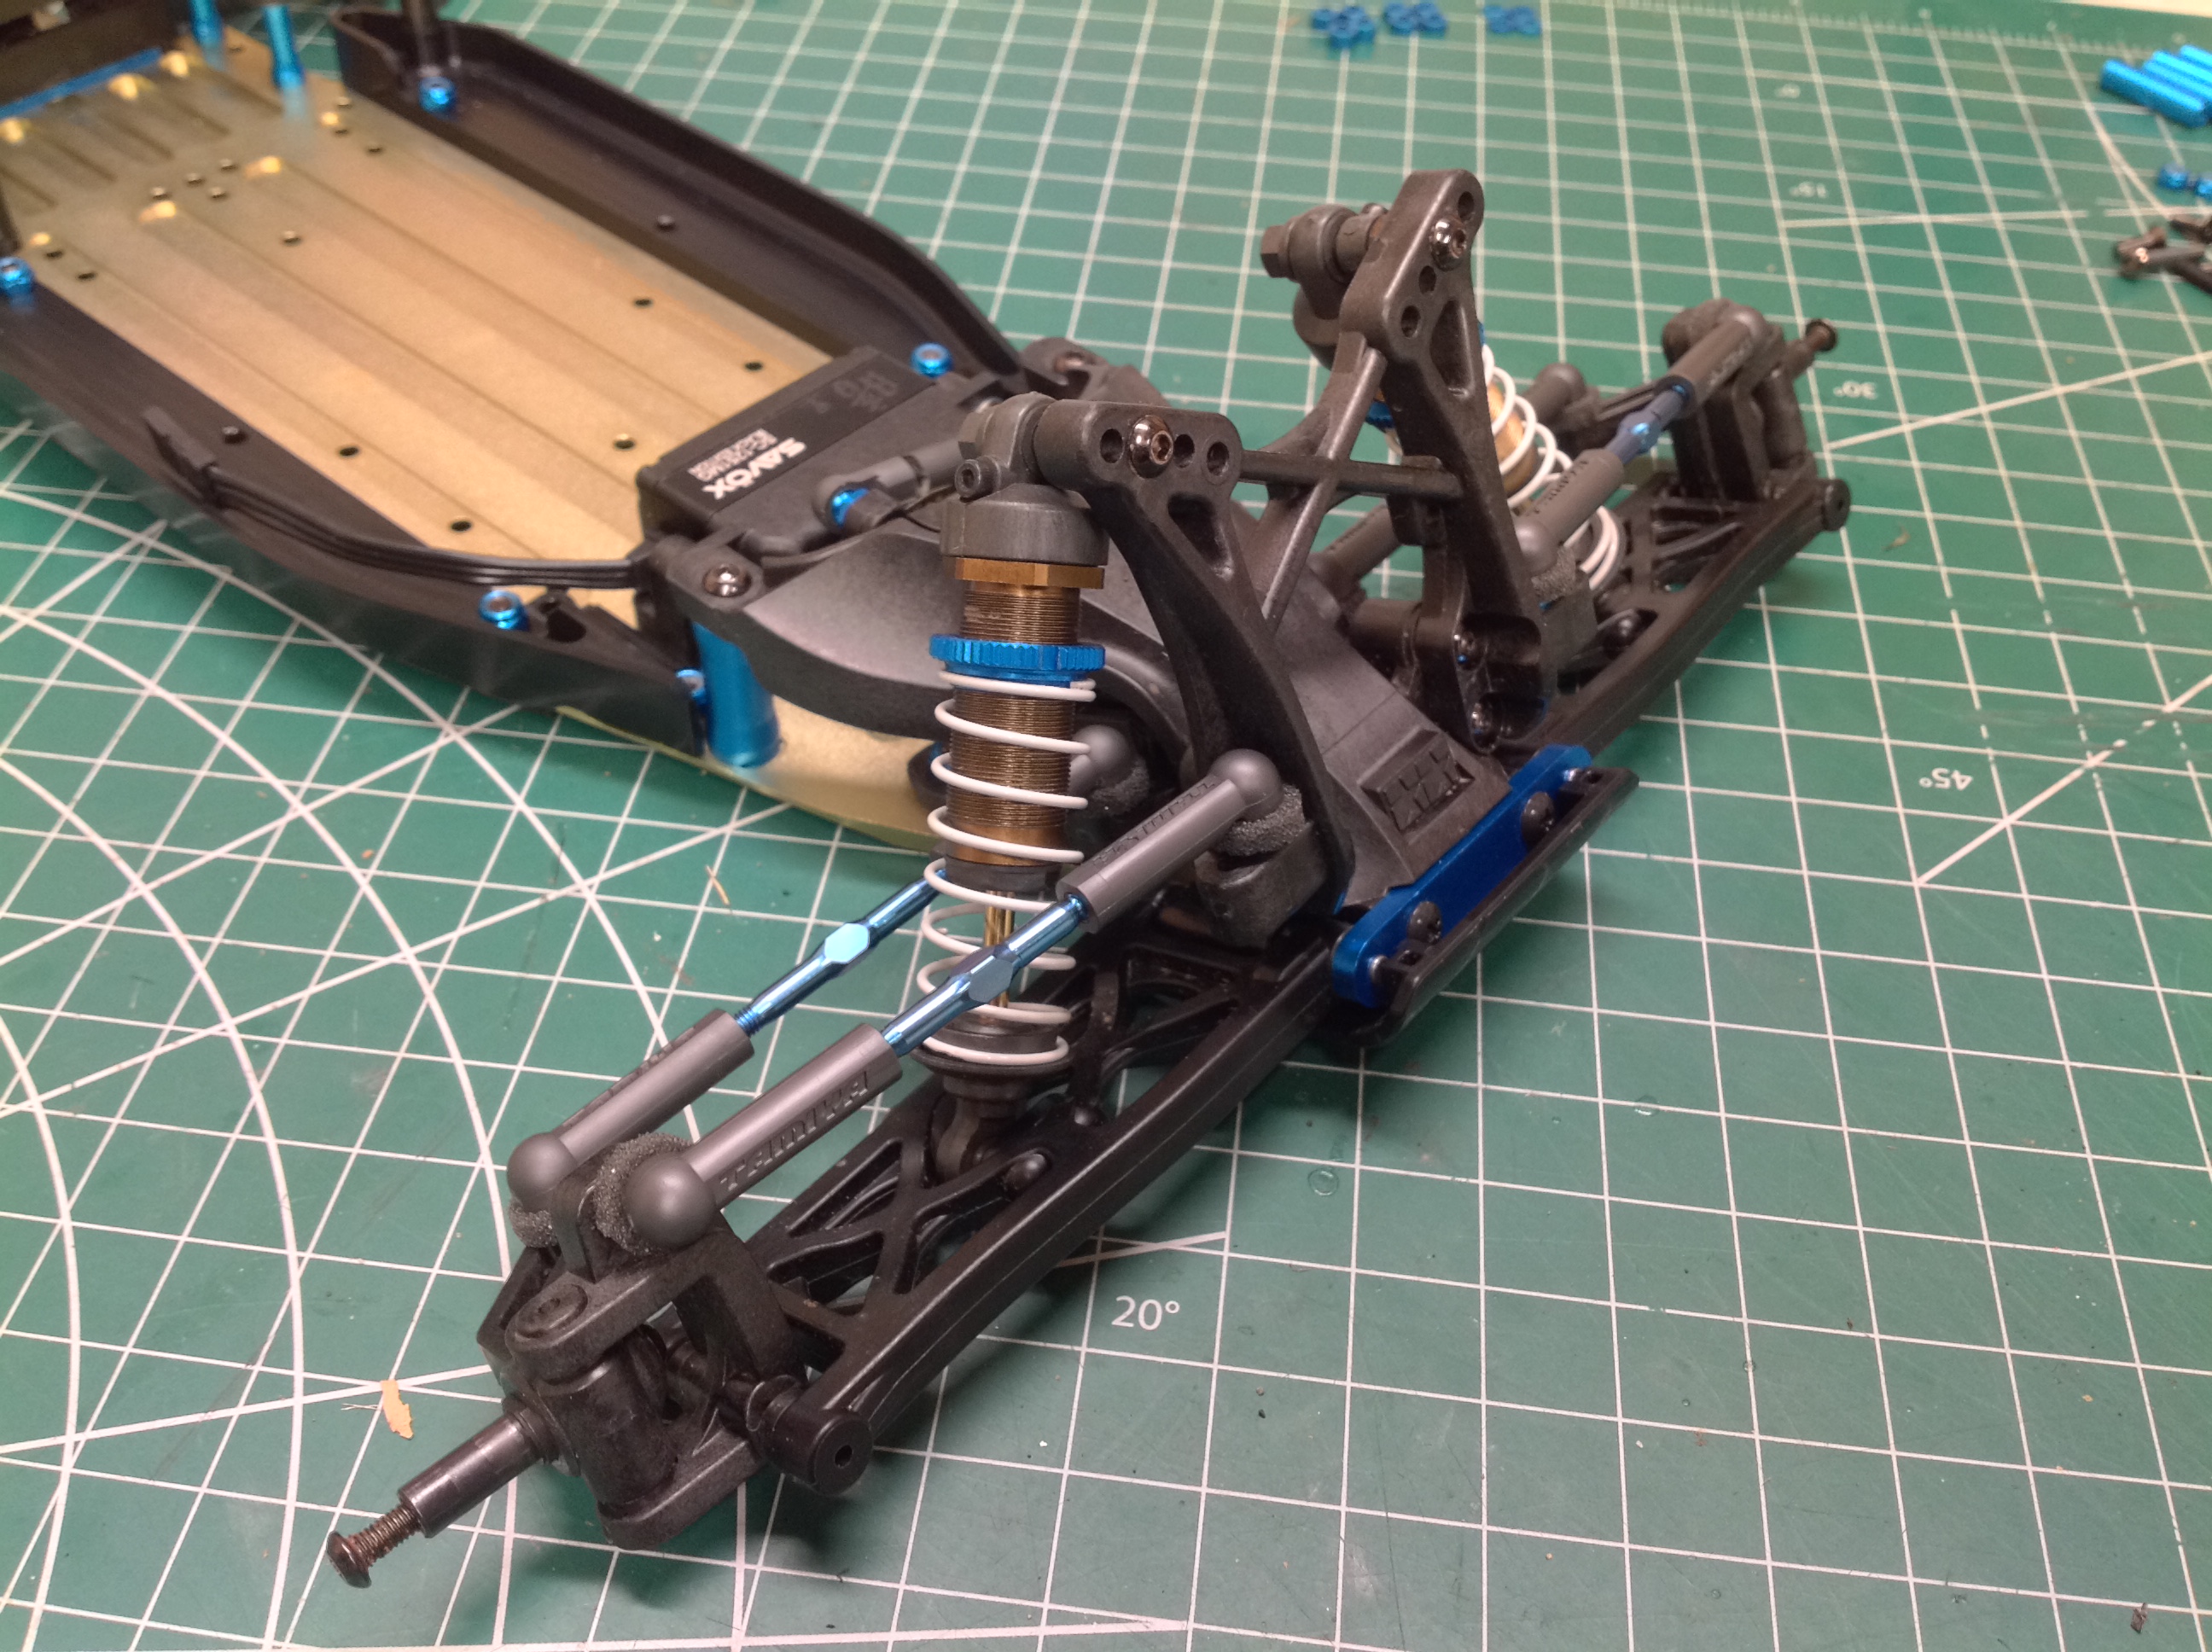
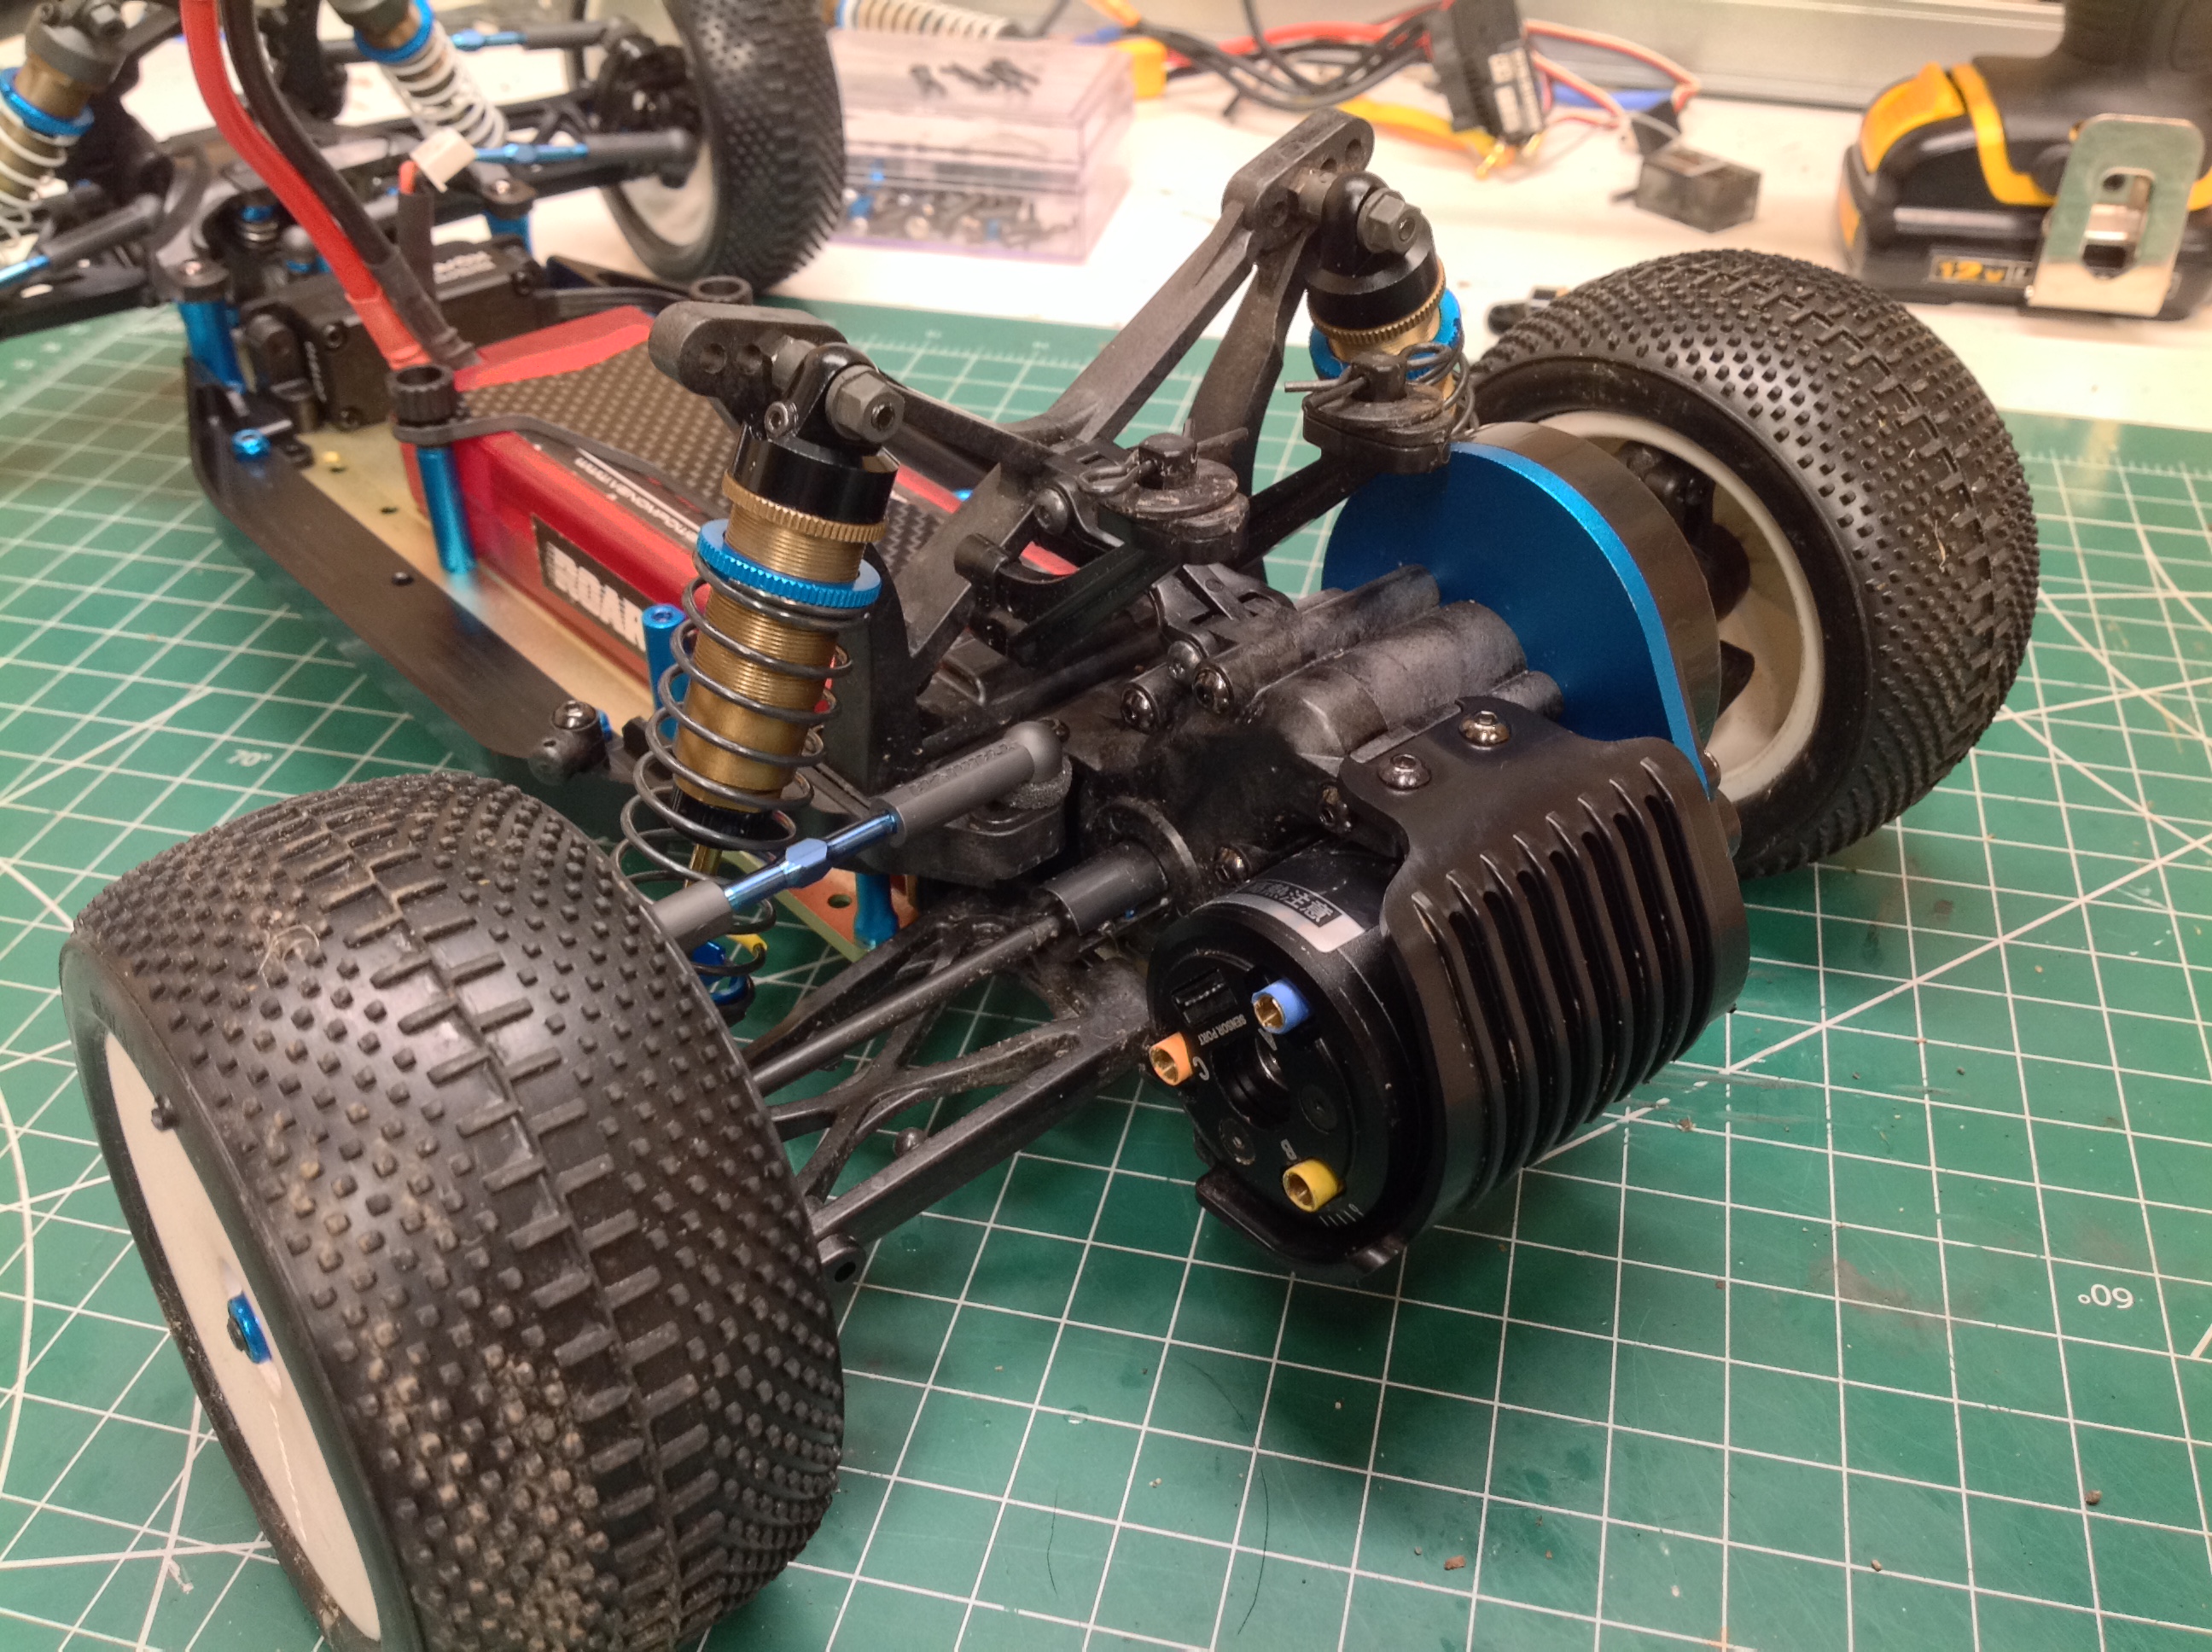
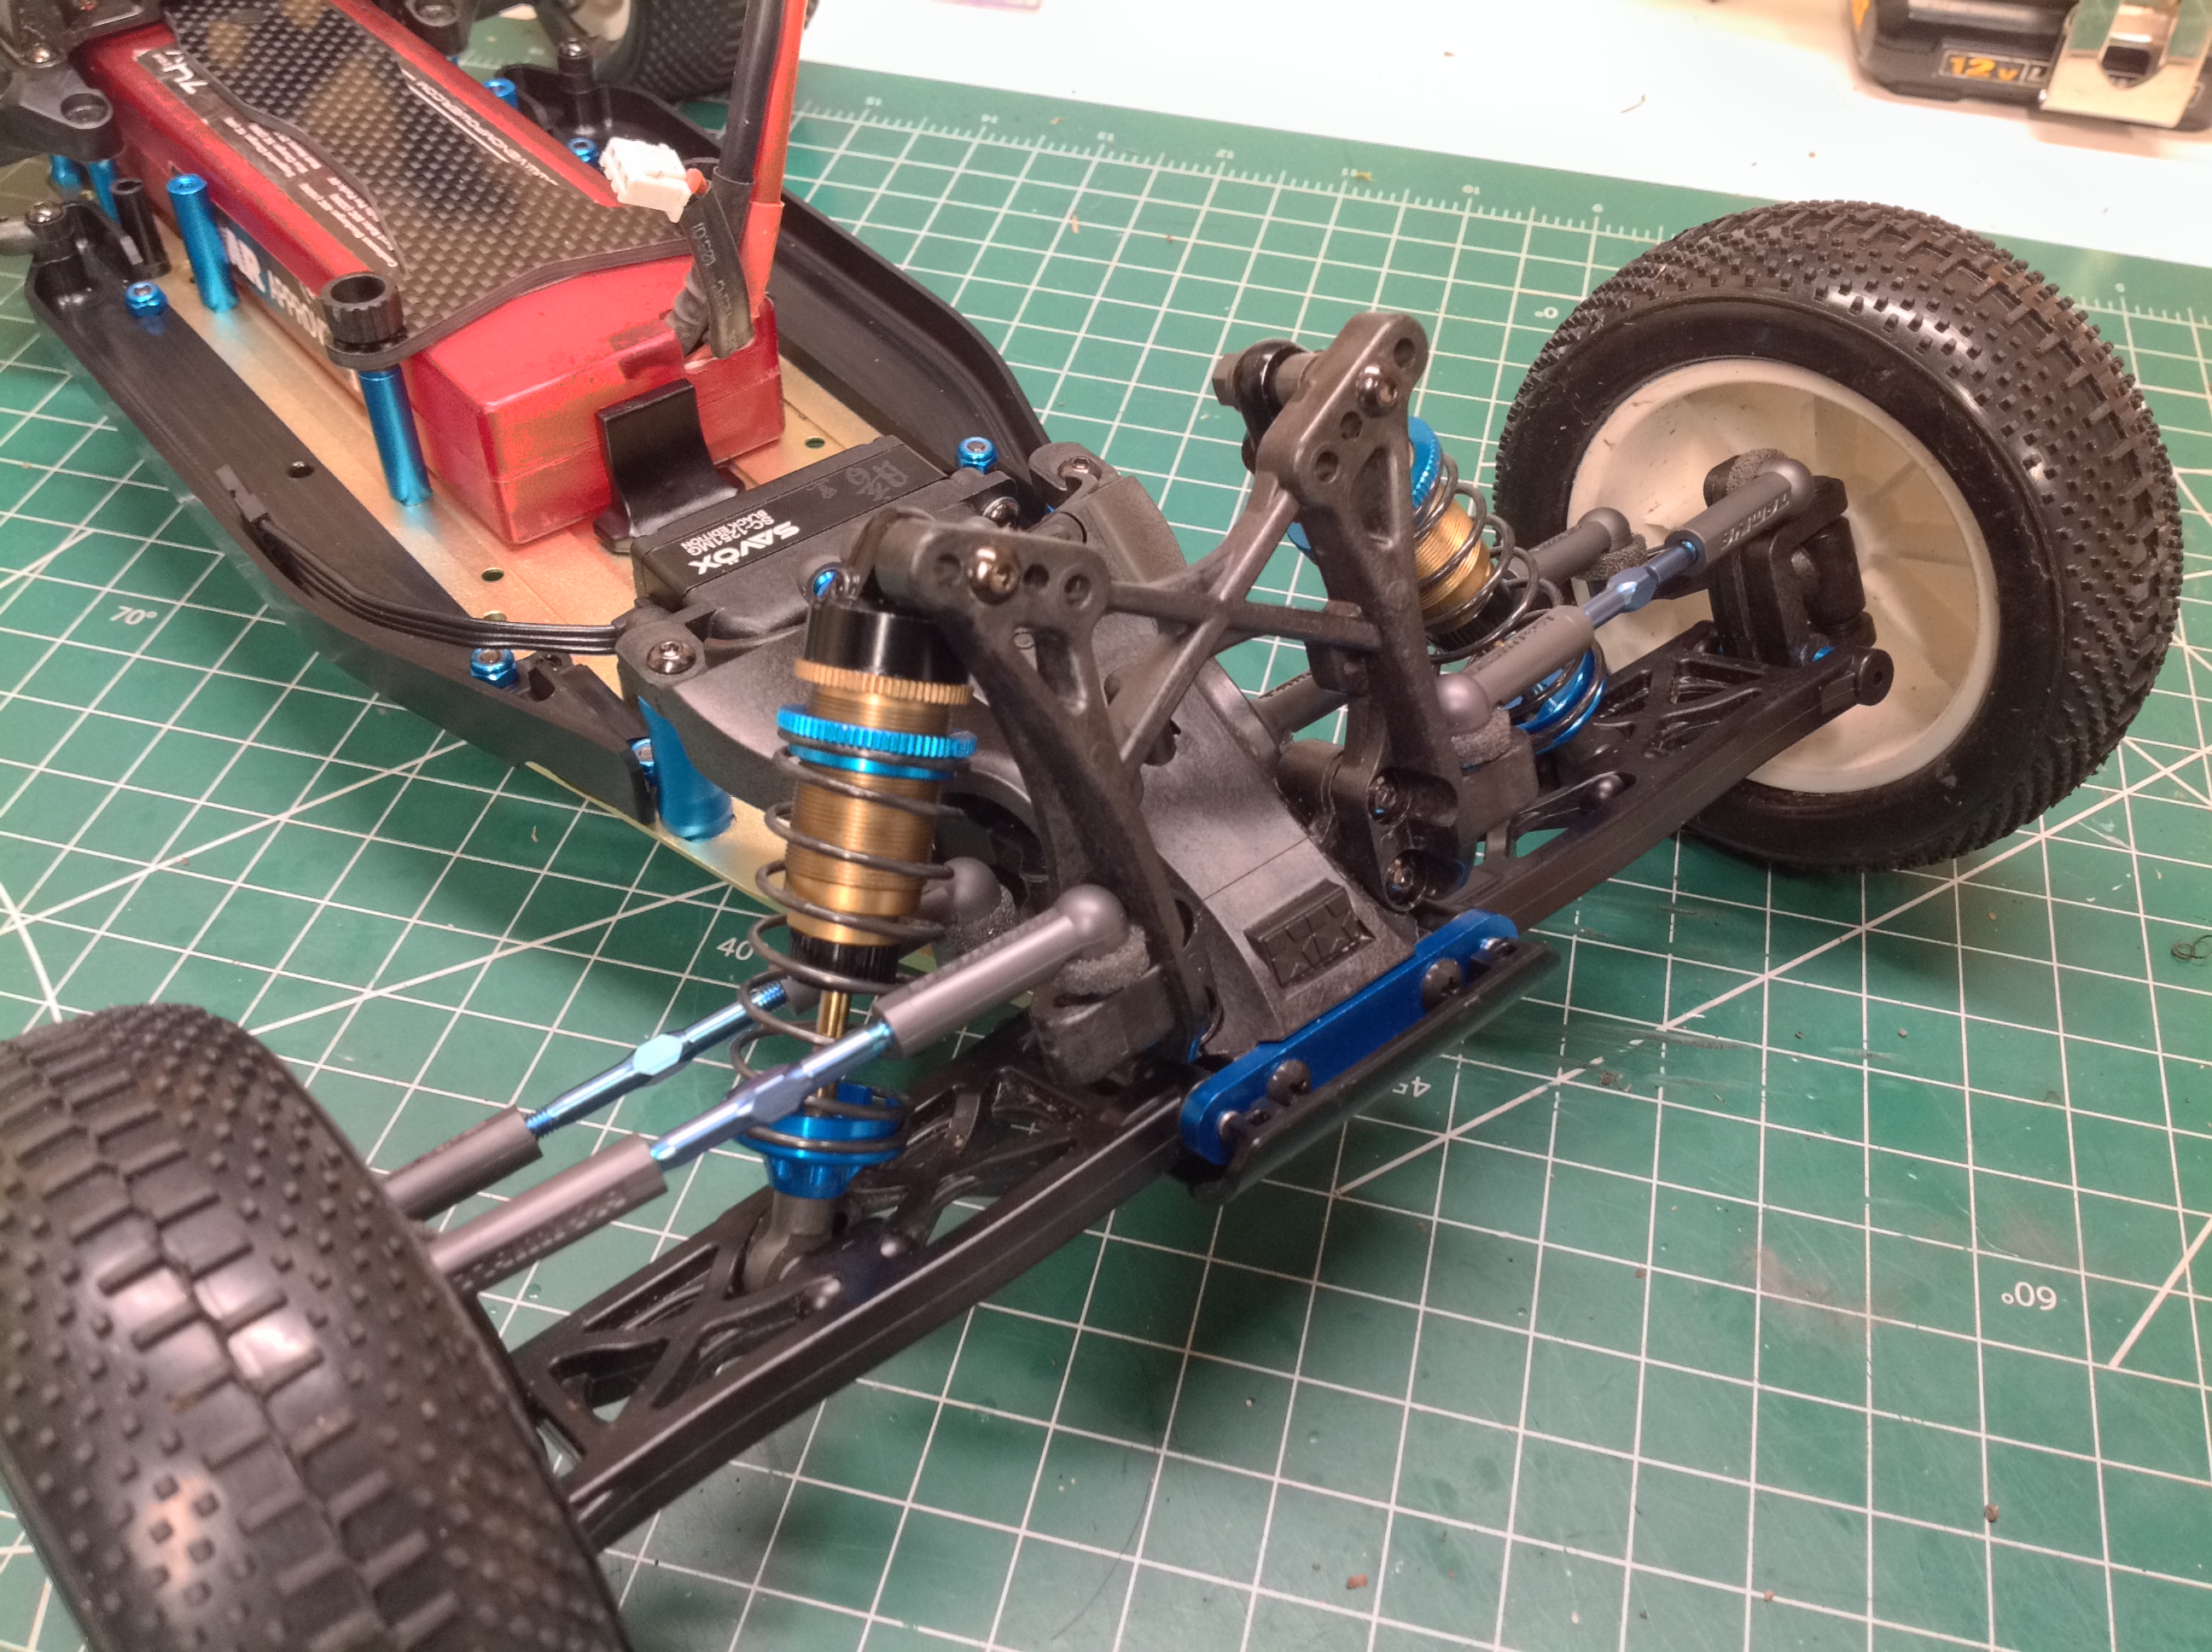
Here the larger shocks have been installed. You can see that they
barely fit, especially in the front. There is hardly any clearance
between the shock and the links.
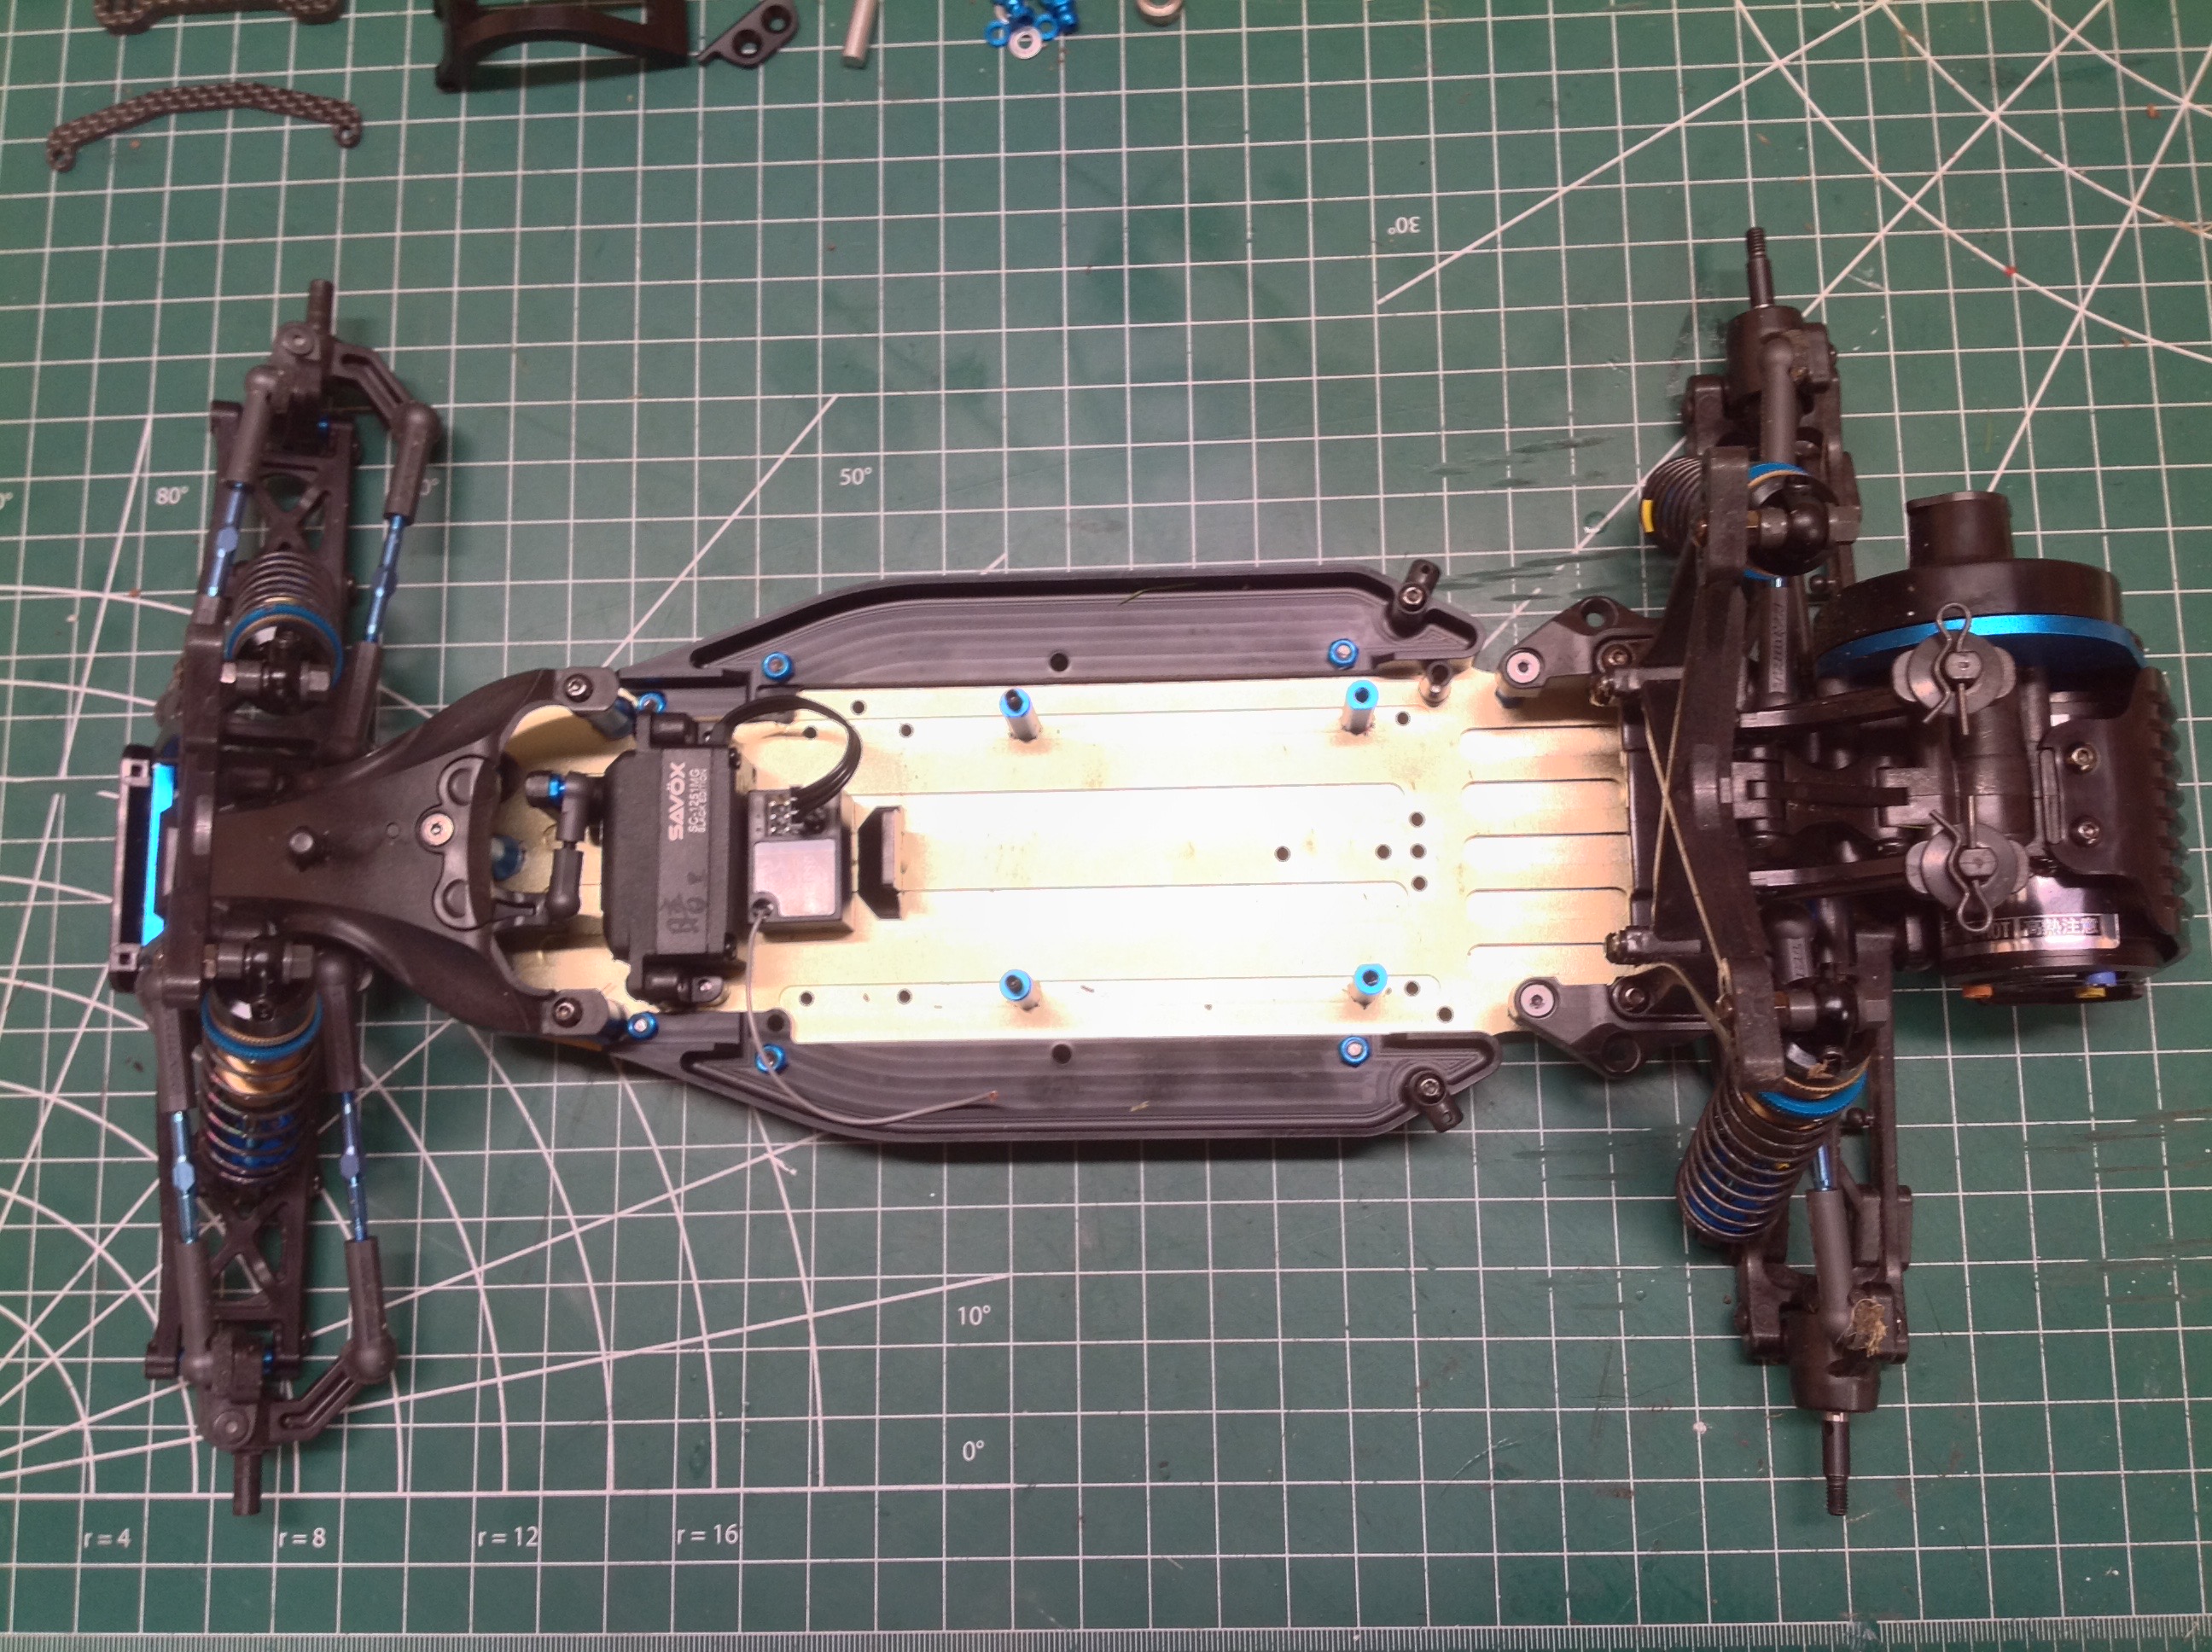
The completed chassis is shown on the left. This is a really
beautiful view, if you are someone who appreciates such things. On
the right I've inverted the chassis and then laid the old plastic tub on
top, lined up at the front. At the back you can see the
difference in length. It isn't much, only about 11mm.
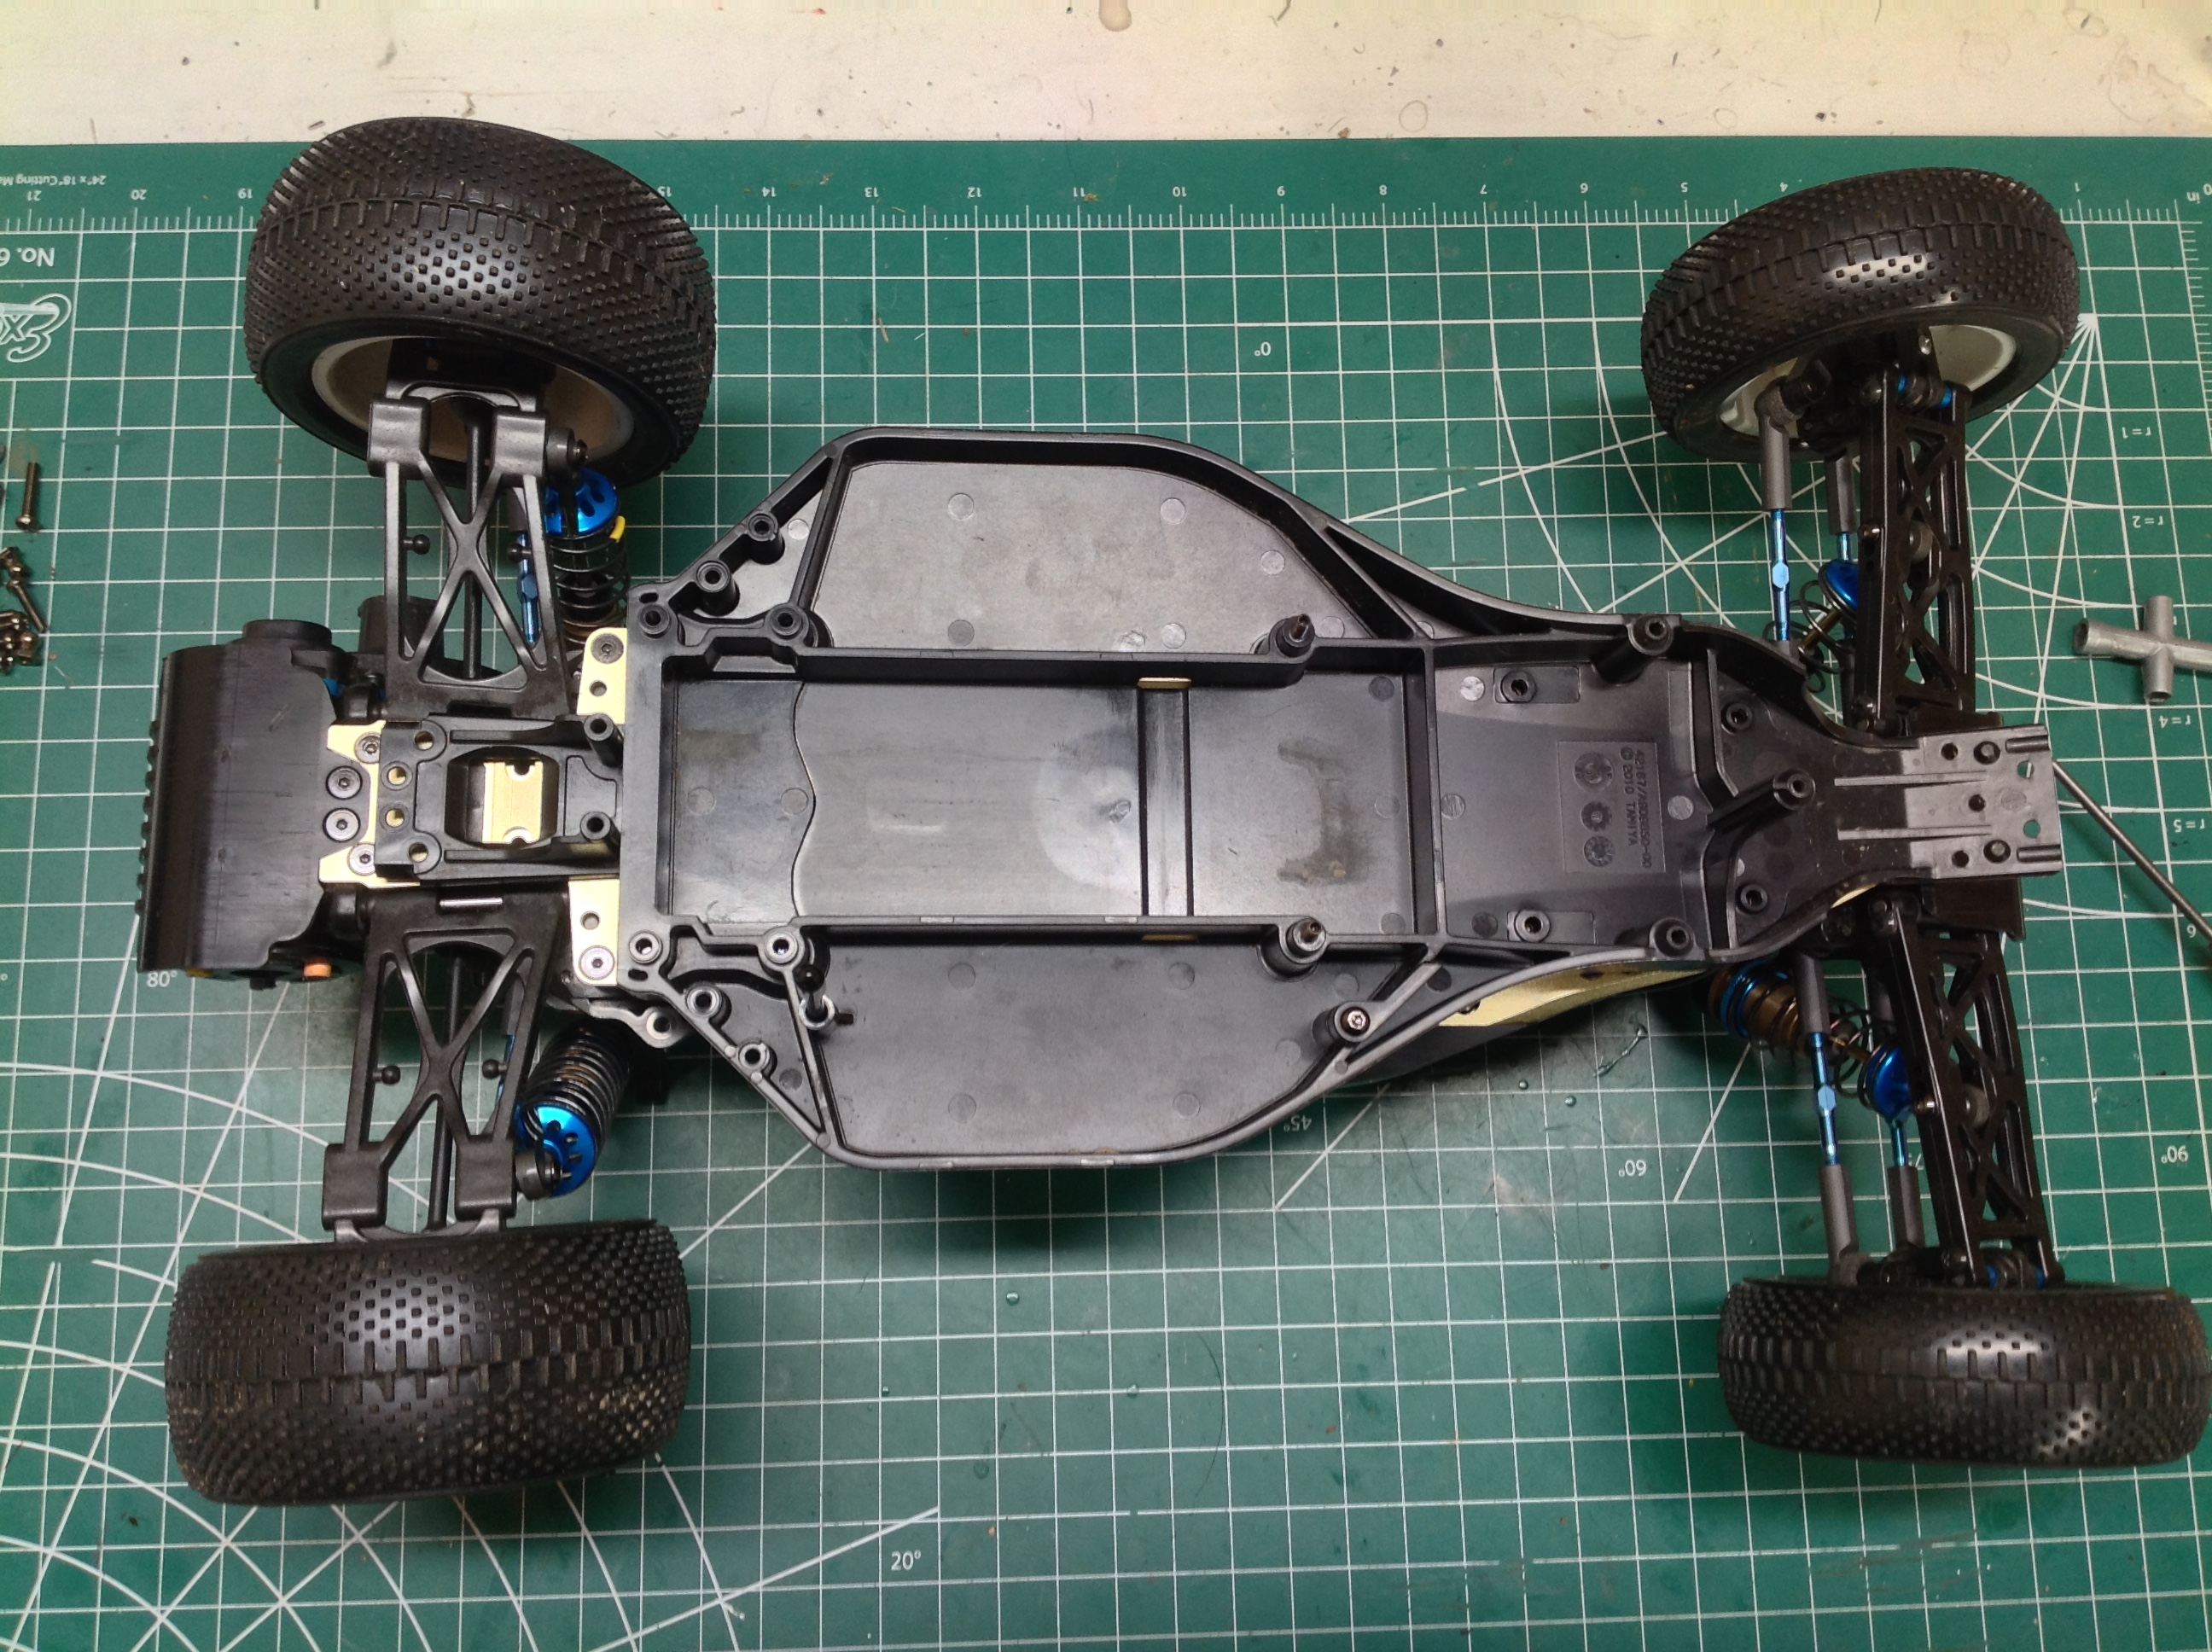
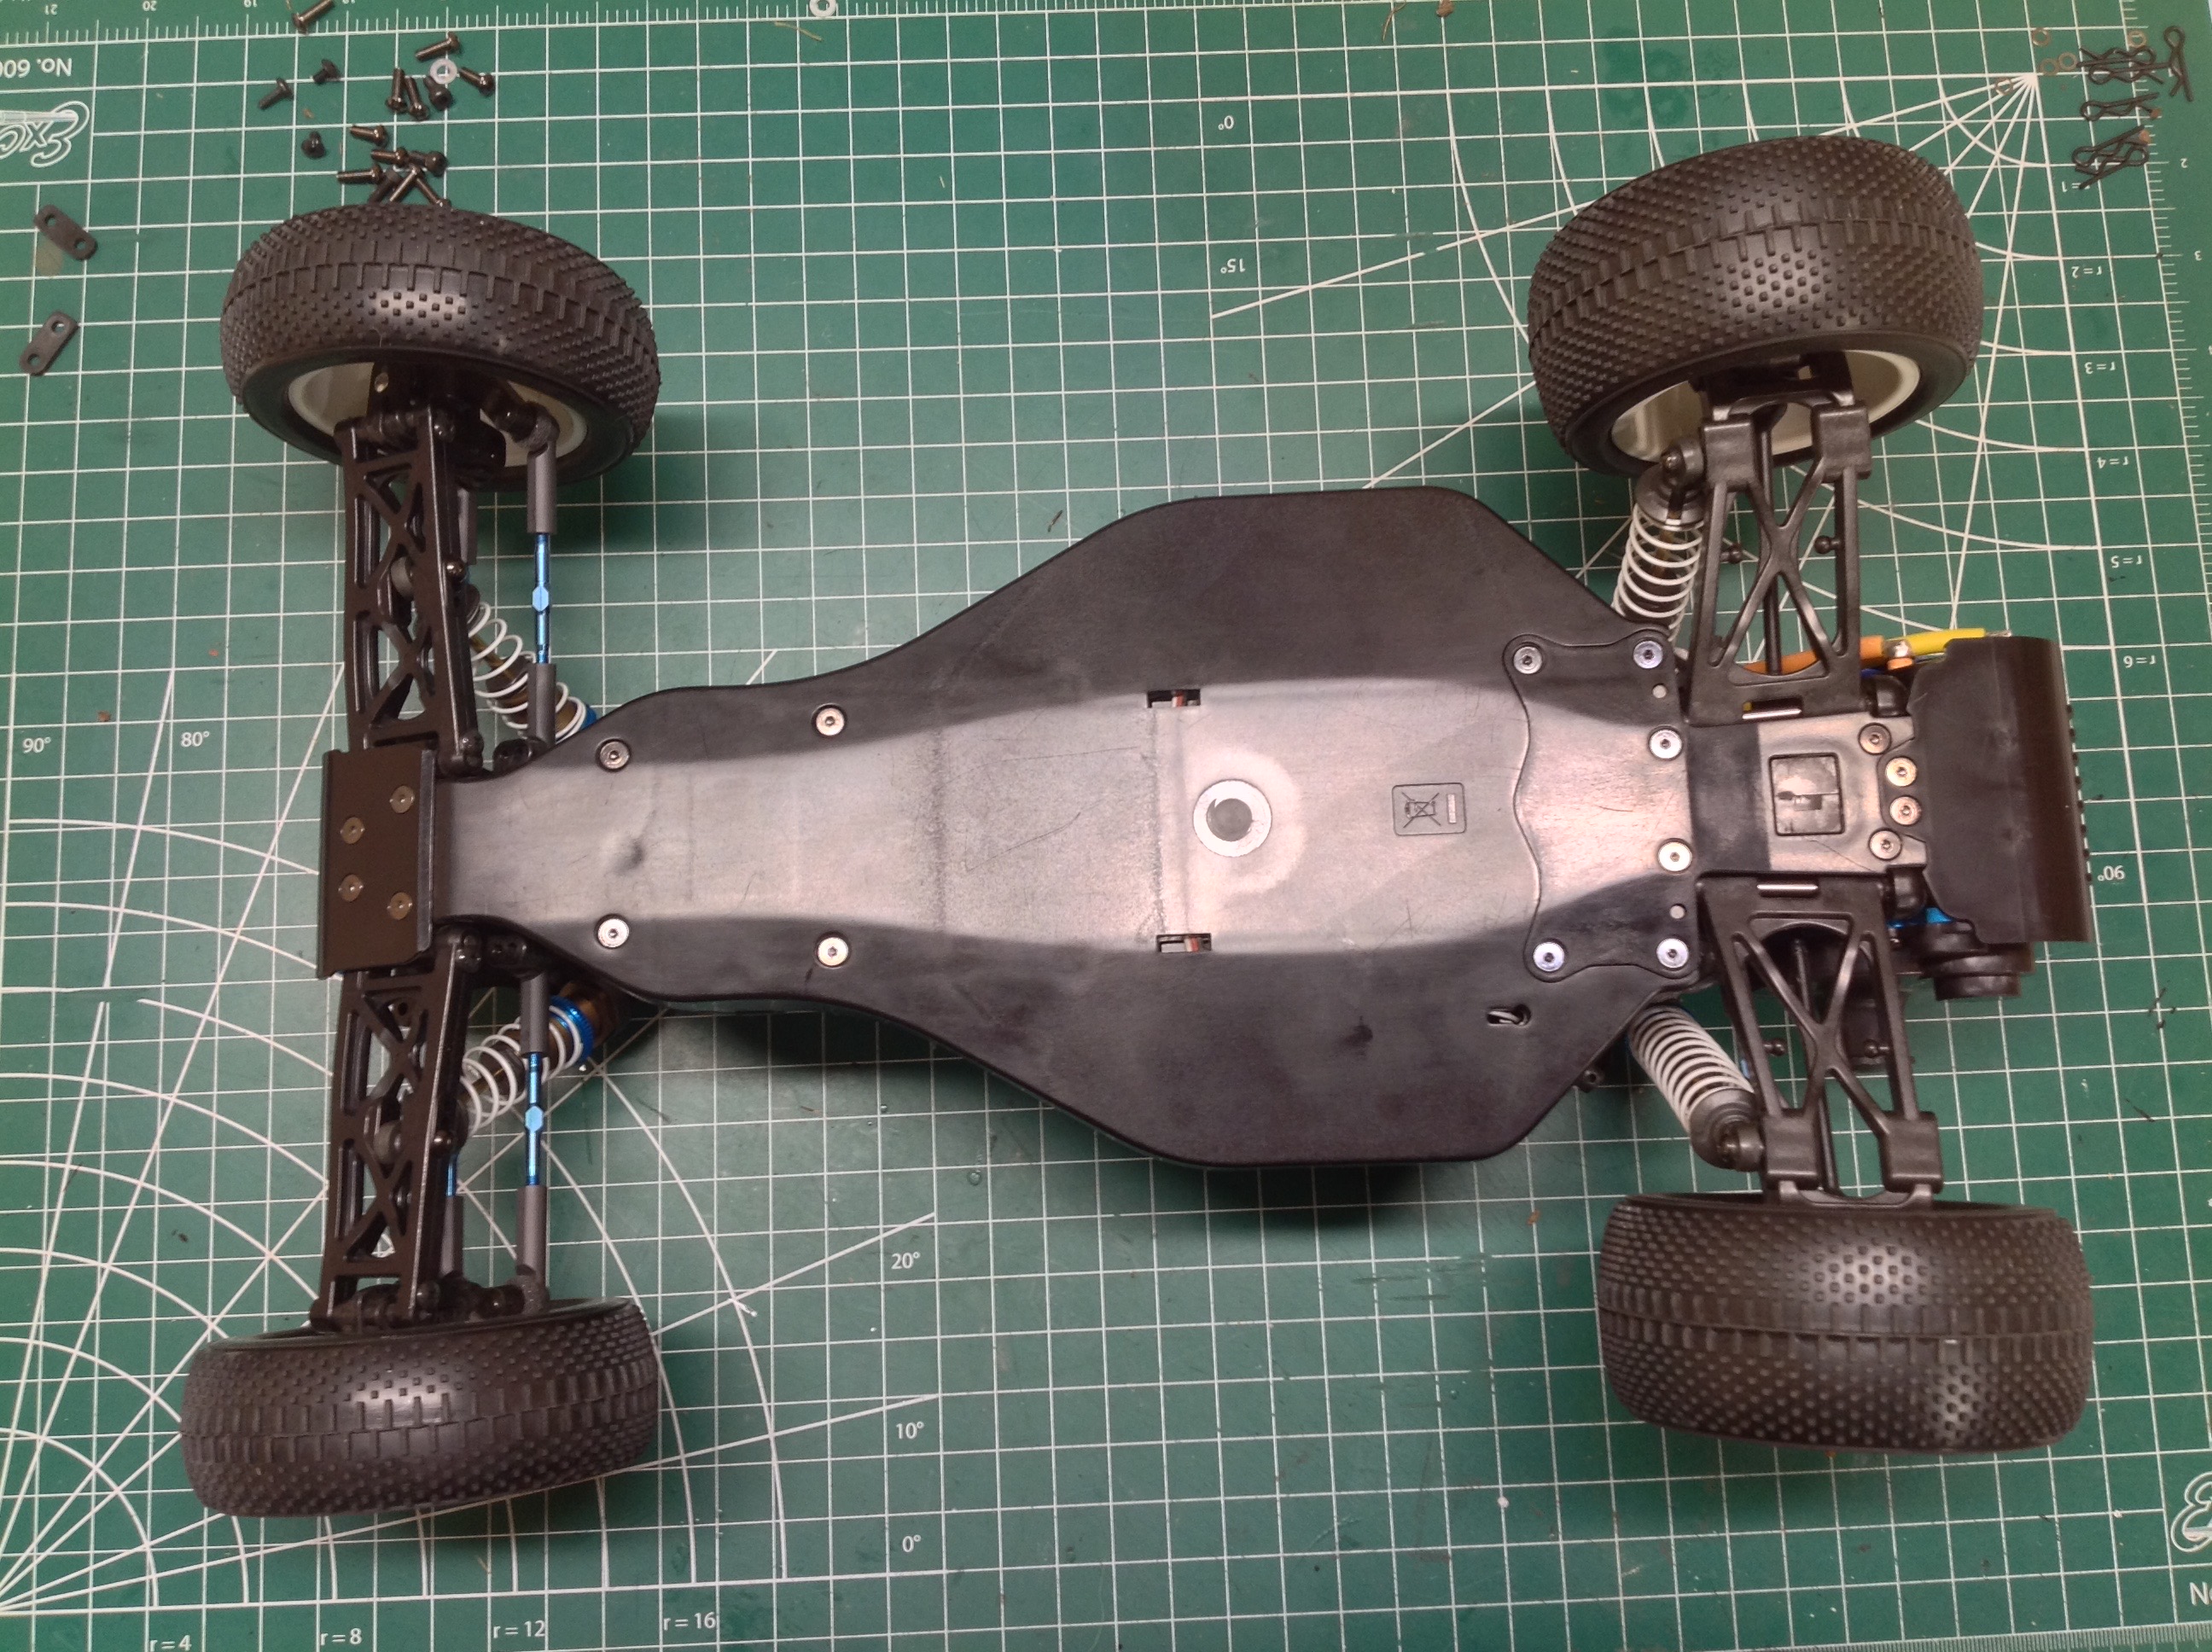
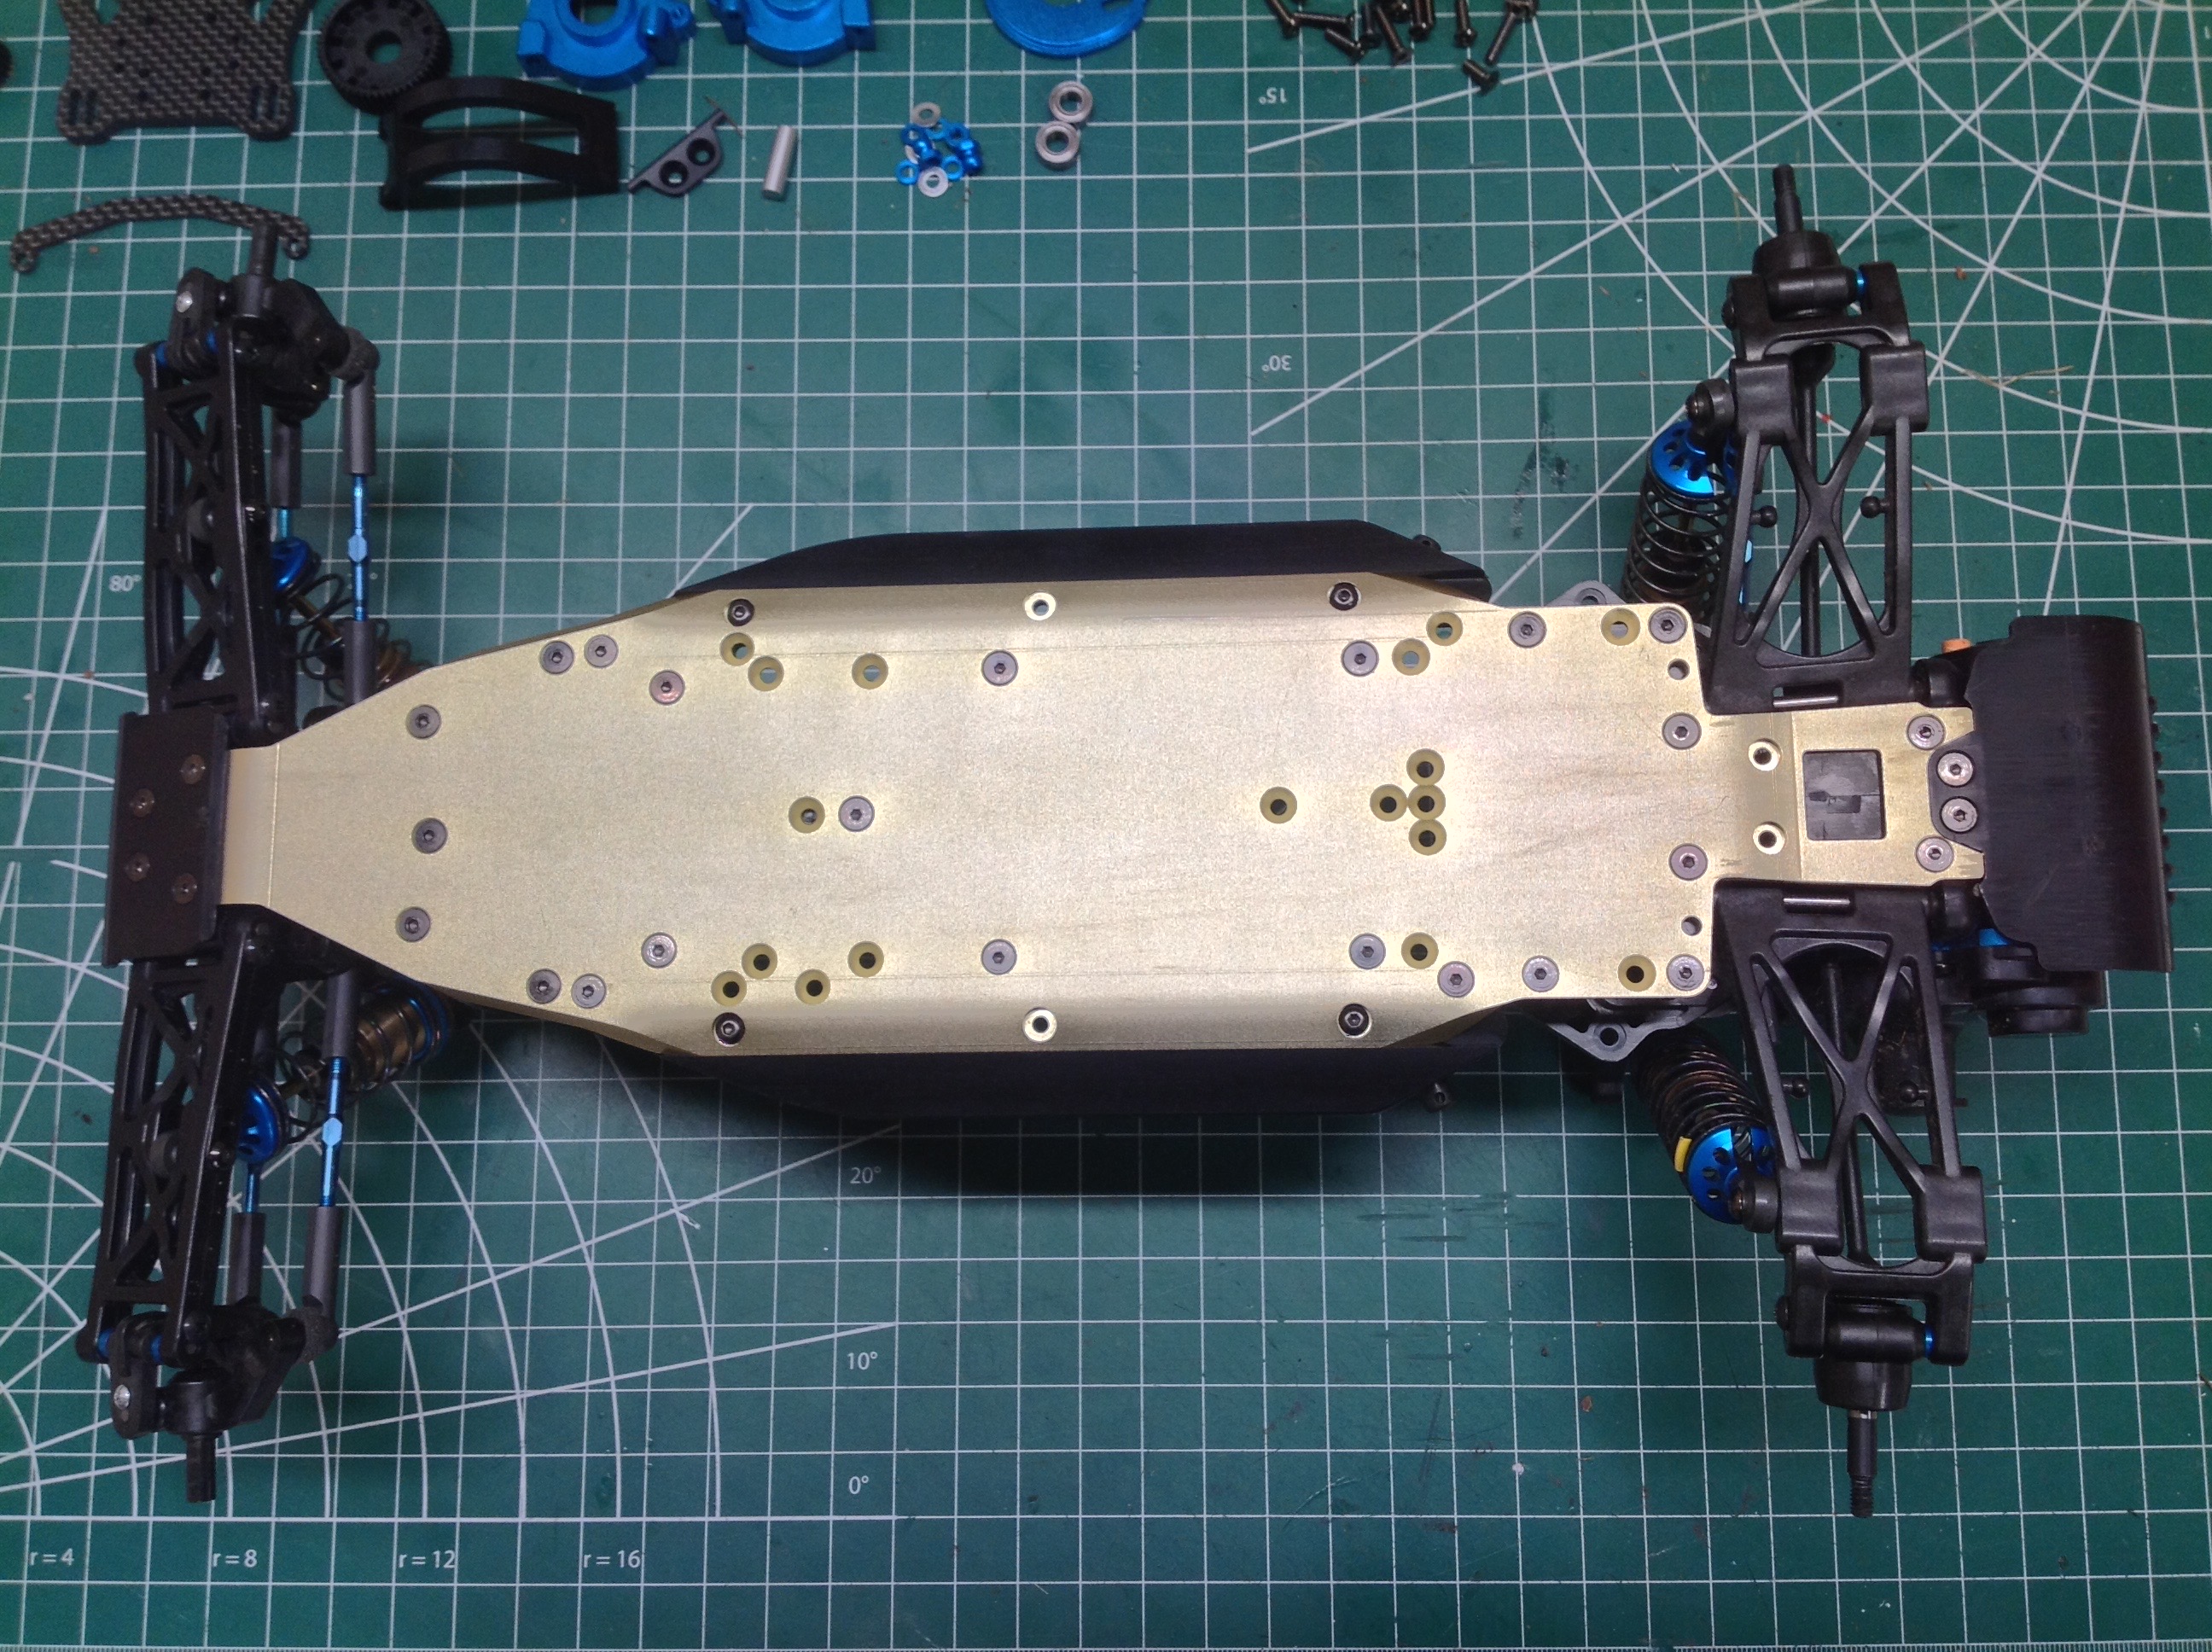
These pictures compare the bottom of the chassis before and after the
conversion. The profile of the chassis is quite different.
You can see that there are a lot of unused holes on the aluminum chassis
which allow for moving around various adjustable components.
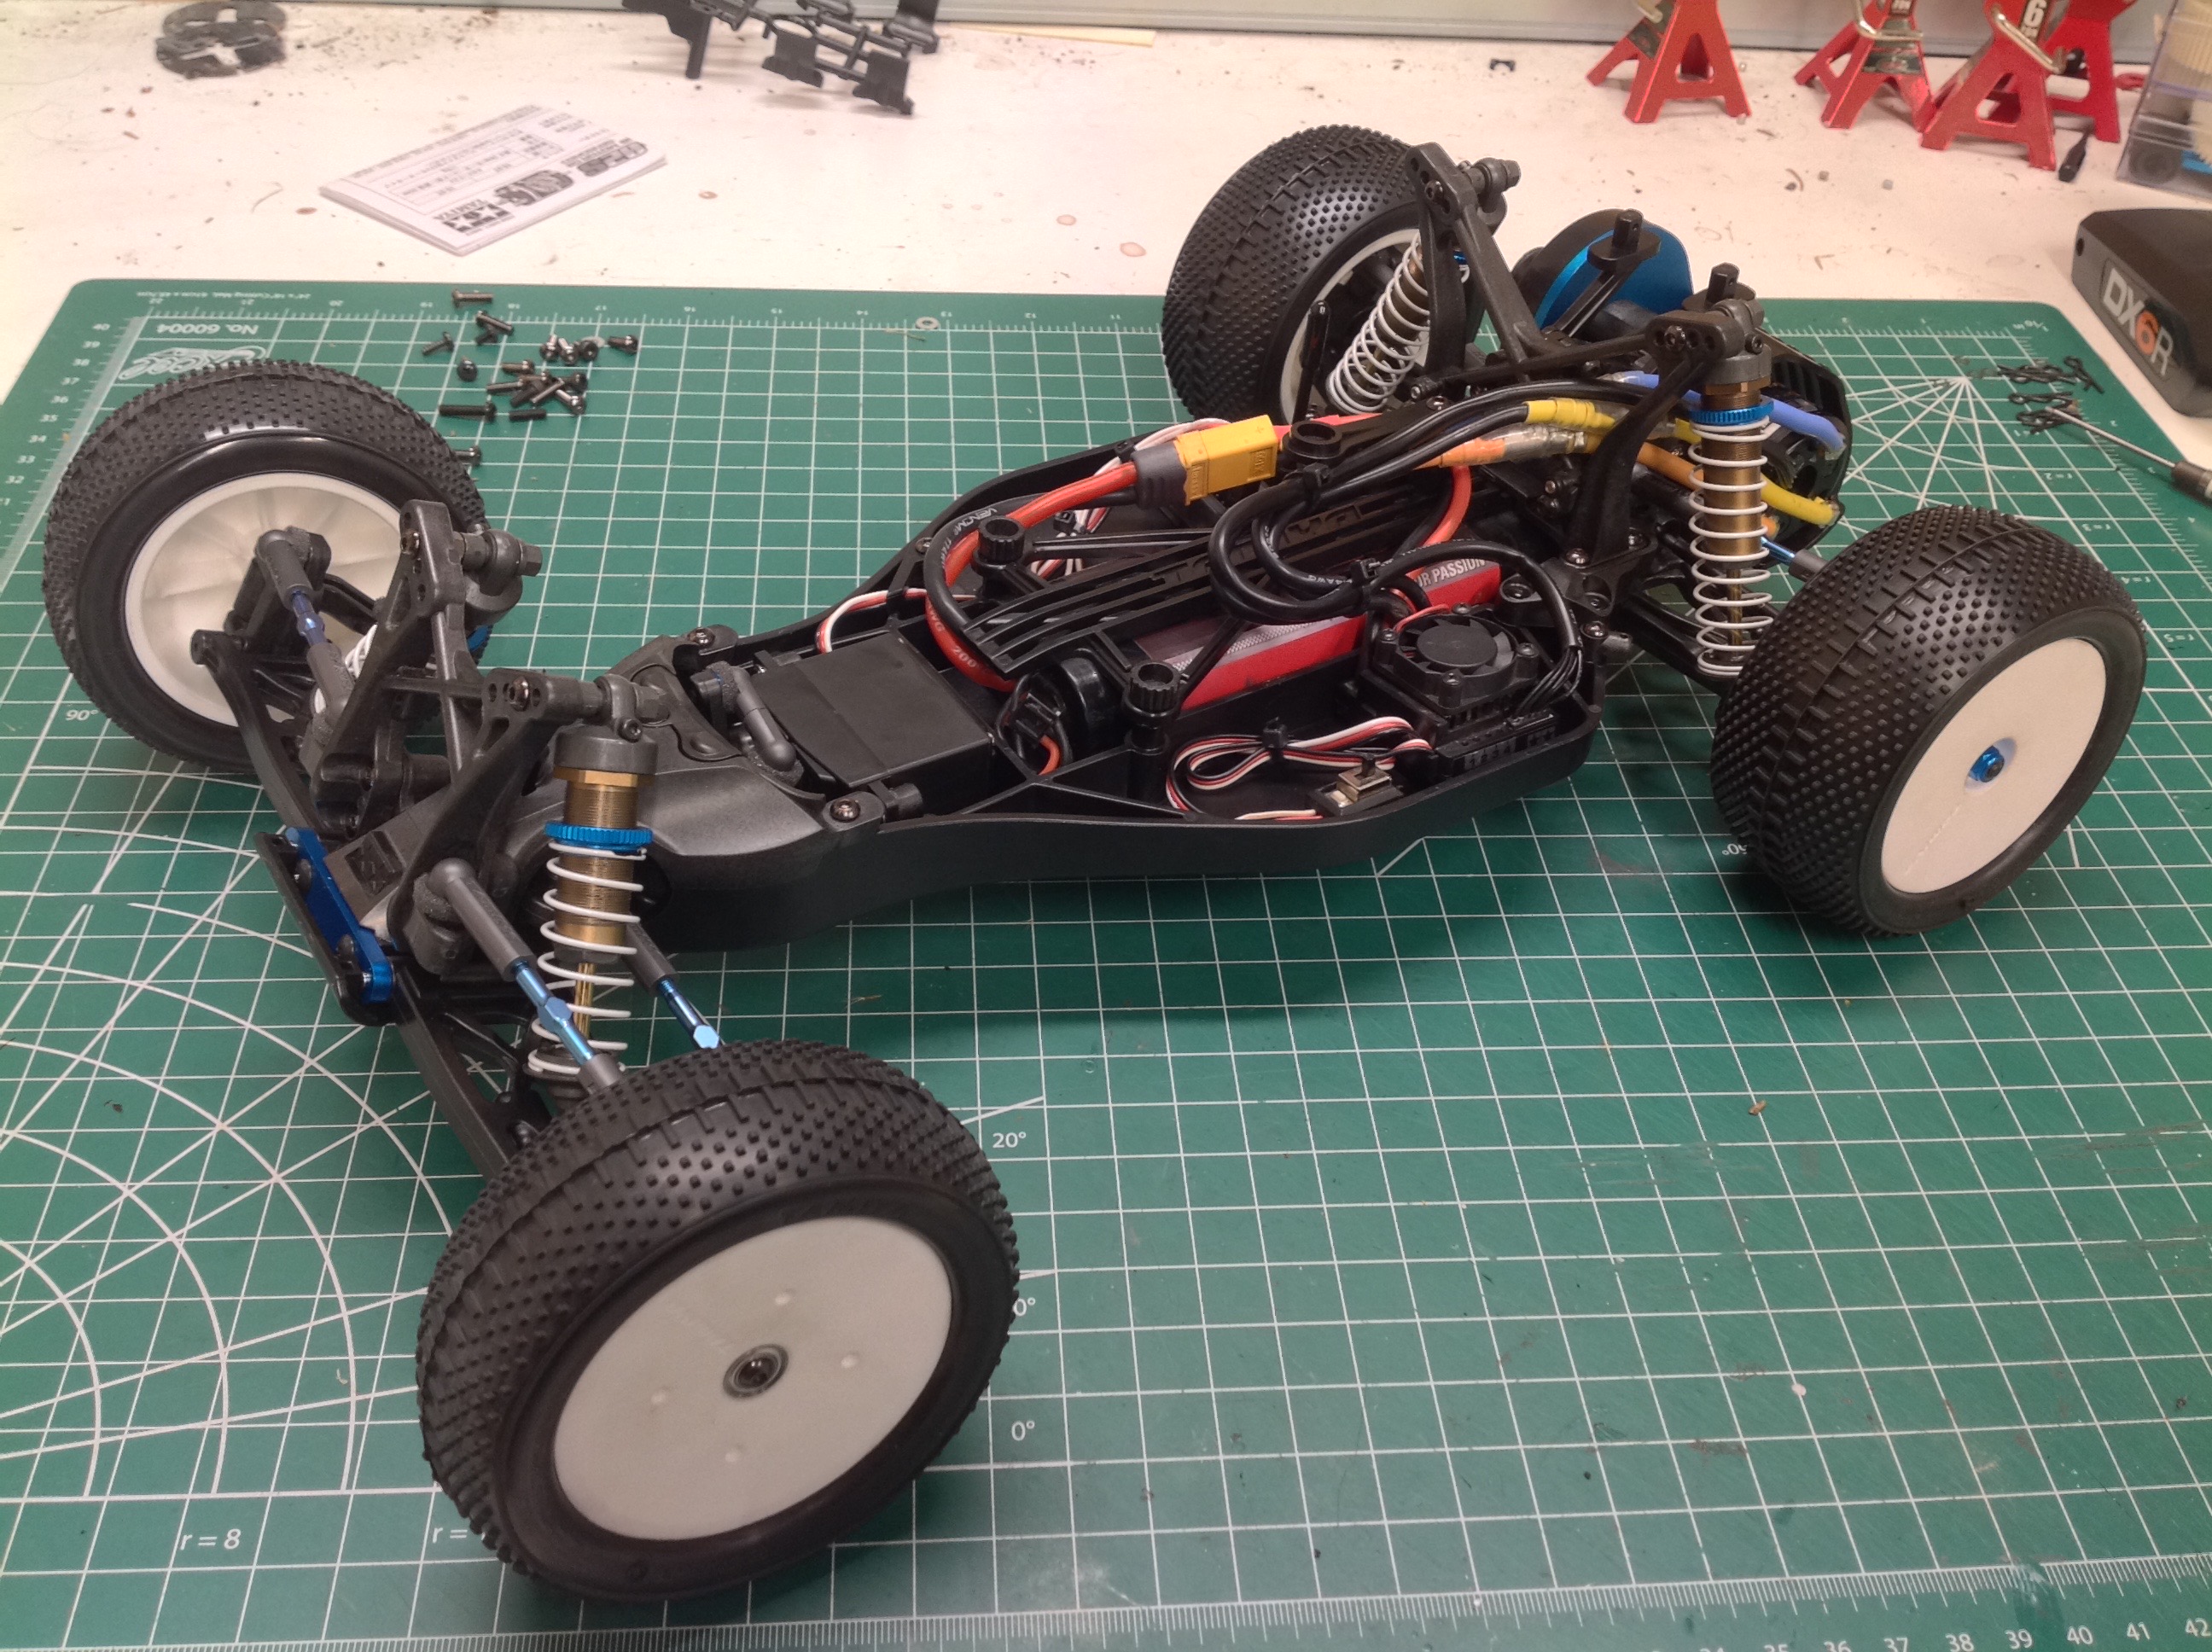
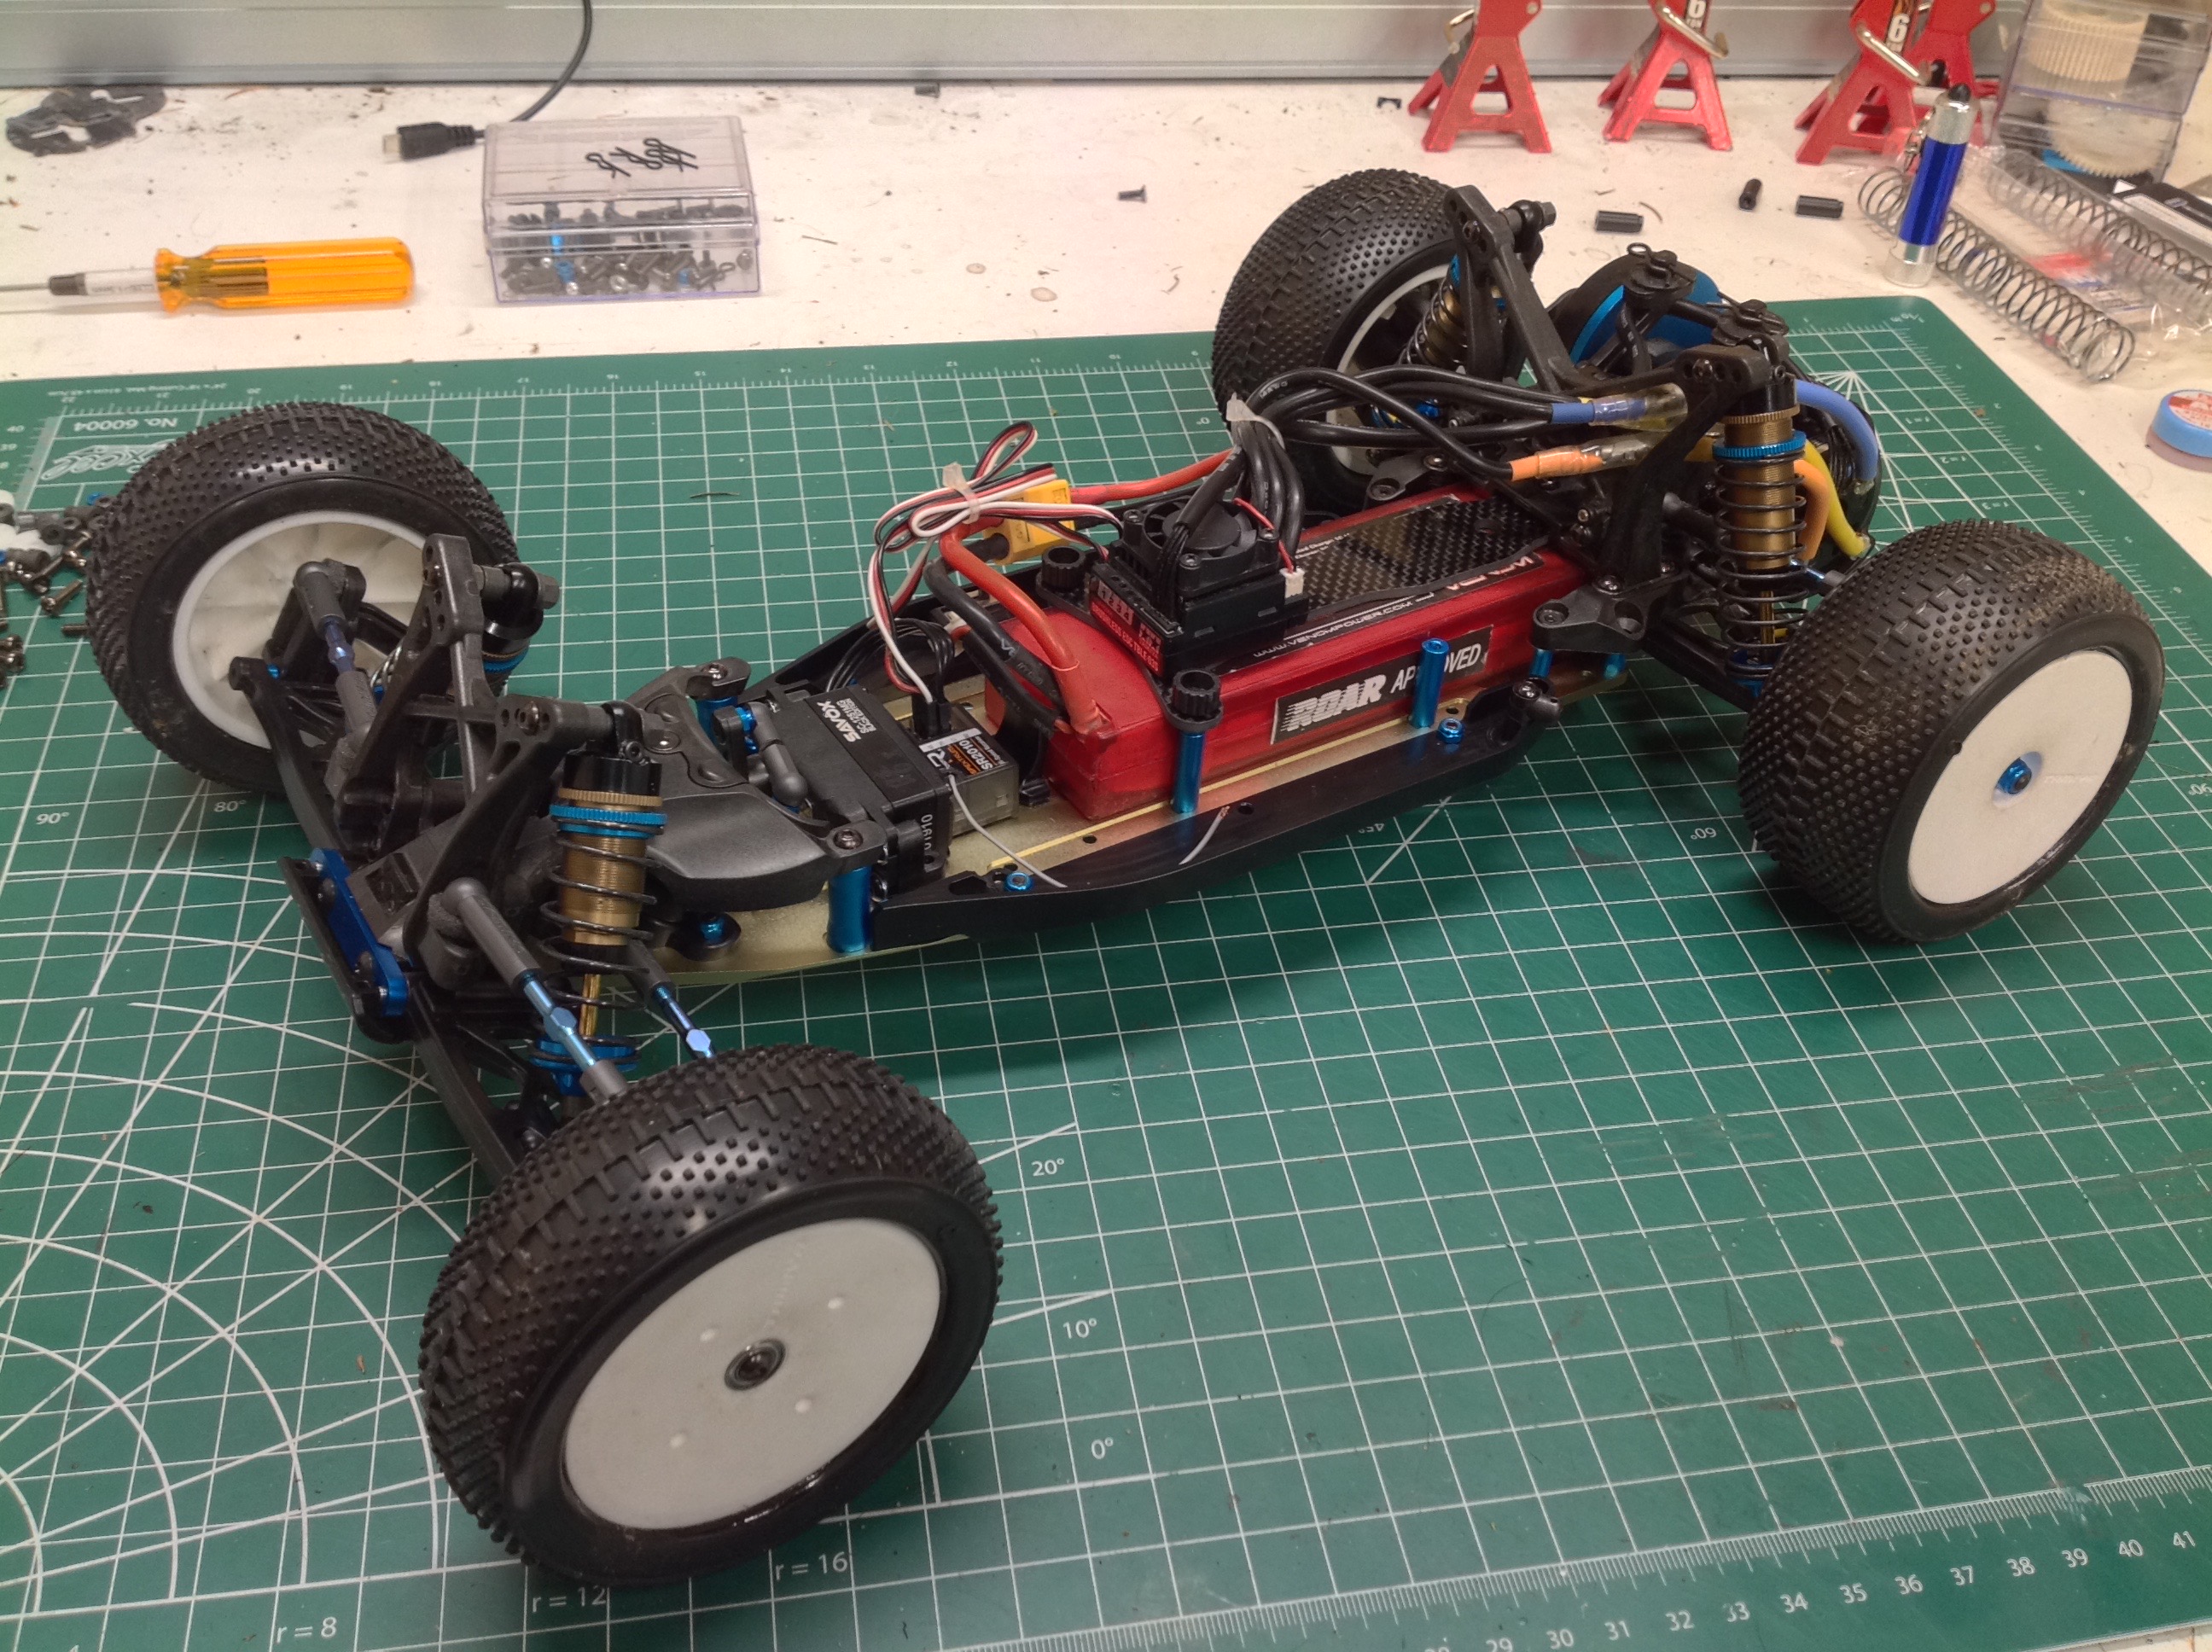
Here I compare the final rolling chassis both before and after the
conversion. There are obviously a lot of similarities, but the
change in wheelbase is actually pretty obvious if you look for it.
There is less width on the new chassis for electronics which means the
ESC has to sit up on top of the battery cover. Since I considered
the XR to be an intermediate stage of assembly, I never cut or decorated
a body for it.
©2020 Eric Albrecht